Tools Day: Leveling String

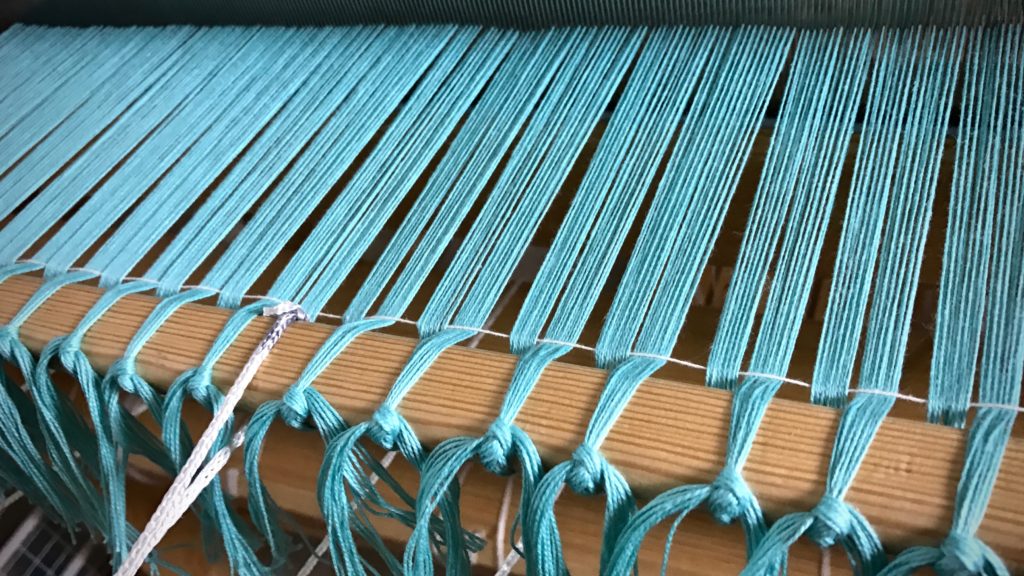
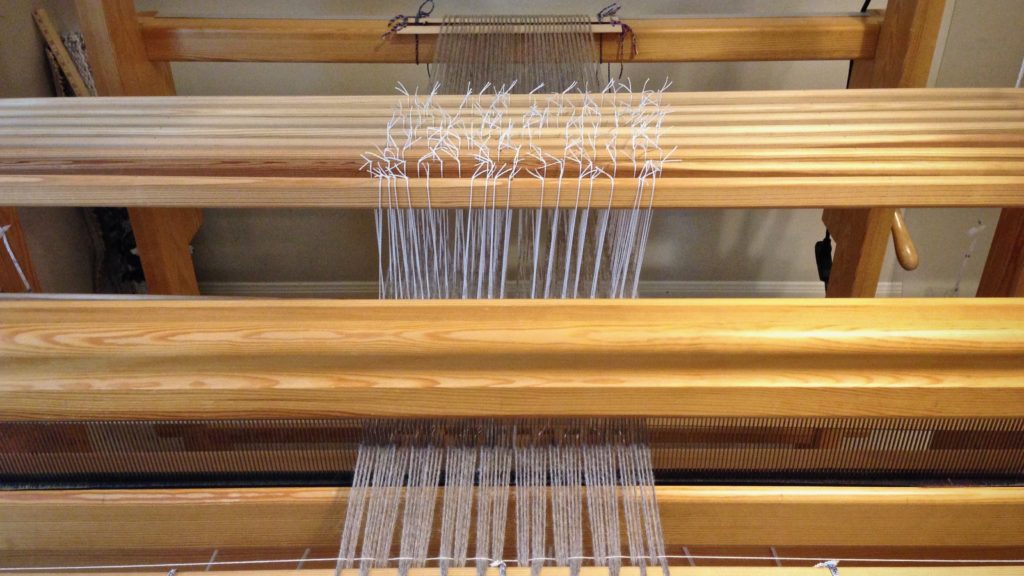
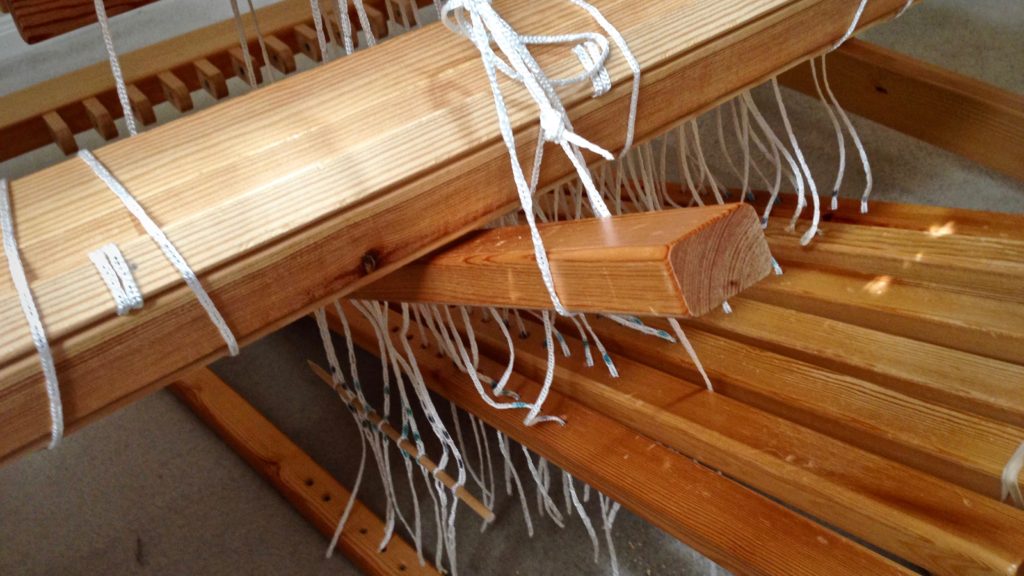
Thirty-five years ago, I took a beginner rigid heddle loom class. Our teacher taught us to use strips of toilet paper (or fat scrap yarn) as weft at the beginning of the weaving to space the warp. After several inches of weaving, the warp ends would fall into alignment. Unless fringe is planned, that beginning warp goes to waste, not to mention the unsightly aspect of the throwaway weft. Here comes the leveling string to the rescue! This piece of 12/6 cotton seine twine is just what we need to get off to a good start with every project we put on the loom. The leveling string levels out the warp ends, and delivers a nice, flat weaving surface. It is superb to be able to weave fabric right from the very beginning of the warp!

The use of a leveling string is also described in my three favorite books that detail how to warp a loom:

  • The Big Book of Weaving, by Laila Lundell
  • Learning to Warp Your Loom, by Joanne Hall
  • Dress Your Loom the Vävstuga Way: A Benchside Photo Guide, by Becky Ashenden

Tools:

  • Front tie-on bar with a hole at each end (Joanne Hall writes, “If there are no holes in your bar, replace the cord with a thin stick.” I have not tried this, but I trust anything Joanne says!)
  • 12/6 cotton seine twine, the length of front tie-on bar, plus about 20 inches (I like to have plenty of string to tie the knots on the ends)

Steps:

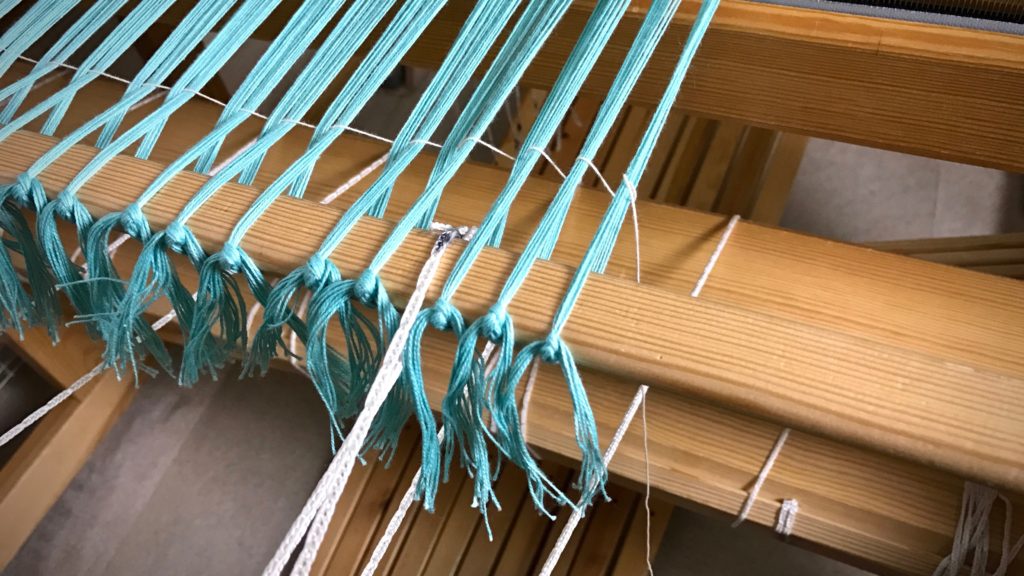
1. Tie on warp in small bundles, about 1″ each, with half of the bundle’s ends going over, and half going under, the front tie-on bar (as seen in Step 3 pictures). Tie the ends together with a bow knot or other tie-on knot. (TIP – If you do not tie the knots too tight, it is easier to get even tension across the warp, and it is easier to tighten the leveling string in Step 4.)

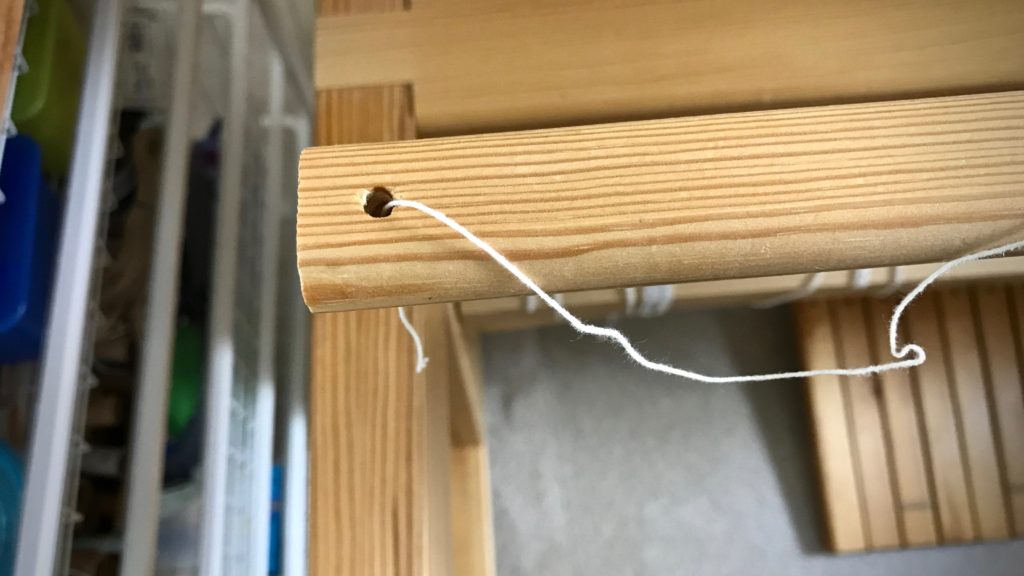
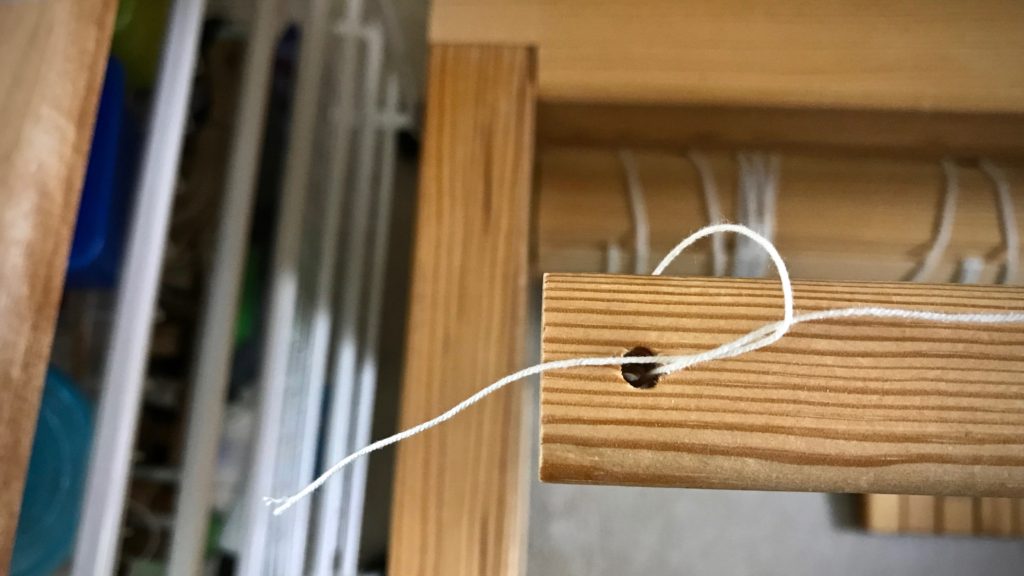
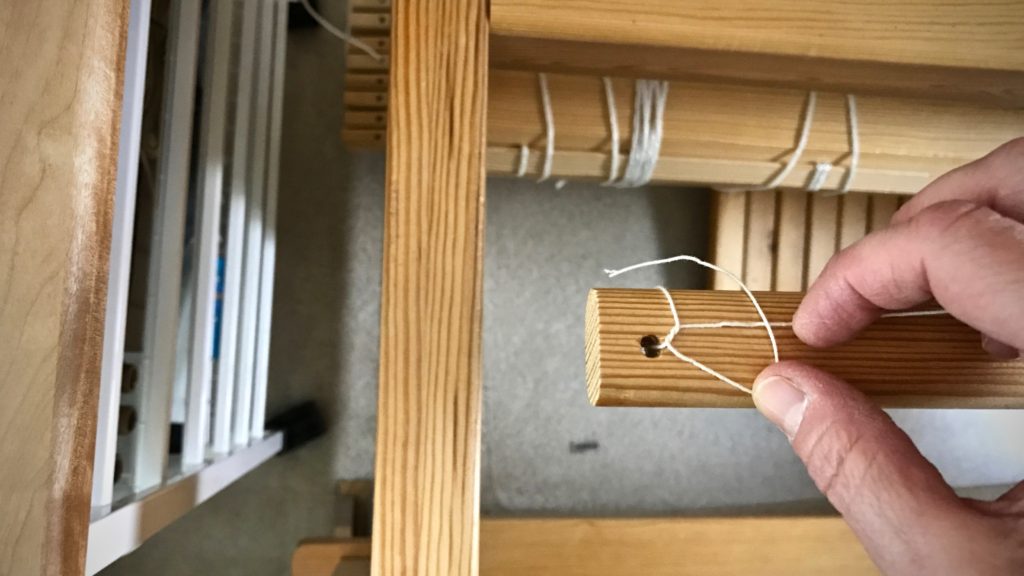
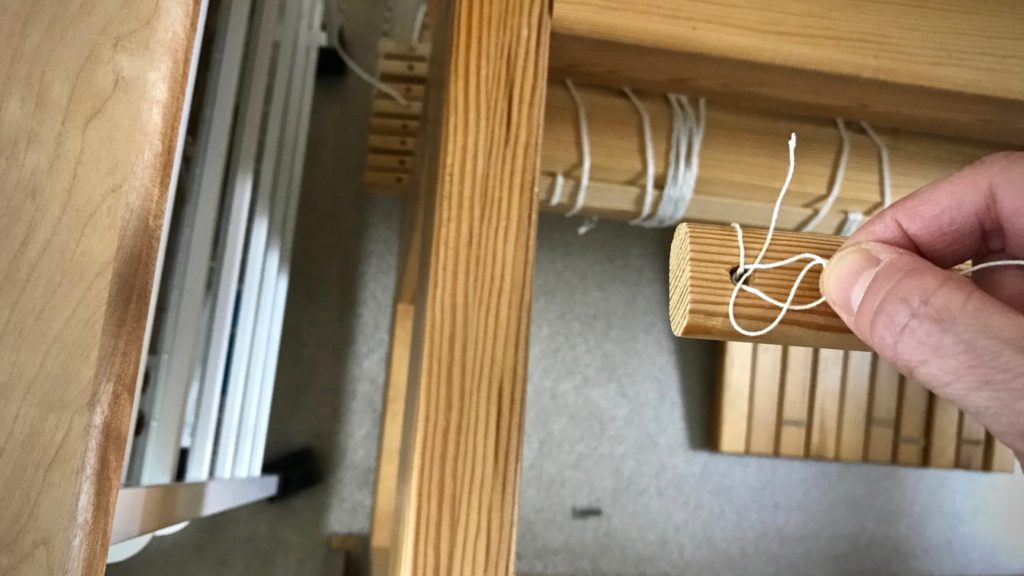
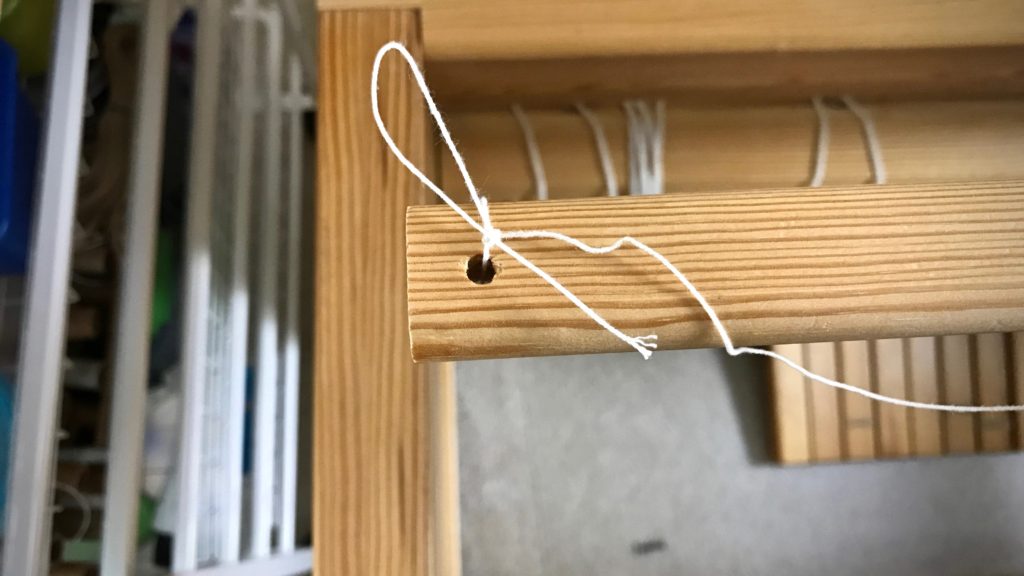
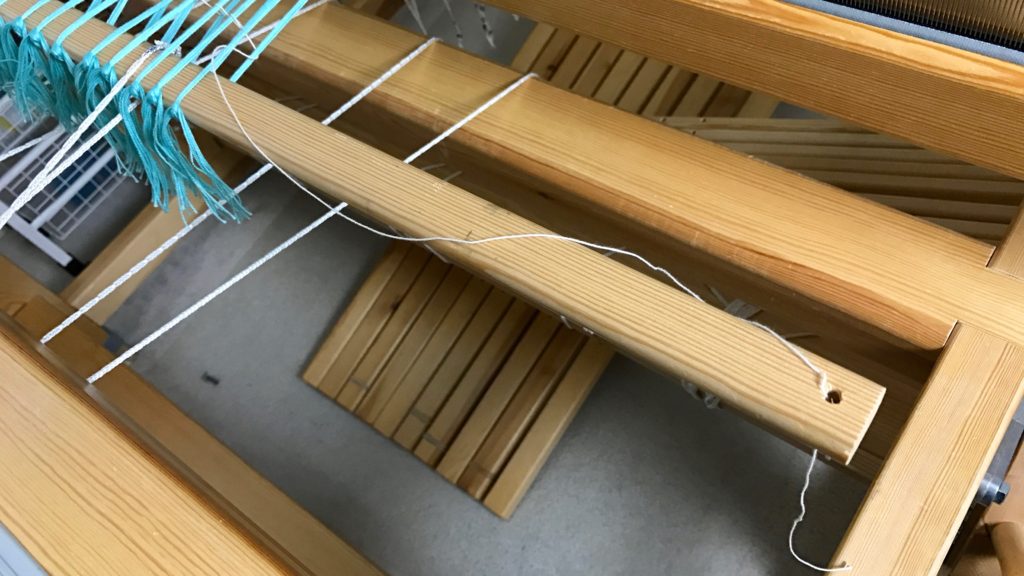
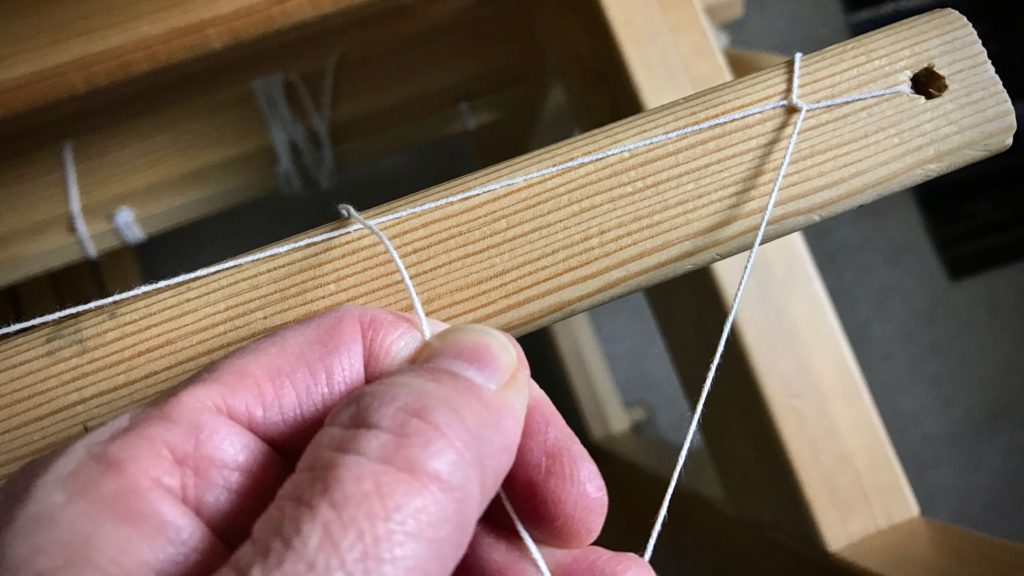
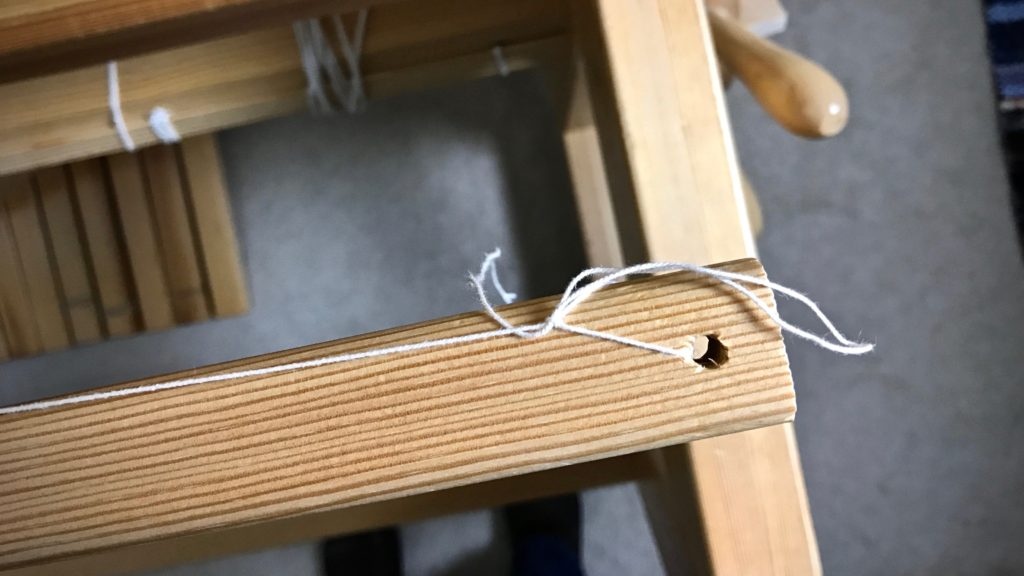
2. Tie one end of the leveling string to one end of the front tie-on bar, using a slip knot with half bow.

Tying the leveling string. Tutorial pics.

Tying the leveling string. Step-by-step.

Leveling string - tying it on.

Tying on the leveling string. How to.

How to tie the leveling string.

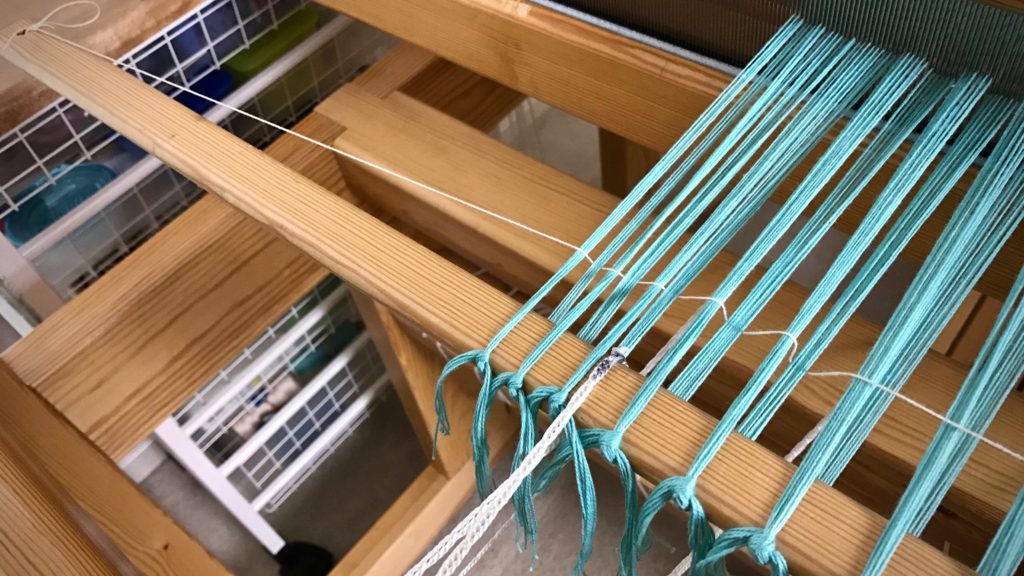
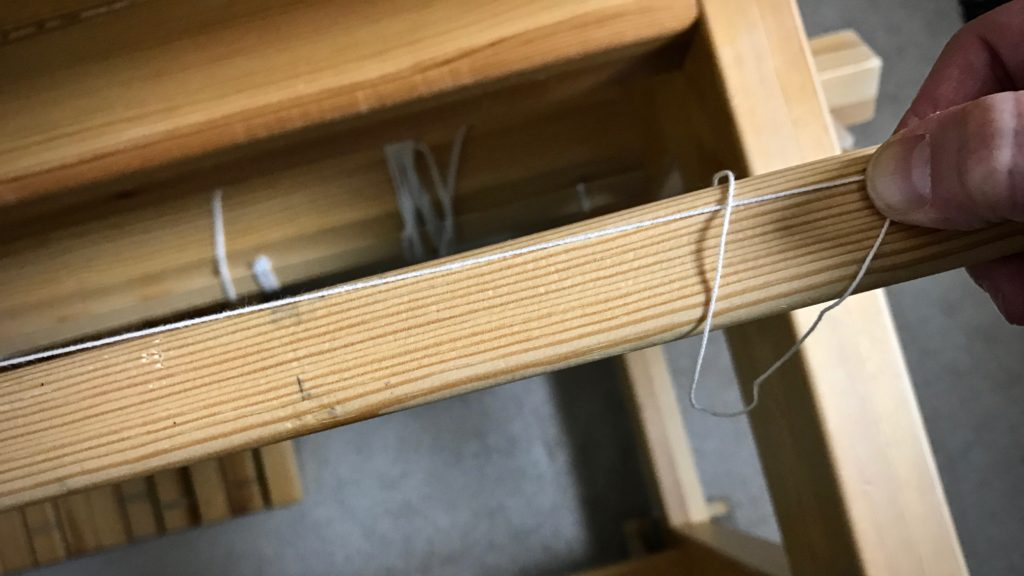
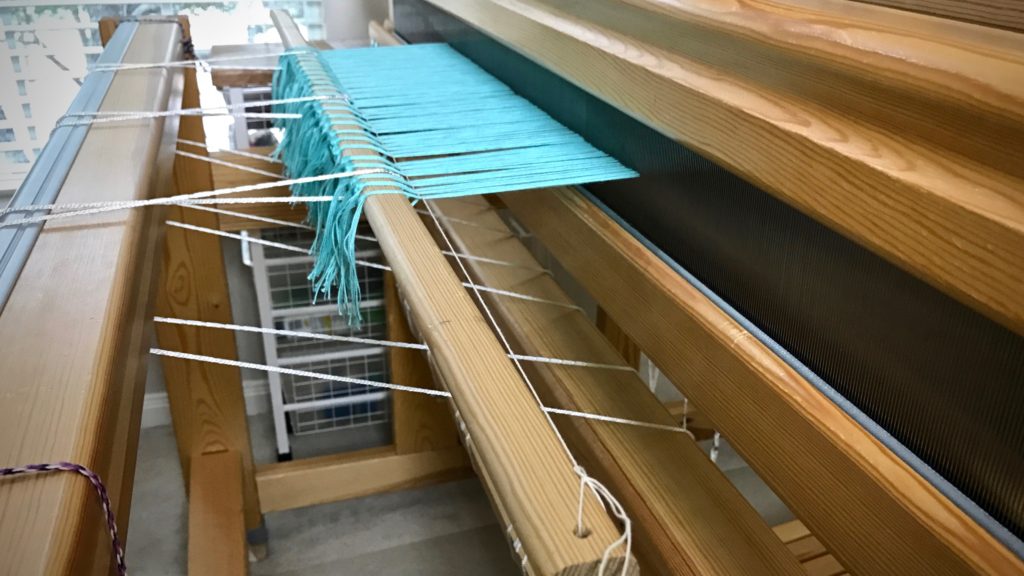
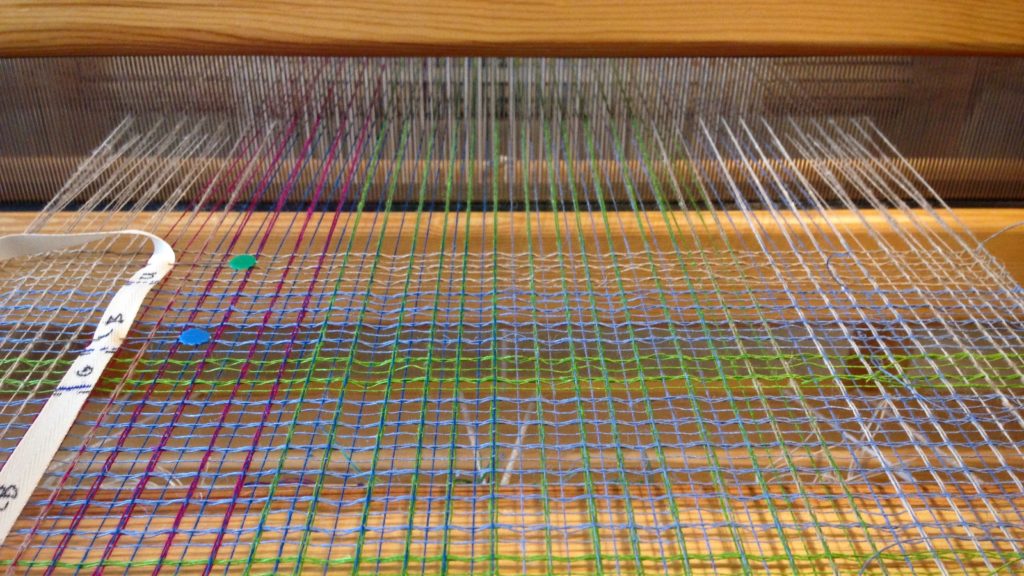
3. Thread the leveling string over and under the tie-on bundles, going over the raised ends and under the lowered ends.

Threading the leveling string through the warp. Tutorial pics.

Leveling string going through the warp.

Tying the second end of the leveling string.

4. Tighten the leveling string while tapping it in with the beater.

Tightening the leveling string.

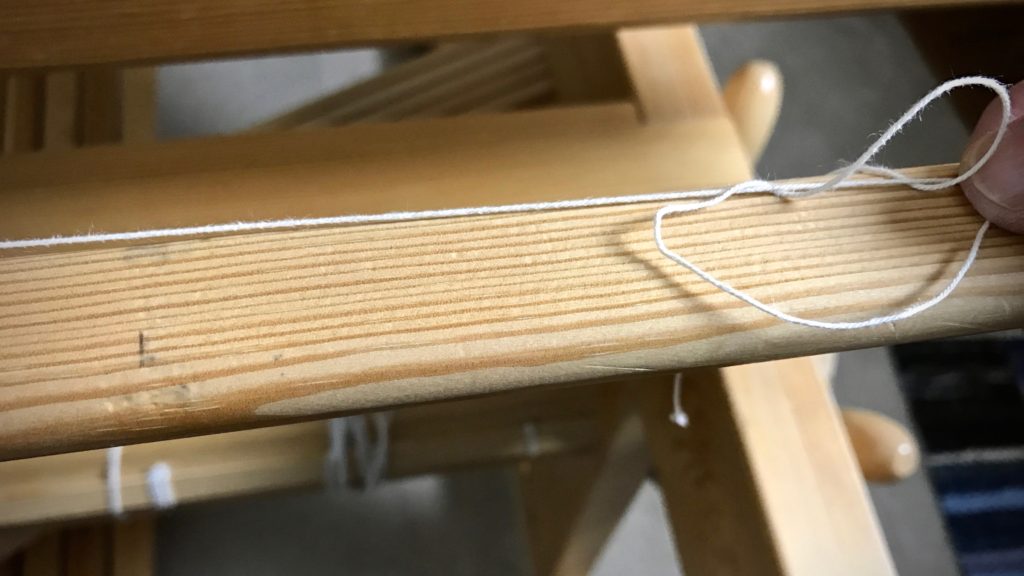
5. Tie the end of the leveling string to the end of the front tie-on bar, using a slip knot with half bow, as before.

How to tie the second end of the leveling string.

How to tie the leveling string.

Finishing the knot for the leveling string.

Why I use a leveling string.

6. Weave to your heart’s content.

Why the leveling string is so helpful!

When you get to the end of the warp, and are ready for cutting off, simply tug the loose end of the string at one end of the bar to release the slip knot, and pull the leveling string out of the warp.

May you weave as soon as possible.

Happy Valentine’s Day,
Karen

Tools Day: Mirror Mirror

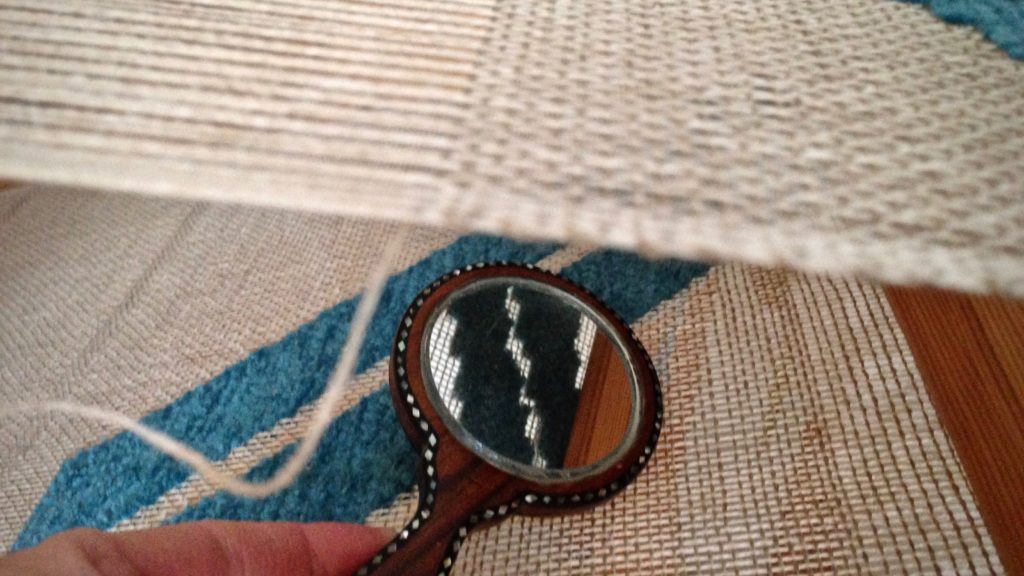
When the front side of the fabric is on the underside, it helps to have a mirror. This is one of those times. A transparency can be woven with the weft turns on the front or on the back. I’m weaving this transparency with the weft turns on the front. The underside, therefore, has the crisper lines, and will (probably) be the right side of the finished transparency.

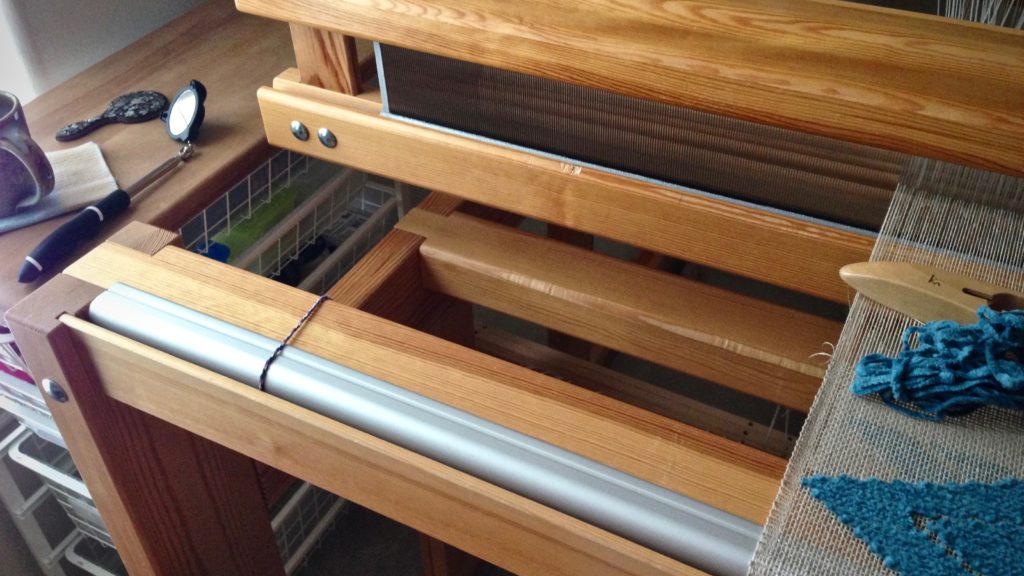
Weaving cotton chenille inlay on linen for a simple transparency.
Weaving from the back, the inlay weft turns look like scallops along the edge of the pattern area. The pattern on the underneath side of the cloth has smoother edges.

You can think of other weaves, as well, that have a different appearance on the back than on the front. That’s when a little mirror comes in handy. You can use a larger hand mirror, of course; but these are two little mirrors that I keep in the cart by my loom.

Mirrors at hand beside the loom.
Top drawer in the cart beside the loom holds small tools that are used during weaving.
  • A little wooden mirror with mother-of-pearl inlay that I picked up on one of my international travels.
Small hand mirror is used to view the underside.
Small hand mirror is used for a quick glimpse of the underside pattern.
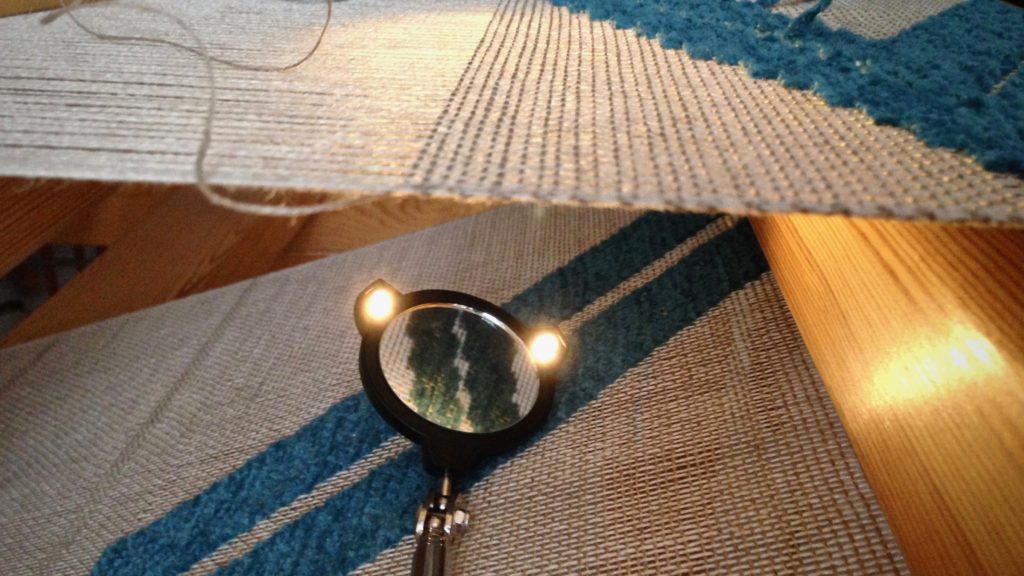
  • A lighted extended little mirror that I picked up on one of my wanderings at Home Depot while my husband was shopping for tools. A Husky Round Lighted Inspection Mirror, “…for inspection of hidden, unlit areas in applications ranging from industrial maintenance and automotive repair to general homeowner DIY applications.” They forgot to add, “…and for handweaver inspections of the reverse side of the cloth.”
Lighted mirror extends to inspect underneath the cloth.
Lighted mirror extends to inspect the underneath side of the woven cloth. The telescoping handle makes it possible to view underneath a wide warp.

May you find tools that serve you well.

Happy Weaving,
Karen
Tools Day: Measured Weaving

How far will you travel? How will you know when you have arrived? Do you wish you could know when you are halfway there? Applied to weaving, I like to have the answers to these questions before I begin the “journey.” A pre-measured tape gives me consistency, especially important for multiple pieces in a set. The tape also acts as my “trip odometer.” I can see how far I’ve gone, and exactly how much is left to weave. It satisfies my insatiable need to know how close I am to the end. Are you like that, too?

How to Make and Use a Pre-Measured Tape

Supplies

  • Roll of 3/4″ or wider twill tape (or any cloth tape or ribbon that does not stretch, and that pins easily)
  • Tape measure with inches and/or centimeters
  • Fine tip permanent marker
  • Flat head pins
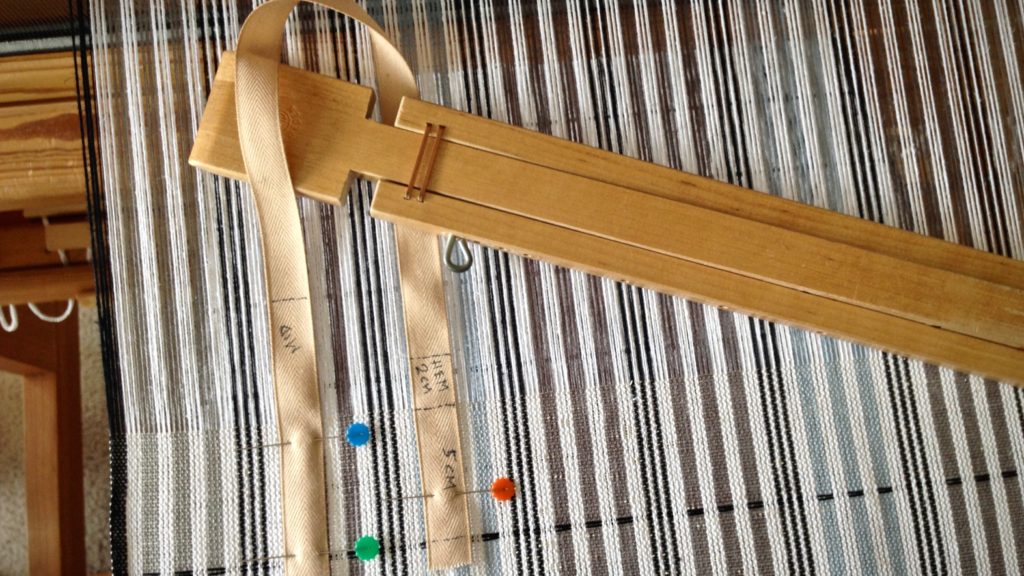
  1. Use the permanent marker to place markings on the twill tape, as measured with the tape measure. Mark the start line 1/2″ from the end of the twill tape, so that the tape can be pinned in front of the mark.
  2. After drawing a line for the starting point and ending point, draw a line at the midway point, labeled MID.
  3. Include dotted lines for hem measurements, if applicable. Write the hem measurement on the twill tape; i.,e., 3/4″ or 2 cm.
  4. Write the weaving length measurement on the twill tape. Include calculation for takeup, if desired; i.,e., 25″ + 3″.
  5. Write the project or item description on the twill tape, if desired, for ease of repeat use; i.e., handtowel.
  6. Add other lines or marks, as needed, for borders, placement of weft colors, or other design elements.
  7. 1/2″ after the final marking, cut pre-measured twill tape from the roll of tape.

With the warp under tension, pin the pre-measured twill tape near the right or left selvedge with two flat-head pins. Match the start line of the tape with the beginning of the weaving.
Before each advancement of the warp, move the pin closest to the breast beam to a point near the fell line. In this way, have the pins leapfrog each other, moving only one pin each time. Always keep the warp under tension when moving the pins.

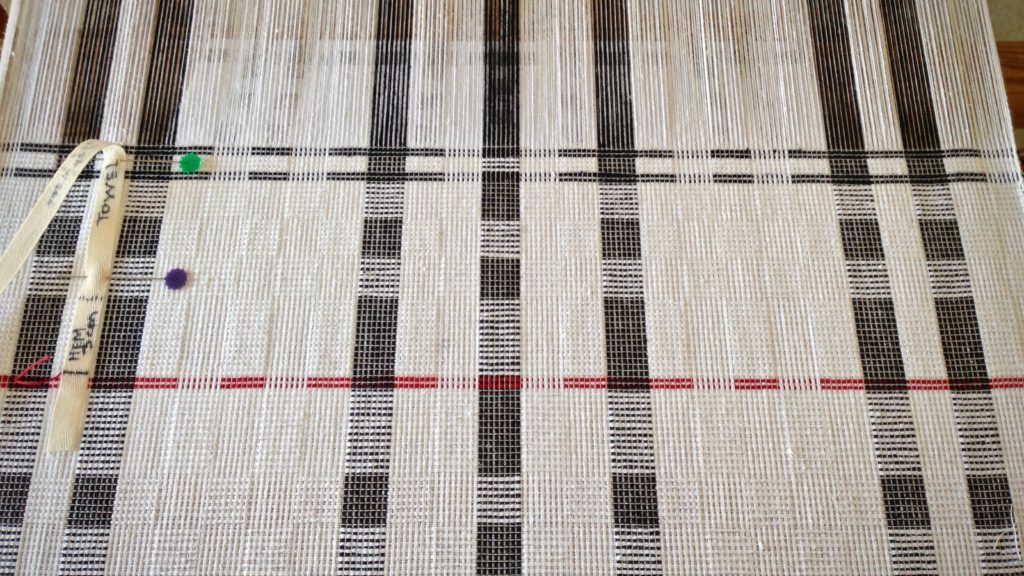
Red cutting lines between black and white towels.
Beginning hem, after red cutting lines between towels.
Ending hem is followed by two red picks that will become the cutting line between towels.
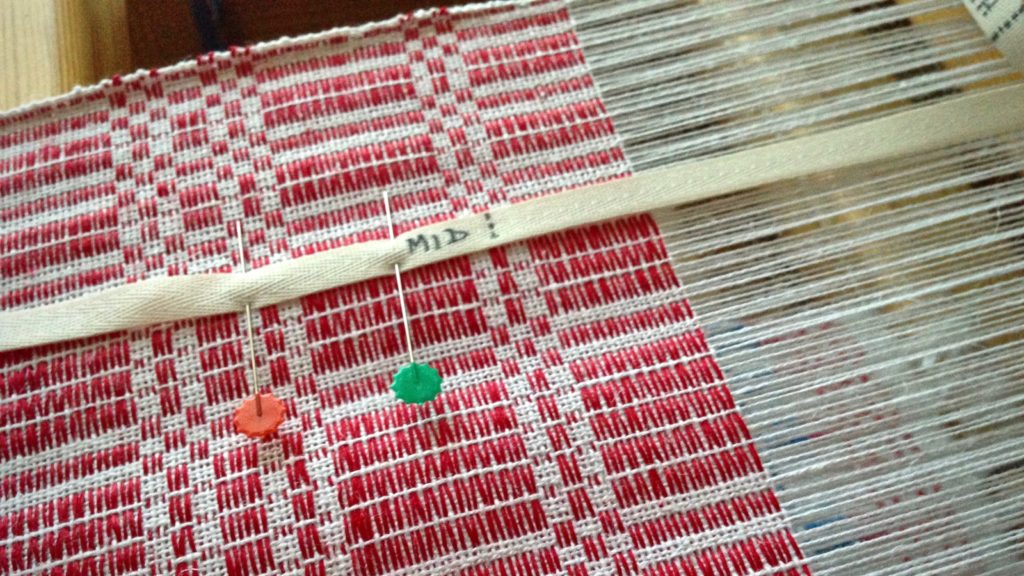
When the "MID" point hits right where it should!
When the “MID” point hits right where it should! Mid point marking helps to confirm that the halvdräll pattern is centered and balanced in its length.
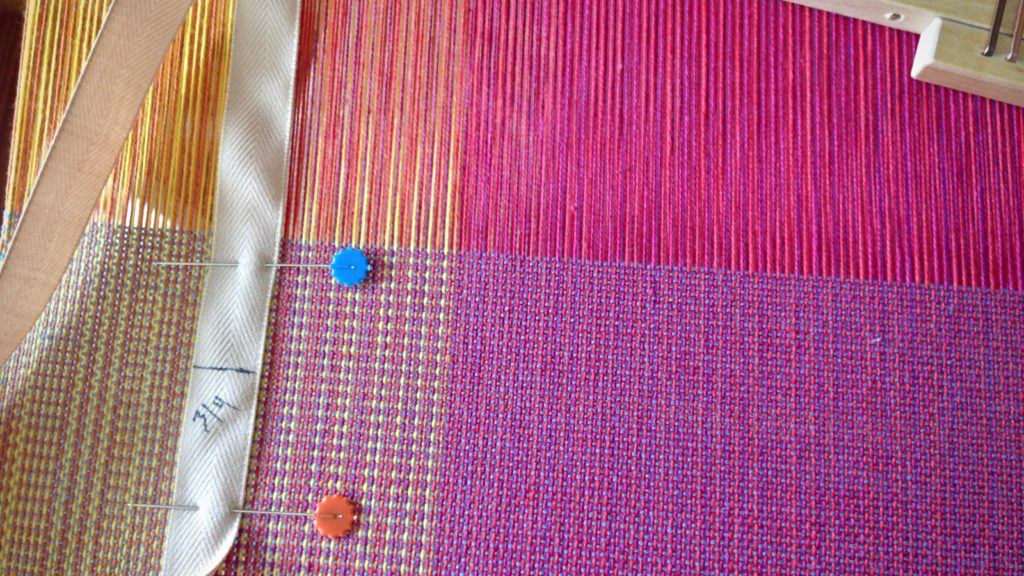
Pre-measured twill tape marks weft color placement on linen scarves.
Weft color placement is marked on the twill tape for these linen lace scarves.
Tricks with pre-measured tape for weaving.
Five centimeters, marked at the end of the twill tape, is a handy reference for spacing the weft pattern floats in these plattväv towels.
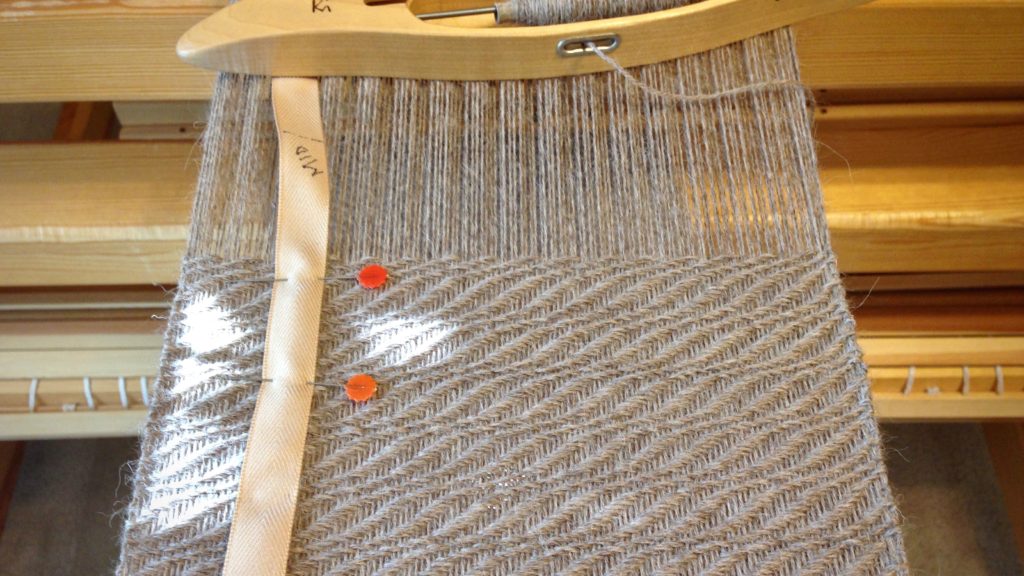
Alpaca scarf in an interesting 8-shaft twill.
I love seeing the “MID” point on a long piece, such as this 8-shaft twill alpaca scarf.
Pre-measured twill tape helps set the pace for the weaving project.
Breaking up the length into quarters helps to set a pace for the weaving project. This baby wrap was on a time crunch, so it was helpful to know when I was getting close to the end.

May you accurately measure your ways.

Truly yours,
Karen
Quiet Friday: Countermarch Back Savers

After back surgery, I wondered how-in-the-world I would be able to tie up my countermarch looms. After a four-week ban on bending over, I was eager to weave, but not eager to do anything that might strain or injure my back.

Two simple maneuvers made it possible for me to tie up the lamms and the treadles on both of my Glimäkra countermarch looms:

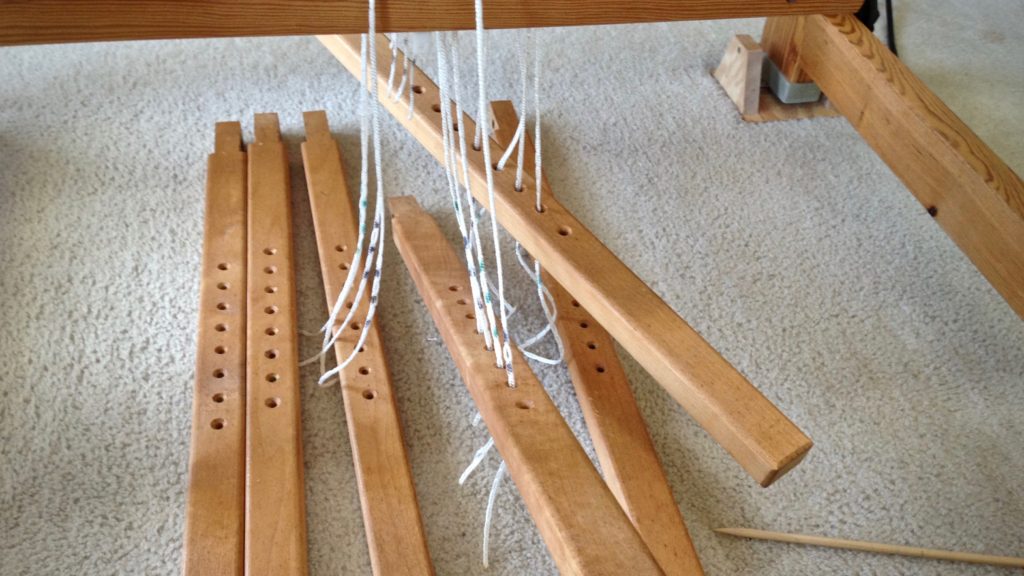
  1. Remove the lamms. Treadle cords are added while sitting in a comfortable position.
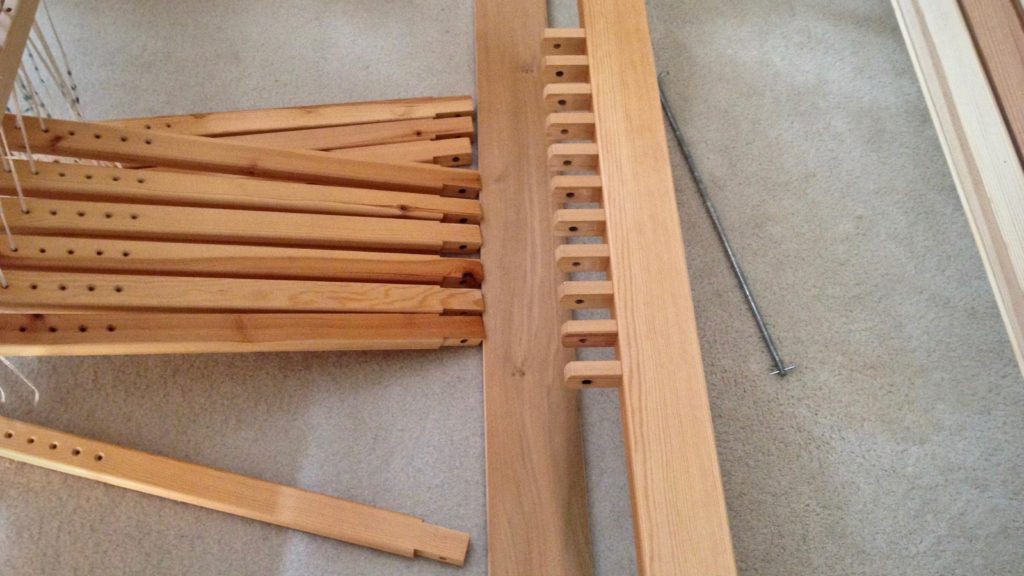
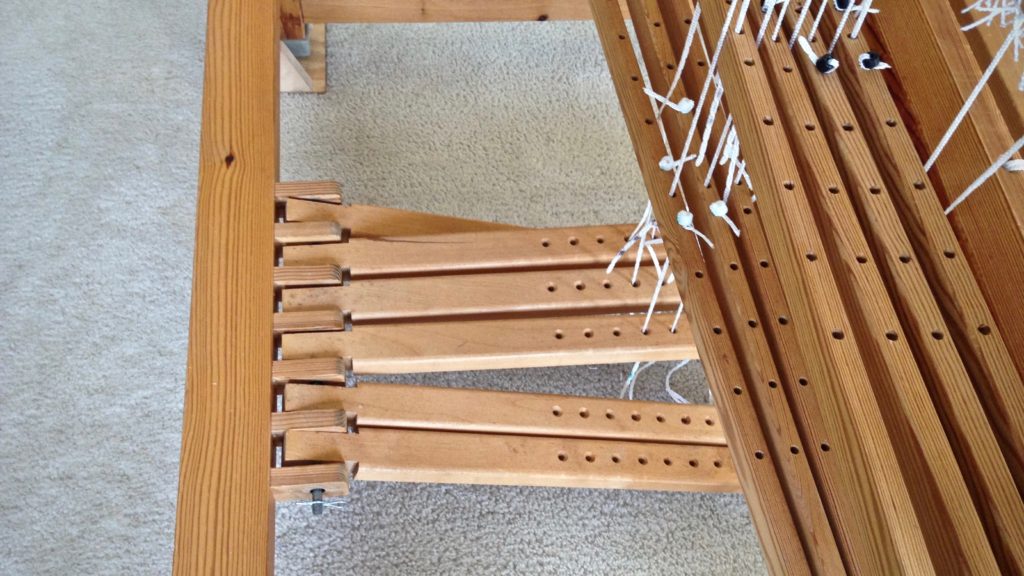
  2. Detach the treadles. Bring treadles closer to the front of the loom for attaching treadle cords.

And two important practices kept me from over-reaching and overdoing it:

  1. Sit on a low stool instead of the back of the loom or the floor.
  2. Take frequent breaks to stand up, stretch, and walk around.

Tools:

  • Low stool for sitting
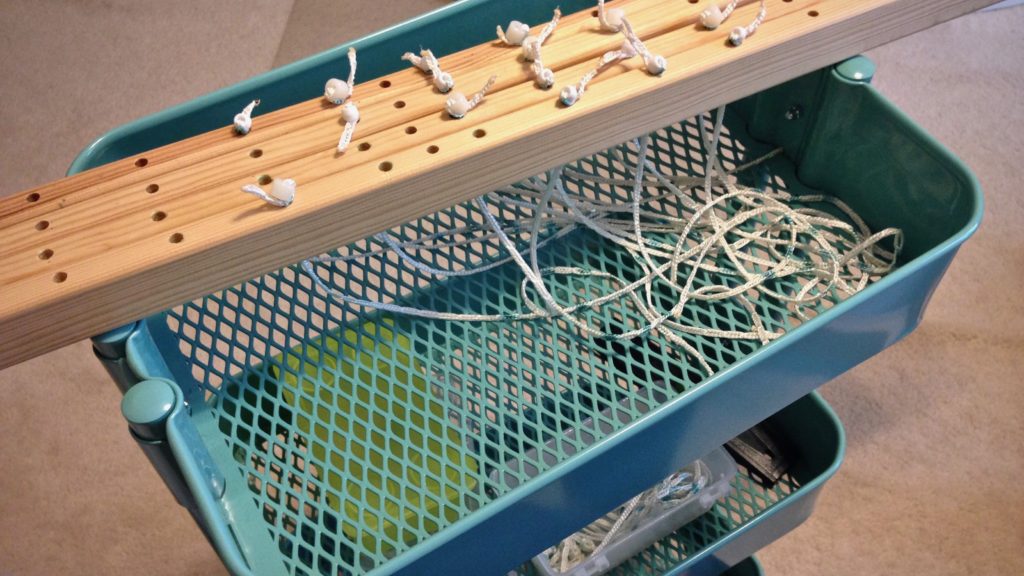
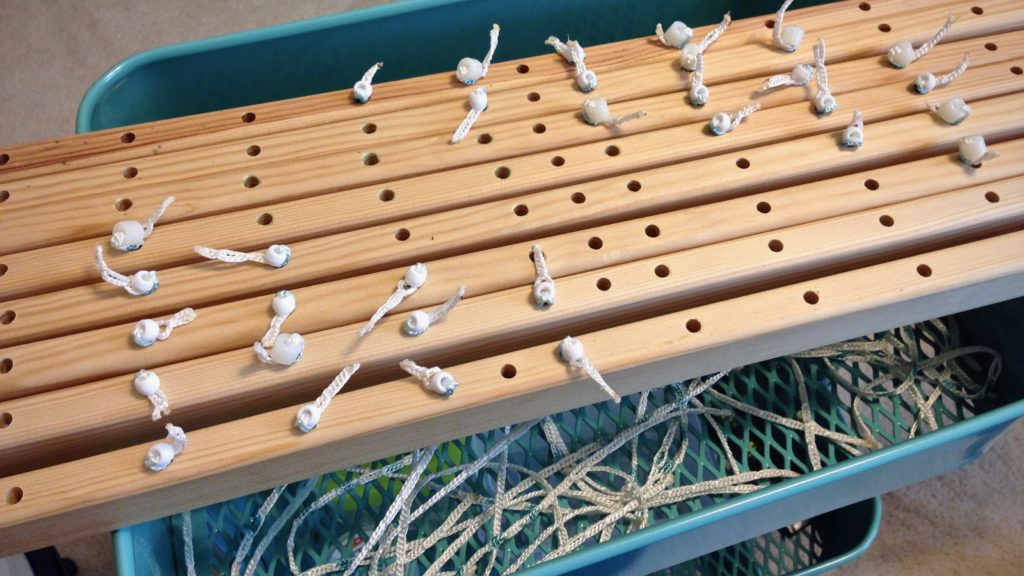
  • Rolling cart (IKEA cart) or small table
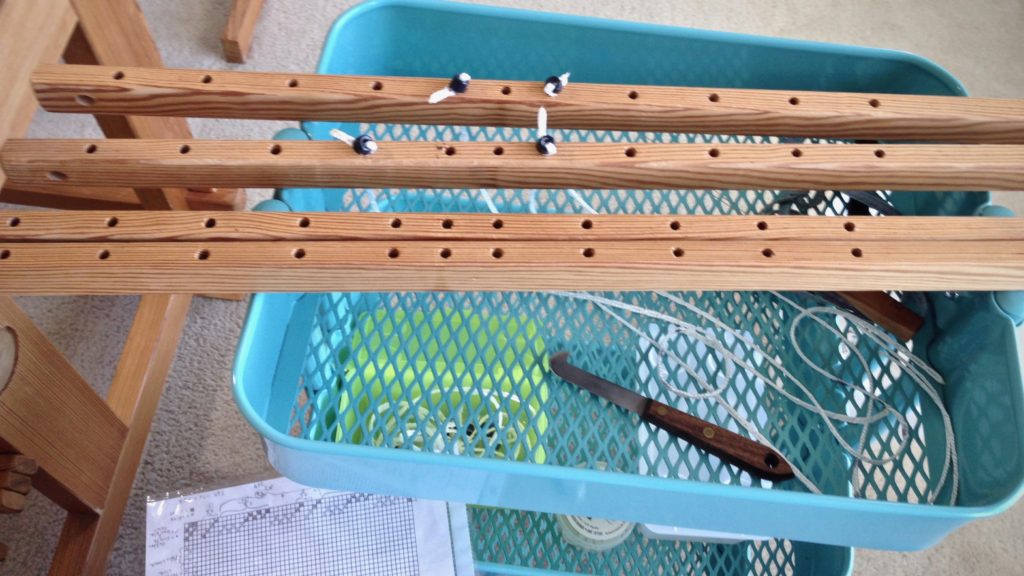
  • Plank of wood, longer than the loom is wide (one plank of warping trapeze, 1″ x 5″)
  • Treadle cords, Texsolv pins, other tie-up supplies
  • Length of cord to hold treadle up (Texsolv cord that’s used for hanging the reed for sleying)

The 120 cm (47″) Standard loom has open space in the loom, making it easy to get within arm’s reach of most things; but the challenge increases with the number of shafts–eight for this tie up.

Alpaca warp, ready for countermarch tie-up without back strain.
Beamed, threaded, sleyed, tied on. Waiting for the final step of tying up lamms and treadles.
  • Lamms are removed, 2 at a time, and placed on the cart to add the treadle cords, all the while sitting on a comfortable stool.

Countermarch tie-up without back strain.

  • After all 8 lower lamms have the treadle cords added, the lamms are reinserted in the loom, 2 at a time.

Countermarch tie-up without back strain.

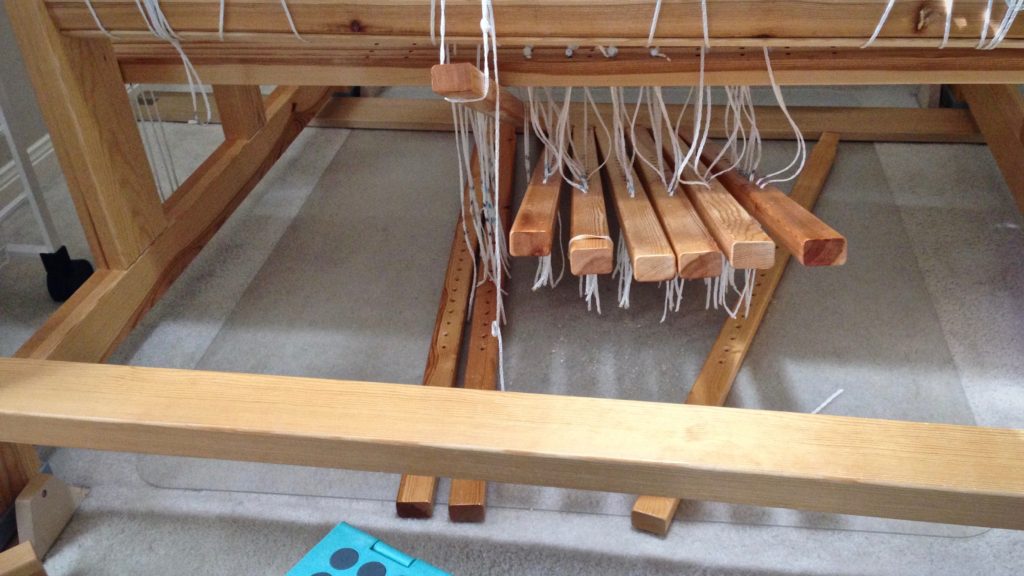
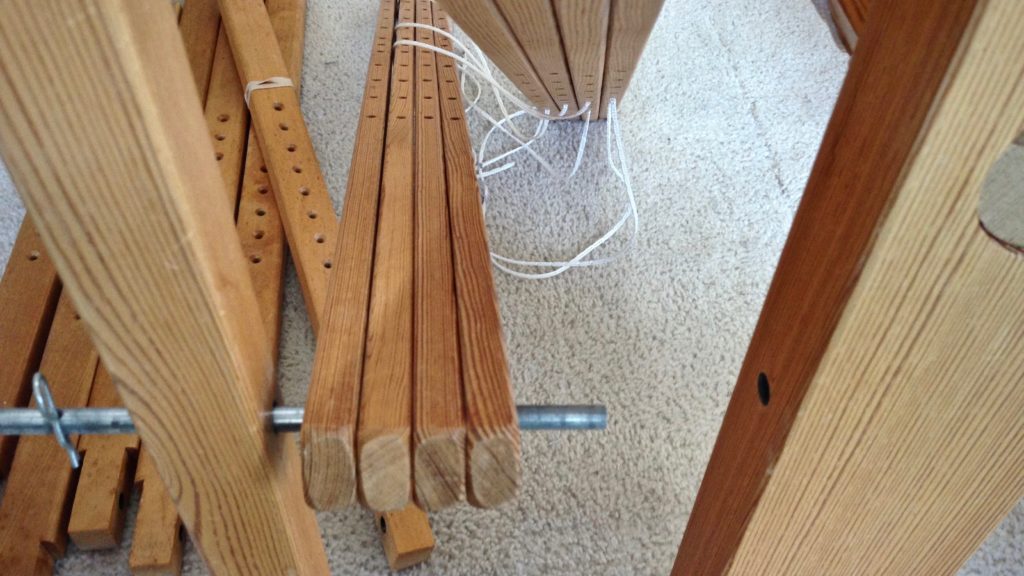
  • Treadle rod is removed to detach the treadles. Wood plank keeps the treadles from sliding back while treadle cords are attached at the front of the loom.

Trick to make countermarch tie-up easier on the back.

  • Cord acts as a sling to hold the treadle up to a comfortable height.

Tips for making countermarch tie-ups more back friendly.

  • The raised treadle helps with visibility, and enables the use of both hands, especially helpful for the “Vavstuga method” of tying up treadles with knitting needles (I use sharpened dowels). After treadles are tied up, re-attach the treadles at the back of the loom.

Hints for making countermarch tie-up more back friendly.


The 100 cm (39″) Ideal loom requires more reaching. Tying lamms to the shafts is a challenge for short arms, like mine. With four shafts, and only three treadles for this tie up, the rest of the process isn’t difficult.

Threaded for striped towels. Glimakra Ideal.
Threaded for striped towels. Glimäkra Ideal has smaller spaces in which to work than in the Standard loom.
  • Upper lamms are placed on the cart. I hold the weaving draft in my lap as I add the treadle cords to the lamms.

IKEA cart as tie-up helper.

  • Lower lamms are removed as the pin is pulled out. After the treadle cords are added, the lamms are reinserted.

Removing lamms to make countermarch tie-up back friendly.

  • Detached treadles lay on the floor. They easily pivot up at the front of the loom for attaching treadle cords.

Tips for making countermarch tie-ups less straining on the back.

  • Everything is tied up and ready to weave!

All tied up and ready to weave!

May you stay healthy to live long and weave.

Happy Weaving,
Karen
Tools Day: Loom Bench Baskets

Some accessories are so useful they simply become an extension of the loom. That’s how my loom bench baskets are for me. I automatically place an emptied shuttle there without a second thought. It’s where extra shuttles go that are waiting their turn, or extra quills that have been wound, or a few fabric strips that are set aside for one section. For anything I need to drop or pick up–the baskets are always there.

Loom bench basket holds the ski shuttles for a rosepath rag rug.
Deep basket on the bench at the baby loom (Glimakra Ideal) easily holds my ski shuttles for this rosepath rag rug.
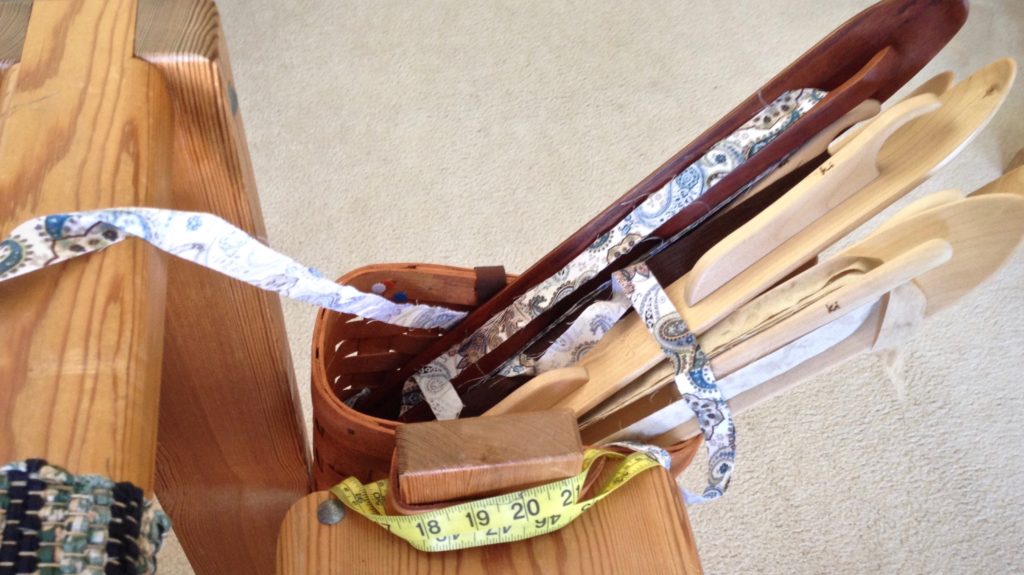
Loom bench basket holds the 5 ski shuttles for this rosepath rag rug.
Leather strap on the basket slips over the end post of my loom bench, right by the always-handy measuring tape.
Deep basket, perfect for holding shuttles.
Basket made for this purpose, from Vavstuga.
Loom bench basket with Ikea container inserted to hold quills.
Basket at the big loom (Glimakra Standard) holds a small hanging cup I found at Ikea that is useful for holding small things, like filled and emptied quills.
Loom basket is tied to the bench with an old inkle-woven band.
Old basket I’ve had for years is put to use on the other side of the big loom bench. I tied it on with a wool inkle band I wove many years ago.

May you have what you need at your fingertips.

Happy weaving,
Karen