Typical Questions for a New Warp

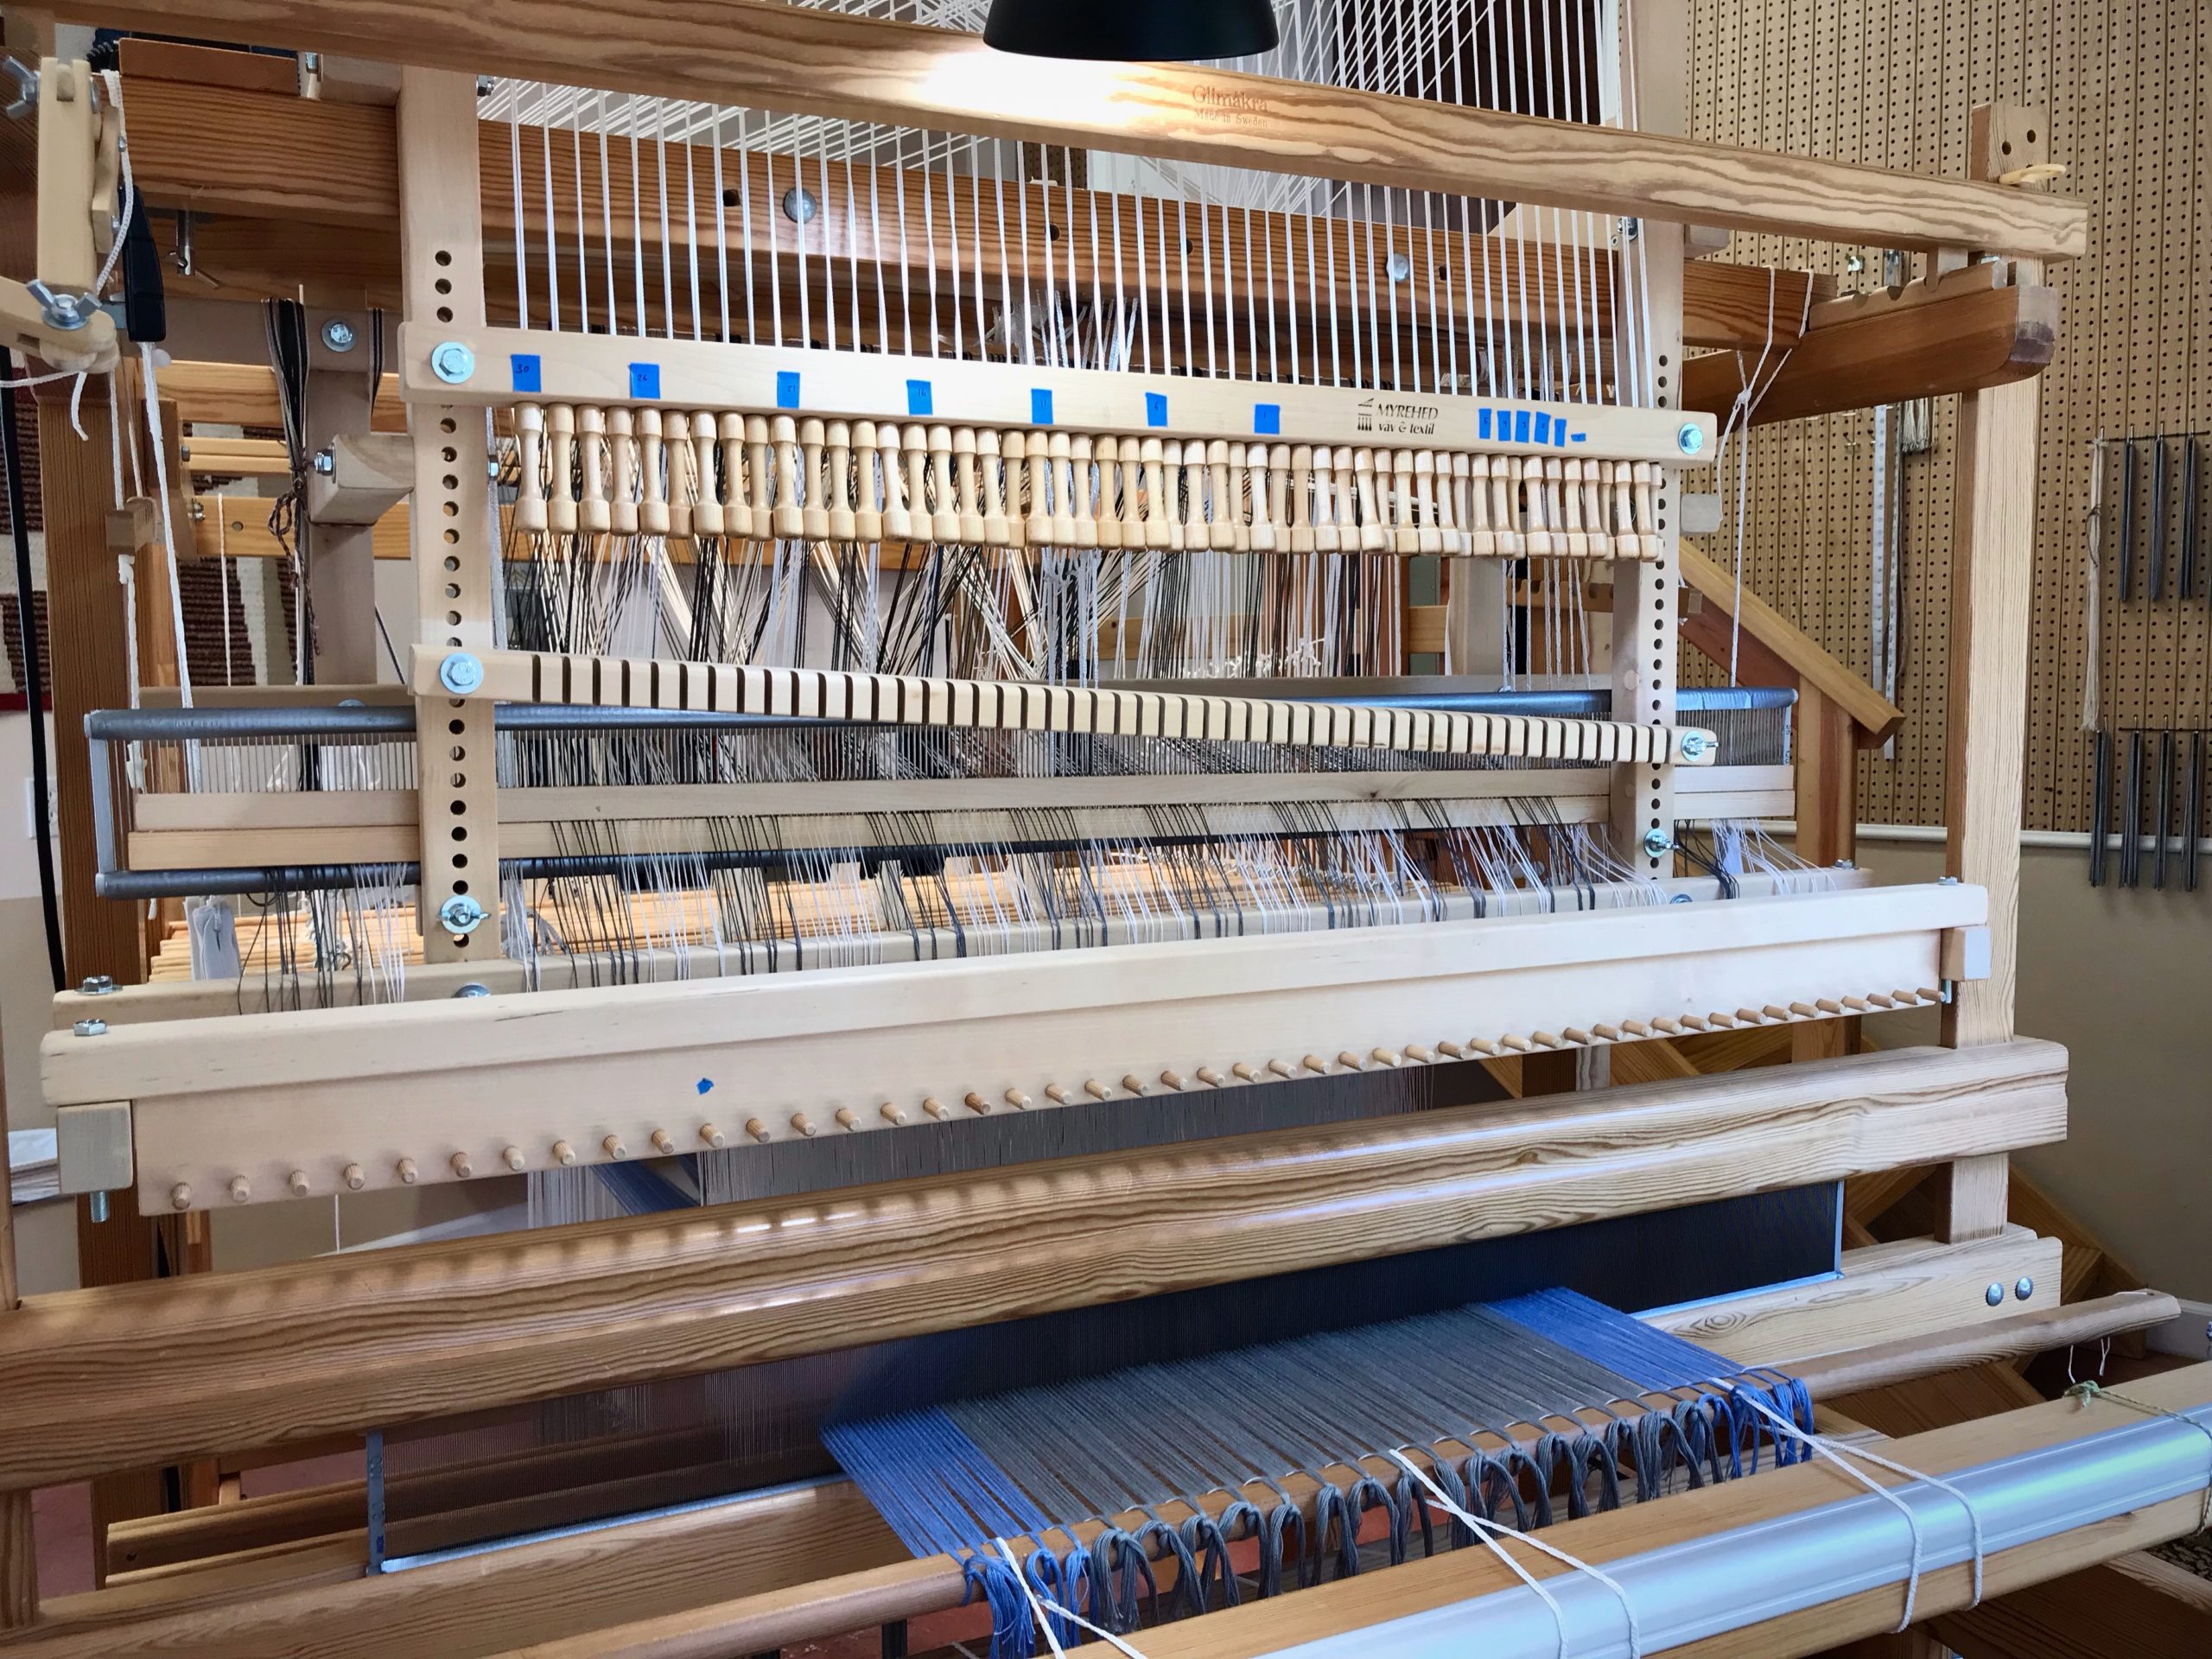
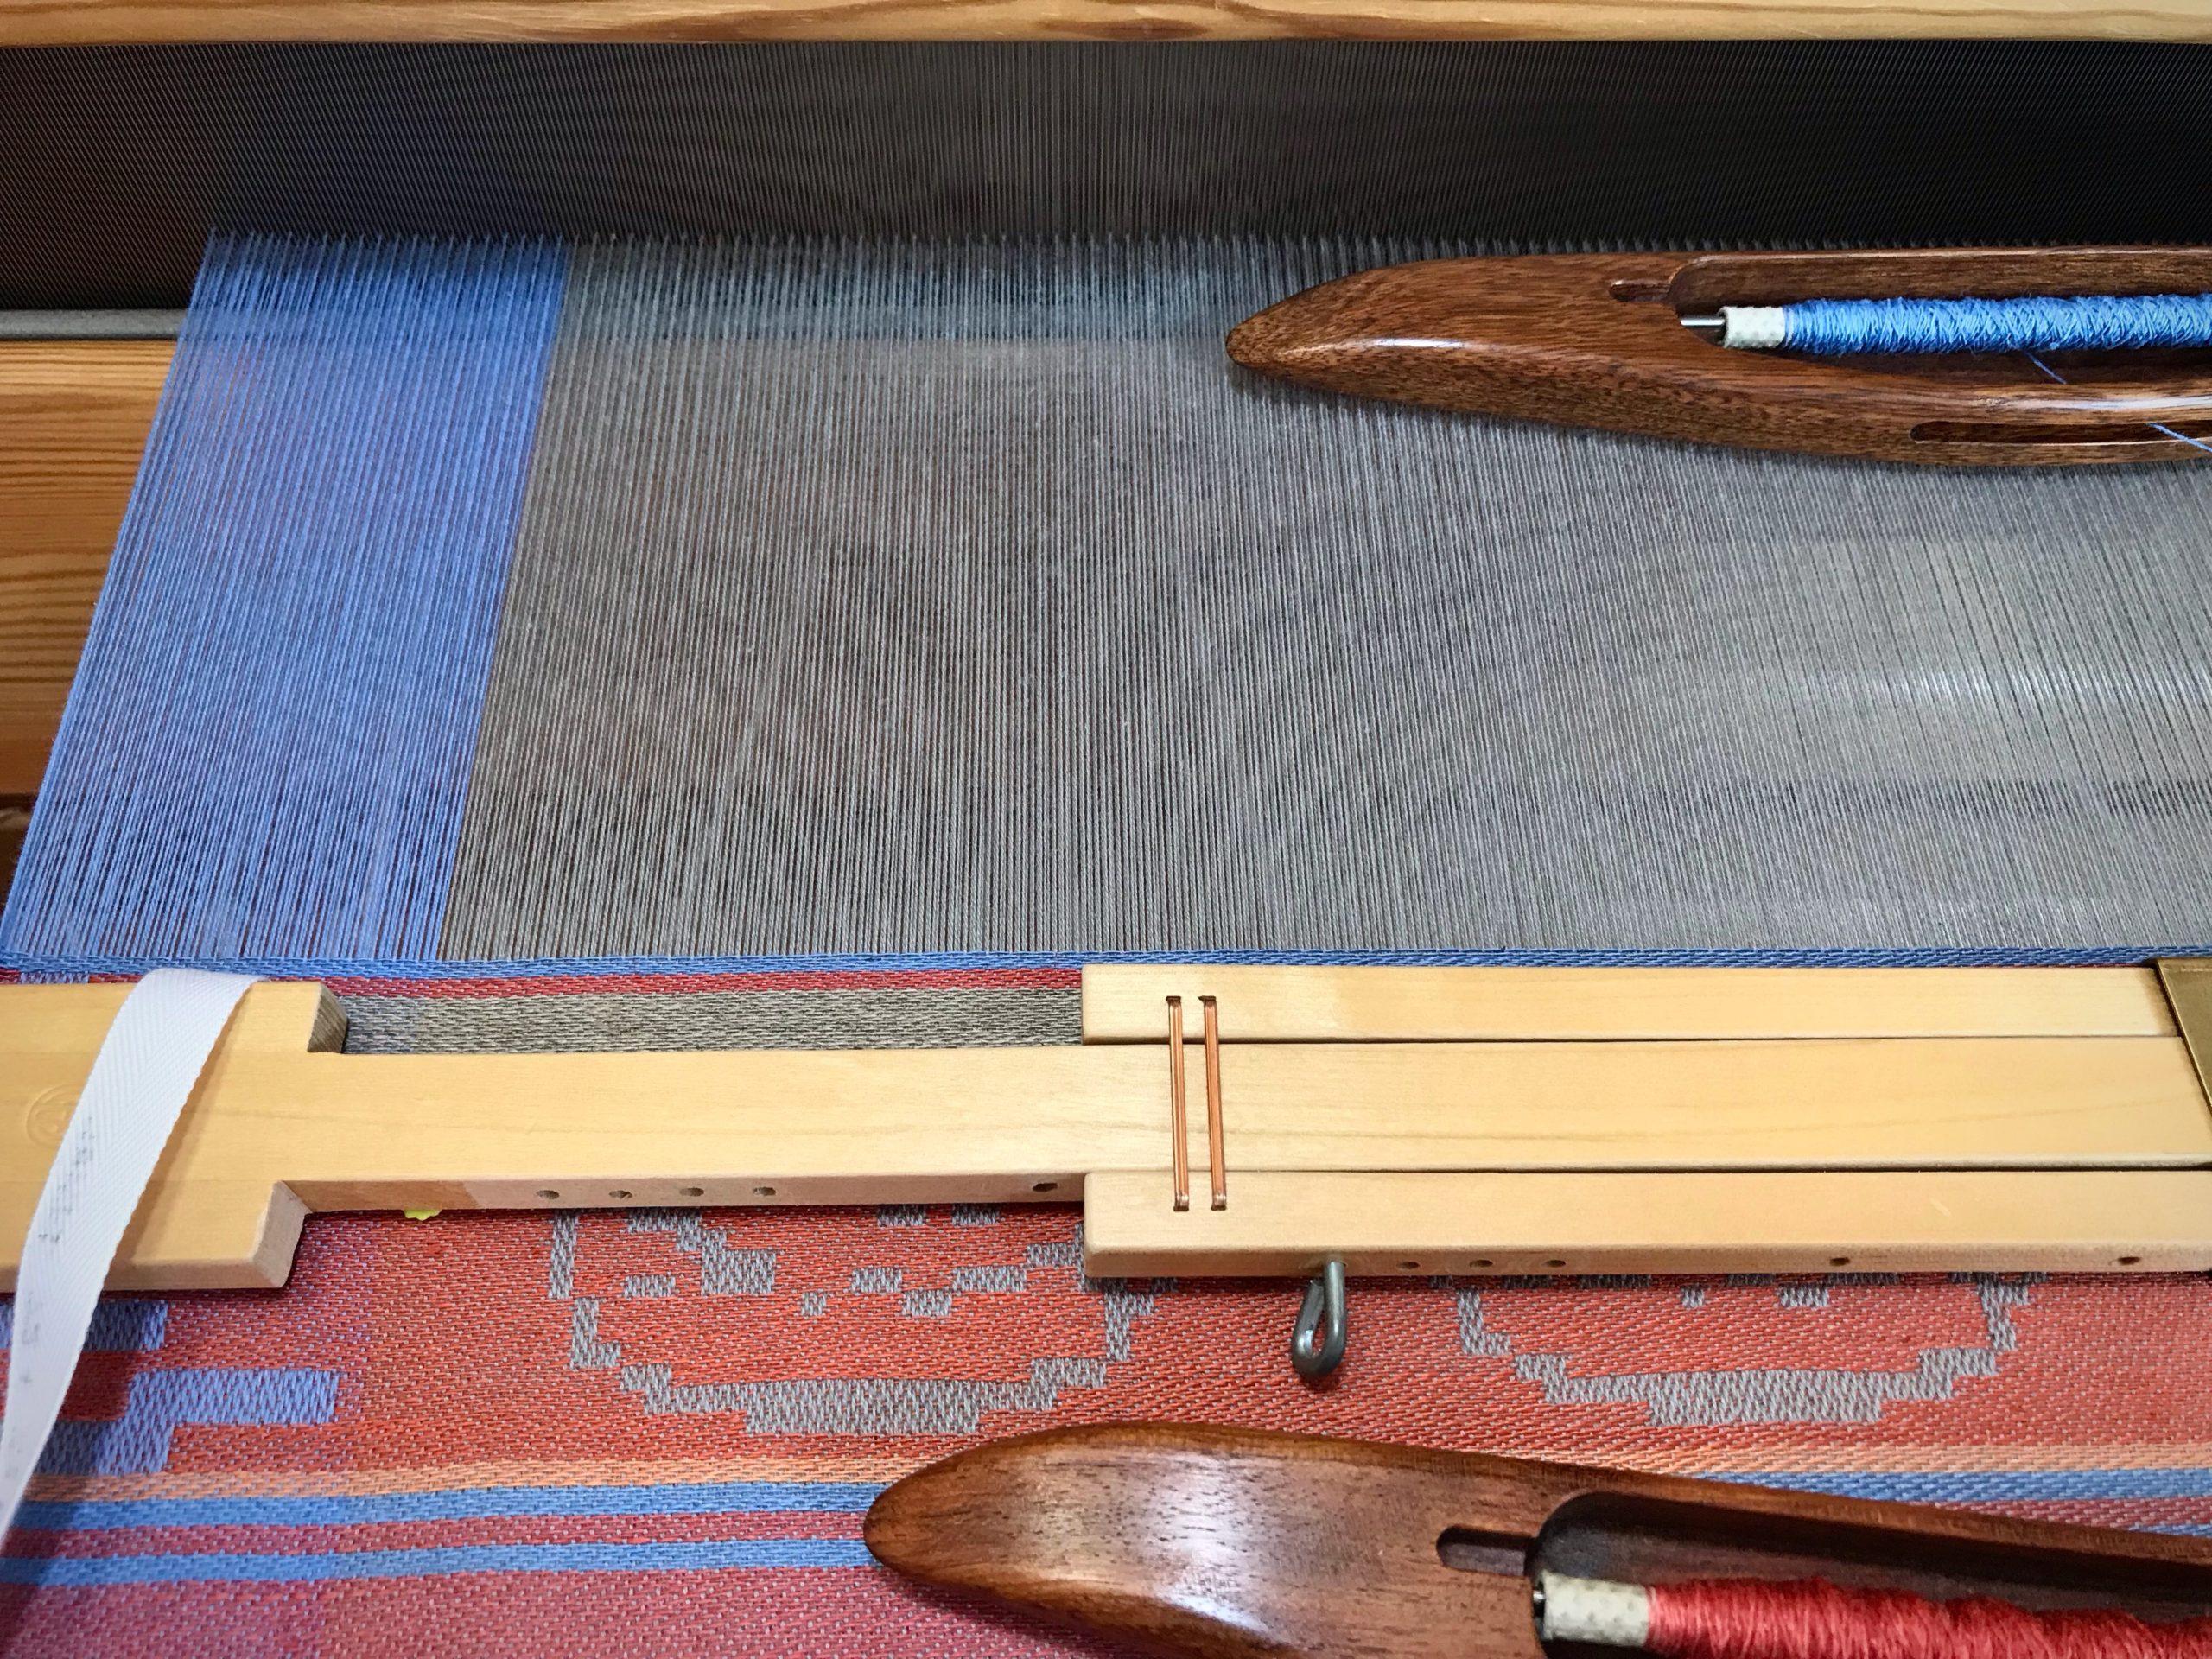
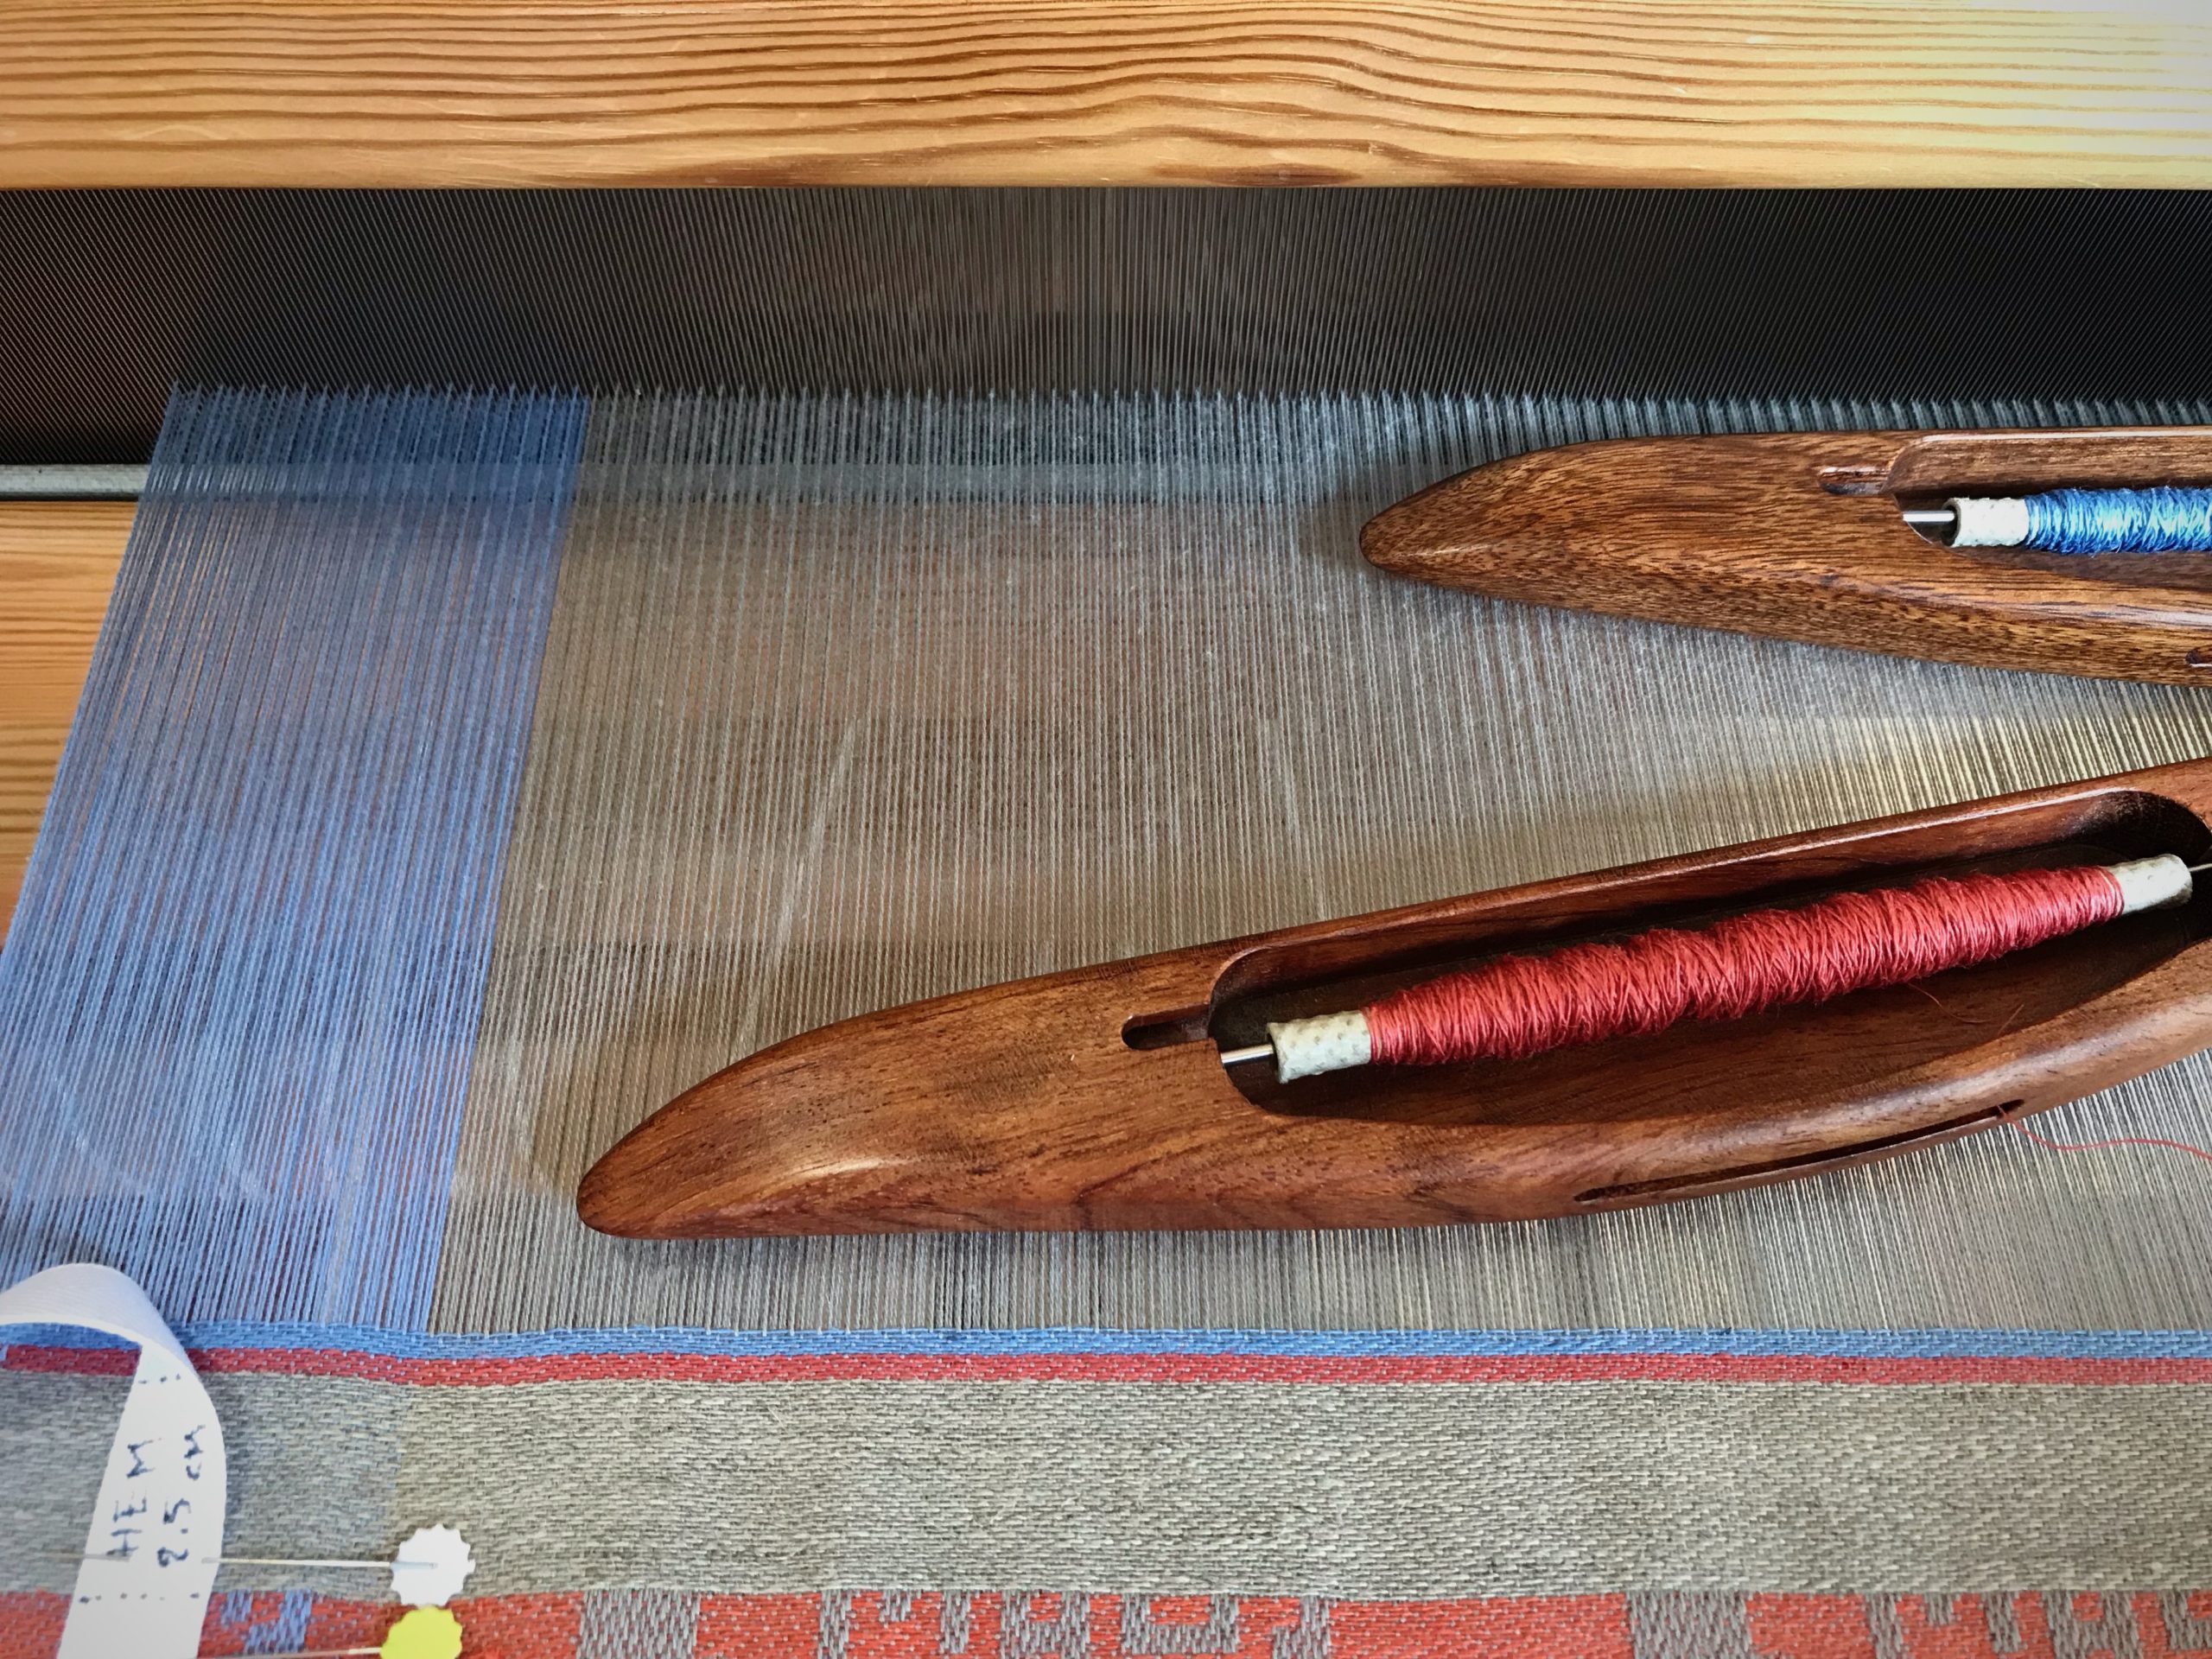
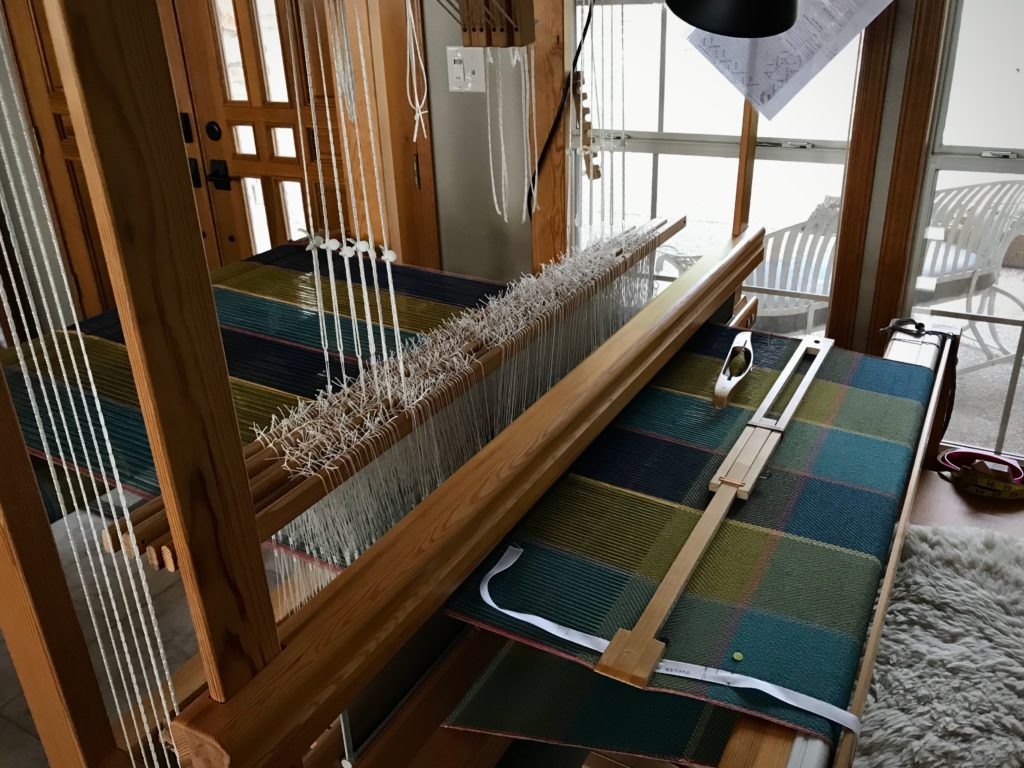
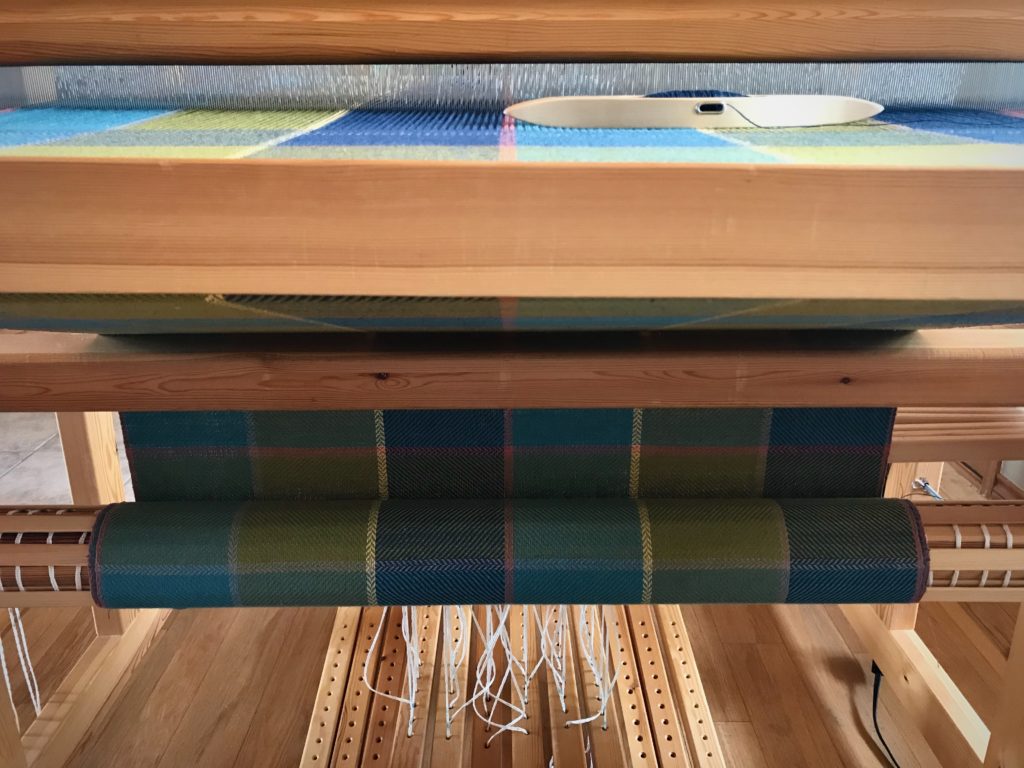
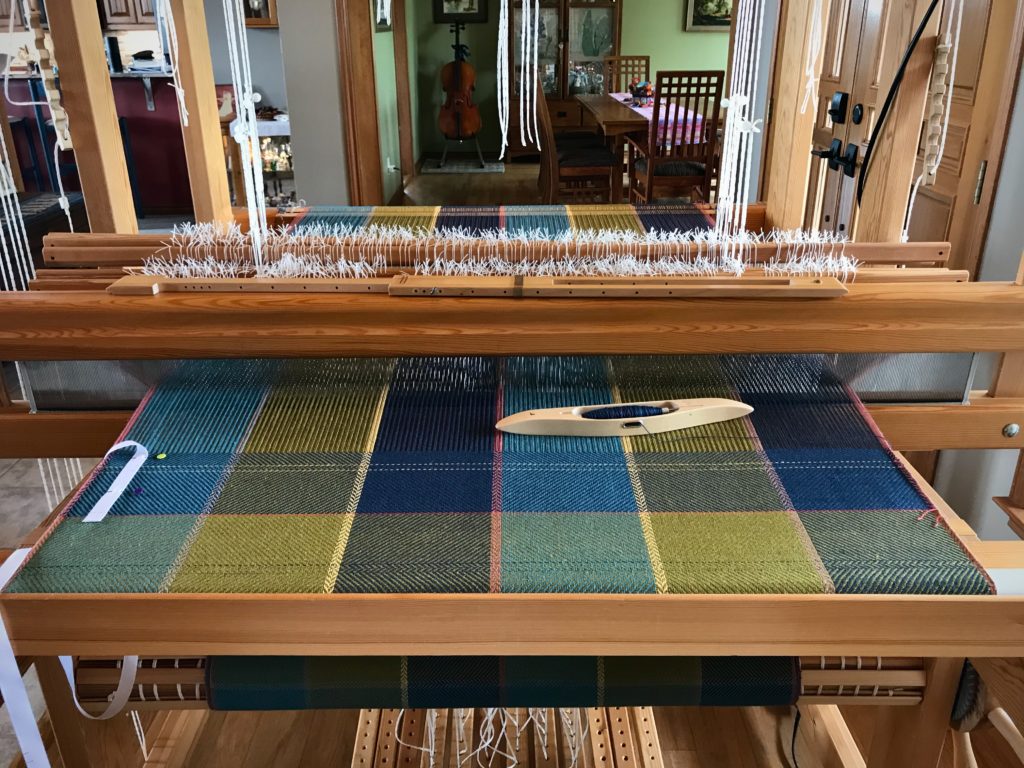
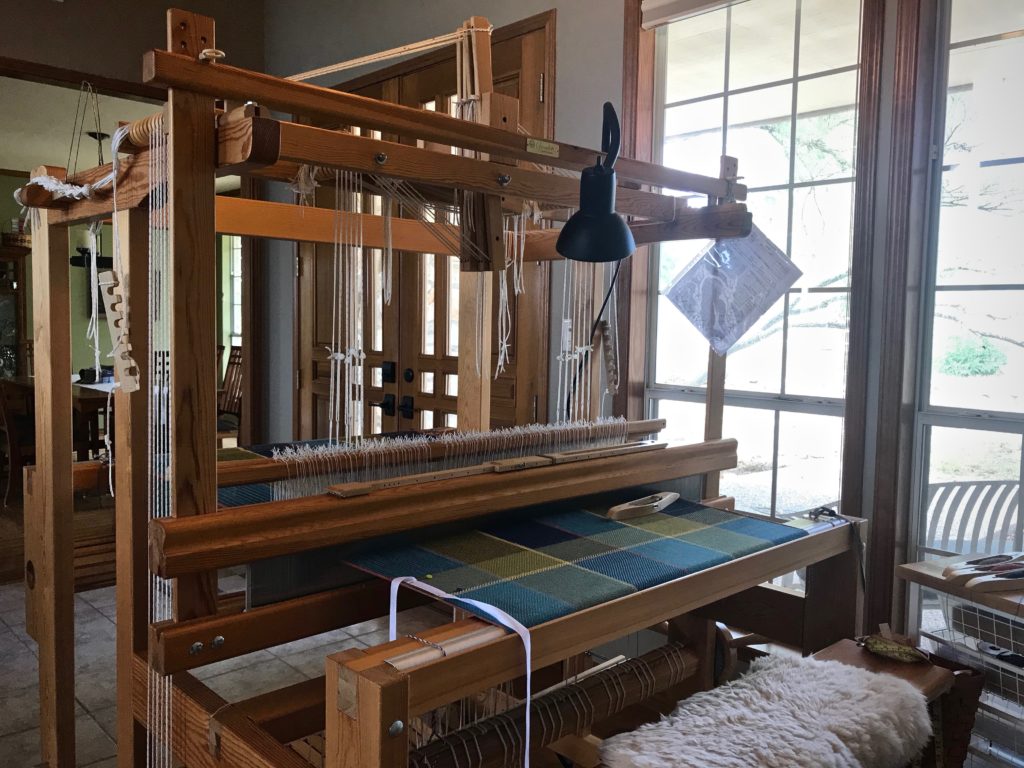
I have questions galore as I begin a new warp on the combination drawloom. Is this the best sett for these threads? How are my sheds? What will orange-ey weft colors do on this pewter and blue warp? Is the image of this first design better face up, or face down? How can I include a couple extra colors in the design? The loom is set up with 45 pattern shafts and 148 single units. I’m eager to begin!
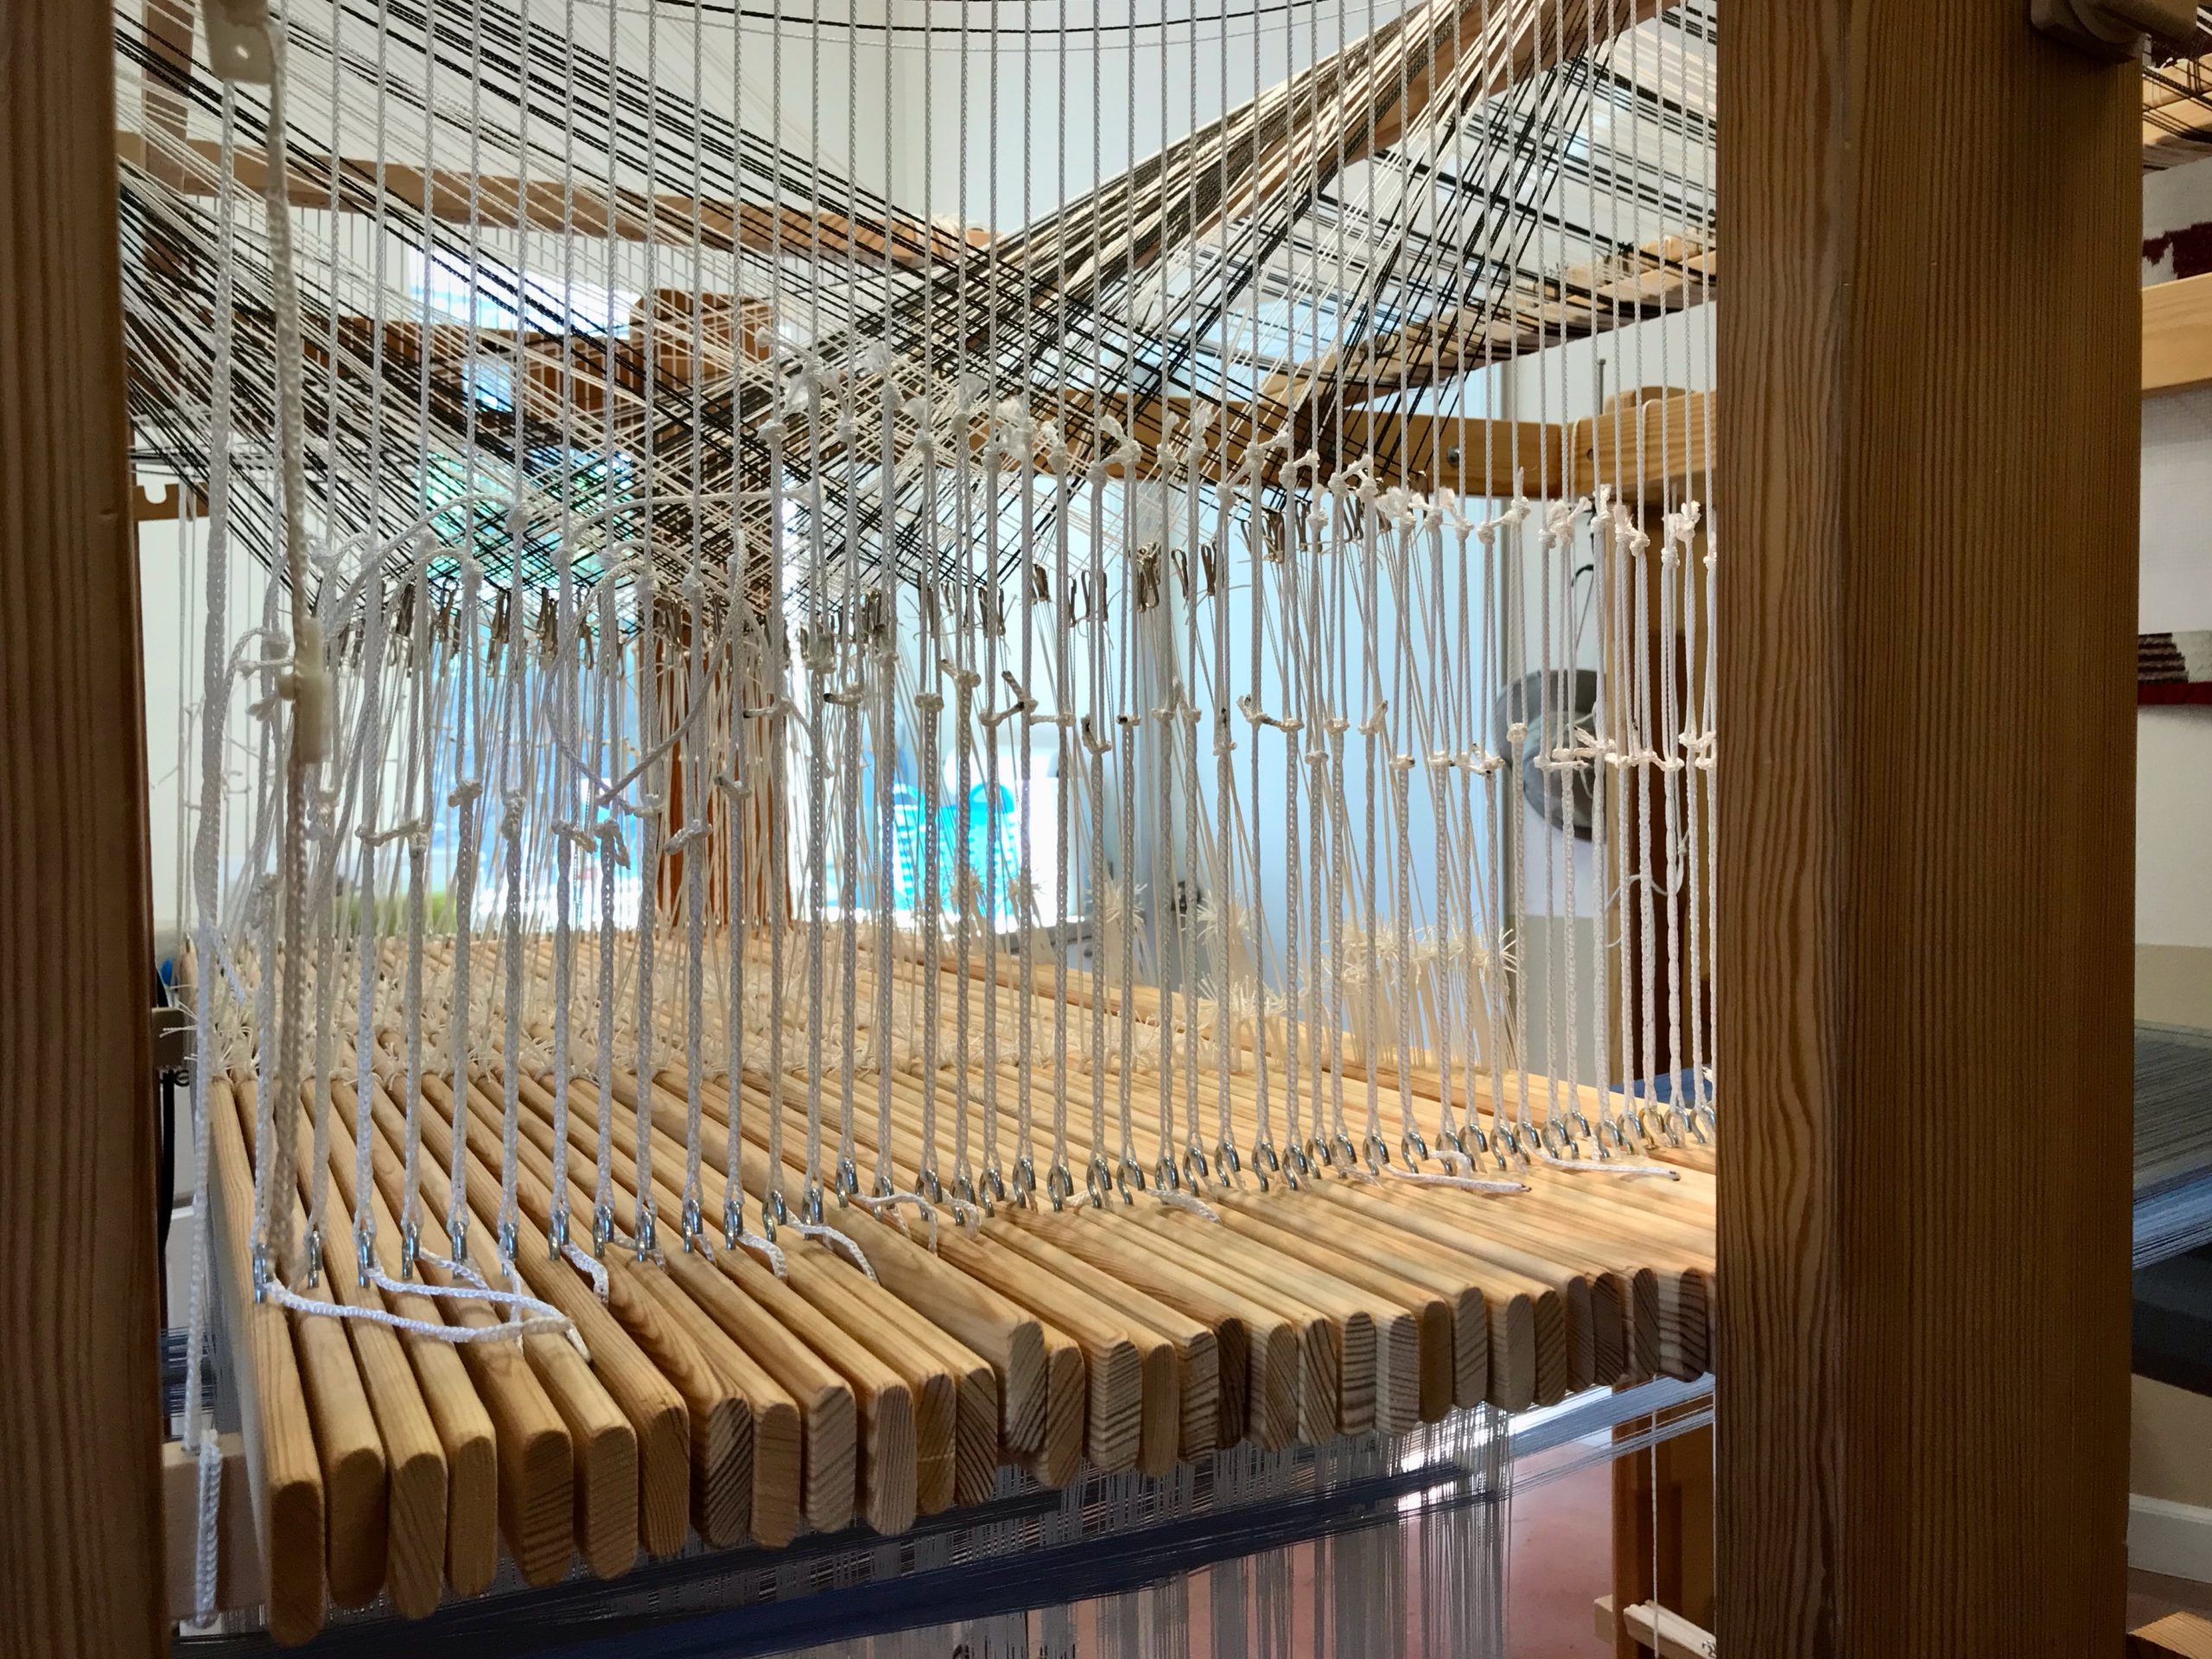
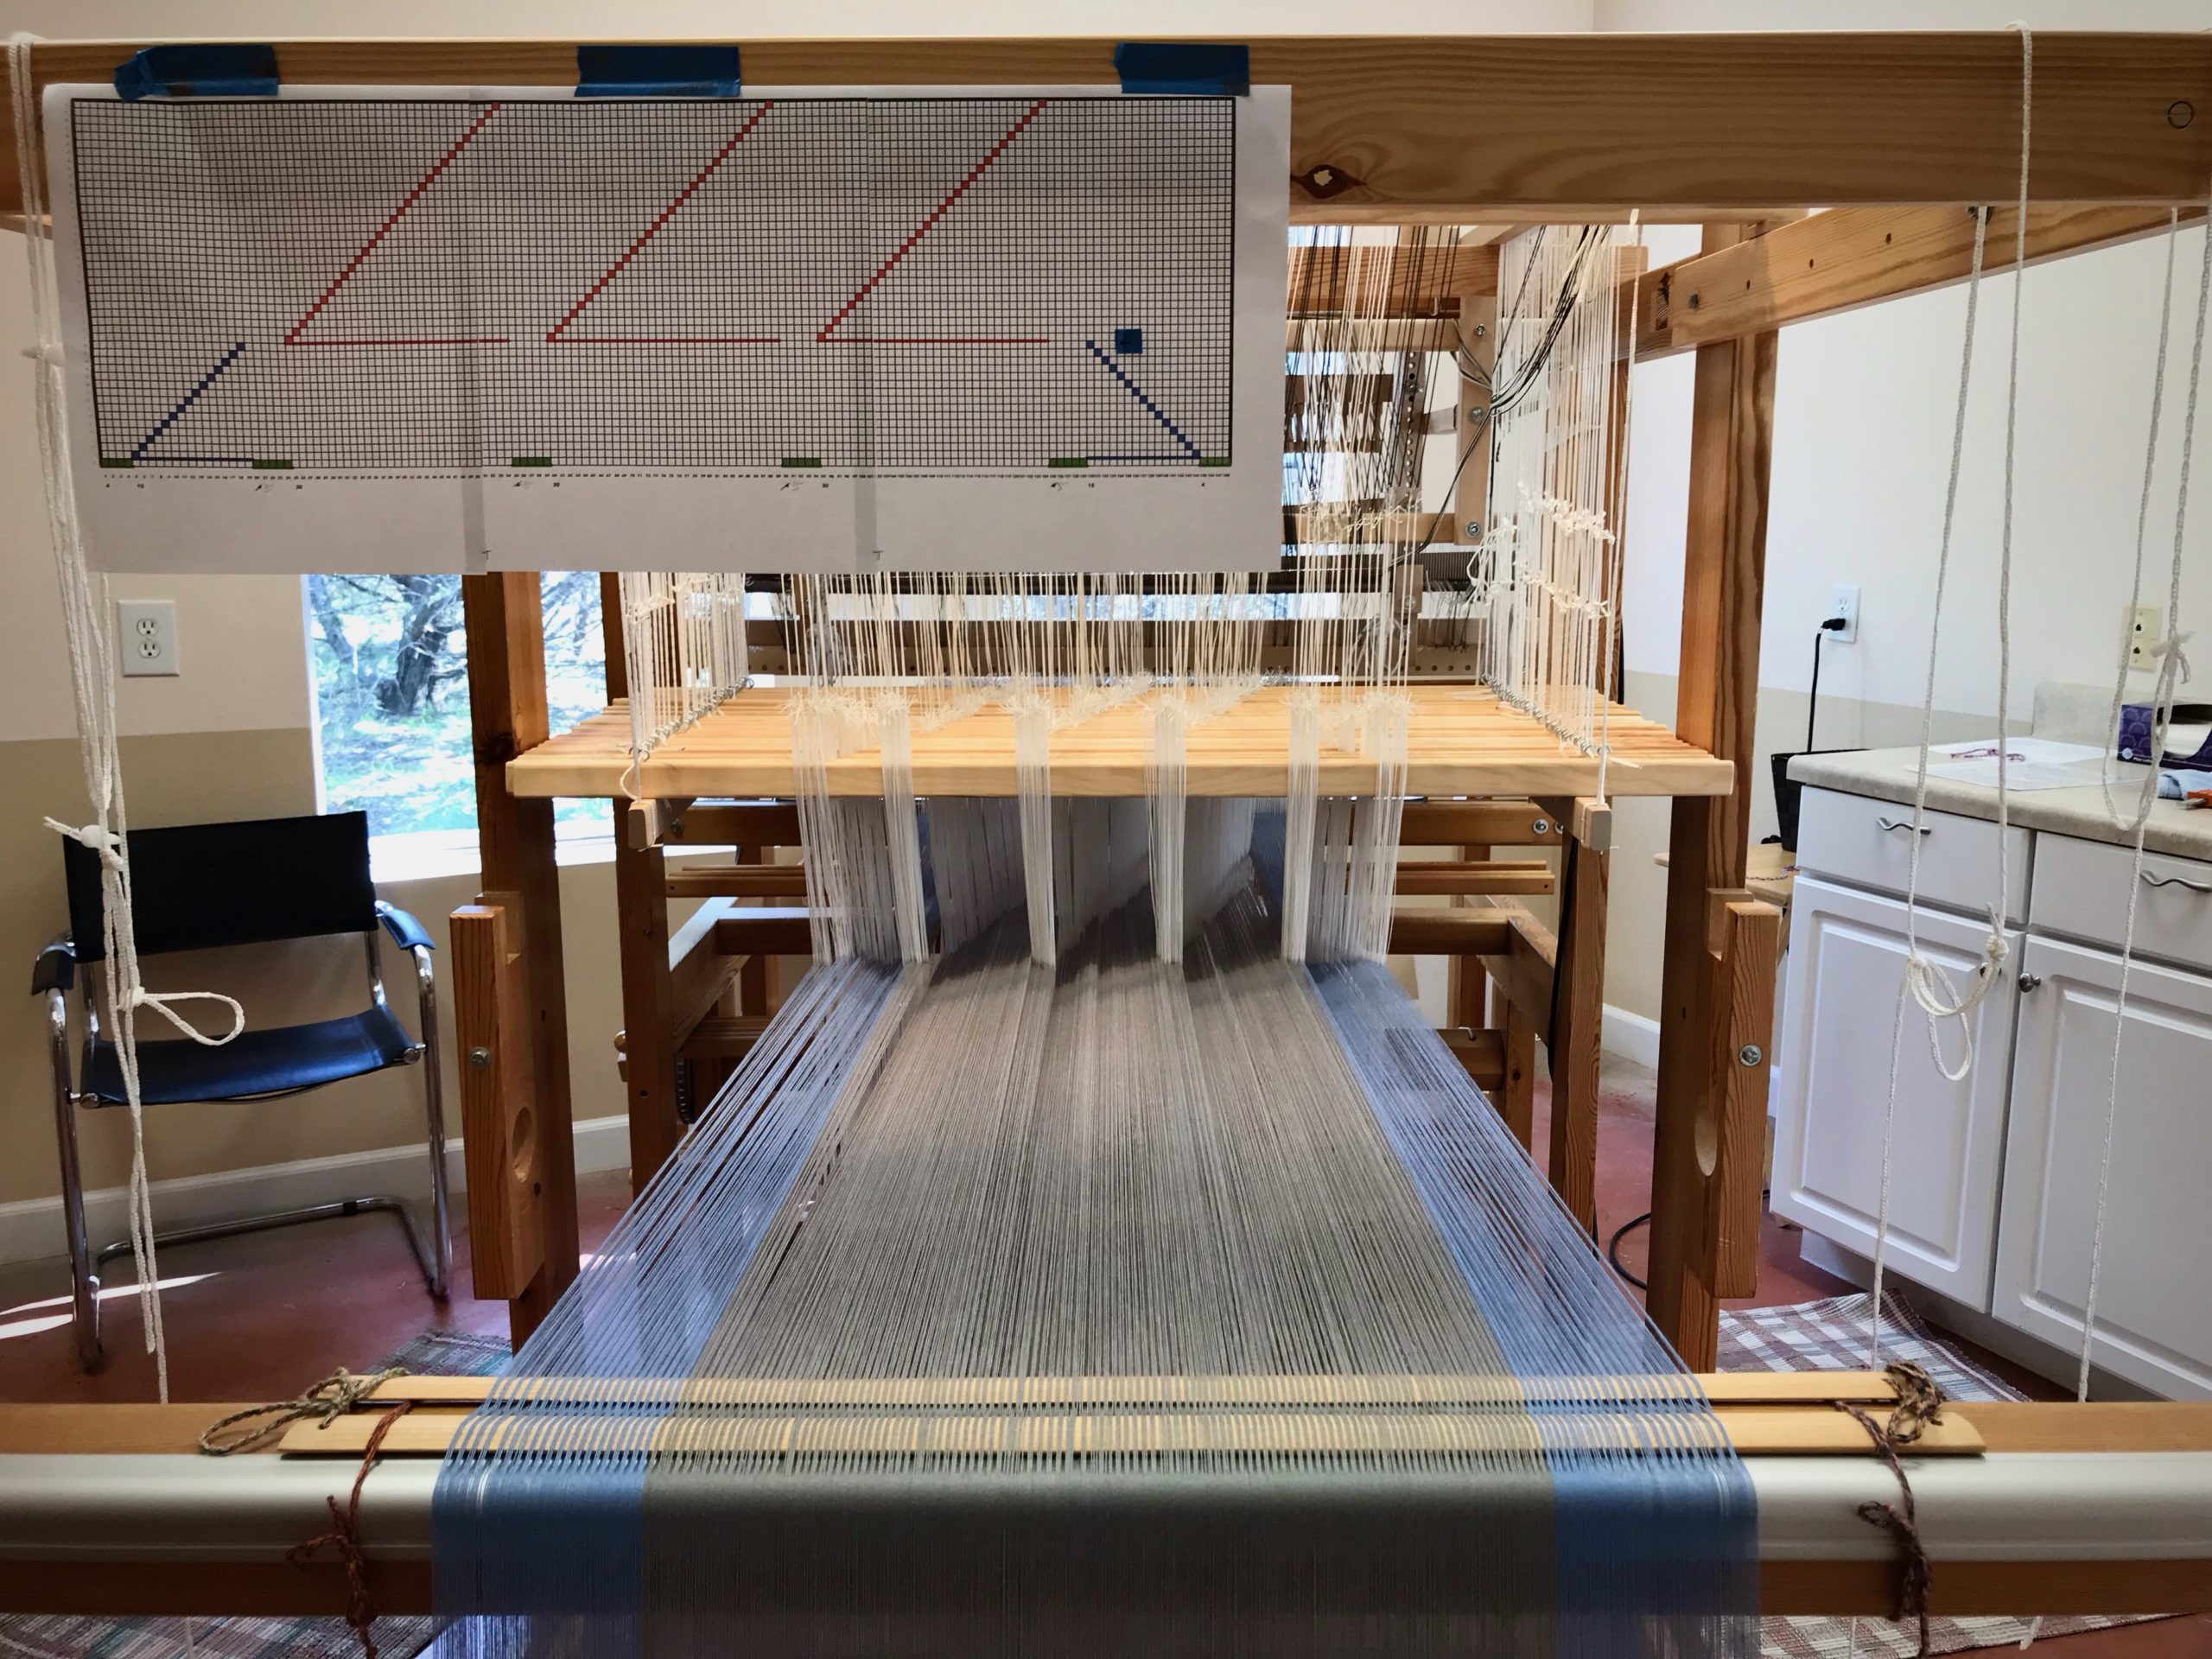
Combo drawloom with 45 pattern shafts and 148 single units.
New drawloom warp.
Myrehed Combo Drawloom attachment.

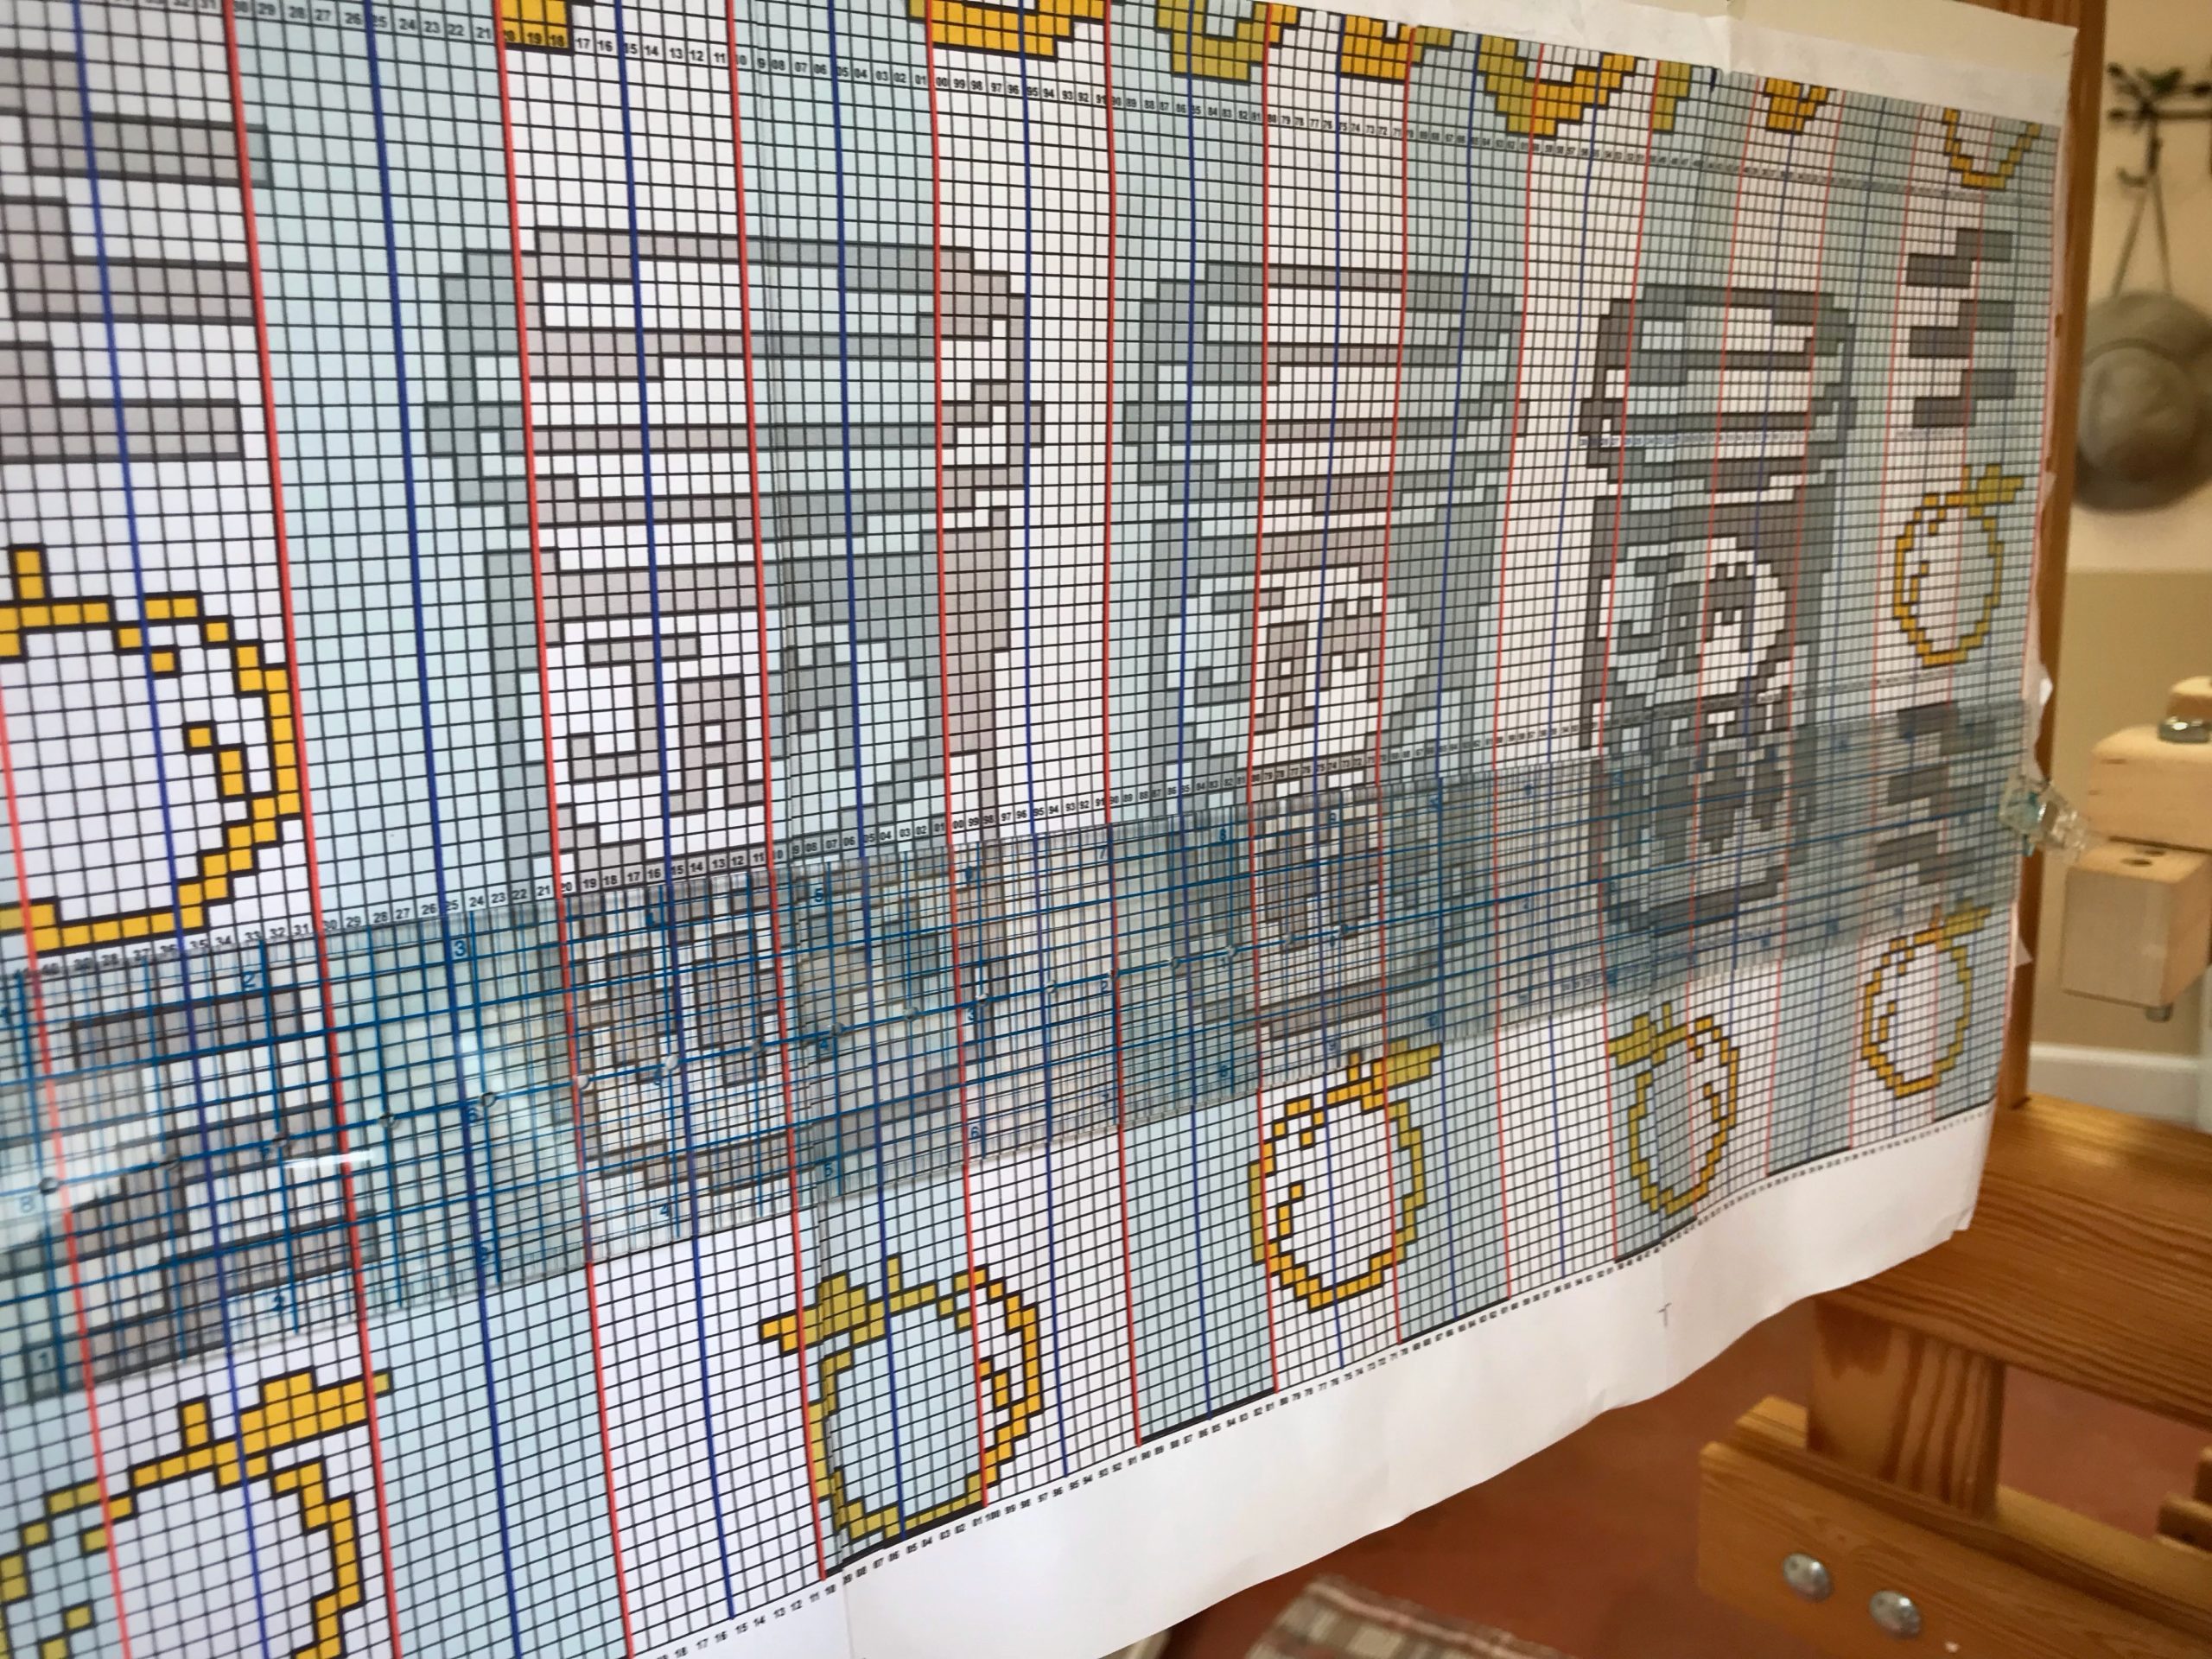
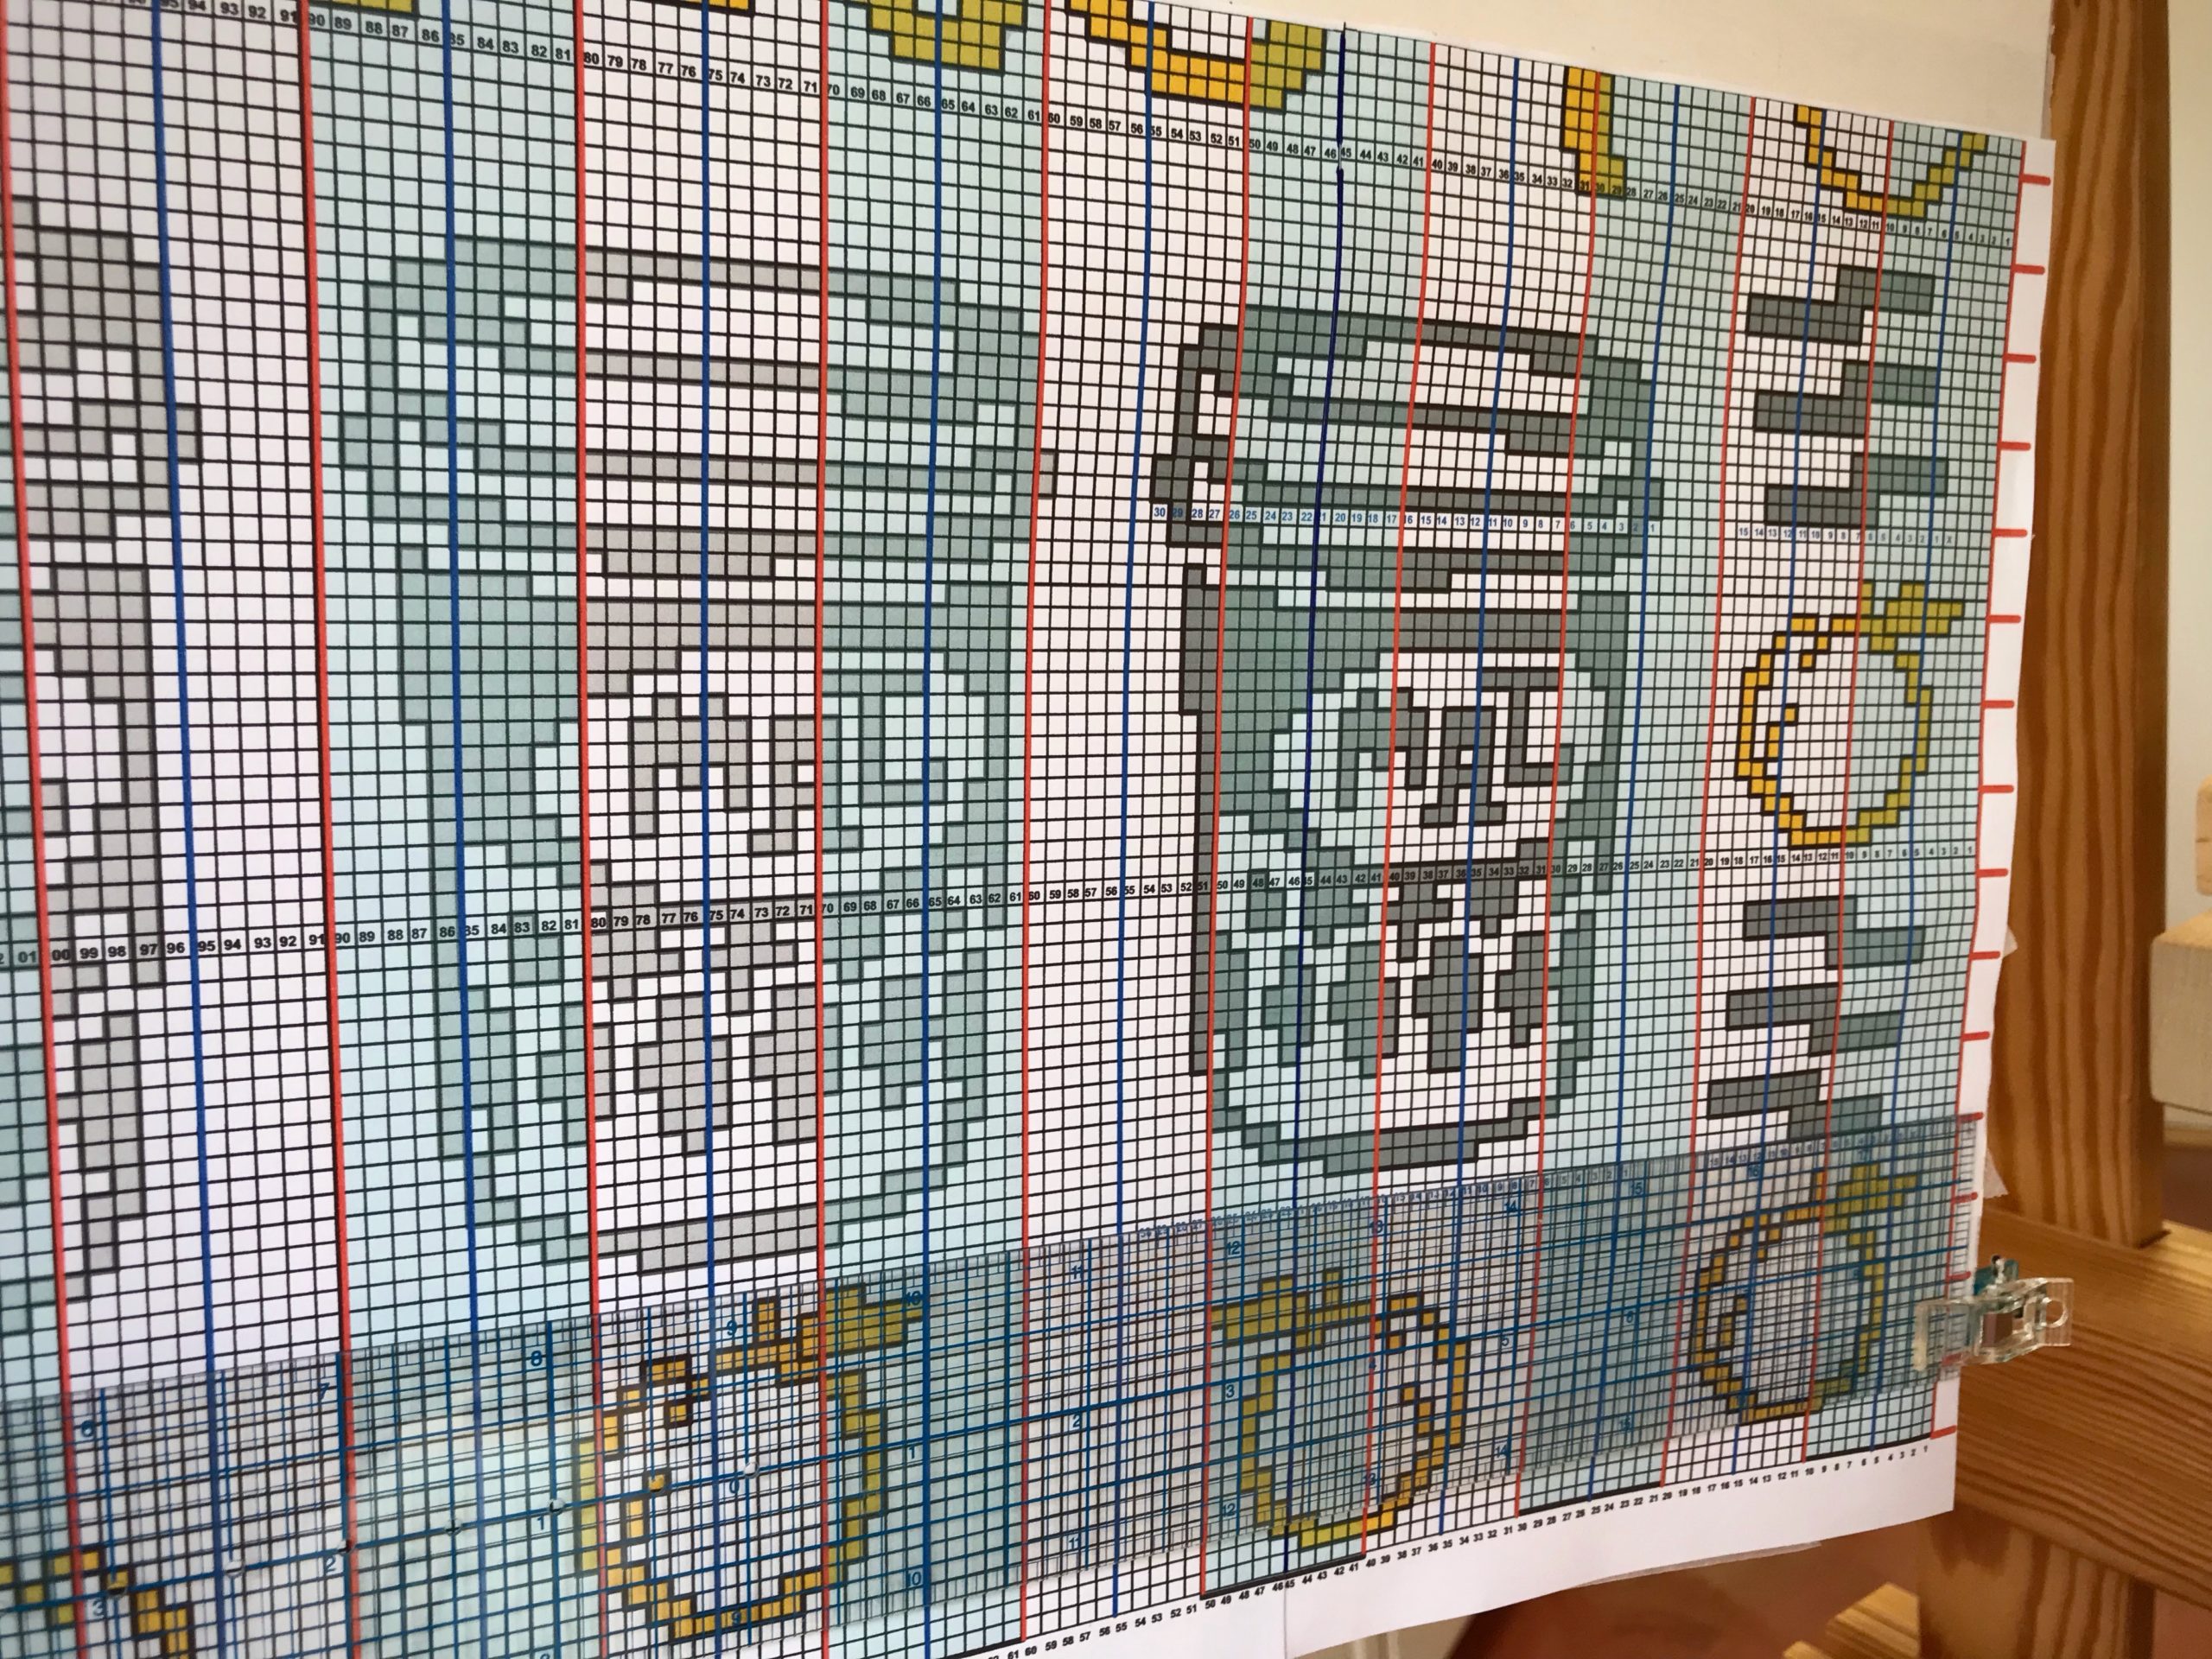
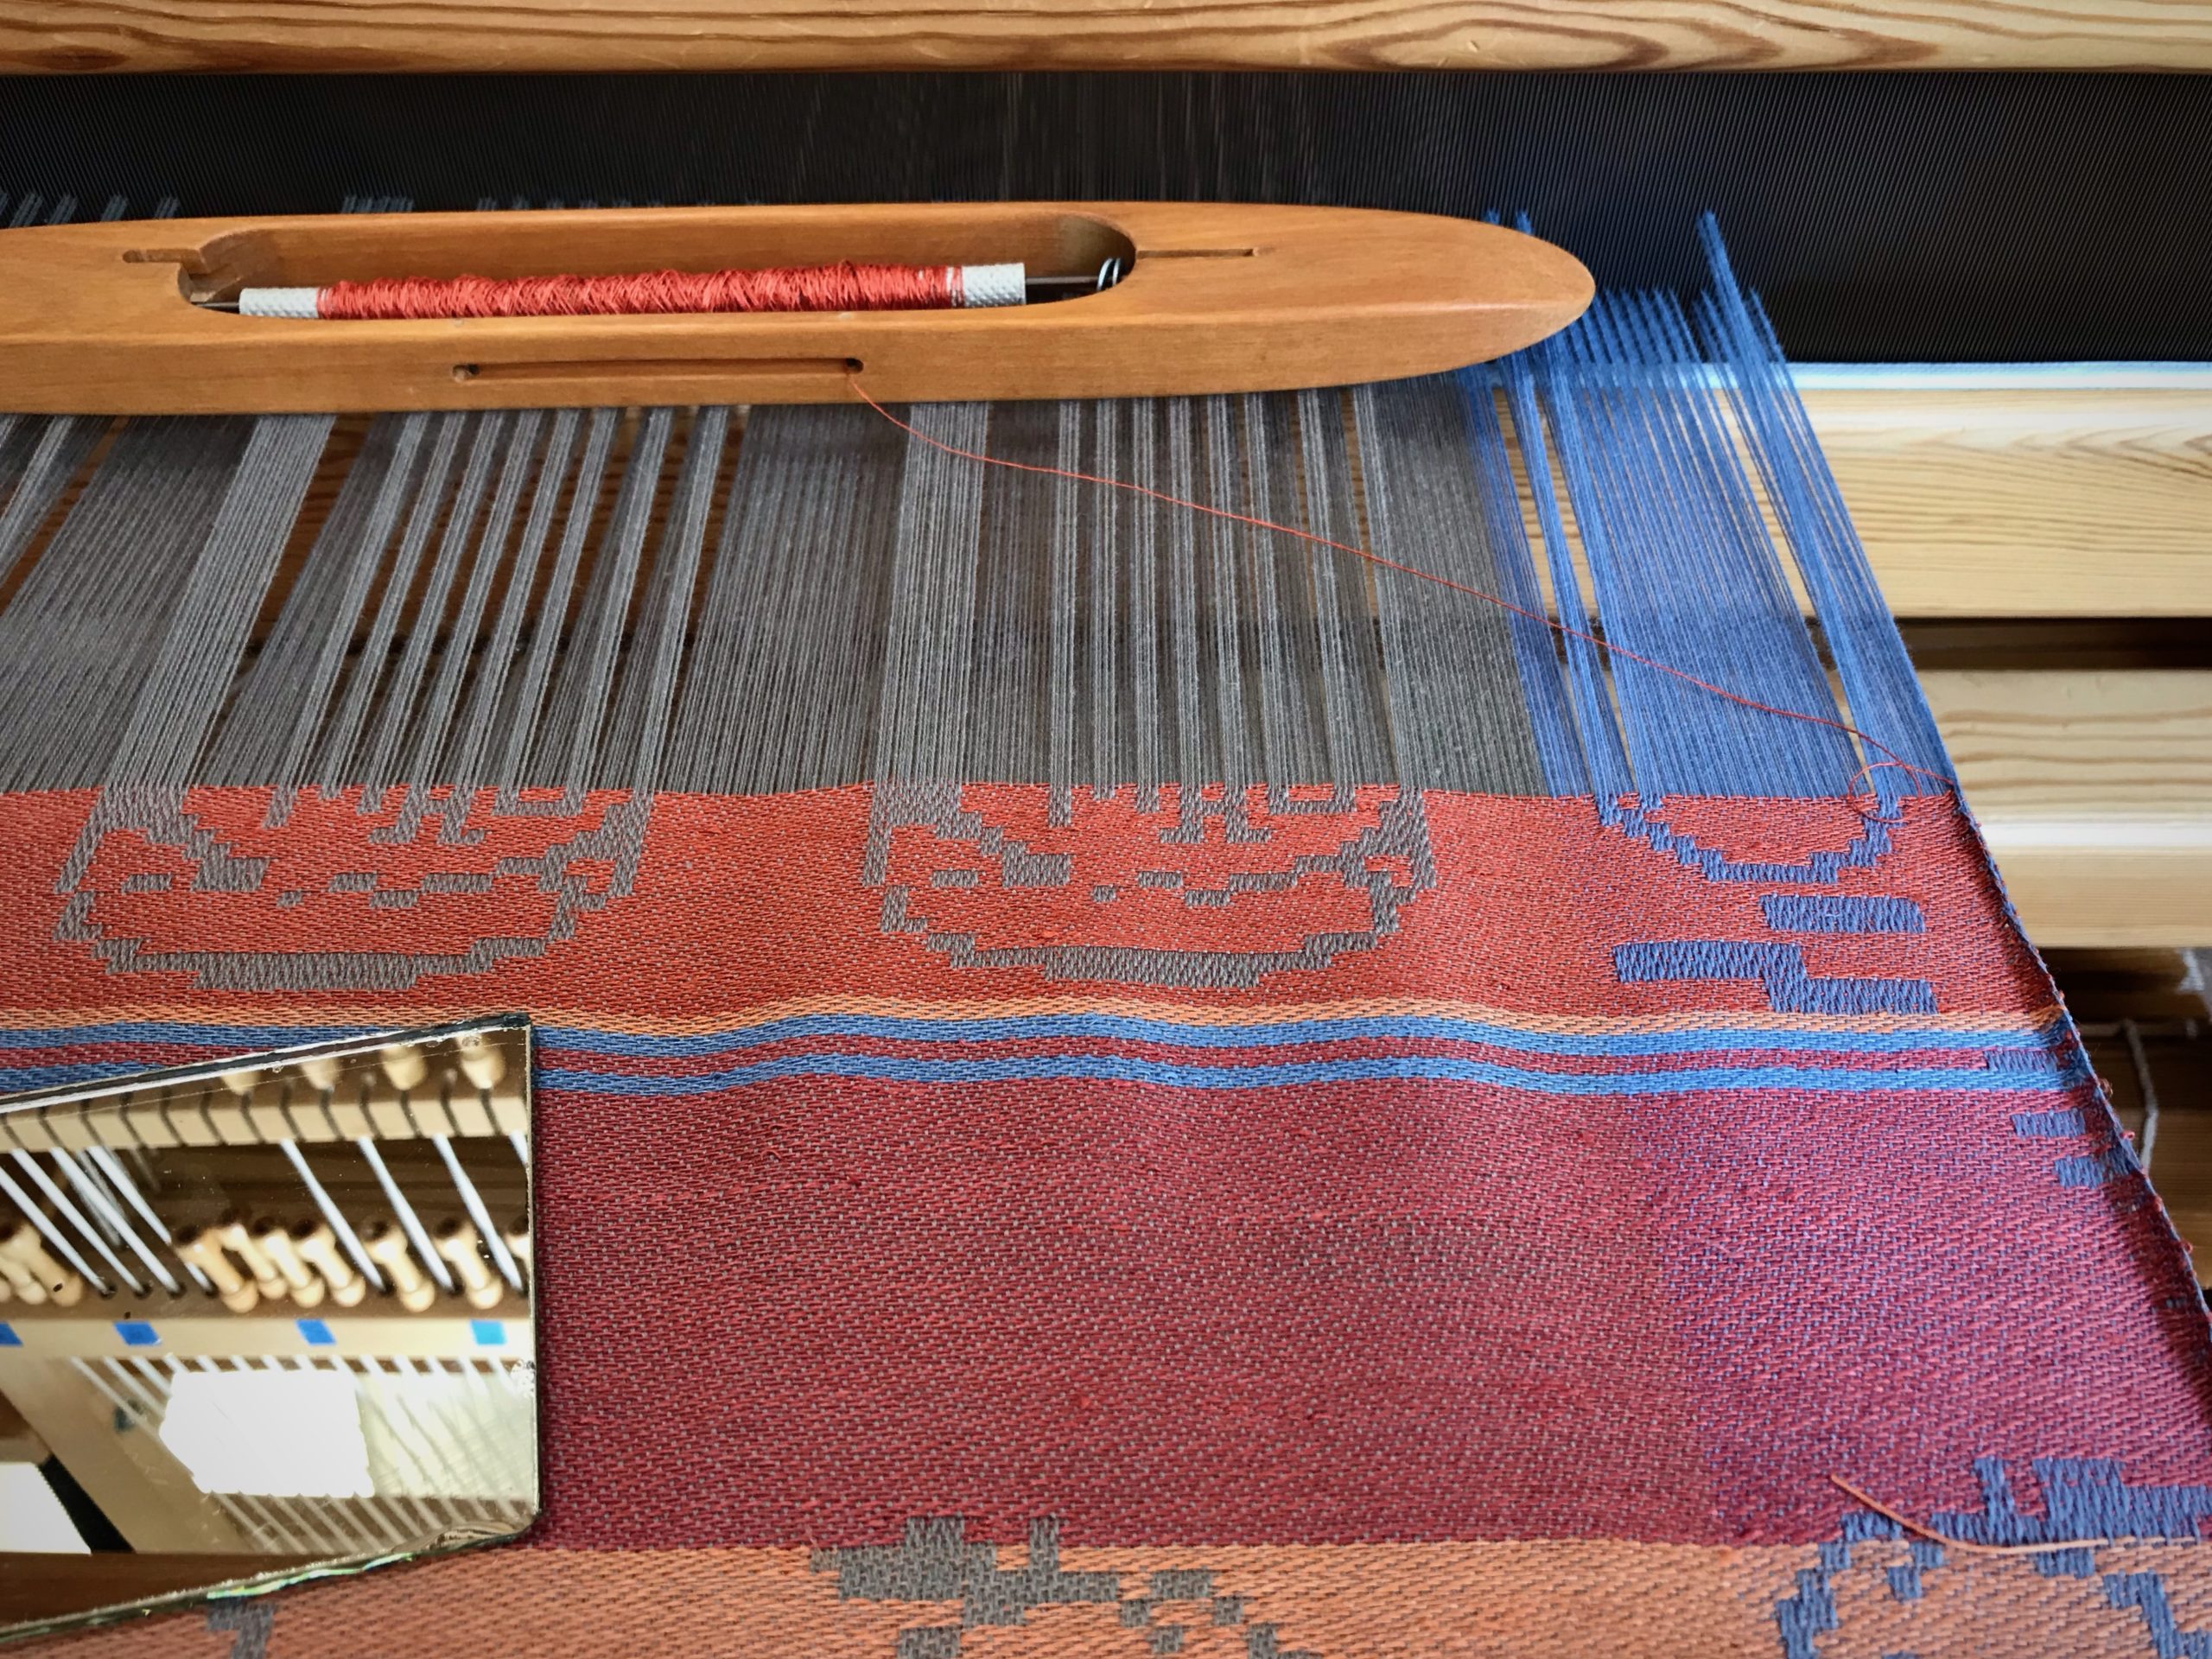
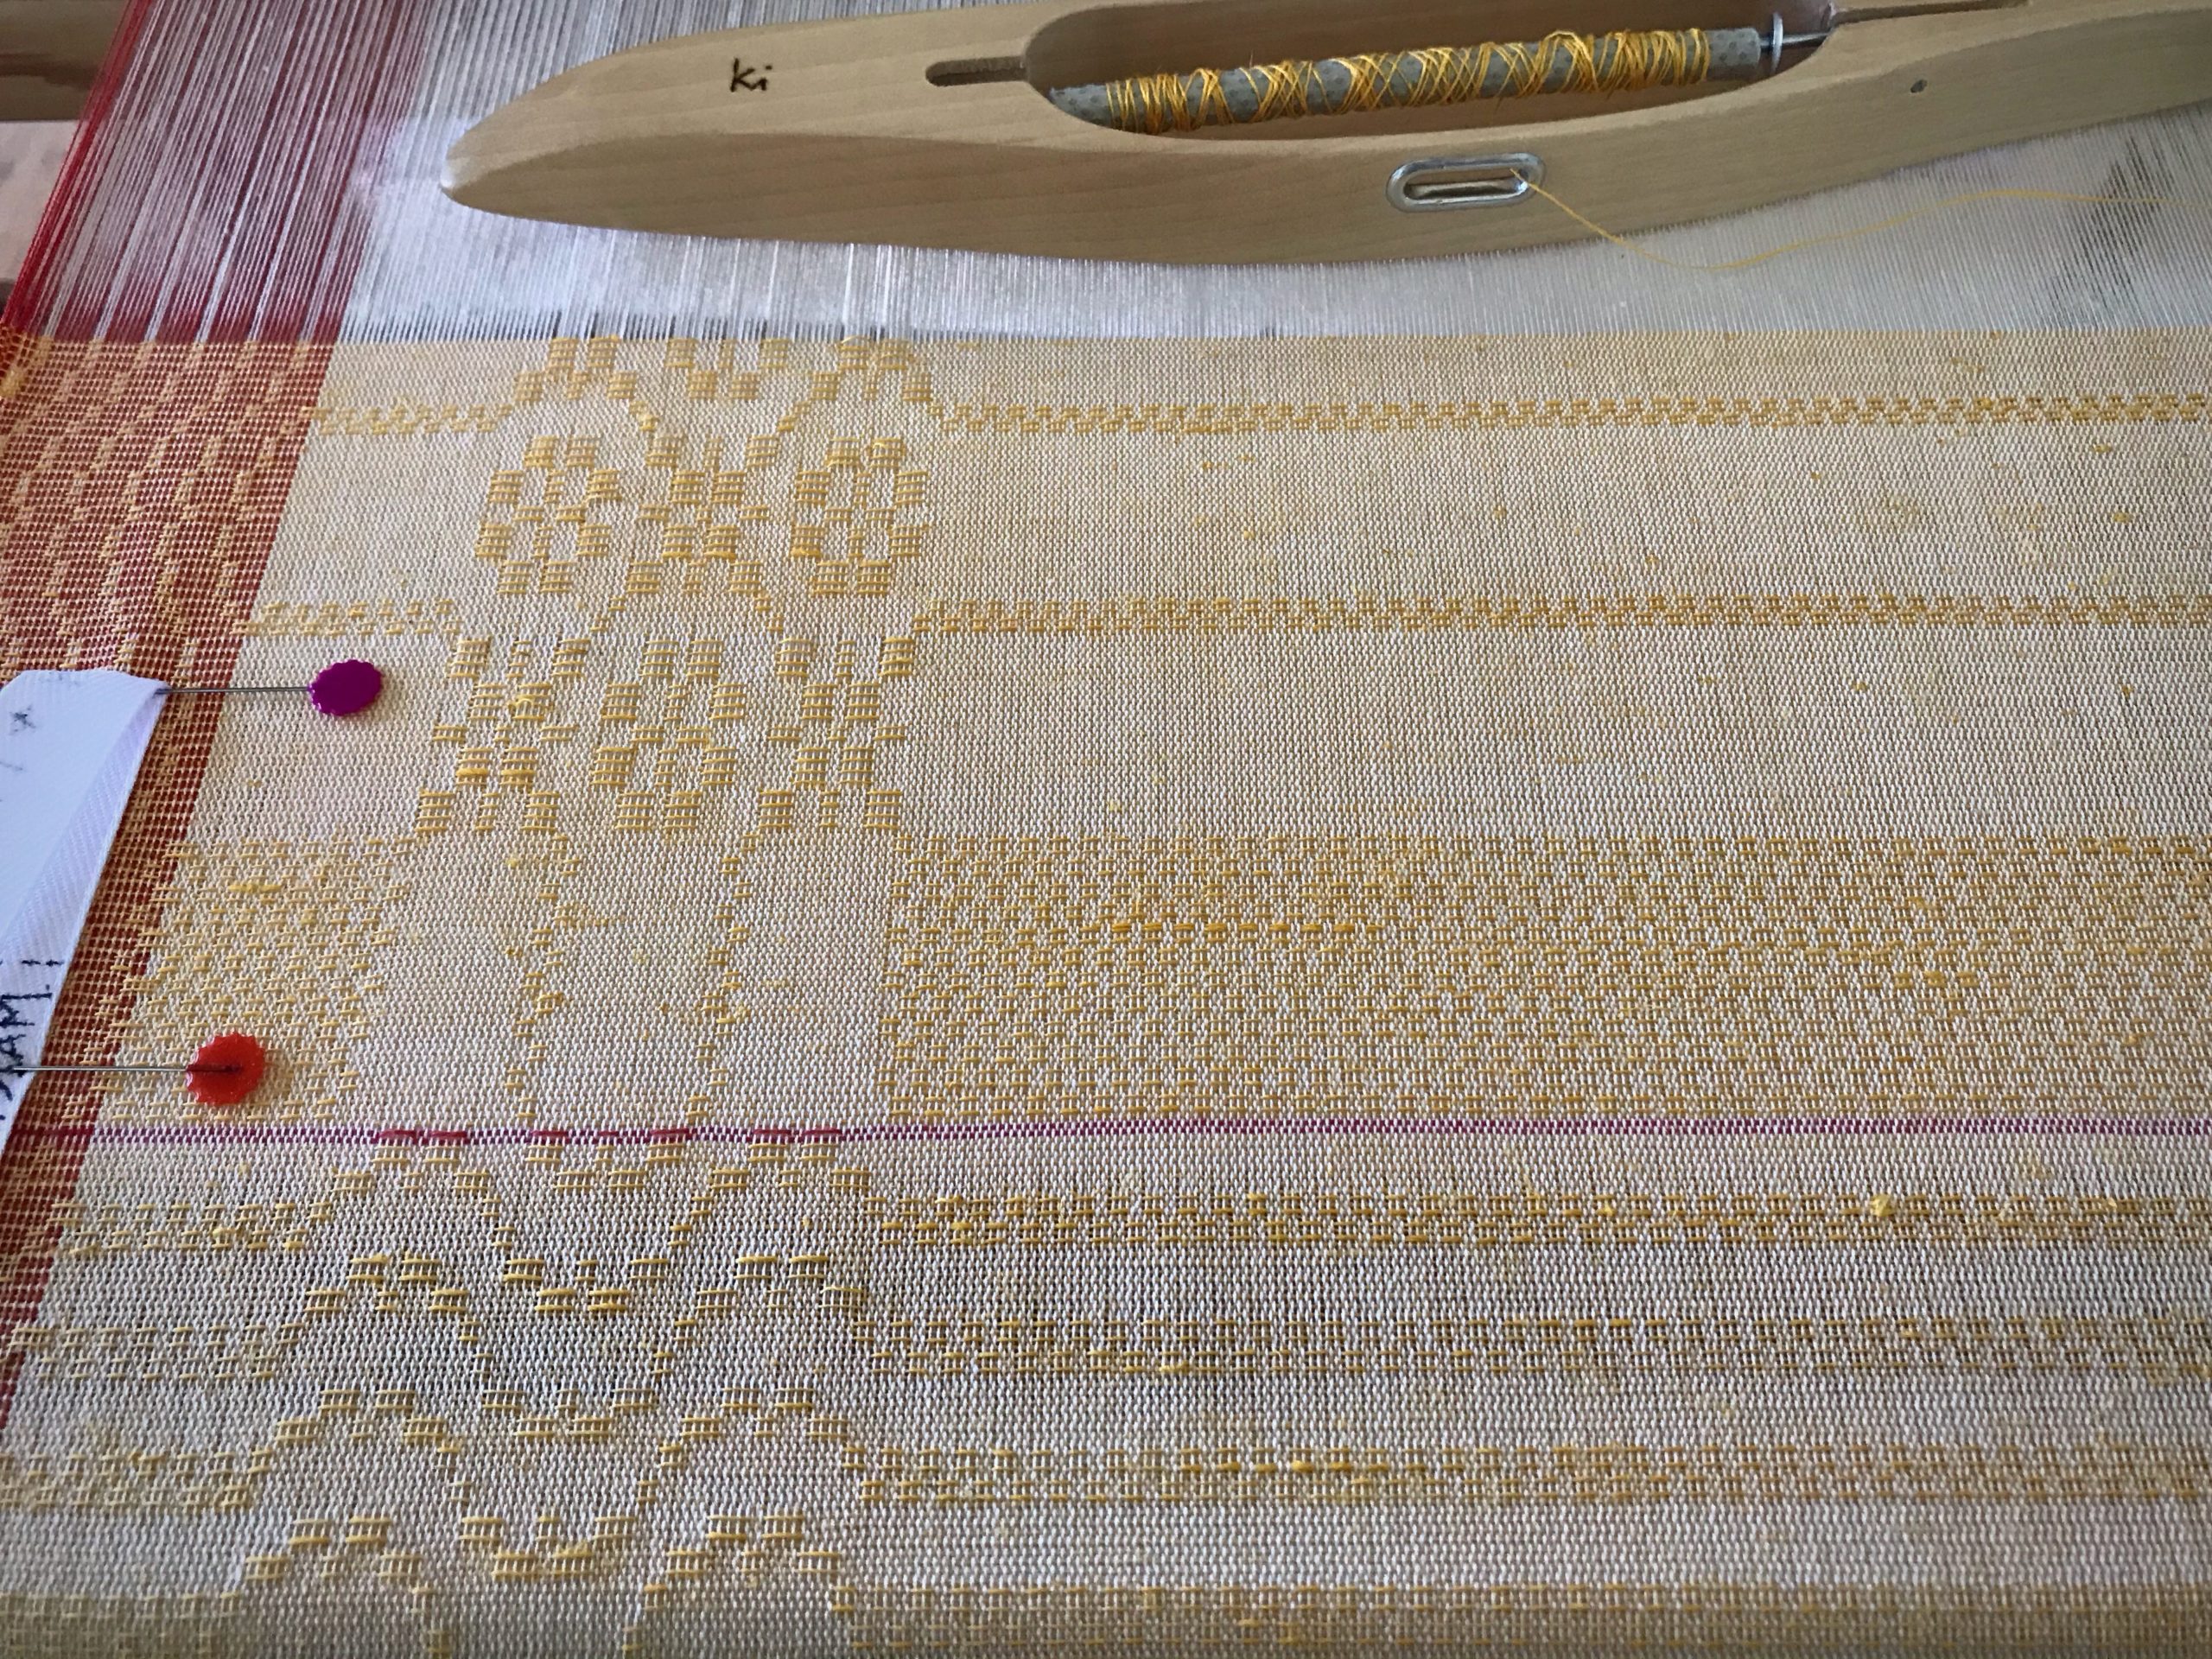
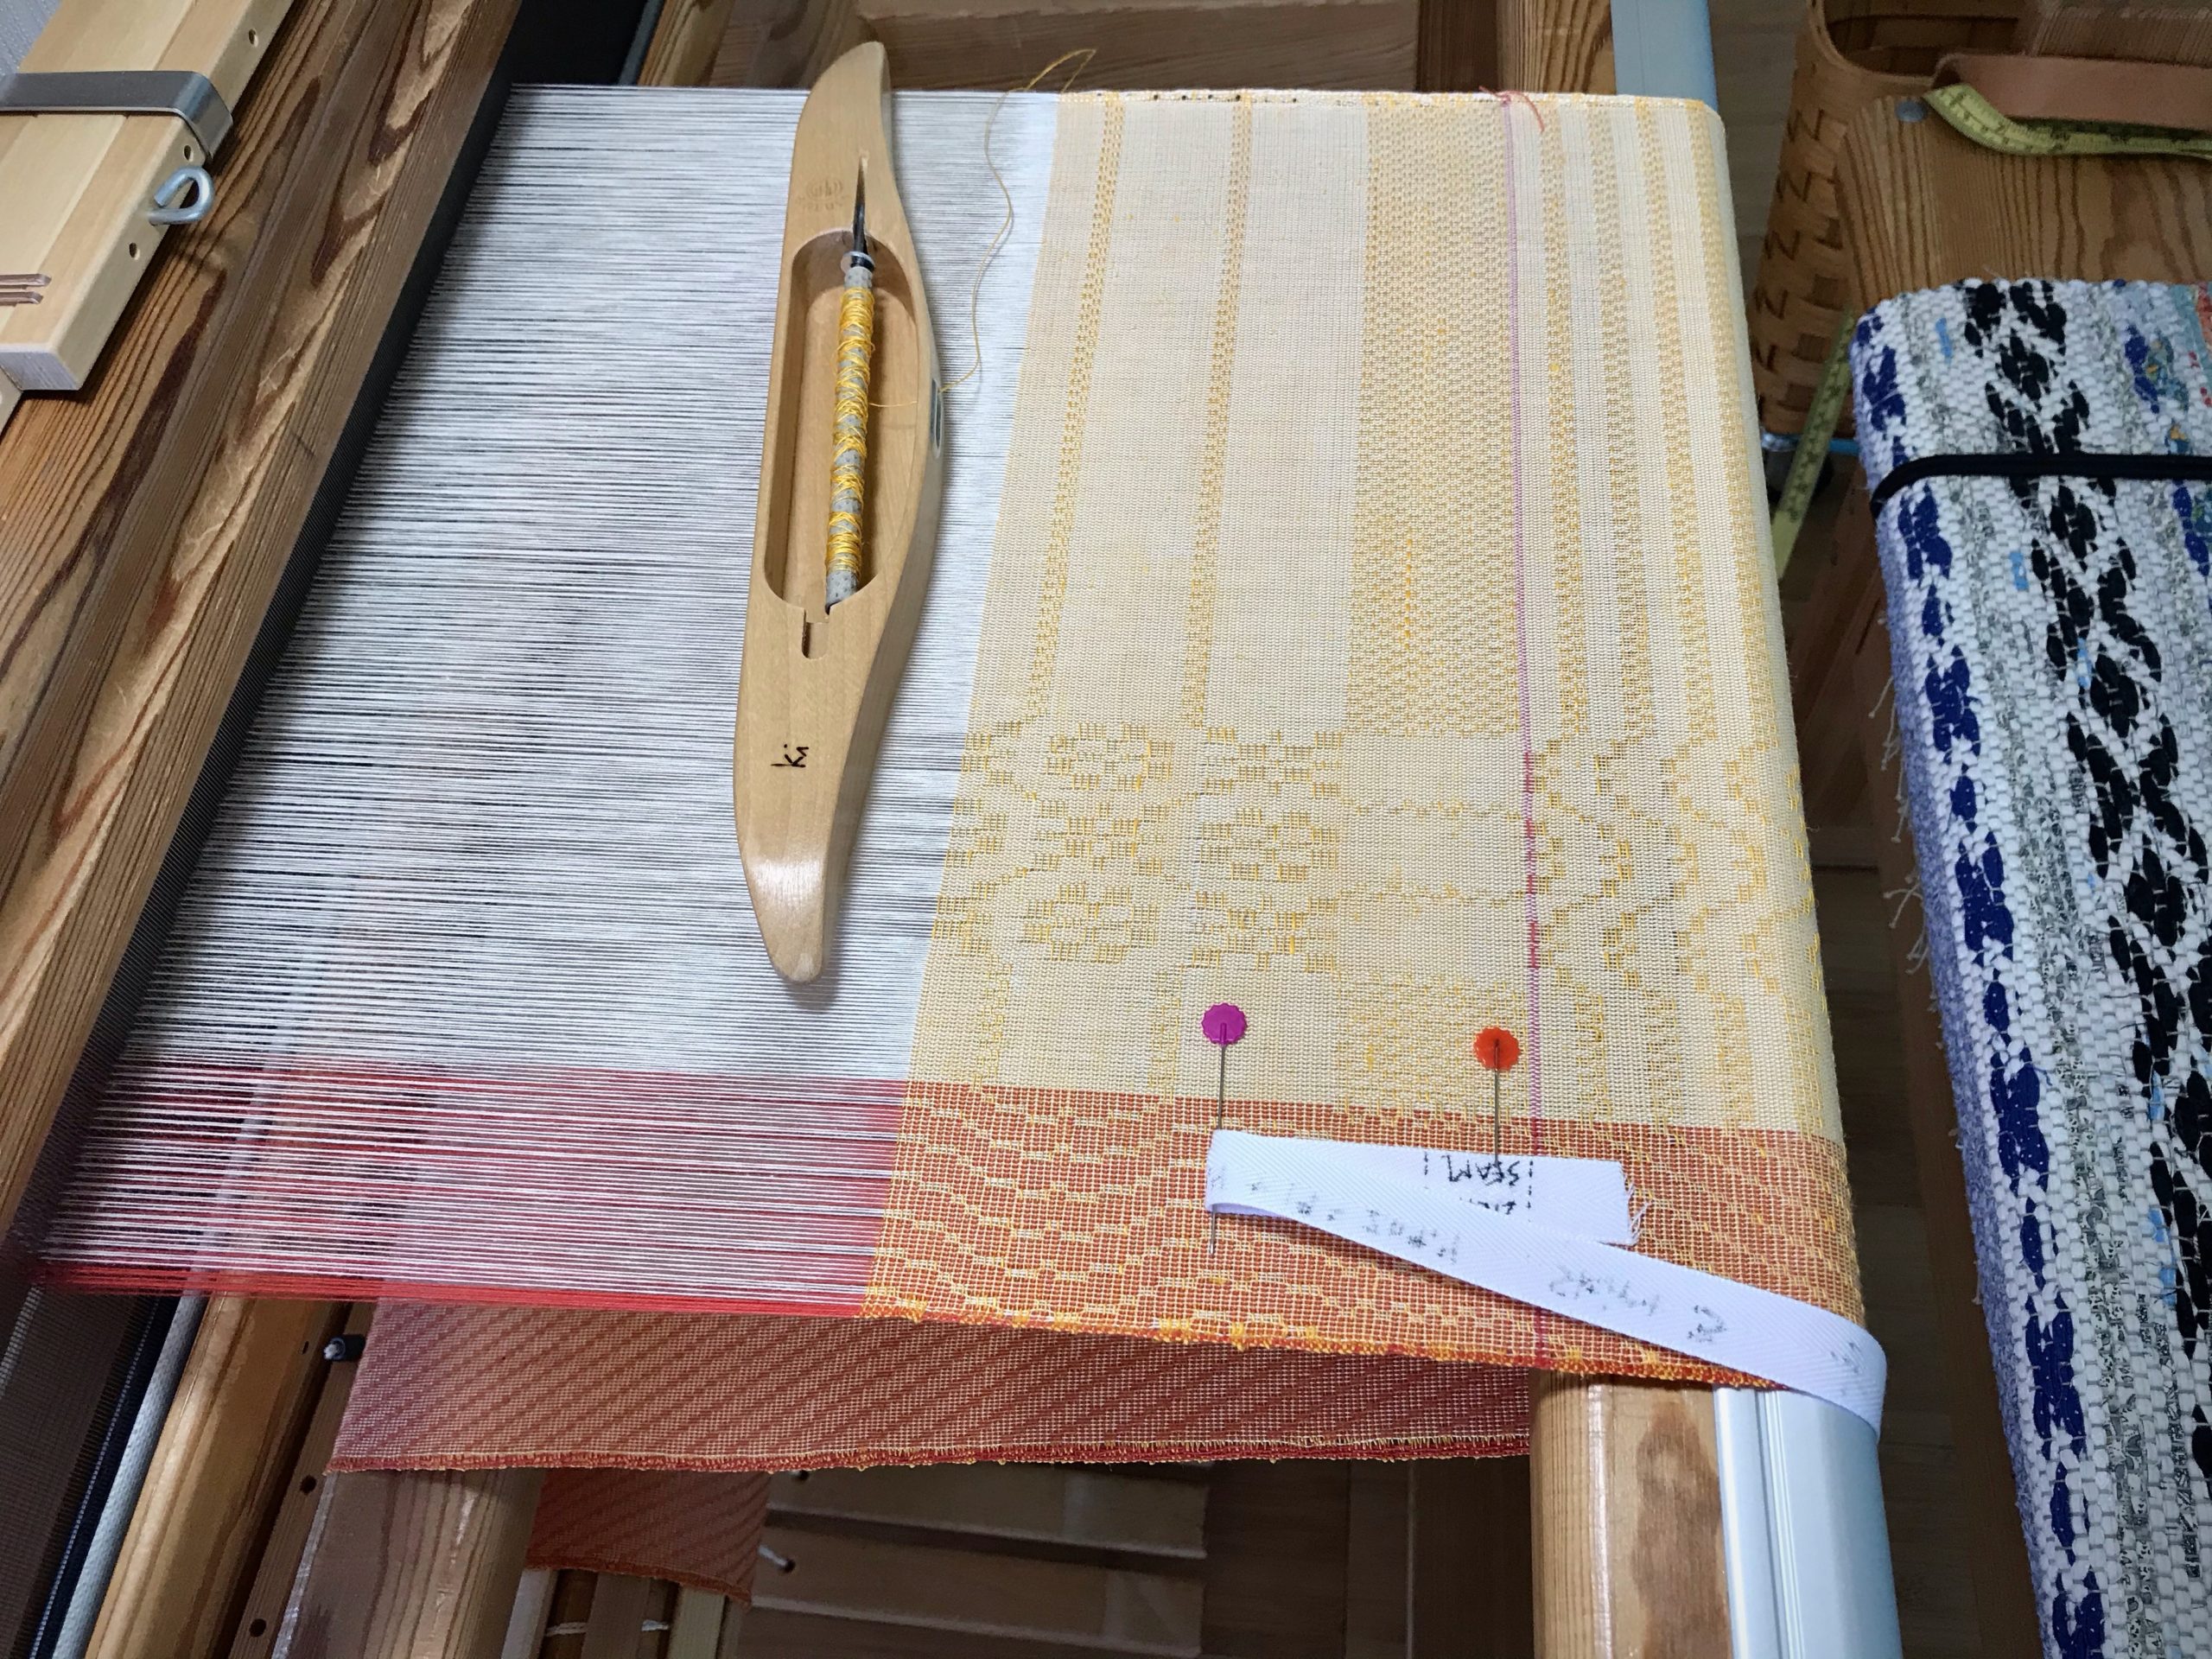
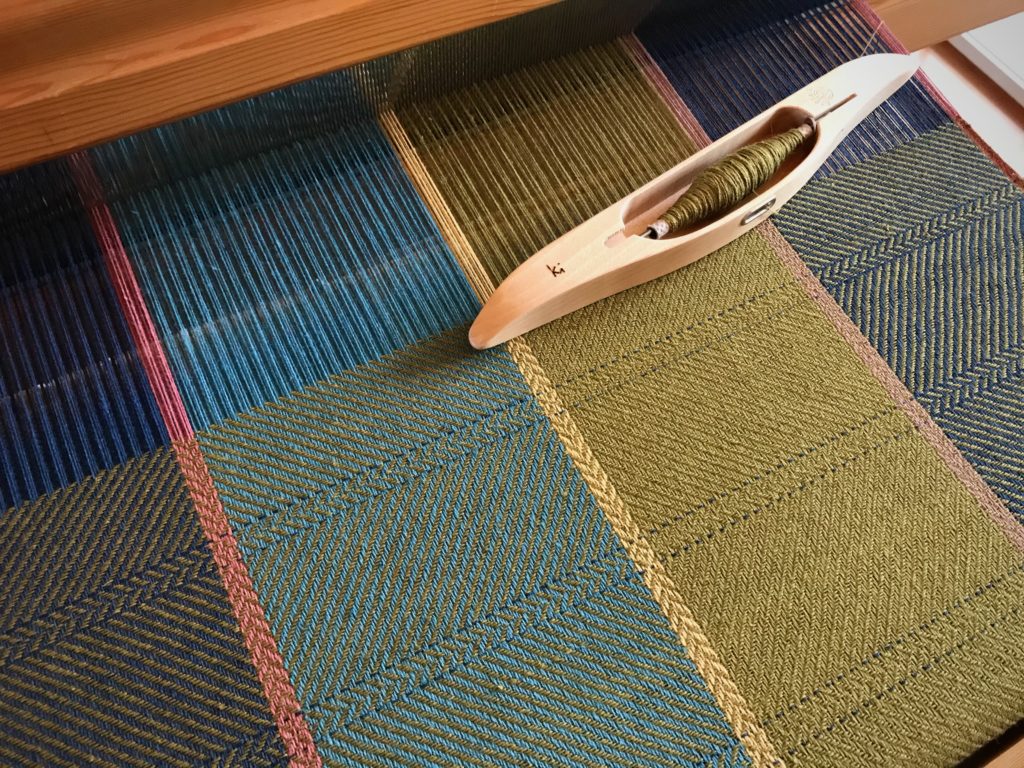
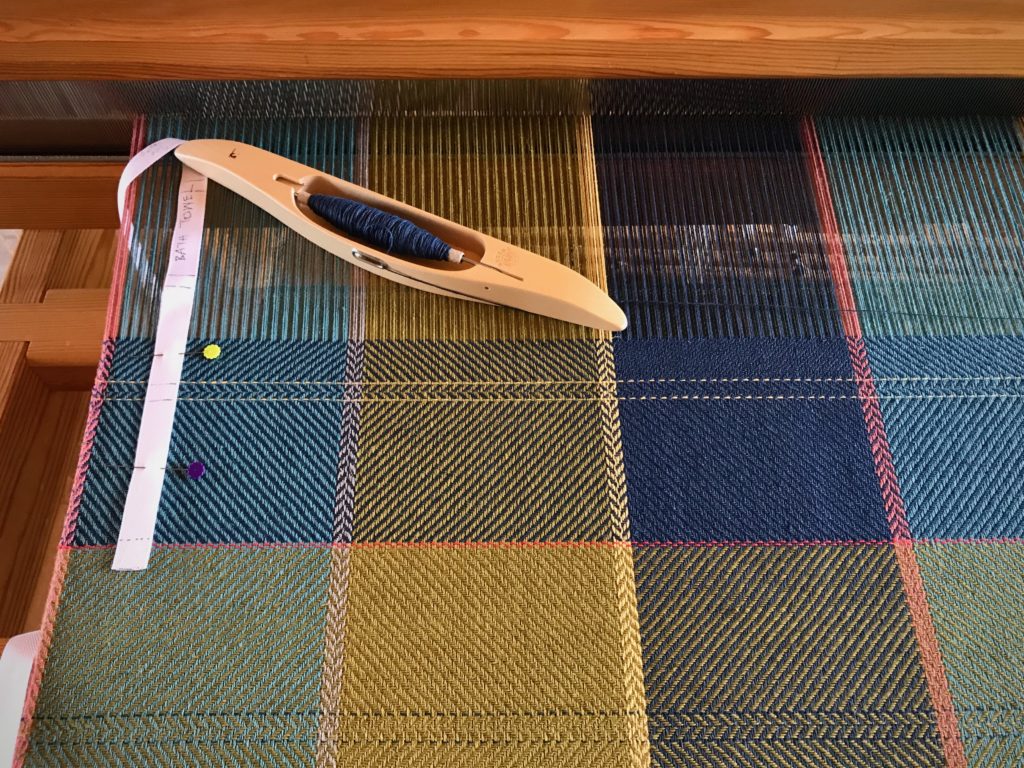
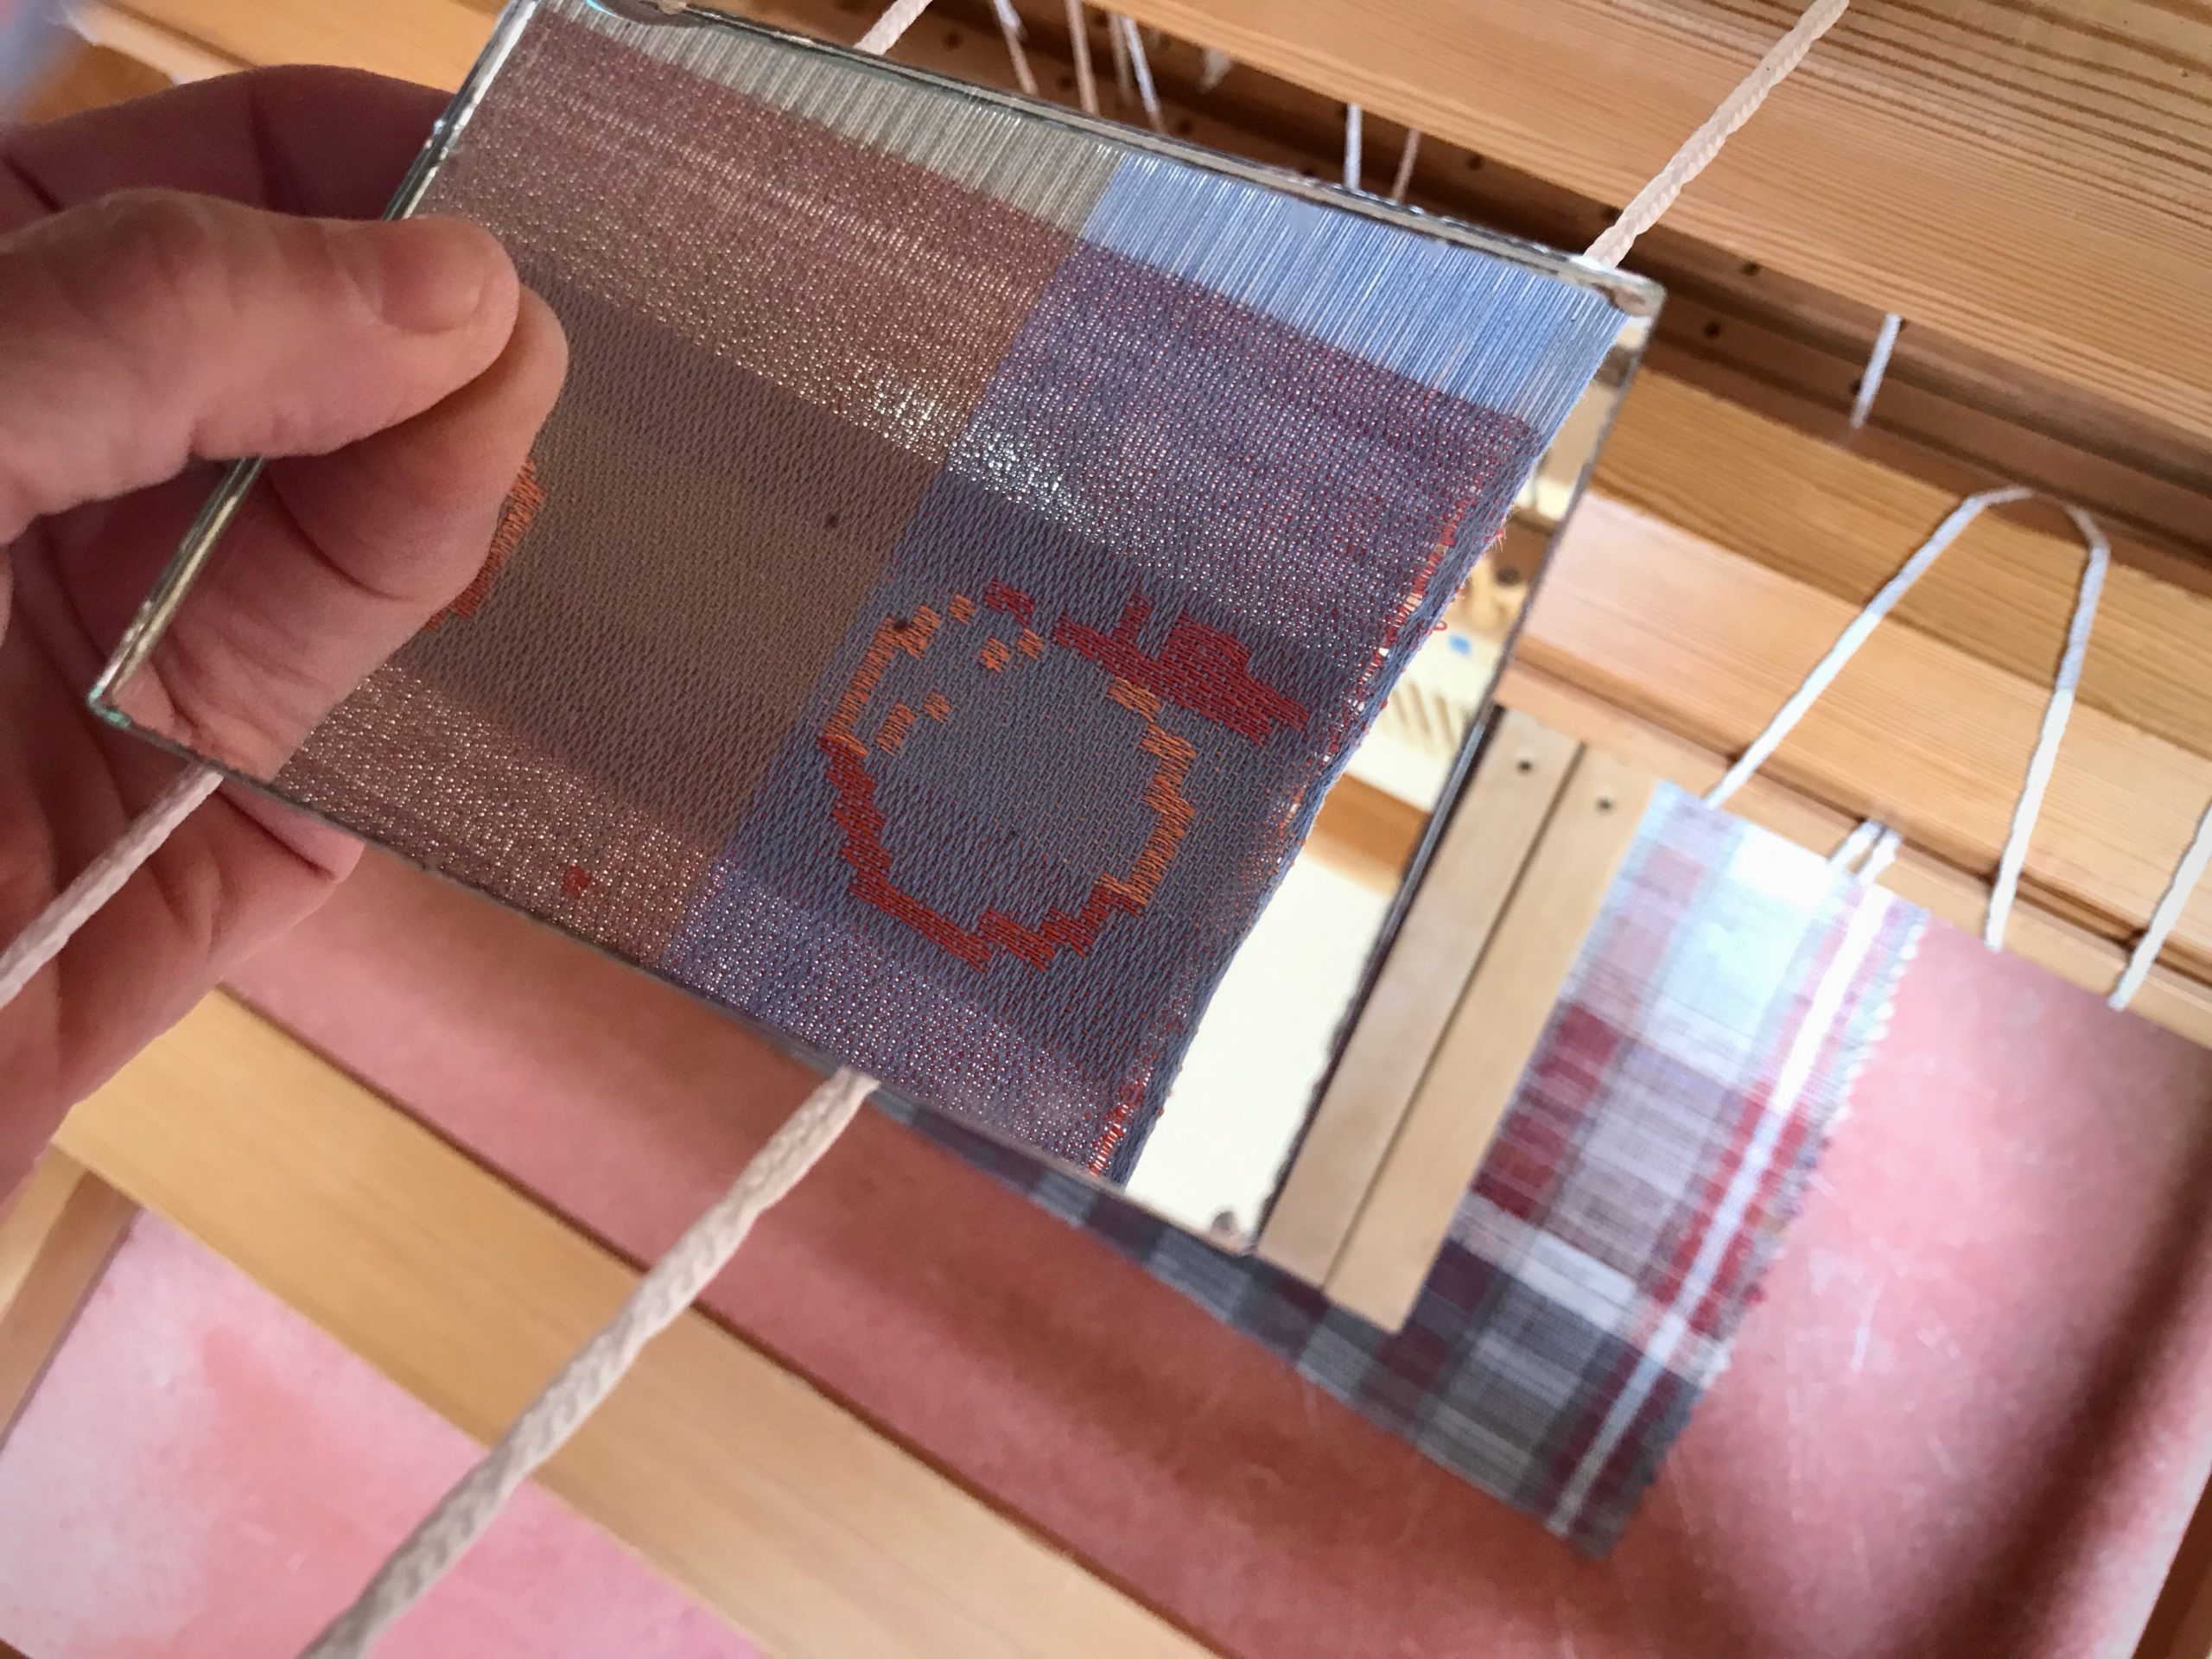
Sampling at the beginning of the warp gives me answers. The sett is good—18 ends per centimeter, with 16/2 cotton in 6-shaft irregular satin. After some tweaking, the sheds are good—and all the treadles touch the floor when the optimum shed is reached. The weft colors look good—better than expected. And, definitely, the jam jars need to be face down—so, I reverse the image in Affinity Designer on the computer and print out a new chart. I can sneak in some extra colors with narrow weft stripes—beginning and ending borders. I’m ready to roll! New kitchen towels in various designs are moving forward! First up…Peach Jam Jars.
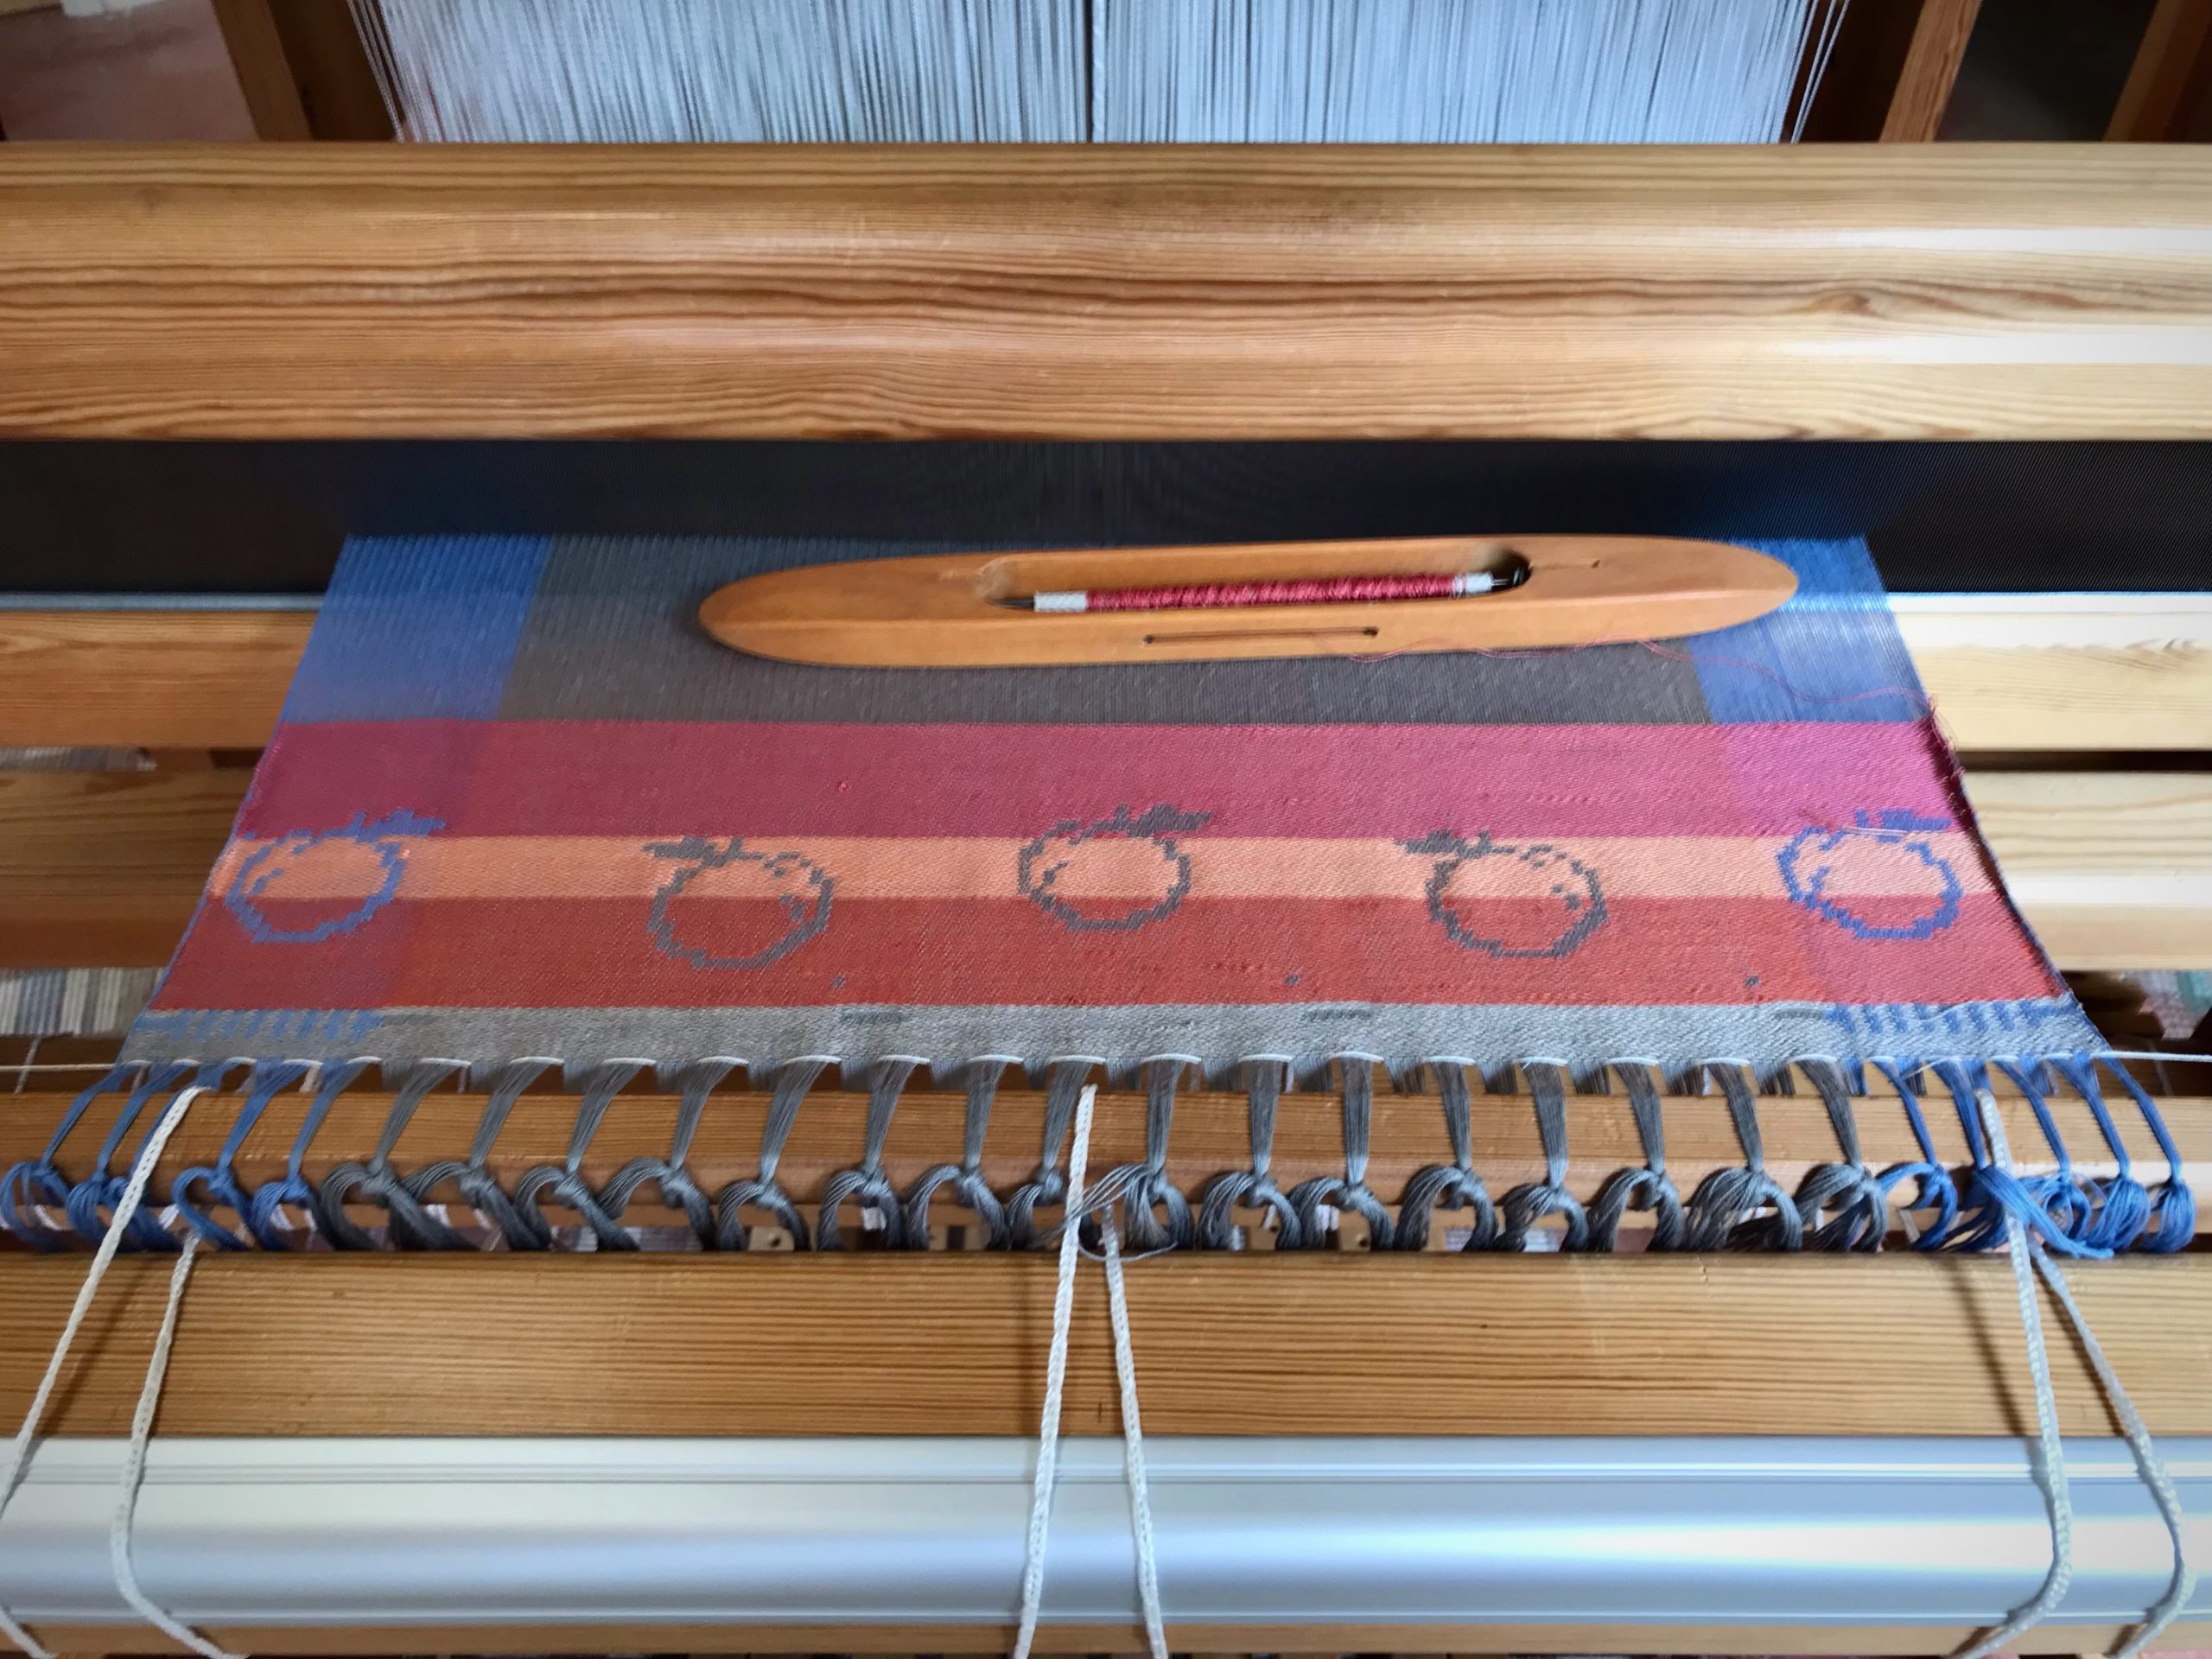
Testing colors on new drawloom warp.
Mirror shows reversed side of drawloom fabric.
Jam Jars drawloom pattern.
Design is reversed for the drawloom.
Testing patterns and colors on new drawloom warp.
Beginning first towel on drawloom warp.
Ready - Sett - Go! New towels on the drawloom.

~It is a joy to have you visit with me every week! It is time for my annual pause for the month of July. I’ll see you back here on Tuesday, August 3, 2021.~

Until then, may the Lord bless you and protect you; may the Lord make his face shine on you and be gracious to you; may the Lord look with favor on you and give you peace.

May your questions get answered.

Happy Weaving,
Karen

What Five-Shaft Huckaback Can Do

It takes only four blocks to weave these lovely summer “flowers.” This five-shaft huckaback uses one tabby treadle and four pattern treadles. My right foot operates the tabby treadle and my left foot manages the pattern treadles. One treadle remains on the floor (not tied up) between the tabby and pattern treadles, putting a helpful space between right foot and left foot.

Skirt fabric!
Flower pattern will be on the second and third tiers of a three-tiered skirt.

Each of the four pattern treadles produces its own block. It couldn’t be simpler. It’s always right foot, left foot. Yet, I can weave the wrong sequence, even while I’m patting myself on the back. For that reason, I stop and examine my work after every few picks. I want to make sure my weaving aligns with the treadling sequence on the draft.

Weaving fabric for 3-tiered skirt!
Summer flowers in huckaback (huck lace).

Have you noticed how easy it is to judge someone else’s motives? And how hard it is to notice our own? I can fool myself. The Lord knows us better than we know ourselves. It’s his mercy that shows us our impure motives. His grace shows us how to walk in his ways. His love keeps us coming back to align our hearts with his.

May your fabric have grace woven in.

Happy Weaving,
Karen

Tried and True: How to Count to Three – and Other Weaving Tips

We weavers are resourceful. We enjoy finding solutions that make our time at the loom more efficient, while raising the quality of our weaving. We’ve done some of these little tricks so much we don’t think about them anymore. And then, some innovations are things we think up on the spot because necessity, as you know, is the mother of invention.

Keep Count

Necessity: Keep from losing my place with treadling repeats.
Solution: A strip of blue painter’s tape with “3 2 1” and a rubber band, placed on the breast beam. Move the rubber band on the tape (from right to left) to track repeats.

Weaving tips - low tech solutions.
I need help counting to 3 when it comes to treadling repeats. On the Glimåkra Standard loom, I am able to loosen the warp enough to lift the breast beam so I can put a rubber band on it. Without a removable breast beam, one could use a separate small piece of tape instead of a rubber band to keep track.
Keep track of repeats. Blog post with tips and tricks.
Low tech solution for keeping track.

Shuttle Catch

Necessity: Keep from fumbling the catch, having to reposition the shuttle in my hand to send it back across the warp.
Solution: Keep my eye on the shuttle. If I turn my head to watch the movement of the shuttle, my catching and throwing improves immediately. This makes my selvedges improve, too.

Weaving tips and tricks. Easy tip on how to catch the shuttle perfectly.
It is easy to throw and catch the shuttle without actually looking at your hands. I have to consciously remember to turn my head to follow the shuttle with my eyes.

Leave No Trace

Necessity: Keep from leaving slightly perceptible lines in the woven cloth that reveal every time I stop to move the temple and advance the warp.
Solution: When it is almost time to advance the warp, I move the temple and then weave one or more pattern sequence(s) before advancing the warp. This helps me leave no trace of starting and stopping.

Tips and tricks for the weaving loom.
Almost ready to advance the warp, I remove the temple and reposition the pins on my guide tape. Then, I put the temple back on, near the fell line.
Tips about when to advance the warp.
After moving the temple, I weave one or more complete treadling sequences before advancing the warp.
Three simple weaving tips for efficiency and quality!
After advancing the warp, I know exactly where I left off because of my tape-and-rubber-band counter. My eyes are on the shuttle to continue this segment of weaving.

Do you have a simple tip that improves your efficiency and/or quality at the loom? Please share in the comments.

May you notice what you’re doing.

Happy Weaving,
Karen

Welcome to My Loom

The computer is a worthwhile instrument for creating designs to weave. I like the flexibility and repeatability it gives me for drawloom designs. I’m also using the computer to develop the cartoon for my next pictorial tapestry. The computer work takes time—usually more time than I think it should.

Cottolin bath towels on the loom.
Come in our front door to see what is on the loom. Nearing the end of the first bath towel on this cottolin warp.

When I sit at the loom, though, time slips away unnoticed. This is where I’d rather be.

Cottolin bath towels on the loom.
Deep borders on these towels have treadling changes and contrast-thread inlay for added interest.
Start of the second cottolin bath towel on the loom.
Red cutting line is woven between the first and second towels.
Weaving bath towels on the Glimakra Standard loom.
First bath towel begins to wrap around the cloth beam.

I’m starting the second of four bath towels on my Glimåkra Standard. The loom, with its colored threads and cloth, is the first thing to greet you as you come in our front door. Welcome. Let’s put the computer away for a while and simply enjoy ourselves. There’s no better time than now.

v
Previously woven hand towels that match these bath towels have not yet been used. They are presently folded and displayed in a pottery bowl on the dining room table in the next room.

May you make time for making.

Happy Planning and Weaving,
Karen

Tried and True: How Far Will Your Quill Go?

Do not overfill your quills. It may seem efficient to load the quill as much as possible so you can weave as far as possible. Like me, you may have to learn this the hard way. A too-chubby quill that has to be coaxed through the shed takes more time and effort than winding a few extra quills. So much for efficiency.

Cottolin bath towels on the Glimåkra Standard.
Cottolin bath towels on the Glimåkra Standard, in twill, broken twill, and reverse twill.

It helps to have an idea of how far the thread on a quill will go. With this information, you can wind a few in advance without ending up with an excess of wound quills at the end of your project. I like to have the next quill ready to go when I am weaving so that I can put the new quill in my shuttle and keep weaving with very little interruption. This is especially helpful when the treadling sequence is tricky, like with the reverse twill in every other large color block on these cottolin bath towels. 3-2-1-6-5-4

How to Estimate Weaving Distance for Filled Quills

1 Start a new quill, leaving a 4 – 5 cm tail on the surface of the cloth. Or, start a new quill at the beginning of a color change.

How to measure how far a quill will weave.
End of one thread. Ready for a new quill.
How to know how far a quill will weave. Tutorial.
With the threads overlapping in the shed, the tail of the thread on the new quill lies on the surface.

2 Weave until the quill has emptied. Leave a 4-5 cm tail on the surface of the cloth.

How to know how far a full quill will weave.
Quill has emptied. Tail is brought out to the surface of the cloth.

3 Replace the empty quill in the shuttle with a new quill and continue weaving 1 – 2 cm further.

4 Measure the distance from the first weft tail, or line of color change, to the second weft tail. Place a straight pin, in line with the first weft tail, directly under the second weft tail. Measure from the pin to the second weft tail. This is the approximate weaving distance you can expect to cover with a new quill. Notate the quill’s estimated weaving distance on your project notes for future reference.

Tutorial on how to know how many quills you need to wind.
Measure the woven distance.

5 Trim the weft tails close to the surface.

6 Increase accuracy by repeating the process three times, and then use the average as your quill’s estimated weaving distance.

The large color blocks on this bath towel are 14 cm long. A single full quill will weave 5 1/2 – 6 cm; therefore, I make sure I have 2 full quills, plus at least another half-filled quill before I start a new color block section. It’s nice to be able to leave my foot on the treadle while I change out quills, so I don’t lose my place.

Cottolin bath towels.

May your efforts prove to be efficient.

Happy Weaving,
Karen