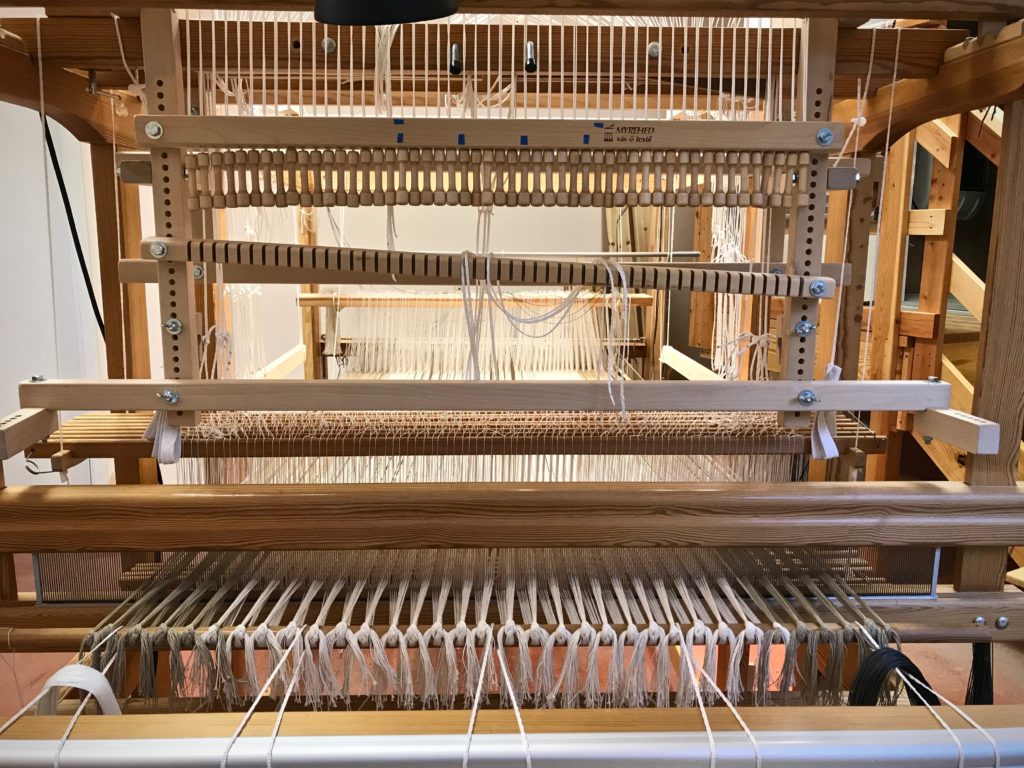
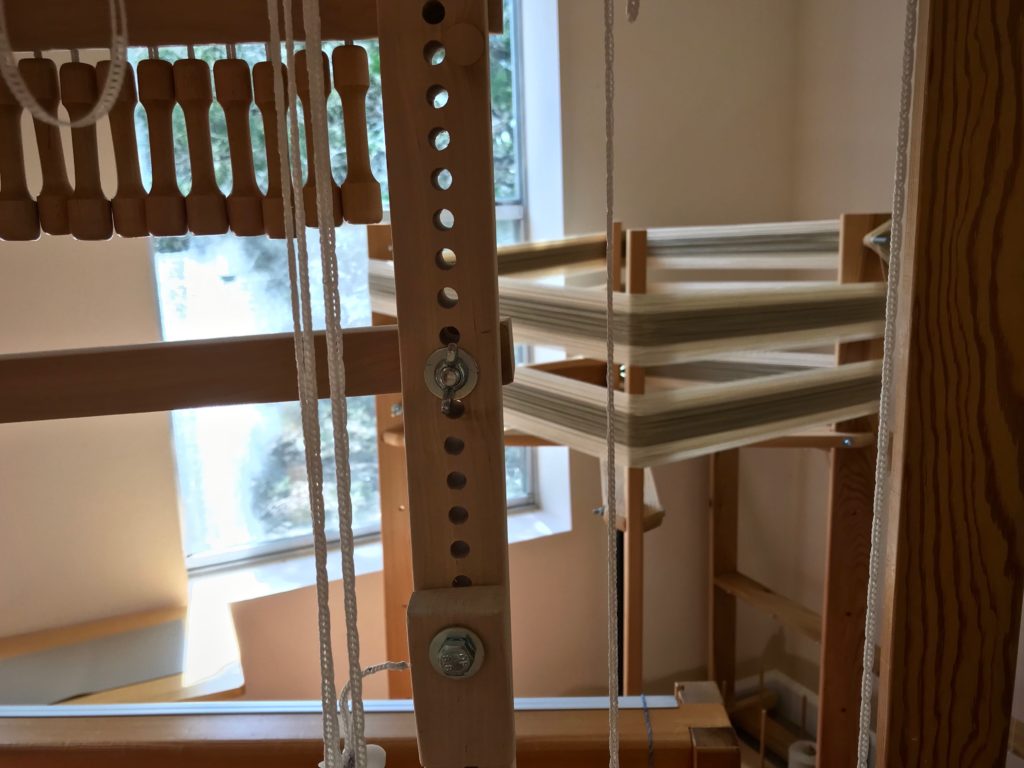
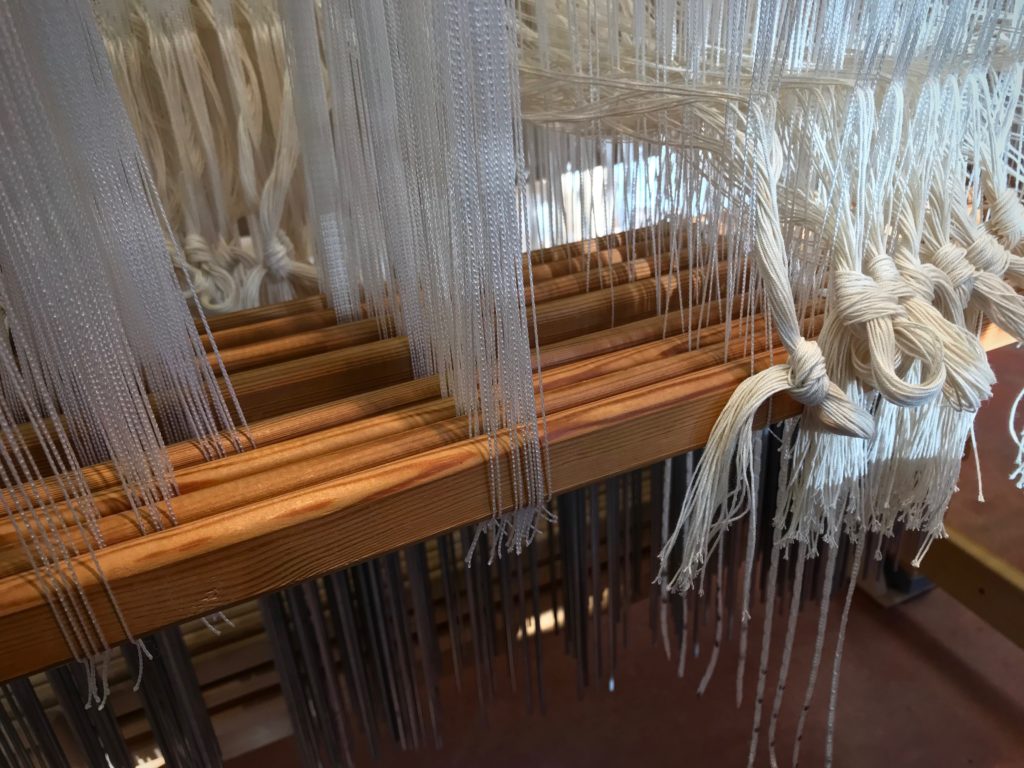
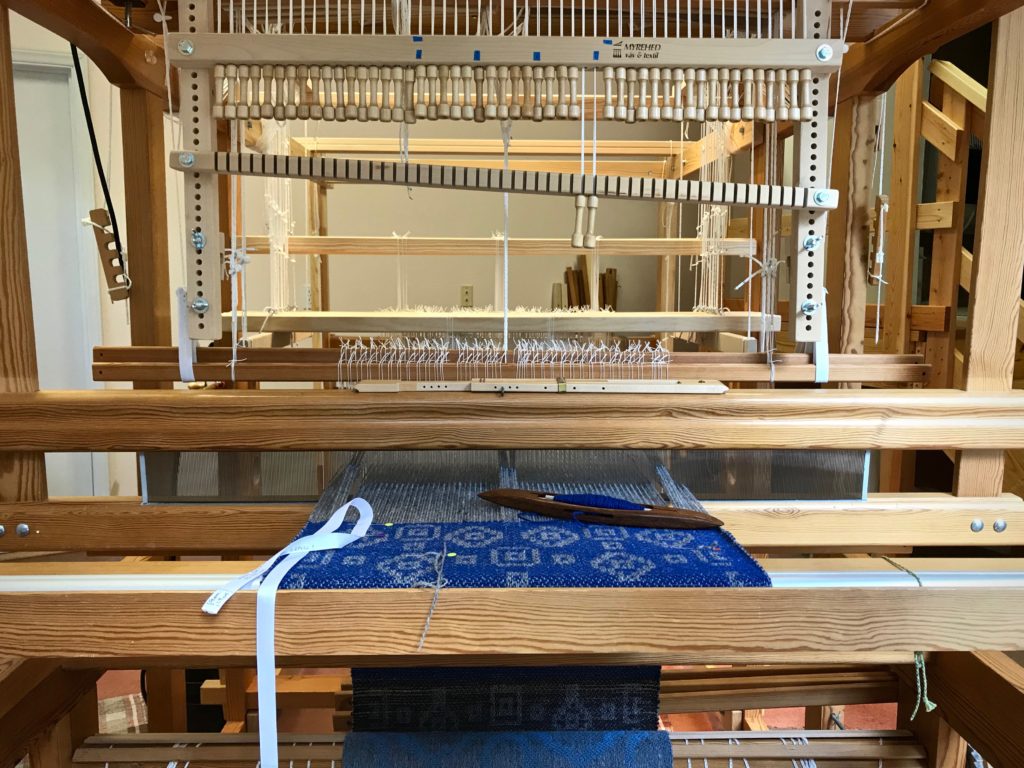
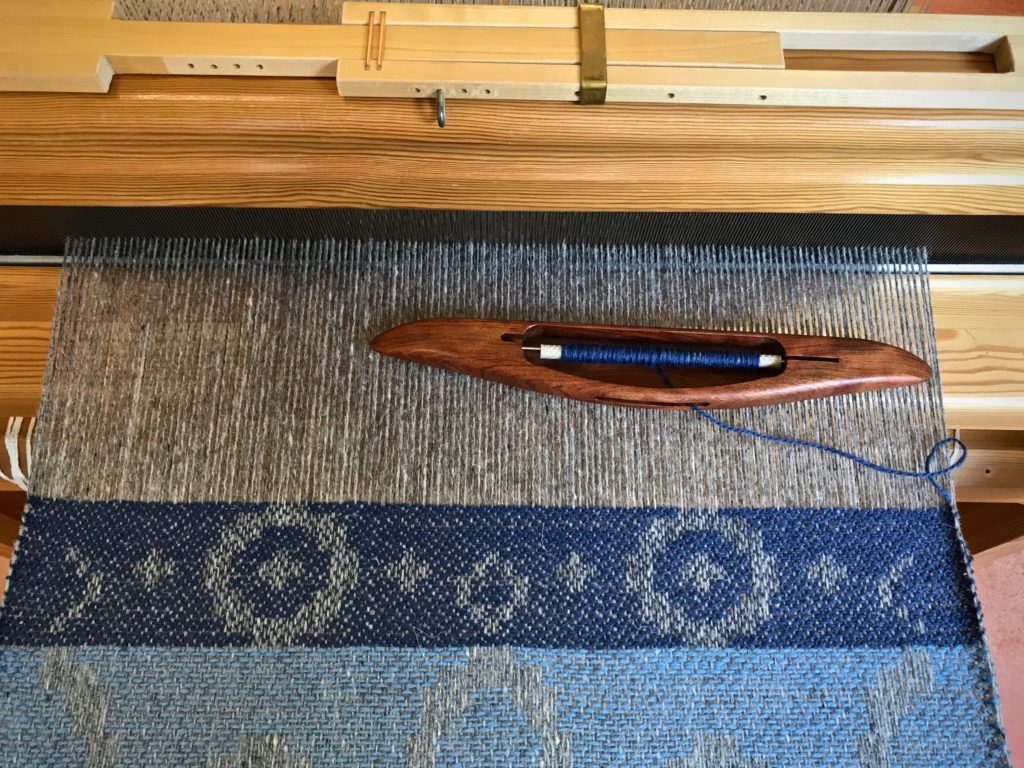
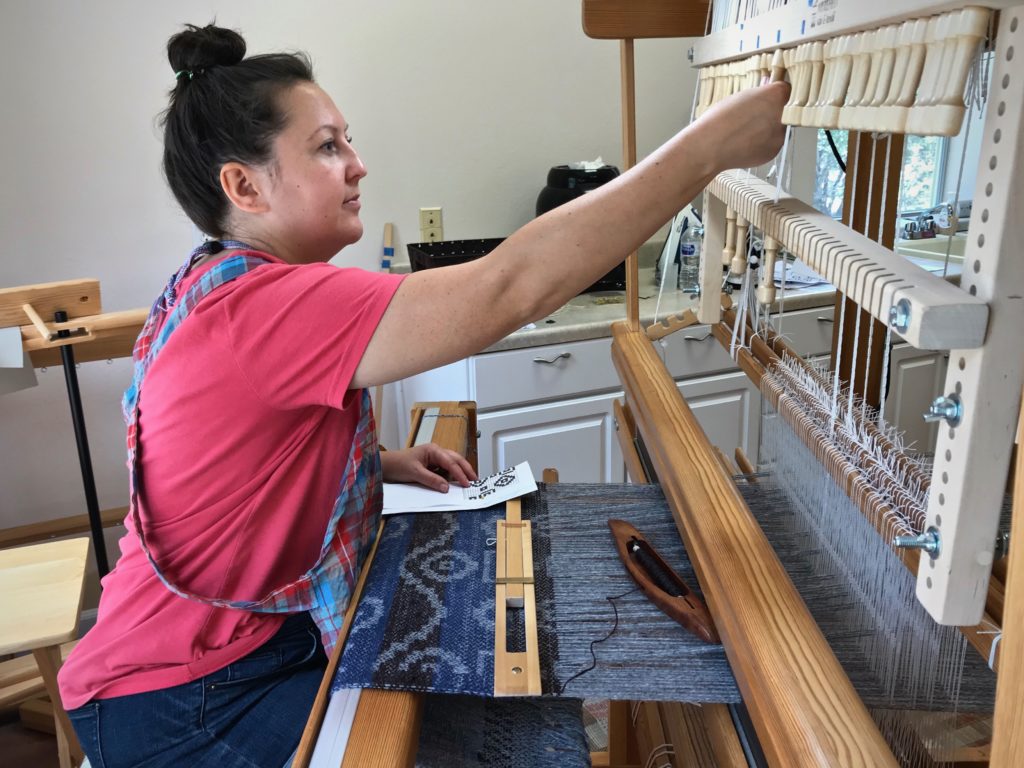
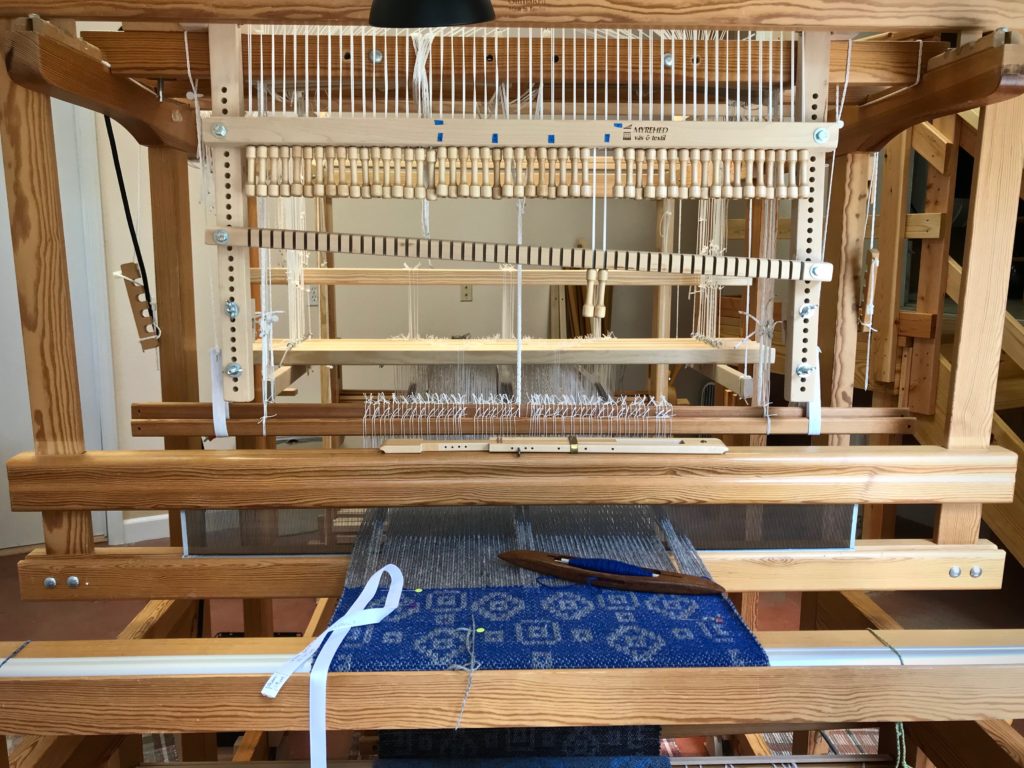
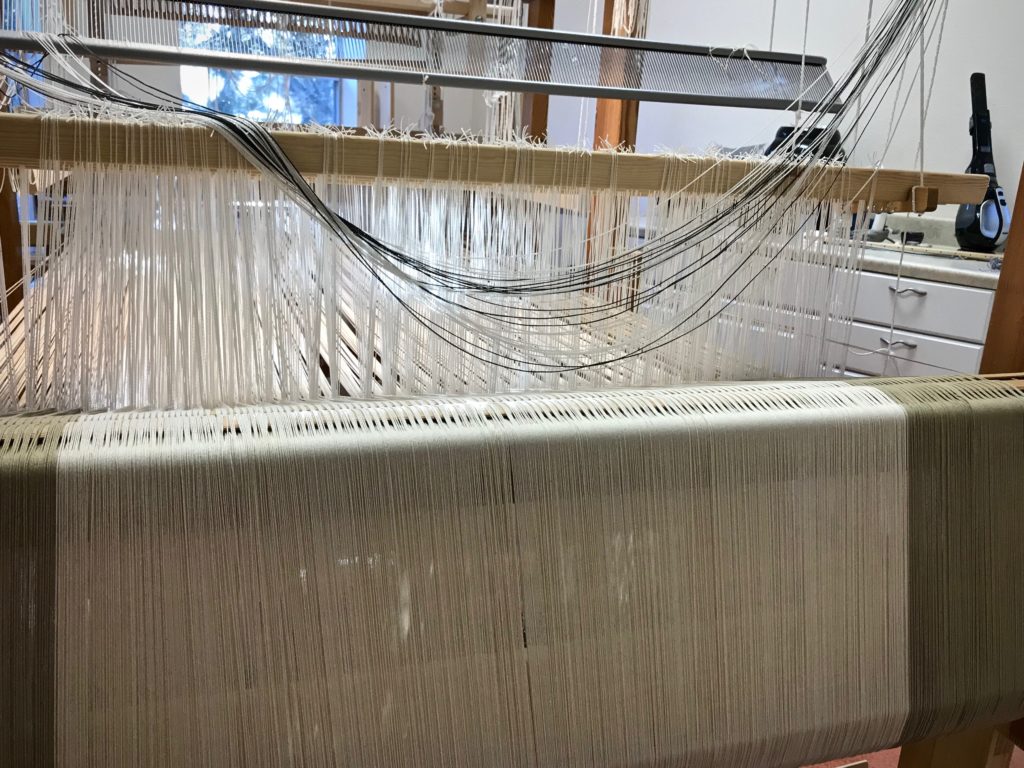
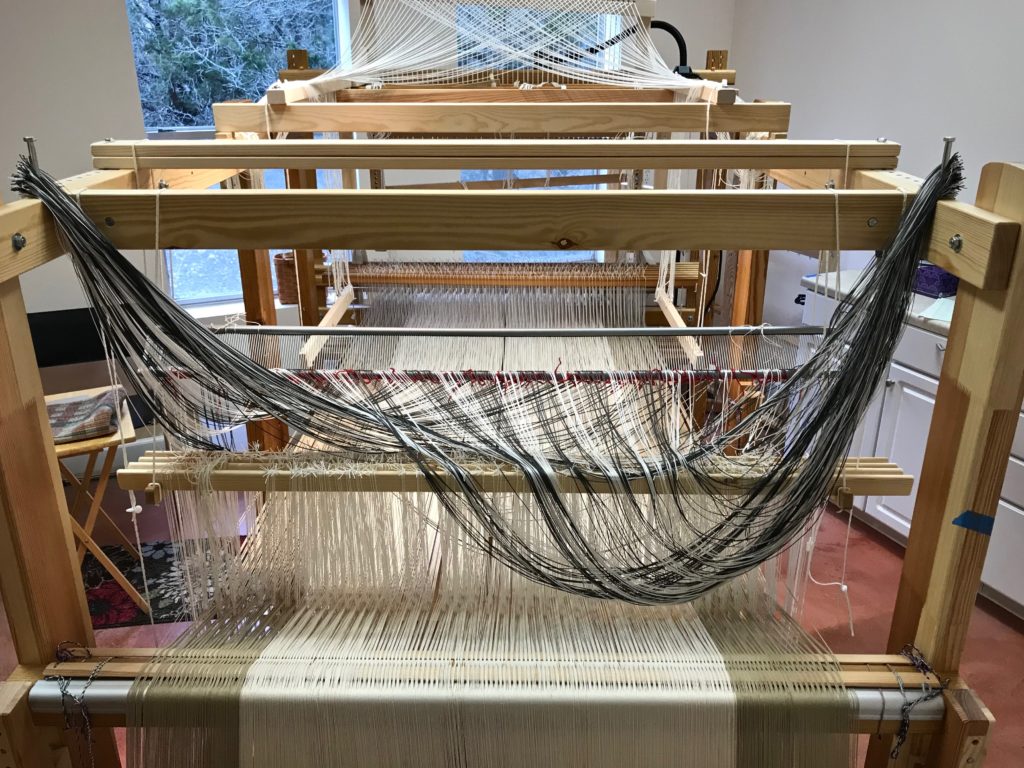
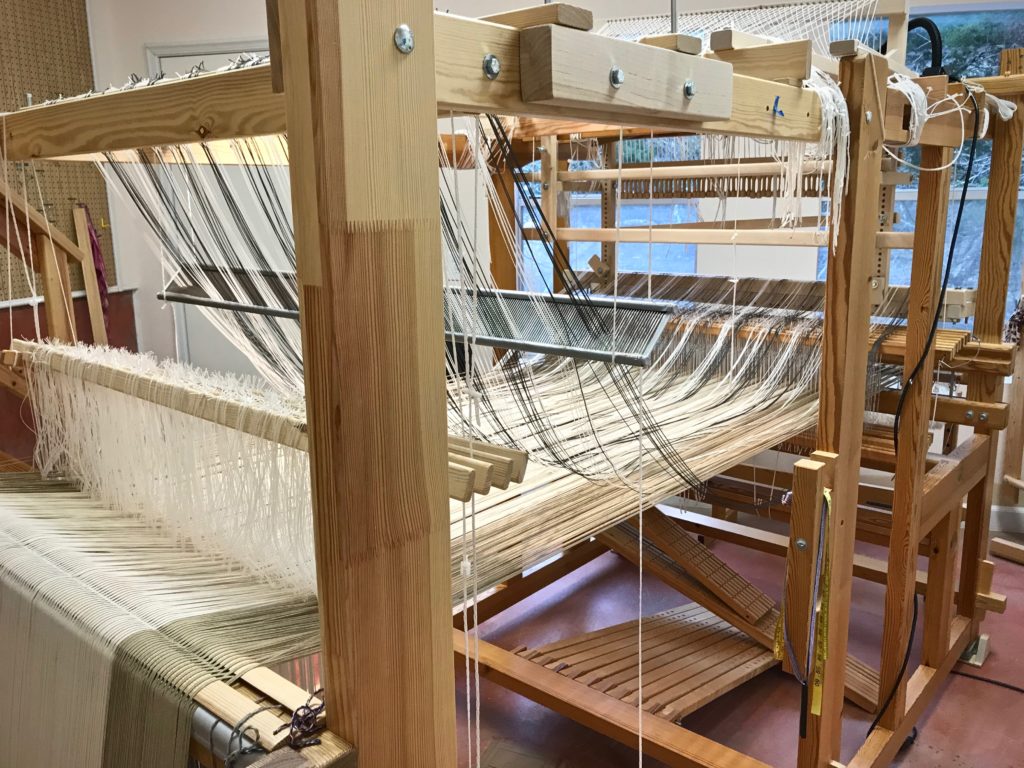
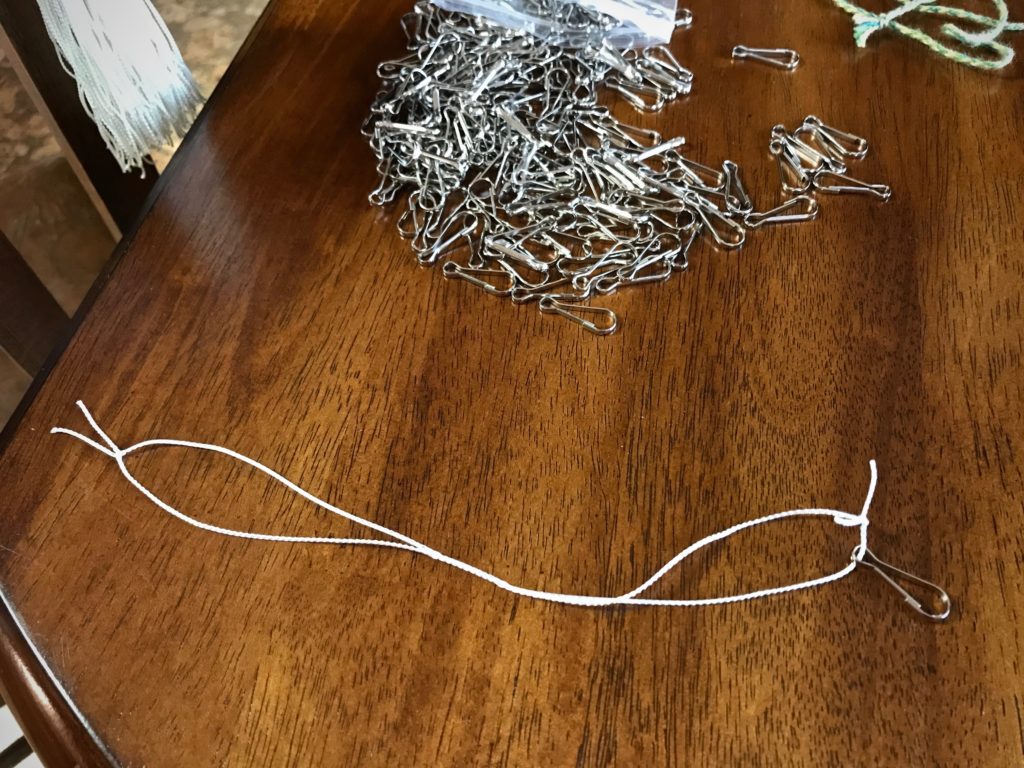
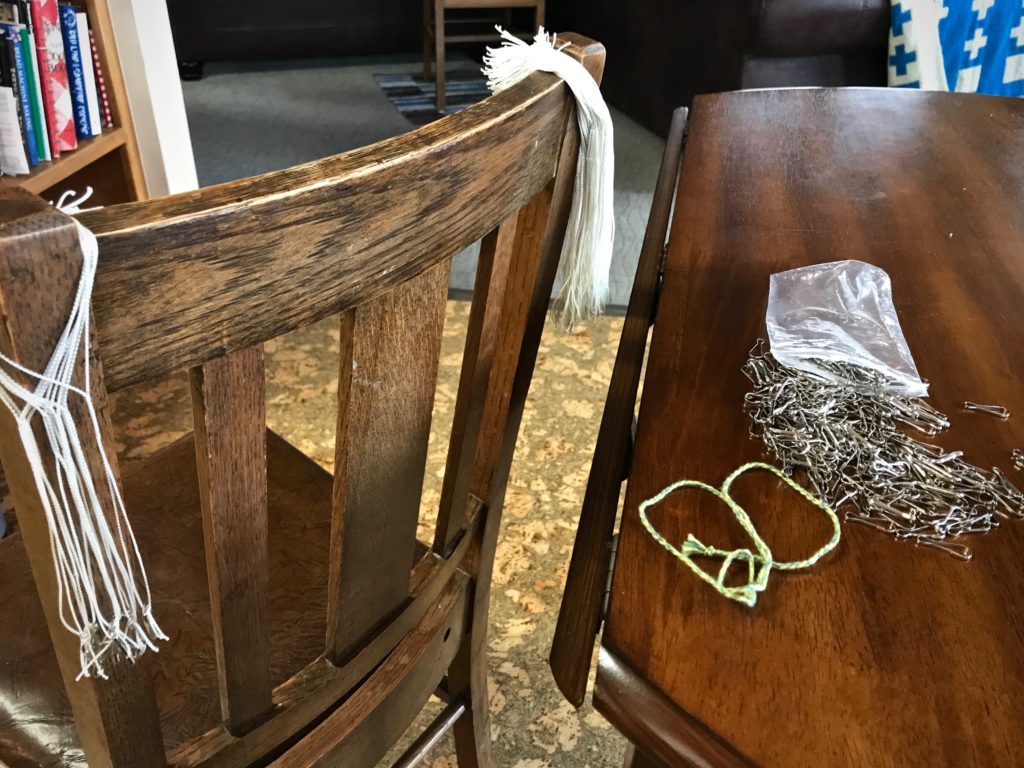
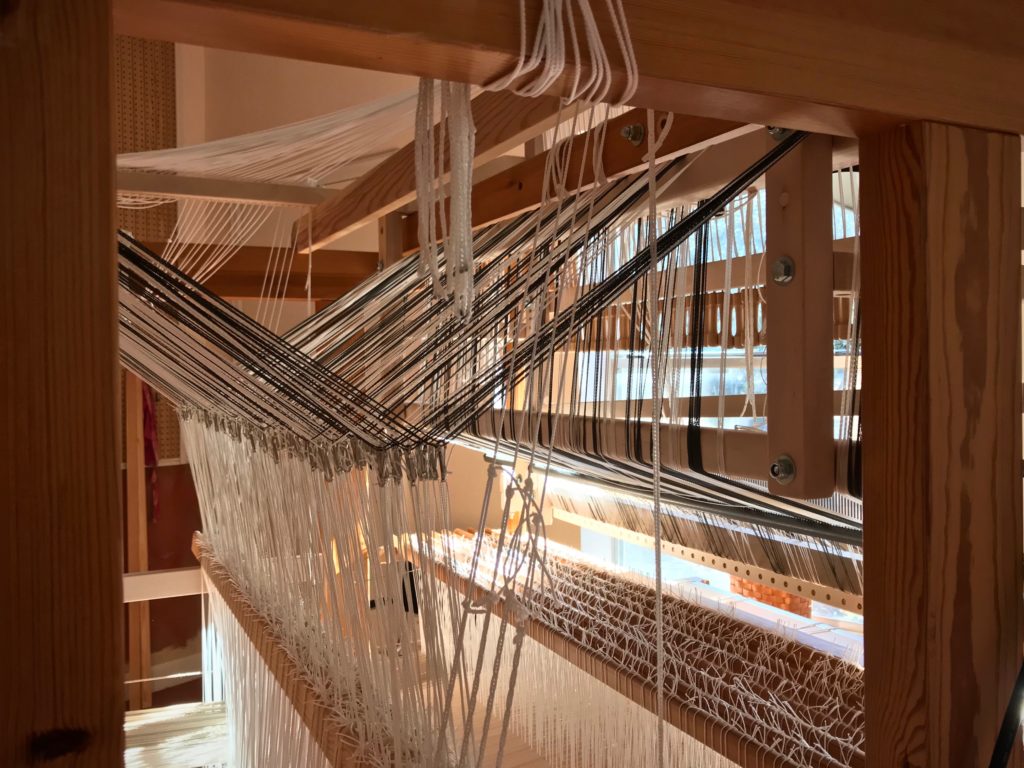
Doing something bold is a dramatic way to end the year. I have added 200 single-unit draw cords to the drawloom. The bold thing is that I am using lanyard clips. This changes the usual process of setting up the draw cords, so I’m making some of it up as I go.
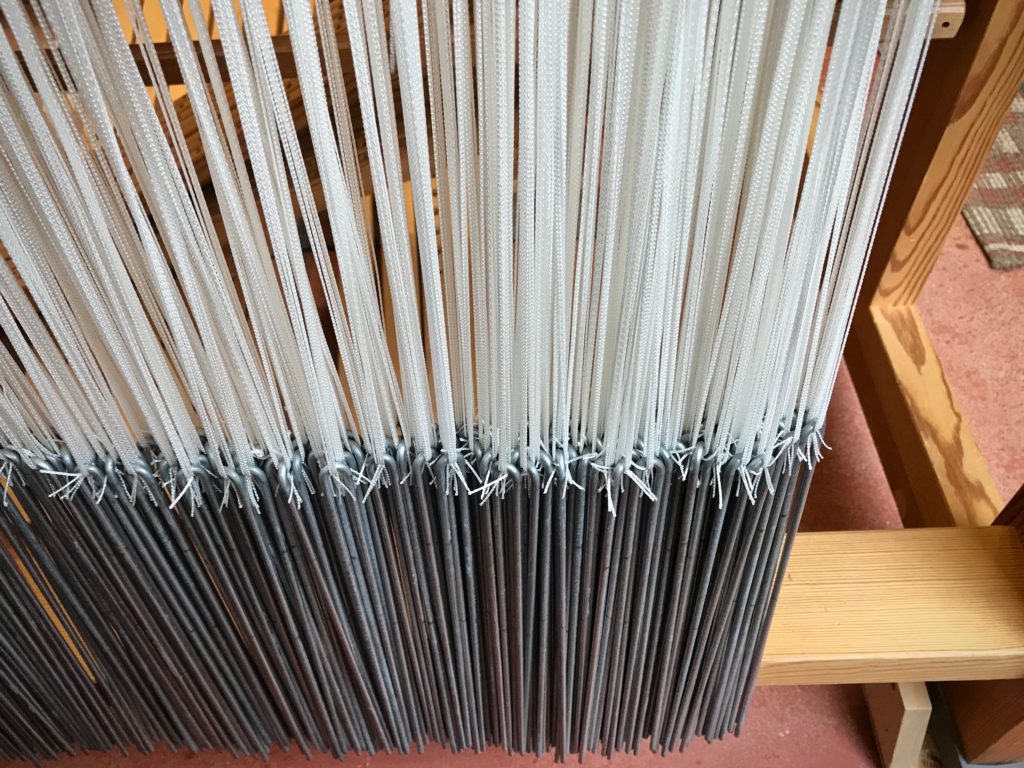
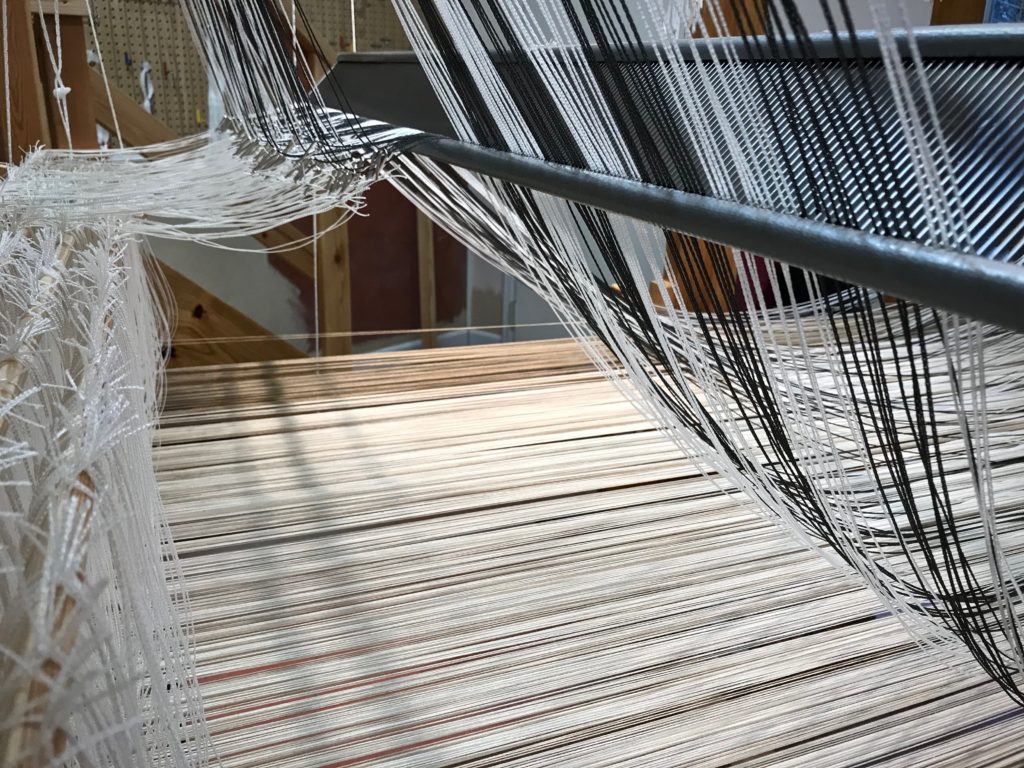
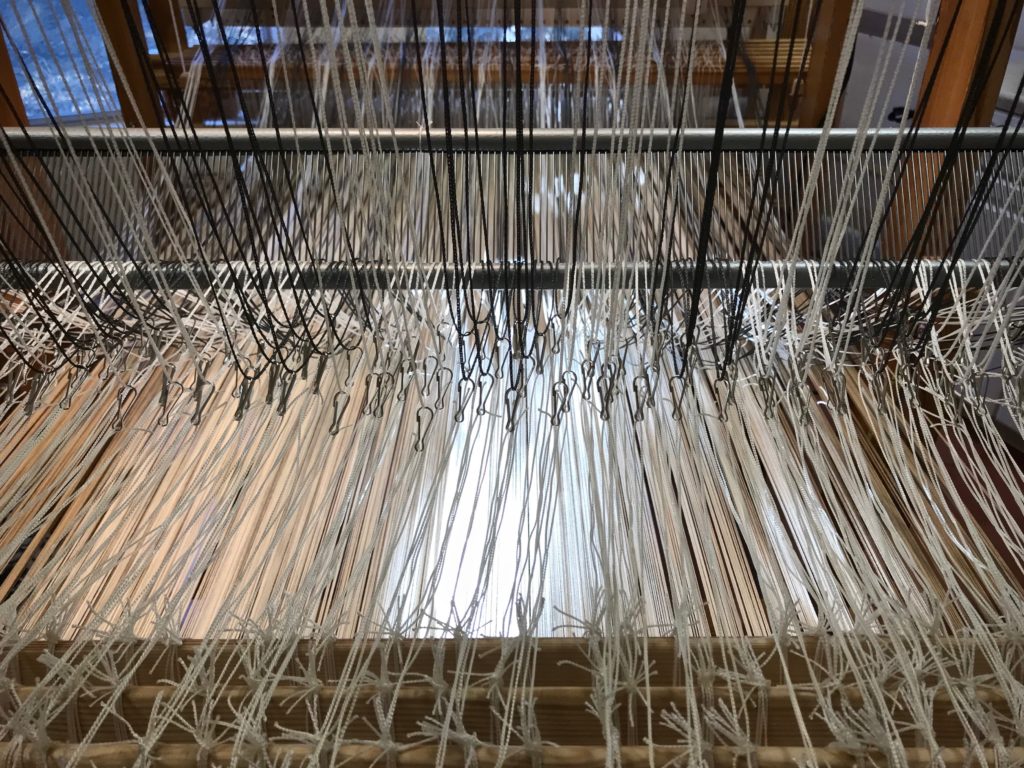
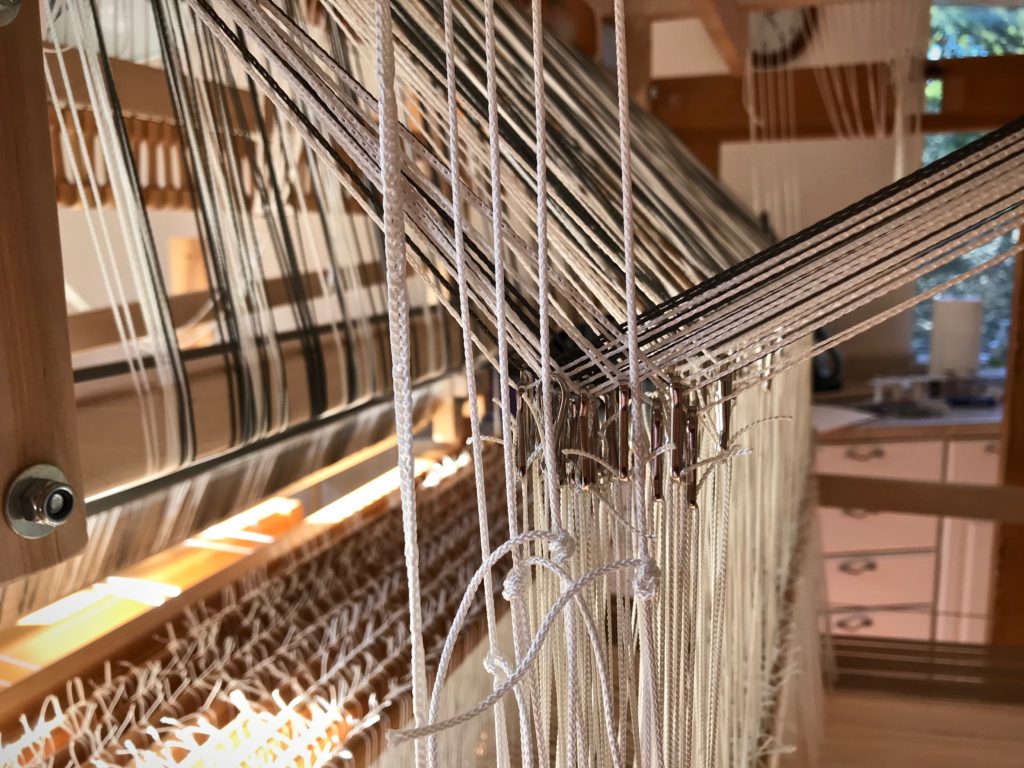
First, I sleyed the cords through the single-unit reed (used for spacing the draw cords). Next, I put a one-inch lanyard clip on every lift heddle. Now, one at a time, in order, I attach a lift heddle to a pattern unit, and then clip the lift heddle to the draw cord. Repeat 200 times. (I picked up the clever tip about lanyard clips online from Su Butler, who has, admittedly, a different type of drawloom setup than what I have.)
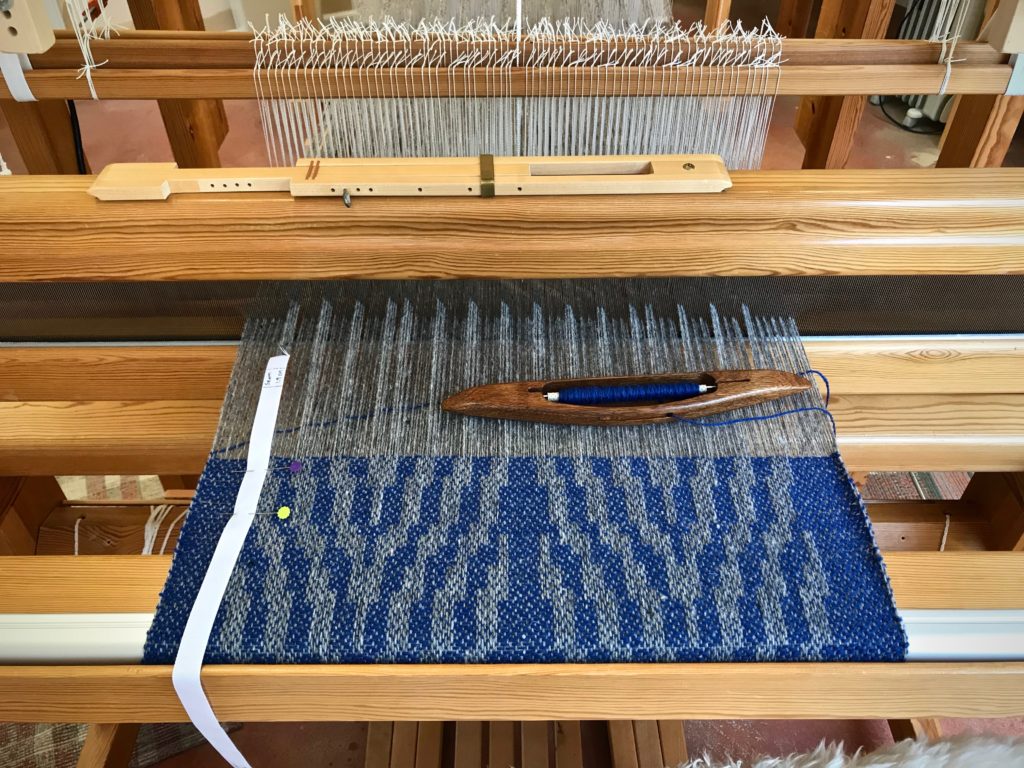
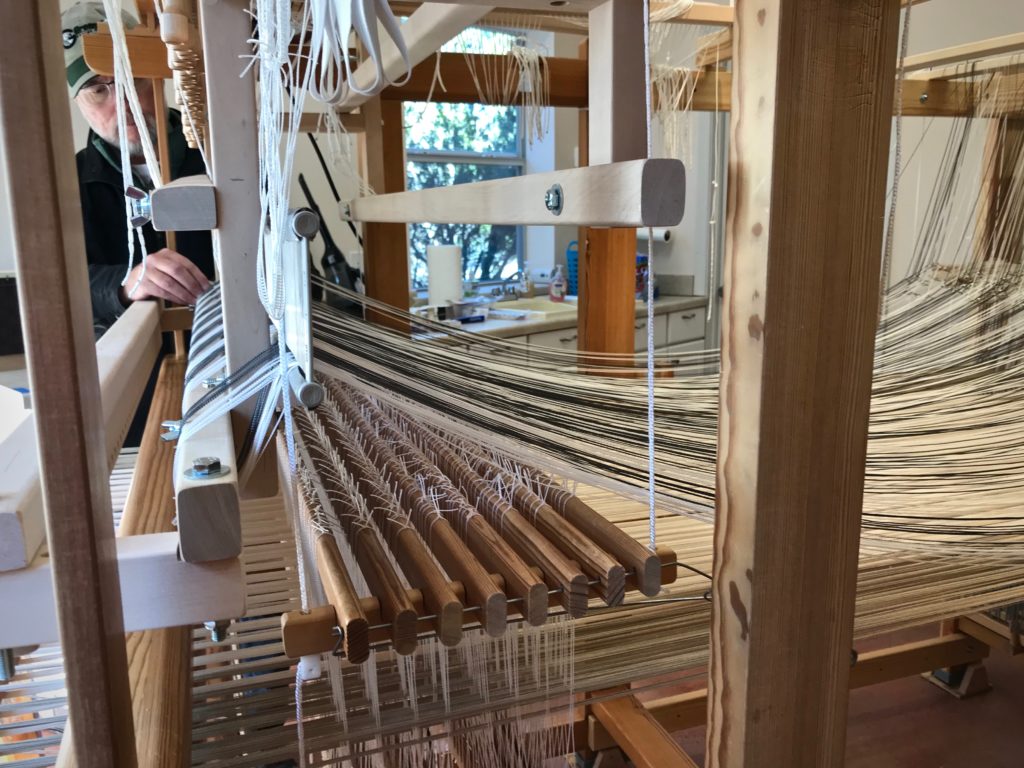
When this drawloom rag rug project is finished, I should be able to unclip the draw cords from the pattern units, leave the draw cords in place on the loom, and start fresh for the next project. Progress through the new year will reveal whether this bold action is a good idea…or not.
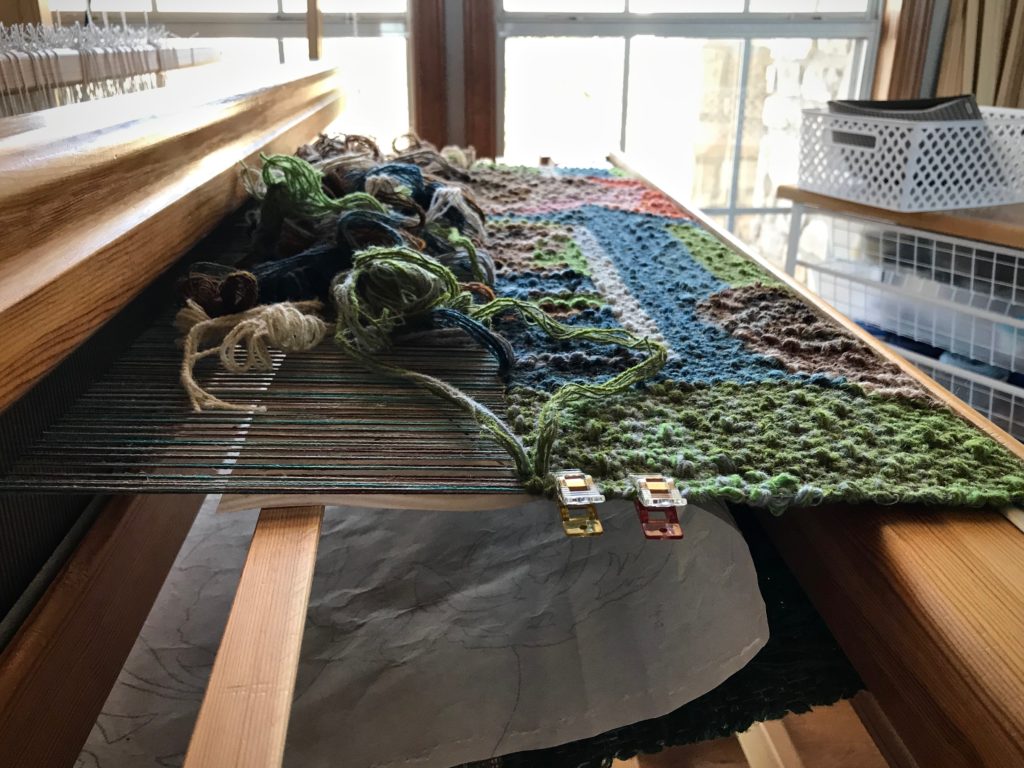
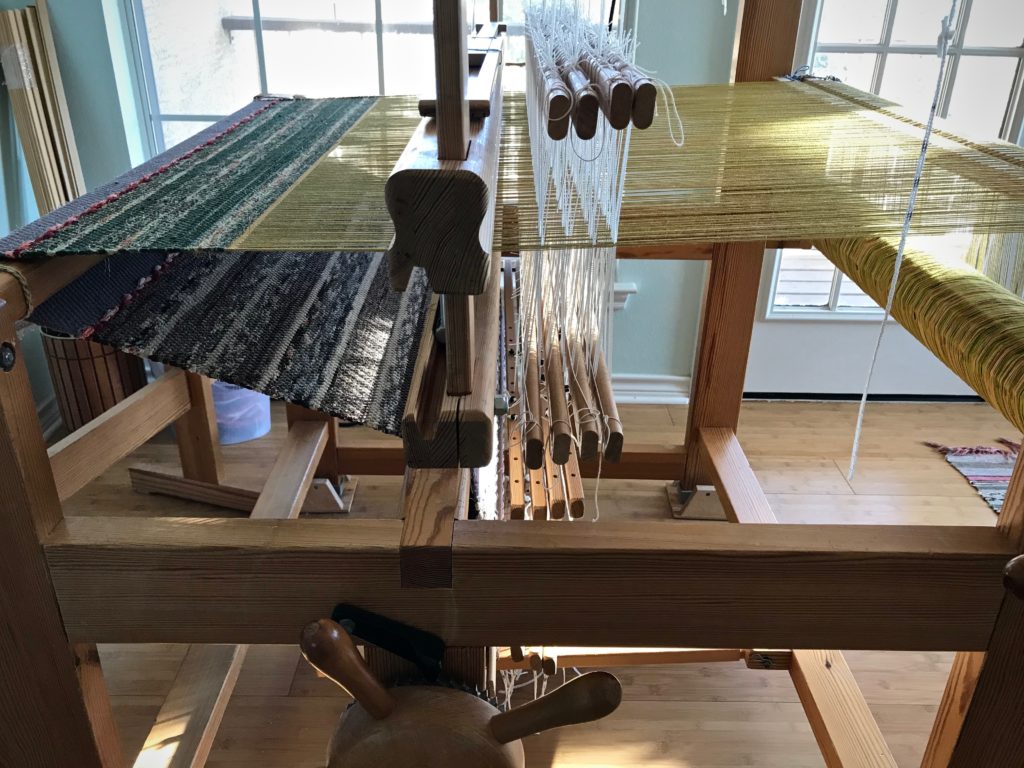
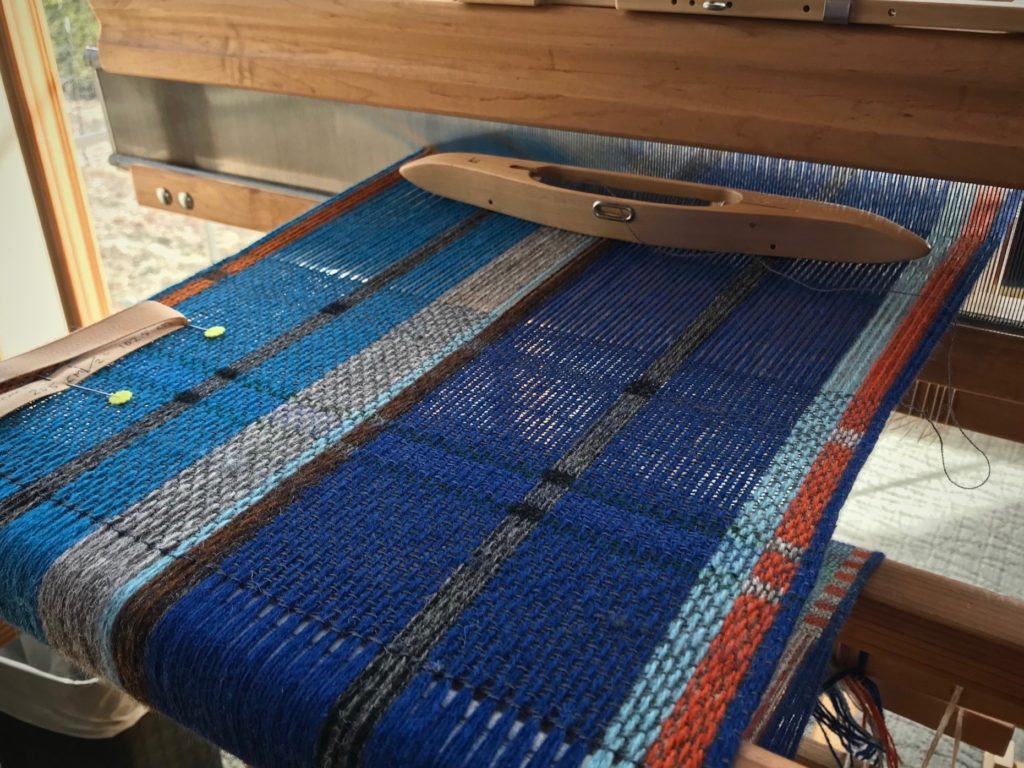
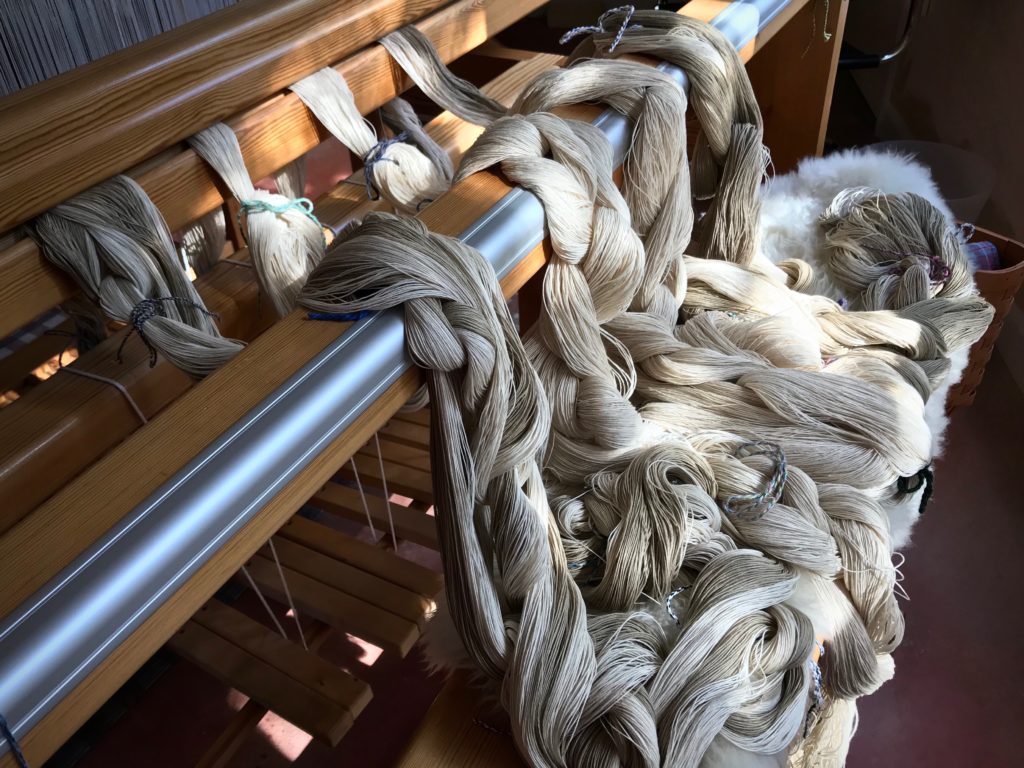
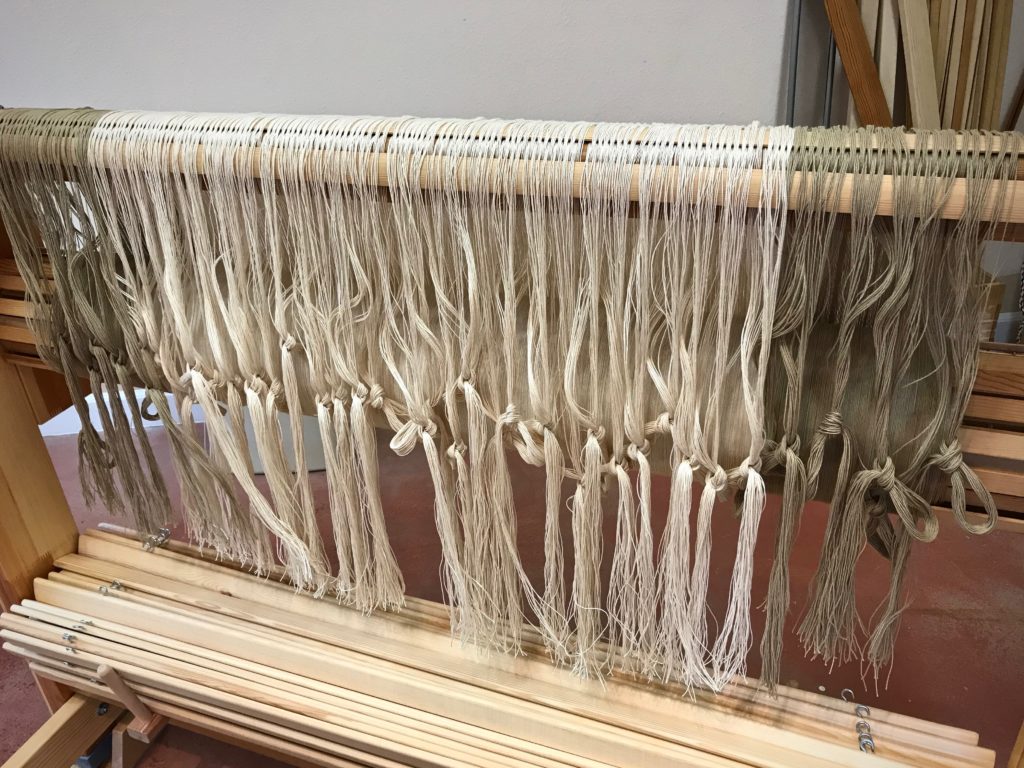
Journey in Pictures:


May you take a bold step into the new year.
In with the new,
Karen