Process Review: Drawloom Jewels

It is exciting when Maverick walks by. Although he never comes in my drawloom studio, he does stop for a moment to look my way. You’ll see him in the slideshow video below. But what happens inside the studio is even more exciting, especially when it’s time for cutting off!
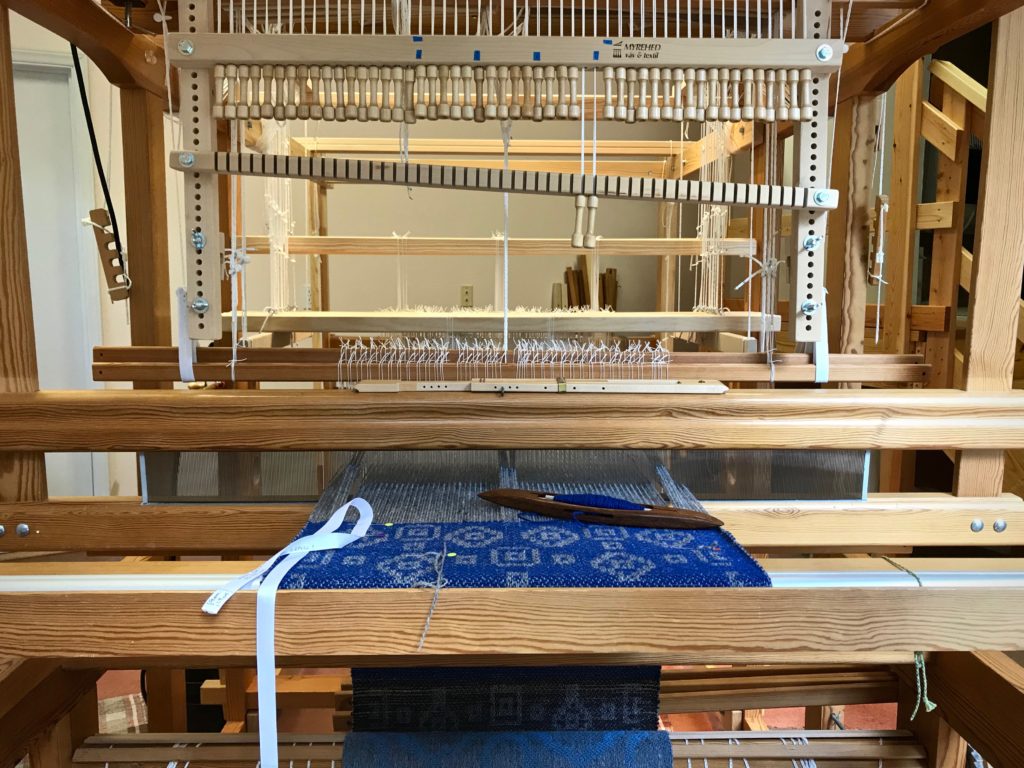
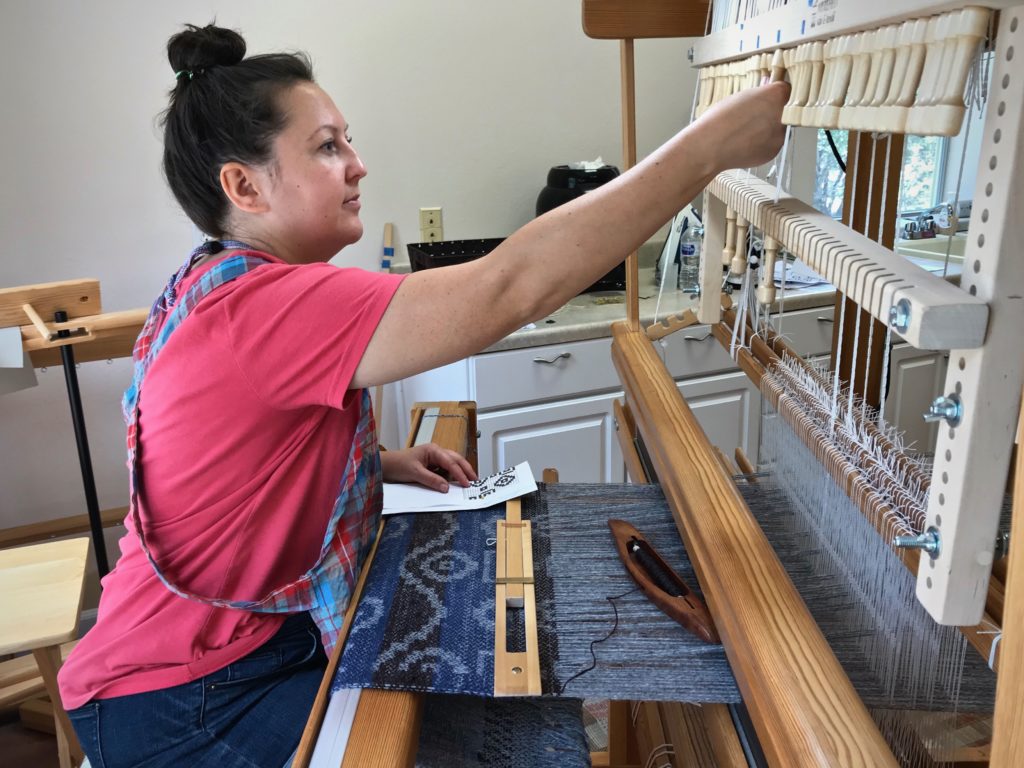
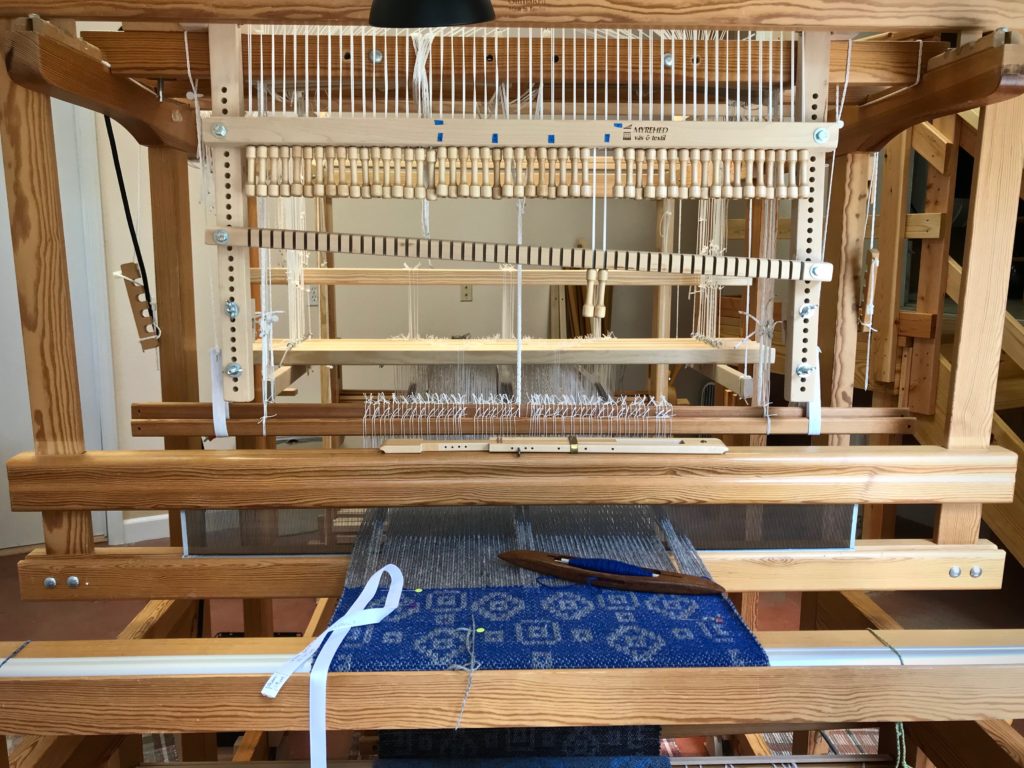
Drawloom with 16 pattern shafts.
Drawloom, set up with sixteen pattern shafts. I graph out the designs in Excel on my computer. Then, I print out the gridded pattern to use at the loom. I keep my place in the pattern with a magnet and magnet board made for cross-stitch embroidery.

This is Tuna wool, so I expect some shrinkage, but how much? I take careful measurements before and after wet finishing. Besides the main piece of fabric that I’m using for a garment, I have two sample pieces. I can experiment with the samples before wet finishing my garment fabric.

Here are my findings:
Sample 1. Hand wash and air dry.

10% shrinkage in width; 13% shrinkage in length.

Sample 2. Machine wash (3 minutes agitation on a gentle cycle, with a short spin) and machine dry (low setting) till damp, finish with air drying.

13% shrinkage in width; 14% shrinkage in length.

~How to do the shrinkage calculations~
First measurement (on the loom) minus the second measurement (after washing and drying) equals the difference. The difference divided by the first measurement equals the percentage difference.
For example, 50 cm – 43.5 cm = 6.5; 6.5 / 50 = 0.13; 13% shrinkage.

The first sample fabric is softer than the unwashed fabric, but not as soft as I’d like. The second sample fabric is beautifully soft, like a nice warm sweater. So, with confidence, I wet finish the garment fabric—with great results. It’s perfect for the fall/winter vest that I’ll soon be wearing, made from this fabric!
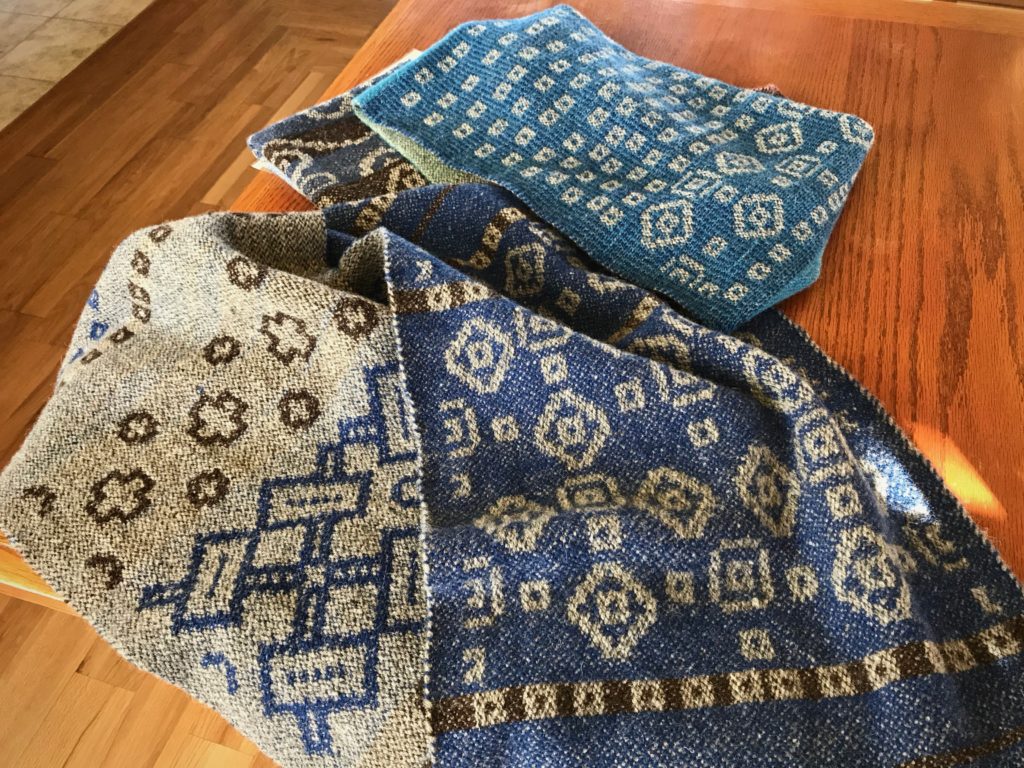
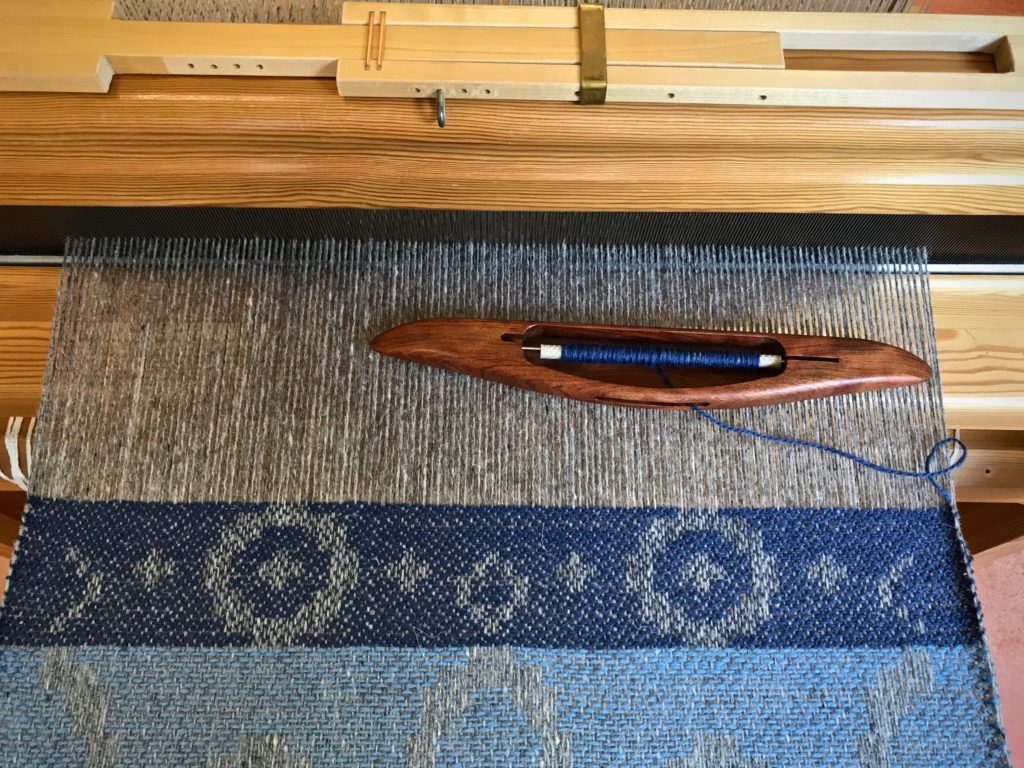
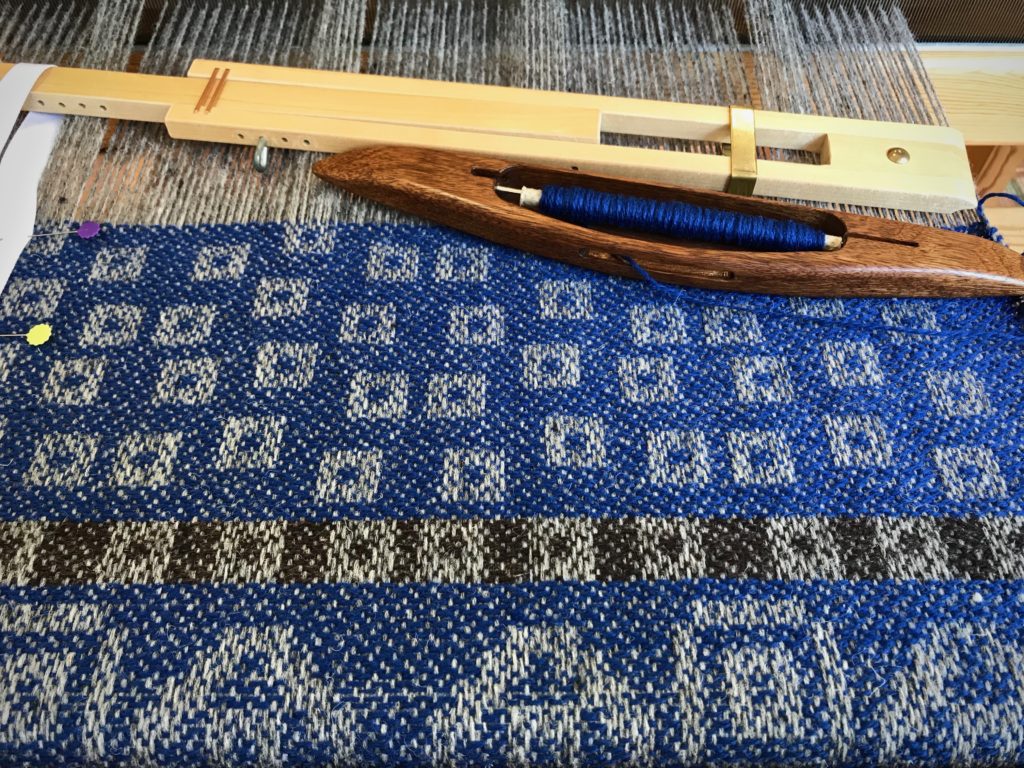
Wool garment fabric from a drawloom.
Like a sweater, this soft fabric will be comfortable to wear.
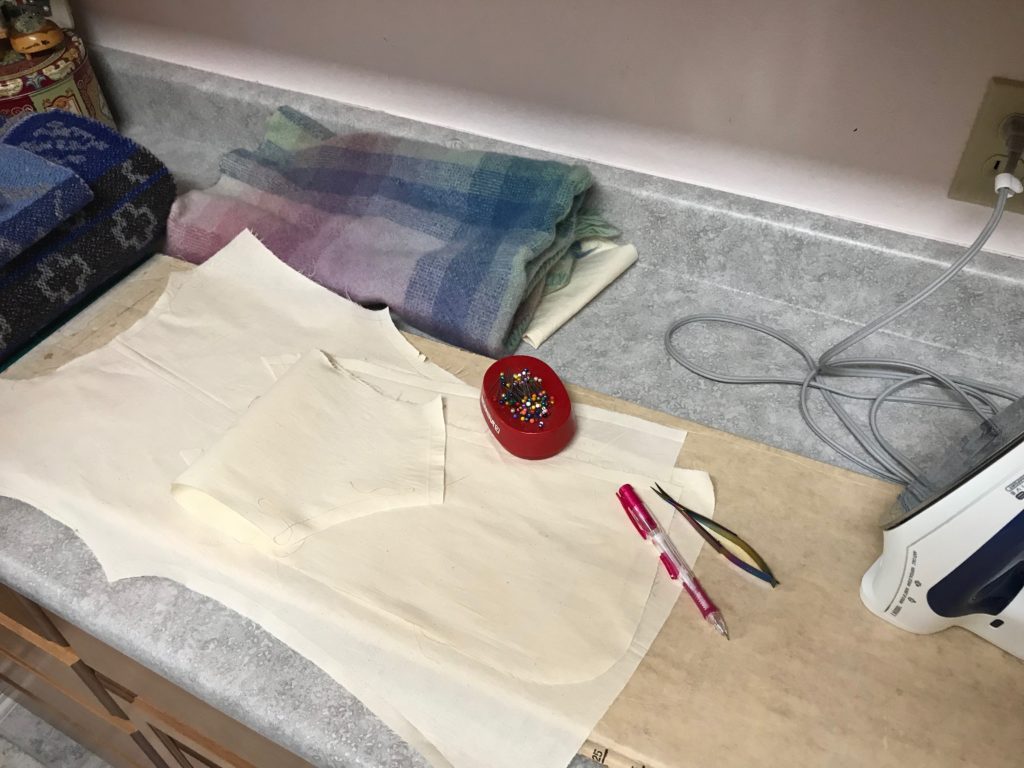
Making a pattern for handwoven garment fabric.
Muslin pattern for a simple vest. First, I’ll make a vest out of a wool throw, woven on my rigid heddle loom ages ago. Then, I will cut into the new drawloom fabric, with confidence about the fit.

Enjoy this photo show of the drawloom process.

May you enjoy the process you’re in.

Happy Weaving,
Karen

Tried and True: Five Reasons Sampling Makes Sense

Why sample? It means using more warp and weft. And it means waiting longer to start to the “real” project. What do I gain from it, anyway? Is it a waste of resources and time?

I can’t imagine putting on a warp that didn’t have room up front for sampling. There’s more than one reason to put on sufficient warp to weave a sample. It makes perfect sense, especially if there is anything new or unfamiliar about your planned project.

Five Reasons to Add Extra Warp for Sampling

Drawloom
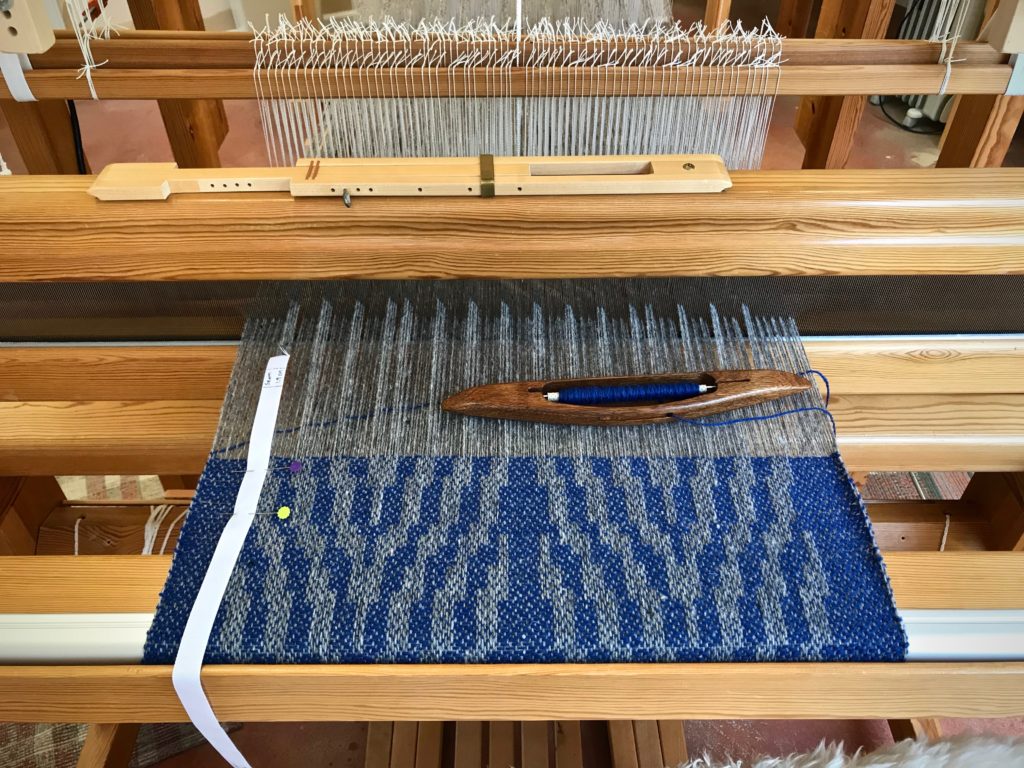
Sampling to test patterns, weft colors, and beat consistency, before starting on fabric for a garment.


1 Space to play. I want plenty of room to play, and to practice techniques that are new to me.
2 Room to try out designs. By weaving a portion of my designs, I am able to determine what works, and what adjustments need to be made.
3 Warp for testing weft colors. Only when woven can I see the full effect of each potential weft color.
4 Time to gain a consistent beat. When I start the main project, I want to have woven enough to be able to “feel” how firmly or softly I need to move the beater.
5 The best reason of all! It’s always good to have enough warp on the loom that you can invite friends and family to enjoy some weaving time. …Before your main project is in progress.

Drawloom
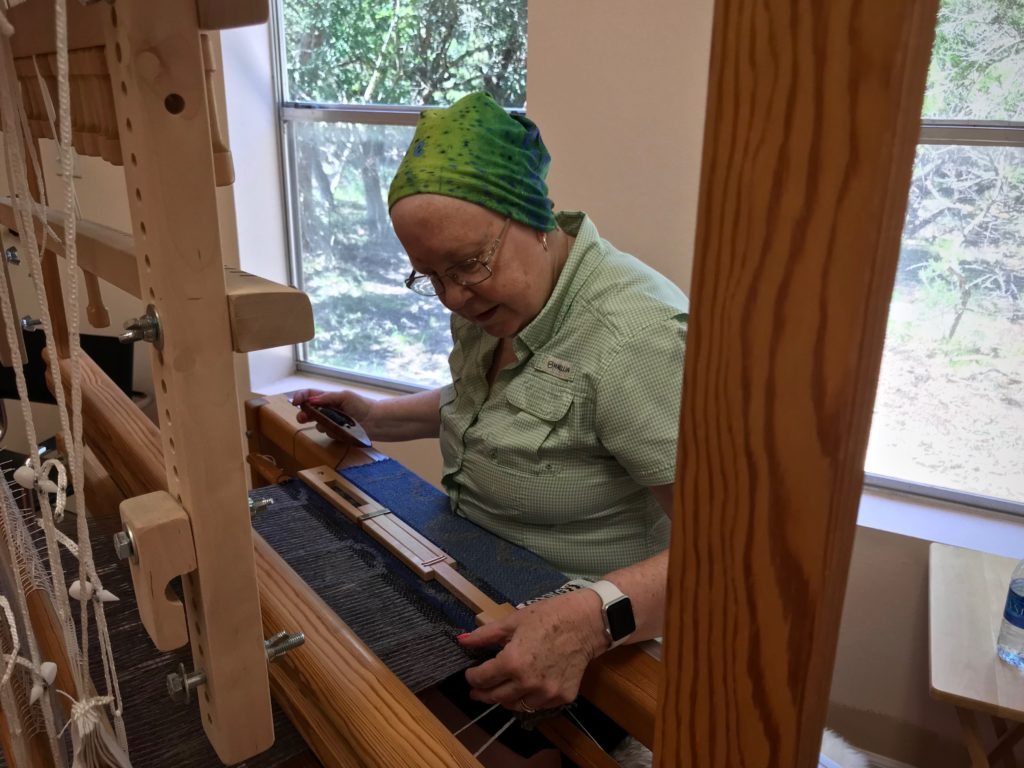
My weaving friend Betsy came over to see what it is like to weave on a drawloom.
Drawloom
My daughter Melody came for a visit and wanted to see what it was like to weave on a drawloom.
Drawloom, making garment fabric.
Garment fabric. This is to be used for two side panels of a vest I plan to make for myself.
Drawloom, making garment fabric.
This is to be the back panel of the vest.
Drawloom, making garment fabric.
This is the beginning of the front panels for the vest.

May you give yourself room to play.

Yours truly,
Karen

Weaving through The Big Book

It took me seven years of study, practice, and mistakes to complete this rigorous Swedish weaving curriculum! You have been with me through much of it right here. I’m talking about The Big Book of Weaving, by Laila Lundell. I made it through the book, sequentially, page by page, warp by warp. 43 warps in all! Remember the blue 12-shaft double-weave blanket I had on the loom in June? That is the final project in the book.

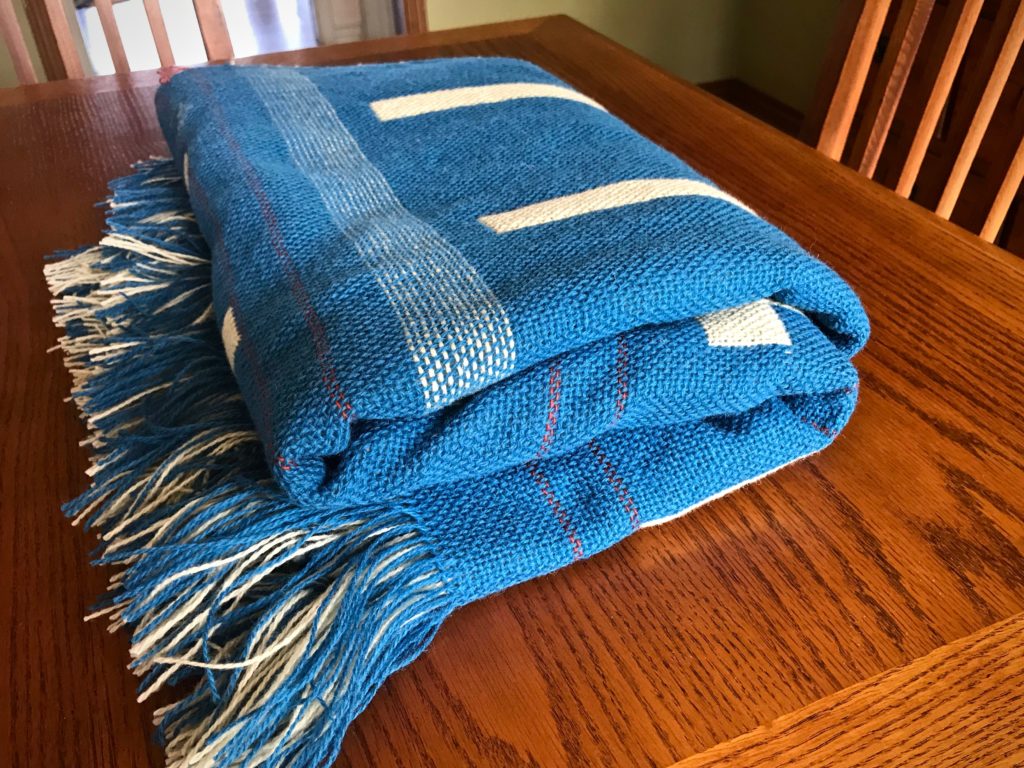
Handwoven double weave blanket. 12 shafts.
Double-weave wool fabric is ready for wet finishing, where it will be transformed into a soft, cozy blanket.

In the short video below, each completed project is presented in order in our Texas hill country home. Watch to the end to see the blue blanket in all its finished glory.

For nitty-gritty details, check out The Big Book of Weaving tab at the top of the page.

I. Secrets to success:

  • mindset of a student
  • determination
  • eyes on the goal
  • no option other than completion

One loom dedicated to the book.


II. Lessons learned:

  • technique
  • processes
  • planning
  • drafting
  • Swedish practices

Any mistake can be remedied.


III. Treasures gained:

  • patience
  • humility
  • endurance
  • focused attention
  • problem solving
  • creative freedom

Confidence.


IV. Prized perspectives:

  • new experiences
  • delight of dressing the loom
  • wonder of cloth-making
  • fresh ideas
  • joy of discovery
  • knowledge and understanding of the loom

Getting lost and absorbed in the whole process of weaving.

V. Favorite project: Old-Fashioned Weaving / Monksbelt (at 4:46 in the video)

Are we determined students of heavenly things? Oh, to know God’s will! Study what’s written, don’t lose heart, eyes on the prize, no option besides completion through Jesus Christ. One life dedicated to know him. Day by day, warp by warp, the Grand Weaver teaches us. We can know God’s will.

May you be a lifelong learner.

Happy Weaving to you,
Karen

One Thing on My Weaving Bucket List

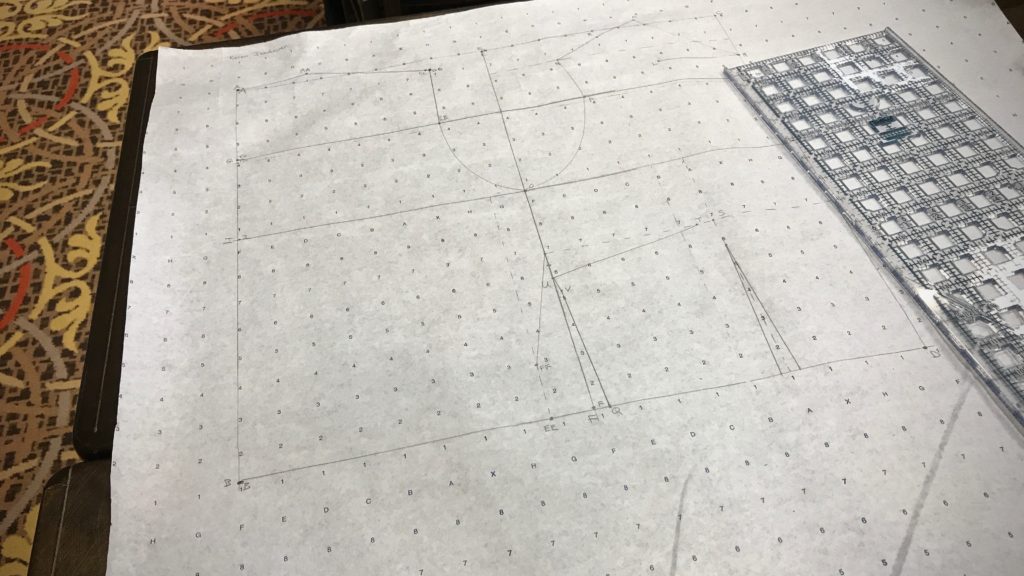
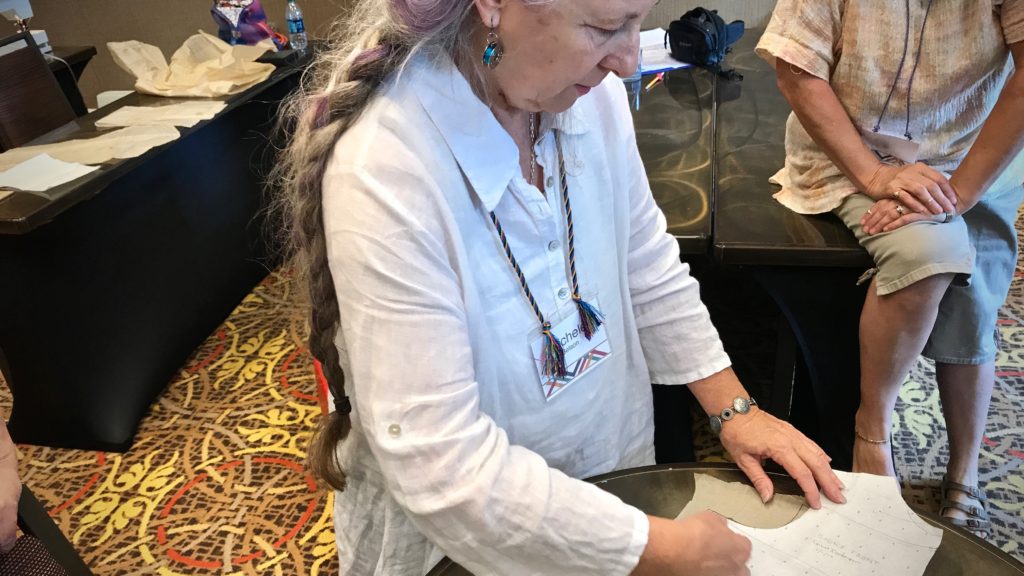
I have a weaving “bucket list.” Making a handwoven jacket is on that list. I took a step toward that dream with Michele Belson’s (of Lunatic Fringe Yarns) workshop on pattern drafting last week. This Contemporary Handweavers of Texas Conference workshop was exactly what I needed.

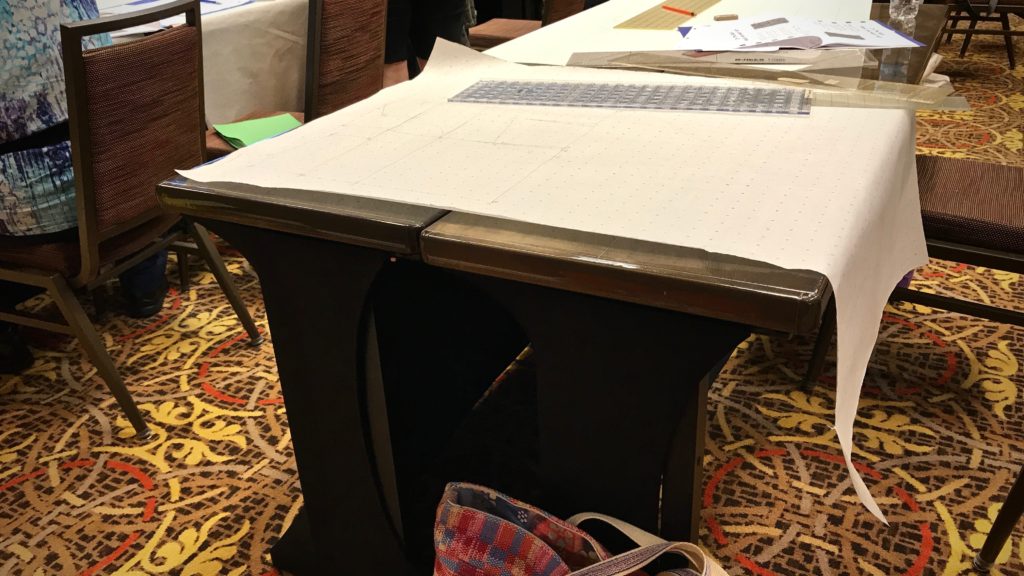
Michele Belson's workshop. Body block pattern drafting.
Taking precise body measurements is the first step in making a body block pattern draft. The measurements are then transferred to the pattern paper in a systematic way. My handwoven “Mary Poppins” bag on the floor holds all my supplies for the day.

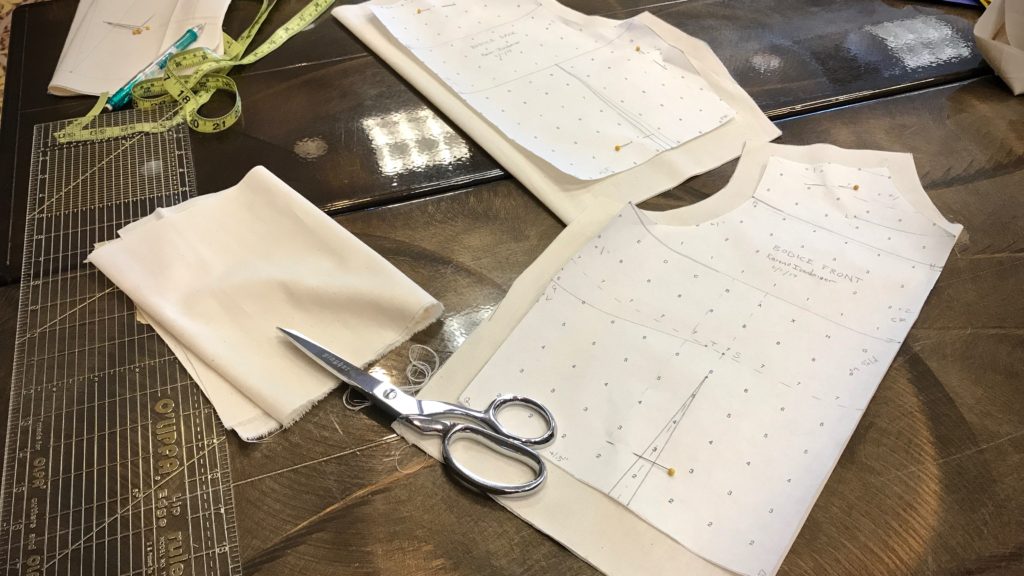
Making body block pattern draft in Michele Belson's workshop.
Front and back bodice patterns in progress.

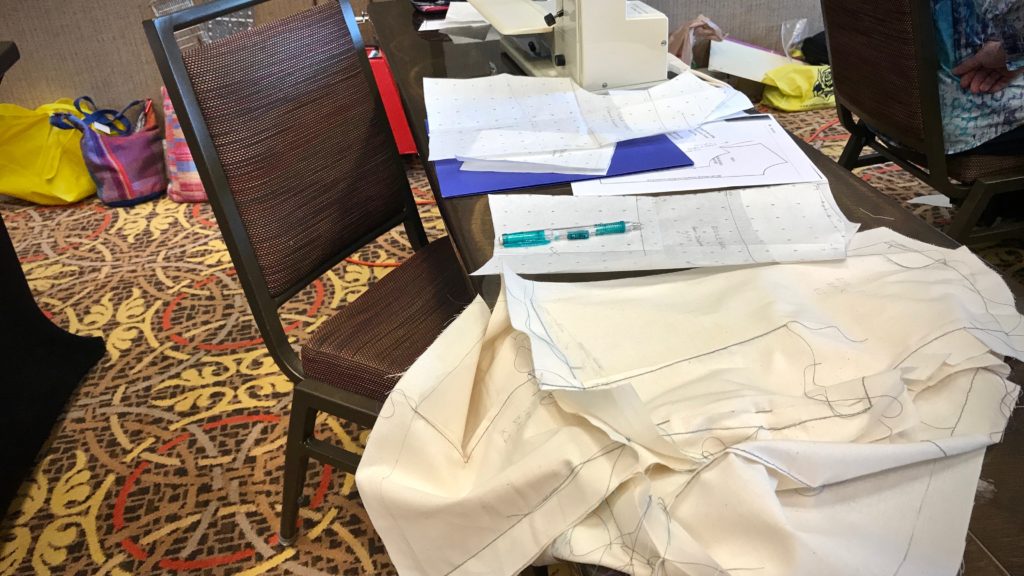
Making a muslin in Michele Belson's workshop.
Making a muslin by transferring pattern markings and adding seam allowances.

I can weave fabric for a jacket. And I have sewing skills to sew a jacket. But the fitting! That’s been the missing link for me. And who wants to cut into handwoven fabric when the fit is not a sure thing?

Making a muslin from a body block pattern draft in Michele Belson's workshop.
Muslin pieces are sewn together so the bodice can be fitted.

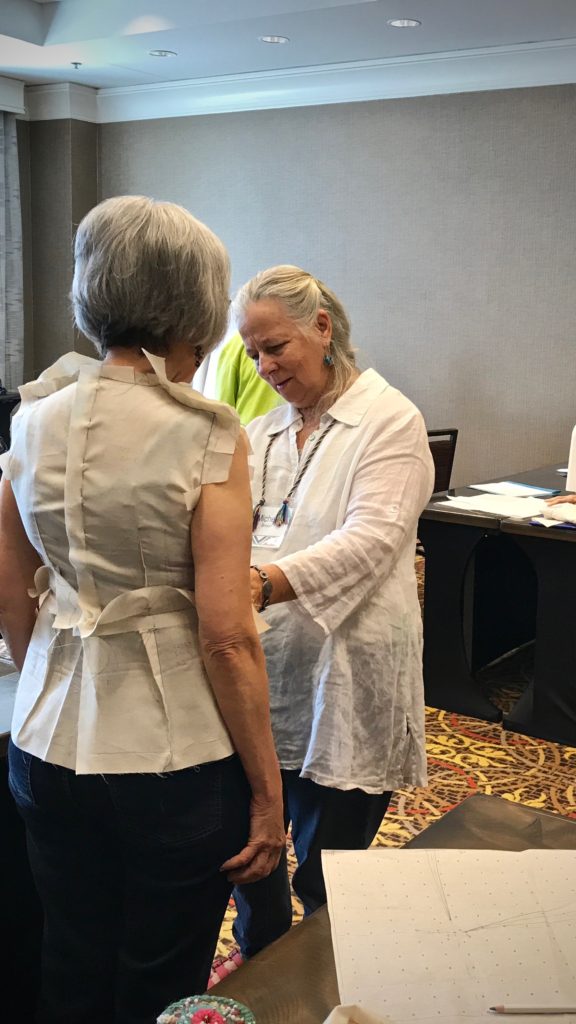
Fitting a muslin in Michele Belson's workshop.
Michele Belson checks the fit of the muslin. After some small adjustments, she pronounces it a perfect fit! Ease will be added, suitable to the garment being made, when the time comes to make a garment pattern.

Adjusting a commercial sewing pattern in Michele Belson's workshop.
Michele demonstrates how to use the finished body block pattern draft to adjust the fit of a commercial pattern.

Mindful attention to details. Processing information to apply it to the work in your hands. Learning a glossary of terms. Combining new skills with old ones. Listening, with an intent to understand. These are elements of wisdom. Think of the created world around us. Look at the detail, complexity, and beauty in it. Is it any surprise that our Creator is the source of wisdom? Wisdom is the key to skillful work. And, as always, it must be applied and practiced. I will certainly practice fitting and sewing. And then, when it’s time, I’ll weave jacket fabric, and let wisdom guide me in cutting it.

I’m curious, do you have a weaving bucket list, too?

May you cross something off your bucket list.

Happy sewing,
Karen

In My Rigid Heddle Days

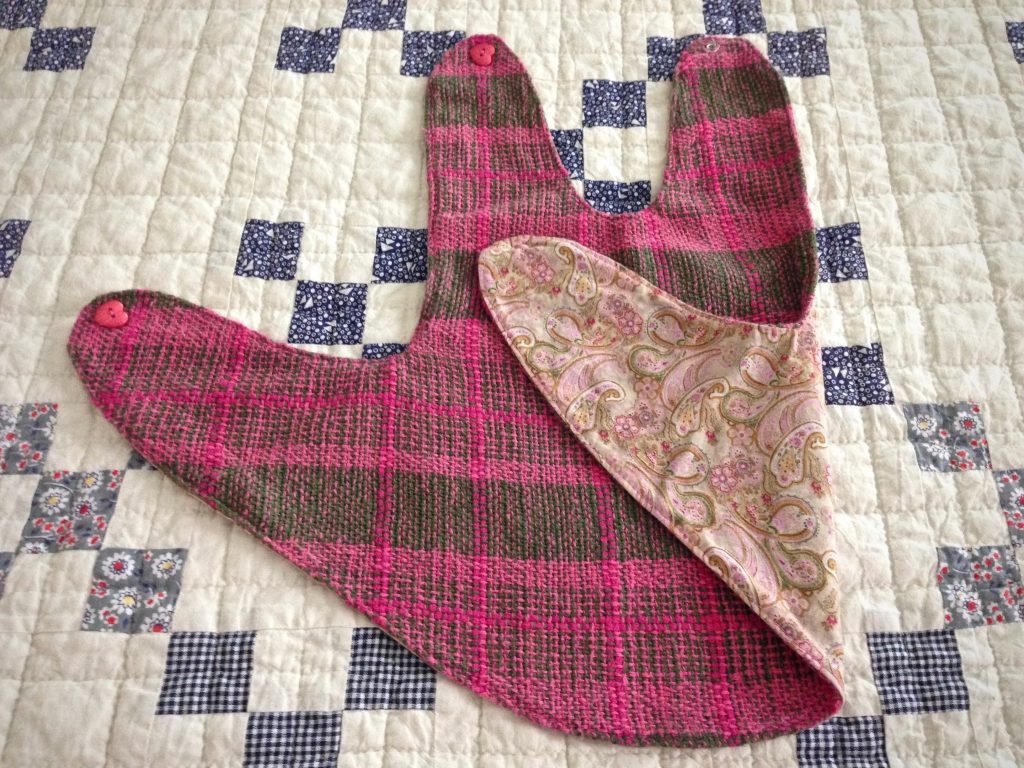
My grandmother made a sweet little pinafore that my sisters and I wore when we were babies–each in our own time. Several years ago I came across that simple little “apron,” and made a pattern from it. My first granddaughter received the little pinafore from me almost six years ago, made from fabric I wove on my rigid heddle loom. Now, this little pink and green pinafore is being handed down to my expectant daughter, for her little baby girl, due this summer. And her baby will have the prettiest handwoven burping towel (or light little blanket) any baby has ever had. Nothing is too good for a grandbaby, right?

Baby girl pinafore made from handwoven fabric. Rigid heddle loom.
Fabric woven on a rigid heddle loom is used to make a baby girl’s pinafore. The pinafore pattern came from my grandmother’s handiwork. The background quilt shows more of my grandmother’s skill with fabric, needle, and thread.

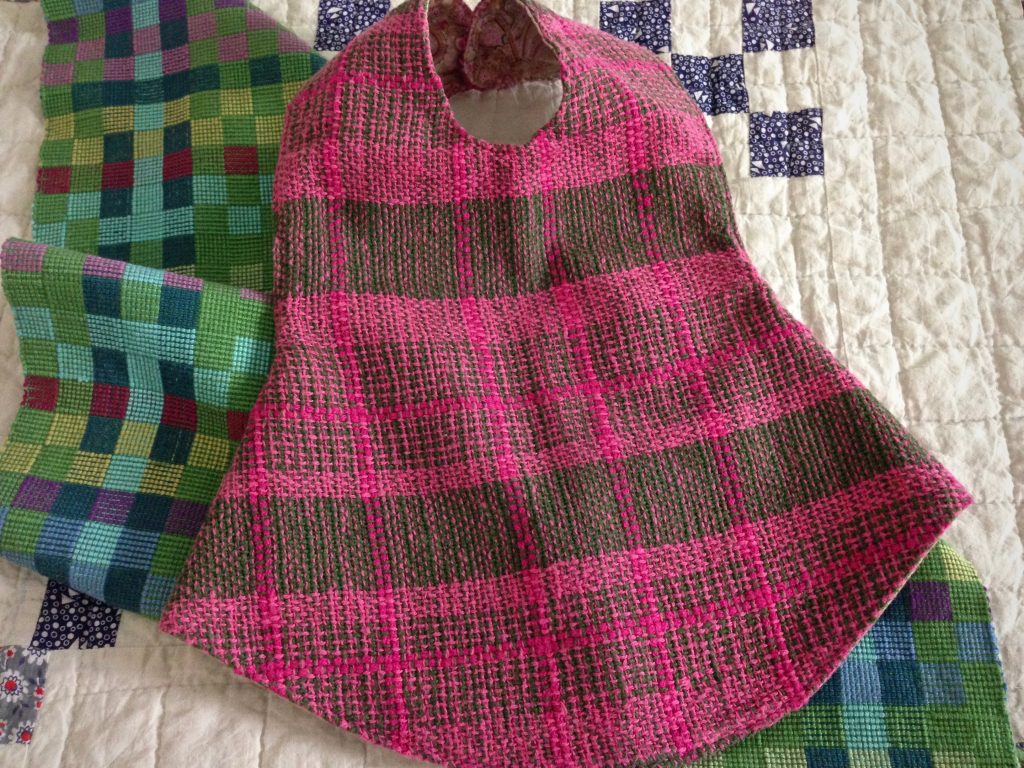
Baby towel and baby pinafore. Handwoven.
Handwoven towel and pinafore. Fit for a little princess.

I want to give something more important than things to my grandchildren. I want to give them the stories of the wonders God has performed in my lifetime. The stories that connect one generation to another. The stories that are woven from ancient stories. Pass down the ancient stories. Weave the threads that the child can wear for life.

May your children’s children remember your stories.

Blessings,
Karen