New year 2017 is beginning! It’s time again to take account of where we stand in our life’s dreams and goals. What can we check off the list? And, what is still in progress? And, maybe there’s something new to add. But first, let me count my blessings. I’m filled with gratitude, thankful for you! What a JOY it is to have friends like you to walk through this weaving journey with me.
Here’s what you’ll find on my looms right now:
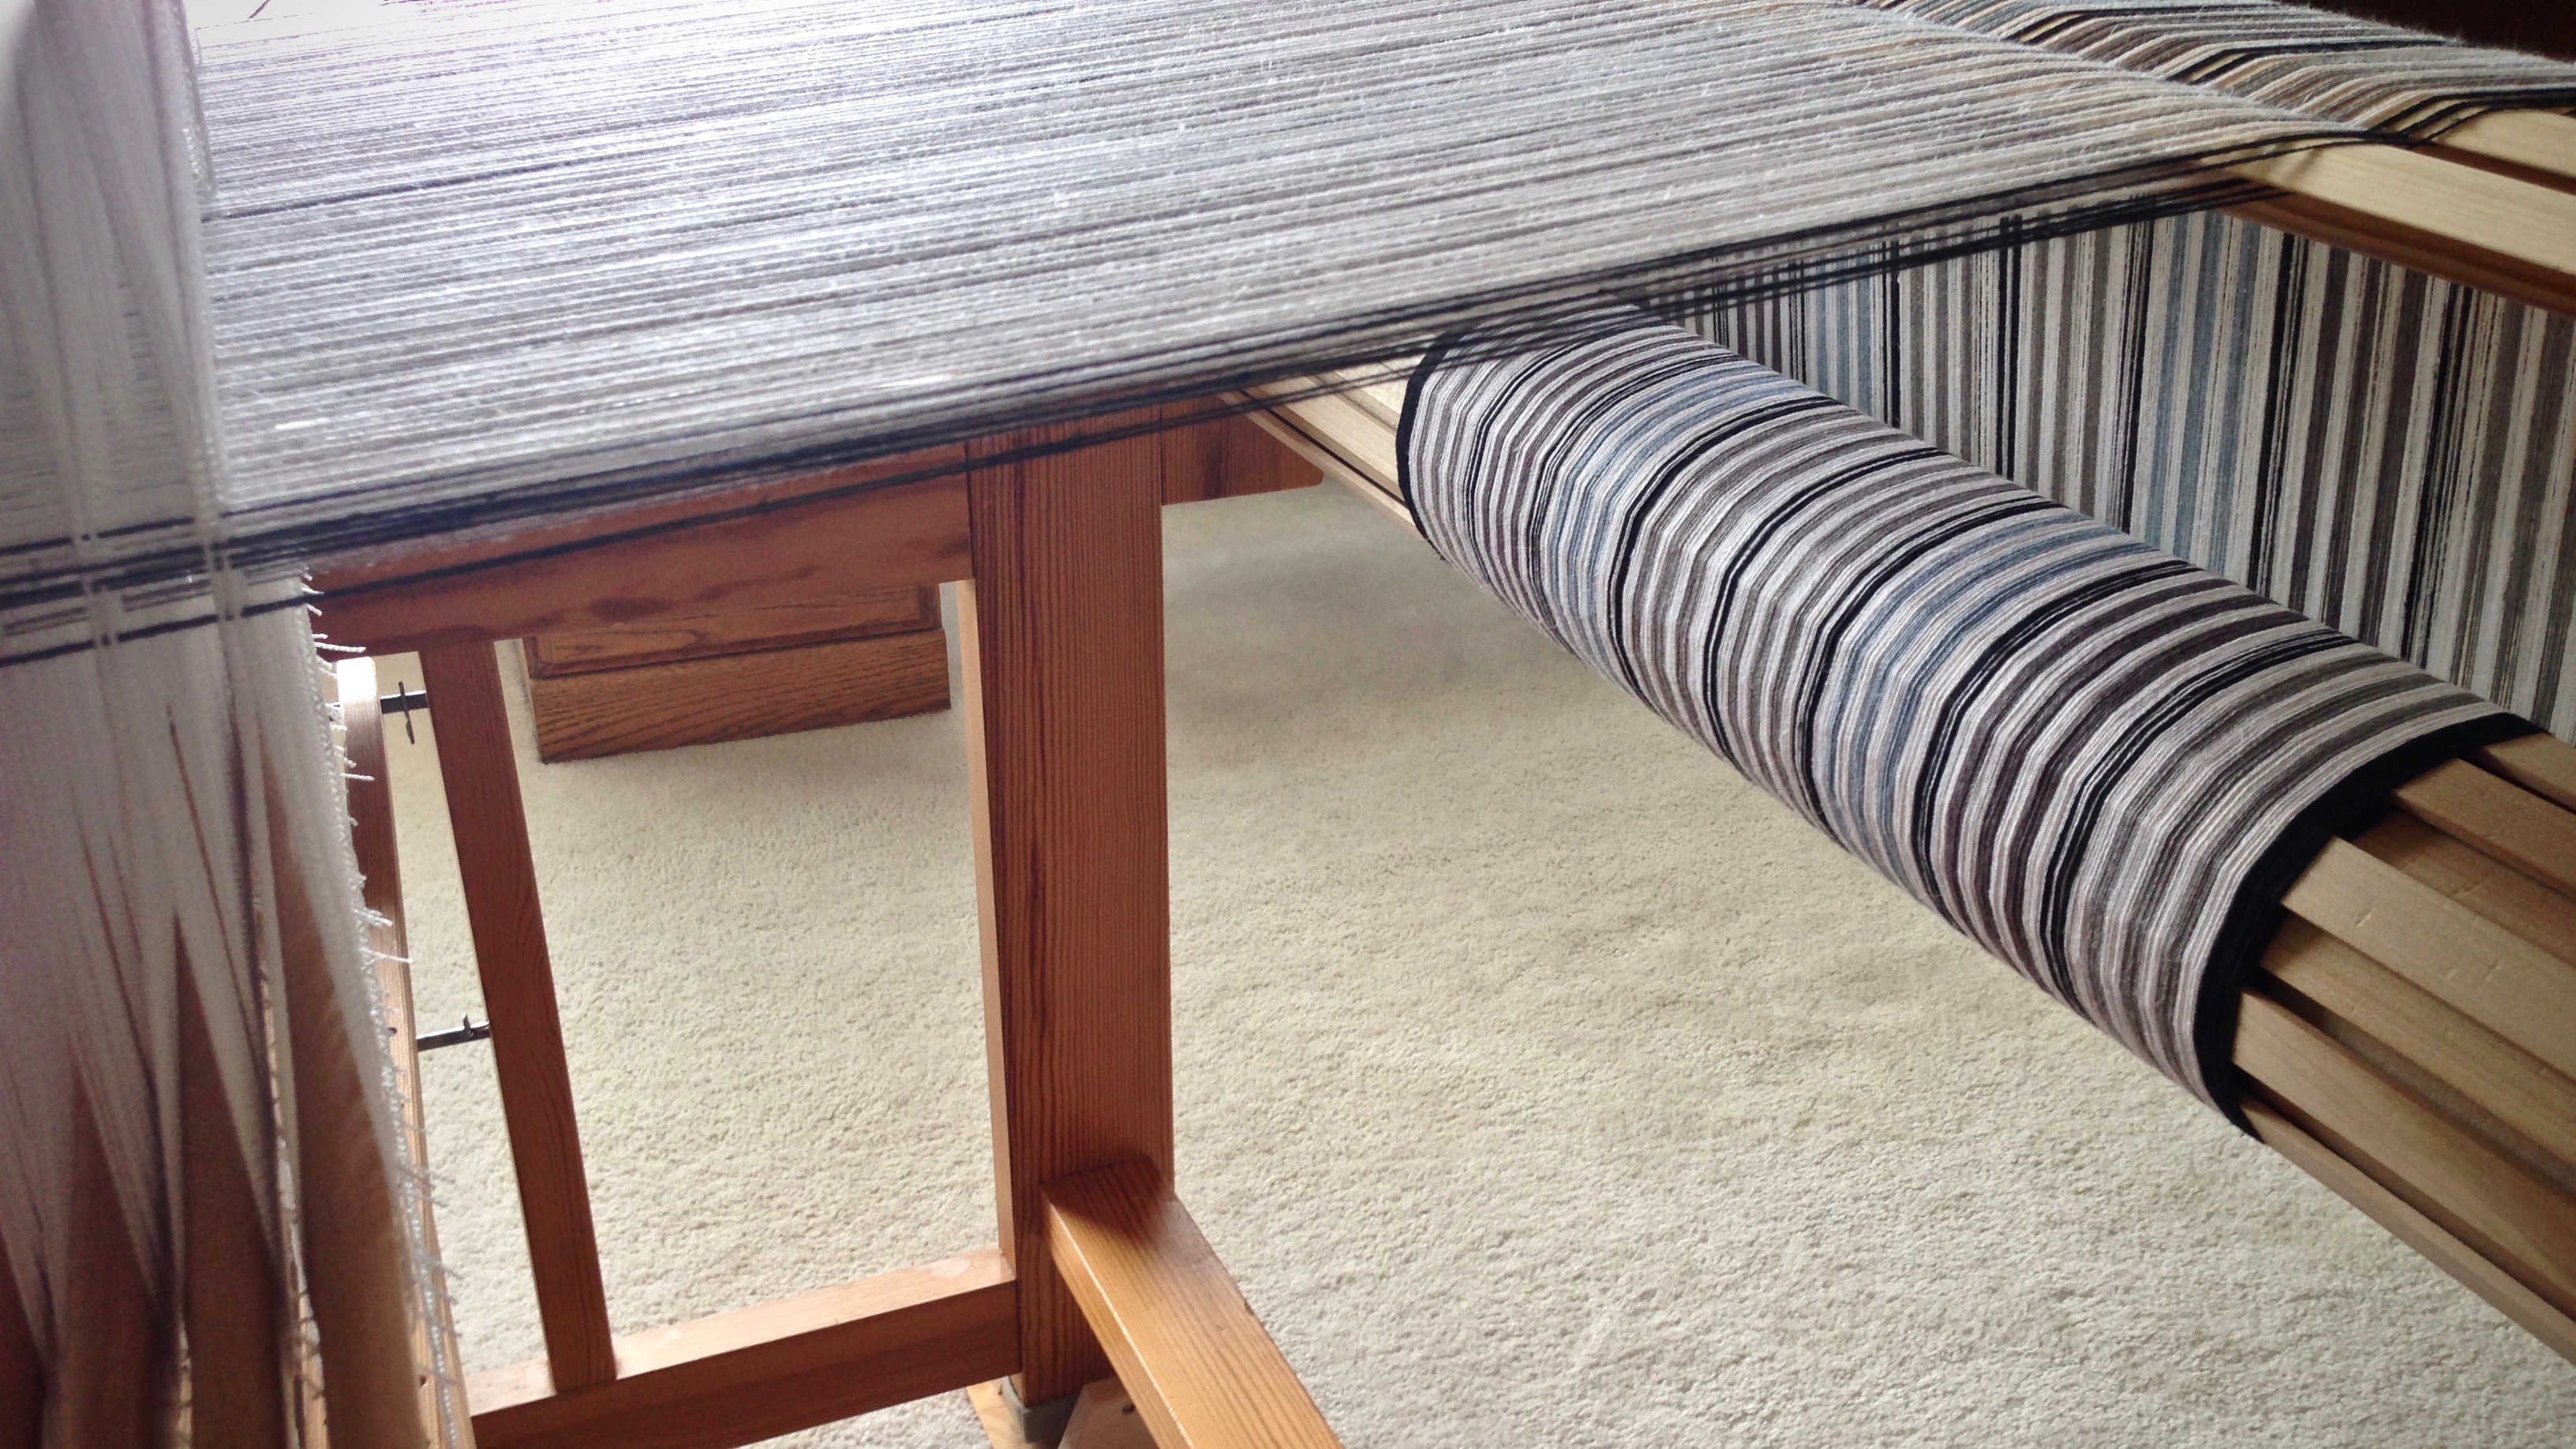
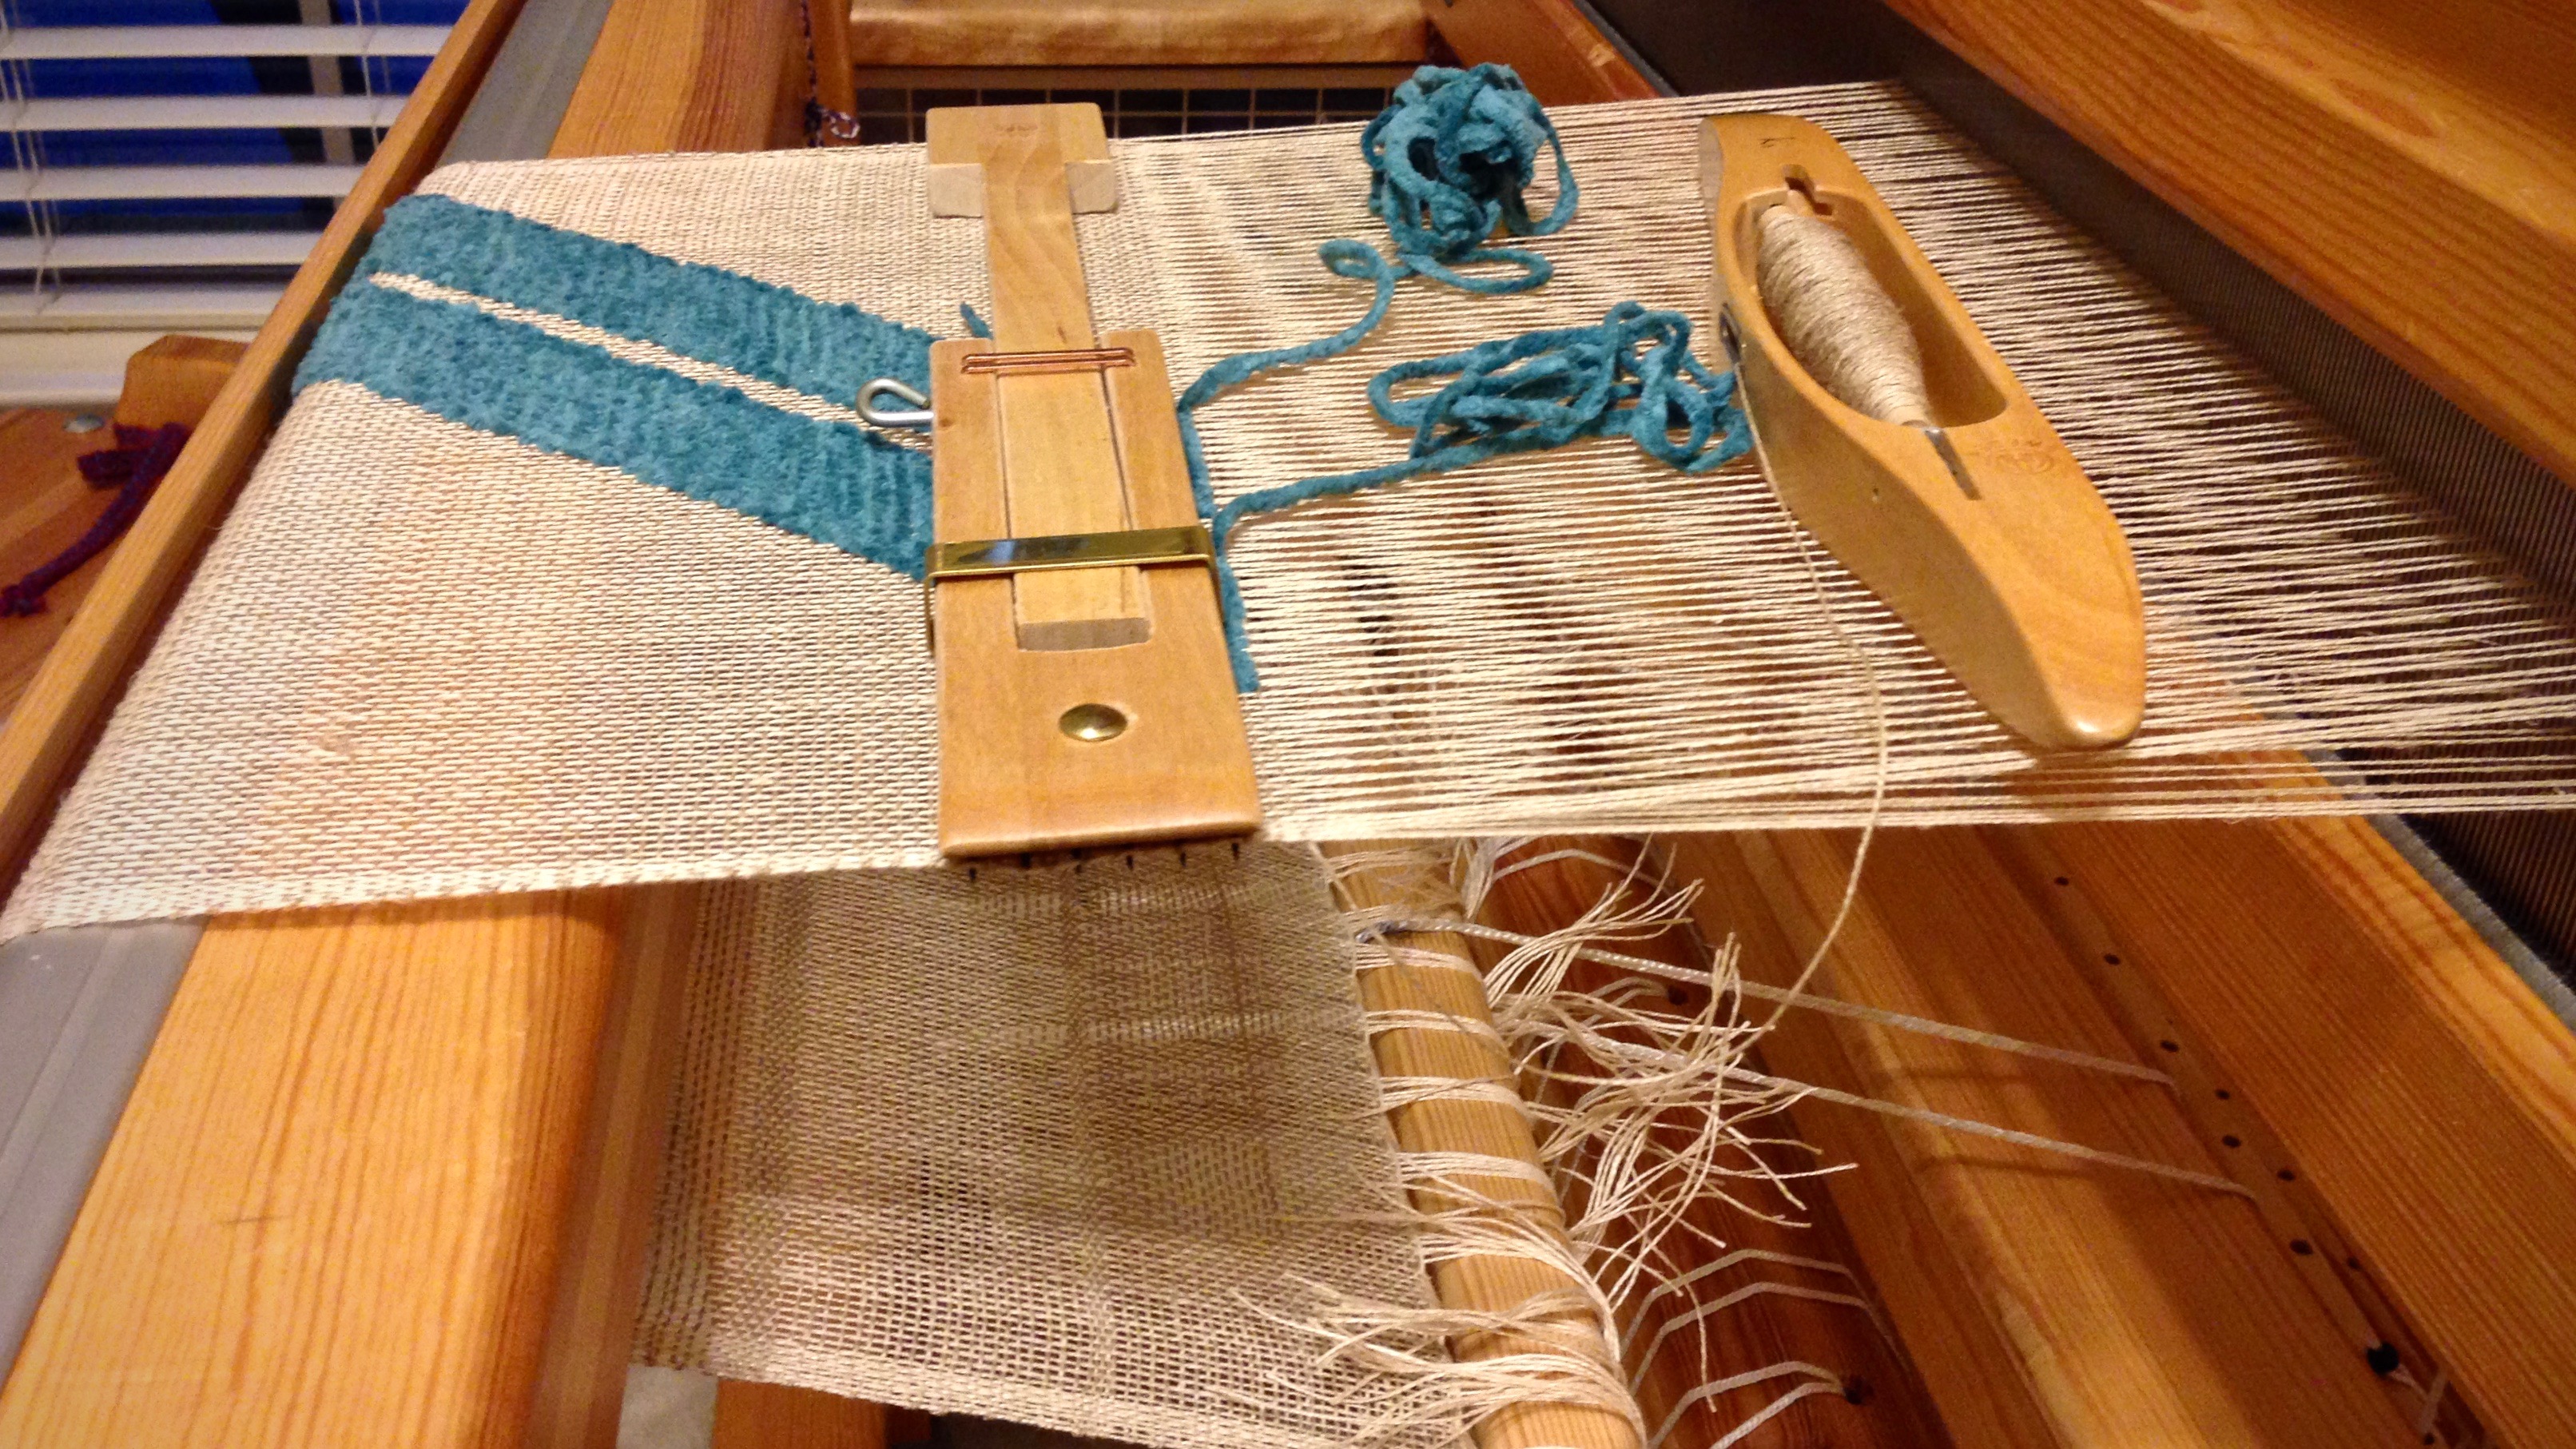
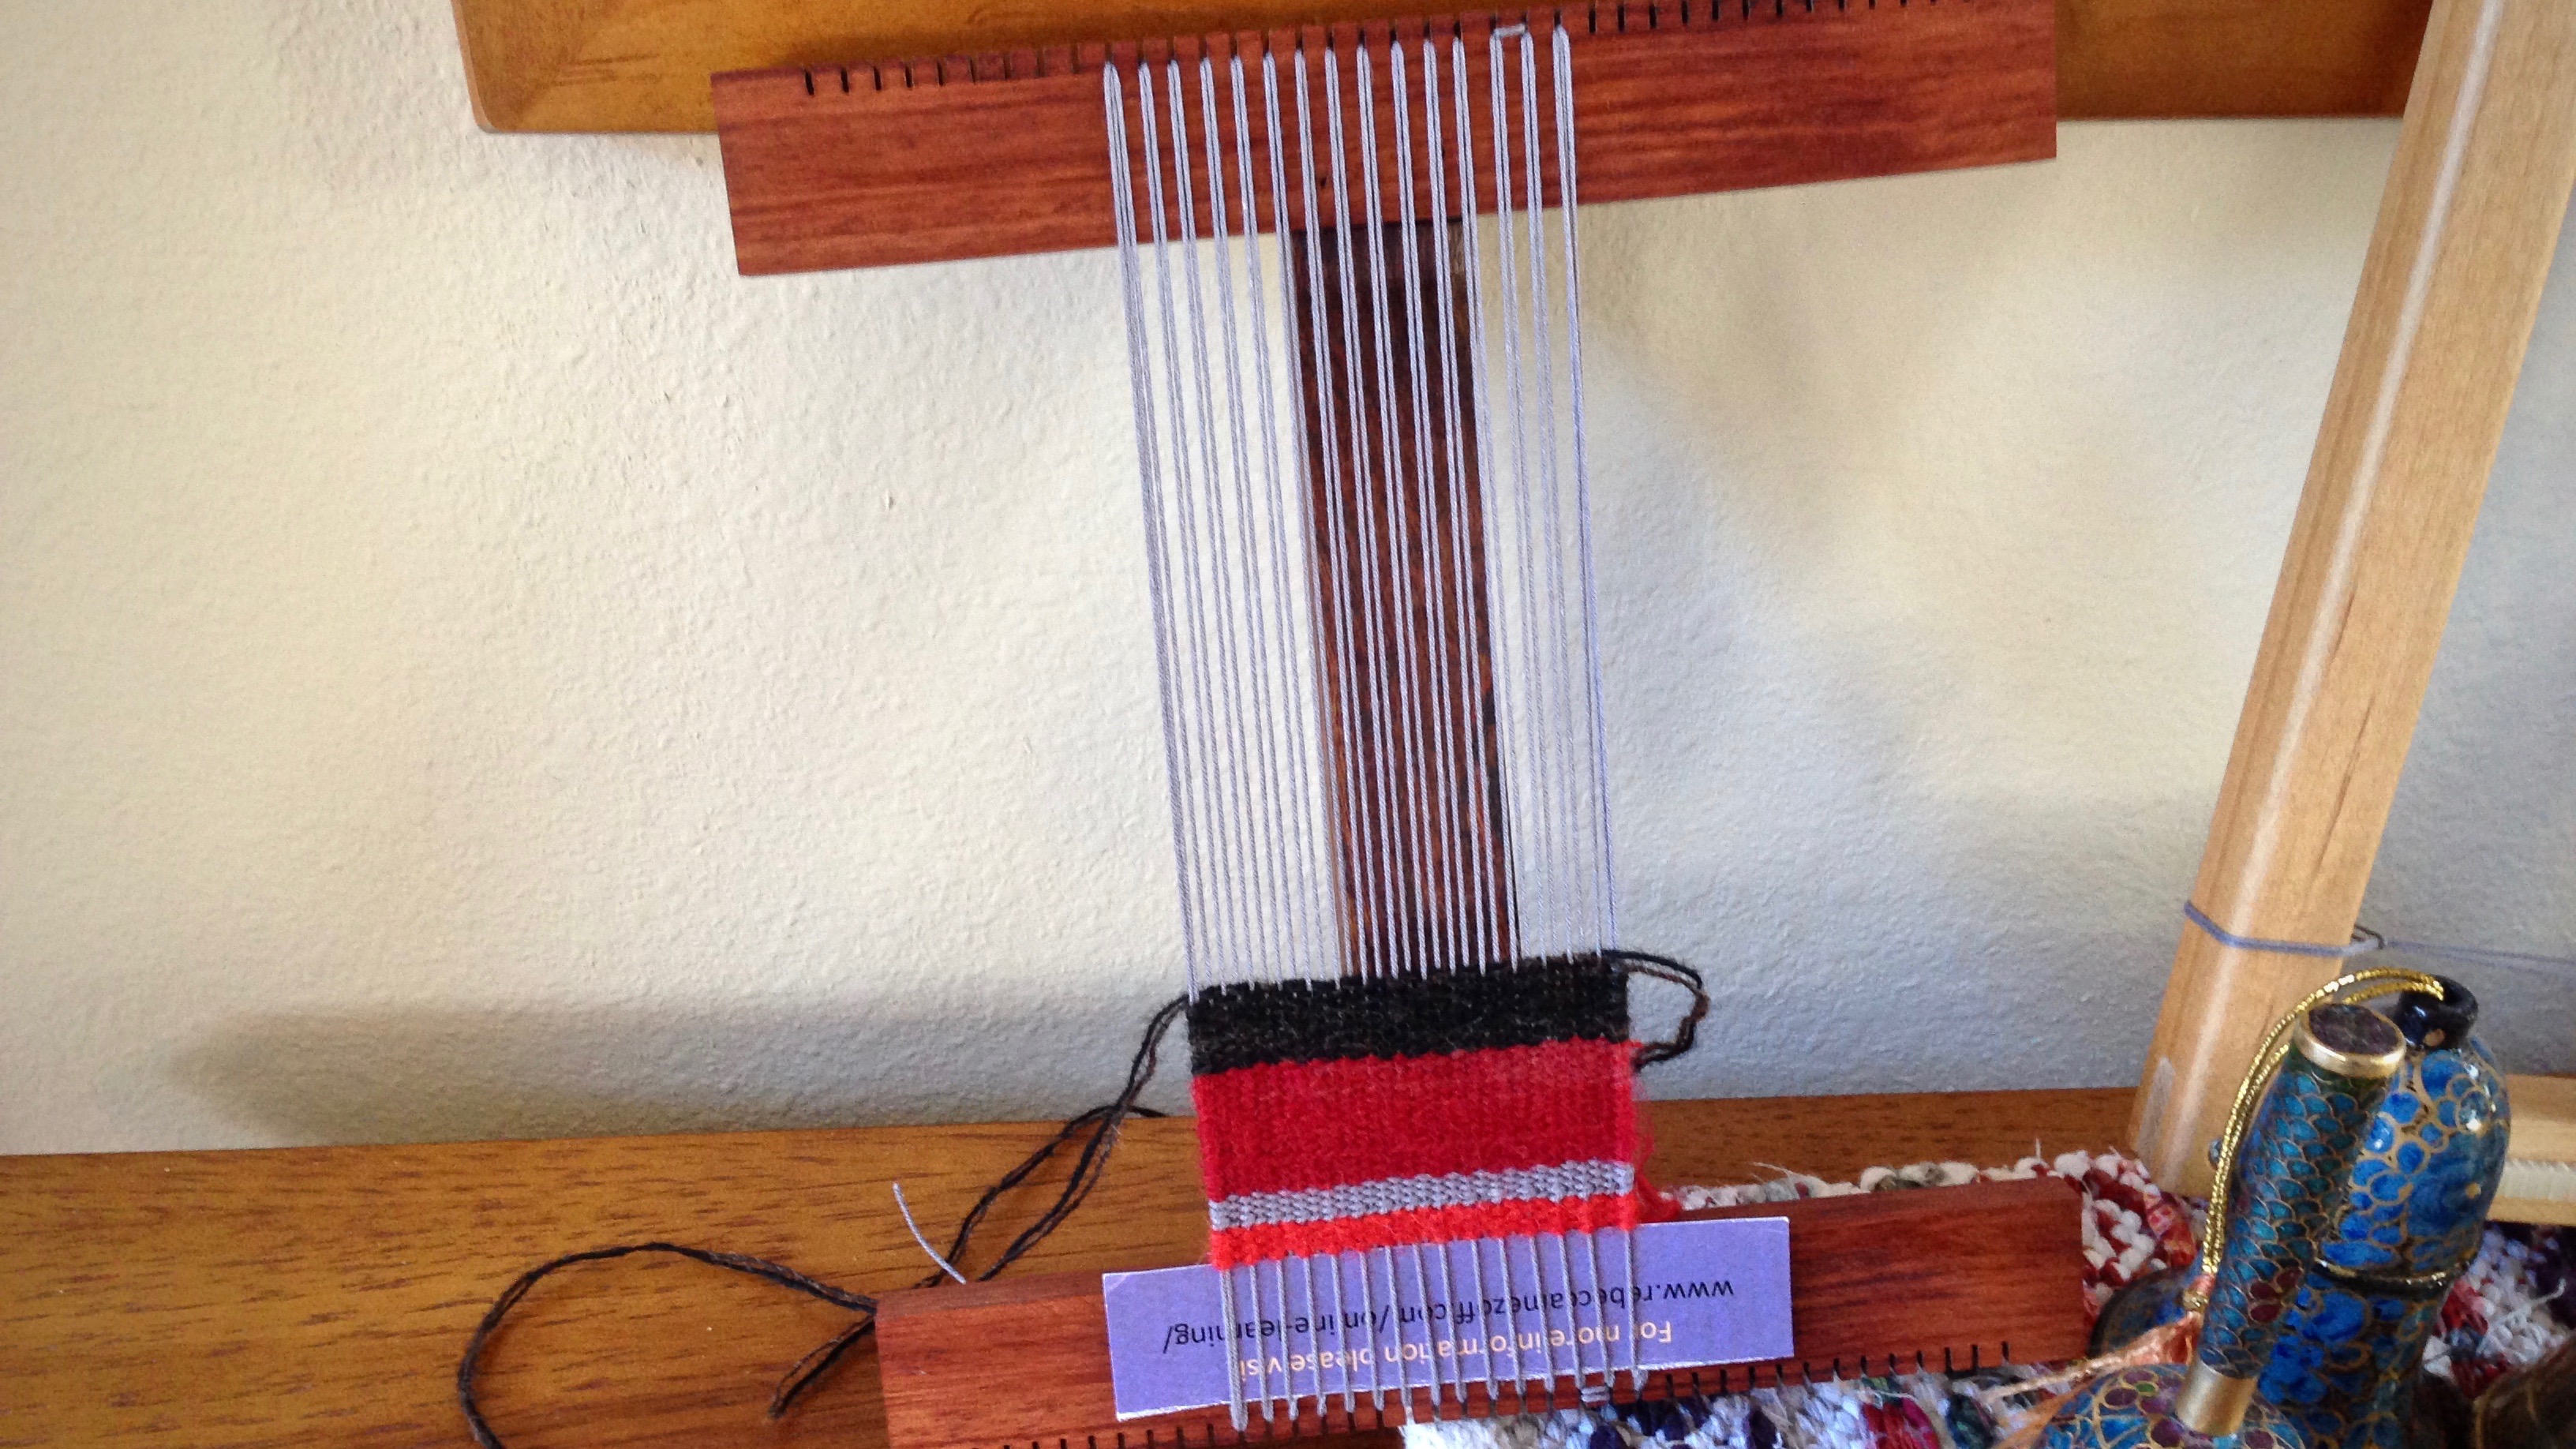
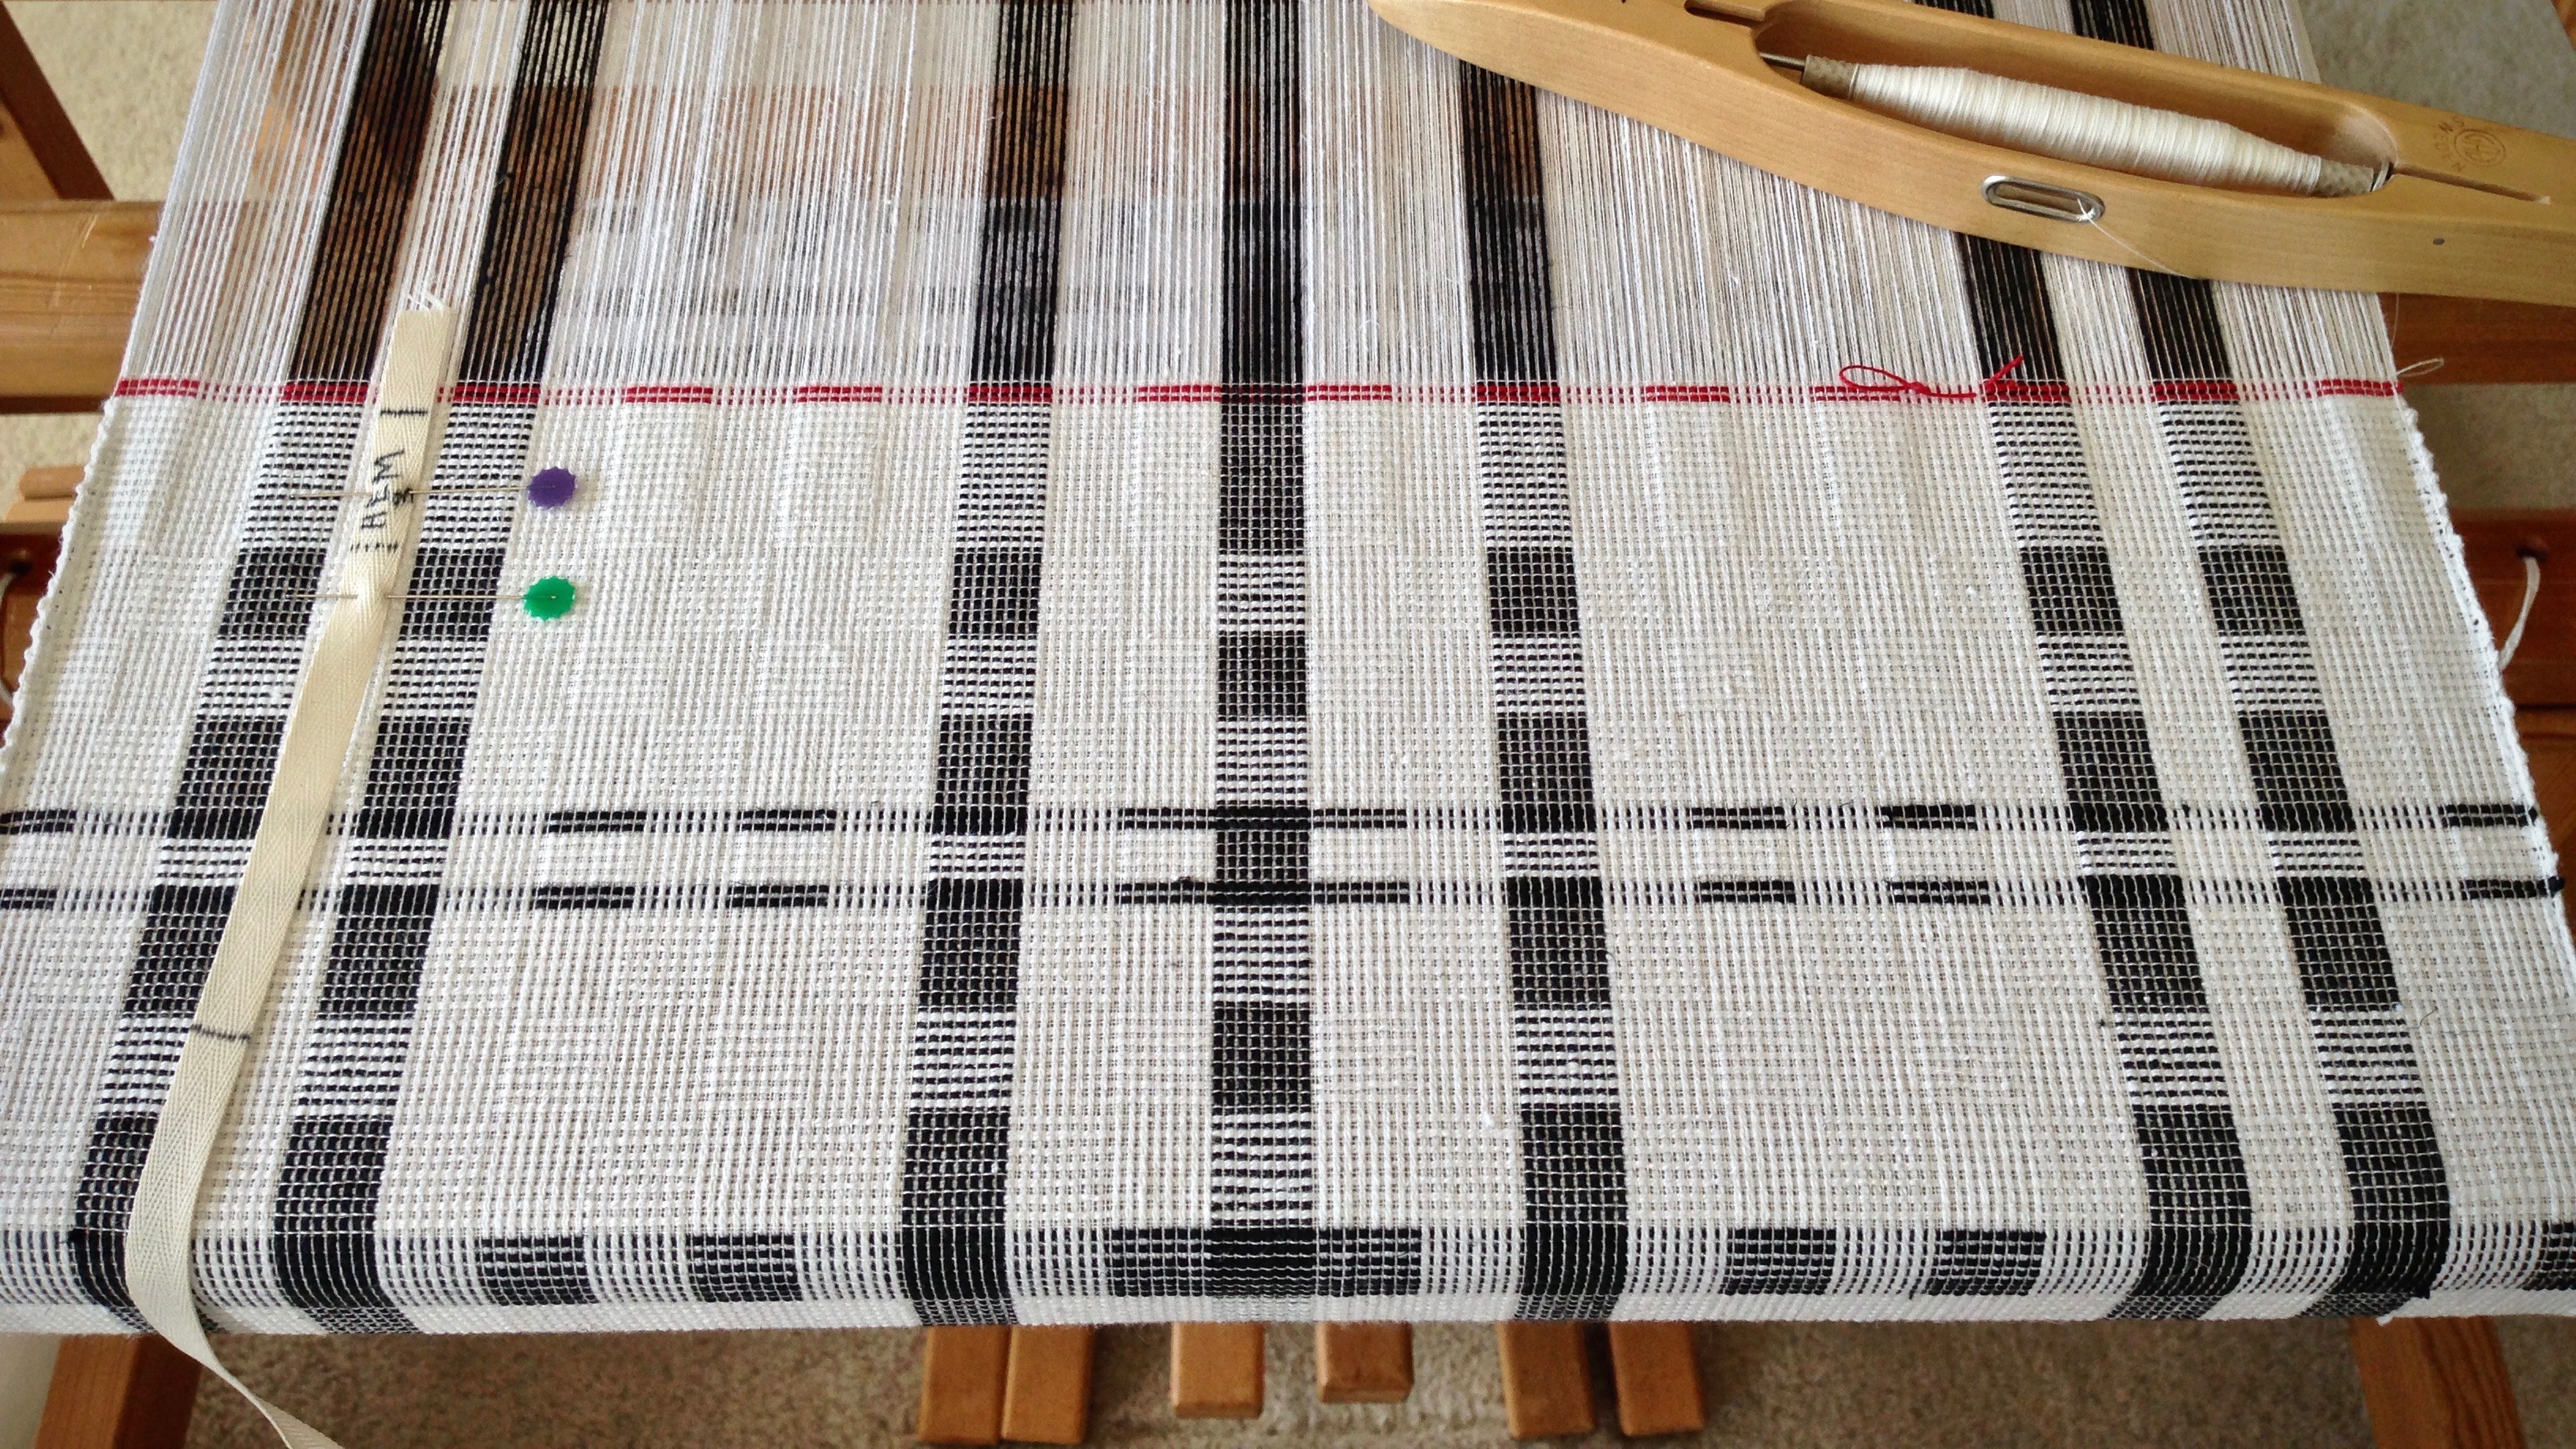
Glimåkra Ideal loom: Striped warp for the sample kit is all set! Winding quills is next. Then, weaving! If all goes well, a few pre-warped plattväv towel kits will show up in my Etsy shop.Glimåkra Standard loom: Weaving a transparency. 16/2 linen warp and background weft. The weft pattern inlay is cotton chenille.Hokett loom has the start of a simple stripes tapestry practice piece. 12/6 cotton warp, 6/1 Fåro wool weft.
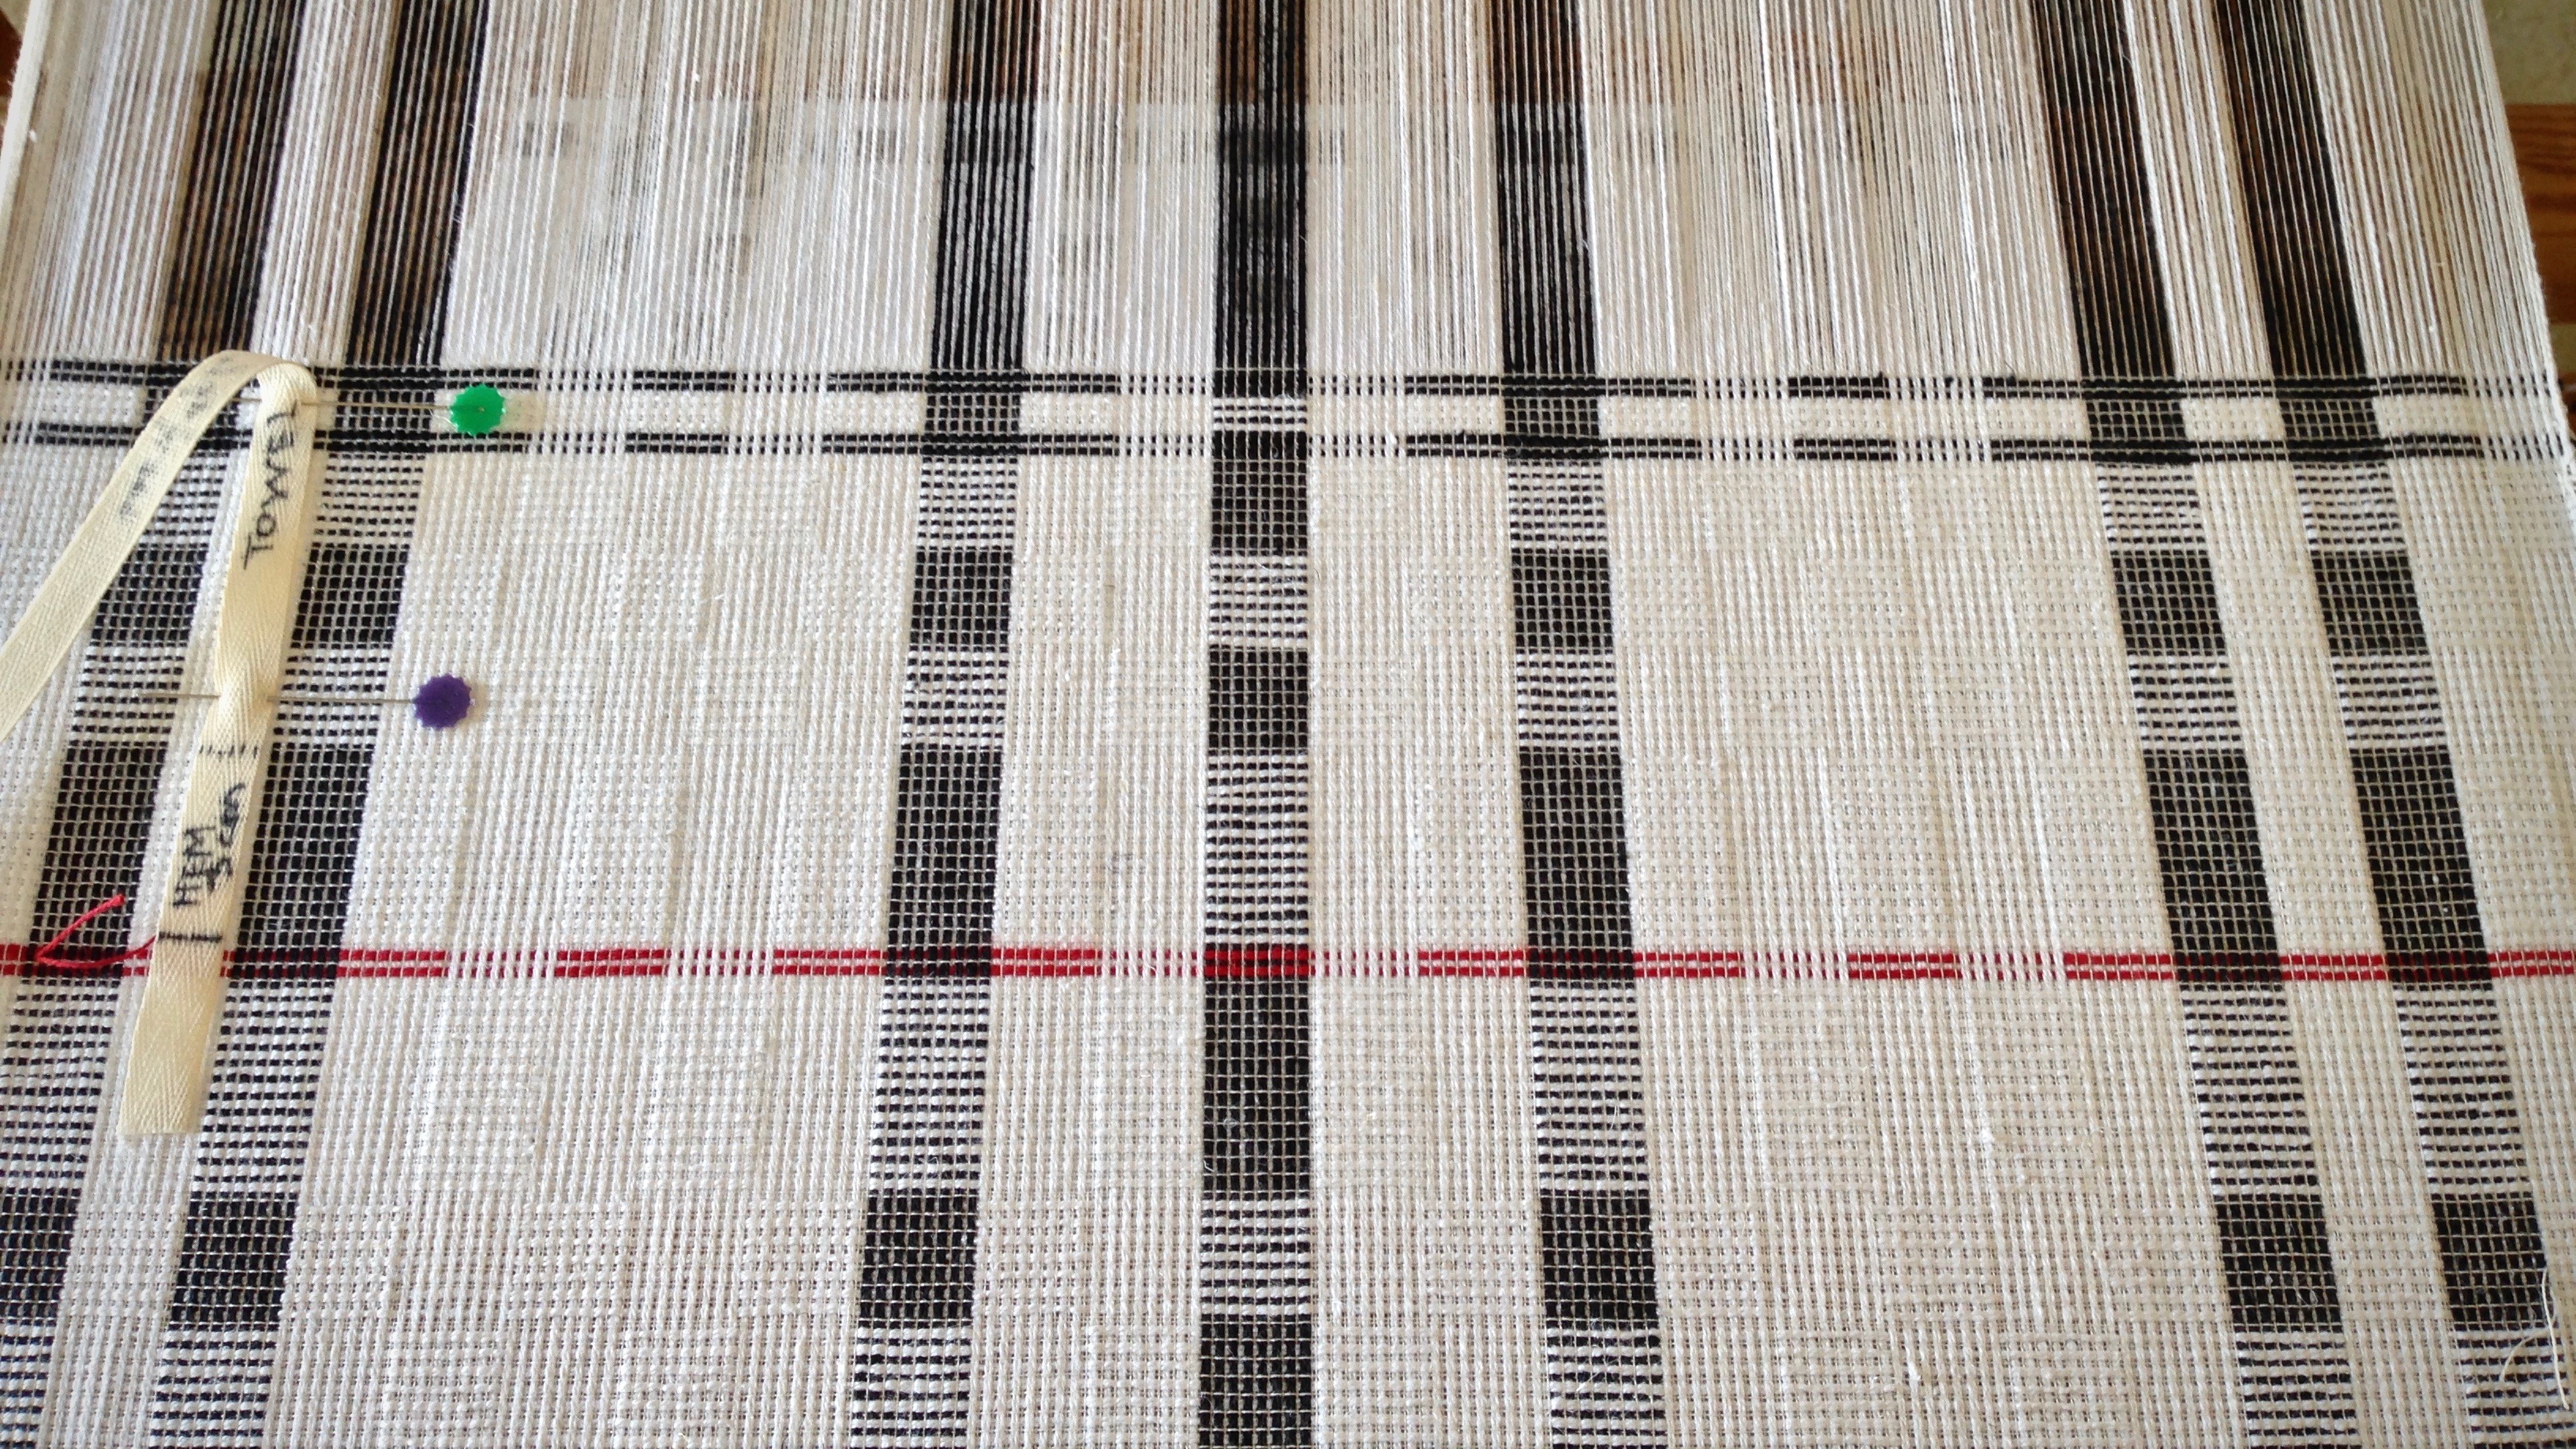
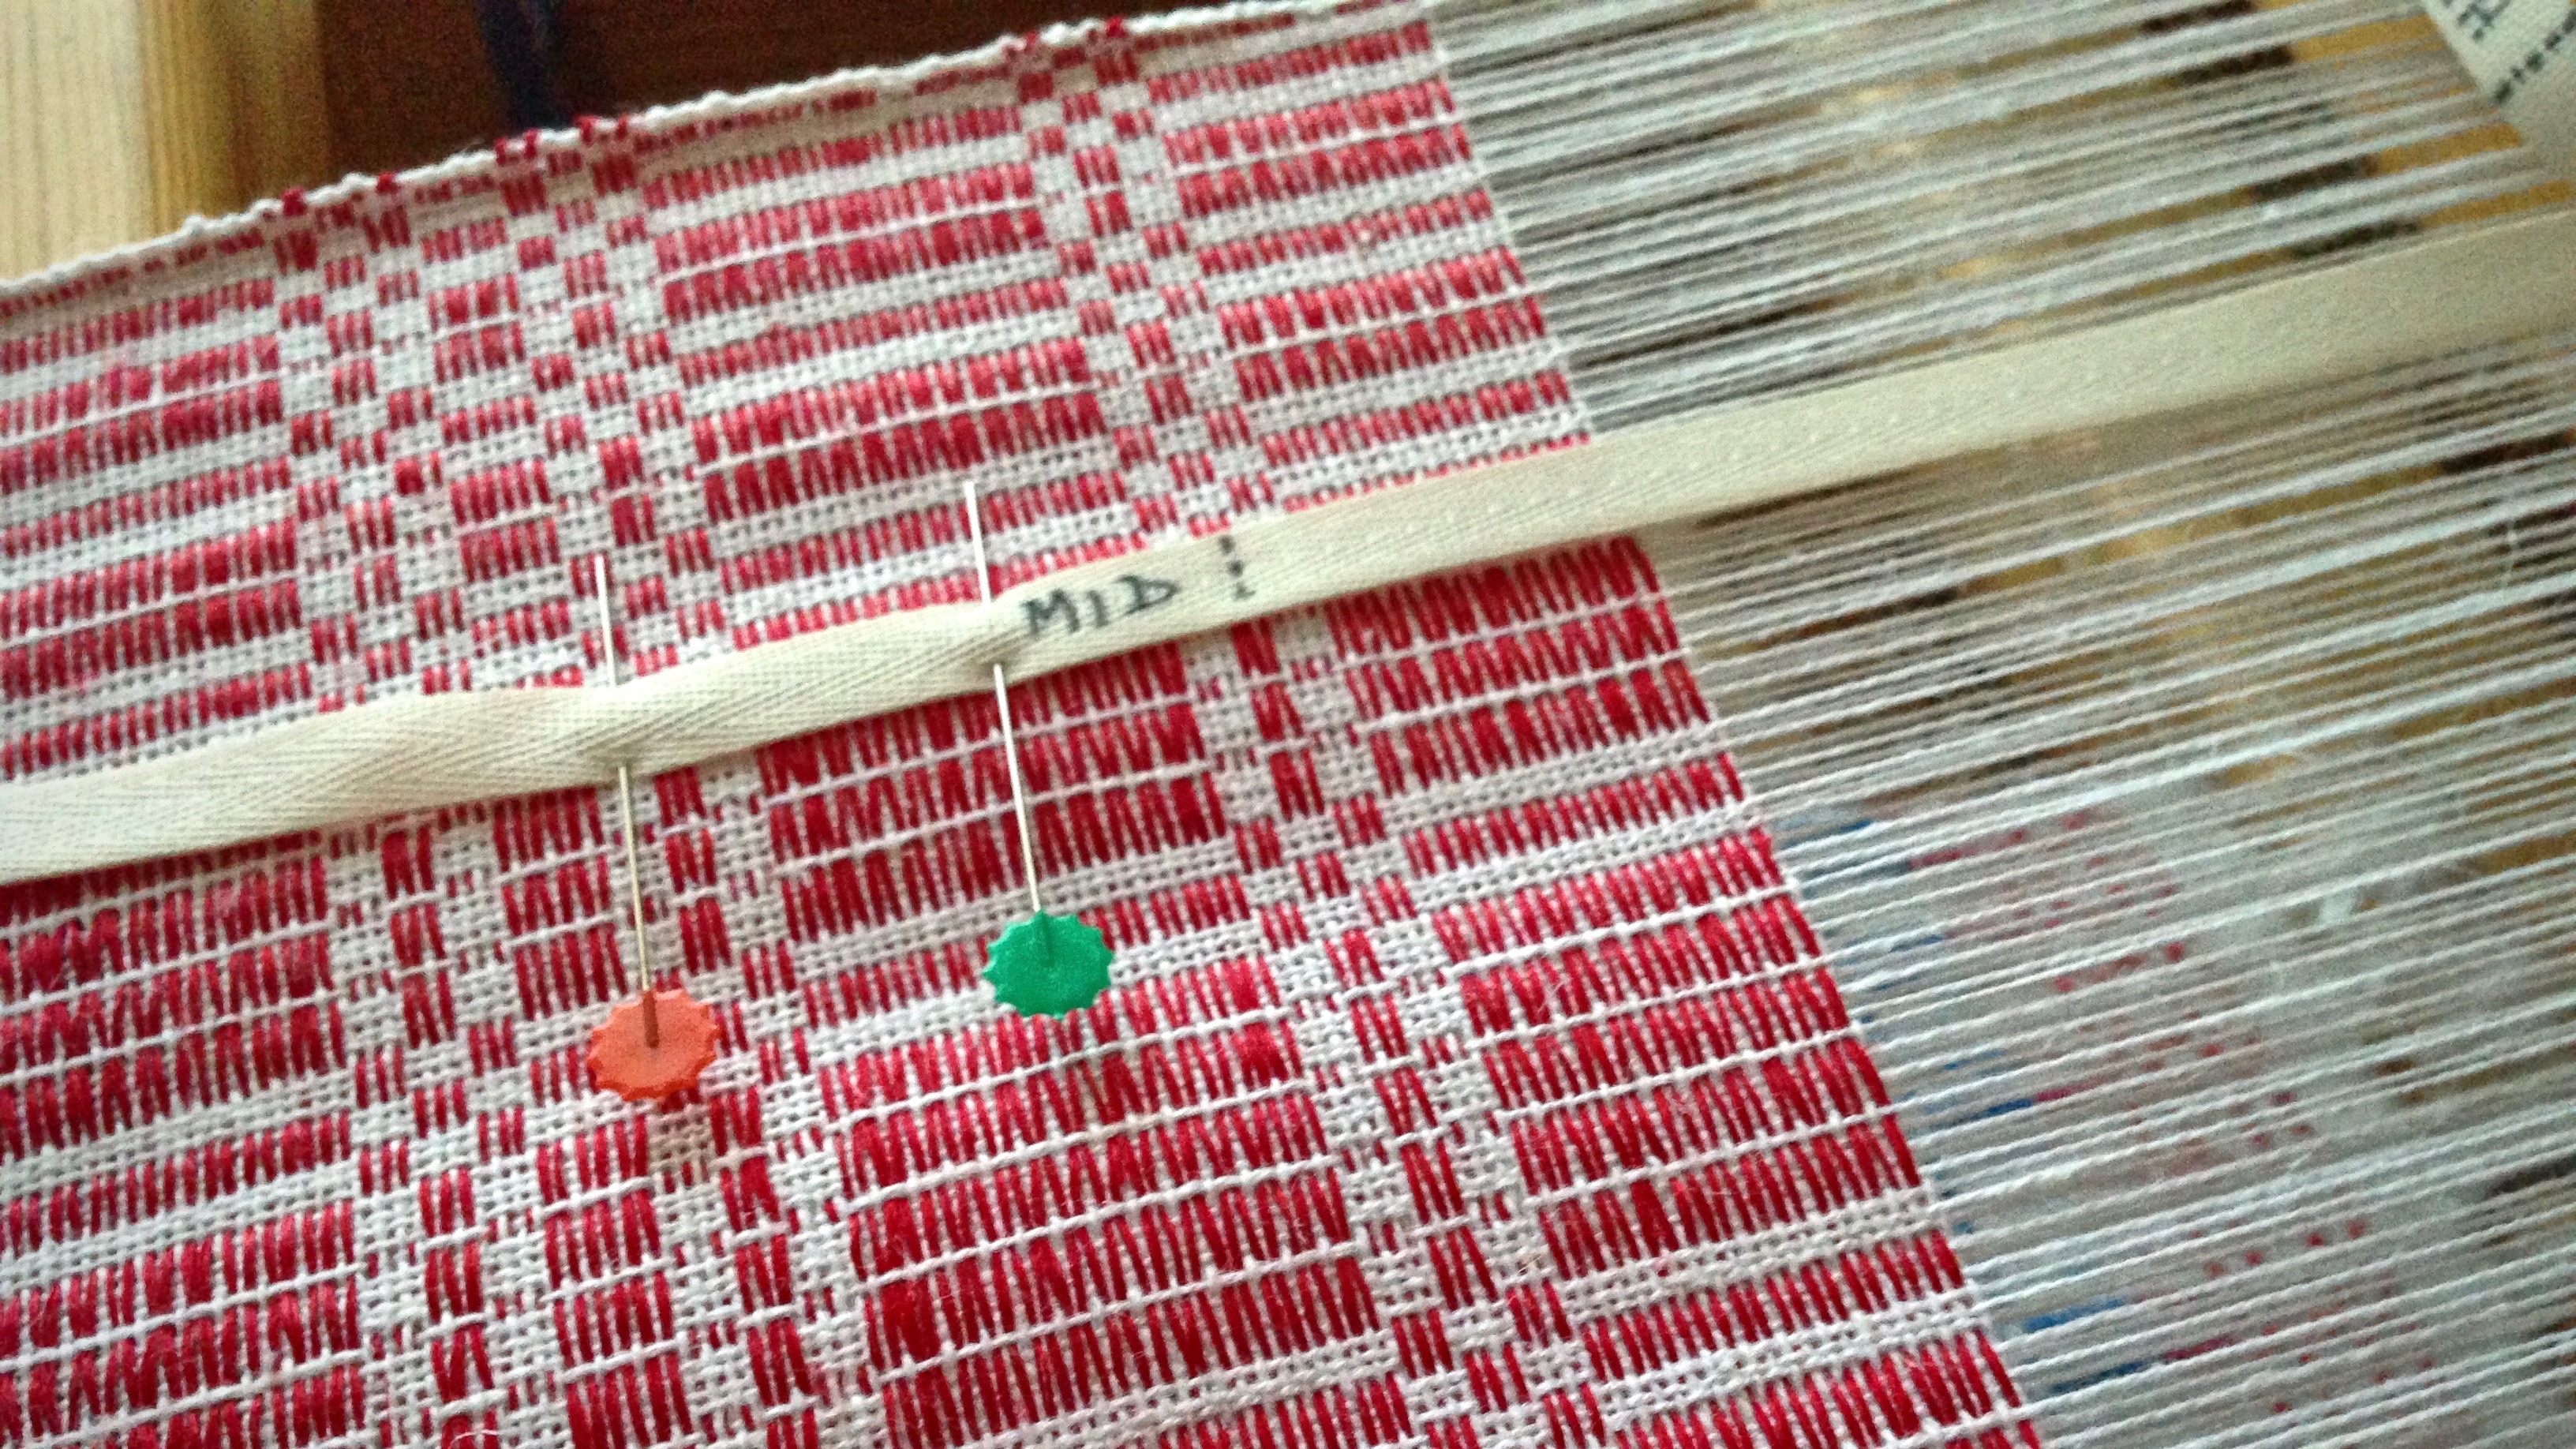
How far will you travel? How will you know when you have arrived? Do you wish you could know when you are halfway there? Applied to weaving, I like to have the answers to these questions before I begin the “journey.” A pre-measured tape gives me consistency, especially important for multiple pieces in a set. The tape also acts as my “trip odometer.” I can see how far I’ve gone, and exactly how much is left to weave. It satisfies my insatiable need to know how close I am to the end. Are you like that, too?
How to Make and Use a Pre-Measured Tape
Supplies
Roll of 3/4″ or wider twill tape (or any cloth tape or ribbon that does not stretch, and that pins easily)
Tape measure with inches and/or centimeters
Fine tip permanent marker
Flat head pins
Use the permanent marker to place markings on the twill tape, as measured with the tape measure. Mark the start line 1/2″ from the end of the twill tape, so that the tape can be pinned in front of the mark.
After drawing a line for the starting point and ending point, draw a line at the midway point, labeled MID.
Include dotted lines for hem measurements, if applicable. Write the hem measurement on the twill tape; i.,e., 3/4″ or 2 cm.
Write the weaving length measurement on the twill tape. Include calculation for takeup, if desired; i.,e., 25″ + 3″.
Write the project or item description on the twill tape, if desired, for ease of repeat use; i.e., handtowel.
Add other lines or marks, as needed, for borders, placement of weft colors, or other design elements.
1/2″ after the final marking, cut pre-measured twill tape from the roll of tape.
With the warp under tension, pin the pre-measured twill tape near the right or left selvedge with two flat-head pins. Match the start line of the tape with the beginning of the weaving.
Before each advancement of the warp, move the pin closest to the breast beam to a point near the fell line. In this way, have the pins leapfrog each other, moving only one pin each time. Always keep the warp under tension when moving the pins.
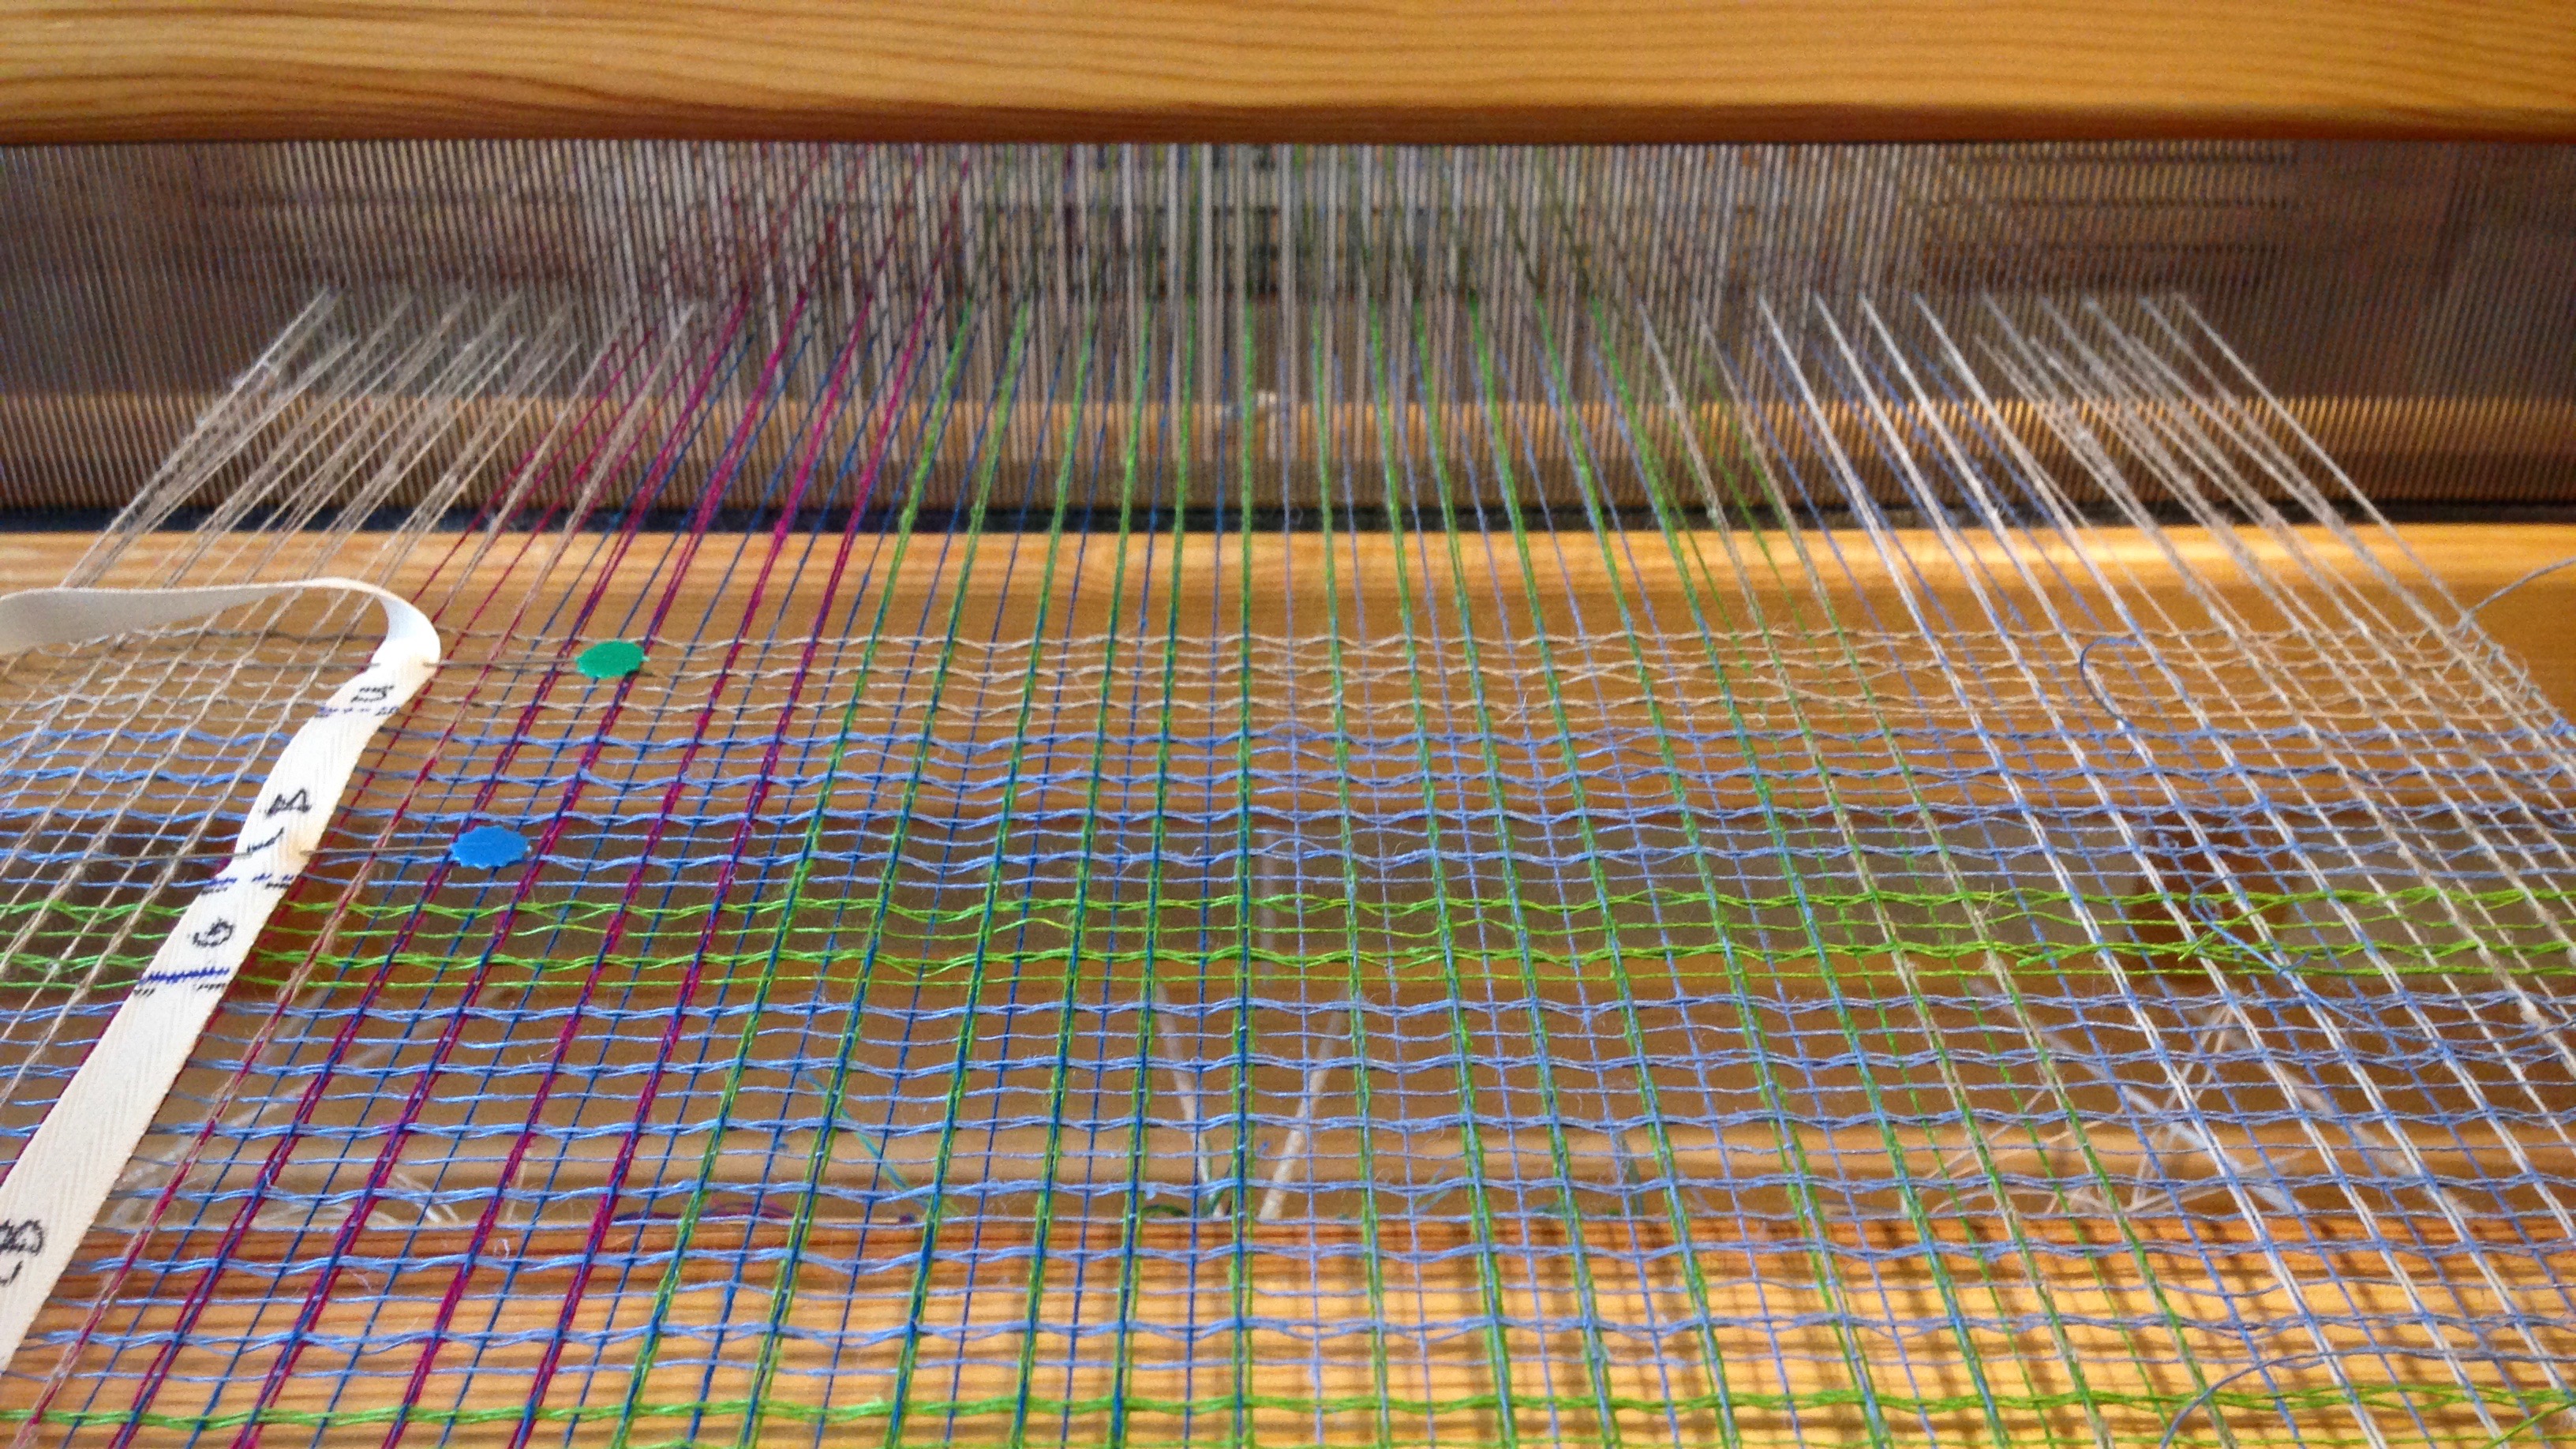
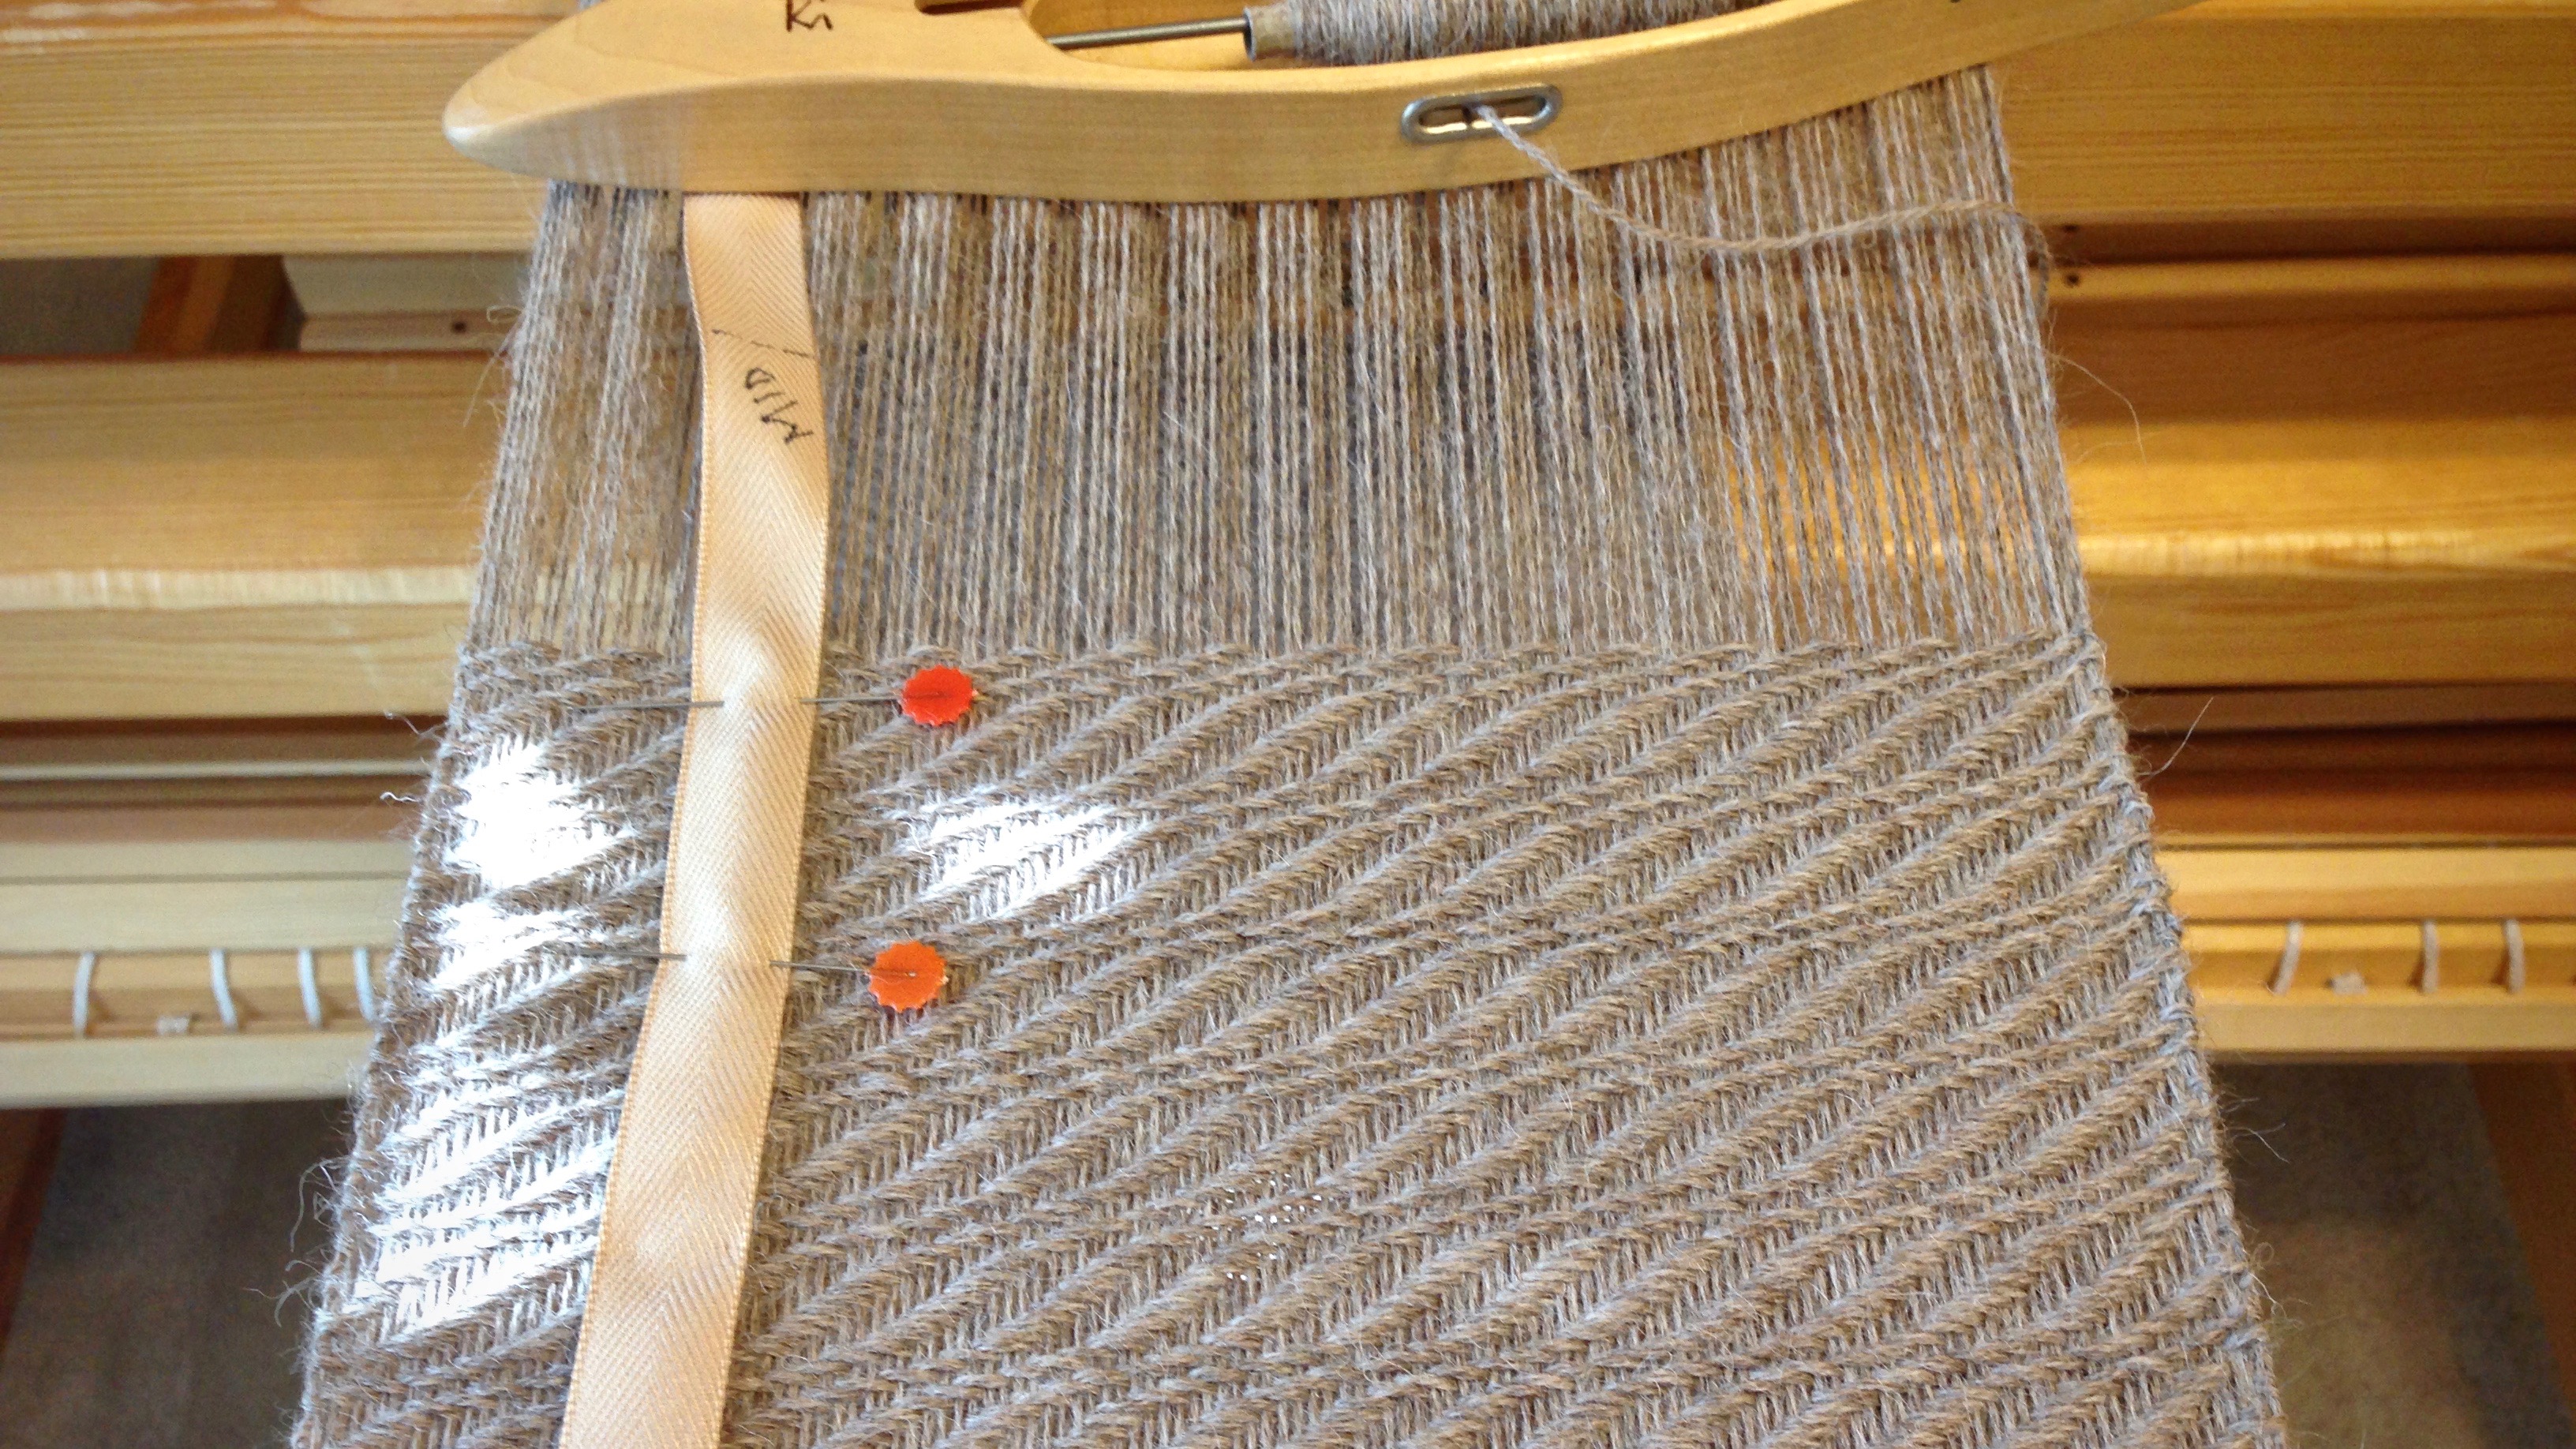
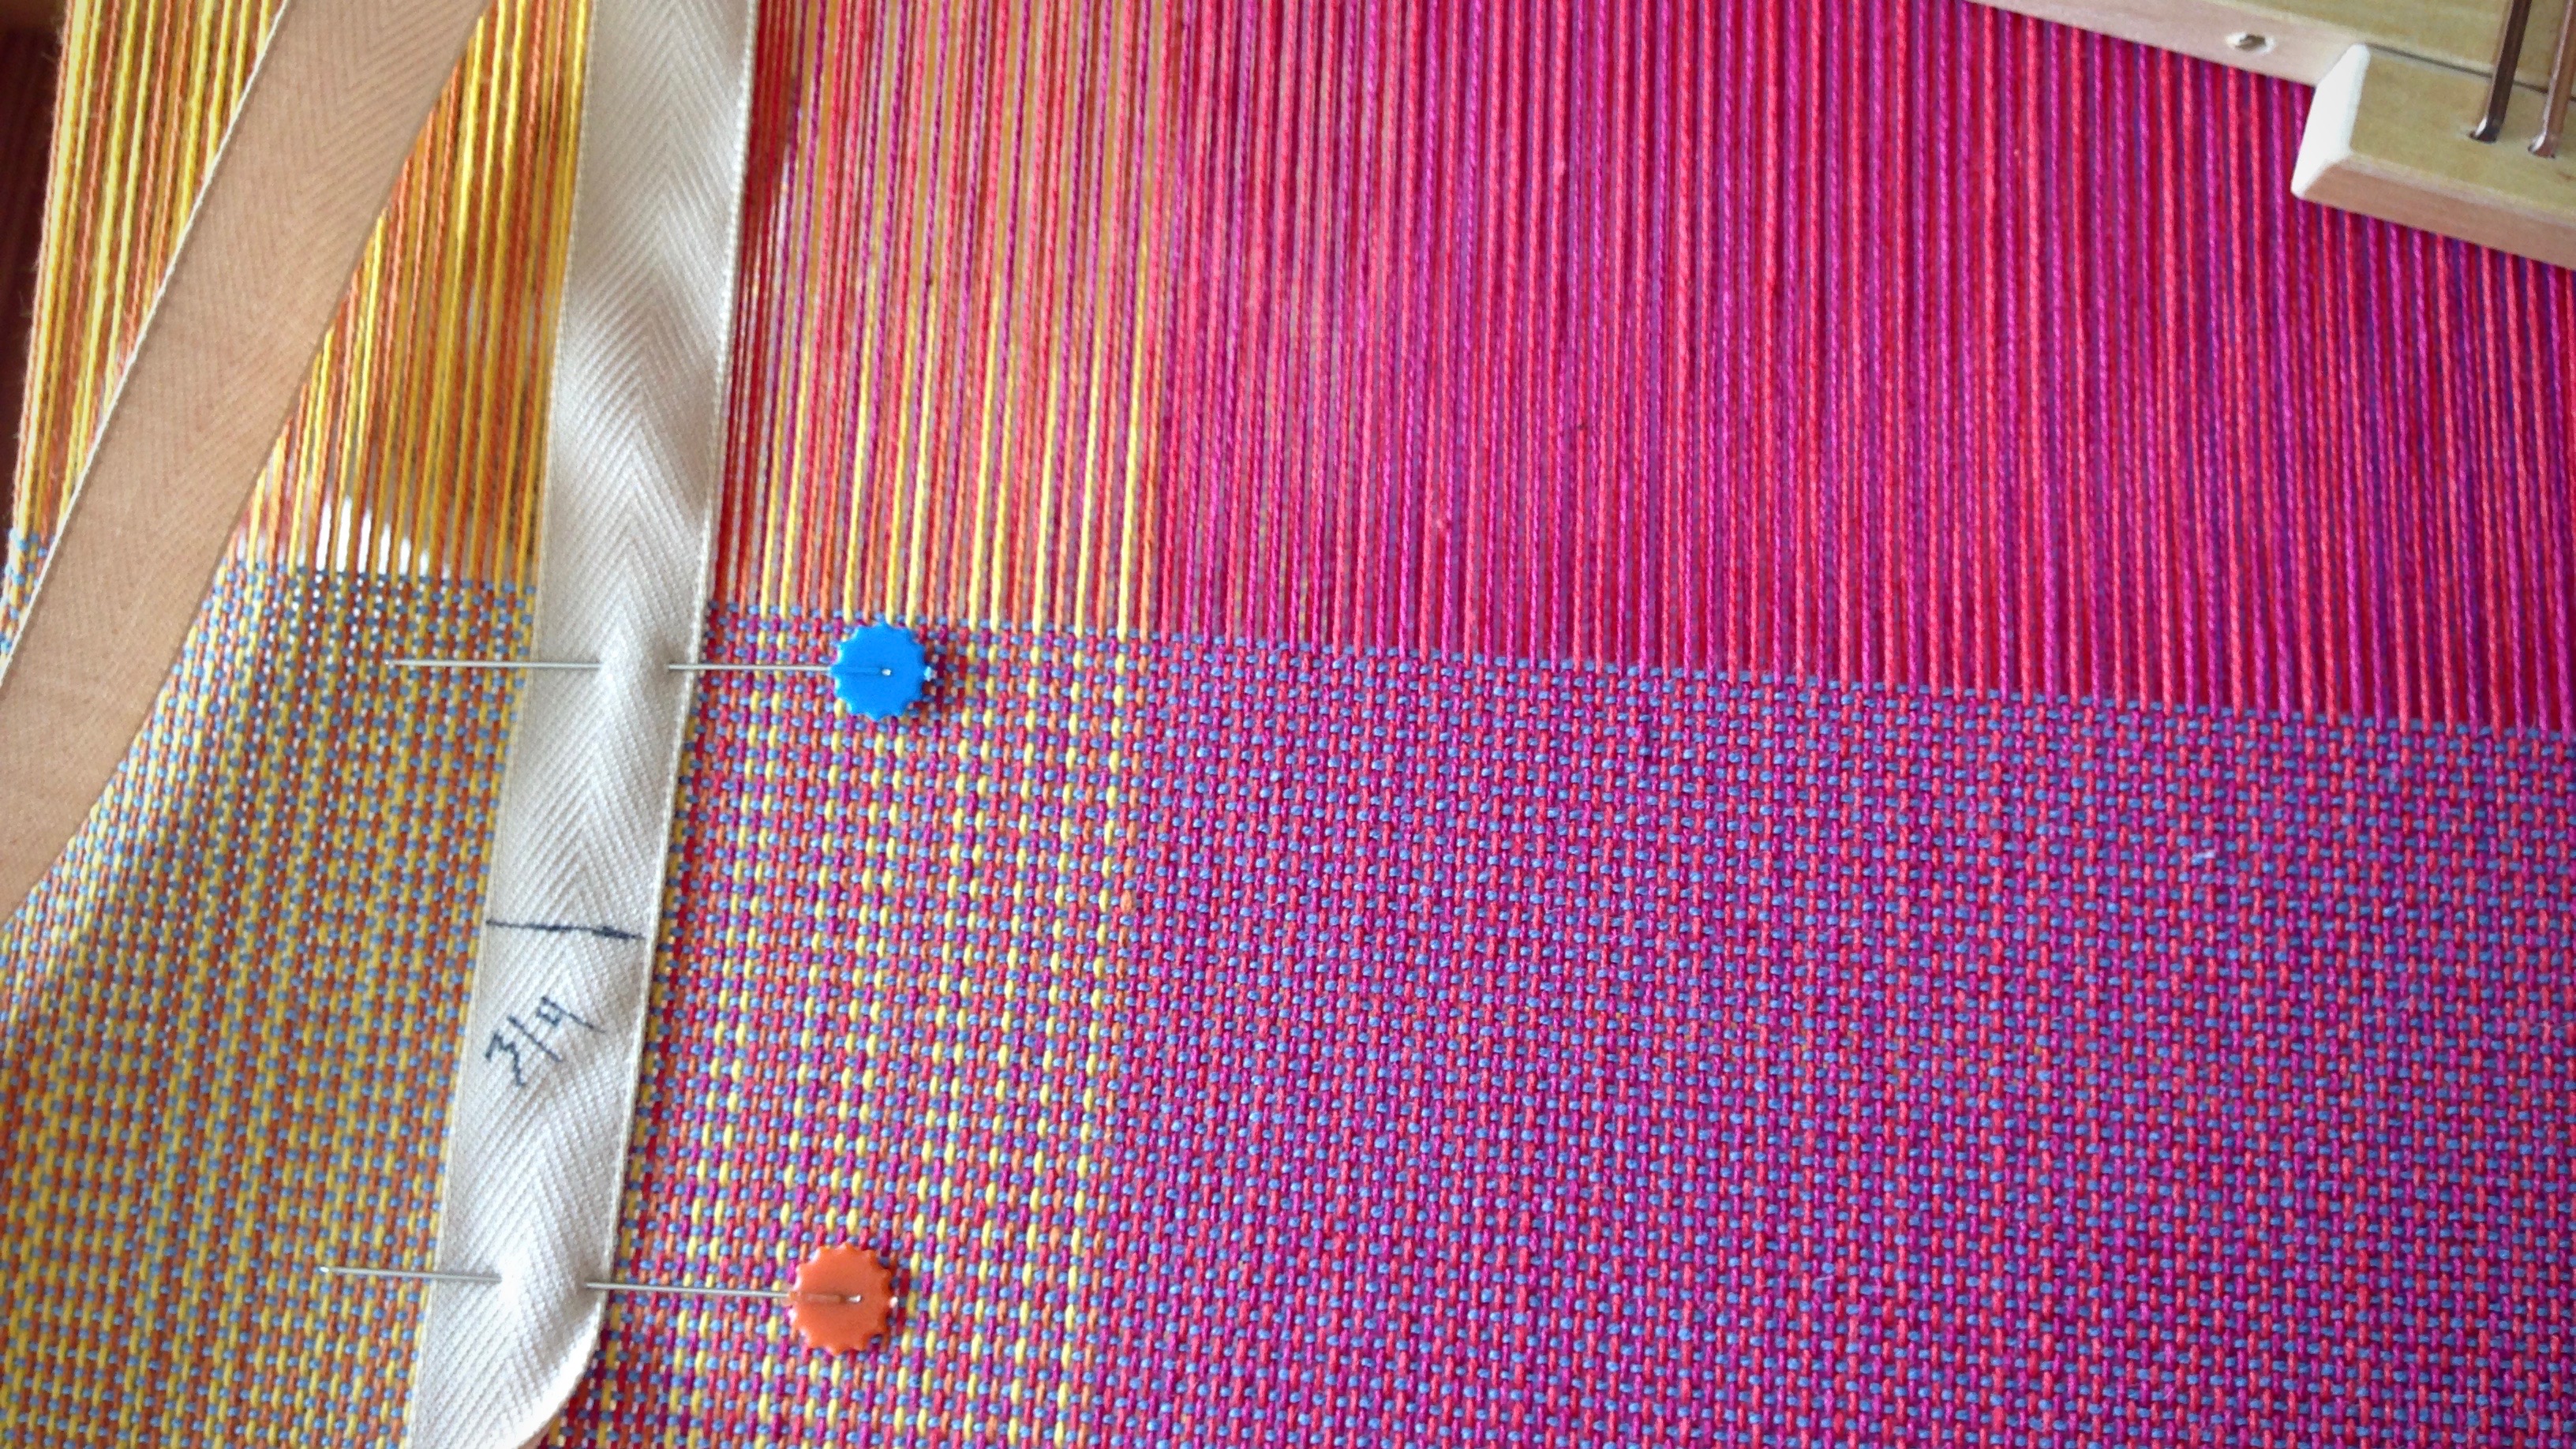
Beginning hem, after red cutting lines between towels.Ending hem is followed by two red picks that will become the cutting line between towels.When the “MID” point hits right where it should! Mid point marking helps to confirm that the halvdräll pattern is centered and balanced in its length.Weft color placement is marked on the twill tape for these linen lace scarves.Five centimeters, marked at the end of the twill tape, is a handy reference for spacing the weft pattern floats in these plattväv towels.I love seeing the “MID” point on a long piece, such as this 8-shafttwill alpaca scarf.Breaking up the length into quarters helps to set a pace for the weaving project. This baby wrap was on a time crunch, so it was helpful to know when I was getting close to the end.
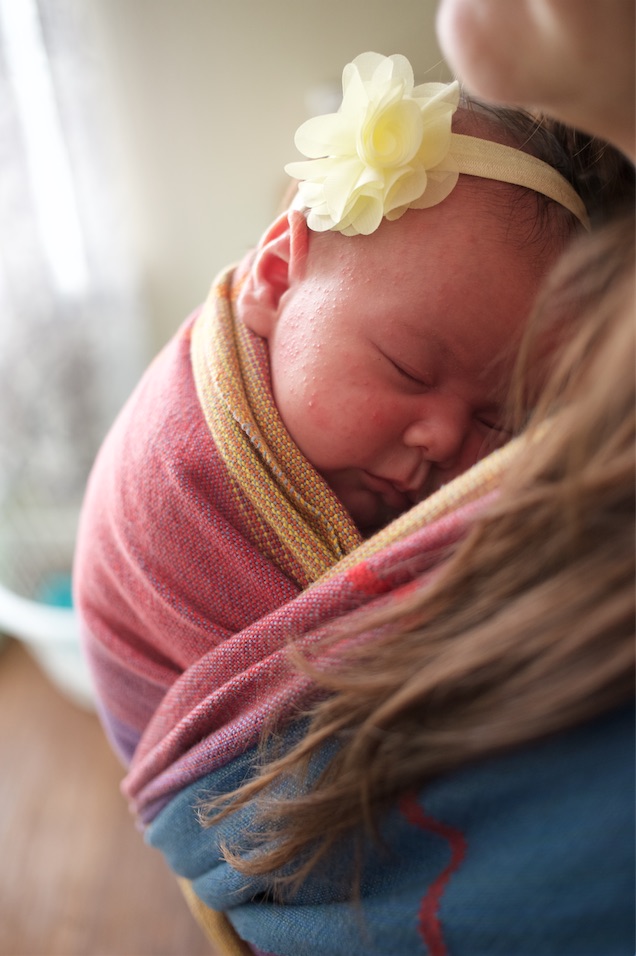
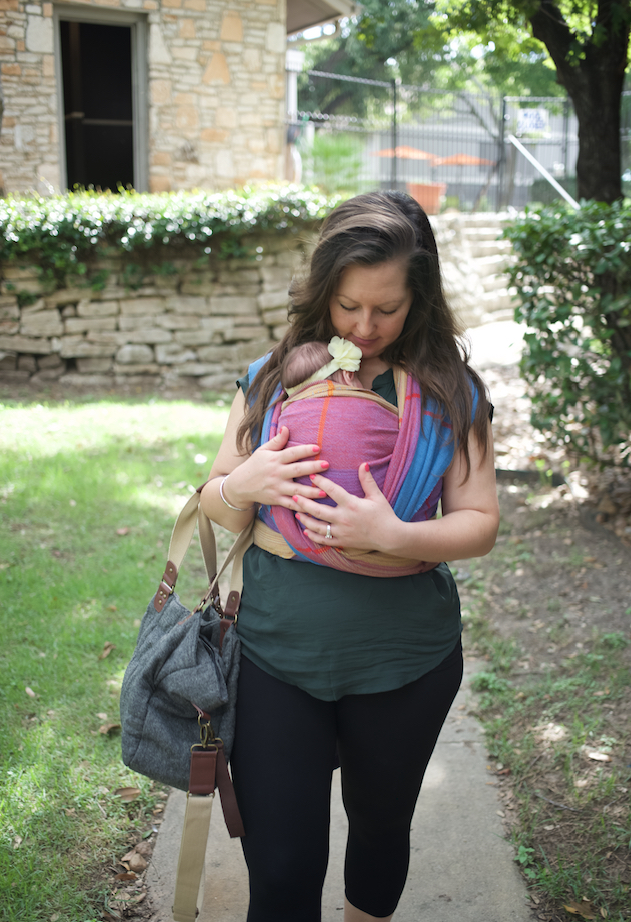
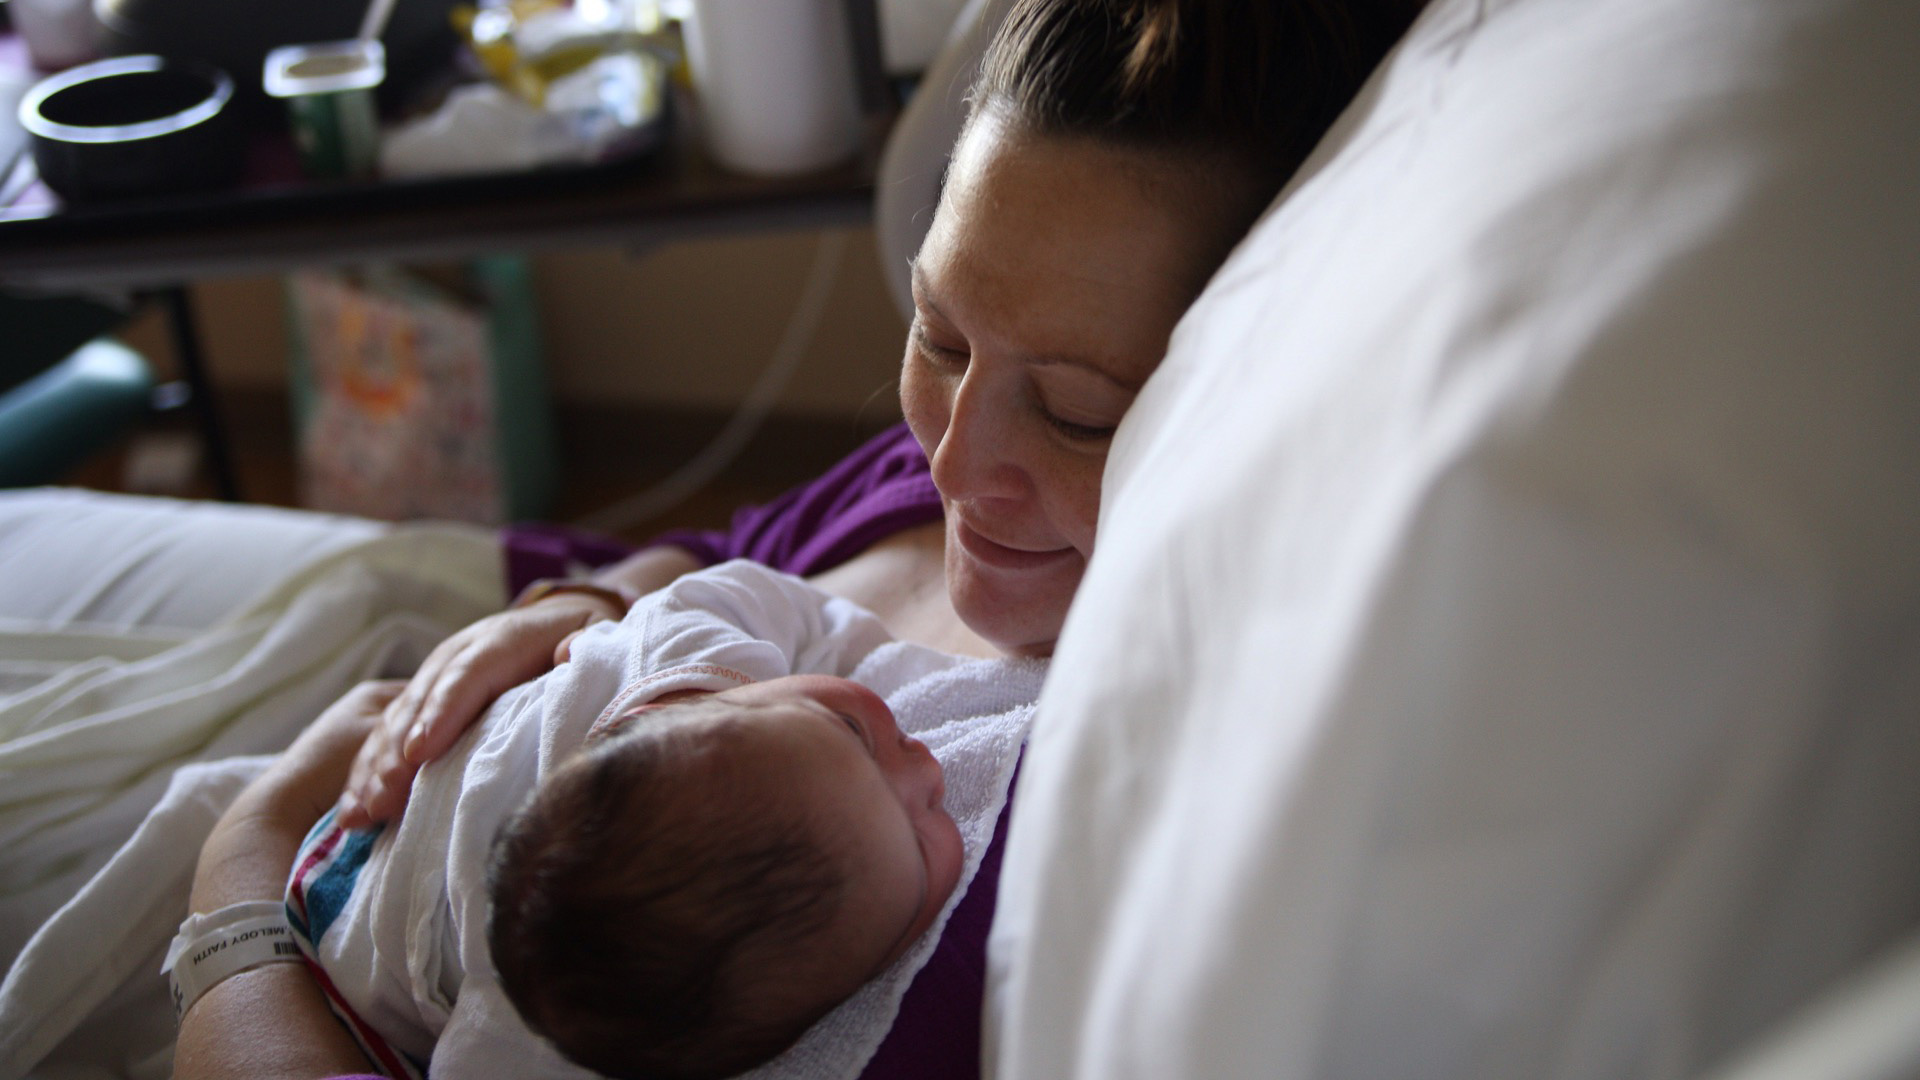
A new life in the family is cause for celebration and thanksgiving! I had the privilege of weaving a baby wrap while my daughter carried the new little life inside of her. A wrap being woven to hold Lucia, and a baby being woven in the womb. Beautiful and more beautiful. God’s blessings on Eddie and Melody as they love the gift they have been given.
Handwoven baby wrap with baby Lucia. Photo credit: Eddie Fernandez (Lucia’s daddy)
In her mother’s arms… Photo Credit: Eddie Fernandez (Lucia’s daddy)
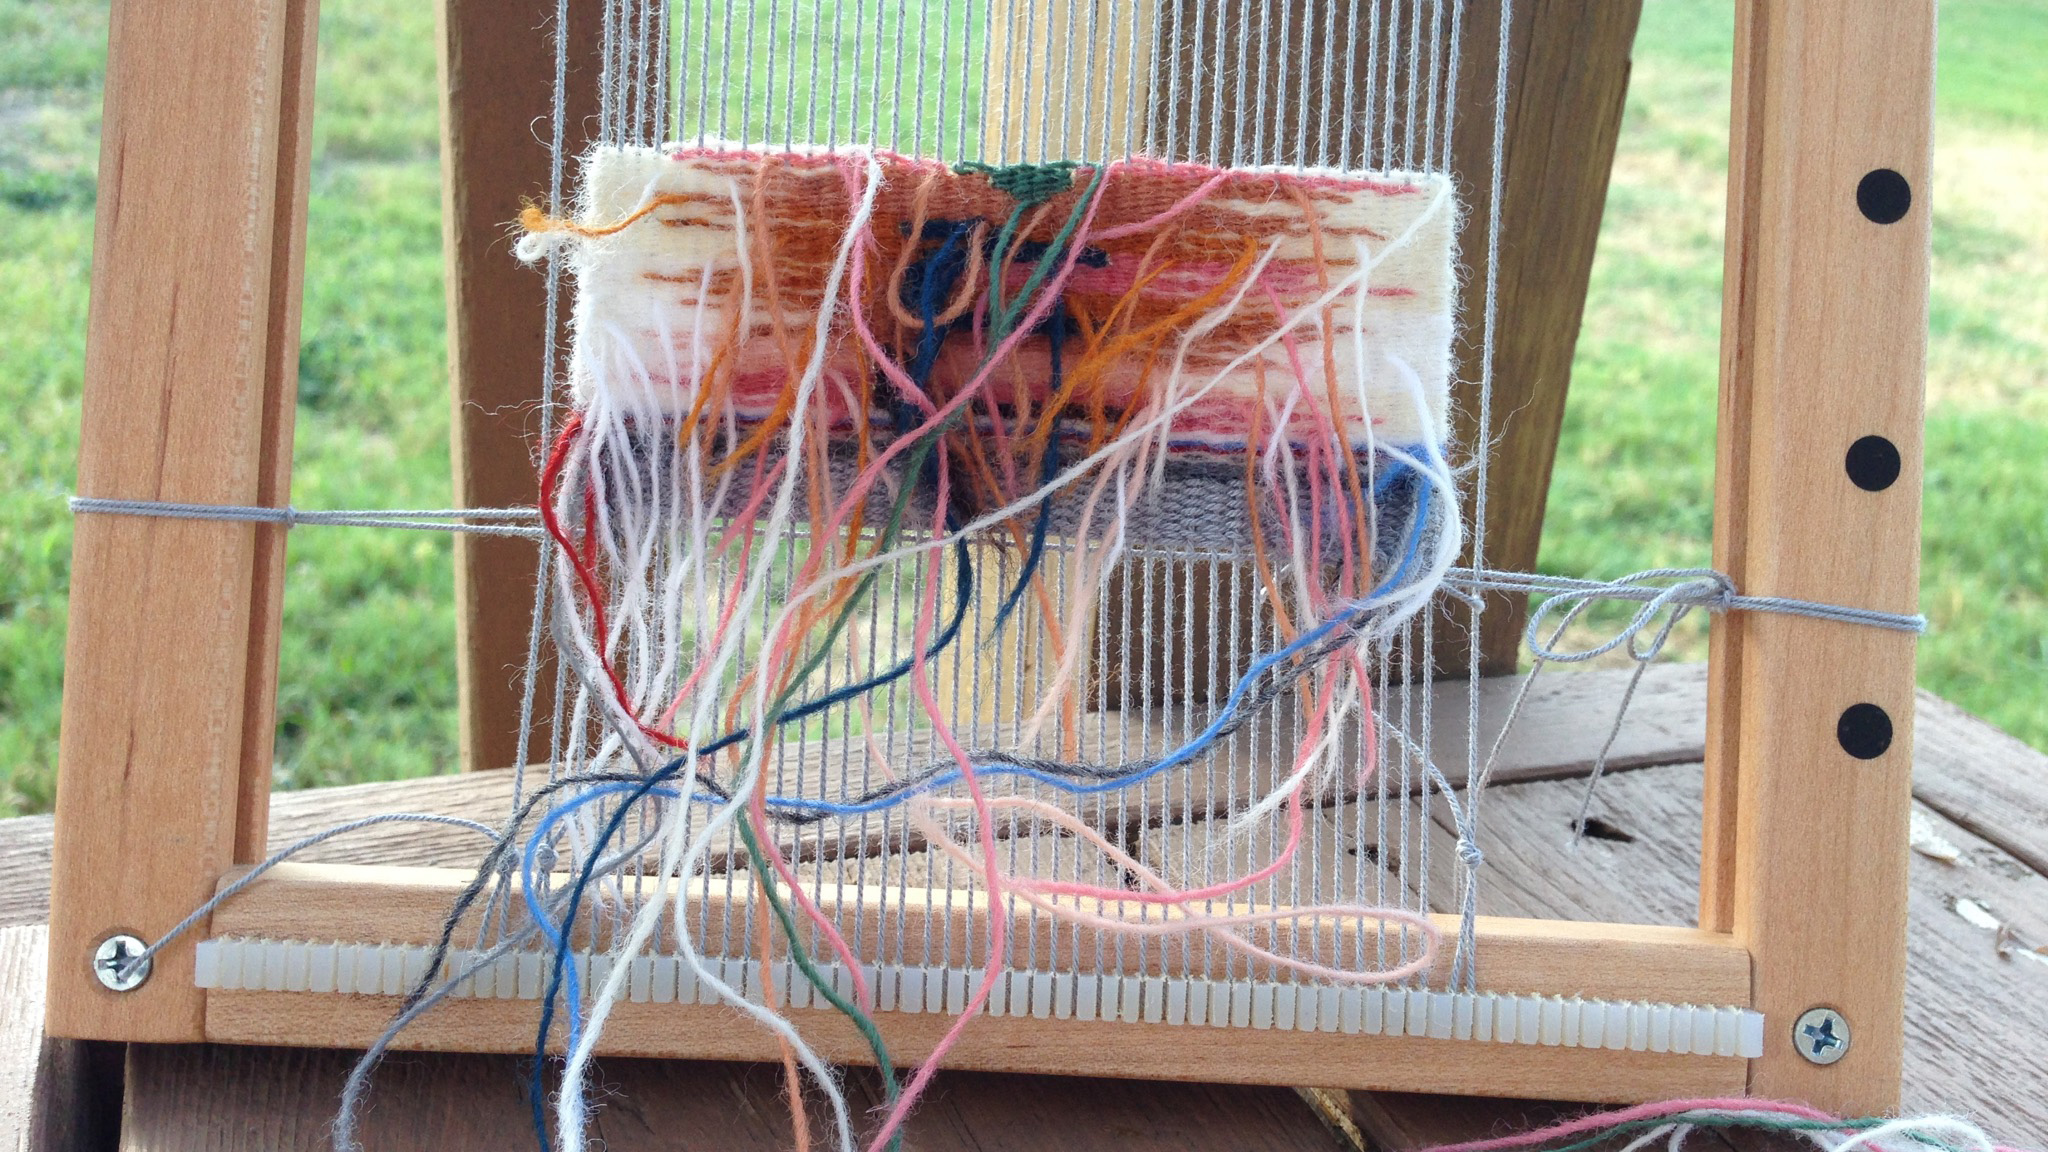
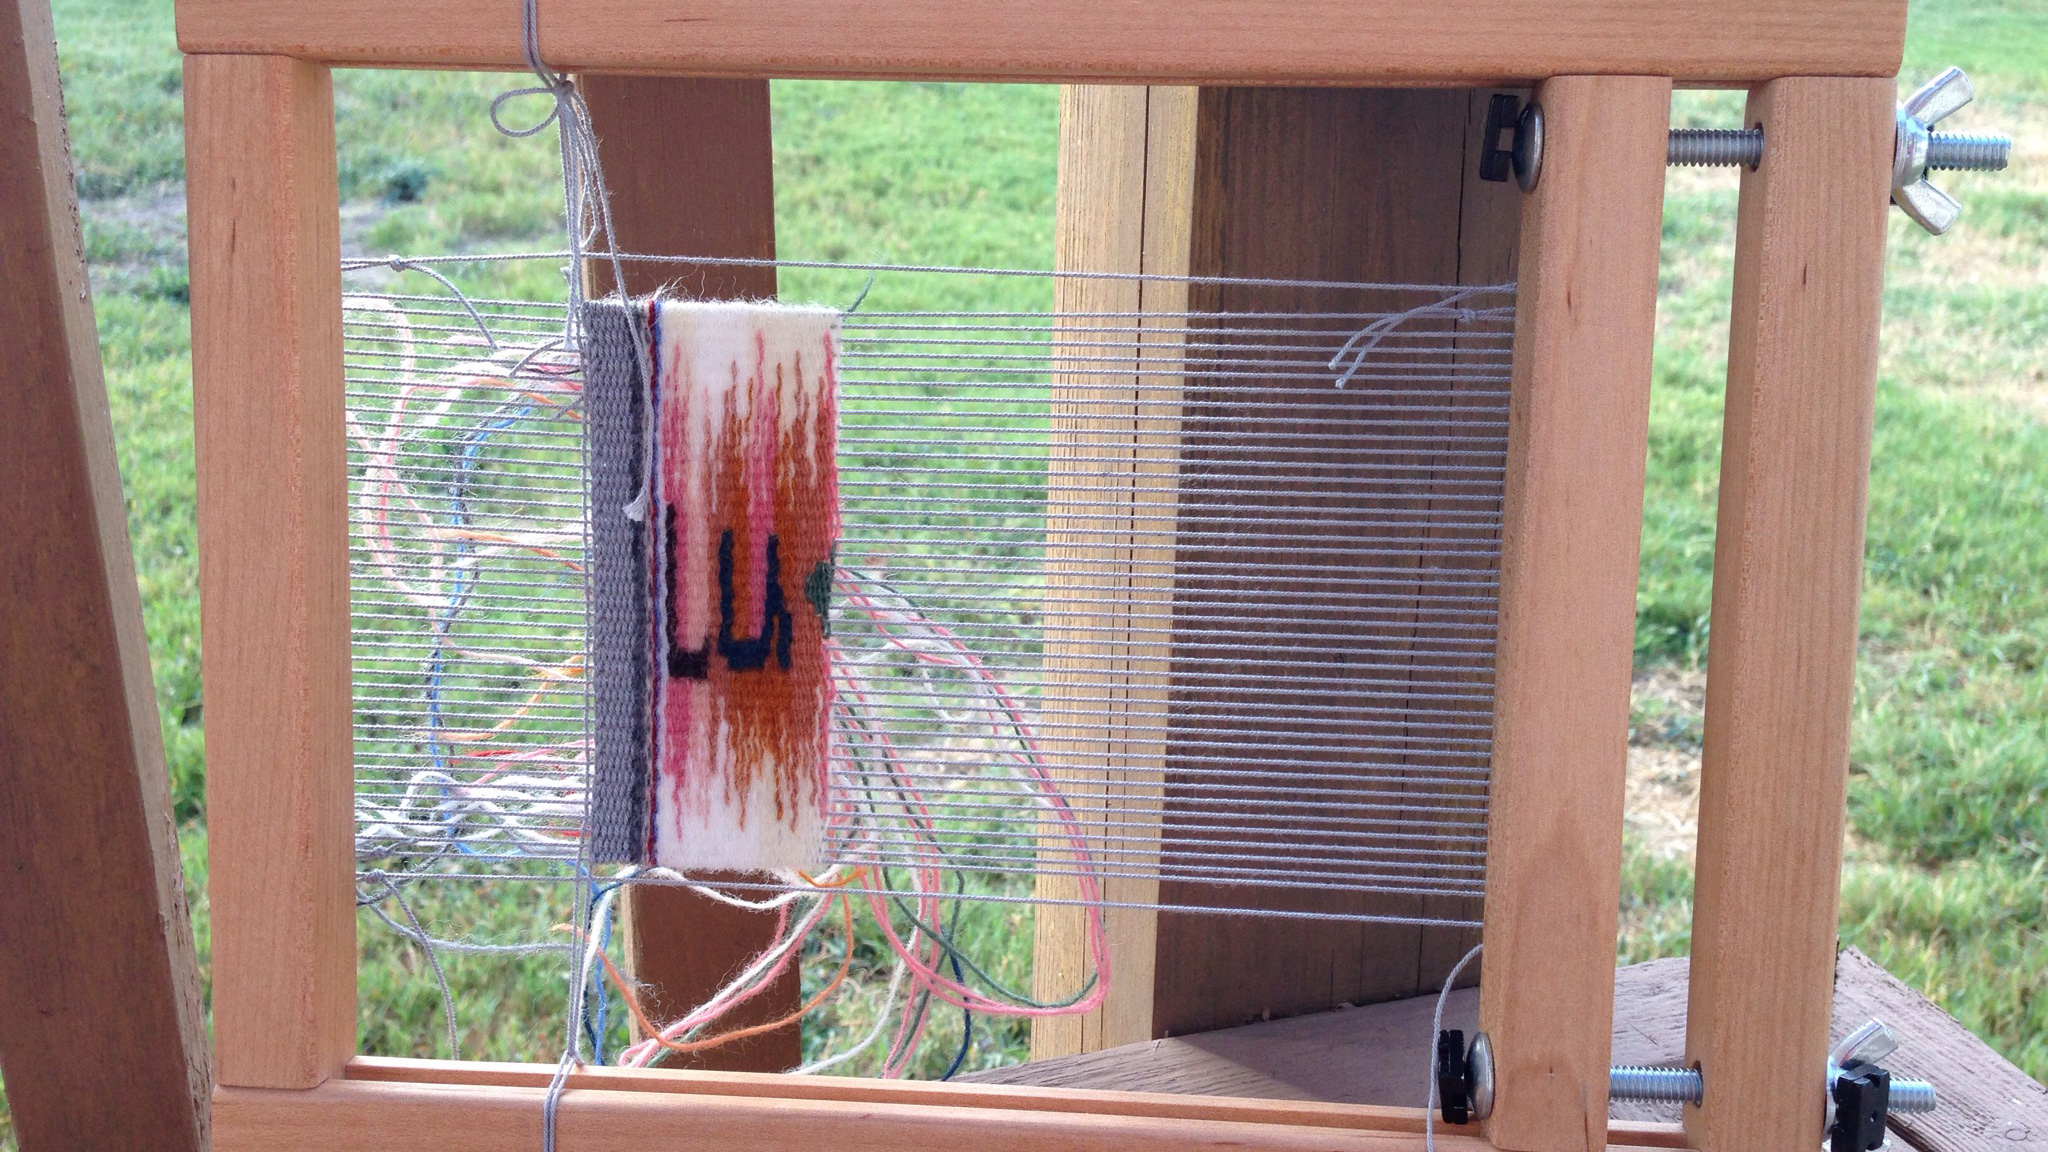
Do you remember the baby wrap I was weaving for my daughter and her coming baby? Baby Lucia has arrived! And she is already capturing our hearts. I was glad to have a small tapestry to keep my hands busy while waiting her arrival.
Weaving from the back on my small travel tapestry frame loom.Weaving letters to spell the name of our new grandbaby, Lucia. L – U – …
Observing a newborn infant is observing pure trust. She completely depends on her mommy and daddy.
New baby and new mother. Trust and deep affection.
It will take days and years for Lucia to know her parents and learn to understand their deep love for her. Oh, to have the heart of a child. Trust in the Lord. Simply trust.
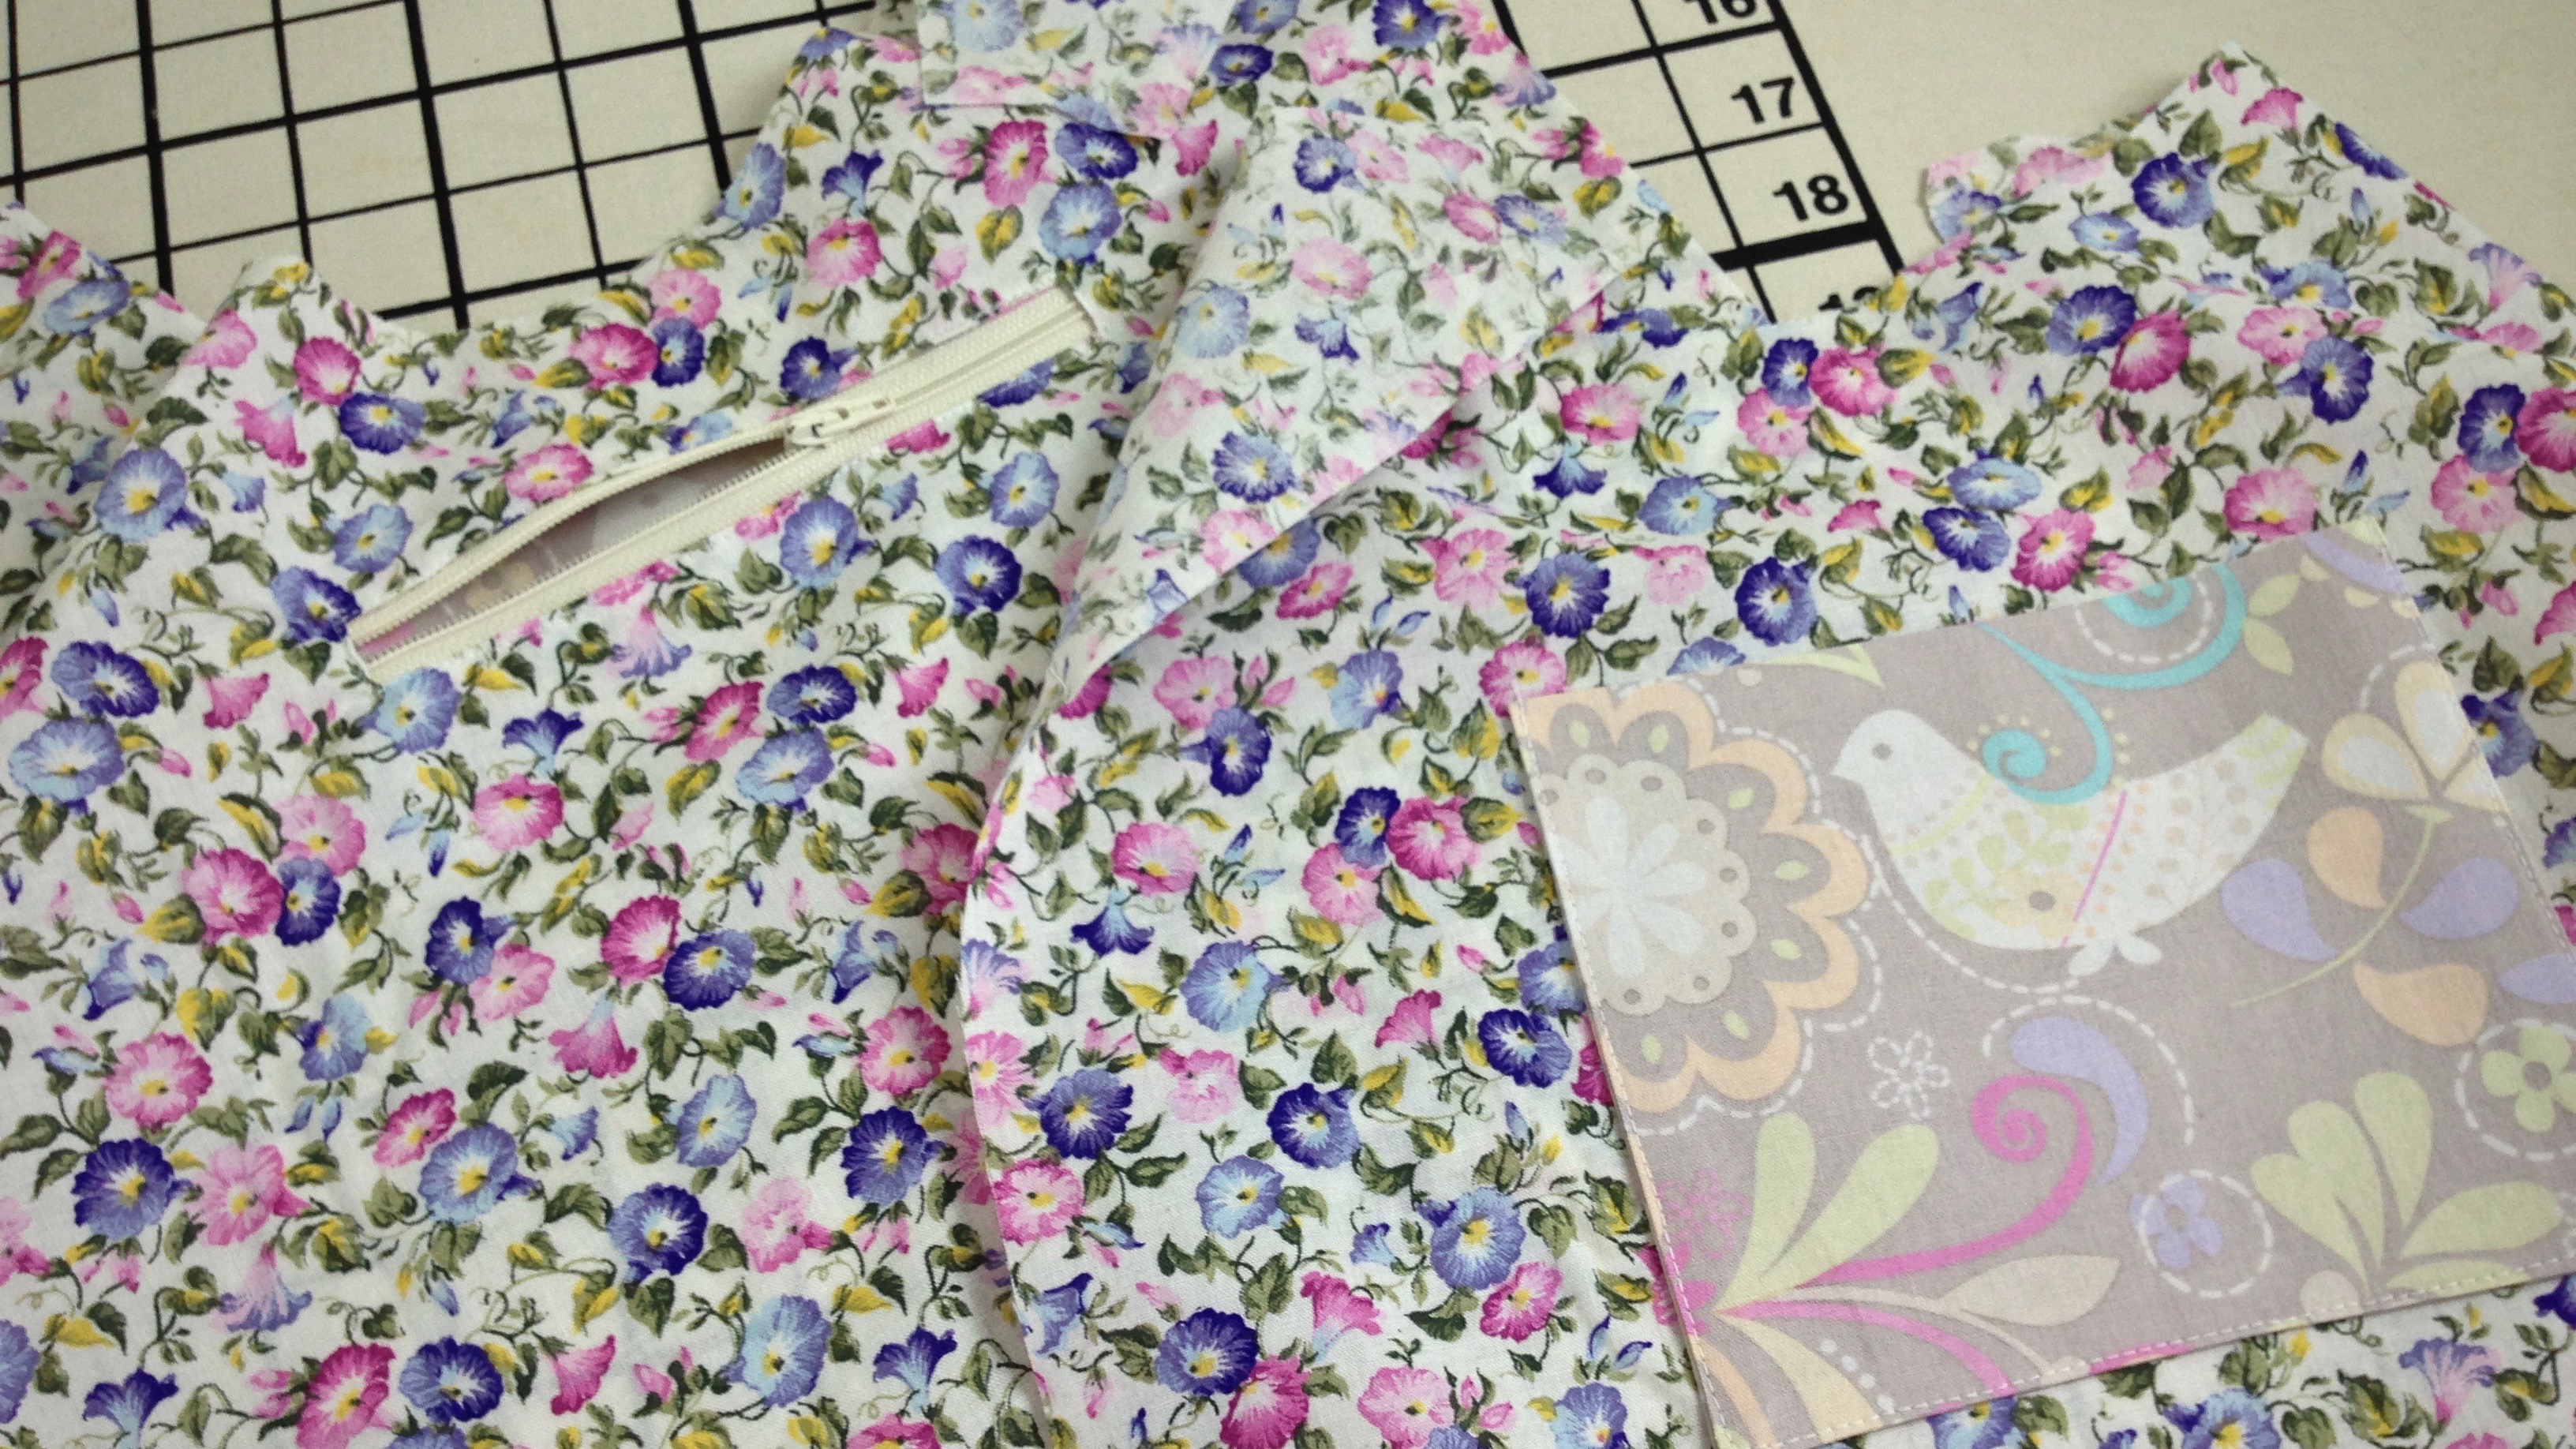
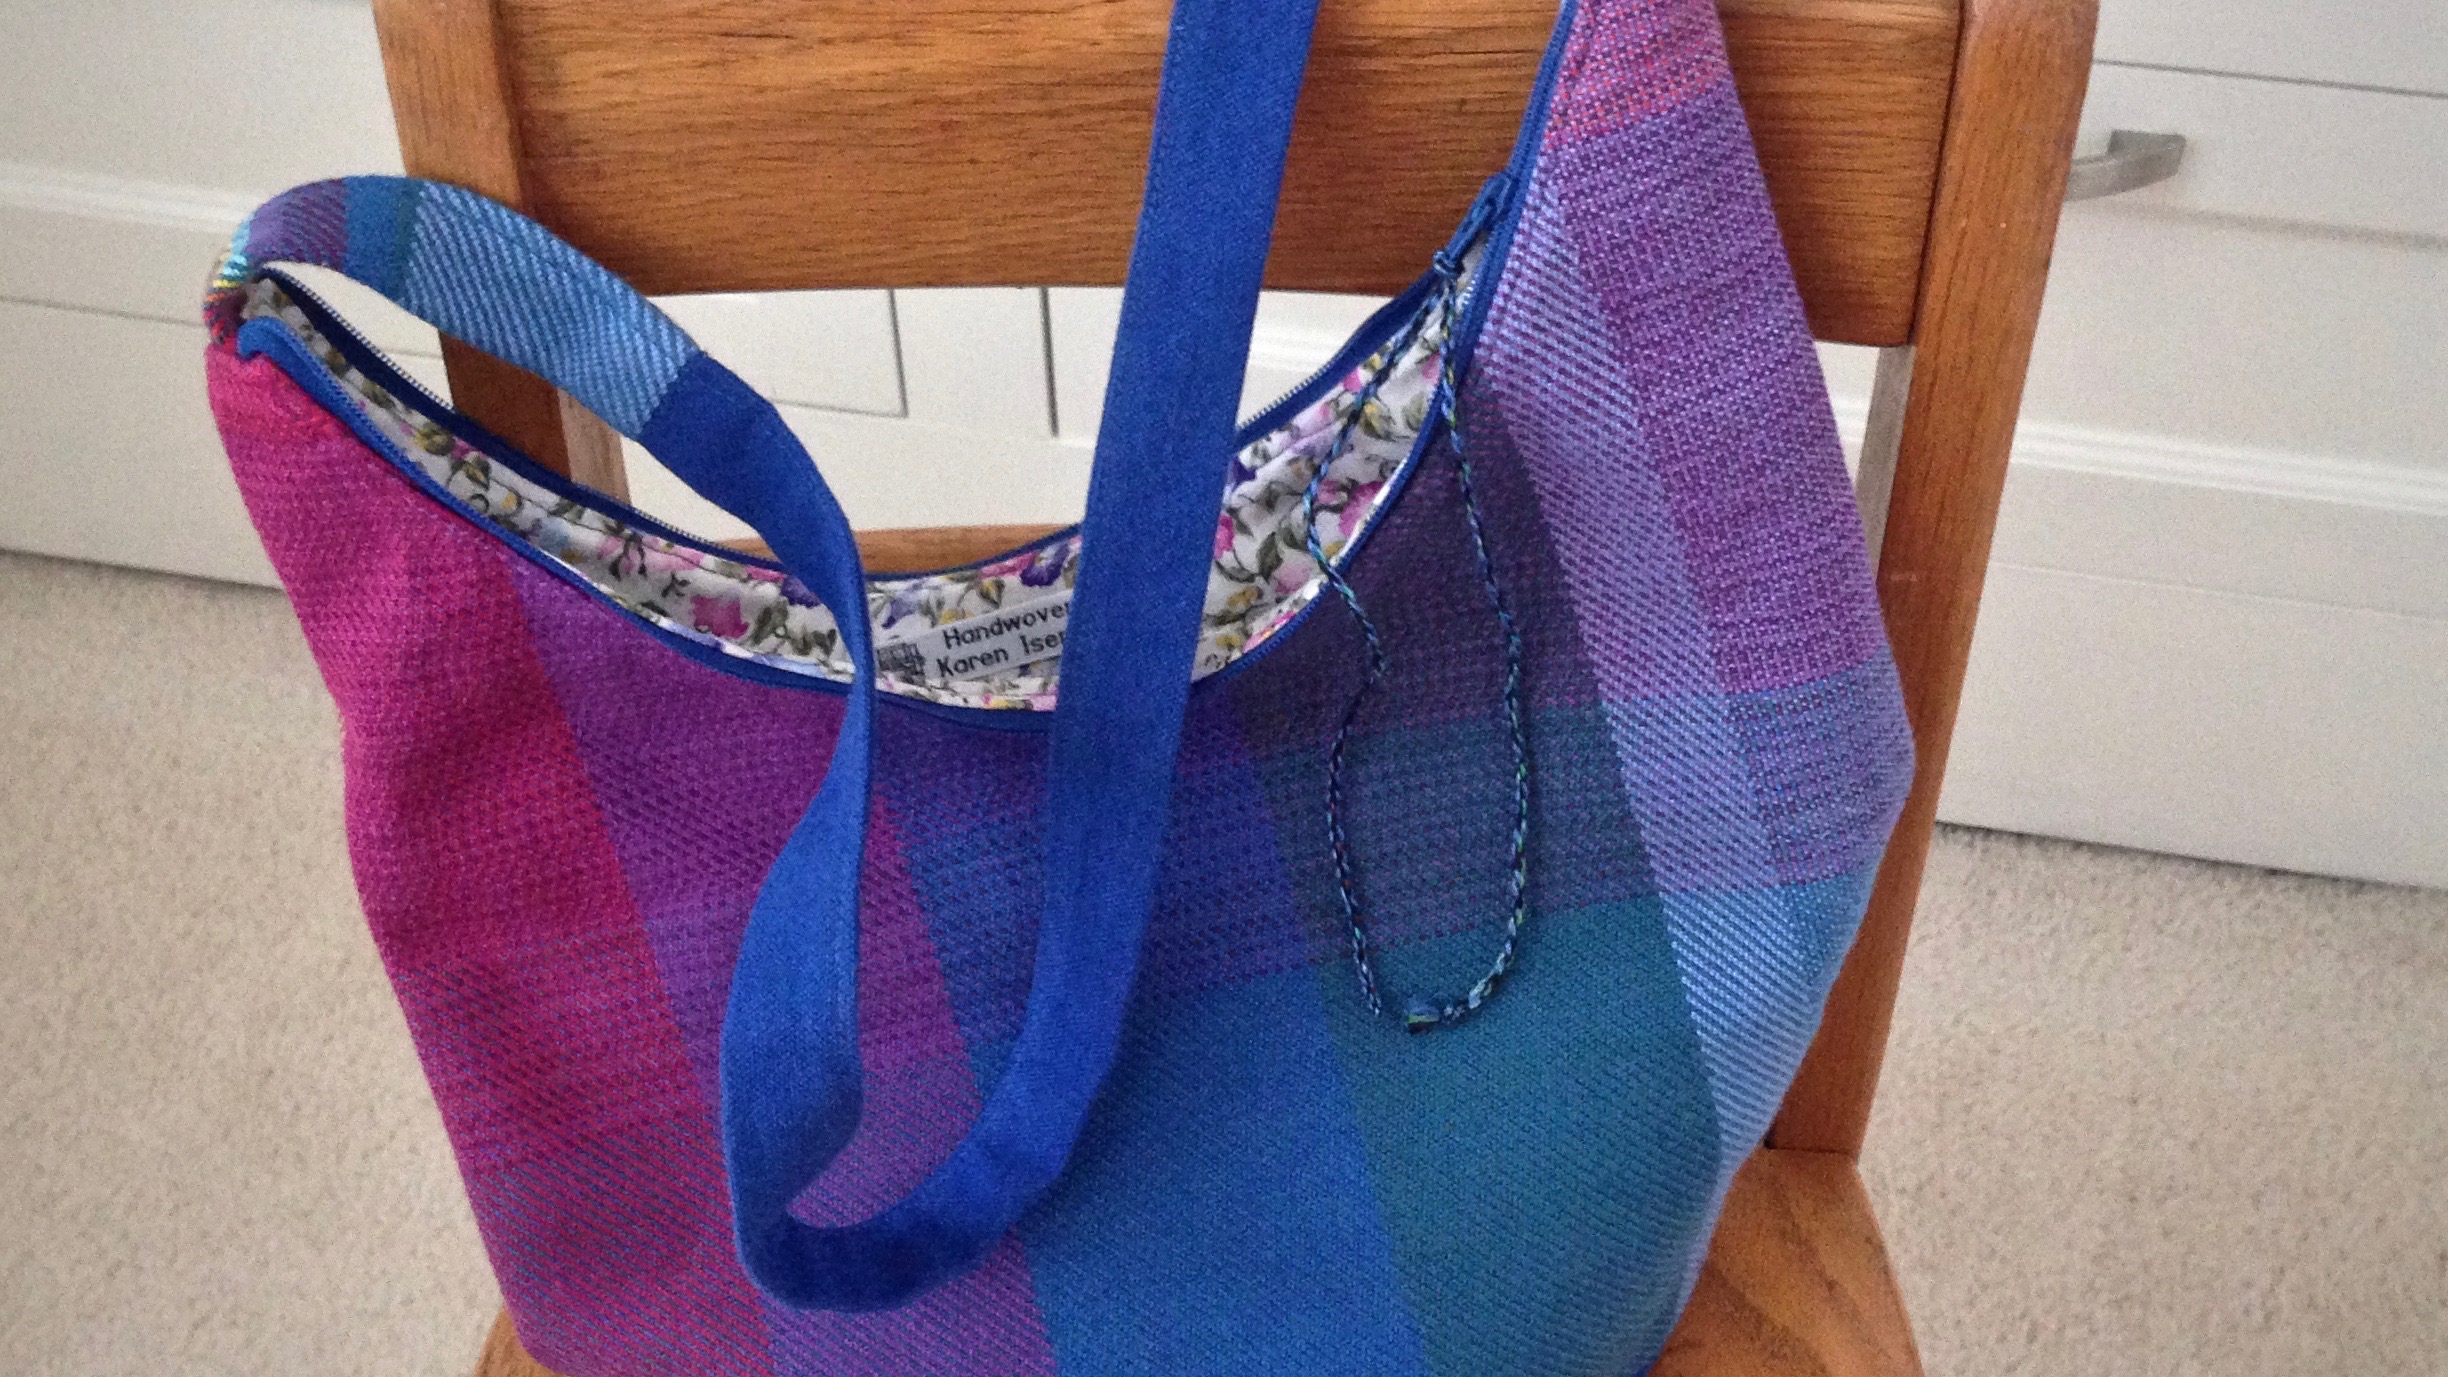
There is less than a yard of this lovely fabric. I want to use it for something. After weaving the baby wrap, I wove off the remainder of the warp in twill, using multiple weft colors. The colors seem even more vibrant in this twill weave. The fabric feels great in hand, as well. Is there enough to make a handbag? Just barely; but, yes, there is enough!
After ironing interfacing to the back of the fabric, I work the puzzle of fitting the pattern pieces onto the fabric. Some piecing is necessary.Lining pieces have pockets added.Topstitching goes all around the top perimeter of the handbag.
How do you feel about cutting into your handwoven fabric? Once you cut, there’s no turning back. You better be sure before you get out the scissors. Fear of ruining your precious fabric can keep you from ever making the first cut. You might be tempted to fold up your fabric and tuck it away in a drawer. “At least you didn’t ruin it,” your fear would tell you. However, if you know something good will come of it, and if you have a plan, you walk past the fear and do the cutting.
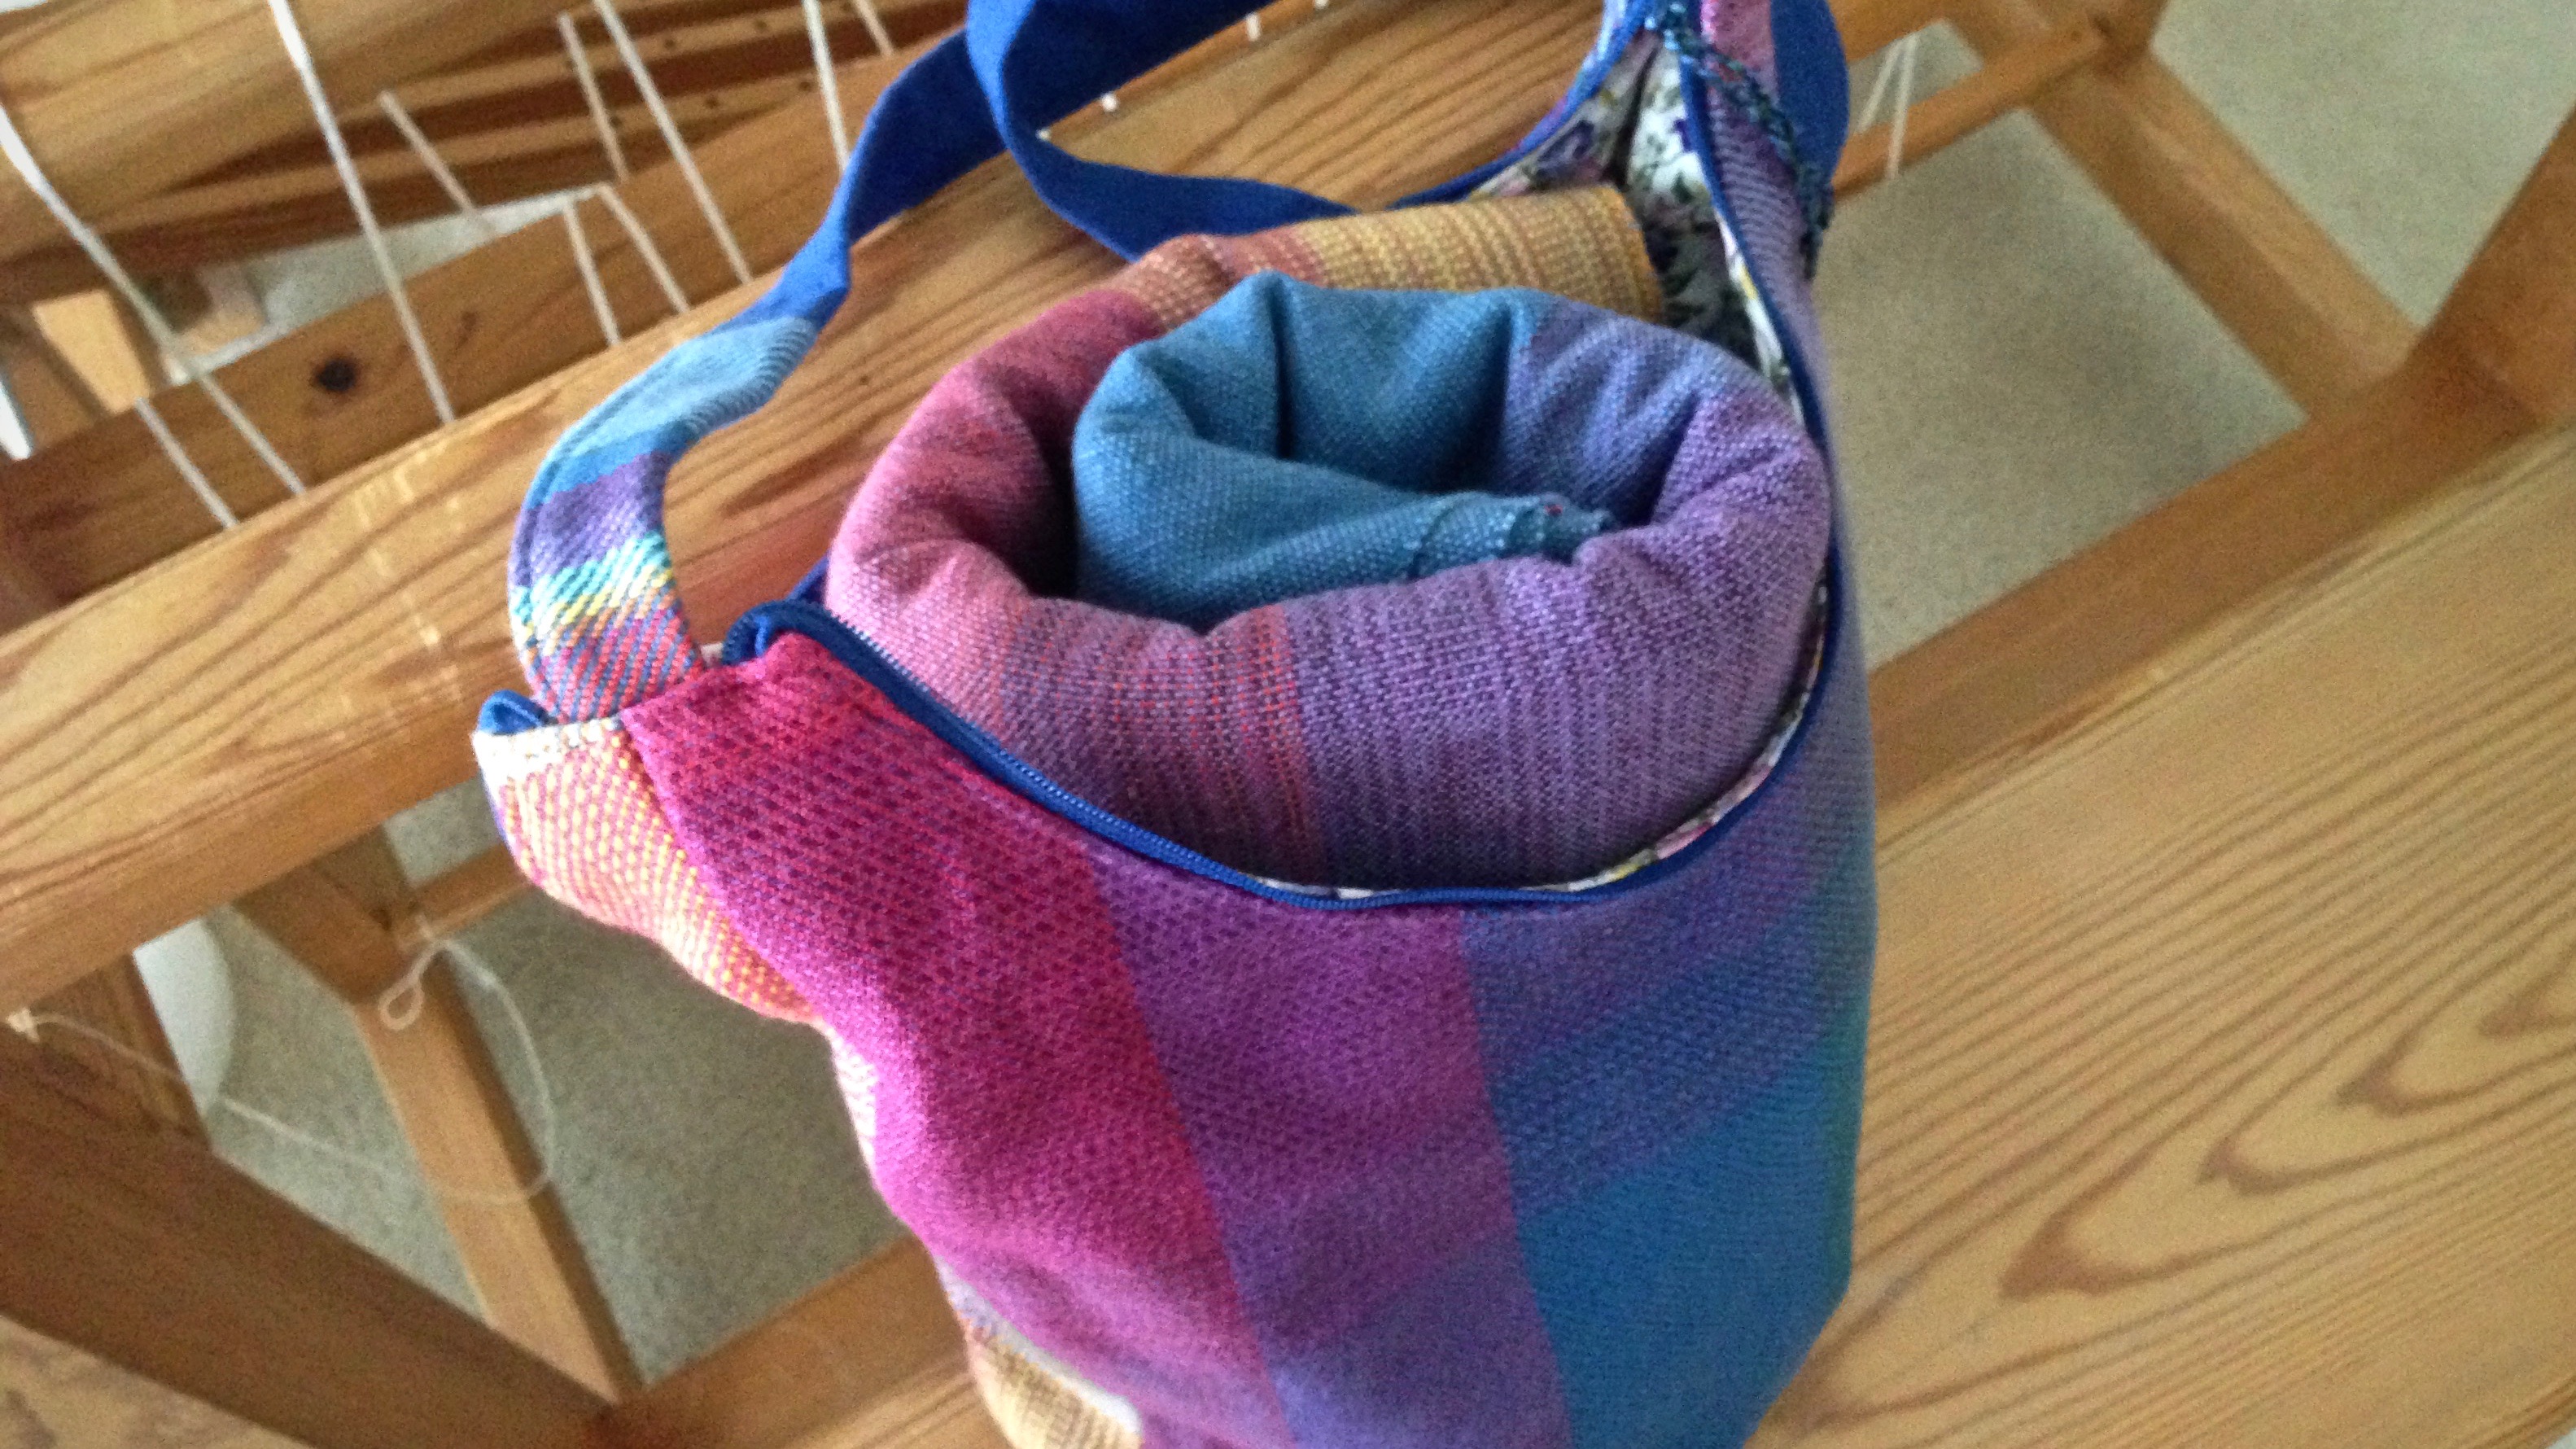
Finished handbag holds the rolled baby wrap.Handbag front is mostly twill, with five different weft colors. The warp length is crosswise in this piece.Back of the handbag. The lining fabric is cut from a remnant left from an Easter dress I made my daughter umpteen years ago.
The peace of Christ takes the power out of fear. Instead of looking at the status quo as the only option, internal peace enables us to walk past the fear. His peace enables us to do things that require faith. Fear fades when you know that the one who is truly good does have a plan. After all, handwoven fabric is made for such a use as this.