Tried and True: How to Count to Three – and Other Weaving Tips

We weavers are resourceful. We enjoy finding solutions that make our time at the loom more efficient, while raising the quality of our weaving. We’ve done some of these little tricks so much we don’t think about them anymore. And then, some innovations are things we think up on the spot because necessity, as you know, is the mother of invention.

Keep Count

Necessity: Keep from losing my place with treadling repeats.
Solution: A strip of blue painter’s tape with “3 2 1” and a rubber band, placed on the breast beam. Move the rubber band on the tape (from right to left) to track repeats.
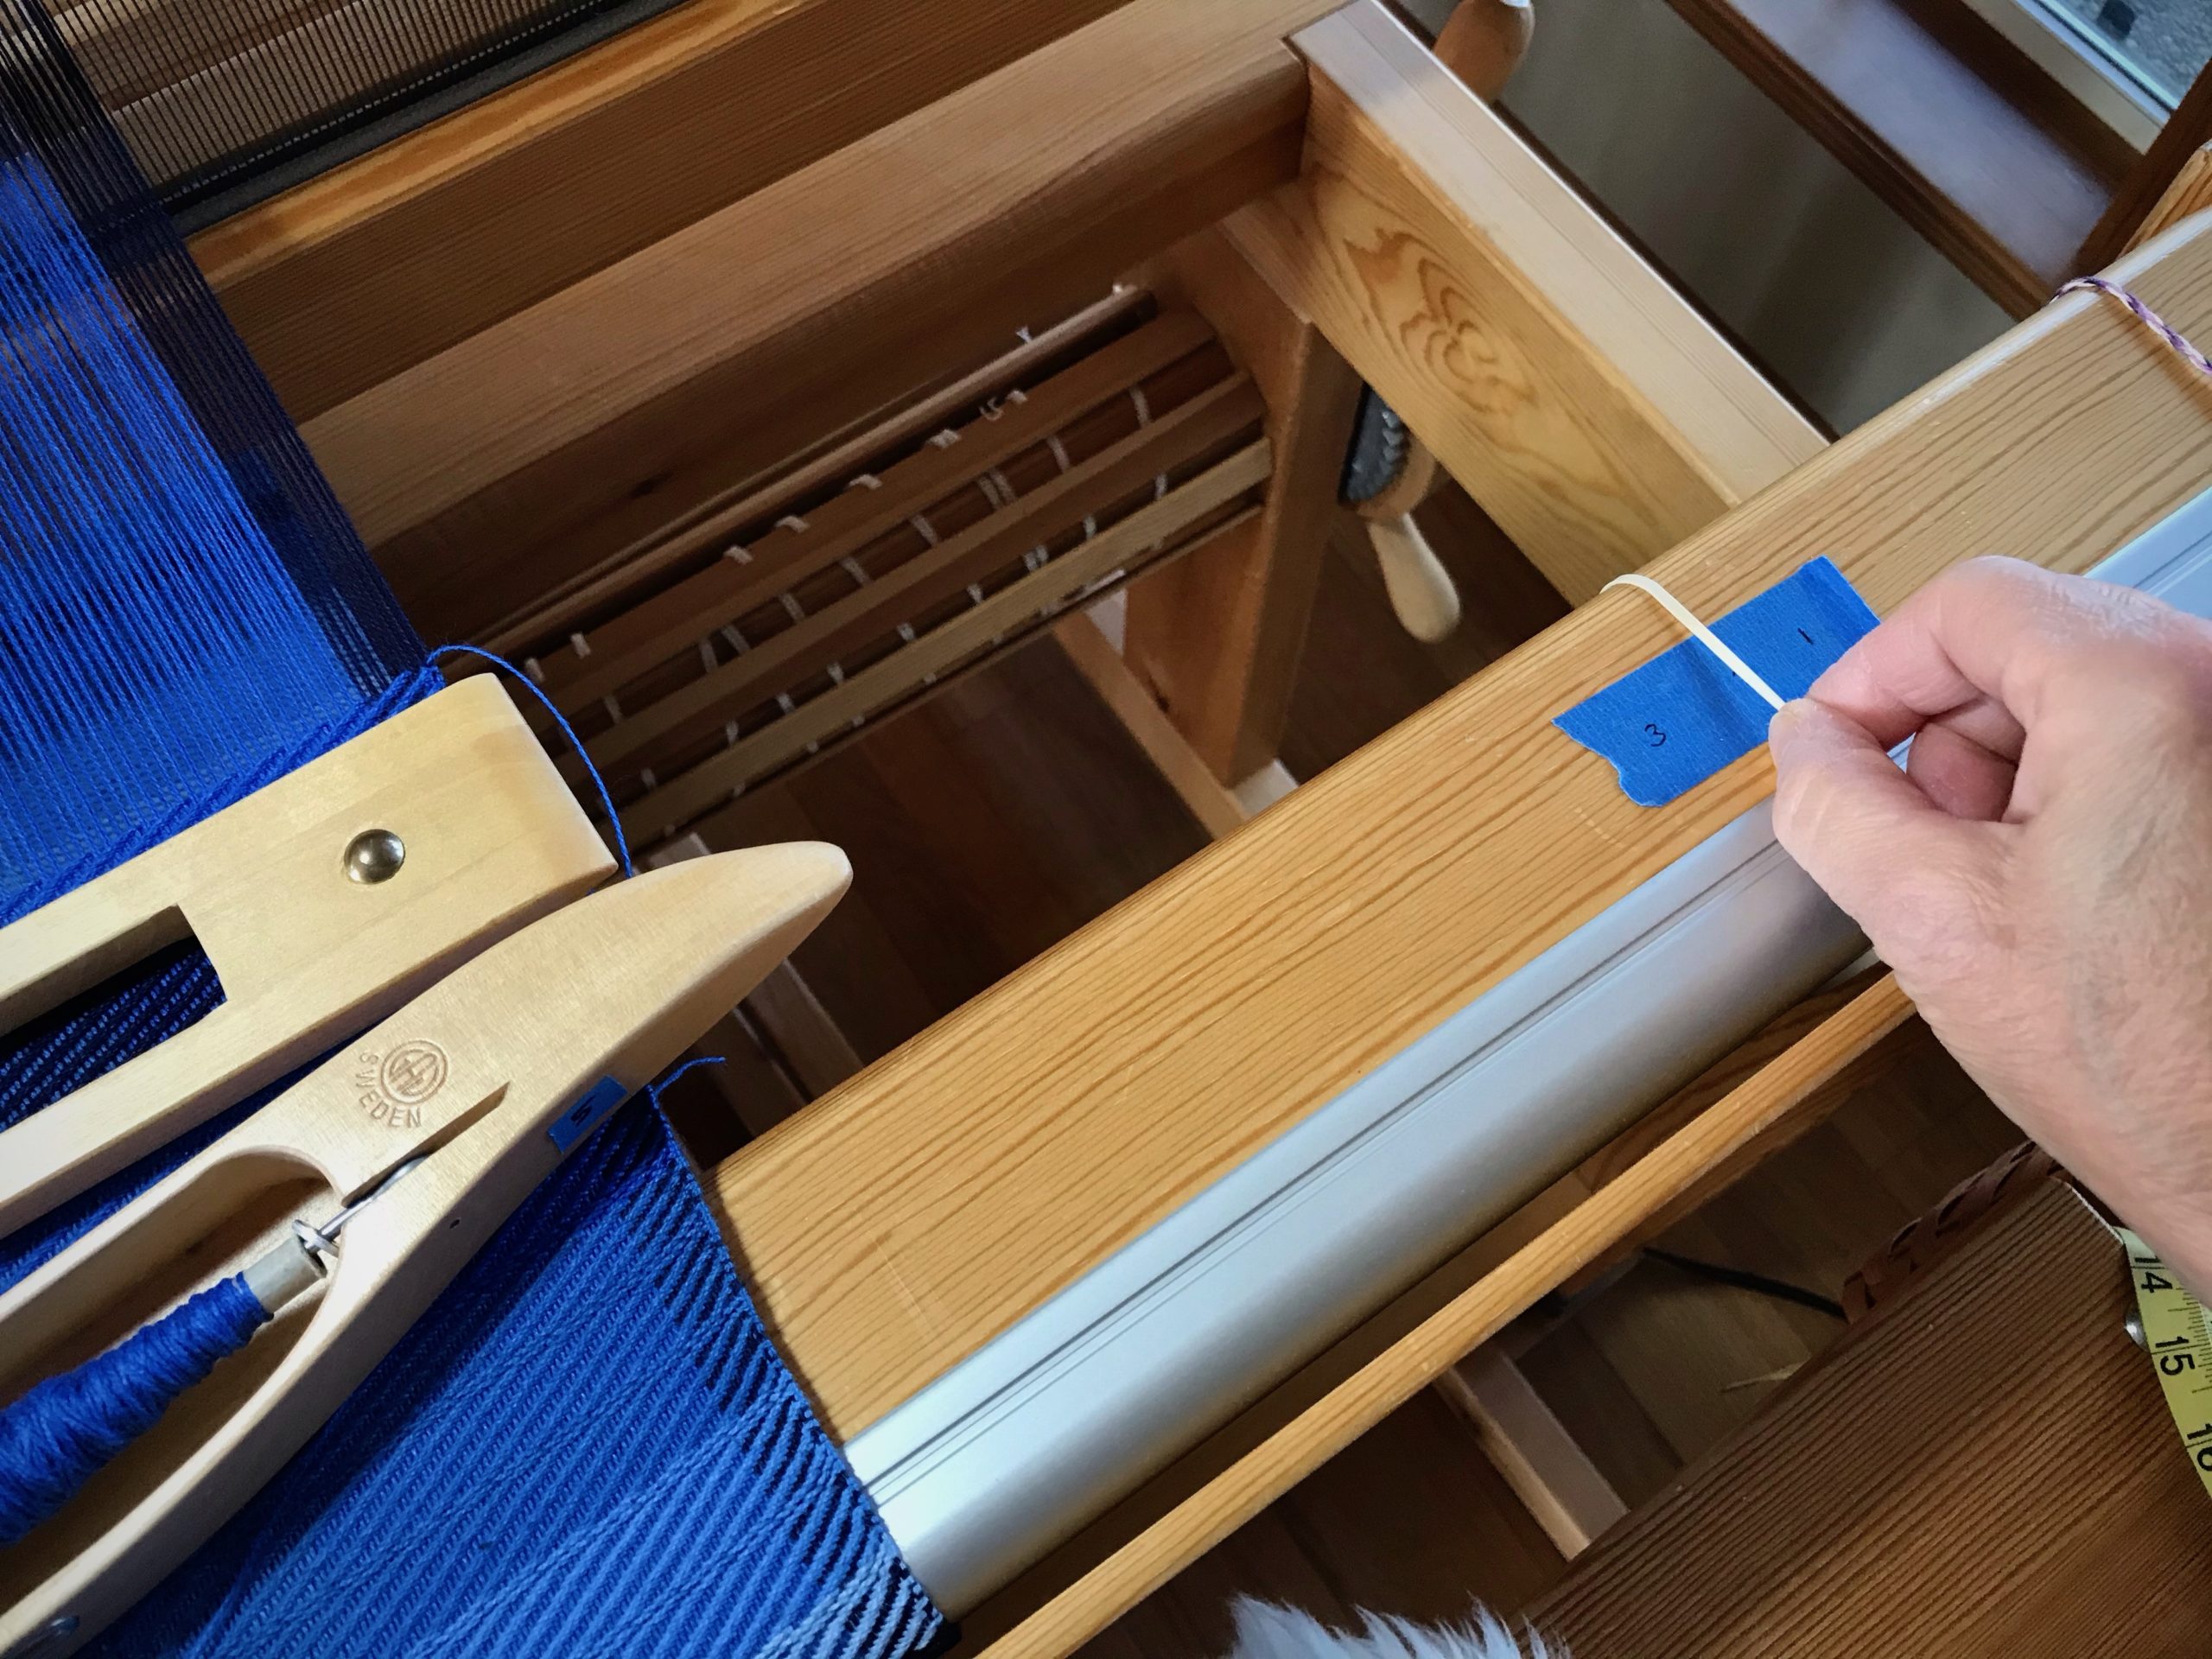
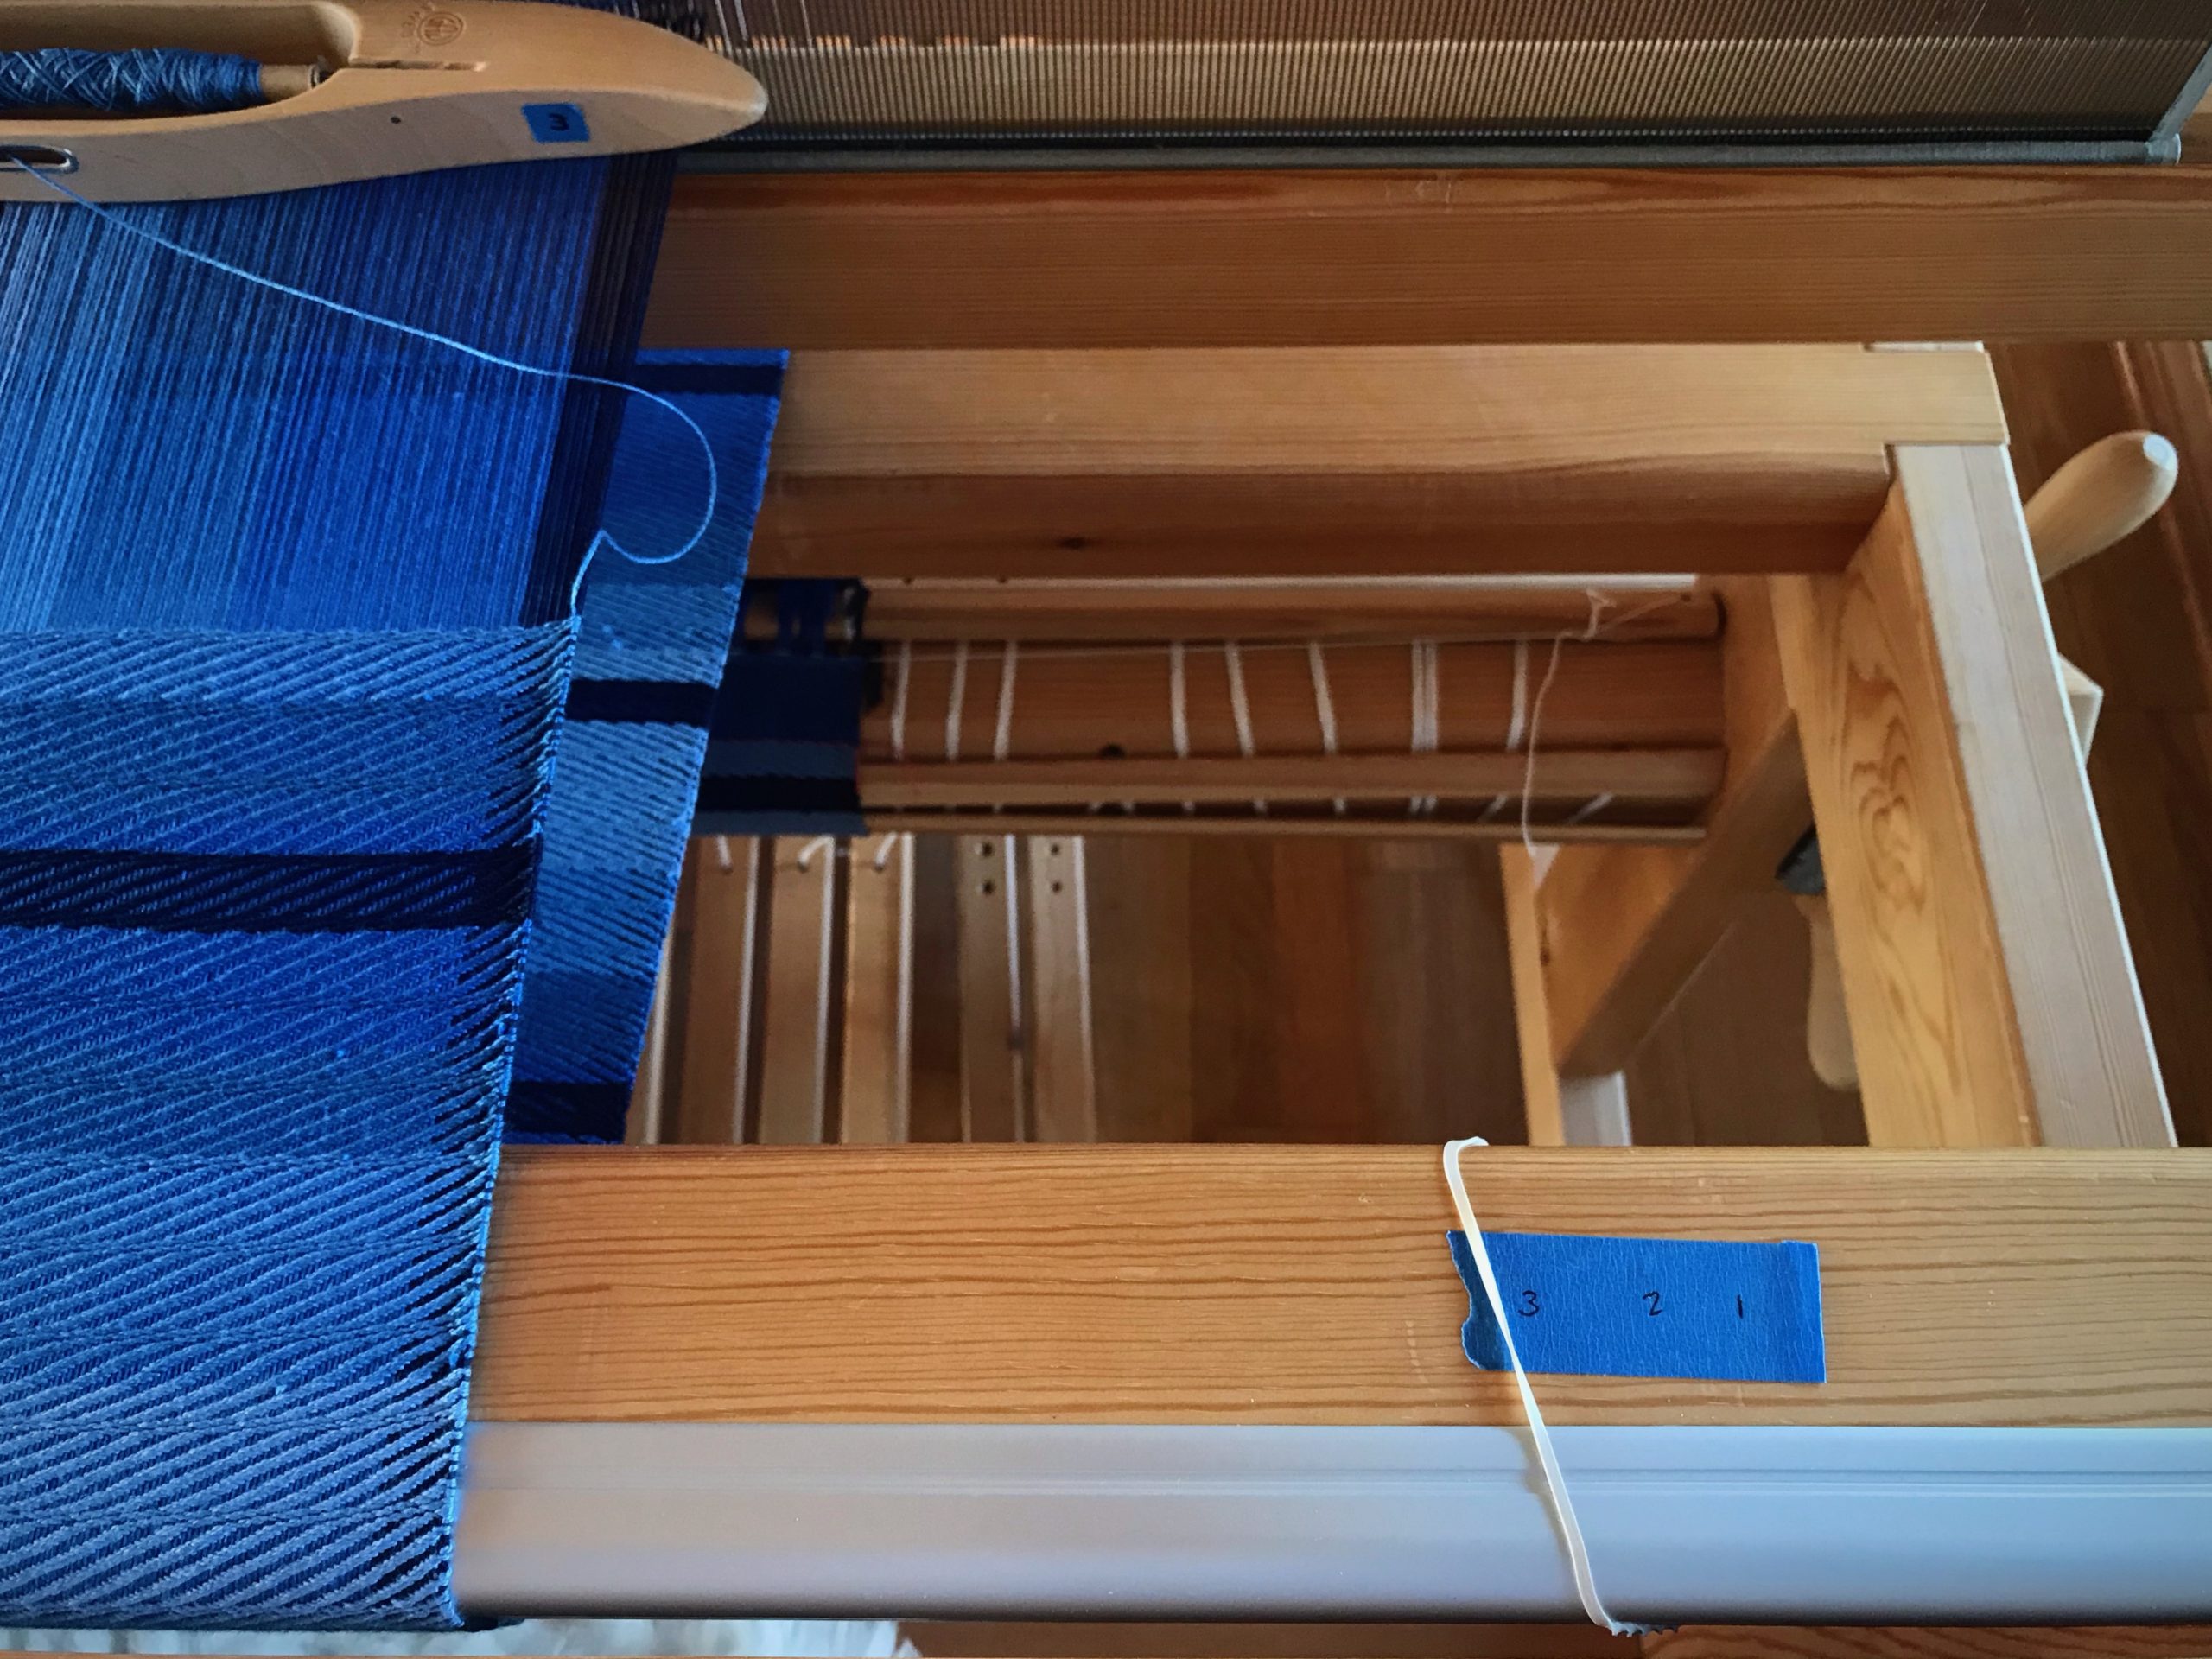
Weaving tips - low tech solutions.
I need help counting to 3 when it comes to treadling repeats. On the Glimåkra Standard loom, I am able to loosen the warp enough to lift the breast beam so I can put a rubber band on it. Without a removable breast beam, one could use a separate small piece of tape instead of a rubber band to keep track.
Keep track of repeats. Blog post with tips and tricks.
Low tech solution for keeping track.

Shuttle Catch

Necessity: Keep from fumbling the catch, having to reposition the shuttle in my hand to send it back across the warp.
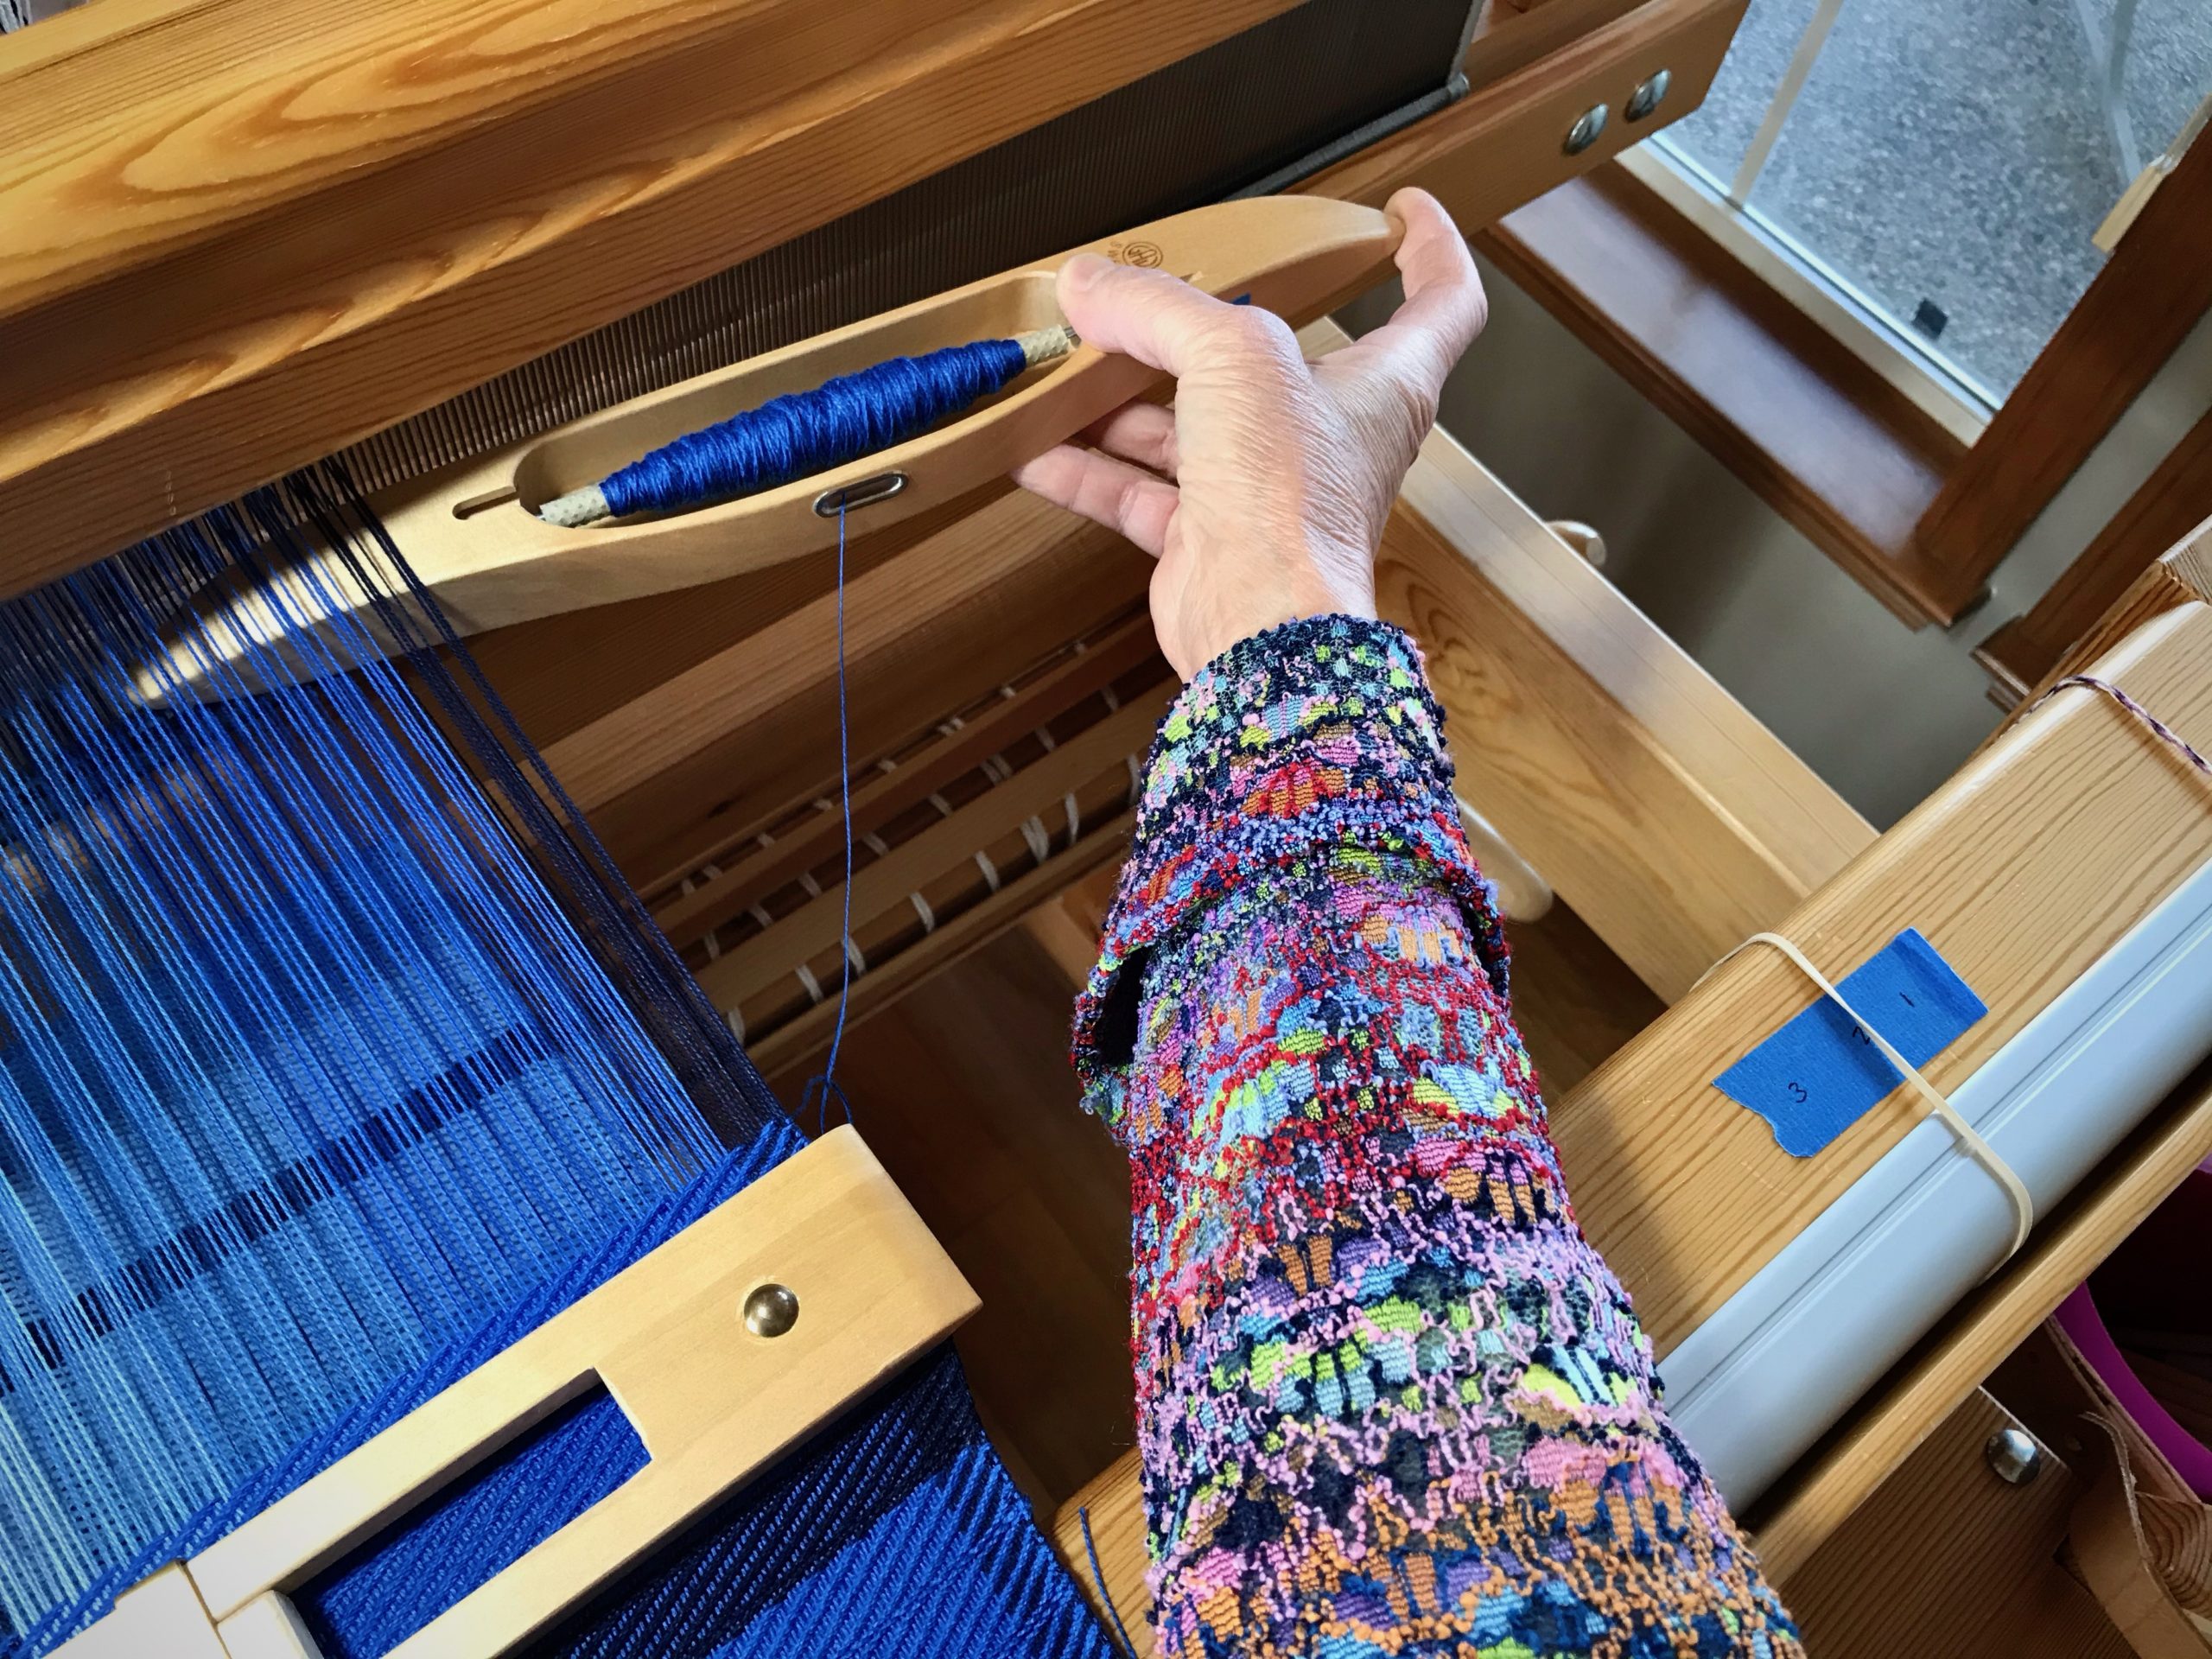
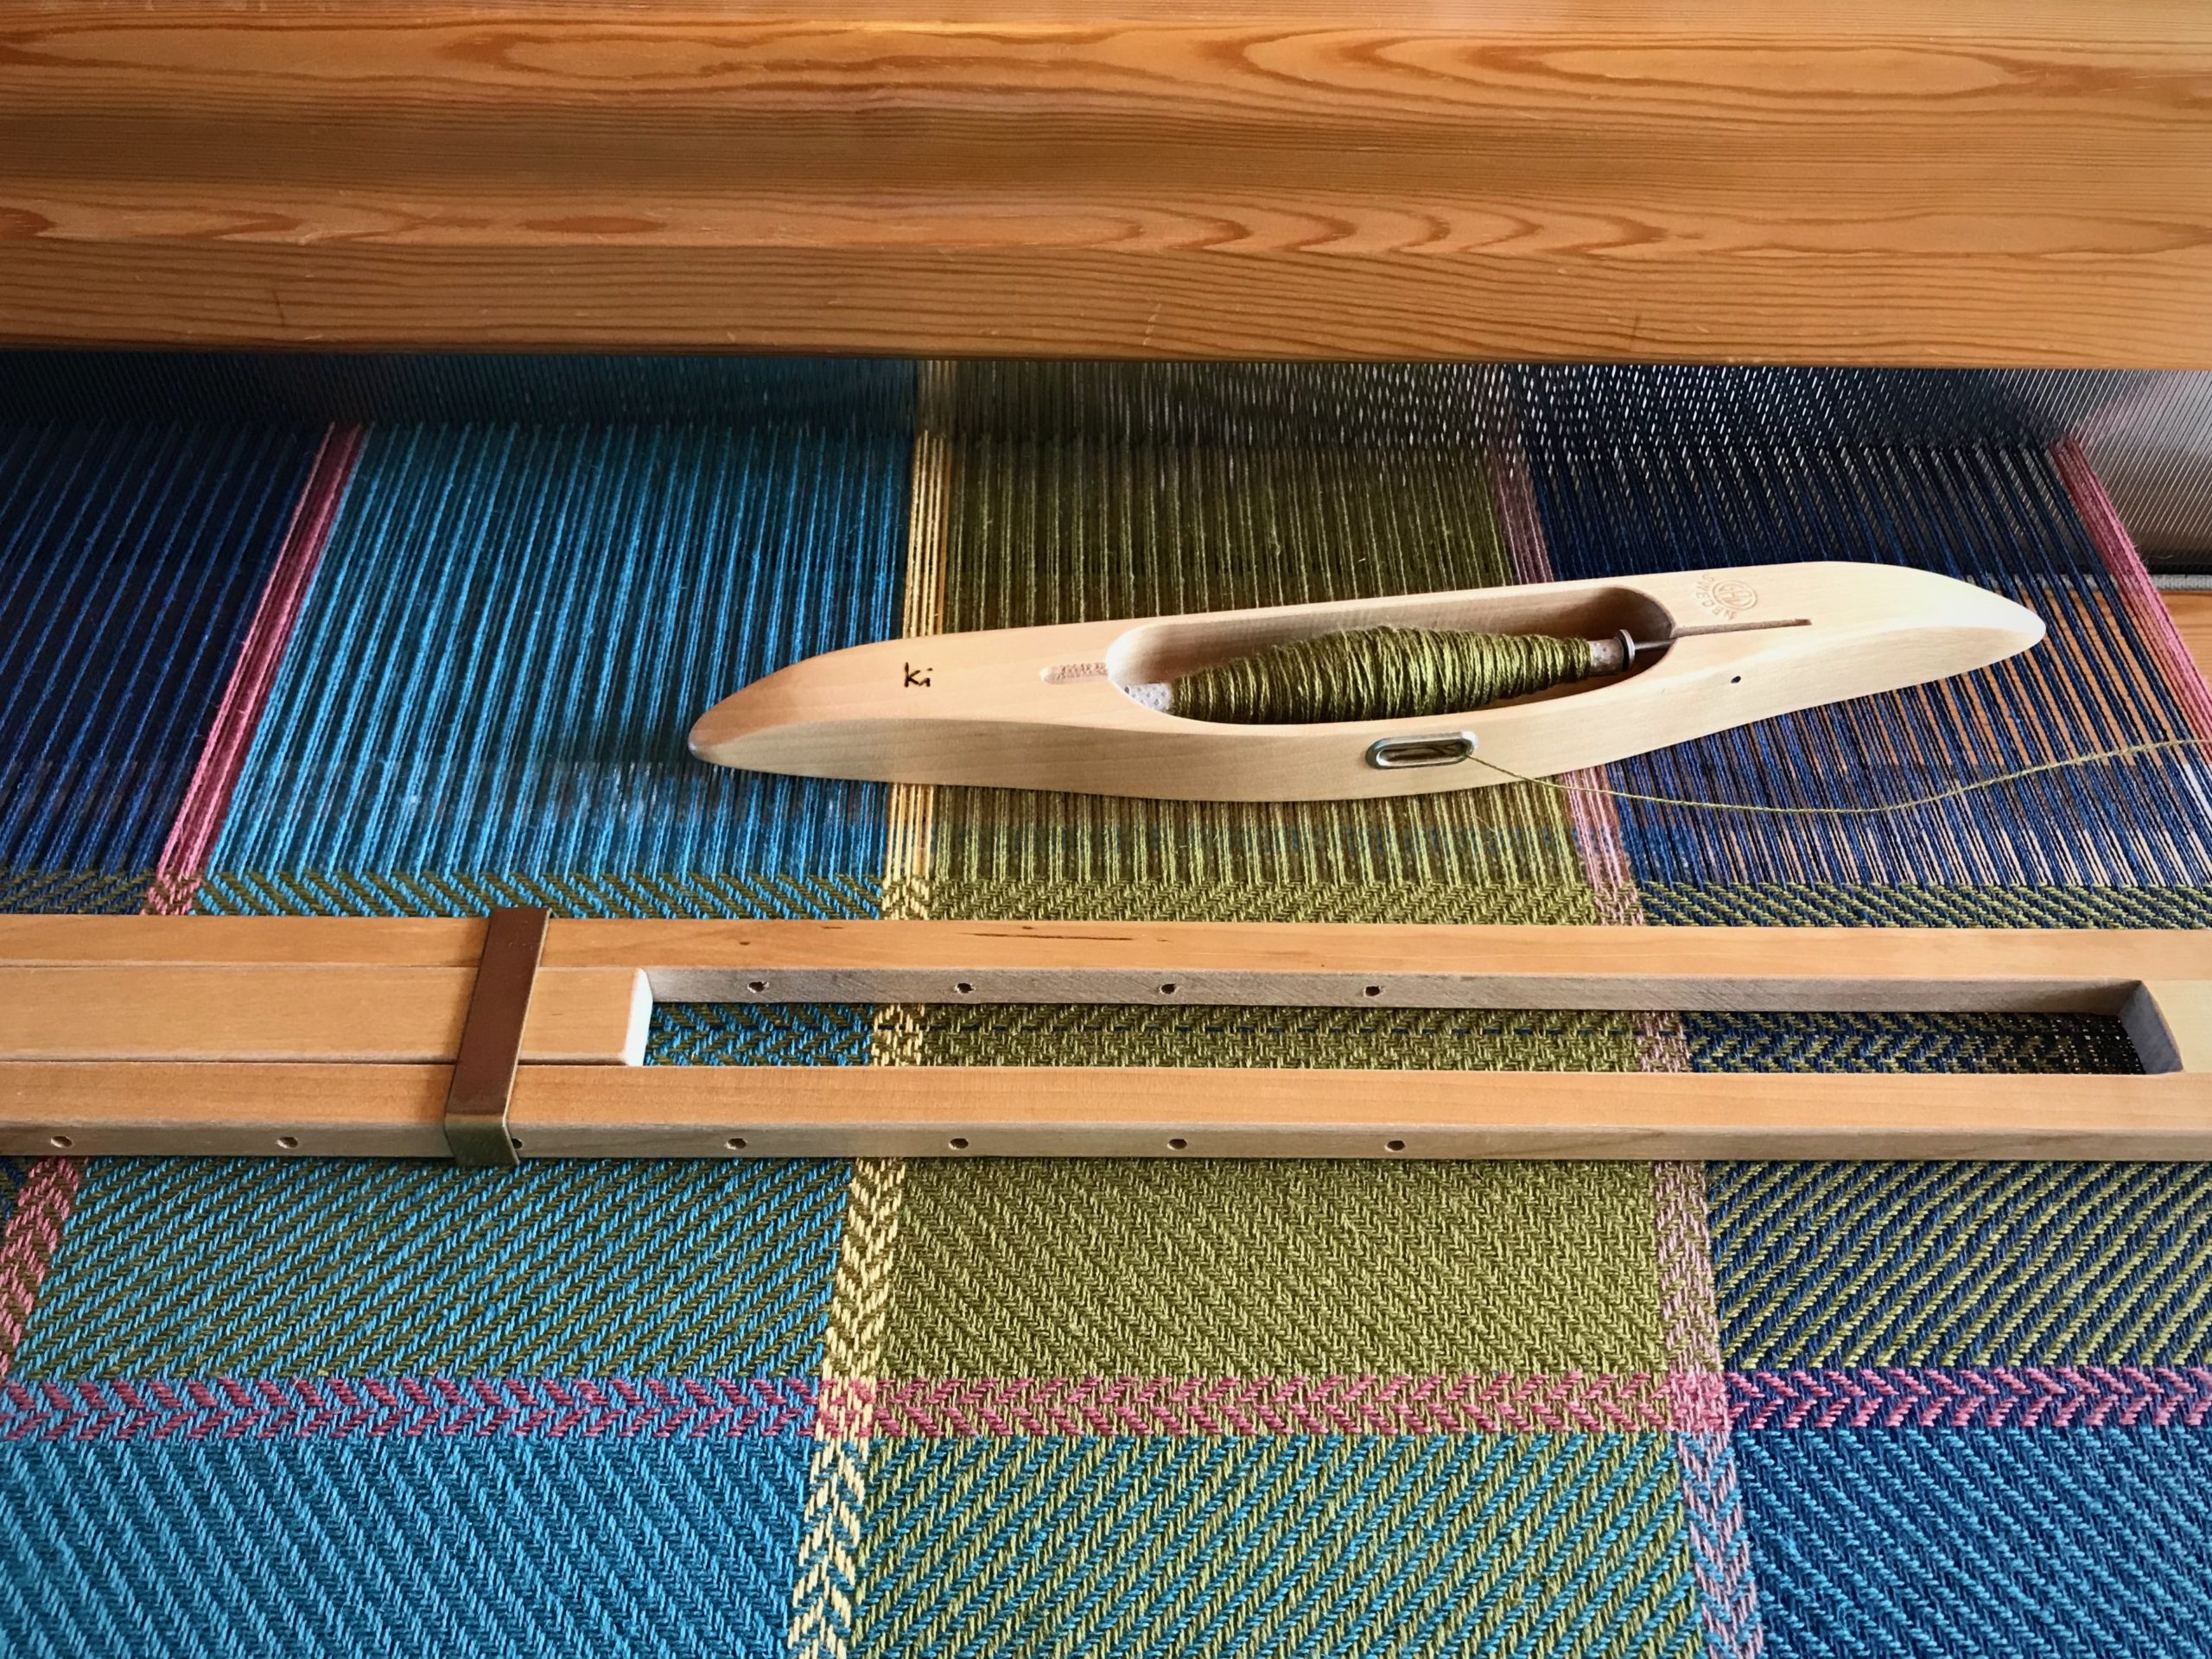
Solution: Keep my eye on the shuttle. If I turn my head to watch the movement of the shuttle, my catching and throwing improves immediately. This makes my selvedges improve, too.
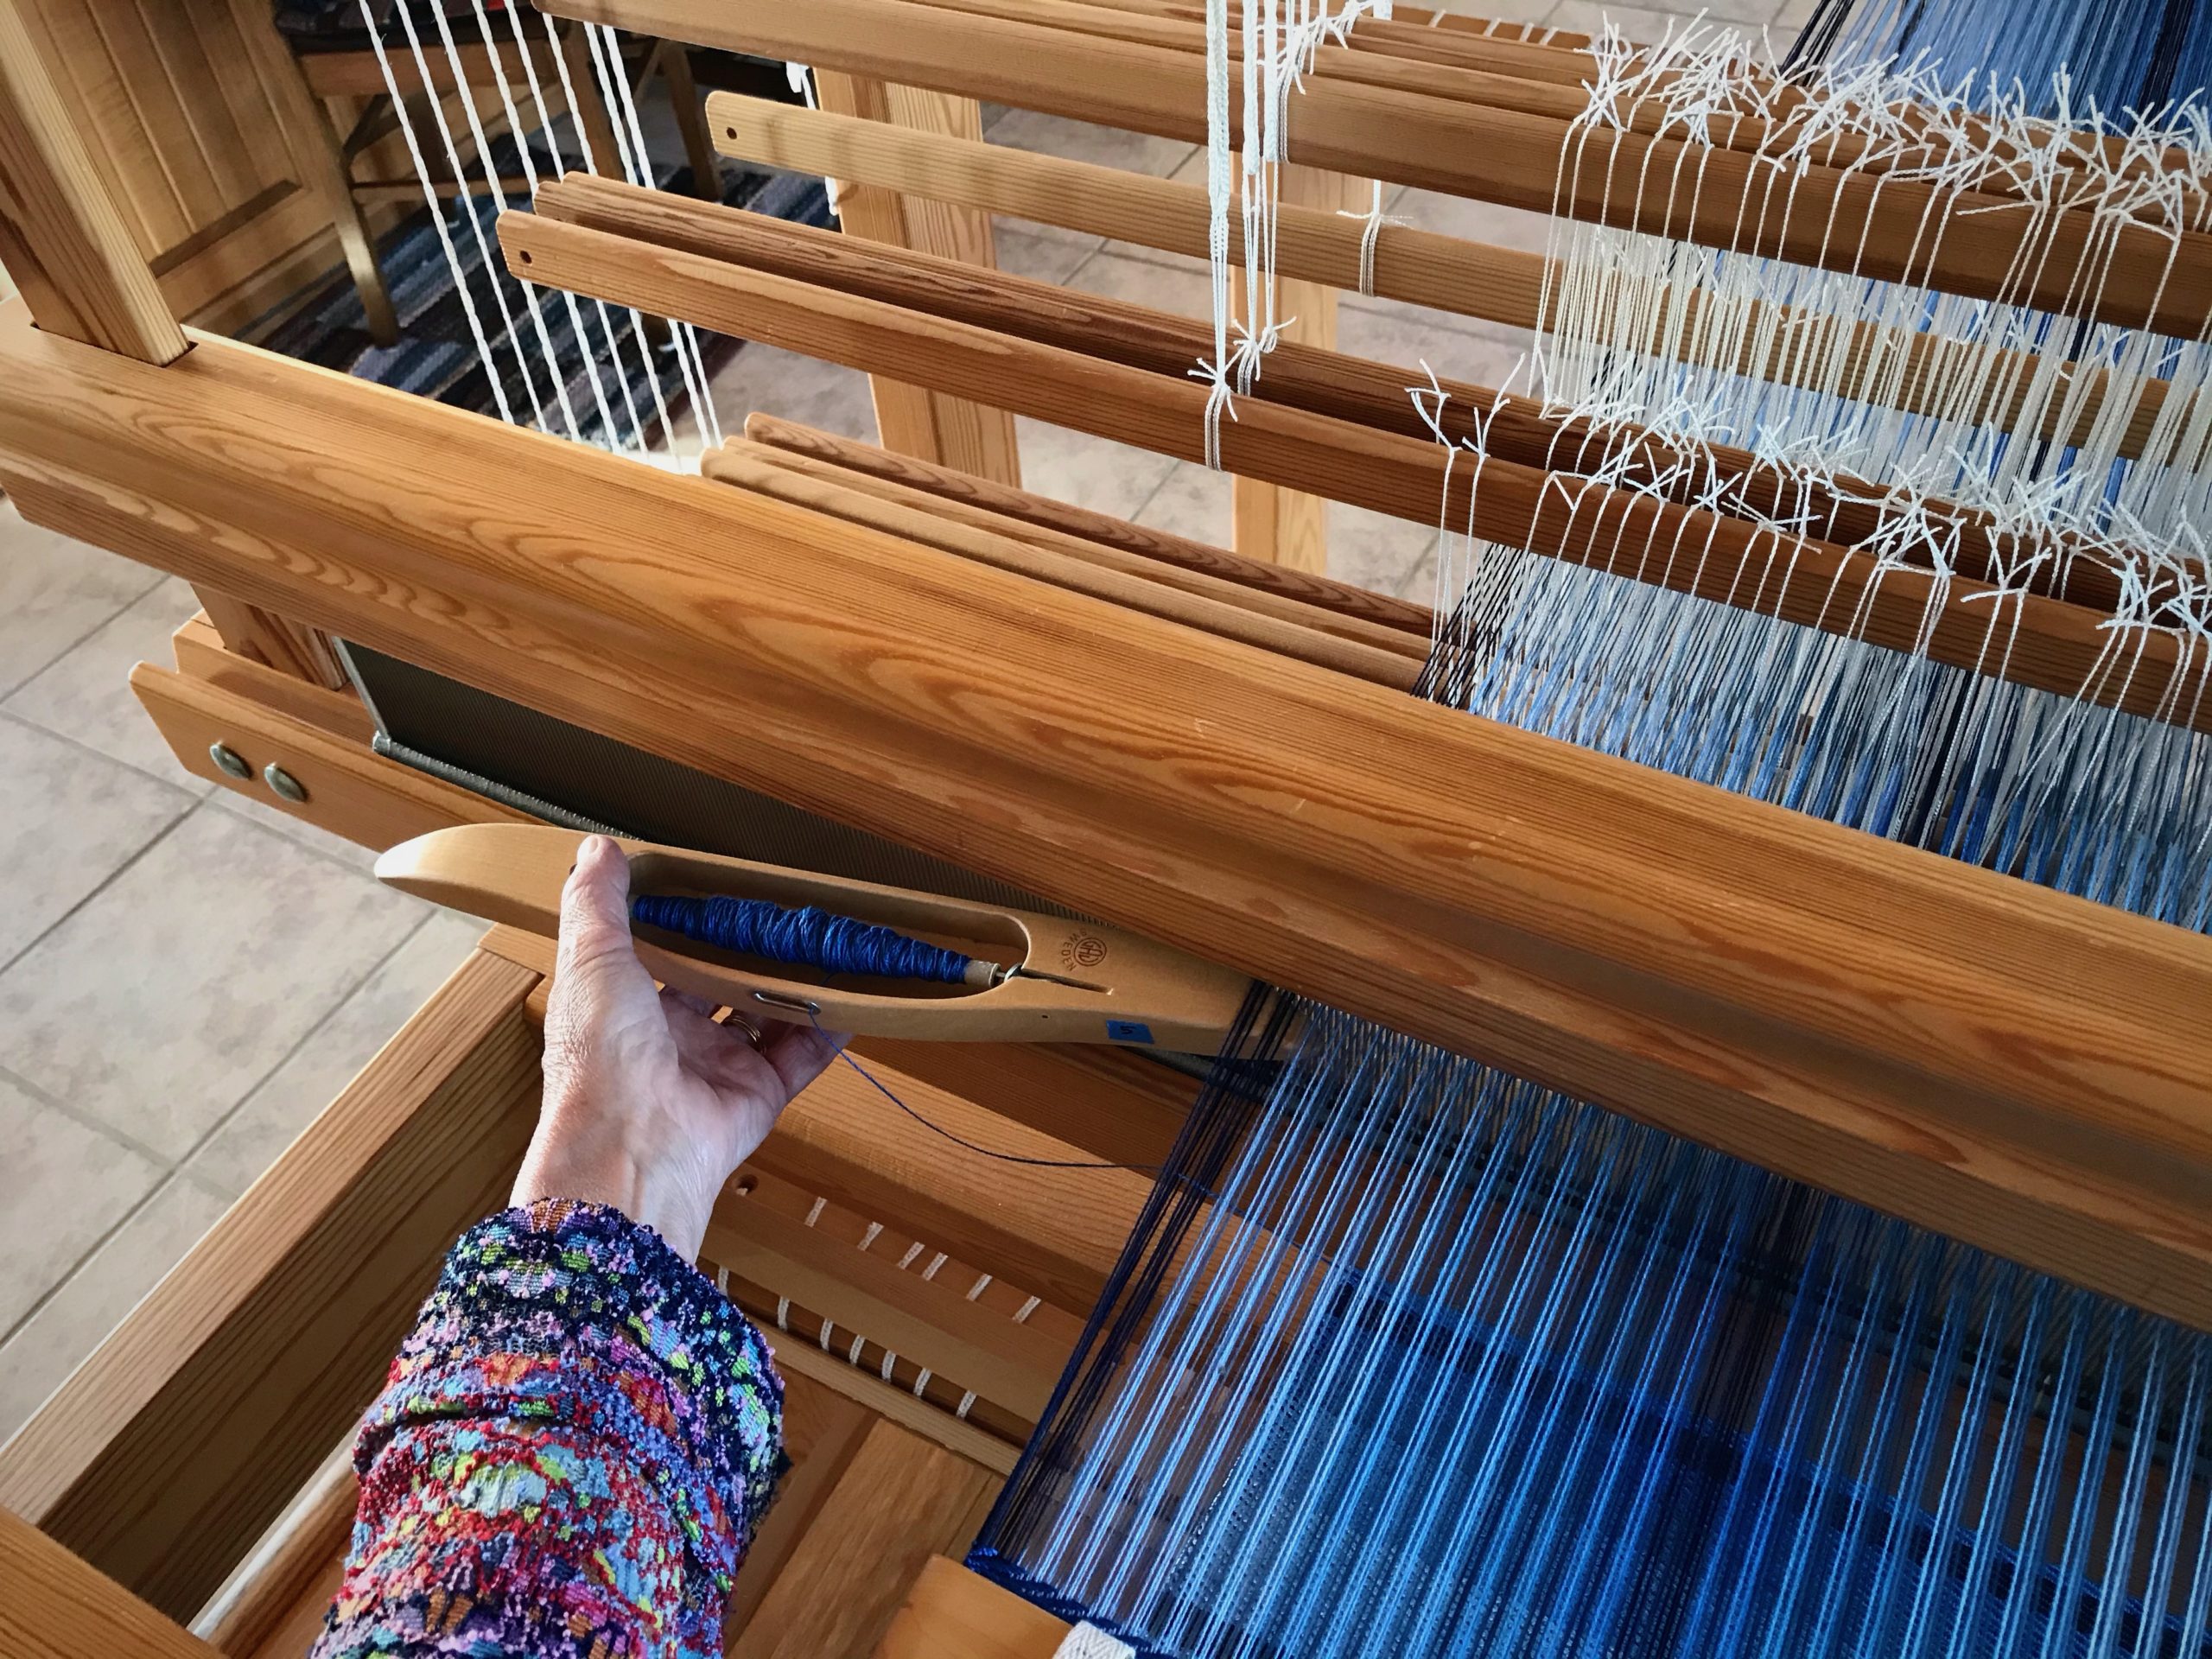
Weaving tips and tricks. Easy tip on how to catch the shuttle perfectly.
It is easy to throw and catch the shuttle without actually looking at your hands. I have to consciously remember to turn my head to follow the shuttle with my eyes.

Leave No Trace

Necessity: Keep from leaving slightly perceptible lines in the woven cloth that reveal every time I stop to move the temple and advance the warp.
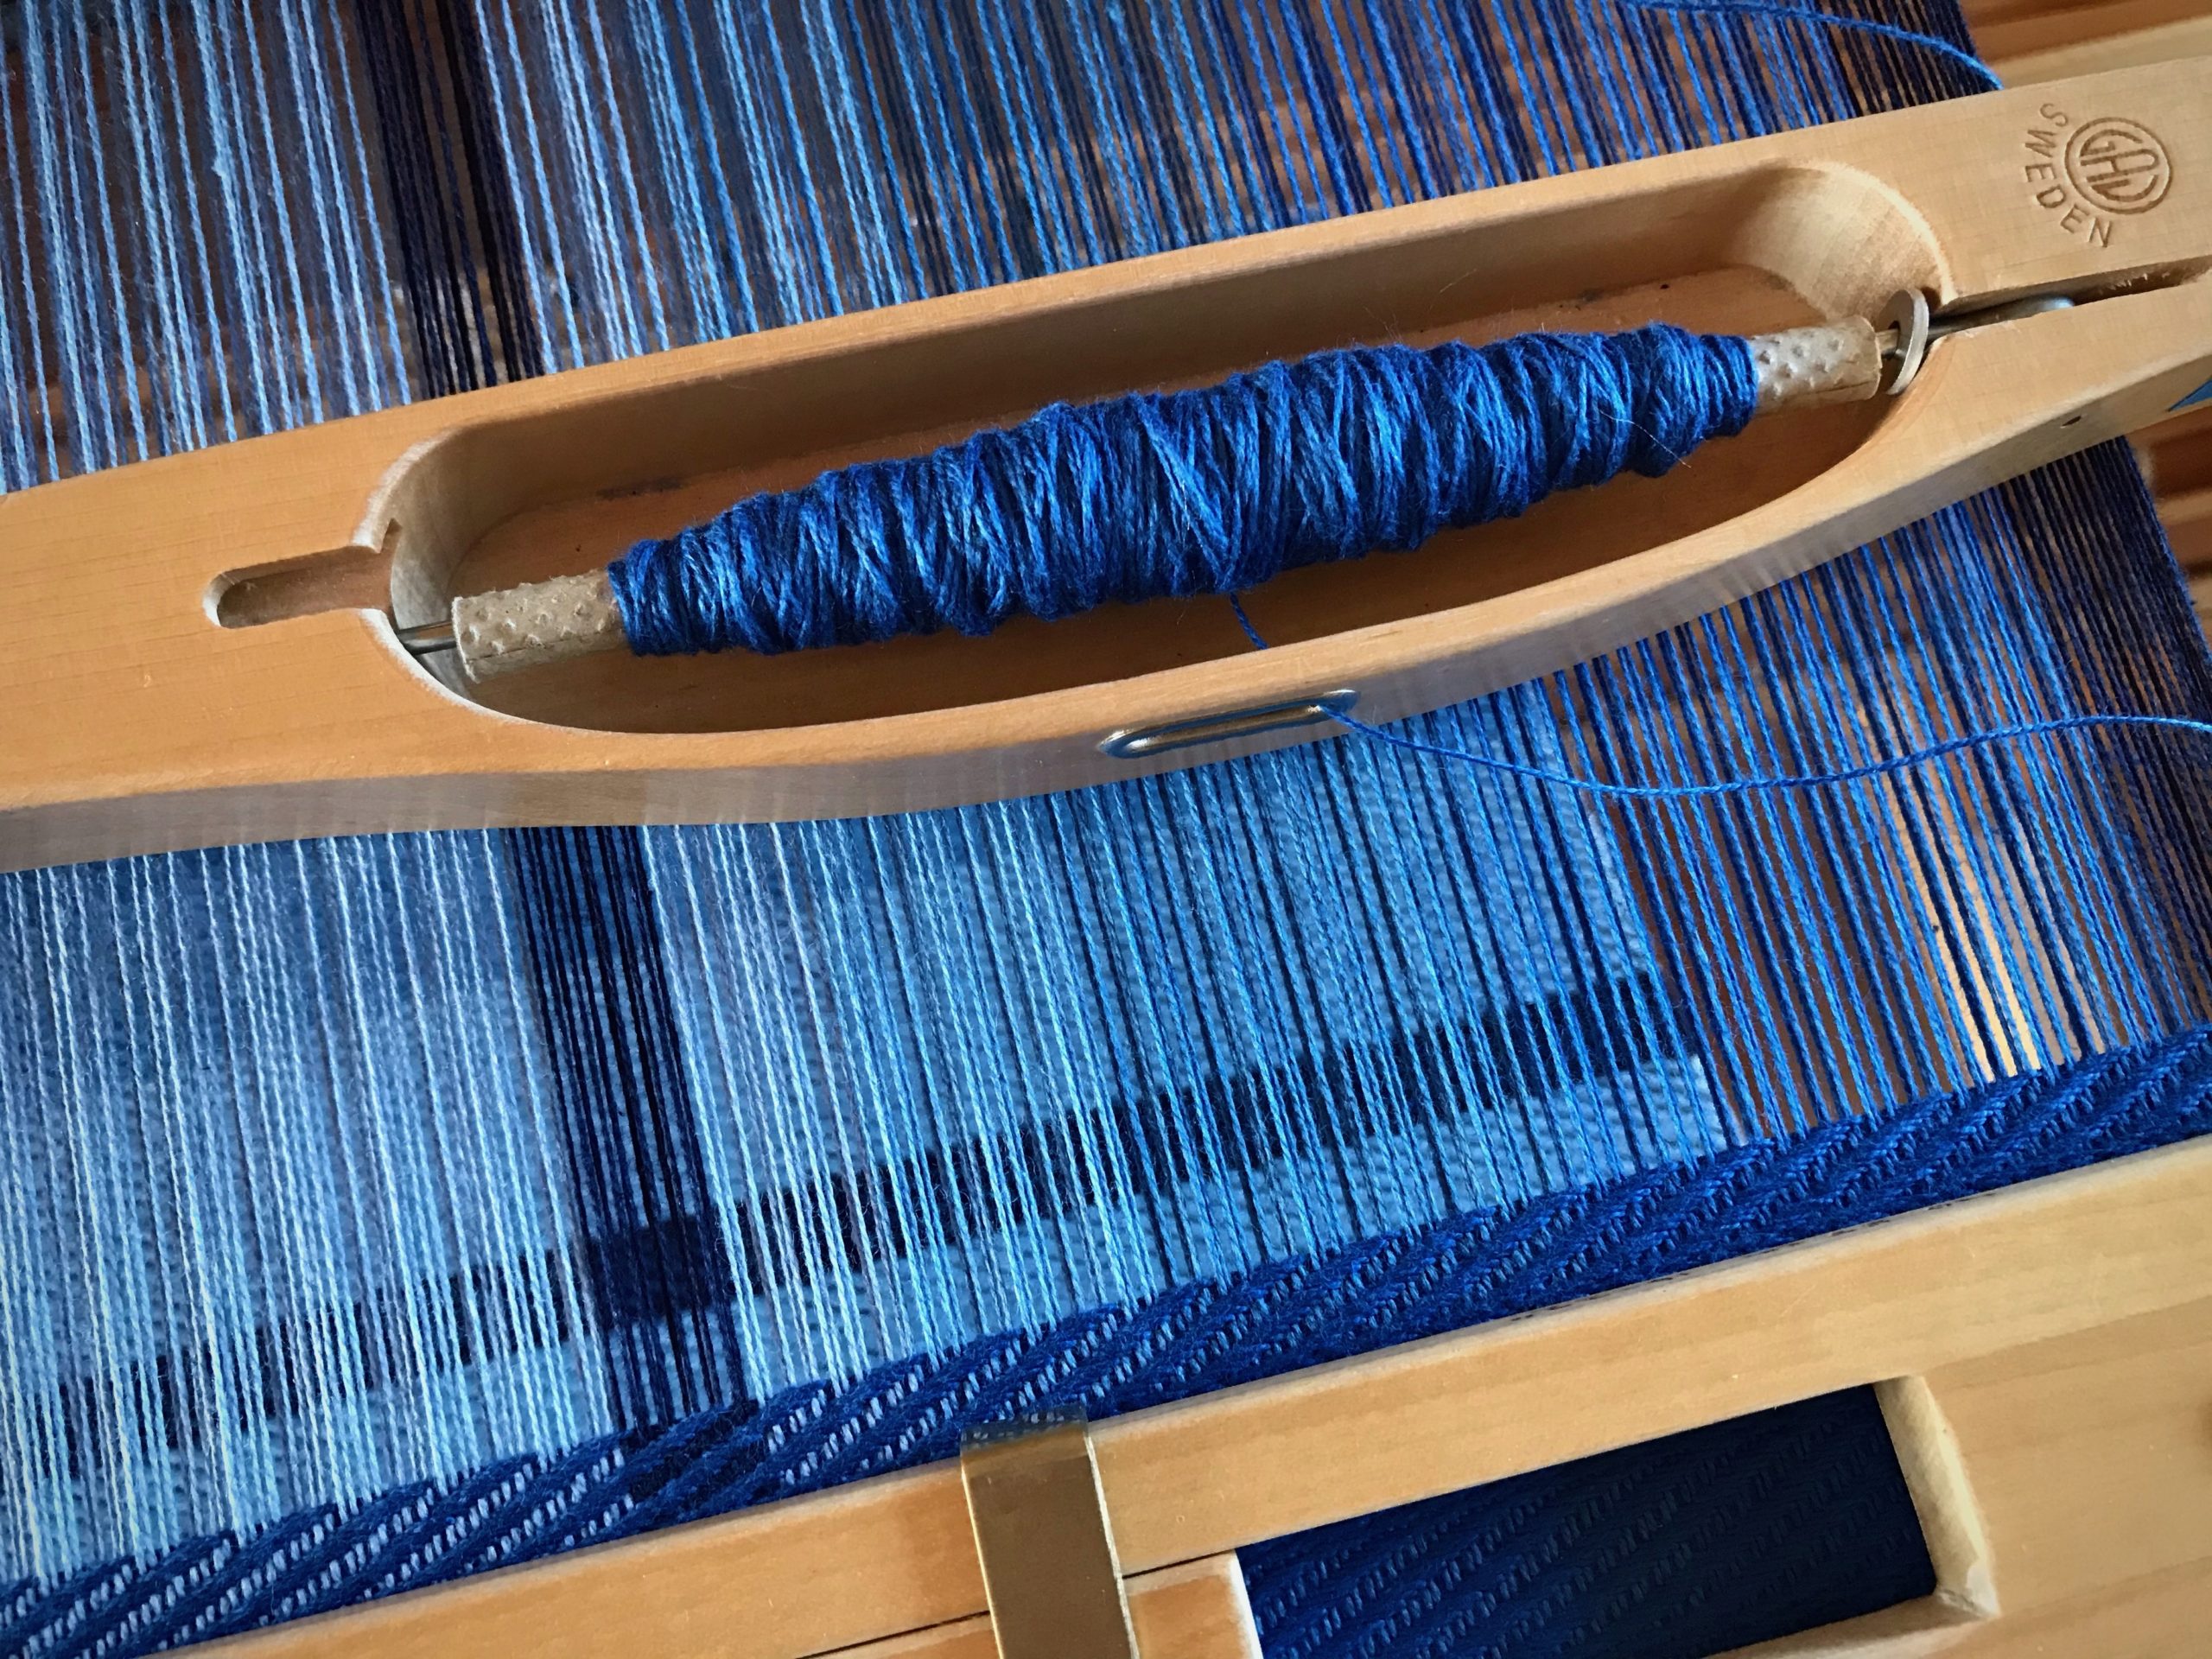
Solution: When it is almost time to advance the warp, I move the temple and then weave one or more pattern sequence(s) before advancing the warp. This helps me leave no trace of starting and stopping.
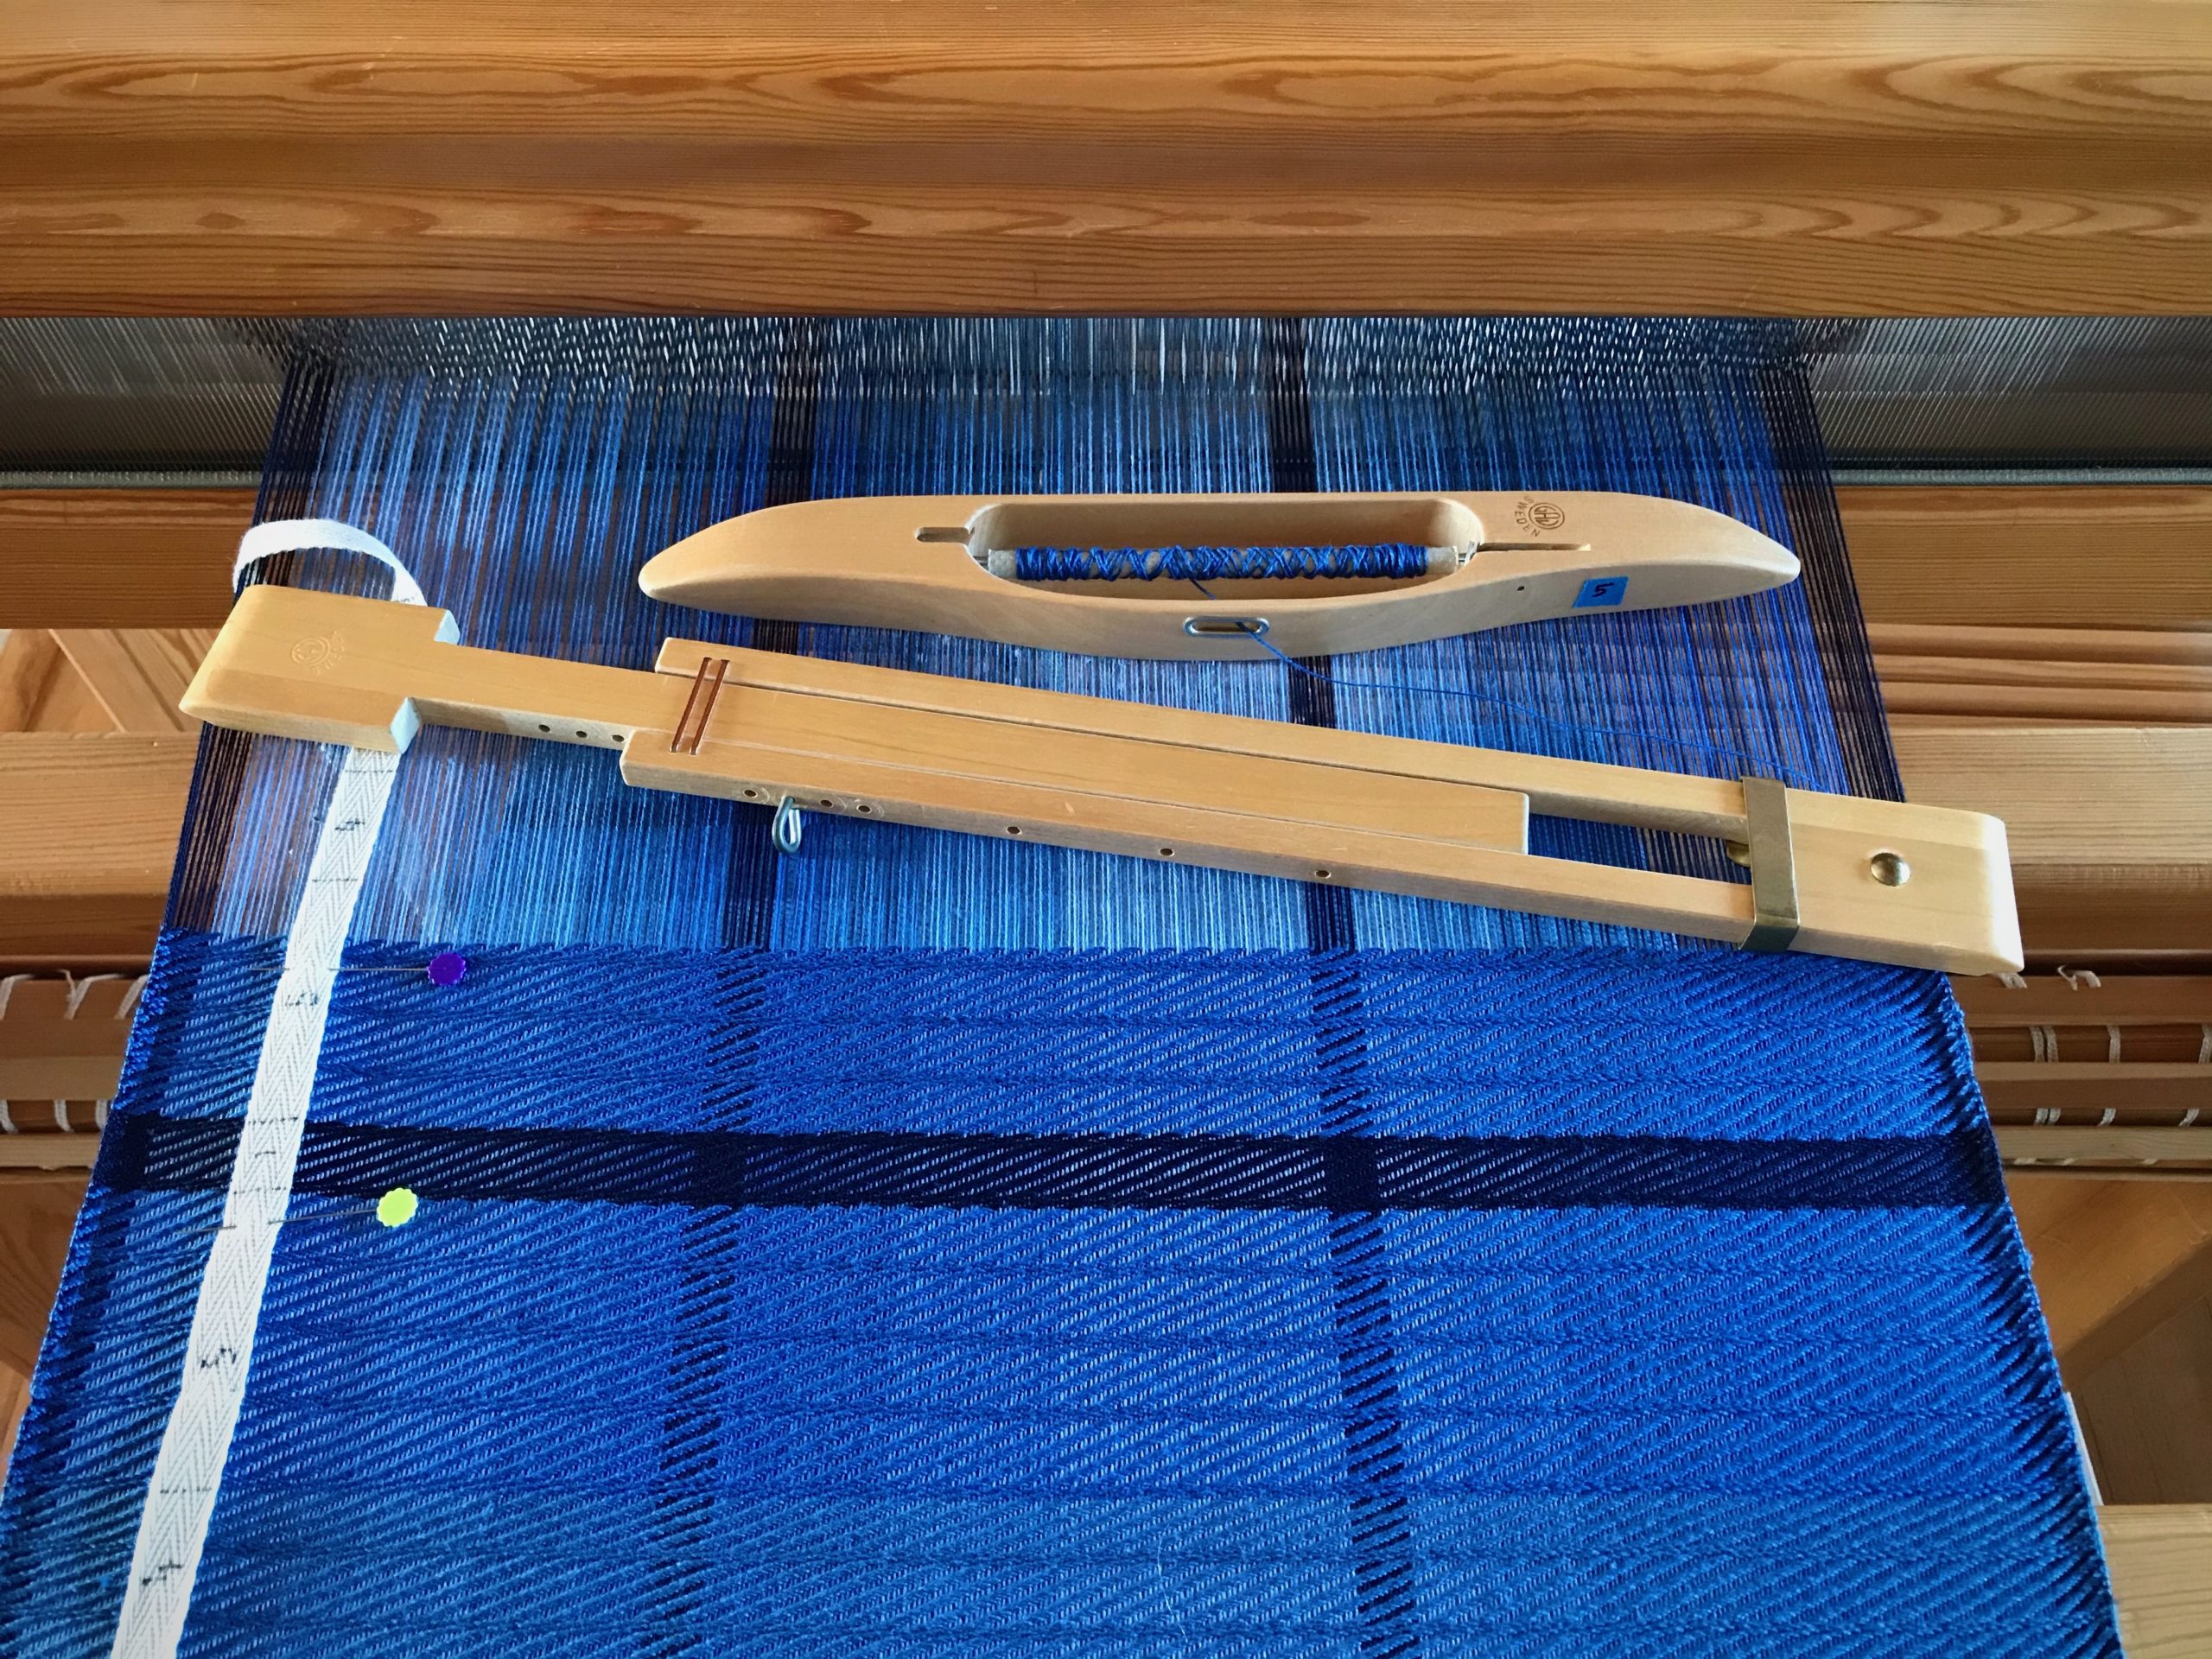
Tips and tricks for the weaving loom.
Almost ready to advance the warp, I remove the temple and reposition the pins on my guide tape. Then, I put the temple back on, near the fell line.
Tips about when to advance the warp.
After moving the temple, I weave one or more complete treadling sequences before advancing the warp.
Three simple weaving tips for efficiency and quality!
After advancing the warp, I know exactly where I left off because of my tape-and-rubber-band counter. My eyes are on the shuttle to continue this segment of weaving.

Do you have a simple tip that improves your efficiency and/or quality at the loom? Please share in the comments.

May you notice what you’re doing.

Happy Weaving,
Karen

Tried and True: Simplify Subtle Color Changes

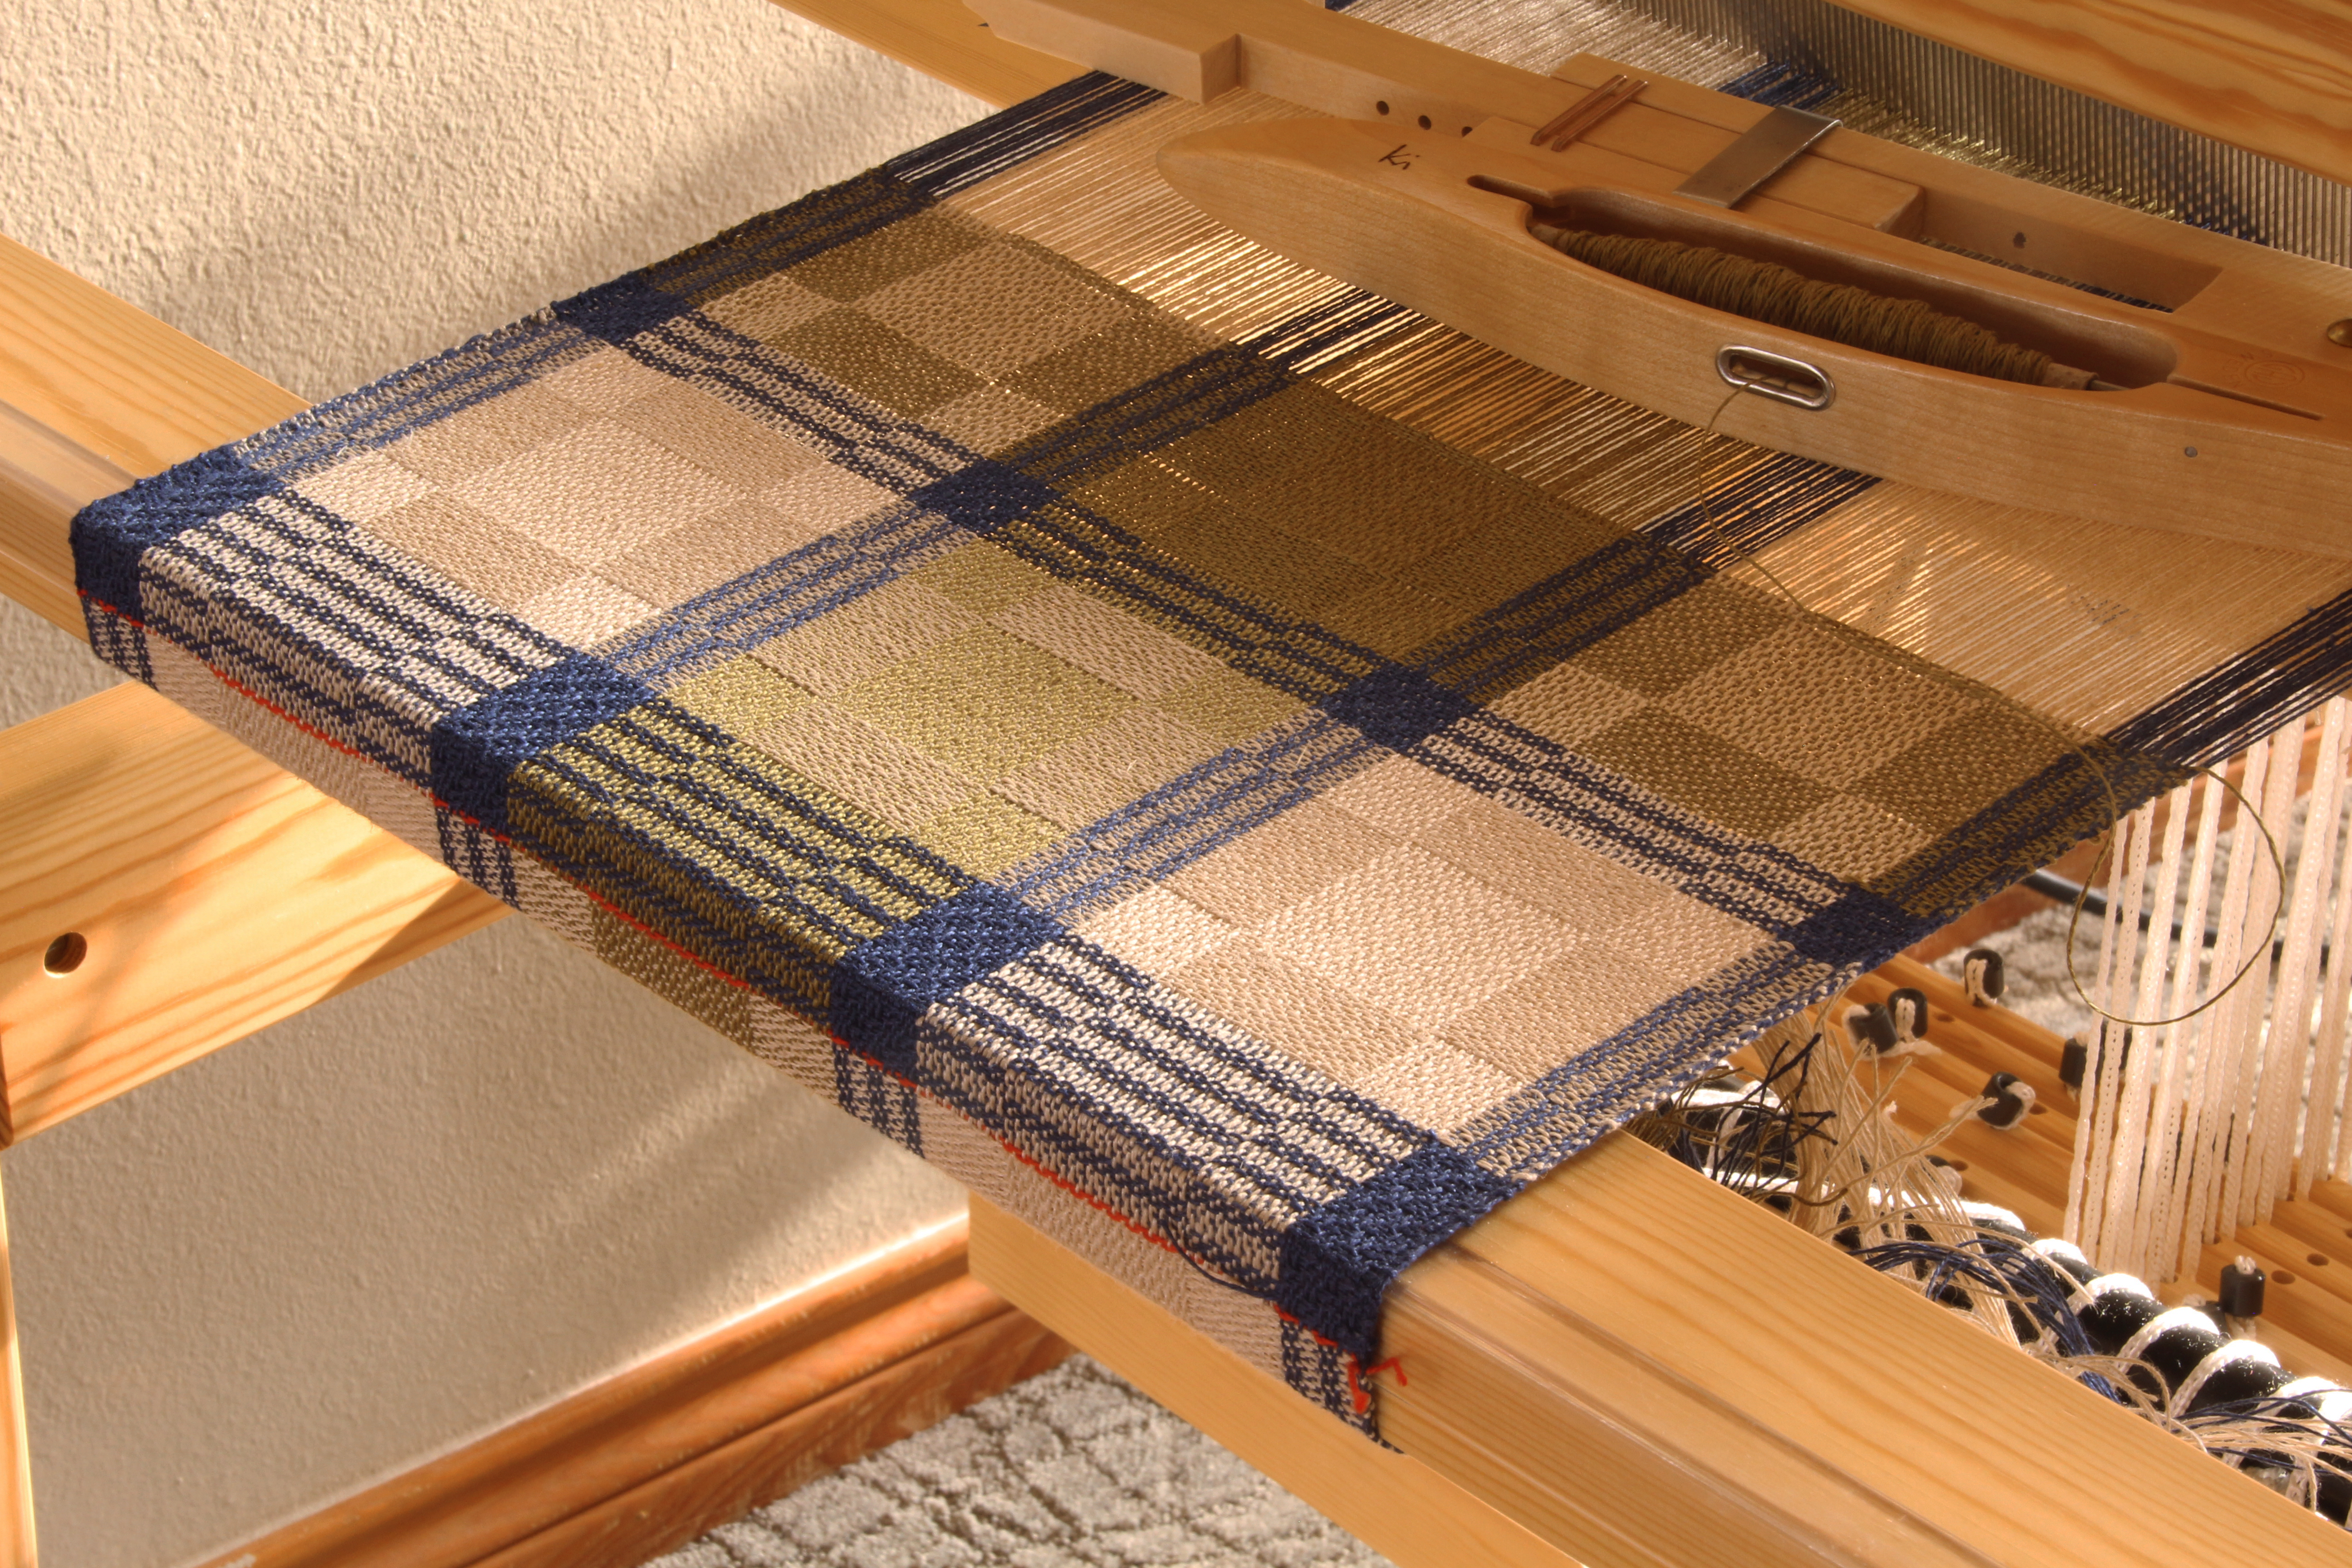
When I pick up a color of thread I don’t want to have to guess if it’s the right color. Four of the five blues in the weft sequence are close neighbors in value. The one color that is easy to identify is the navy blue, which provides a good contrast among the blues.

Five blues in 8/2 cotton. 8-shaft twill.
Weft color order follows the sequence of the warp color order. Five blues for this 8-shaft twill in 8/2 cotton.

The weft order matches the warp order, and is marked out on a ribbon. I am using a separate boat shuttle for each shade of blue. But how do I know which color is which, when the difference is subtle from one color to the next?

Simplify Subtle Color Changes

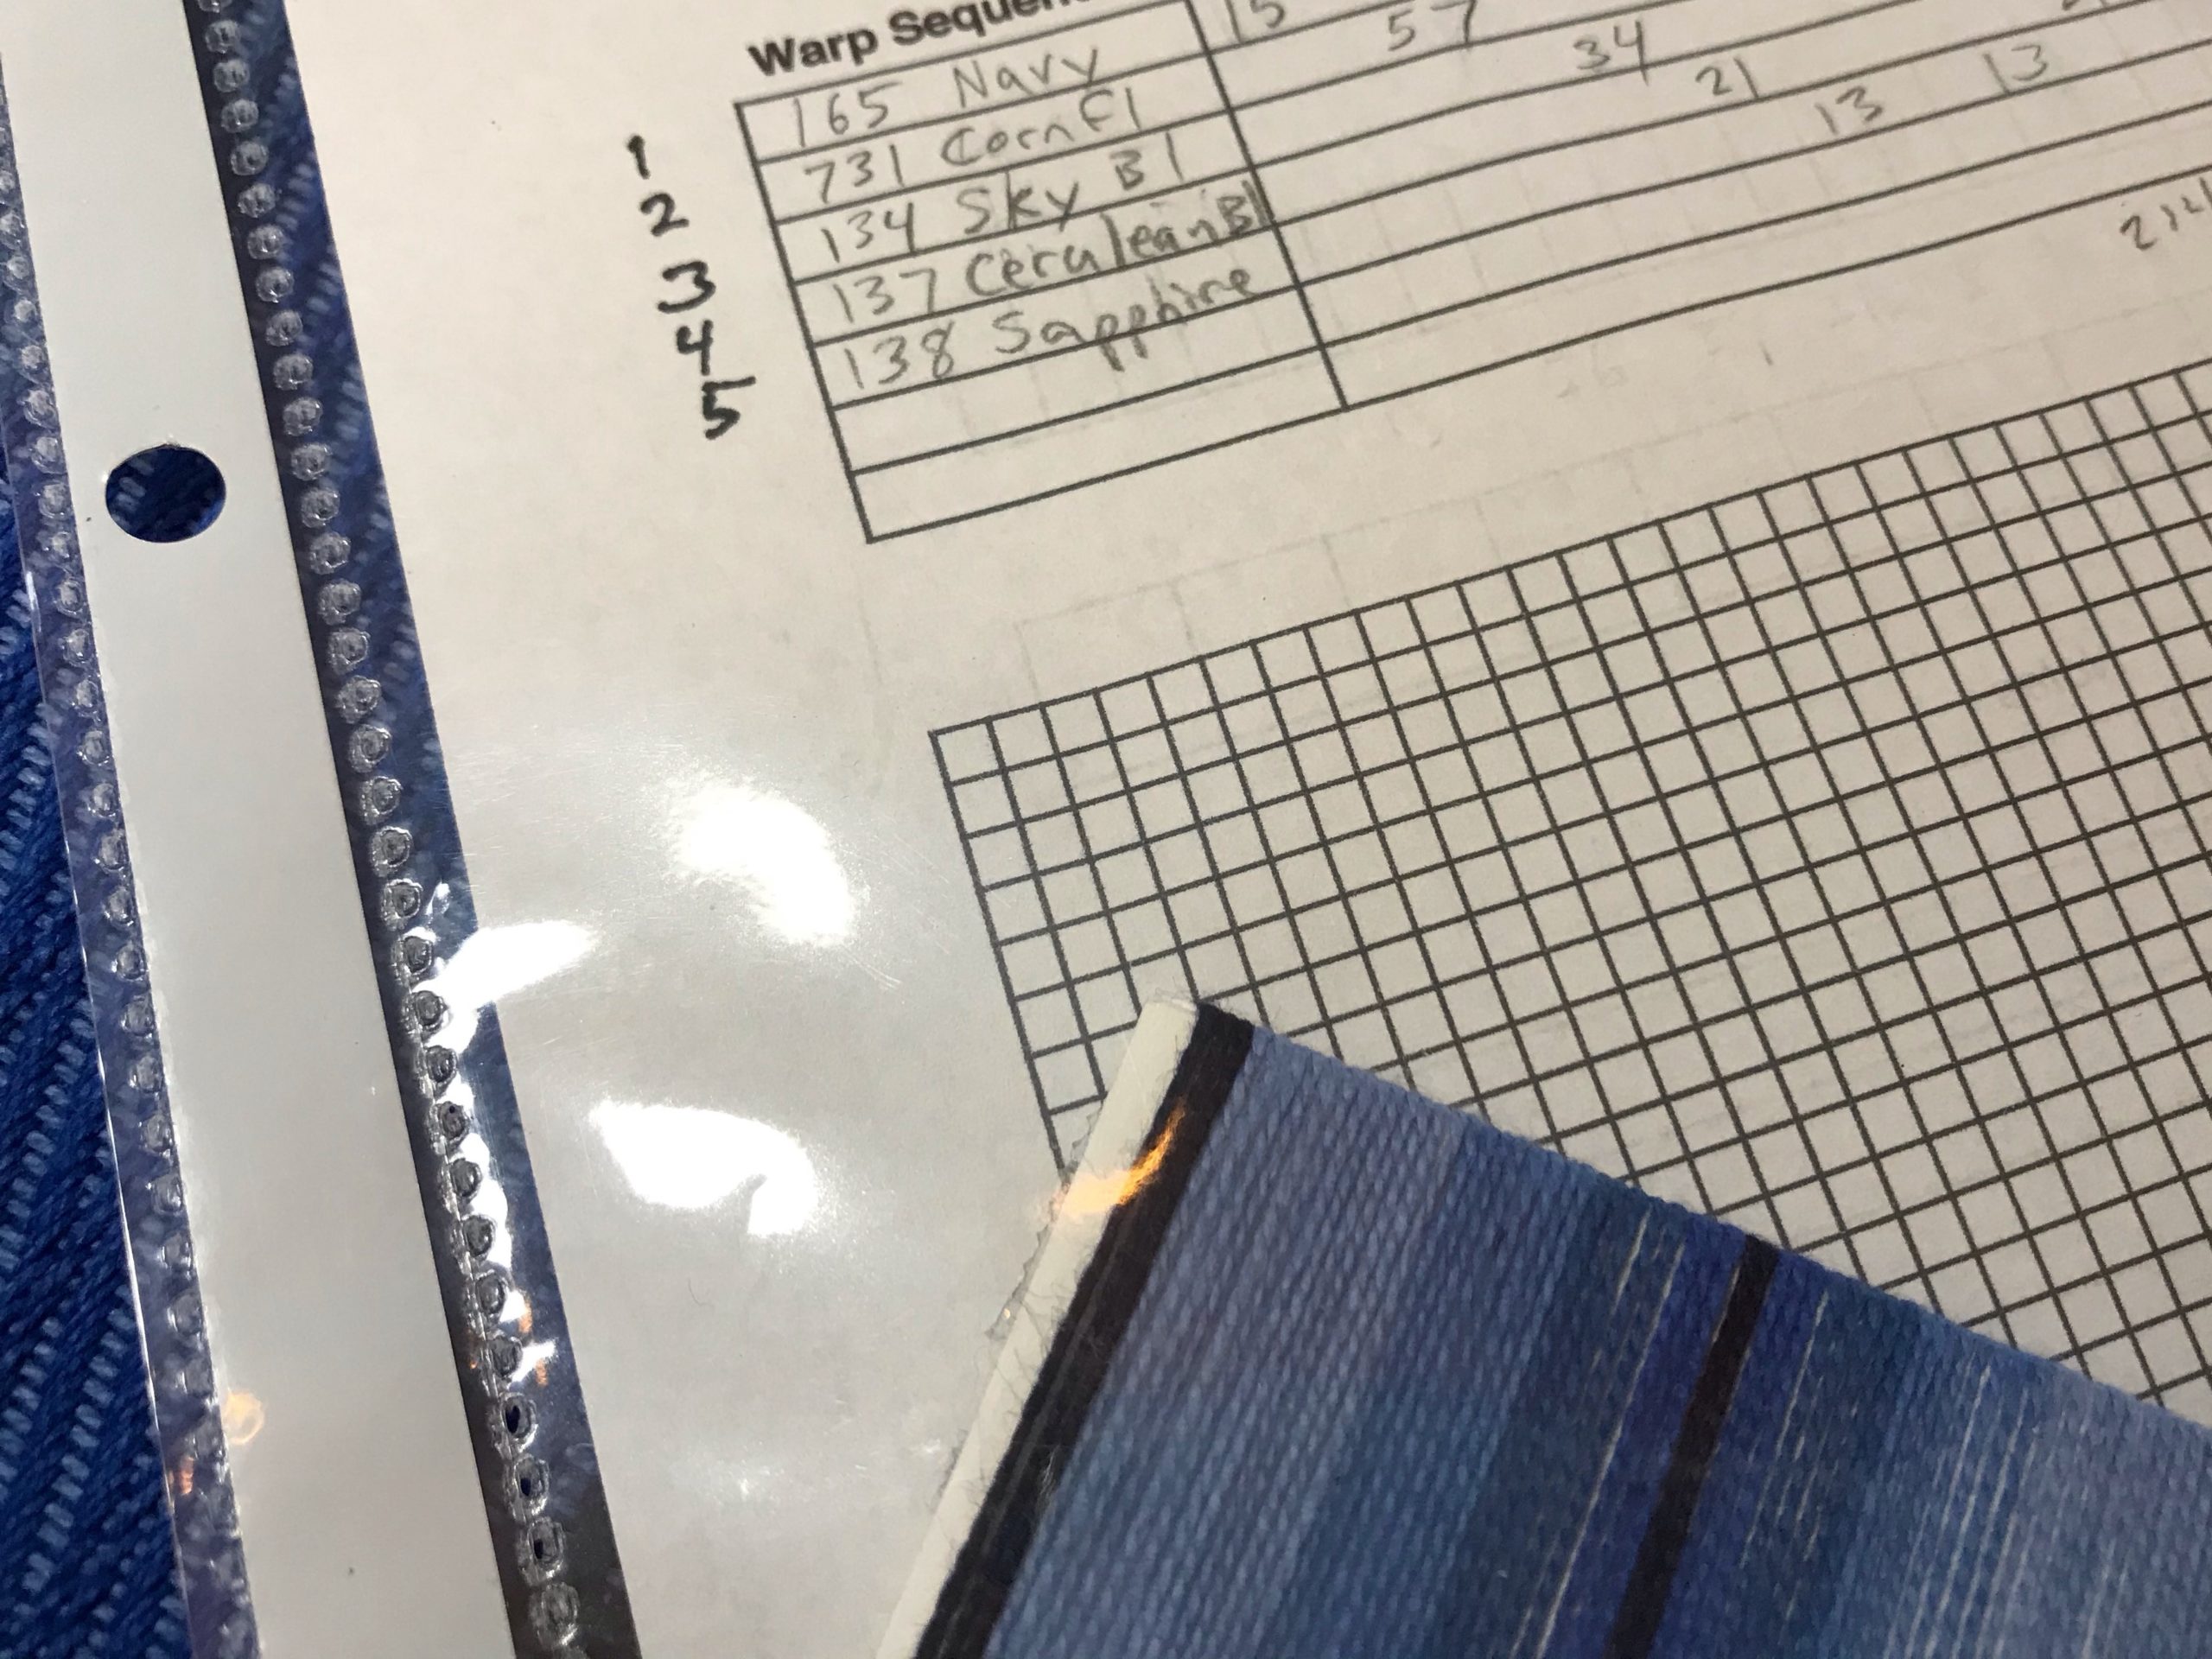
  • Give each color a number. Write the numbers next to the colors of the warp order on the Project Notes.
Project Notes for weaving with 5 blues.
Weft colors are the same as the warp colors. The Project Notes show all the details. “1, 2, 3, 4, 5” is added to the sheet to give each color a simple number.
  • Label the thread tubes with a small piece of blue painter’s tape. Each tube of thread is numbered to correspond with the numbers on the Project Notes.
Make removable labels with blue painter's tape.
Handy blue painter’s tape is used to make removable labels.
Five blues are labeled for simplicity.
Thread tubes are labeled with their identifying number.
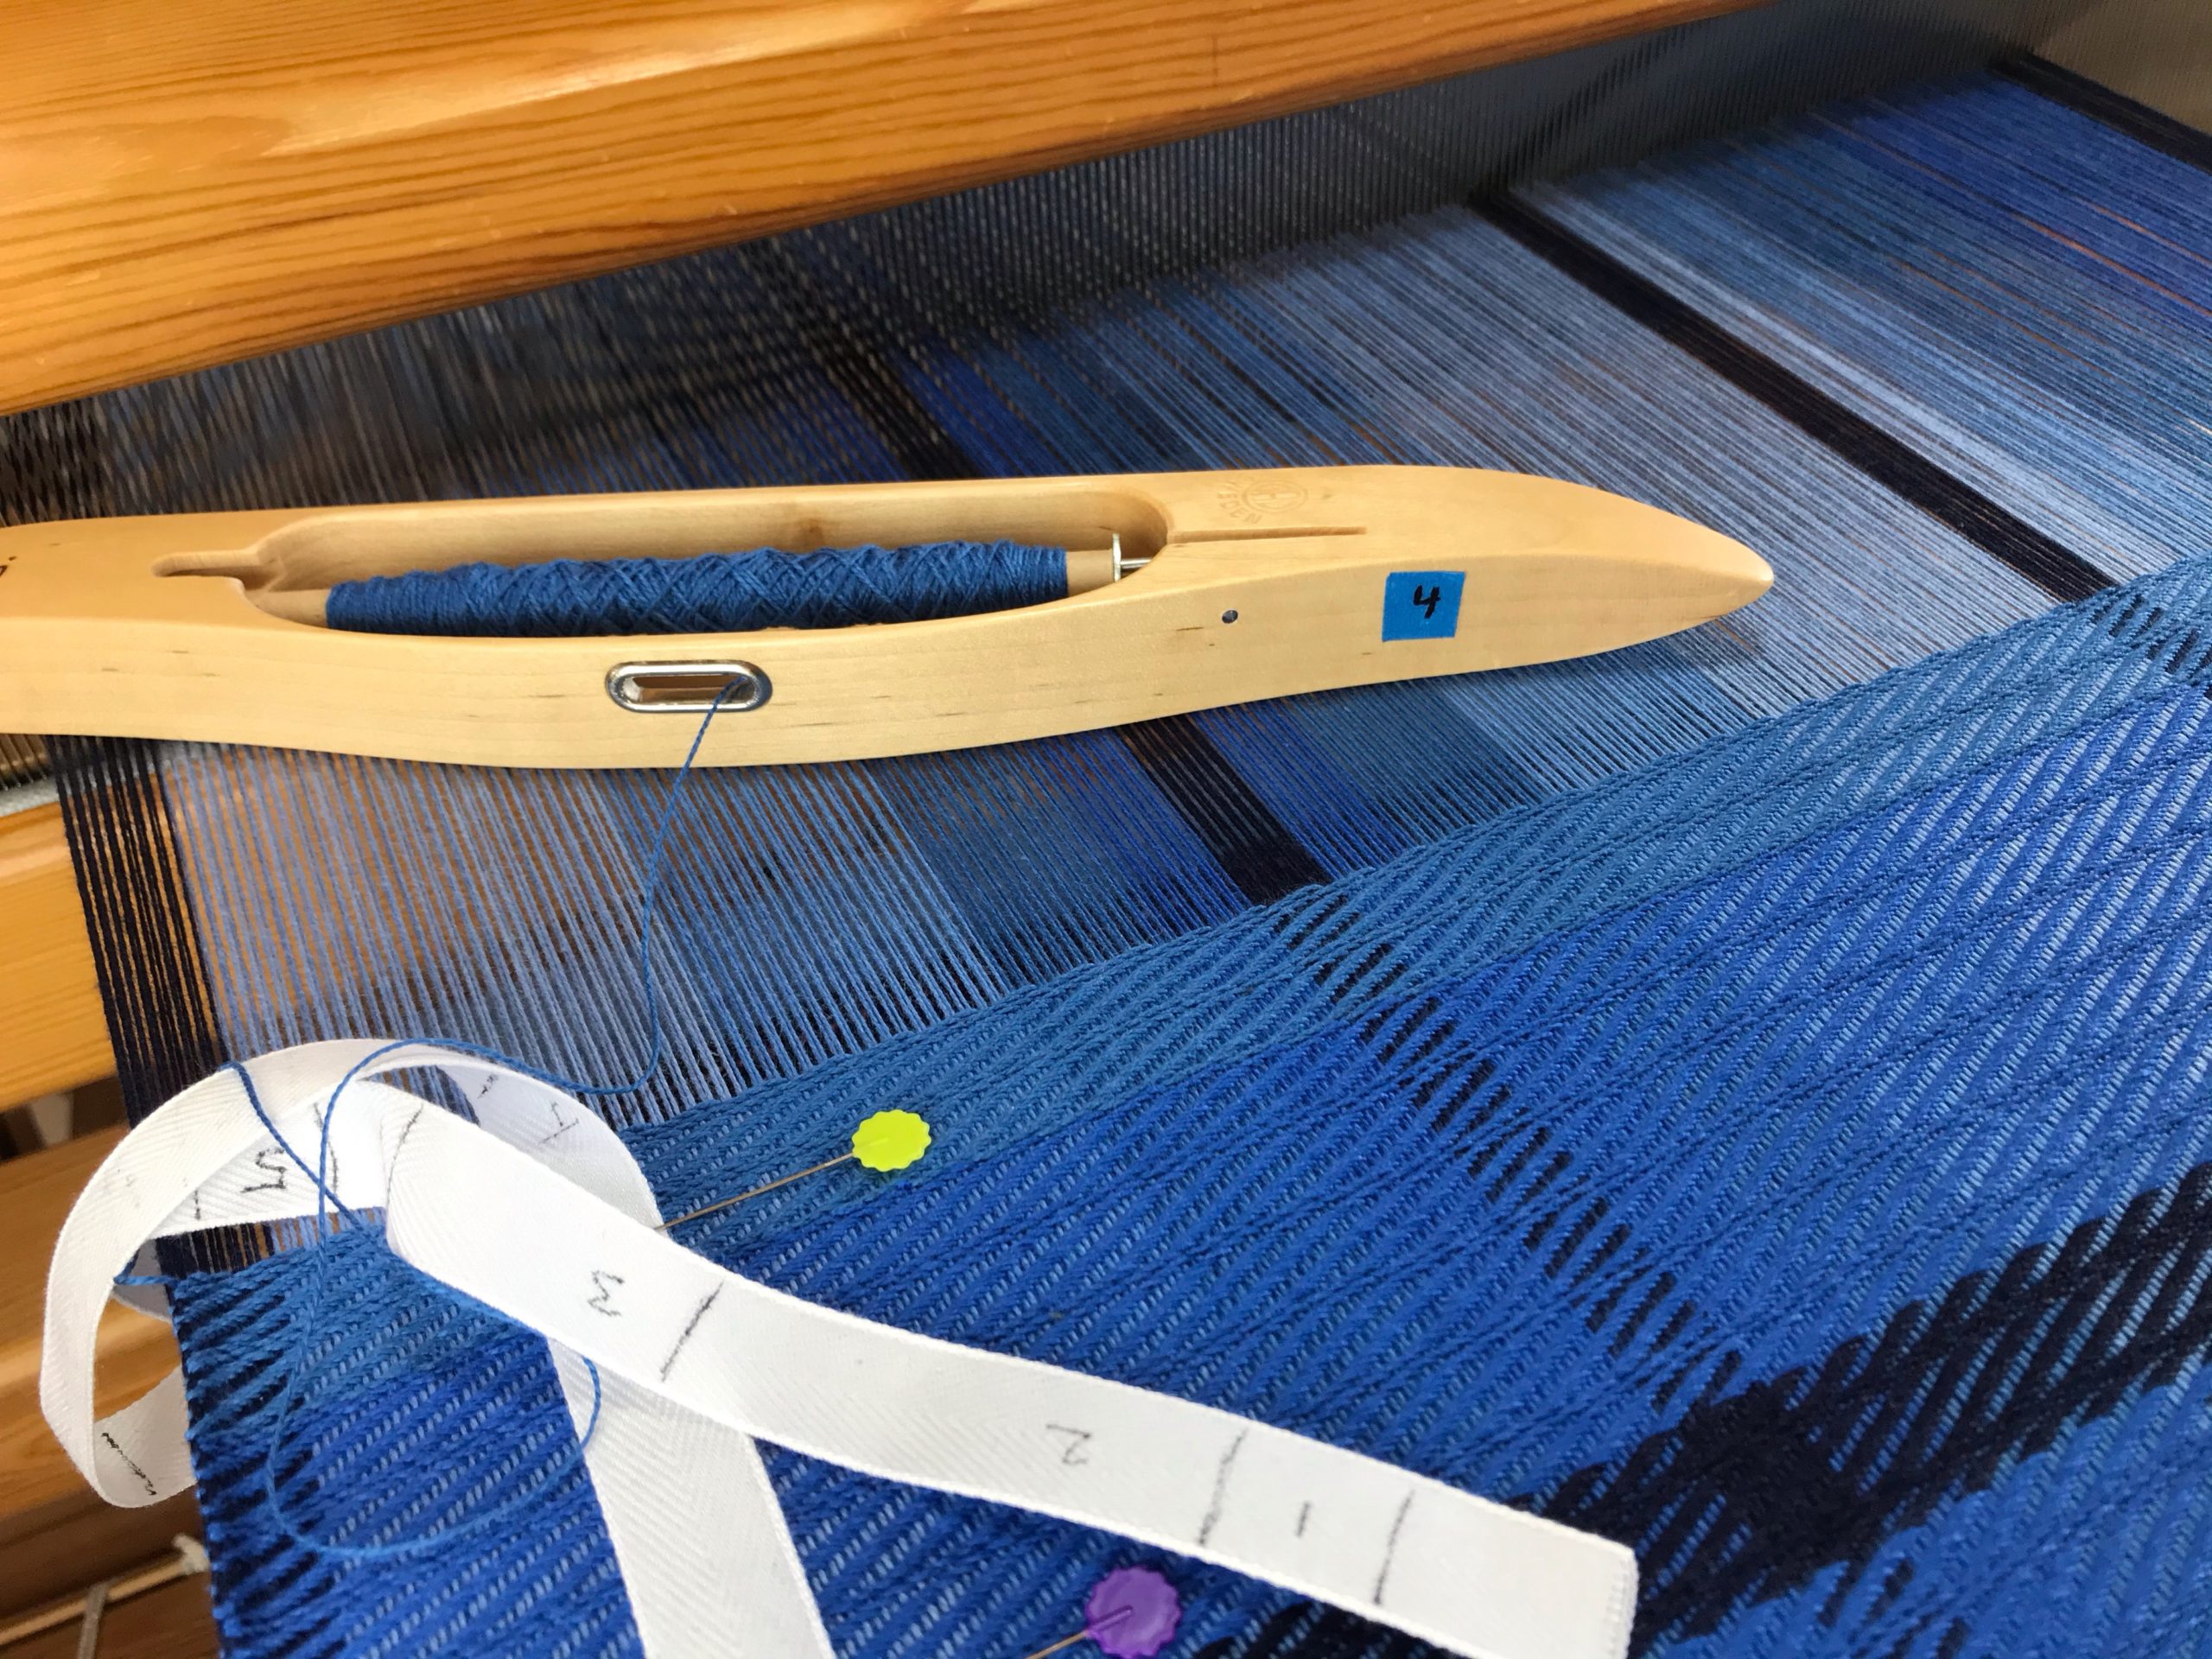
  • Label each boat shuttle with its assigned color number, using a small piece of blue painter’s tape.
There are five blues for this 8-shaft twill.
Each boat shuttle holds its own color.
  • Place wound quills under the rubber band of their respective thread tubes.
Simplify subtle weft color changes.
When I wind an extra quill I place it with its thread tube so I don’t accidentally pick up the wrong color quill.

It is easy to keep track of these five numbers as I follow the weft sequence that is marked on my reference ribbon. Now, it’s shuttle #4’s turn…

Simplify subtle weft color changes.
Next in line…

May you find a way to simplify.

Happy Weaving,
Karen

Palms Up

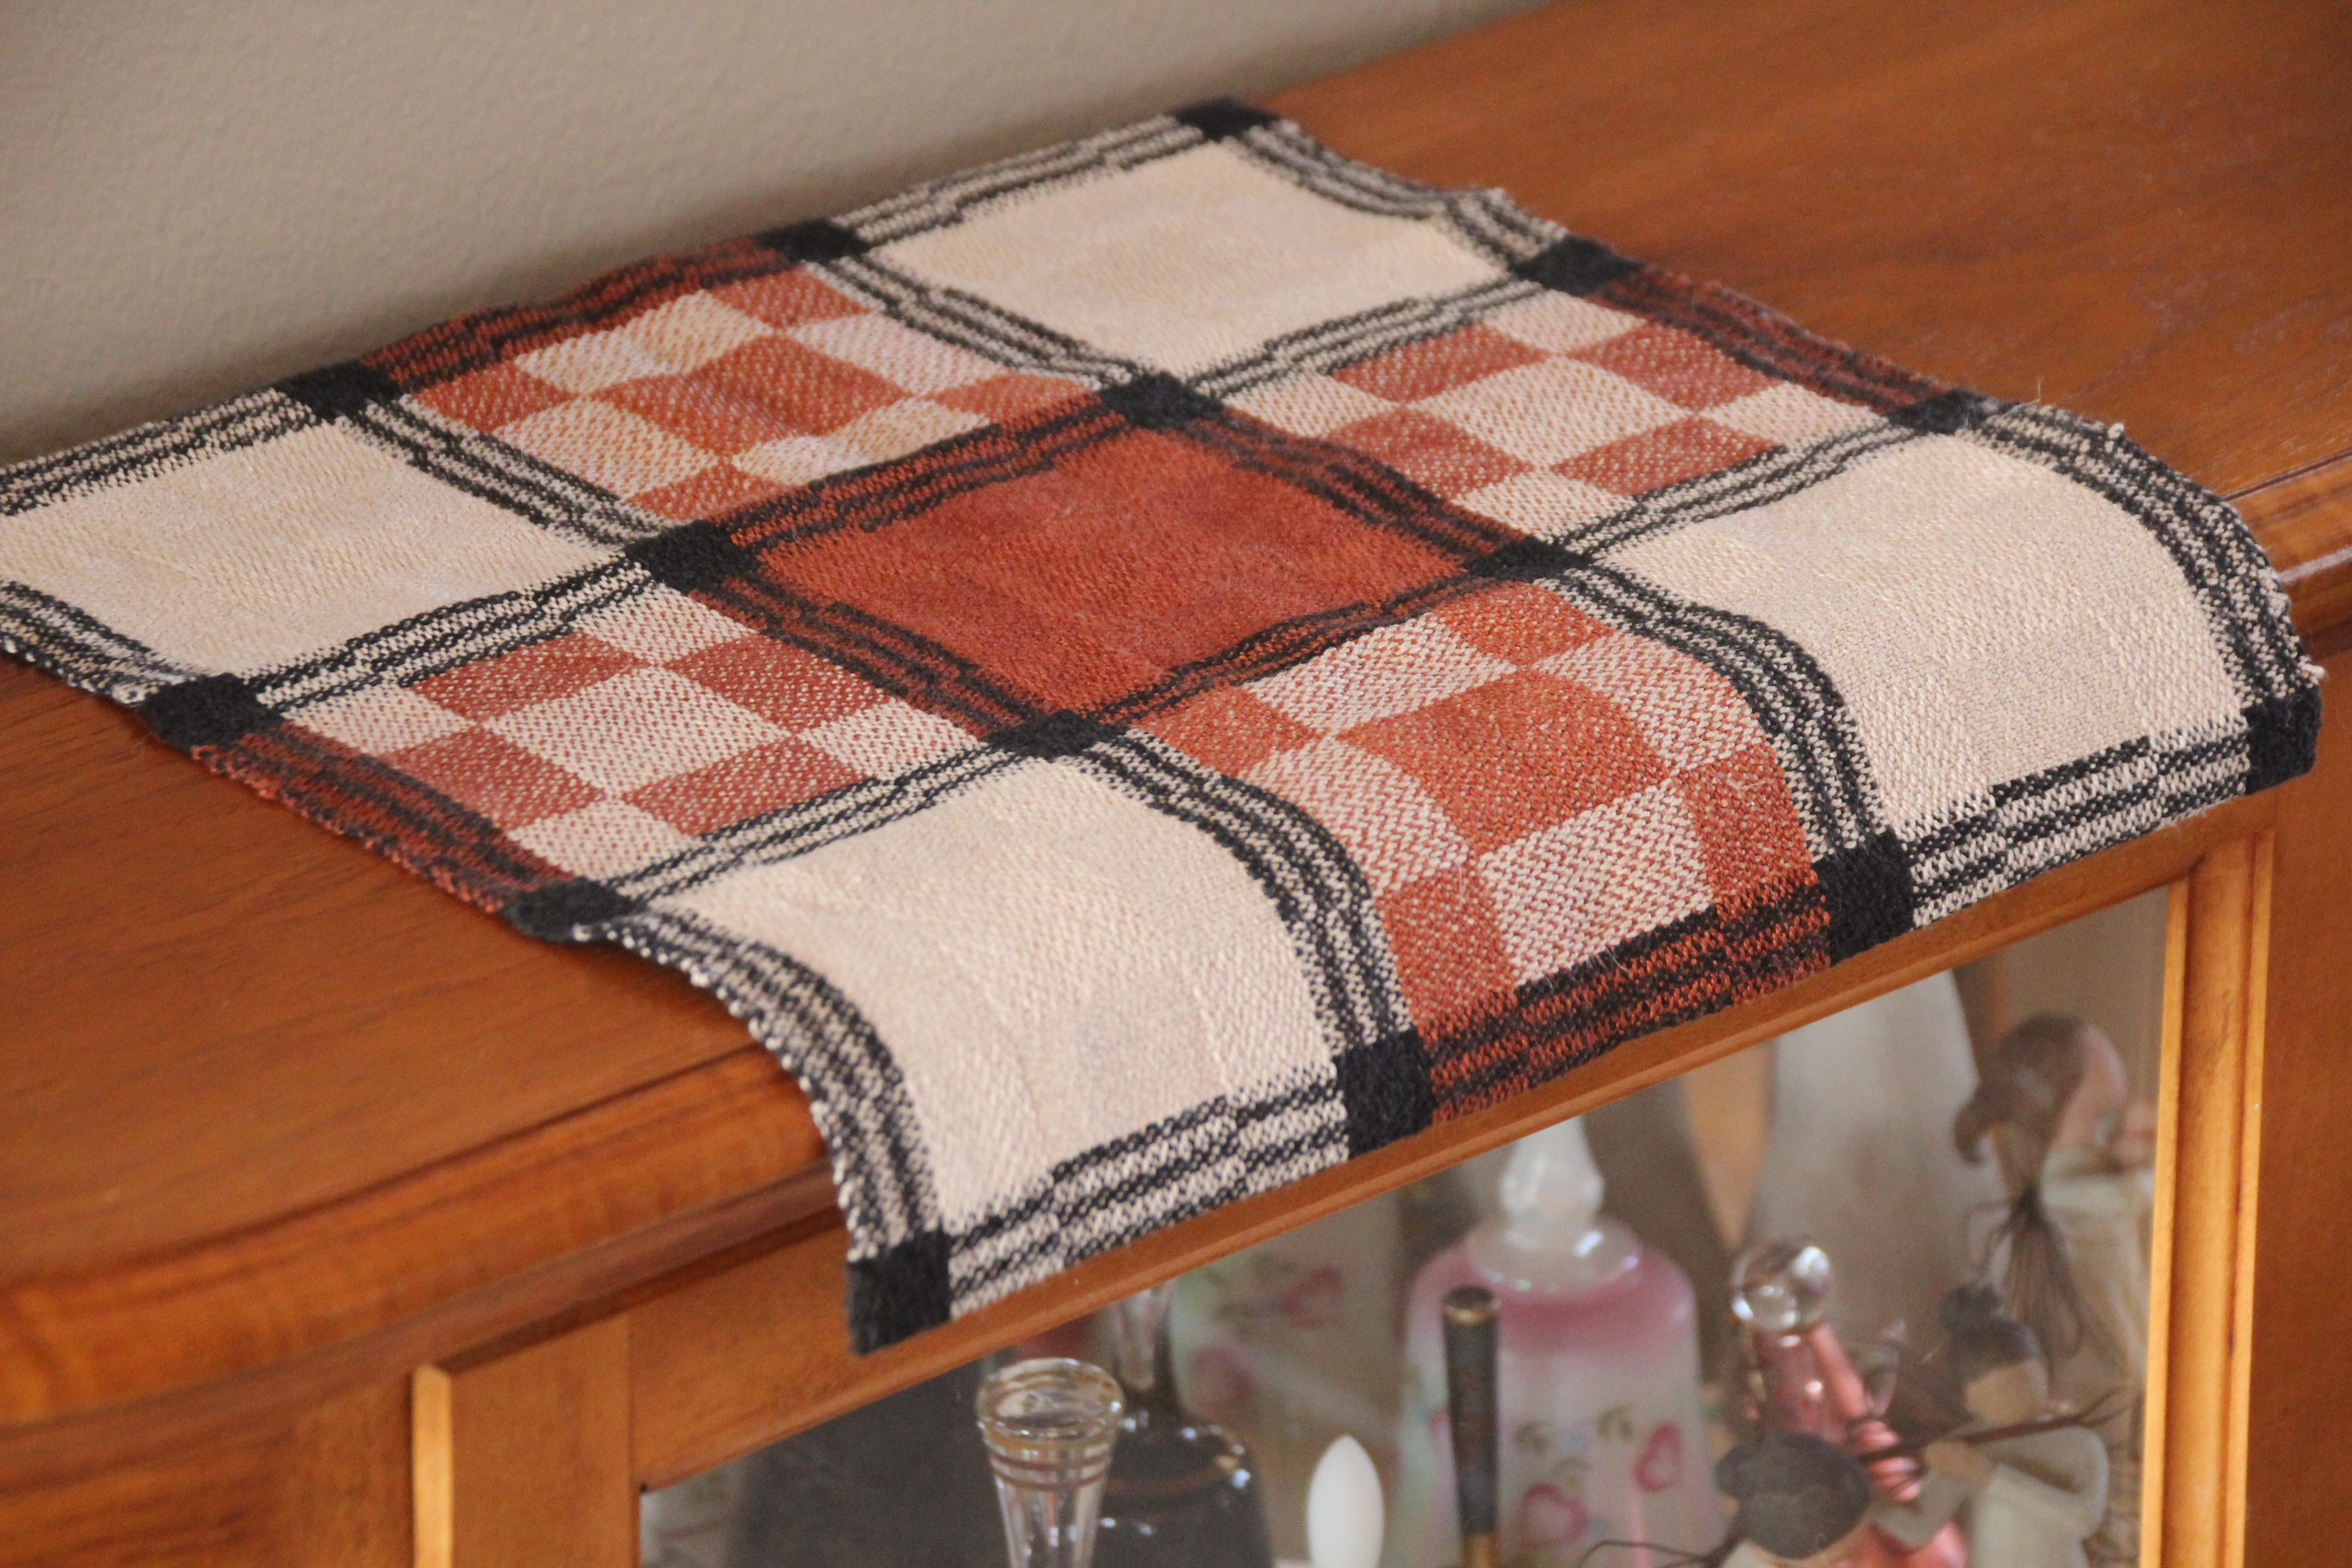
I distinctly remember the thrill of weaving my first two-block twill on eight shafts. It was a linen table square woven on a Glimåkra Standard loom in Joanne Hall’s delightful Montana studio. That classy linen table square came home with me, …and my first floor loom came soon after–a Glimåkra Standard of my own!

Two-block twill linen table square.
Linen table square, woven at Joanne Hall’s studio.

I can still hear Joanne’s gentle instruction about holding the shuttle. “Palms up.” This way is easy on the hands and wrists. I’ve had considerable practice since those lessons in Montana. Now, I send the shuttle across the warp and catch it securely with ease. That same two-block twill “Linne” pattern is on my Julia loom now, bringing back those fond memories. It comes as no surprise that watching threads on eight shafts become woven cloth is just as thrilling now as it was that very first time.

Linen table runner on 8 shafts.
Linne Table Runner on the Julia in golden bleached, olive green, and midnight blue 16/2 line linen.

Deliberate hands send the shuttle through the shed, and receive it as it comes through to the other side. God’s hand is faithful. Trust-worthy. Think of his hand as open, palm up. Carrying, sustaining, and holding us securely. Trust puts us into the Lord’s faithful hand.

May you remember what you’ve been taught.

Happy Weaving, Karen

Process Review: Jubilation Bath Towels

Jubilation Bath Towels are completed, just in time for Christmas! They go with the Jubilation Hand Towels I wove earlier this year, named with my father in mind. (See Process Review: Jubilation Hand Towels.) Nothing deterred my father from deep abiding joy. These bath towels are a tribute, as well, to my husband’s patience. He requested handwoven bath towels a few years ago. Laughably, my first eager attempt resulted in towels scratchy enough to be used as sandpaper back scratchers. Now, finally, we have absorbent and soft handwoven cottolin bath towels suitable for my Prince Charming.

Cottolin bath set. Handwoven bath towels, hand towels, wash cloths.
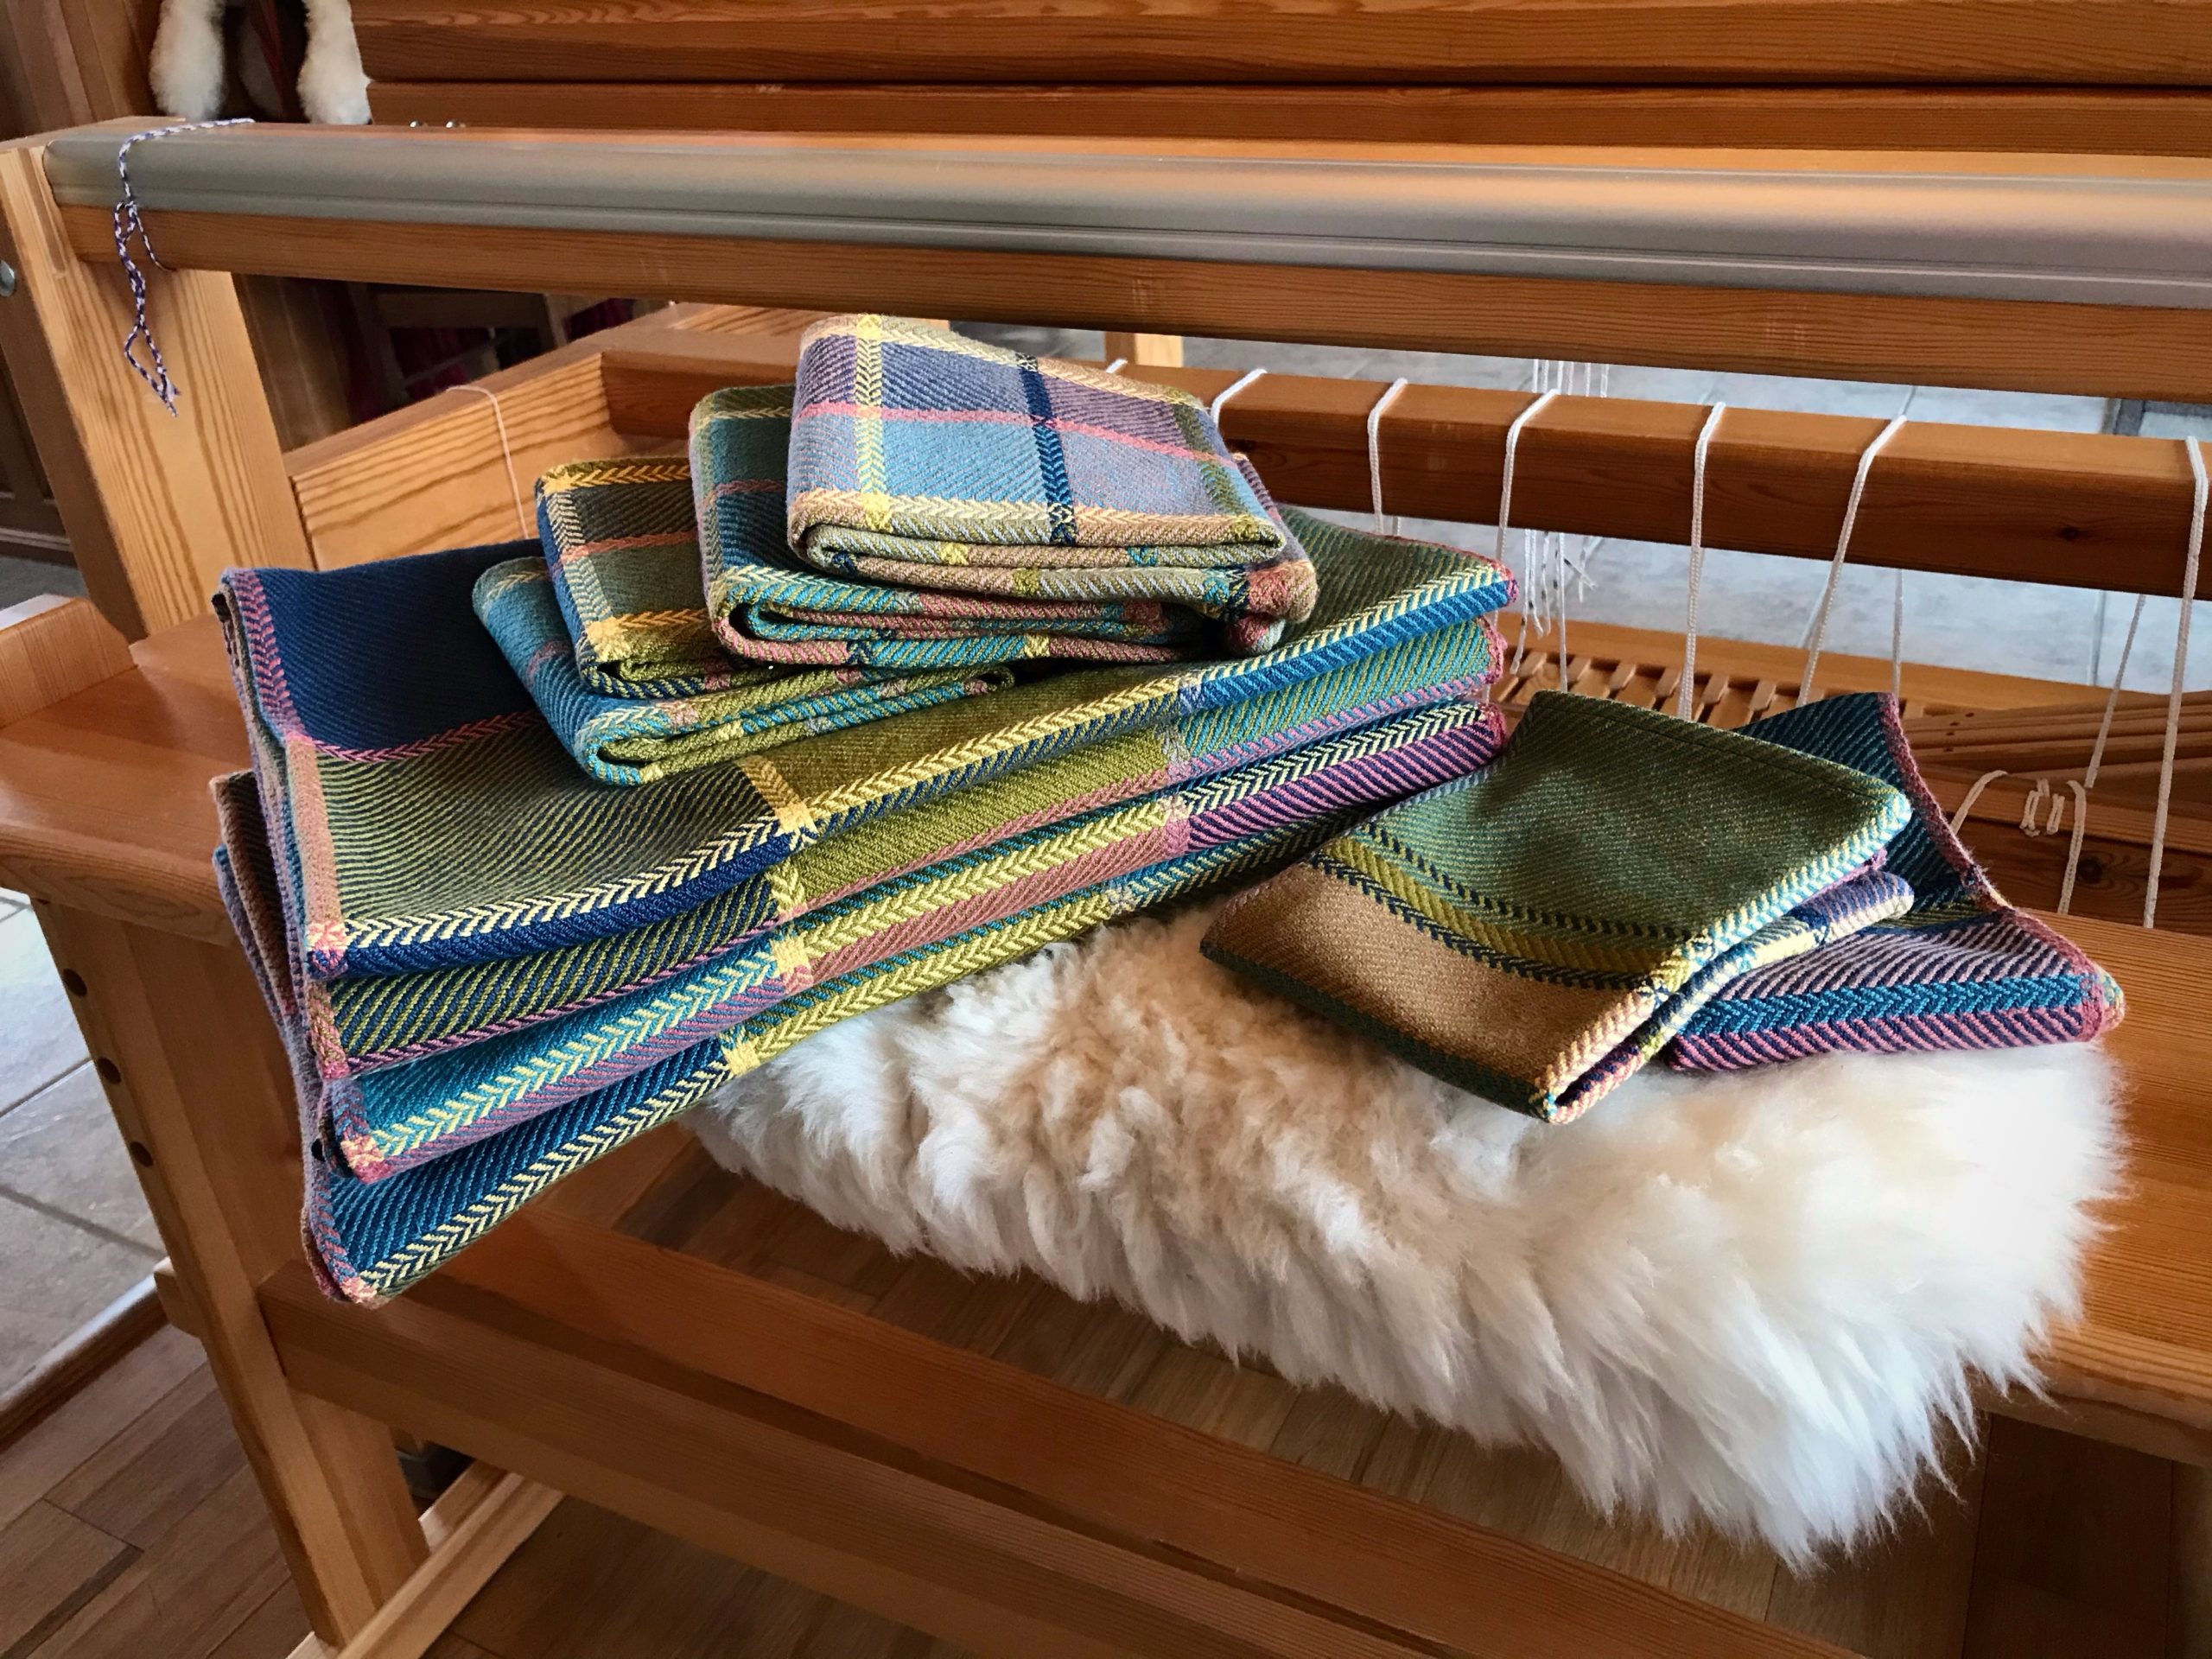
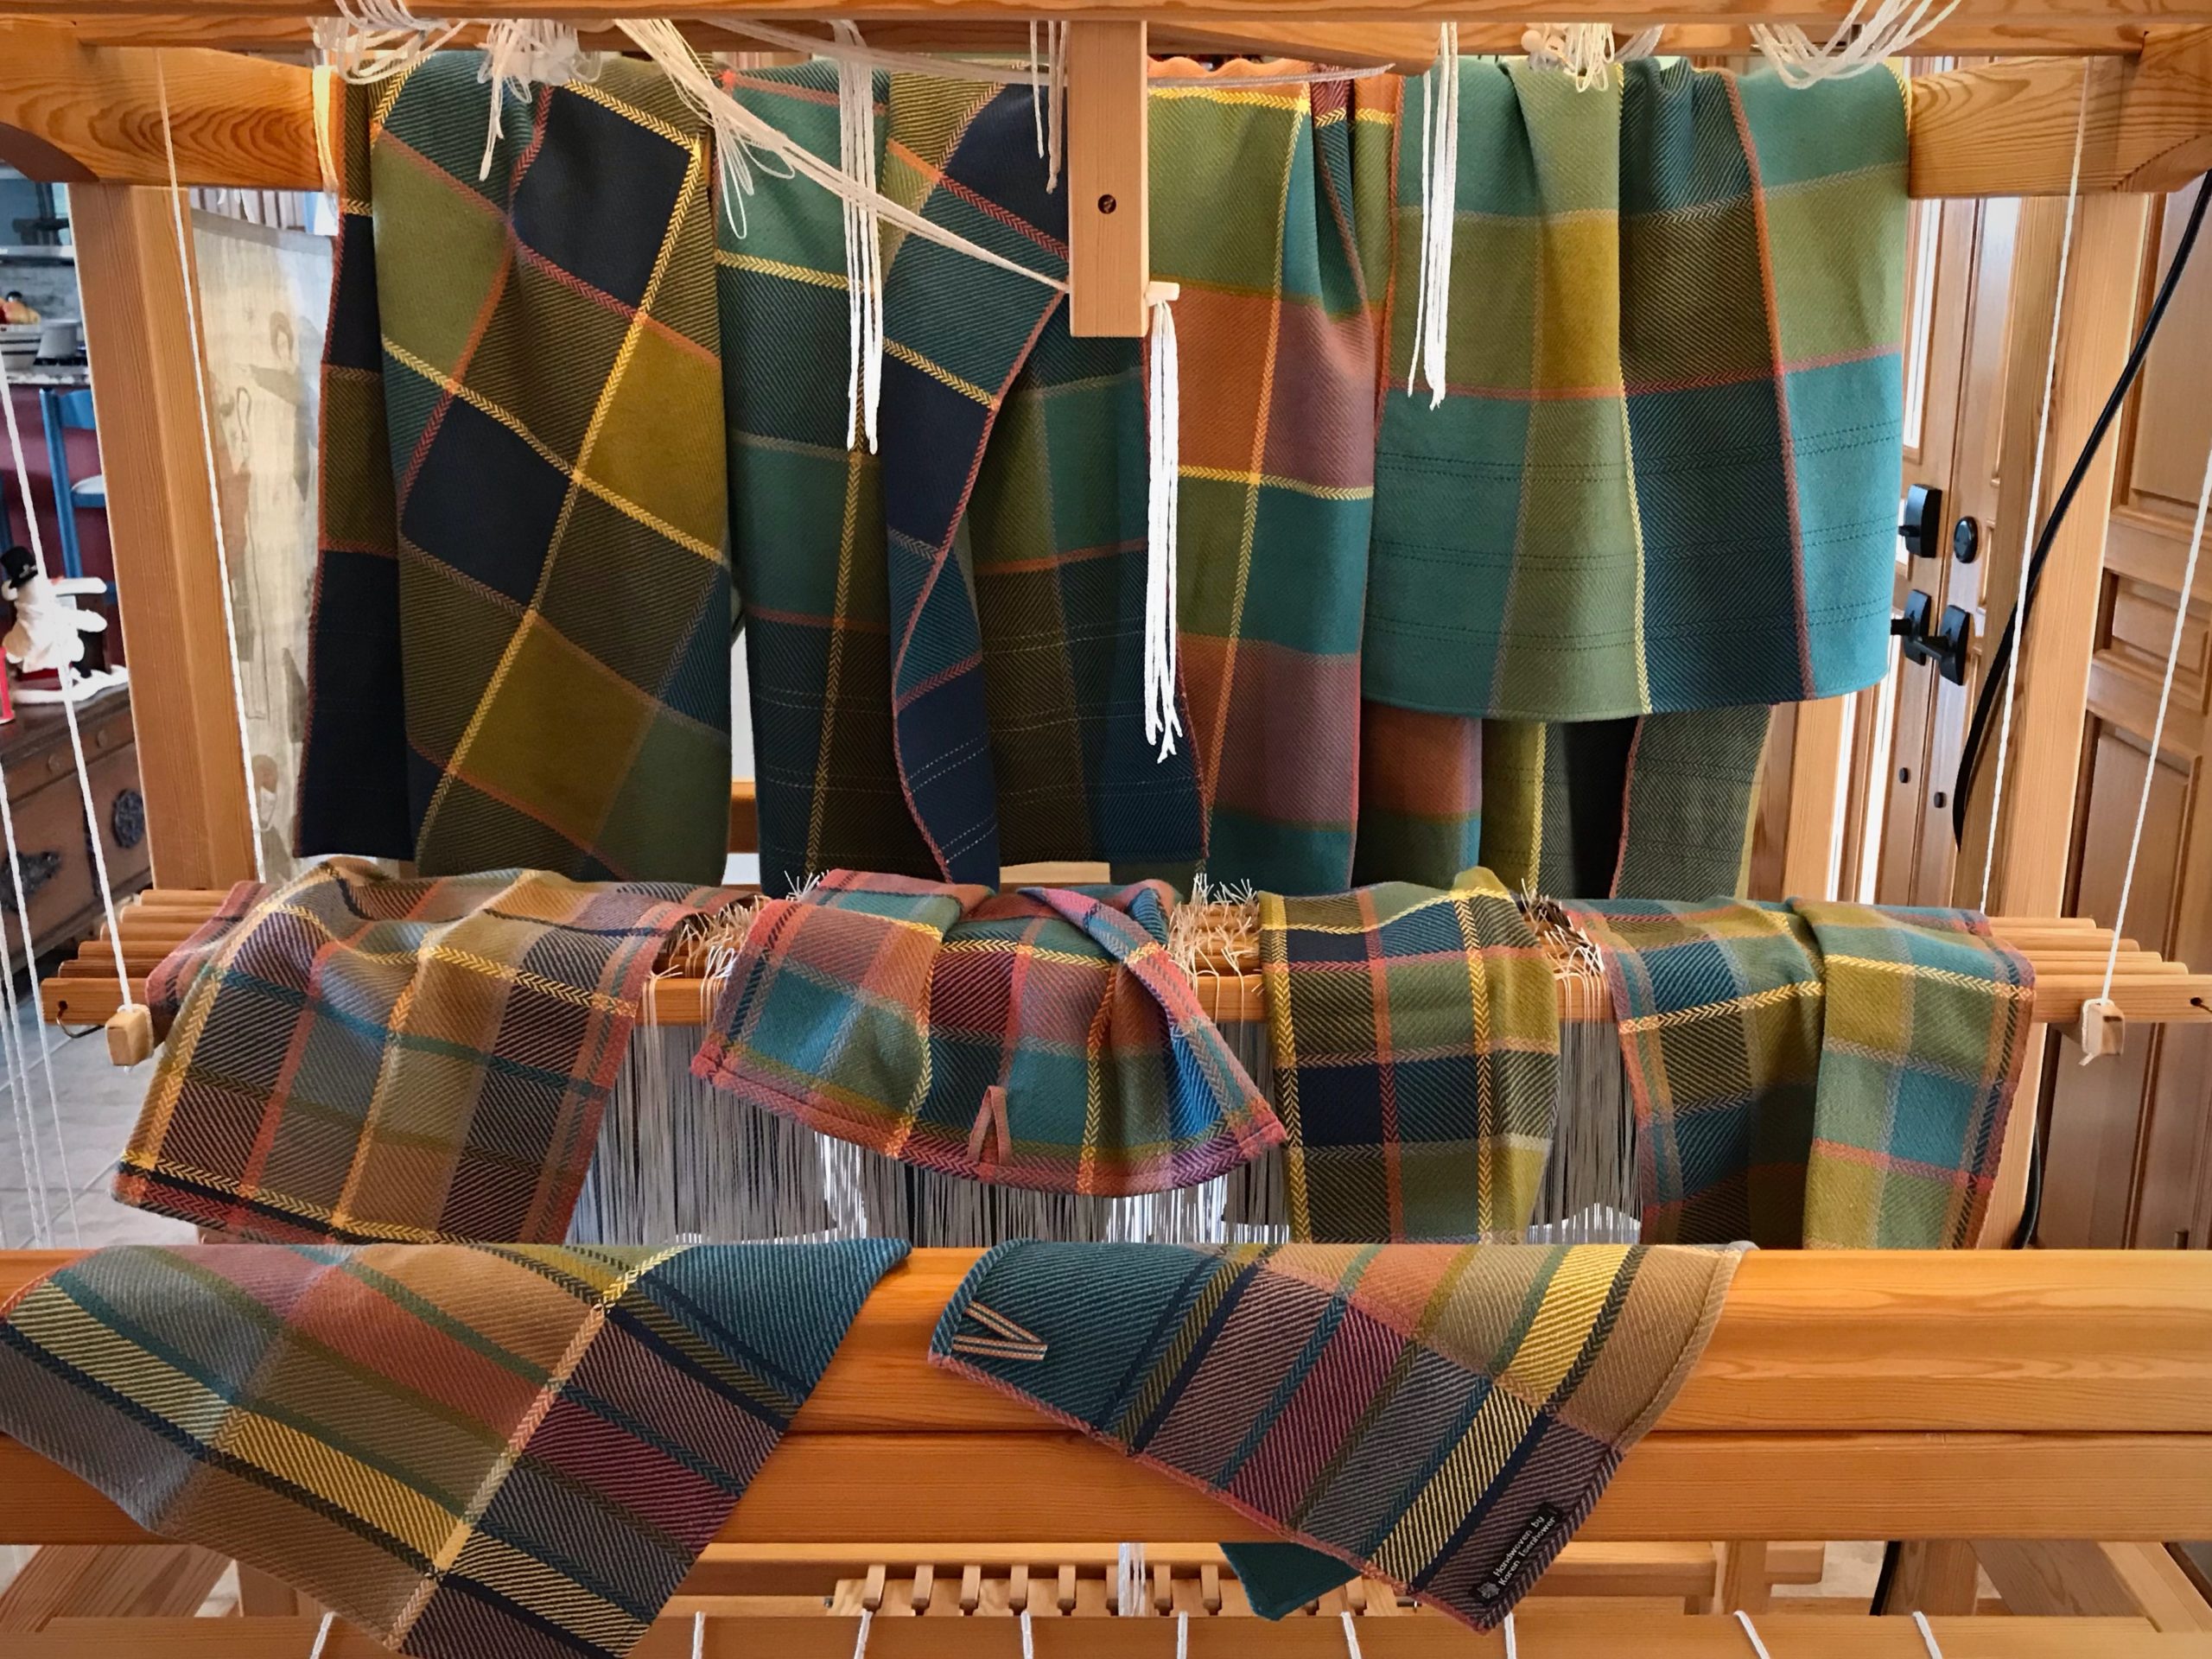
Jubilation Bath Set. Four bath towels, four hand towels, two wash cloths. Cottolin warp and weft. Six-shaft broken and reverse twill.

Don’t you love it when the end of the warp yields bonus results? Just enough warp to make a pair of wash cloths, in which every one of the seven colors of quills was emptied. Hurrah!

Handwoven bath towel set. Glimakra Standard loom.
Cottolin bath towel set, soft and absorbent. All quills were emptied off in the final length of warp, making colorful wash cloths.

Enjoy the start-to-finish process with me in this slideshow video:

May jubilation reside in your home.

With the joy of celebrating Christ’s birth,
Karen

Tried and True: Weft Color Changes and Video

I have an efficient way to handle weft color changes. It’s very simple. This is for those instances when I need to end one weft thread and start a new one. As a rule, I take care of weft tails as I go. I don’t want to come back to them later if I don’t have to. If I tuck in each weft tail at the beginning of the row, thickness from the extra wefts builds up at the selvedge, especially if I’m weaving horizontal stripes. The method I describe reduces the extra wefts, and eliminates having to tuck any tails in.

Weaving tutorial about weft color changes.
Color changes add to the movement and excitement of the design.
How to change weft colors - simple!
Vertical and horizontal narrow stripes in six-shaft broken twill.

How to Start a New Weft Color

  1. Weave the last pick of one color.
  2. Change to the shed needed for the next color. Take the shuttle with the first color into the shed for about about 3 cm (1 1/8”), and bring the shuttle up and out through the top of the warp.
  3. Lightly beat (tap) in the 3 cm (1 1/8”) of thread. Carefully snip off the thread close to the warp.
  4. Weave a pick of the next color, with the end of the new thread overlapping the 3 cm (1 1/8”) of the previous color thread. Position the new thread such that the end is outside the selvedge just a hair.
  5. Beat in the new weft and continue weaving until the next color change.
Tutorial about efficient way to change weft colors.
Ending the third of four bath towels.
Stripes in towels. How to!
Hand towels waiting to be paired up with the bath towels…hopefully, before Christmas!

Watch this short video to see me demonstrate this method of changing the weft colors.

May your choice of weft colors give a glimpse of your best qualities.

Simply Weaving,
Karen