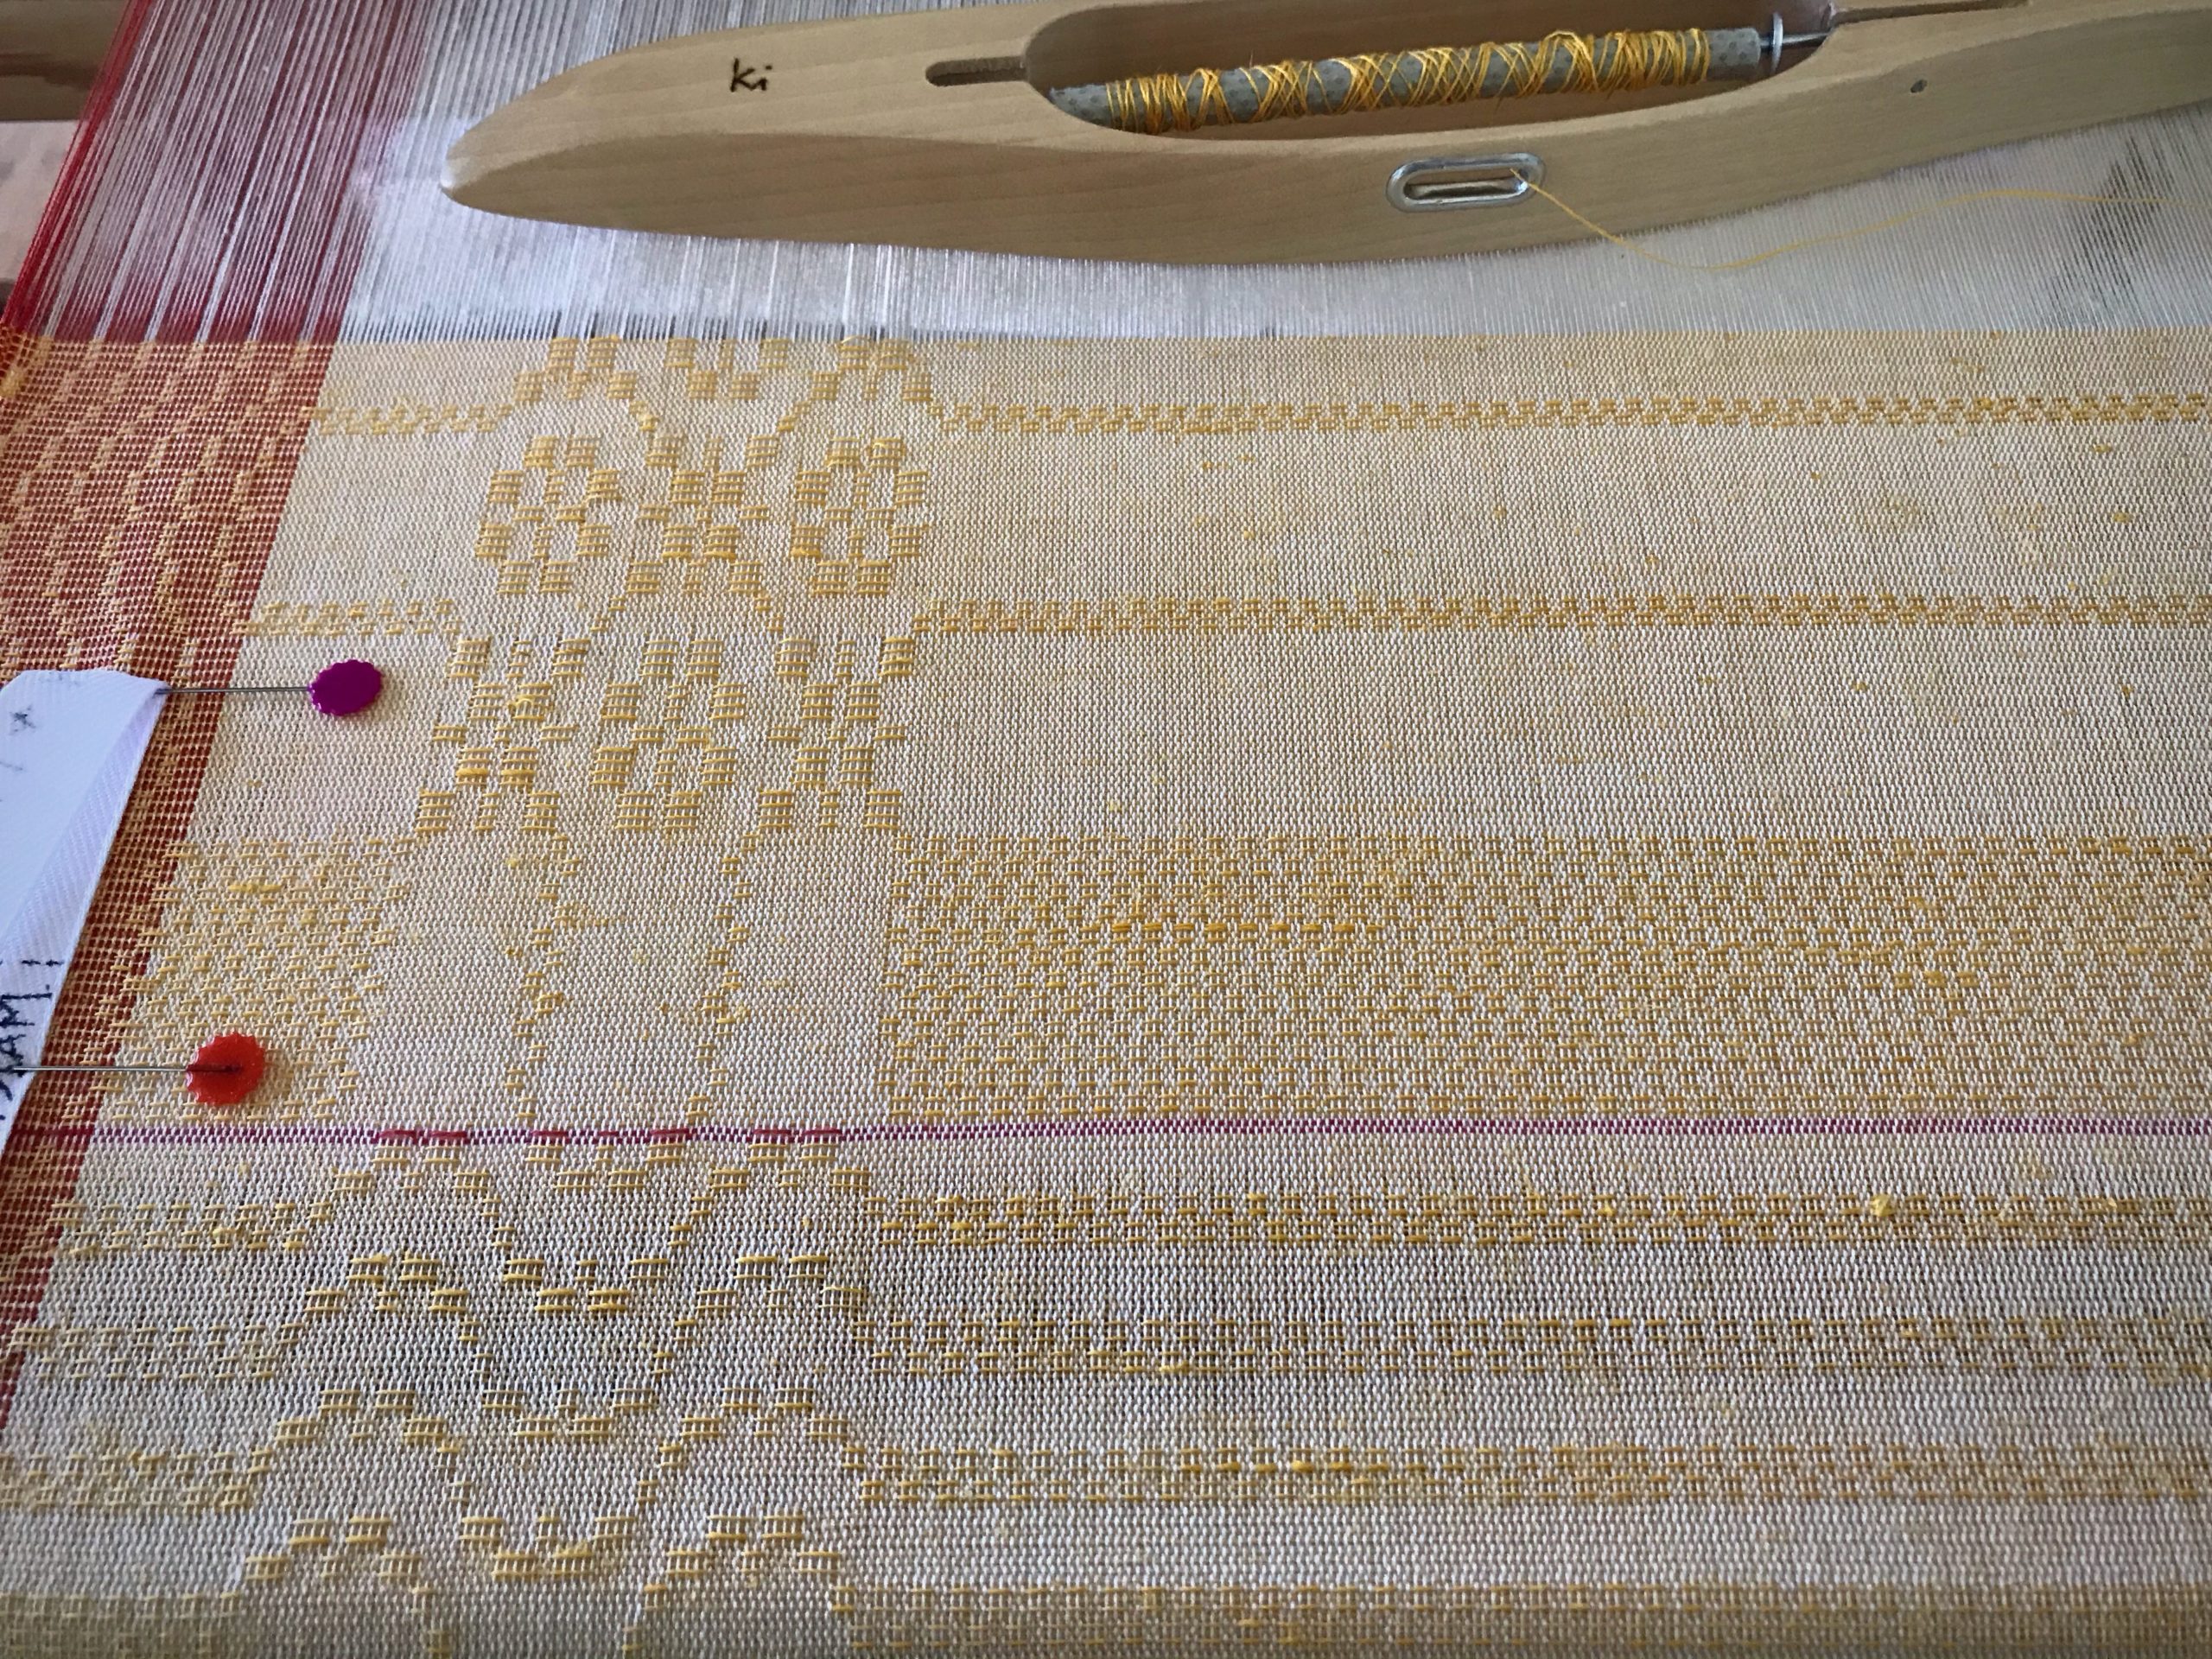
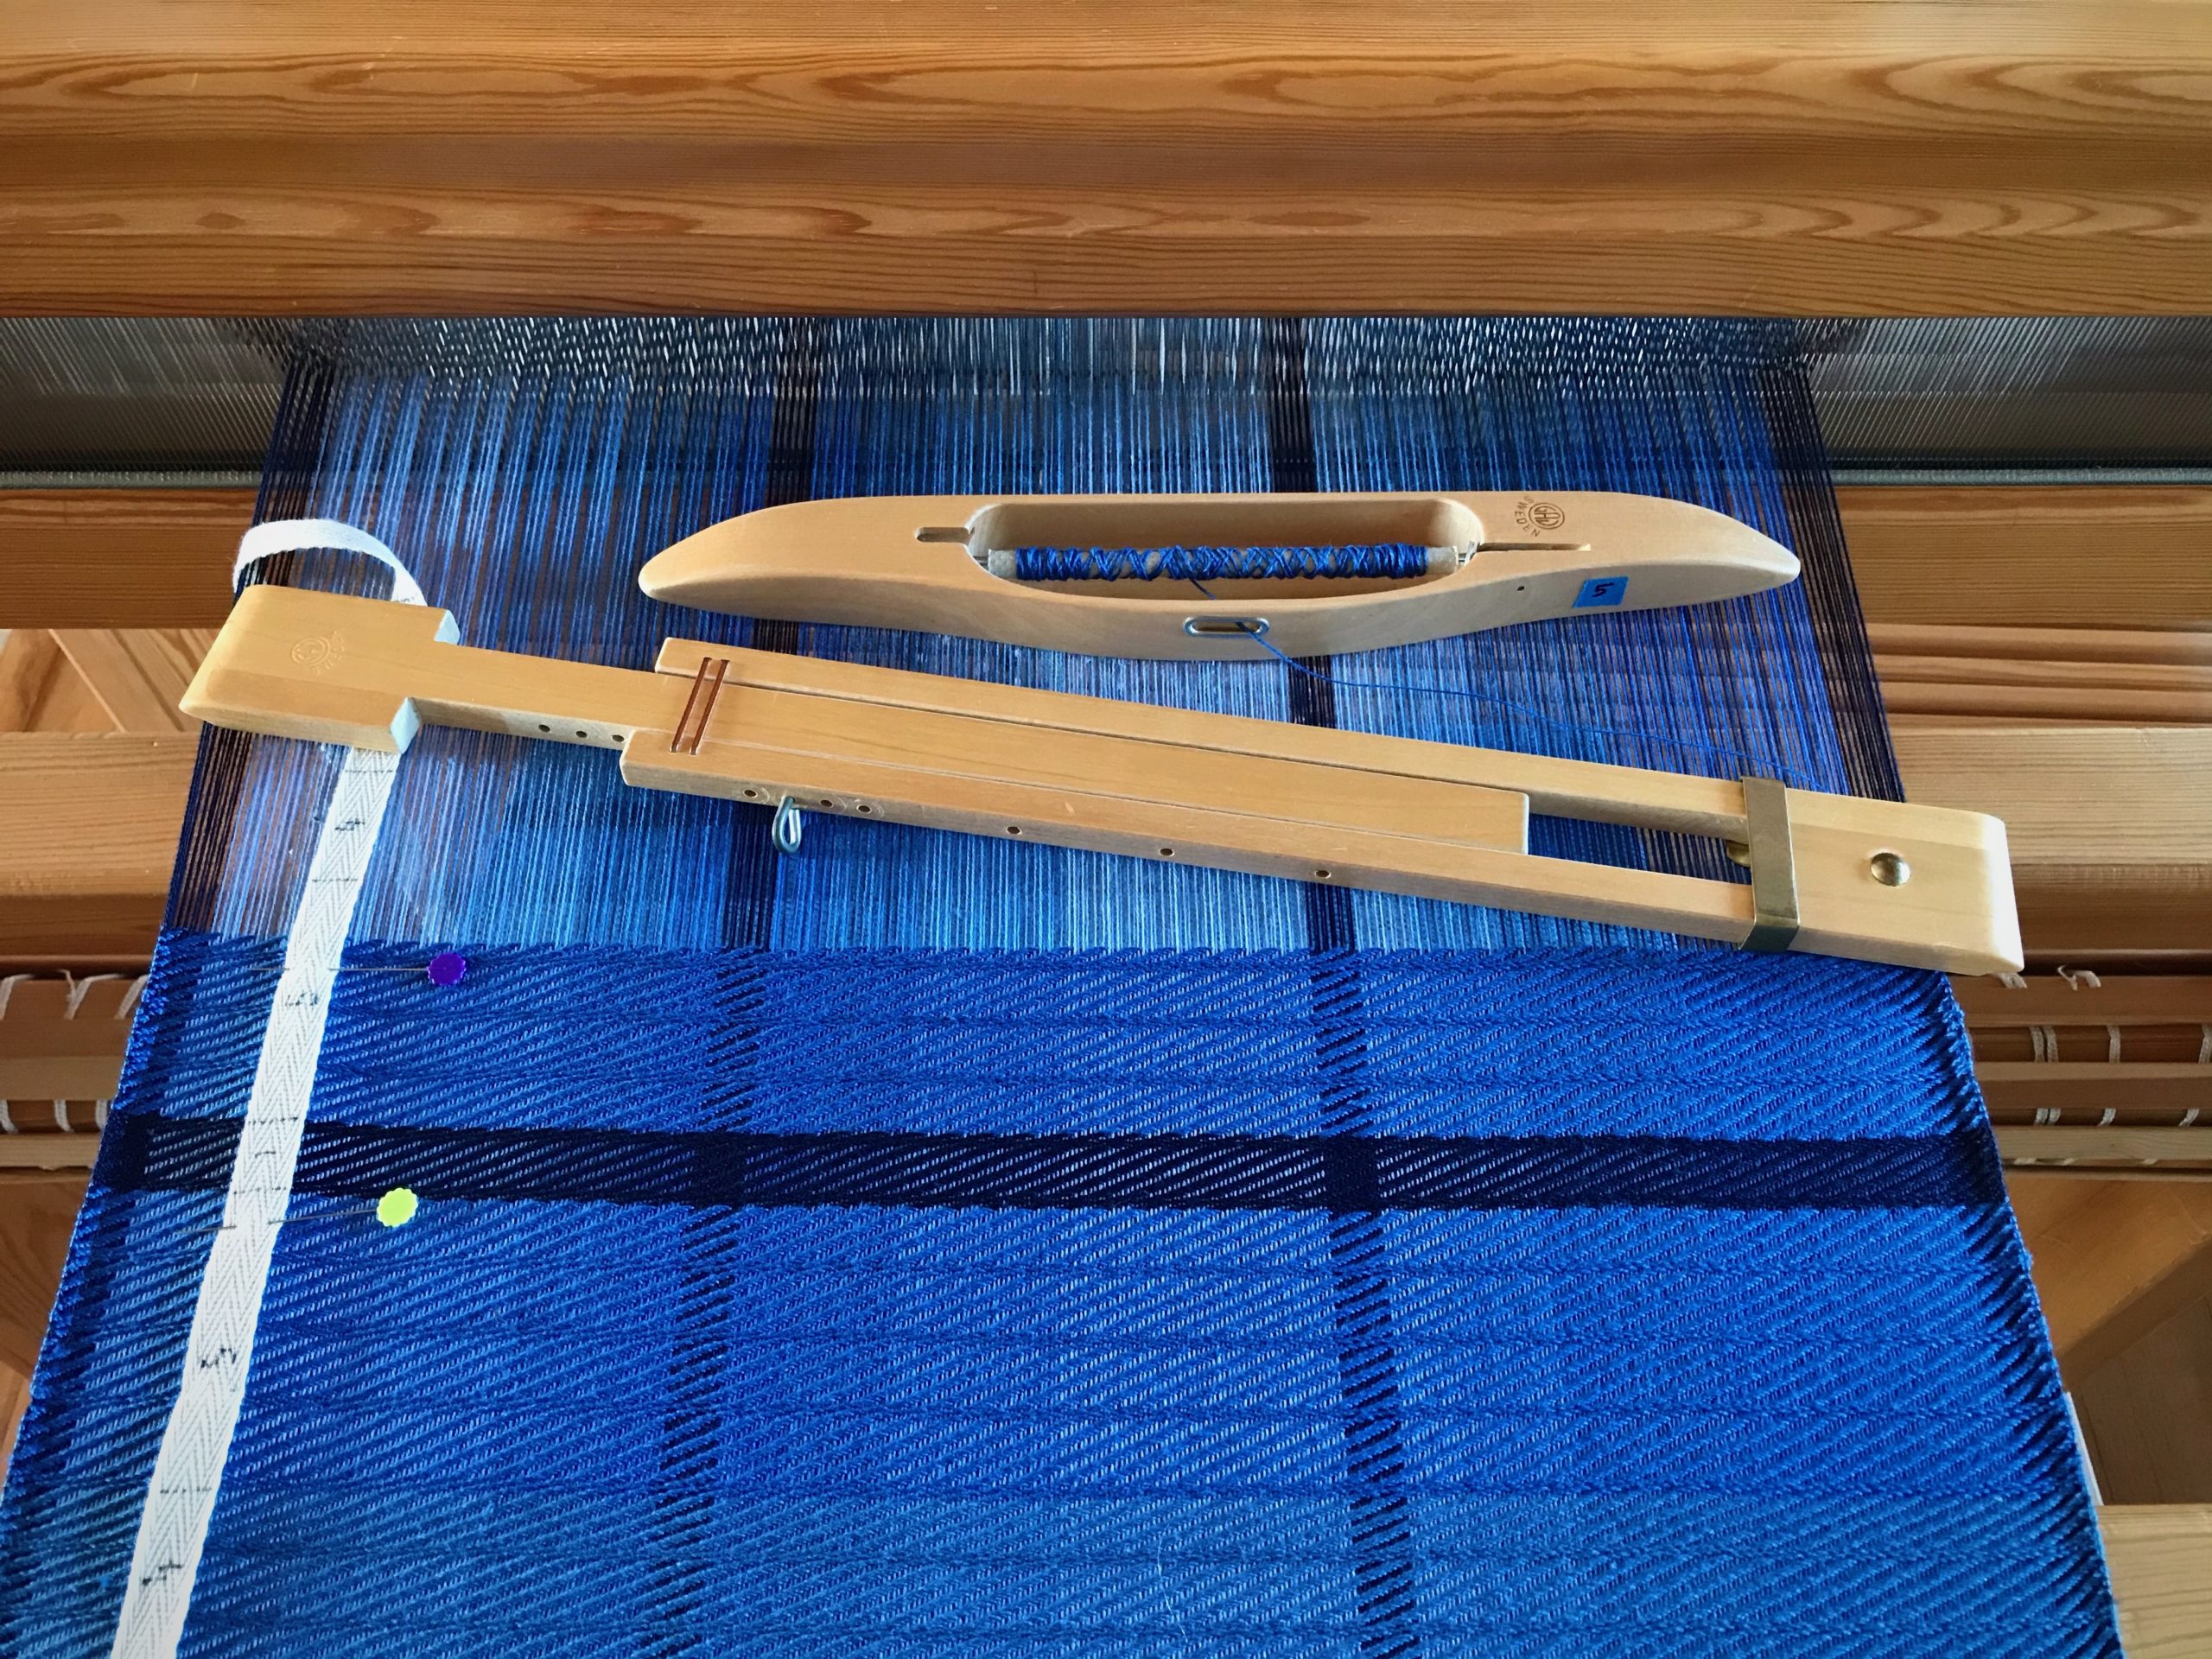
It takes only four blocks to weave these lovely summer “flowers.” This five-shafthuckaback uses one tabbytreadle and four pattern treadles. My right foot operates the tabby treadle and my left foot manages the pattern treadles. One treadle remains on the floor (not tied up) between the tabby and pattern treadles, putting a helpful space between right foot and left foot.
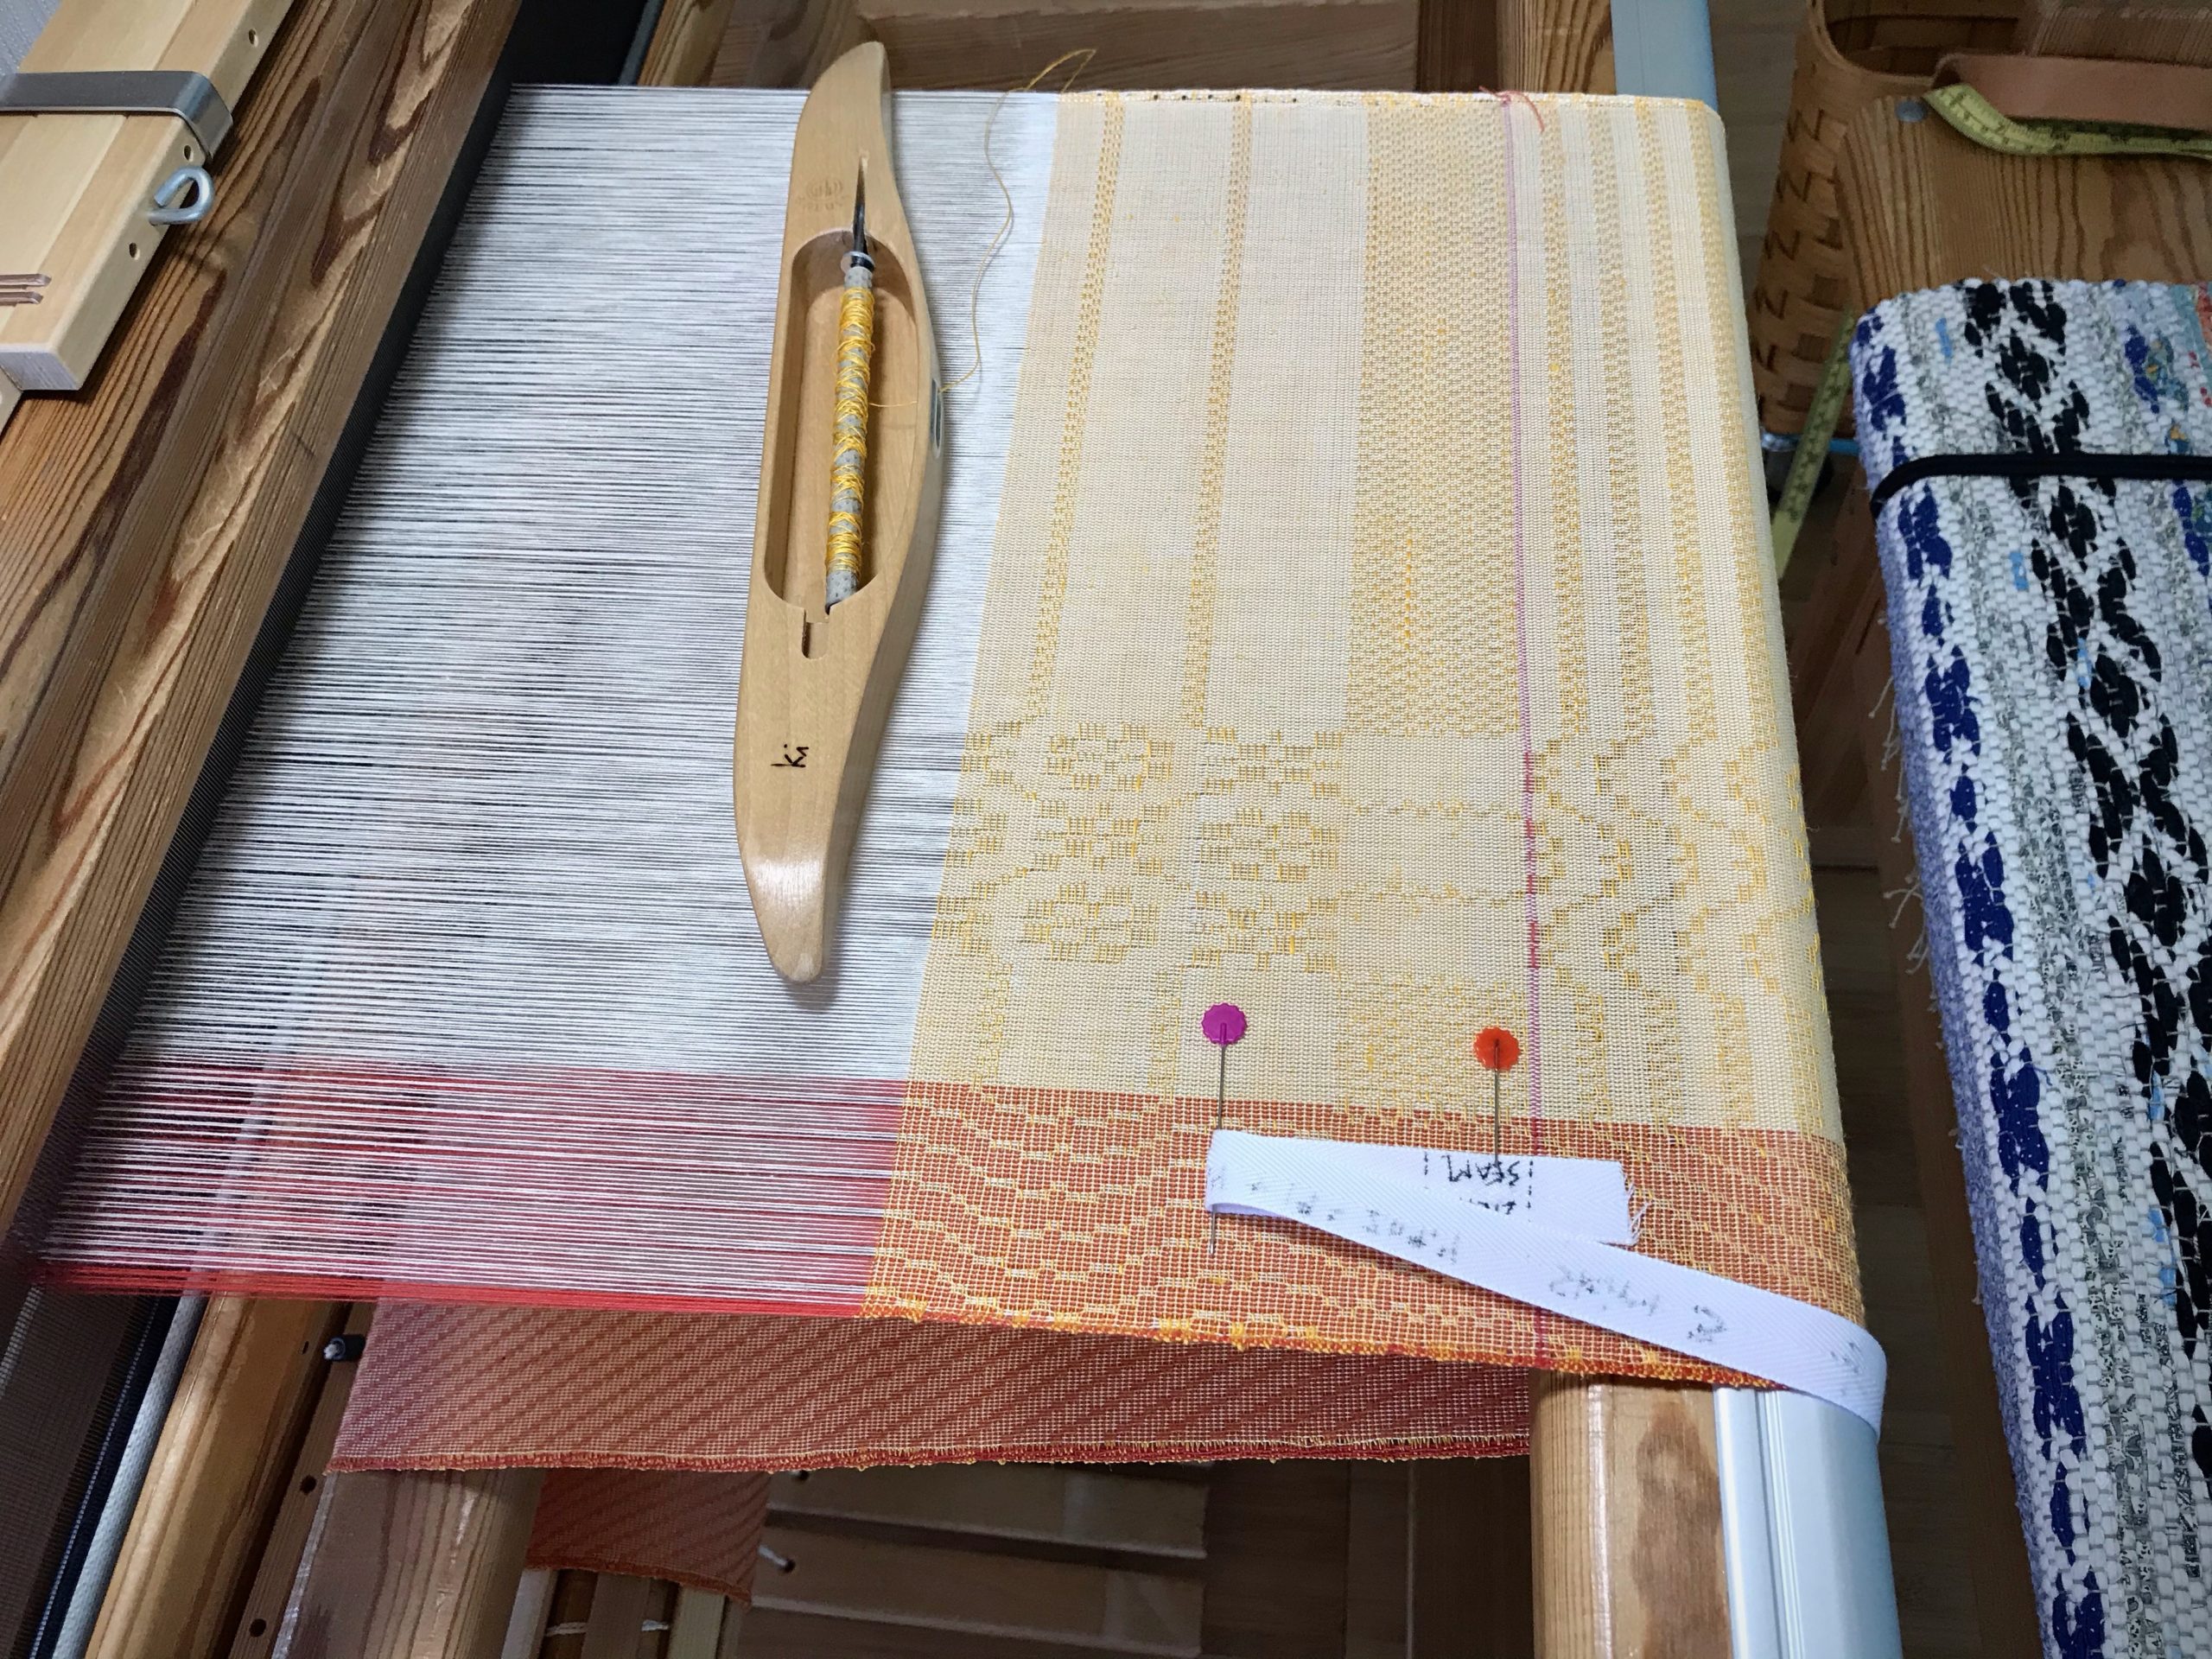
Flower pattern will be on the second and third tiers of a three-tiered skirt.
Each of the four pattern treadles produces its own block. It couldn’t be simpler. It’s always right foot, left foot. Yet, I can weave the wrong sequence, even while I’m patting myself on the back. For that reason, I stop and examine my work after every few picks. I want to make sure my weaving aligns with the treadling sequence on the draft.
Have you noticed how easy it is to judge someone else’s motives? And how hard it is to notice our own? I can fool myself. The Lord knows us better than we know ourselves. It’s his mercy that shows us our impure motives. His grace shows us how to walk in his ways. His love keeps us coming back to align our hearts with his.
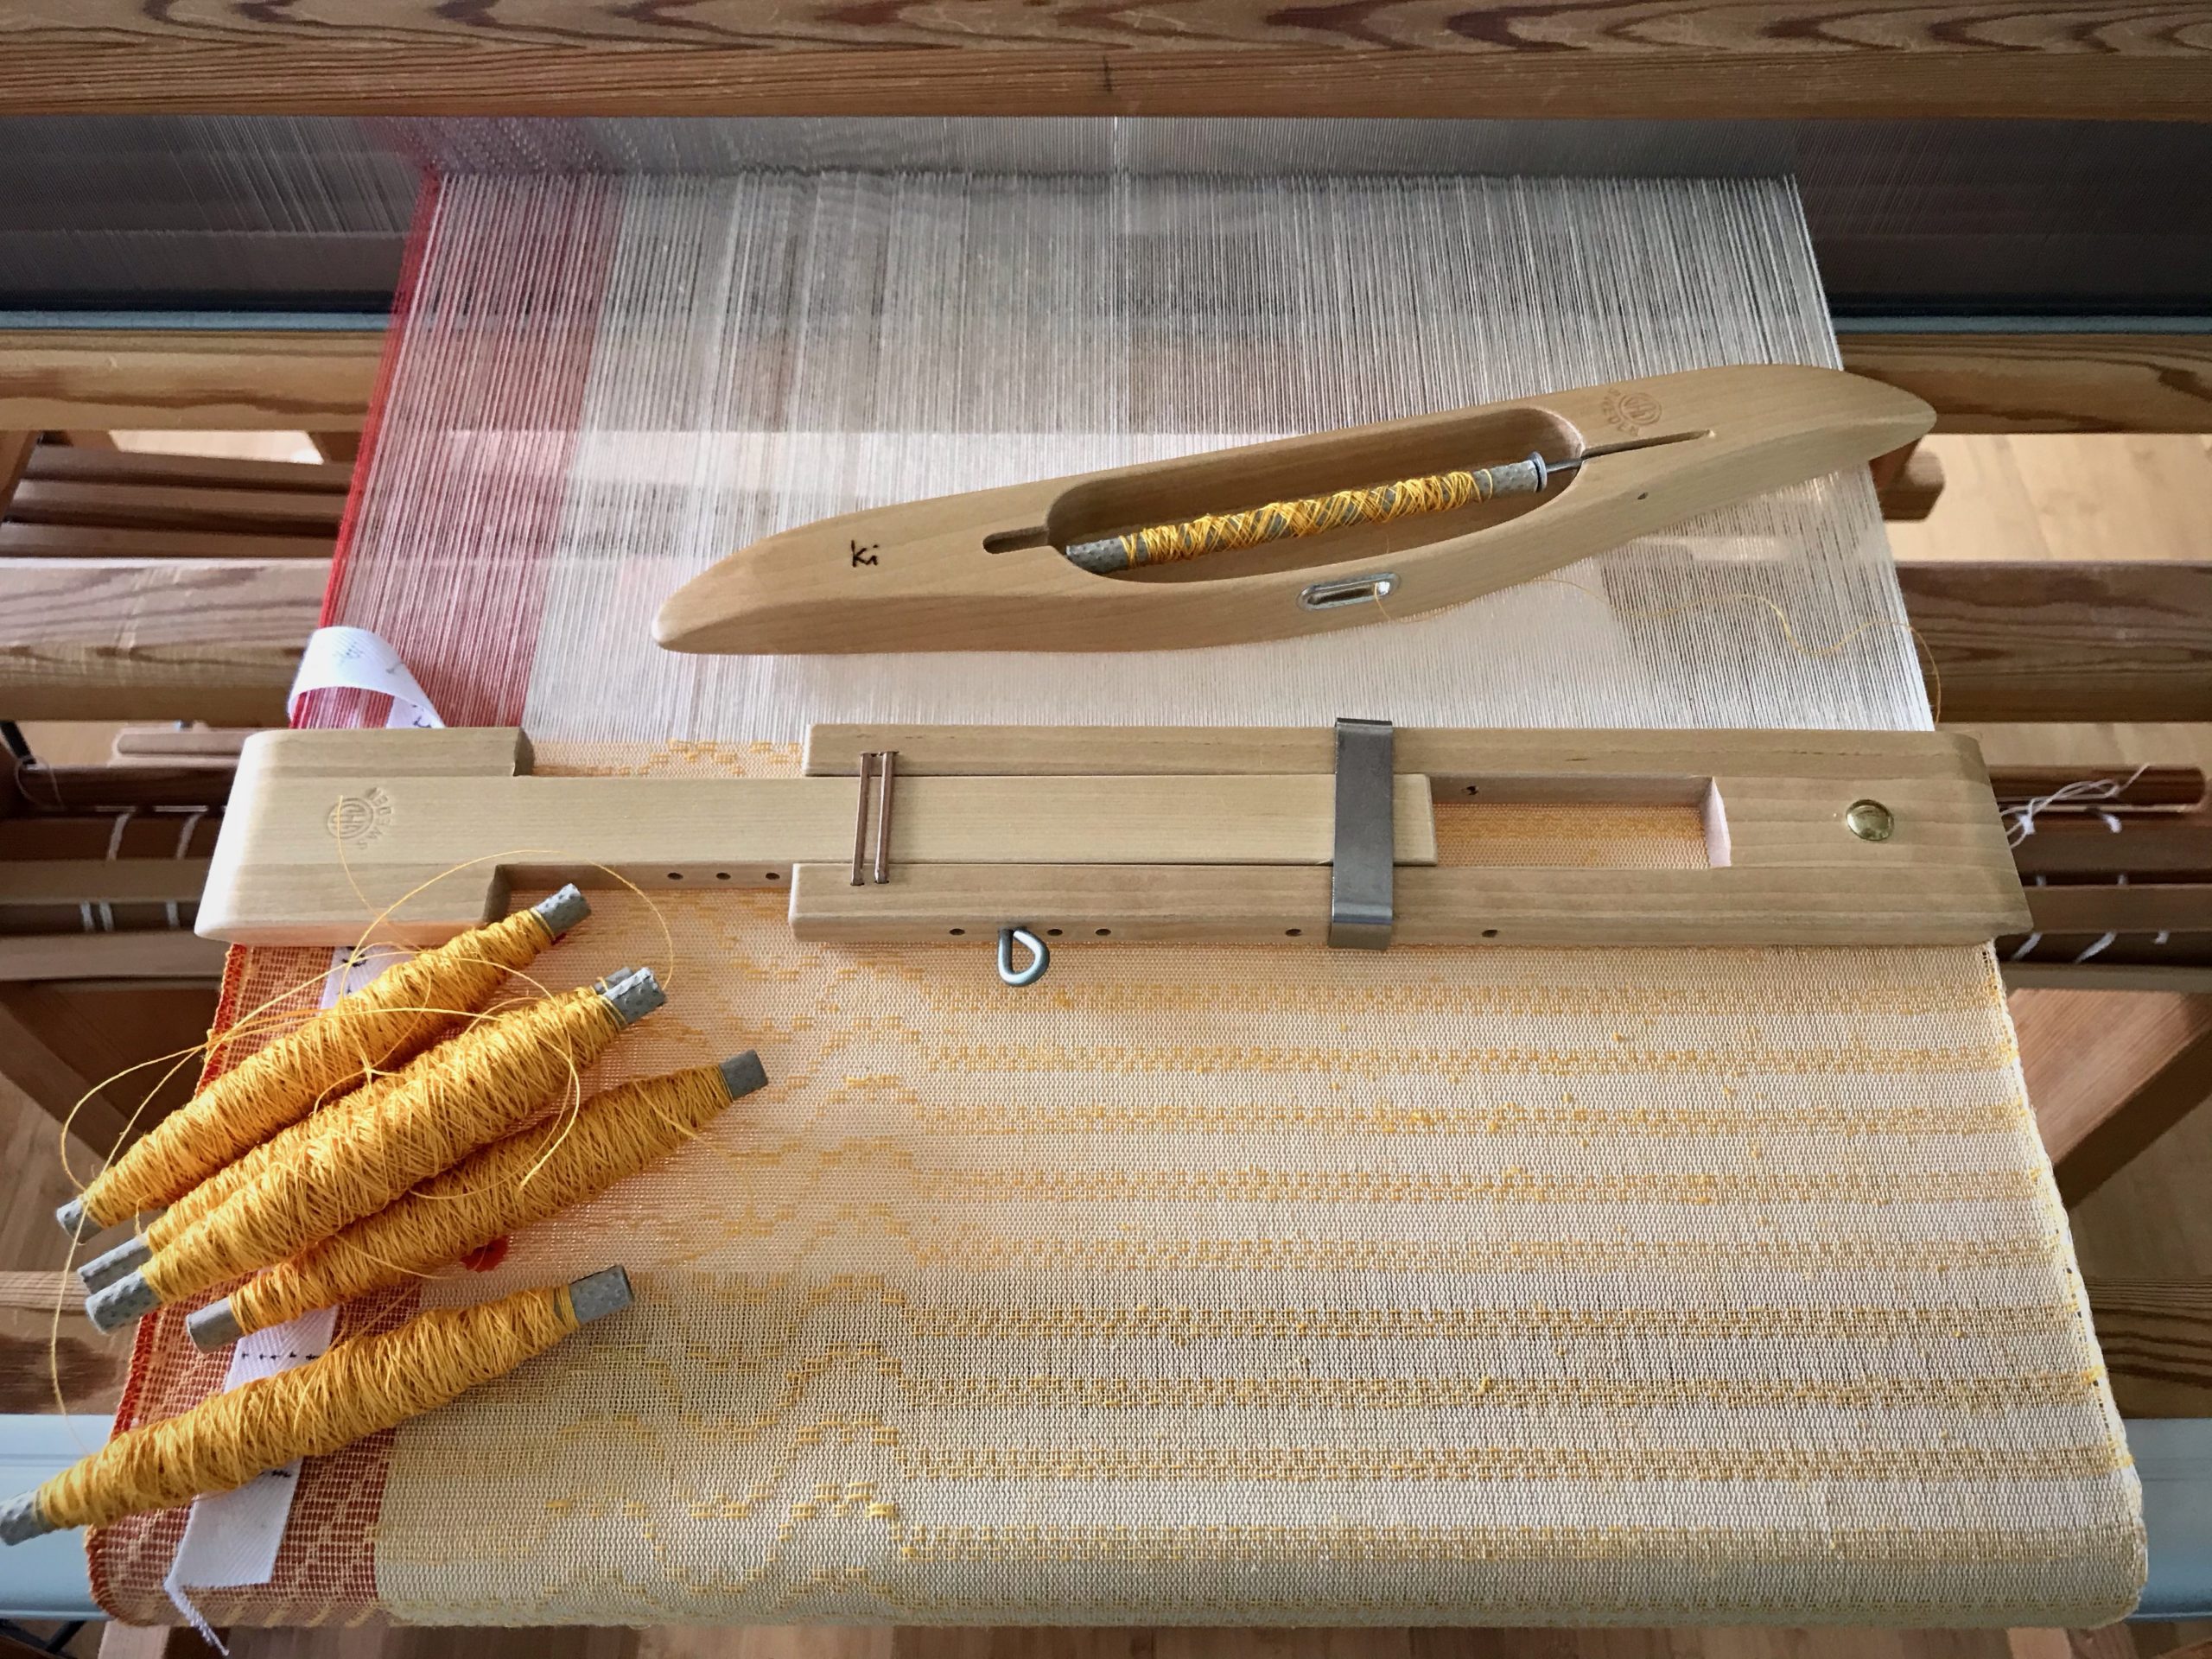
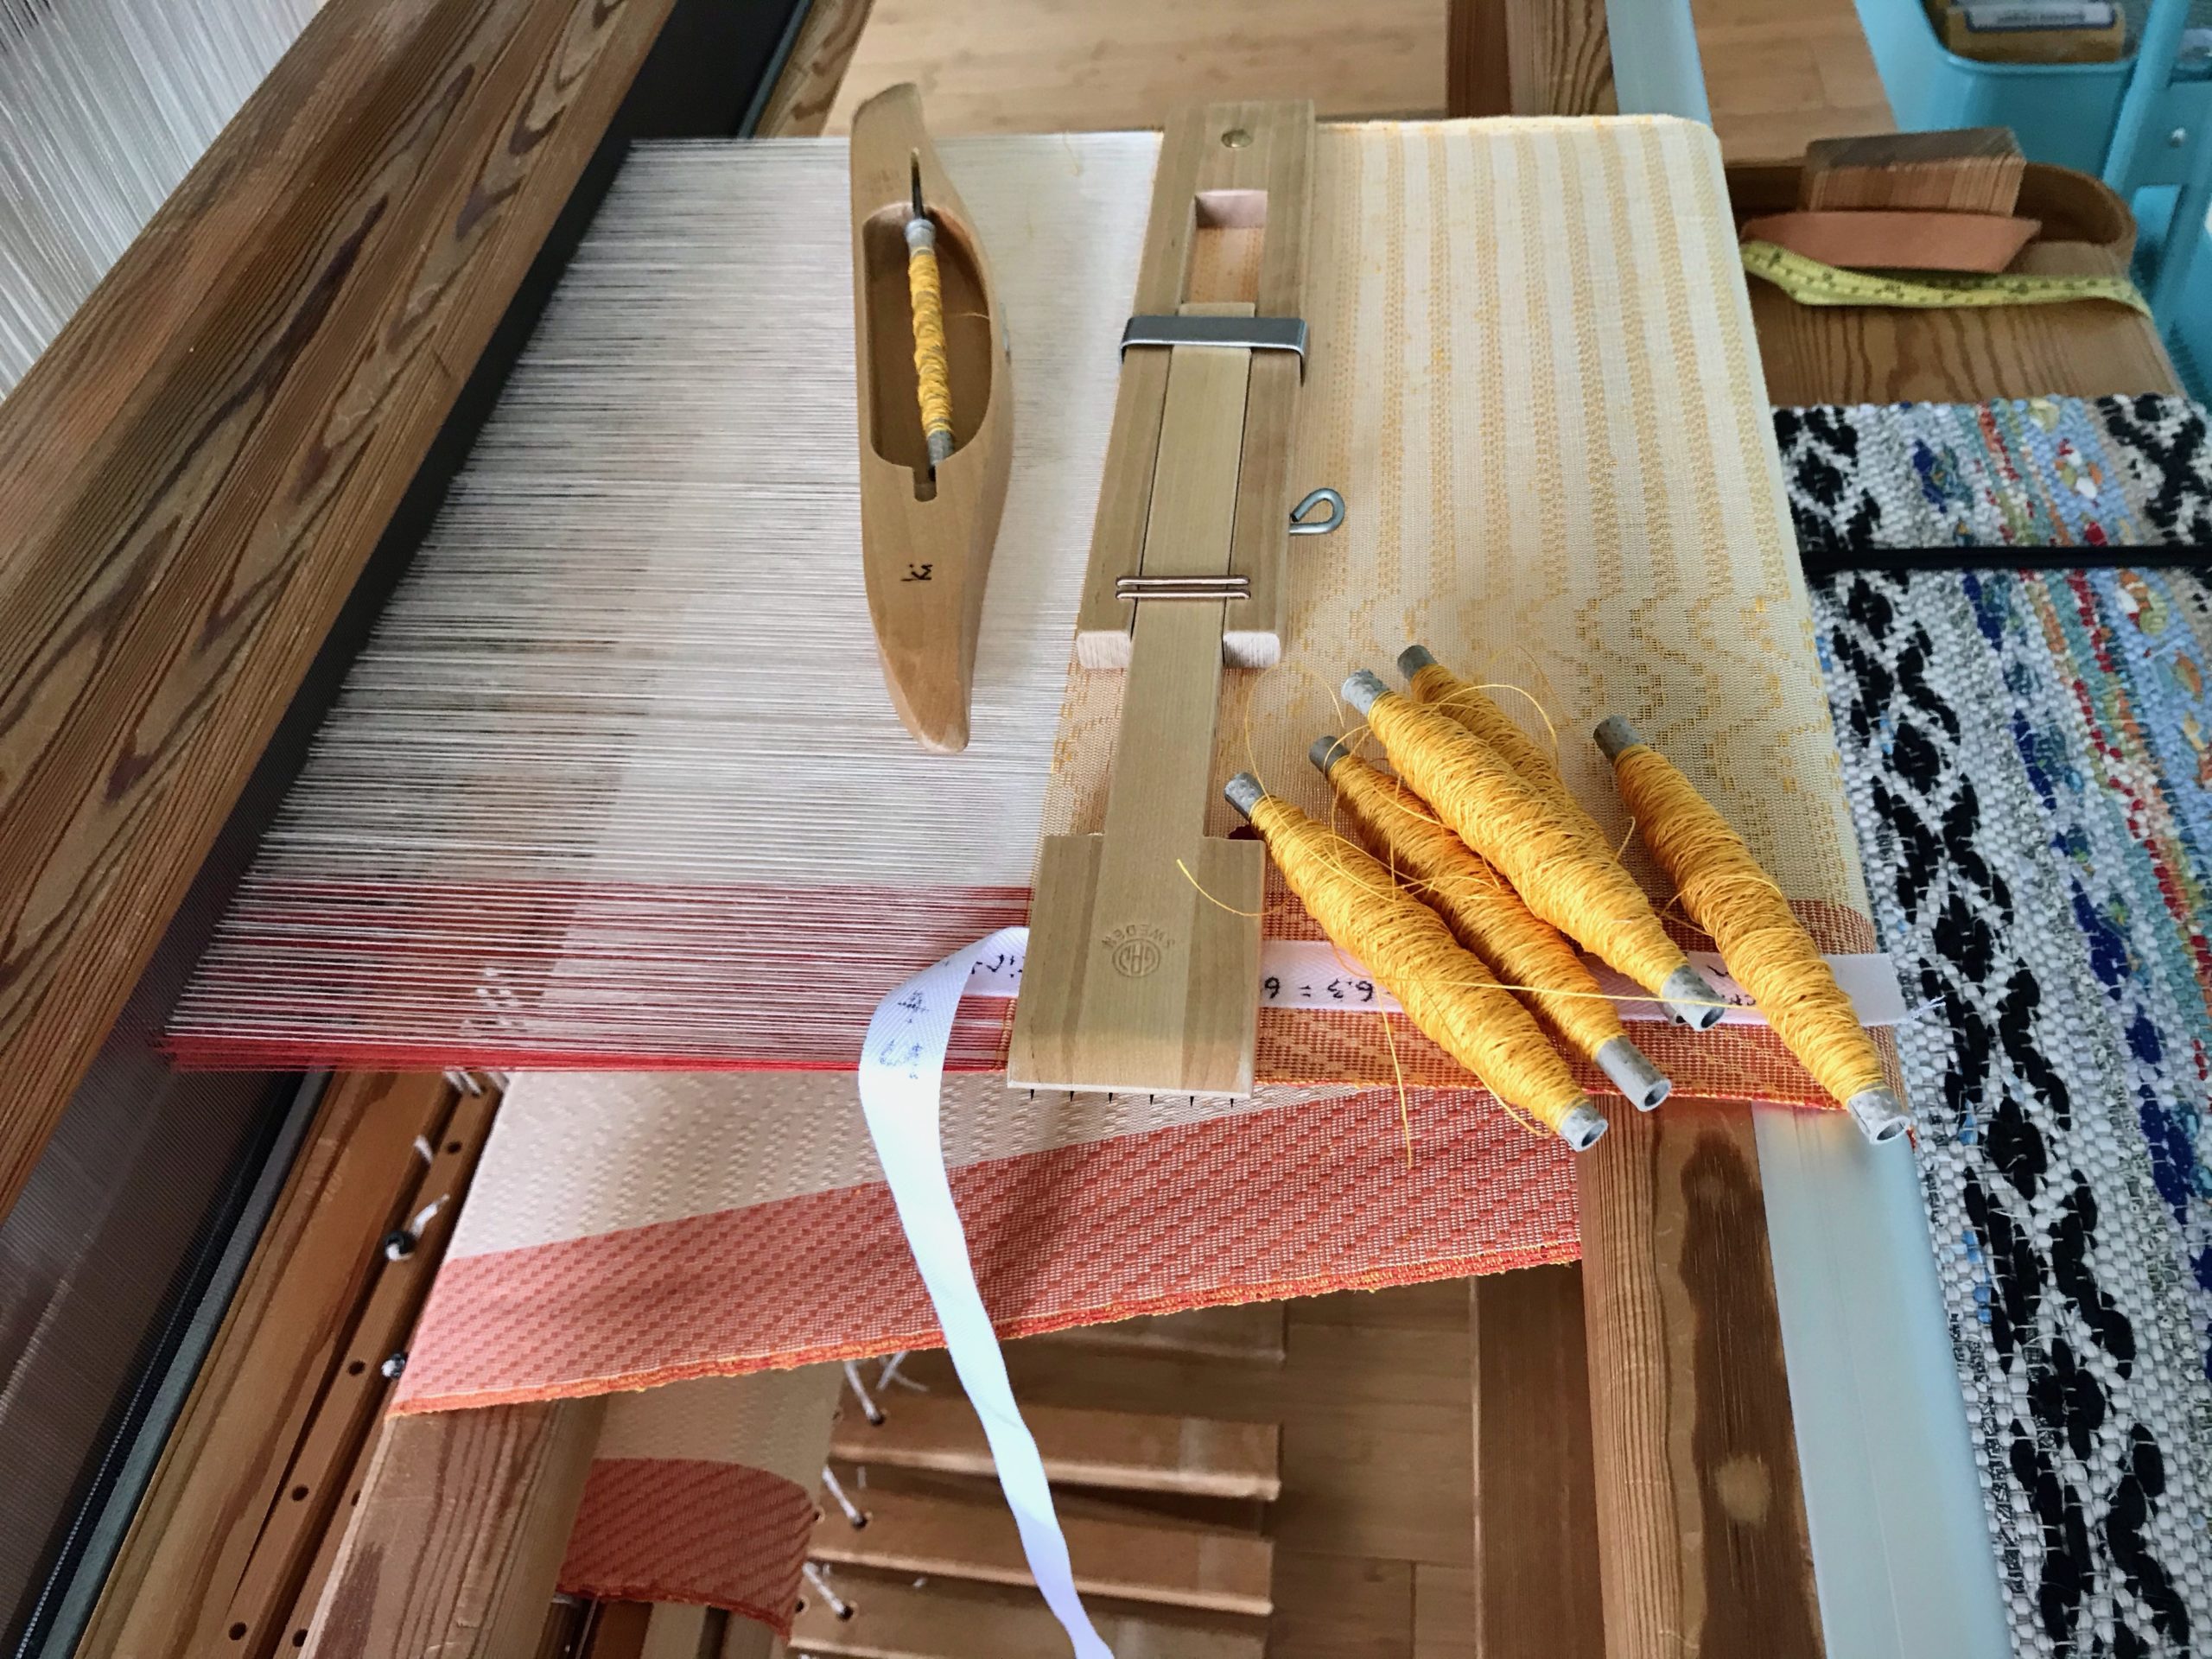
Yellow is everywhere right now. A profusion of wildflowers stretches across our backyard, and much of it is yellow. The bright yellow linen weft fits right in! This is skirt fabric in the making. Wearing the skirt will be as if I’m wearing my own little summer flower garden.
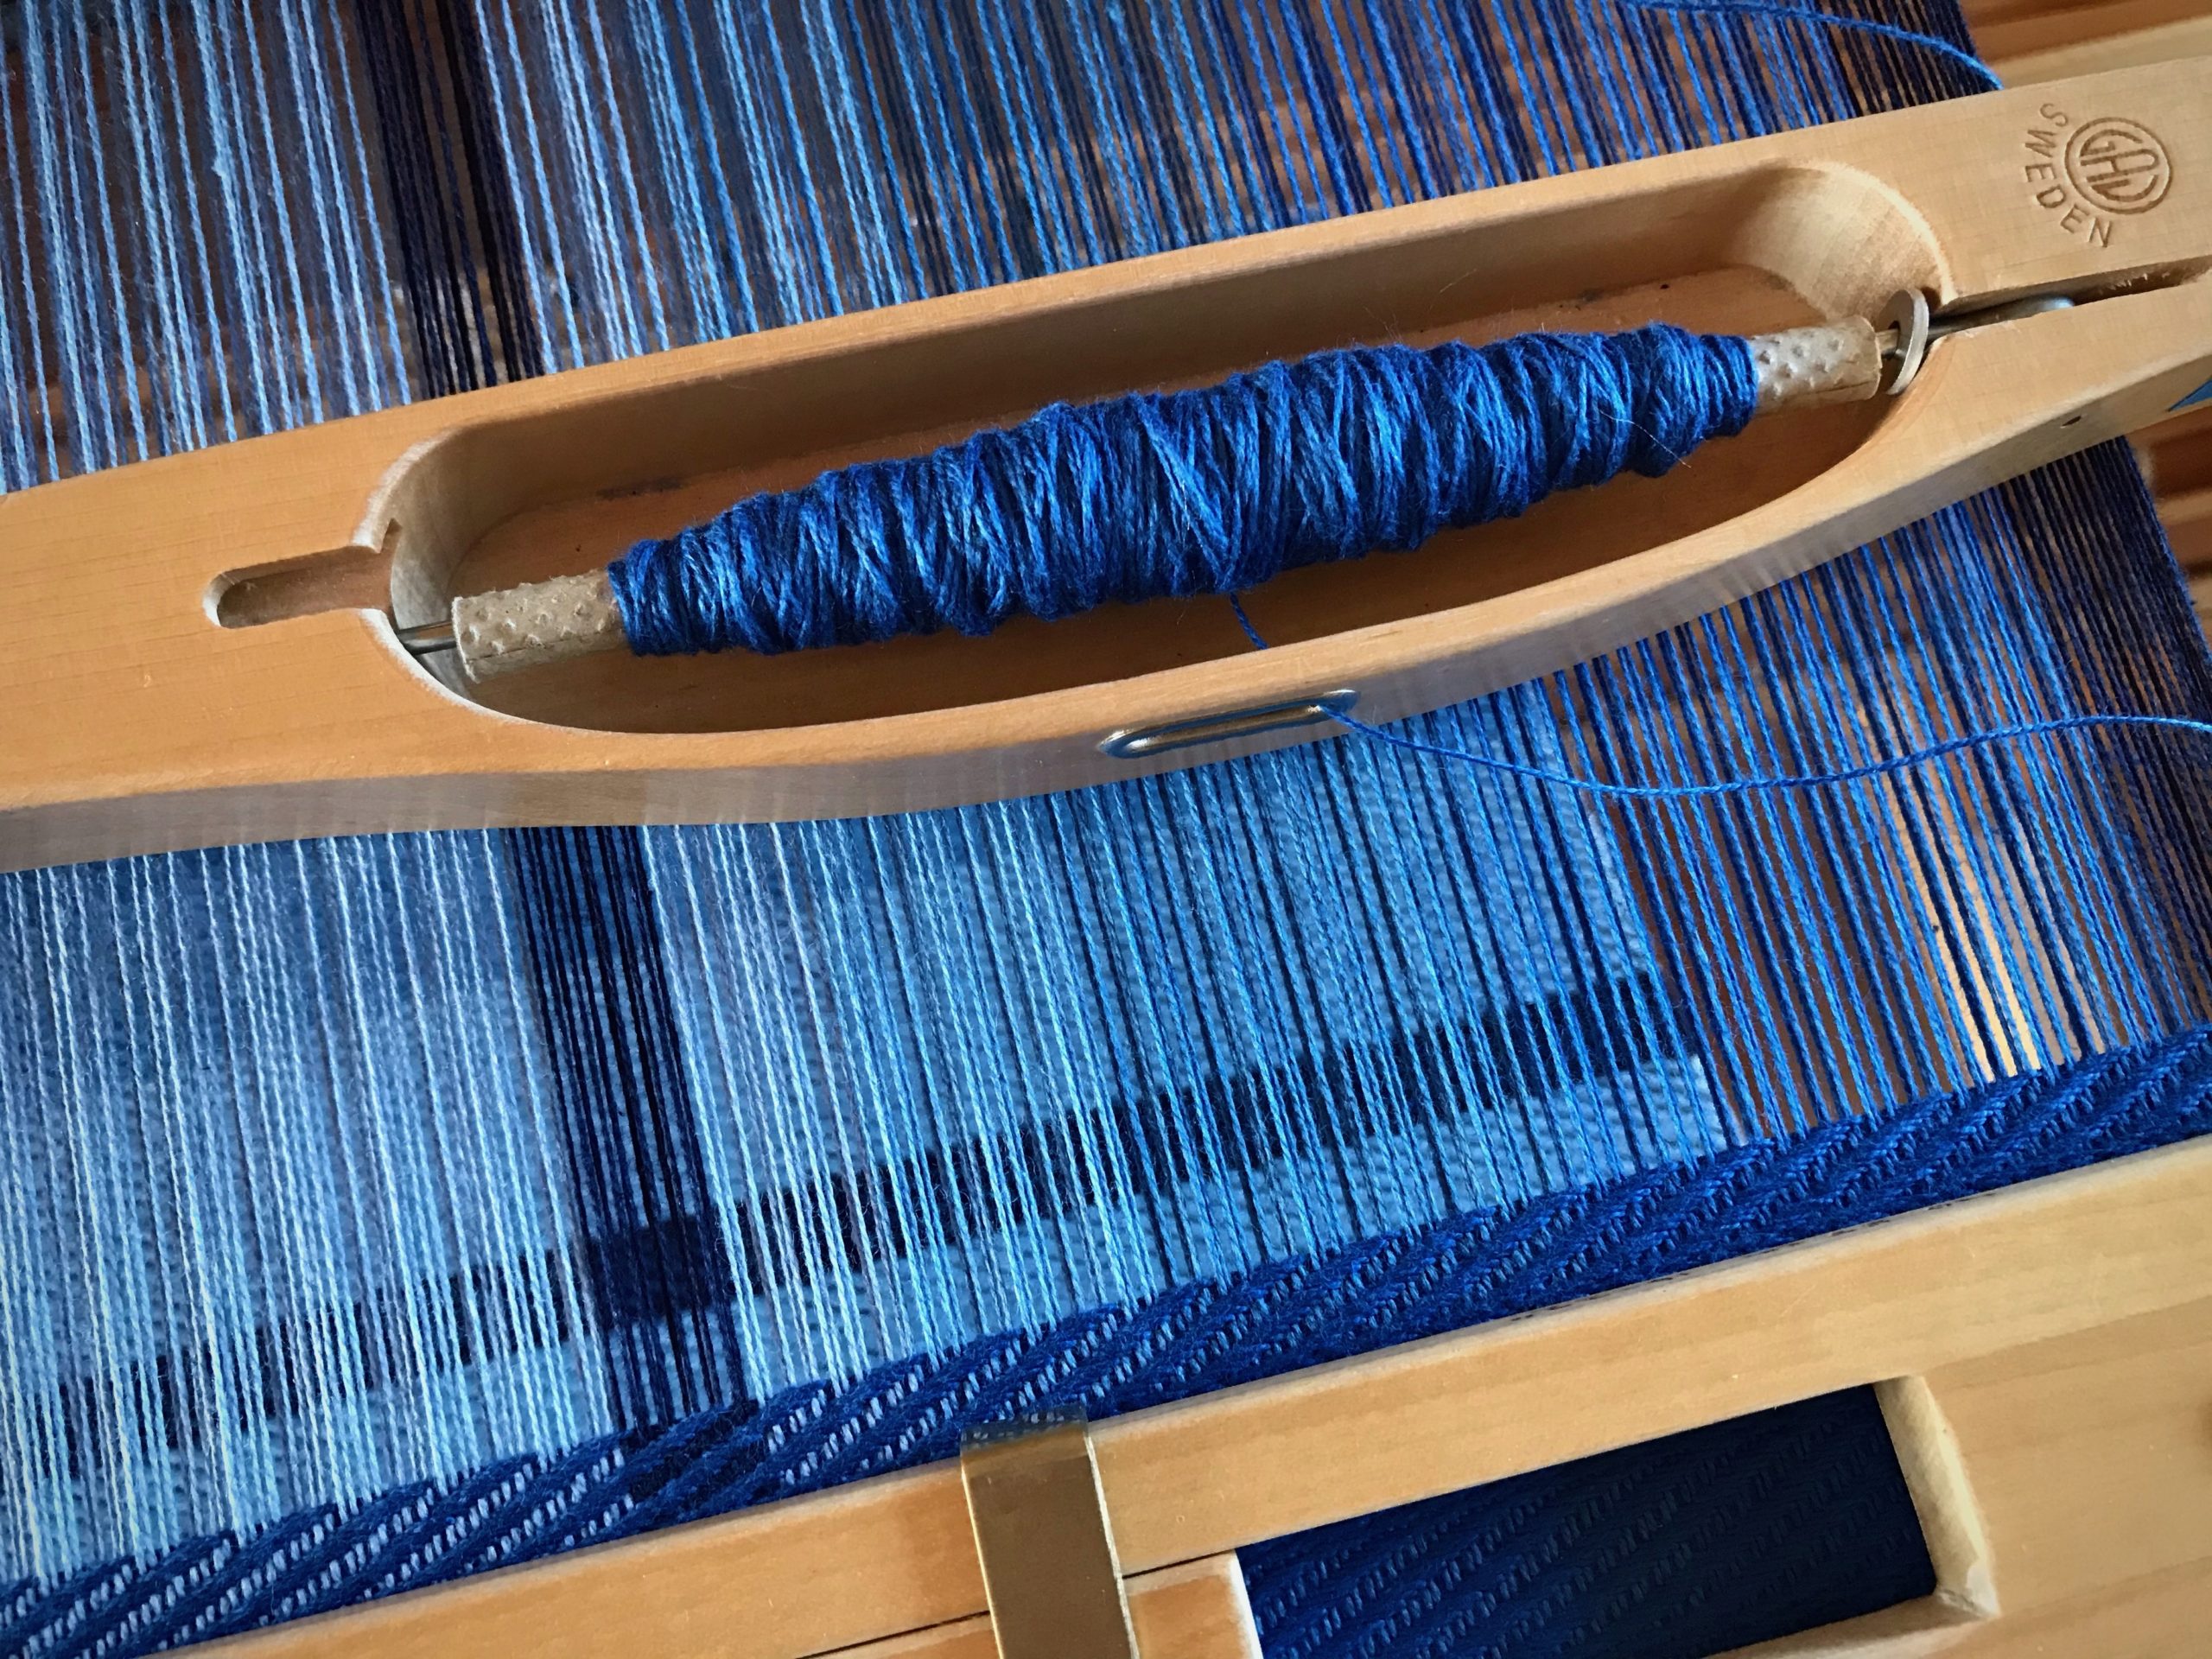
One shuttle, one color. There are no decisions to make about the weft. Just keep these quills full of glowing yellow thread. When the last of the filled quills is in the shuttle, I weave until I find a good stopping place. Then, it’s time to get up and wind a handful of quills again. Replenish before the quill in the shuttle is bare.
To be full of faith is to be faithful. We say we trust Jesus. But can Jesus trust us? Faith-ful means you not only believe in him, you abide in him. You believe, and you live what you believe. Day, after day, after day. Quill, after quill, after quill. Replenish regularly to keep getting filled up. Never depleted. Always ready for the next pick.
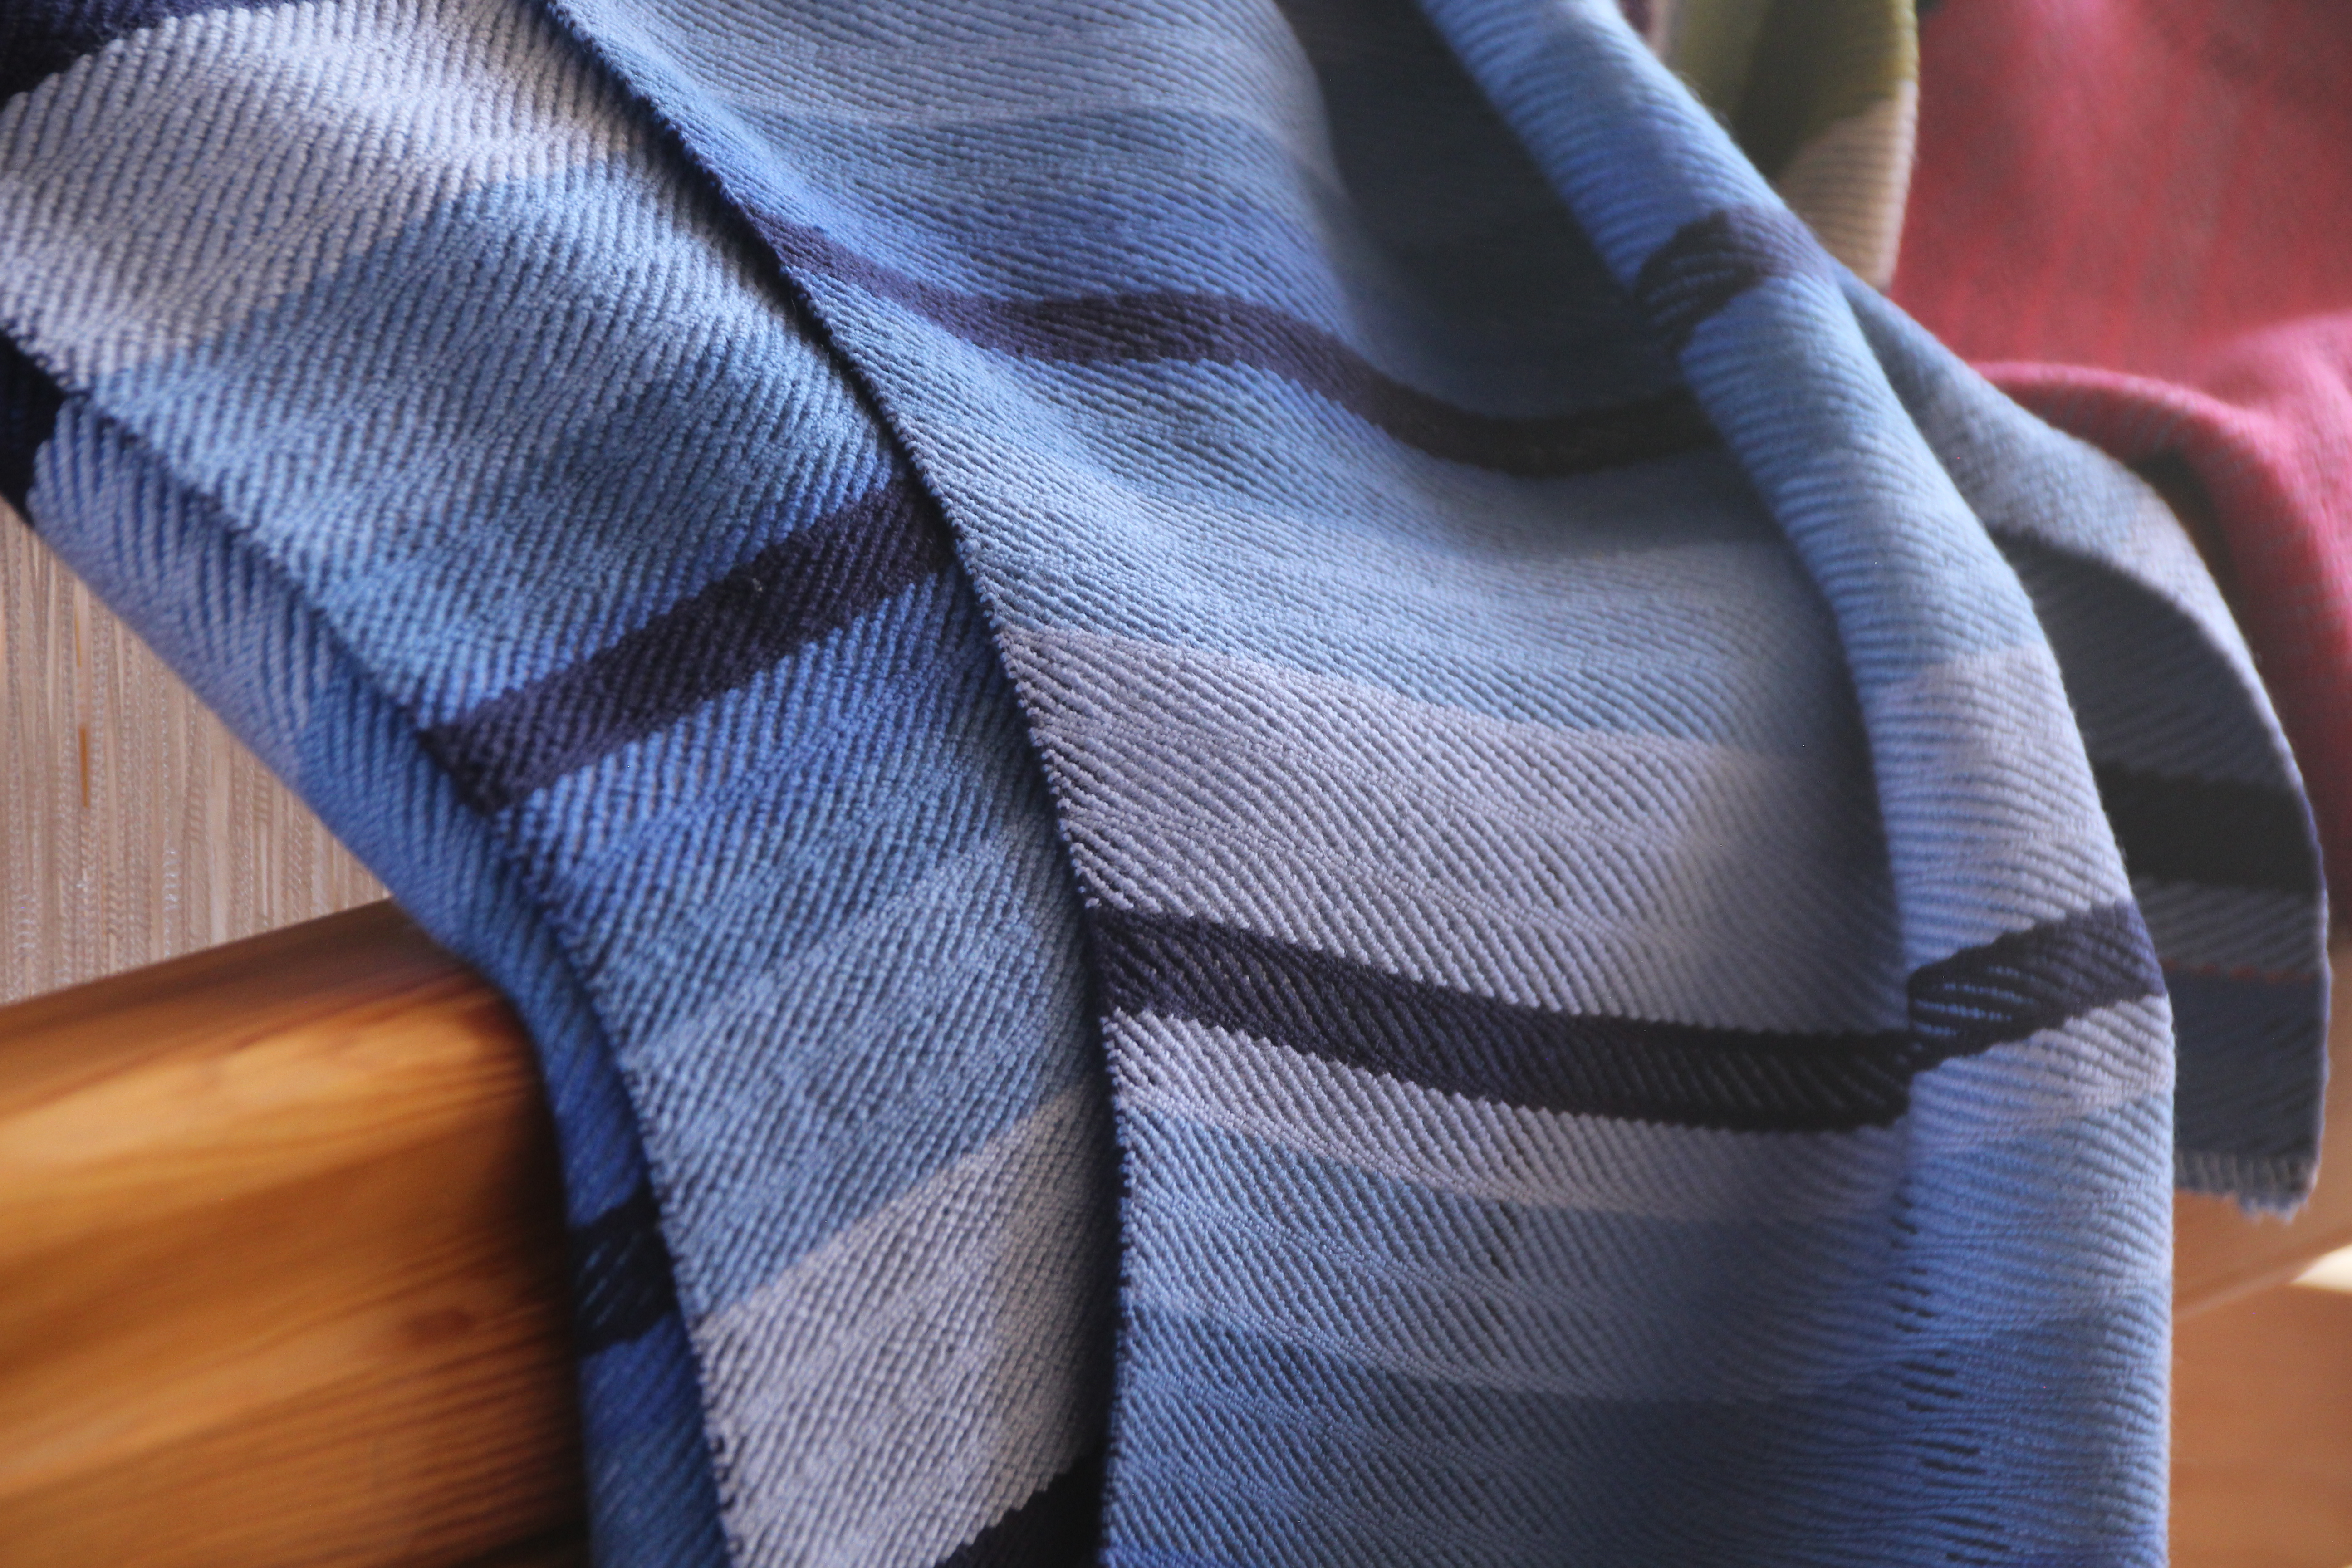
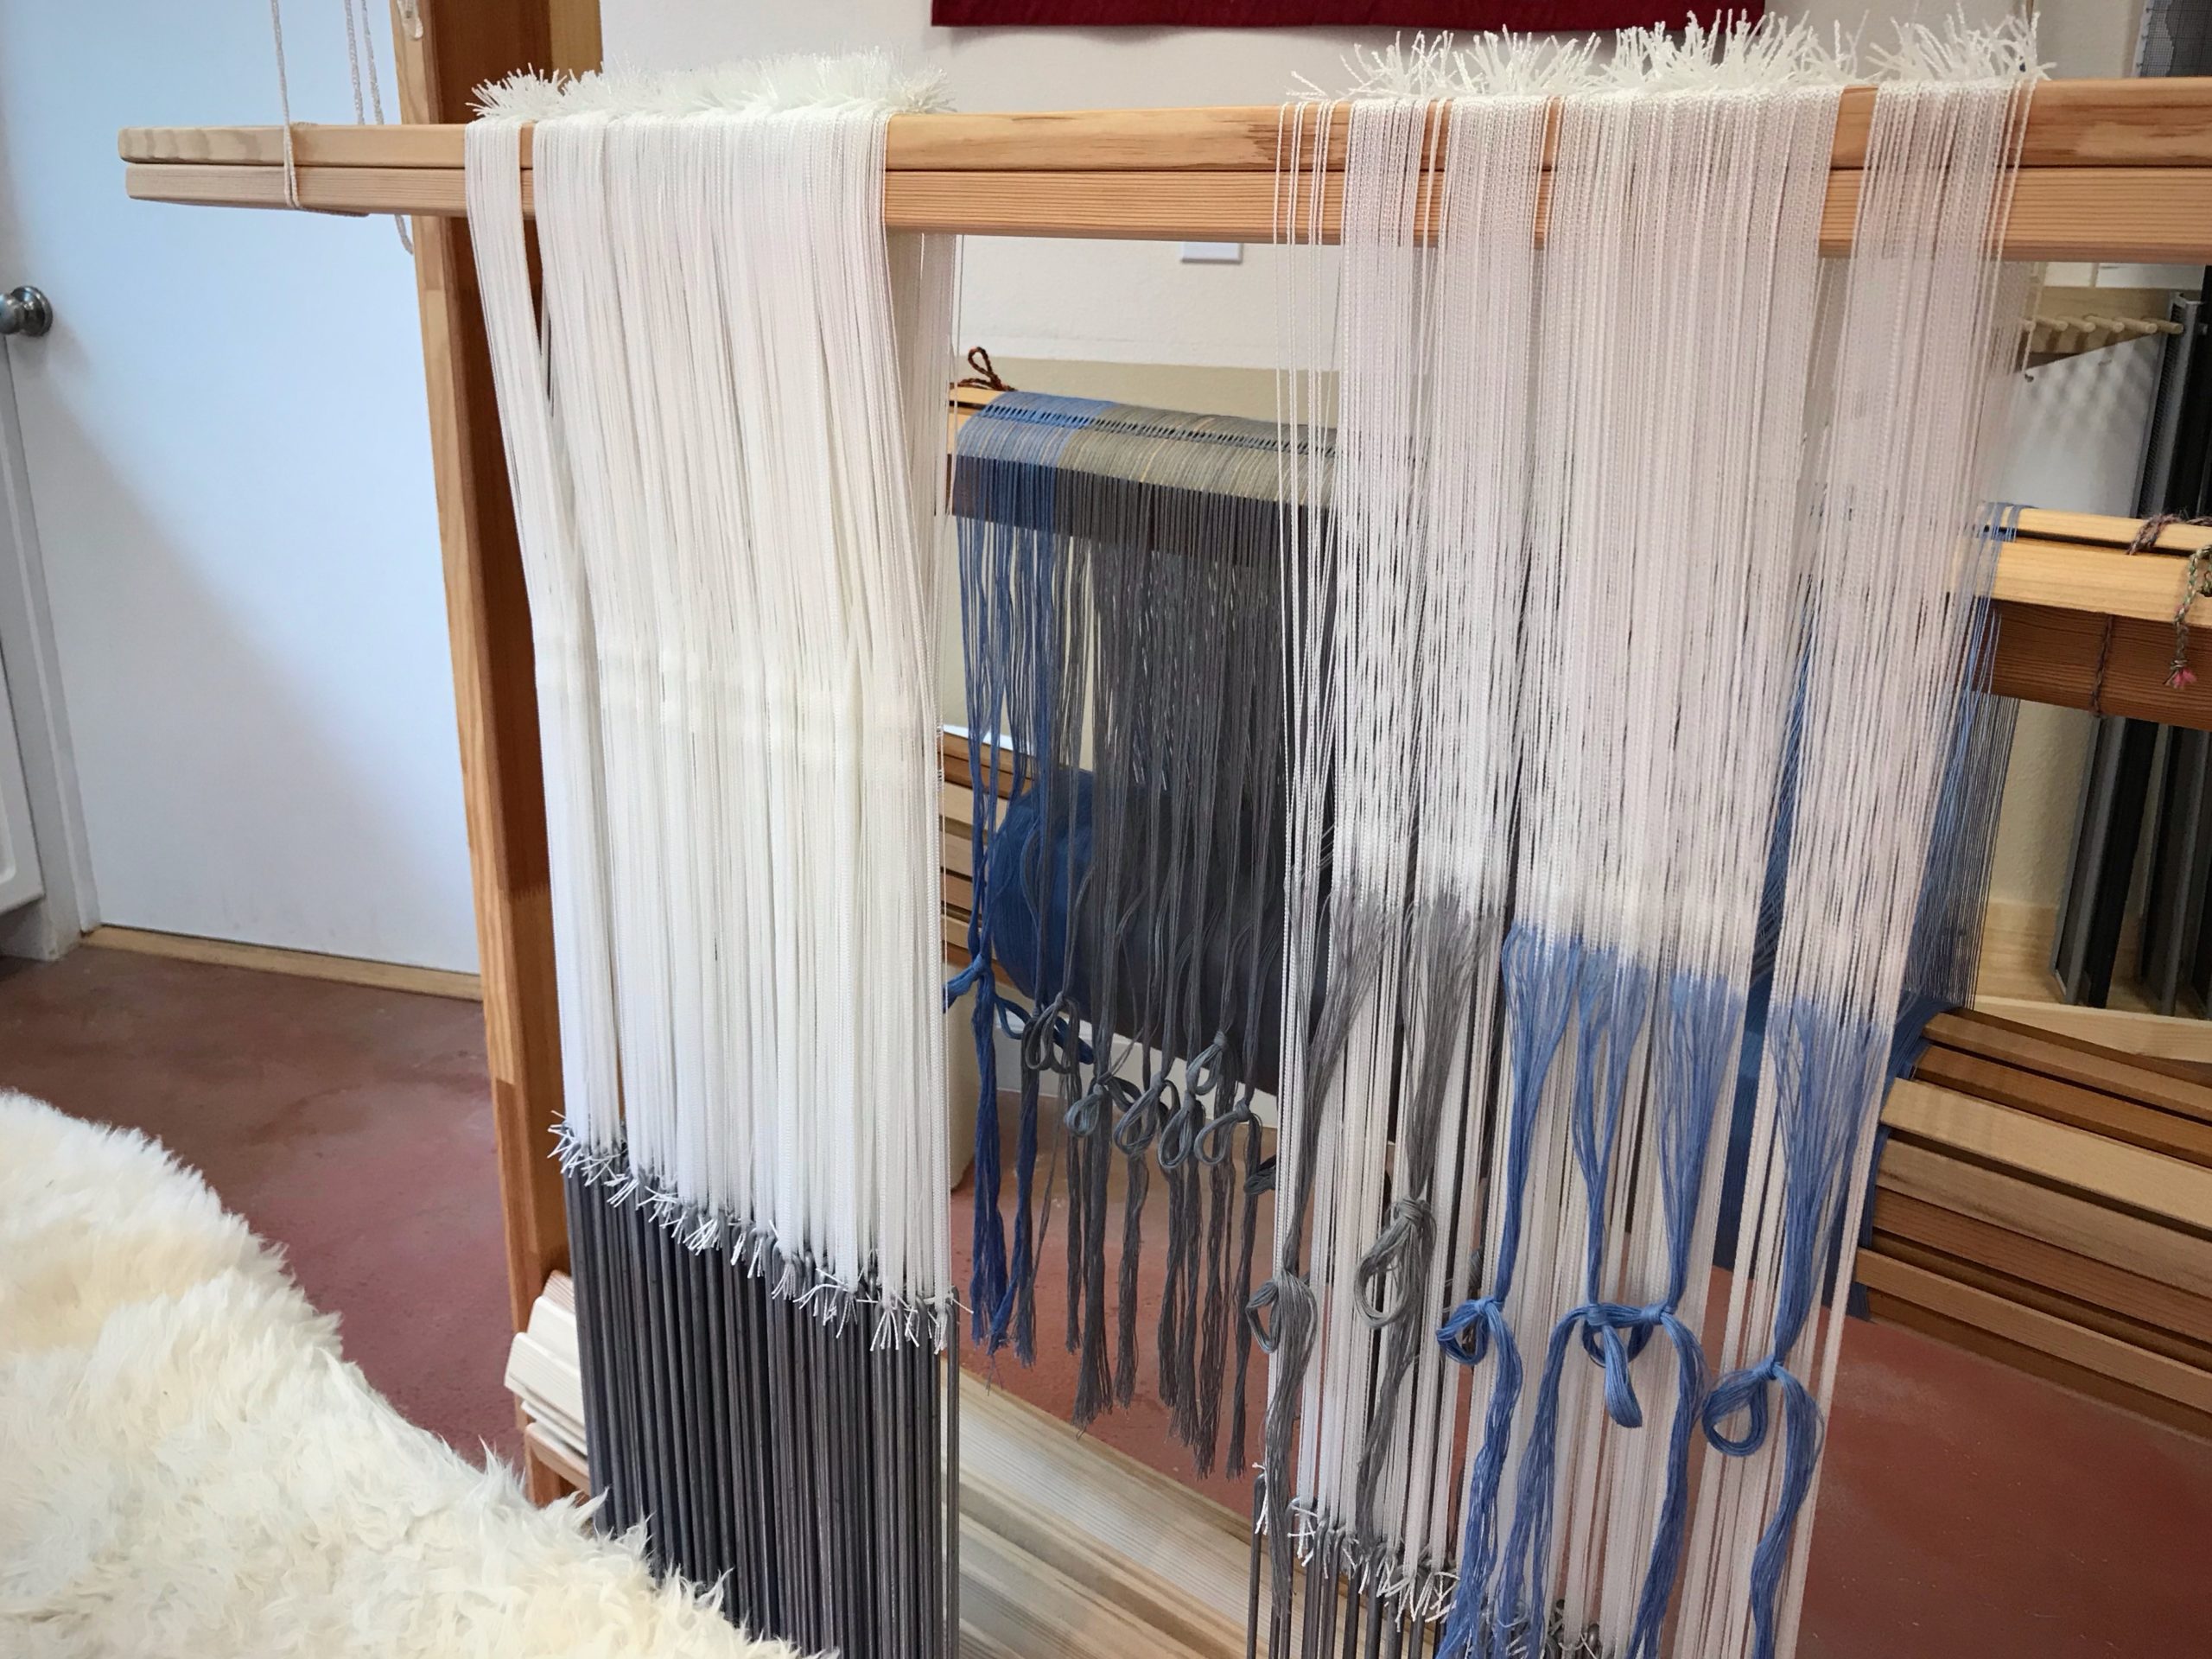
Cutting off is like reading the ending of a good short story. Even though you are eager to get to the end, when you reach the final paragraph it seems to soon for the story to be over. Fortunately, even though I am cutting off these happy blues, I still get to enjoy the fabric a while longer as I bring it through the finishing process.
All blue. 8/2 cotton in eight-shaft twill. Soft and cushiony.
The 8/2 cotton fabric is woven, washed and dried (multiple times), and ready for its final step. I will cut and hem individual pieces to be used as covers for the arm rests and the headrest for my mother-in-law’s recliner. I can’t think of a better place for this story to end up.
Enjoy this little video slideshow of the making of this cloth:
We weavers are resourceful. We enjoy finding solutions that make our time at the loom more efficient, while raising the quality of our weaving. We’ve done some of these little tricks so much we don’t think about them anymore. And then, some innovations are things we think up on the spot because necessity, as you know, is the mother of invention.
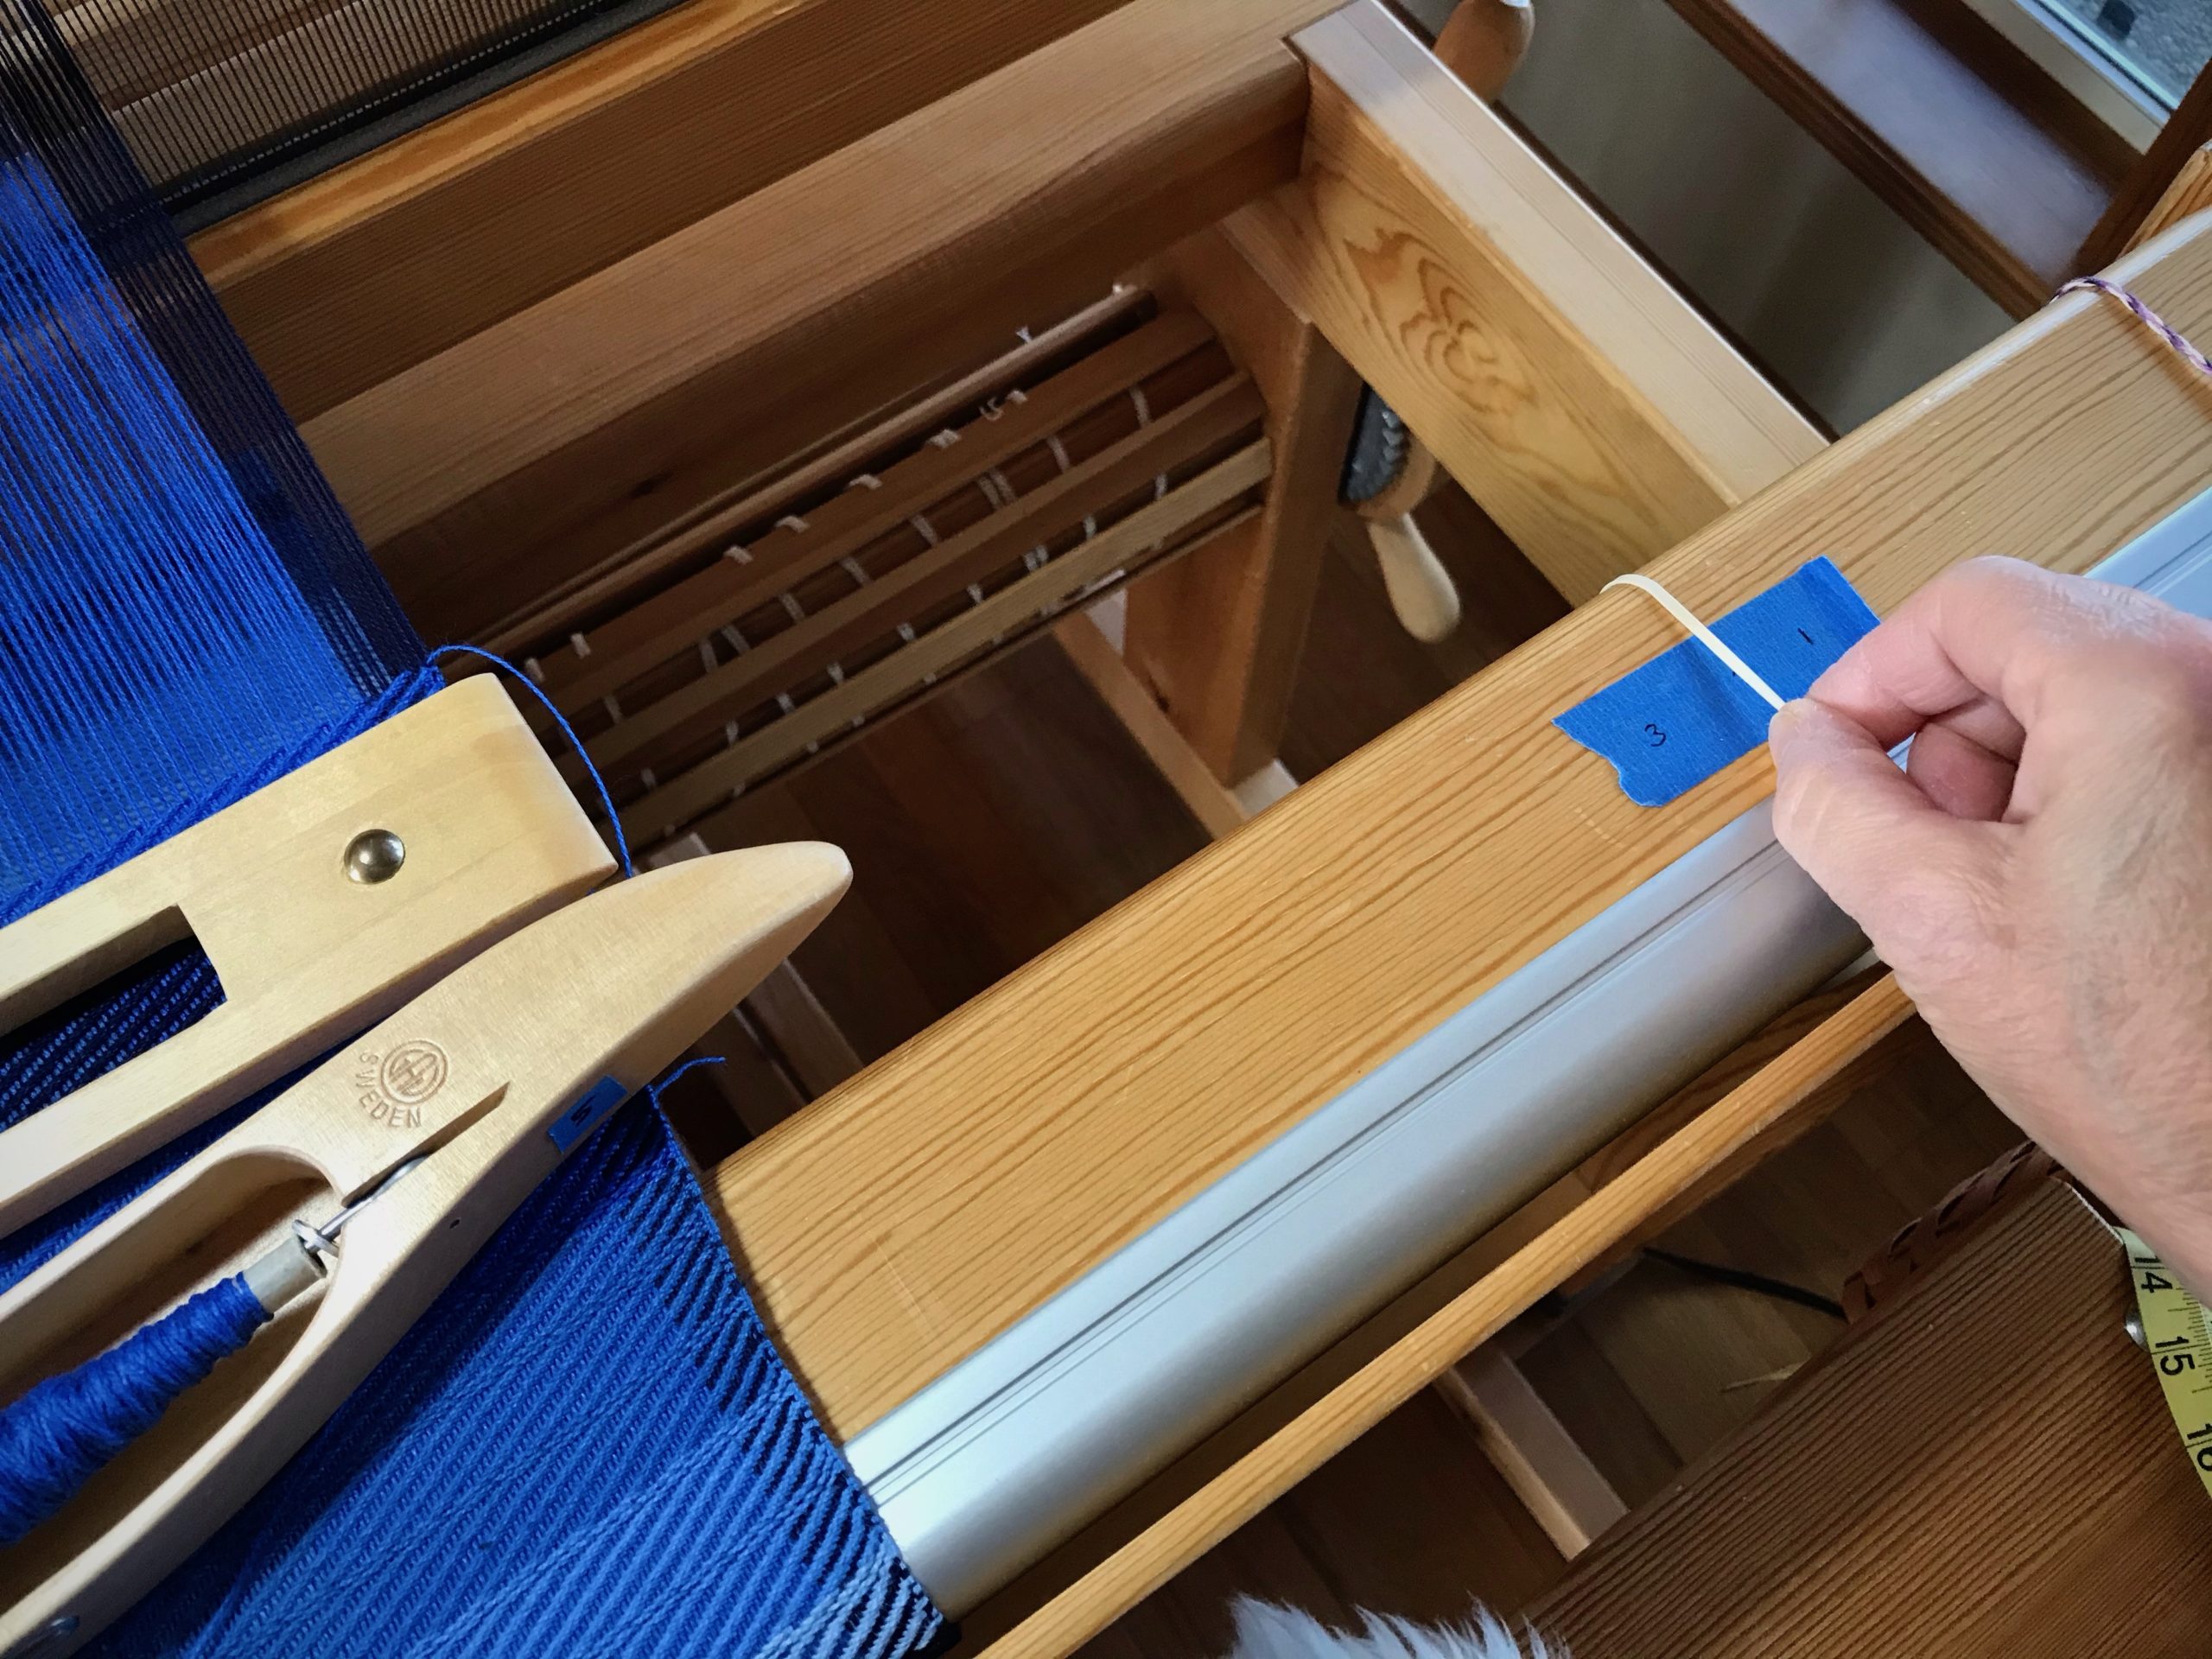
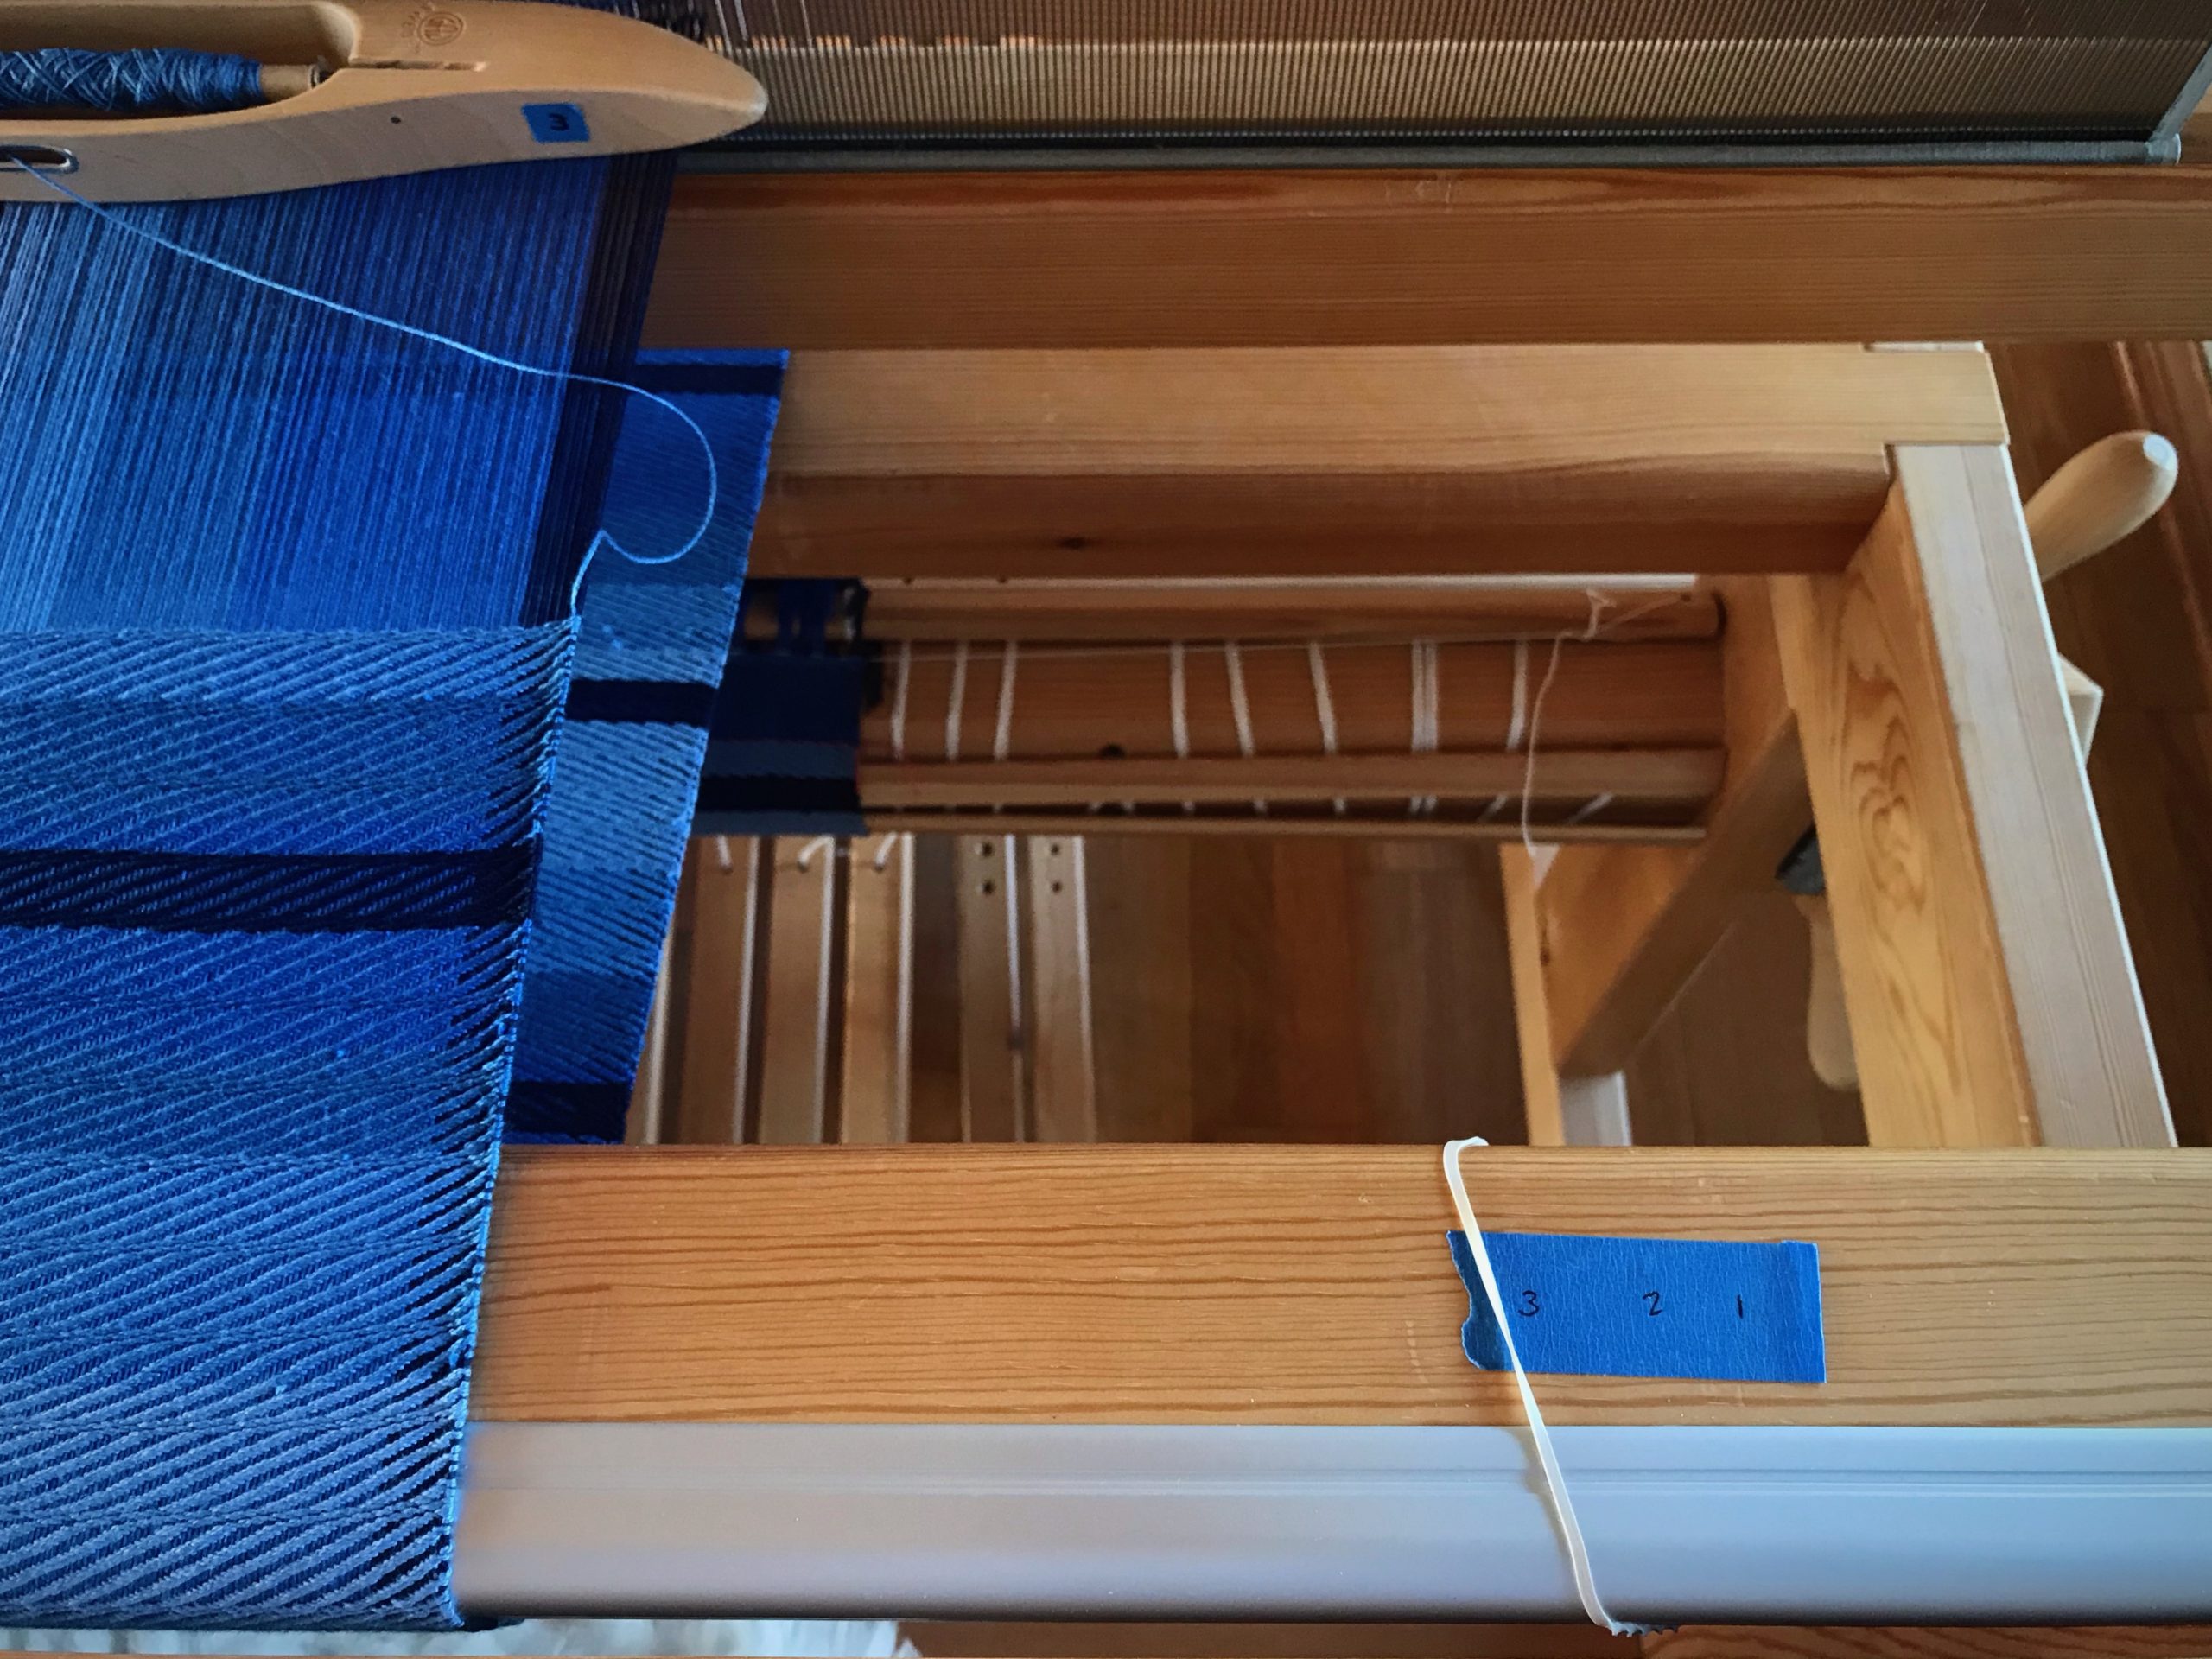
Keep Count
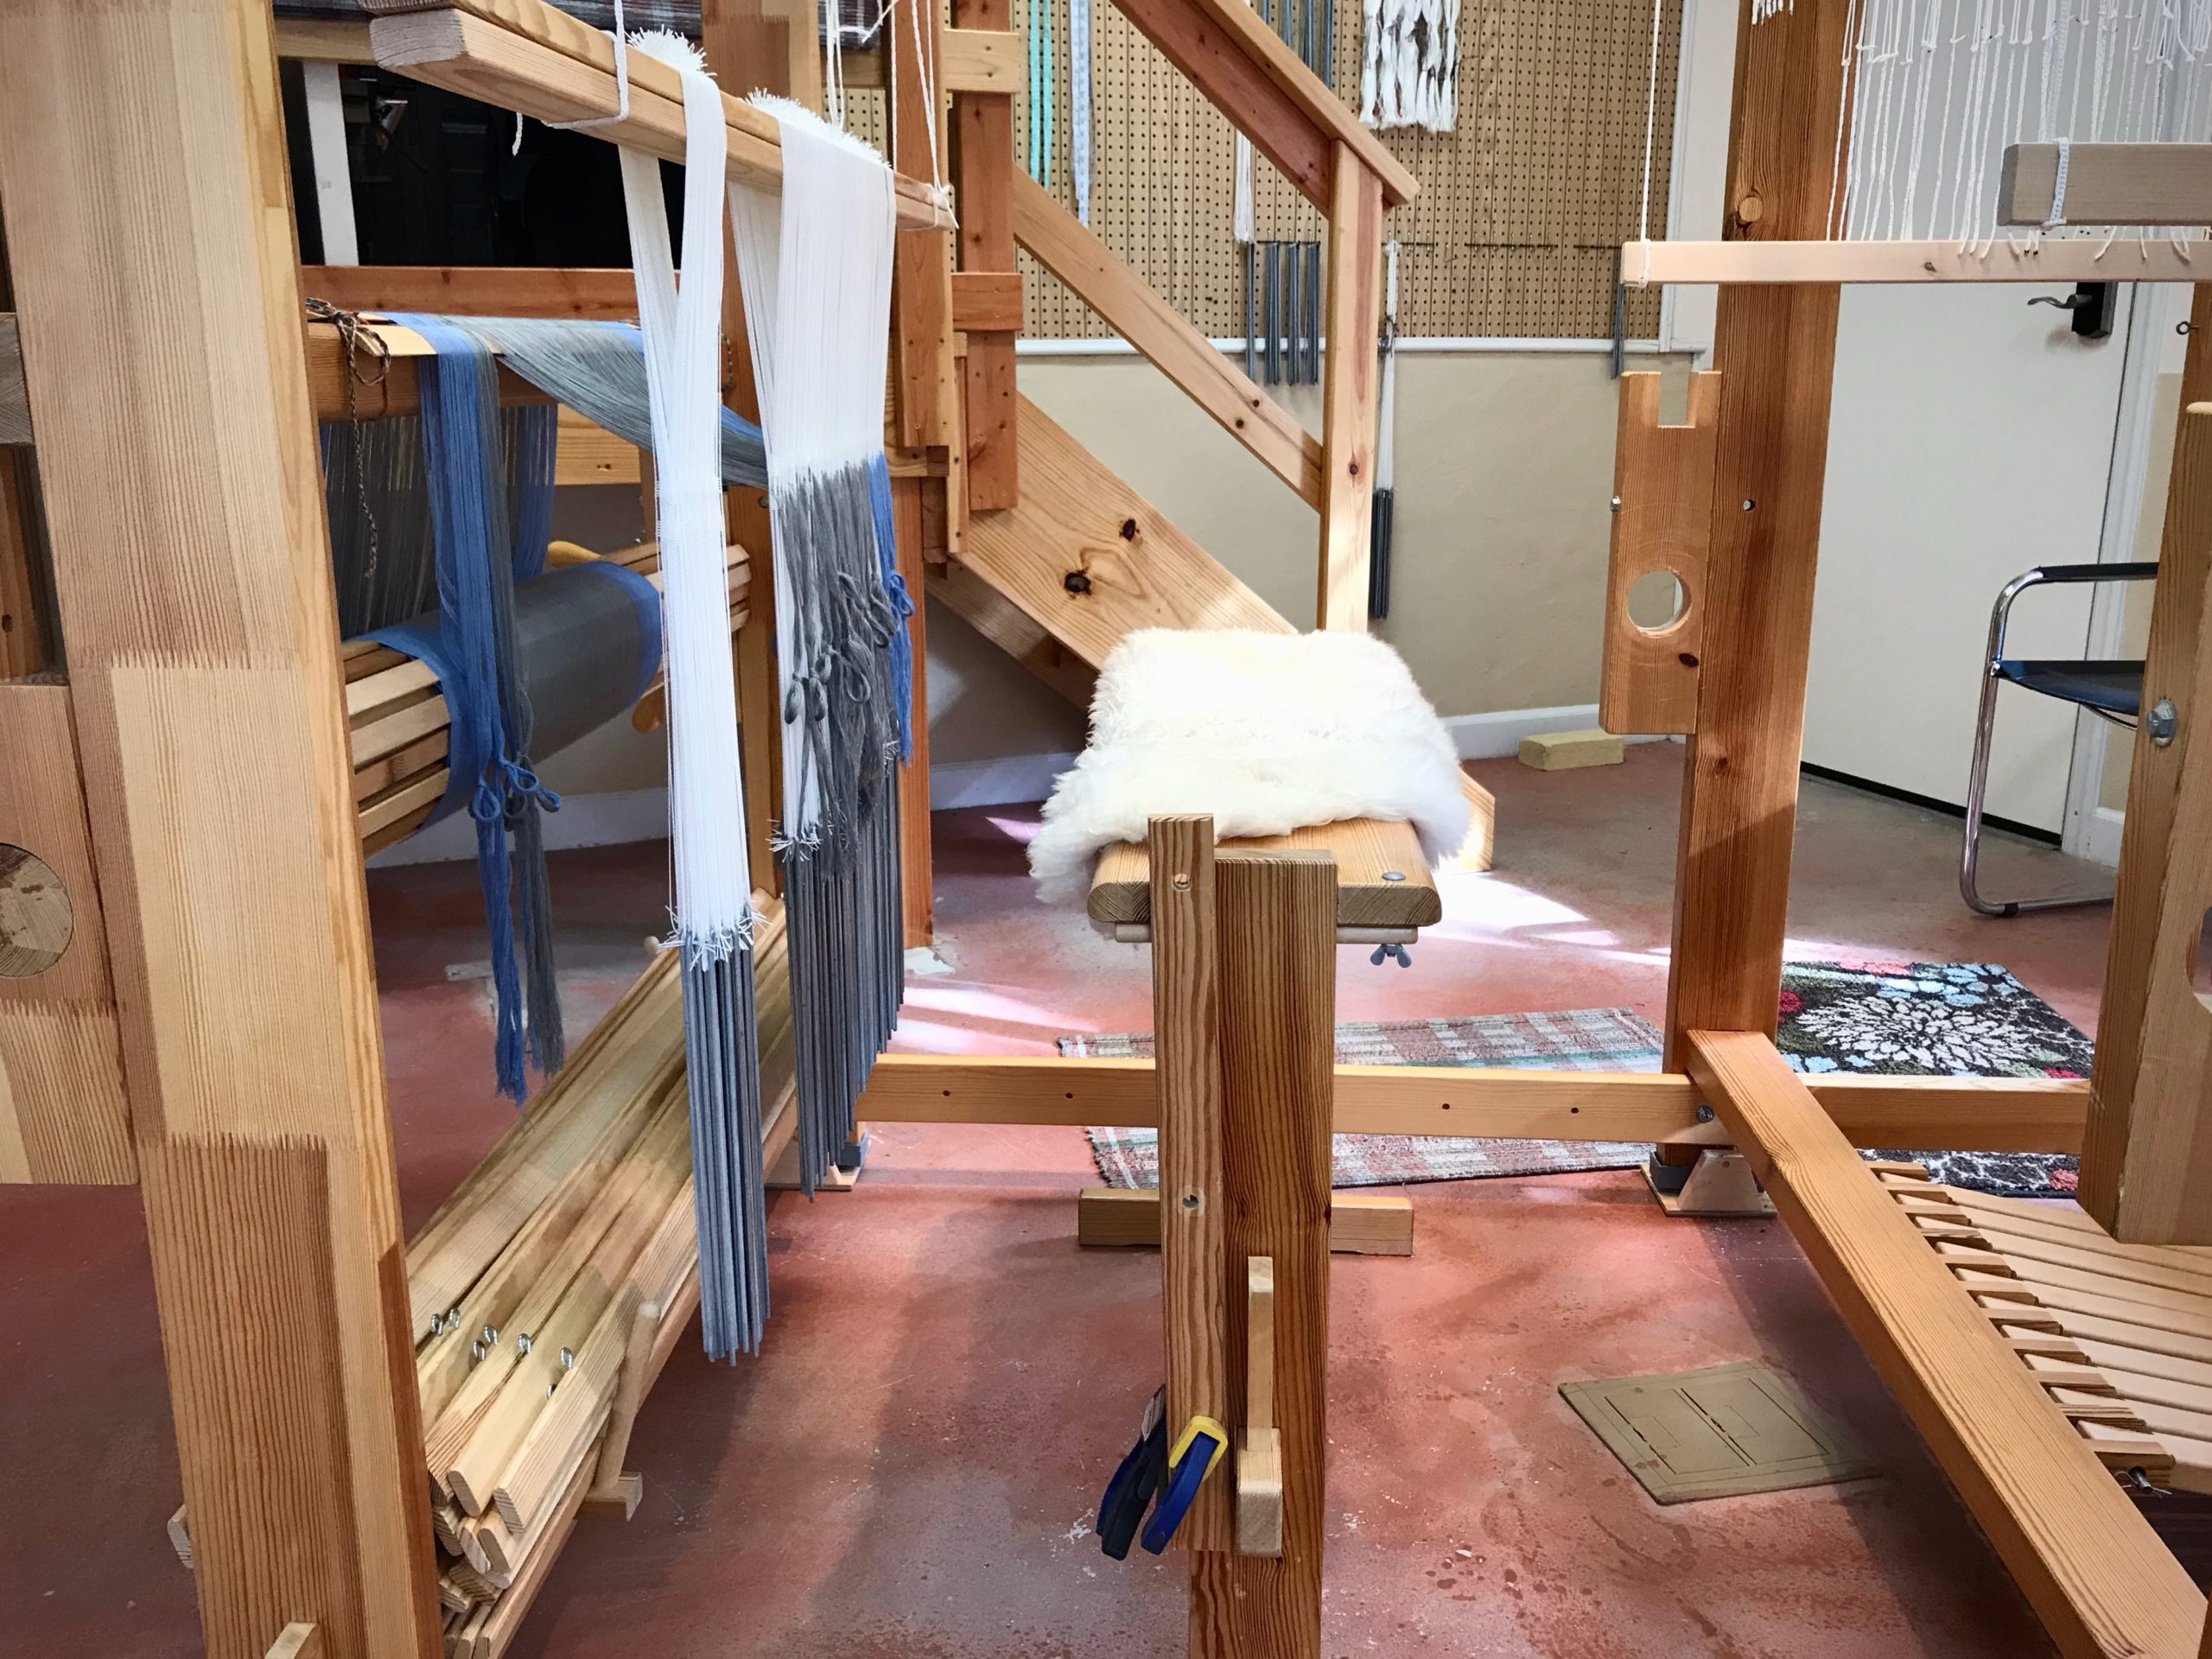
Necessity: Keep from losing my place with treadling repeats. Solution: A strip of blue painter’s tape with “3 2 1” and a rubber band, placed on the breast beam. Move the rubber band on the tape (from right to left) to track repeats.
I need help counting to 3 when it comes to treadling repeats. On the Glimåkra Standard loom, I am able to loosen the warp enough to lift the breast beam so I can put a rubber band on it. Without a removable breast beam, one could use a separate small piece of tape instead of a rubber band to keep track.Low tech solution for keeping track.
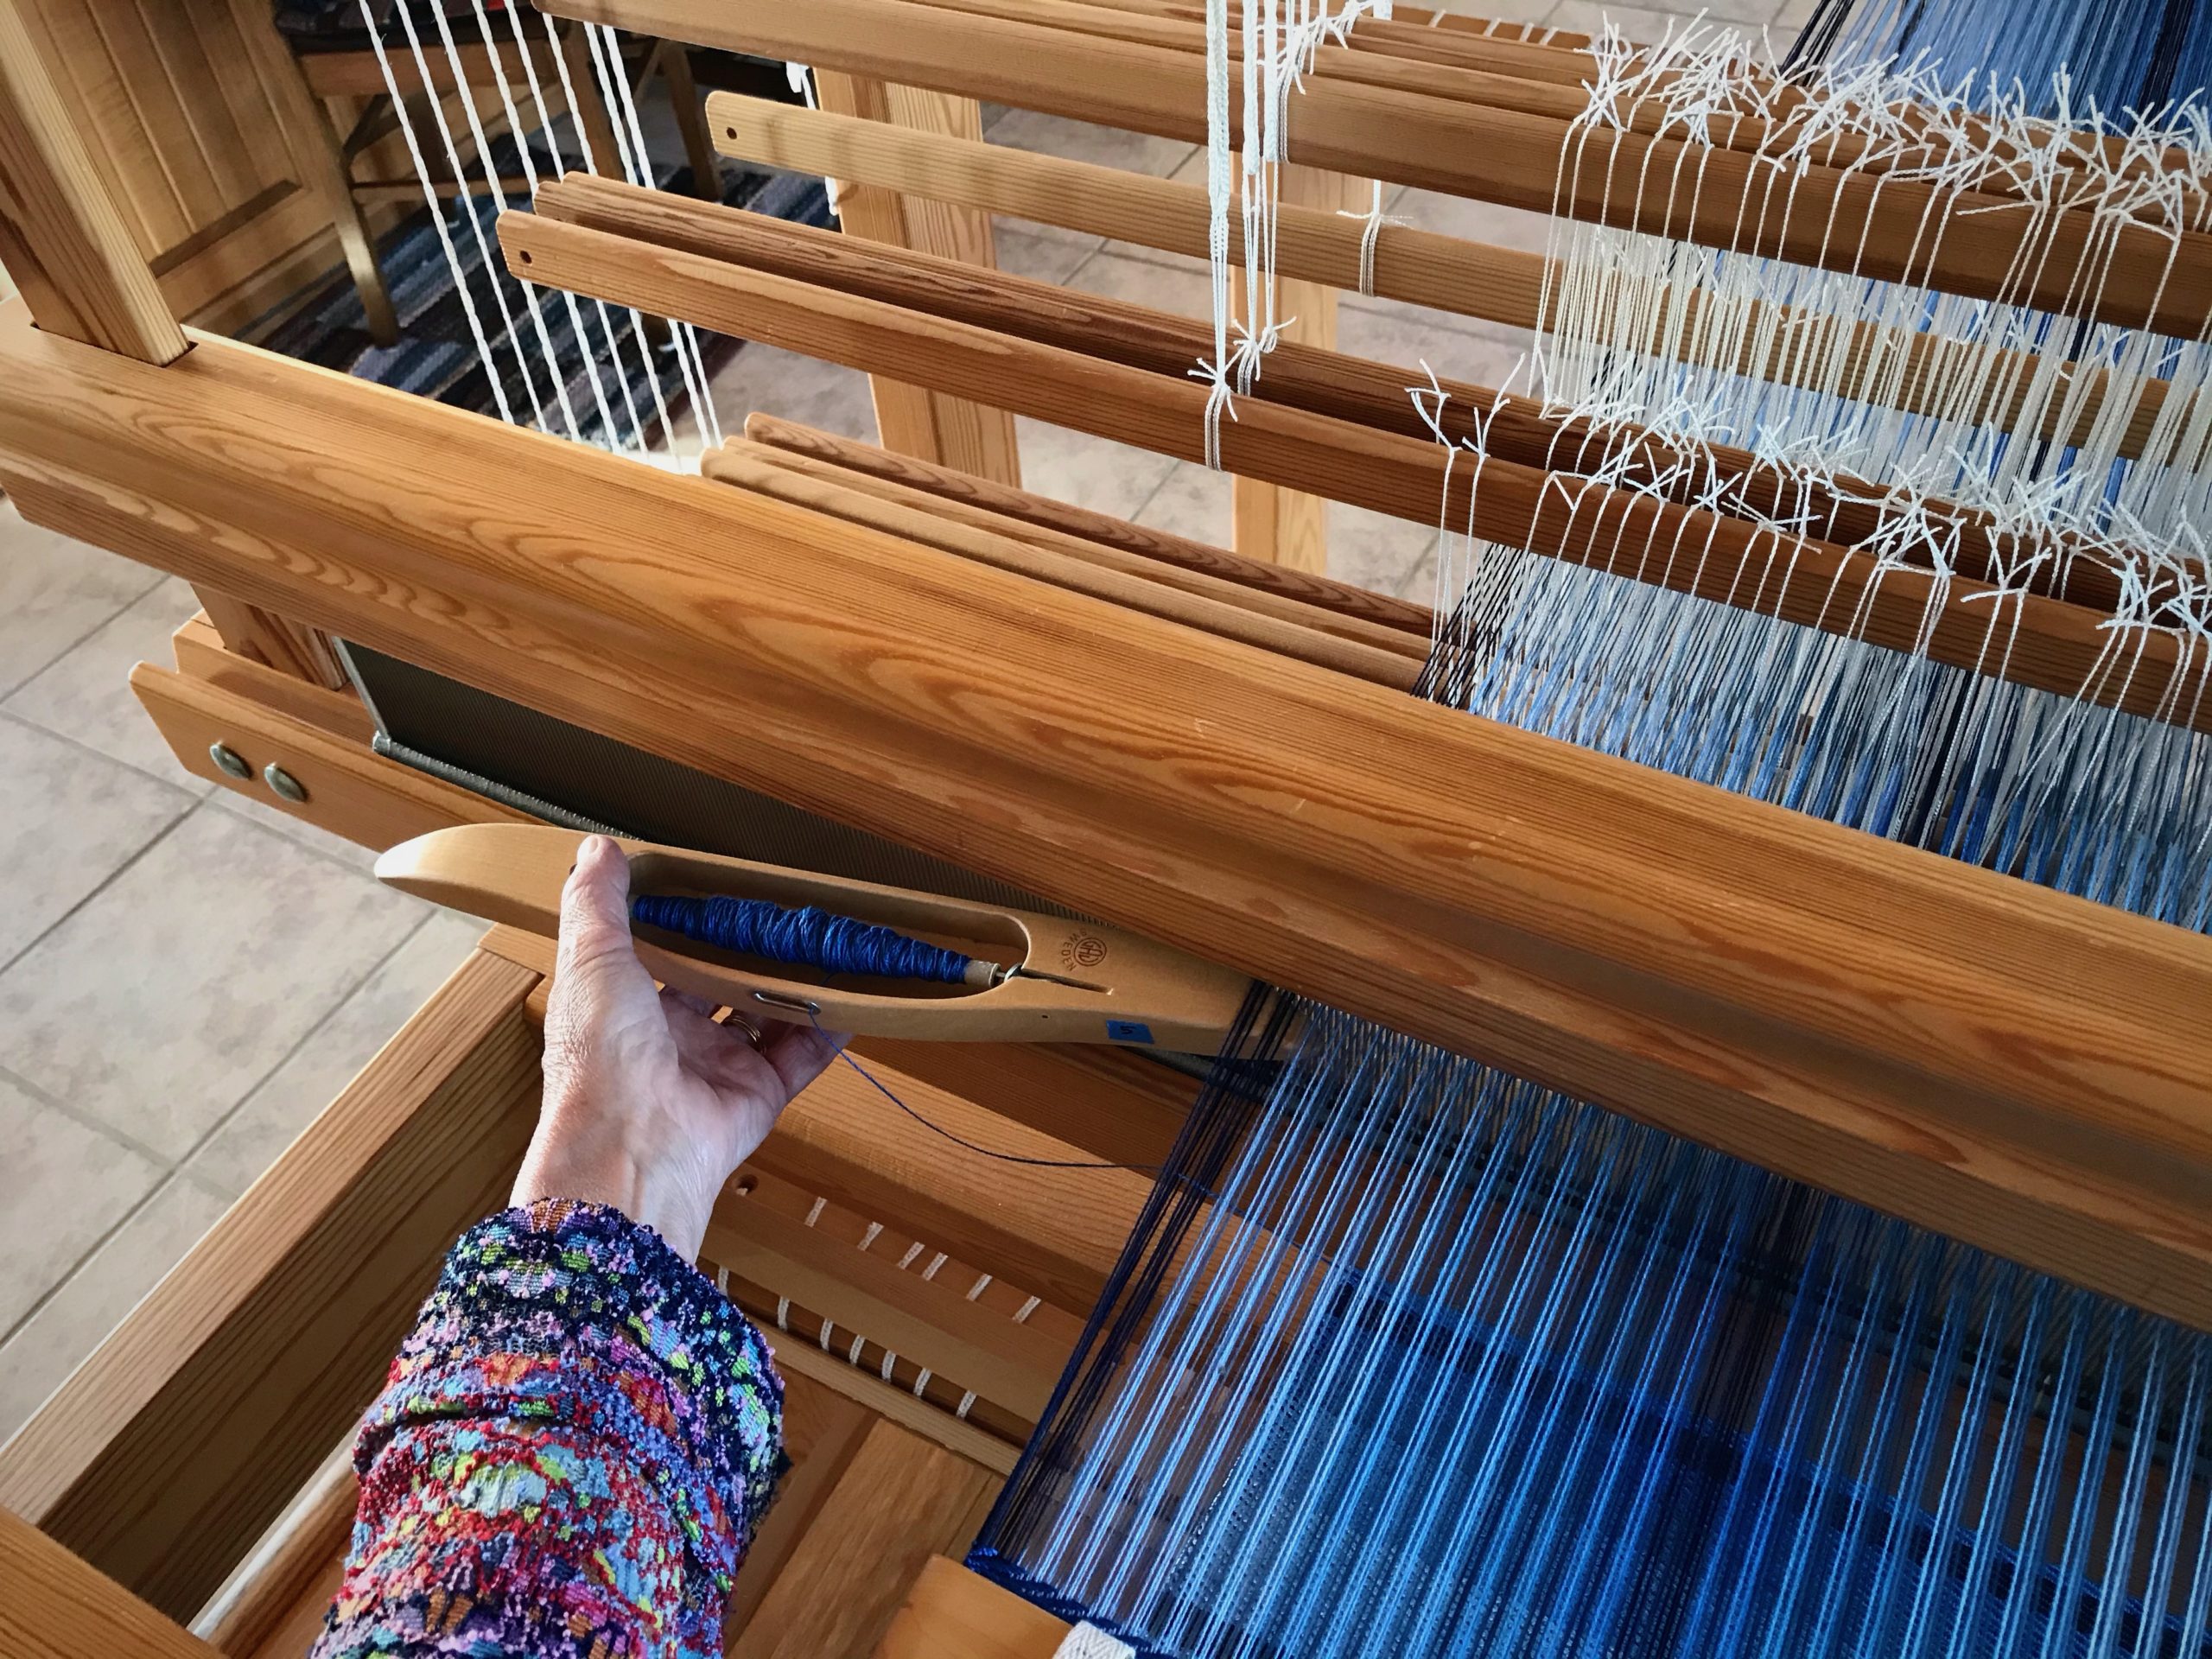
Shuttle Catch
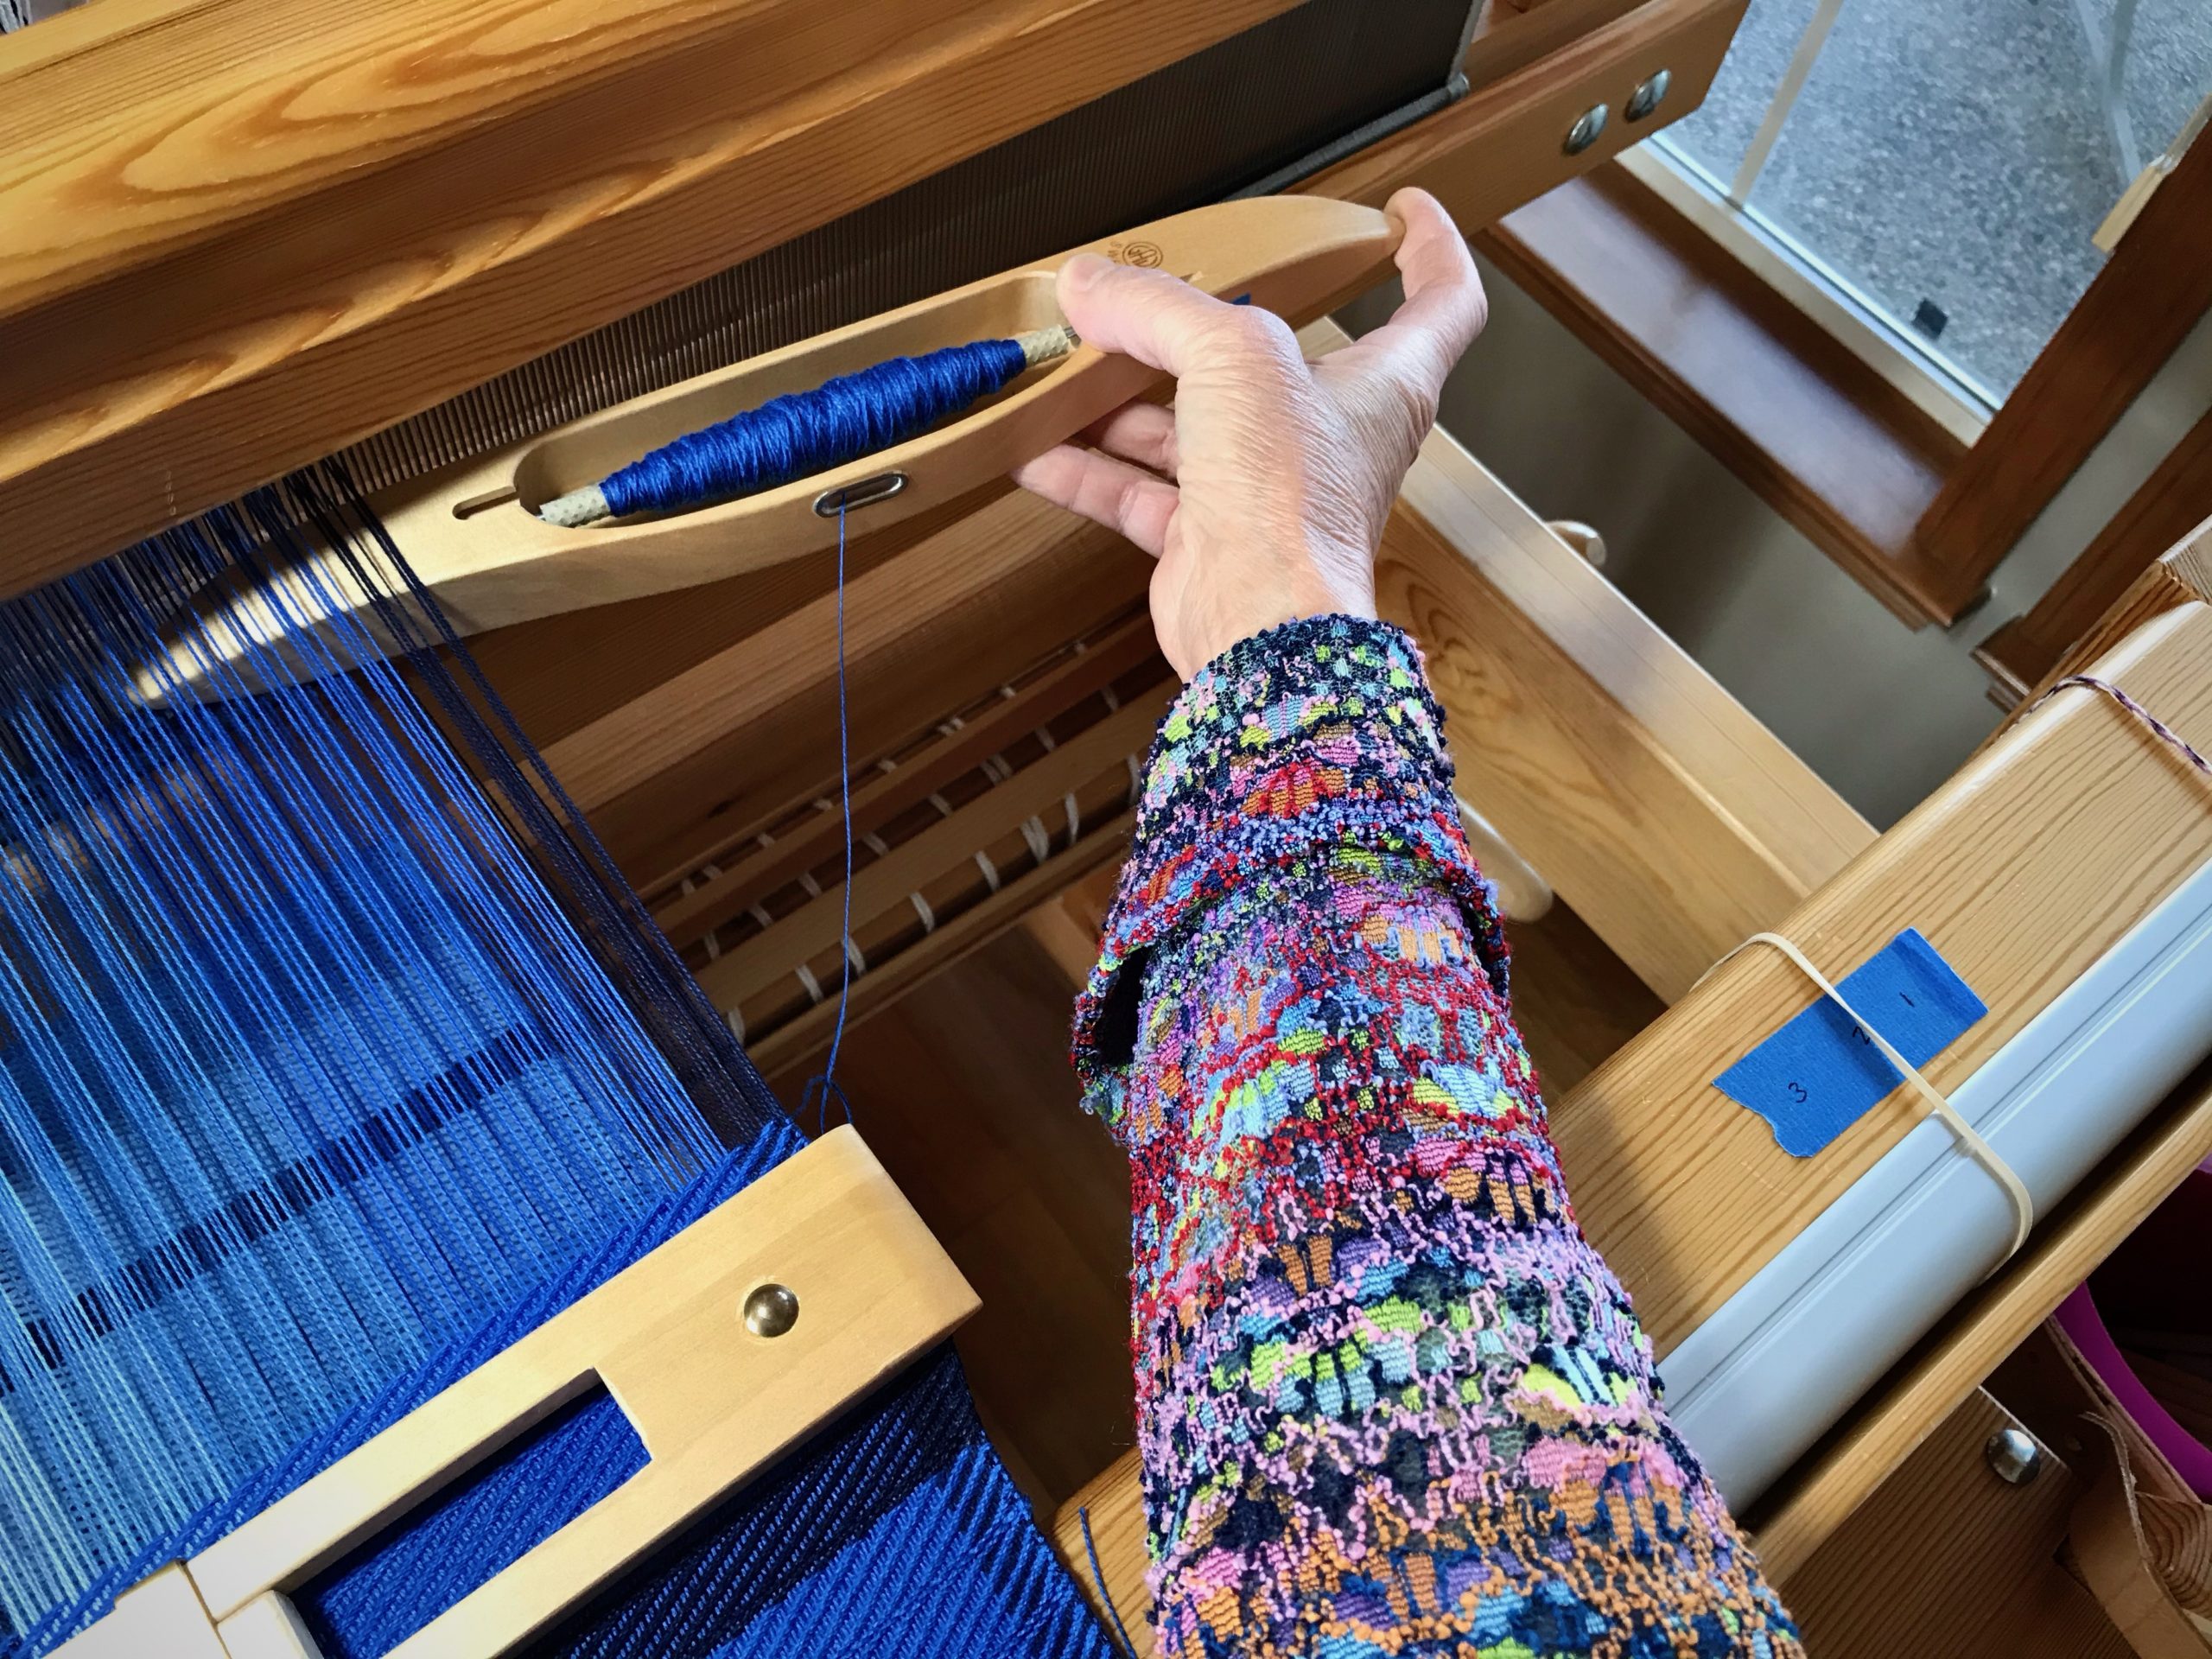
Necessity: Keep from fumbling the catch, having to reposition the shuttle in my hand to send it back across the warp. Solution: Keep my eye on the shuttle. If I turn my head to watch the movement of the shuttle, my catching and throwing improves immediately. This makes my selvedges improve, too.
It is easy to throw and catch the shuttle without actually looking at your hands. I have to consciously remember to turn my head to follow the shuttle with my eyes.
Leave No Trace
Necessity: Keep from leaving slightly perceptible lines in the woven cloth that reveal every time I stop to move the temple and advance the warp. Solution: When it is almost time to advance the warp, I move the temple and then weave one or more pattern sequence(s) before advancing the warp. This helps me leave no trace of starting and stopping.
Almost ready to advance the warp, I remove the temple and reposition the pins on my guide tape. Then, I put the temple back on, near the fell line.After moving the temple, I weave one or more complete treadling sequences before advancing the warp.After advancing the warp, I know exactly where I left off because of my tape-and-rubber-band counter. My eyes are on the shuttle to continue this segment of weaving.
Do you have a simple tip that improves your efficiency and/or quality at the loom? Please share in the comments.
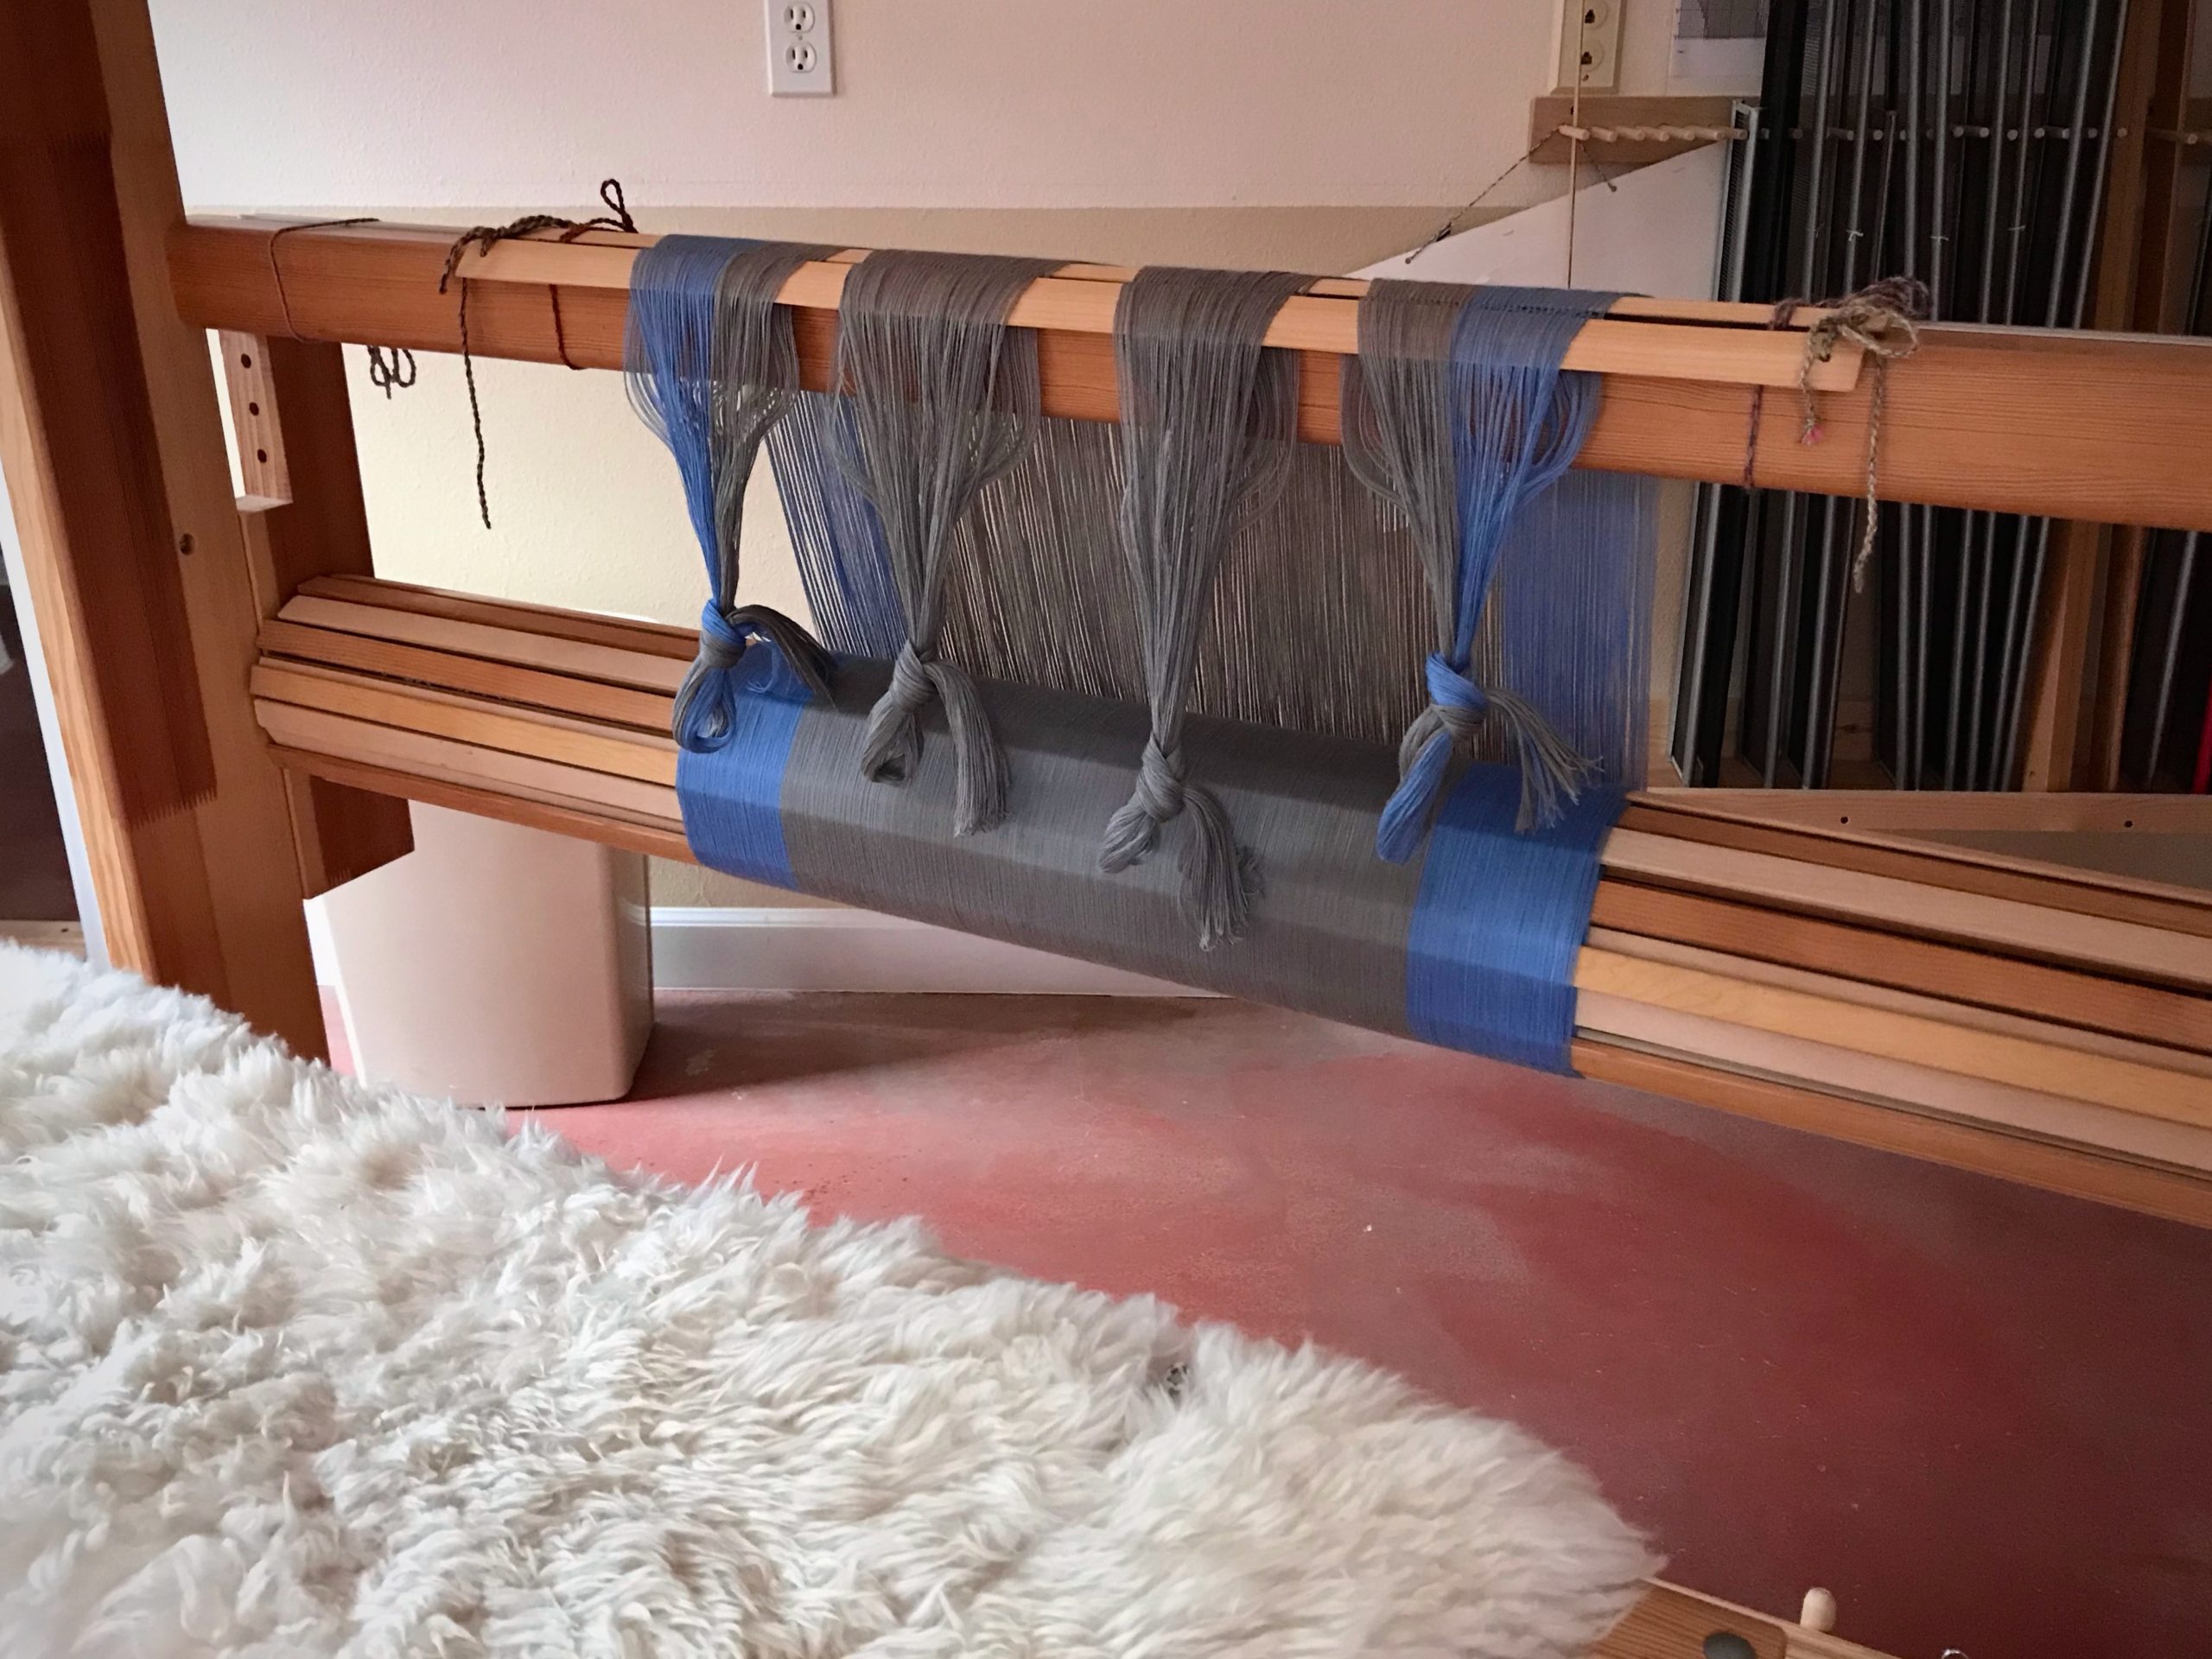
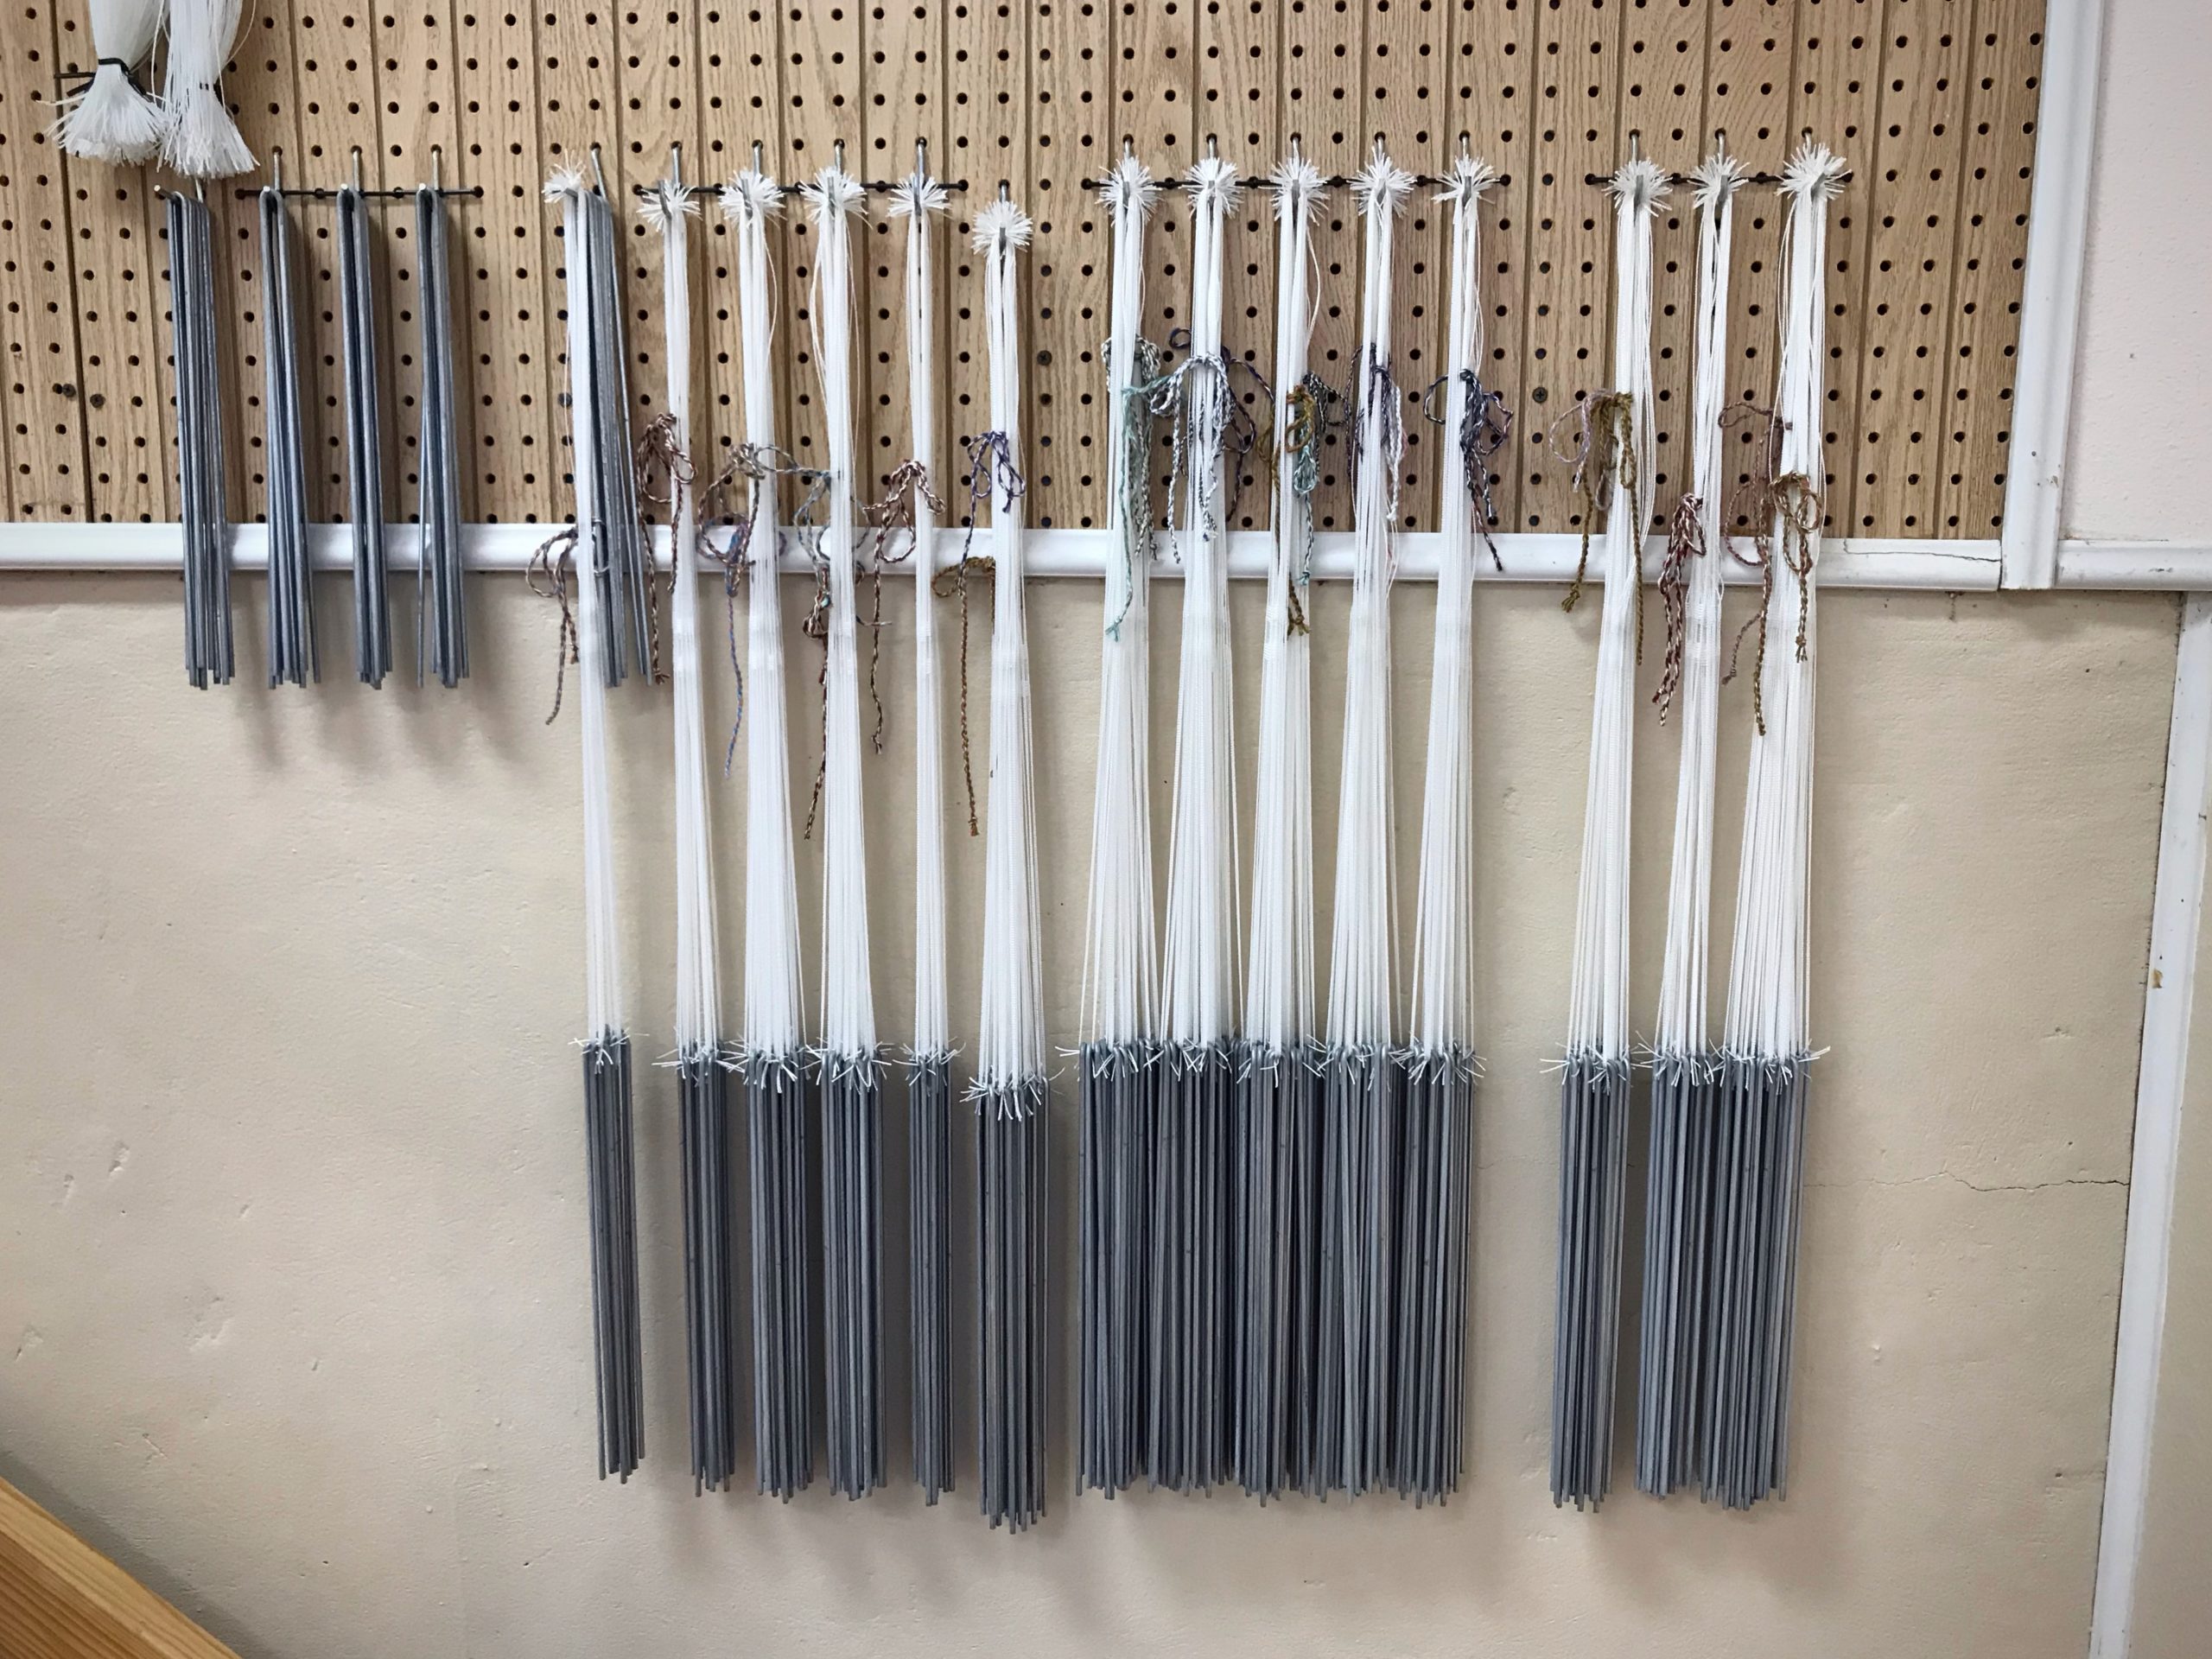
I threaded 888 warp ends. I am getting ready to thread those 888 ends again. It’s part of the preliminary process for a new drawloom project. A drawloom has two sets of heddles. Thread the pattern heddles. Then, thread the ground heddles. I enjoy all the preliminaries because of what they bring about—a delightful new weaving adventure!
Before I start threading, I count out all the lingos (weights) I need for the pattern heddles. Then, I hang a lingo on each unit of pattern heddles. In this case, there are 148 units, and six heddles in each unit. I move all those prepared units (heddles with lingos) to the back of the loom, get comfortable on my loom bench, and start threading. After a few sessions, I am finished threading the pattern heddles.
Pattern heddles hang at the back of the loom for threading.On the walking path to my drawloom studio each day I see the startling blooms of our Texas hill country Bluebonnets. Just imagine the unseen preliminaries for this beauty!Threading continues.All 888 pattern heddles are threaded! Ground heddles are next…
Next up, I will thread long-eye heddles on six ground shafts. A few more start-up operations after that, and then we will see this big ol’ boat raise its sails and leave the shore for another exhilarating adventure in weaving!
May you enjoy the preliminaries for every new start.