Snow in Springtime at the Drawloom

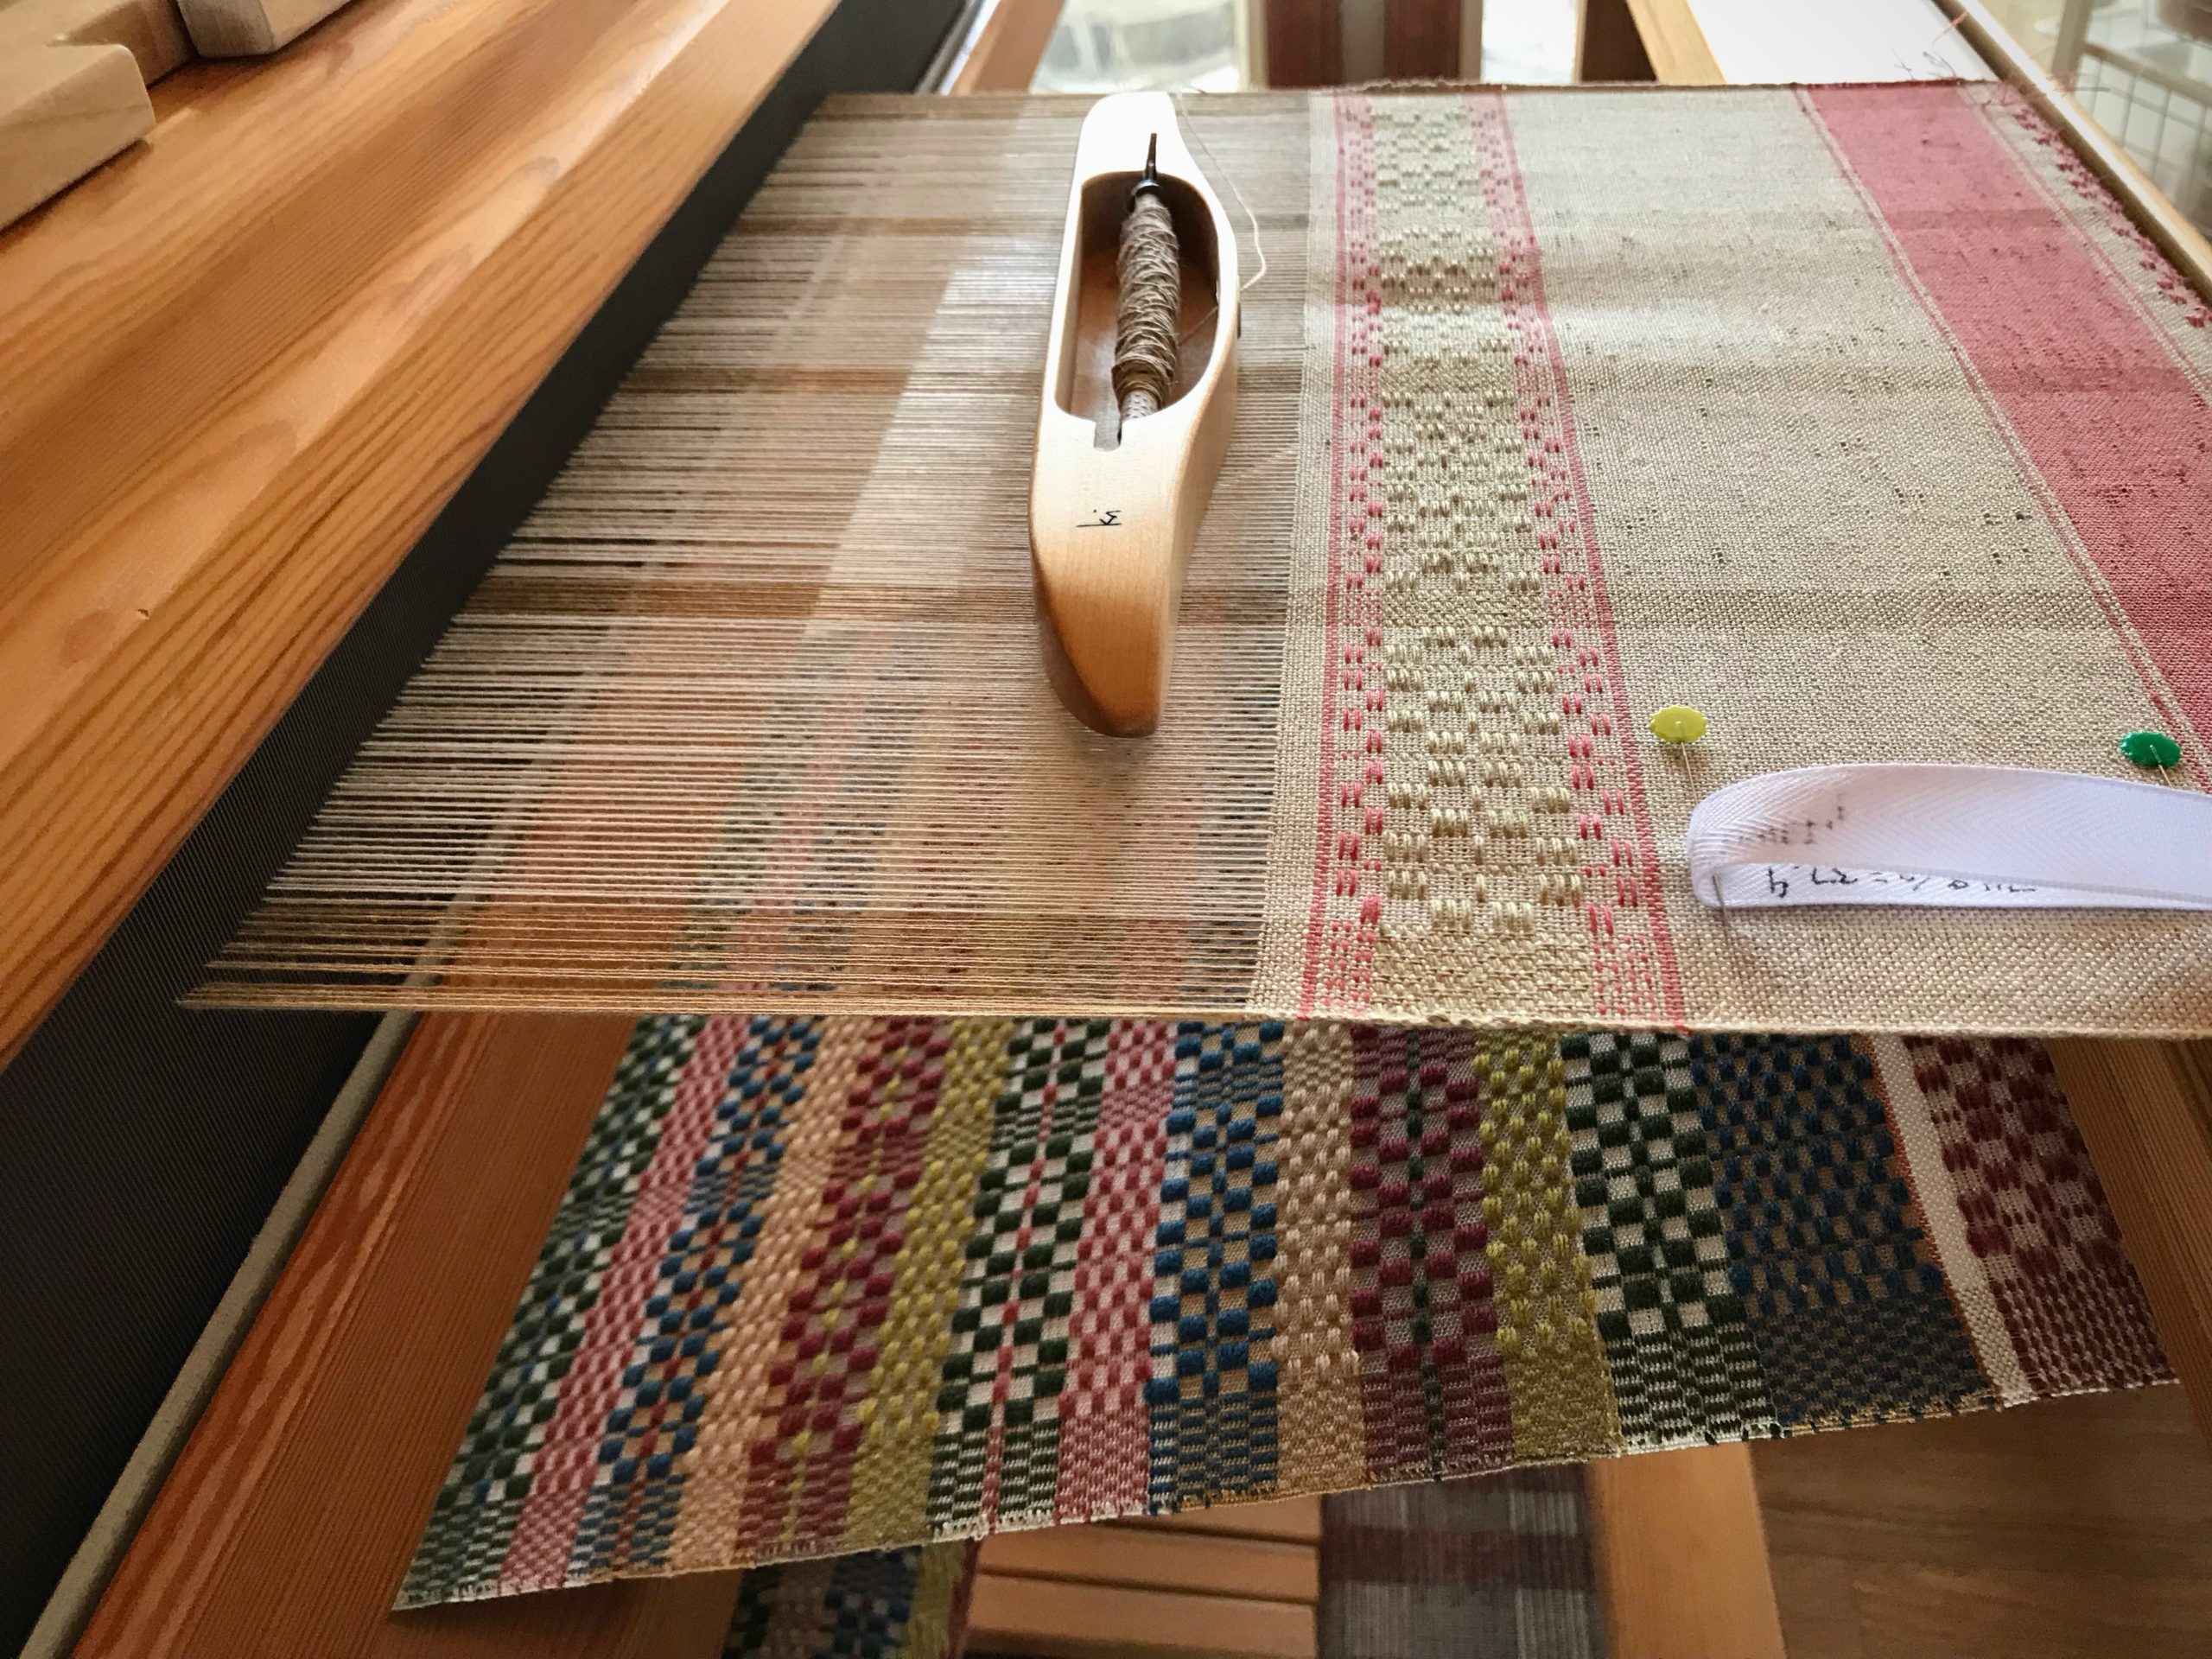
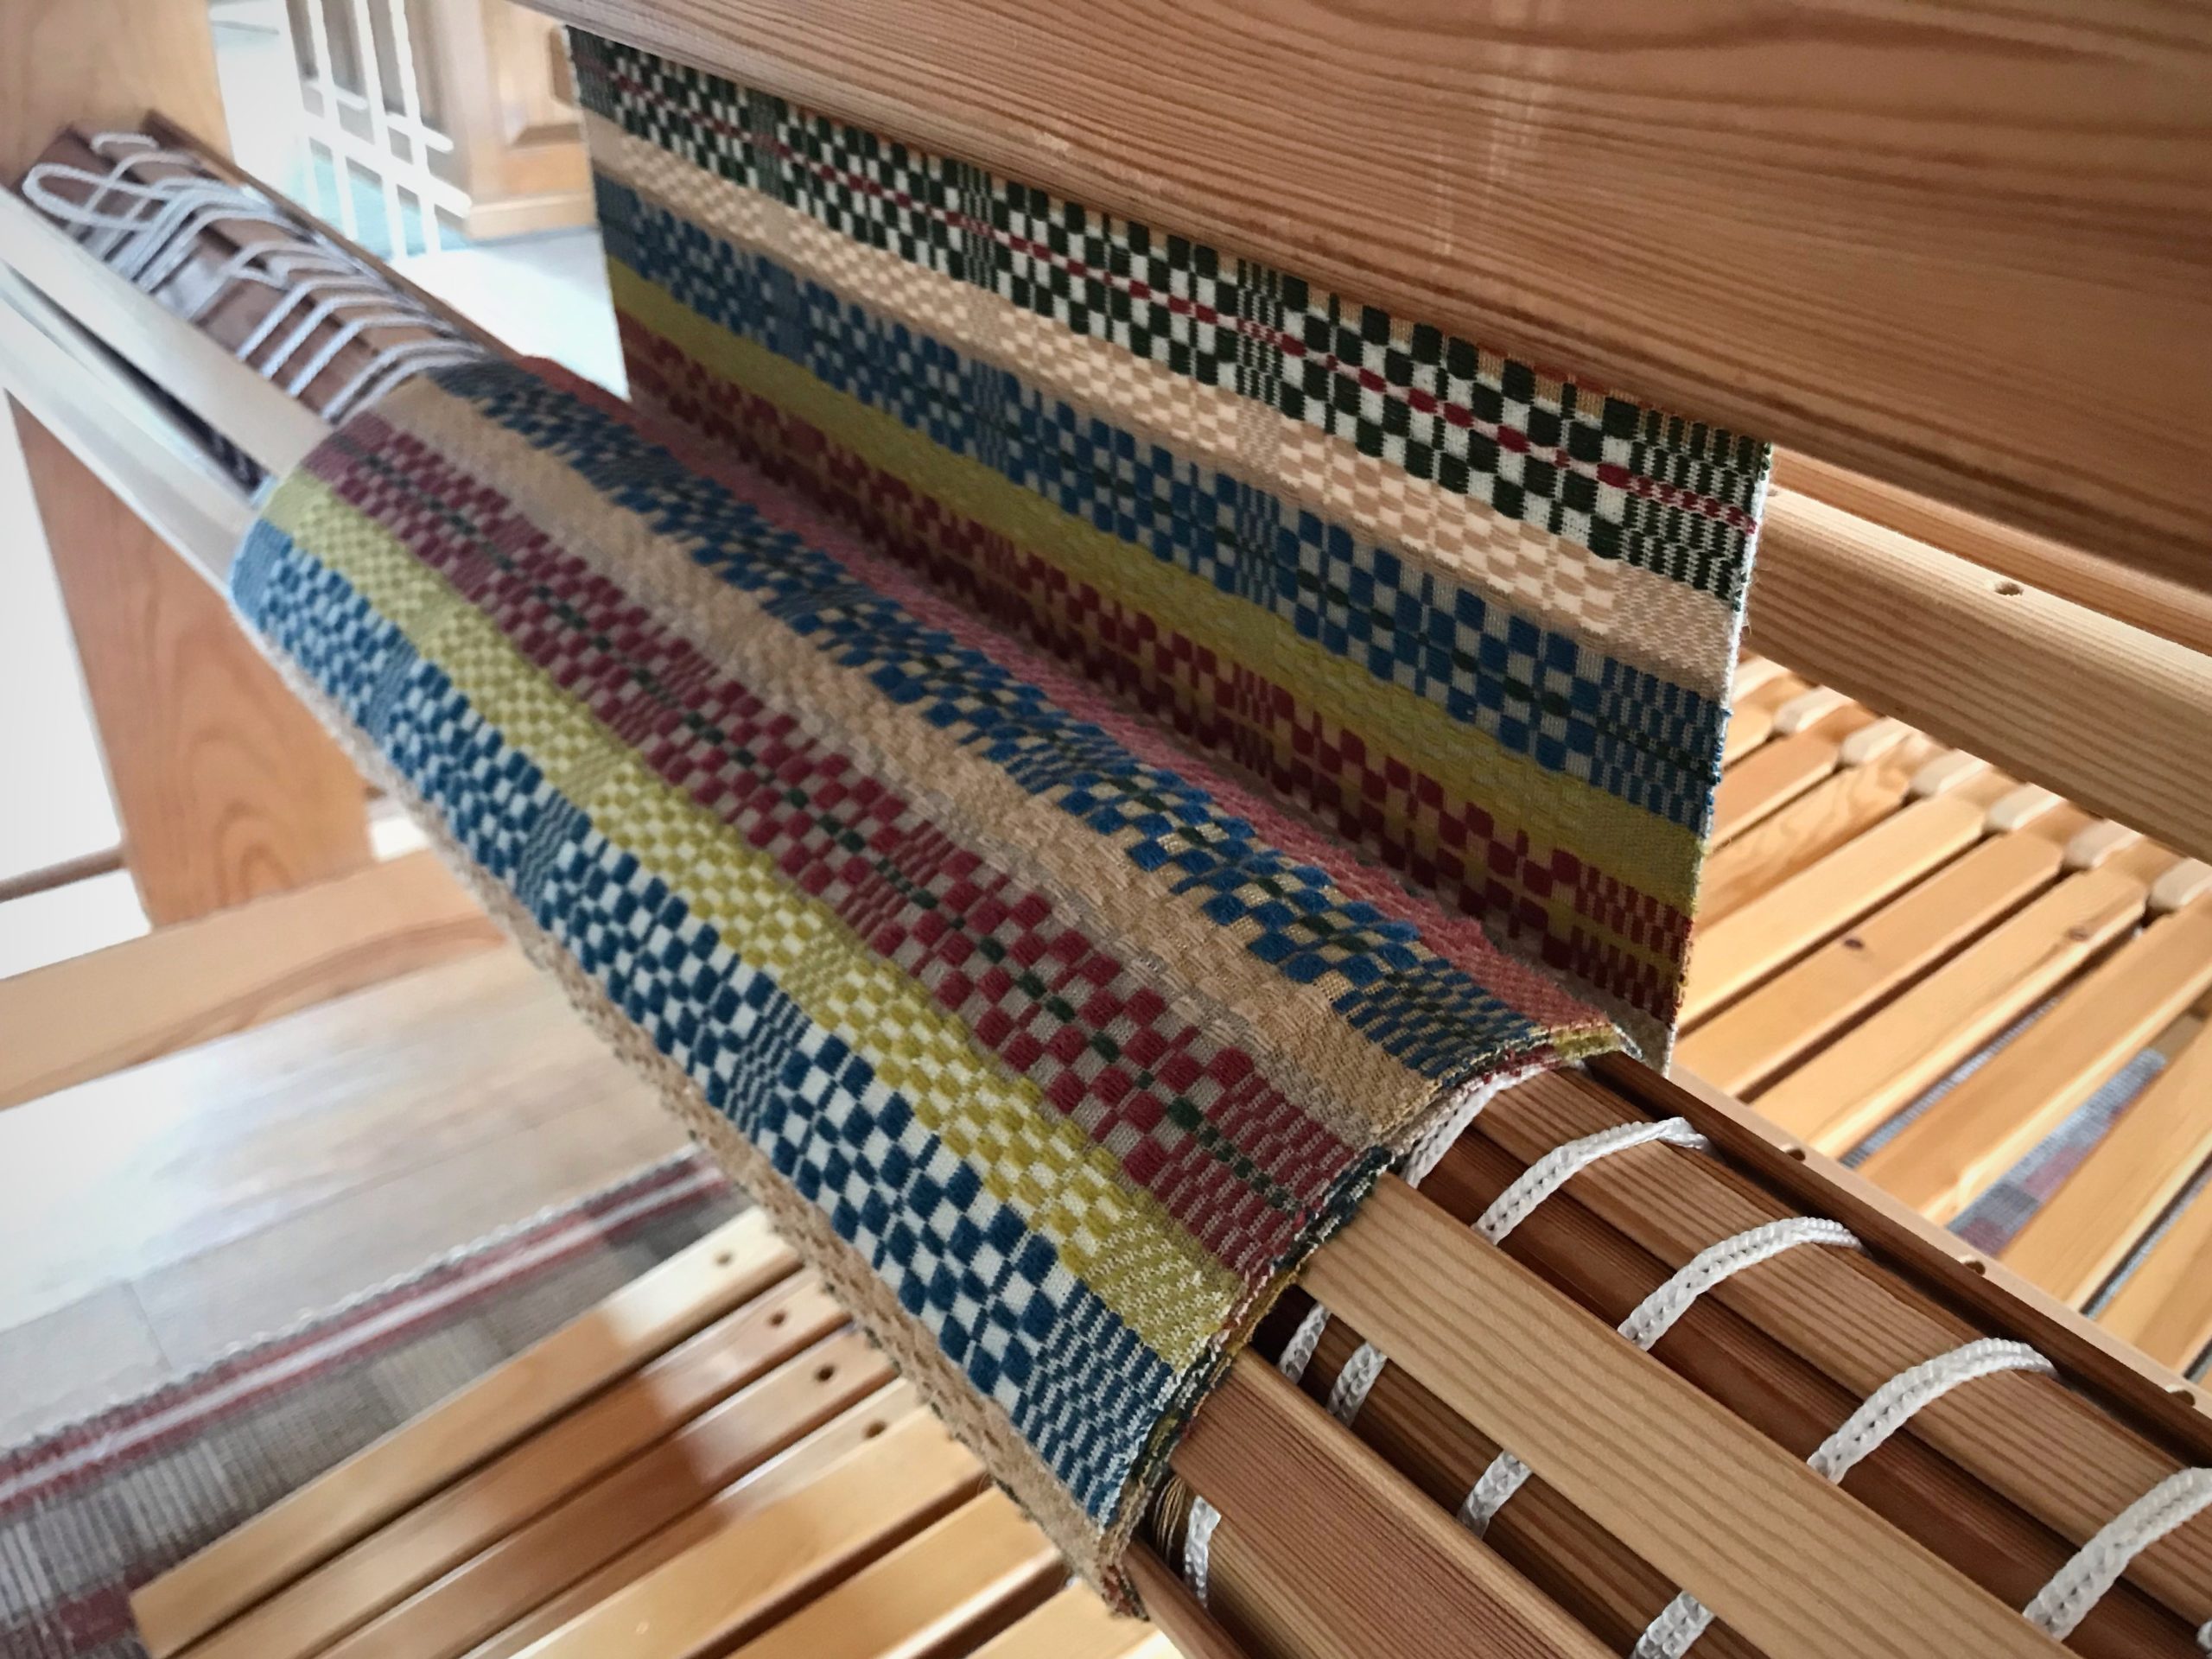
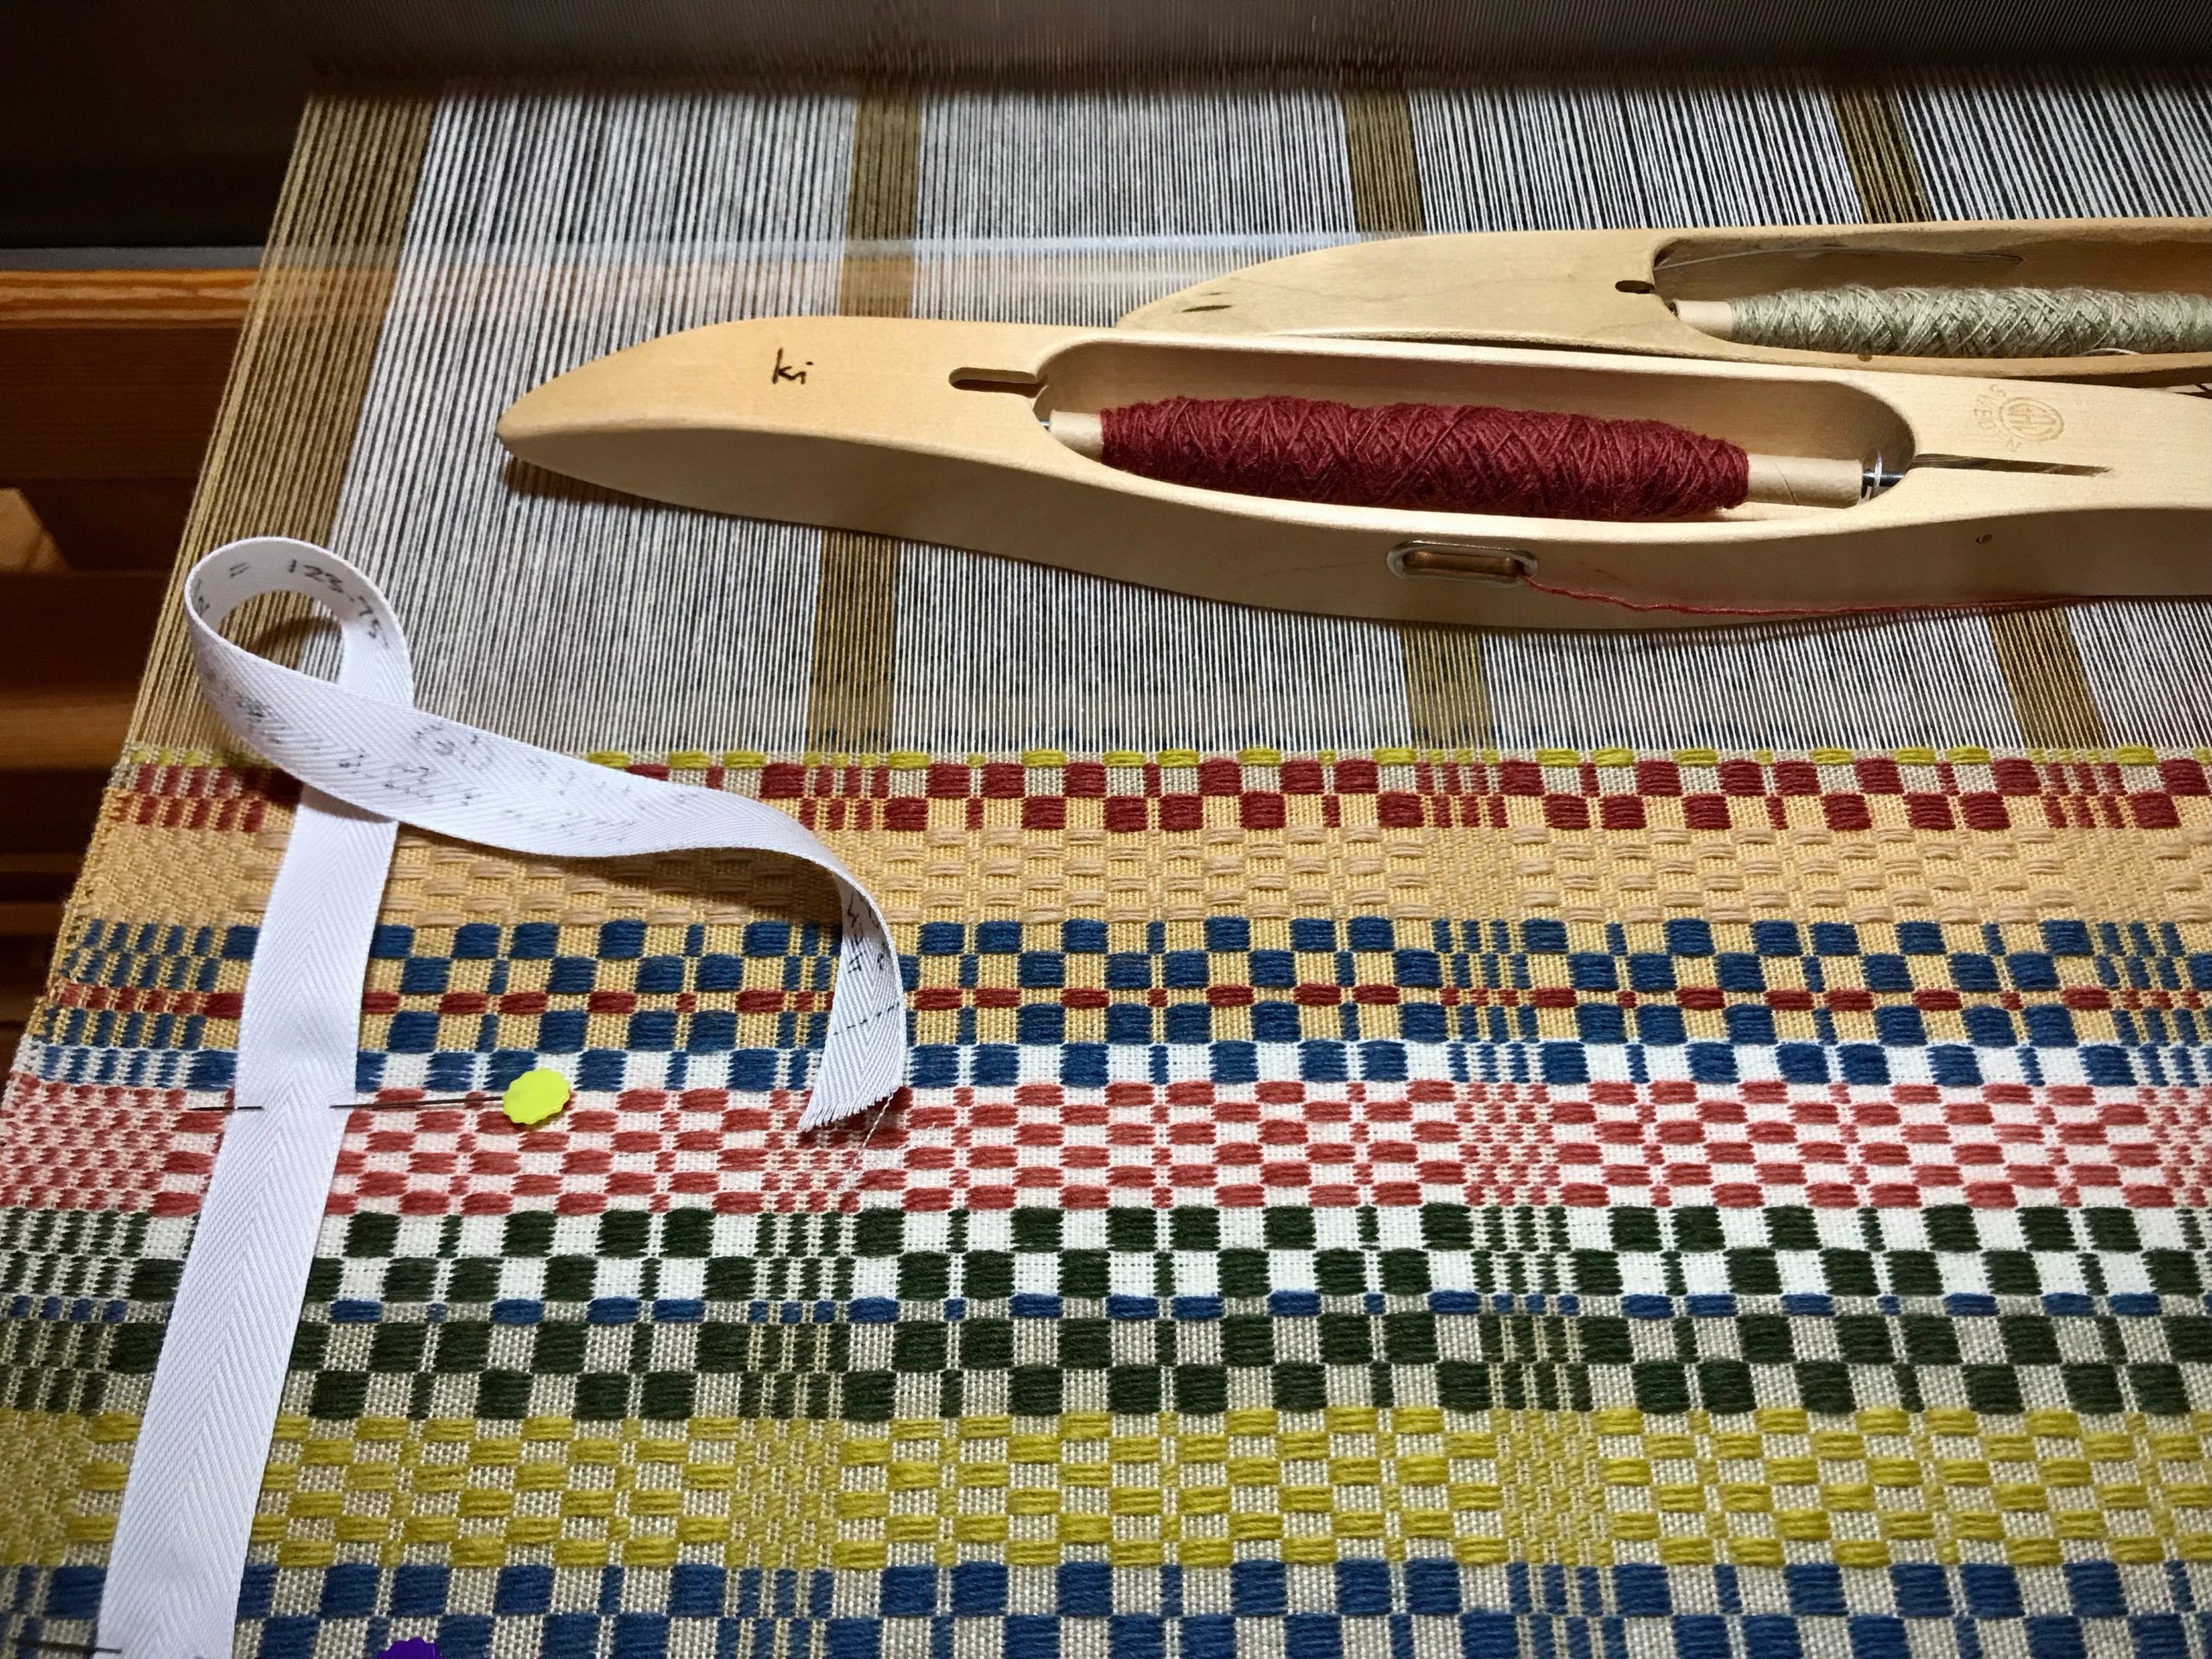
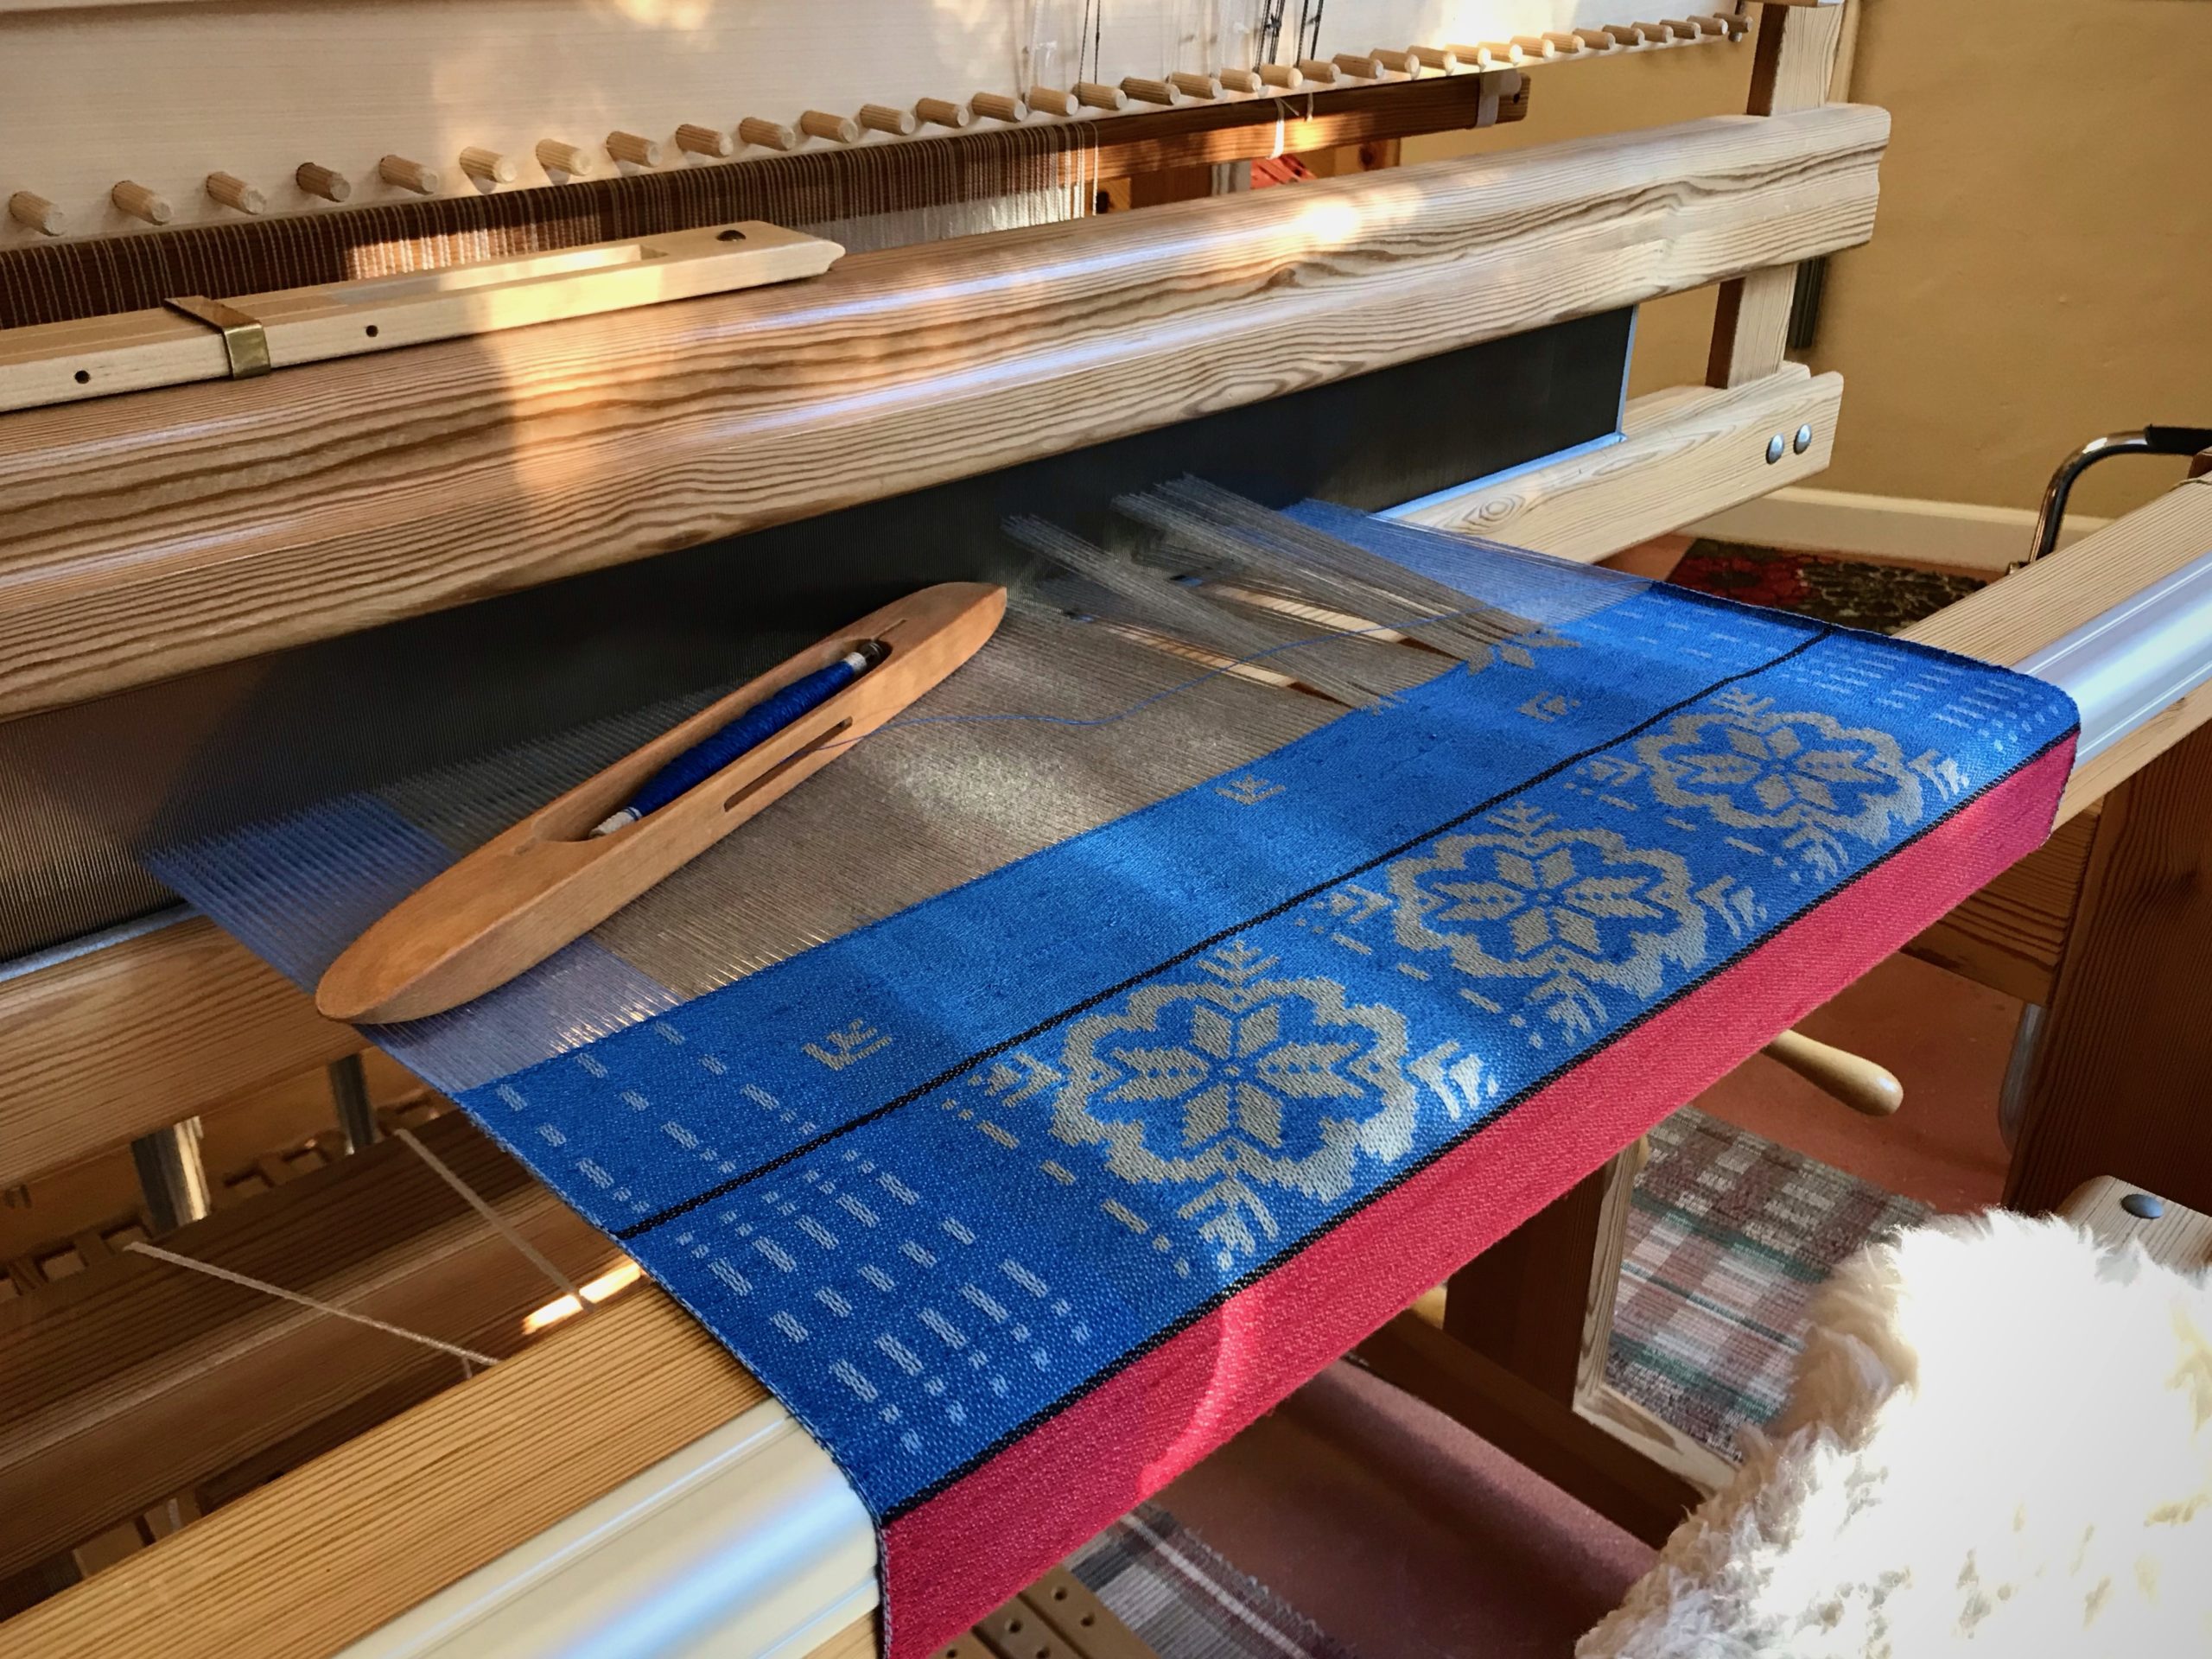
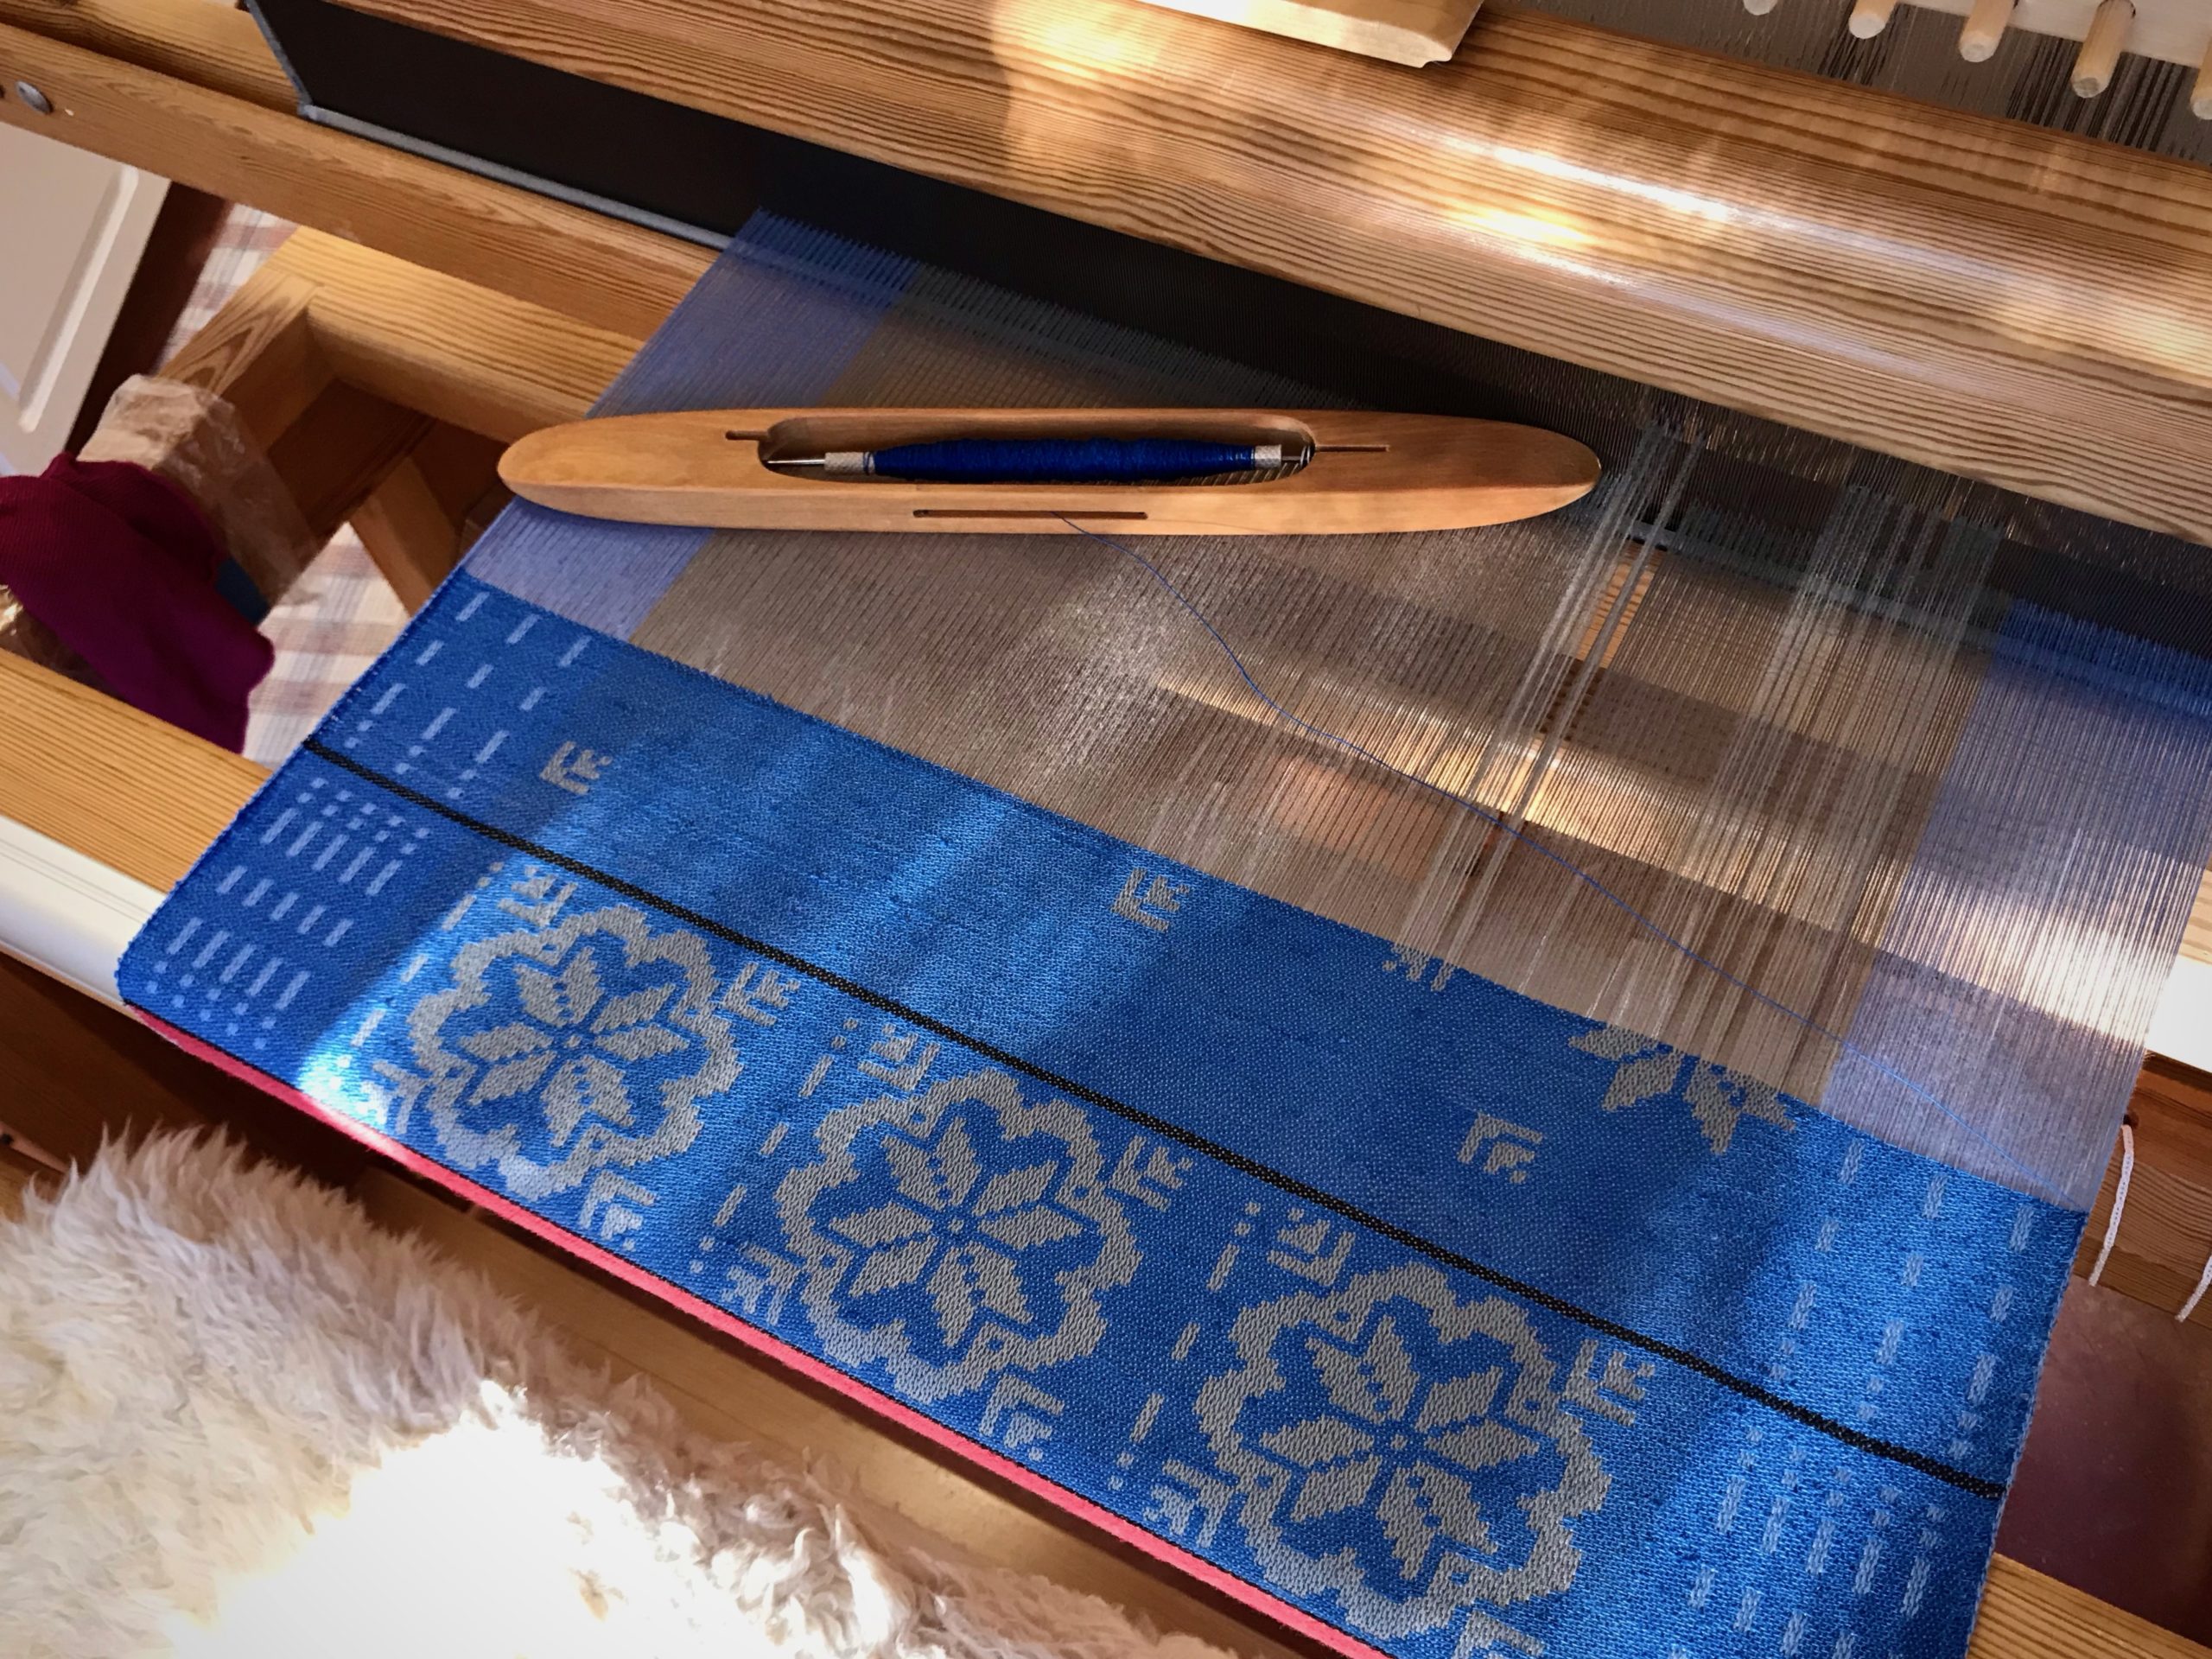
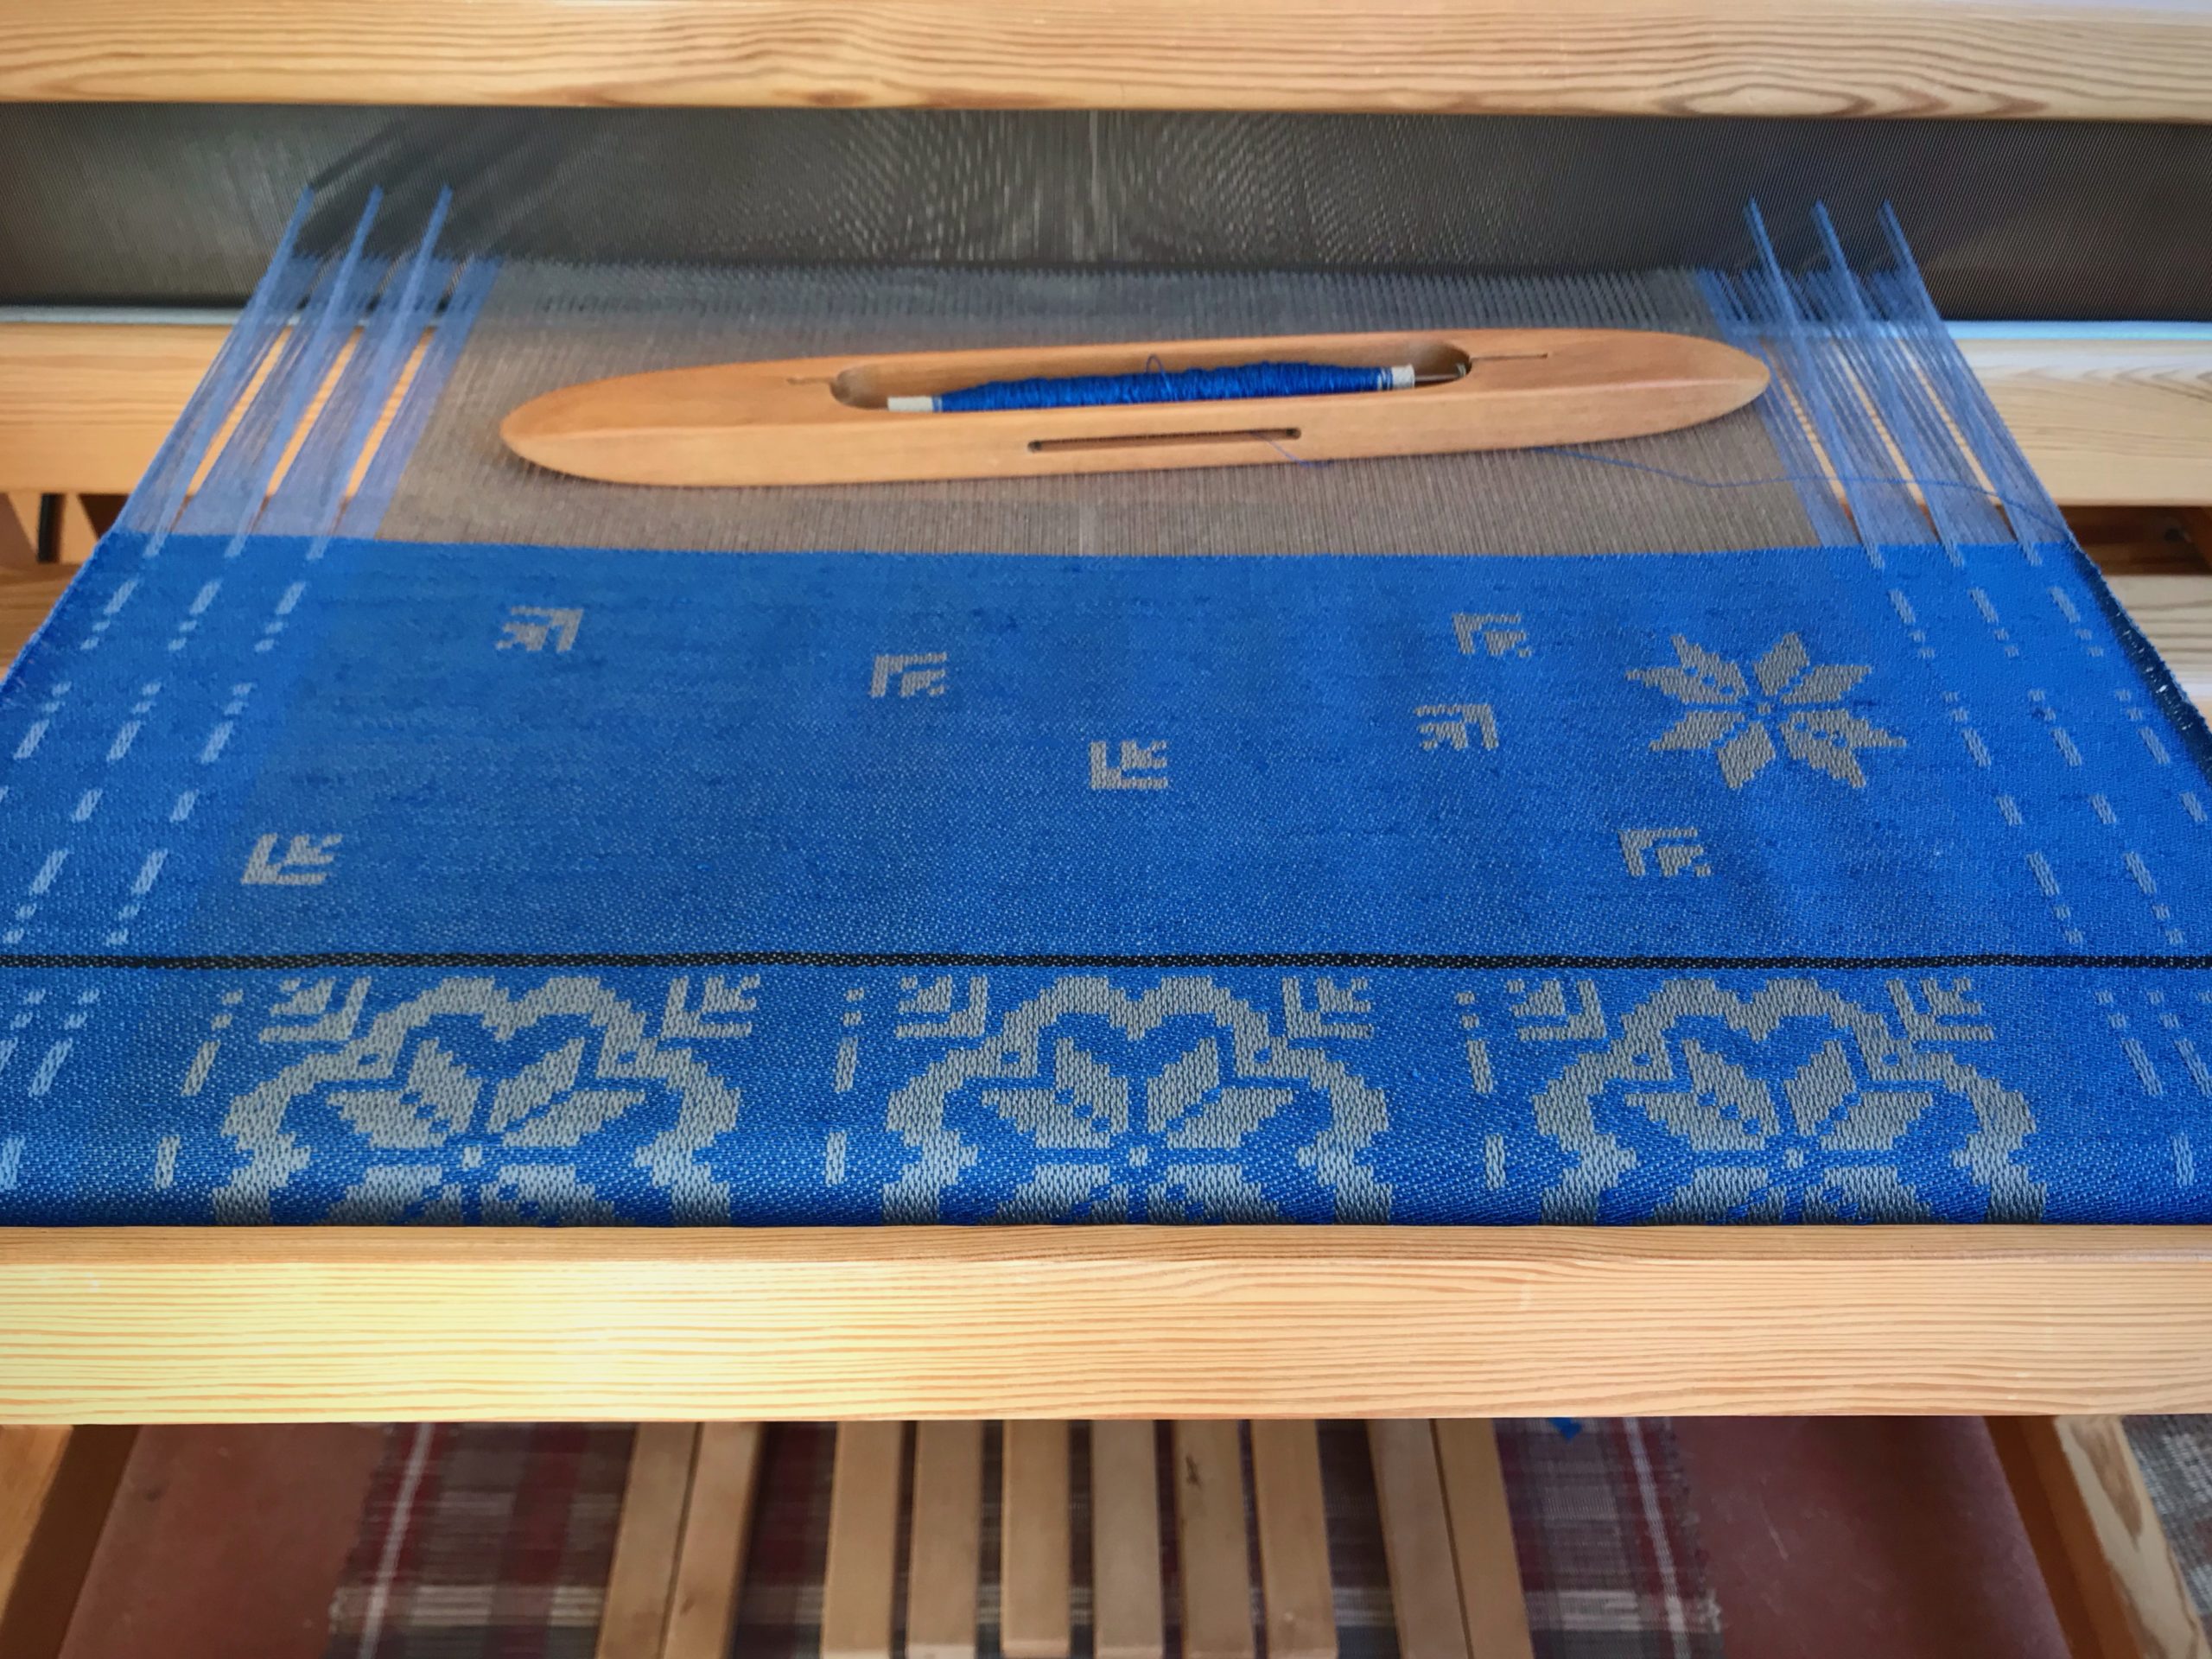
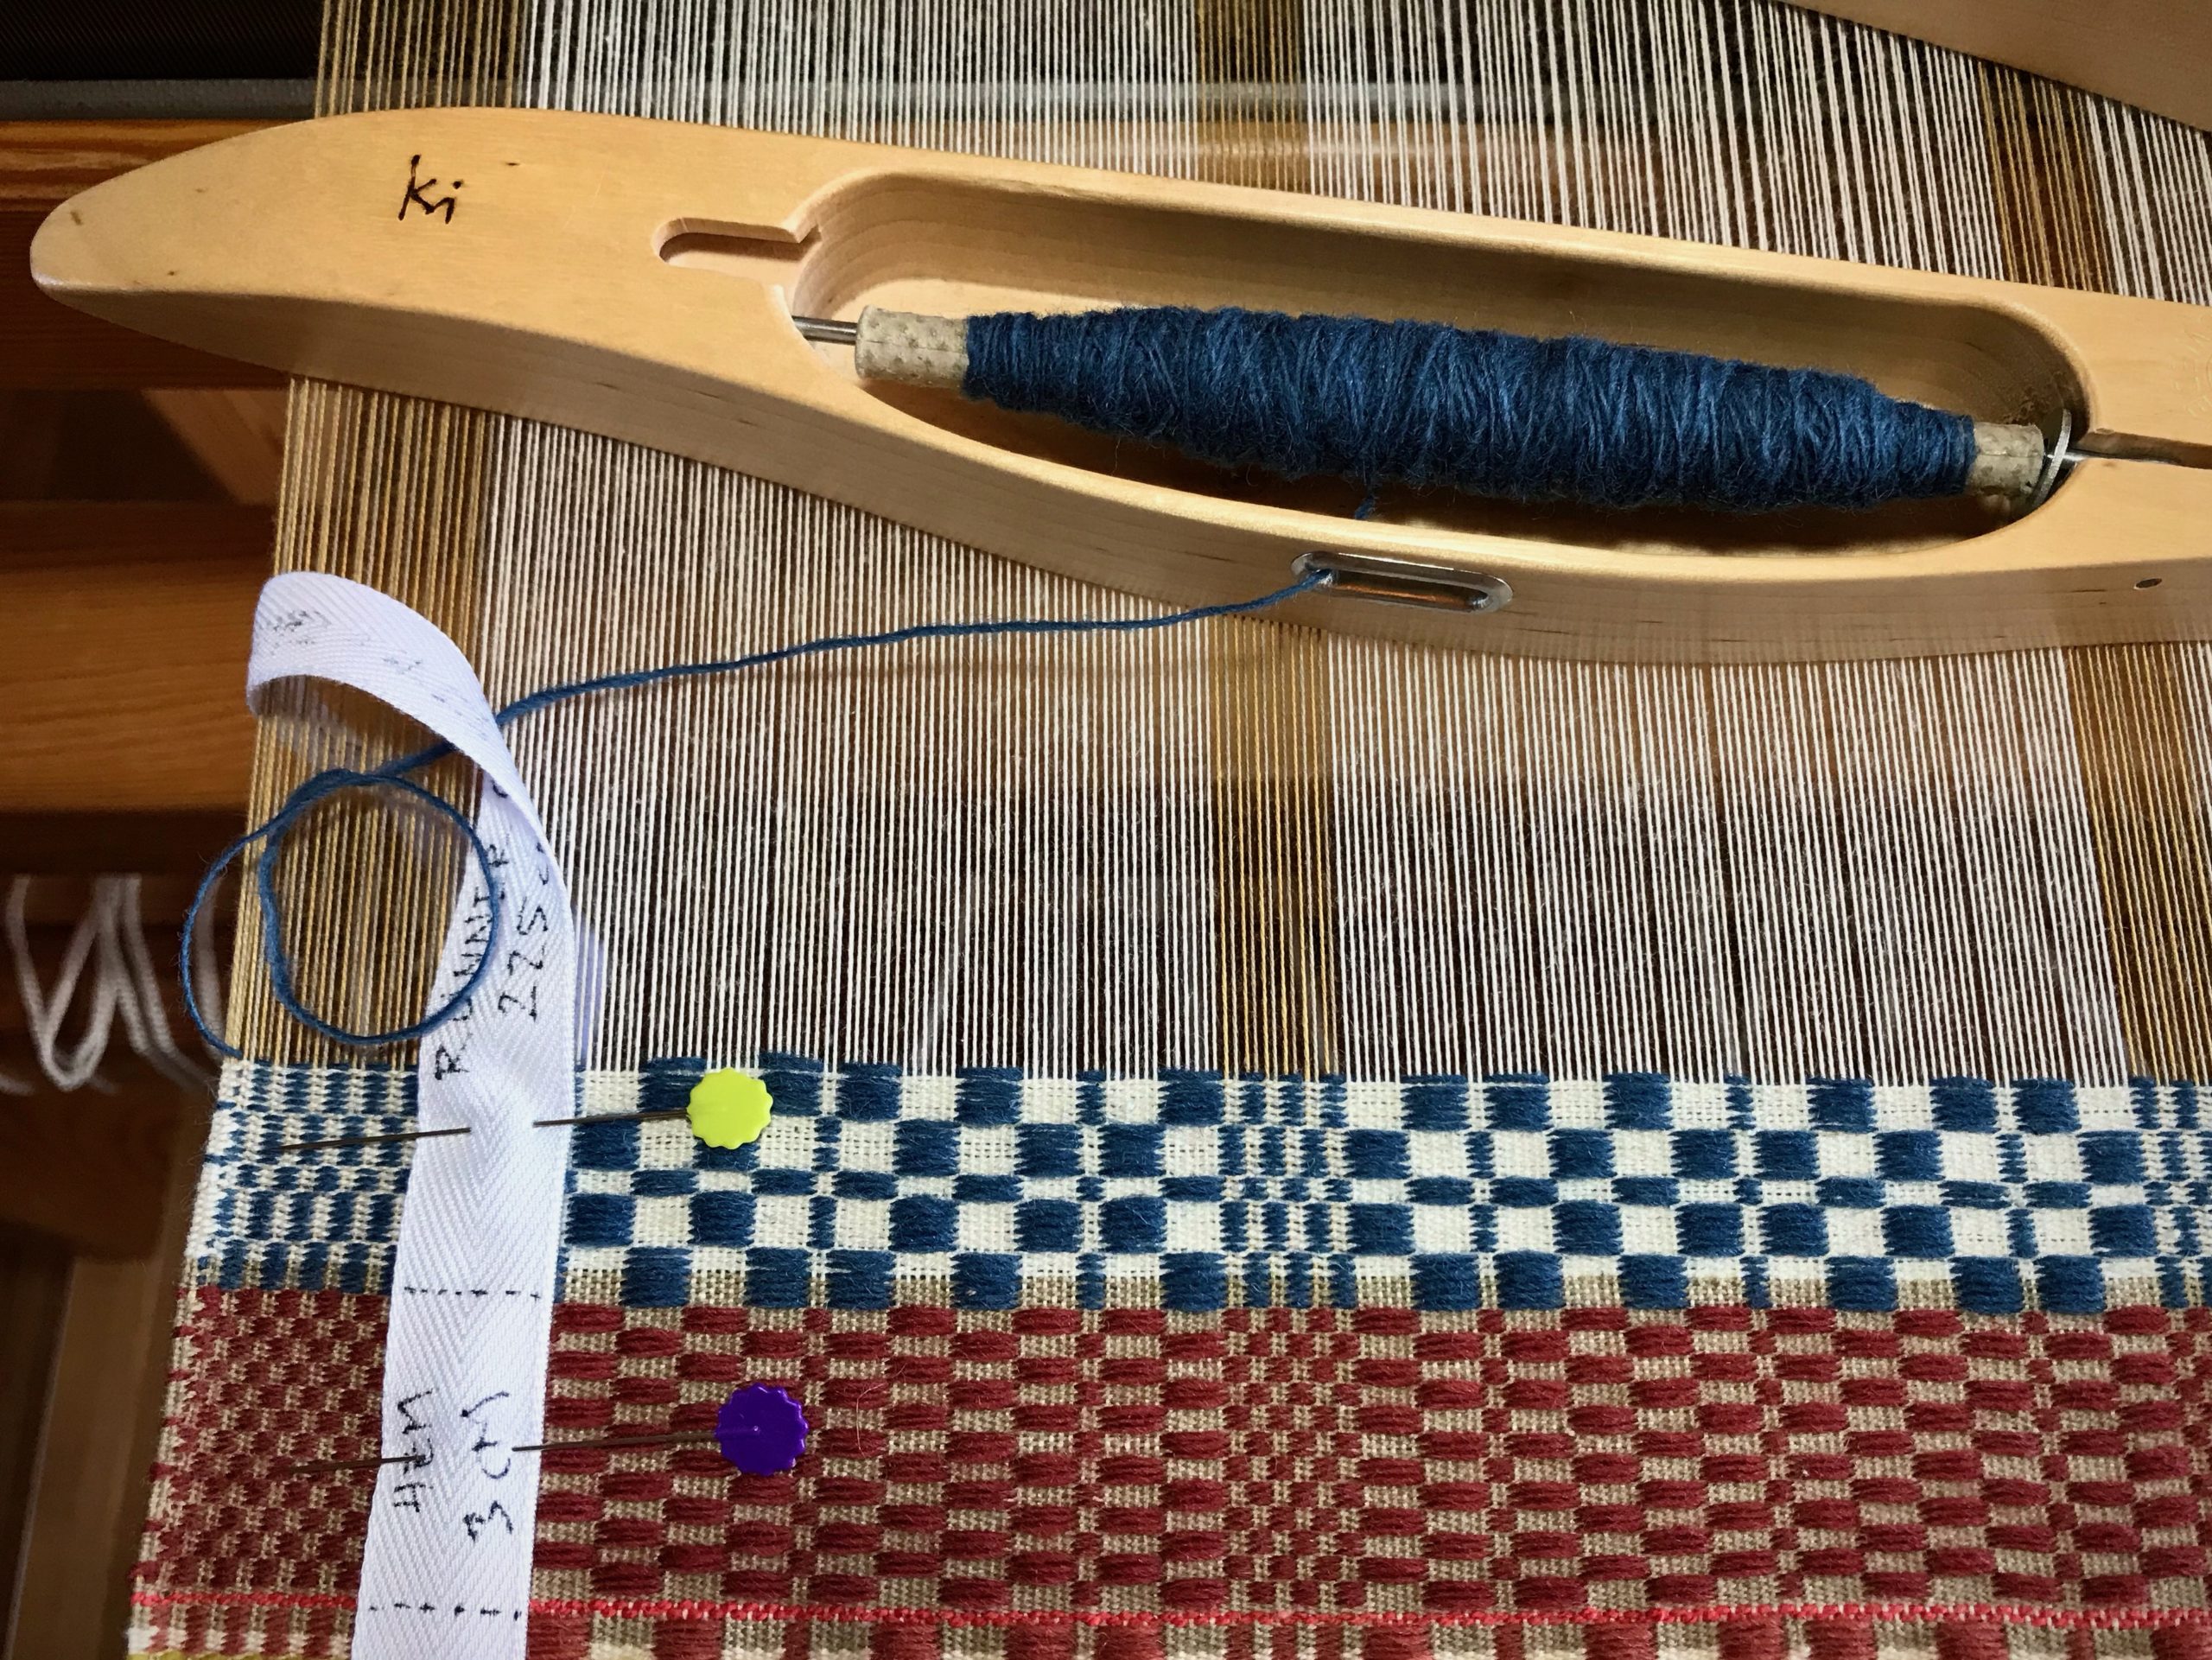
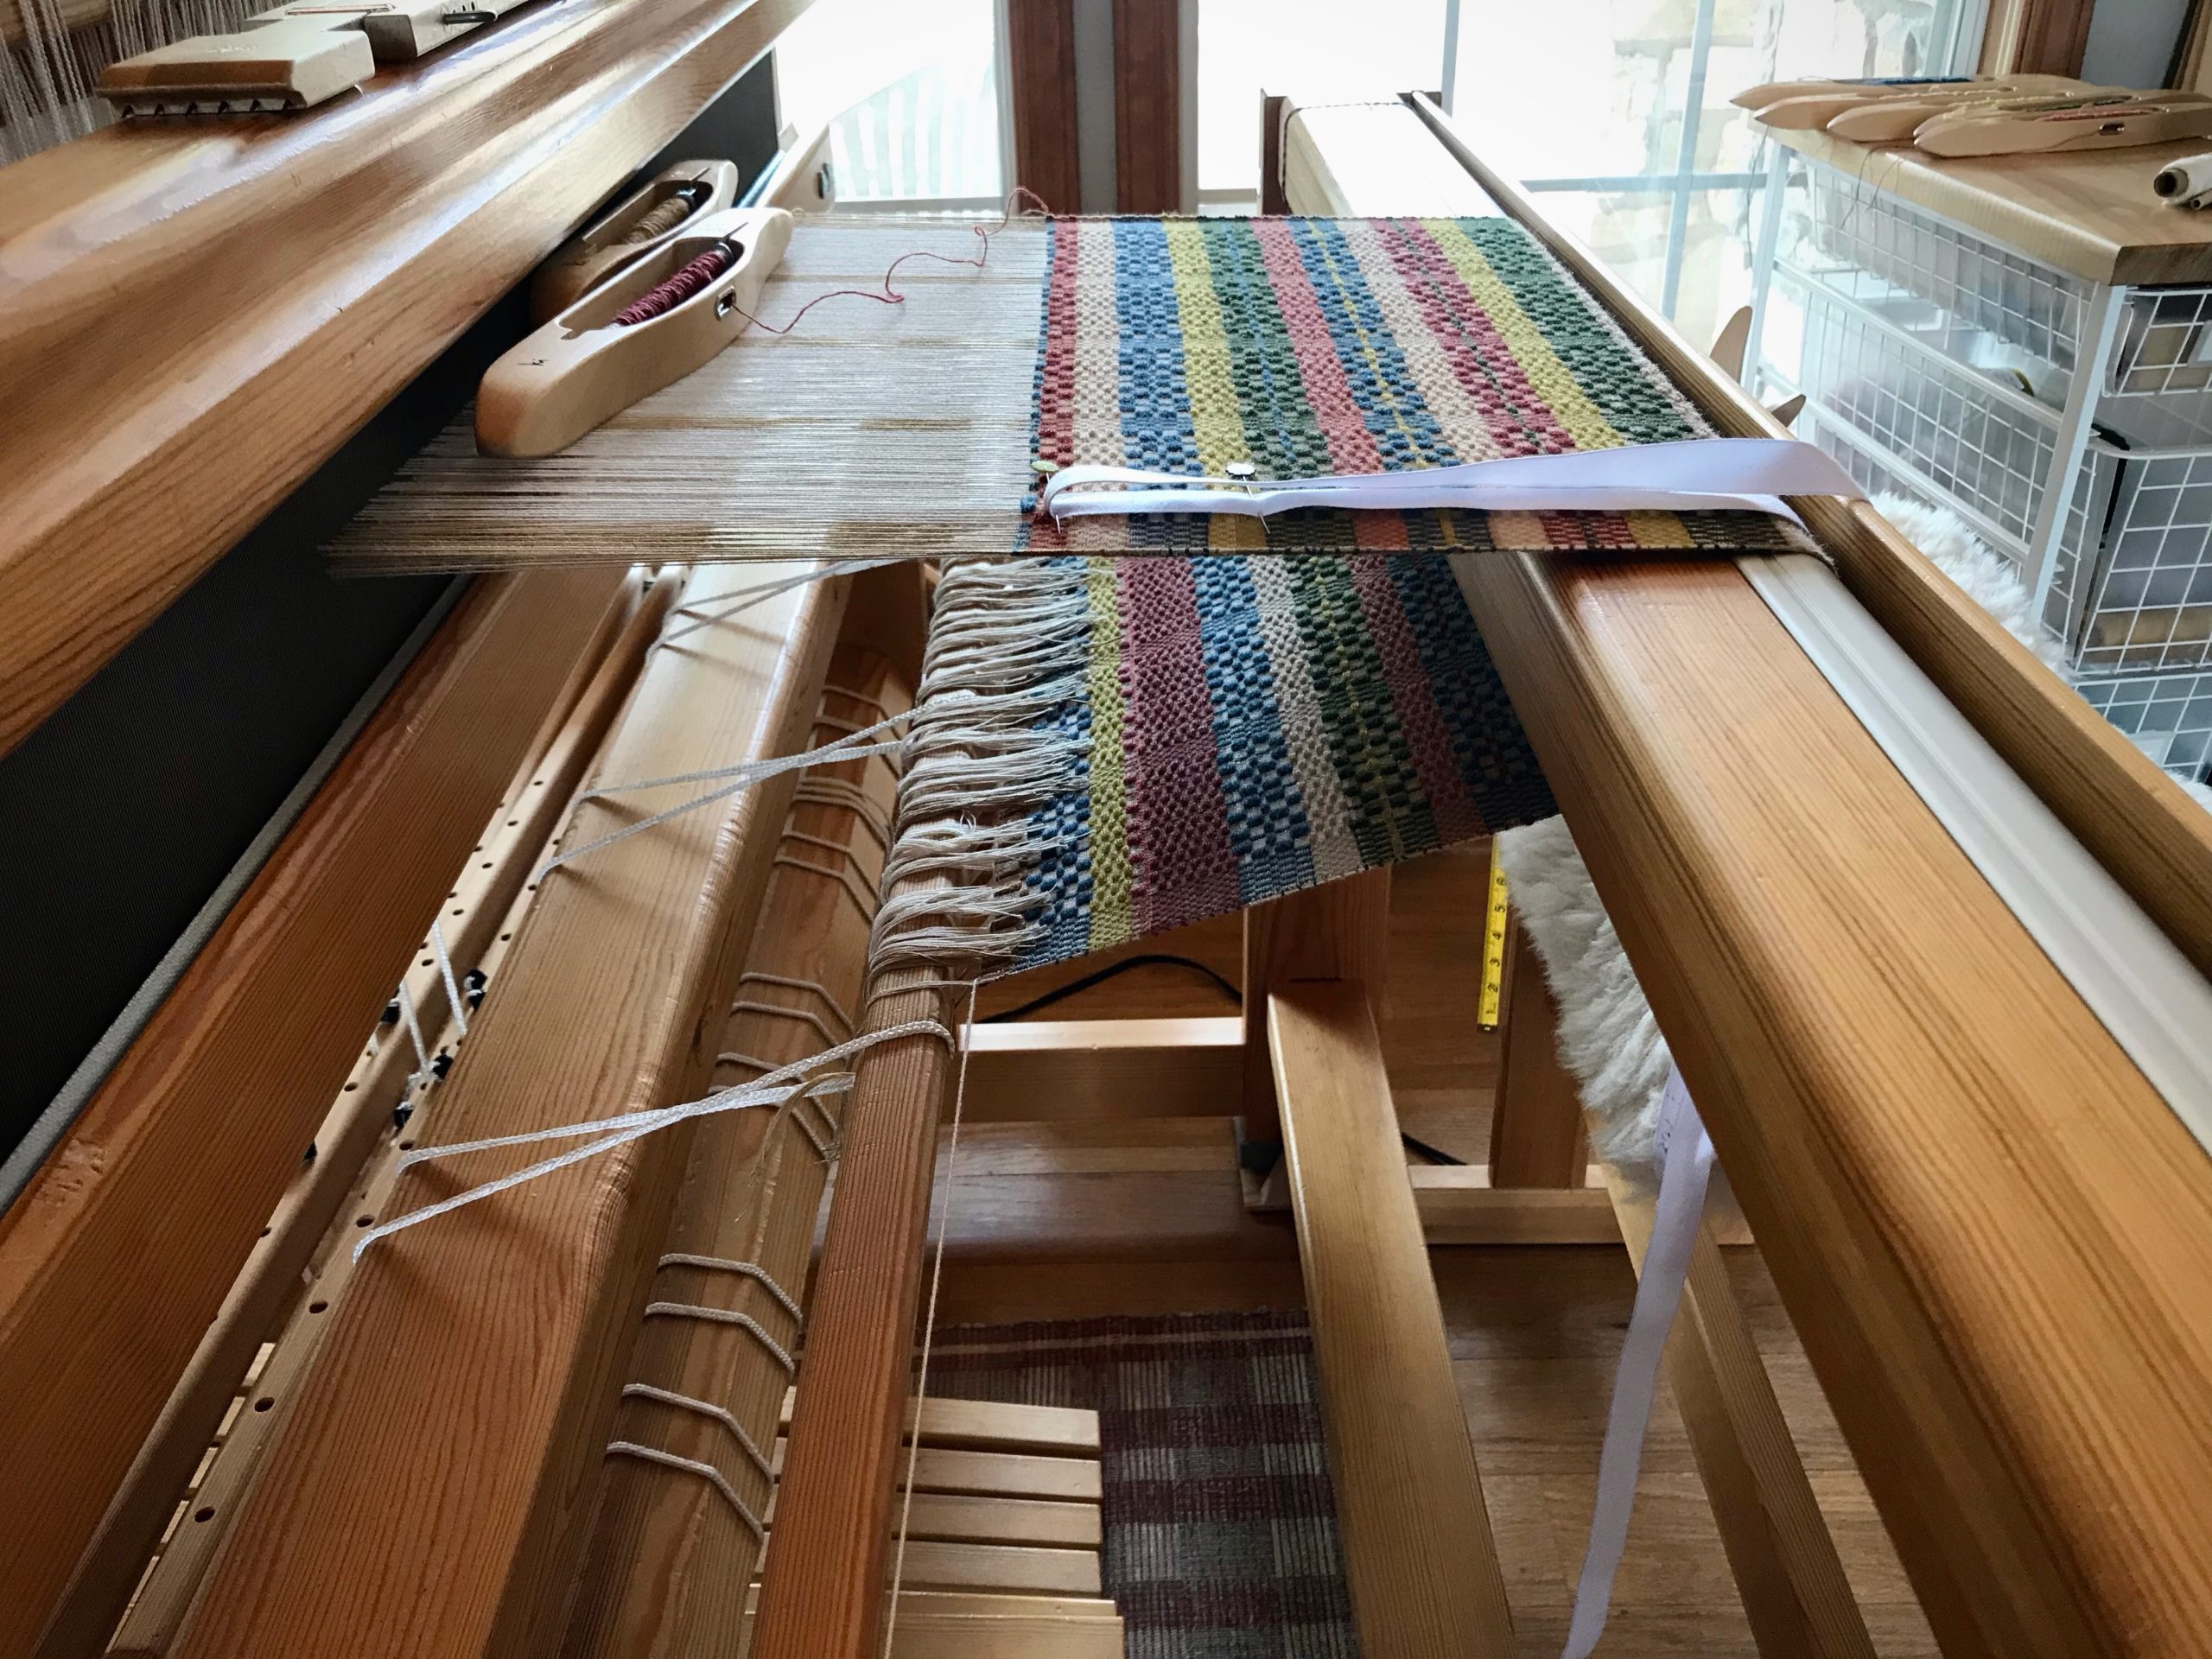
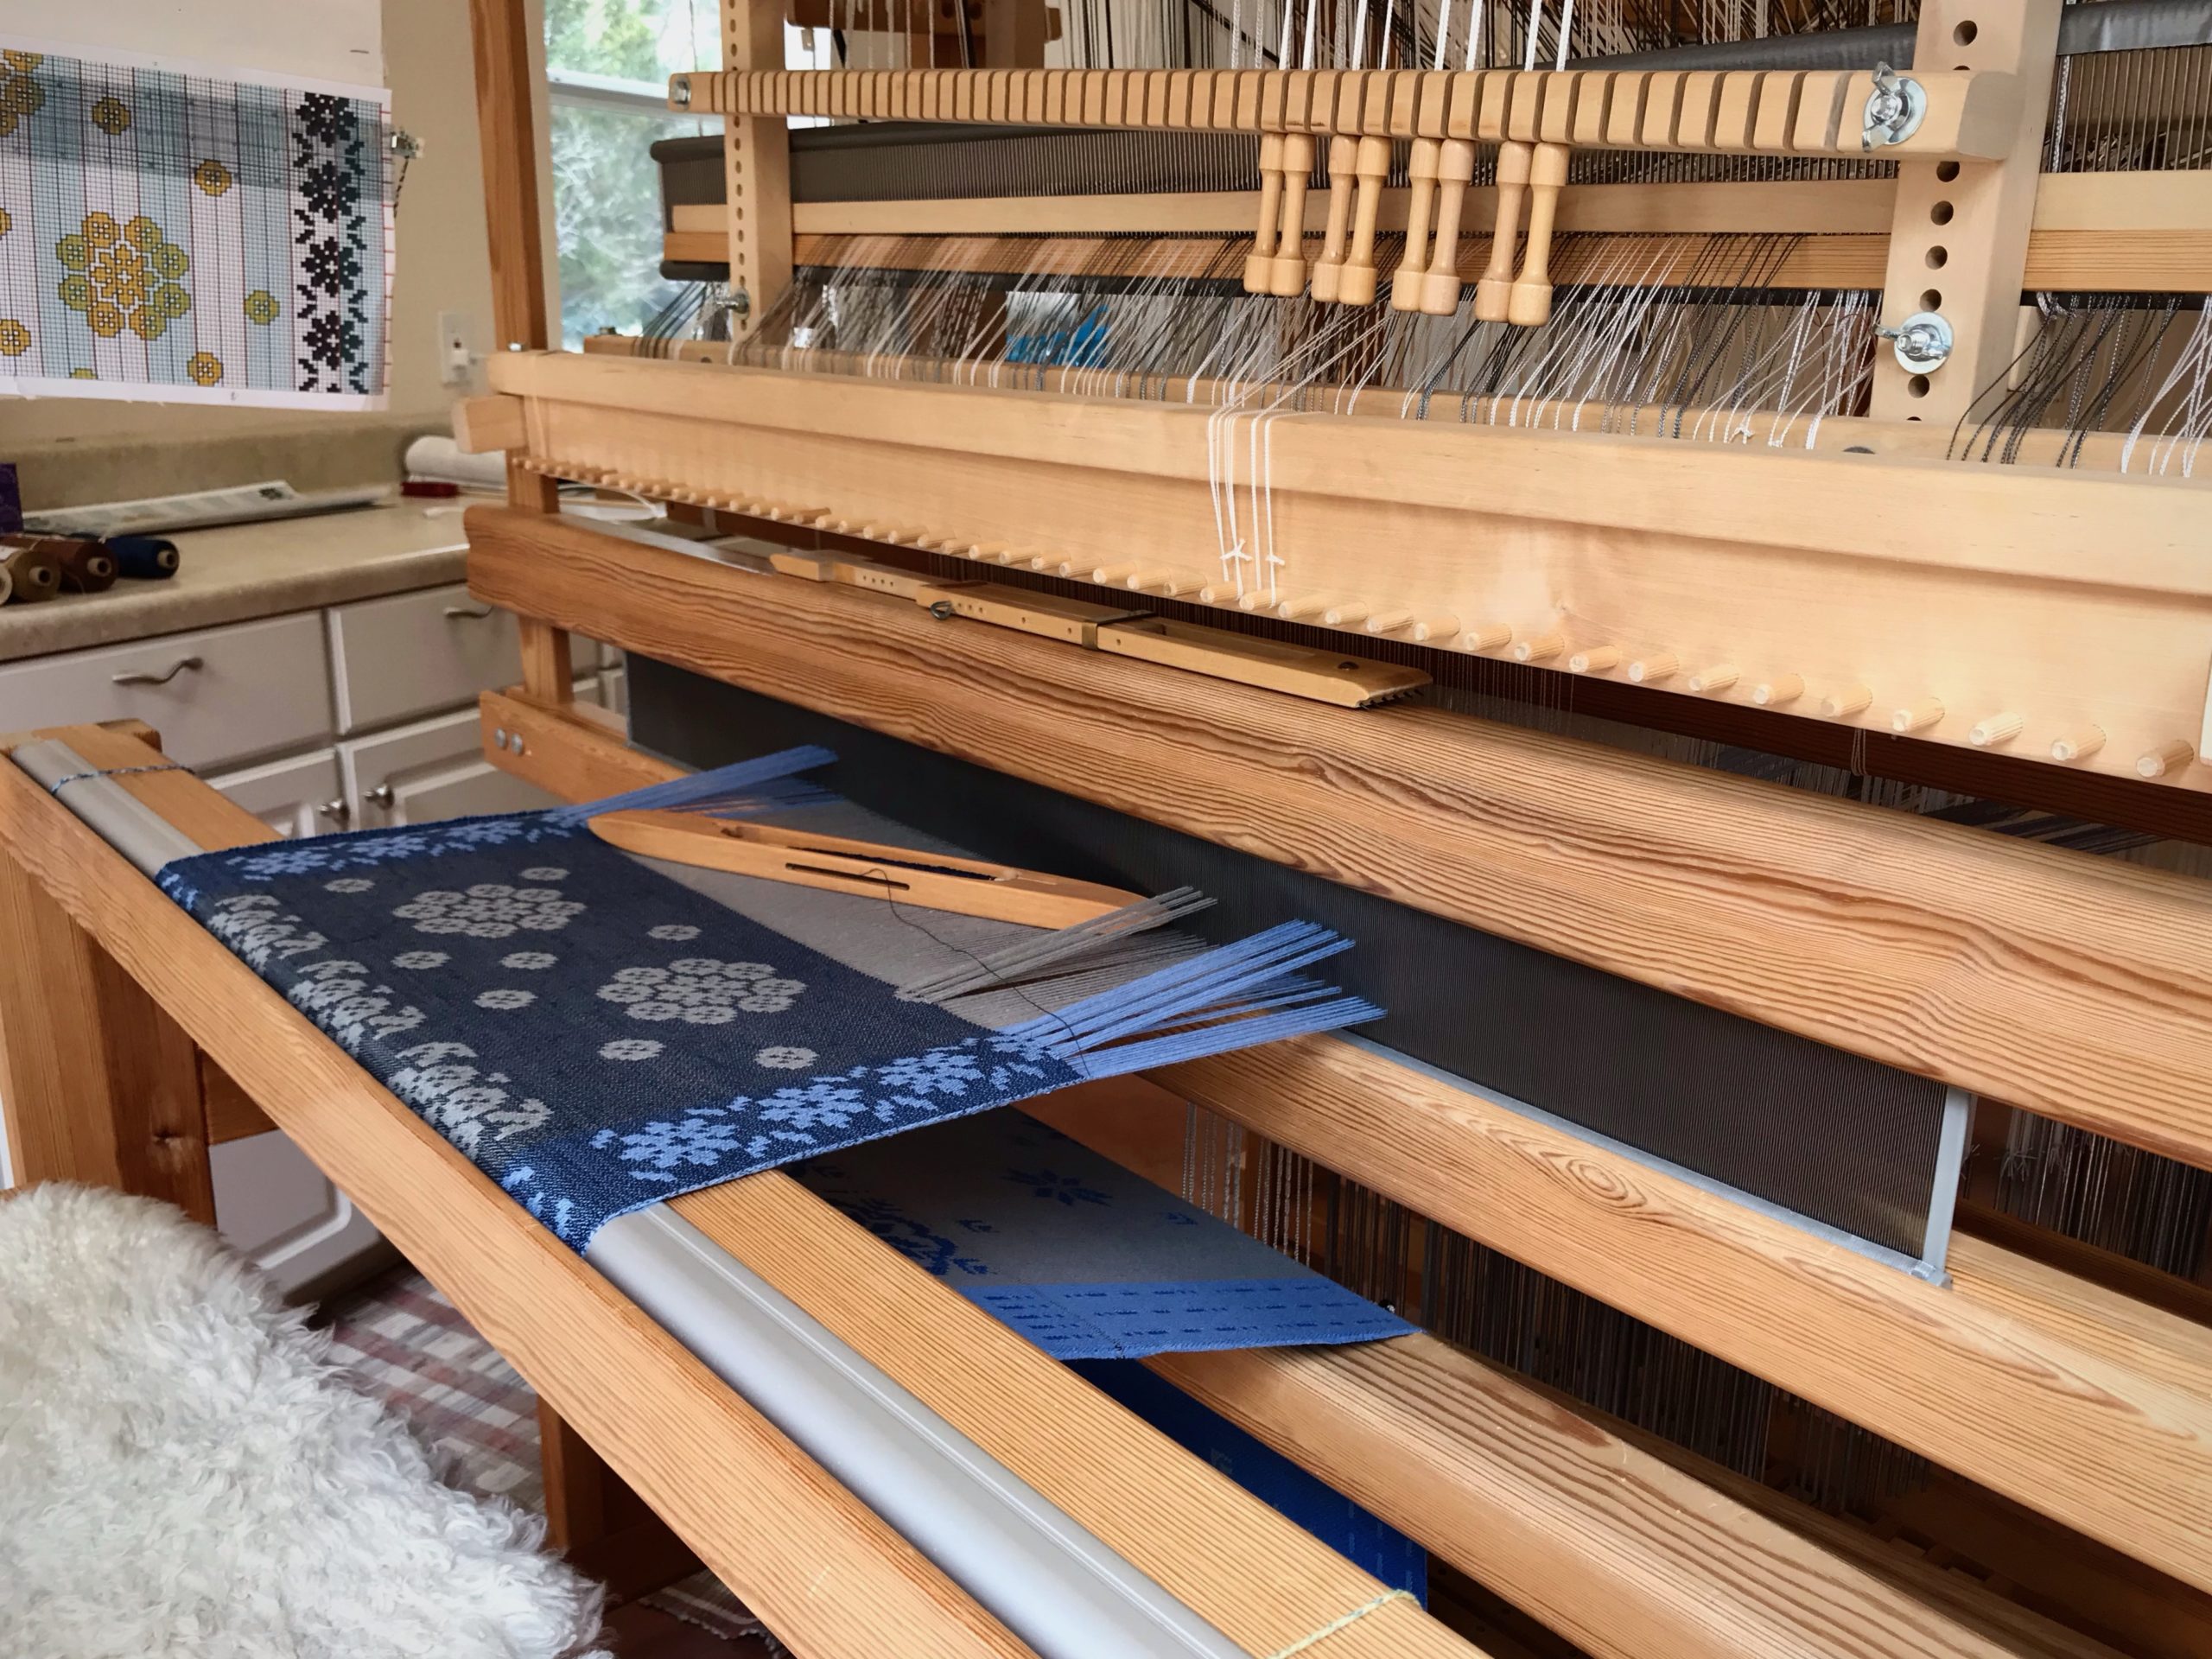
This Myrehed combination drawloom continually fascinates me. It’s all about raising and lowering threads in a purposeful way. Pulling pattern-shaft draw handles for the borders is the easy part. The single units in the body of the towel, however, capture my focused attention. Consistent precision—that’s the secret to completion.

Single units of threads are raised by placing draw cords on the hook bar. The black cords and white cords are arranged in groups of ten. I mentally split each group of ten so I am focusing on five single units at a time.w
Side borders use fifteen pattern shafts. Each pattern-shaft draw handle raises units of threads across the warp. That enables me to pull handles for the pattern that shows up on both the right and left borders.

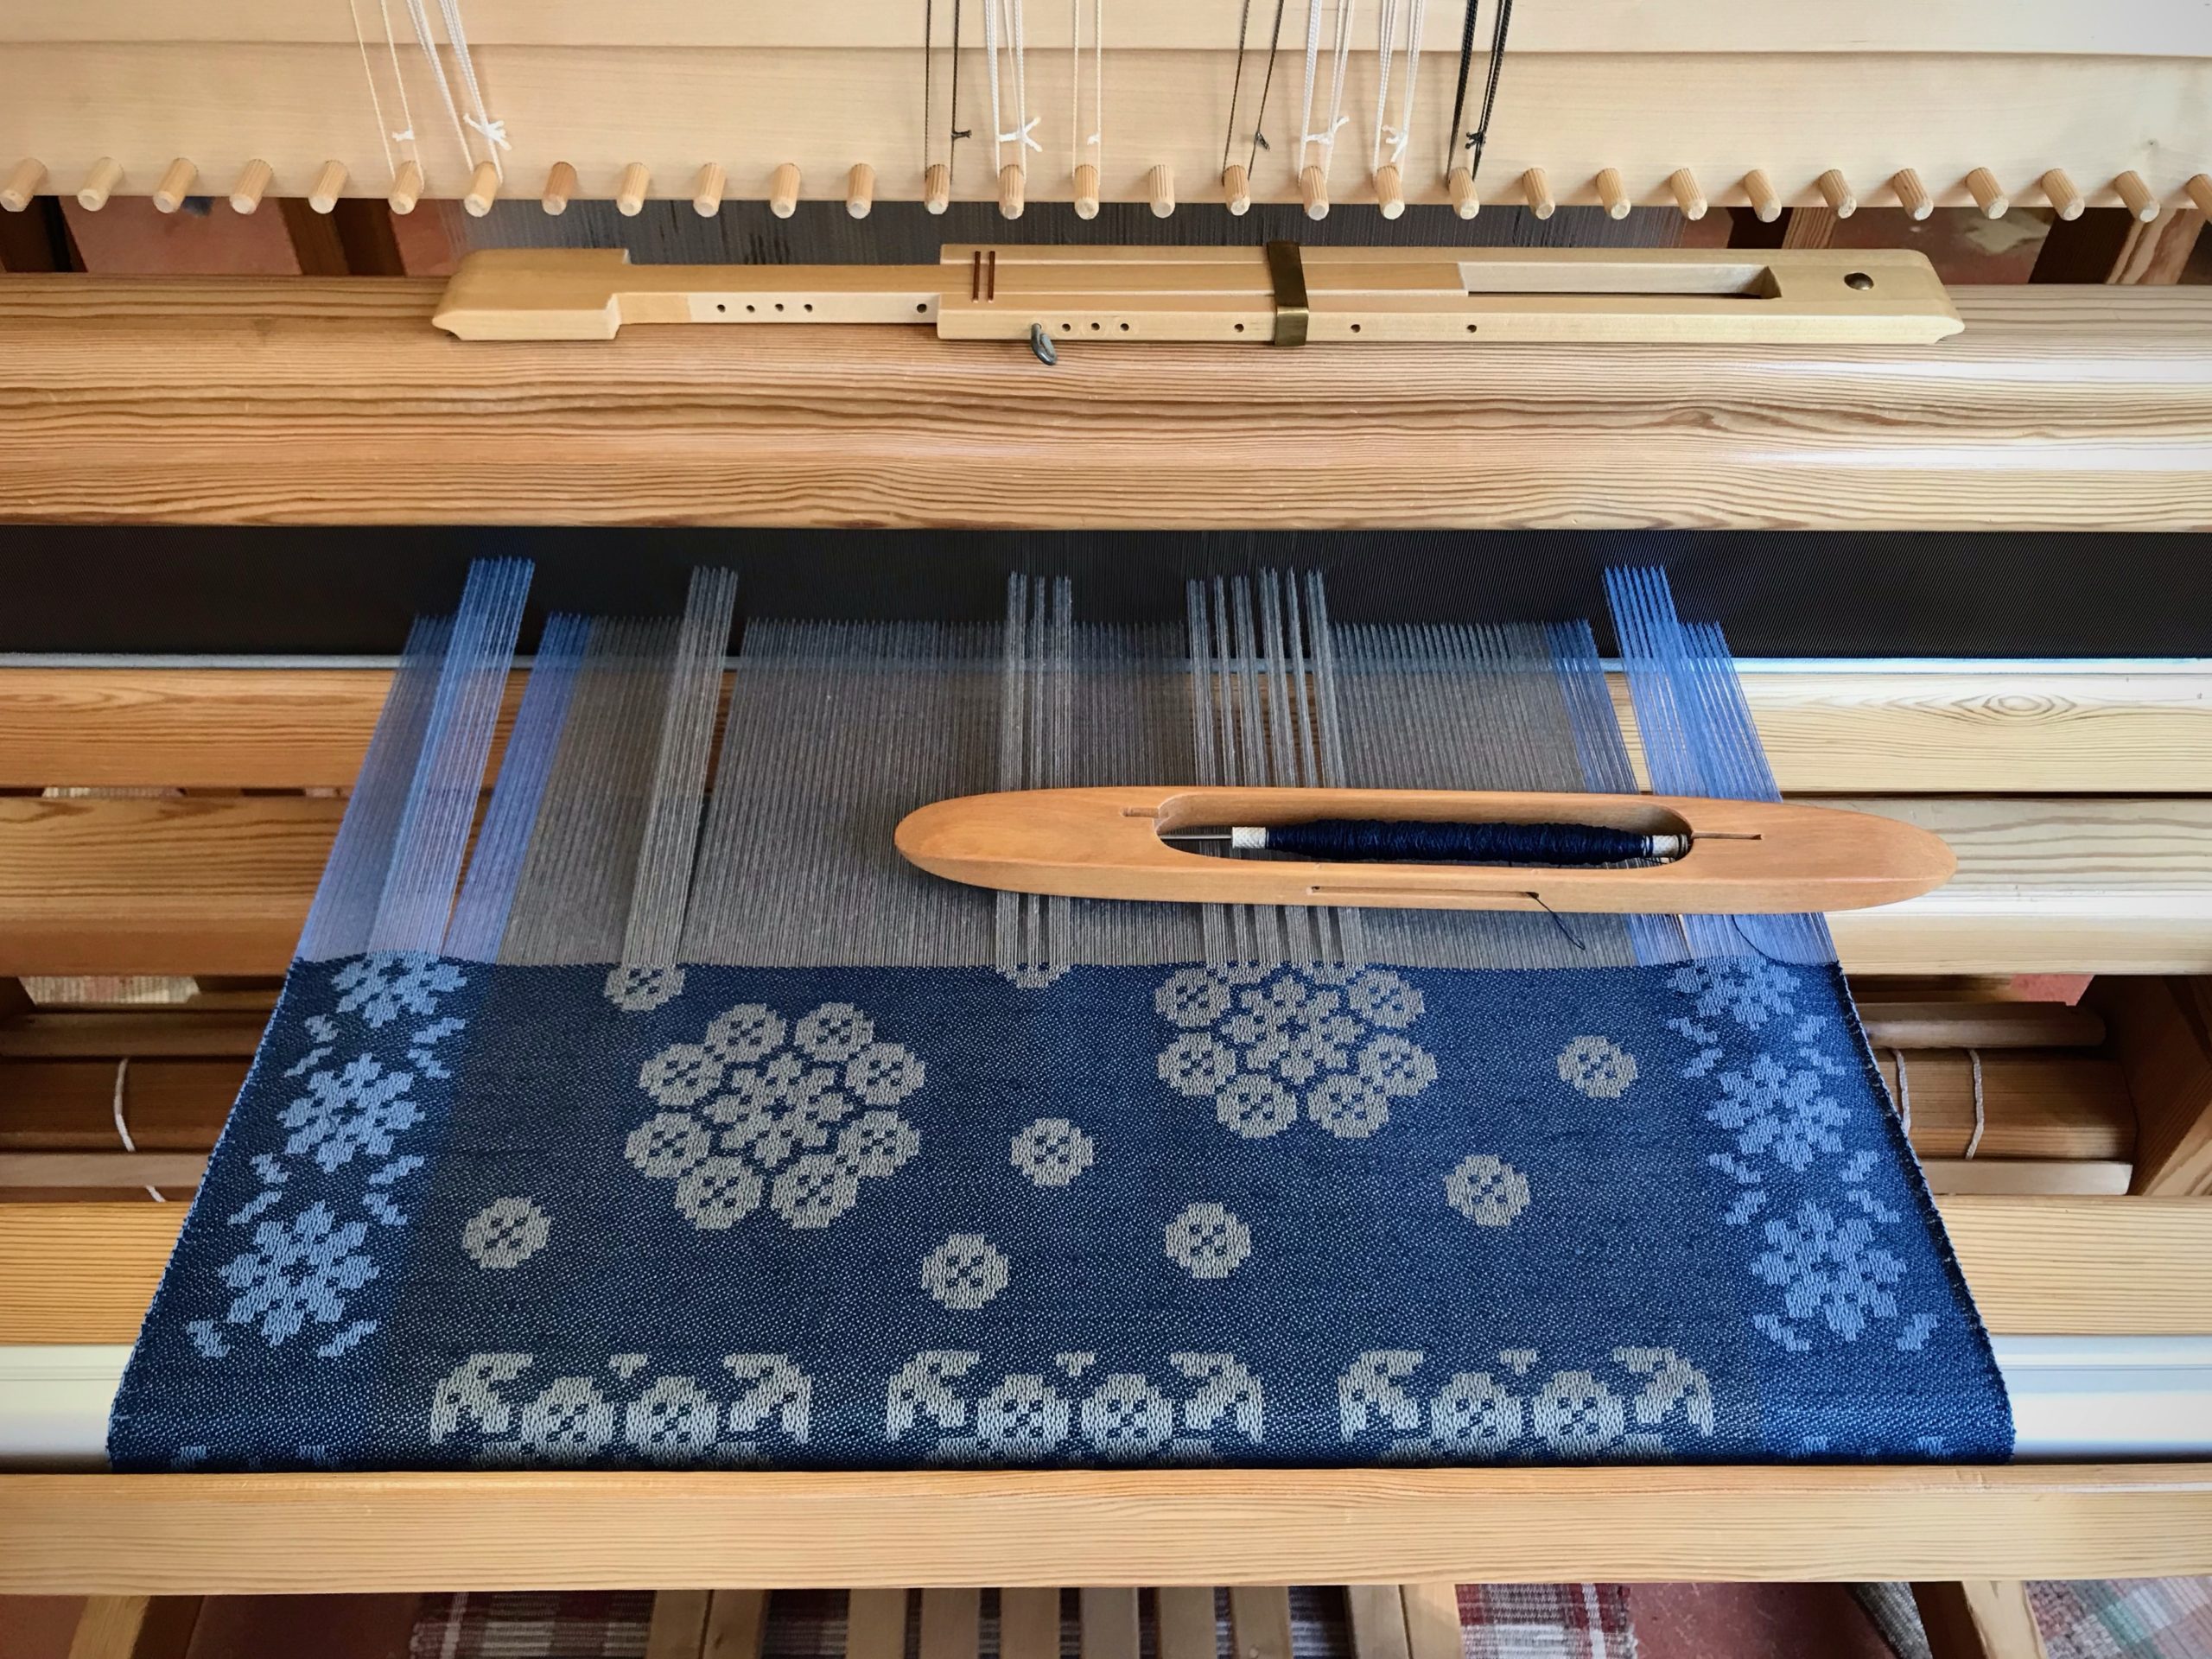
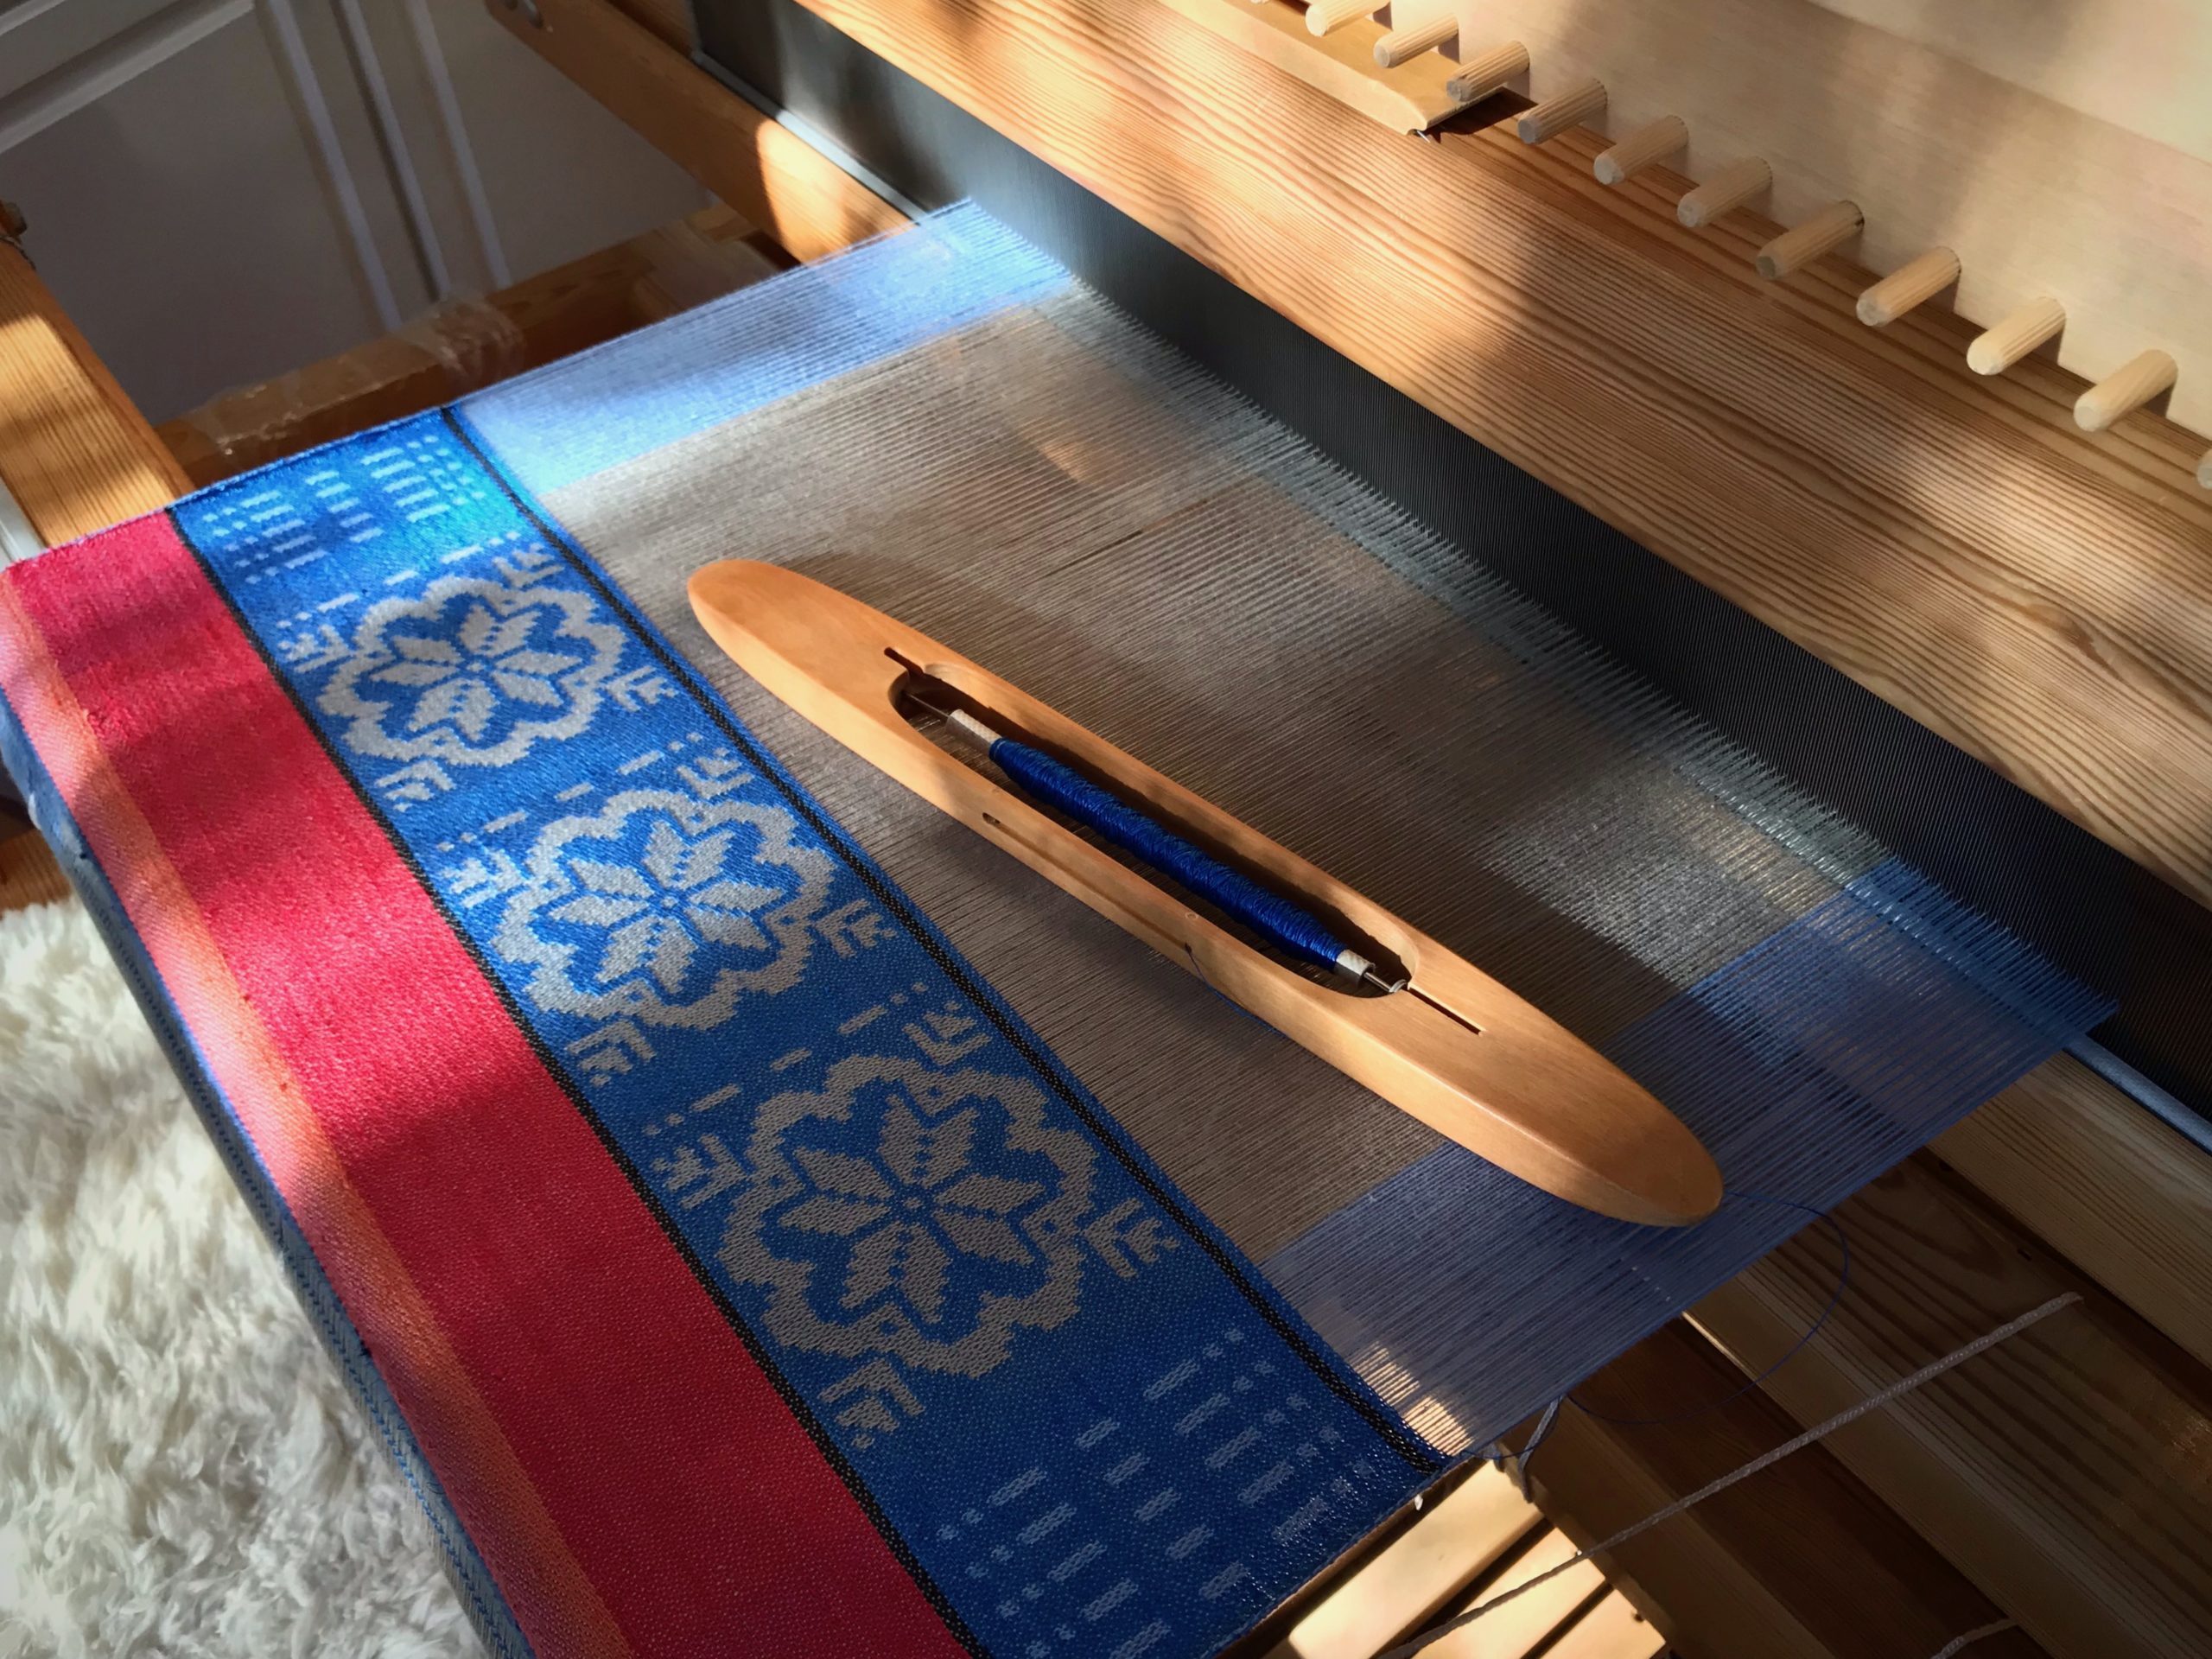
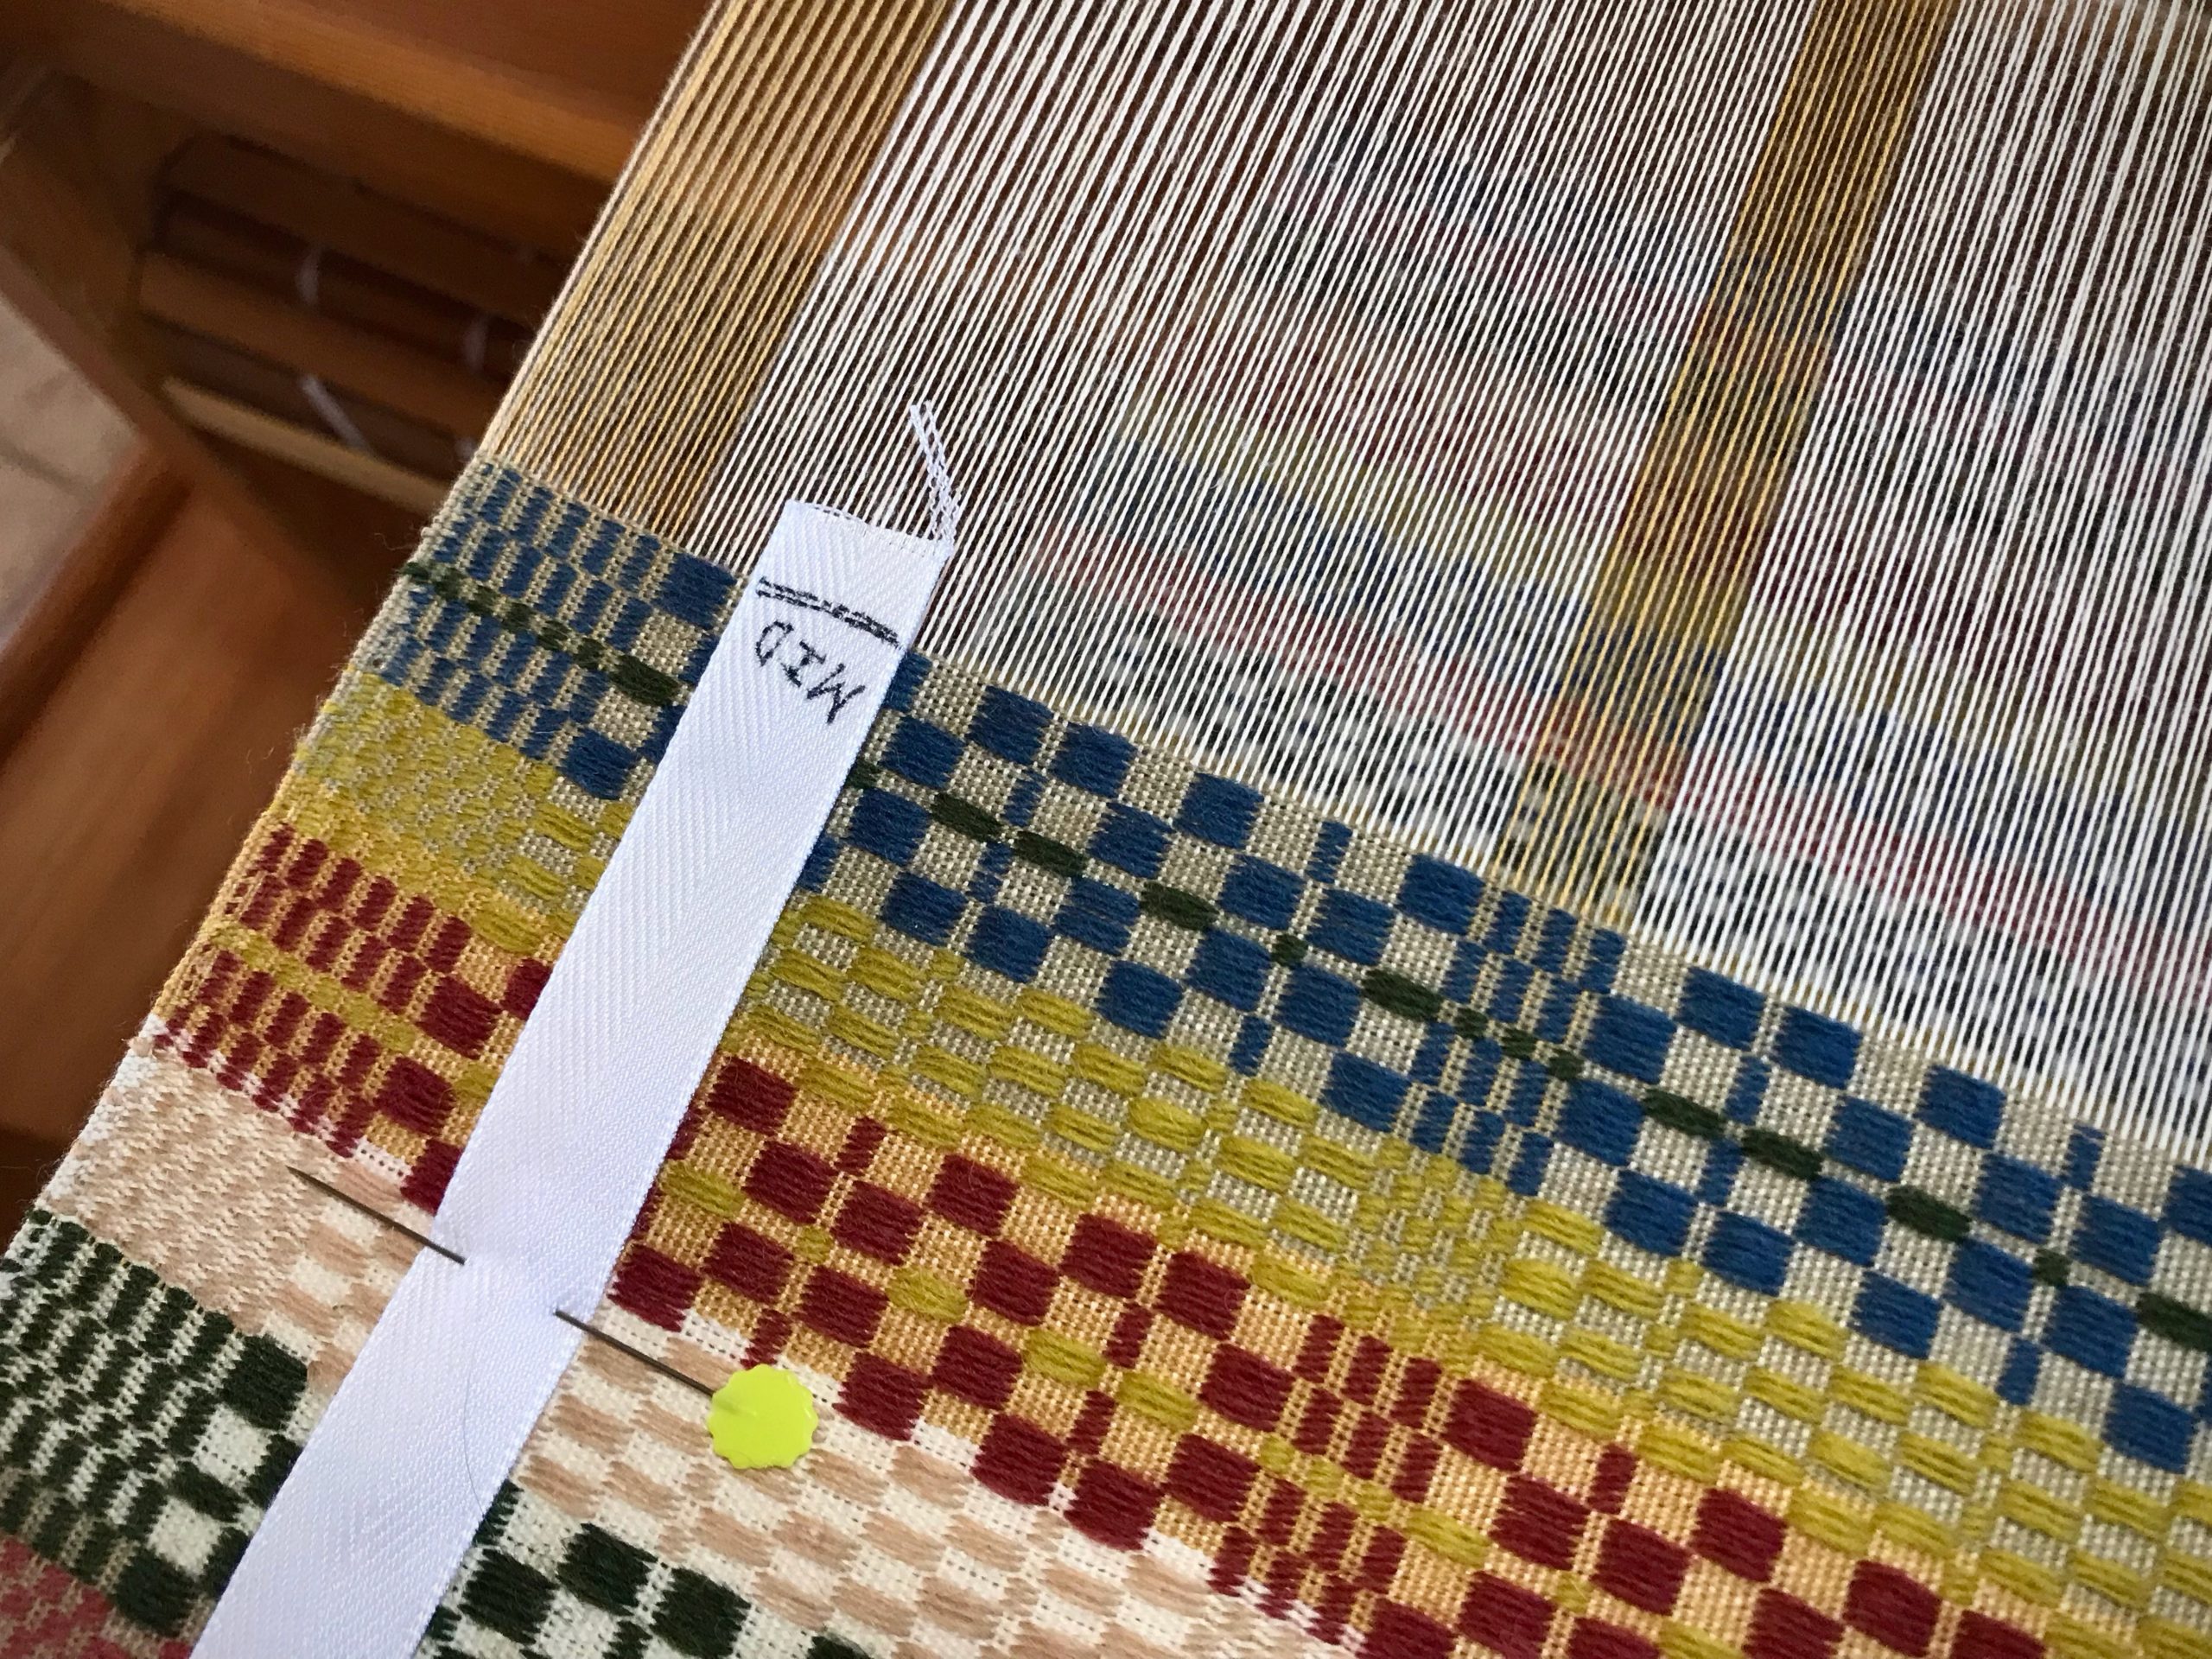
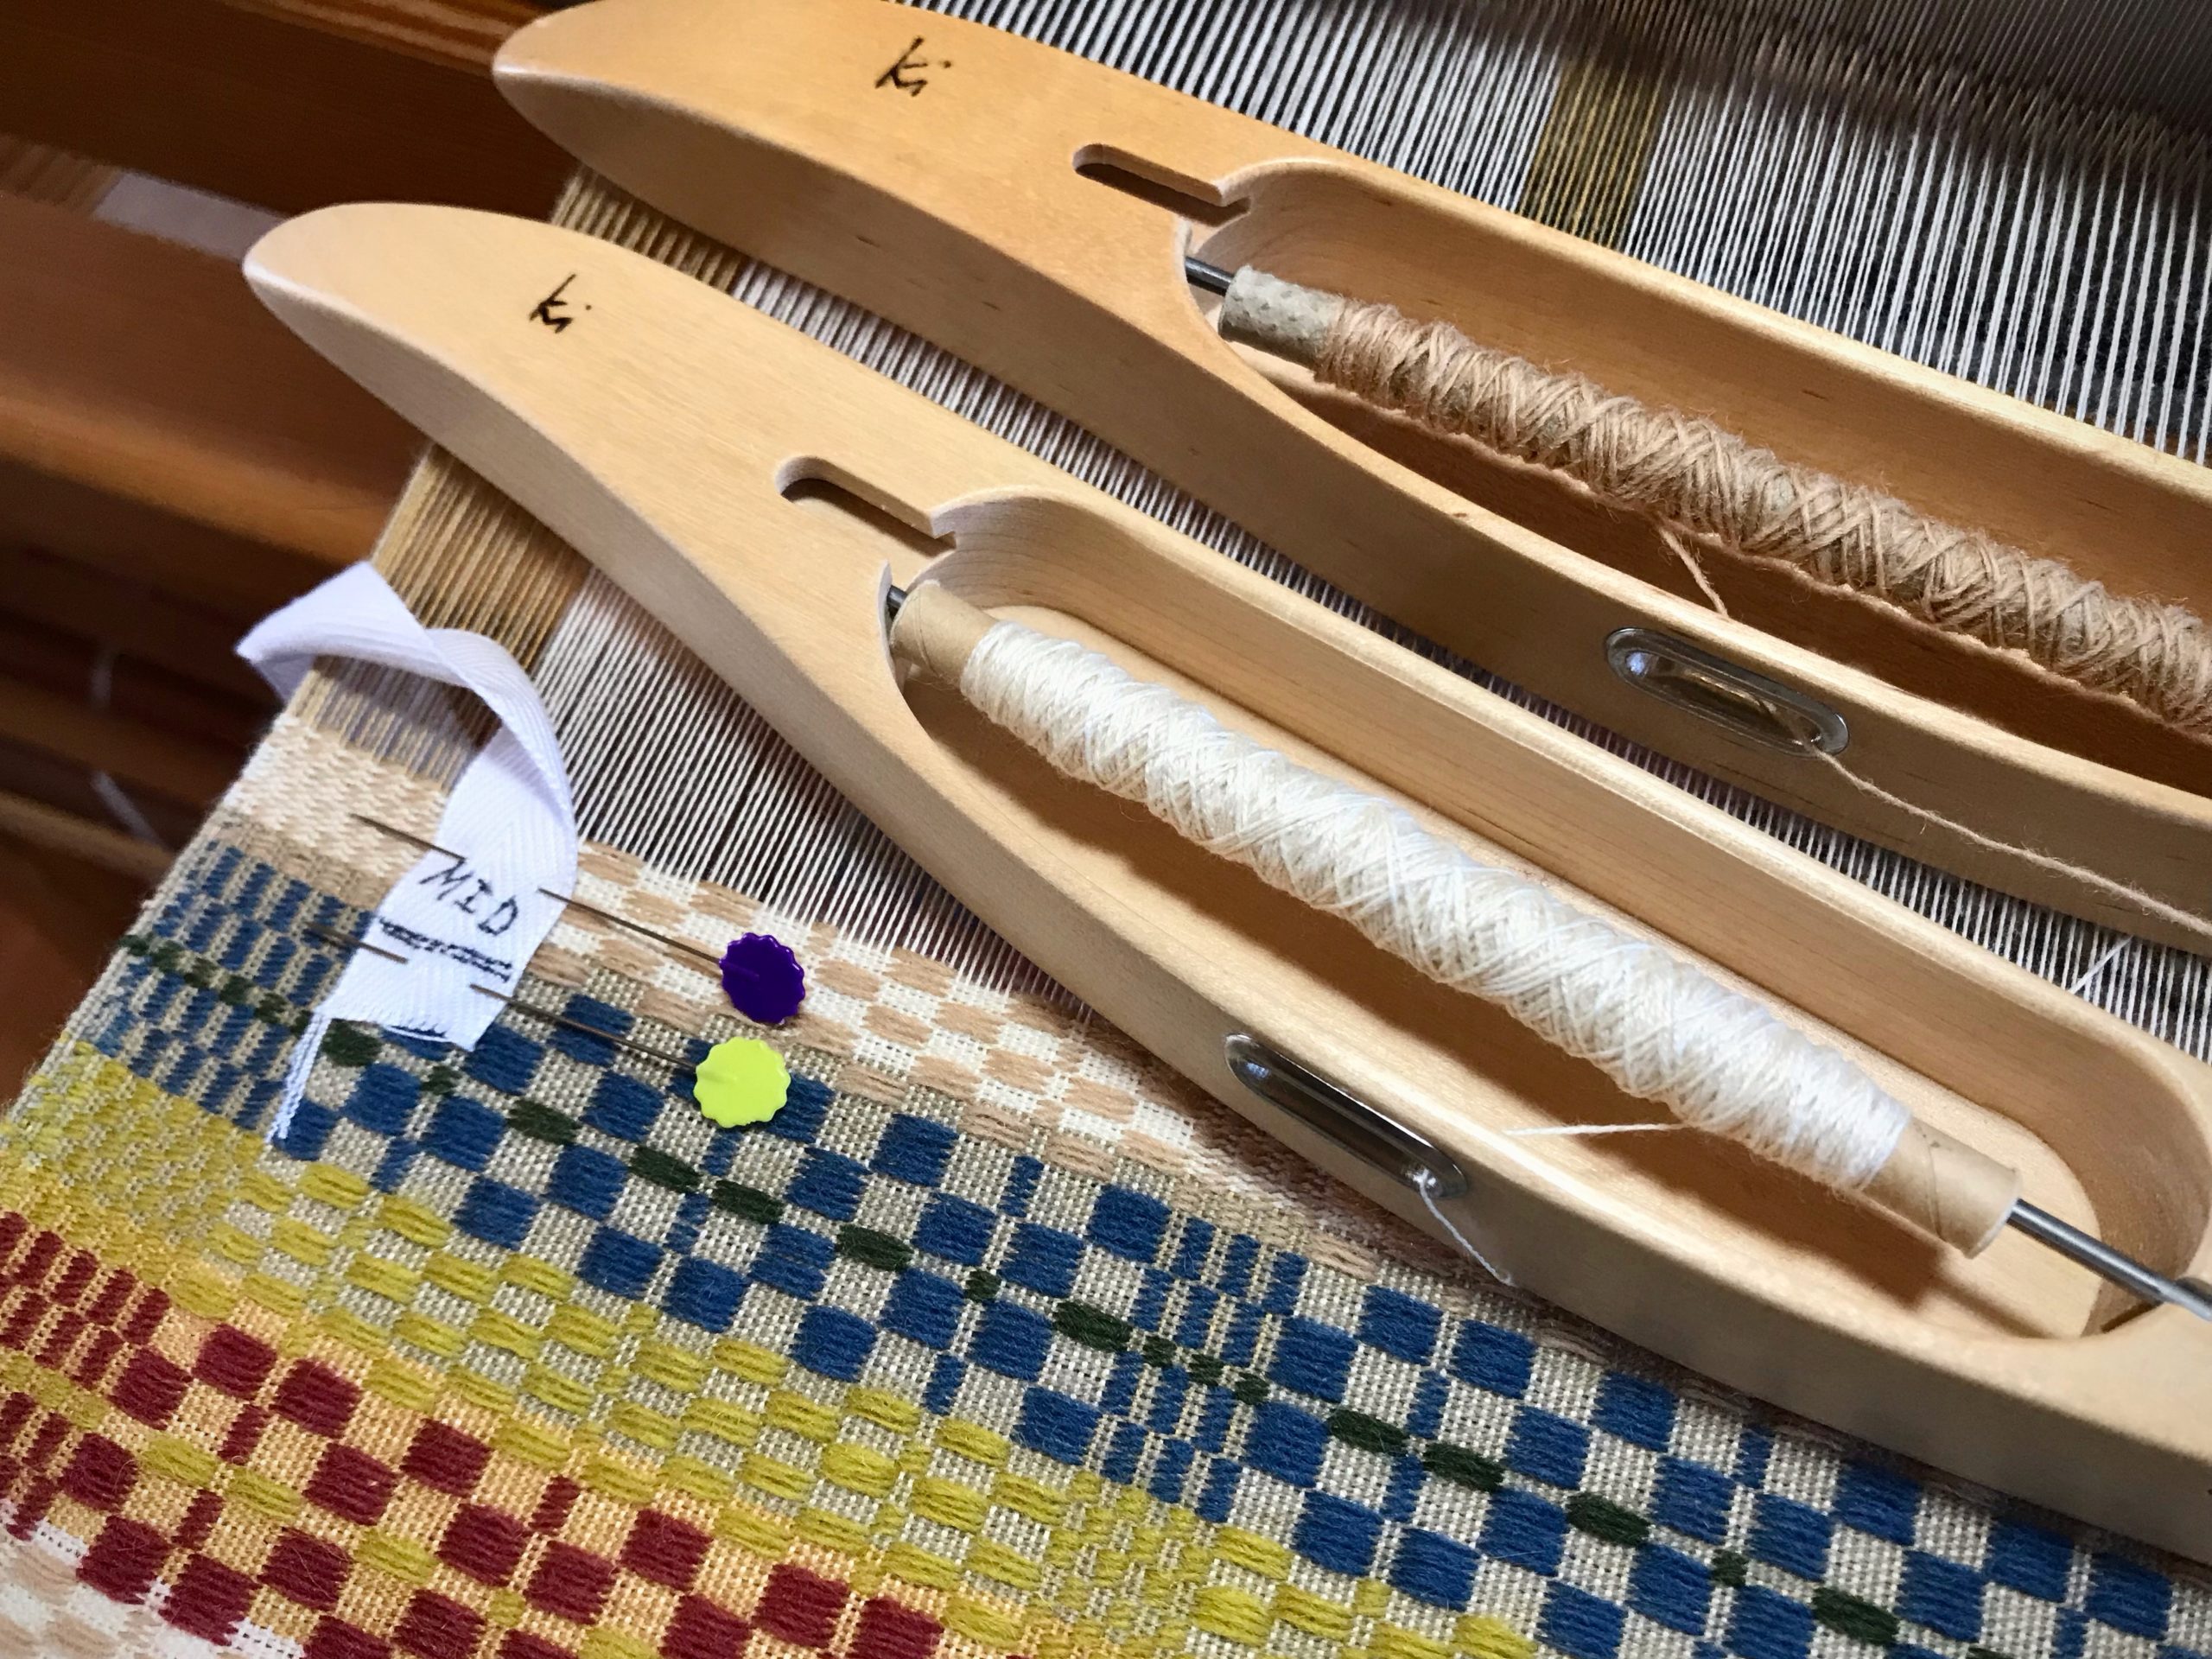
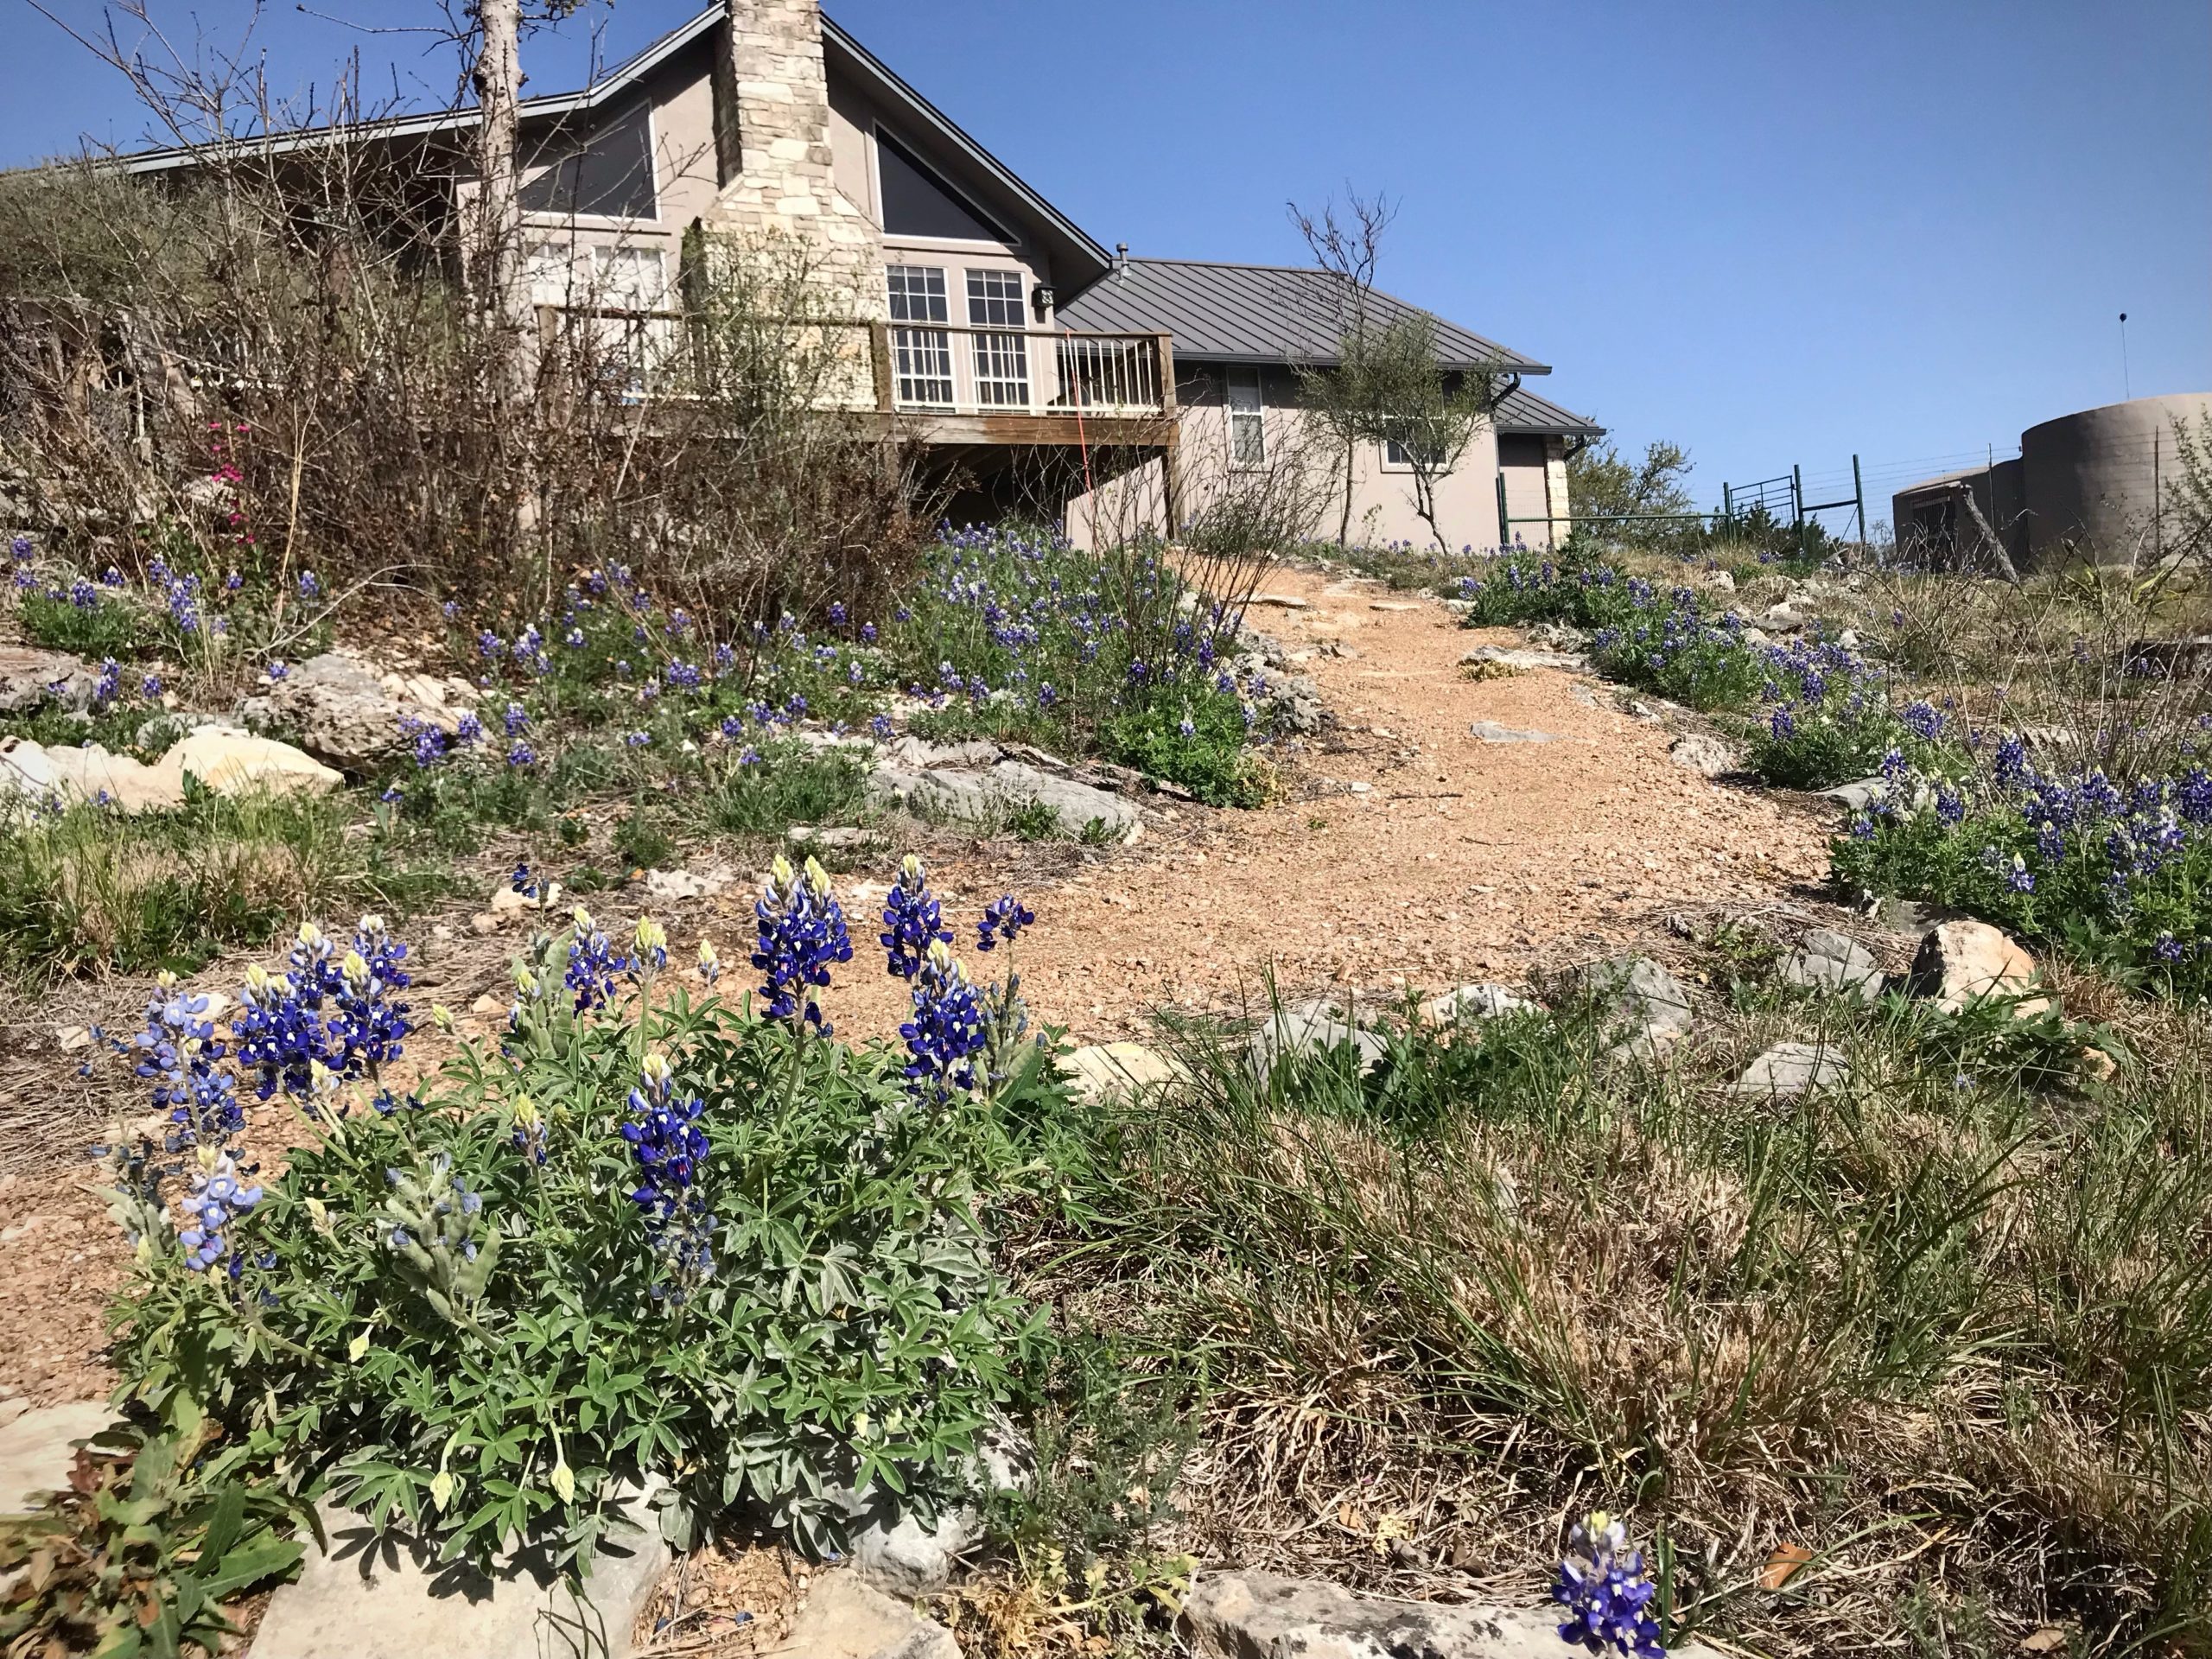
This second towel in the Snowfake series continues the theme of softly falling snow. Meanwhile, Texas bluebonnets, wine cups, varied bright yellow daisy-type flowers, and mealy blue sage are springing up through hard ground all over our backyard. And Thursday morning I spotted the first gaillardia bloom—previewing the next wave of color.

Texas bluebonnets were the first flowers to burst into bloom.
Myrehed Combination drawloom enables me to combine pattern shafts (8 draw handles are pulled here) and single units (several draw cords are pulled in this picture) in a single project. I truly enjoy all the variables!

I am acutely aware that you may be experiencing a lingering cold season, and may even yet have snow on the ground. I’m not just referring to weather and flowers. Real-life struggles. Let me assure you that spring is coming. Have faith in the one who raised Jesus from the dead. Your faith captures the Lord’s attention. He brings new life out of hard ground. And the white of falling snowflakes remains a pleasant reminder of his grace. For all who call on the name of Jesus, the grace of his forgiveness falls over us to make us clean, as white as softly falling snow.

May you see signs of new life.

Happy spring weaving,
Karen

Monksbelt Surprise Ending

Monksbelt has been on the Glimåkra Standard for months. I expect the table runner to be fabulous when it finally comes off the loom, so I’m not complaining. The time spent weaving only adds to its worth. The runner is finished, so why not cut it off now and count the remaining warp as excess thrums? That shows how eager I am to put this monksbelt runner to use!

Long monksbelt runner is woven. End of warp has room for two plain weave towels with a monksbelt accent.
16/2 cotton warp. Coral 16/1 linen hem. Unbleached 16/2 linen ground weft. Coral 16/1 linen, doubled, outline pattern weft. Camel 6/1 tow linen, doubled, pattern weft.

The truth is, there is enough warp left for one, or maybe two, tea towels. After experimenting with several weft ideas, I am excited about weaving to the very end of the warp! Monksbelt gives us a surprise ending. A plain weave towel with a monksbelt border—this is a happy ending to a good long story.

May you keep going until the very end.

Happy Weaving,
Karen

Long Conversation with the Loom

Day after day, pick after pick, this fabric lengthens and becomes ever more significant. As daylight dims, I stay at the loom a while longer. The rhythmic series of weaving motions is soothing. A handweaver finds calm in the complexity and delight in the detail. Challenges that arise are seen as problems to be solved.

Weaving for a short while in the evening helps wind down the day.

This monksbelt table runner has been a good long conversation between the loom and me. In fifteen more centimeters (six inches) I will put the closing exclamation point at the end of this lengthy runner. The warp that remains will be my playground for some creative experimentation.

Long monksbelt table runner wraps around the cloth beam.
Monksbelt pattern with weft rep ground weave. 16/2 cotton warp. 6/1 Fårö wool pattern weft in six colors. 16/2 ground weft in three colors.

When our patience is stretched thin, when we forget why we do what we do, when hard times go on longer than we ever anticipated, we need hope. We need more than what we can gain by ourselves alone. Relationship with our heavenly Father brings hope into the fabric of our days. He beckons us to walk with him through Jesus Christ. He wants to sustain us through the long stretches of this day-by-day life. The time will come when we look back with wonder, seeing the colorful threads that have become fabric for a beautiful purpose.

May you never lose hope.

With you,
Karen

Drawloom – Snow Falling

Snow in Texas Hill Country is minimal. To make up for it, I am putting together a virtual snowstorm—four Christmas Snowflake towels on the drawloom. Each towel has three large snowflakes at the bottom and top borders. The body of the towel has delicate snowflake crystals drifting to the ground.

Nordic star pattern used for Christmas Snowflake towels. Towel begins with a broad brush of red along the lower border.

Starting with Selbu Mittens: Discover the Rich history of a Norwegian Knitting Tradition, by Anne Bårdsgård, I transpose Nordic star patterns into drawloom graphed designs. Affinity Designer (graphic design software) takes the place of graph paper for me. Being vector graphic design, it enables me to make changes without having to start over. I can easily move, separate, copy, and/or transform elements as I work through a design. I print out exactly what I need, scaled up in size without losing clarity, in a format that enhances my ability to make the right moves at the combination drawloom.

Single unit draw cords, held in place on the hook bar, form the snow crystals in the body of the towel. The three large snowflakes at the bottom border are made using pattern shafts. The simple side borders also use pattern shafts.
In Affinity Designer I am able to separate, copy, and move elements of the large snowflake design. These individual elements become the scattered snowflakes and little snow crystals that are “drifting down” the body of the towel.
Snowfall in Texas Hill Country.

We have a faithful designer. Our Grand Weaver creates his image in us. He moves, separates, copies, and transforms elements in our lives until his image clearly shows. It takes a lifetime. The Lord is faithful. Since he has brought us this far, let us also be found faithful to him, conforming to his image.

May you see how far you’ve come.

Many blessings,
Karen

Tried and True: Measurement Tape

You can measure what you are weaving. A set of towels will all be the same length. A table runner will fit the table as planned. A rug will be the right size for the designated floor space. All it takes is a dependable way to measure. (Thanks to Elisabeth S. for writing me, “I’d love to have a better way to measure my work as I’m weaving it.”)

Dependable way to measure on the loom!

Measurement Tape (accompanying video below)

Supplies:

  • Calculator
  • Project notes
  • 5/8” polyester twill tape
  • Fine point indelible marker
  • Tape measure
  • 2 flat-head straight pins

Make Calculations

  • Determine the finished length.
    • Consider the Golden Ratio, 1:6.
    • Consider where the finished textile will be placed.
  • Estimate take-up and shrinkage.
  • Include these measurements in your project notes.

Prepare a Measurement Tape

  • Draw the beginning line about 2 cm from the end of the tape. If there is a hem, draw a second line to mark the hem’s length.
  • Write the item description on the tape.
  • Write ” ___ (finished length) + ___ (take-up and shrinkage) = ___ (total length)” on the tape.
  • Measure the total length from the first line (or from the hem) on the tape. Draw a line at the end (add hem, if needed).
  • Cut the tape about 2 cm after the ending line.
  • Find the middle of the tape. Draw a line and write “MID”.
How to measure your weaving on the loom.
Place the first line of the measurement tape directly over the beginning picks of the woven article.

Prepare a Half Measurement Tape

  • Do the same as for a full-length measurement tape, except divide the total length measurement in half. Draw a line on the tape at the halfway point. Write “MID” before the line.
  • Cut the tape about 2 cm after the MID line.

Weave and Measure (Always with the warp under tension)

  • Use two straight pins to pin the measurement tape to the weaving near one selvedge. Place the beginning line of the tape directly over the beginning of the woven article.
  • As weaving progresses, remove the pin closest to the breast beam. Leapfrog over the remaining pin. Reinsert the removed pin through the tape near the fell line.
Using a measurement tape for weaving consistent lengths.
Move one pin at a time. I usually move the pin right before I advance the warp.
  • If using a half measurement tape, weave past the MID line. Mark the spot with a pin. Remove the measurement tape. Turn the tape and pin into place to weave the second half.
How to make a half measurement tape.
When you reach the MID line on a half measurement tape, keep the measurement tape in place until you have woven a few more centimeters.
How to make and use a Measurement Tape for weaving accurate lengths.
Place one pin through the cloth, pointing to the MID line. Then, it’s safe to remove the measurement tape and turn it around. Go your merry way, weaving the second half of the Monksbelt runner, or whatever you have on your loom.

Here’s a demonstration of making and using a measurement tape:

(For a previous discussion of this topic, see Tools Day: Measured Weaving.)

Since you can measure what you are weaving, do relax and enjoy the ride.

May you reach the mid point at just the right time.

Happy Weaving,
Karen