Tried and True: Color Gradation

When I decided to use up some of the quills that have collected, I stumbled on one of my favorite techniques—color gradation. The weft colors change gradually instead of making distinct weft stripes. Remember the placemats on the little countermarch loom? I am weaving the last few.
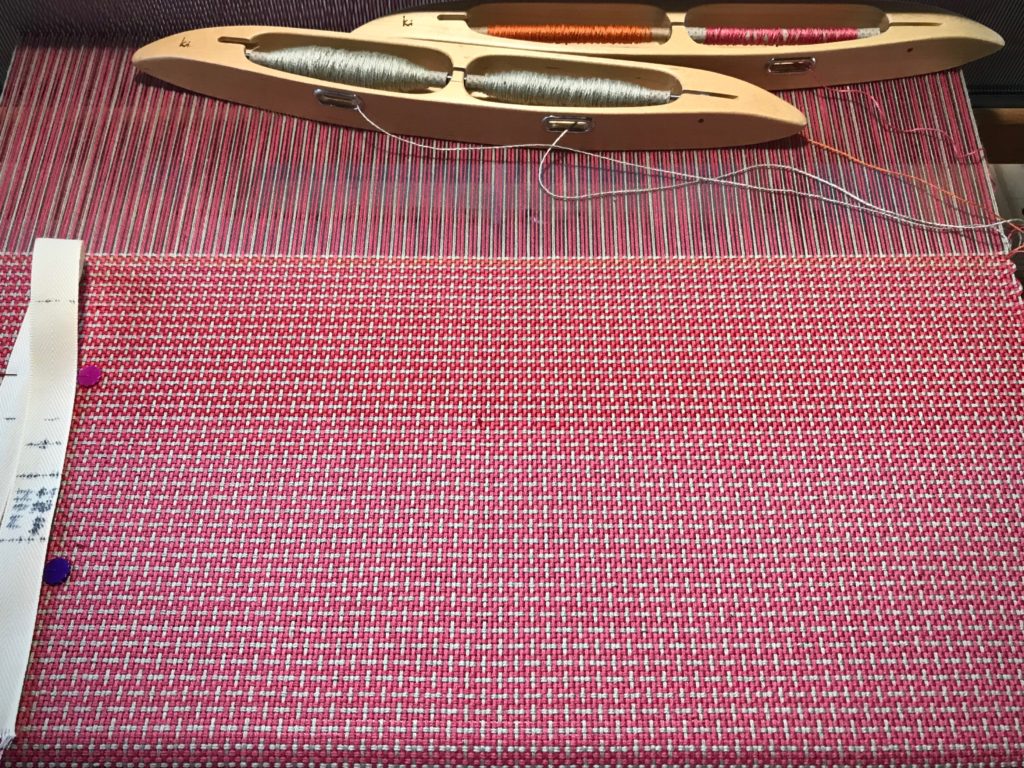
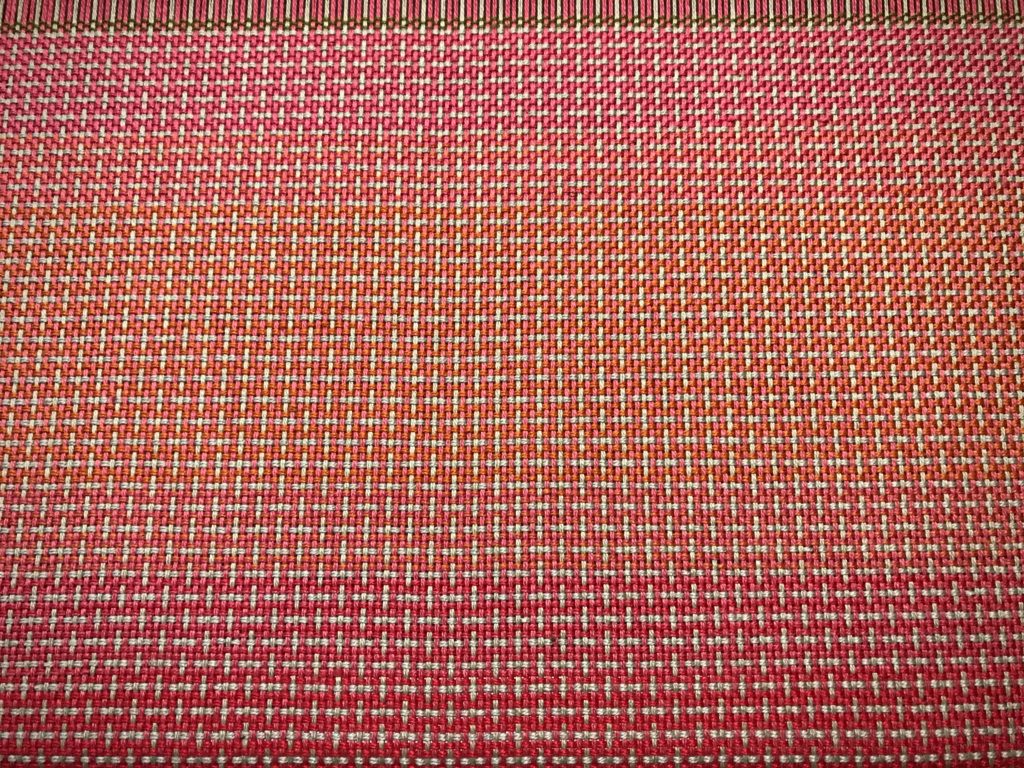
Color gradation on plain weave with color and weave effects.
Using up thread left on quills for some color gradation play.
Doubled weft gives opportunity for easy color gradation.
Color and weave effects on plain weave. 8/2 cotton weft is doubled.

The quills on a double-bobbin shuttle don’t always empty at exactly the same time. The quill that has thread remaining on it goes in a box for later use. Those quills in the box are what I’m using here. For this placemat I’m letting gradient color changes happen in varying increments, according to the amount of thread left on the quill. I have five shades of 8/2 cotton, ranging from coral pink to pumpkin.
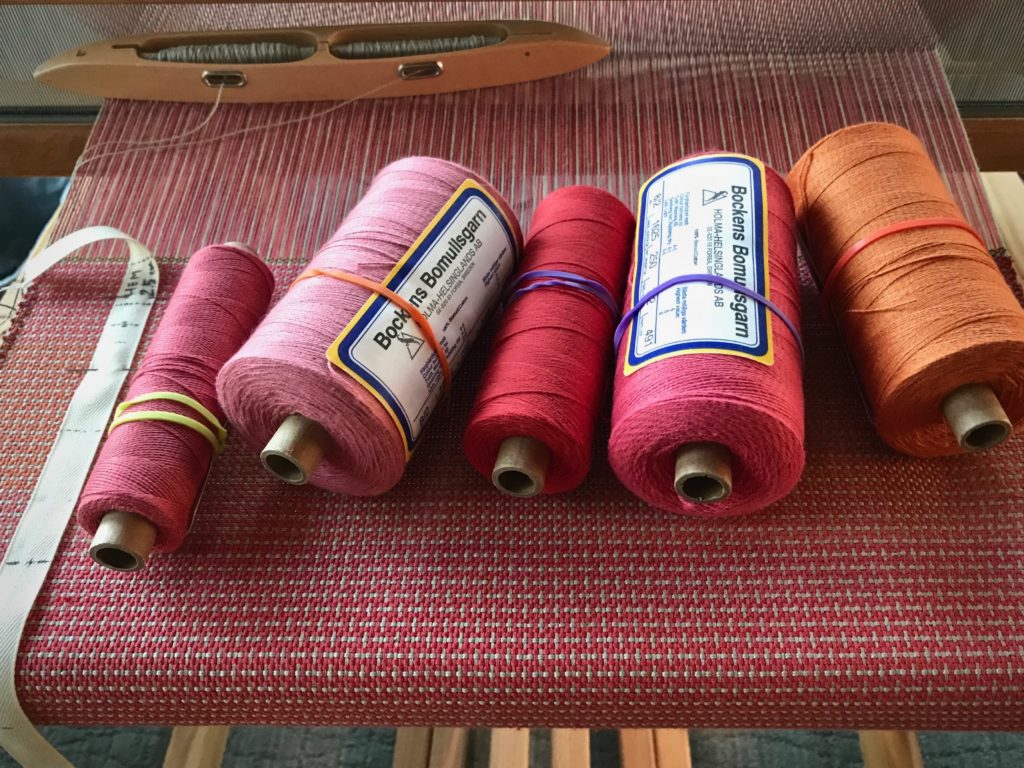
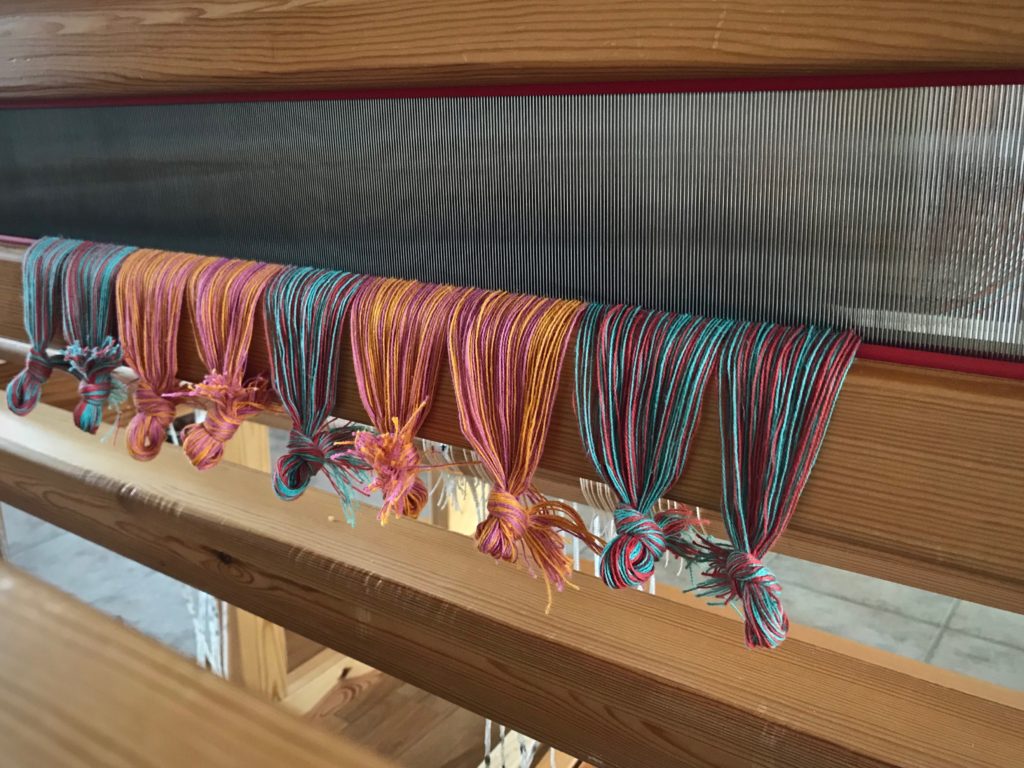
Colors for gradient weaving.
Color “sisters” play well together.

This is the perfect setup for some subtle color gradation: Five closely-related hues, a double-bobbin shuttle, and a supply of leftover quills. For best effect, I arrange the colors in order, from light to dark, or dark to light.

Color Gradation

  • Weave a section with two quills of color A (the lightest color)
  • Weave the next section with one quill of color A and one quill of color B (one shade darker than color A)
  • Weave the next section with two quills of color B
  • Weave the next section with one quill of color B and one quill of color C (one shade darker than color B)

And so on…

What could be simpler?
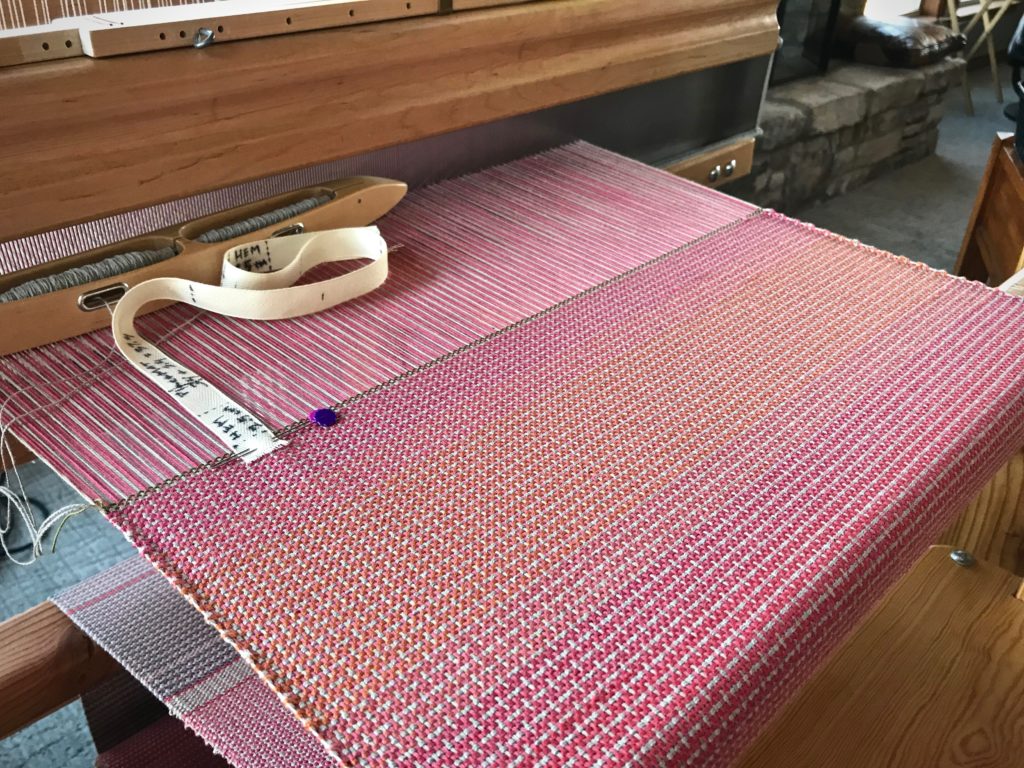
Color gradation.
Pumpkin color adds a pleasing subtle accent to the corals and reds in the cloth.

May you make something beautiful with the little bits that you have.

Happy weaving,
Karen

Tried and True: Threading Eight Shafts

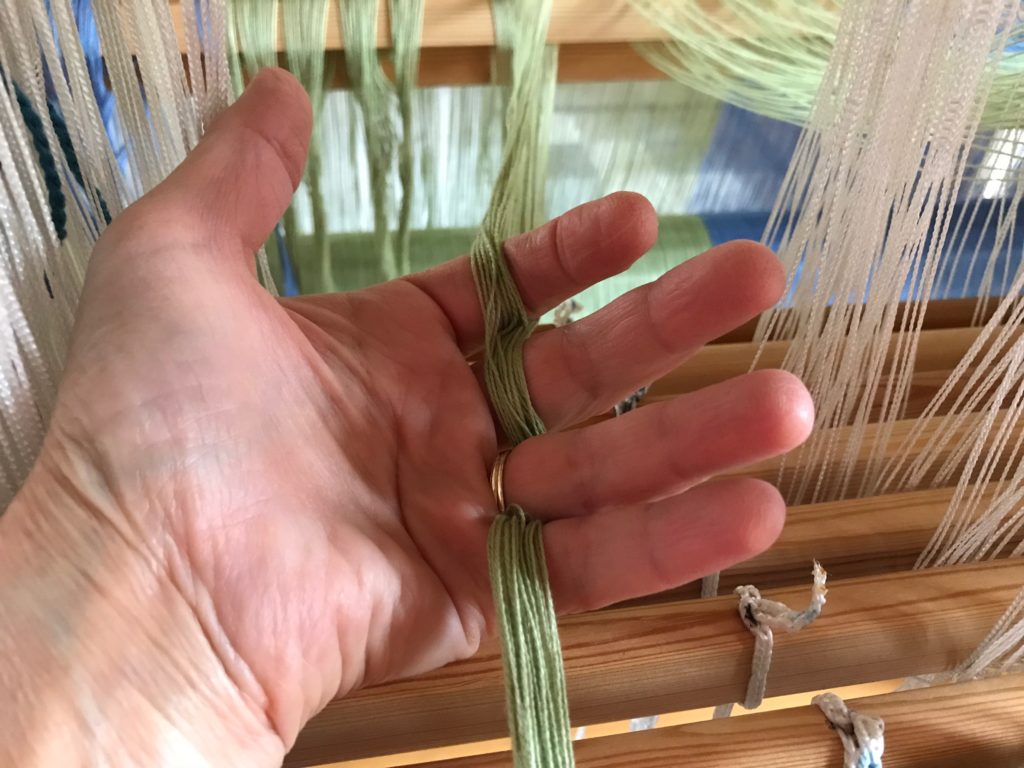
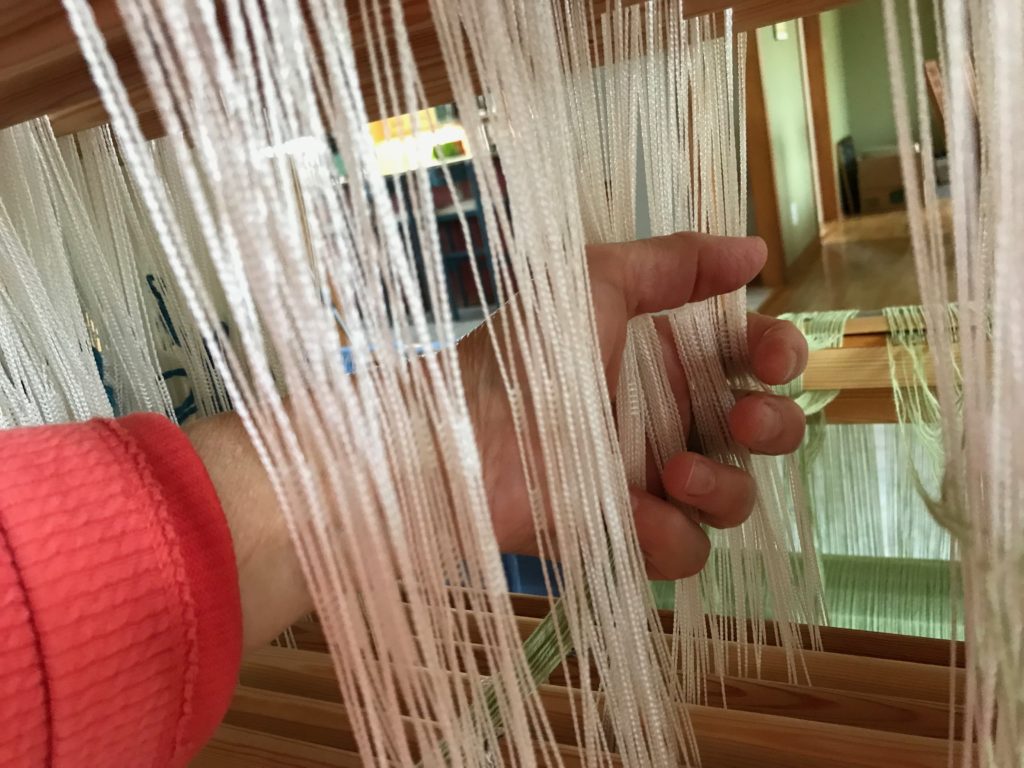
Threading four shafts is straightforward because the heddles fit perfectly between four fingers and a thumb. Threading eight shafts is tricky because we don’t have that many fingers! Thankfully, threading eight shafts can be as straightforward as threading four shafts. I like to think of it as four shafts in the back, and four shafts in the front.

For a review of threading four shafts, watch the short video in this post: You Can Prevent Threading Errors.

Threading Eight Shafts – Straight Draw

  • Set a small group of heddles apart on each shaft to prepare for threading the next group of ends.
  • Pick up the next threading group of ends and bring it to the front, on the left side of the separated heddles.
  • Lace the threading group of ends under, over, under, over the fingers of your left hand, palm up.
Threading eight shafts - the easy way.
Left hand becomes tensioning device for threading the heddles. I like to put my index finger in between the two parts of the cross, as separated by the lease sticks.
  • Wrap left hand index finger around the group of heddles on shaft one (the shaft nearest the back of the loom), the middle finger around heddles on shaft two, the ring finger around heddles on shaft three, the pinky around heddles on shaft four, and bring the thumb around to hold it all loosely together.
Threading eight shafts - the easy way.
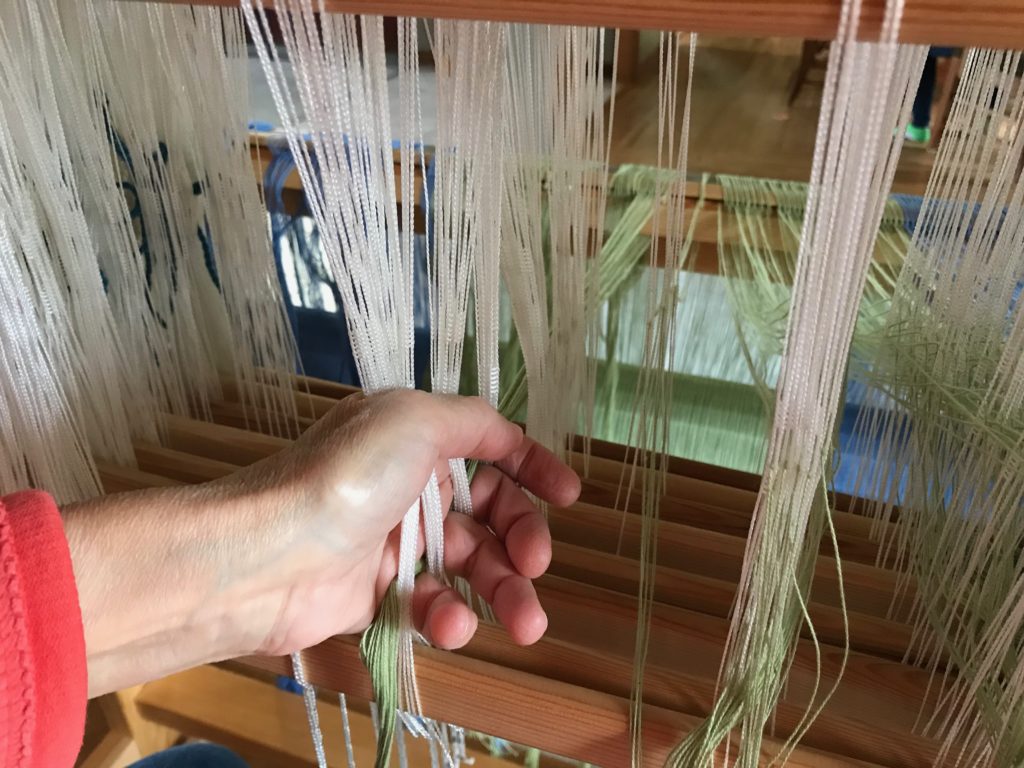
Each warp end is taken in order from between the lease sticks, and then threaded through the heddles in order.
  • Thread the first four heddles—1, 2, 3, 4.
  • With the right hand, hold the group of warp ends taut, and open the fingers of the left hand to release the heddles.
  • Keeping the group of warp ends loosely laced around the fingers, slide the left hand toward you to thread the next four heddles—5, 6, 7, 8. Position your fingers around the heddles on each shaft, as you did for the first four shafts.
Threading eight shafts - the easy way.
Left hand slides toward the front of the loom to thread the next four heddles. It helps to hold the warp ends taut with the right hand while the left hand is repositioned.
  • After threading the second set of heddles, follow the same procedure as before and slide the left hand back again to thread 1, 2, 3, 4.
  • Continue sliding the left hand forward and back, until the threading is completed for that group of ends.
  • Check the threading group for accuracy, and then tie the group of ends together in a loose slip knot.
Threading eight shafts.
Always check for accuracy before moving on to the next threading group.

Complete the threading across the warp. And then, step back and admire the beauty of a beamed and threaded loom.

Glimakra Standard. Threading the loom.
Shafts are raised high for good access and visibility for threading, and for checking for accuracy.
Threading is complete. 8-shafts undulating twill.
Threading is complete. Cotton throw. 8/2 cotton, undulating (wavy) twill on eight shafts.

May you find efficient methods for the work of your hands.

Happy weaving,
Karen
Tools Day: Band Loom Warping Board

It is almost effortless to make a short warp for the band loom. All you need is a peg at the beginning and a peg at the end. You can use a spoke of the warp beam wheel, for instance, at one end, and the leg of an upside-down stool at the other. I normally use my warping reel, though, for even a simple warp, because the reel is so handy. However, I don’t have my warping reel here at the apartment, so I am turning my band loom into a handy warping board for this band loom project.

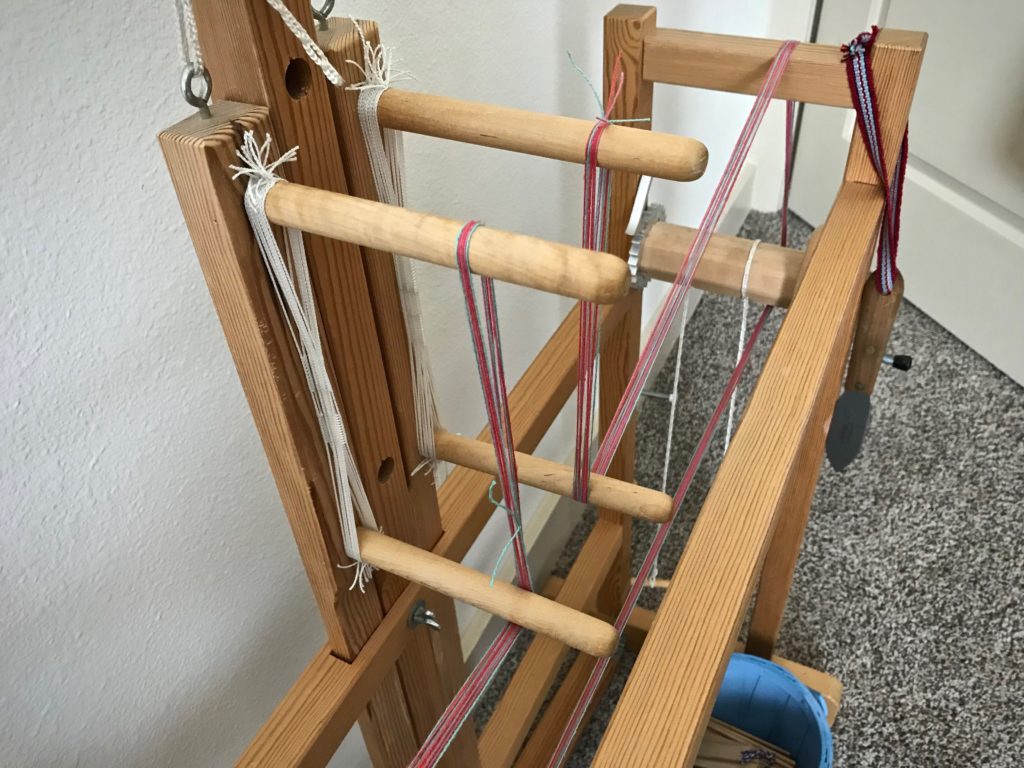
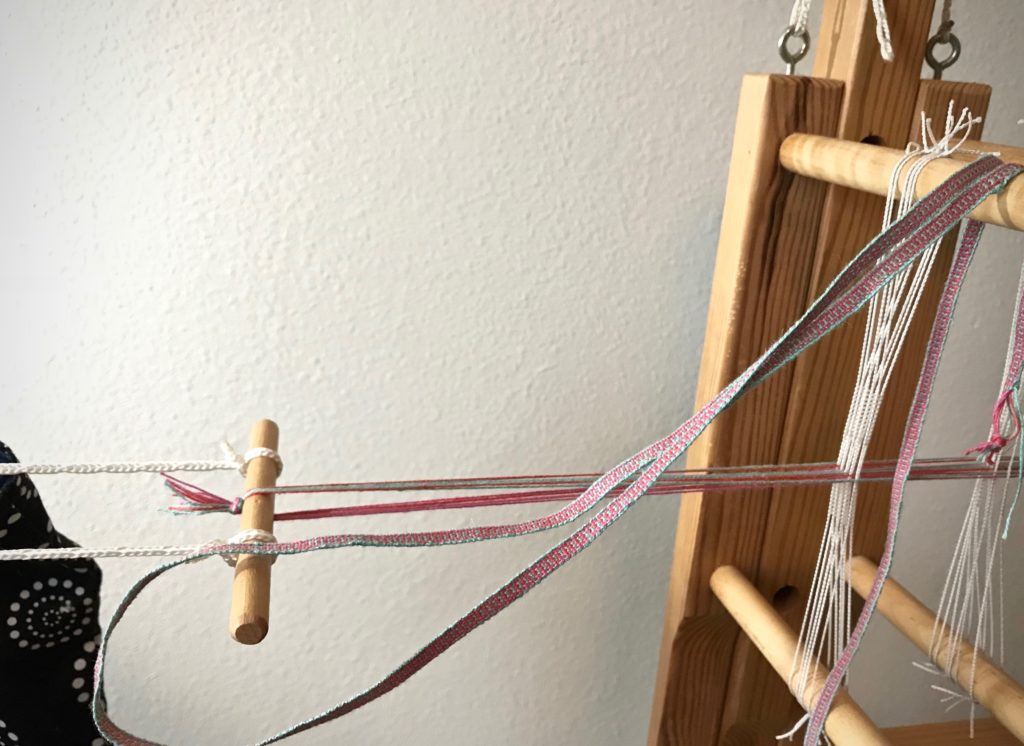
Using the Glimakra band loom as a warping board.
Using the Glimåkra band loom to measure a narrow cottolin warp.

How to Use the Band Loom as a Warping Board

Tools and supplies:

  • Glimåkra band loom
  • Thread for weaving a narrow band
  • Basket and/or spool holder(s)
  • Scissors
How to use the band loom as a warping board.
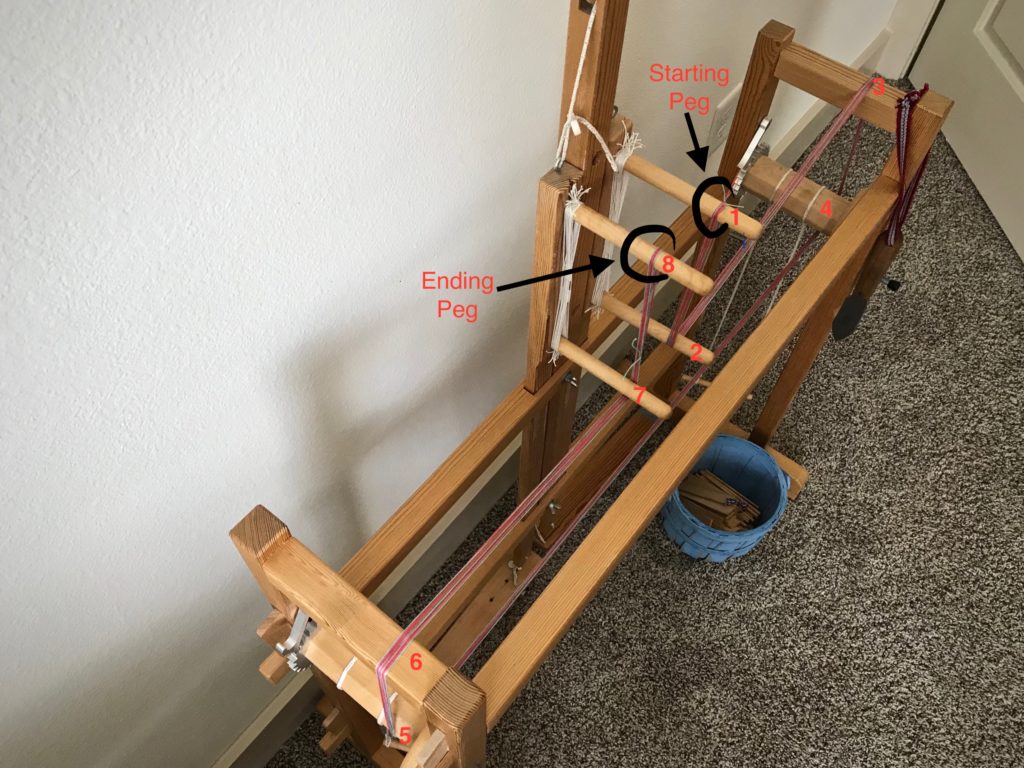
Starting at one peg and ending at another. The band loom becomes a simple tool for winding a short warp.

For a warp of approximately two meters:

  • Put the warp thread on the floor below—quills in a basket, and/or thread tubes on spool holders.
  • Using two or more ends, tie the ends together with an overhand knot. (I used three ends together for this warp.)
  • Bring the warp ends up around the warp beam and over the back beam.
  • Loop the knot on the starting peg.
  • Draw the ends from the starting peg to the ending peg, around the band loom, following this path:
  1. Starting peg–upper heddle peg nearest back beam
  2. Lower heddle peg nearest back beam
  3. Back beam
  4. Warp beam
  5. Cloth beam
  6. Front beam
  7. Lower heddle peg nearest front beam
  8. Ending peg–upper heddle peg nearest front beam
  • Follow the winding path in reverse order back to the starting peg.
  • Continue winding until you have reached the desired number of ends.
  • Cut the ends and tie off at the starting peg or the ending peg.
  • Tie one or two choke ties, if needed. (I didn’t need them for this short warp.)
  • Carefully remove the warp and dress the band loom as usual. (For a tutorial on dressing the band loom, click here: Quiet Friday: Band Loom Warping and Weaving.)
  • Weave to your heart’s content.
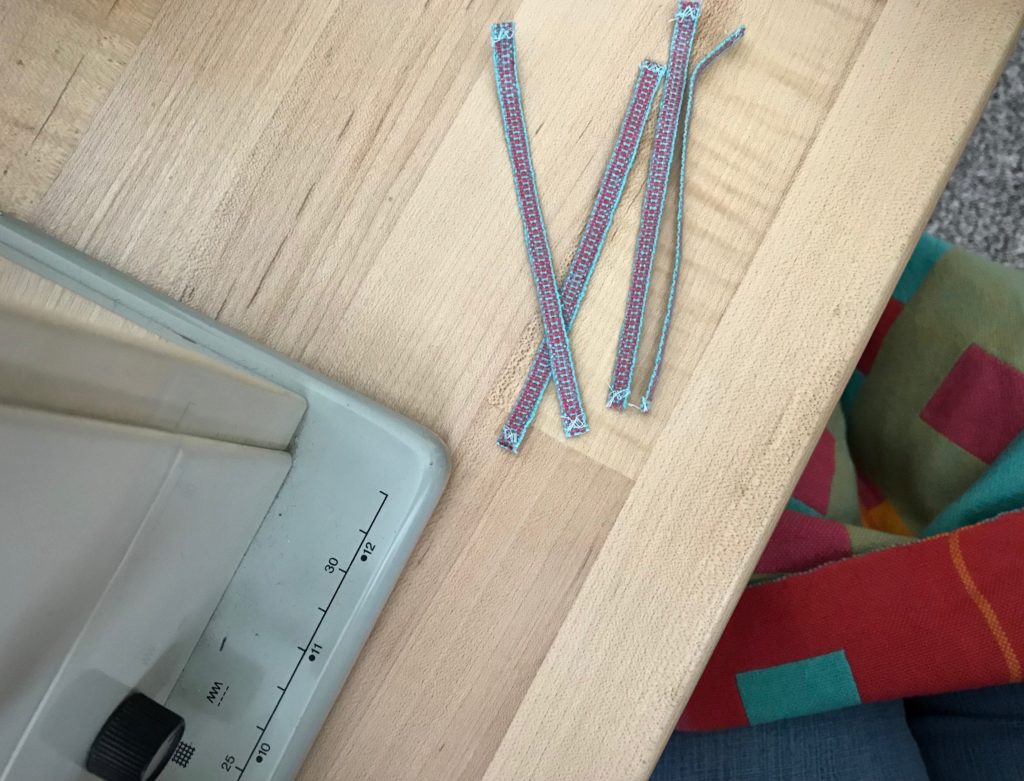
Weaving hanging tabs for towels on my Glimakra band loom.
One meter of woven band is cut off. The remaining band warp is tied back on. Weaving can resume at any time.
Preparing to sew handwoven ribbons onto handwoven towels for hanging.
Ends secured, and cut in 10.5 cm lengths, the tabs are ready to be sewn onto the double weave towels.

May you find tools you didn’t know you had.

Happy band weaving,
Karen

Tools Day: Click Test

It is not easy to see sleying errors in this fine-dent reed. I unknowingly quadrupled the ends in four of the dents, instead of the specified two ends per dent. When I check as I go, I find the errors while they are still easy to fix.

How to check and double-check for sleying errors:

  • Tie ends into threading groups, using a loose slip knot. (I do this before threading the heddles.)
  • Sley one threading group. (I sley right to left.)
  • Visually check the sleyed group of ends for skipped dents and crowded dents.
  • Do a Click Test. Use the hook end of the reed hook to count the dents by running the hook along the reed…click, click, click… Make sure the number of clicks matches the number of dents needed for that group of ends.
    —This is how I caught my errors. When the dents came up short in the Click Test, I knew I had some crowded dents that I had failed to catch in the visual check.
  • Move ends and re-sley as needed.
  • Sley each remaining group of ends, checking as you go, visually and with the reed-hook Click Test.
Reed is sleyed. Dressing the loom for double-weave towels.
Two ends per dent in this 70/10 metric (equivalent to an 18-dent imperial) reed.

May your errors be few and fixable.

Happy sleying,
Karen

Dismantled Loom

As June comes to a close, it’s time to sign off for a short while. Meet me right back here the first Friday of August! And head on over to Instagram ( @celloweaver ) to keep up to date with all my daily happenings on and off the loom!

Some things are on hold right now. My “weaving studio” suddenly looks like the spare bedroom it used to be. The big loom is dismantled! Fortunately, it is not a problem for this smart Glimåkra Standard loom to hold onto the warp that I’ve already wound onto the warp beam. The good news is that this cherished loom is being relocated to our Texas hill country home, where it will take the stage as if it were a grand piano.

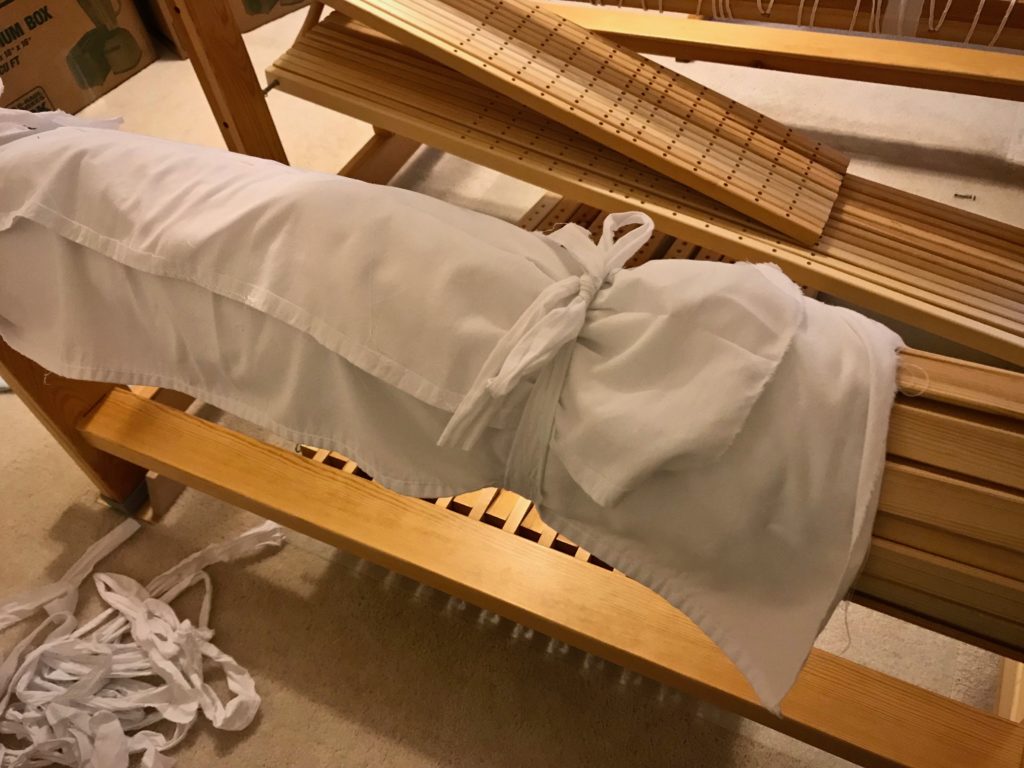
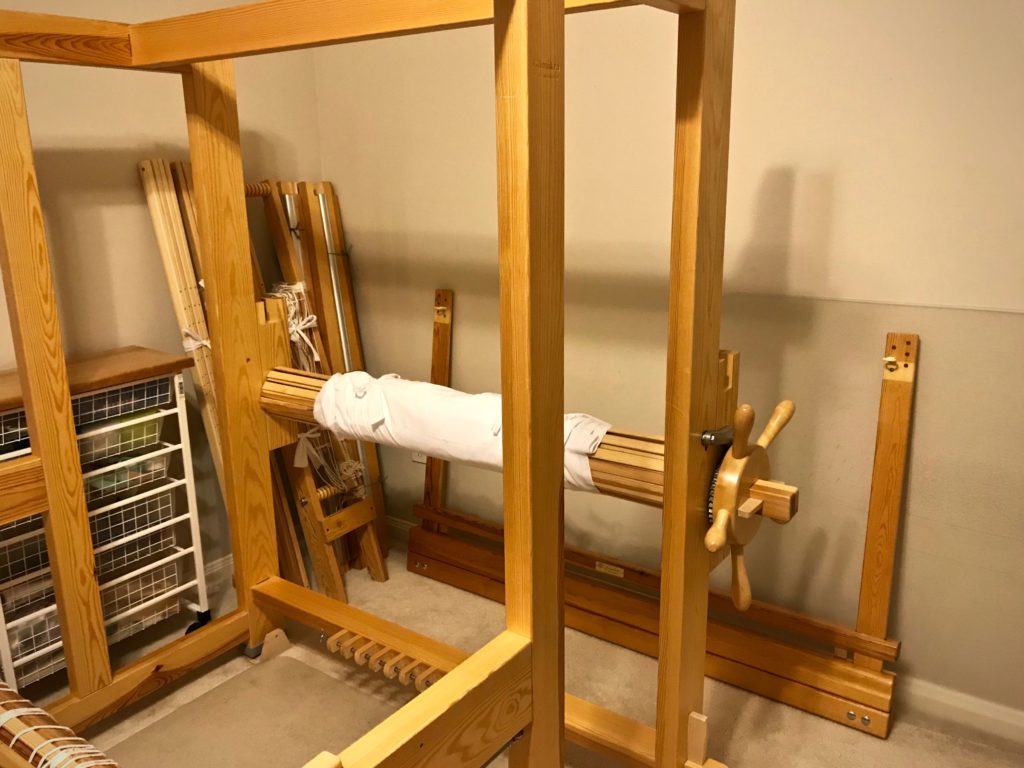
Preparing loom for dismantling with warp on the loom.
White sheet from my box of old sheets (for scrap rag weft) is used to wrap the warp on the warp beam. It is tied securely with some long fabric strips.
Dismantling my loom for moving.
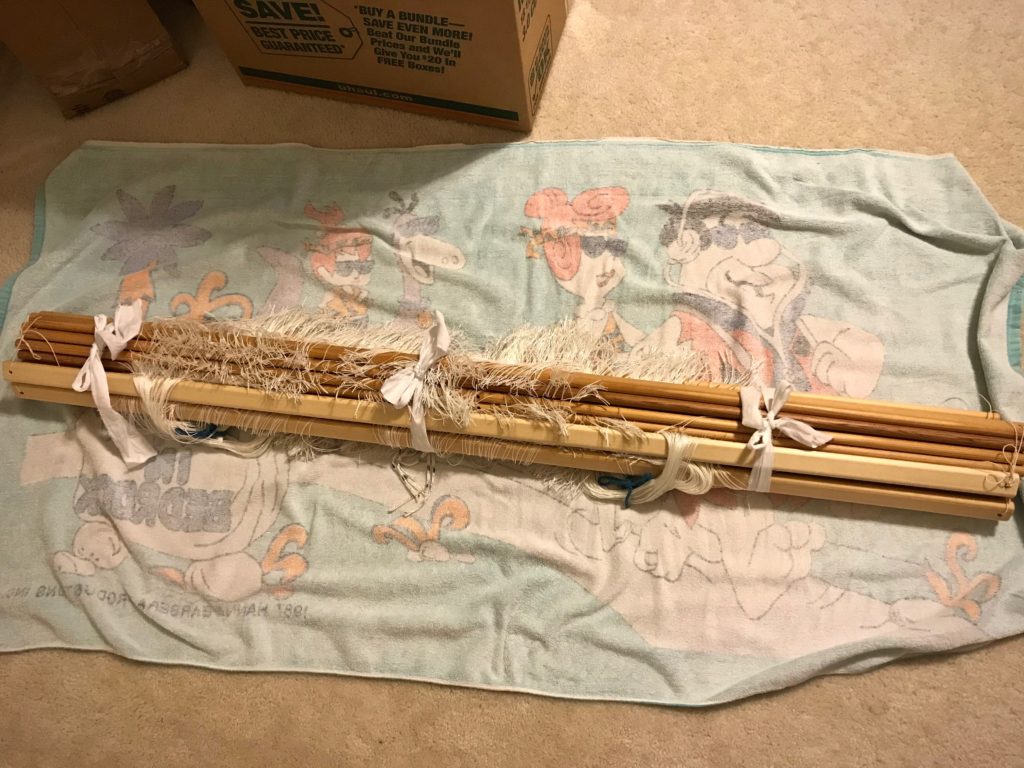
Shafts are tied together at the ends with seine twine. Fabric strips are tied around to hold the shafts together in a bundle. The bundle of shafts is placed on an old Flintstones beach towel, and then wrapped up like a big burrito and tied up with more fabric strips.
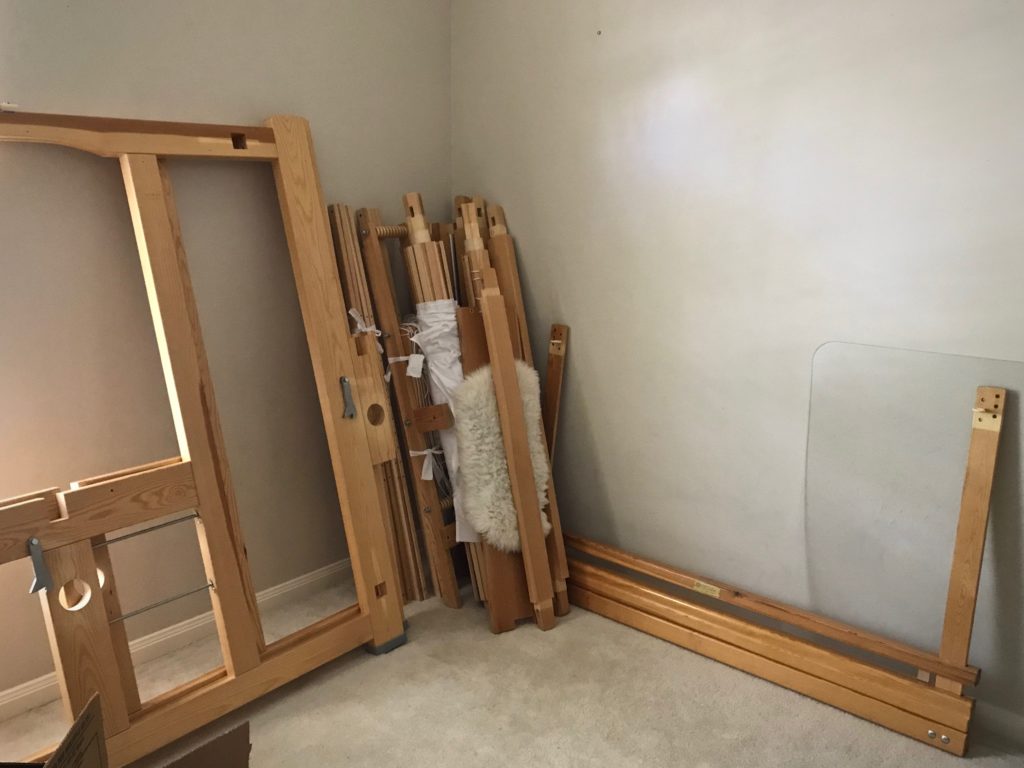
Dismantling the Glimakra Standard.
Piece by piece, loom is dismantled.
Relocating this Glimakra Standard loom.
Fully dismantled, the loom becomes sticks and pieces of wood. Ready for relocation!
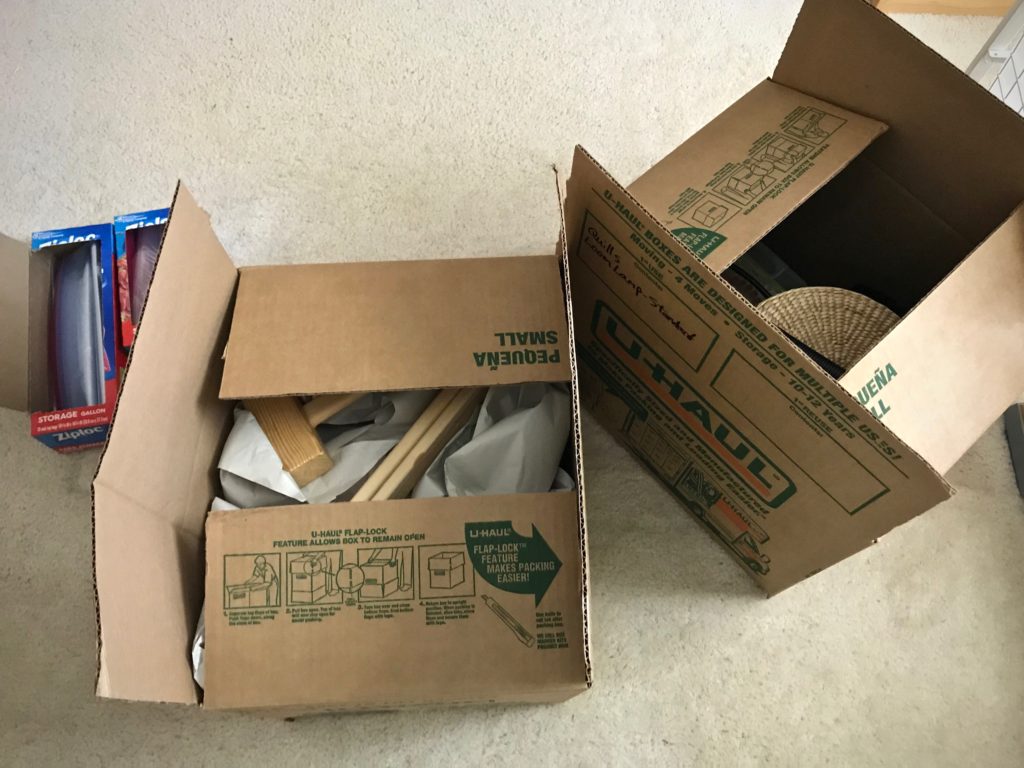
Boxes labeled "KEEP WITH LOOM," for loom being relocated.
Loom essentials are in boxes labeled “KEEP WITH LOOM.” The wooden mallet will be one of the first things needed.

Hold. Several meanings for this word come to mind. Sometimes our familiar patterns of daily life are on hold. There’s a pause, a held breath. But during that pause, our plans and threads of normal practices are securely and lovingly wrapped up on a strong beam of hope. Wrap the spare cloth securely over your precious warp ends so that when it’s time, you can unroll the warp and finish dressing the loom for spectacular twelve-shaft double weave towels. Hold fast to Christ as Christ holds all your interrupted threads of being.

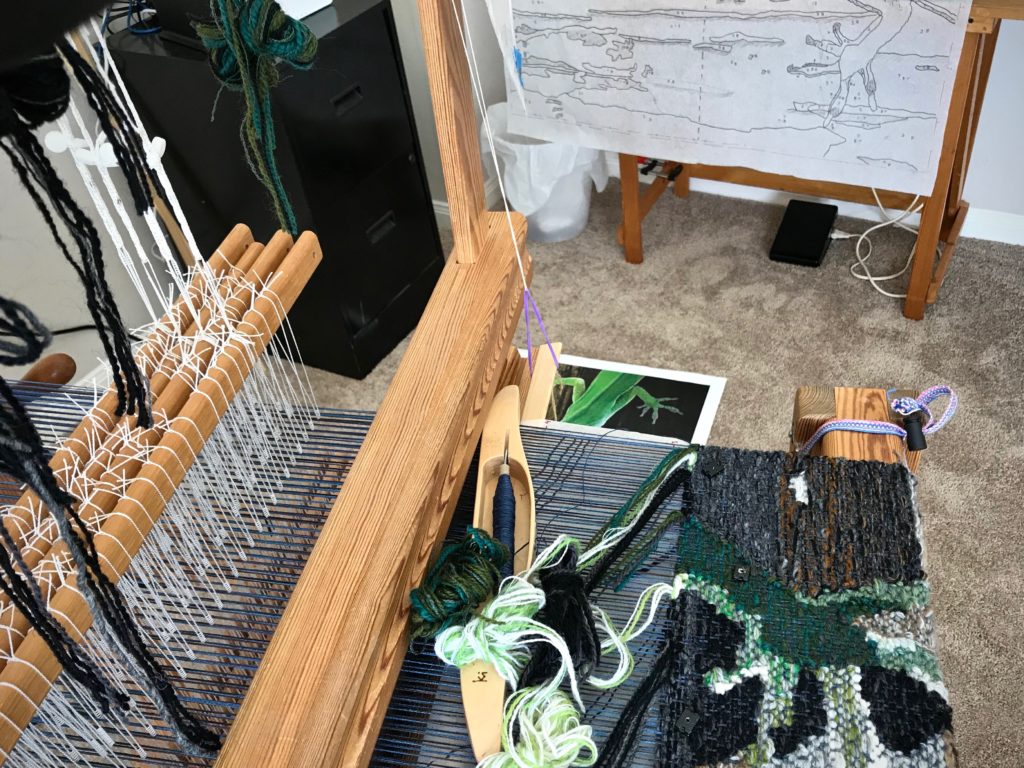
PS The Lizard tapestry is in full swing on the not-dismantled Glimåkra Ideal.

Lizard tapestry on Glimakra Ideal loom.
Lizard tapestry on the Ideal loom now has my singular attention. Thirty centimeters complete.

May you have a fantastic July!

Lovingly,
Karen