Tried and True: Center the Reed

Eleven hours and thirty-six minutes into this project, the starting line for weaving is just around the corner. Wind the warp, and beam it. Thread the heddles. Sley the reed. Unlock the back beam ratchet. Move the countermarch to the front of the loom. … Pause when you think about moving the twelve shafts and the reed forward with the countermarch. Reach. Wiggle. Pull. Wiggle. Pull some more. Got it. Now, put the reed in the beater. Relax? Almost, but not yet.

Time to move the whole shebang forward.
Reed is sleyed, so reed support cords have been removed. Time to move the whole shebang forward.
Ready to insert the reed into the beater.
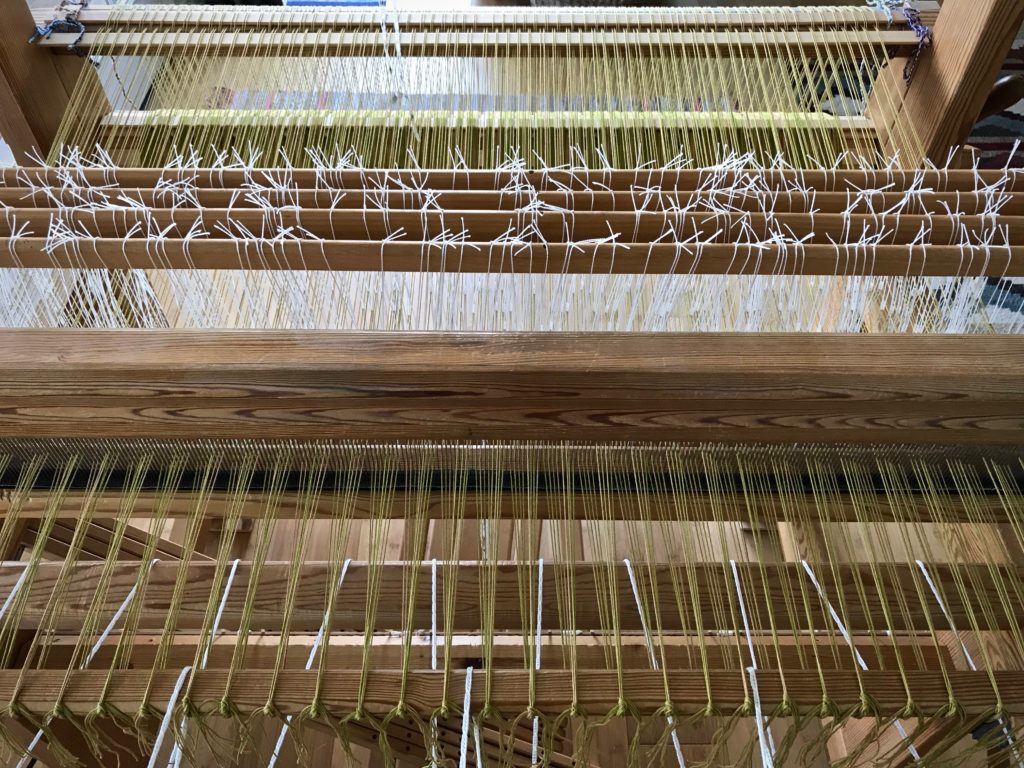
Plastic-coated wire is threaded through the ends of the shaft bars because I don’t have shaft pins long enough for twelve shafts. After coaxing and wiggling the mass of shafts forward, with the countermarch above them, I am ready to insert the reed into the beater.
Basics: How to center the reed.
As I put the reed in the beater I make sure all of the ends are free, and not trapped in the beater’s grip.

We must not forget to center the reed. I center the reed just as soon as the reed is in the beater.

How to Center the Reed

(We are actually centering the warp that is in the reed.)

Supplies needed: Tape measure (or string)

1. Using the tape measure, measure from the right edge of the warp in the reed to the outer edge of the beater on the right-hand side. Hold the tape measure with your fingers marking the measurement.

Center the reed.


2. Holding that measurement, place the tape measure at the left edge of the warp in the reed stretching out toward the outer edge of the beater on the left-hand side.

How to center the reed.


3. Note the difference in measurement between the right side and left side. Move the reed in the beater to center.


4. Repeat the first two steps until the measurements are the same on both sides.

Centering the reed.
Tips for centering the reed in the beater.
Reed is centered.

Now you can relax. Enjoy the moment, because you are that much closer to seeing fabric take shape!

May you enjoy the process you’re in.

Patiently,
Karen

Weaving Hearts

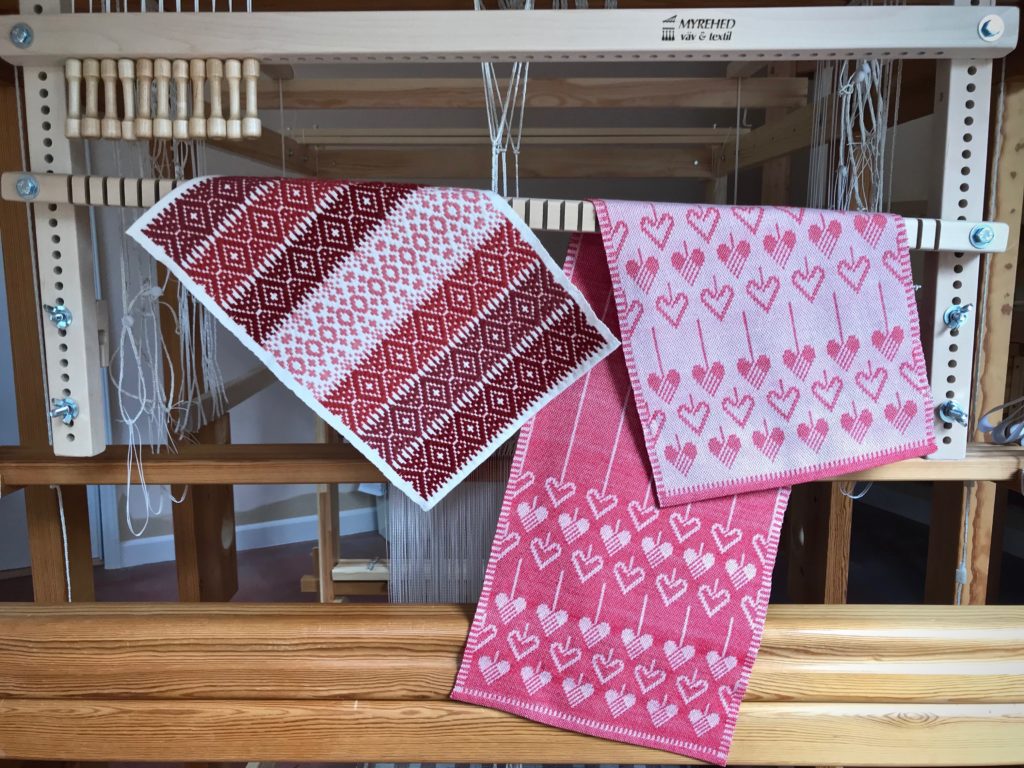
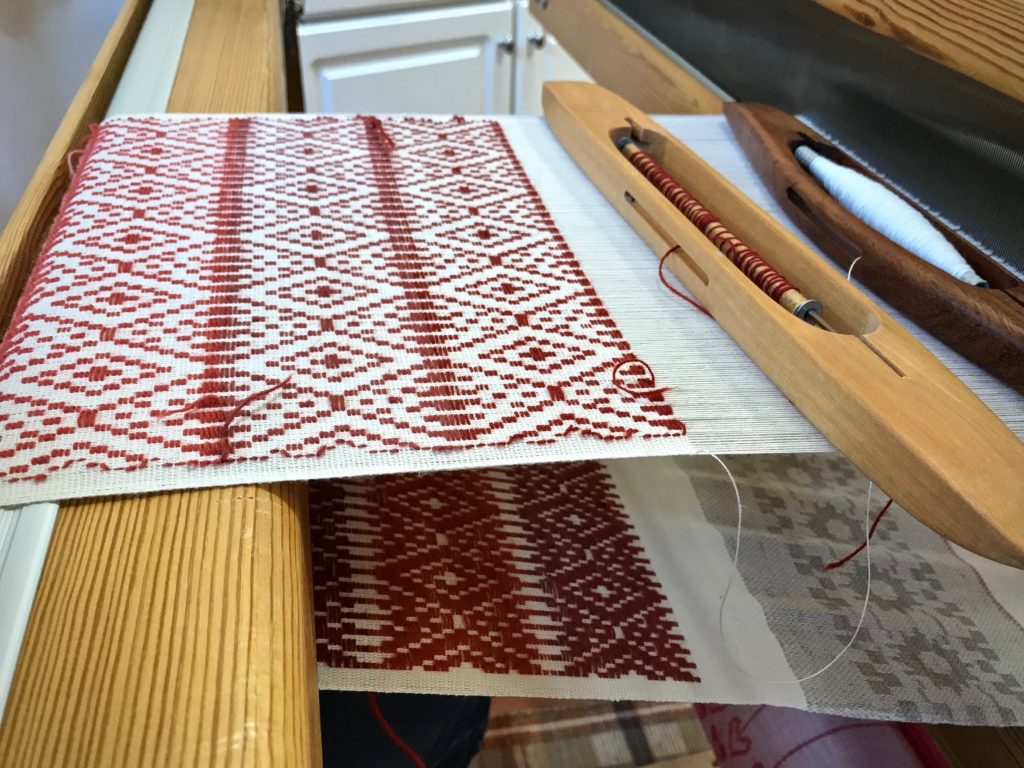
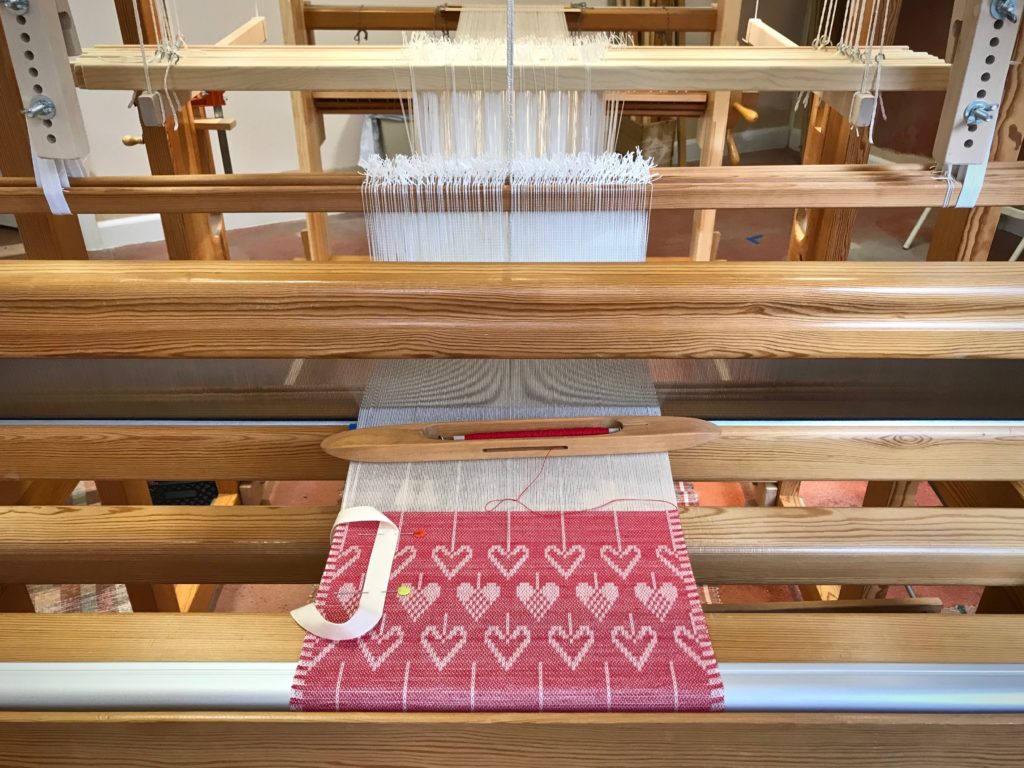
Pulling the draw handles for each four-thread unit of weaving is like doing counted cross stitch on the loom. I enjoyed cross stitch in the 1980’s and I am enjoying this drawloom version now. Very much. I started this Heart-Shaped Baskets table runner on Valentine’s Day—a fun way to celebrate the day!

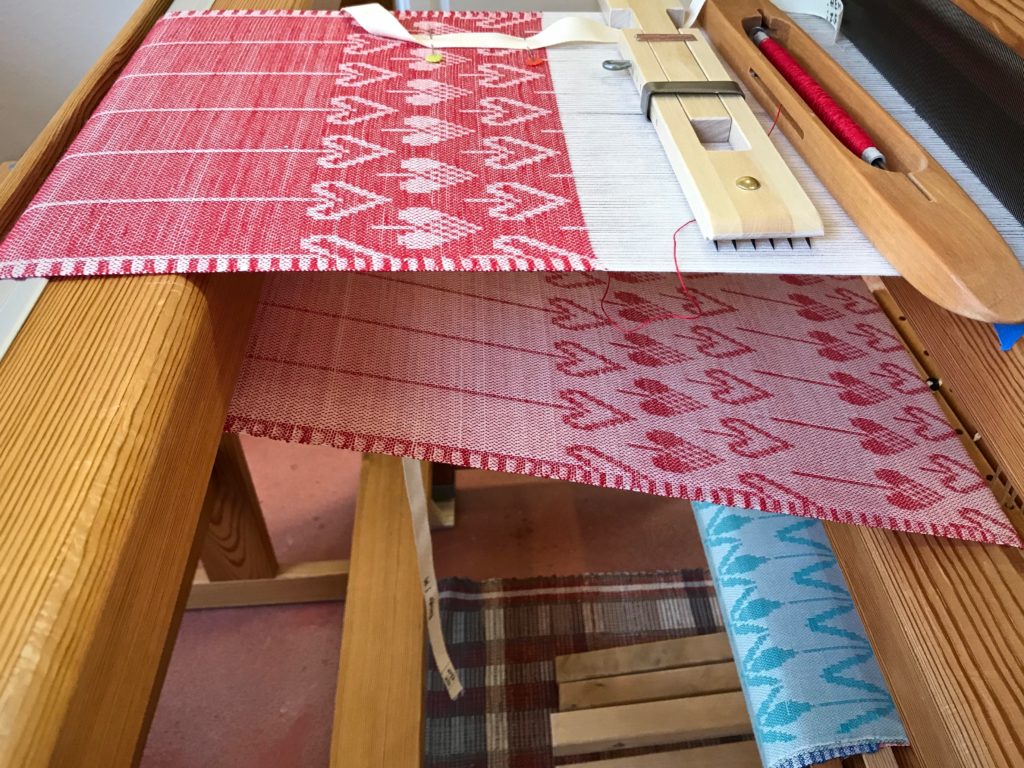
Heart-Shaped Baskets. Adapted from pattern in Damask and Opphämta, by Lillemor Johansson.
Heart-Shaped Baskets. Adapted from a pattern in Damask and Opphämta, by Lillemor Johansson.
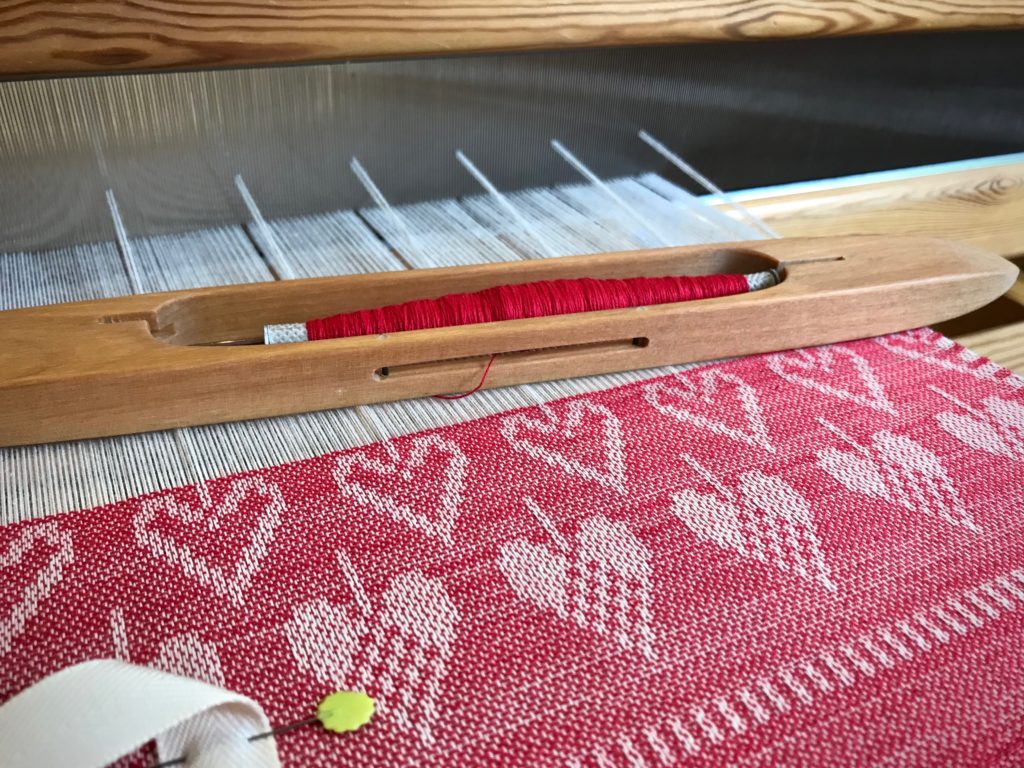
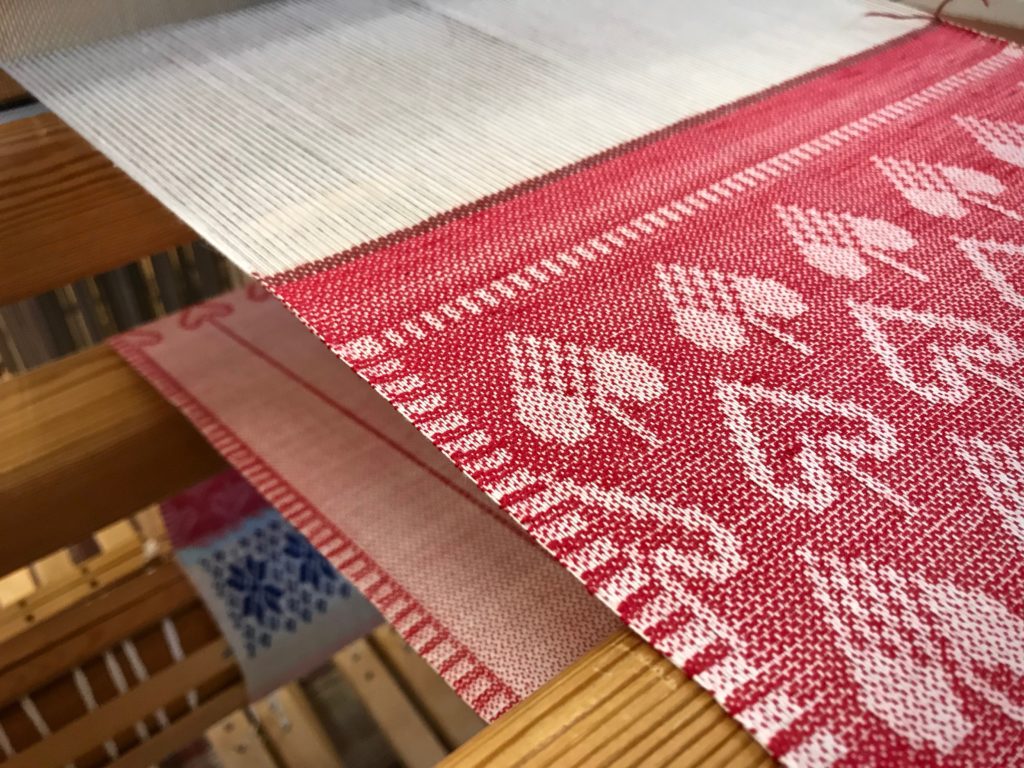
Drawloom hearts.
Red 16/2 cotton weft on unbleached 16/2 cotton warp. The dark weft on a light warp makes consistency in beating that much more important.

Like weaving on any floor loom, I want to have consistency in my beat and in my selvedges. Inconsistencies in these basics can detract from the drawloom imagery of the final cloth. The main thing is to keep paying attention. And keep joyfully pulling those draw handles to create more hearts of love.

Drawloom hearts.
Stripes at the edges prove to be a challenge for getting consistent selvedges.
Table runner on the drawloom.
Table runner is woven in broken twill on four ground shafts, with eleven pattern shafts.

Grace is a gift of favor, not an earned reward. Forgiveness is the giving of grace. And gratitude results from receiving grace. Grace makes us graceful. Giving and receiving grace with consistency is what we’d like to see in ourselves. That’s when the love of God, in whose image we’ve been made, is most clearly seen in us. So we practice what we know to do. And pay attention. And keep joyfully weaving a heart of love, by God’s grace.

May you be grace – full.

Gratefully yours,
Karen

Beaming Double Weave

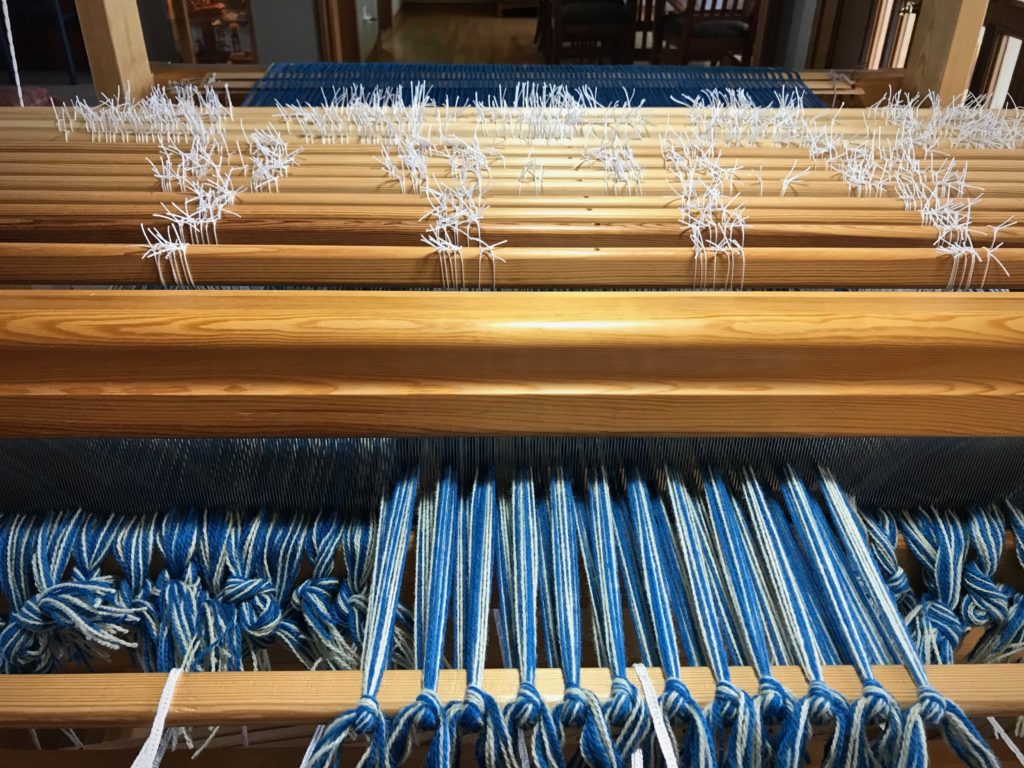
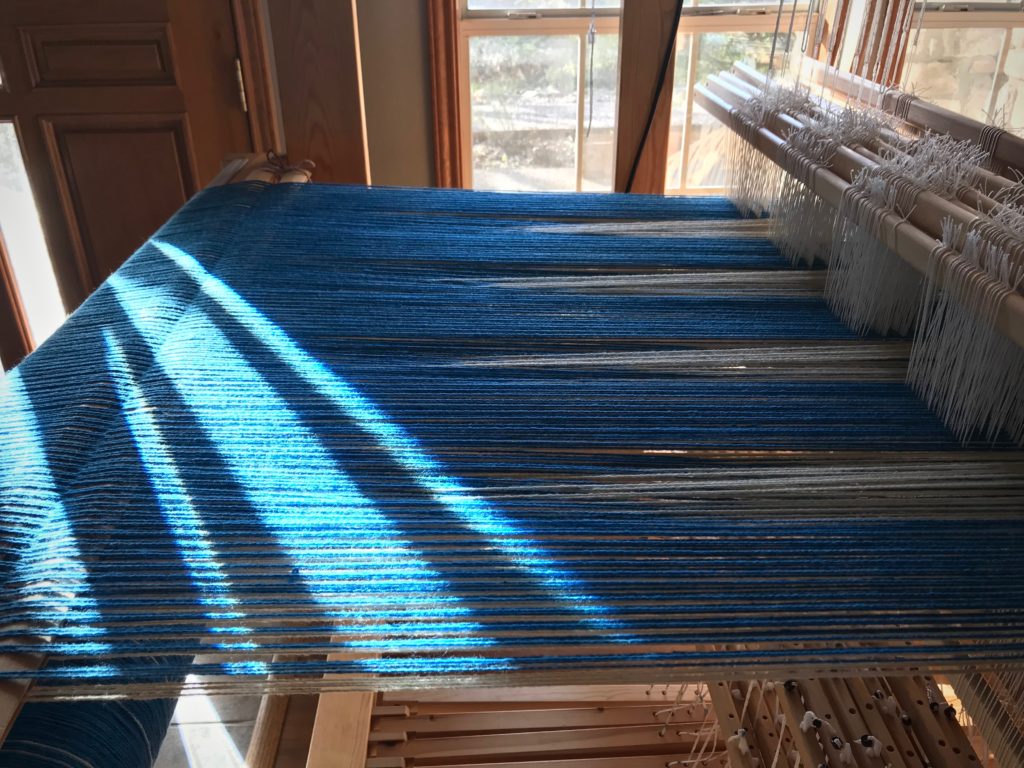
This is double weave on twelve shafts. One layer is the gorgeous lapis lazuli blue. The other layer is neutral almond for contrast. I am spreading and beaming this 6/2 Tuna wool warp with two sets of lease sticks—one set for each layer/color.

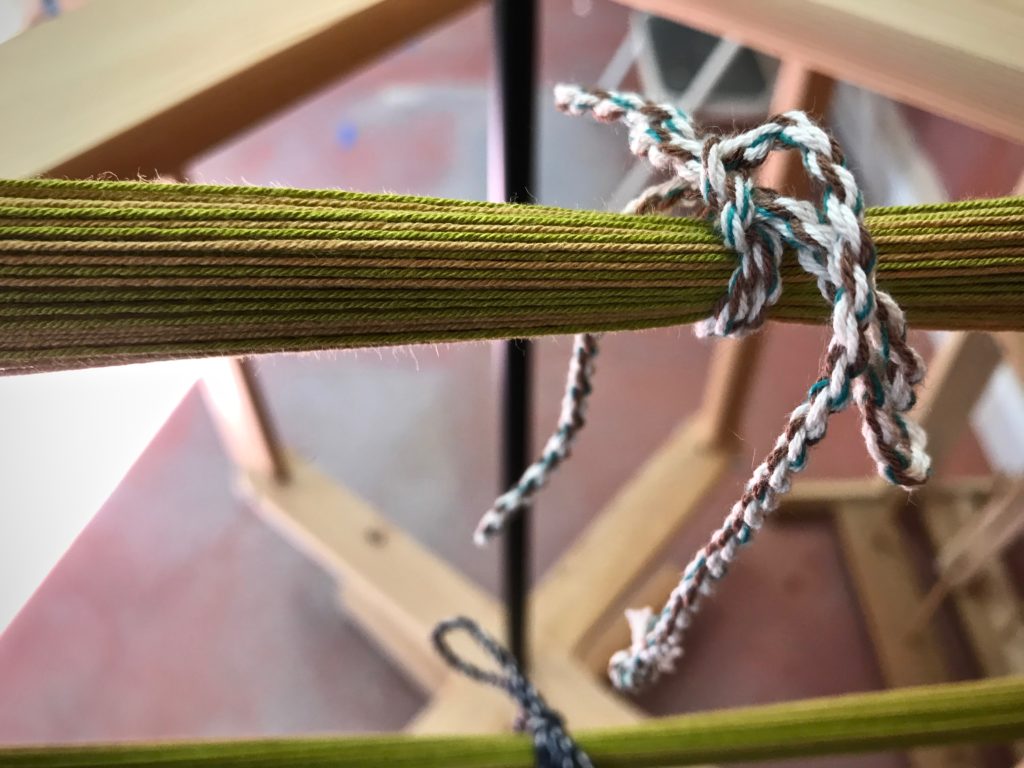
Big fat warp chains. Tuna wool for double weave.
Big fat warp chains. Double weave on twelve shafts, with 6/2 Tuna wool for warp and weft.

When you have two sets of lease sticks, though, it is a serious challenge to get the two colors to alternate correctly as you move the end loops to a separate stick. The ends on the stick are then transferred to the back tie-on bar. I did breathe a sigh of relief when everything was finally lined up and in order.

Double weave. Ready to beam the wool warp.
Two sets of lease sticks carries the challenge of having clear visibility of the lease cross in both warp layers. After one or two do-overs, all the yarn is successfully moved to the back tie-on bar. Moving from right to left, I separate and straighten each warp end on the tie-on bar. Only a few more left to straighten.
Ready to beam this wool double weave warp.
Back tie-on bar all in order. Now ready to move the pre-sley reed to the beater and begin beaming the warp.

And I’m reminded again how beautiful a beamed warp is. It’s worth the challenges.

Tuna wool warp on Glimakra Standard.
Warp beam and back beam show the beamed warp.
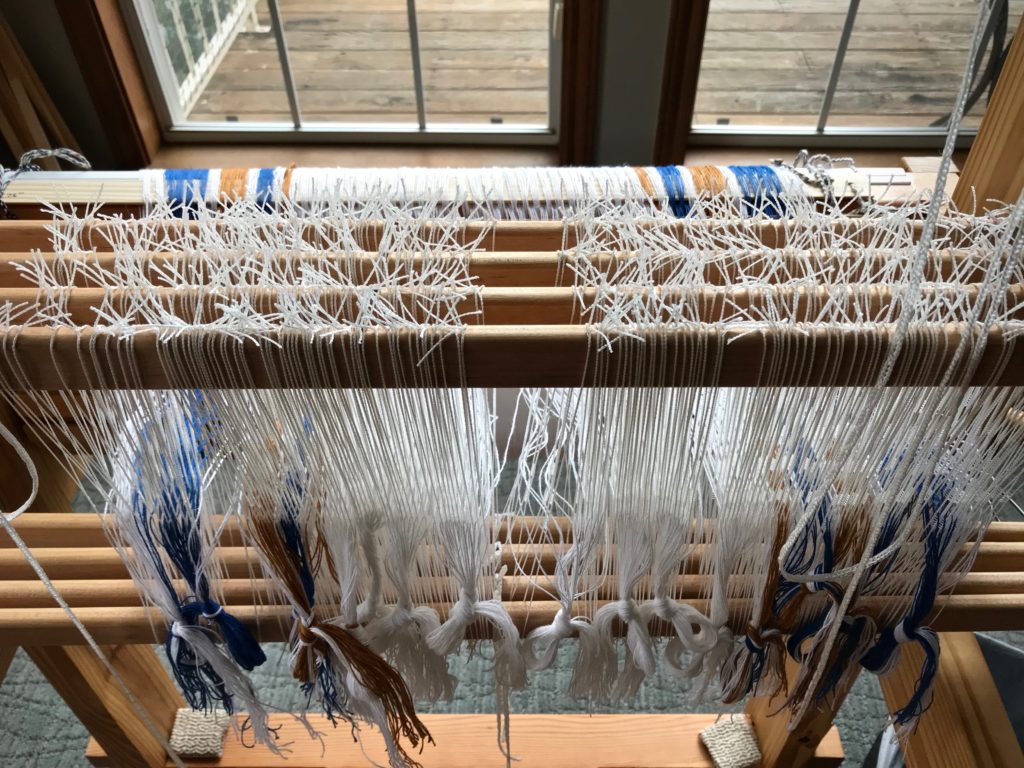
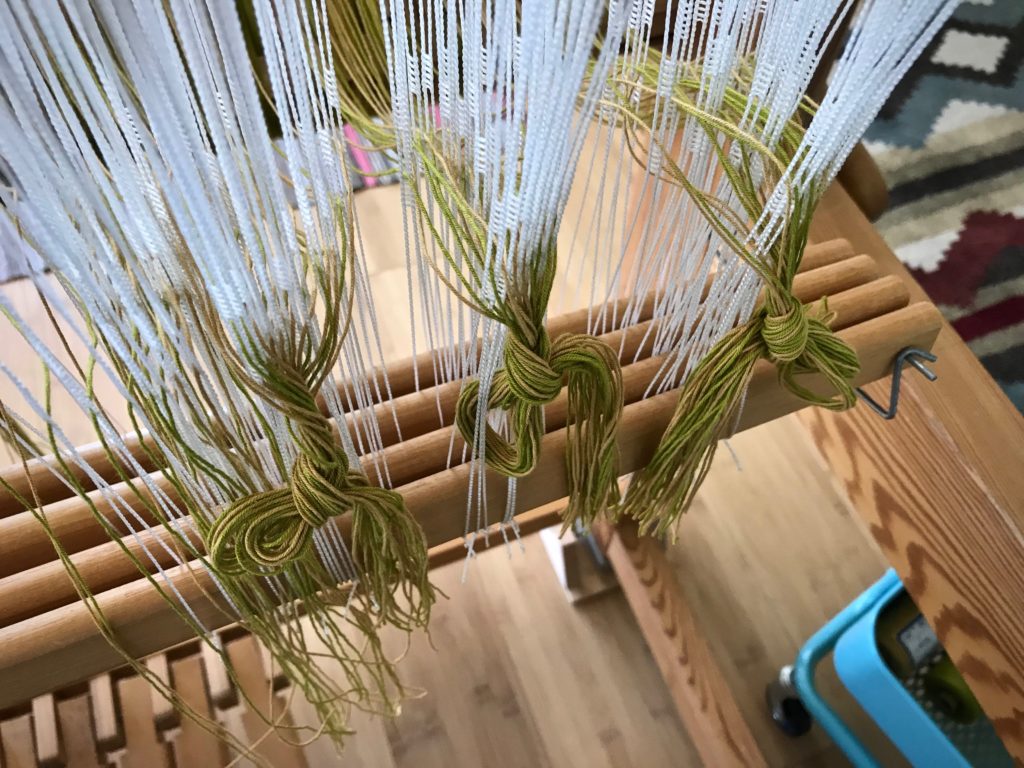
Wool warp separated into threading groups.
Separated into threading groups for the next phase of dressing the loom.

That beautifully ordered wool on the back tie-on bar, now hidden from view, is an essential element for quality handwoven cloth. Kindness is that way. It’s a core trait deep in one’s character that is revealed in interactions with others. Kindness makes you beautiful. It’s not something you try to be. It’s something we wear. It’s our inner being dressed in the character of Christ.

May you be dressed in kindness.

Affectionately yours,
Karen

Conversation with Joanne Hall

Drive up to this storybook cottage, and you can tell there is something special about it. It’s the home of Ed and Joanne Hall. When I arrive, Joanne greets me and takes me down the hand-crafted pine stairs to her delightful weaving studio dotted with floor looms.

Storybook cottage in Montana mountains.
Driving up to the Hall’s home and Joanne’s weaving studio in Montana.
Welcome!
Välkommen = Welcome

I recently had the joy of learning the ins and outs of drawloom weaving in this storybook studio in Montana. After the class ended, Joanne and I sat at her kitchen table to share some thoughts about weaving.

Joanne Hall
Joanne Hall
Photo credit: Ed Hall

Come join us, and sit in on our conversation…

If you could keep only one loom, what would it be?

The 59” Glimåkra Standard. That would be my loom, with a drawloom. A big loom is easier to set up, easier to warp because I can step inside it, and easier to weave on than a little loom. As you get older you need every advantage you can get.

Butterflies, woven by Joanne Hall on a single unit drawloom.
Butterfly piece was woven on the very first warp Joanne put on her drawloom. The warp is 20/2 cotton, unbleached; and the weft is 16/1 linen.
Being a tapestry weaver, I had to add more colors, so I laid in some colors and then I put a little gold leaf here and there. I did not want to add anything that looked like embroidery. I wanted my new work on the drawloom to have all the elements woven in.
– Joanne Hall

What would you weave on that loom?

I would mostly make narrow warps. I could weave some blankets or larger things, as well, because it’s easy on that loom. It is easy to beat and so easy to treadle. I could also weave tapestry on it.

Describe the drawloom you would use.

With the Myrehed combination, I would have both the shaft drawloom and the single unit drawloom. I do like images, like tapestry weaving, so I would enjoy weaving with the single unit drawloom.

Story of the Immigrants, woven by Joanne Hall on single unit drawloom.
Story of the immigrants.
Three of my grandparents immigrated from Sweden to America. This tells the story of their journey–walking, riding, then endless days on the boat, then walking again, all the way to Minnesota.
– Joanne Hall

Are there any weaving secrets you’d like to share?

One important thing to know is to wind a warp with more than one thread, especially a long warp. It is easier to beam and you will prevent problems when you wind with two or more threads. And doing so may also have a positive effect on weaving that warp.

Another thing to consider is that once you start weaving, plan to invest in good equipment. Some weavers start out buying the smallest, least expensive equipment. That’s okay for getting started, but don’t spend too much time with inferior equipment. Once you start warping looms, get a big vertical warping reel that is more than two yards around. You can wind a warp in half an hour, an hour at the most. And the warp will be more even and accurate than one wound on smaller equipment.

If someone wants to learn more about weaving, what is a good way to start?

Go someplace where you can take a class weaving on floor looms, even if you have never woven before. Keep in mind that researching online can be more confusing than helpful. In a class you will learn much faster and you will probably get better information.

Church Door by Joanne Hall.
Front door of Joanne’s father’s father’s (grandfather’s) church in the small town of Ör, in Dalsland, Sweden. The “6” near the door was part of the date on the church, 1661.
Woven on single unit drawloom by Joanne Hall.
Wooden Shoes, woven by Joanne Hall.
From a photo Joanne took in a small red house in an outdoor museum in the place where her mother’s family lived. These wooden shoes were on a rag rug in front of the fireplace.
Woven on single unit drawloom by Joanne Hall.
Fence in Sweden, woven by Joanne Hall.
Fence that is typical of fences all over Sweden. This came from a photo of the fence around an outdoor museum in Falköping Sweden, Joanne’s mother’s grandparent’s home.
Single unit drawloom, woven by Joanne Hall.

Any final thoughts?

In Sweden, weavers guilds are different than they are here in the US. Most everyone in Sweden can join a guild, called a vävstuga, which in Sweden is a place with looms—floor looms, big floor looms. You meet there as often as you want, and you can weave on floor looms in the company of other weavers, who are very helpful. If we had that, it would be wonderful.

That would be wonderful, indeed! I think I got a little taste of that, right here in your Montana studio. Thank you!

Happy Weaving,
Karen and Joanne

Q and A with Joanne Hall and Drawloom Dressing

You will be happy to hear that my drawloom is all dressed and set up. And it works! Every glide of the shuttle reveals exceptional magic in the cloth. Even better than I had hoped.

Drawloom pattern heddles. Sorting into units.
Pattern heddles are long, with a normal 1/2-inch eye. Breast beam is used for sorting pattern heddles into units and then adding a 2-lb weight (lingo) to each unit. In this case, four heddles make one unit.
Separating pattern units onto pattern shafts on the drawloom.
Inkle band from my “band stash” helps me separate pattern units that will be placed onto a pattern shaft.

I had a few nervous moments while dressing this expansive loom, struggling with the pattern shafts. I learned the hard way that attempting a shortcut can mean taking much longer to complete the task. But, in the end, everything straightened out. Whew!

Small mishap when setting up the drawloom. But all is well now.
Oops. I successfully distributed pattern units onto one pattern shaft, moving it onto the pattern shaft holders. So, I thought, Why not do two shafts at a time? Uh oh. Not a wise move for a beginner like me.
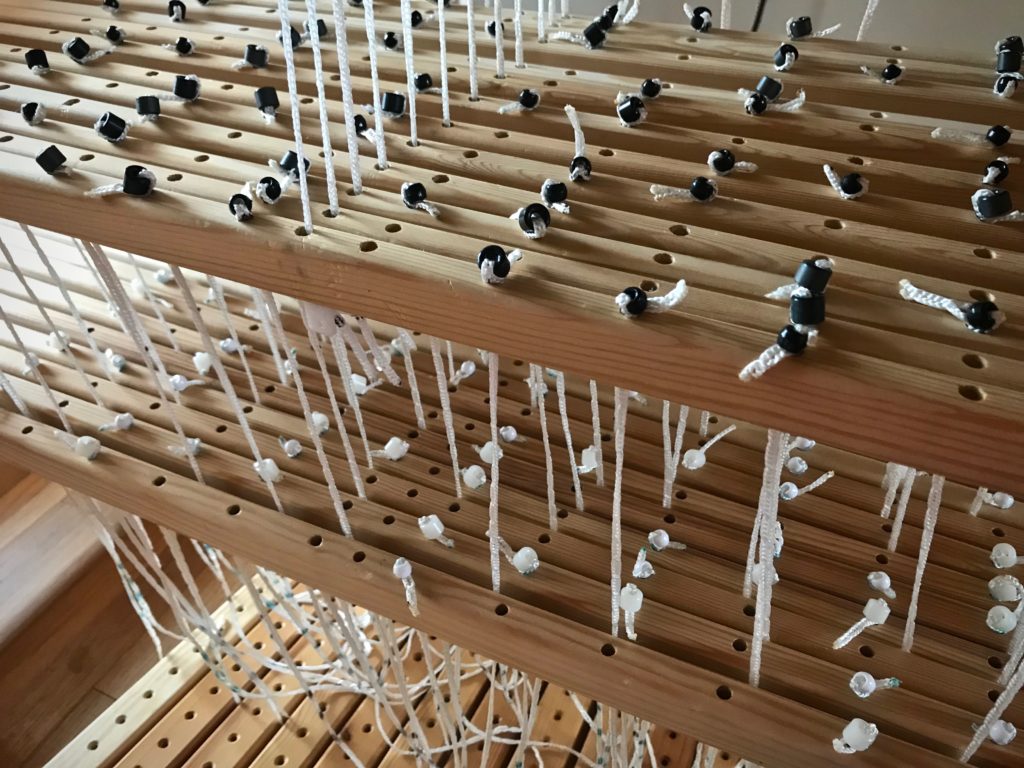
Drawloom with ten pattern shafts, plus one extra shaft.
Ten pattern shafts, plus one extra shaft for selvedge threads. After fixing my little mishap, I took my time to finish transferring pattern units to the pattern shafts.
First project on my new drawloom. Pattern from Väv 1/2011.
Drawloom’s first project is mostly practice and samplers. This pattern is taken from Learn Damask in a Day, by Tina Ignell in VävMagasinet, January, 2011, pgs. 40-41.
Eight-pointed star with diamonds. Pattern from "Drawloom Weaving," by Joanne Hall.
Eight-pointed star is seen often in traditional patterns. This eight-pointed star with diamonds is found in Drawloom Weaving, by Joanne Hall, p. 12. I created the border design at the loom.
Drawloom weaving.
Light catches the warp threads in the 4-shaft broken twill as the cloth goes around the breast beam.

May your struggles turn into triumphs.

Your friend,
Karen

~What are your questions? Joanne has answers~

Janet, who is interested in drawloom weaving, asks these questions.
Joanne Hall provides the answers.

Q: I am trying to determine where to put a drawloom. How much floor space does a drawloom take? And how much additional area will I need around the loom?

A: These are good questions. Many weavers think about these things when they become interested in getting a drawloom.

Glimakra Standard with Myrehed drawloom.
Glimåkra 120cm Standard, with Myrehed drawloom. Photo from Drawloom Weaving, by Joanne Hall.

Width –
For either the 100cm, 39.5-inch Ideal or the 100cm Standard, the width of the loom is 4 1/2 feet. Part of this is the ratchet wheel that sticks out 5 inches from the loom frame. The 120cm, 47-inch loom would be 8 inches wider.

Length with the loom extension –
Without considering space for the bench, the depth is 7 1/2 feet. The Ideal loom will have the same depth as the Standard loom. The Standard loom can be set out another 1 1/2 feet further, which may be nice if one wants to have 50 pattern shafts.

One occasionally needs to stand on the left side of the loom during warping. You need to stand at the back of the loom and walk along the right side the loom to move the ratchet wheels. When beaming the warp, it is good to have two or three feet of space either at the front or the back of the loom. During warping, you will need space at one side of the loom to move the pattern shafts and warping sticks in and out of the loom.

So, you need about 6 – 7 feet by 12 feet, but some get by with a few inches less.

Q: Can any Ideal or Standard loom be converted to a drawloom? What are the “must haves” to look for in a used loom that will be set up as a drawloom?

Joanne Hall at her single unit drawloom.
Joanne Hall at the 100cm Ideal loom with single unit drawloom. (The drawloom extension is no longer made for the Ideal loom.) Photo from Drawloom Weaving, by Joanne Hall.

A: I frequently hear from weavers who send me photos of a loom and drawloom that they have found online. They want to know if $3800 is a good price for it. Often it is 40 years old and is being sold by the grandson, who cannot answer your questions.

If you are hoping to save a little by finding a used loom, it is best to purchase a used Glimakra Standard loom of any width and any age and then purchase the drawloom new. That way, you can get help when you need it. Plus, the Myrehed drawlooms have advantages over the older-style drawlooms.

I love my Myrehed drawlooms and once you try it, you will find that it is not so mysterious, but instead, a lot of fun to weave on.

Happy Weaving,
Joanne