Tried and True: Something New from Something Old

My grandma made a pattern on brown paper for a neck pillow. I suppose she found the pattern in a magazine or newspaper decades ago. I am using my copy of her pattern to make my own neck pillow. Maybe someday my pillow will be as worn and wobbly as Grandma’s well-loved neck pillow that I remember.

My version of Grandma’s neck pillow.

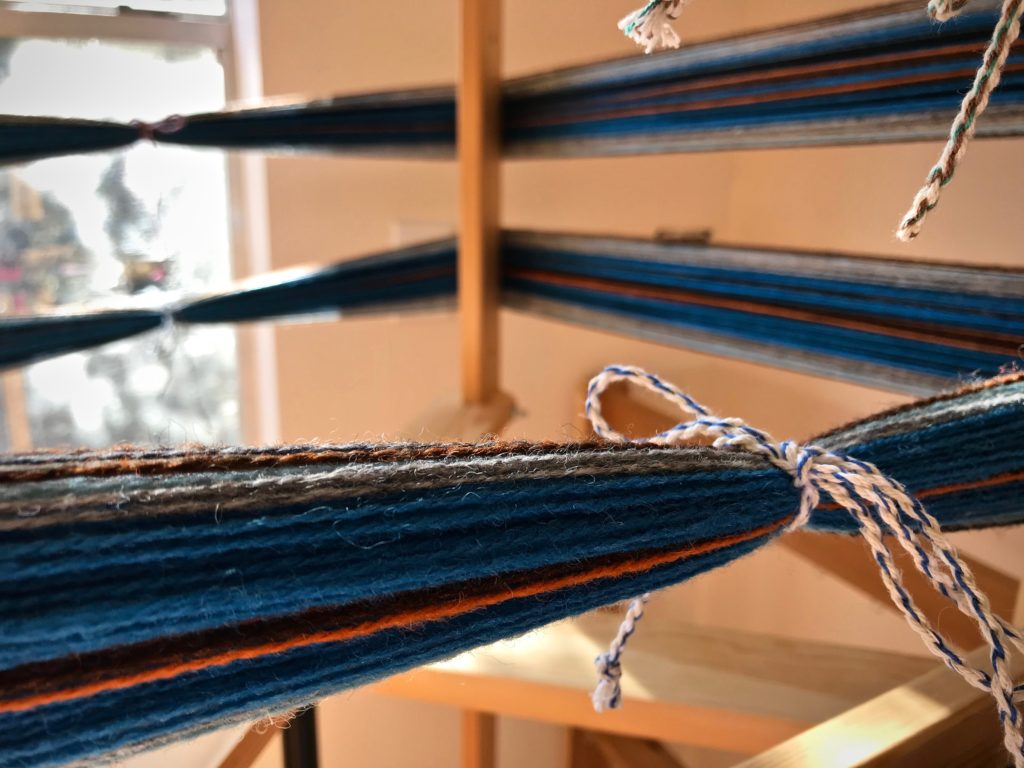
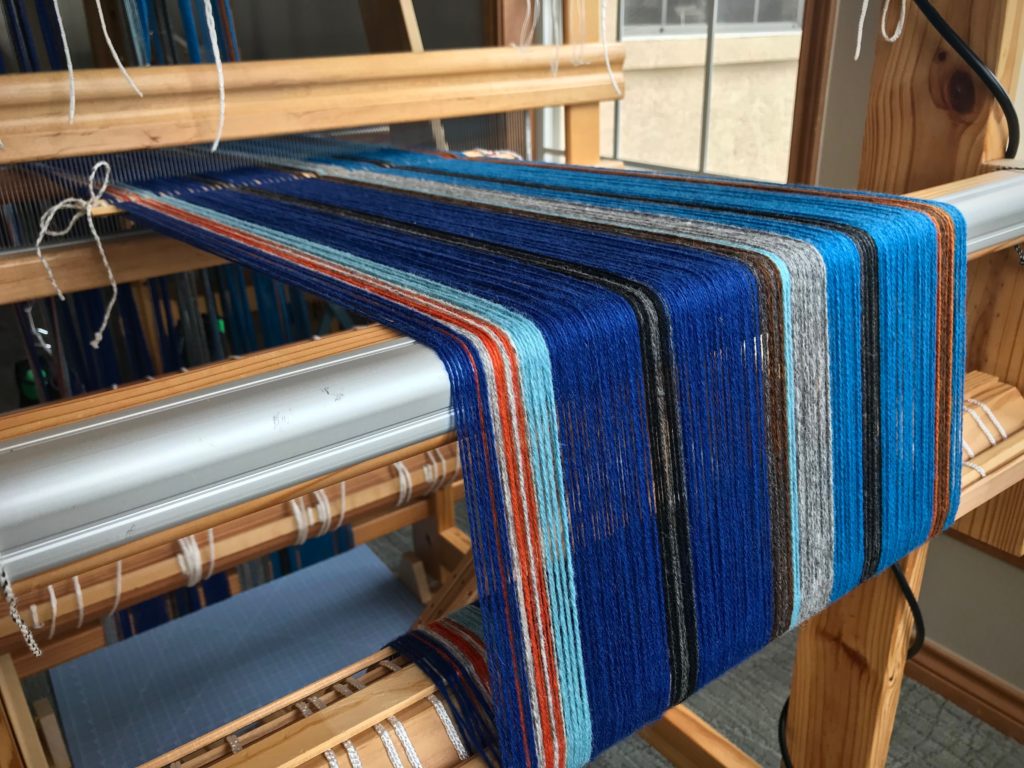
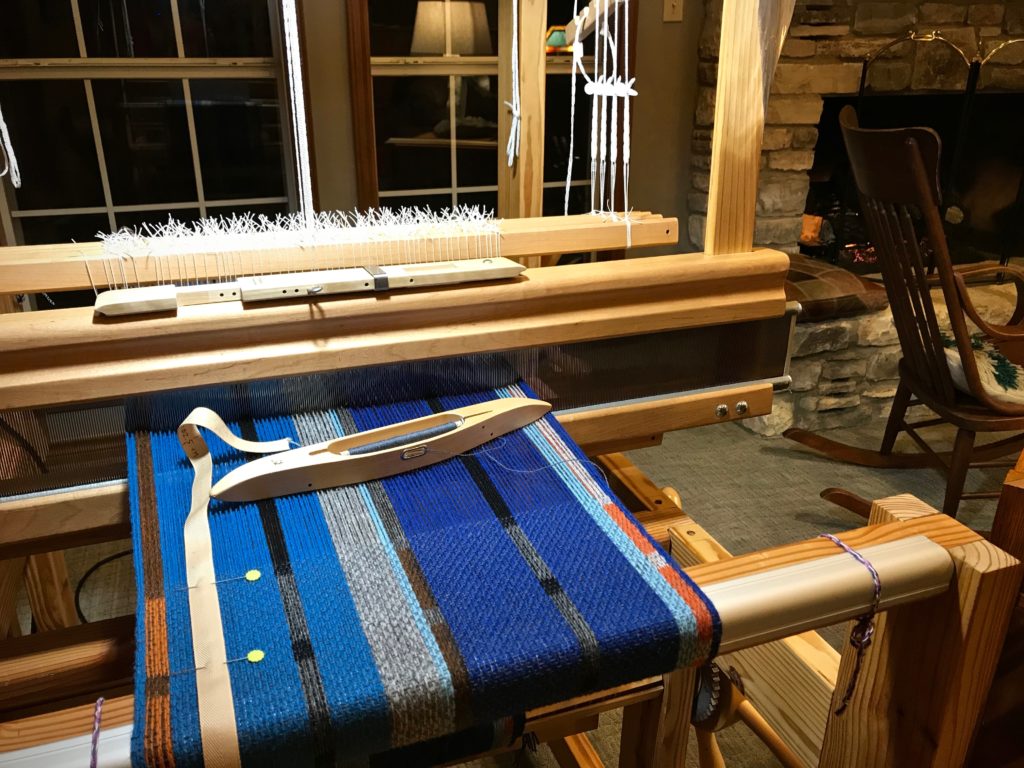
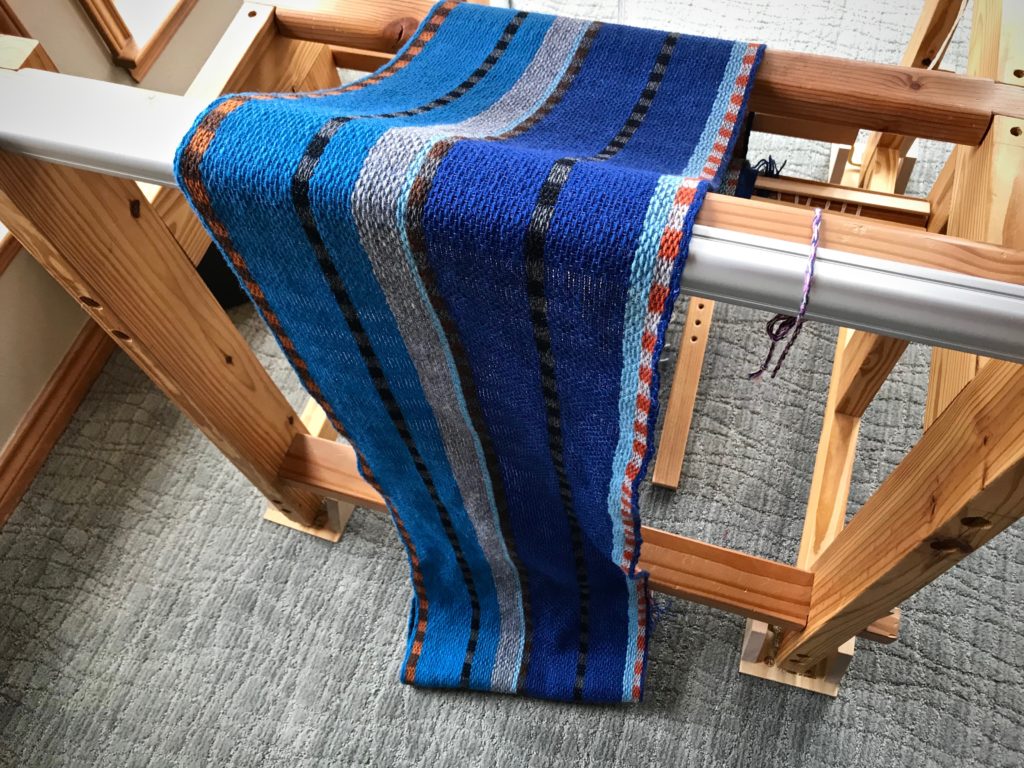
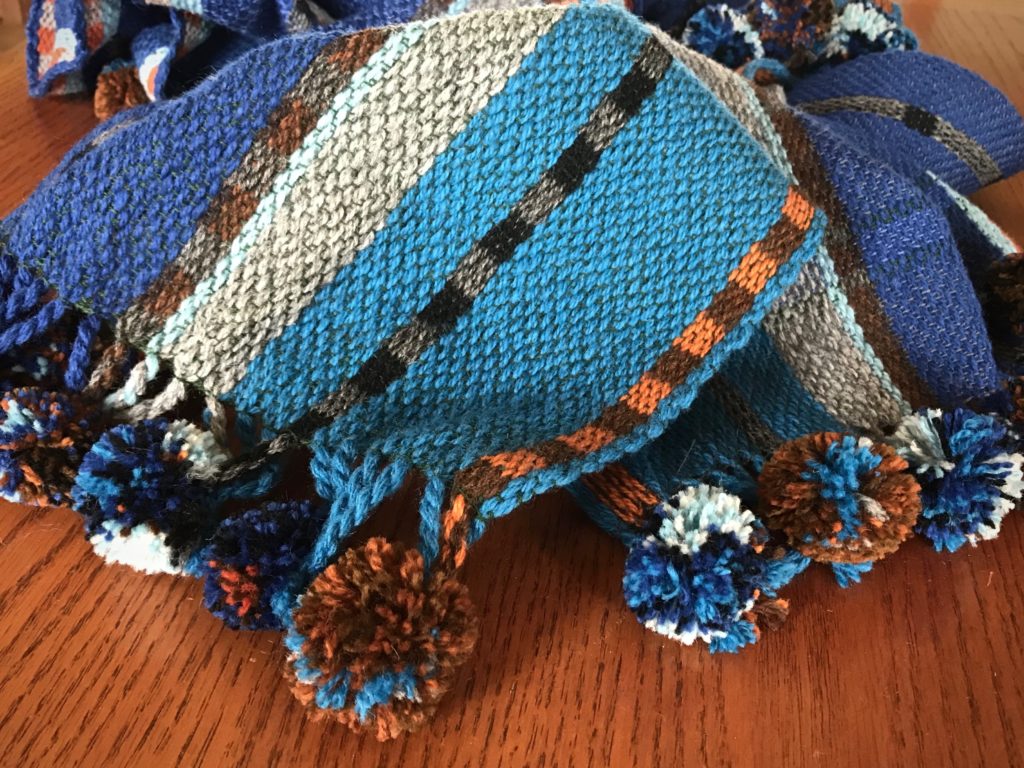
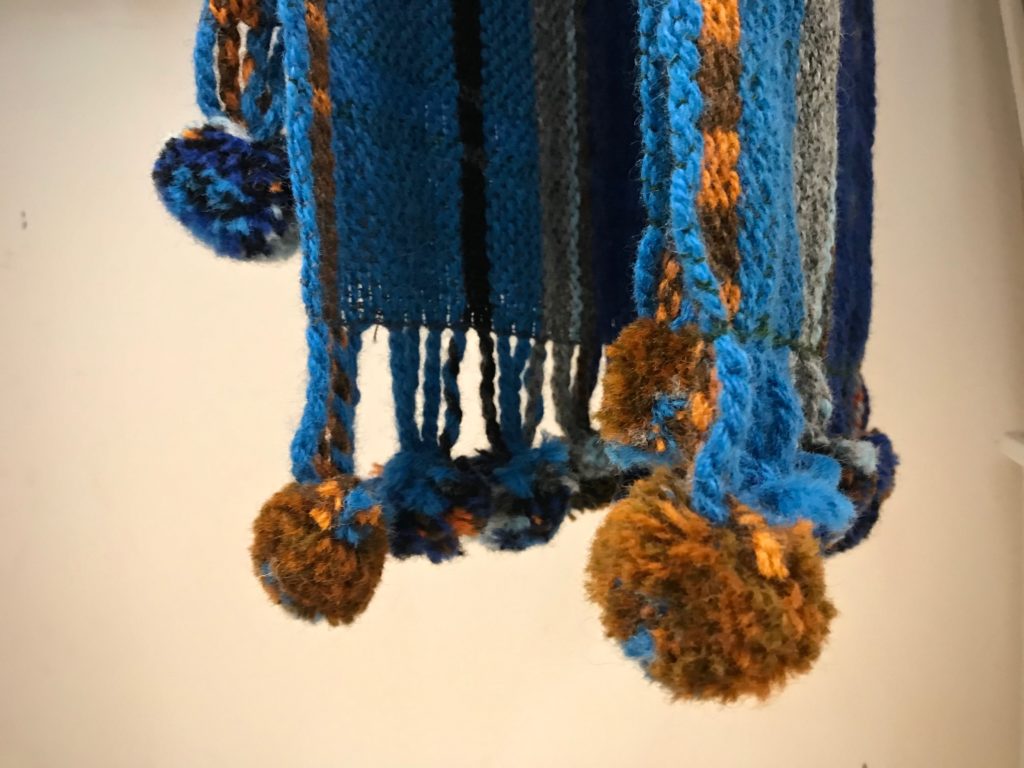
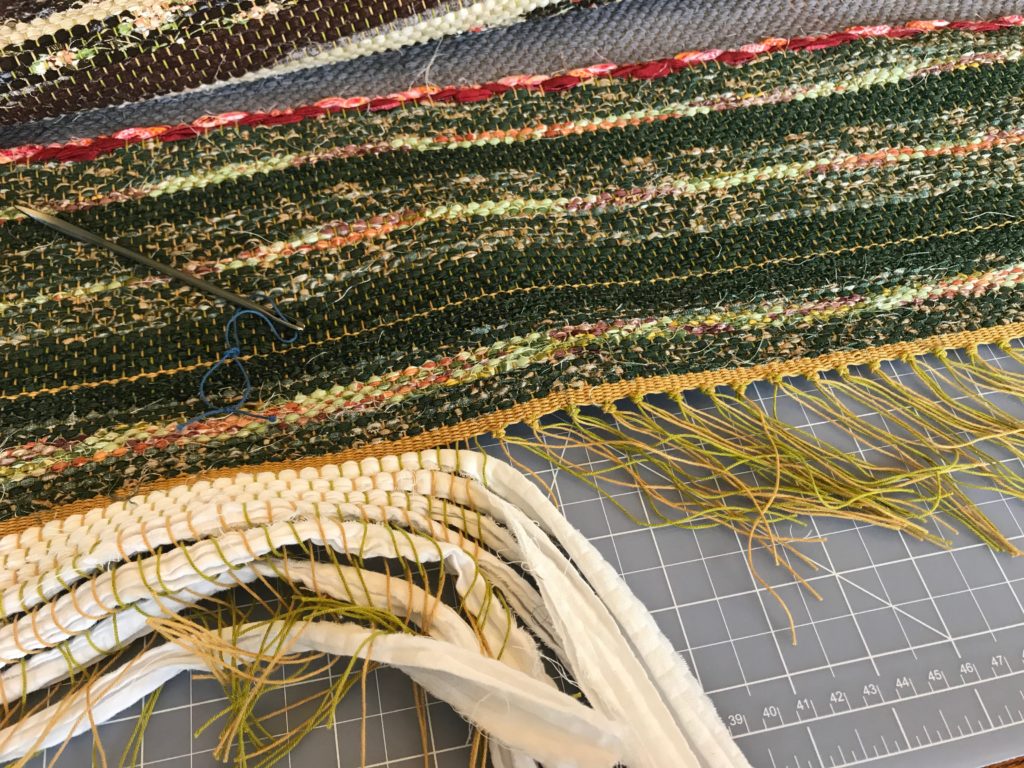
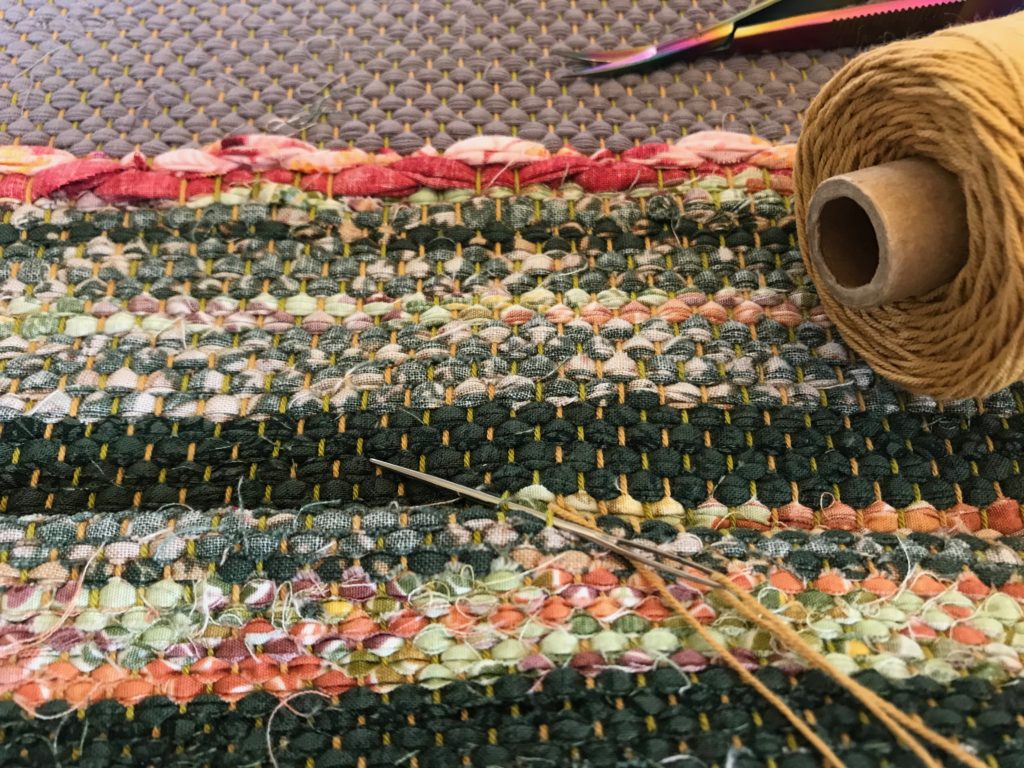
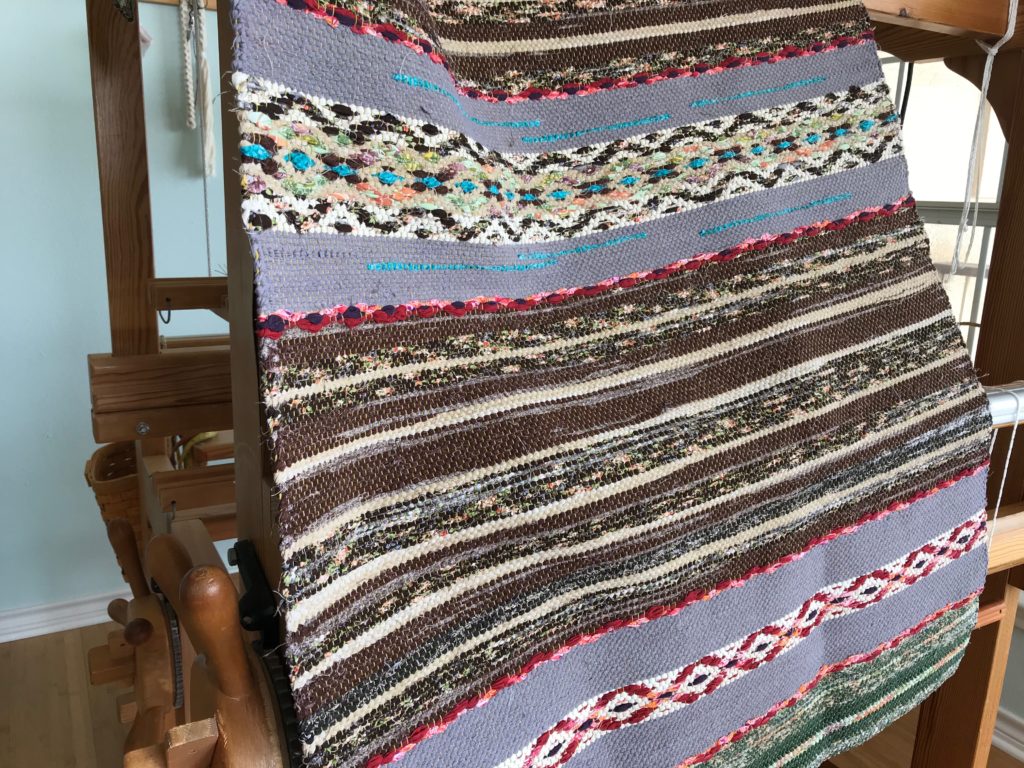
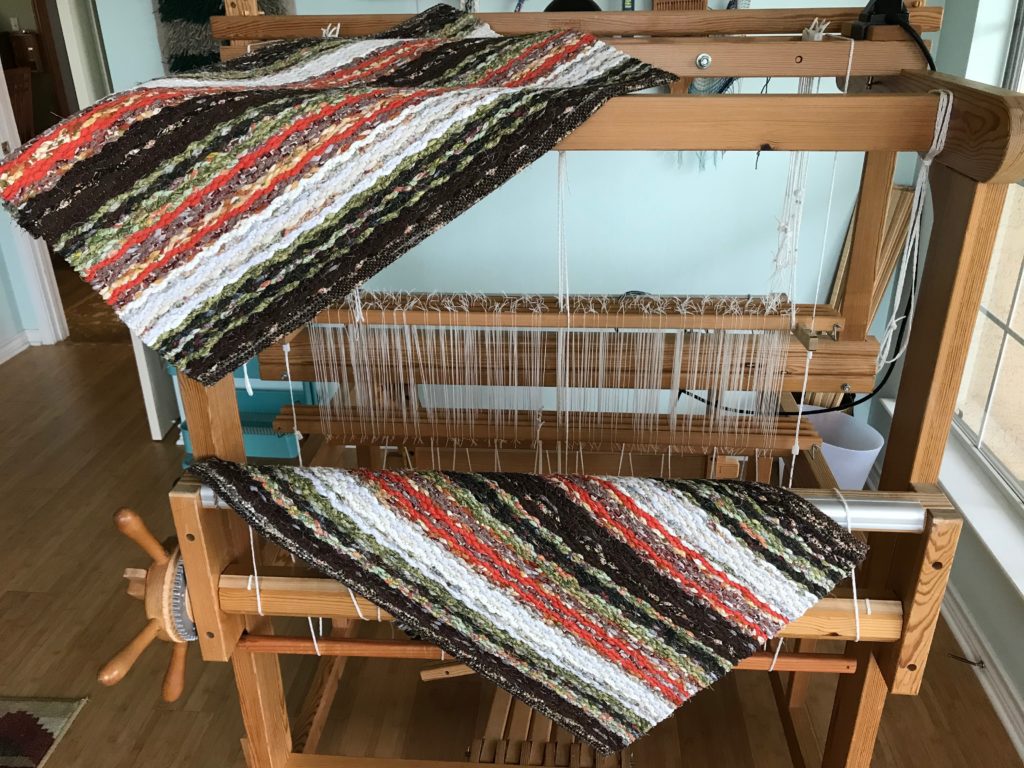
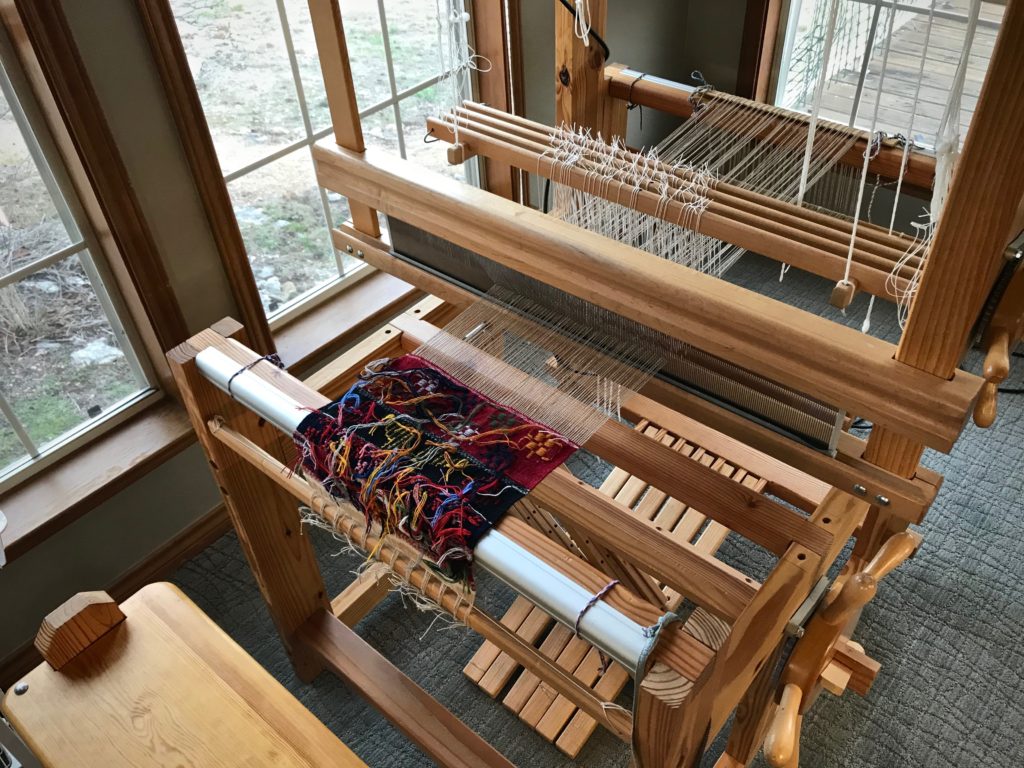
Looking through my pile of handwoven scraps I find the piece of fabric that had been hanging as a Roman shade on the back door of our previous home. This two-block twill in cotton and linen was my first 8-shaft project on my floor loom. Good memories! The fabric, softened and slightly faded through daily use, is perfect for the comfy neck pillow I’m imagining. (Unlike Grandma’s pillow, I’m making this one with a removable cover so it can be easily laundered.)

Roman shade from my first 8-shaft weaving project.
Roman shade from my first 8-shaft weaving project. I wove the linen draw cord on my two-treadle band loom.

Instructions for Constructing a Handwoven Neck Pillow

Supplies:

  • Cotton muslin, pre-washed
  • Handwoven fabric, pre-washed
  • Cluster Fluff, or other cluster fill or polyester fiberfill
  • 7” invisible zipper
  • Sewing machine
  • Invisible zipper foot
  • Sewing thread
  • Hand-sewing needle
  • Iron
  • Sleeve board for pressing, optional

Steps:

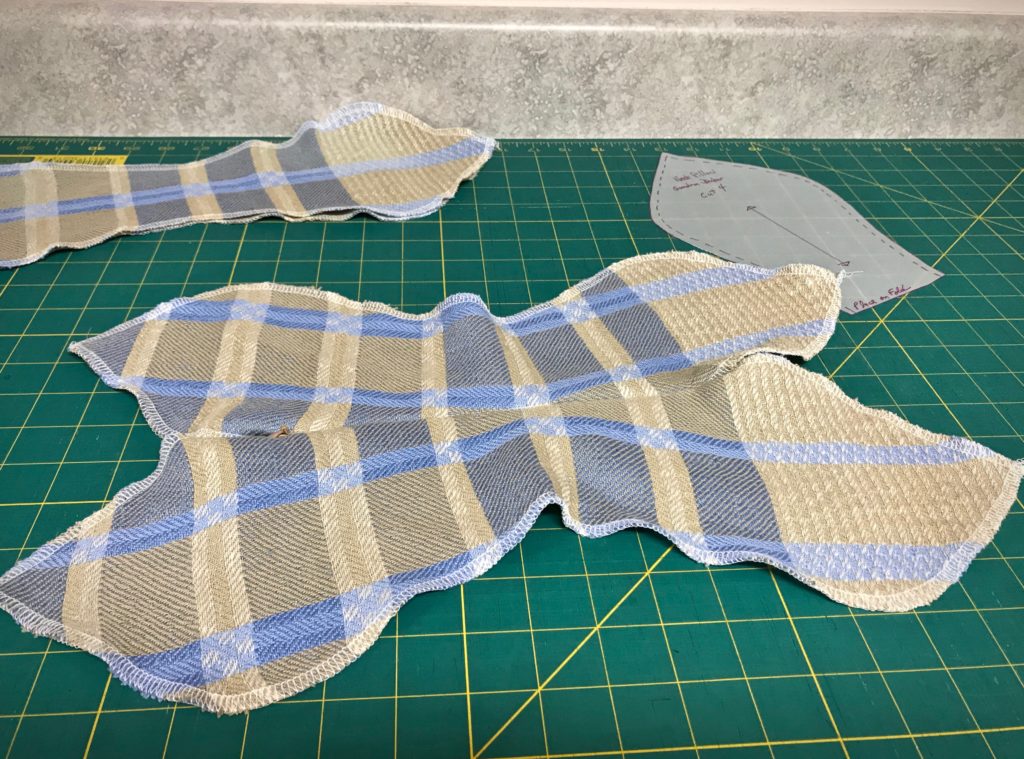
  1. Cut four pillow pattern pieces from the muslin.
  2. Sew two of the muslin pieces together, right sides together. Press seams open.
  3. Sew the other two muslin pieces together, right sides together. Press seams open.
  4. Sew the two parts together, right sides together, leaving a 4-inch opening for turning and stuffing. Press seams open using a sleeve board.
  5. Turn the pillow right side out.
  6. Stuff with Cluster Fluff, starting at the furthest end from the opening. Fill to desired fullness.
  7. Hand stitch the opening closed.
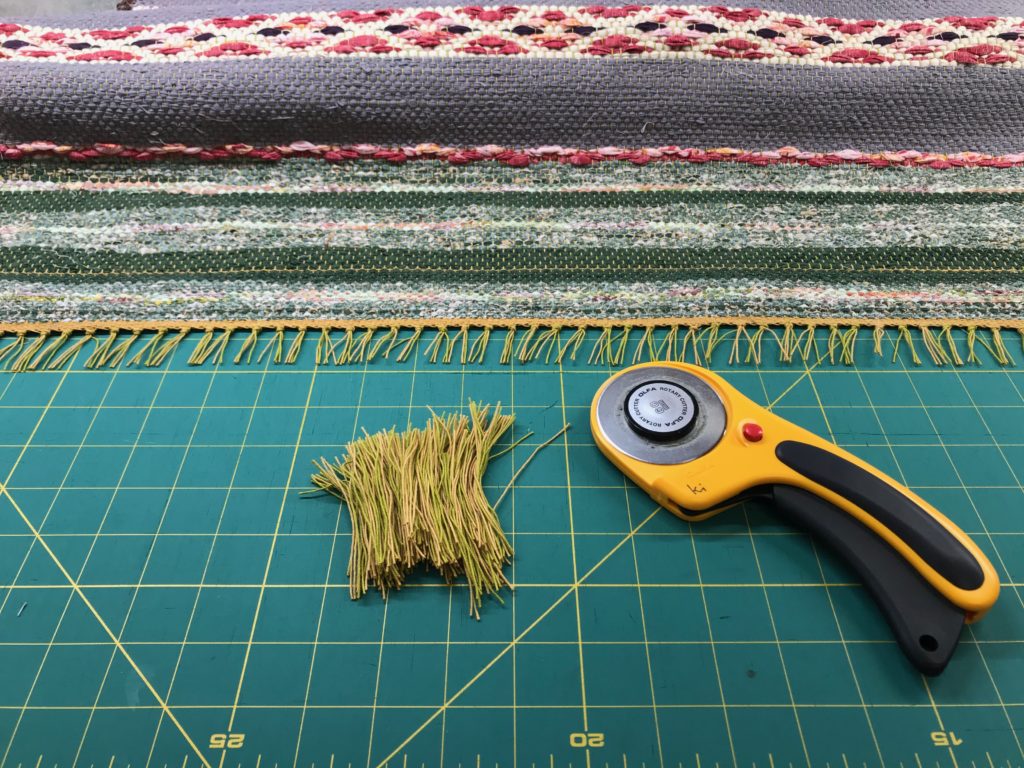
  8. Cut four pillow pattern pieces from the handwoven fabric.
  9. Serge or zigzag the fabric edges. Press flat.
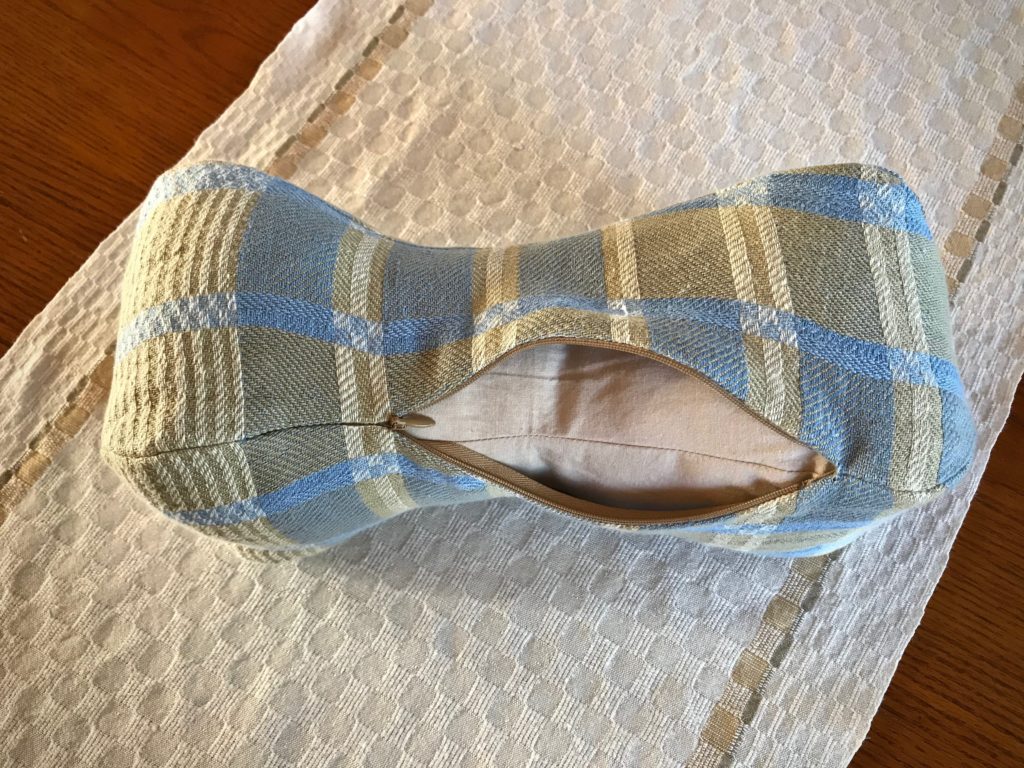
  10. Insert invisible zipper between two of the pieces.
Making a handwoven neck pillow.
Invisible zipper is sewn into place between two of the panels.
  1. Complete the seams at both ends of the zipper. Press seams open.
  2. Sew the two other pieces together, right sides together. Press seams open.
  3. Open zipper, and sew the two parts together, right sides together. Press seams open using a sleeve board.
  4. Turn the pillow case right side out.
  5. Push the muslin pillow into the pillow case. Close the zipper.
Handwoven neck pillow cover.
Inner pillow and outer cover are made from the same pattern to make it a snug fit.
Handwoven neck pillow. How to with construction steps.
Fabric is 16/2 cotton warp and 16/1 linen weft.
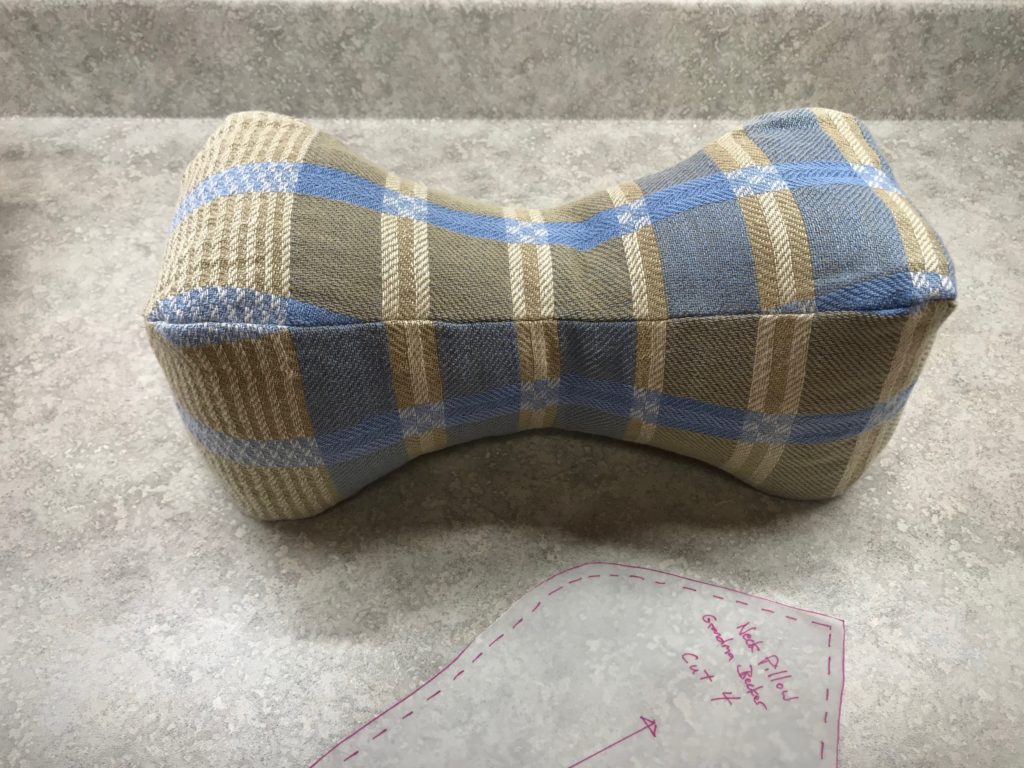
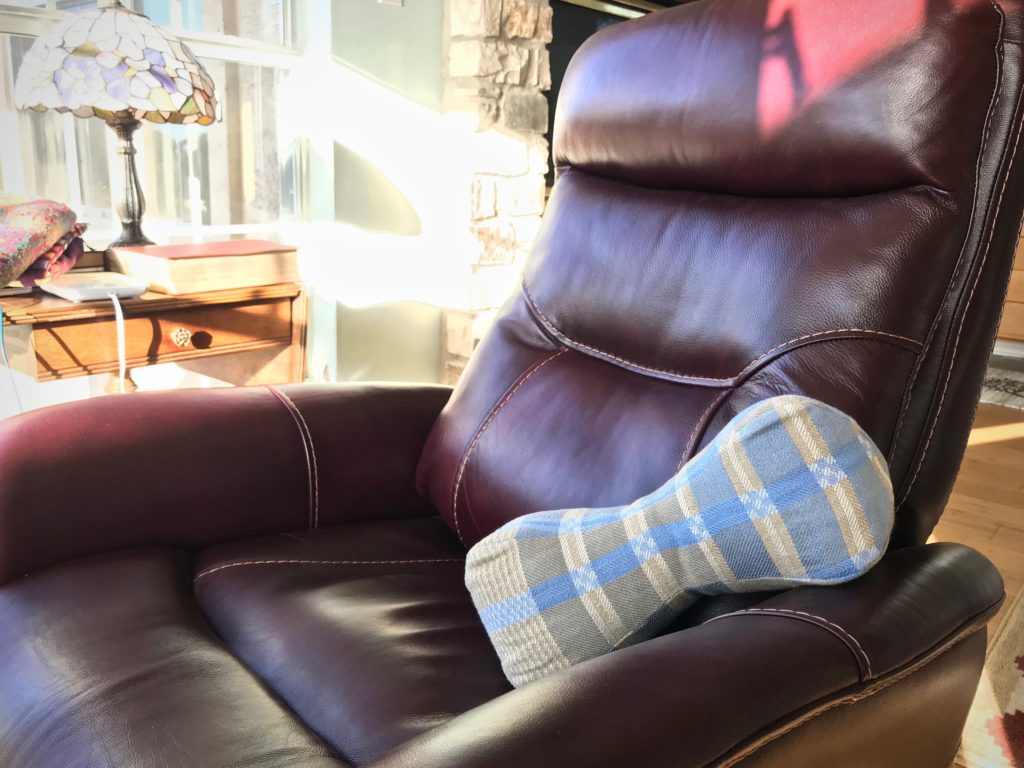
  1. Take a nap in your favorite chair with the pillow behind your neck.
Handwoven neck pillow.

If you would like a pdf copy of my grandma’s neck pillow pattern, please click HERE to send me an email request. I will be happy to send the pattern to you.

May you see old treasures in new ways.

Rest and Be Well,
Karen

Handwoven Scarves Embellished with Flair

You could say I finished these scarves too late. Winter in Texas has come and gone. But I prefer to think of it as considerably early. When cool weather comes back around in a few months, I’ll be ready. I began with the draft for the lovely Stardust scarf, designed by Mona Nielsen, published in Happy Weaving, from VävMagasinet, p.74. I simply substituted the yarn and colors in the book with what I had on hand.

New warp on warping reel for winter scarves.
Warp is mostly 6/2 Tuna wool, with some 7.5/2 Brage wool included.
Stripes on the back beam. What a lovely sight!
Made with yarn on hand. This means that additional stripes have been added to the plan.
Weaving by the fire in the middle of winter.
Weaving by the fire in the middle of winter. Mora 20/2, a fine wool, is used for weft.
Two new wool scarves coming off the loom!
Two scarves coming off the loom.
Fringe twisting.
Fringes are cut and twisted.

The scarves are delightful, but the icing on the cake is the addition of fluffy, furry pompoms, an embellishment with youthful flair. And that is exactly what I will put on at the first sign of autumn chill.

Making pompoms to embellish the handwoven scarf.
Some of the thrums are used in making pompoms.
With the Pom and Tassel Maker by Red Heart I can make seven pompoms at a time.
With the Pom and Tassel Maker by Red Heart I can make seven pompoms at a time. I wrapped the yarn around 100 times, making full and thick pompoms.
Each furry ball is shaped and trimmed.
Each furry ball is shaped and trimmed. I used 8/2 cotton for the 12″ tie around the center of the pompoms.
Adding pompom embellishments to the scarf.
Each pompom is stitched to 3 – 4 twisted fringes. Seven pompoms at each end of the scarf.
Handwoven scarves with pompoms!
Now, the scarves are ready for wet finishing. Notice how you can see the separate strands of yarn in the pompoms before they are washed.
Handwoven scarves with pompoms, hanging to dry.
Scarves have been washed by hand in warm water in a large sink, with Eucalan delicate wash. I purposely gave them as much agitation as I could by hand. They are hanging to dry. Notice how the pompoms have slightly felted, making them even more soft and furry.
Winter scarf amid spring bluebonnets in Texas hill country.

Some things are certain. The sun will rise tomorrow. The seasons will follow their schedule. The faithfulness of the Lord our God will never end.

May you dress in youthful flair.

Warmly,
Karen

Process Review: Garden Rosepath Rag Rugs

A rosepath rag rug puts beauty under our toes. Strange? Yes, strangely wonderful. Let’s fill our homes with handmade goodies. Let’s make smiles happen in every corner. Let’s be different and make a difference. Live with beauty underfoot.

Three of these rugs have already gone to their new homes. (See Tied Up in Knots.) The remaining three rugs bring outdoor garden beauty indoors.

Rosepath rag rugs with a garden theme. Karen Isenhower
From bottom to top: Planting Seeds, Prayer Garden, Mystery Garden.

Come with me now to review the process of making these six rosepath rag rugs.

As Shelter in Place becomes a necessity for many, consider these words of encouragement from the book of Psalms: For He [the Lord] will conceal me in His shelter in the day of adversity. Psalm 27:5a

May you have smiles in every corner of your home.

Peace,
Karen

Tied Up in Knots

Every time you cut off a warp there is more to do before the woven material is ready for its end purpose. Do you enjoy tying knots? And, hemming rugs by hand? I don’t mind completing these final steps. It’s part of the whole weaving process. Three of the six rosepath rag rugs are now finished. Truly finished.

Six new rosepath rag rugs, ready for finishing!
Six rosepath rag rugs. Rugs are cut apart and warping-slat dividers have been removed.

Tying the warp ends in overhand knots permanently secures the weft. These knots won’t work loose. I turn the hem, concealing the knots; and stitch the hem down. After I sew on my label, the work is complete.

Tying knots to finish a rag rug.
Warp ends are tied into overhand knots, four ends at a time.
Rag rug finishing.
Ends are trimmed to 1 inch.
Hand hemming a rosepath rag rug.
Hem is folded under and pressed. The needle catches a warp end from the fold and a warp end from the body of the rug. Rug warp is used as thread for hemming.

Jesus famously said, “It is finished,” when he was on the cross. His completed good work replaces our work of trying to be good enough, trying to fix everything, trying to control our lives. Our knots won’t hold. We can trust that his finished work will never be undone. God loves you. Trusting him is loving him back.

Rosepath rag rug, fresh off the loom.
One completed rug, named “Treasures,” for my neighbor’s home.
Handwoven rag rugs, named "Blessed Assurance." Made for a friend.
Pair of completed rugs, named “Blessed Assurance,” for another neighbor’s home.

May love securely hold you.

Trusting,
Karen

Swedish Art Weaves with Joanne Hall

Krabbasnår (or Krabba), Rölakan, Halvkrabba, Dukagång, and Munkabälte (Monksbelt). These unique weaves have intrigued me since I first saw photos of them. Some of the designs look like hand-stitched embroidery. The Swedish Art Weaves workshop with Joanne Hall introduces the simple techniques used for weaving these traditional patterns. I’m thankful to have the opportunity to learn how to weave these beautiful designs for myself.

Swedish Art Weaves workshop with Joanne Hall.
Joanne brought examples of Swedish art weaves for the students to view.

Joanne’s presentation to the San Antonio Handweavers Guild was enlightening. Photos of her travels to Sweden show how the rich weaving heritage there continues to thrive. That, along with Joanne’s knowledge of Swedish weaving traditions, gives context to these Swedish art weaves.

Krabbasnår, a Swedish art weave.
Krabbasnår (krabba) is a laid-in technique with a plain weave ground. The pattern uses three strands of wool Fårö yarn. The warp is 16/3 linen.
Weaving Krabba, a Swedish art weave.
Besides maintaining warp width, the temple is useful for covering up the weft tails to keep them out of the way.
Workshop with Joanne Hall. Swedish Art Weaves.
Joanne explains the next step to workshop participants.
Swedish Art Weaves sampler, with Joanne Hall.
Dukagång is another laid-in technique with a plain weave ground. A batten is placed behind the shafts to make it easy to have the pattern wefts cover two warp threads. (A jack loom can do the same by using half-heddle sticks in front of the shafts.) Dukagång can be woven as a threaded pattern, but then the weaver is limited to that one structure, instead of having different patterns all in the same woven piece.
Fascinating way to weave monksbelt!
With threaded monksbelt, as I have woven previously, the monksbelt flowers are in a fixed position. With this art weaves monksbelt, the monksbelt flowers can be placed wherever you want them. Half-heddle sticks at the back, batten behind the shafts, and a pick-up stick in front of the reed–a fascinating way to weave this traditional pattern.
Swedish Art Weaves workshop with Joanne Hall. So much fun!
Last loom standing… Time to pack up. As I prepare the loom for transport, I detach the cloth beam cords. Now we can see the right side of what I have woven.
Swedish Art Weaves with Joanne Hall. Fun!
From the top: Krabbasnår, Rölakan Tapestry, Halvkrabba, Dukagång, and Munkabälte.

Väv 2/2013 has instructions for the art weaves. I have the magazine issue, but Joanne’s workshop brings the historical techniques to life and makes them understandable. That is exactly the prompting I needed to begin exploring these fascinating patterns on my own loom.

Weaving Swedish art weaves from the back.
Back at home, my little loom is getting ready to weave some more beautiful Swedish art weave designs.

May something historical be your new interest.

Happy Weaving,
Karen