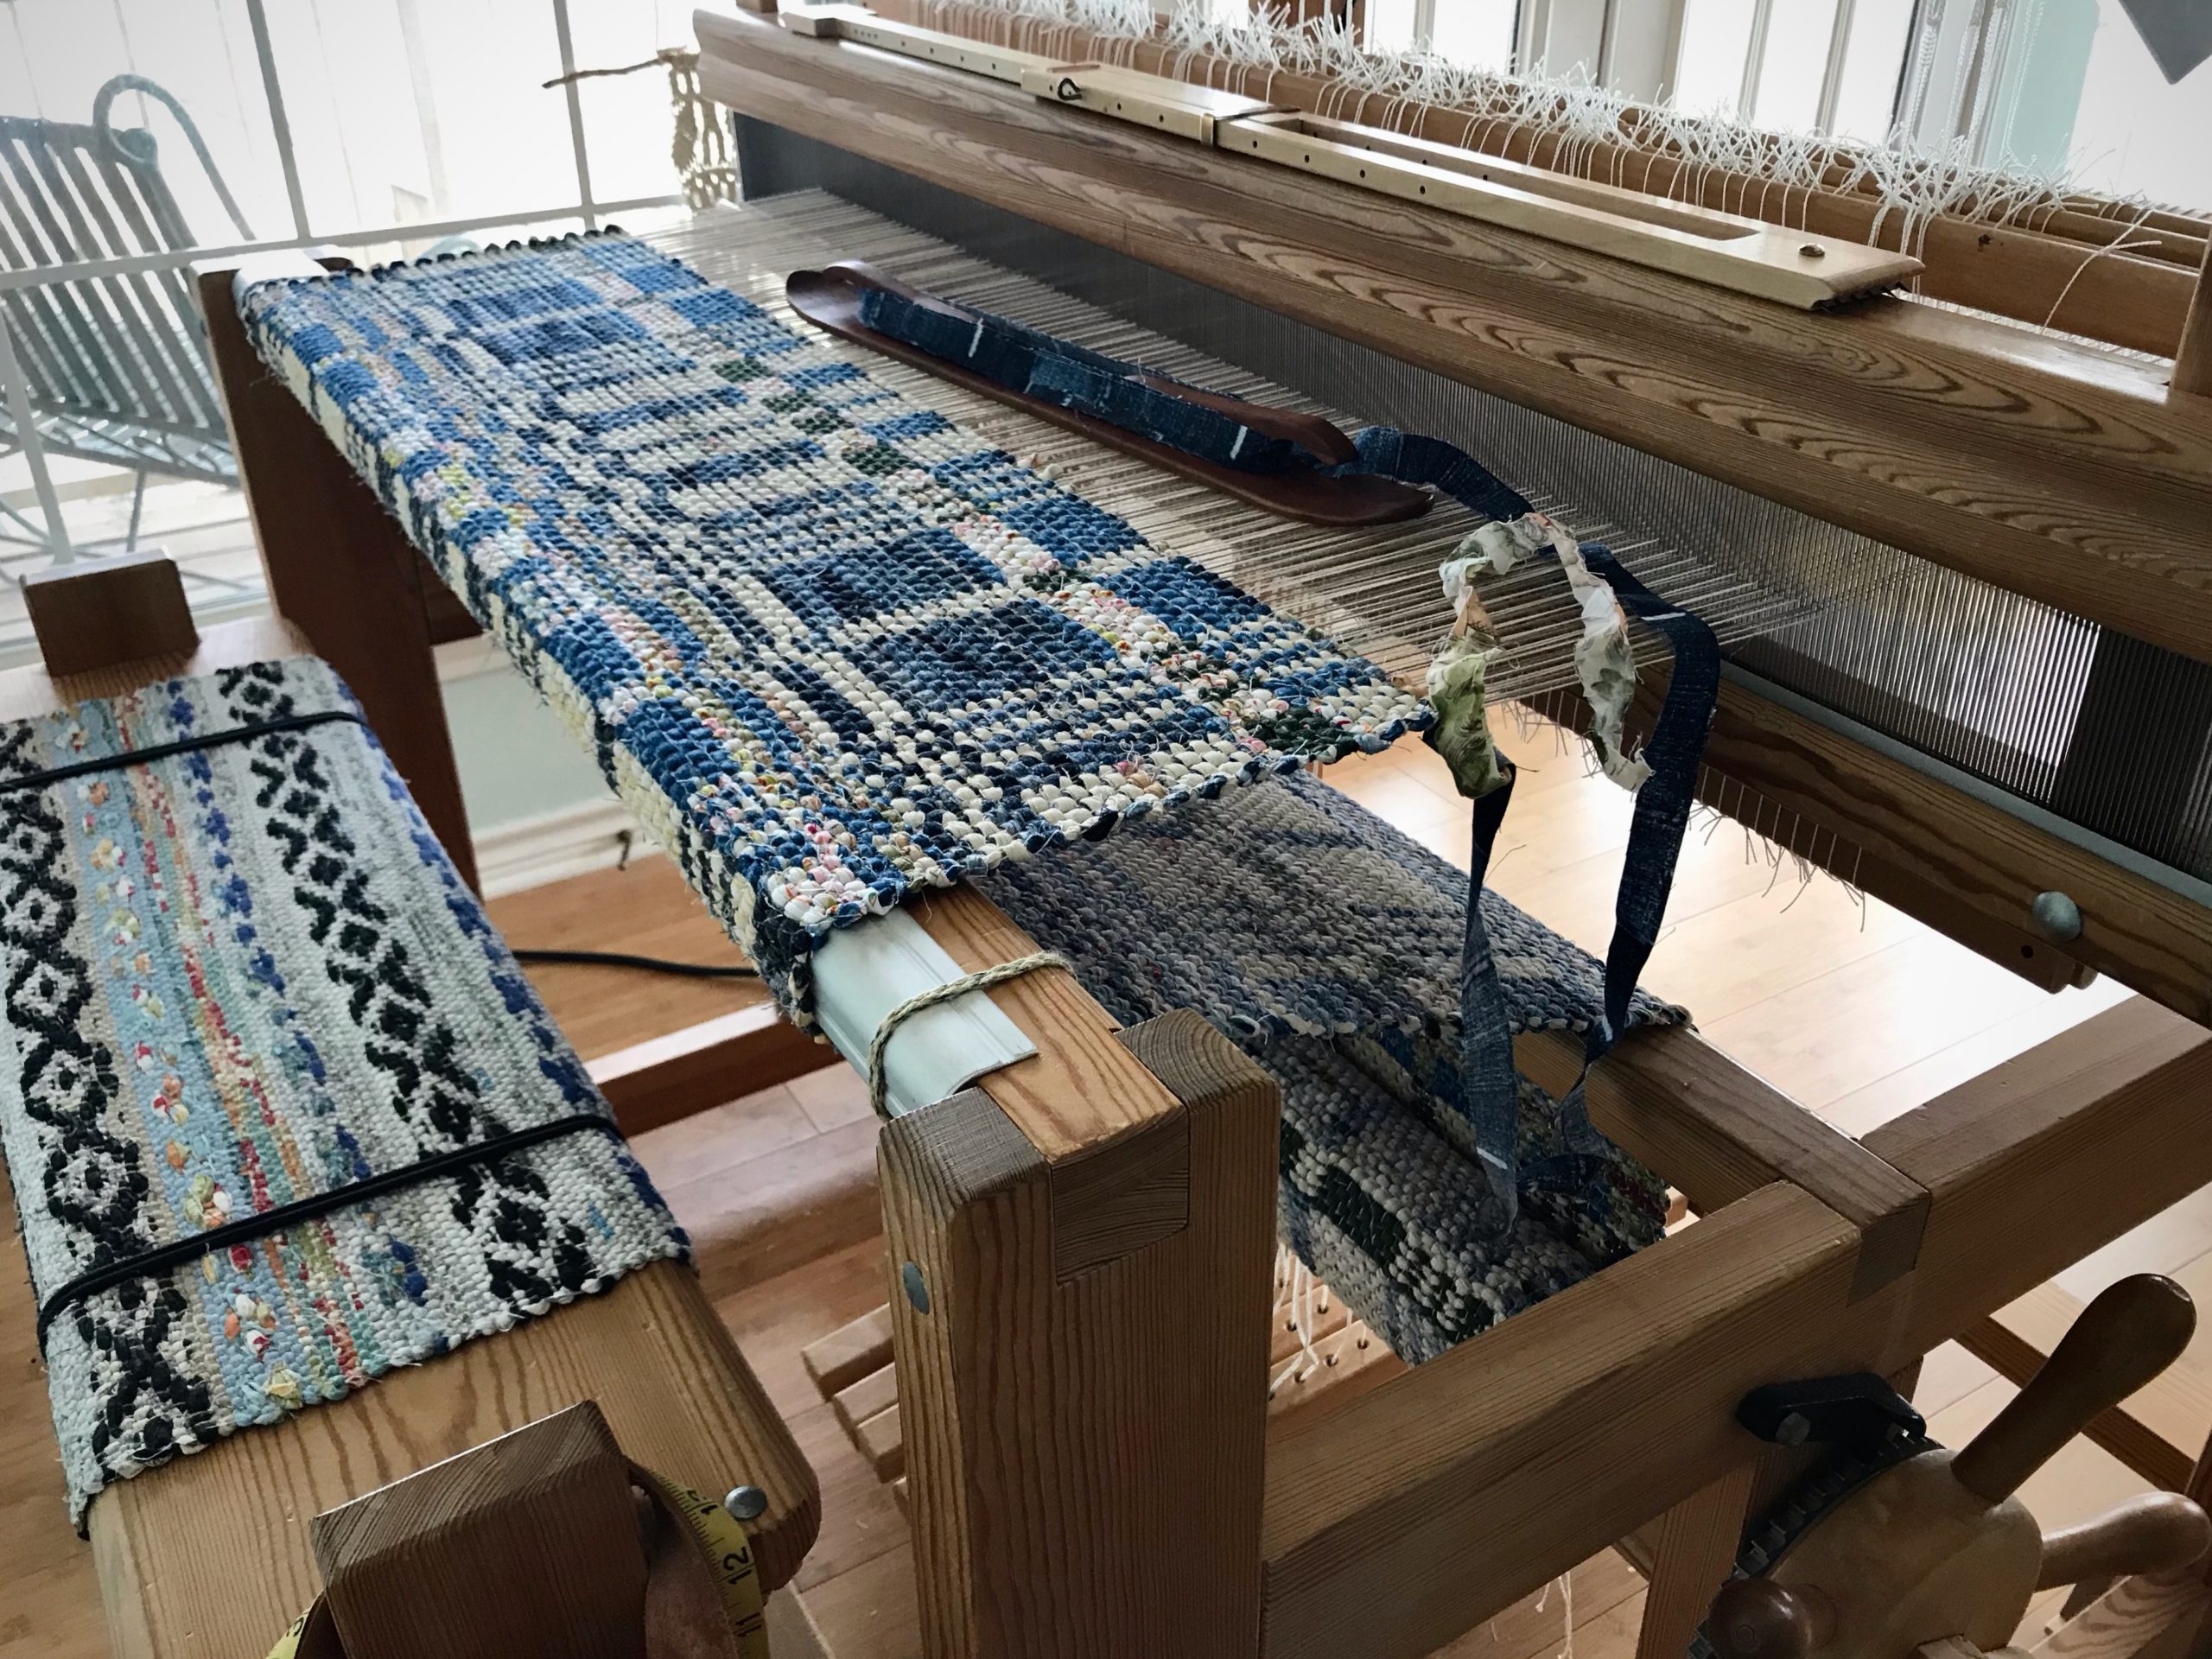
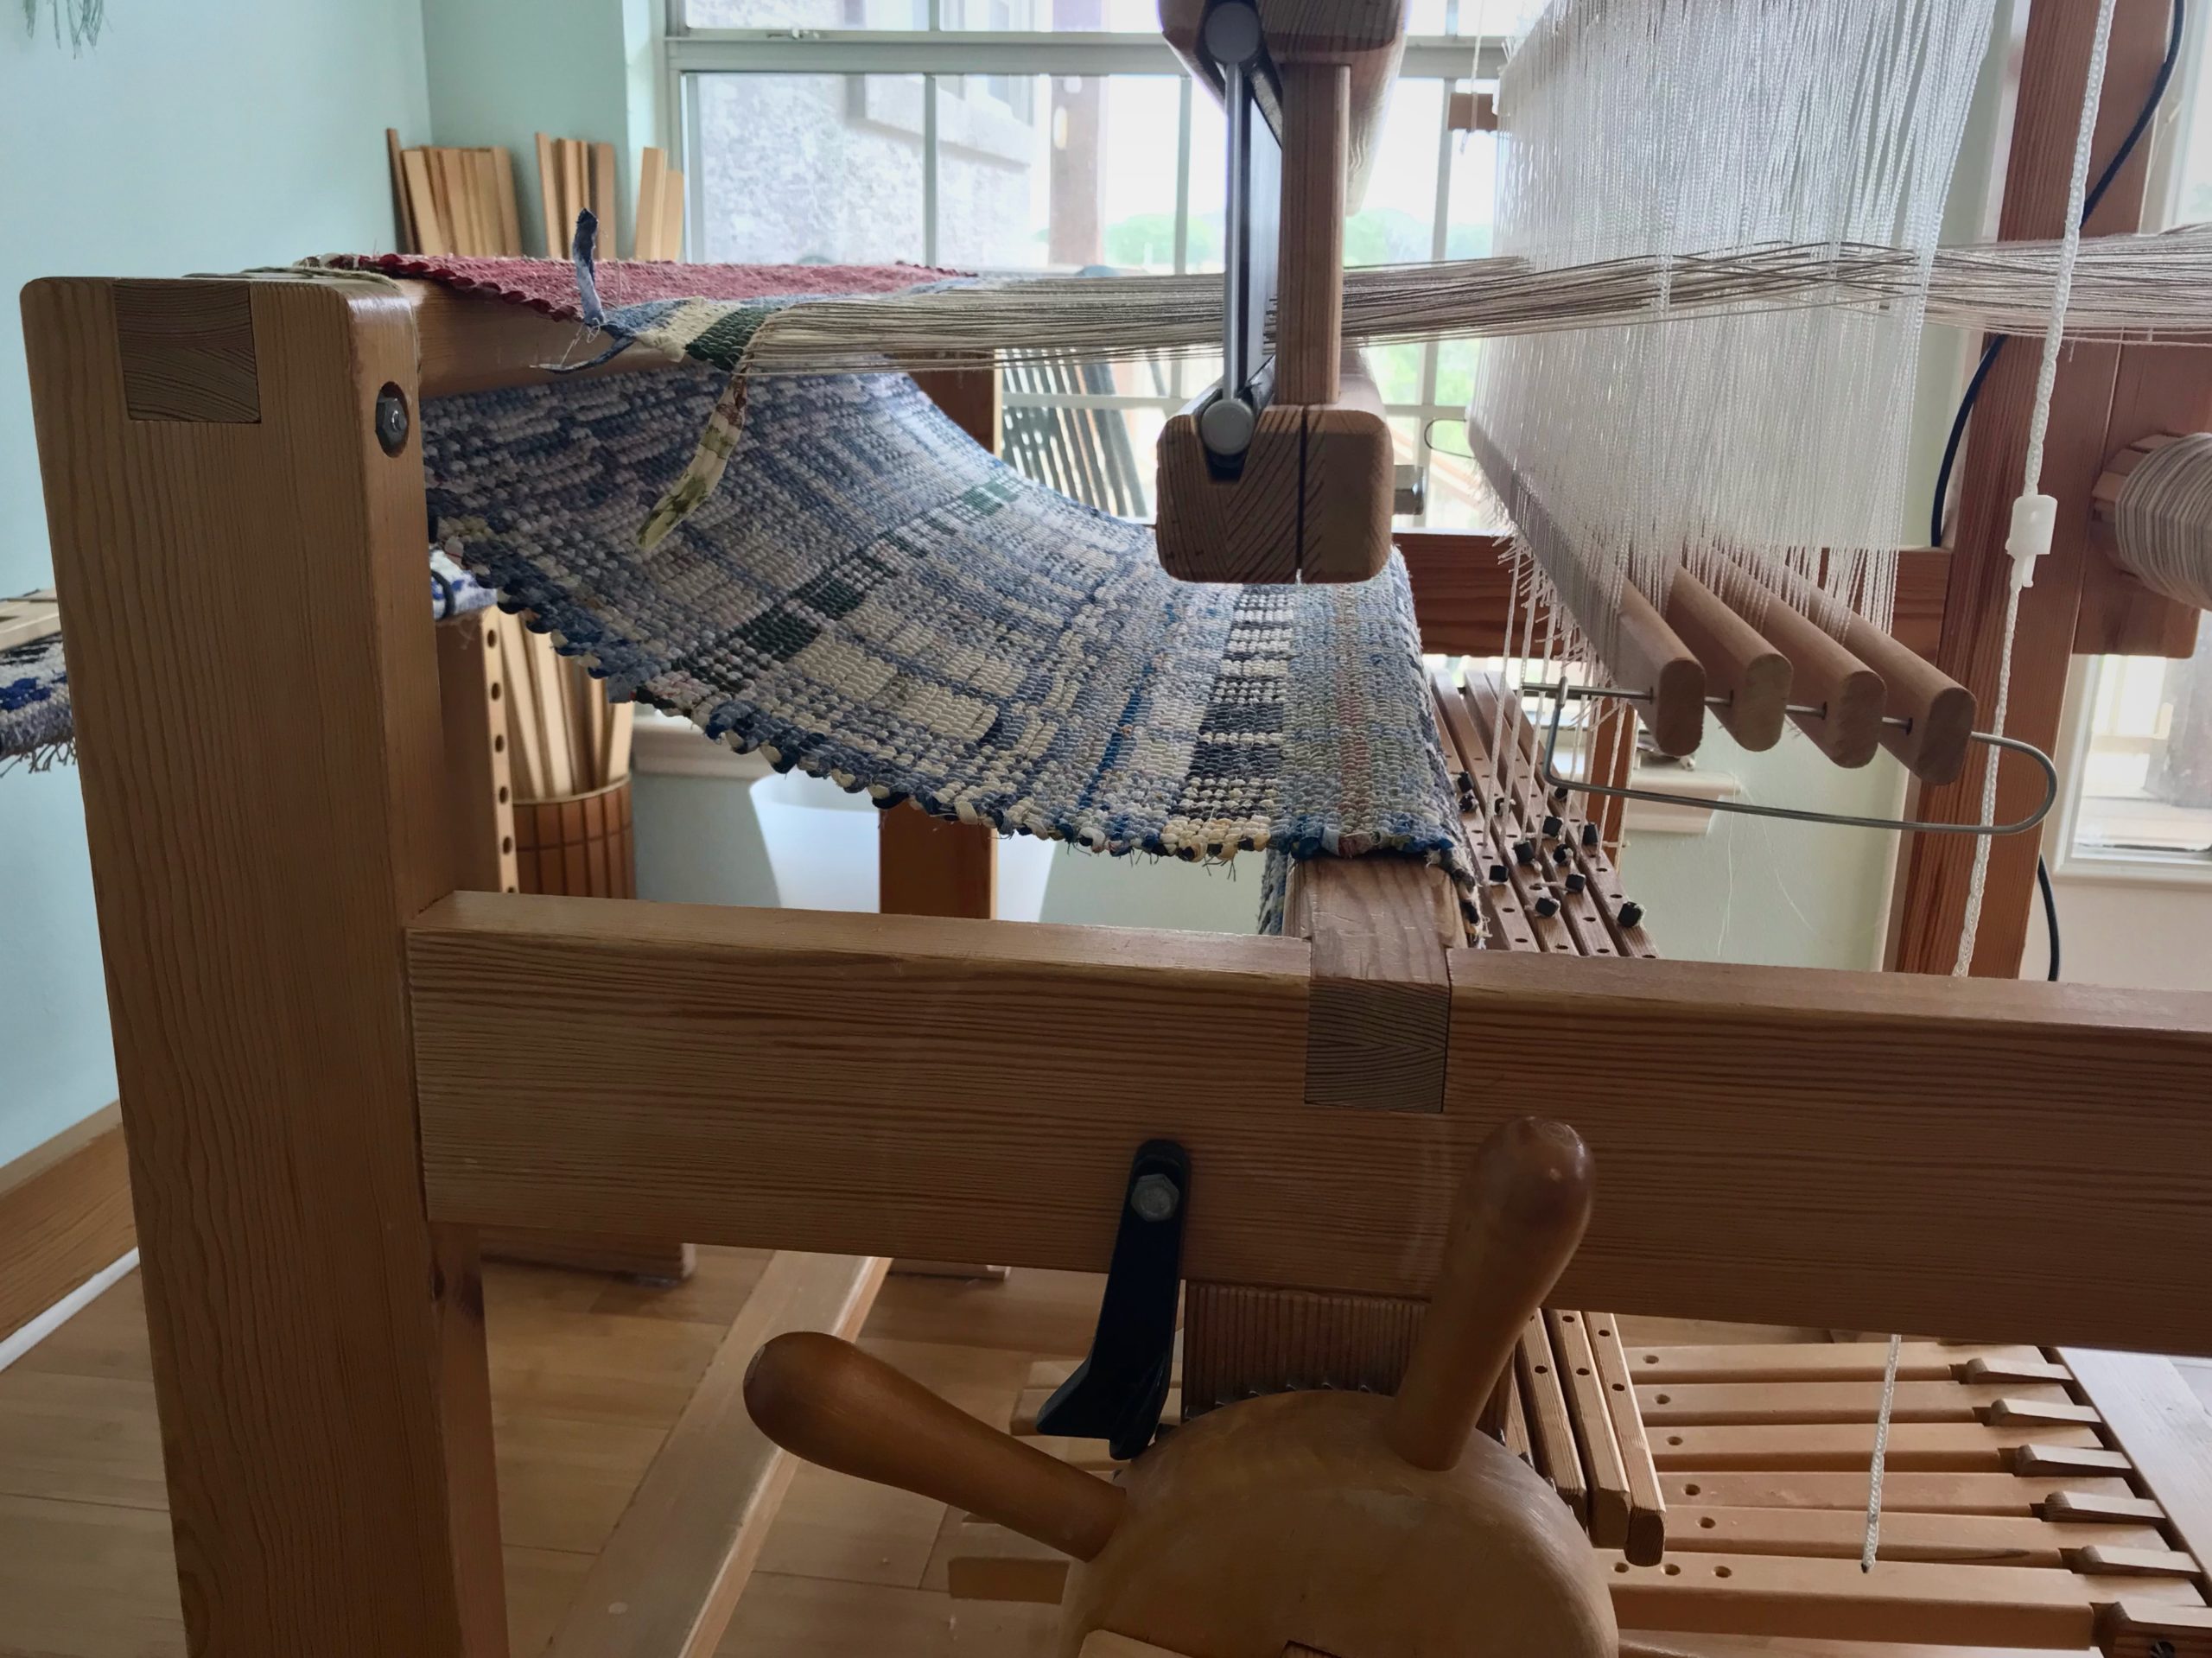
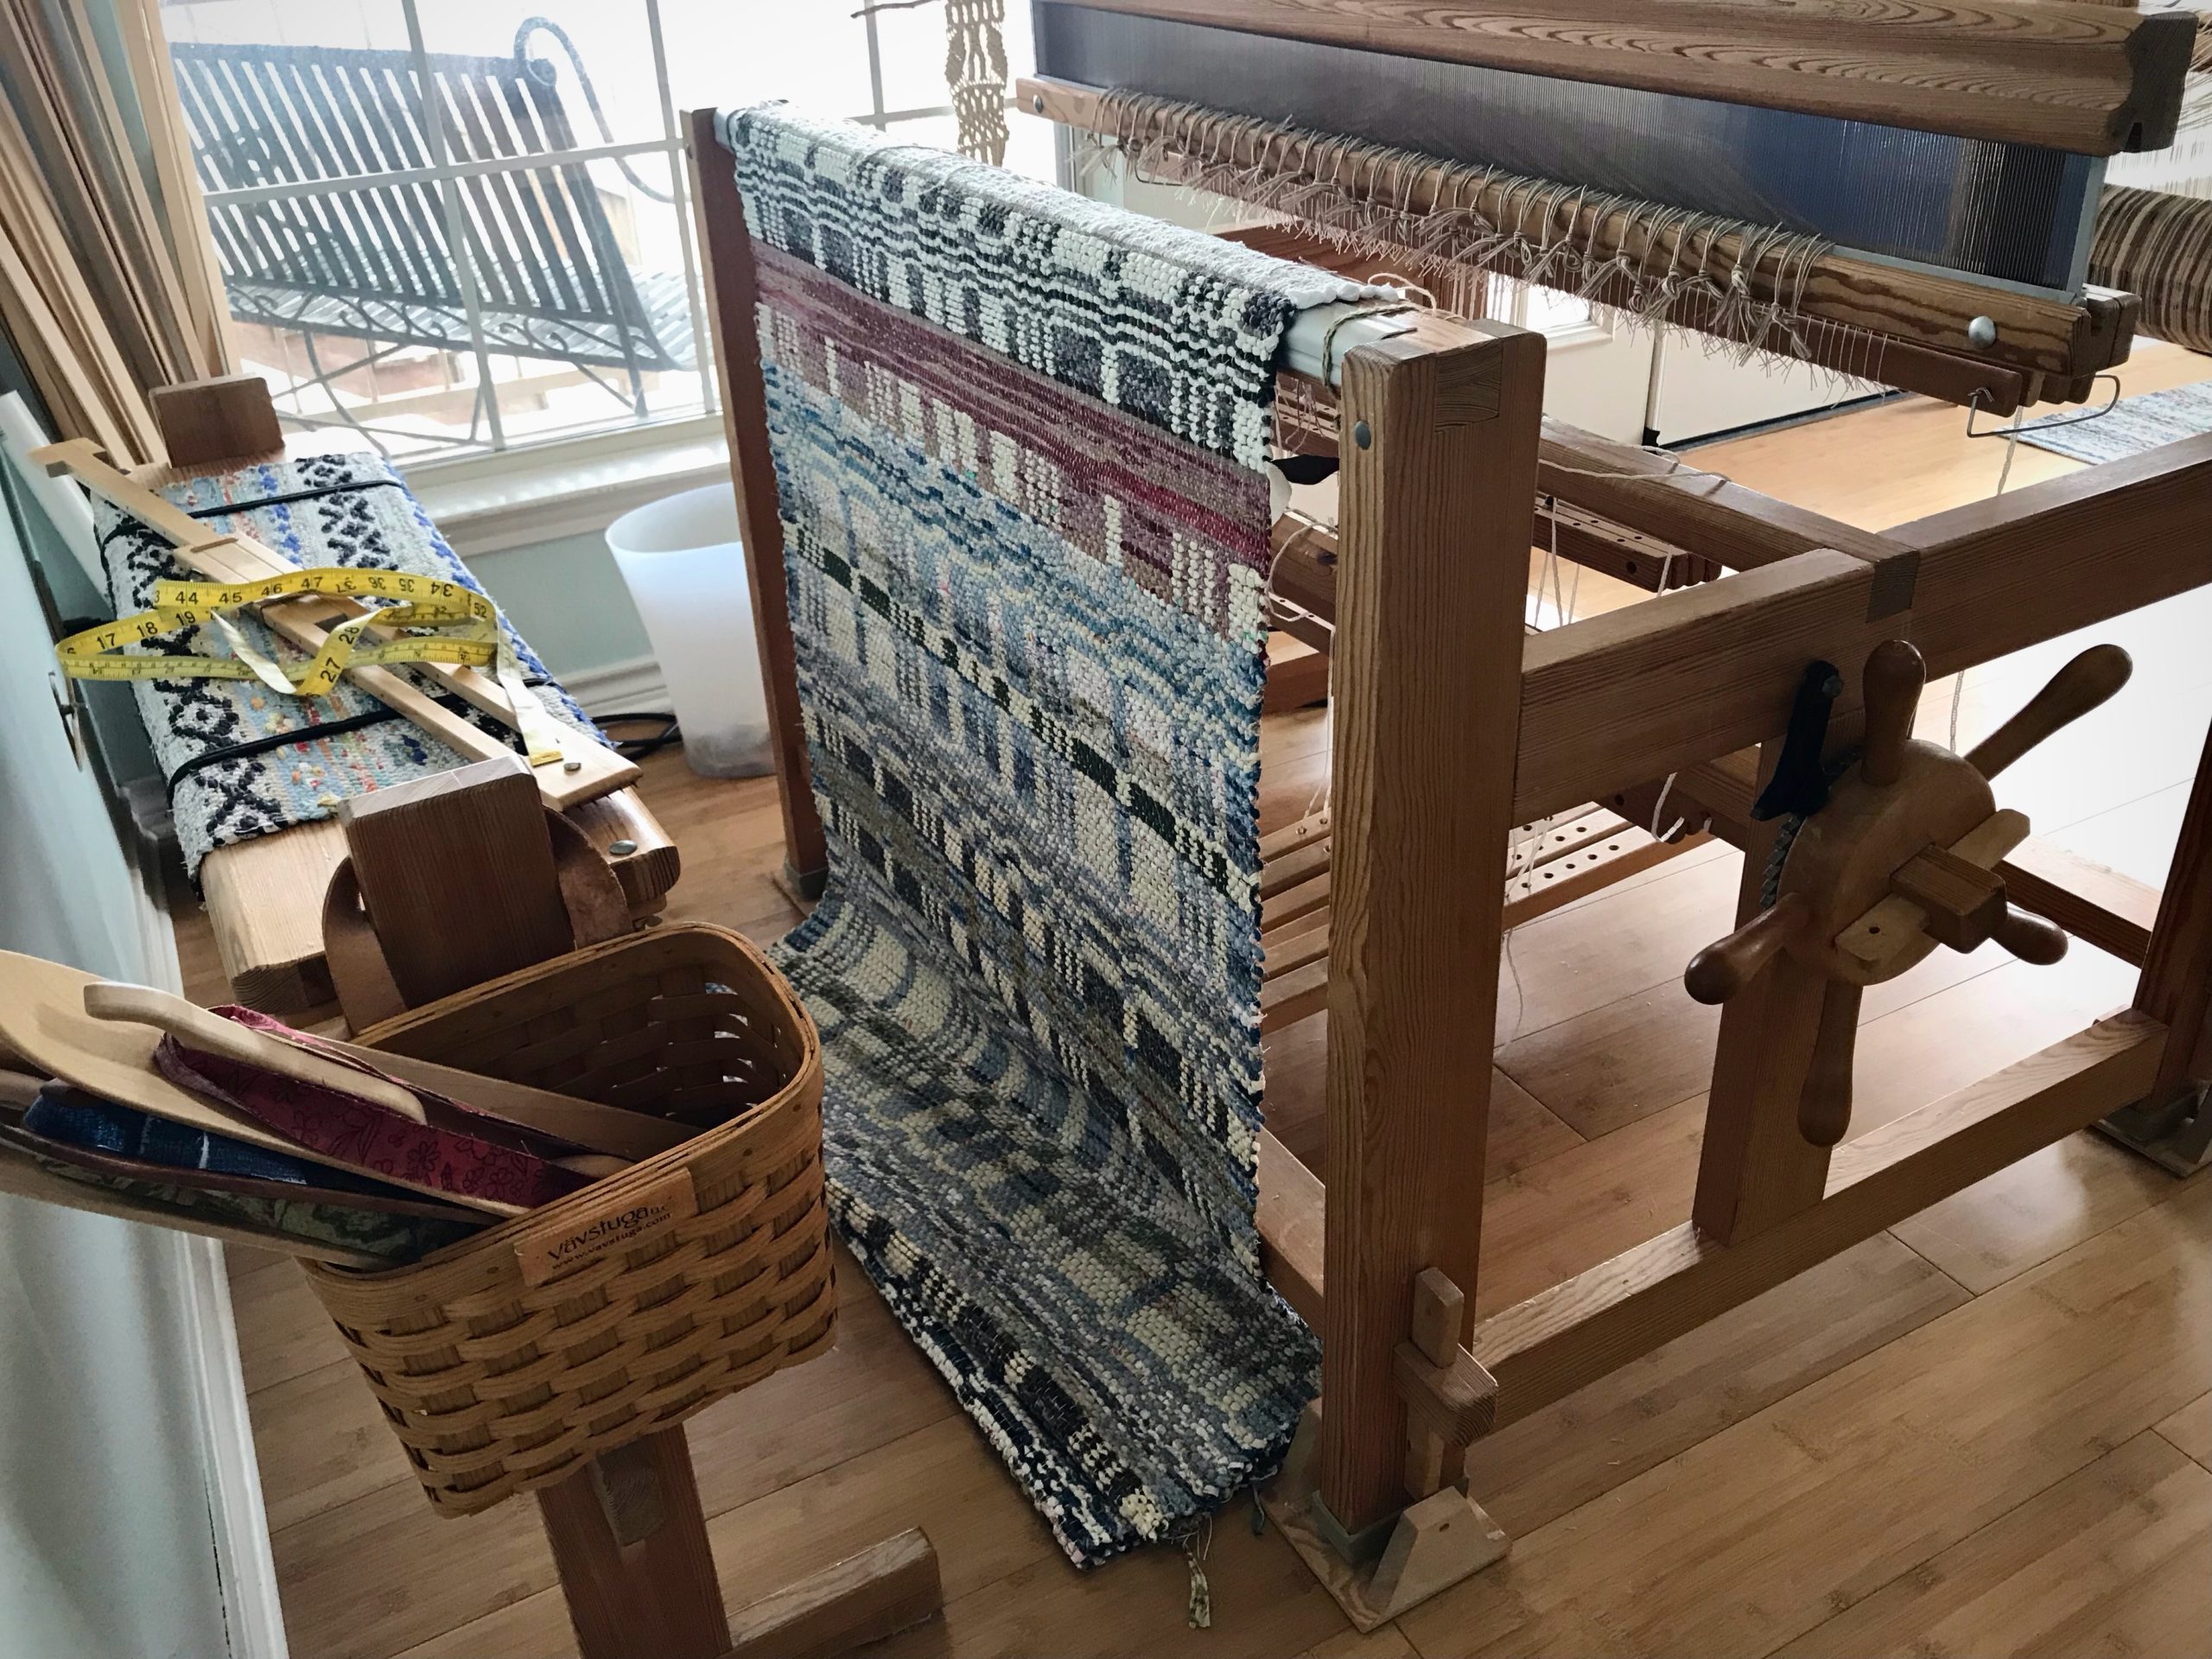
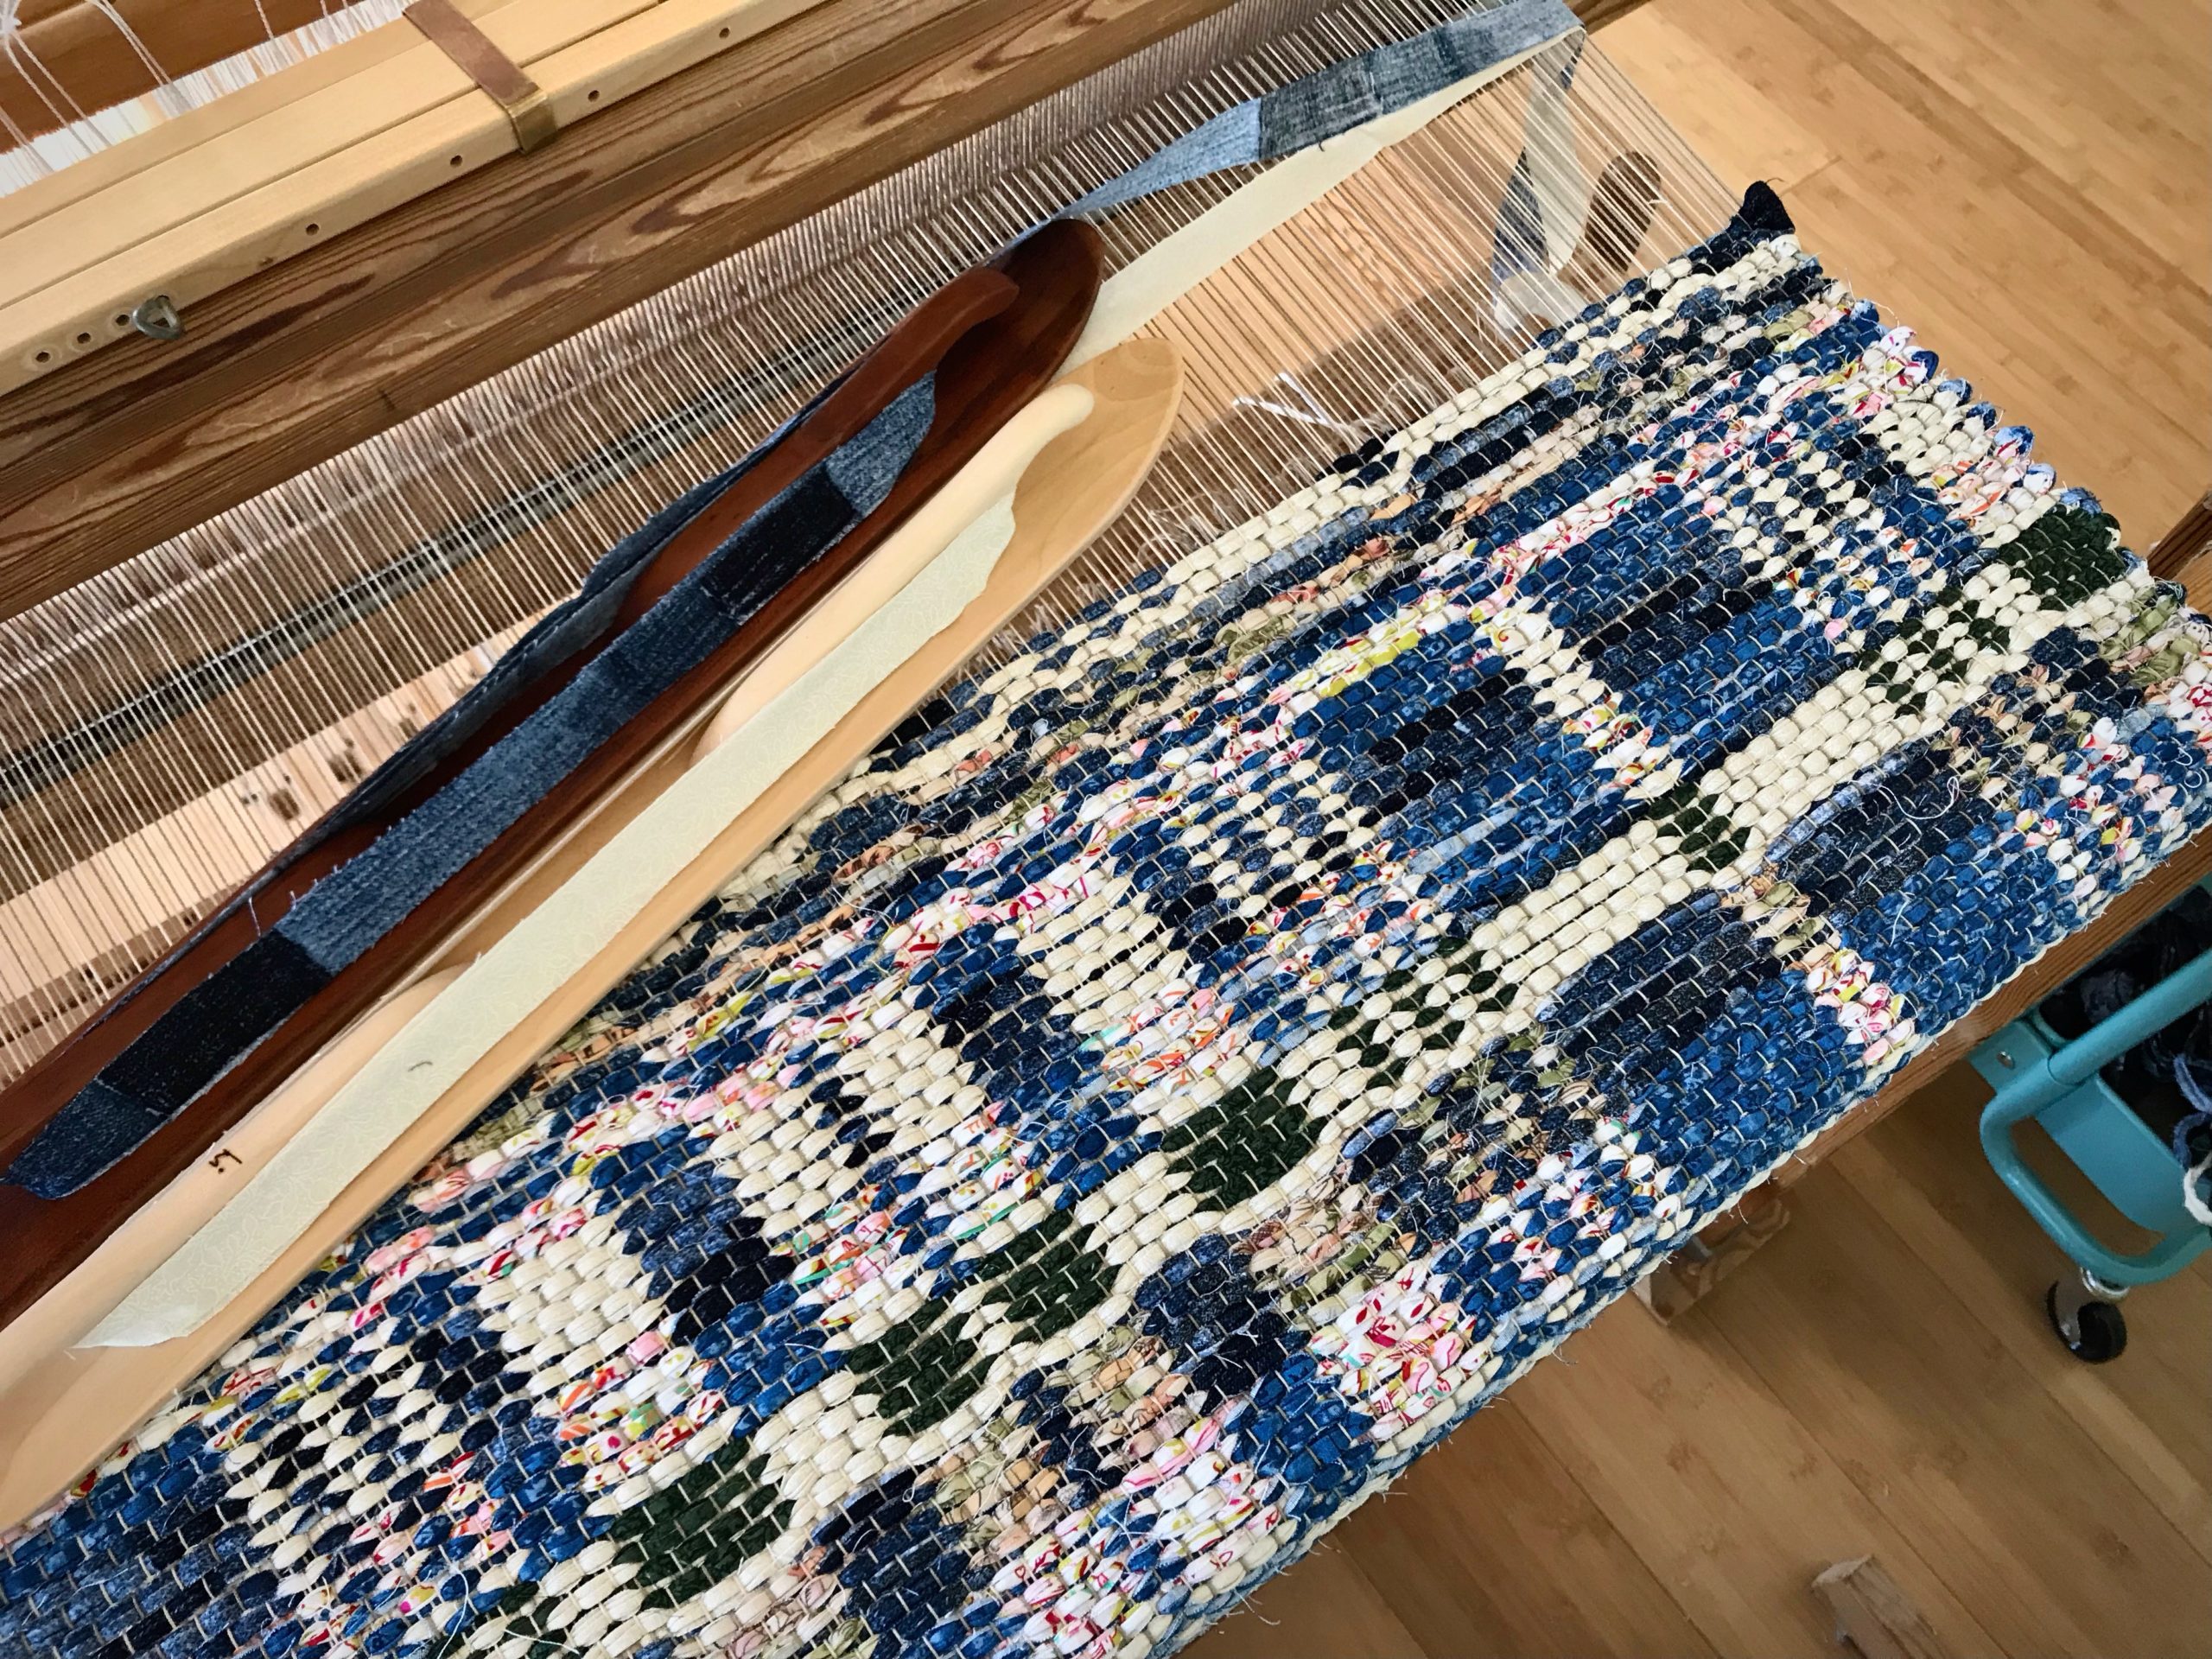
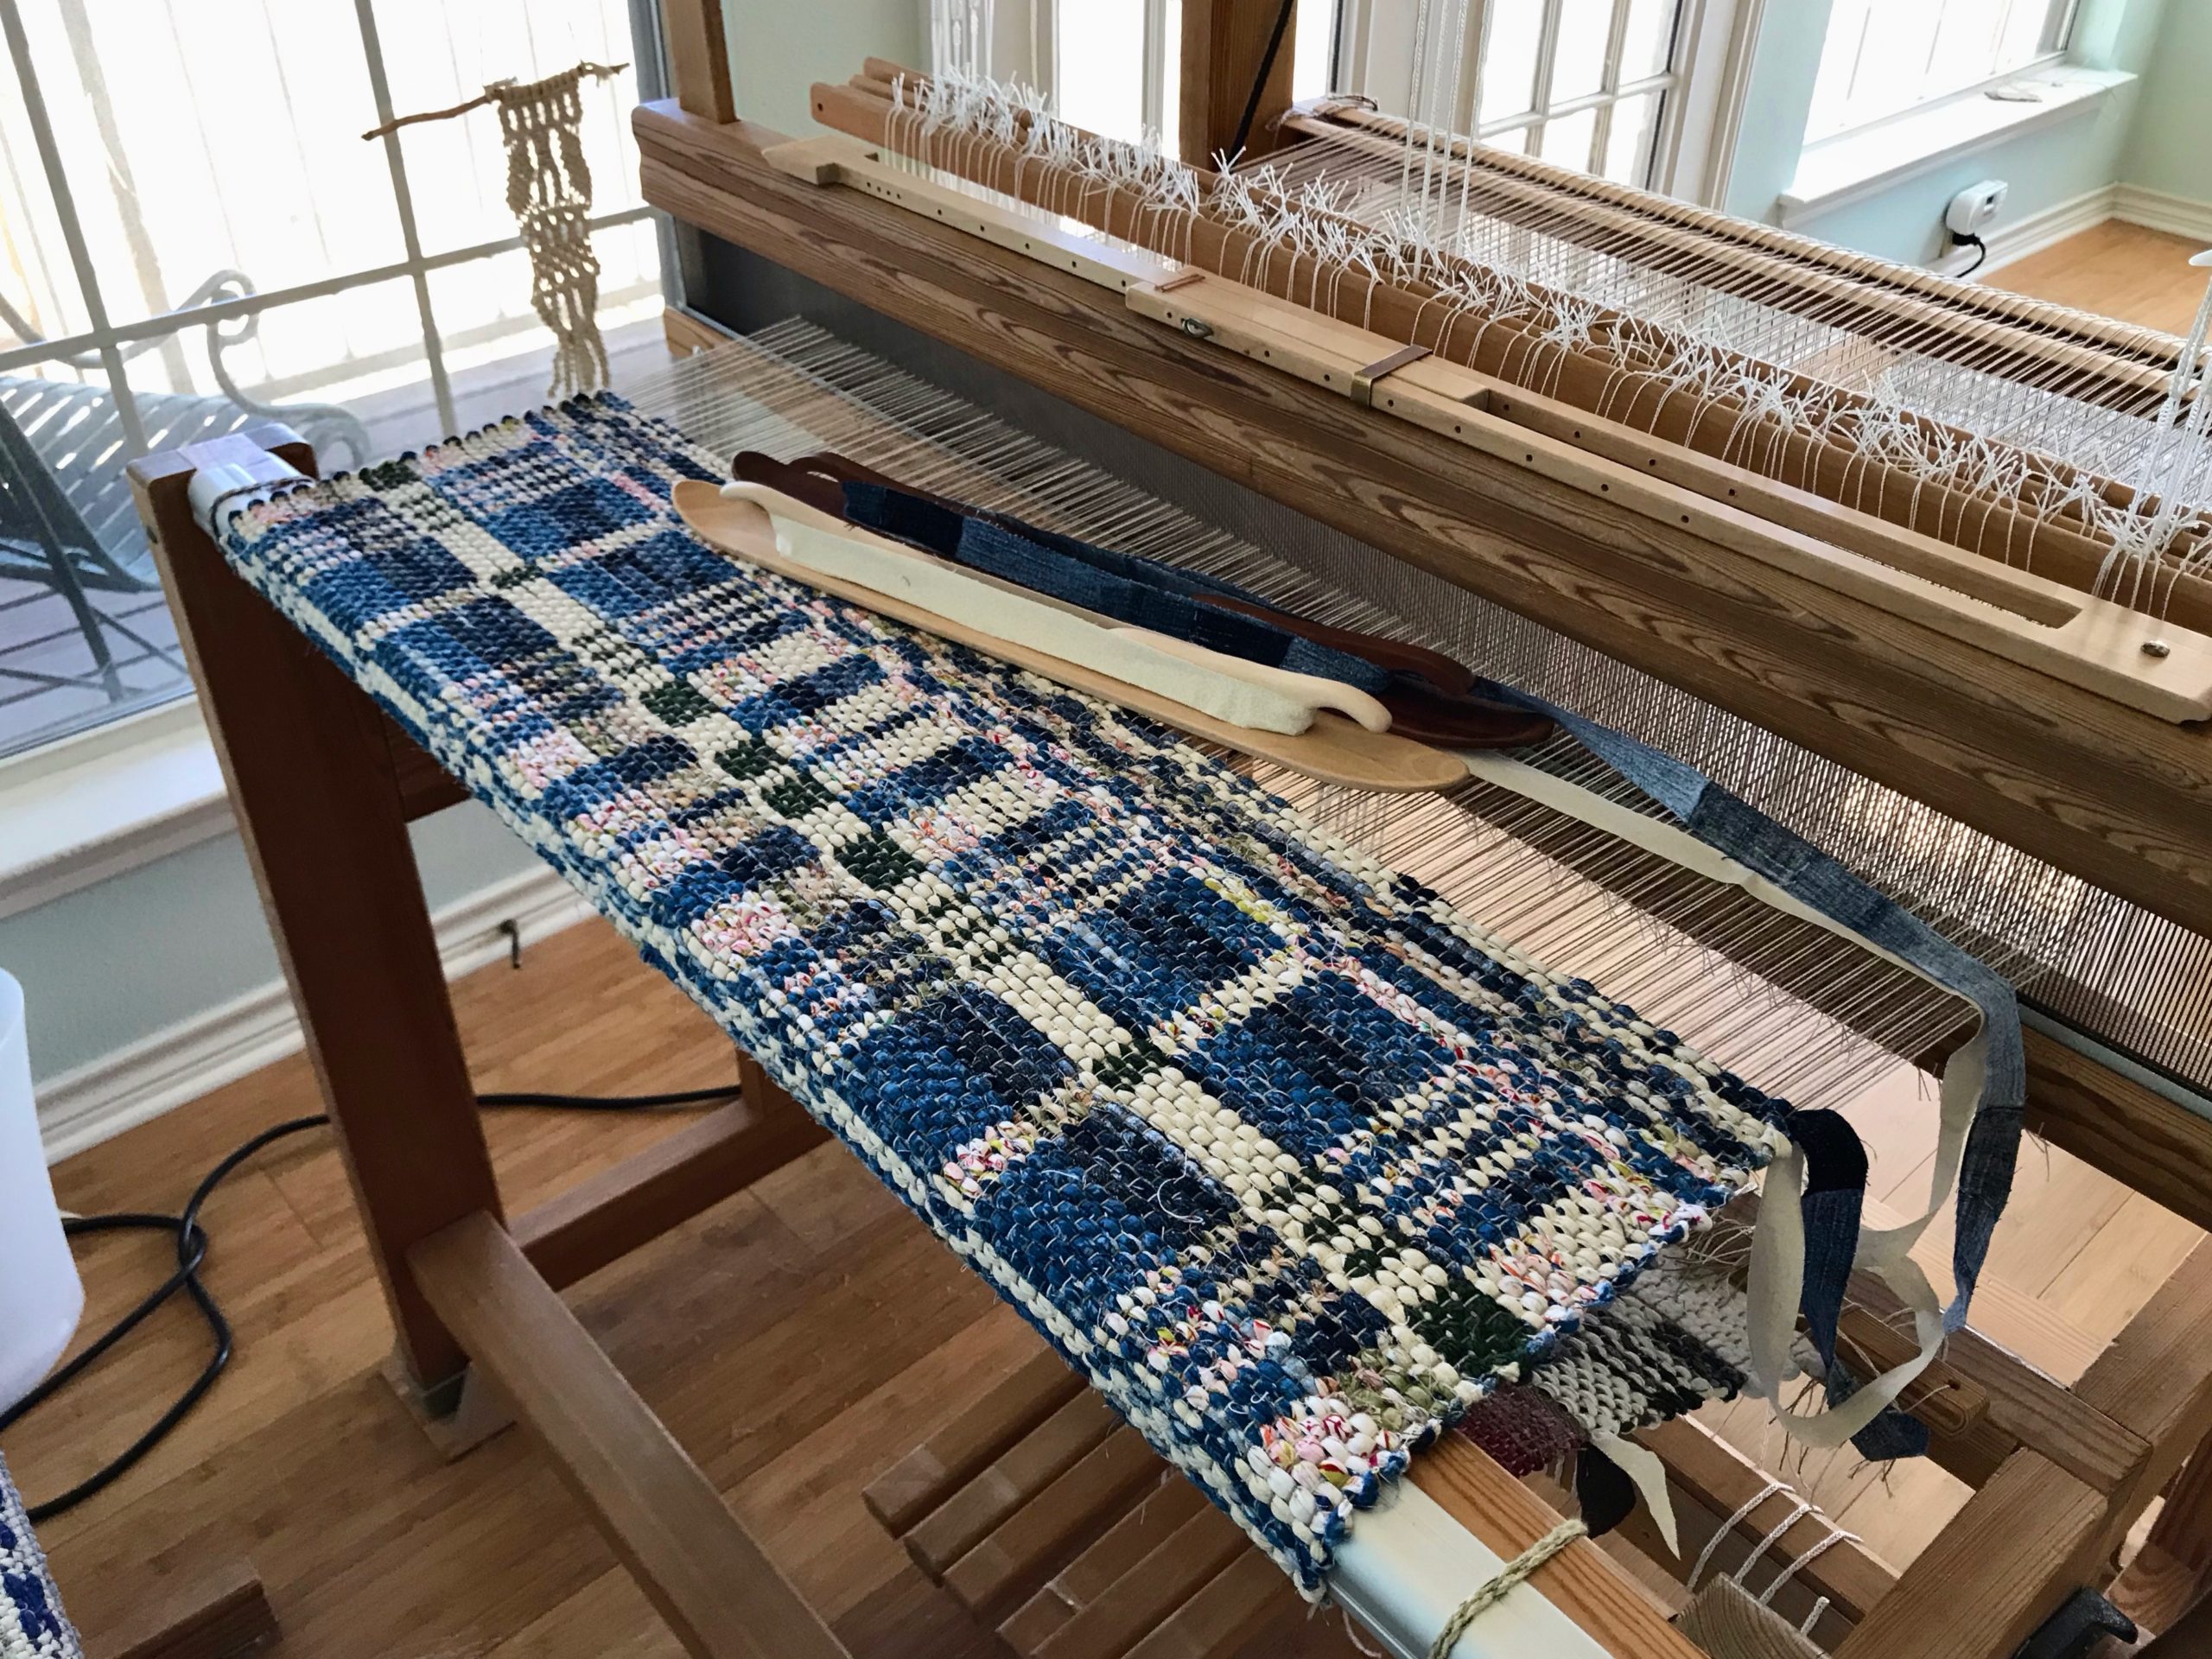
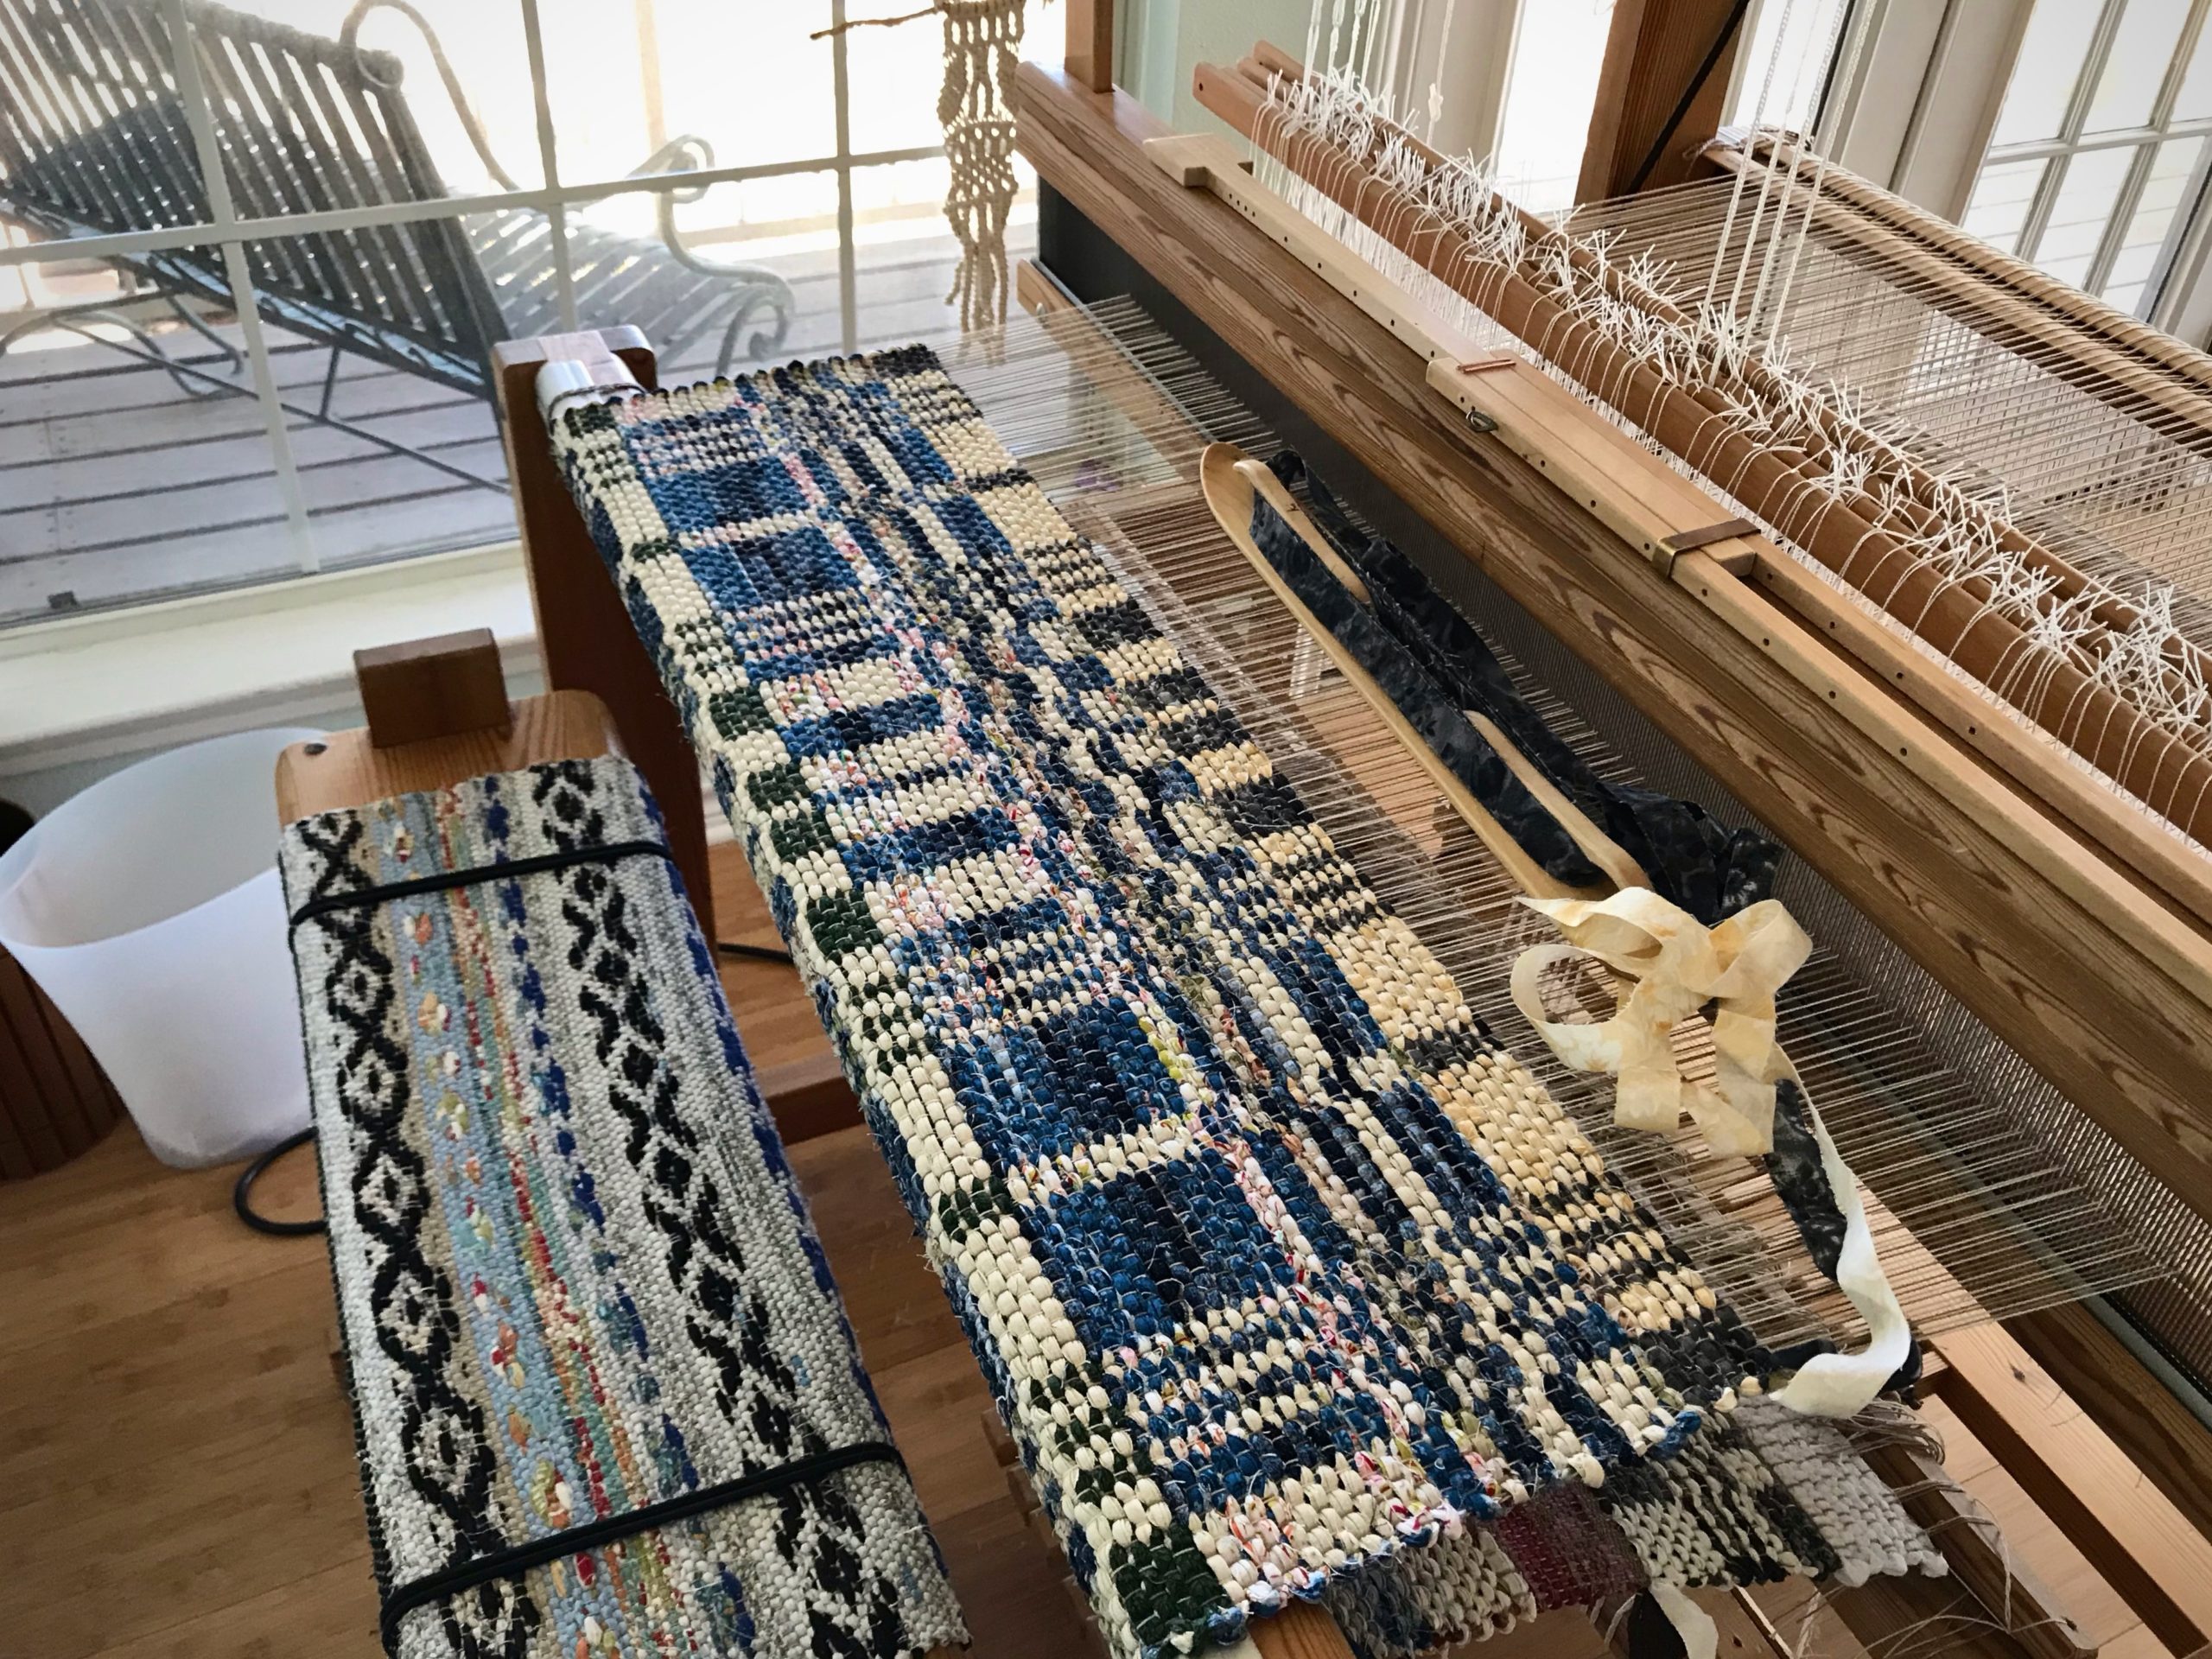
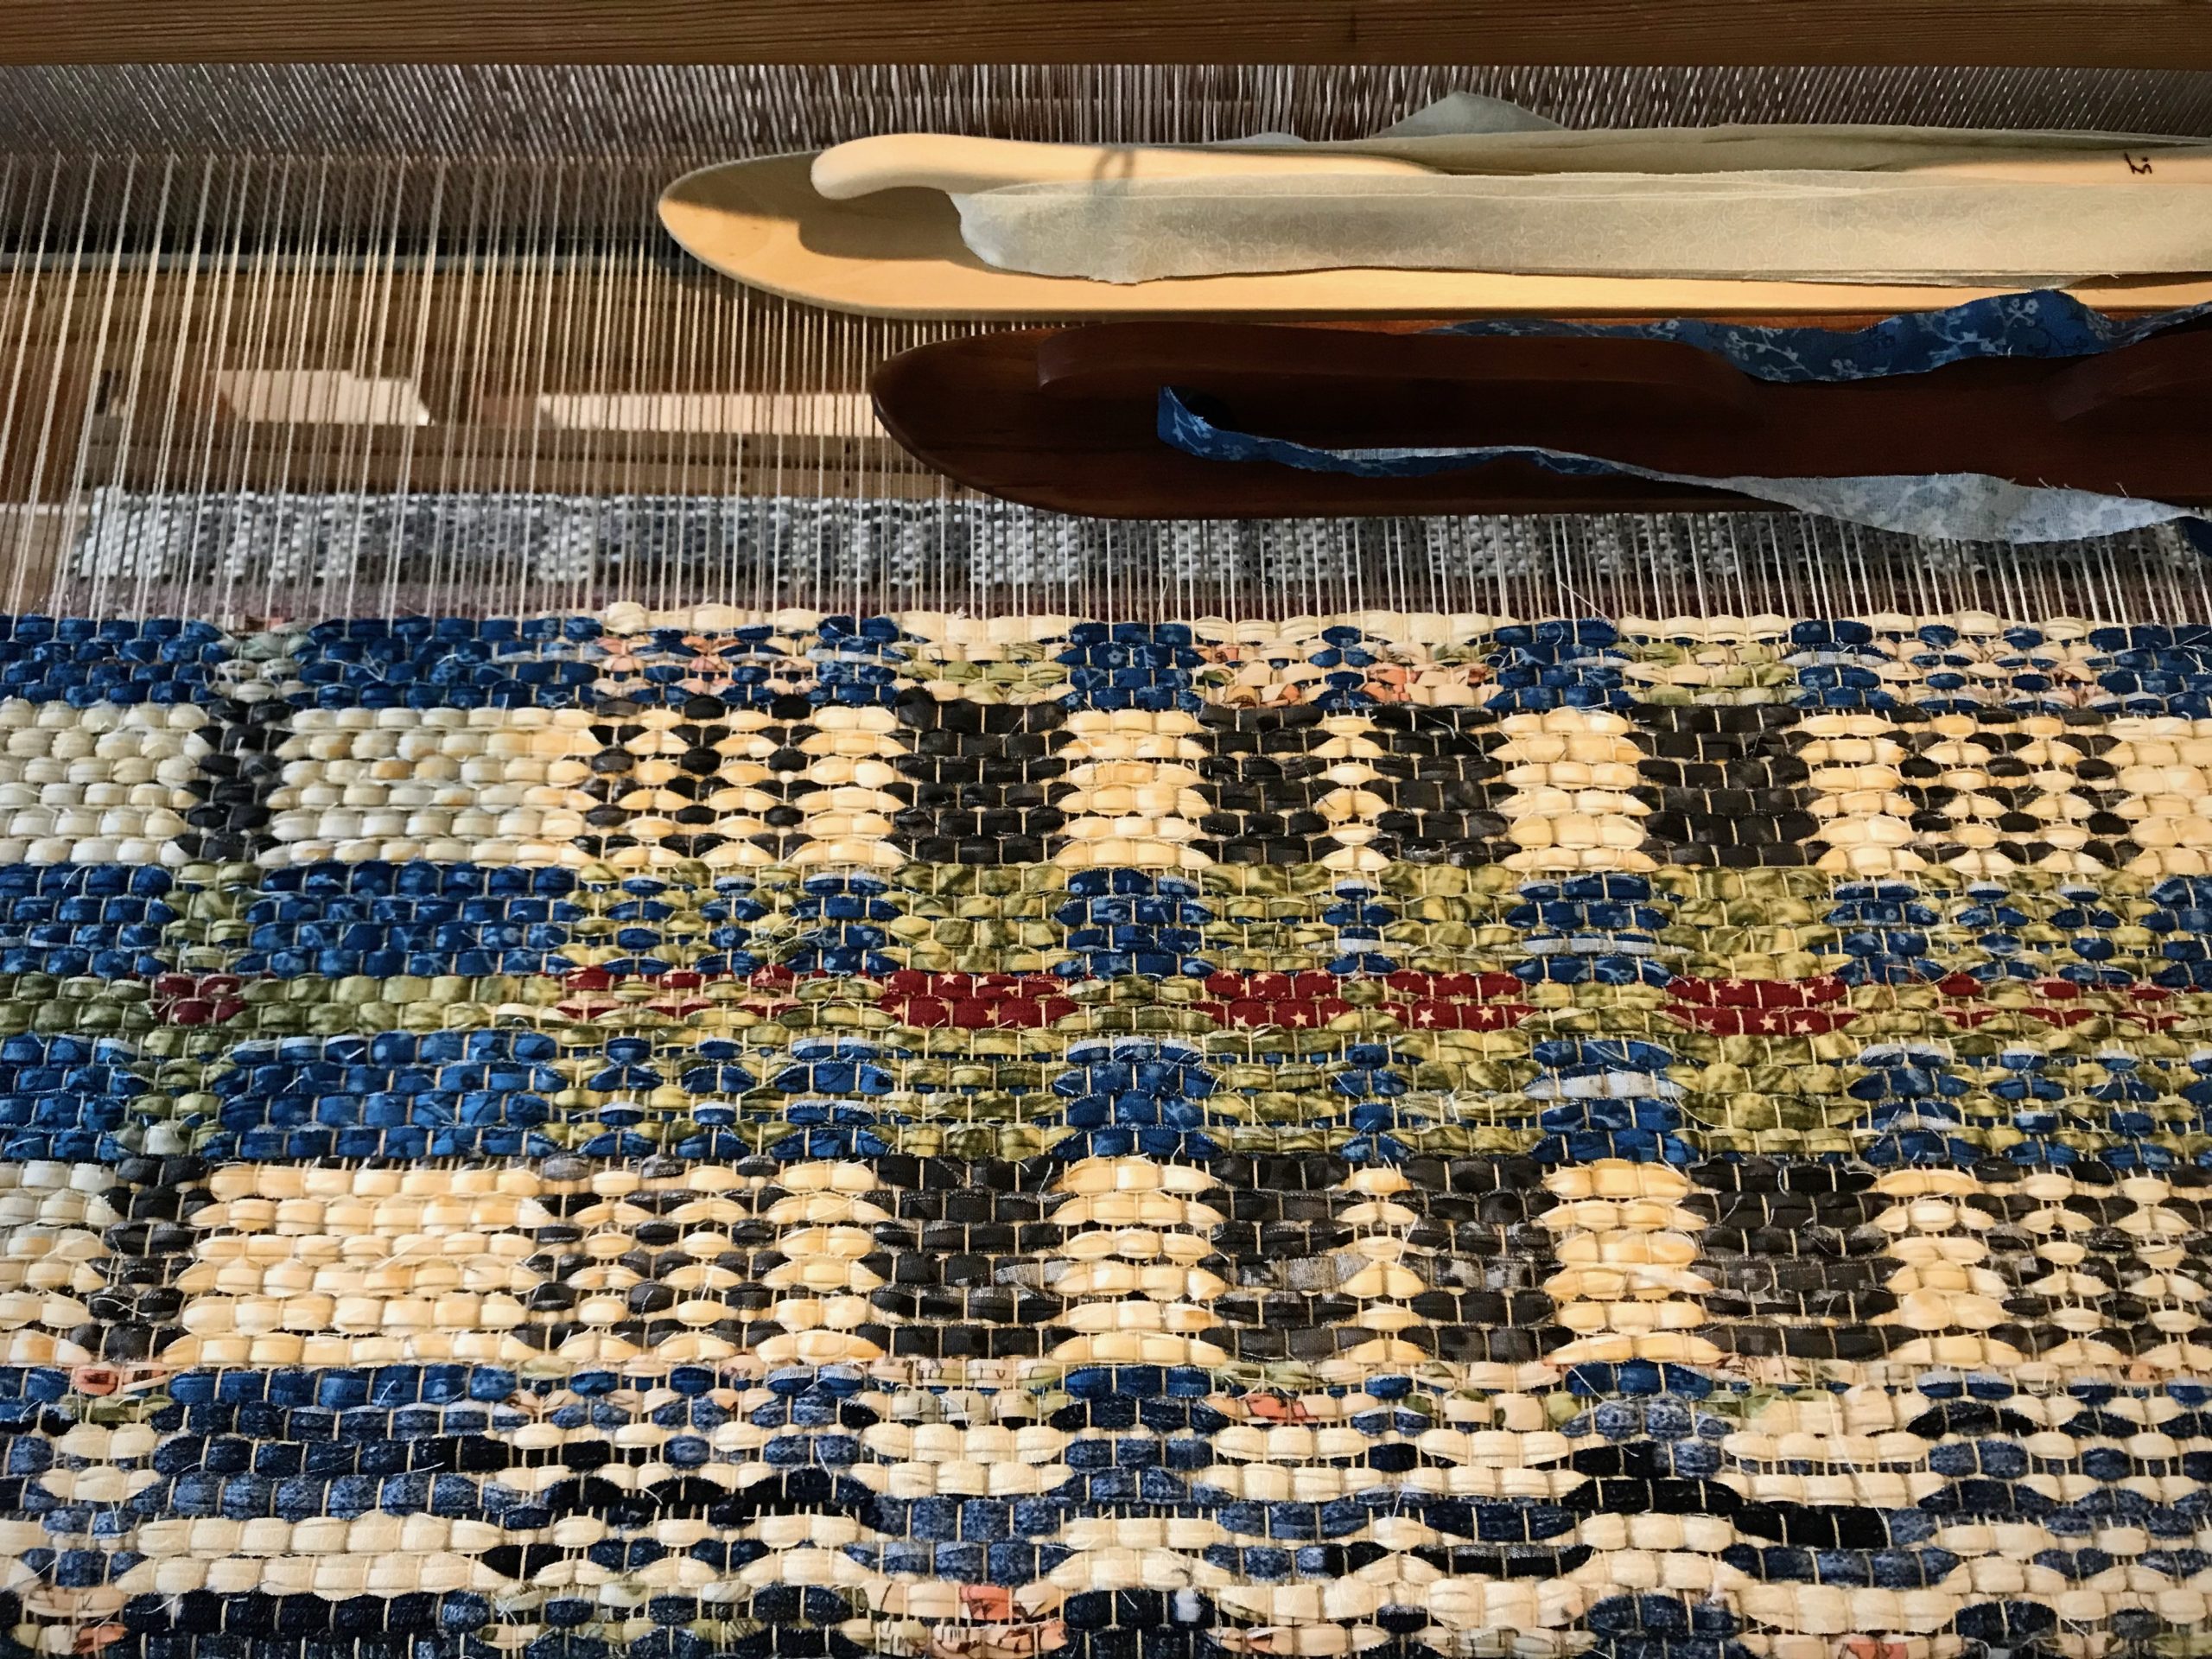
Rag rugs are up next on the Glimåkra Standard. I’m filled with anticipation. Oh, to have the momentum of this hanging beater at my fingertips again. I’m drawn to the simple power of the hanging beater, which is perfect for rug weaving. I already have a place for these rugs in my home once they are woven. So, let’s get going!
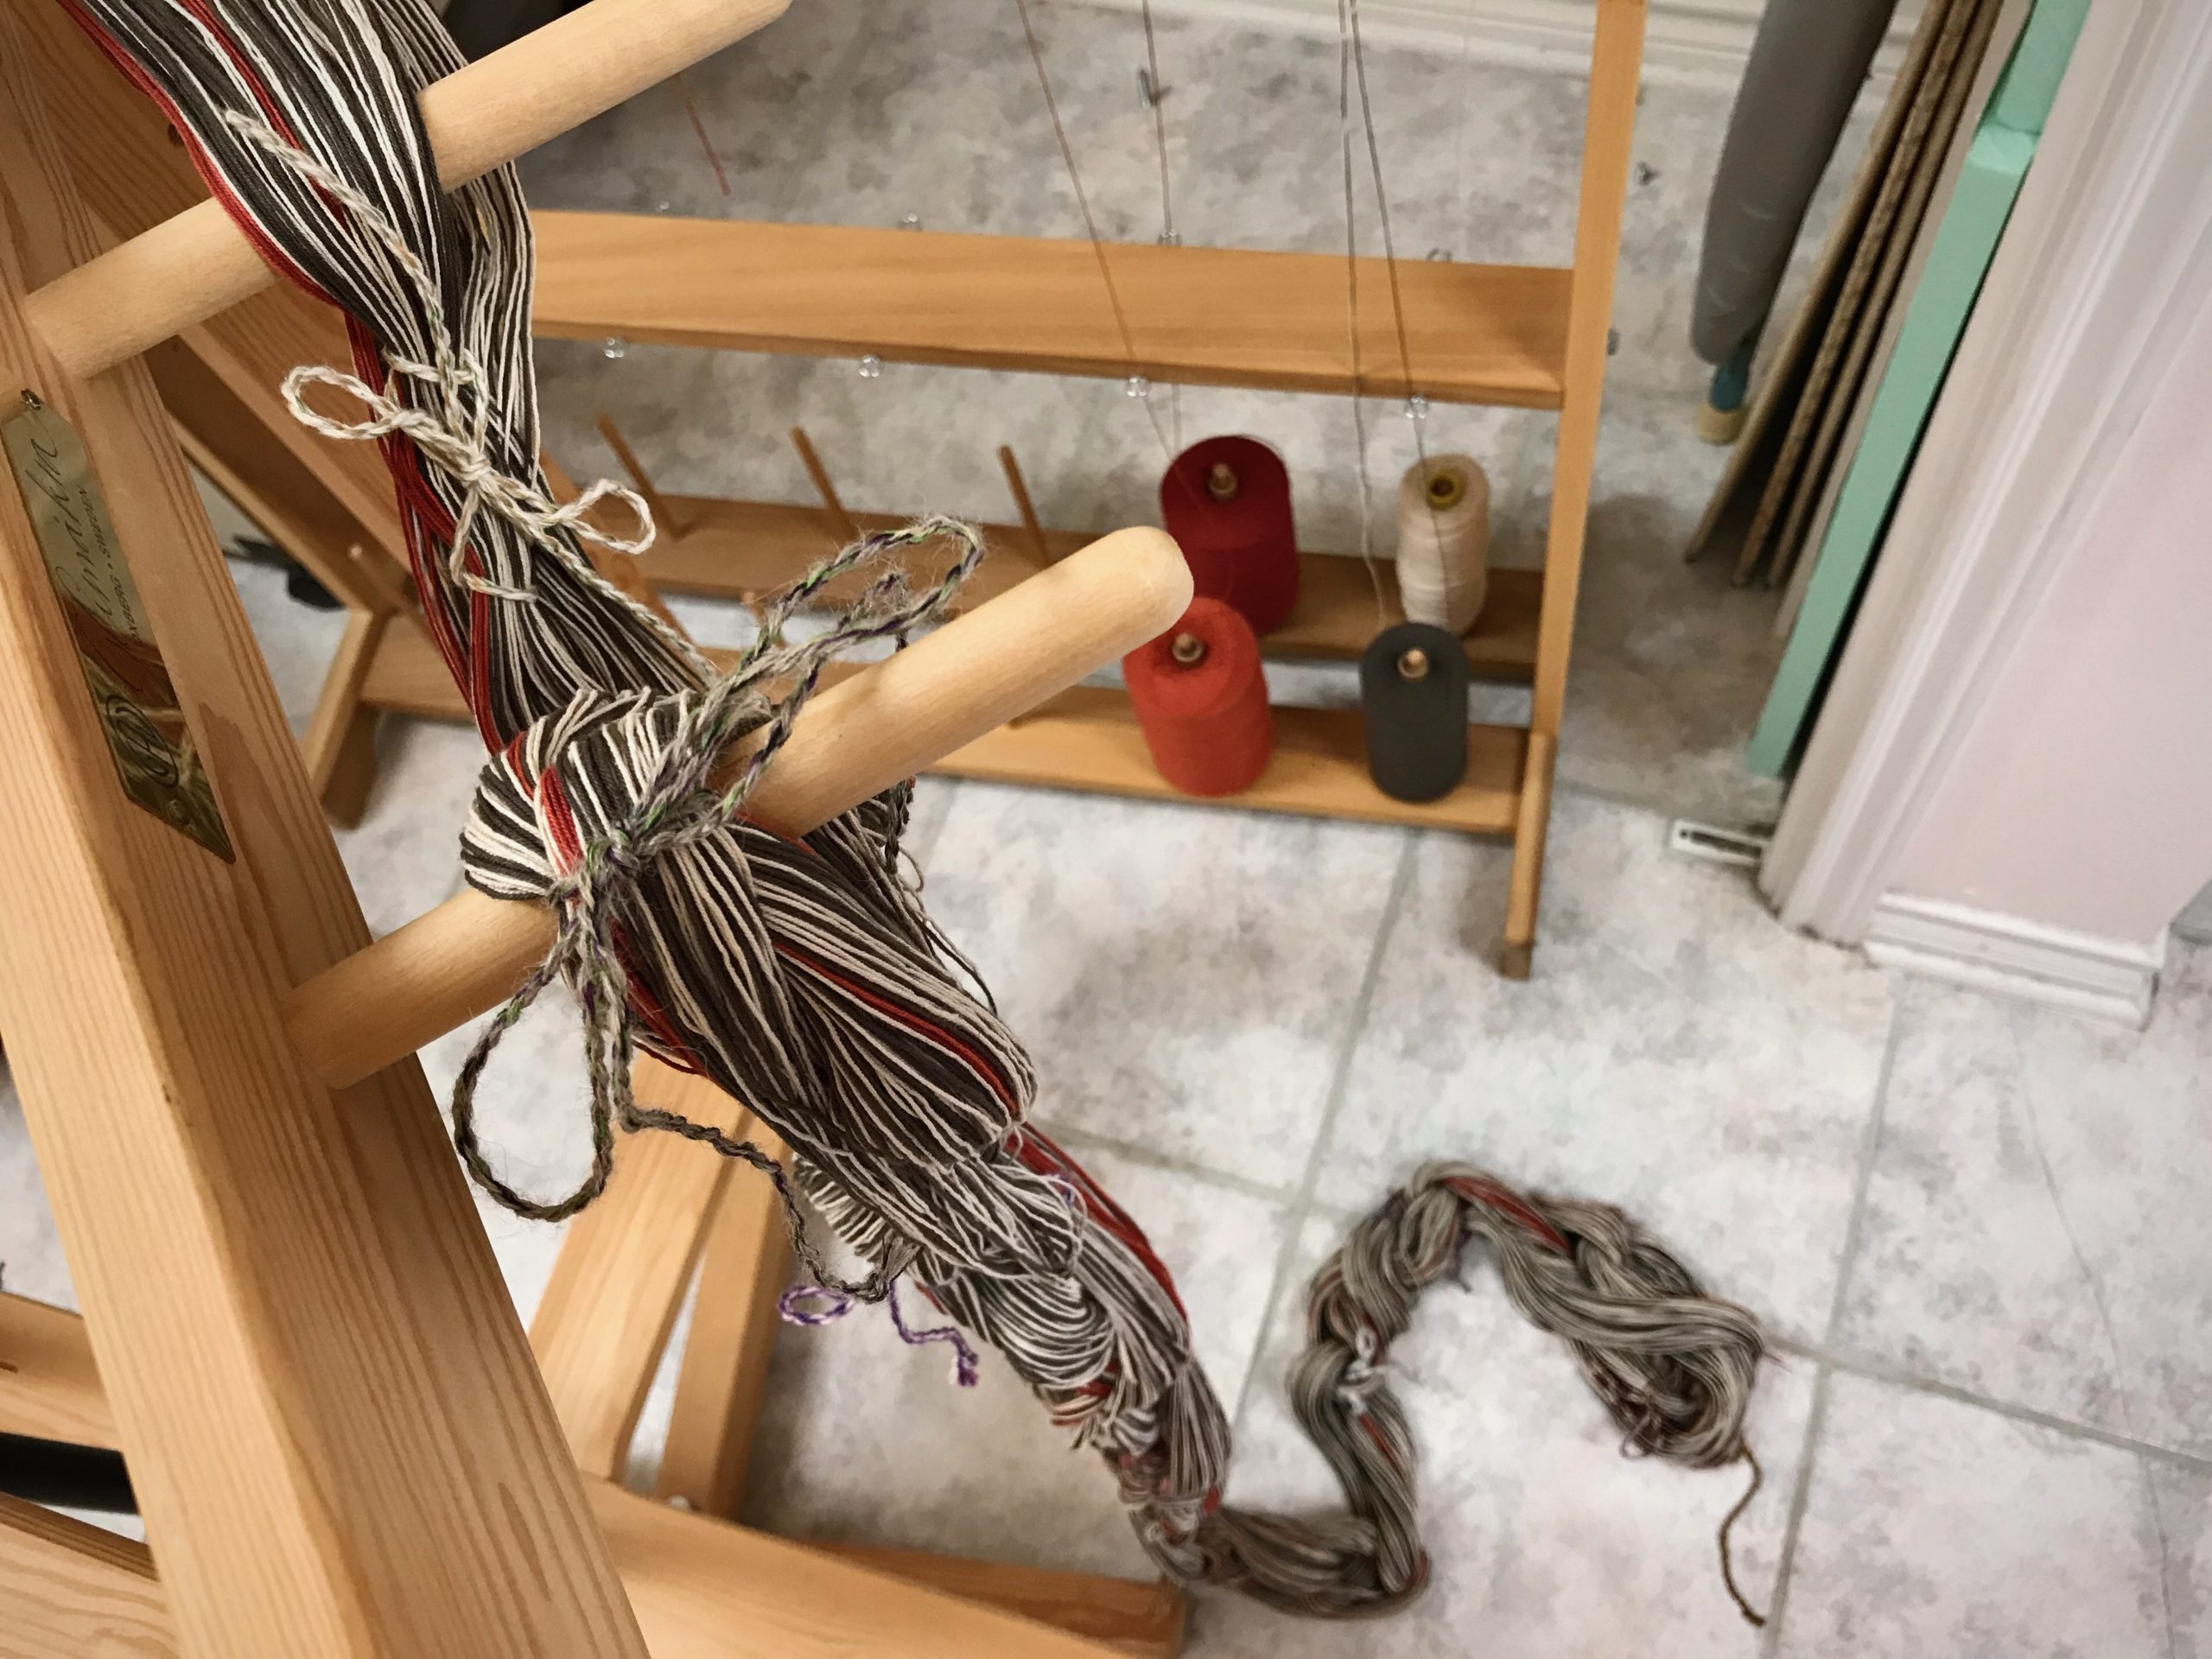
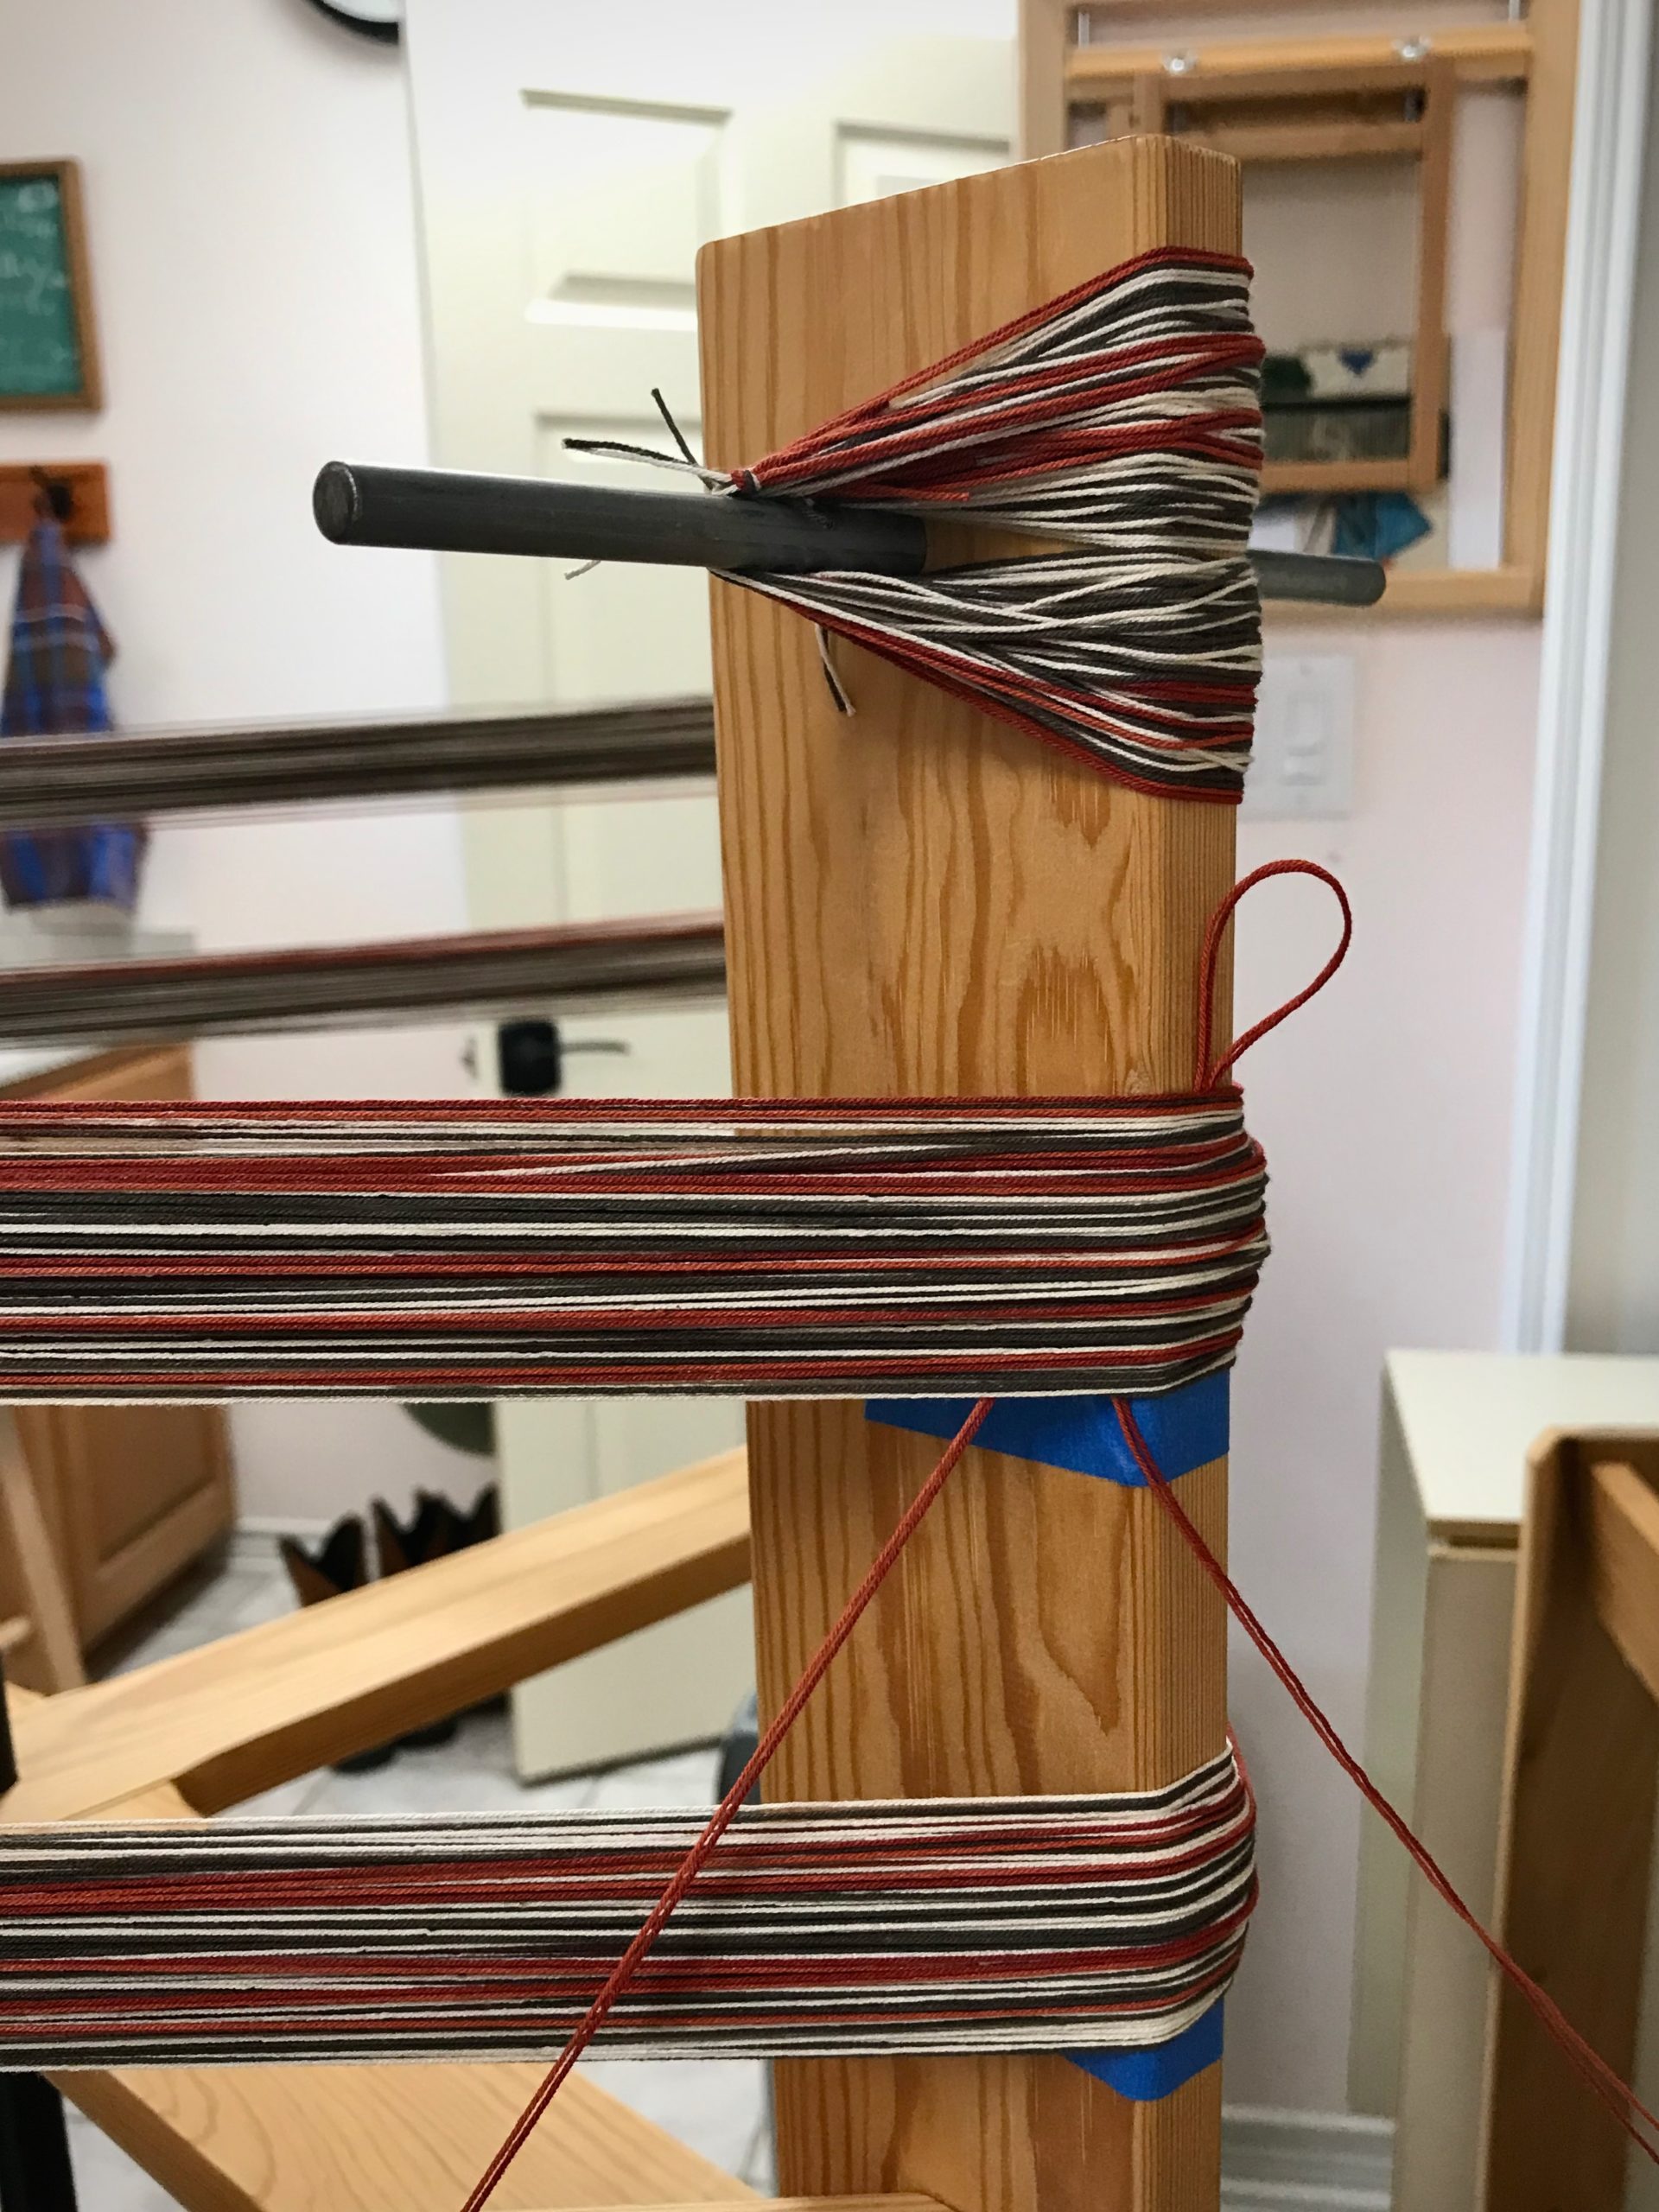
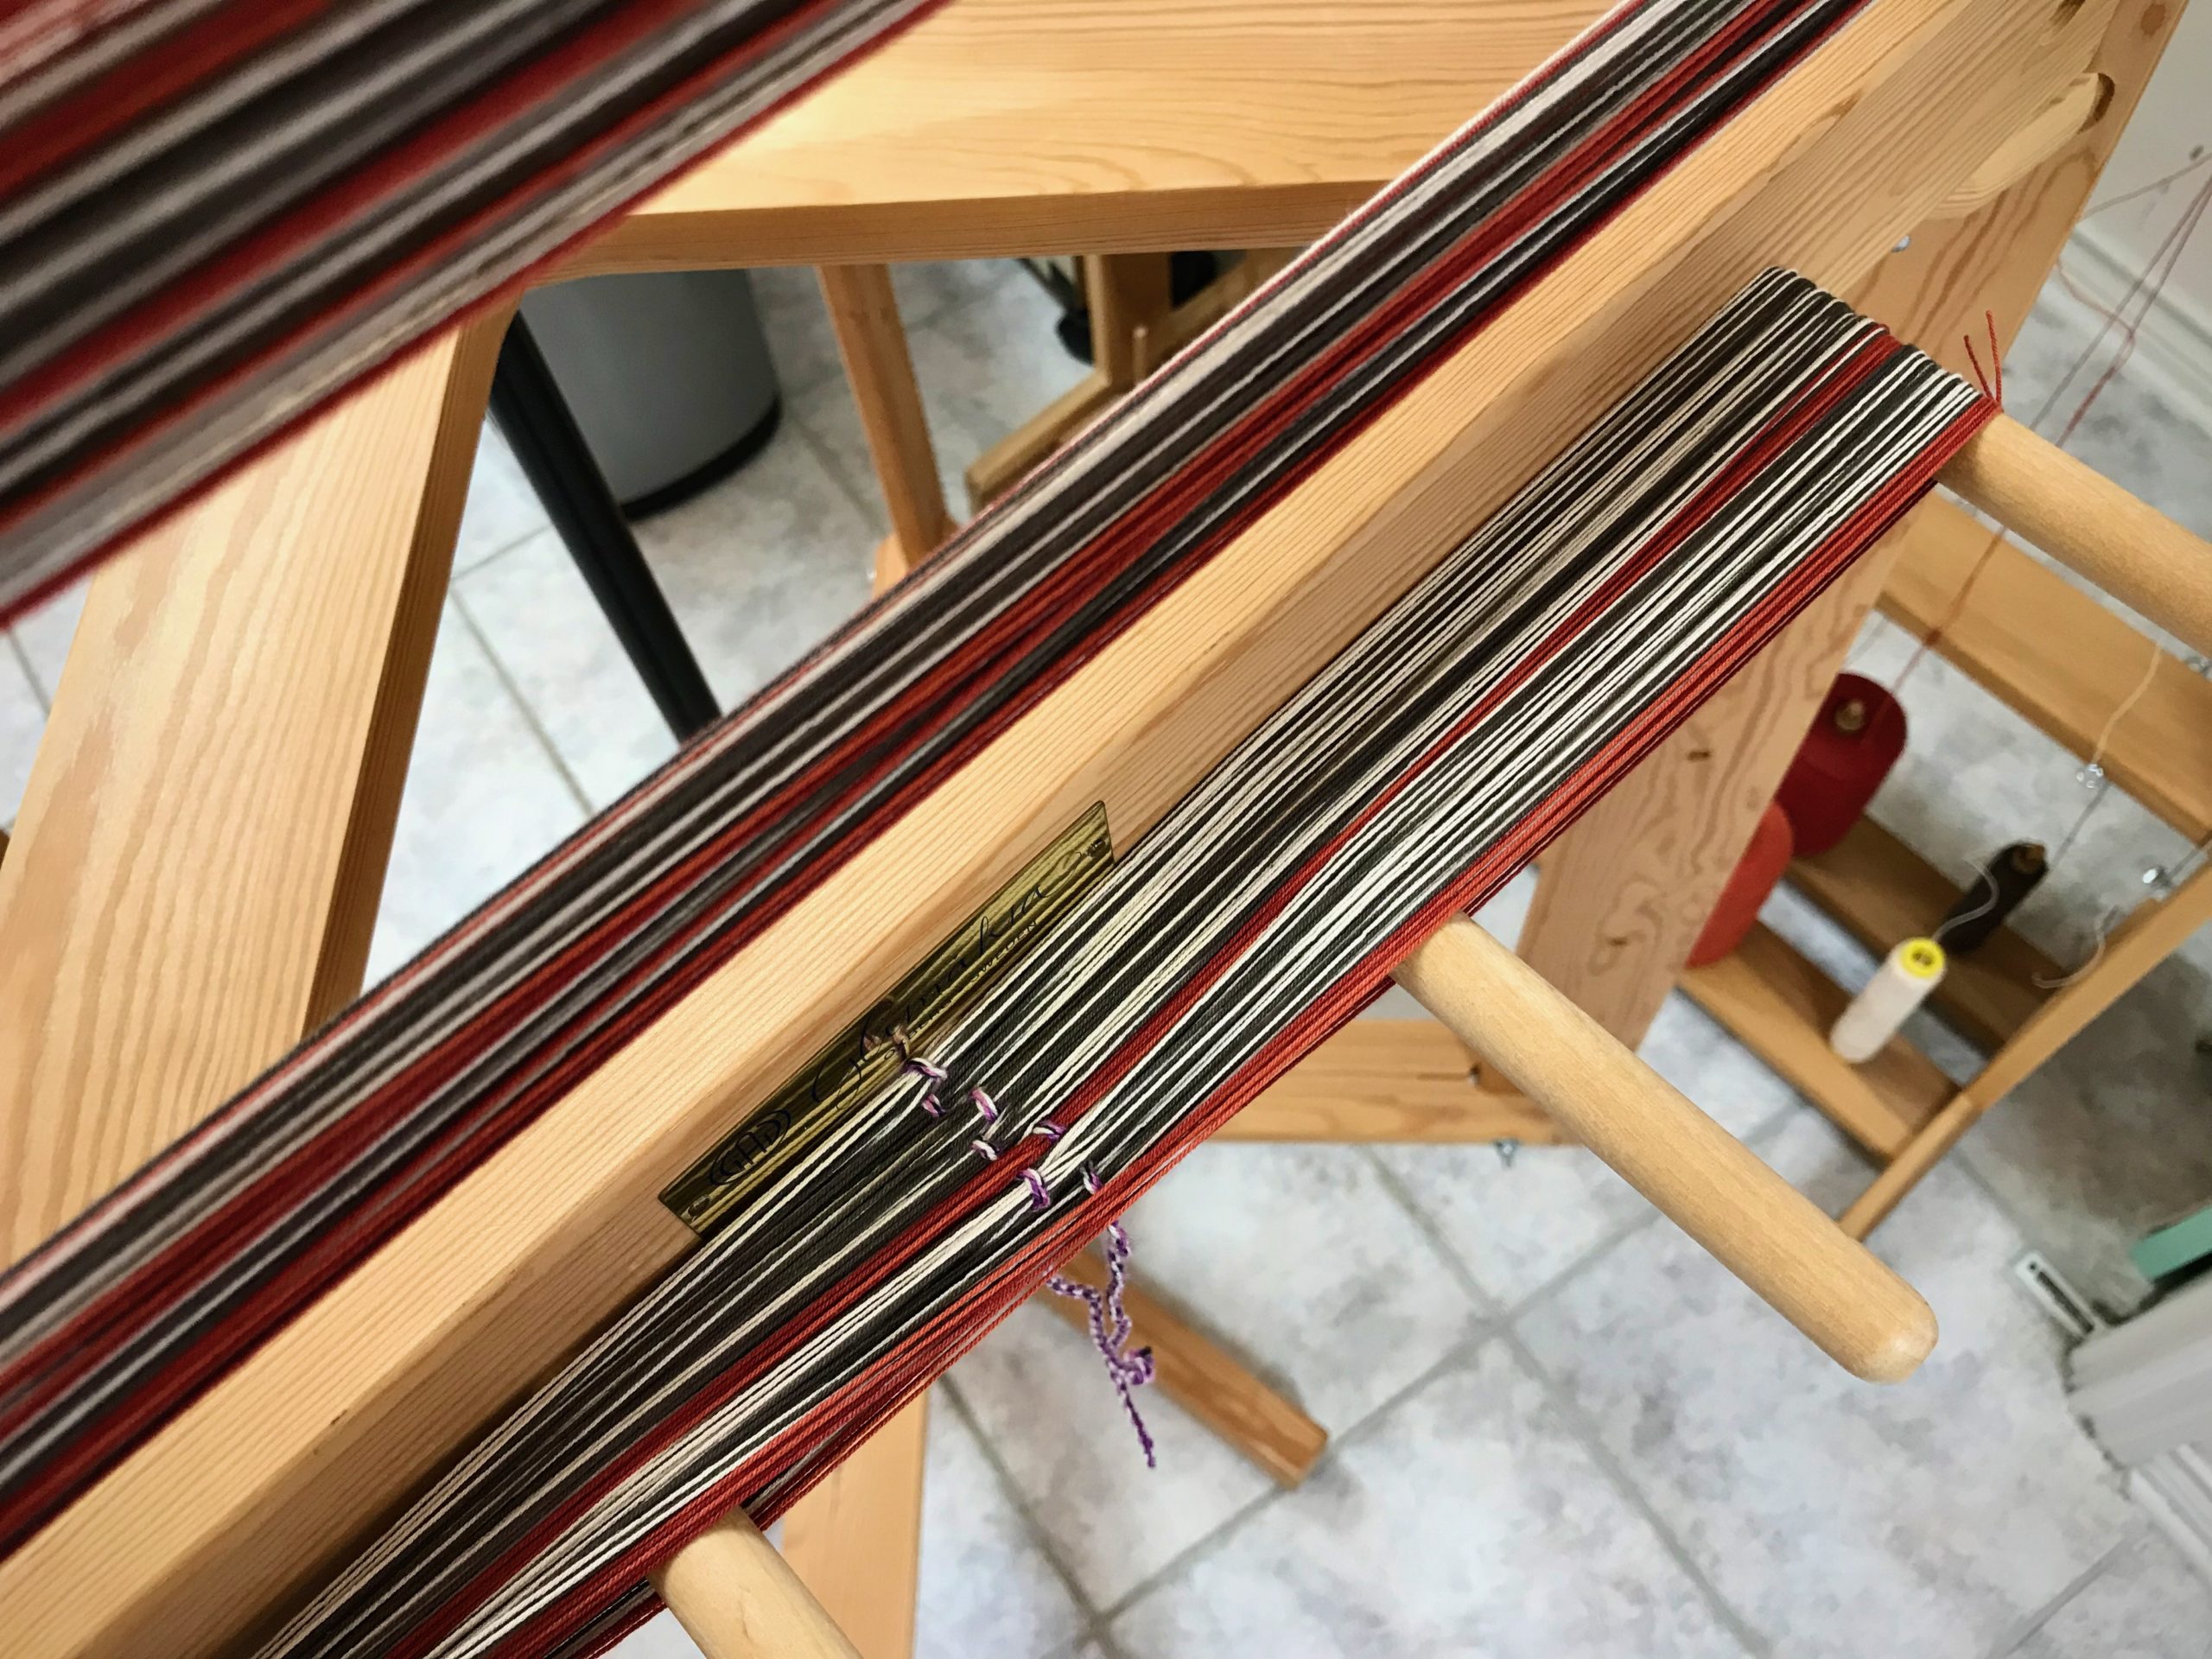
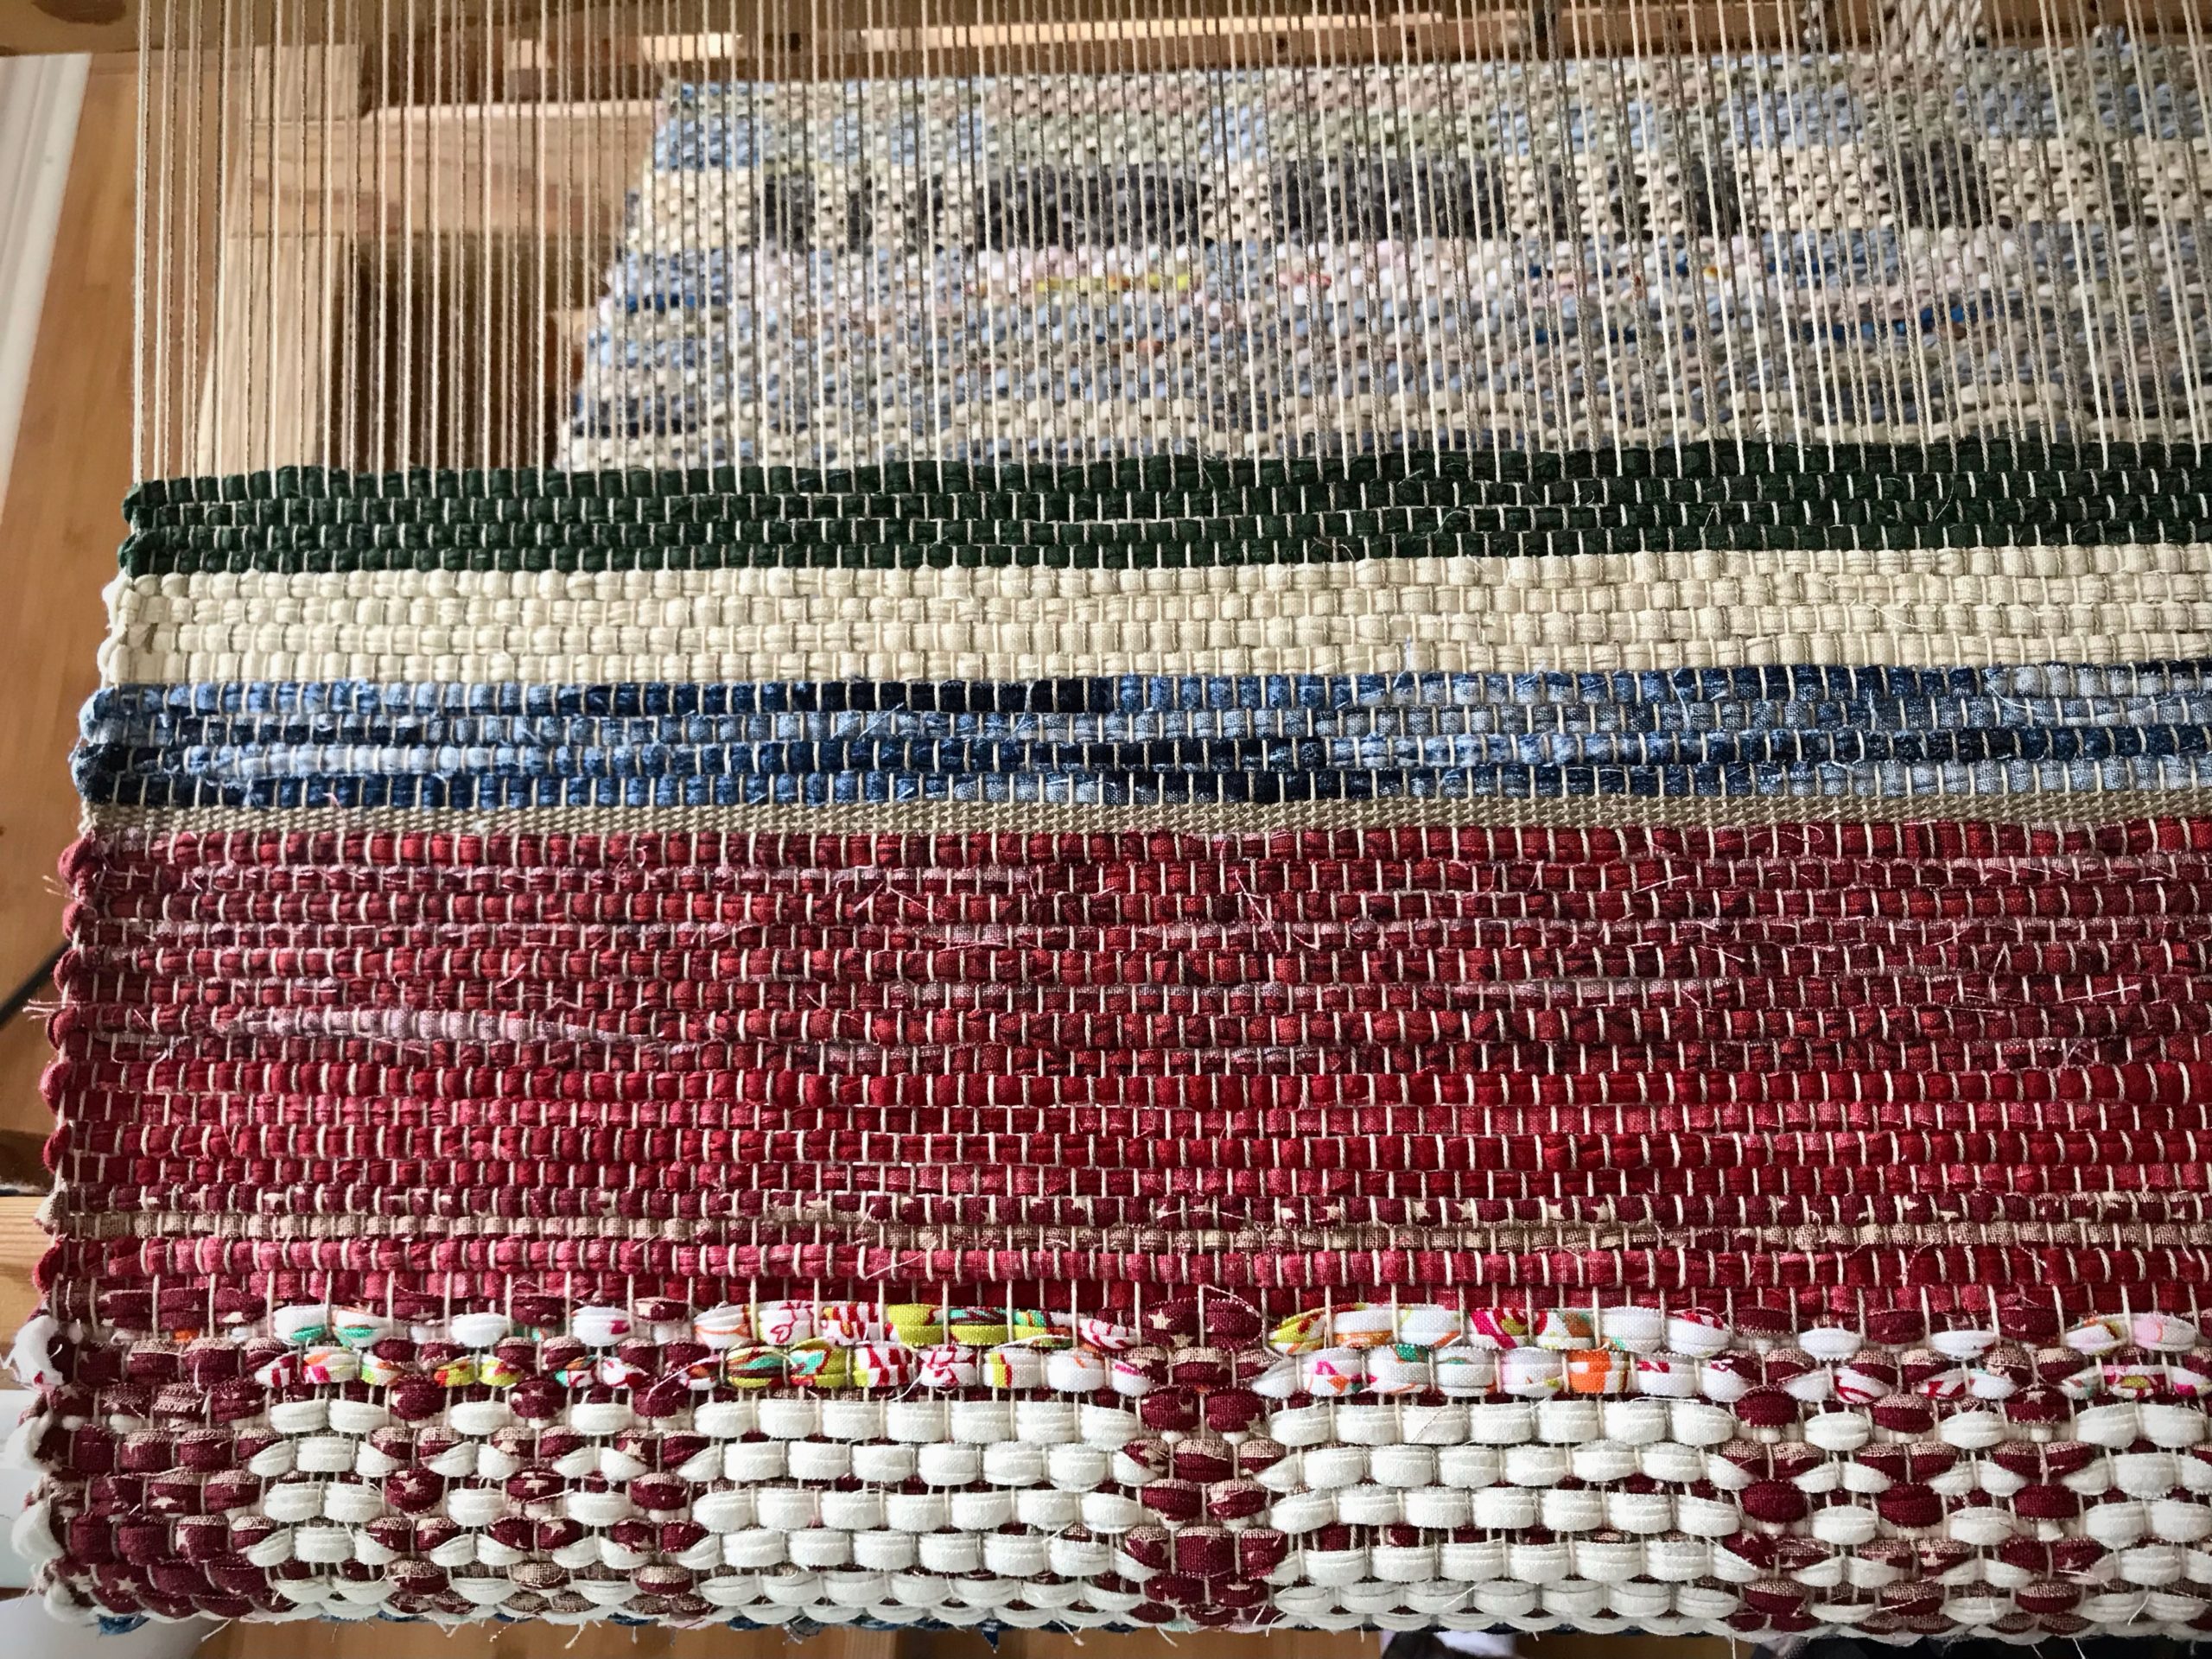
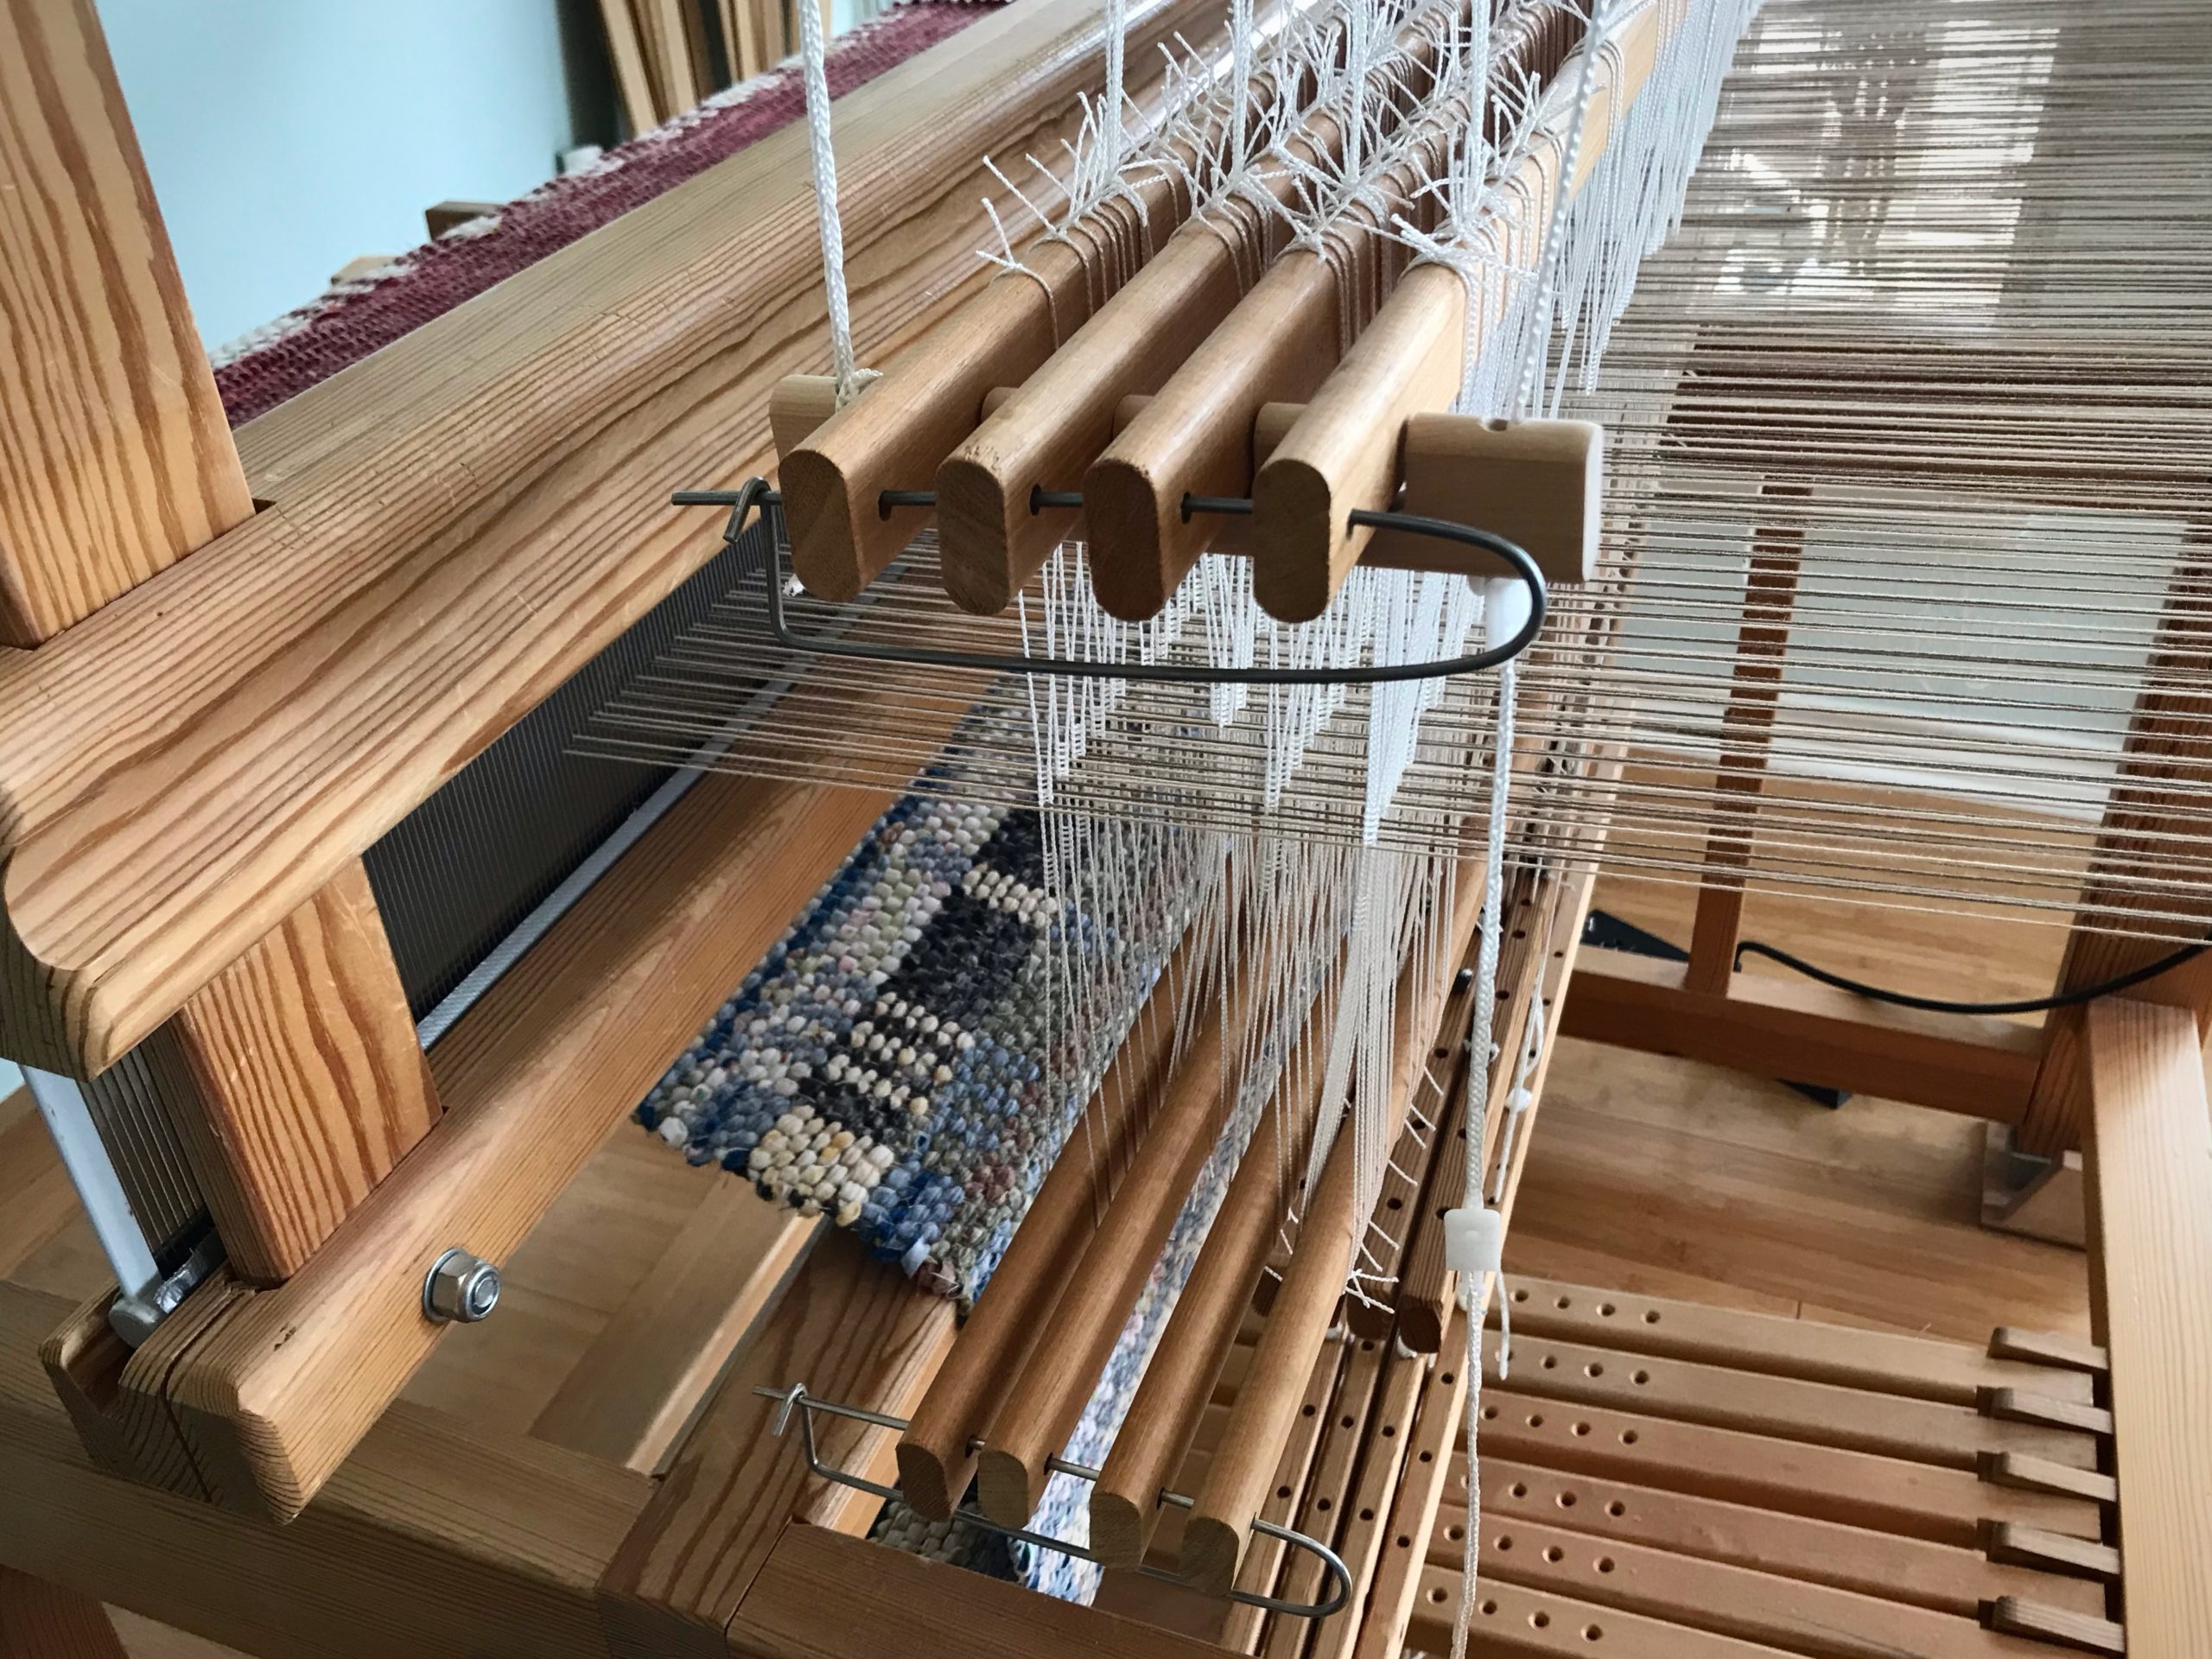
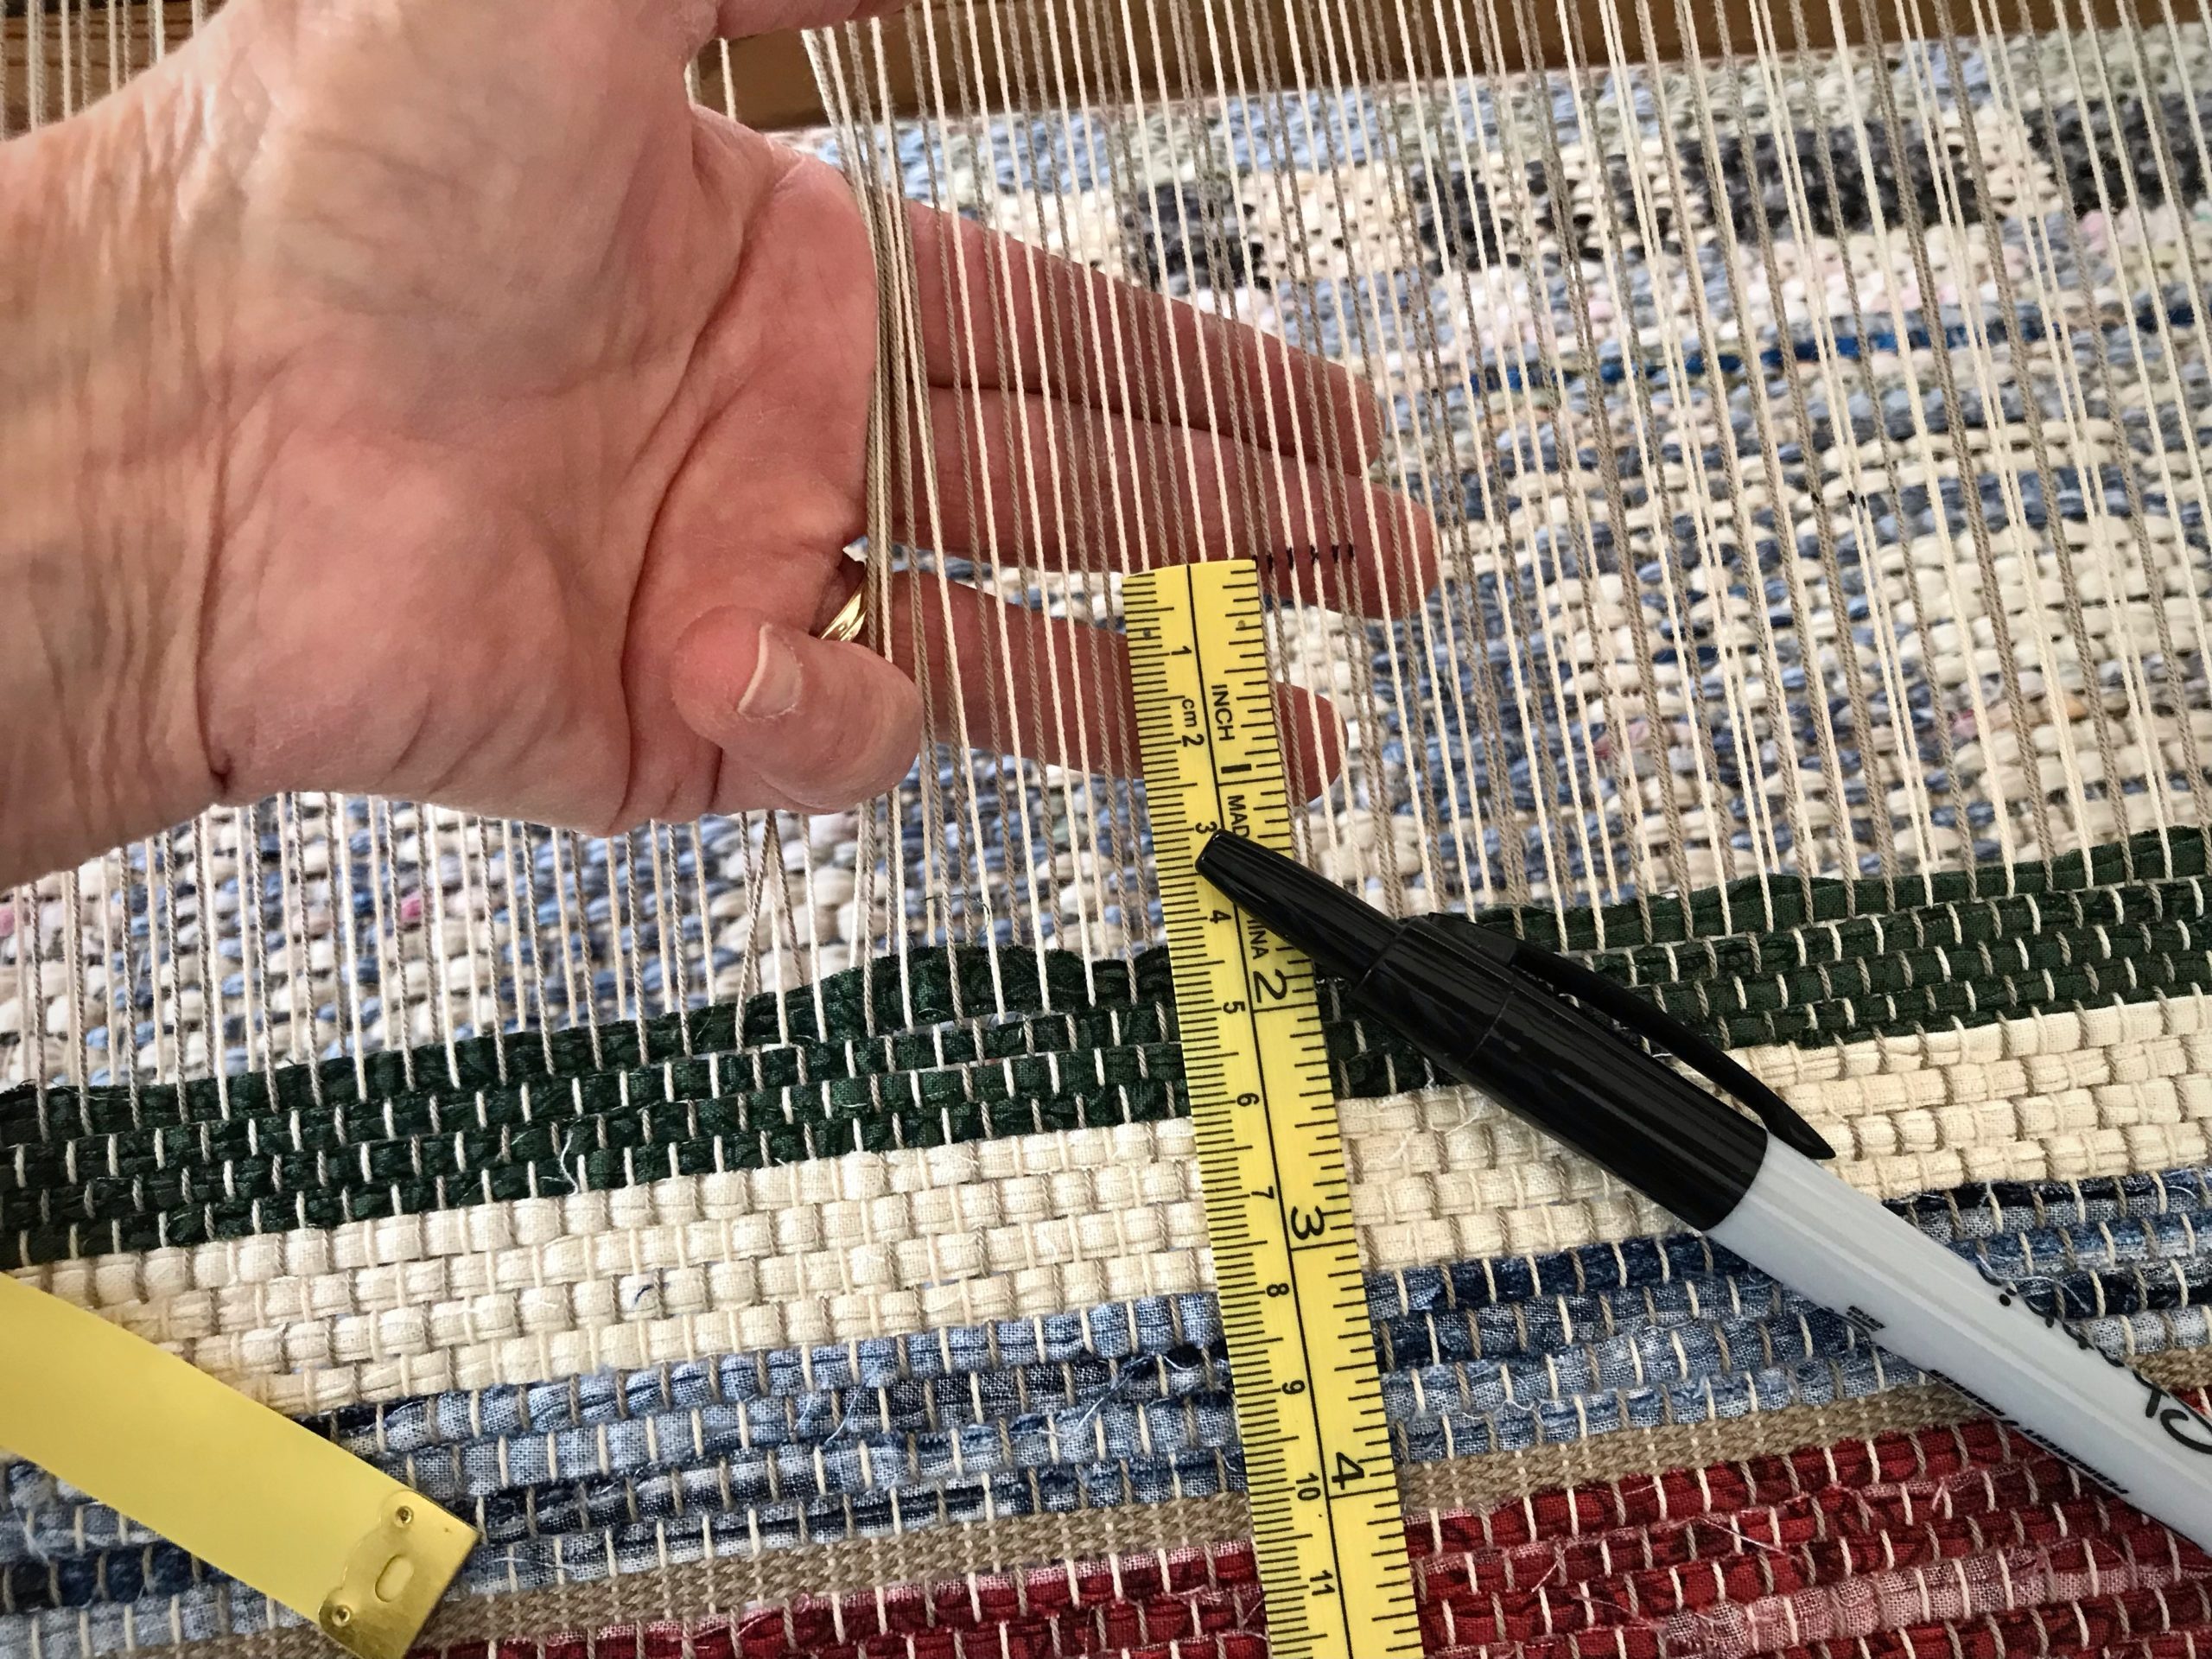
The draft is “Den Vackraste” from Älskade Trasmattor, by Hallgren and Hallén, p.87, to which I added some width. I plan to start with a short sample rug to test wefts and check for size. I am winding the 12/6 cotton warp in three bouts. These long, heavy warp chains tell me I’m now on an unstoppable trek that will result in rugs on the floor!
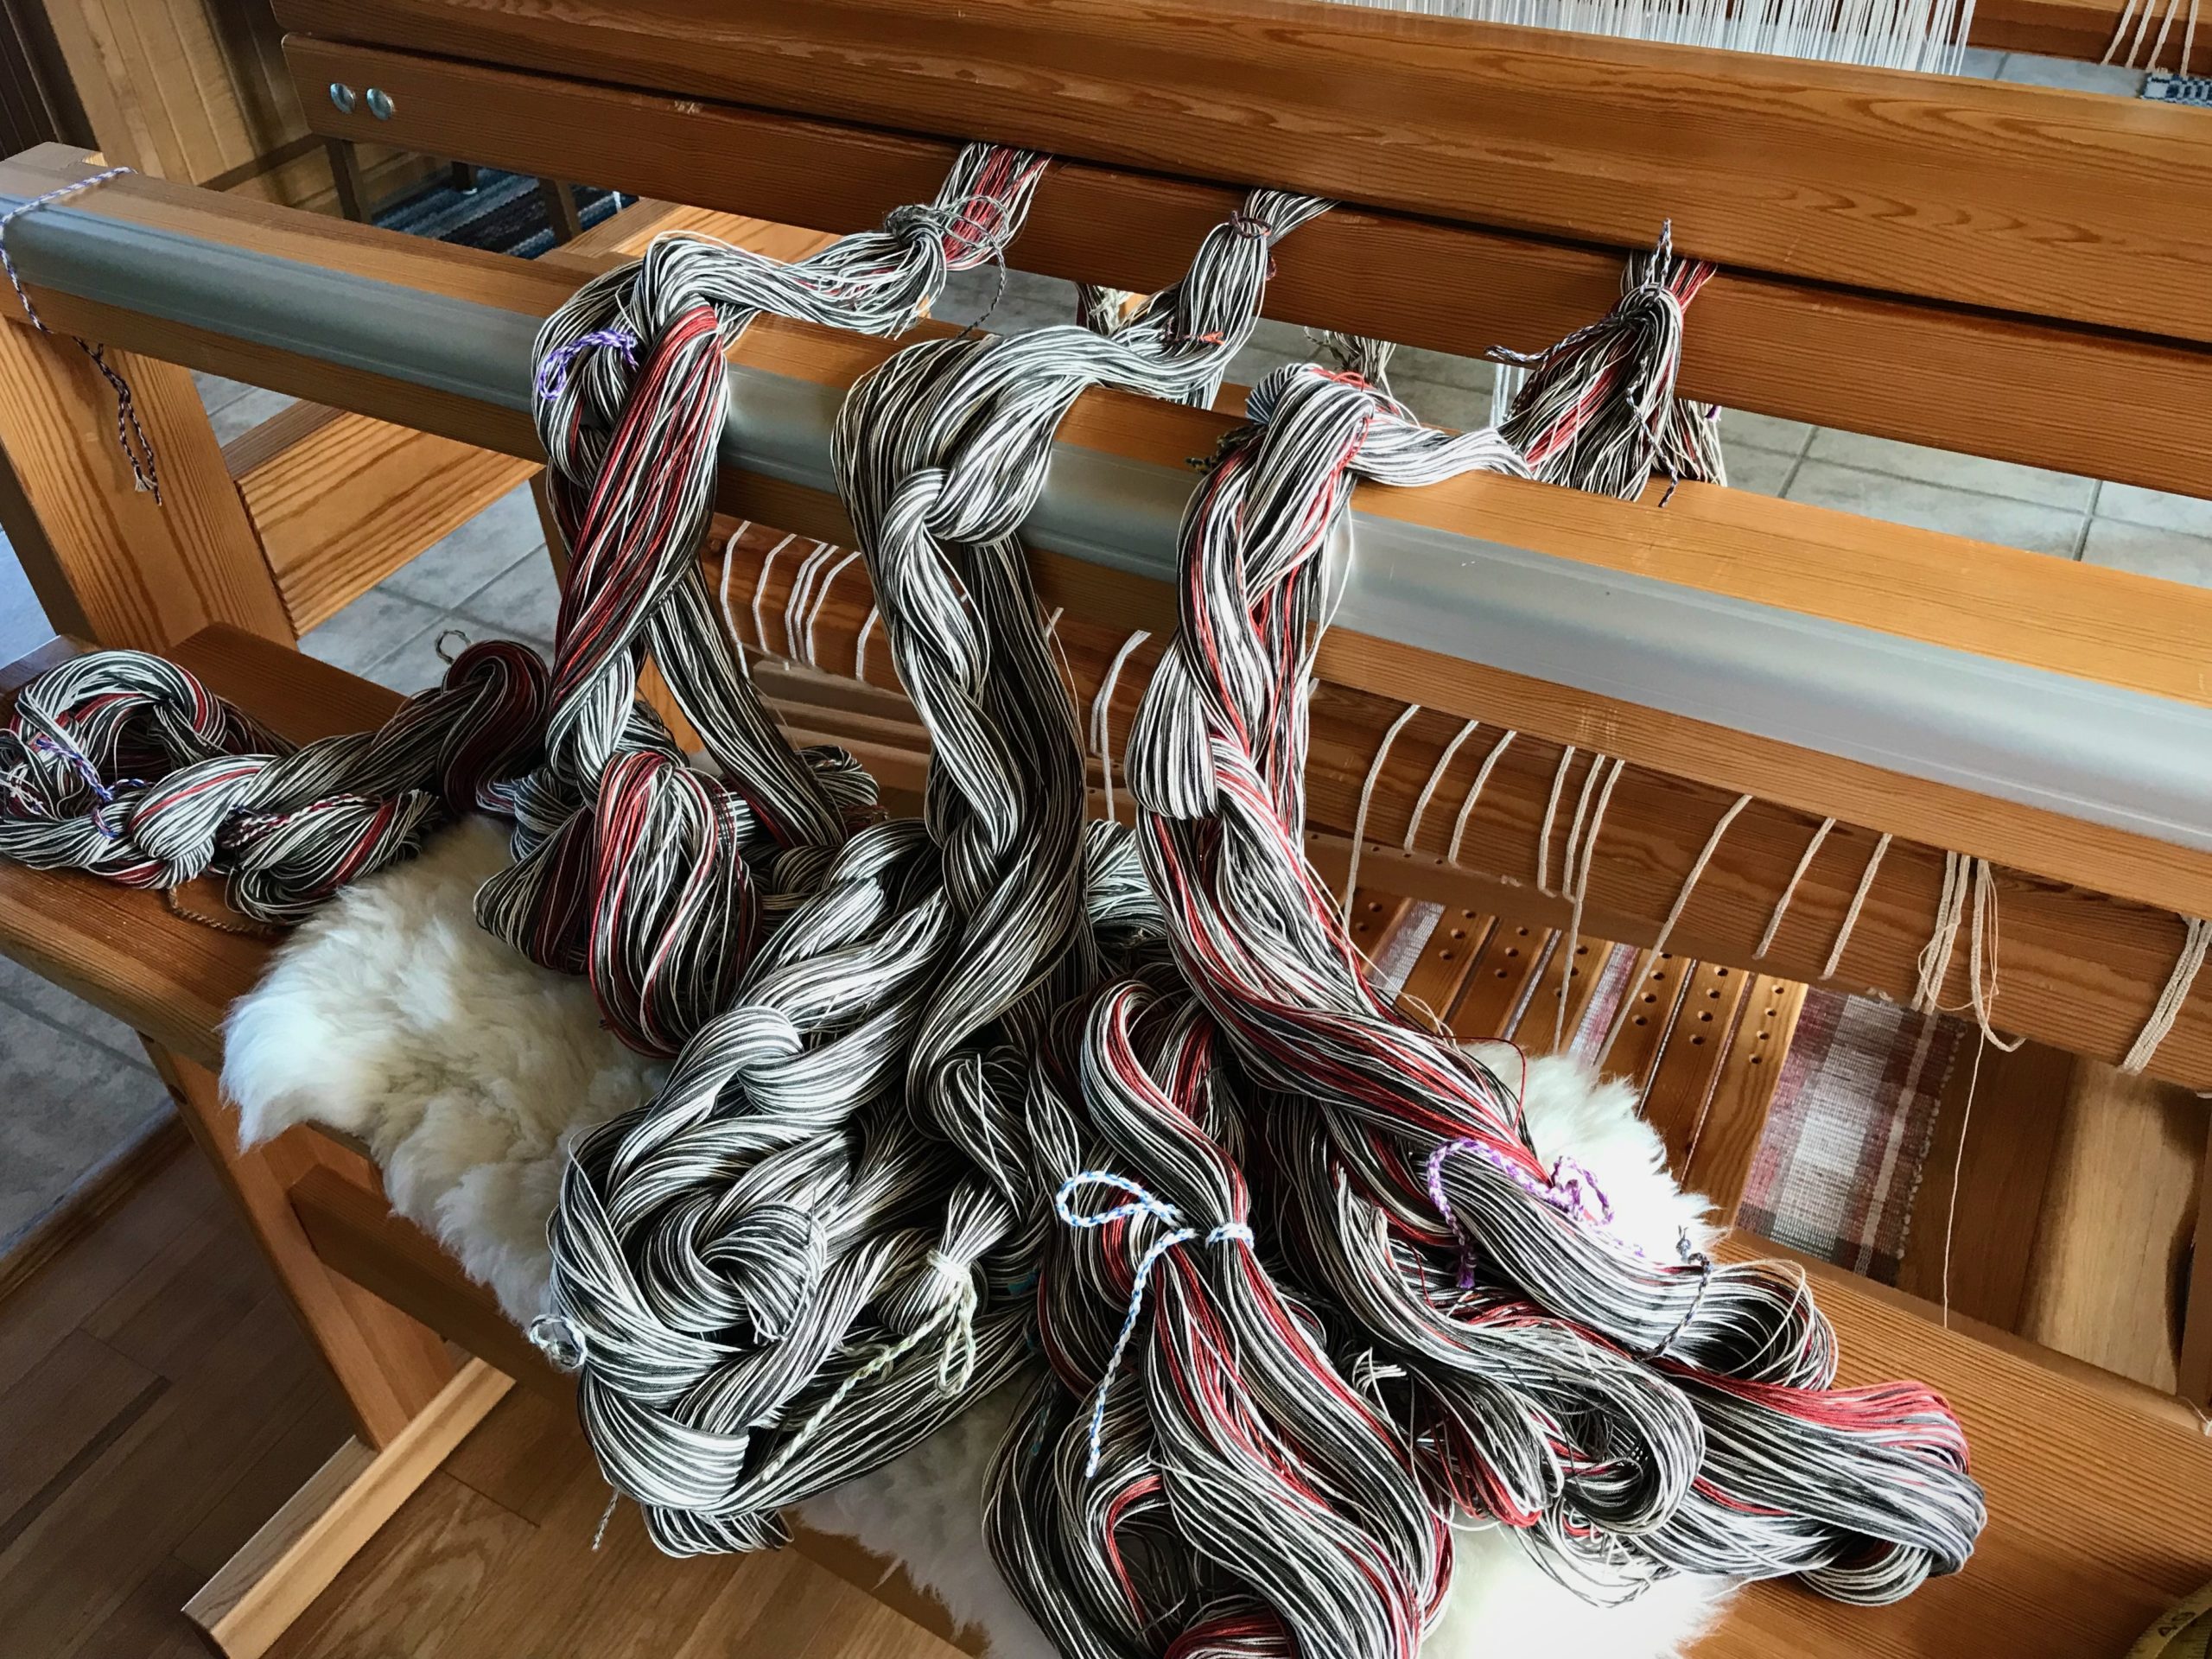
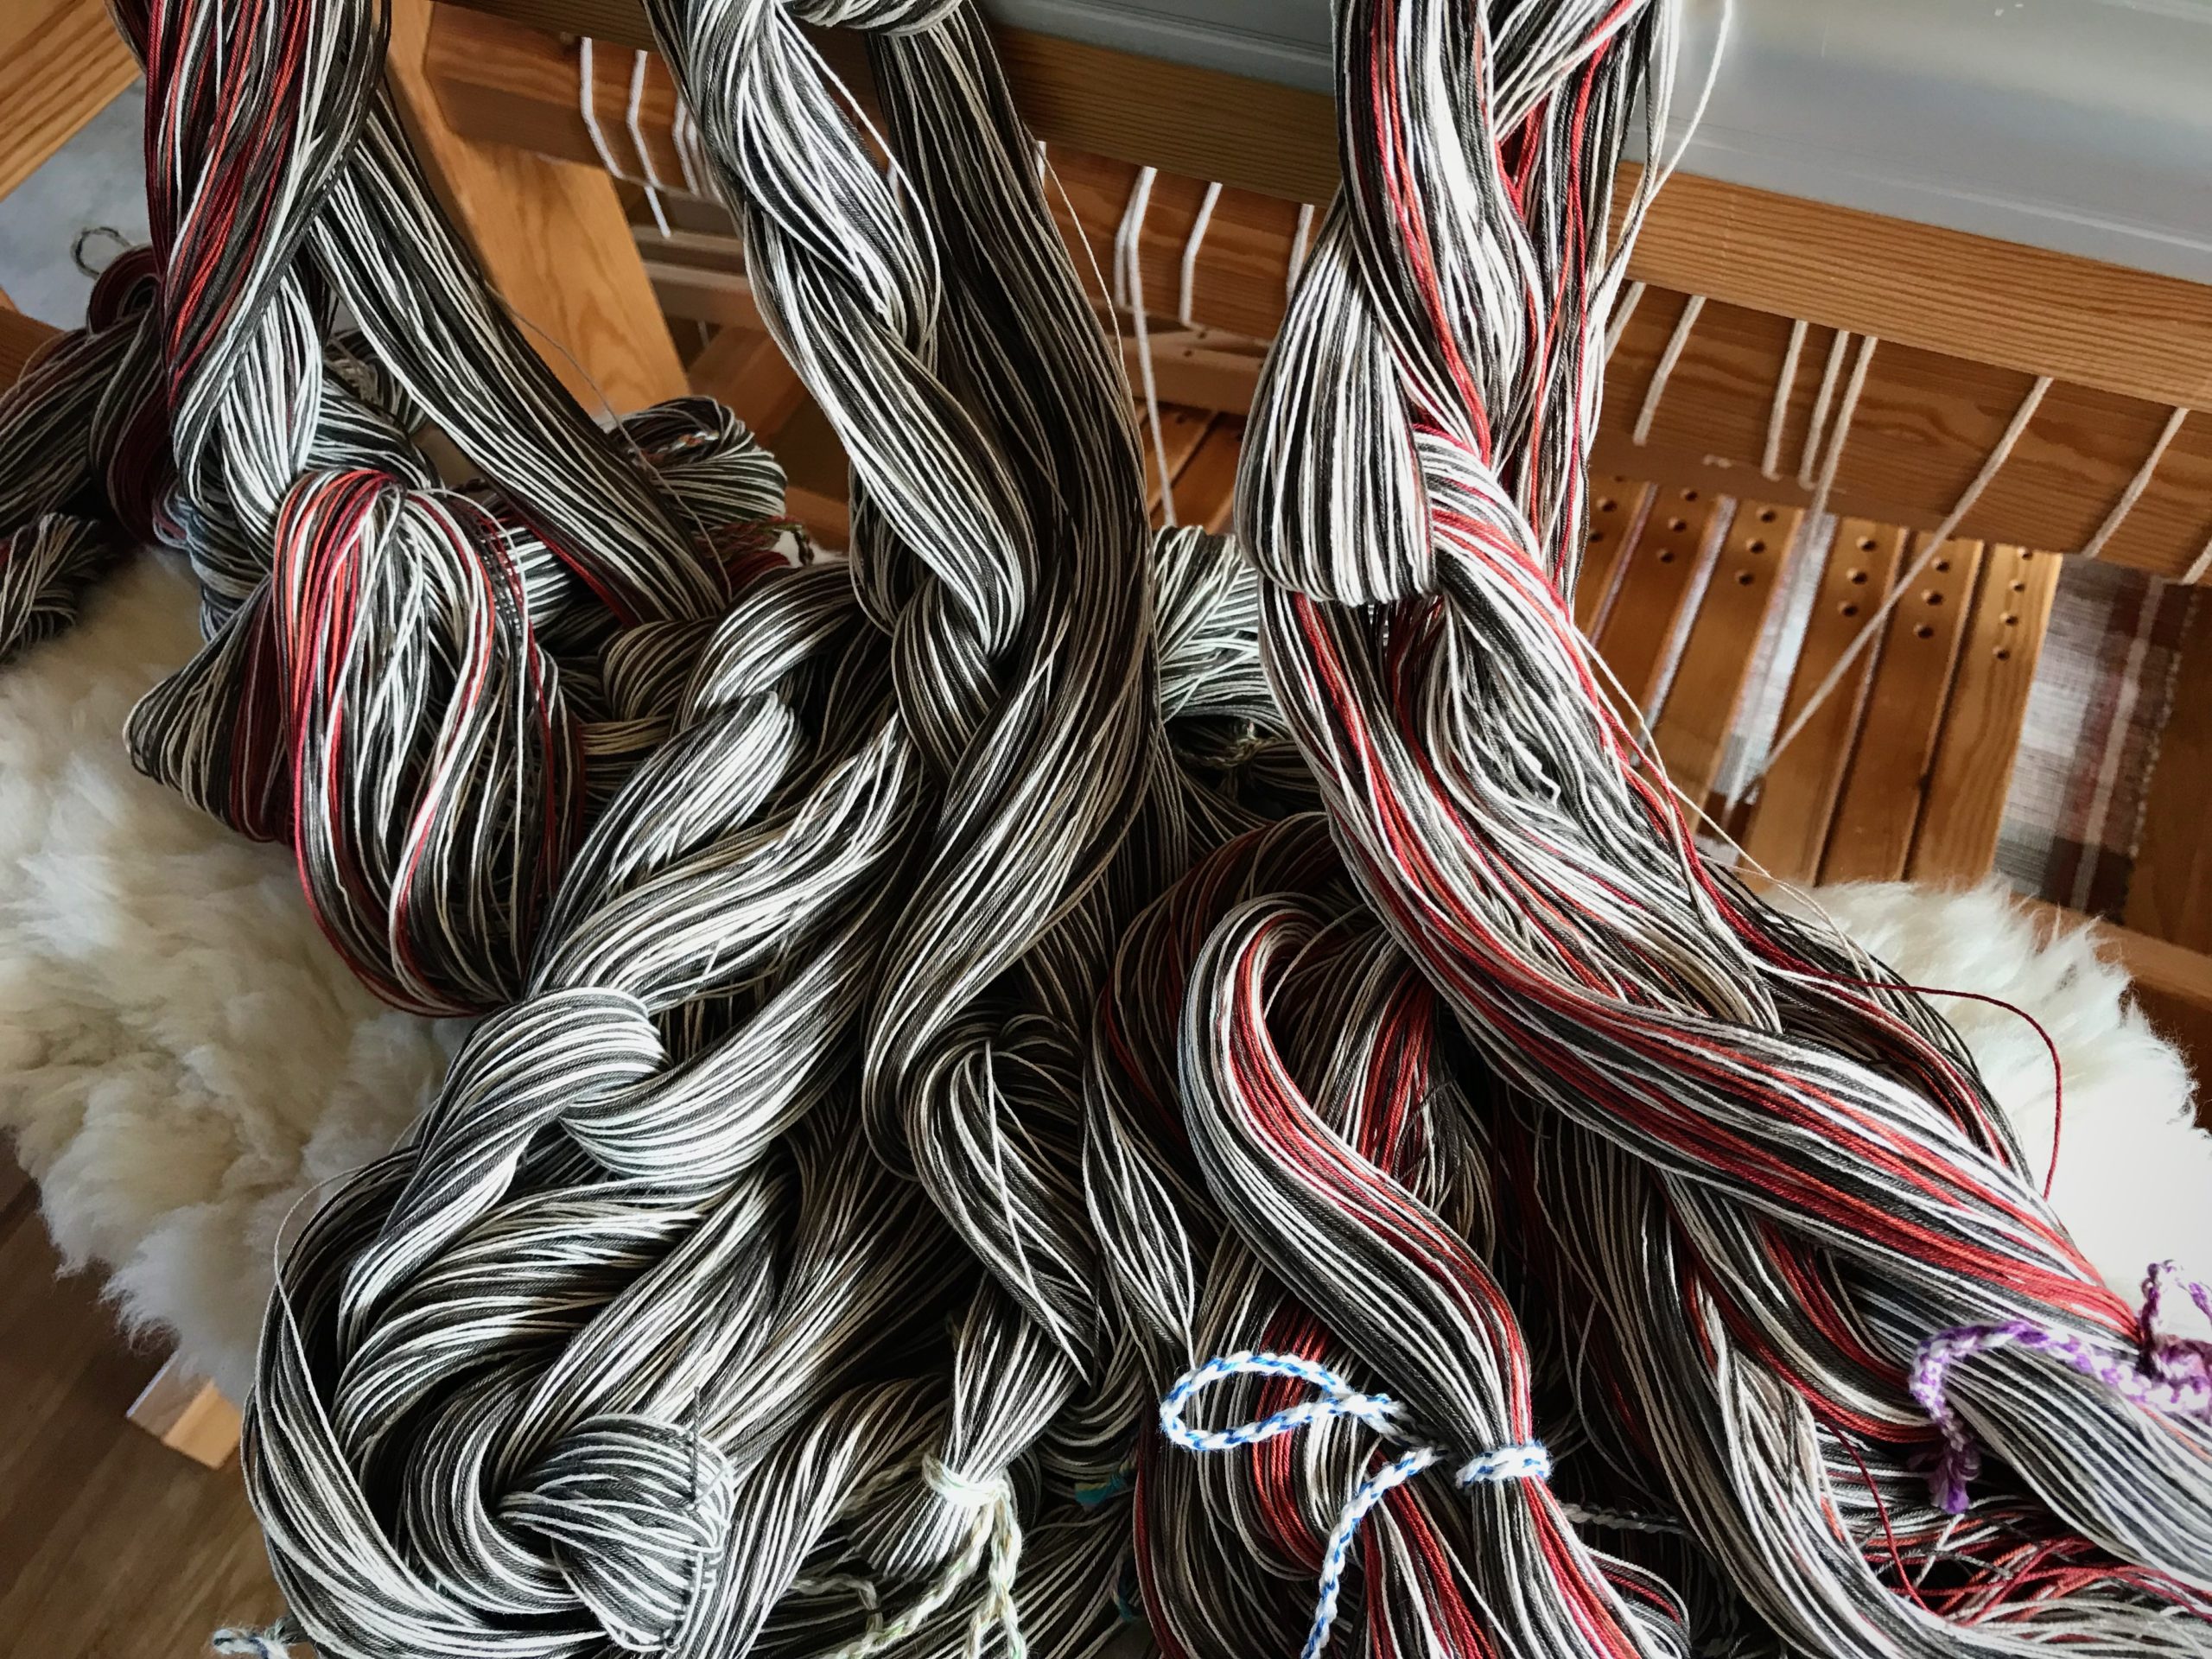
Until I wind the warp, the rag rugs I’d like to see are merely good intentions. Warp chains placed in order through the beater, though, are a picture of expectation. I have put enough warps on the loom to know with confidence that the rag rugs I anticipate will, indeed, become reality. Faith has that kind of expectation. Faith activates your prayer. The simple power of faith is in believing that the Lord Jesus hears your prayer and that he is able to do what is right for you.
May your intentions become reality.
No holding back,
Karen