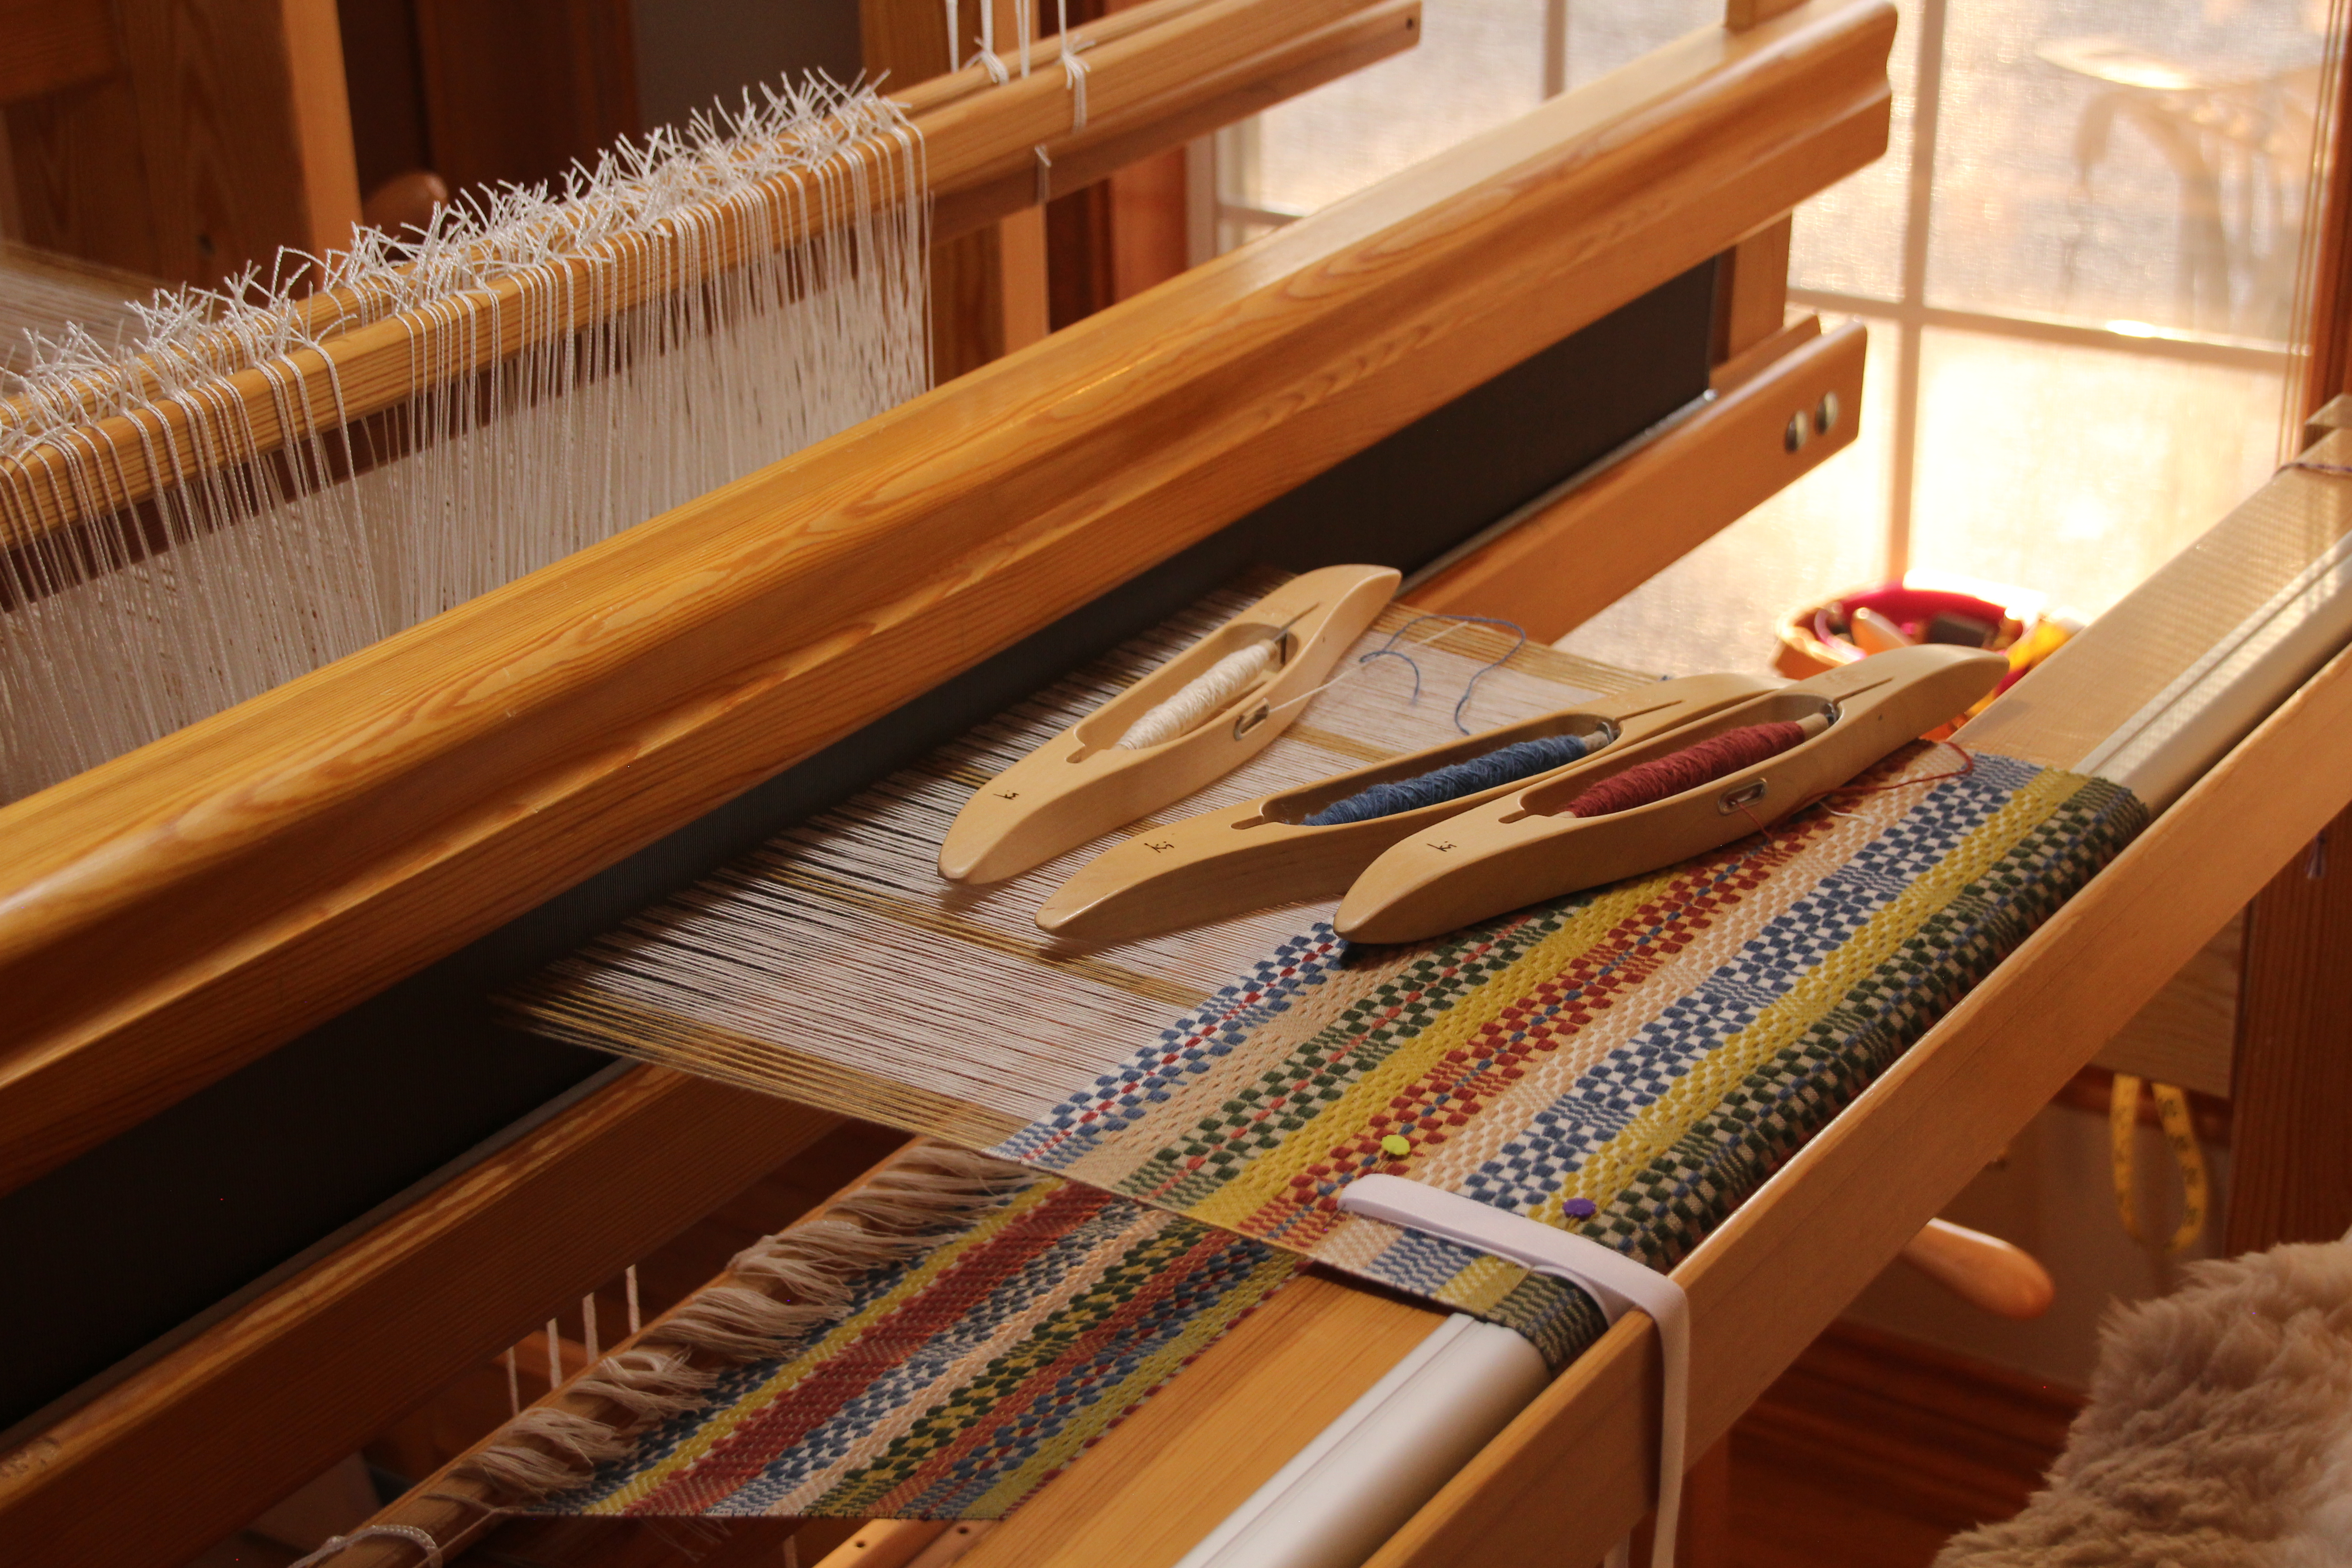
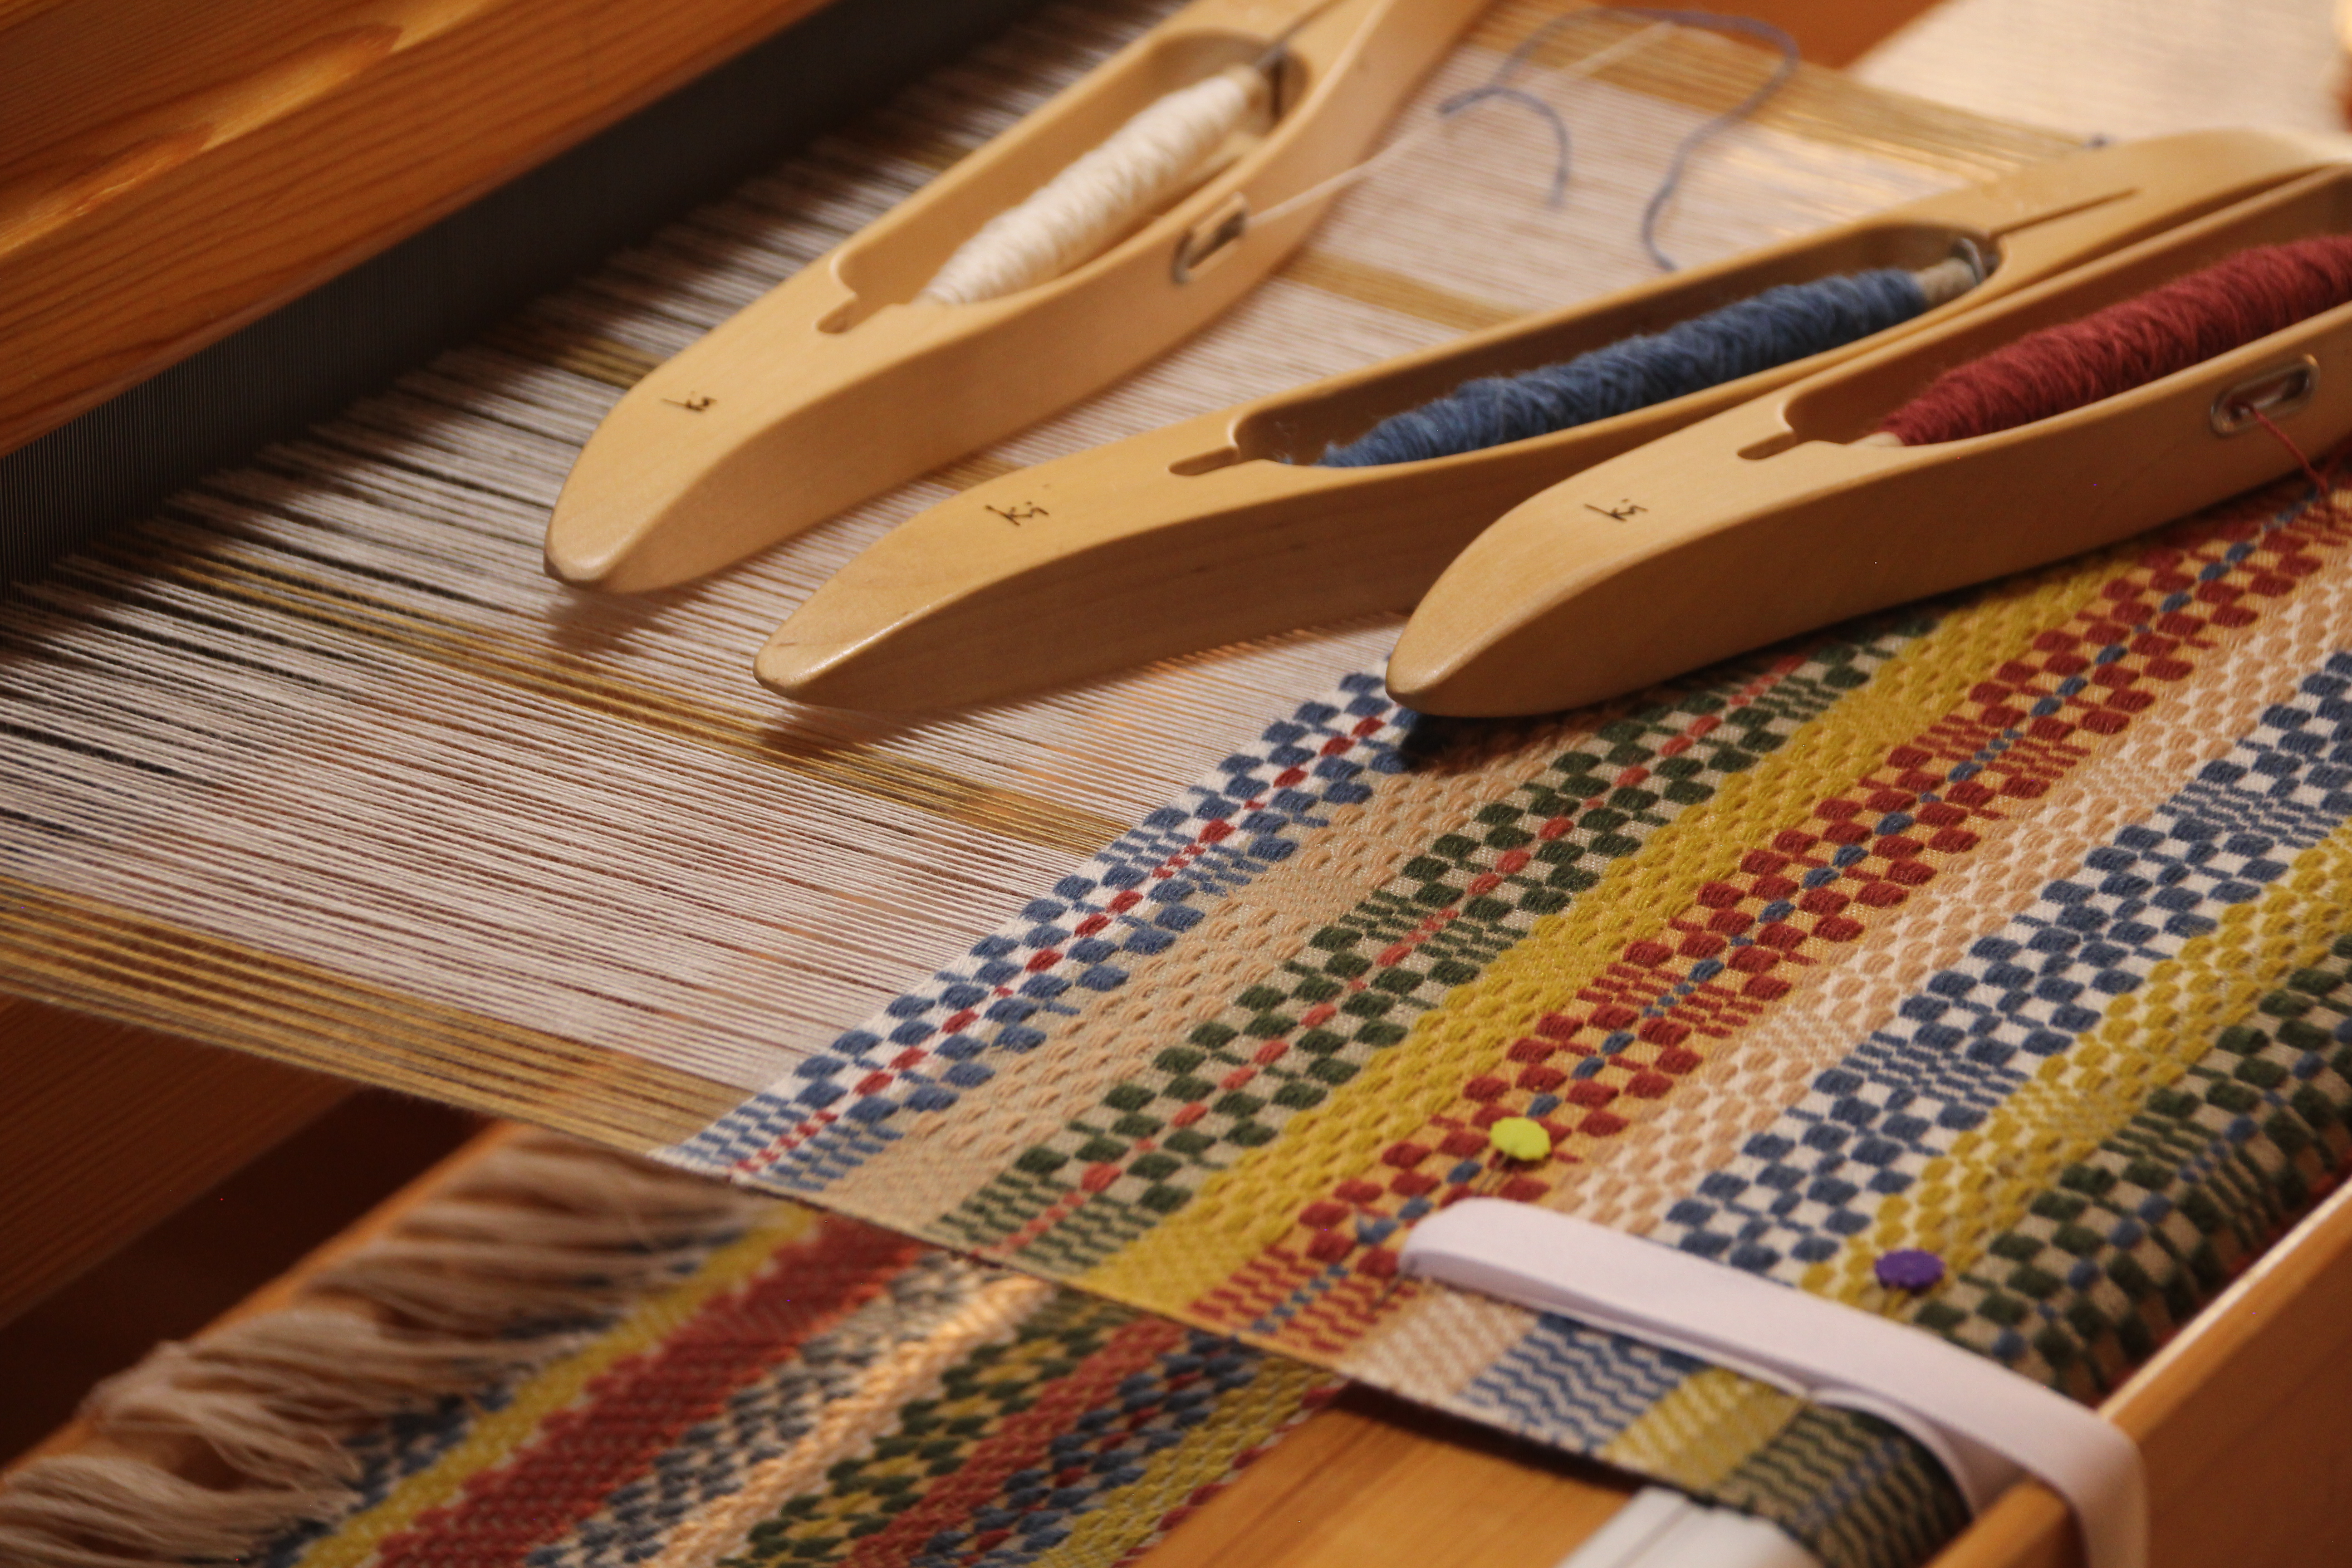
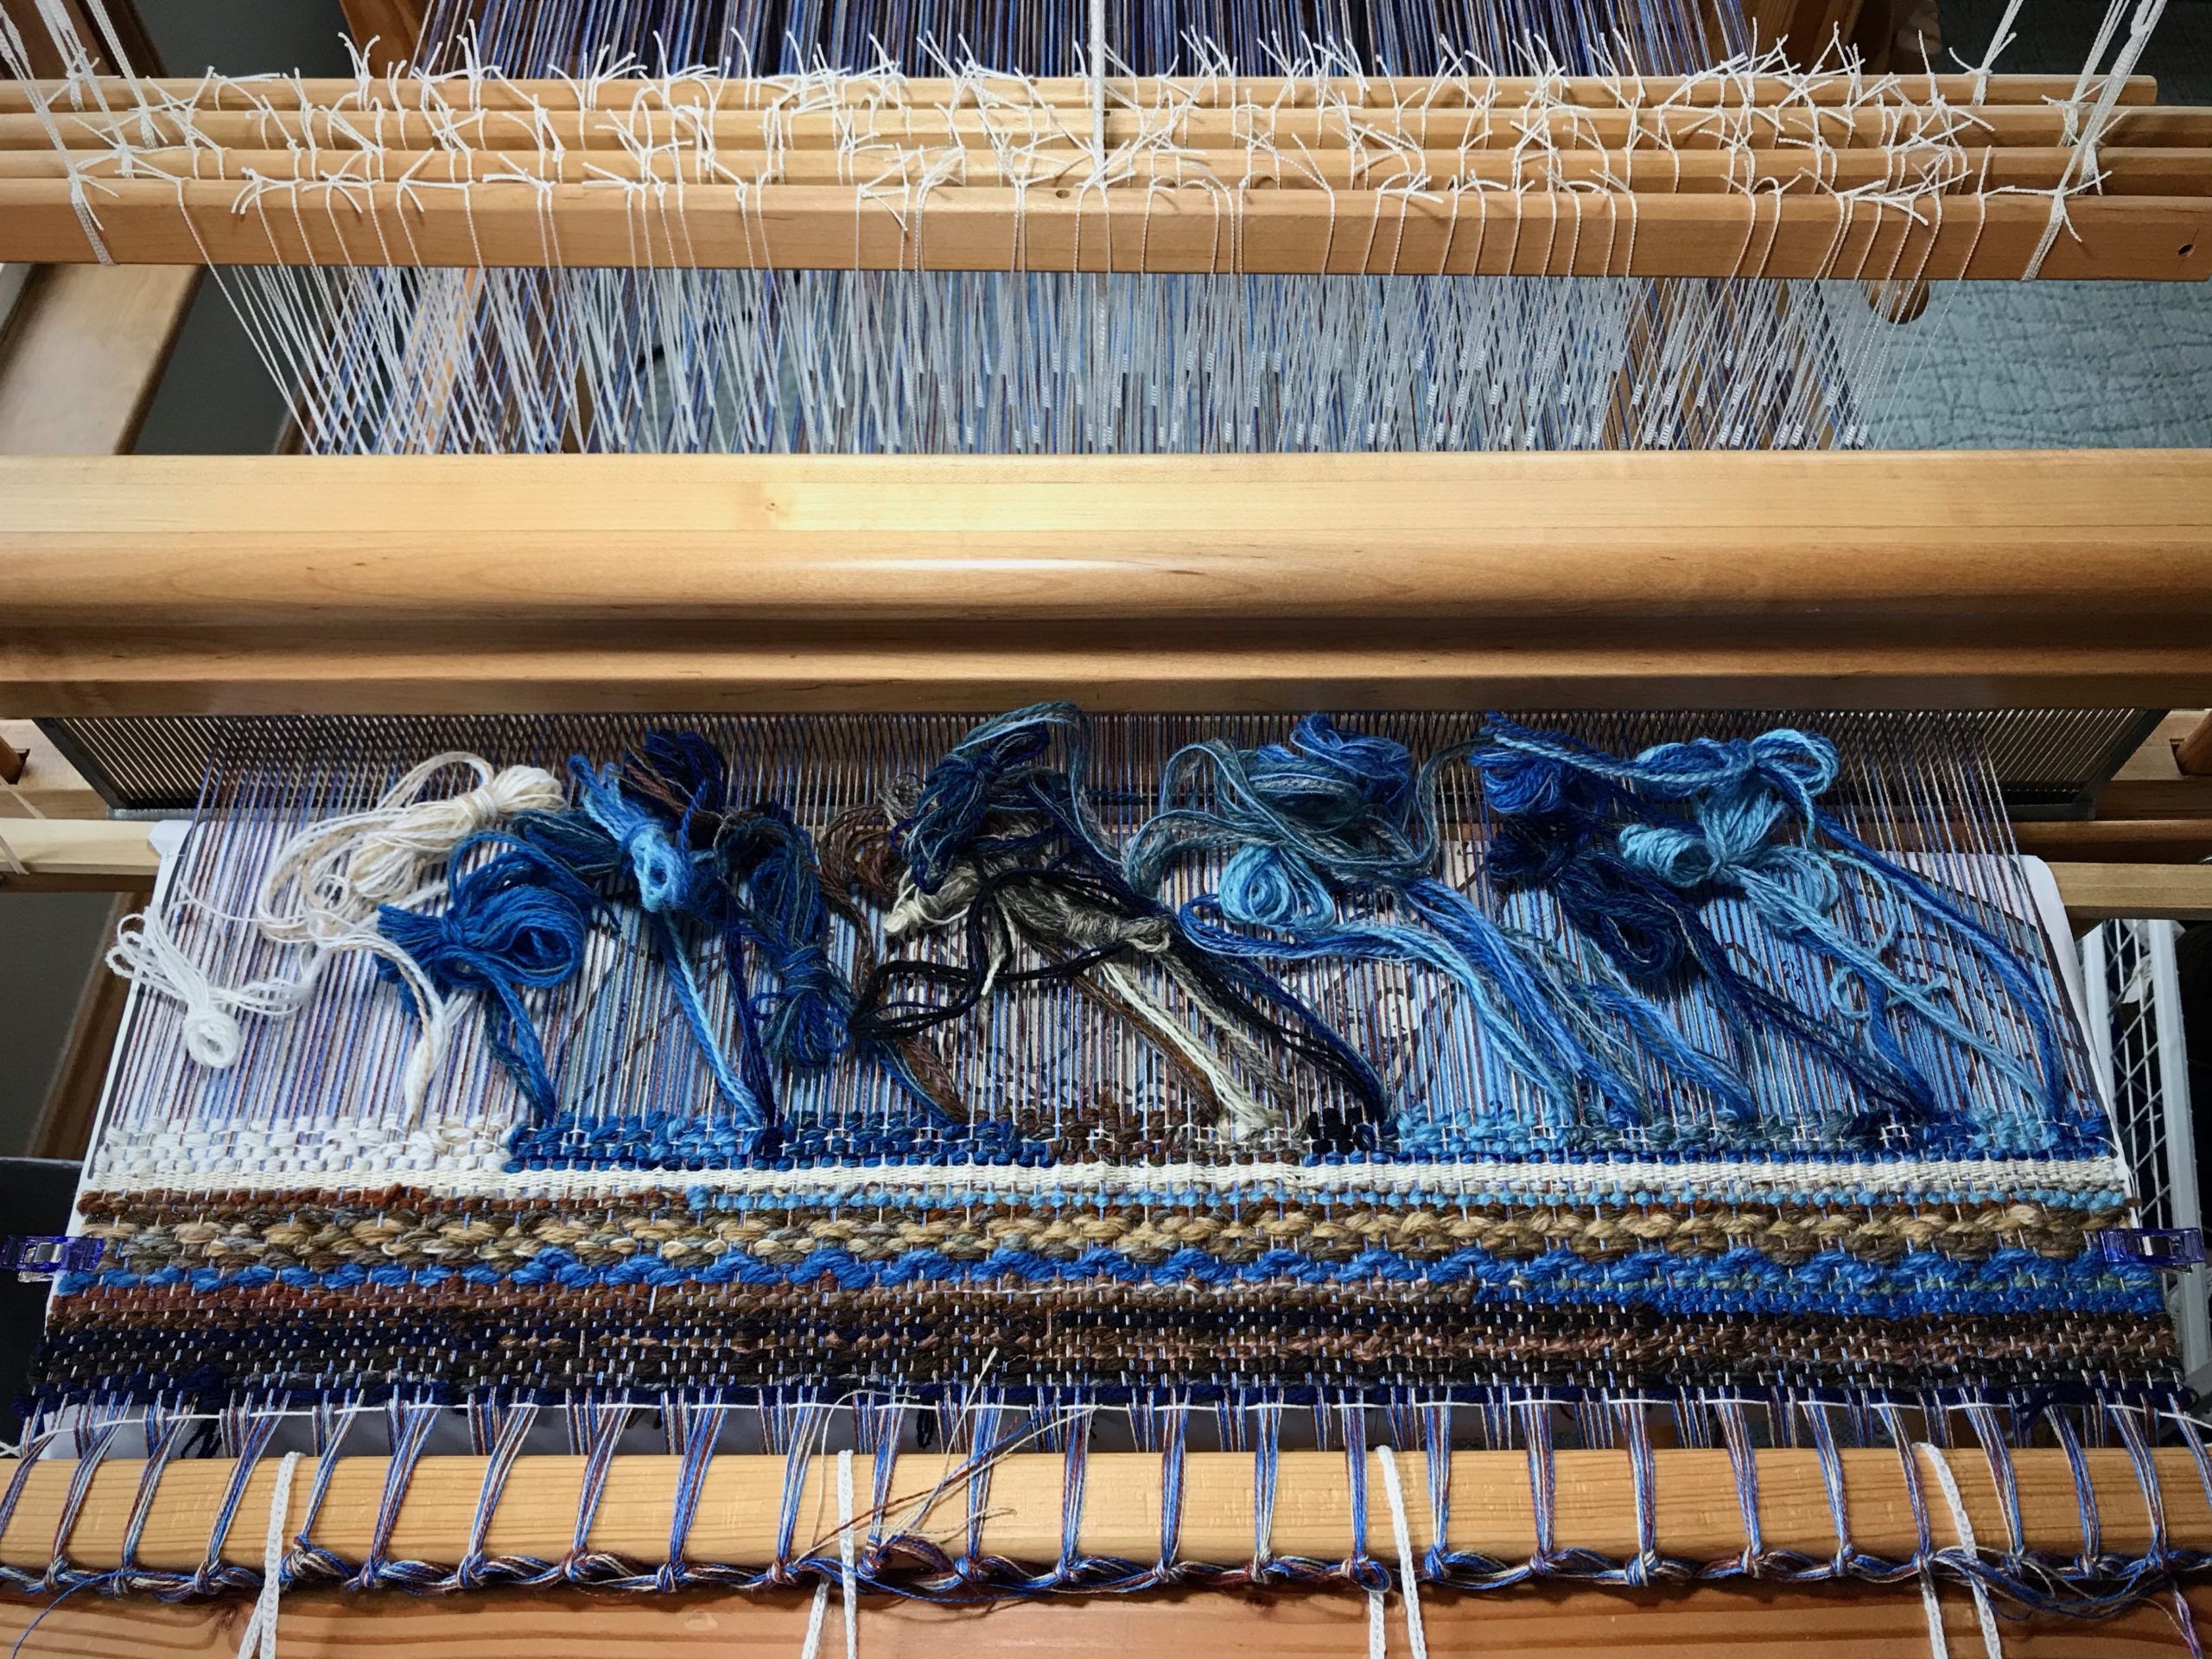
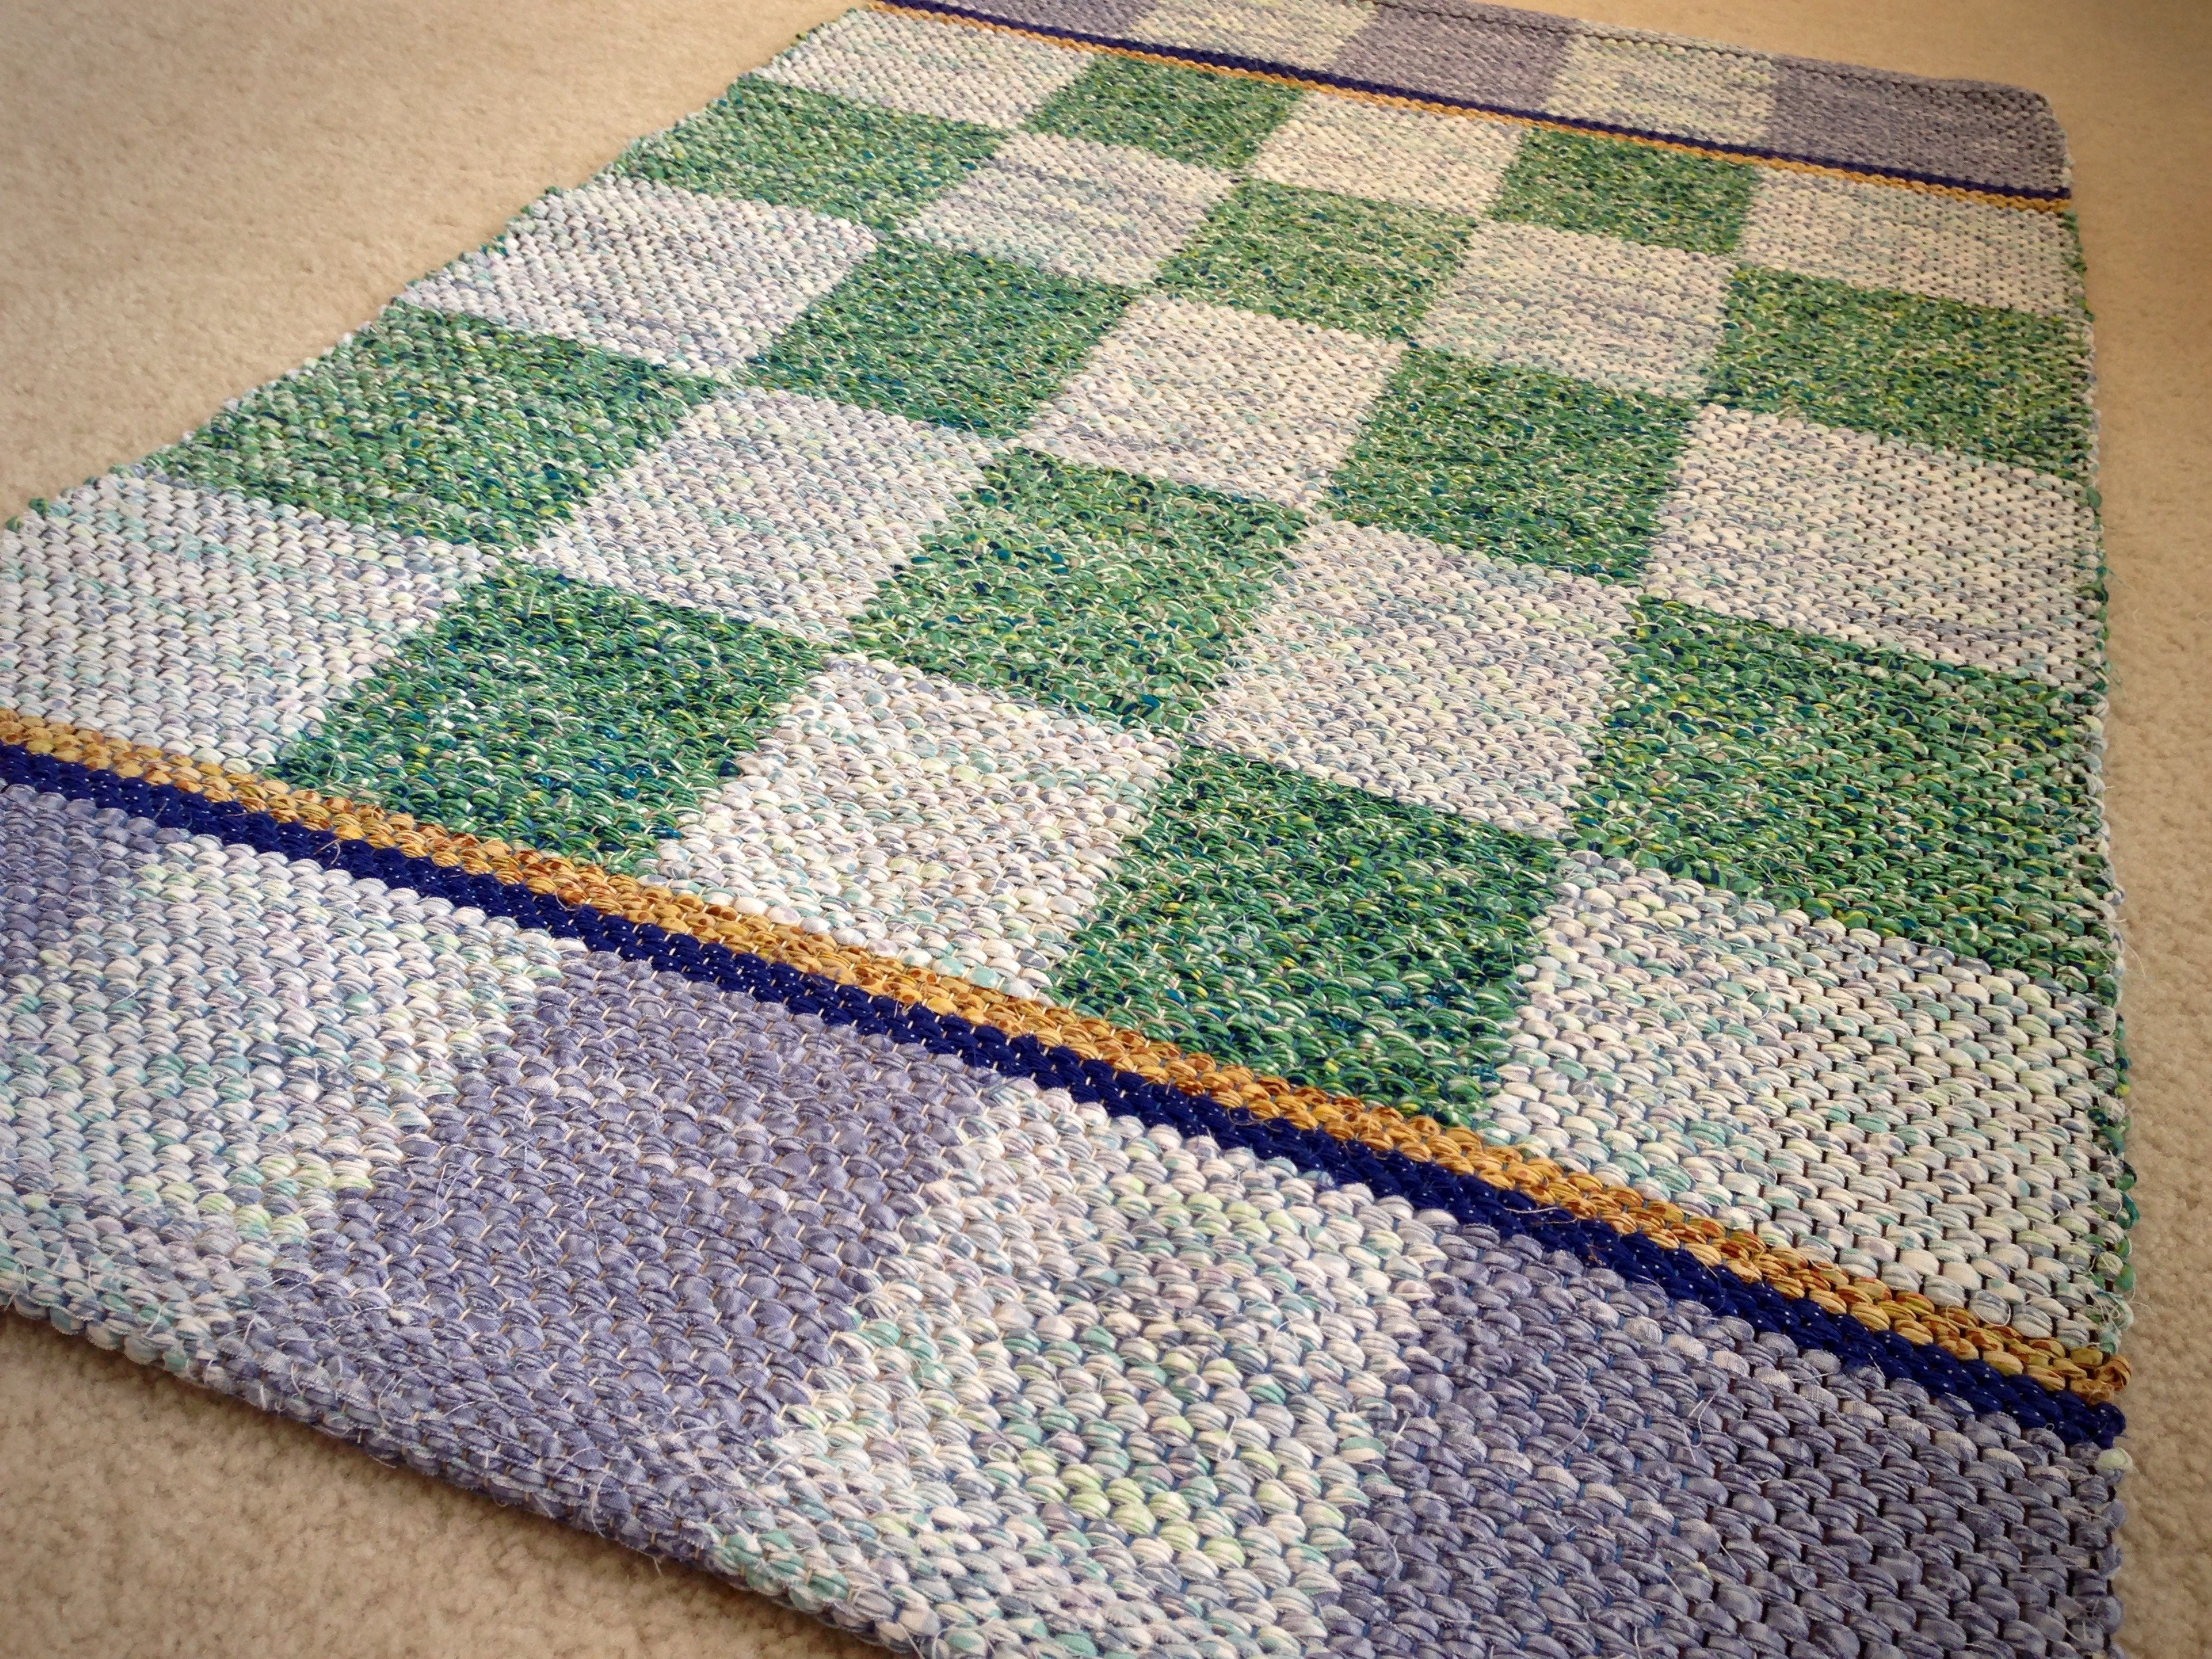
I am happy to say that with only four shafts we have exactly what we need for a checkerboard rag rug. Thank you to Megan for asking about it. ”I am searching for a 4-shaft draft for a checkboard pattern. I am limited to only 4 shafts.” Double binding opens up a world of opportunity!
Let’s talk about blocks. A block is a specific sequence of warp ends or weft picks. Double binding on four shafts has two blocks for the warp and two blocks for the weft.

Have a Block Party!
→ Use graph paper to plan the configuration of your blocks.
For the threading blocks, use two rows of squares. One row is for Block A and one row is for Block B. Each square on the paper represents one threading unit. You can make a checkerboard pattern by uniformly alternating the A blocks and B blocks. Or, you can make a wildly different geometric pattern by varying the size of alternating blocks. Your two-row graph becomes a profile draft to use as your threading key.
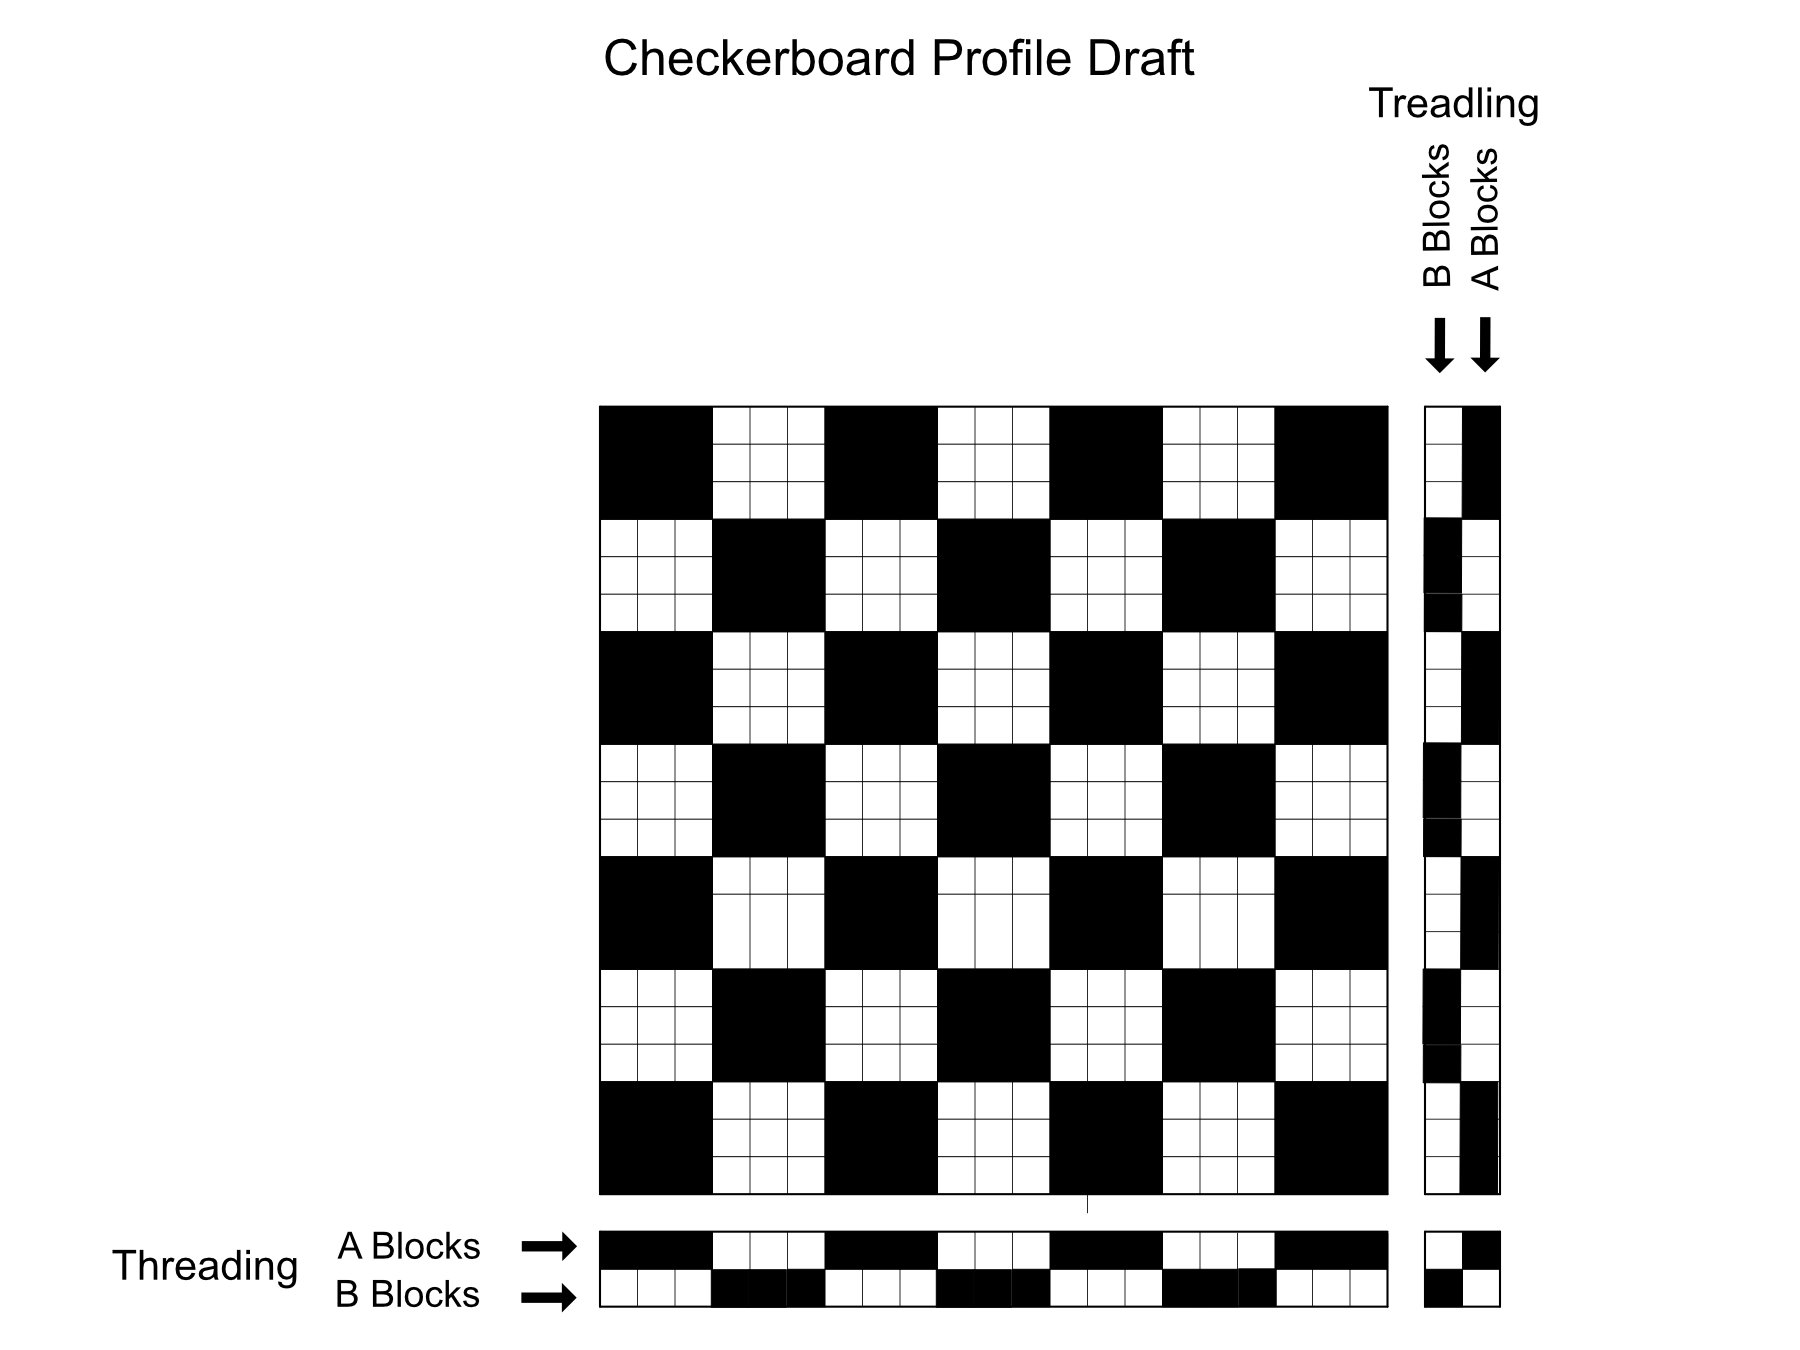
For the weft blocks, use the same arrangement of blocks as for the threading, and turn them vertically for the treadling draft. Or, use your creativity to make a unique configuration of weft blocks. The sky is the limit!

Check out these resources for more double-binding rag rug ideas: Alla Tiders Trasmattor, by Monica Hallén and Ann-Kristin Hallgren; Så Fint med Trasmattor, by Monica Hallén and Ann-Kristin Hallgren; Älskade Trasmattor att väva som för, by Monica Hallén and Ann-Kristin Hallgren; Swedish Rag Rugs 35 New Designs, by VävMagasinet; Happy Weaving, from VävMagasinet.
May you discover a world of opportunity.
Happy Weaving,
Karen