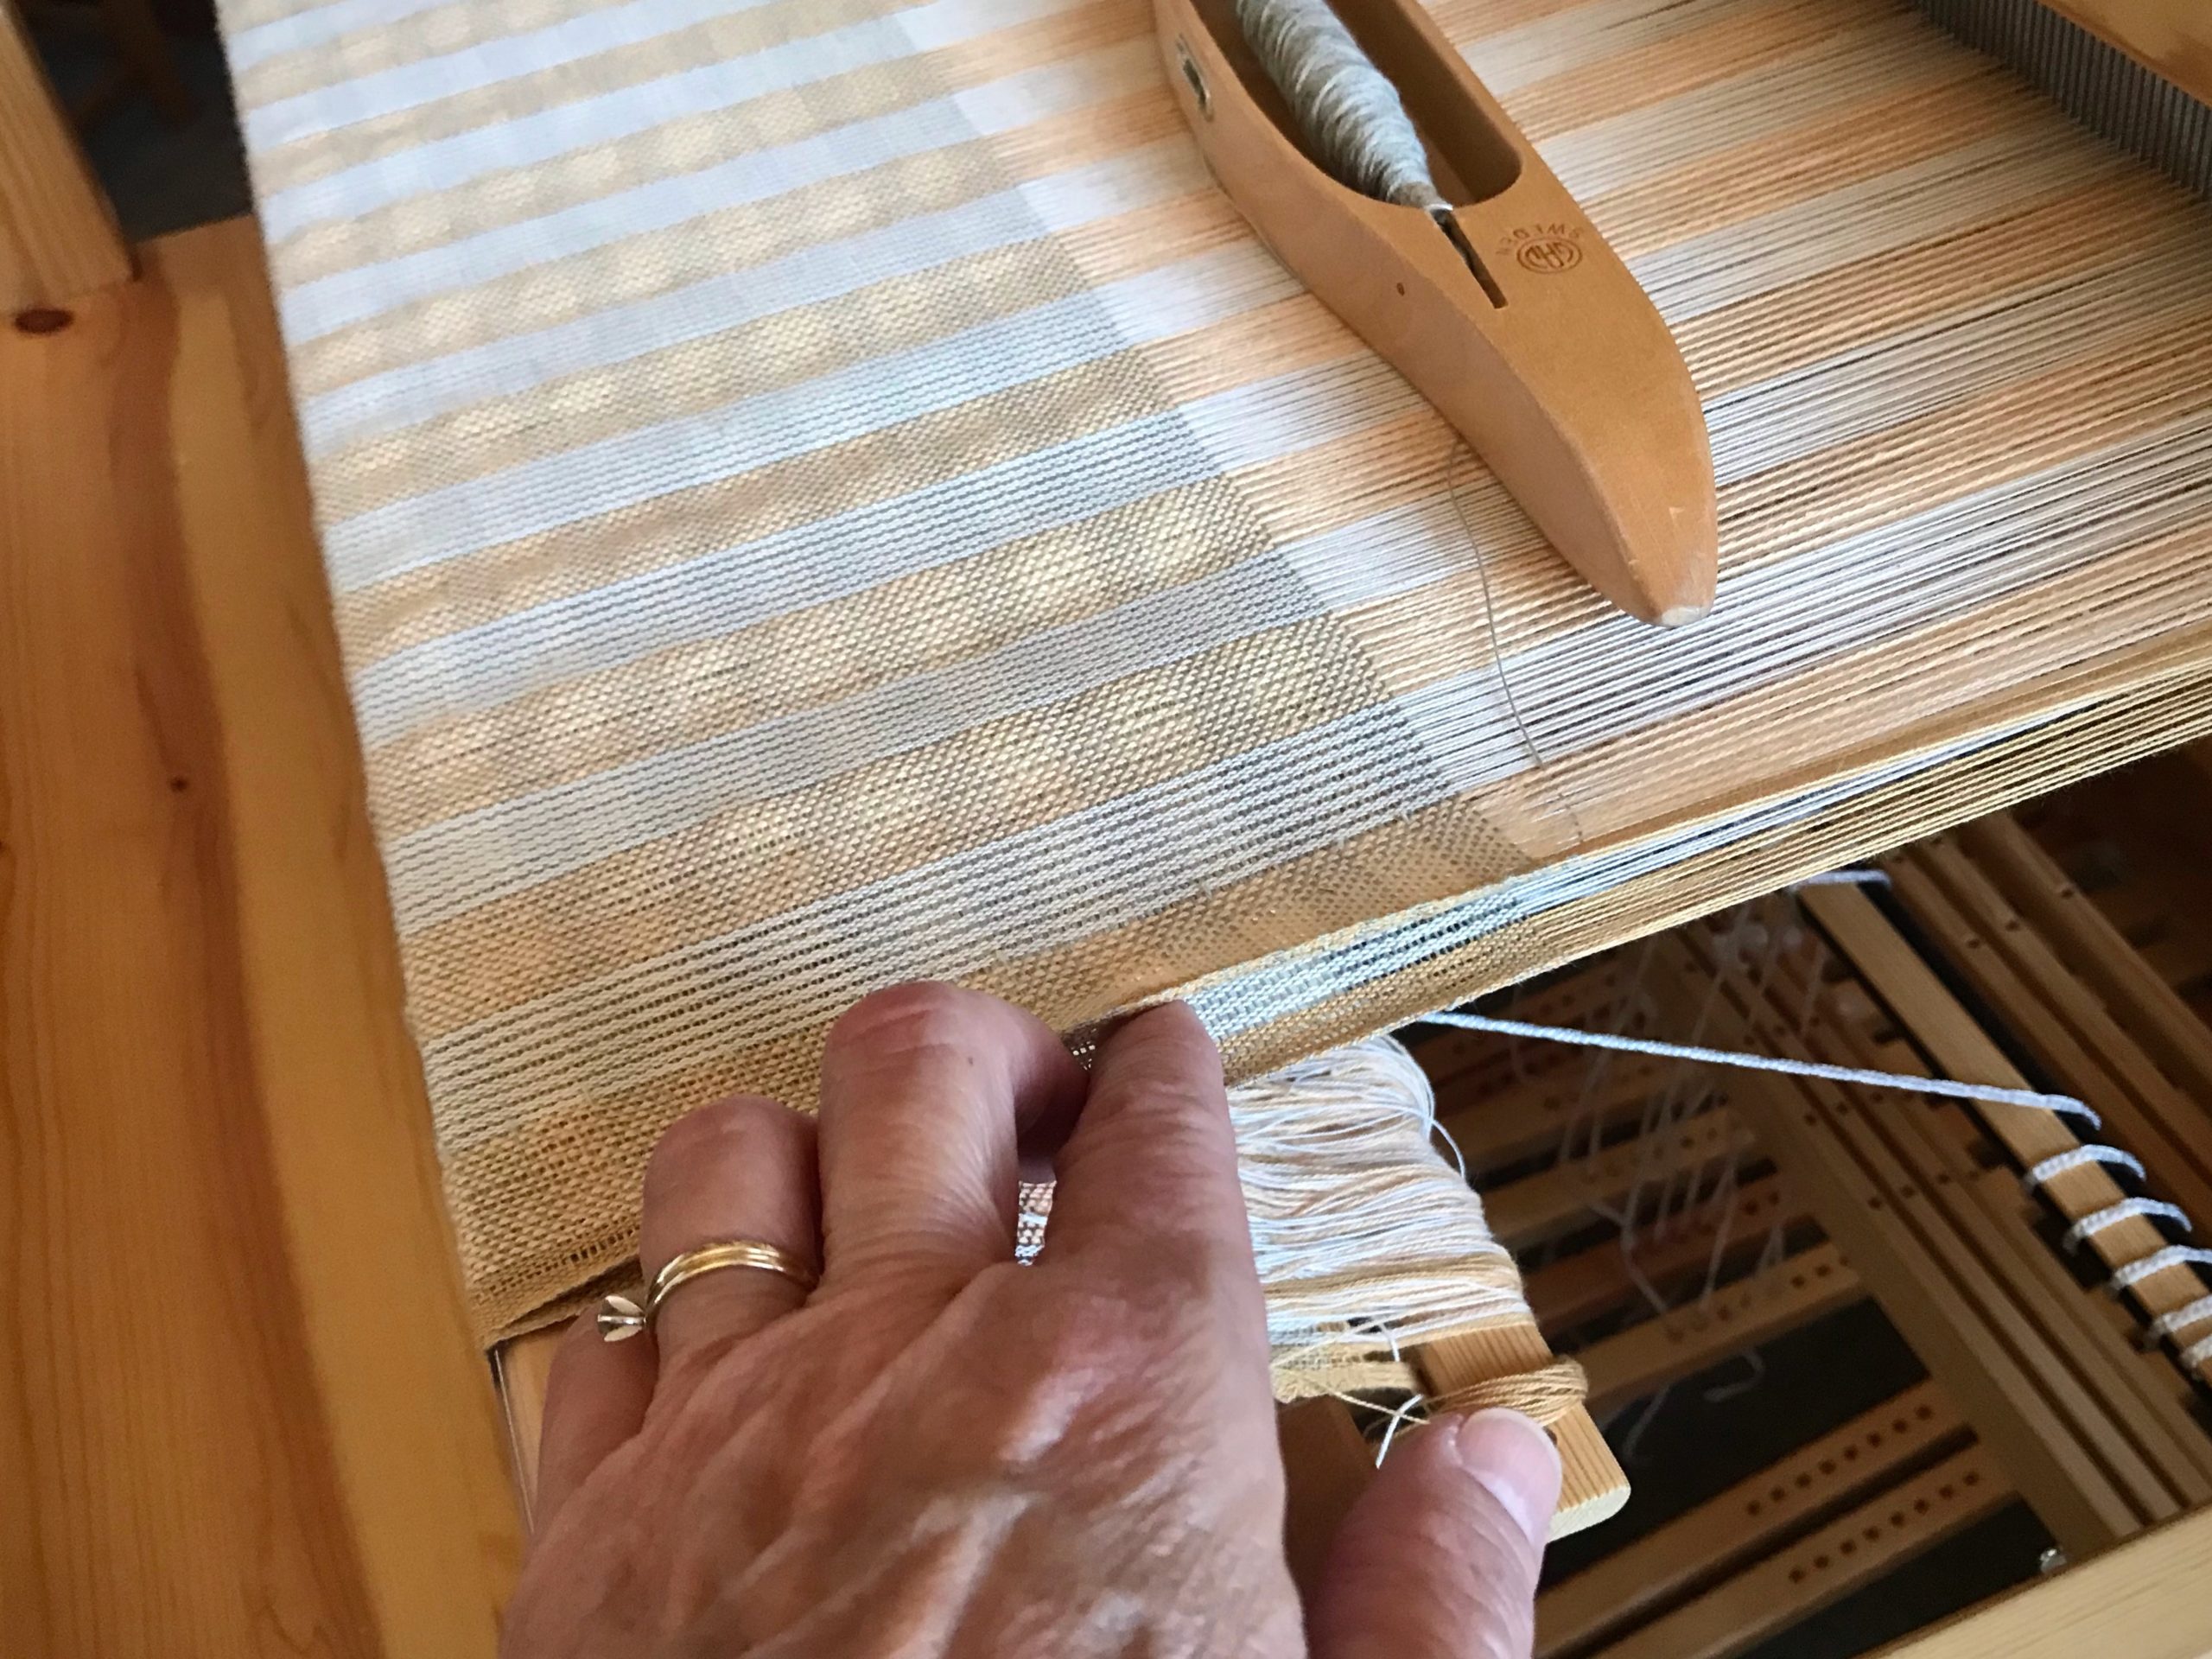
Tried and True: Cutting Off for a Fresh Start

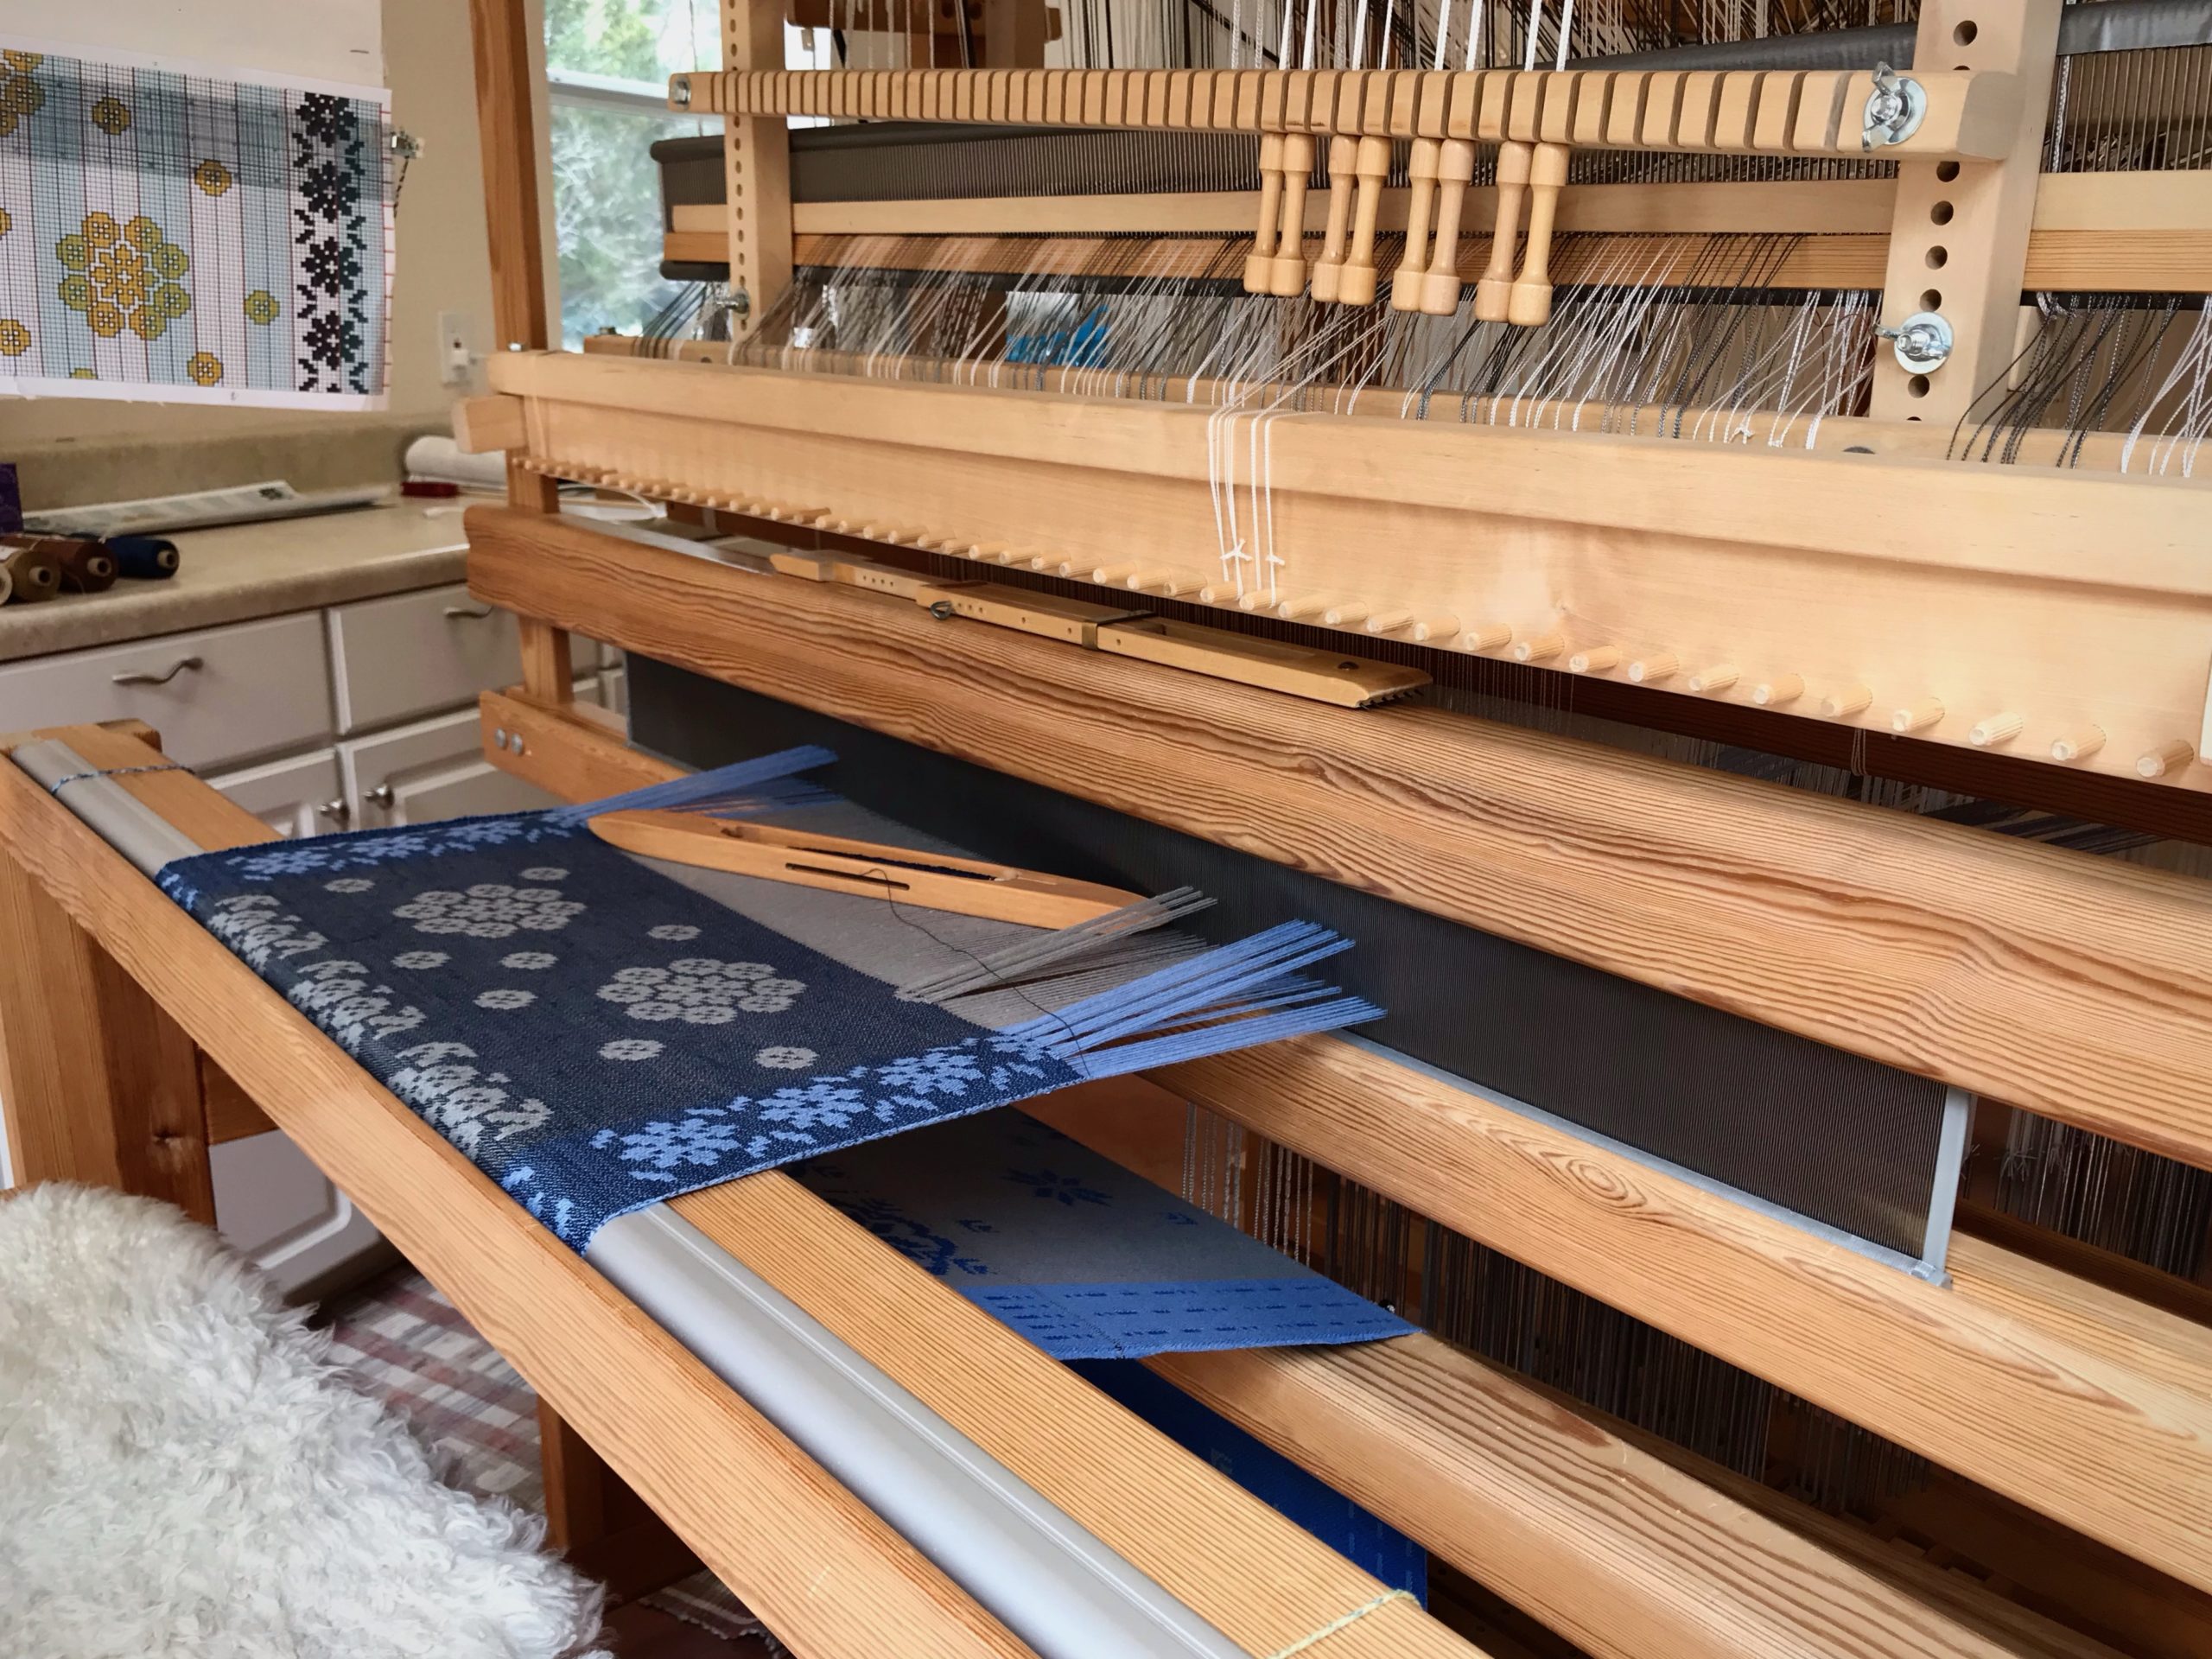
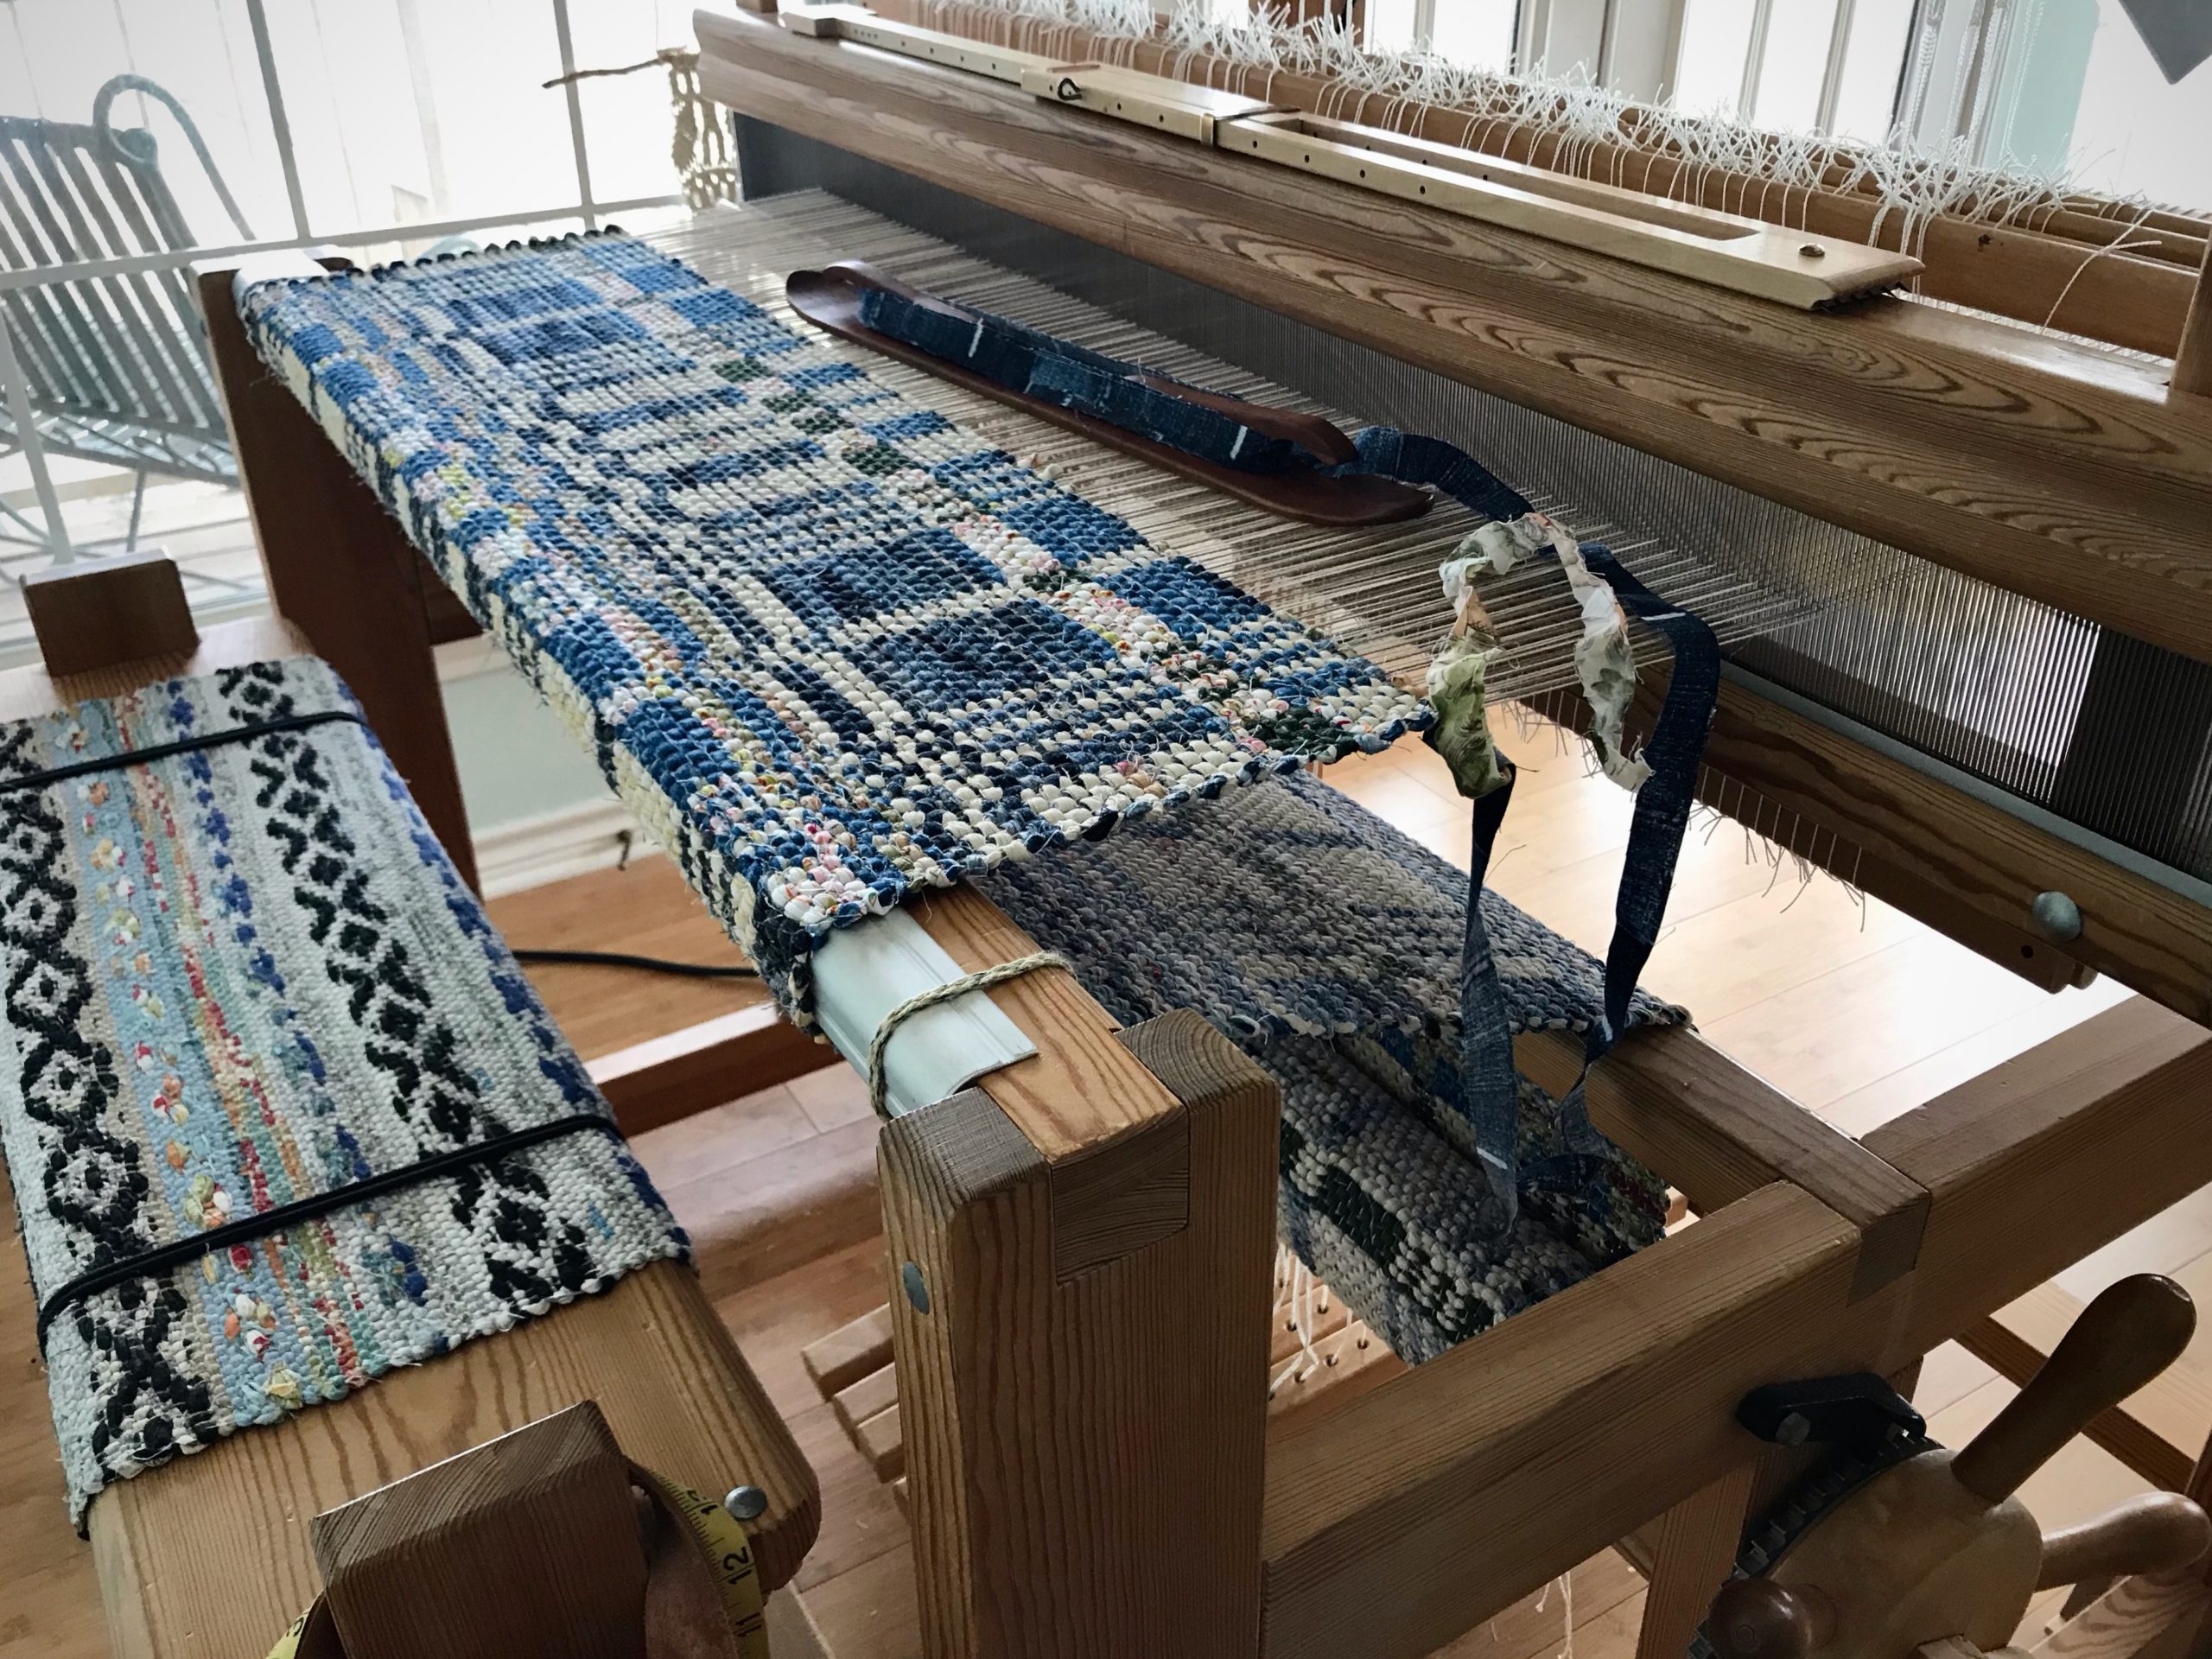
I have good reasons for cutting off this first double-binding rag rug before proceeding with the rest of the warp. This pause and reset ensures happy weaving to the end. Cutting off gives me a fresh start for the next rug.

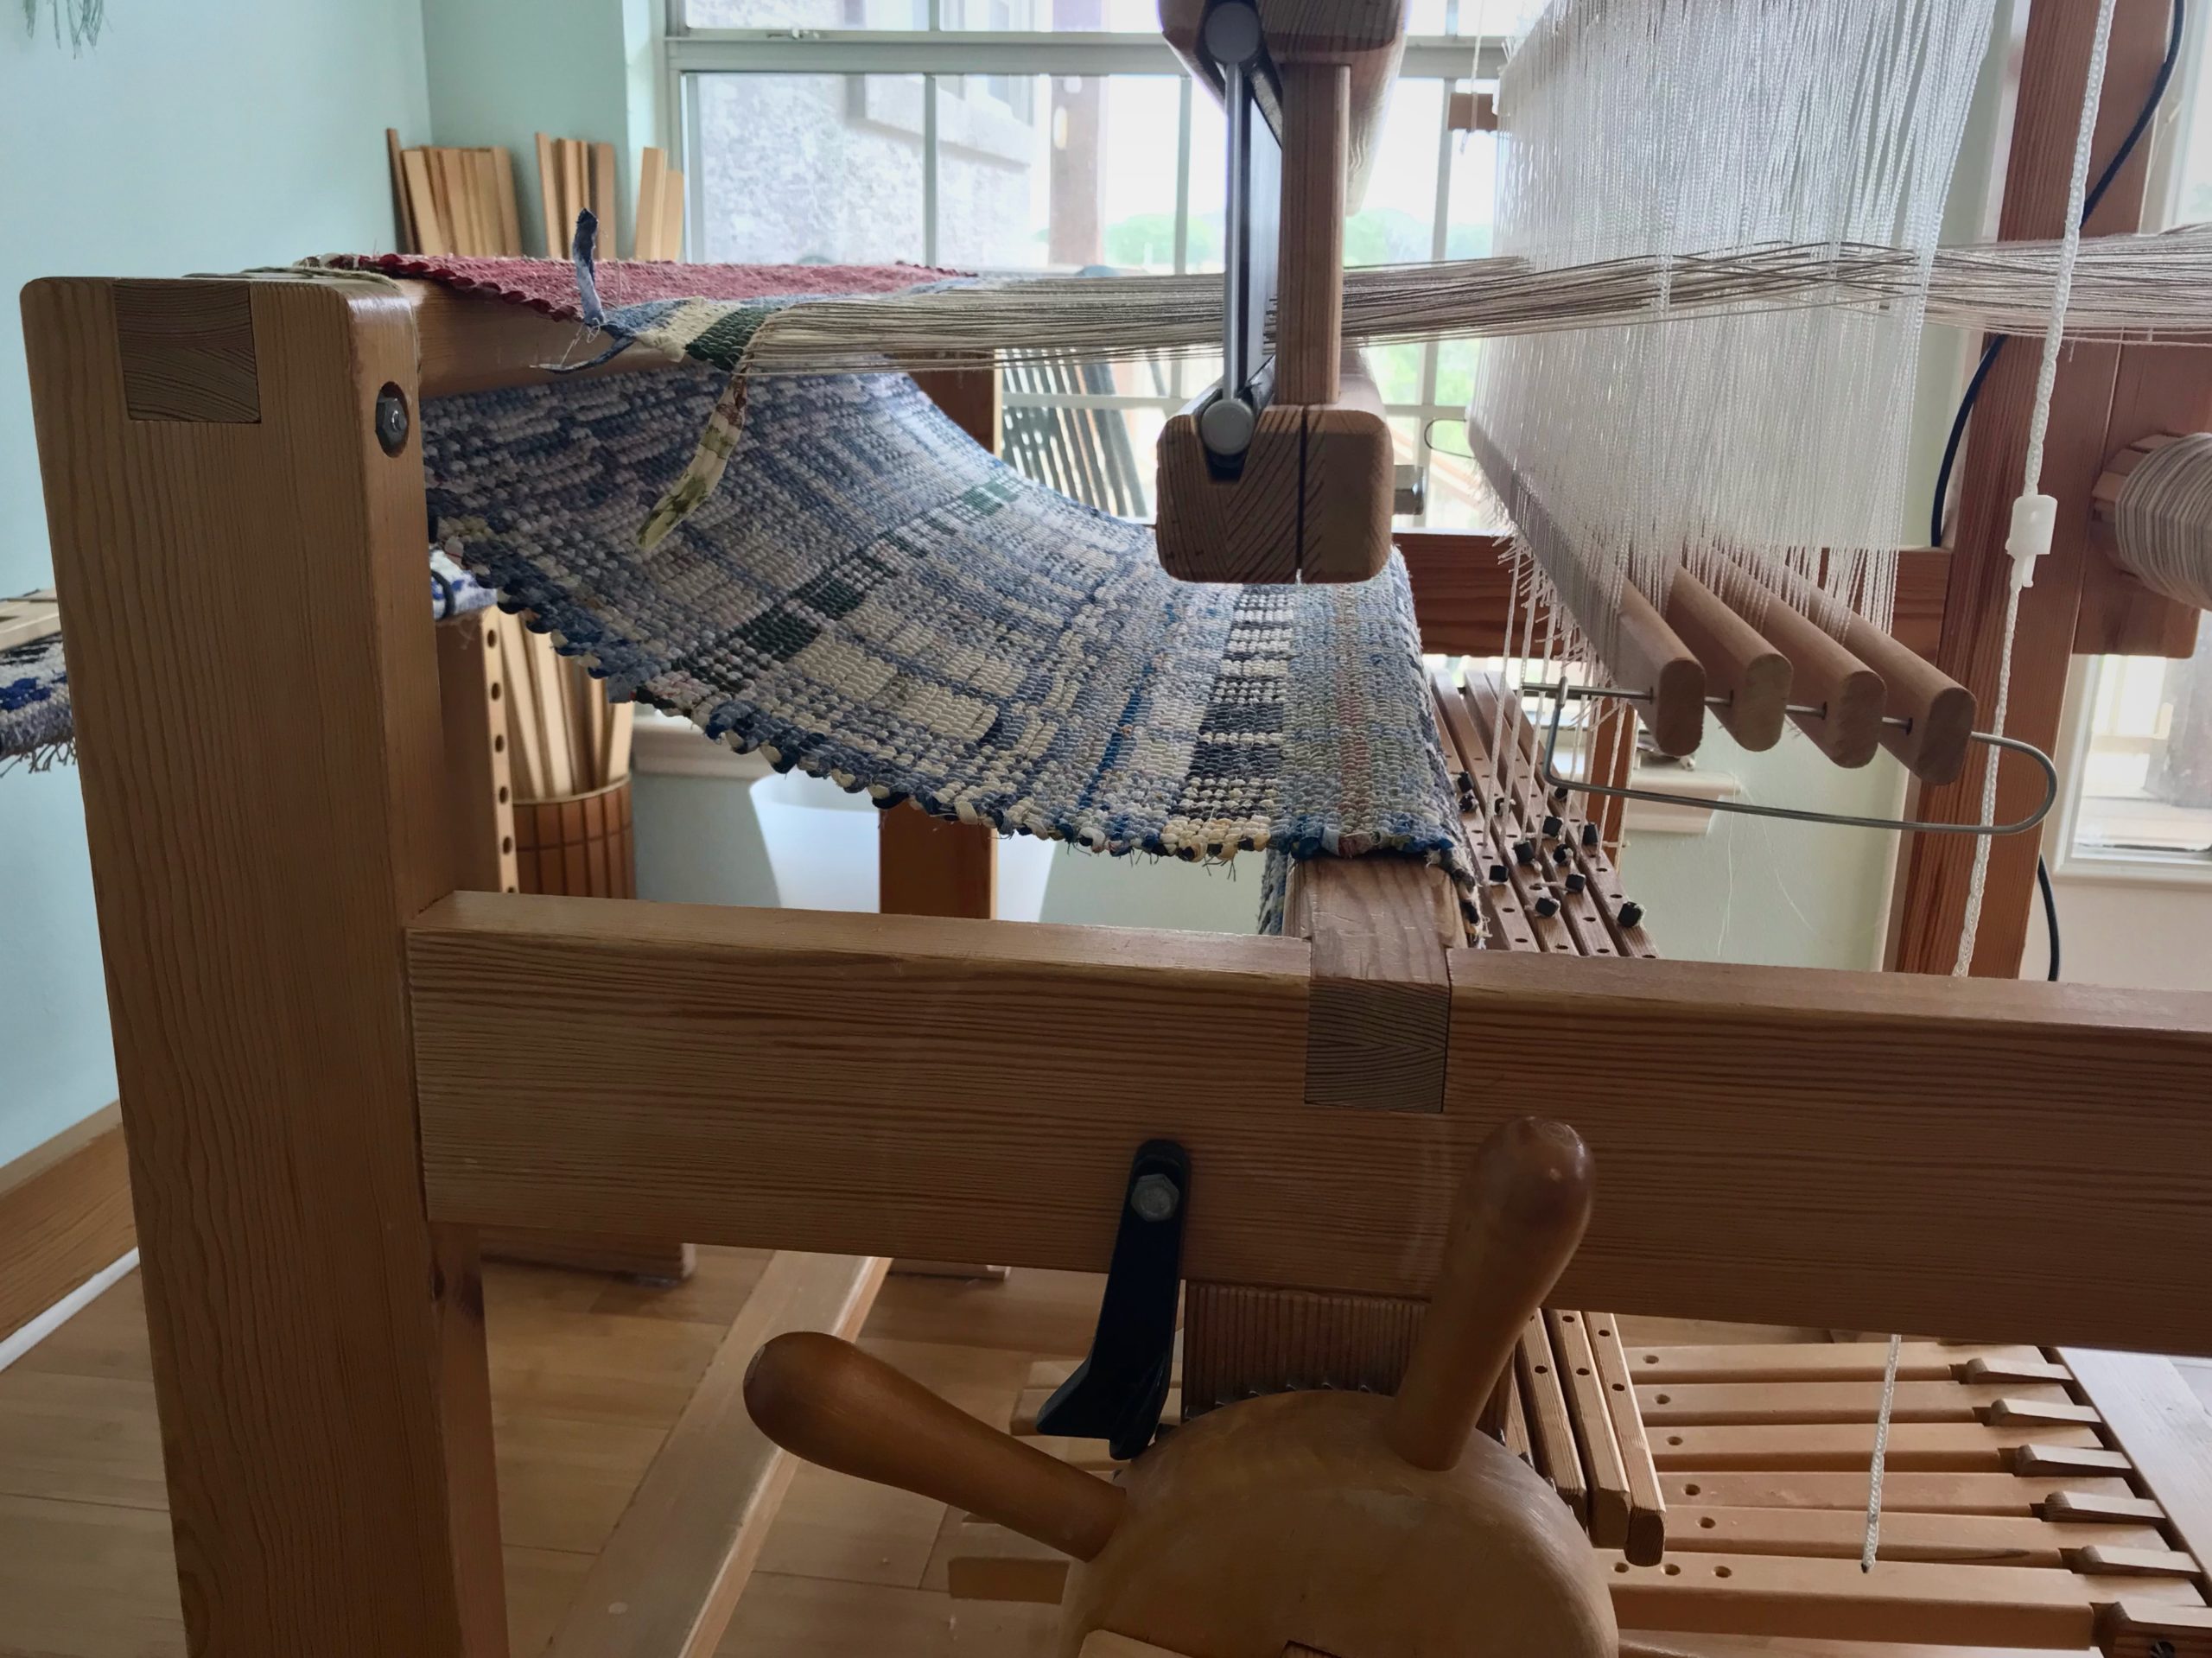
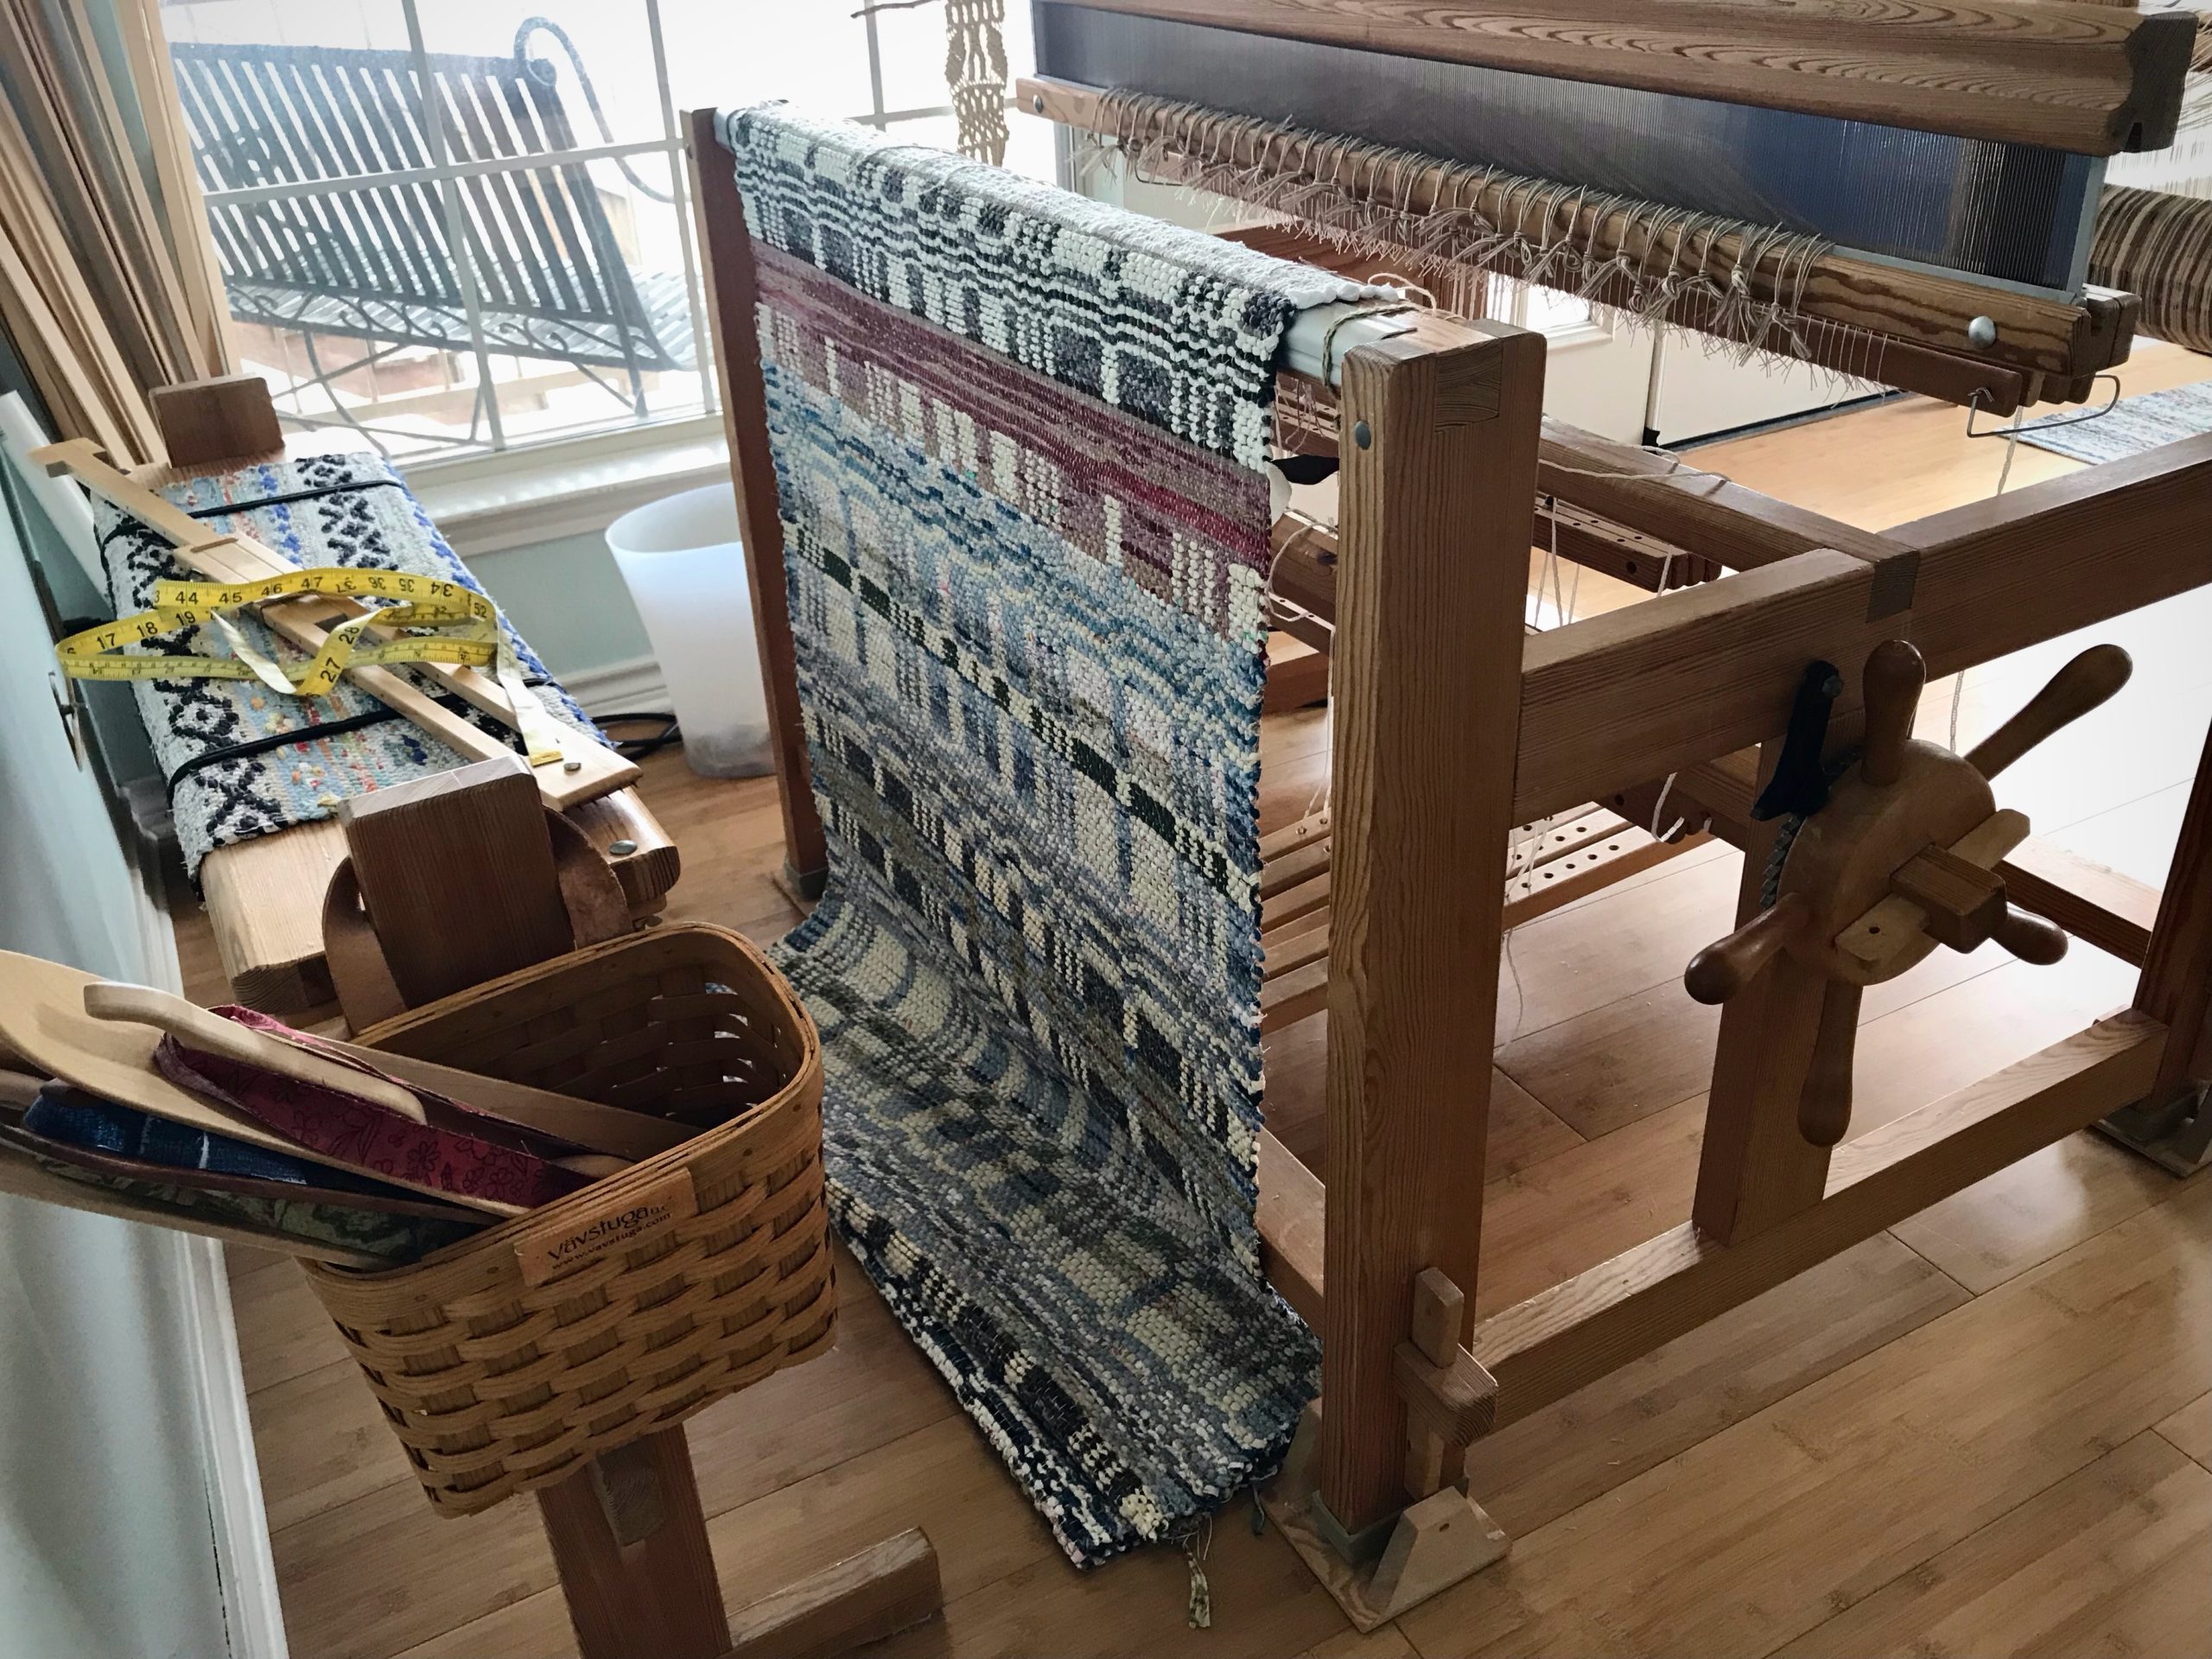
Rug is wrapping around the cloth beam.

Reasons for cutting off rag rug before end of warp

  1. Uneven warp tension. I can improve the warp by tying back on.
  2. Large rag rag. I can get a tighter warp tension by removing the rug’s bulk from the cloth beam.
  3. New design. It helps me to see the completed rug before starting the next one, since this is a brand-new design.
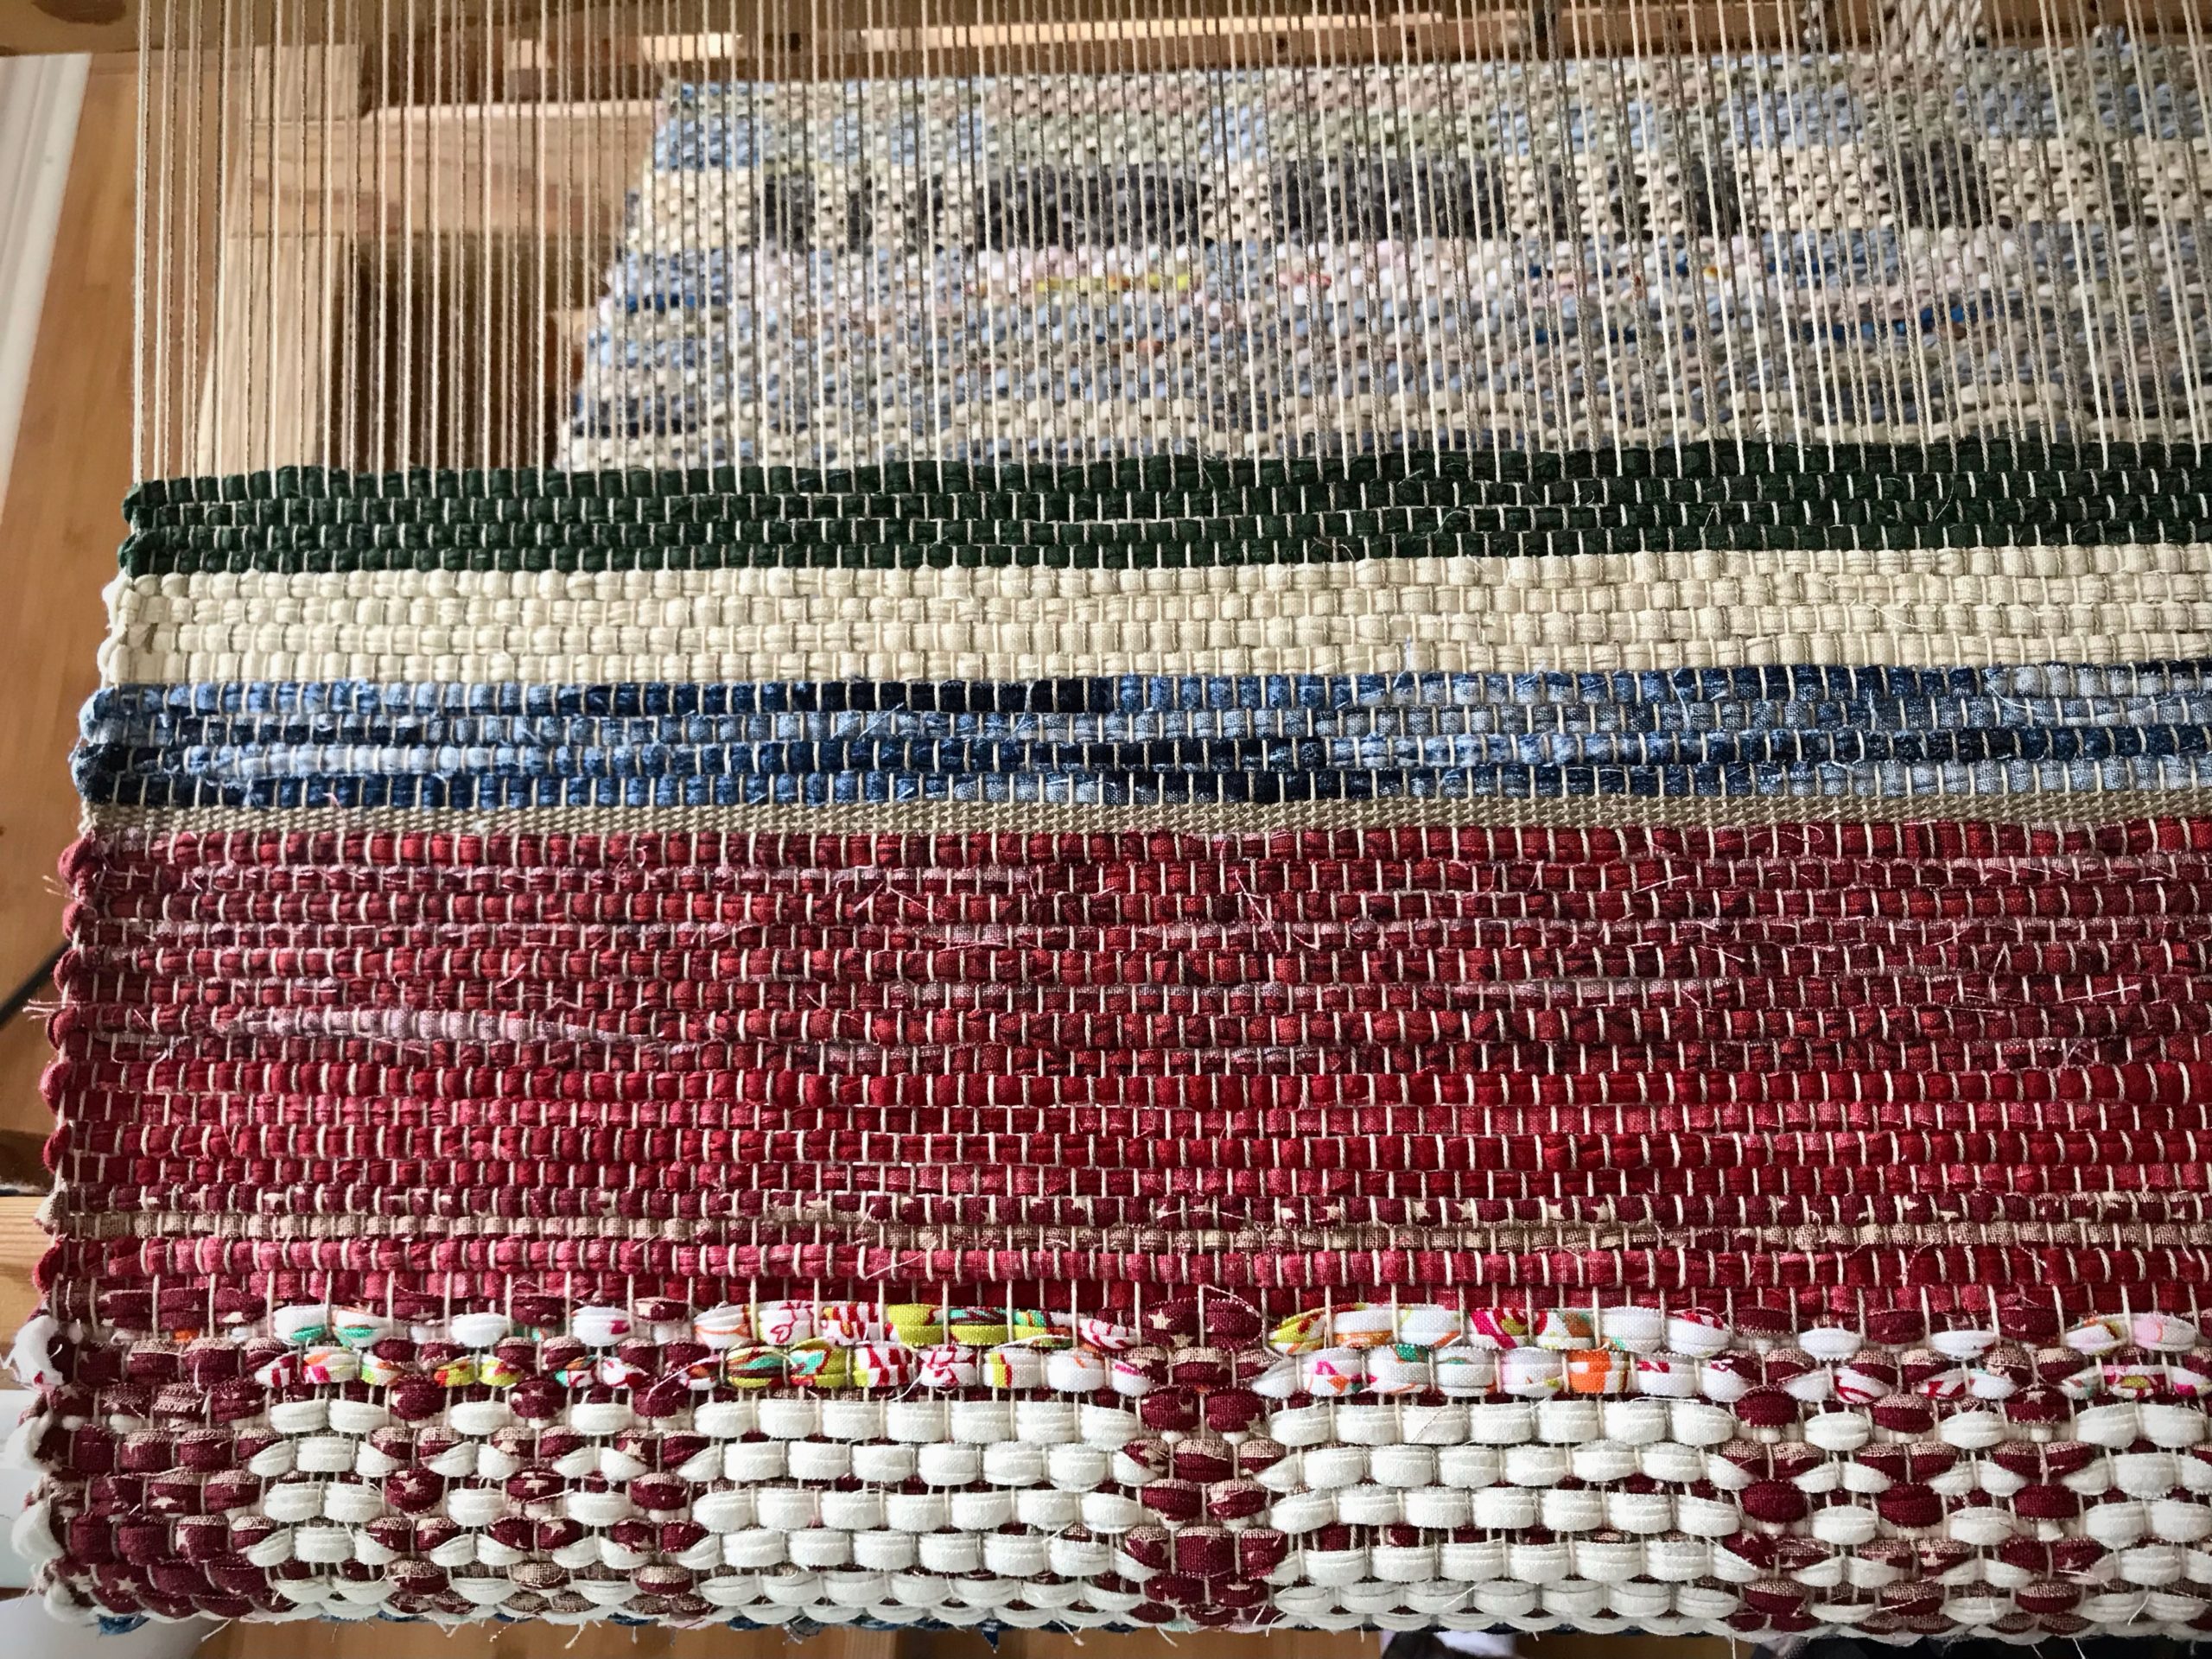
Rug comes to an end with a red border/hem. A warp-thread header follows, and then a few rows of scrap header to help secure the weft until finishing knots are tied.

Steps for cutting off rag rug before end of warp (countermarch loom)

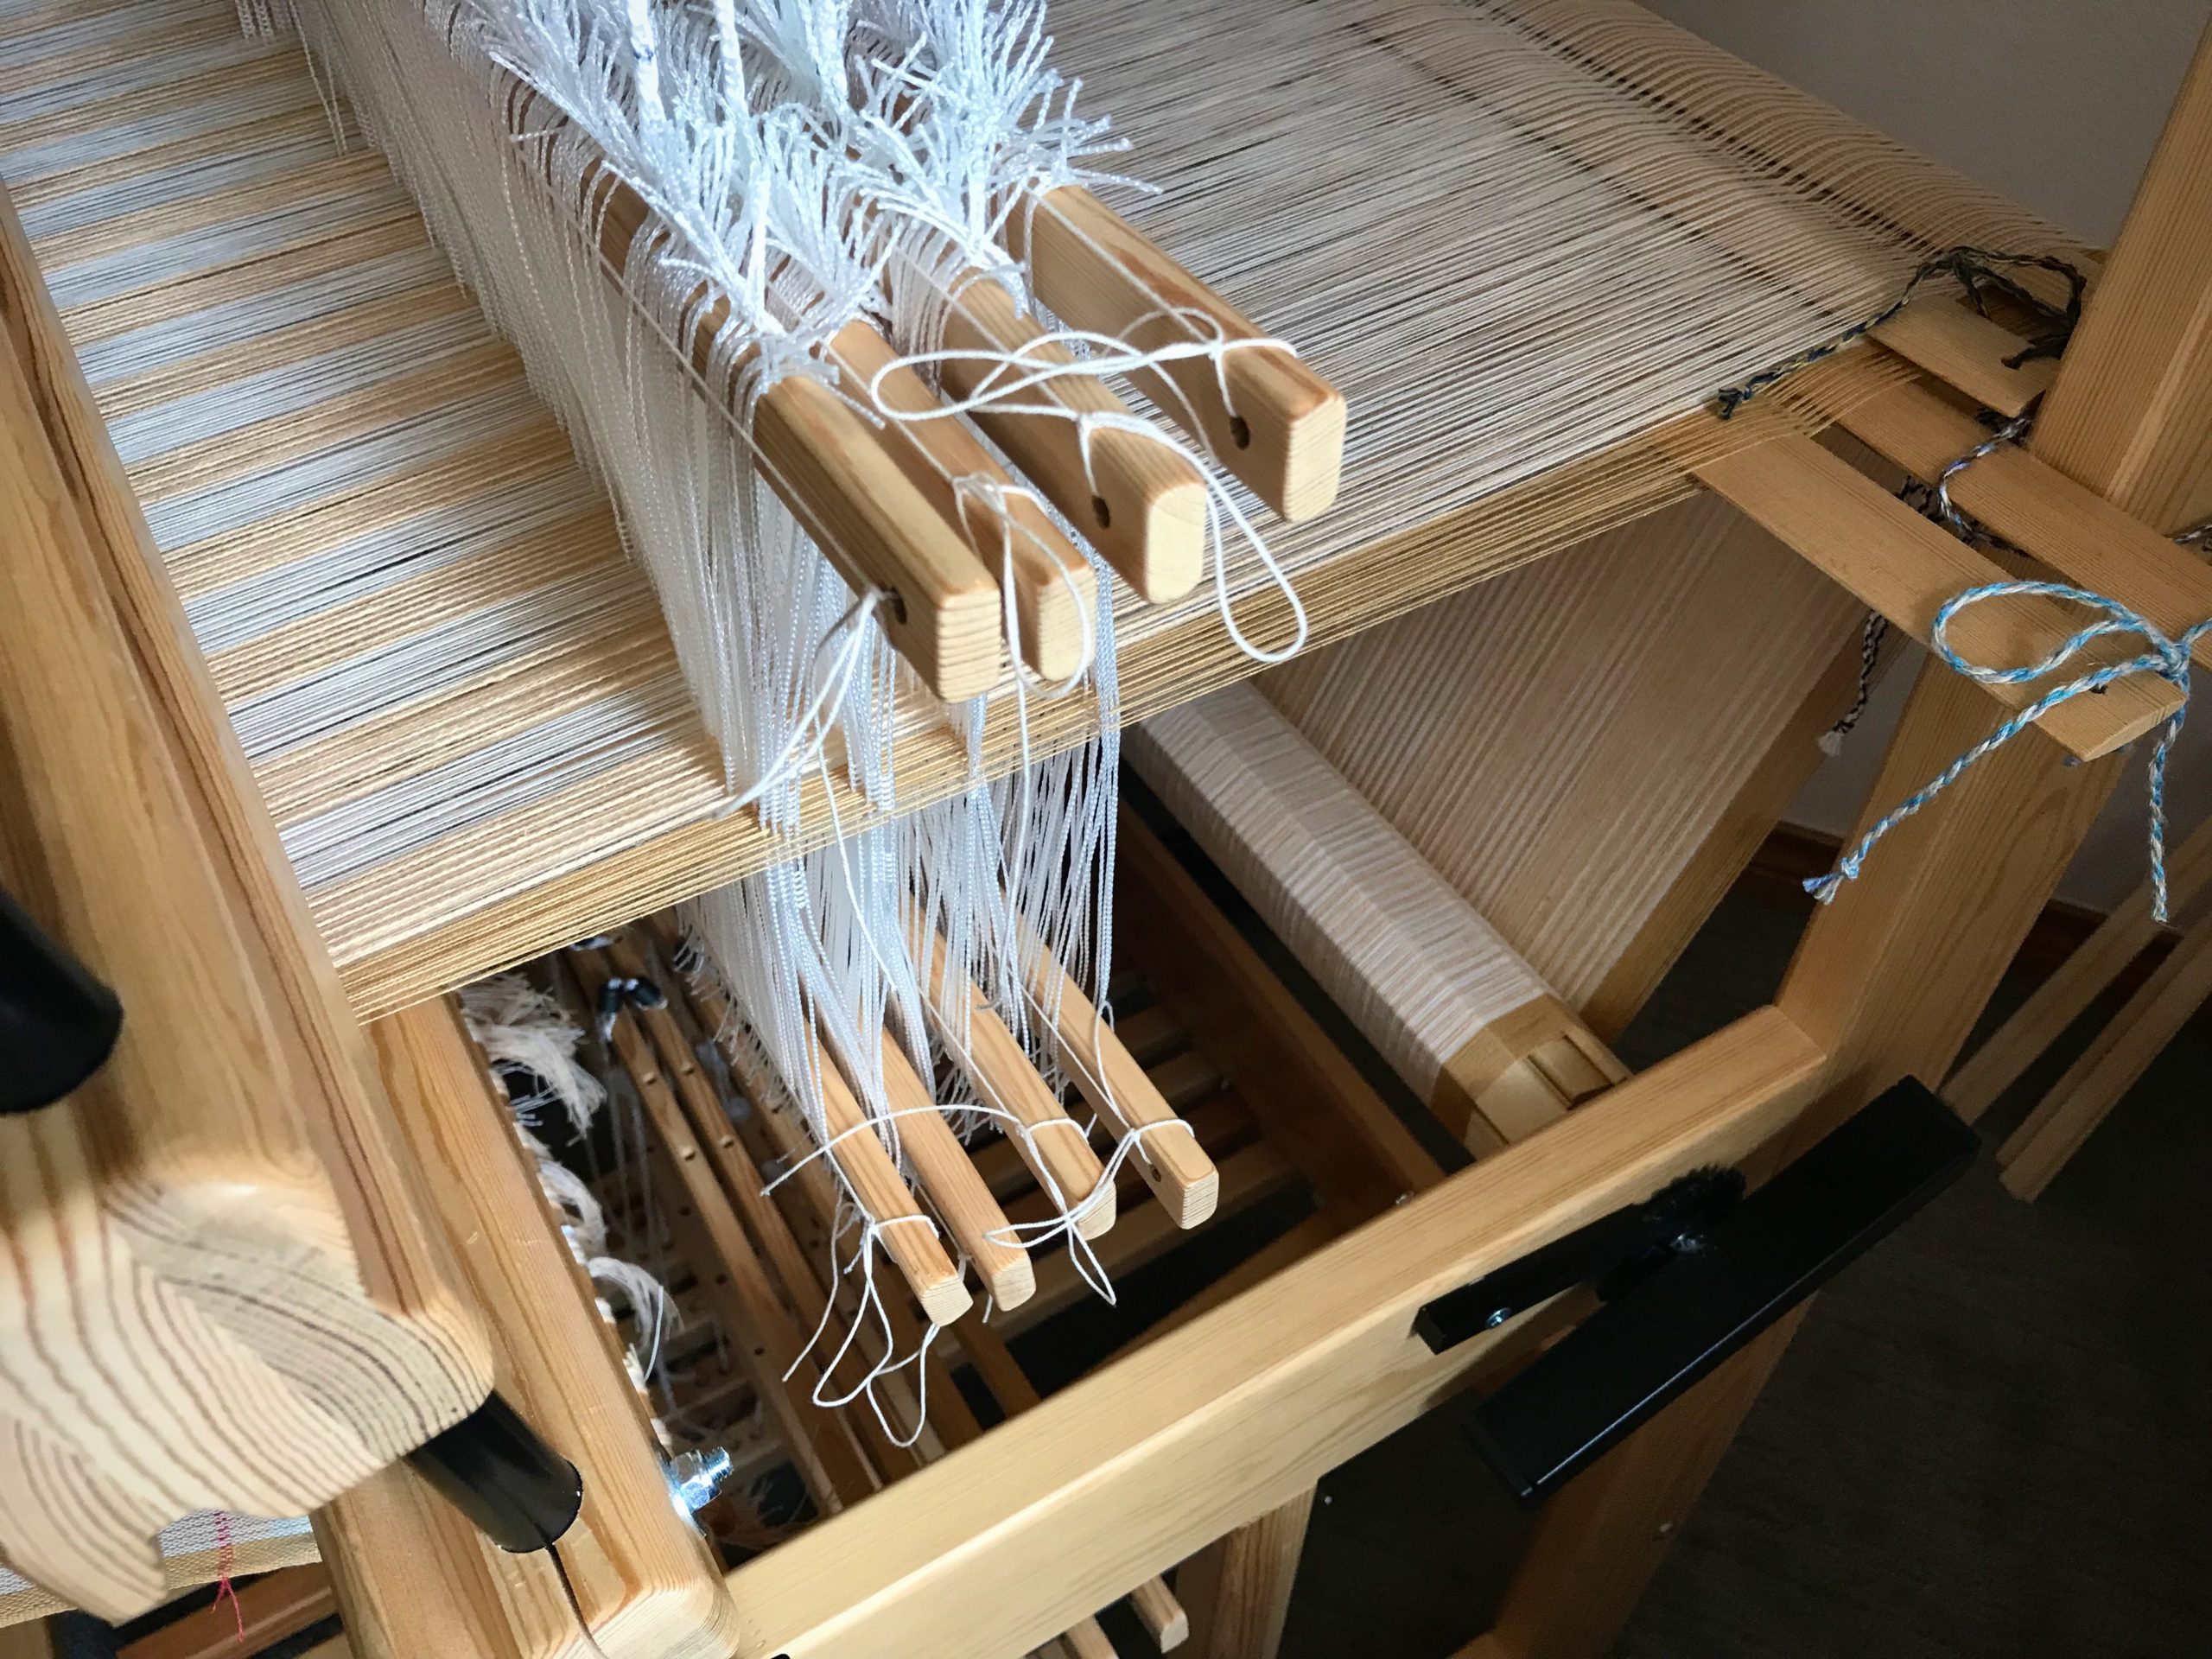
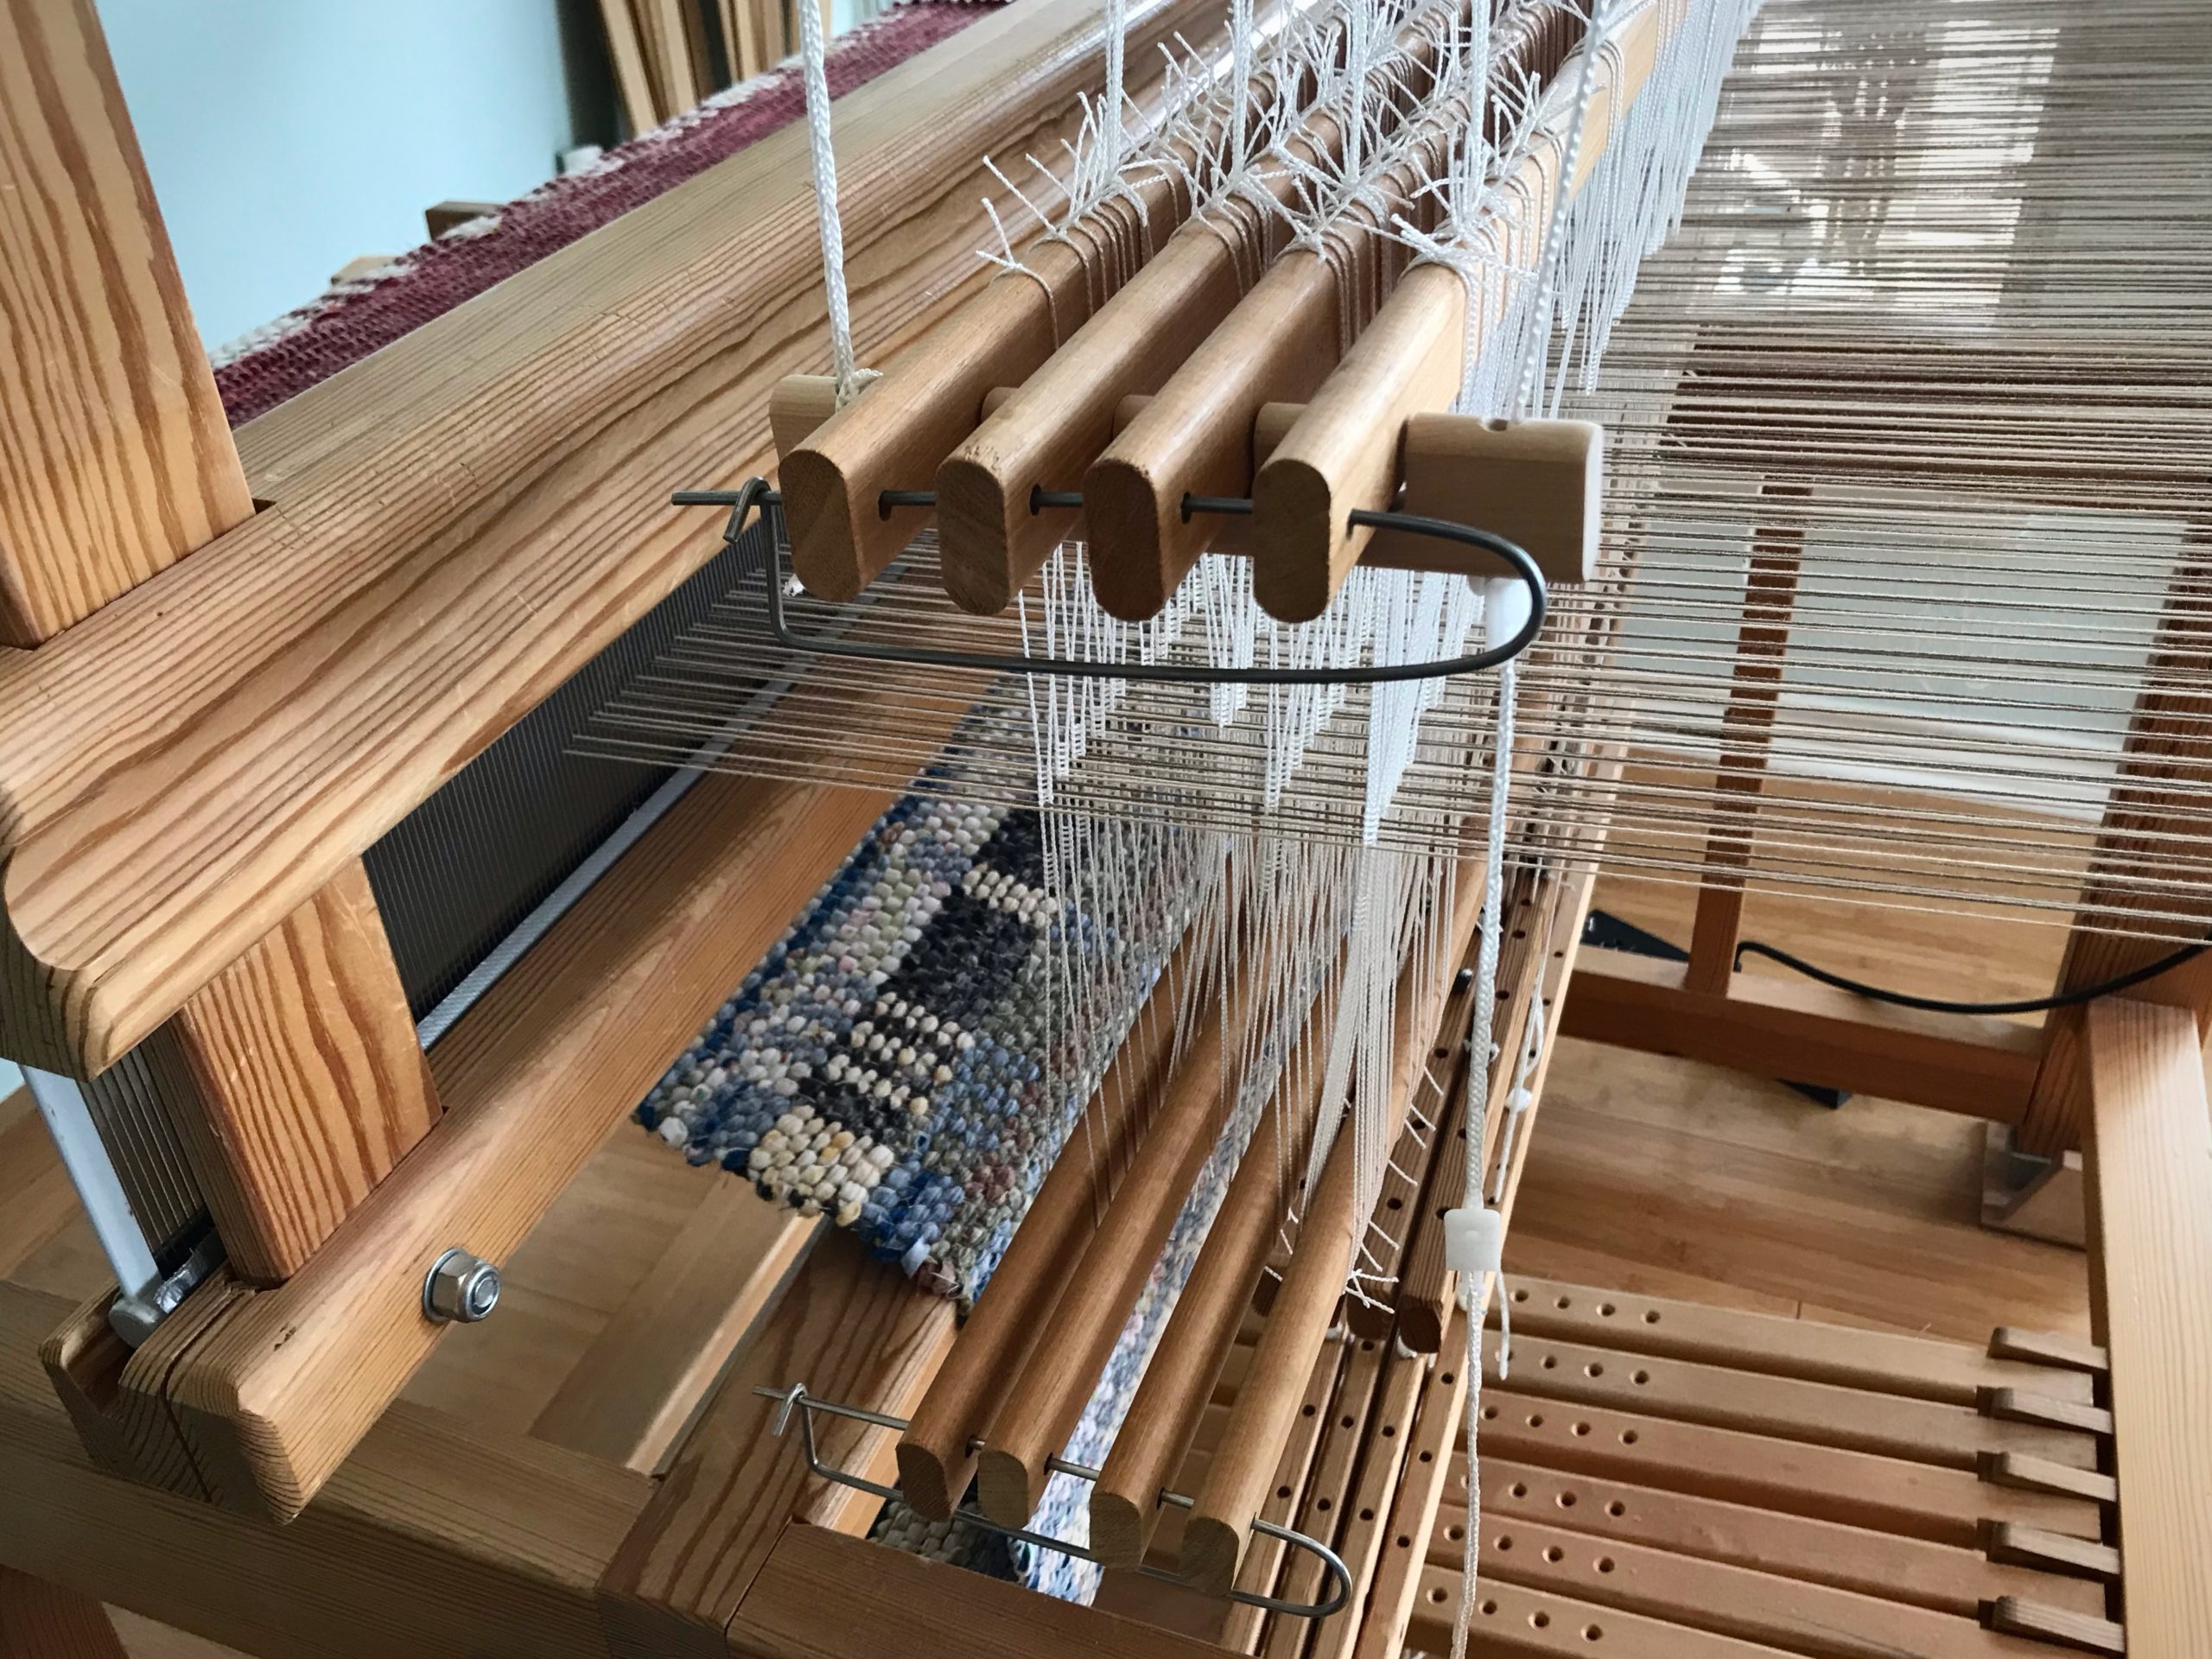
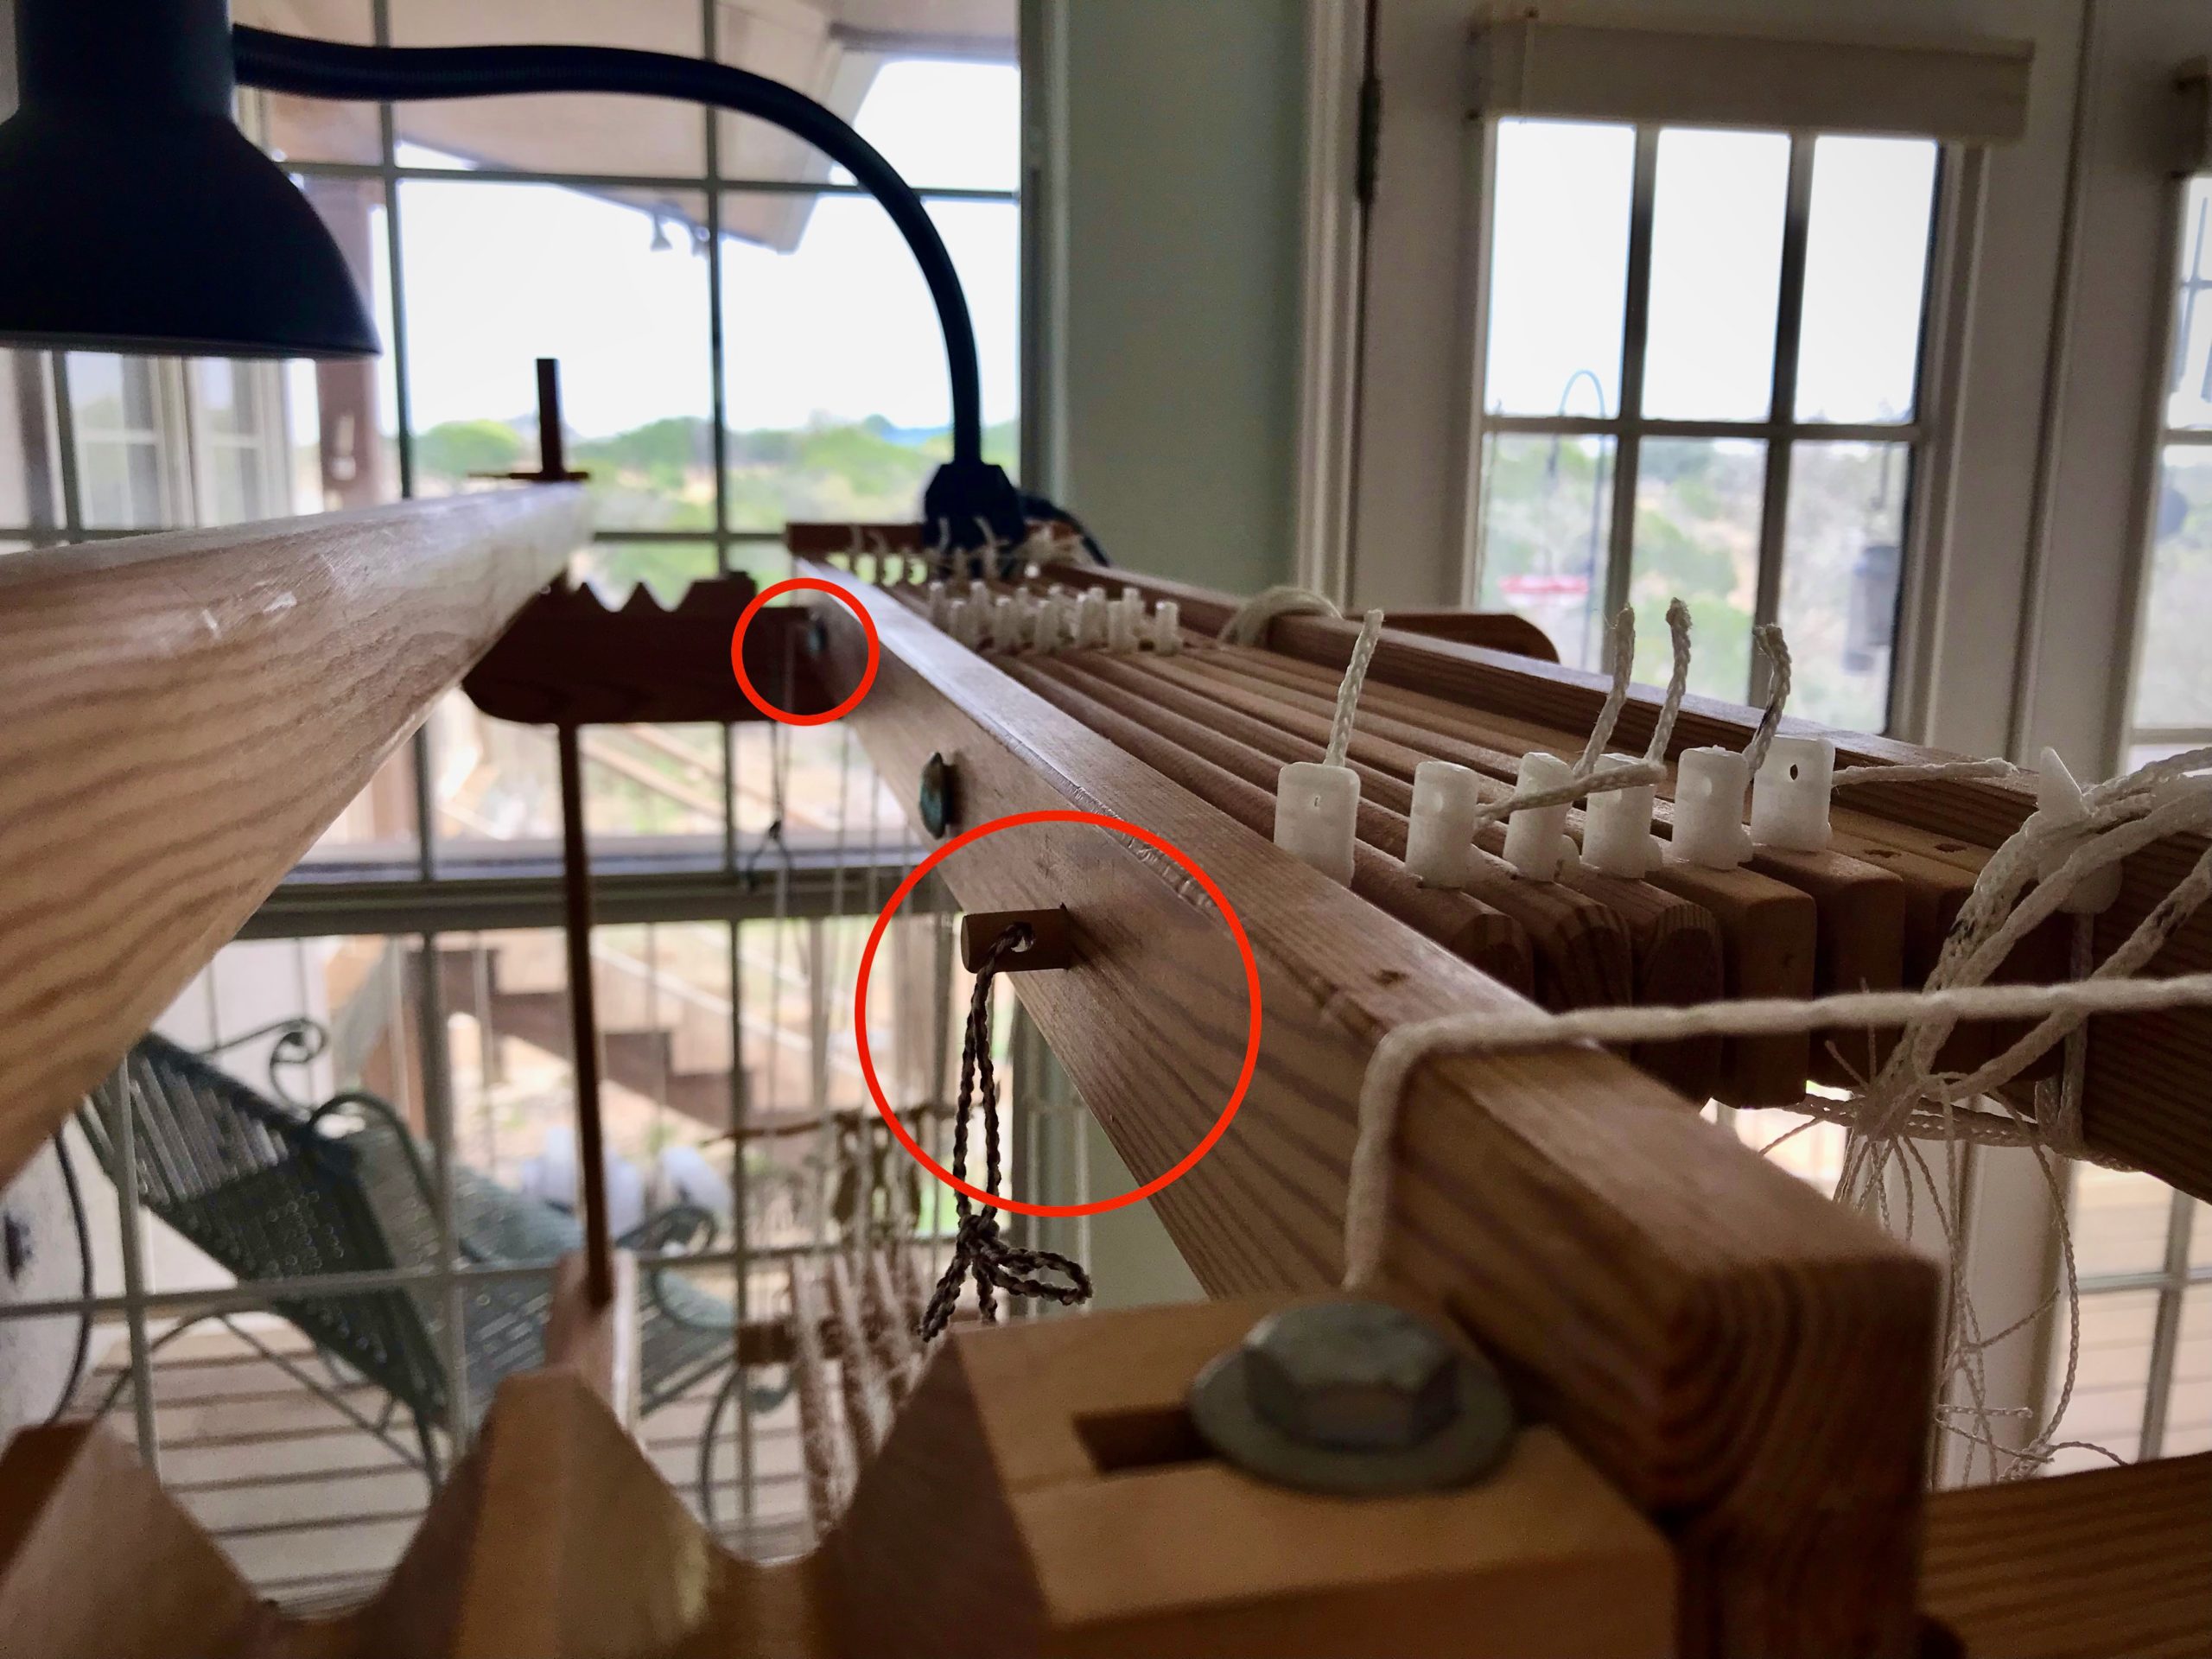
Secure everything before cutting off. Shaft bars are in shaft holders and shaft pins are put back in place.
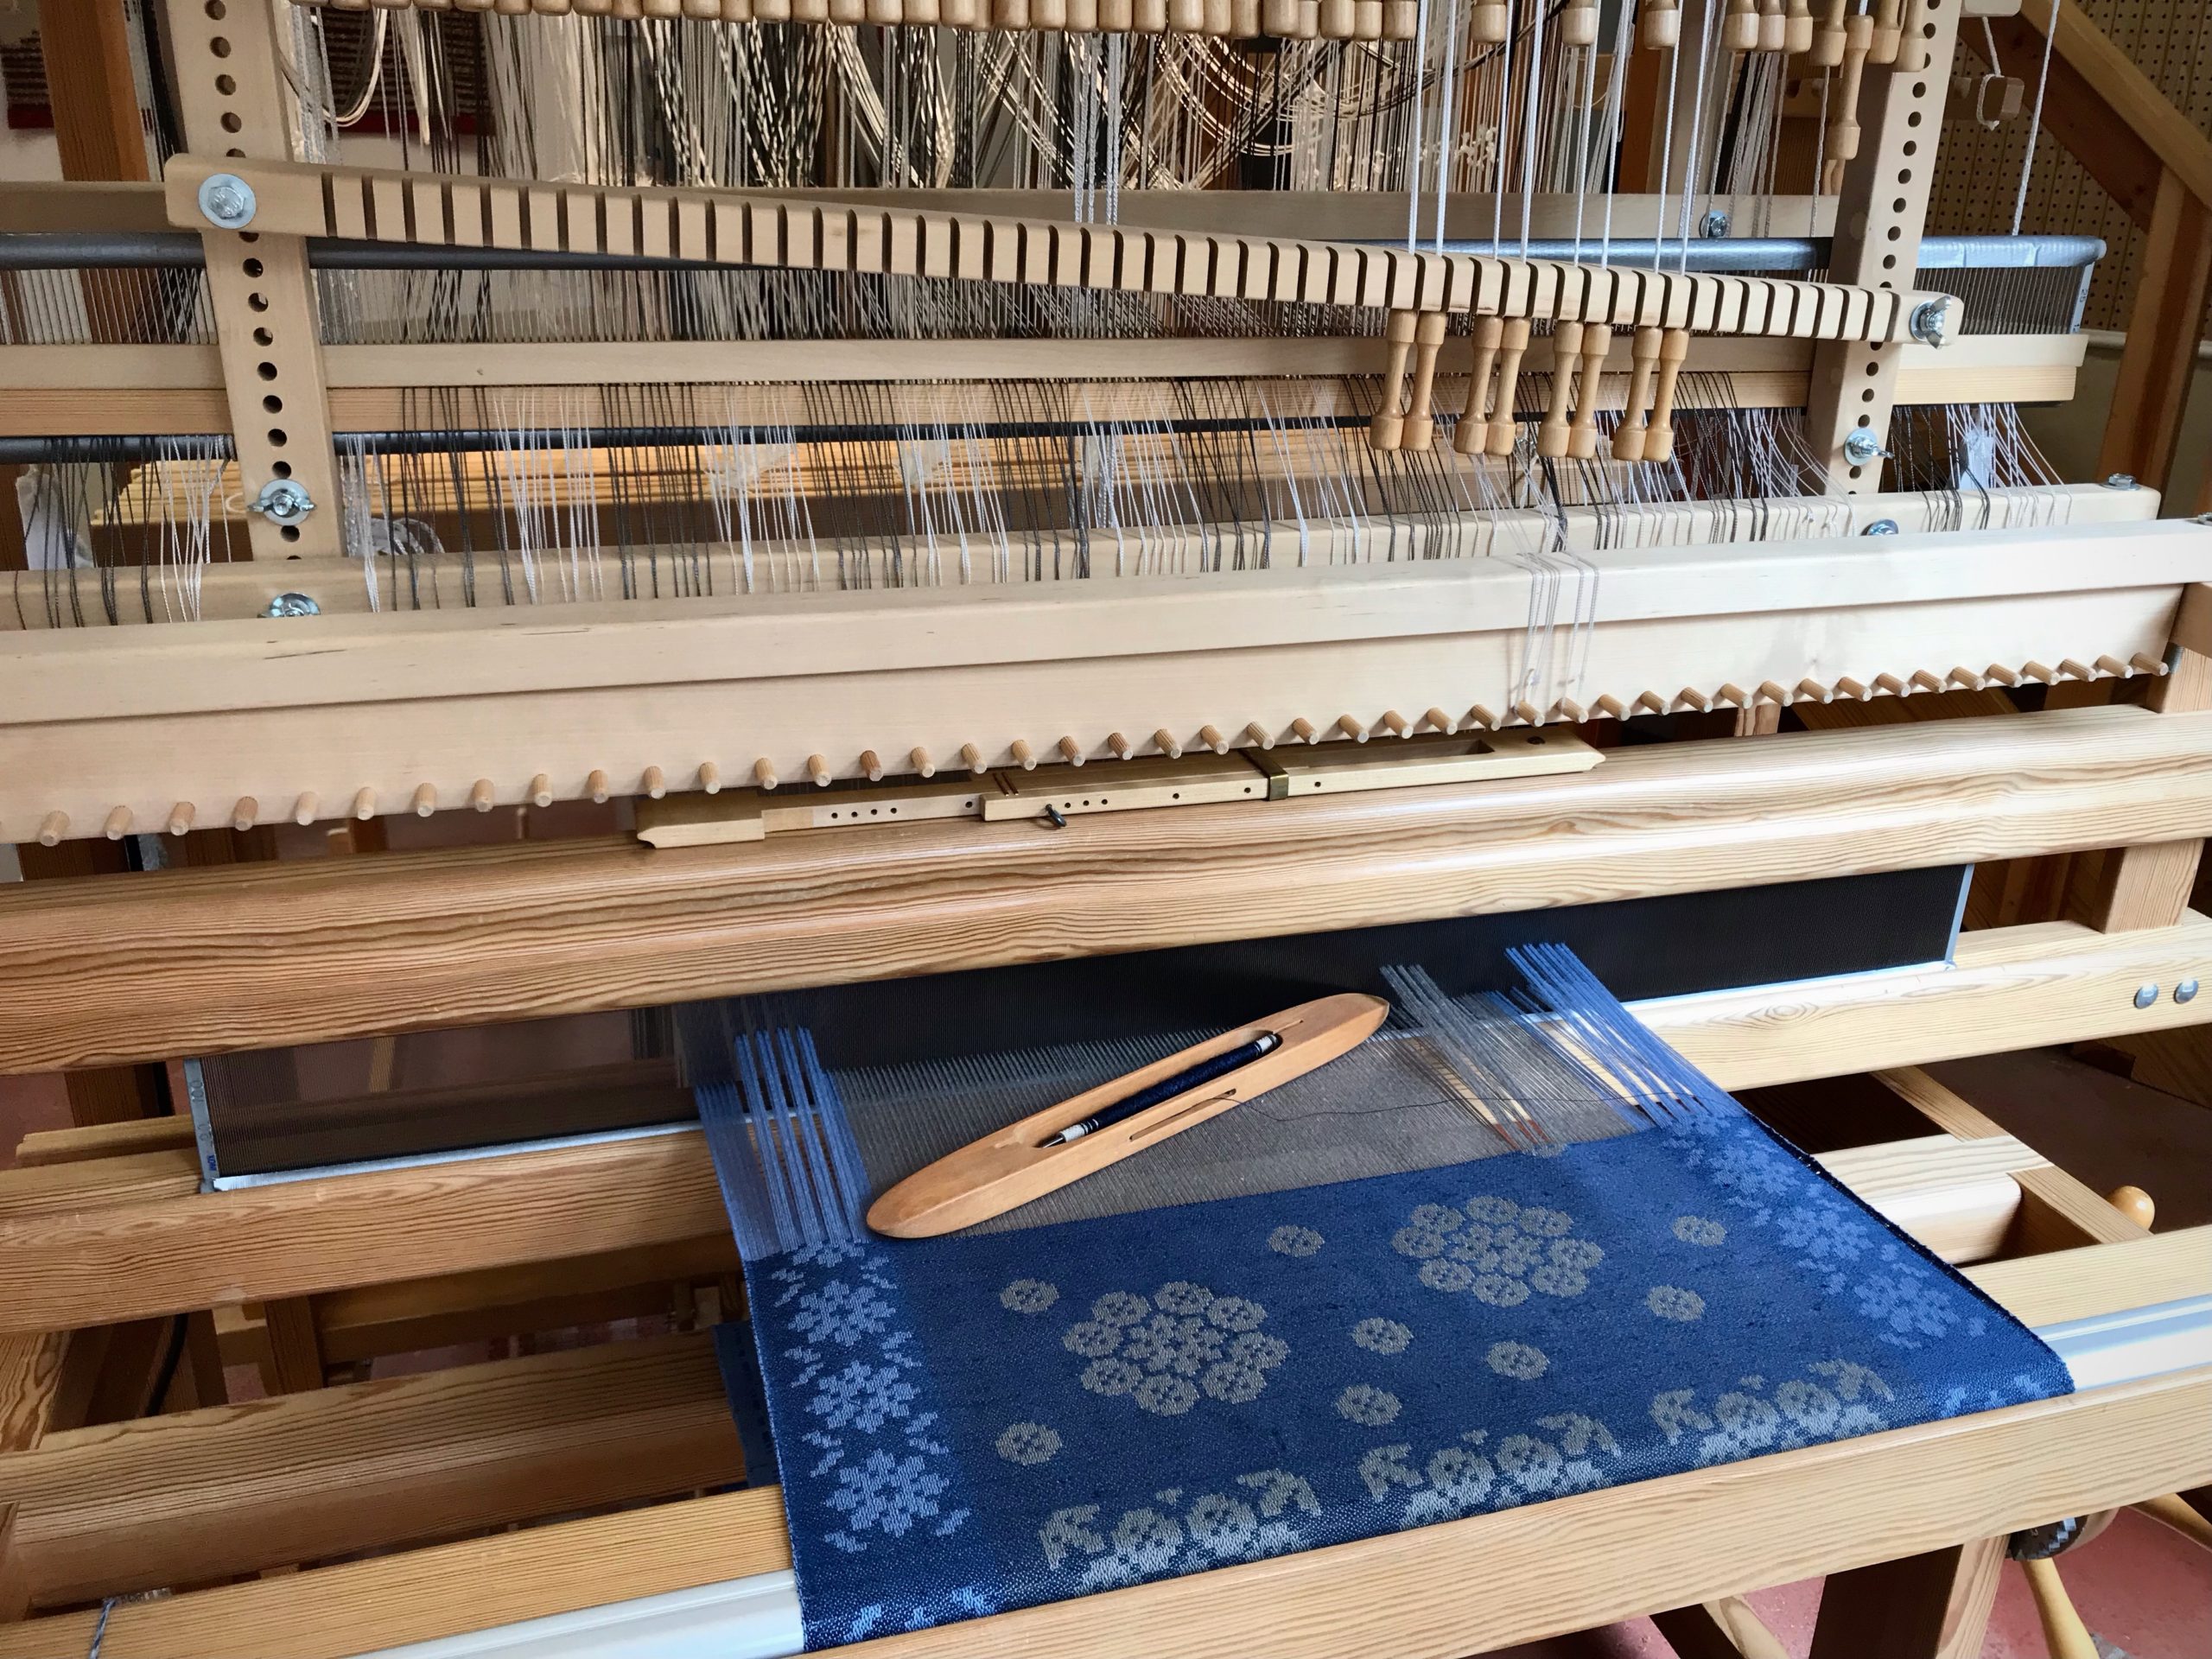
Countermarch locking pins on this Glimåkra Ideal are wooden dowels that go through the all the holes in the countermarch jacks.
Tension on the warp is released at the back ratchet and front ratchet.
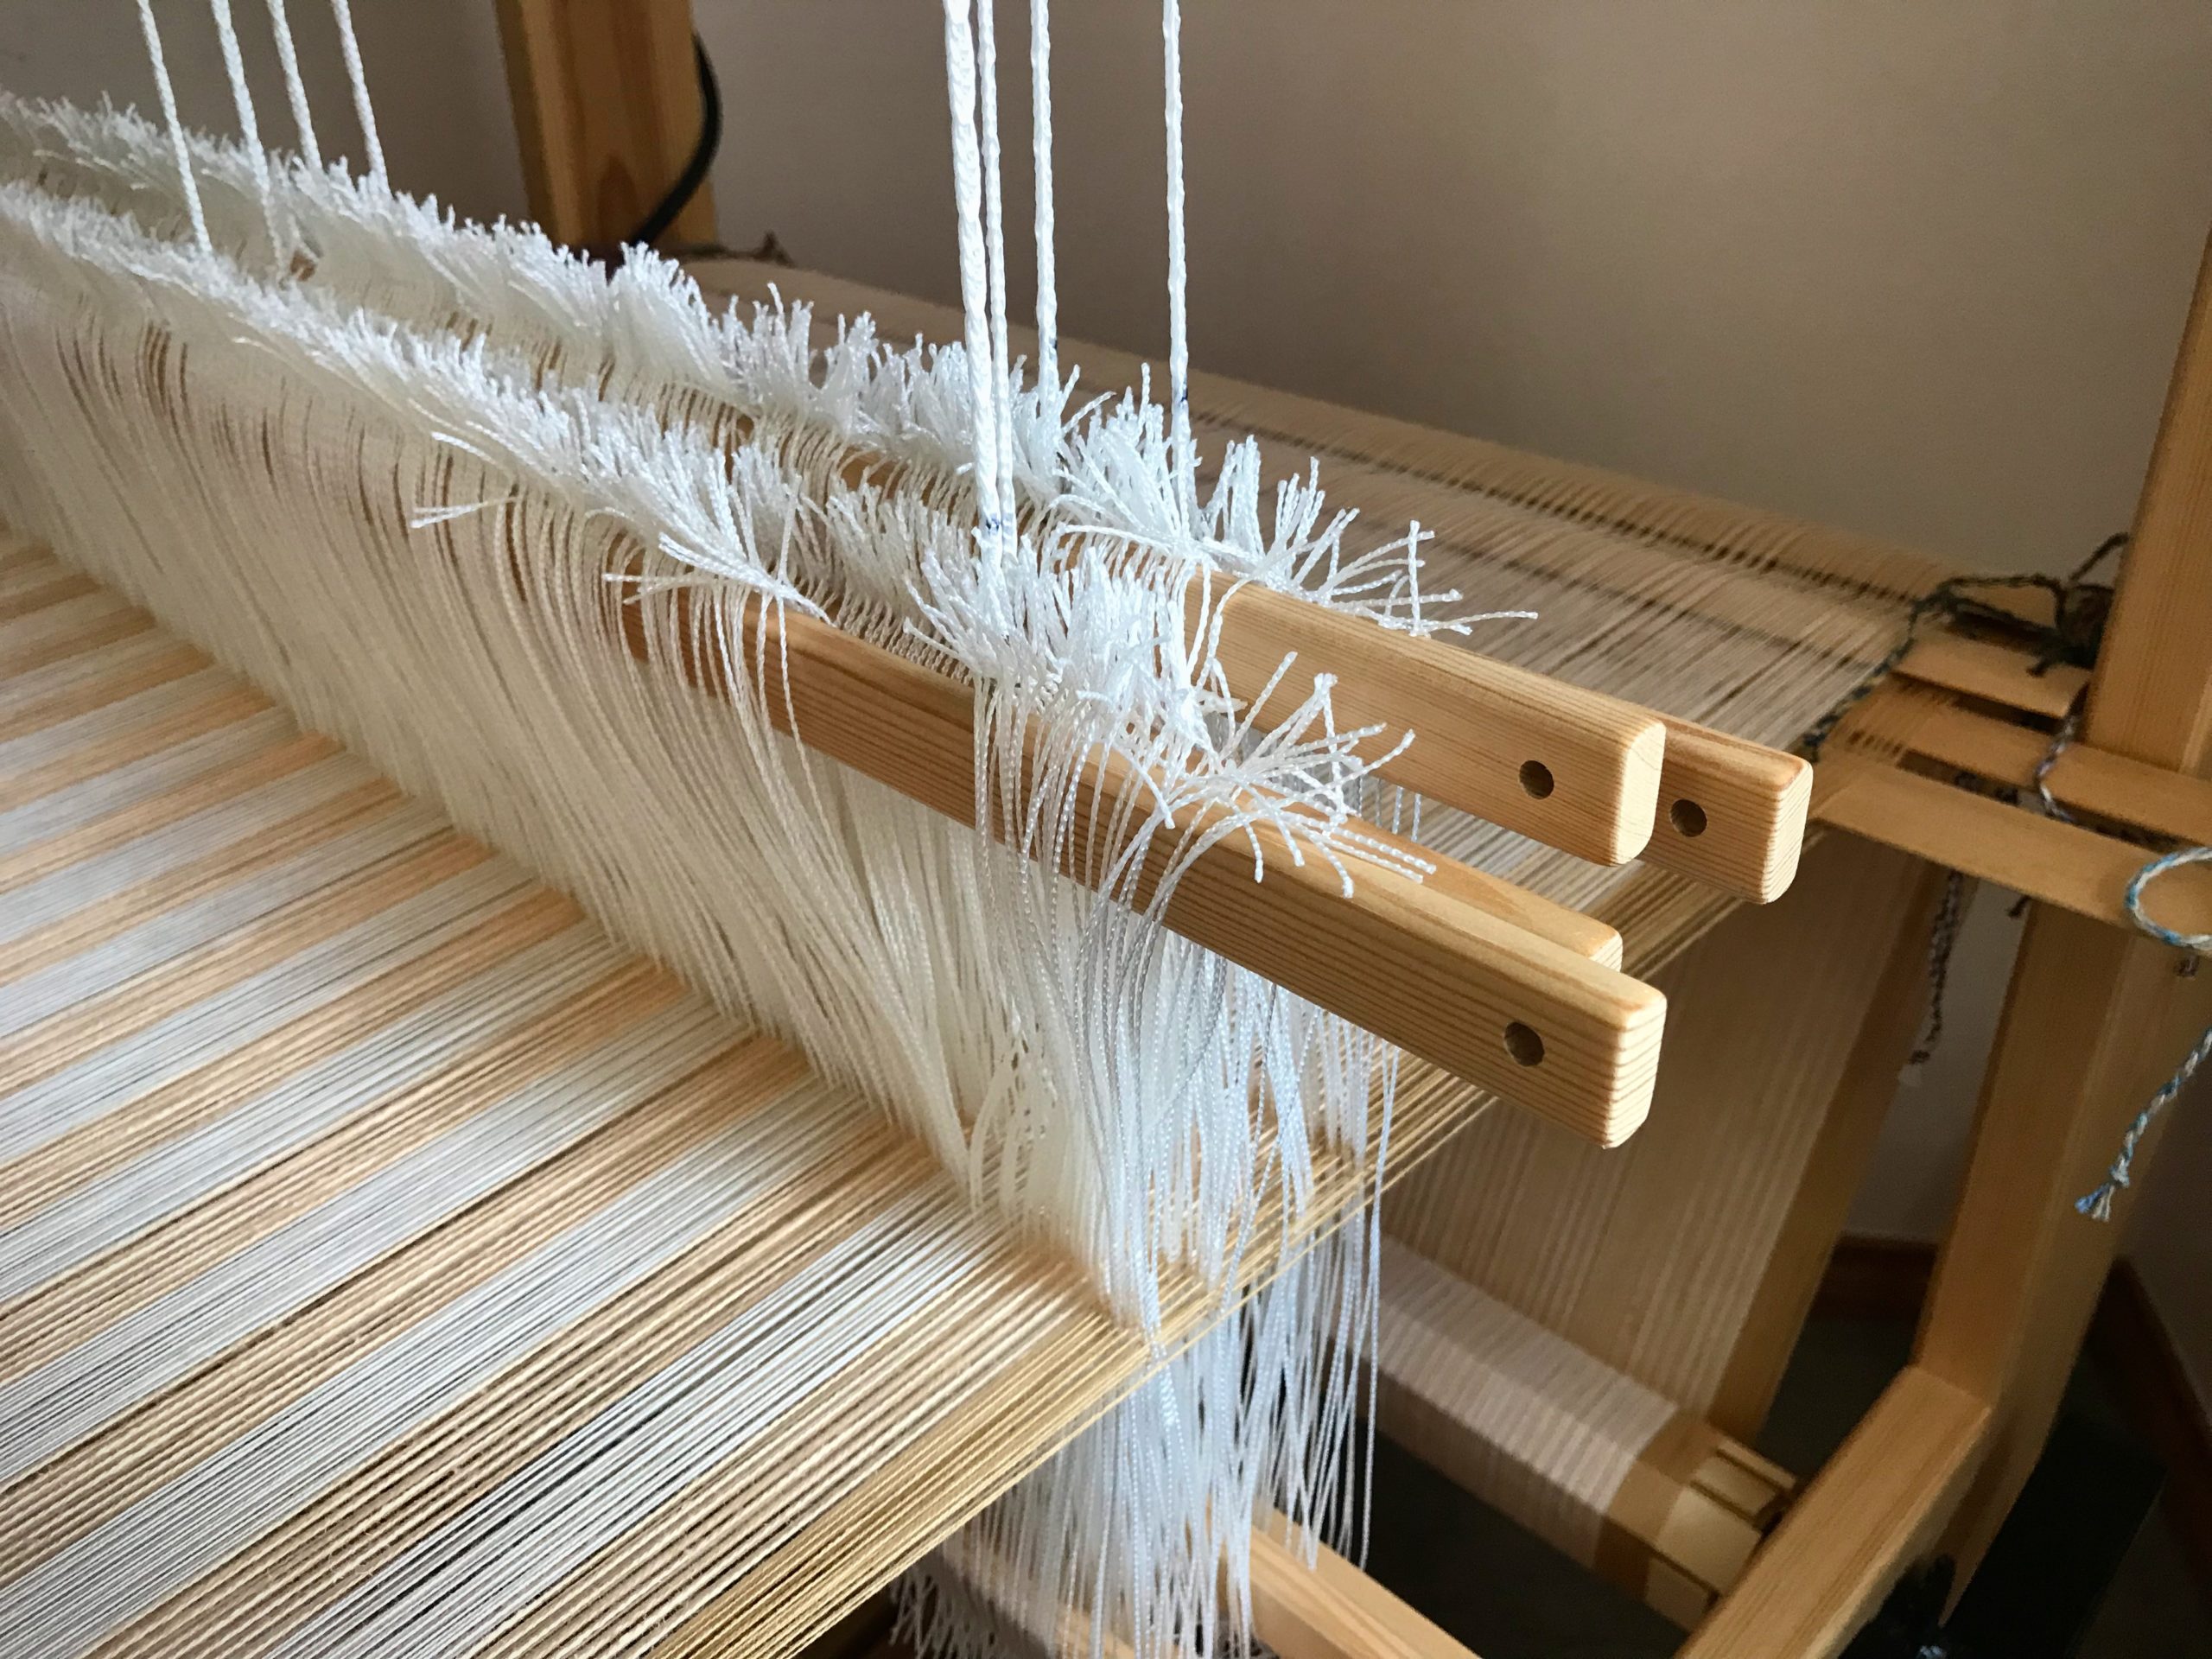
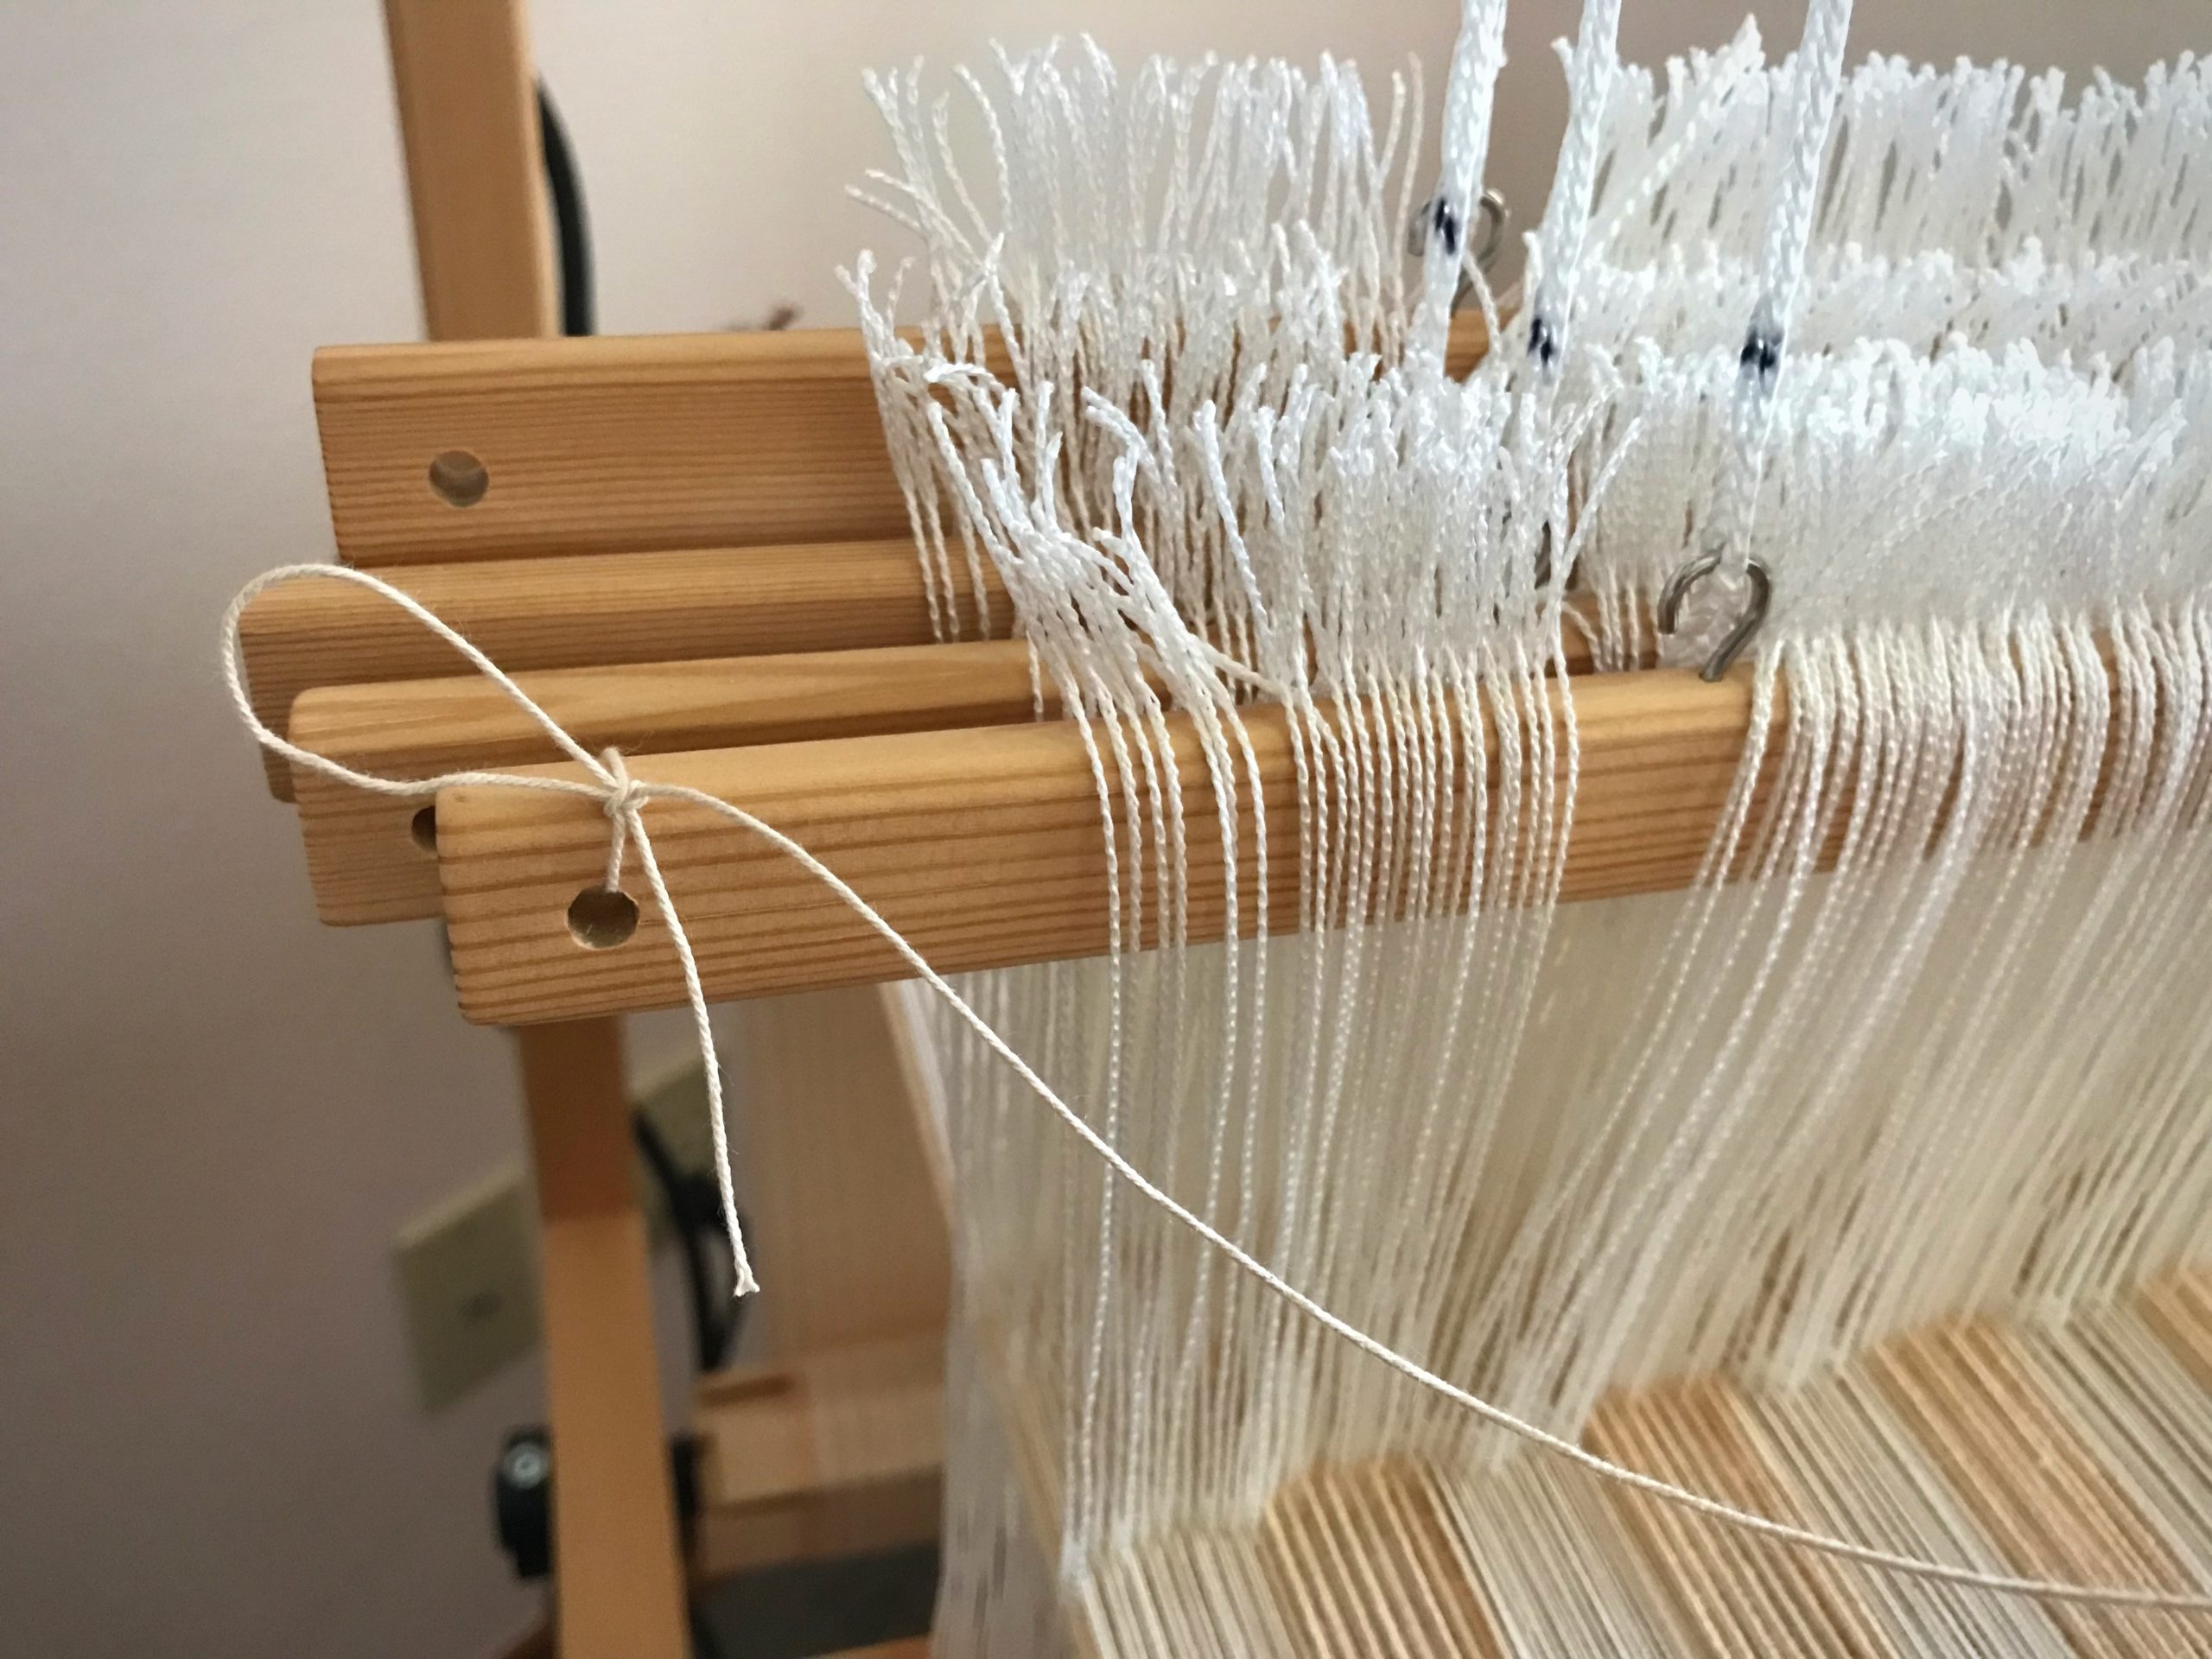
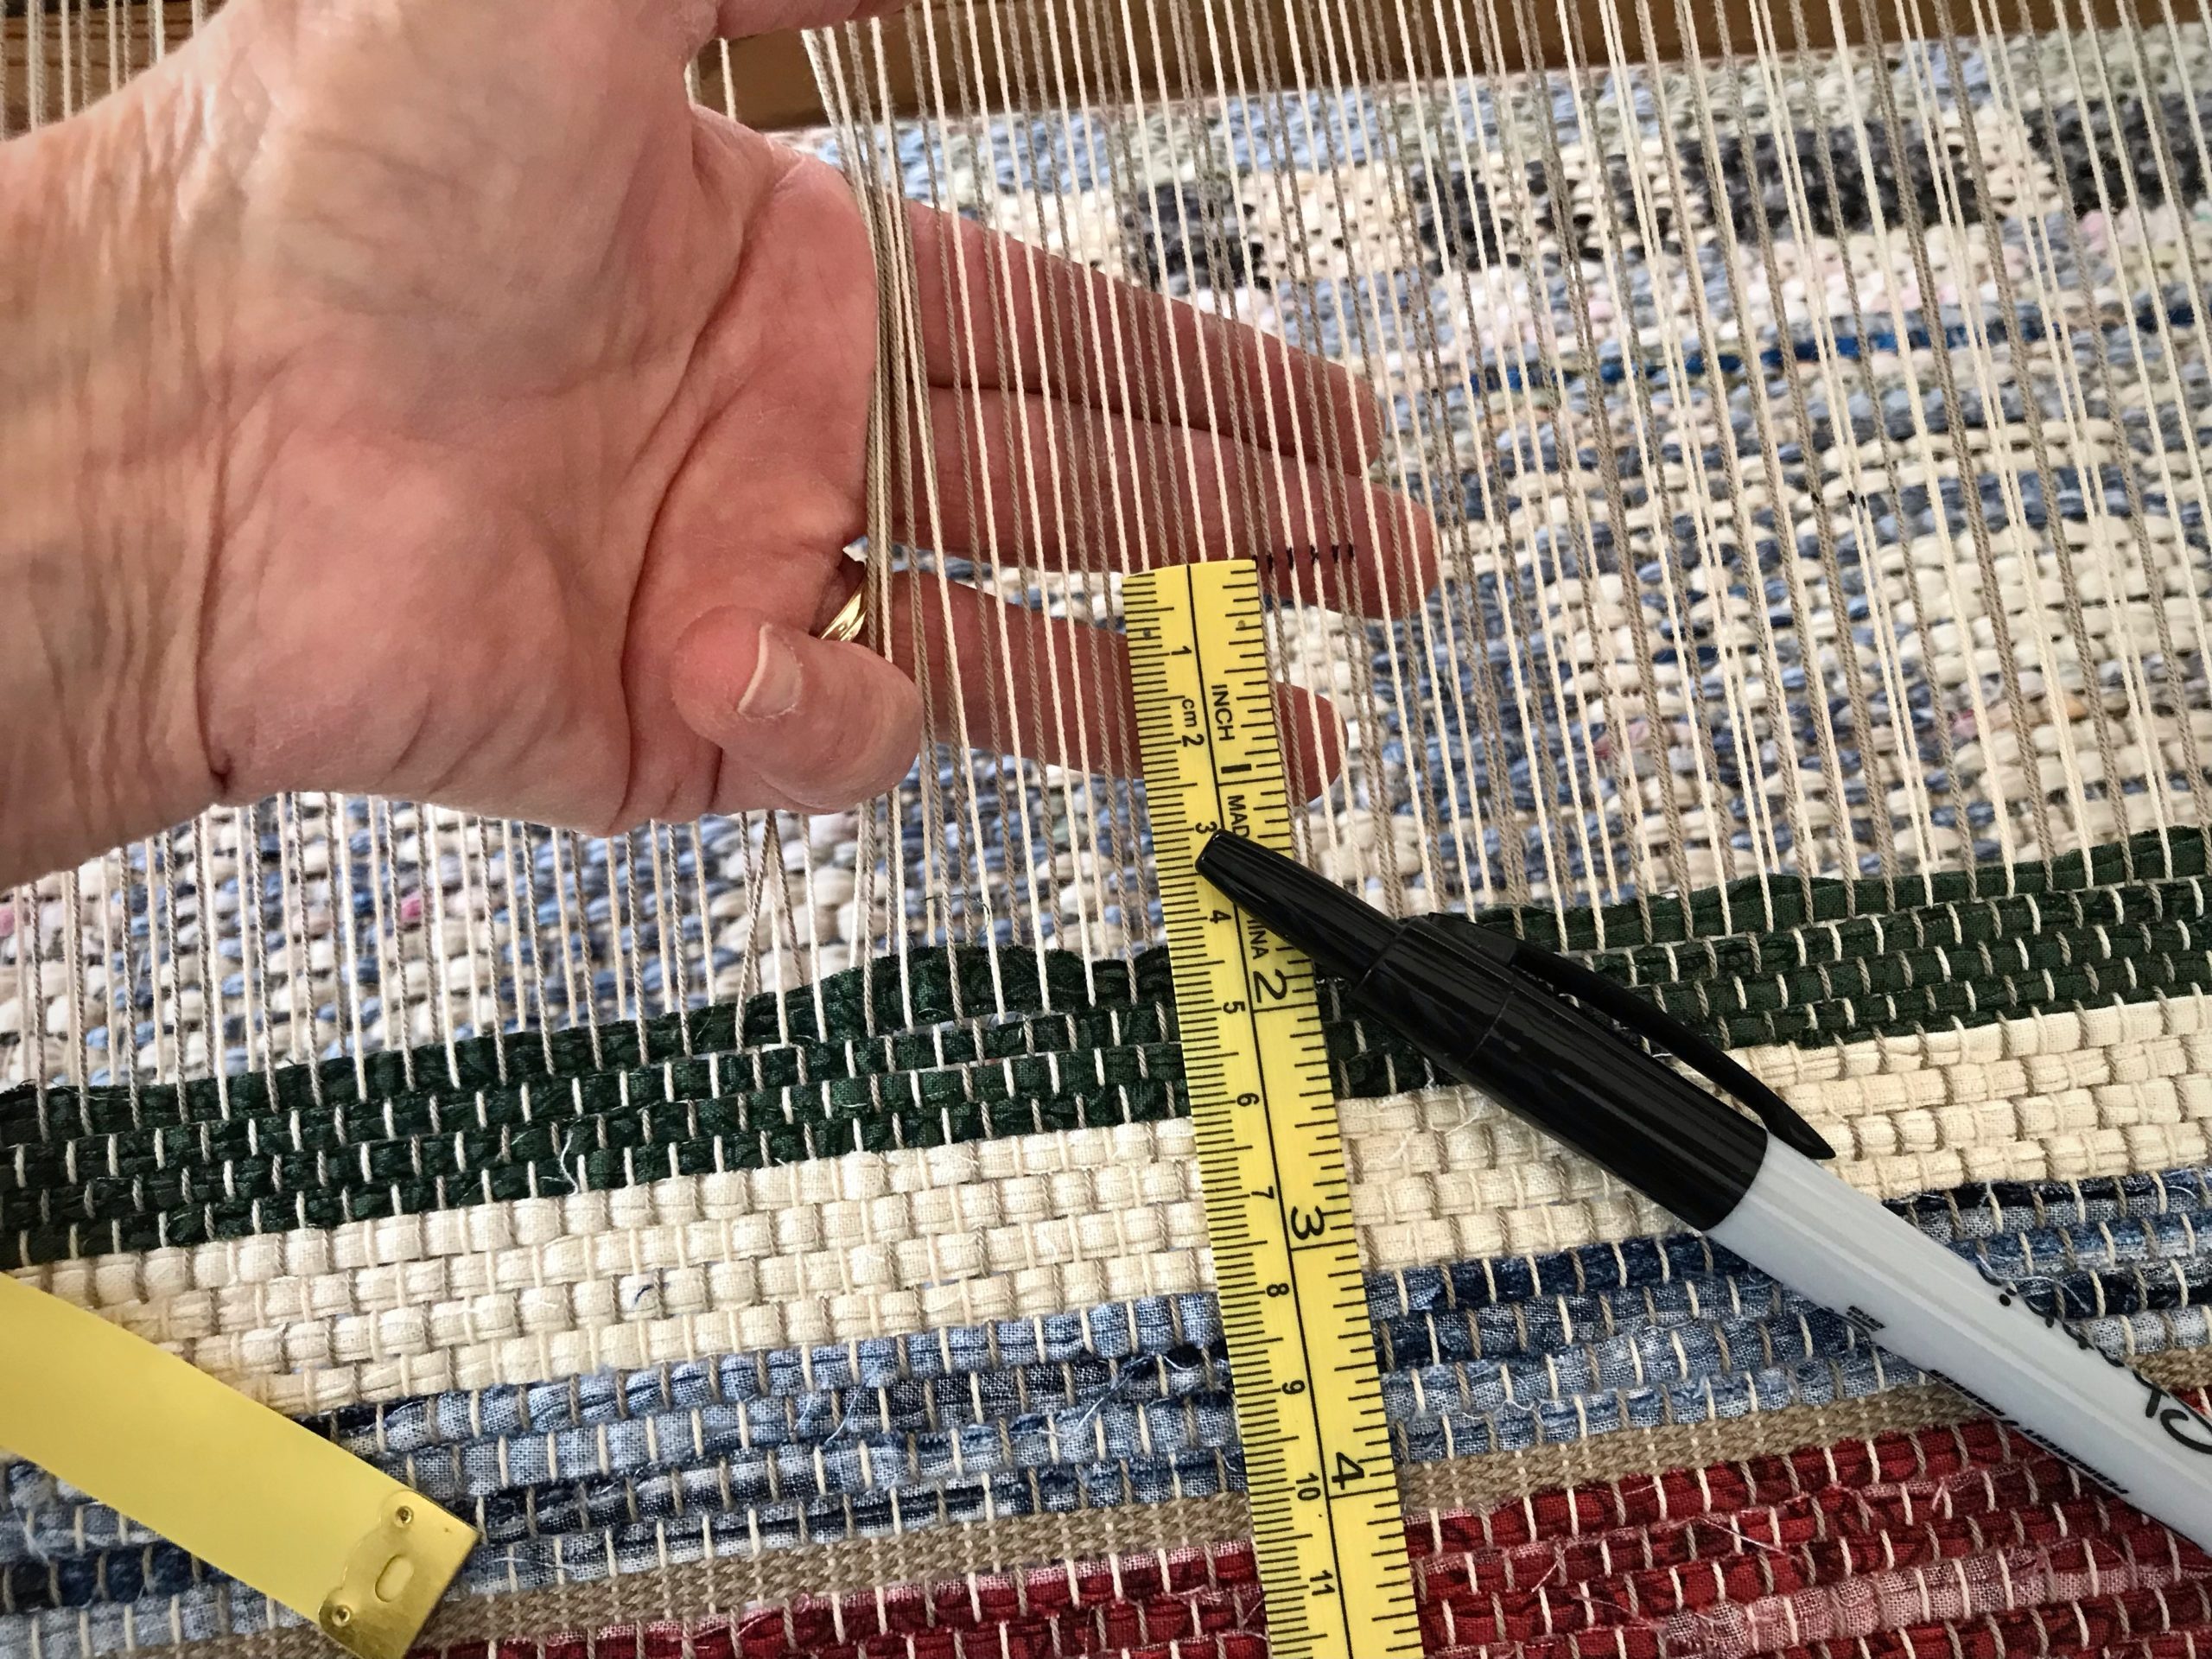
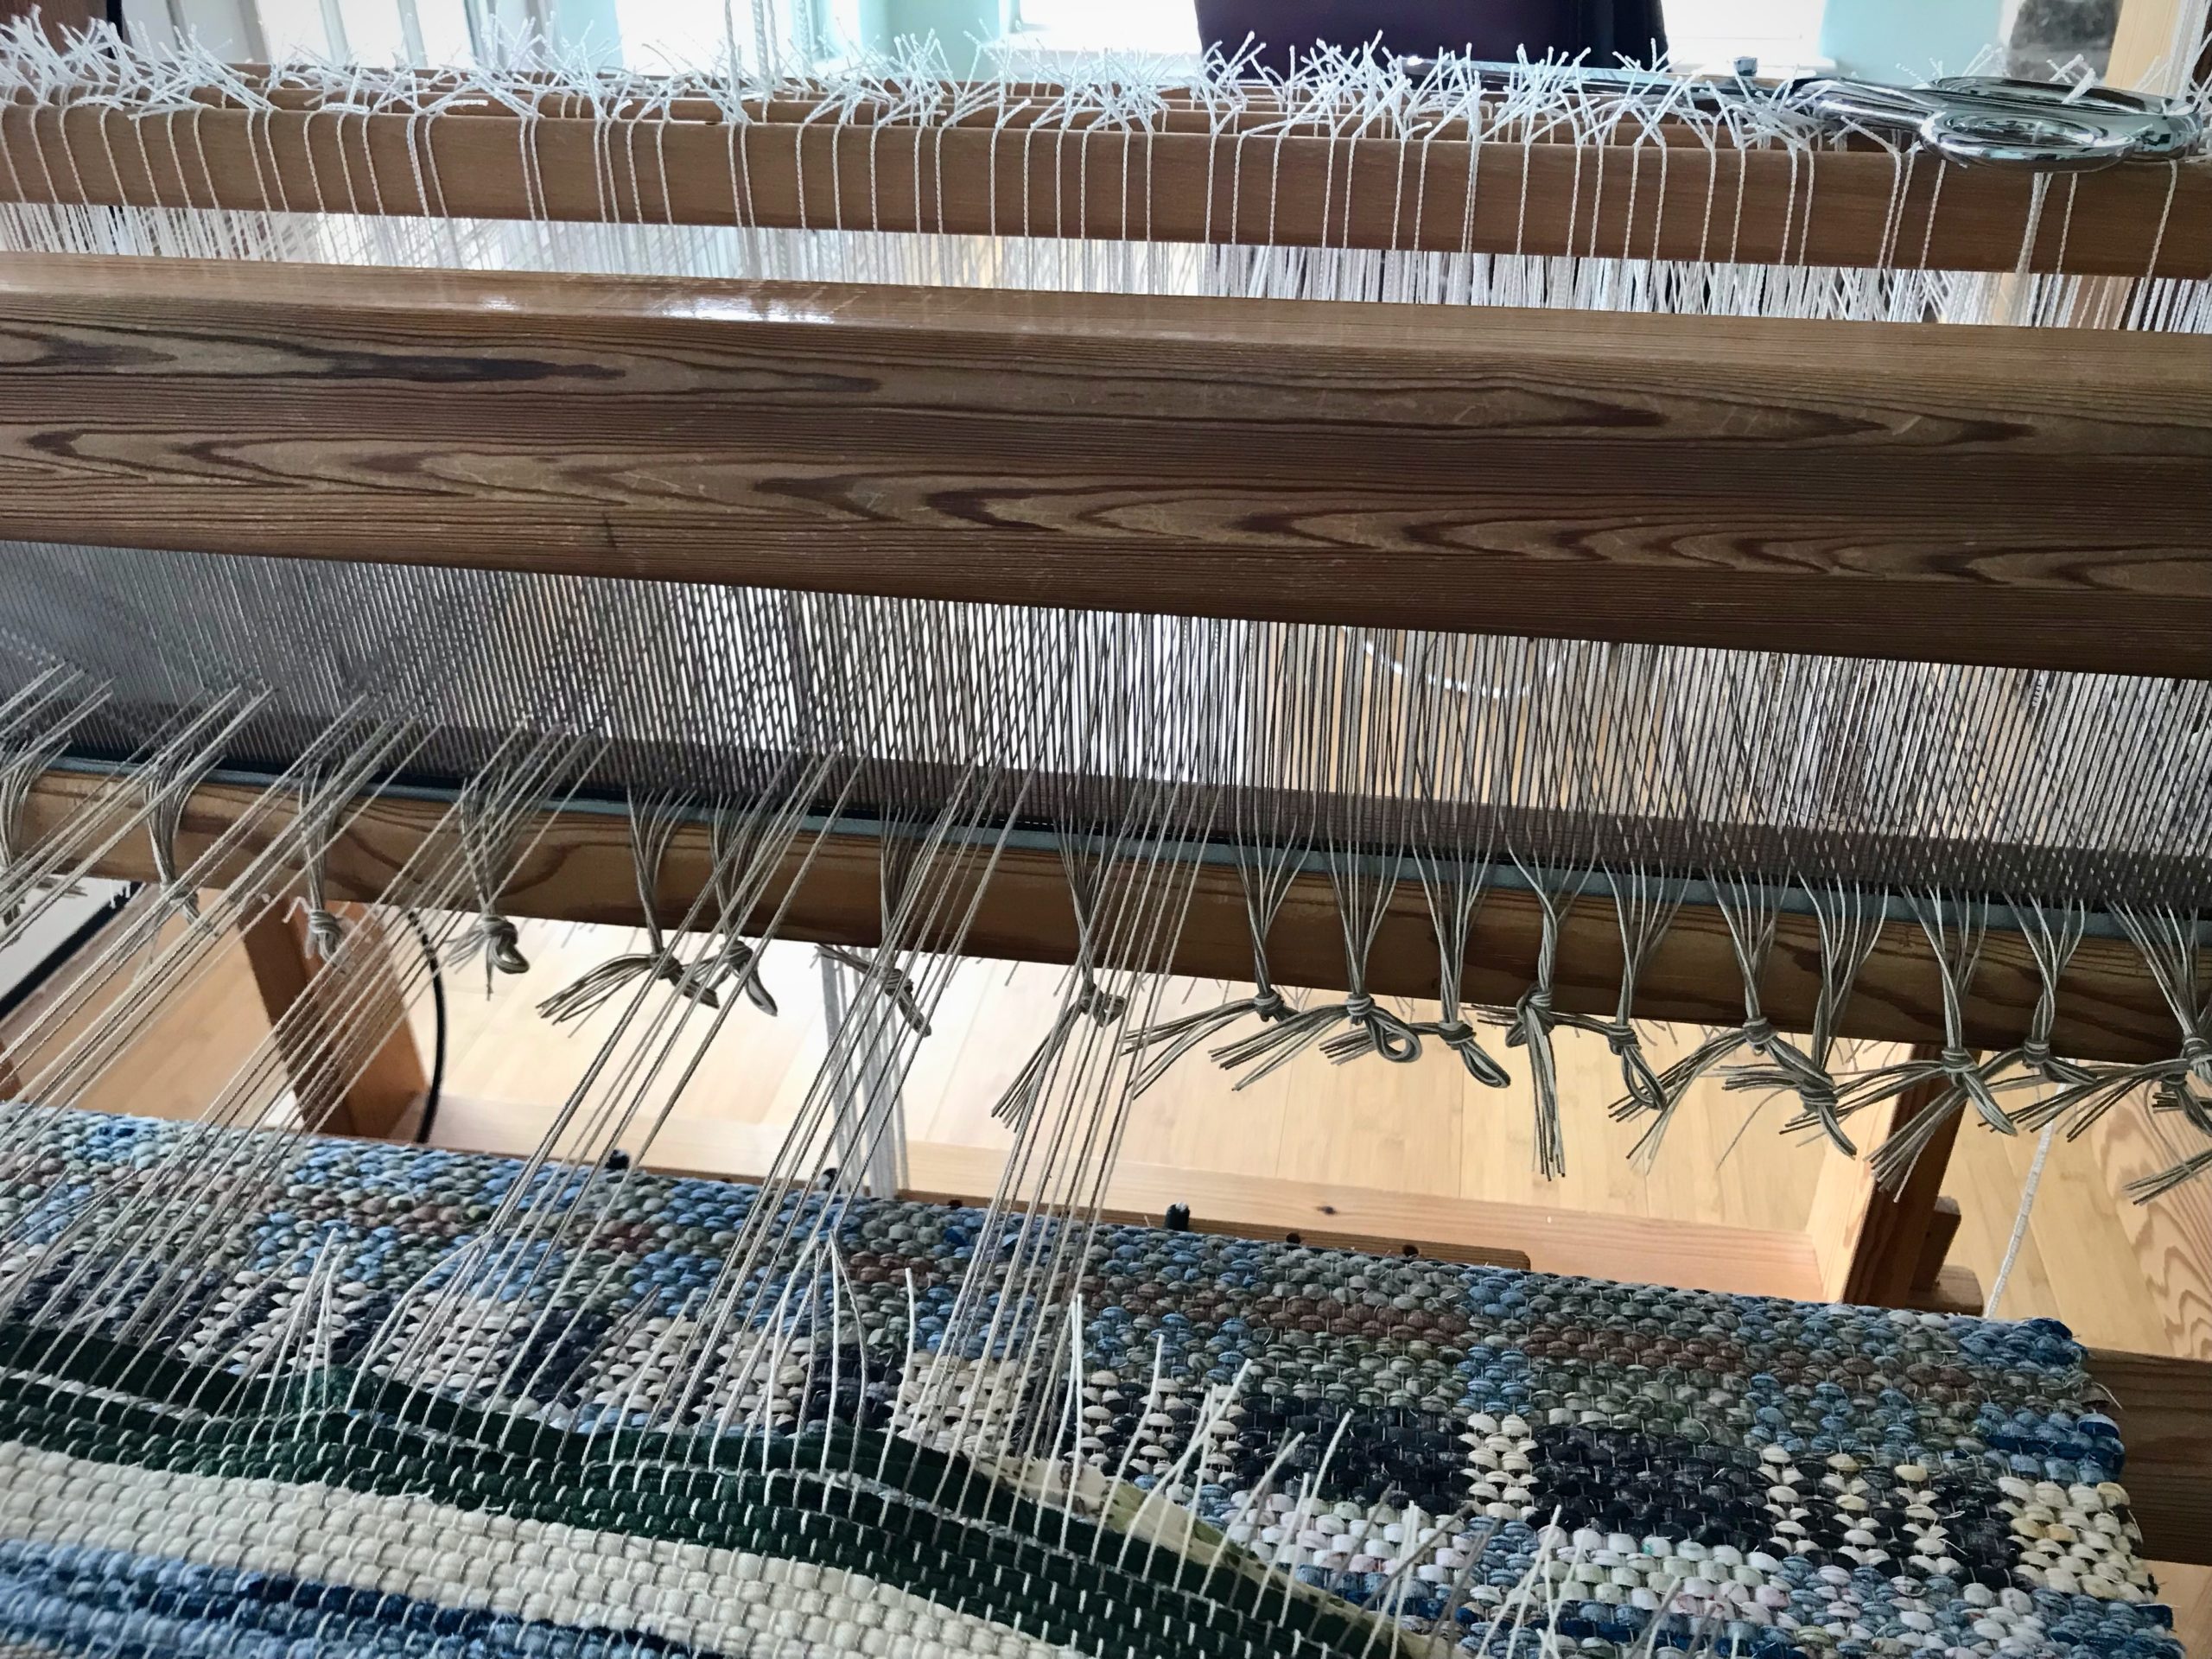
  • Mark a cutting line across the warp with a black marker. Allow at least 10 centimeters (4 inches) beyond the rug’s warp-thread header for tying knots later that will secure the weft.
Mark a cutting line across the warp. Leave enough warp at the end of the rug to tie overhand knots to secure the weft.
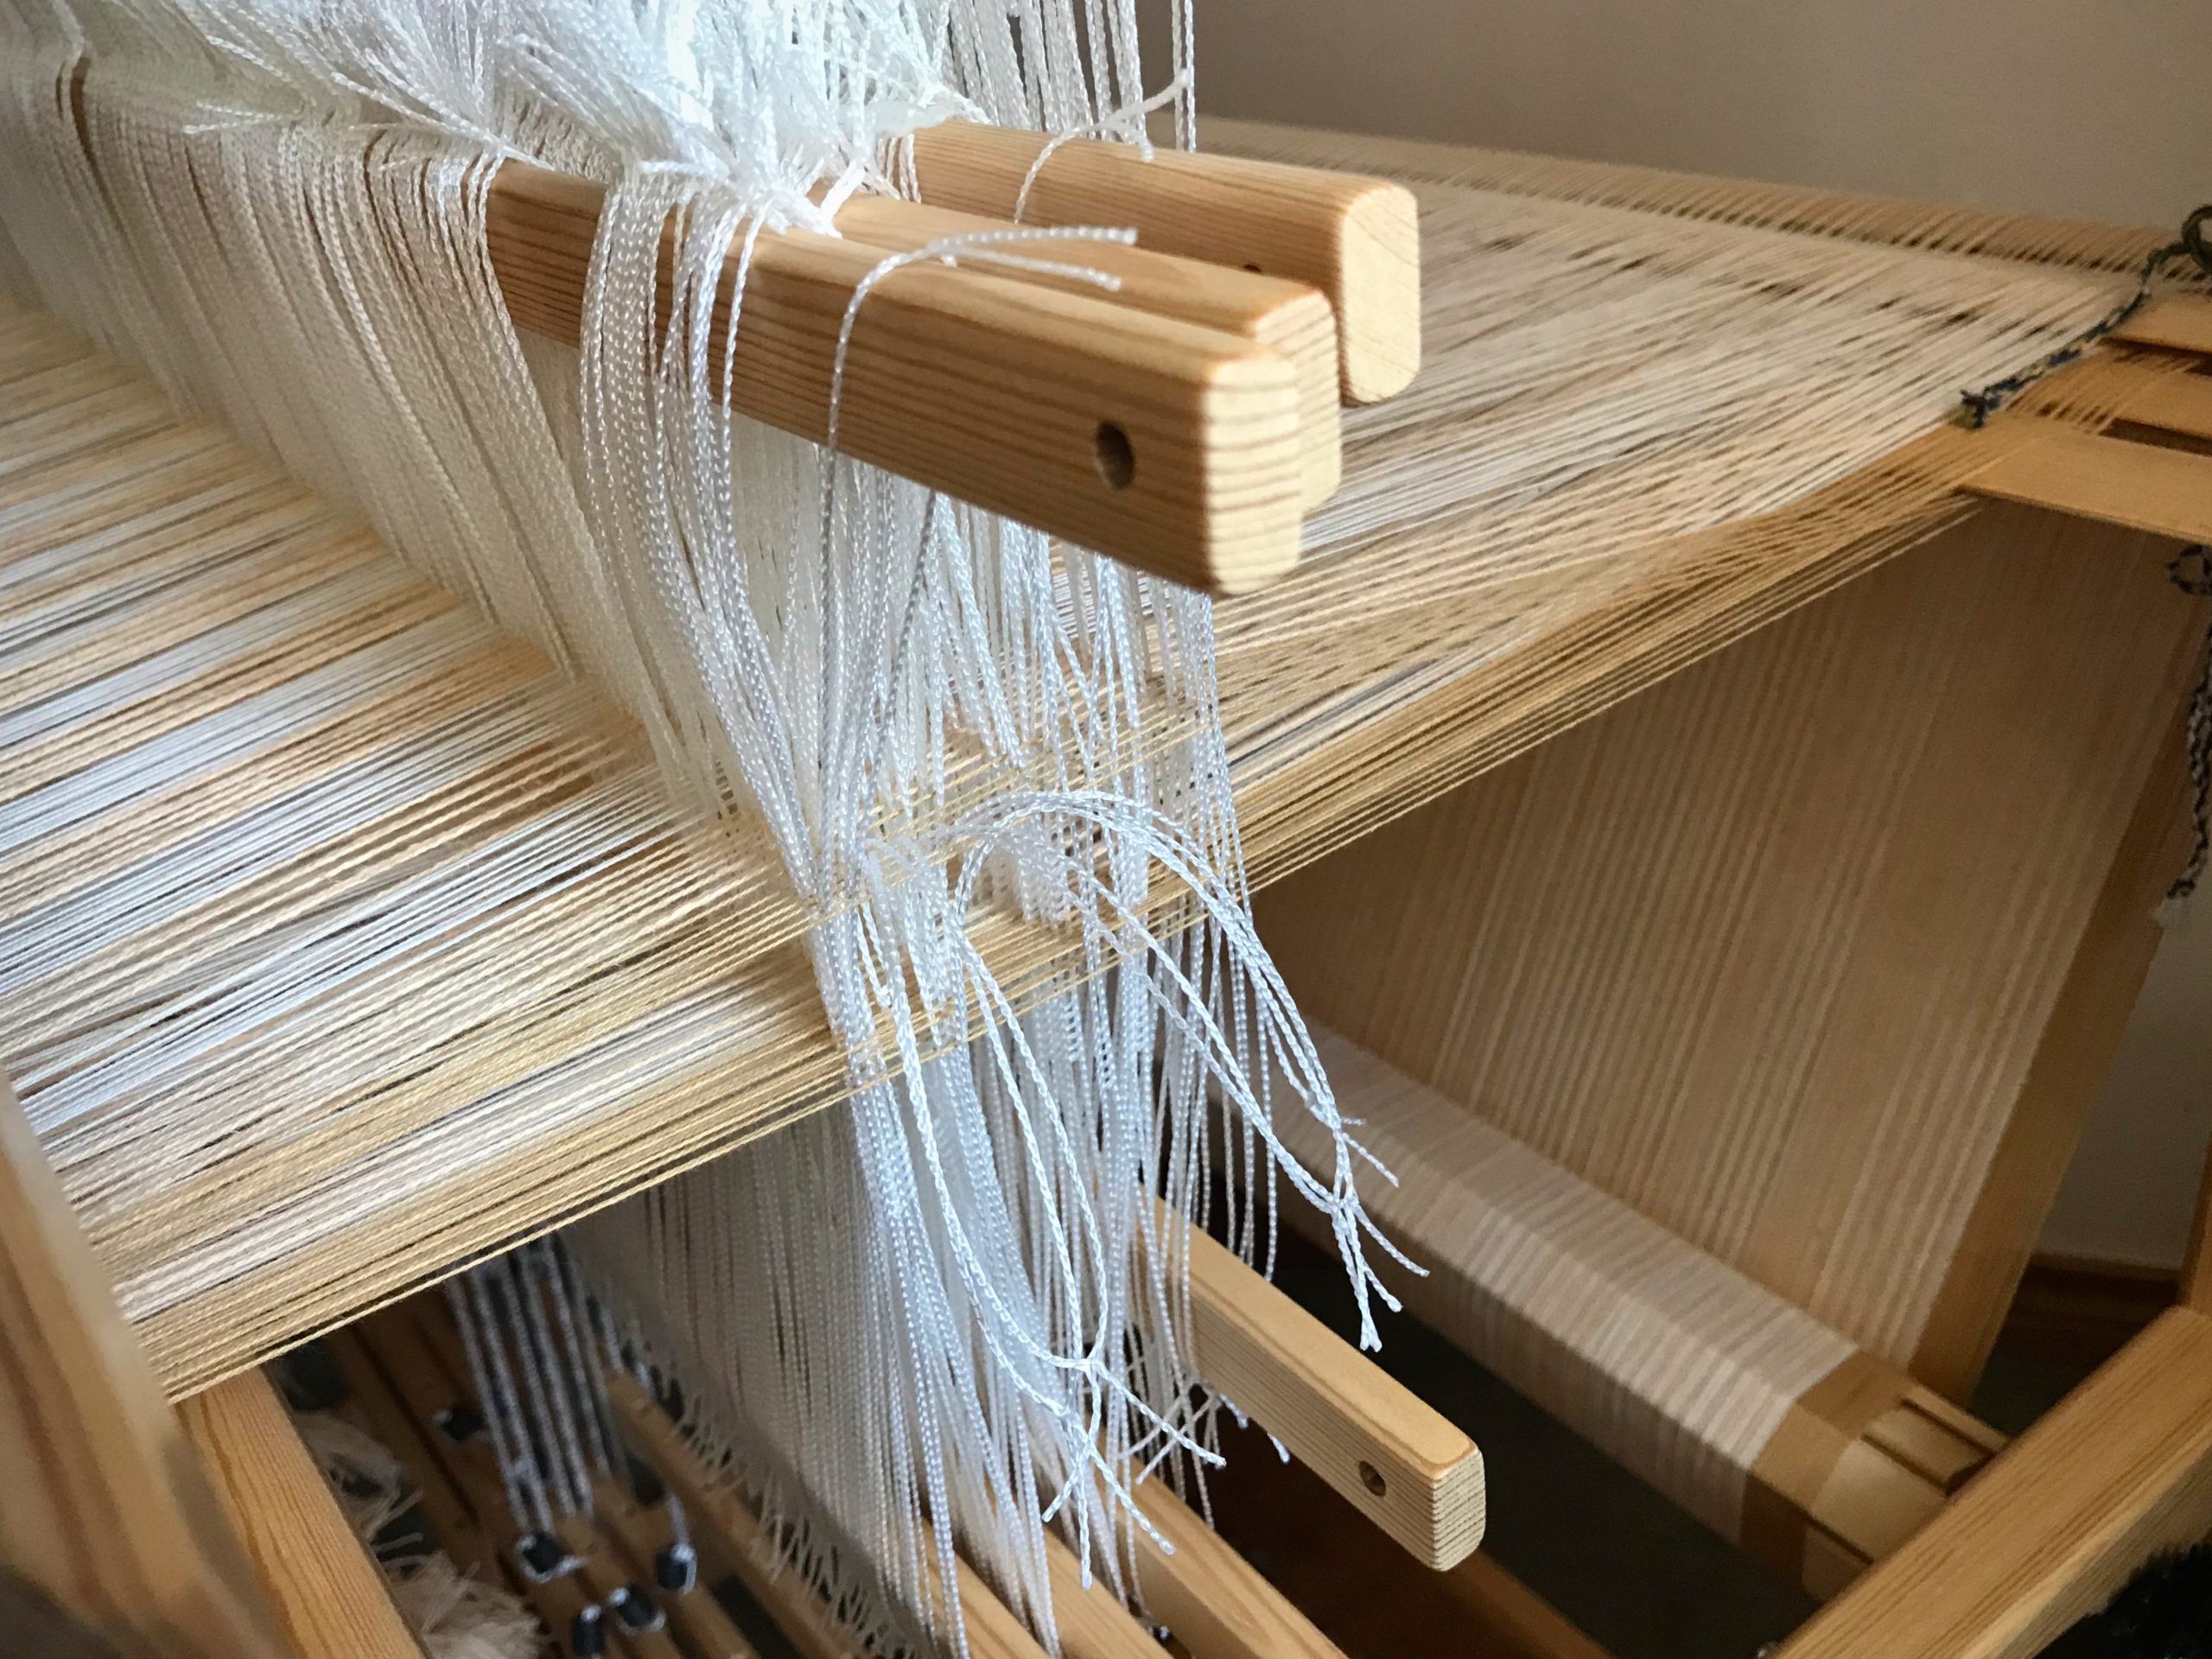
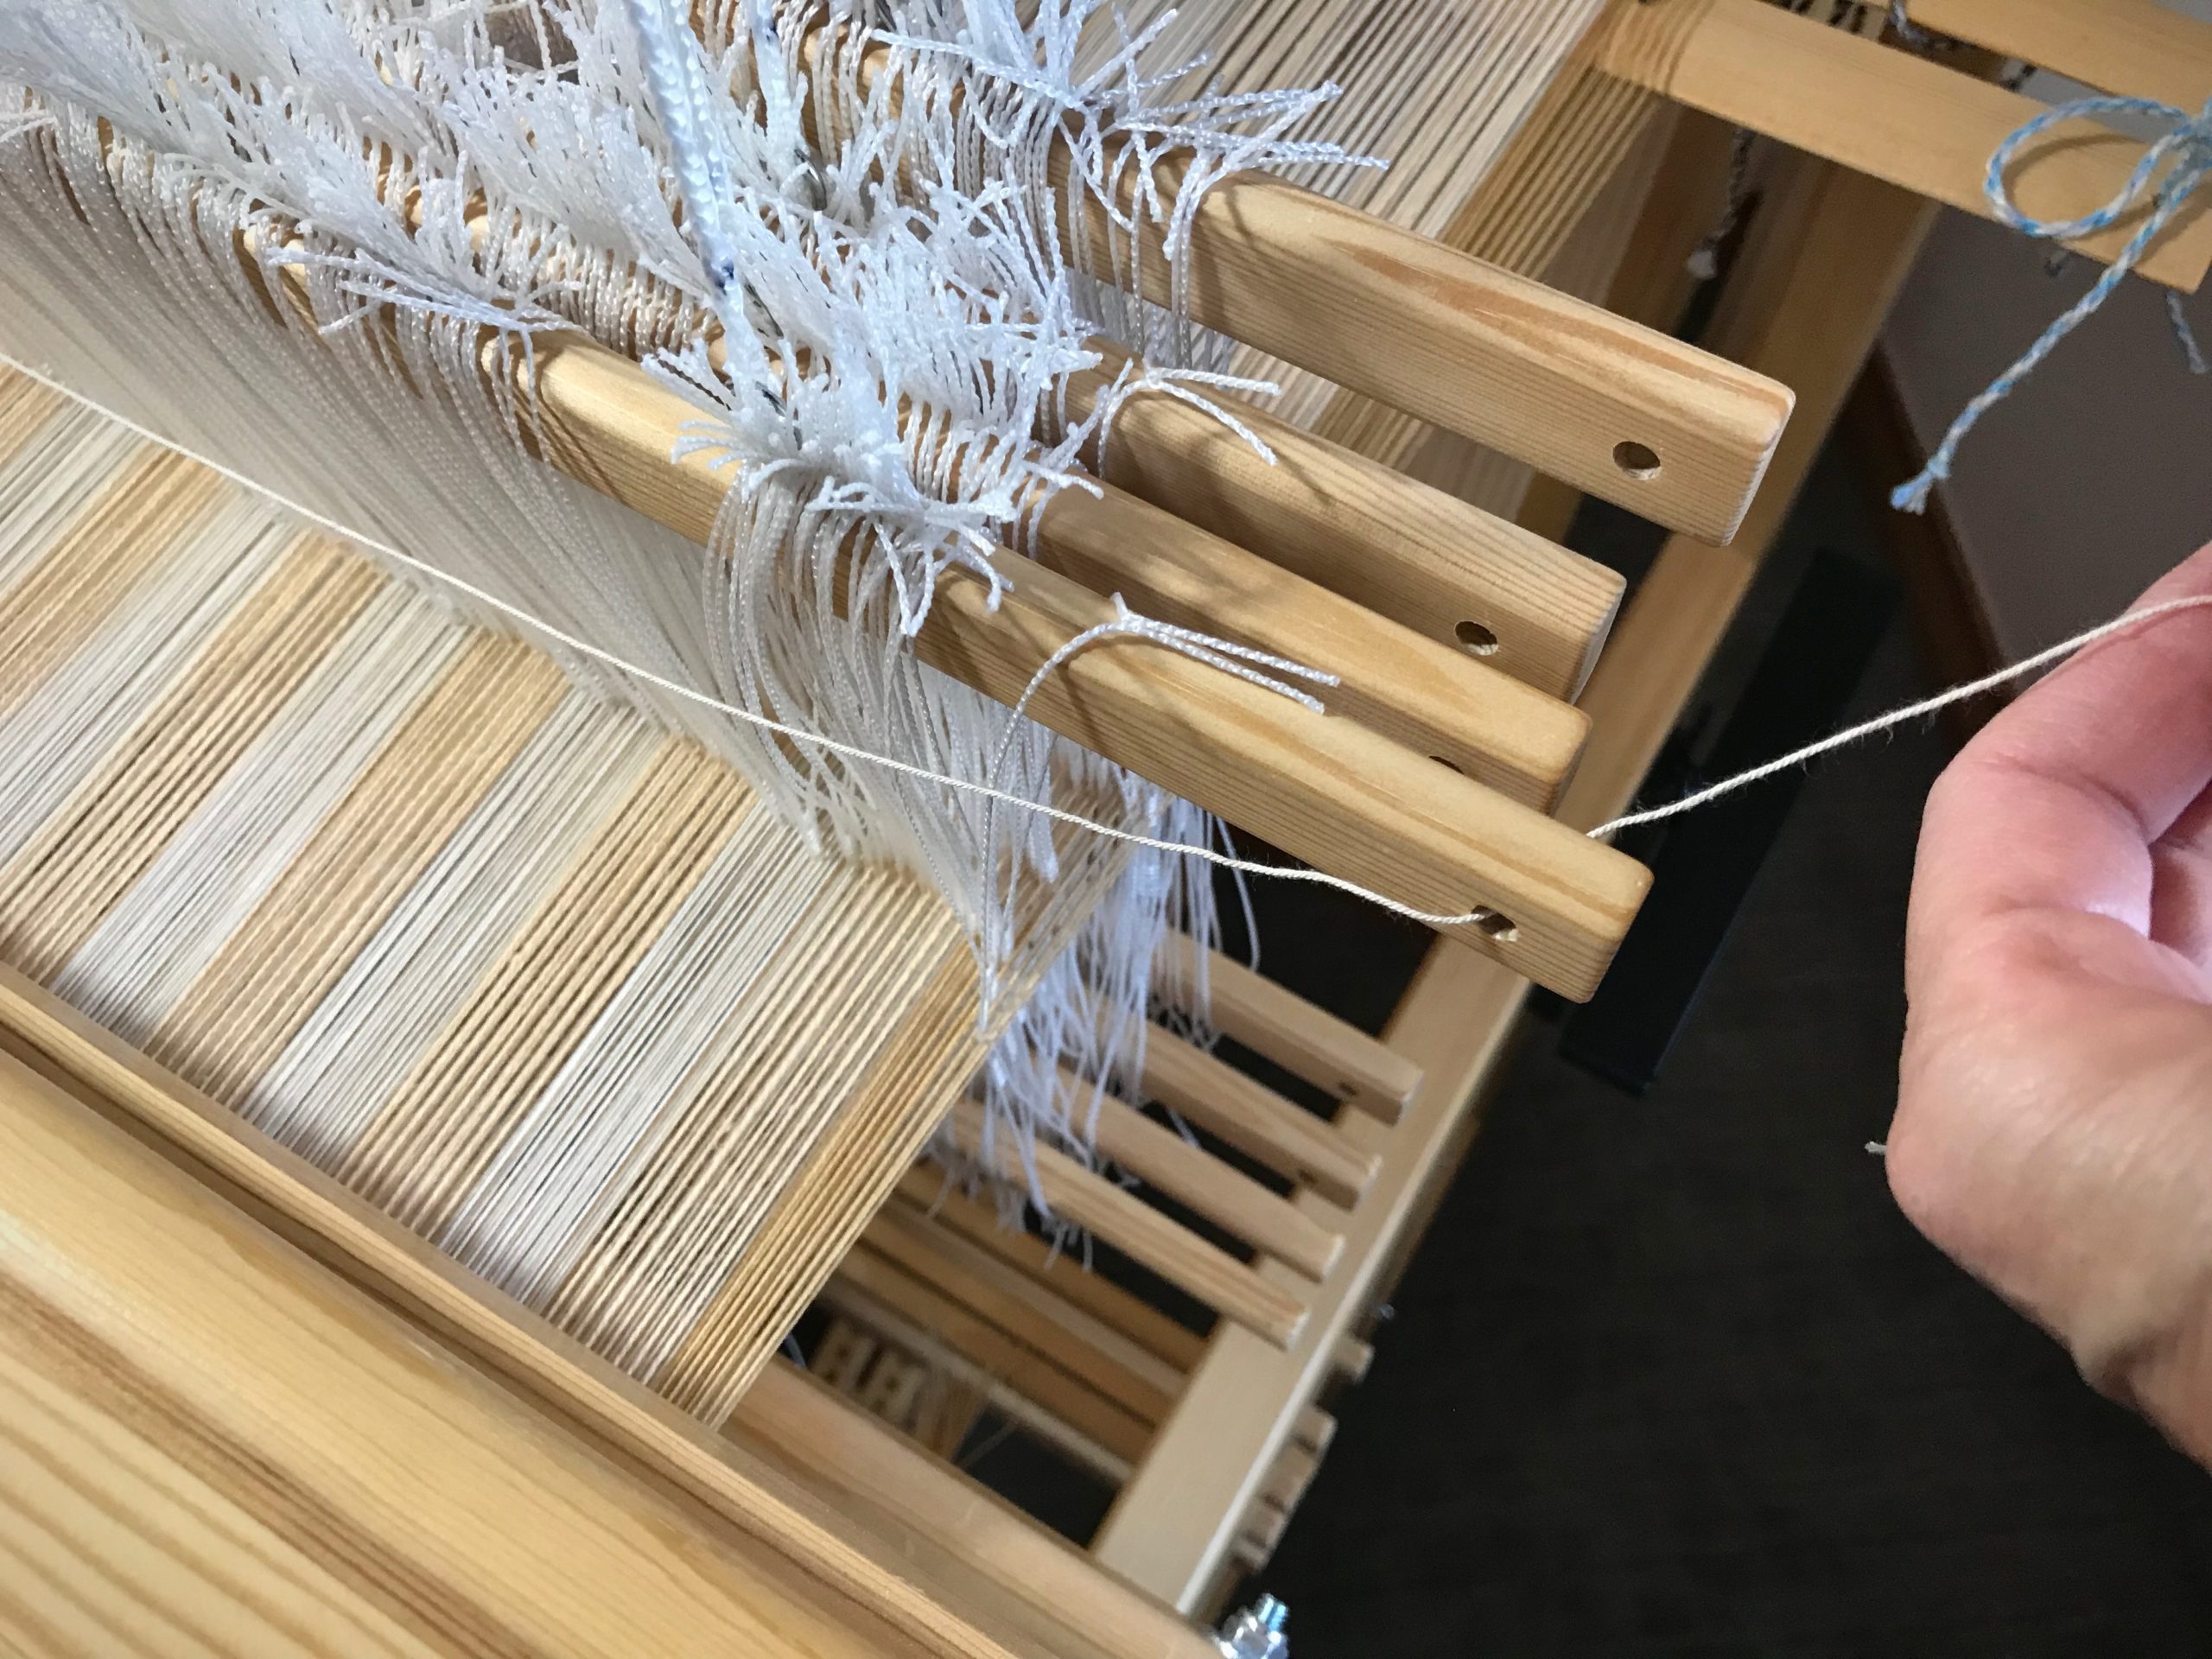
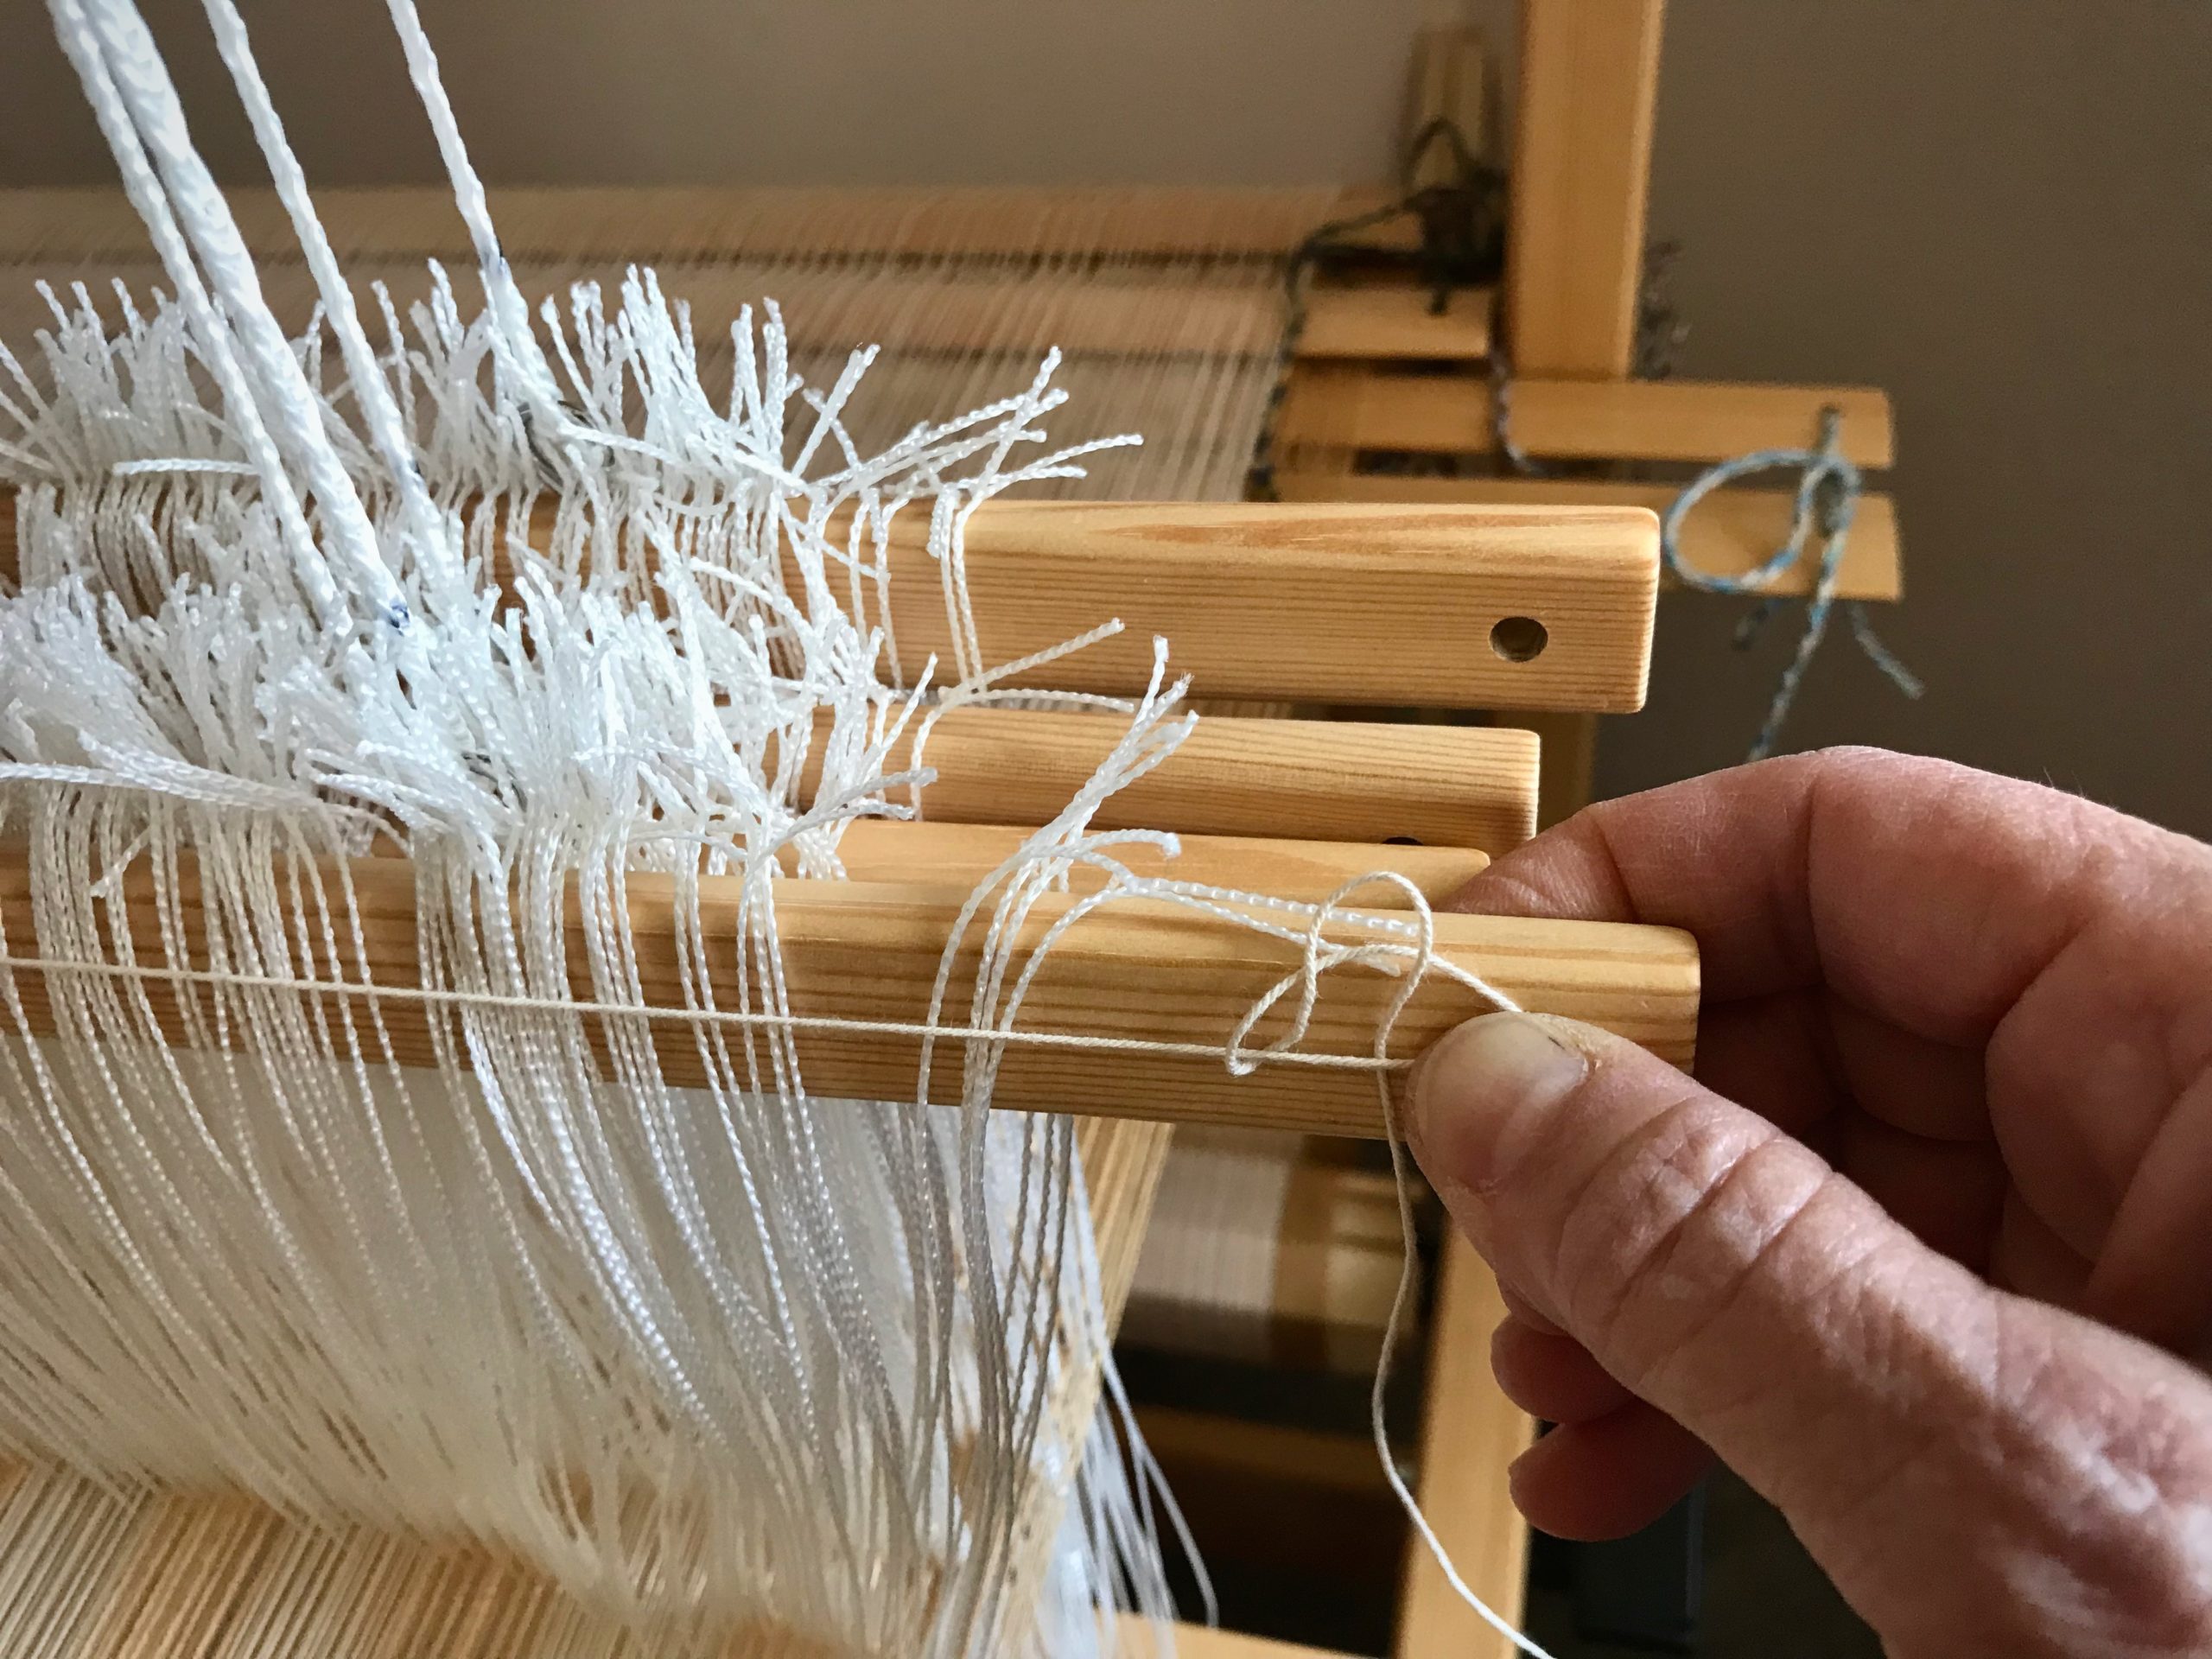
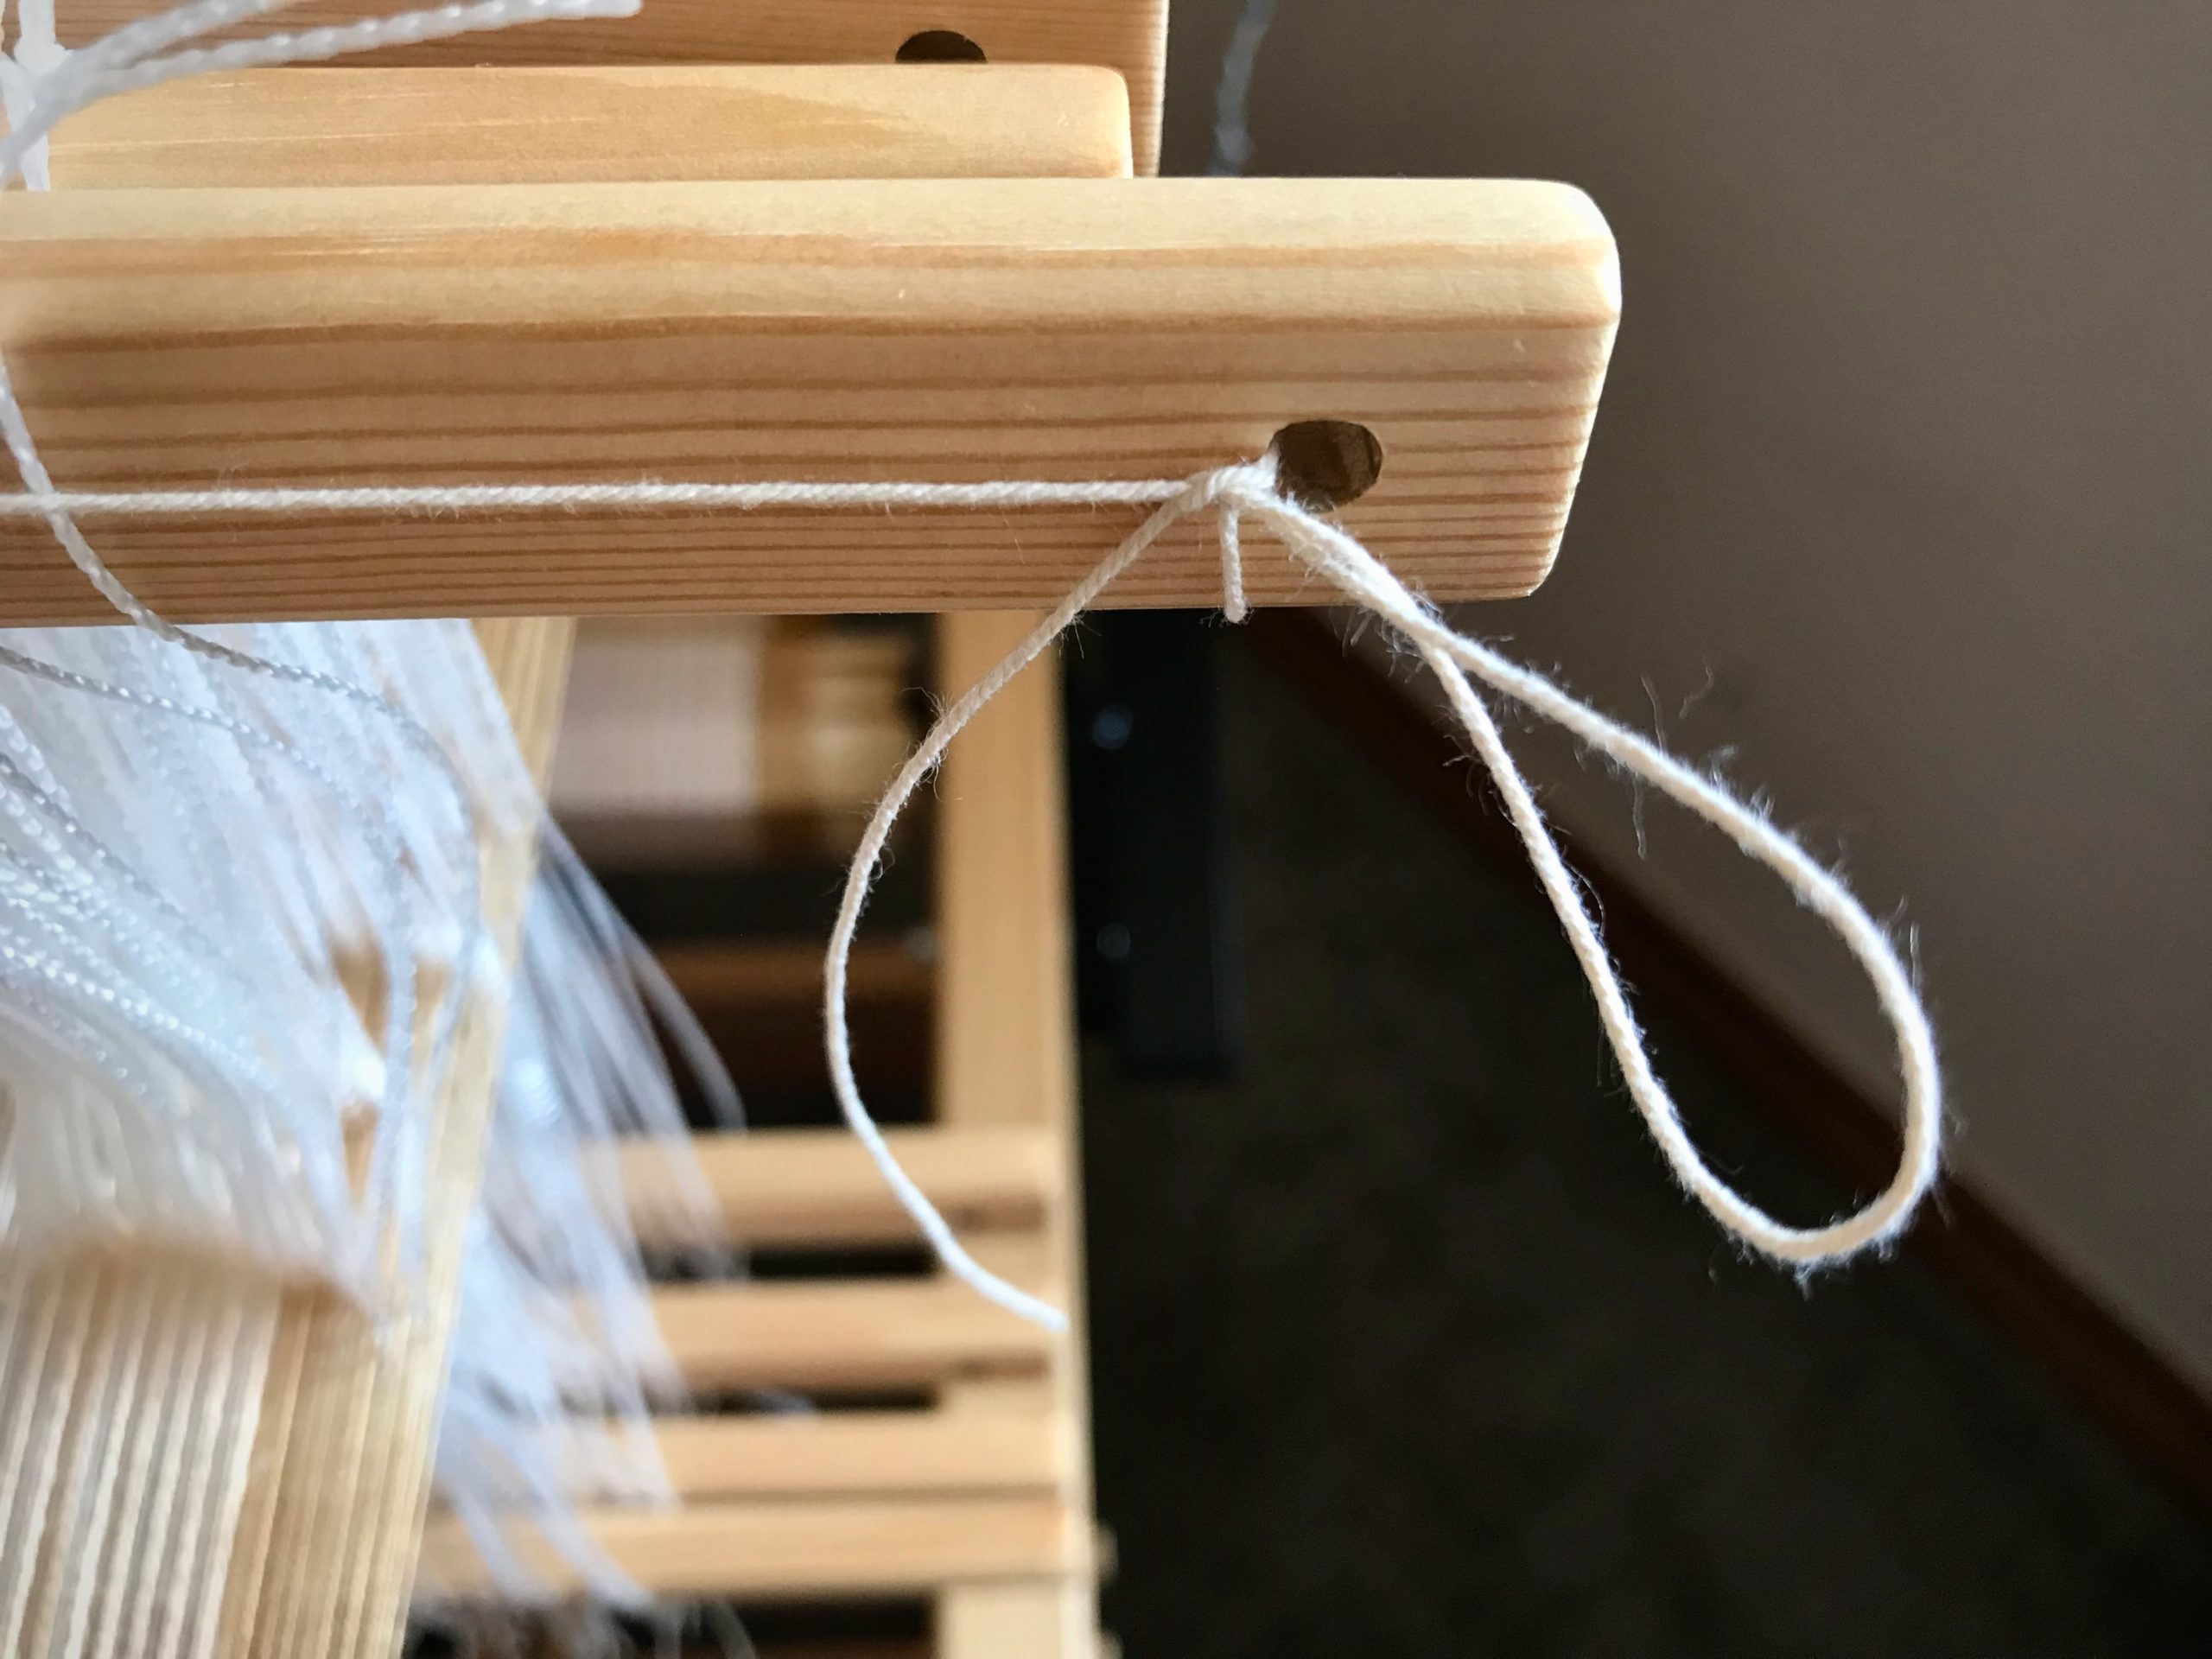
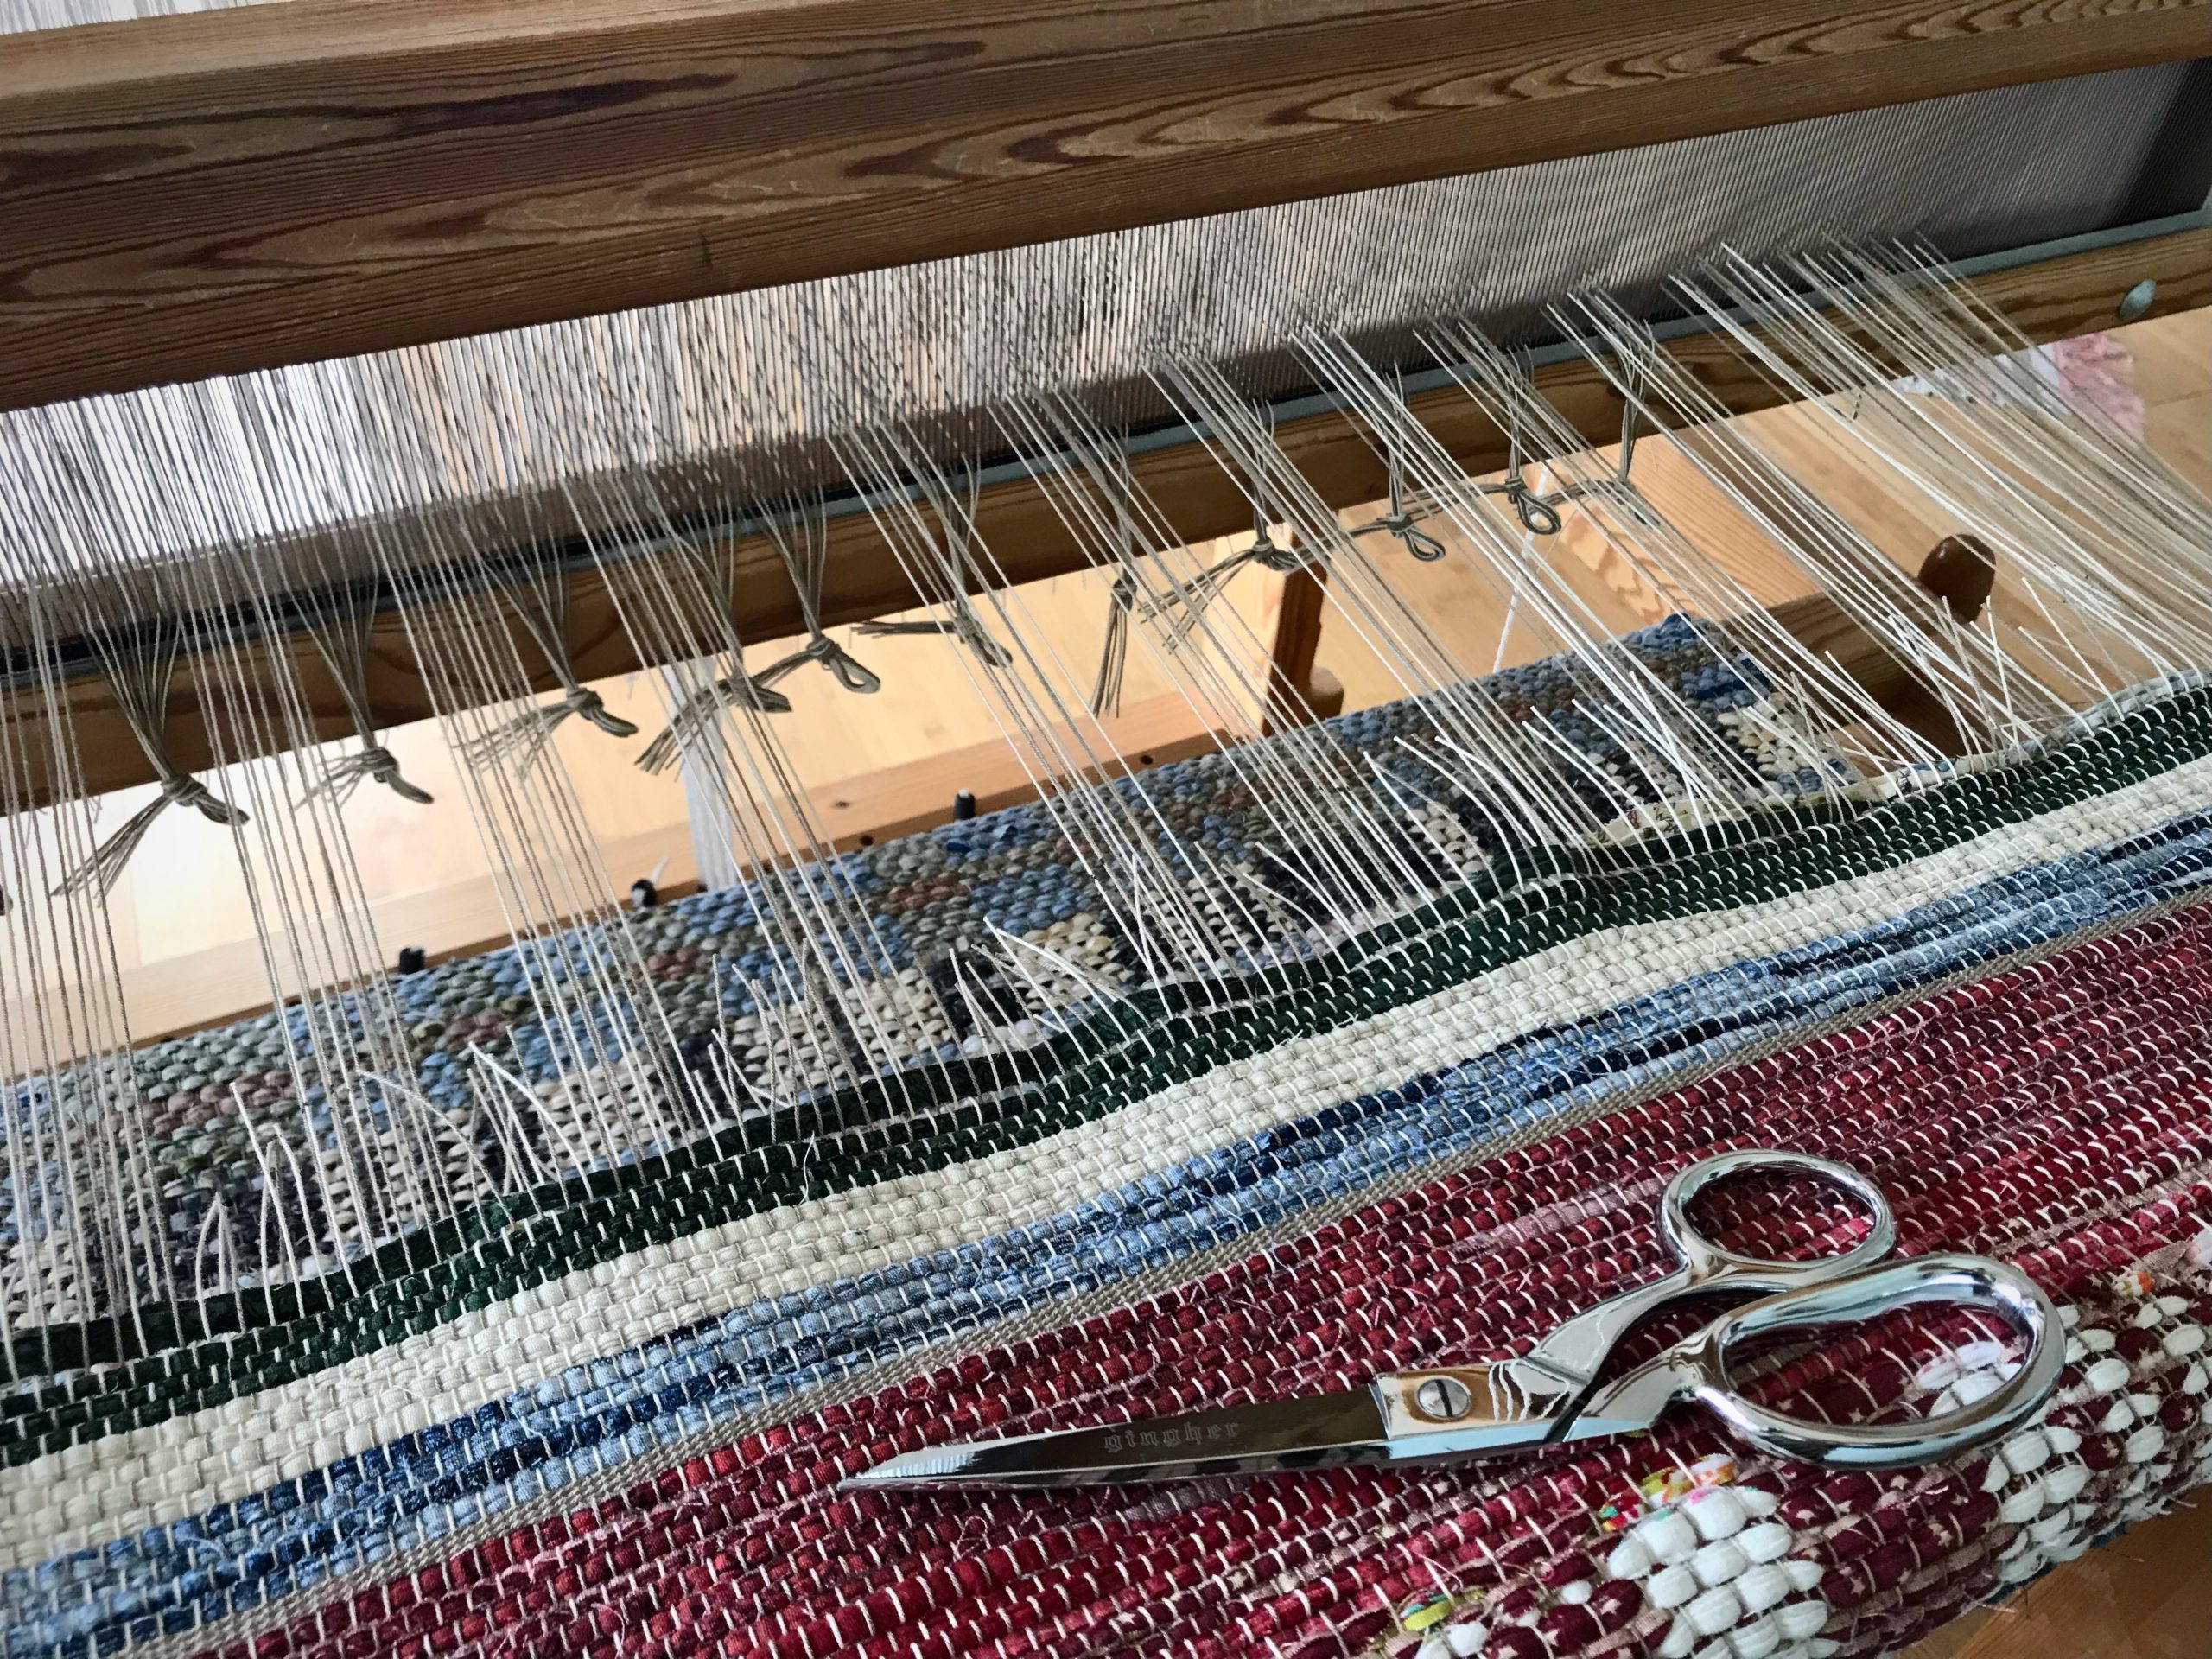
  • With tying back on in mind, cut one group of ends and skip the next group of ends. Continue across the warp, alternating cut and uncut groups of ends. Tie groups of cut ends in slipknots as you go.
By spacing out the cut ends, the weight of the rug is evenly distributed. There is less pulling and distortion while cutting off. At the same time I am preparing groups of ends for tying back on.
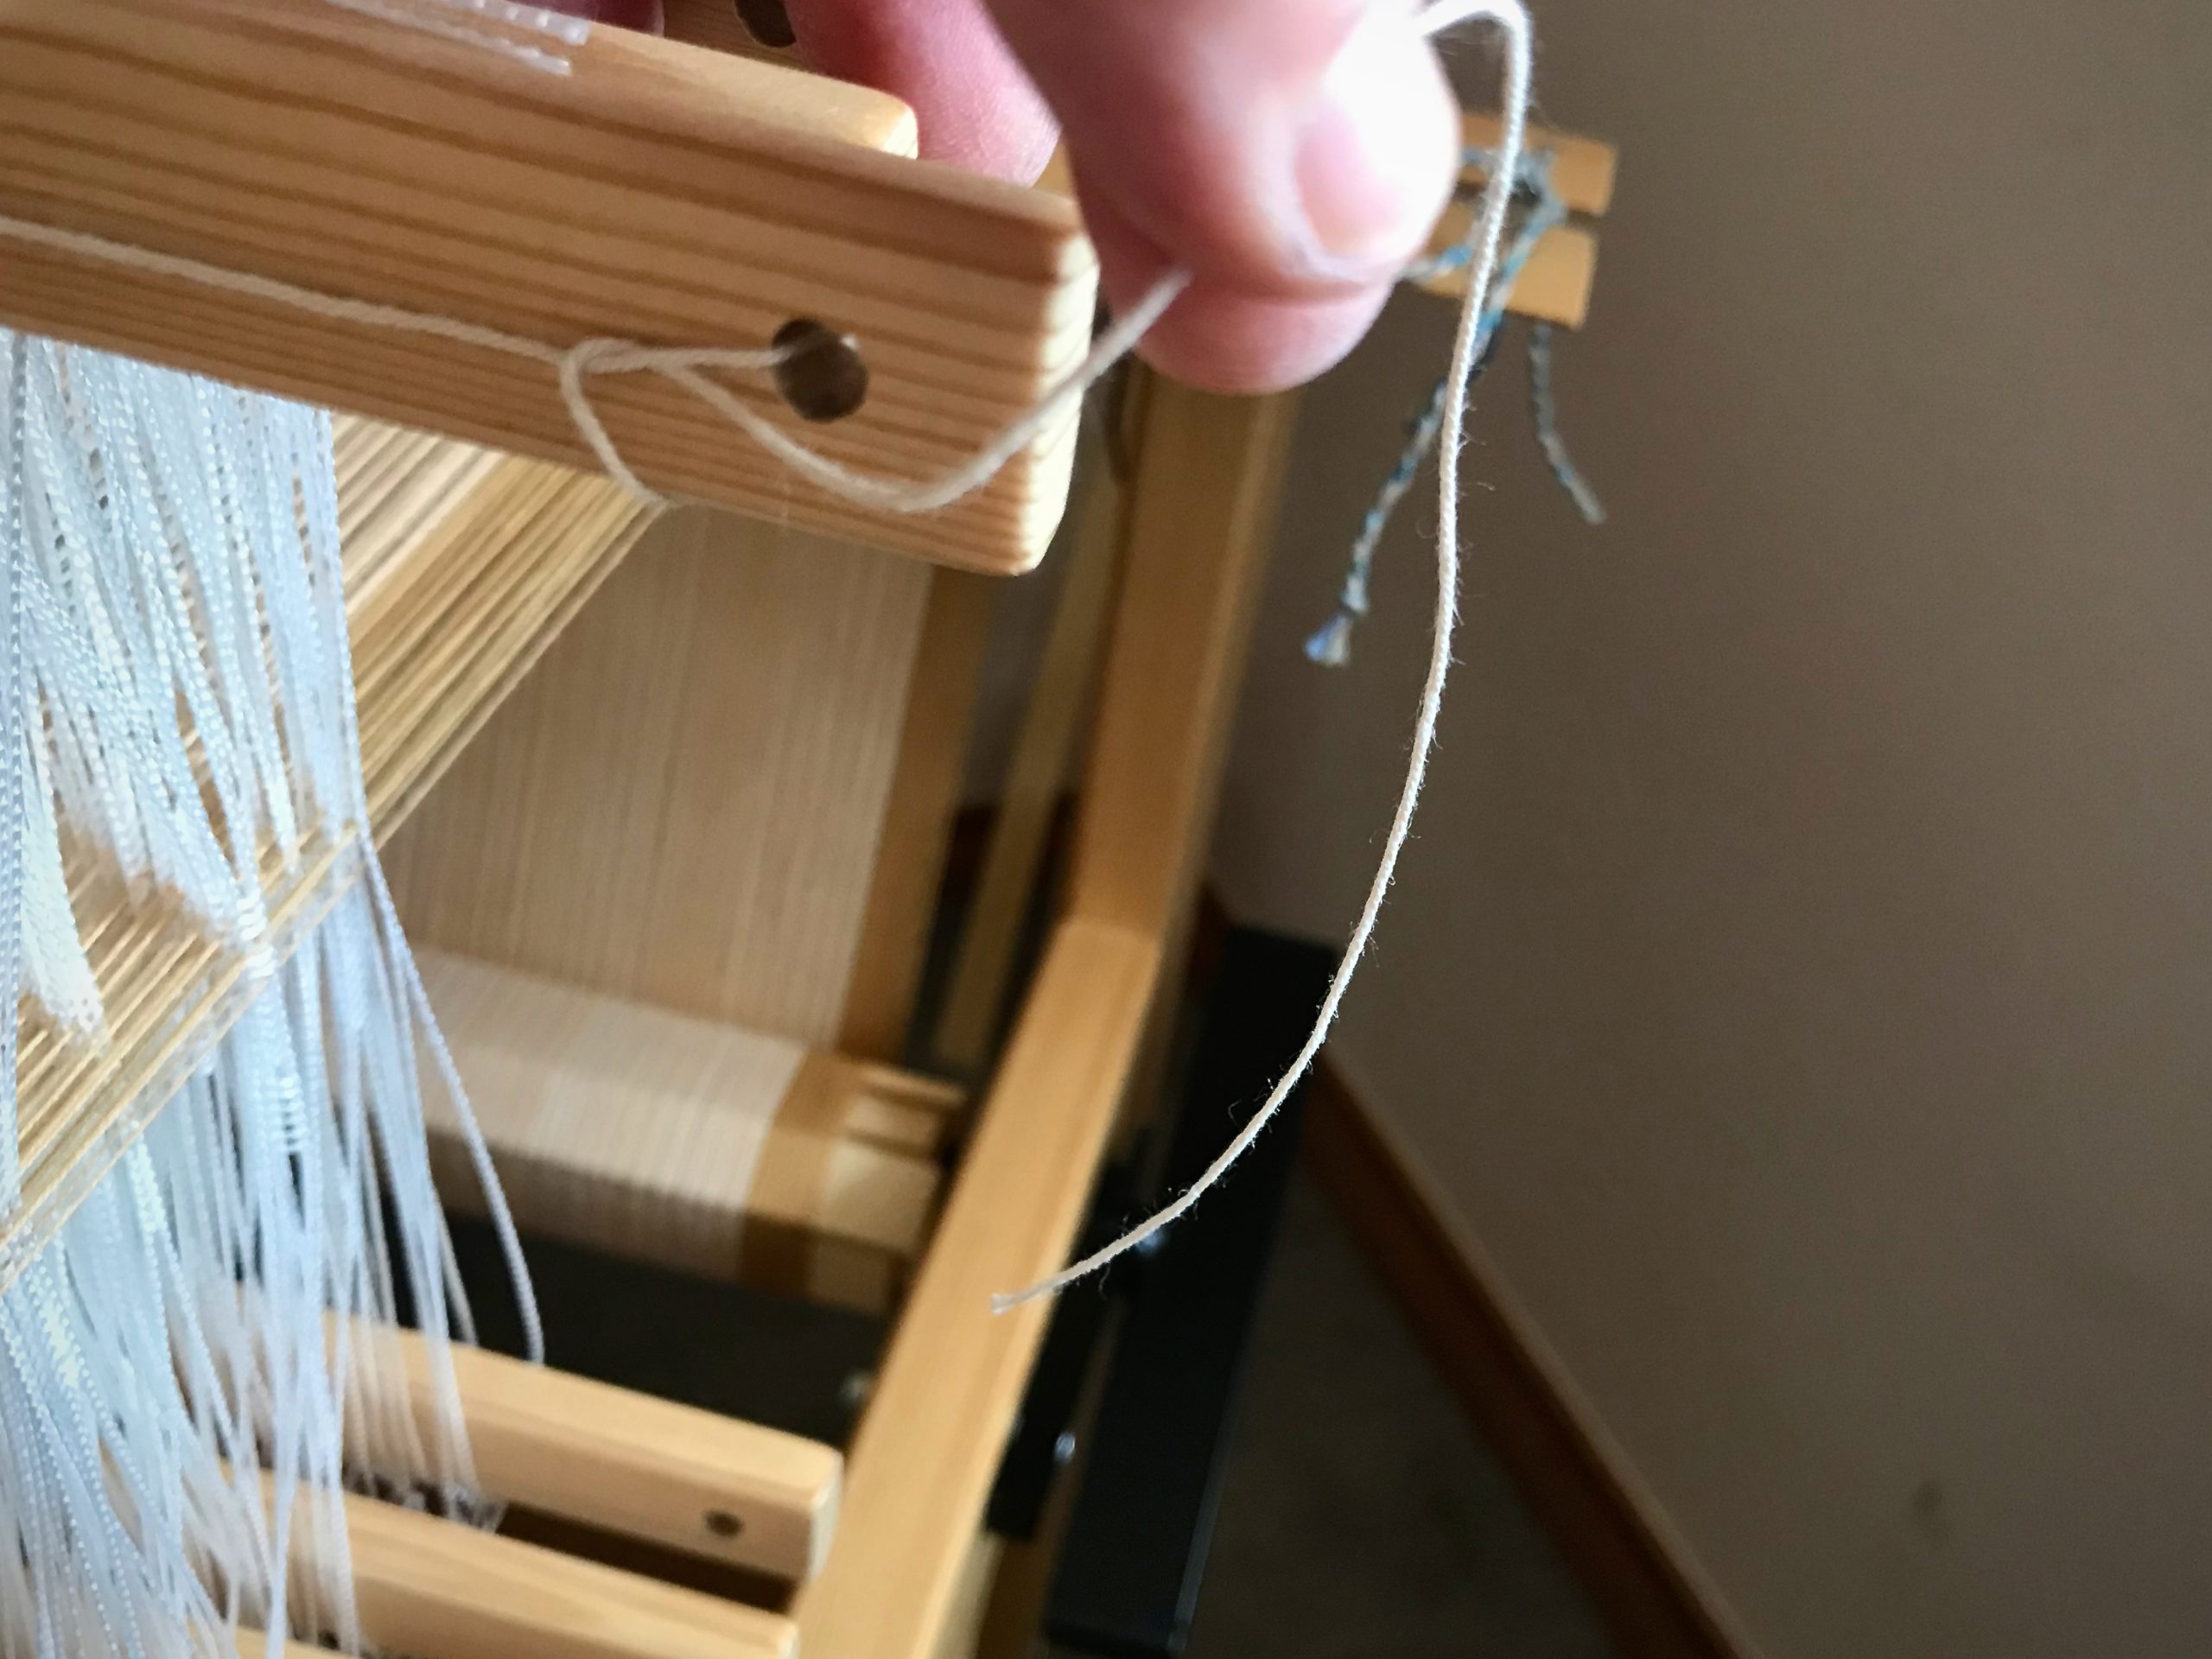
  • Make a second pass, cutting the remaining groups of ends, and tying them in slipknots.
Continue cutting off groups of ends.
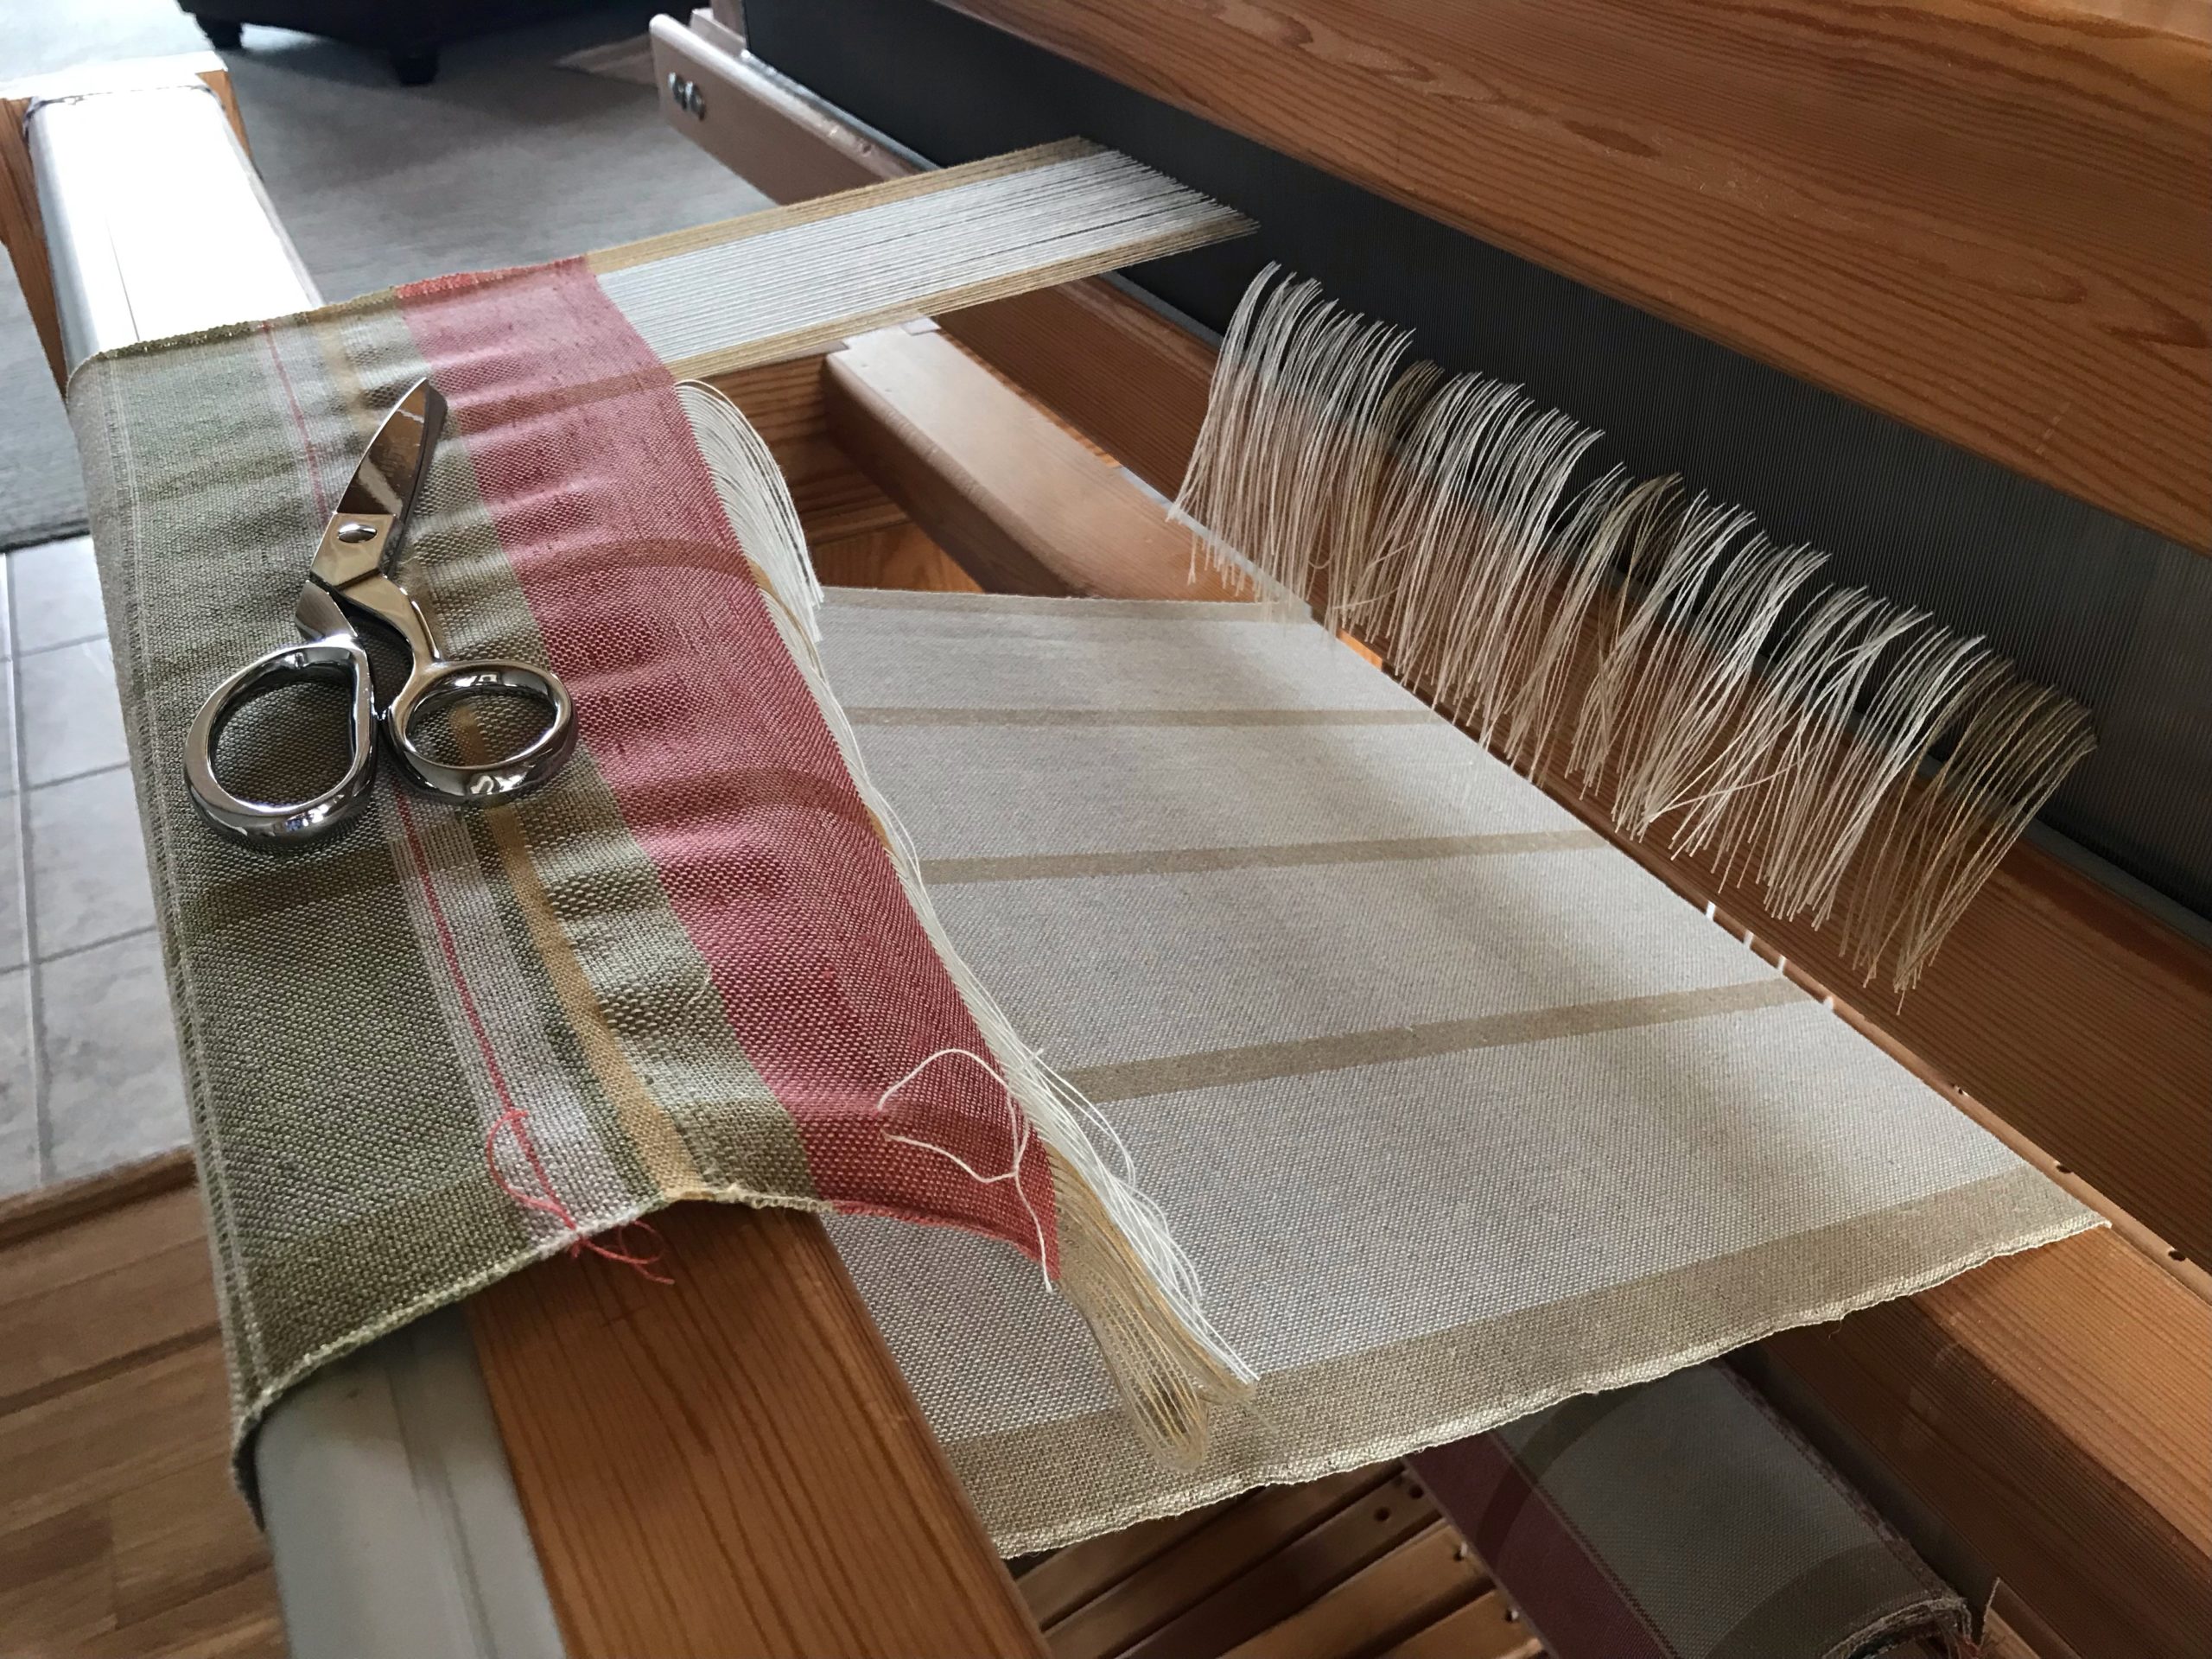
  • Unroll the rug from the cloth beam. Take a photograph.
First look at the back of the rug.
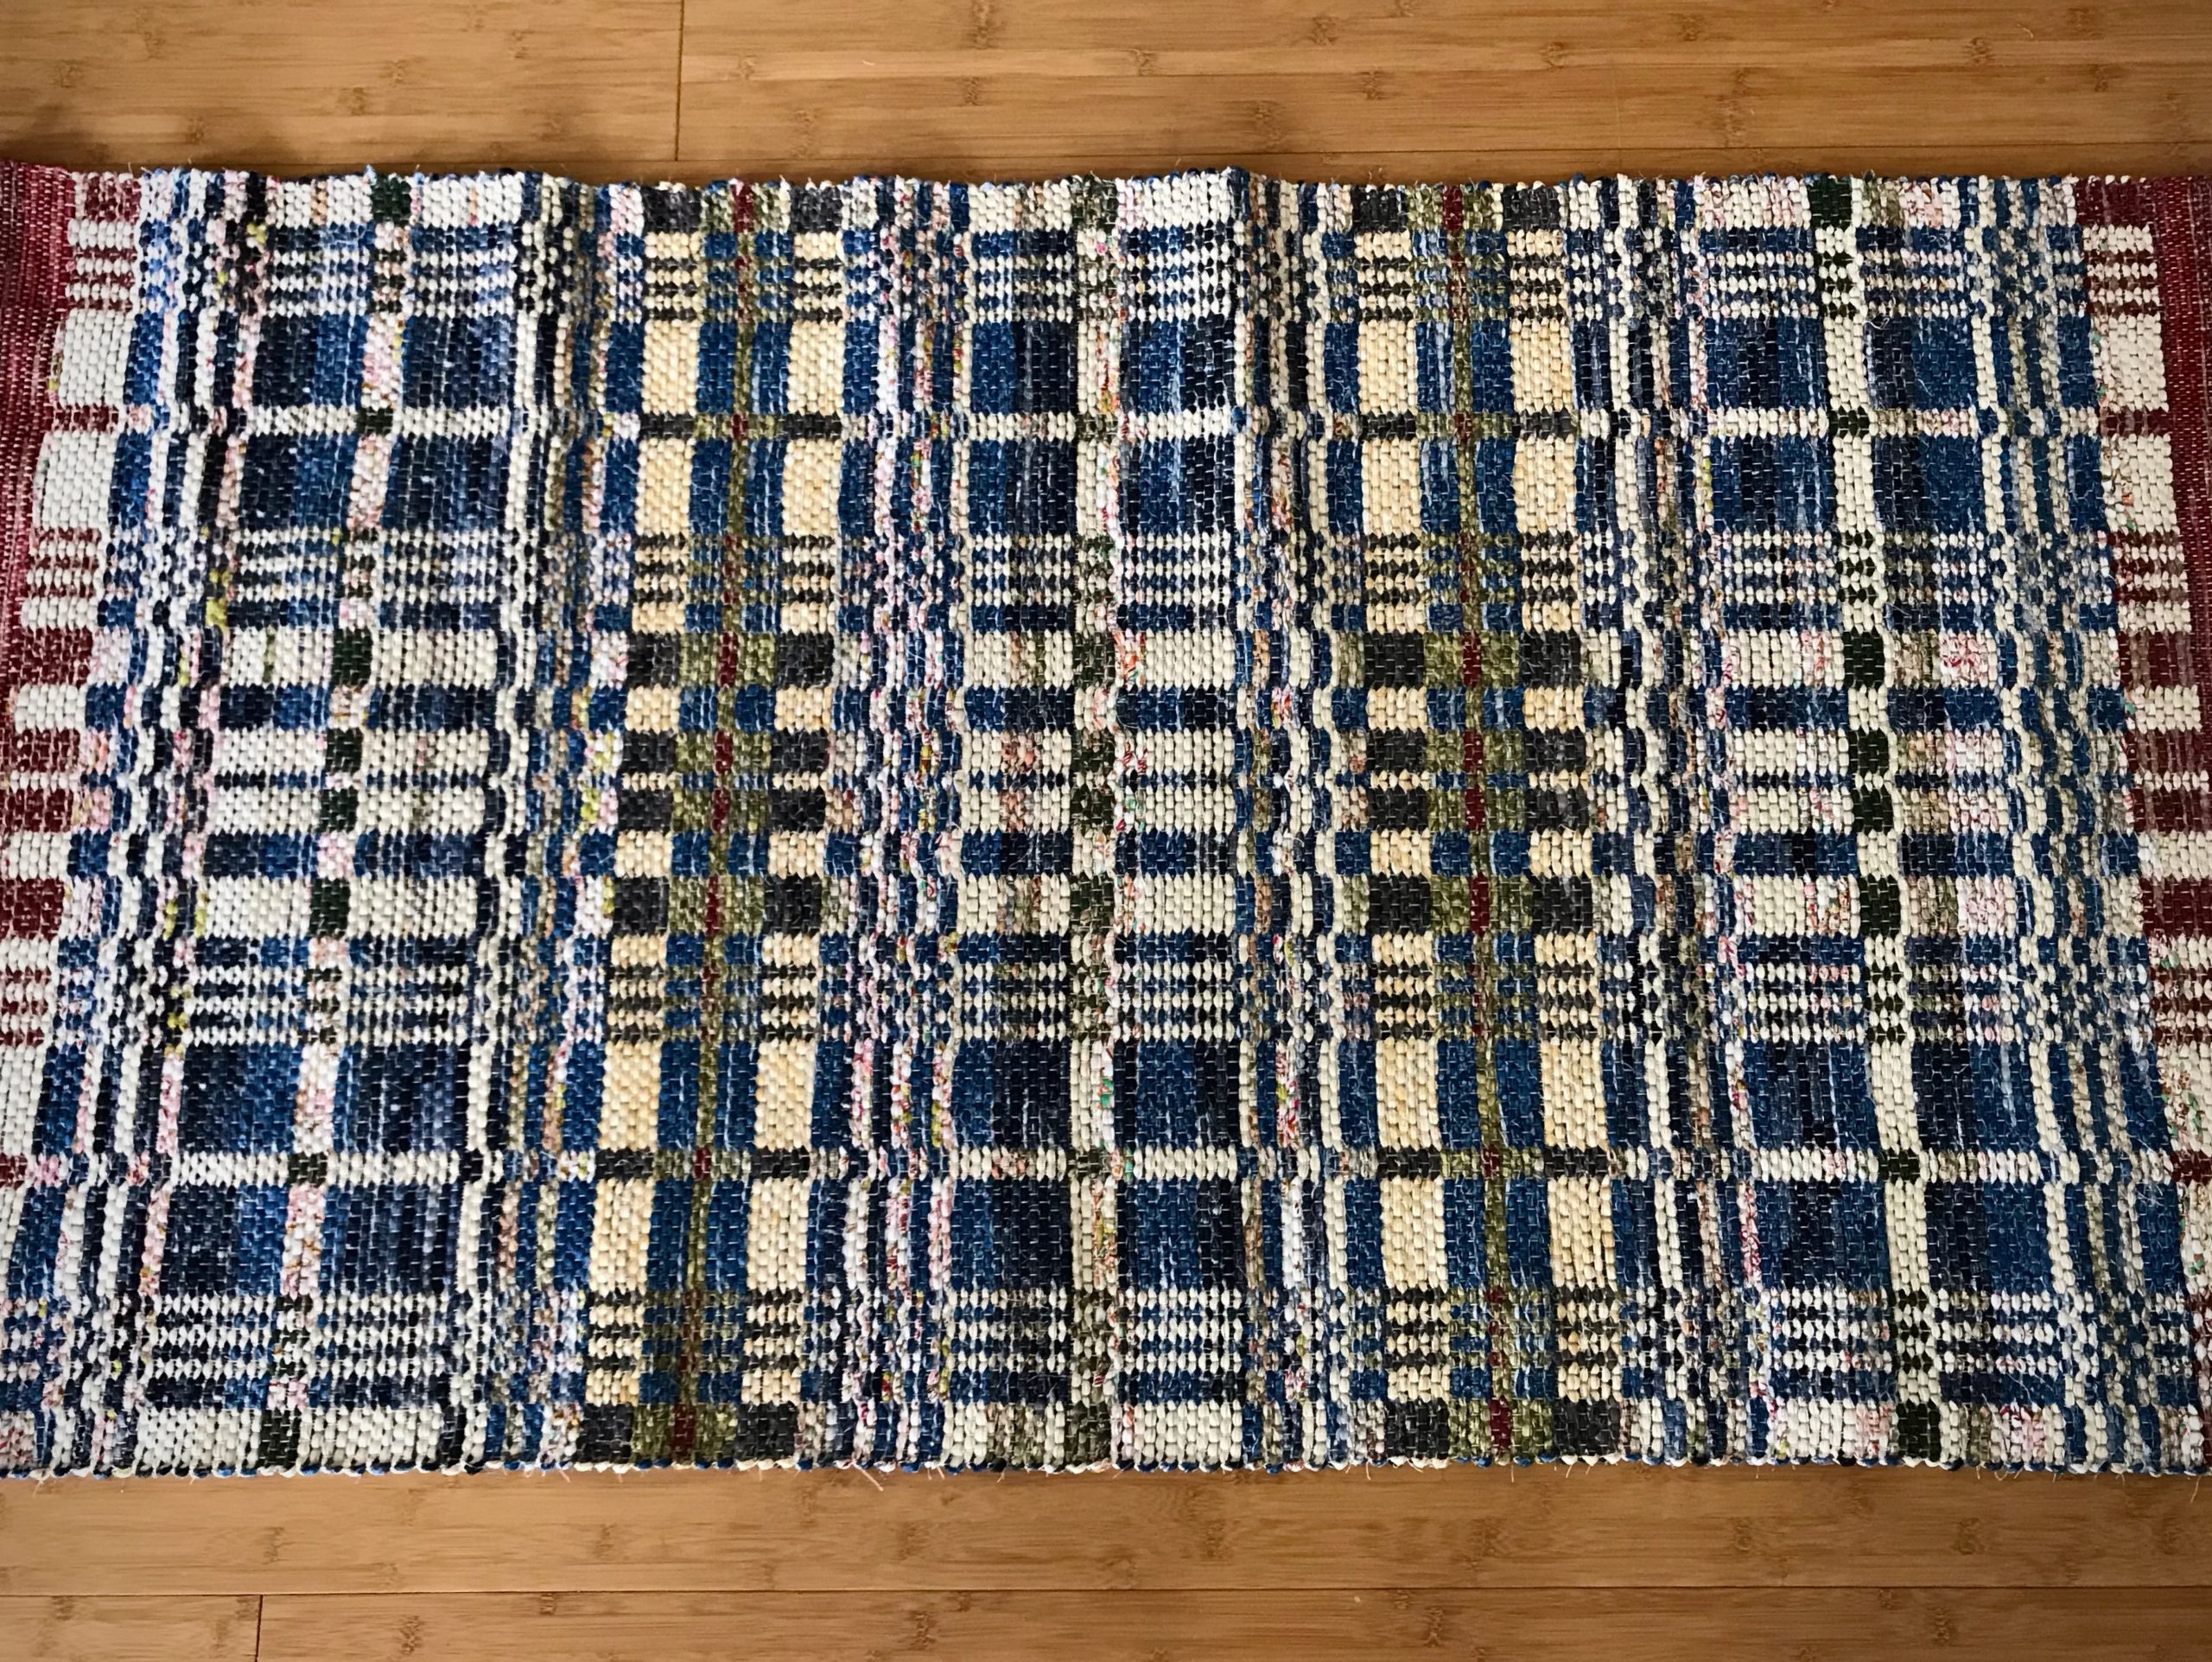
  • Lay the rug out on the floor. Ooh and aah.
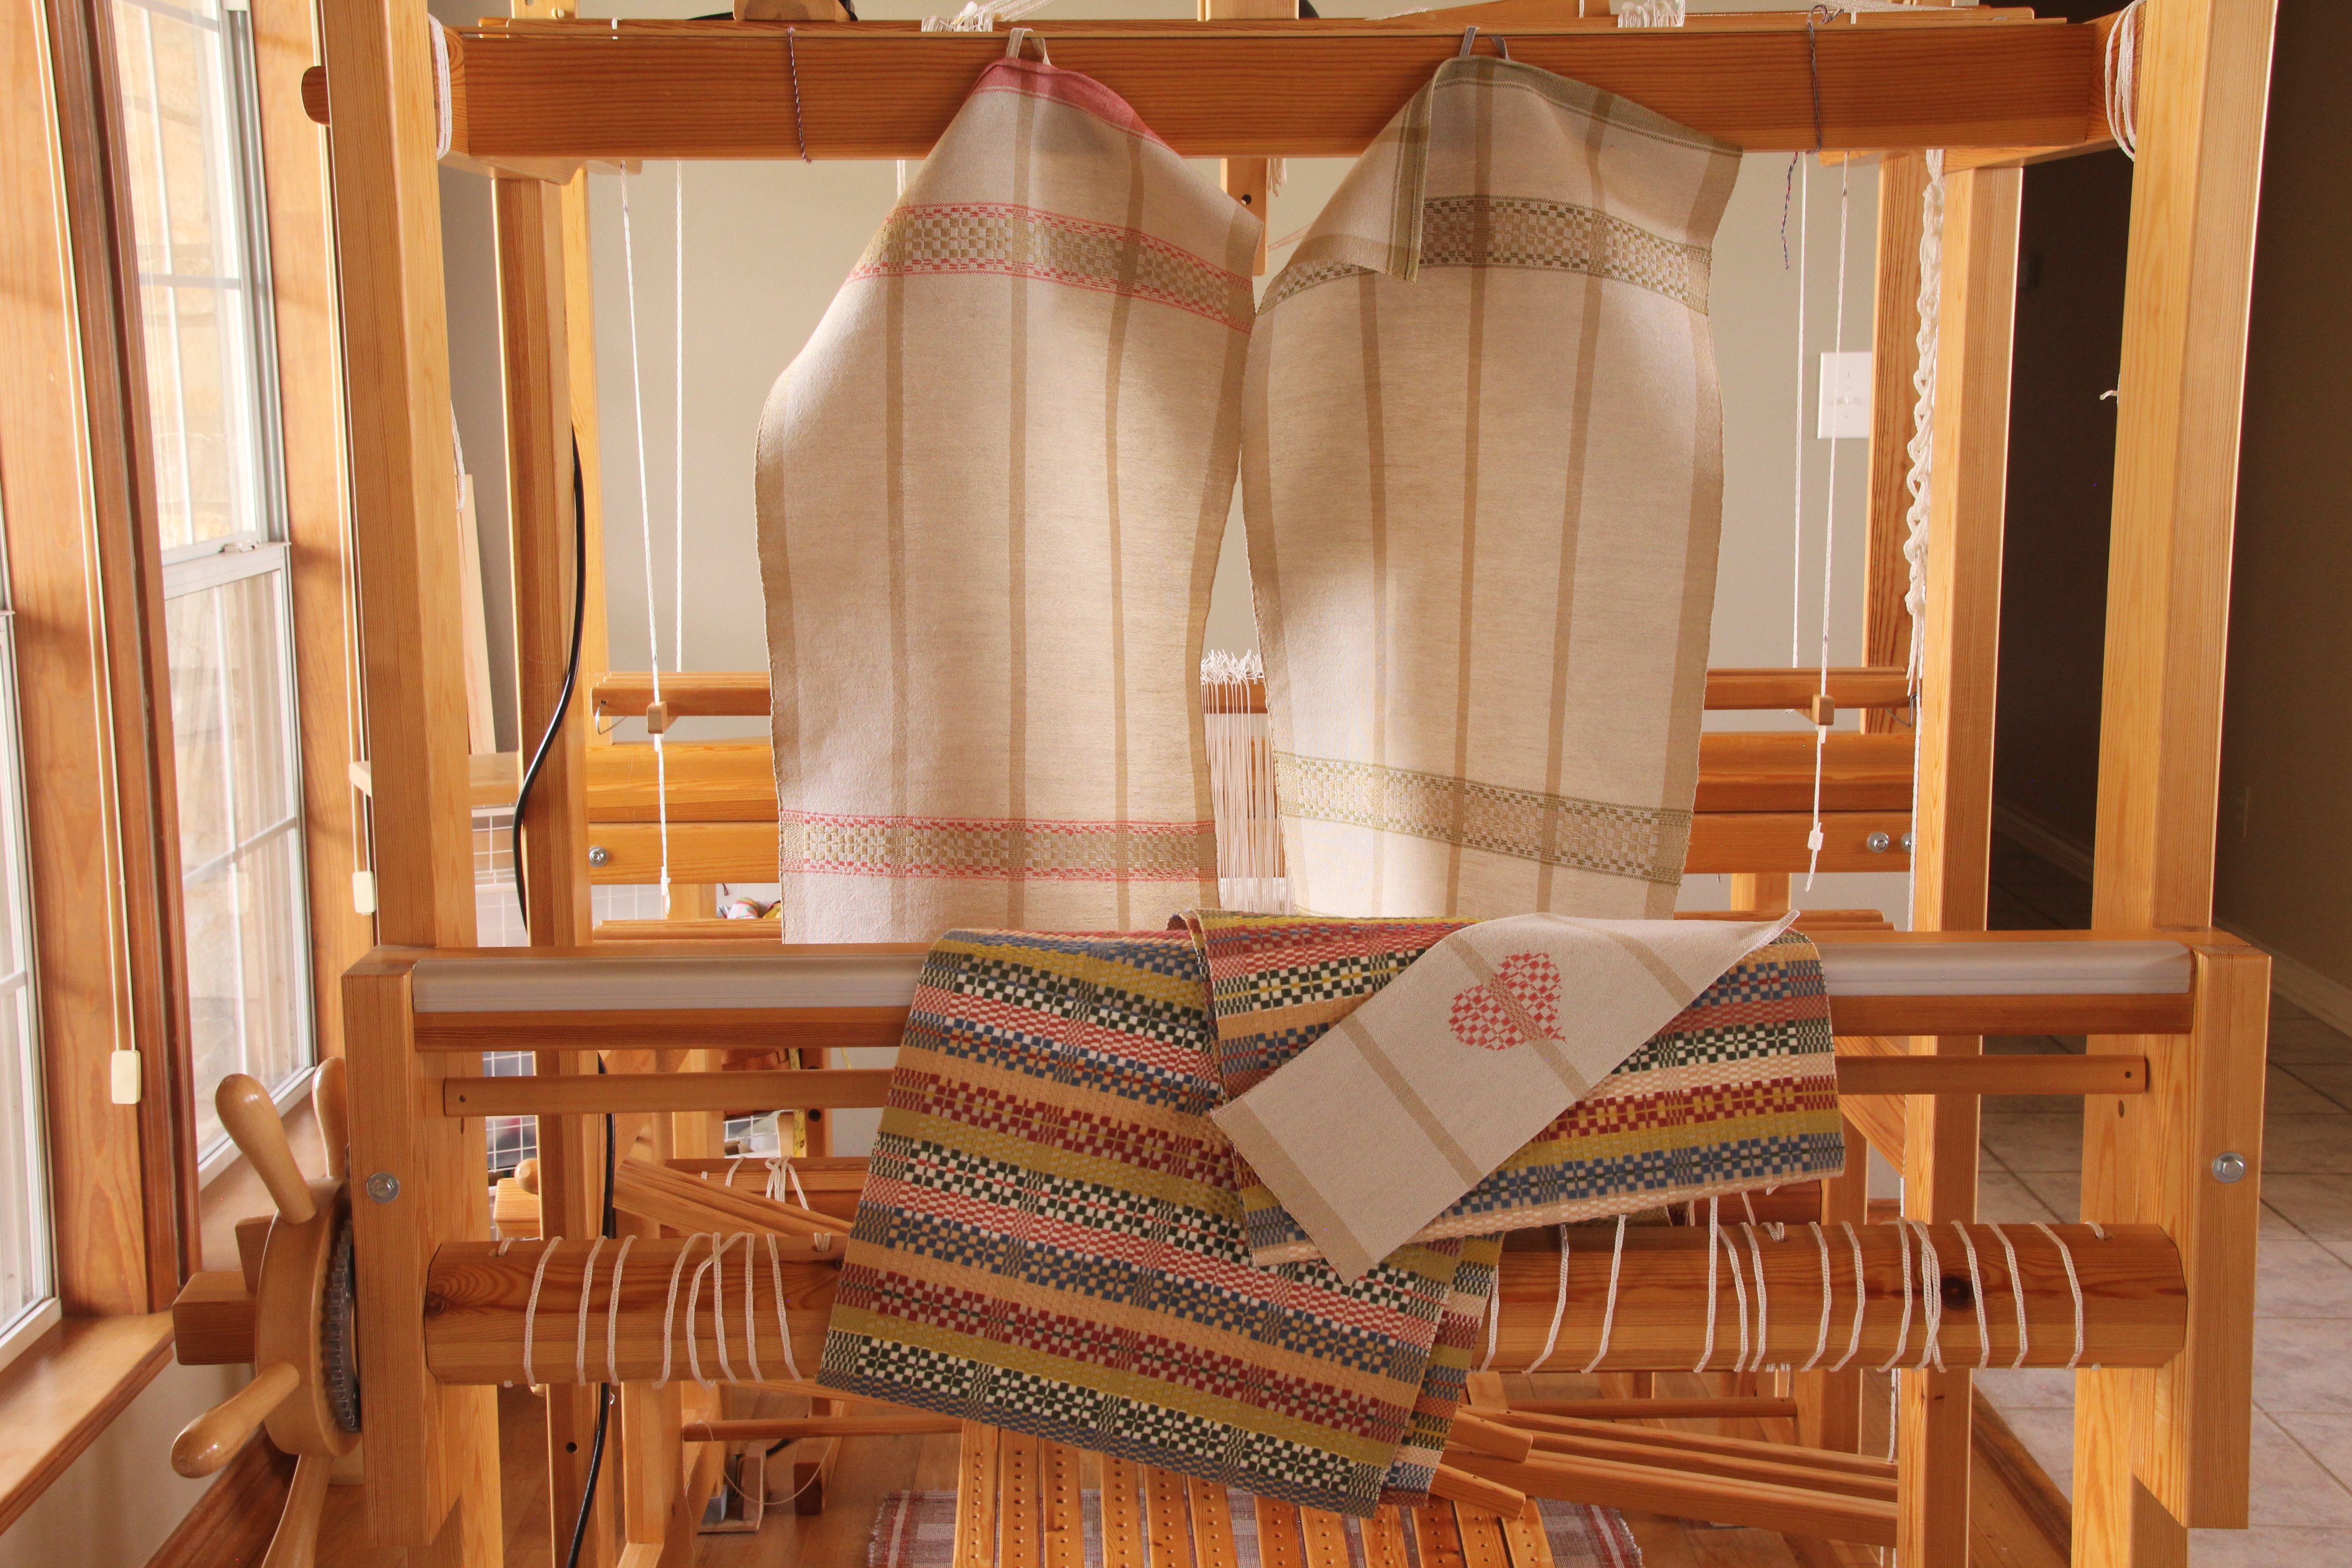
Double-binding rag rug, ready for finishing and hemming! I let the rug rest on the floor for a couple days to let the warp and weft relax. Next step is to tie ends into overhand knots.

May you get a fresh start whenever you need it.

Happy Weaving,
Karen

Preview of Puckers

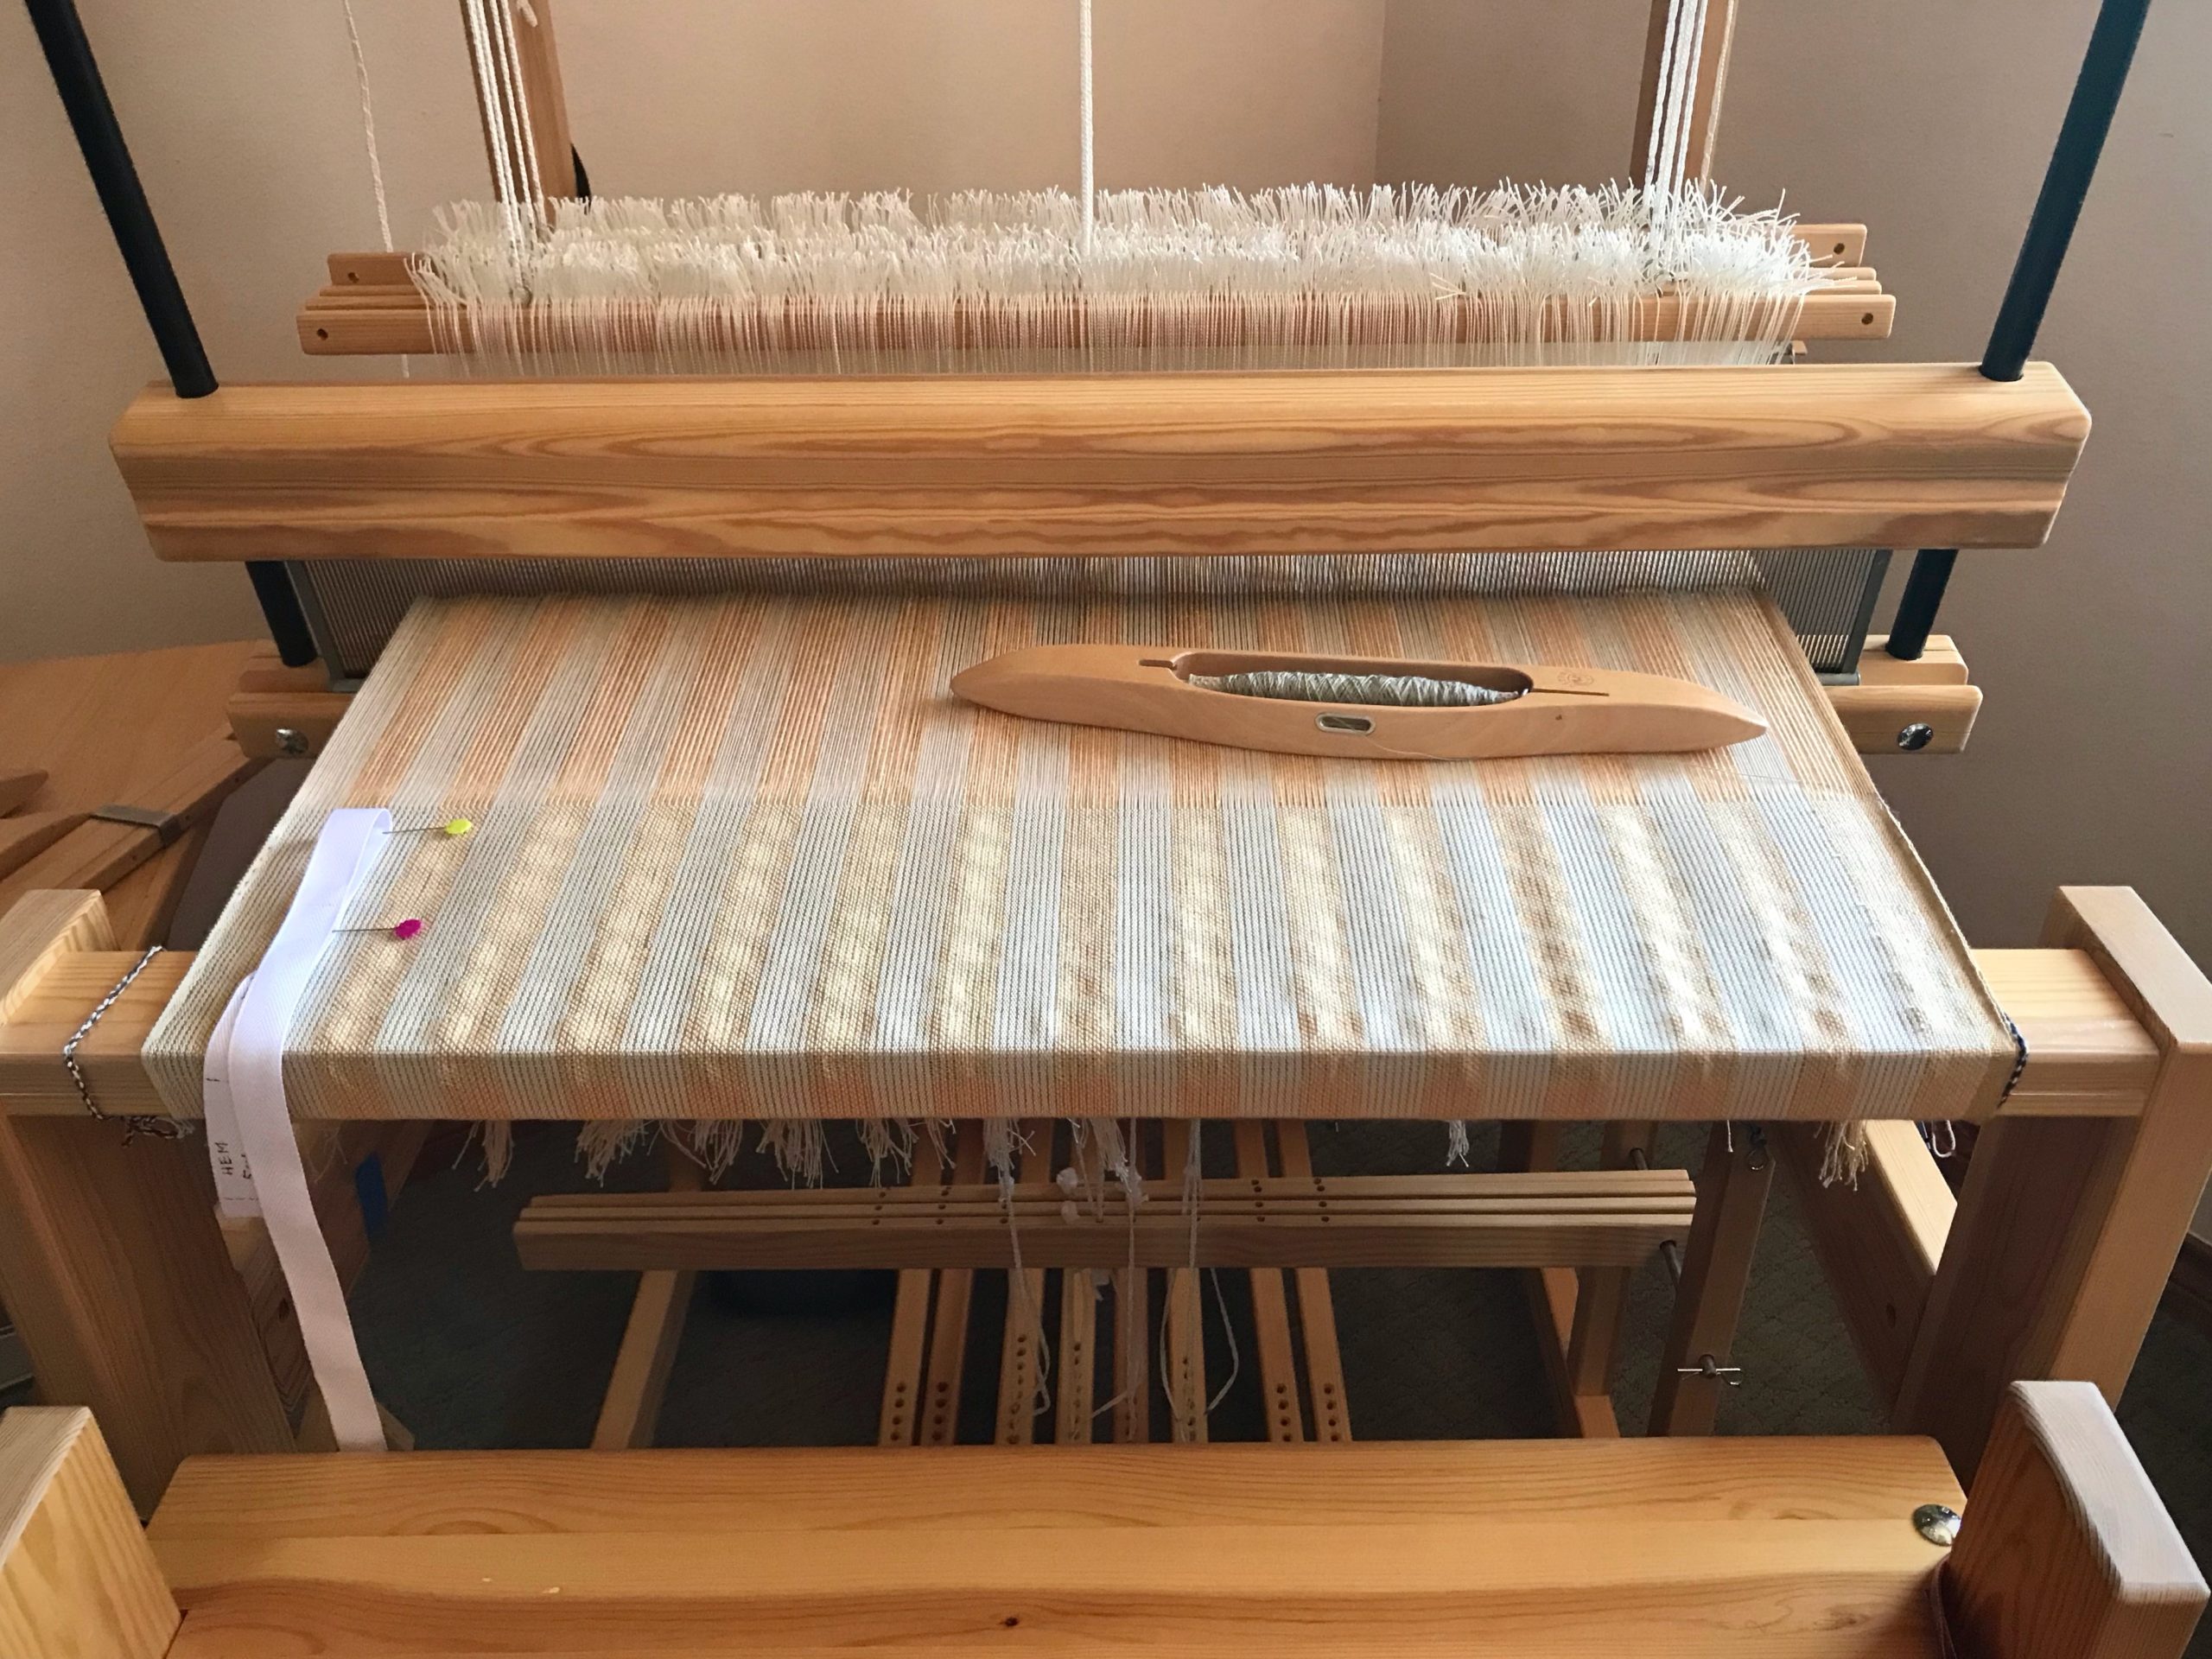
Like sunrays rippling on the horizon at dawn. That’s how I think of this emerging cloth. I am hopeful that the ripples we see now will become all-over puckers when this is finished. I am filled with joyful anticipation!

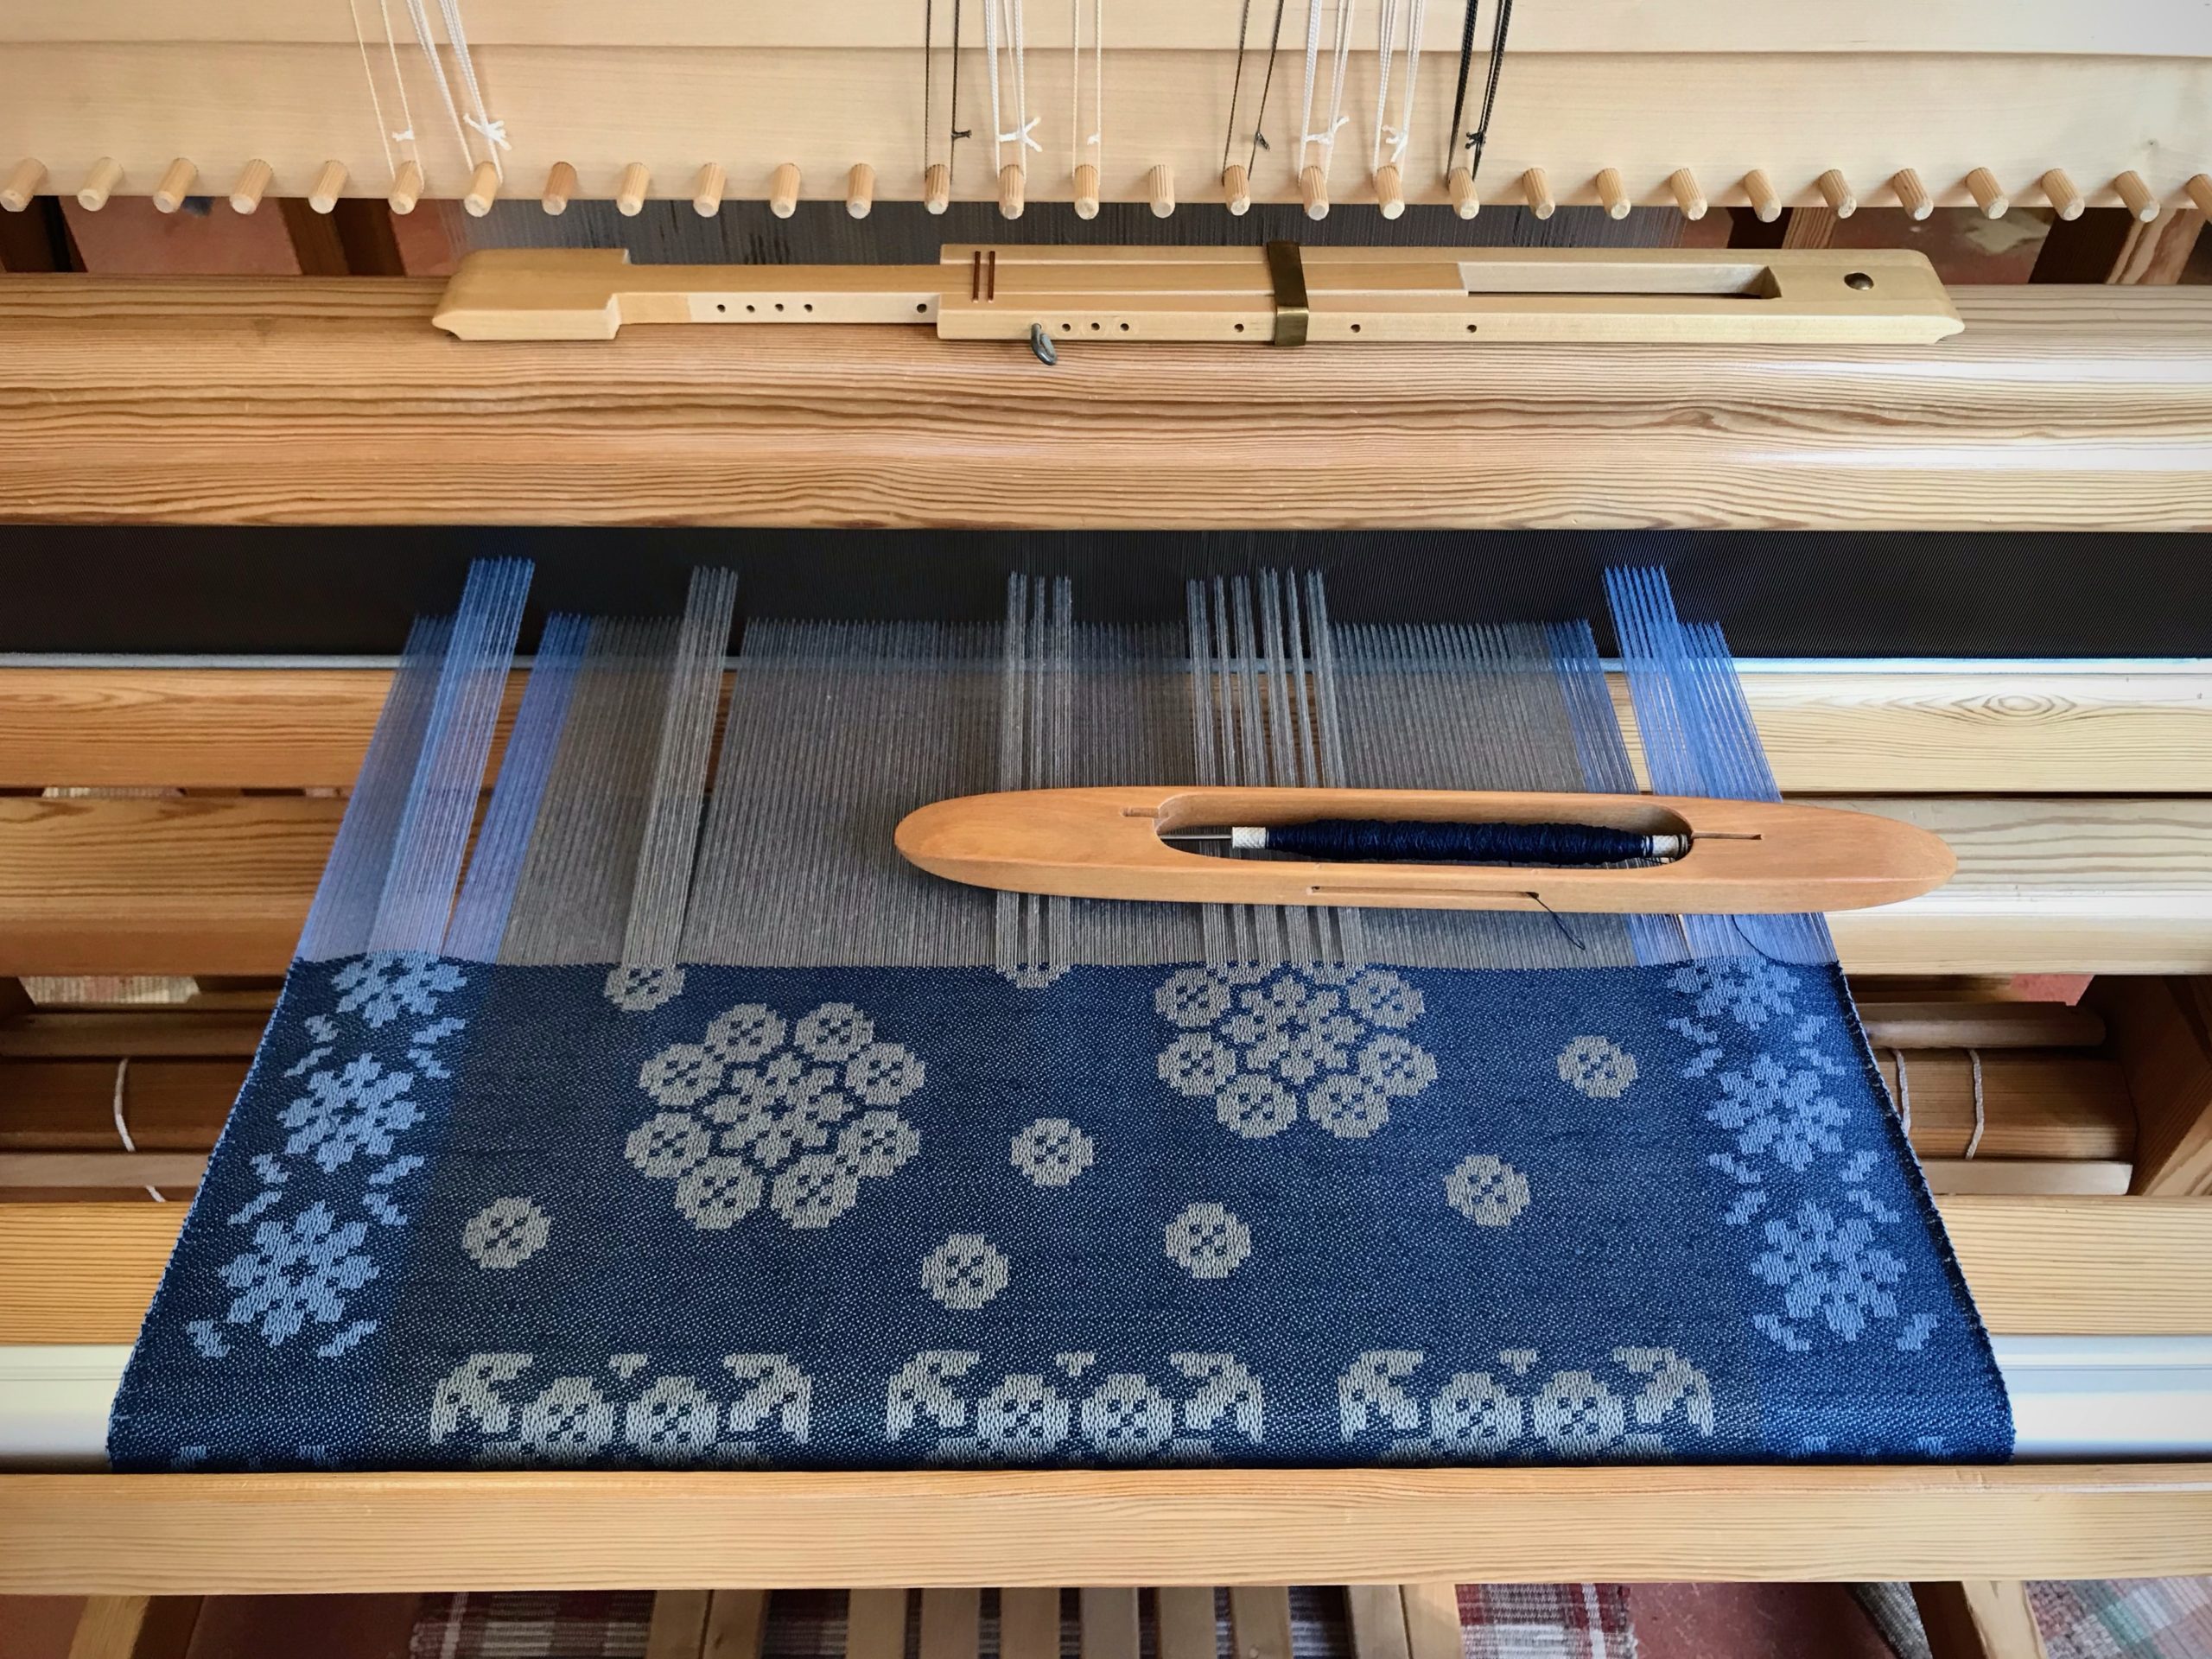
Preview of puckers. Warp is 22/2 cottolin and 20/2 cotton. Weft is 16/1 linen and 16/2 cotton. Differential shrinkage is what I hope to achieve.

However… This is not an effortless weave. This is double-width weaving in a very fine sett. And, 6 ends per dent, no less. I have simple 1-2-3-4 treadling, but the 20/2 cotton warp threads are relentlessly hugging each other. Consequently, I am clearing the shed with the back of my fingers again and again. I expect to have floats to repair when this “sunrise” fabric comes off the loom. With the end in mind, I patiently keep at it. It will be glorious in all its puckers. I am sure of it.

Double-width weaving is double weave that is open on one side and closed on the other side. Finished cloth will unfold and open up to be a small tablecloth.

Every dawn brings the reality of a new day. Every sunrise reveals the glory of God. Night always turns into morning. With the end in mind, our Lord patiently, kindly, gently, opens the shed in our lives again and again. As he loosens our grip on things of this world we get a preview of the glorious fabric he has in mind, puckers and all. In the full light of the risen Son, we can see the love in our Grand Weaver’s hands.

May you catch the sunrise as often as possible.

Hopefully yours,
Karen

Monksbelt Surprise Ending

Monksbelt has been on the Glimåkra Standard for months. I expect the table runner to be fabulous when it finally comes off the loom, so I’m not complaining. The time spent weaving only adds to its worth. The runner is finished, so why not cut it off now and count the remaining warp as excess thrums? That shows how eager I am to put this monksbelt runner to use!

Long monksbelt runner is woven. End of warp has room for two plain weave towels with a monksbelt accent.
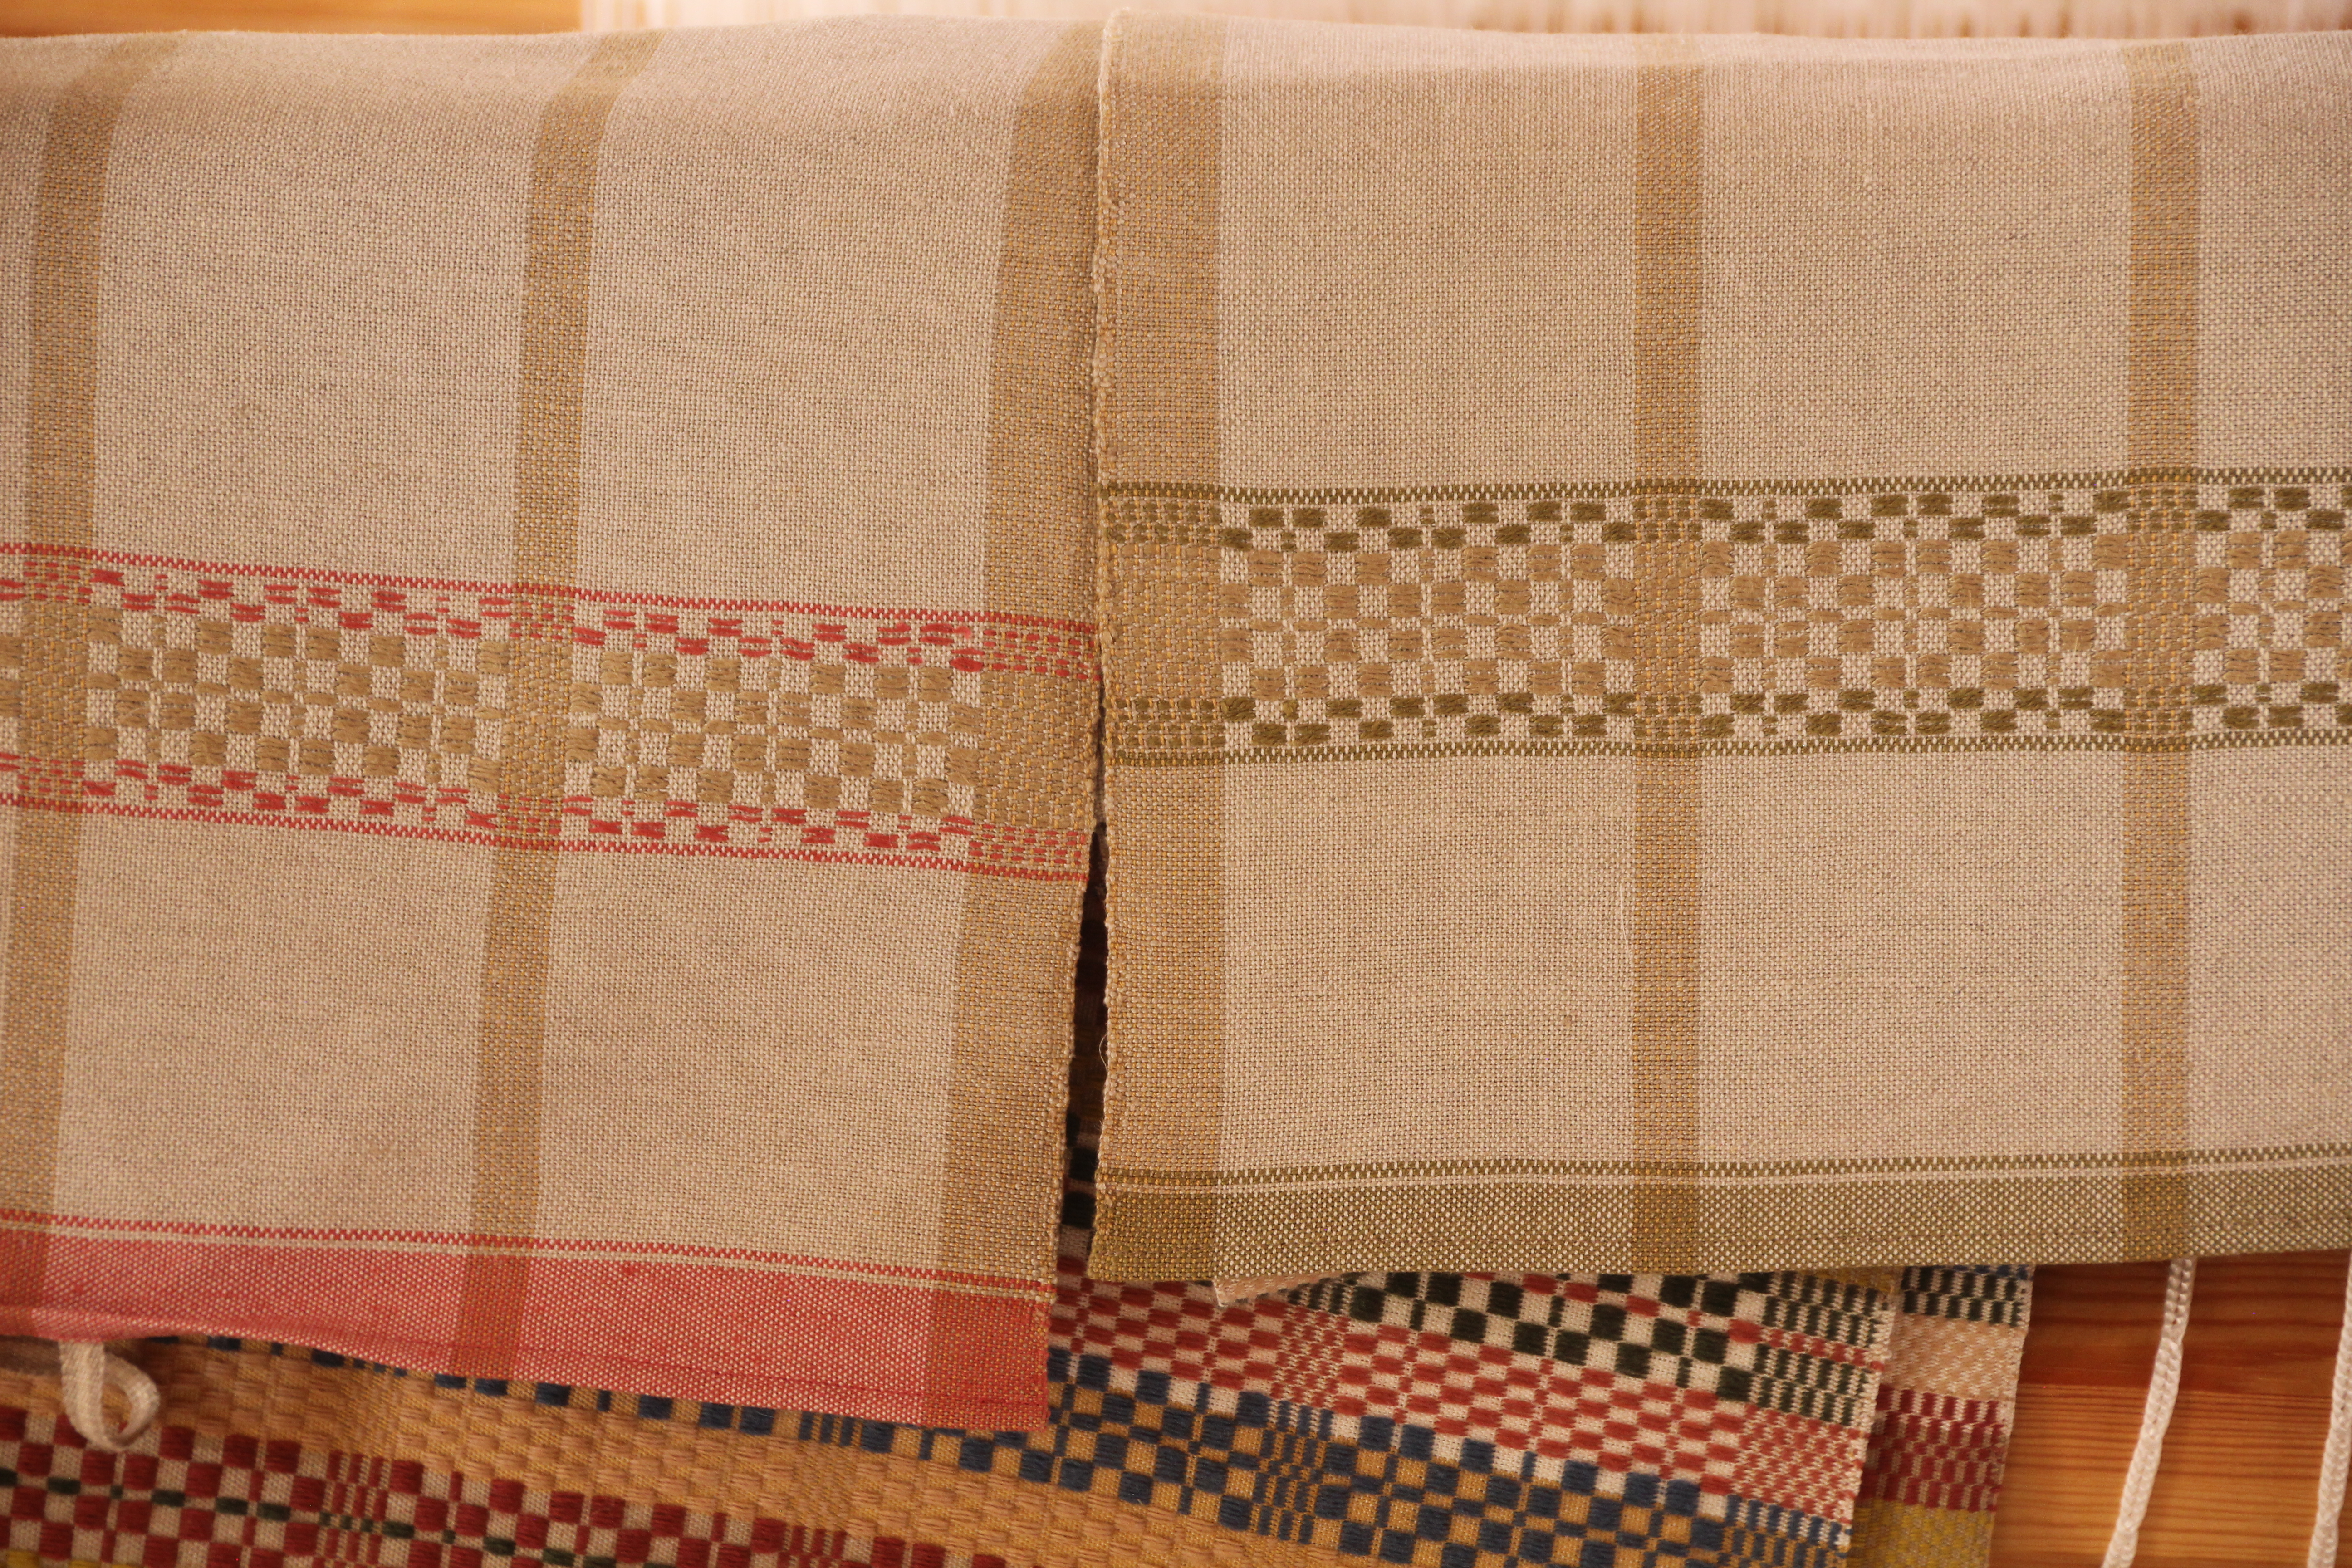
16/2 cotton warp. Coral 16/1 linen hem. Unbleached 16/2 linen ground weft. Coral 16/1 linen, doubled, outline pattern weft. Camel 6/1 tow linen, doubled, pattern weft.

The truth is, there is enough warp left for one, or maybe two, tea towels. After experimenting with several weft ideas, I am excited about weaving to the very end of the warp! Monksbelt gives us a surprise ending. A plain weave towel with a monksbelt border—this is a happy ending to a good long story.

May you keep going until the very end.

Happy Weaving,
Karen

Long Conversation with the Loom

Day after day, pick after pick, this fabric lengthens and becomes ever more significant. As daylight dims, I stay at the loom a while longer. The rhythmic series of weaving motions is soothing. A handweaver finds calm in the complexity and delight in the detail. Challenges that arise are seen as problems to be solved.

Weaving for a short while in the evening helps wind down the day.

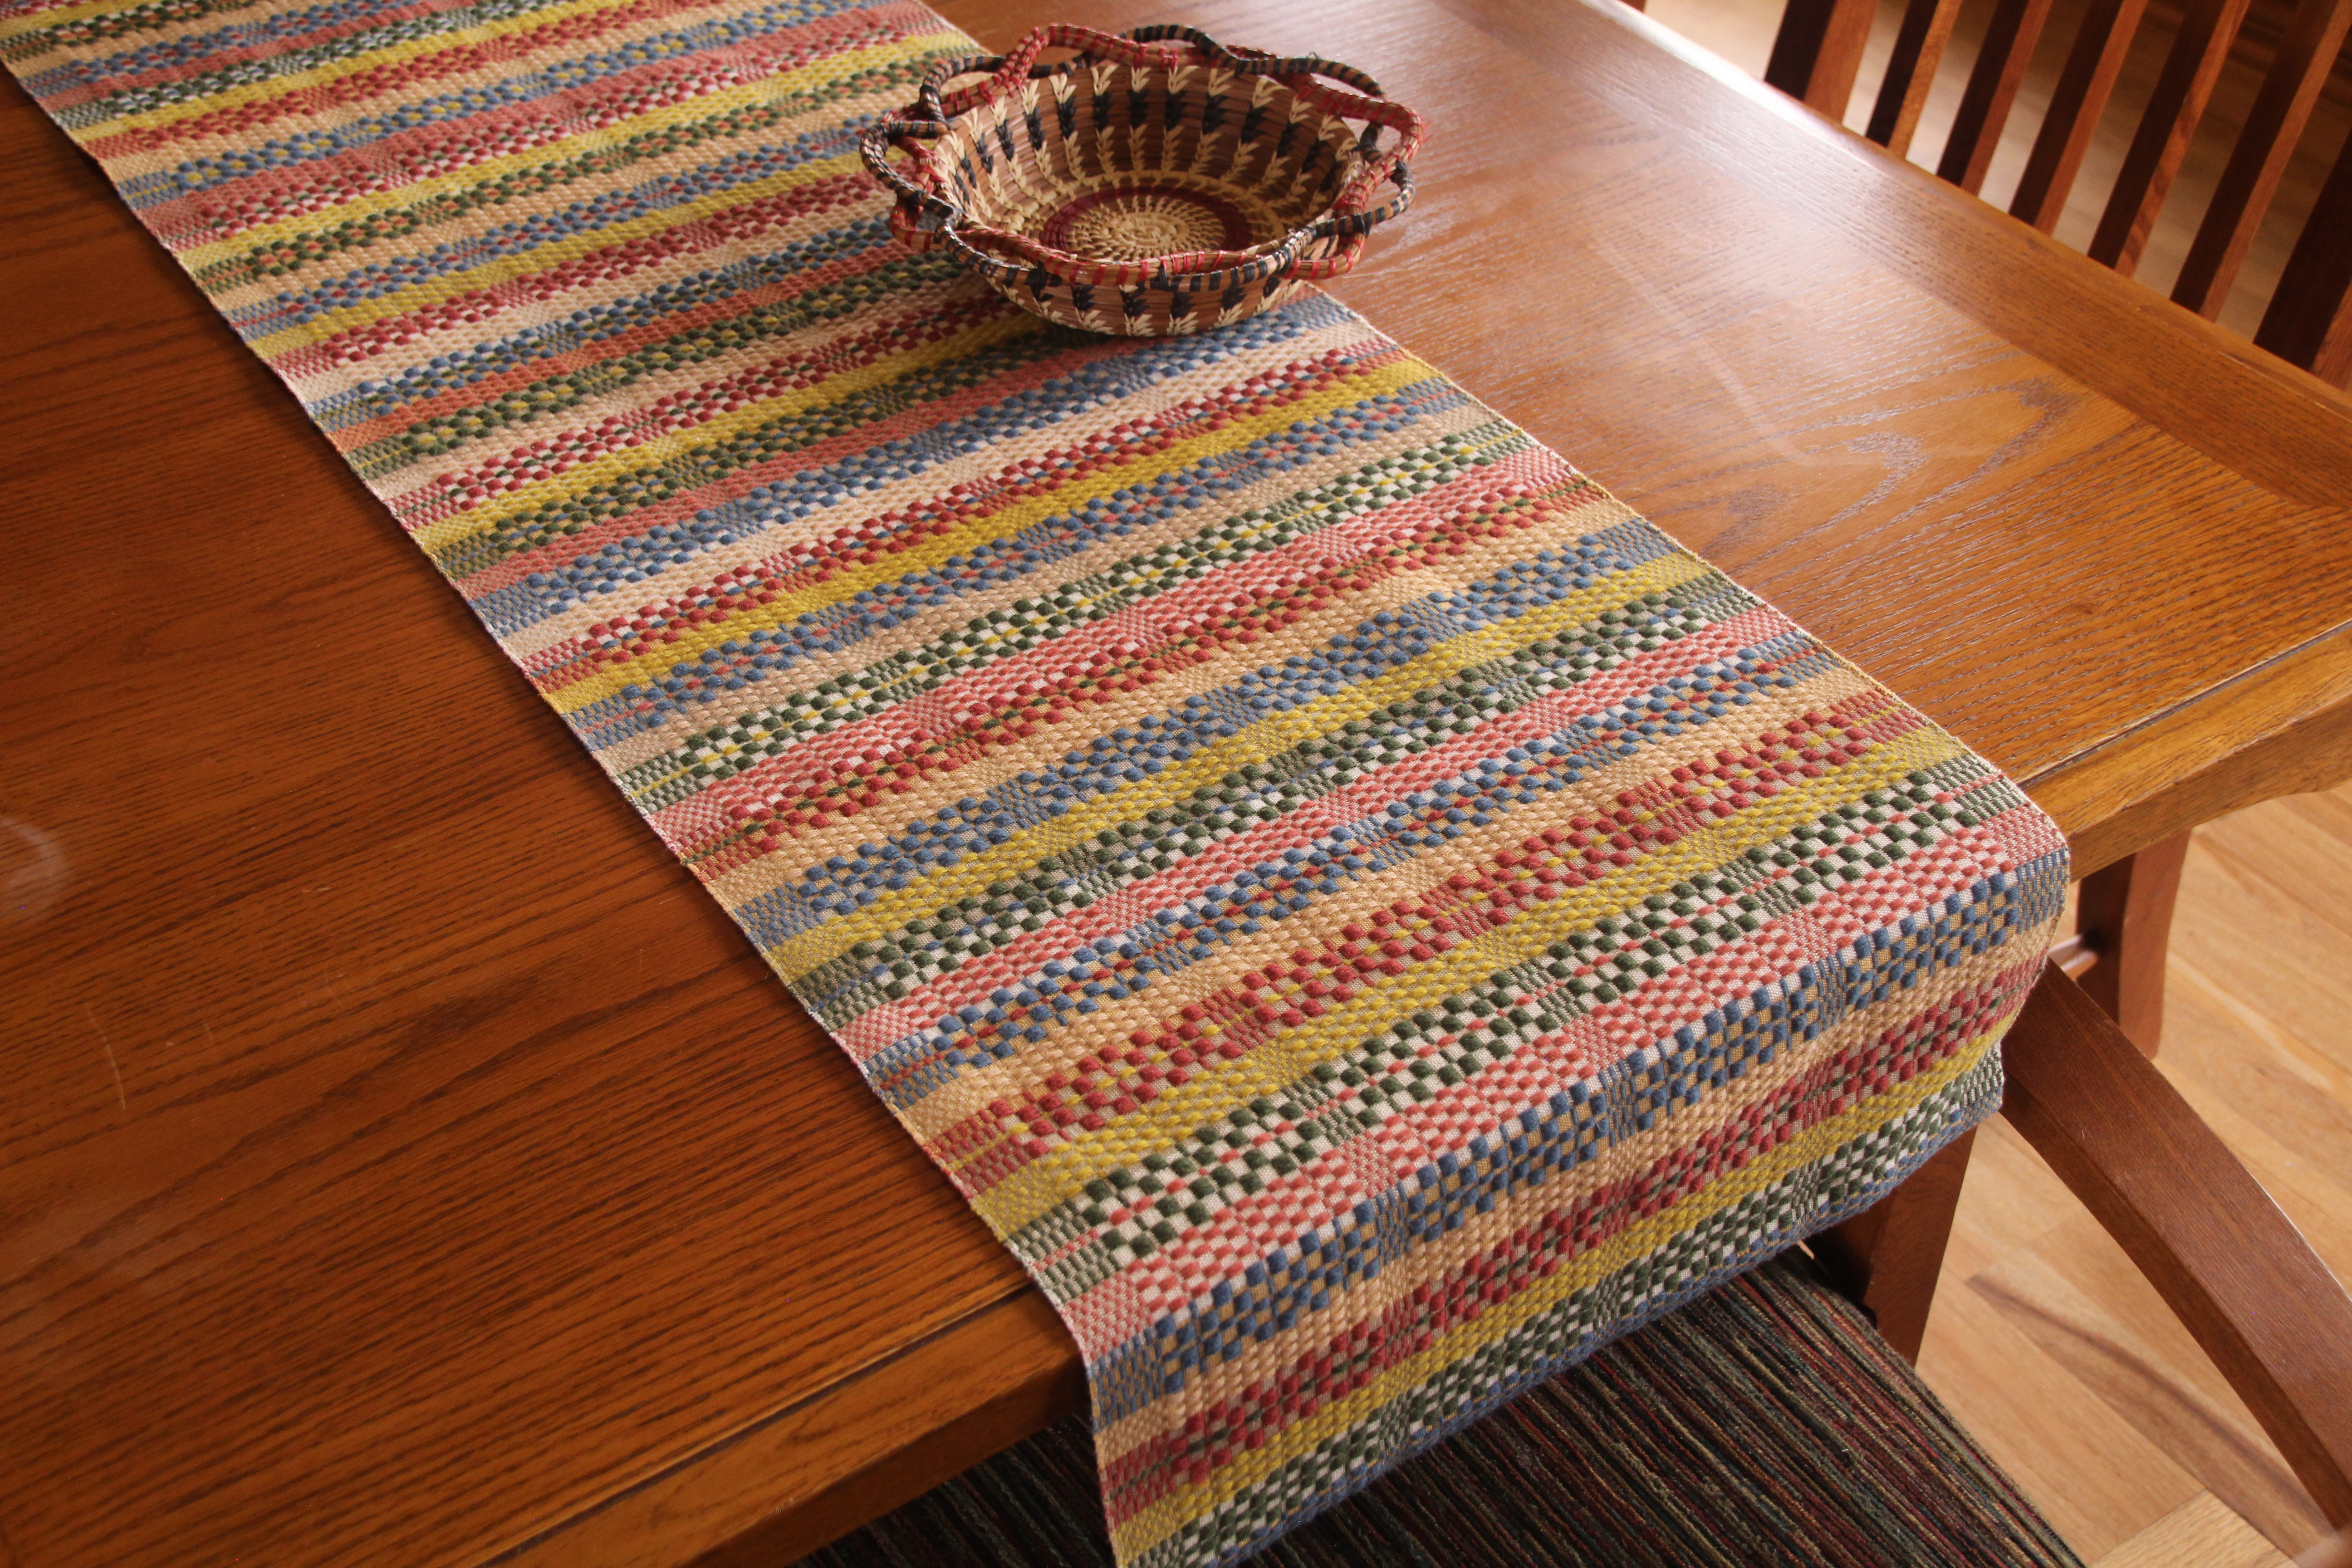
This monksbelt table runner has been a good long conversation between the loom and me. In fifteen more centimeters (six inches) I will put the closing exclamation point at the end of this lengthy runner. The warp that remains will be my playground for some creative experimentation.

Long monksbelt table runner wraps around the cloth beam.
Monksbelt pattern with weft rep ground weave. 16/2 cotton warp. 6/1 Fårö wool pattern weft in six colors. 16/2 ground weft in three colors.

When our patience is stretched thin, when we forget why we do what we do, when hard times go on longer than we ever anticipated, we need hope. We need more than what we can gain by ourselves alone. Relationship with our heavenly Father brings hope into the fabric of our days. He beckons us to walk with him through Jesus Christ. He wants to sustain us through the long stretches of this day-by-day life. The time will come when we look back with wonder, seeing the colorful threads that have become fabric for a beautiful purpose.

May you never lose hope.

With you,
Karen

Tried and True: When the Shed is Missing

You followed all the instructions for dressing the loom, and have finished the countermarch tie-up. Now, at the moment of triumph you step on the treadles, one by one. Alas! Some or all of the treadles give you nothing you can call a shed. Now what? Maybe you relate to Laura who wrote me recently, “I can’t seem to get the treadles to make a shed.”

The solution is simple. Follow the advice in this sentence on page 37 of Learning to Warp your Loom, by Joanne Hall, “If your sheds are not good, check your loom tie-up from the top down.”

If sheds are missing, there is a good chance you have a crossed cord.

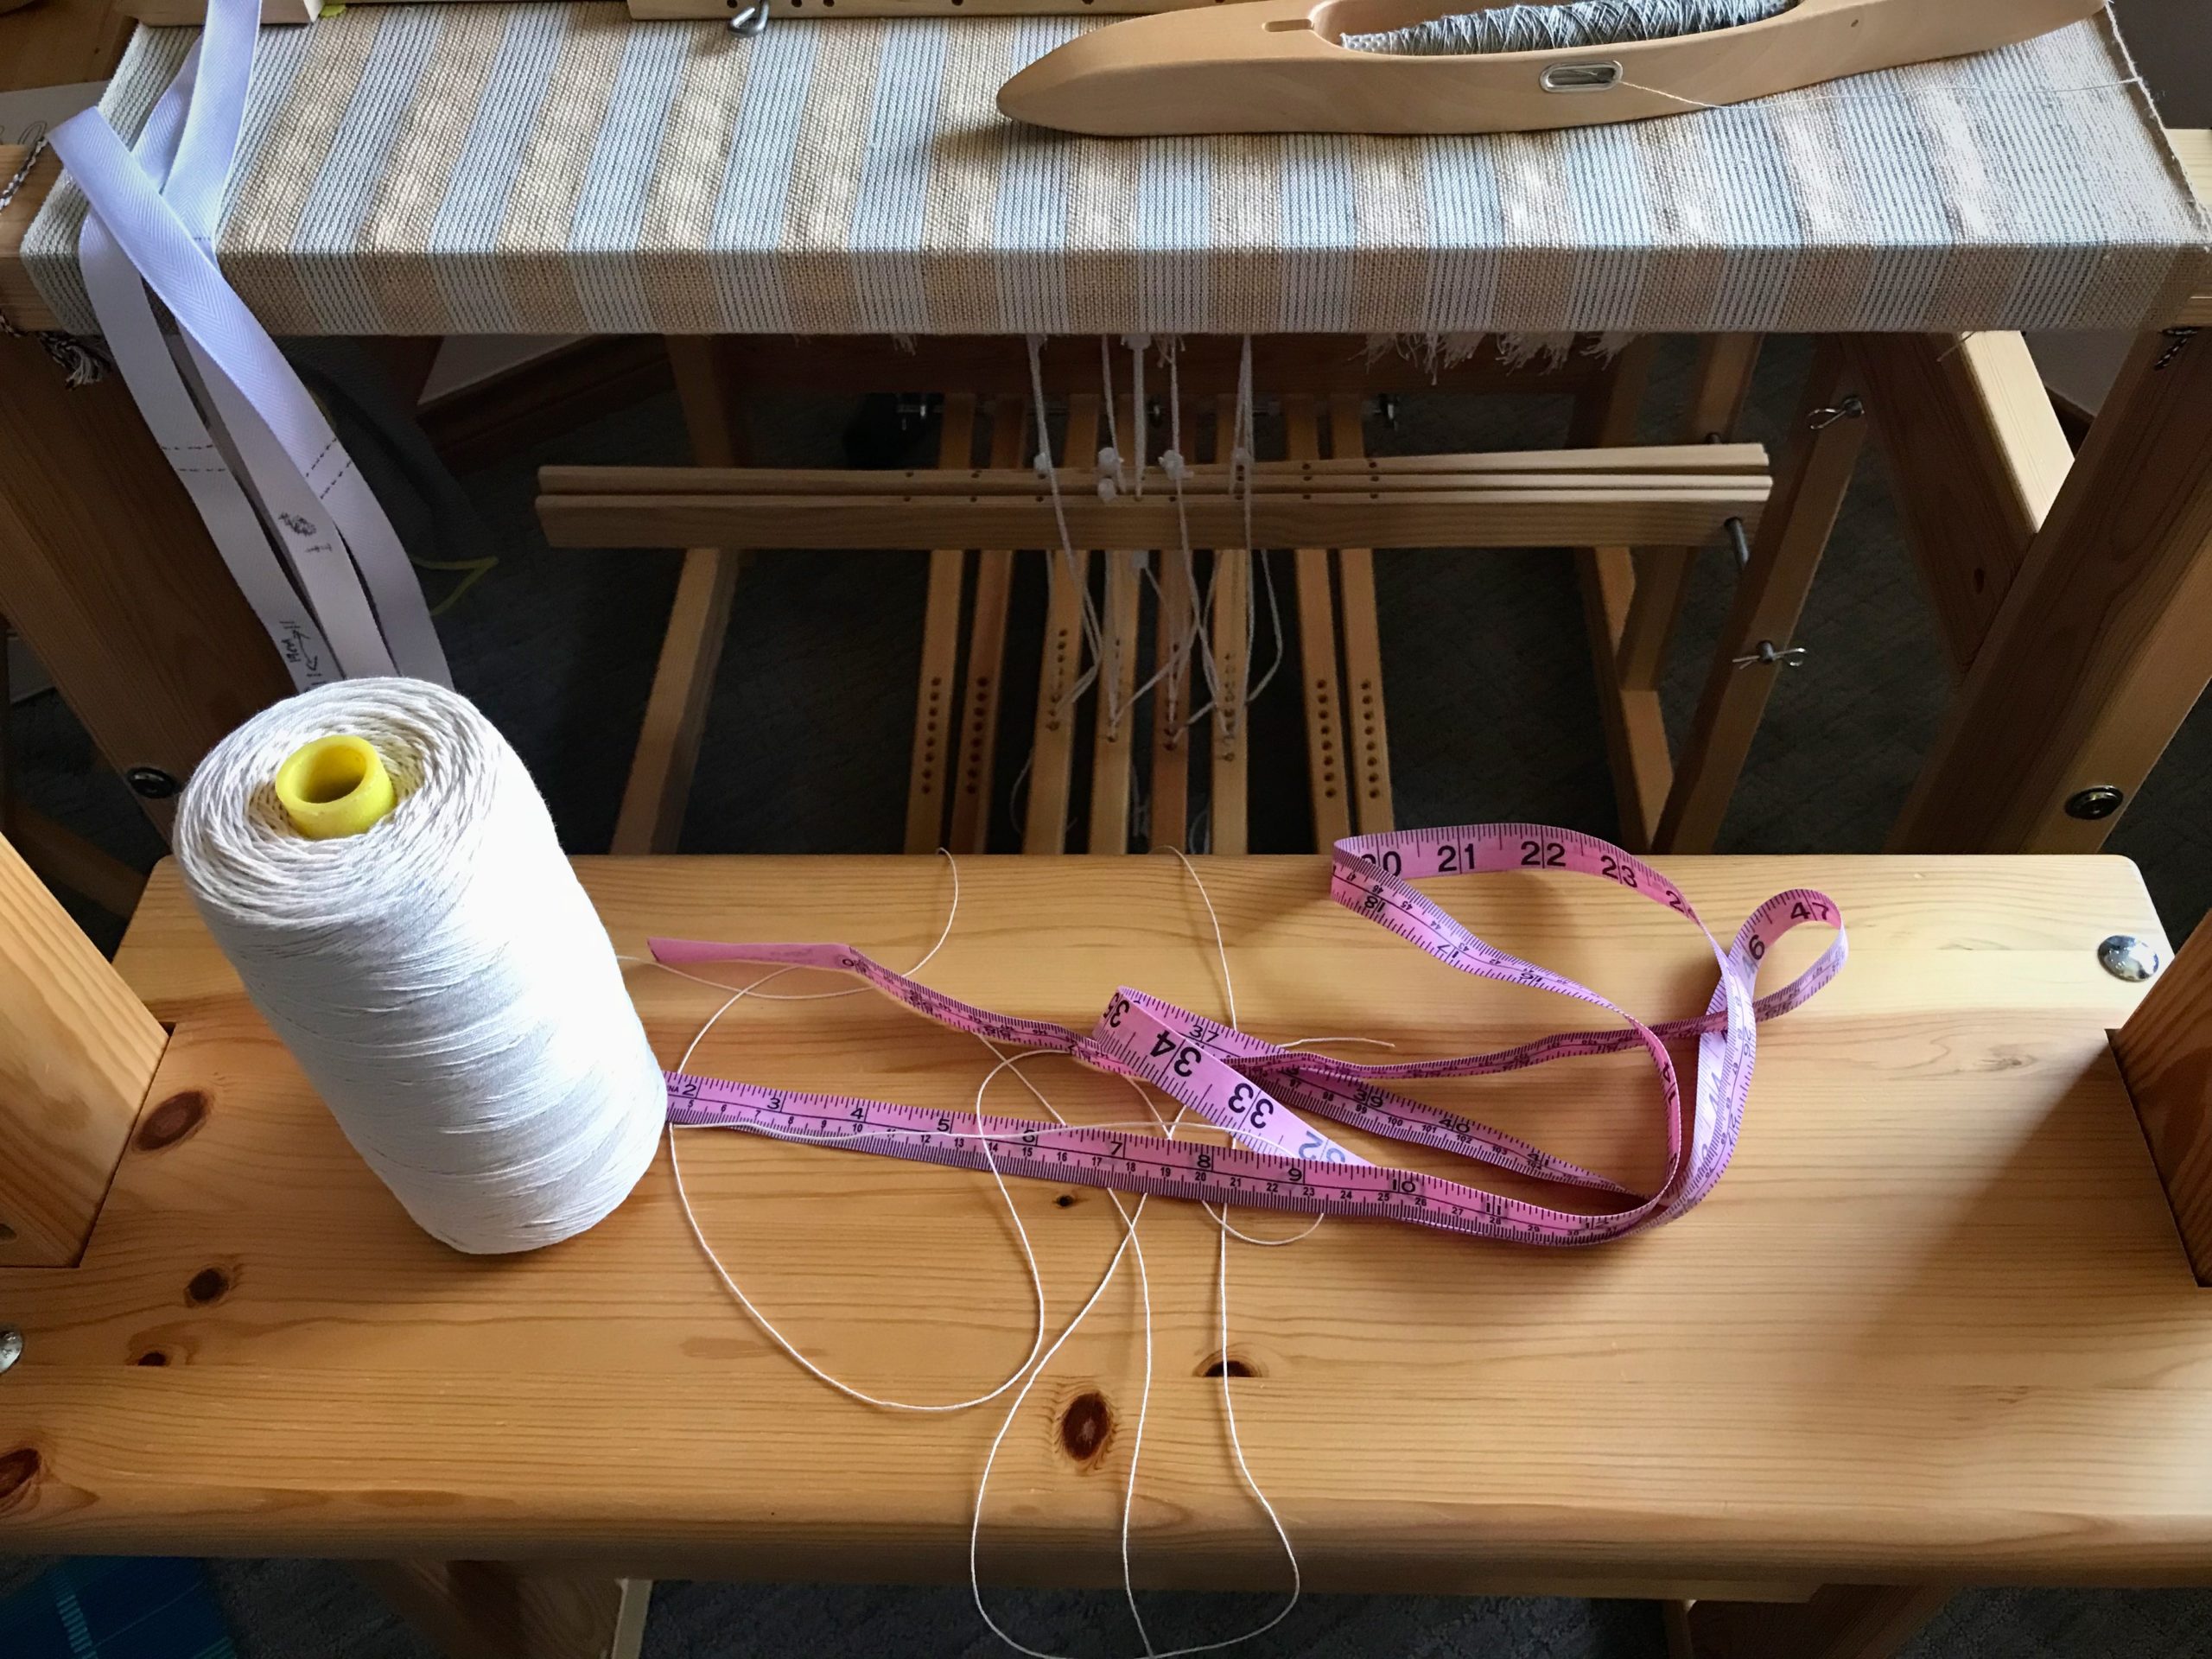
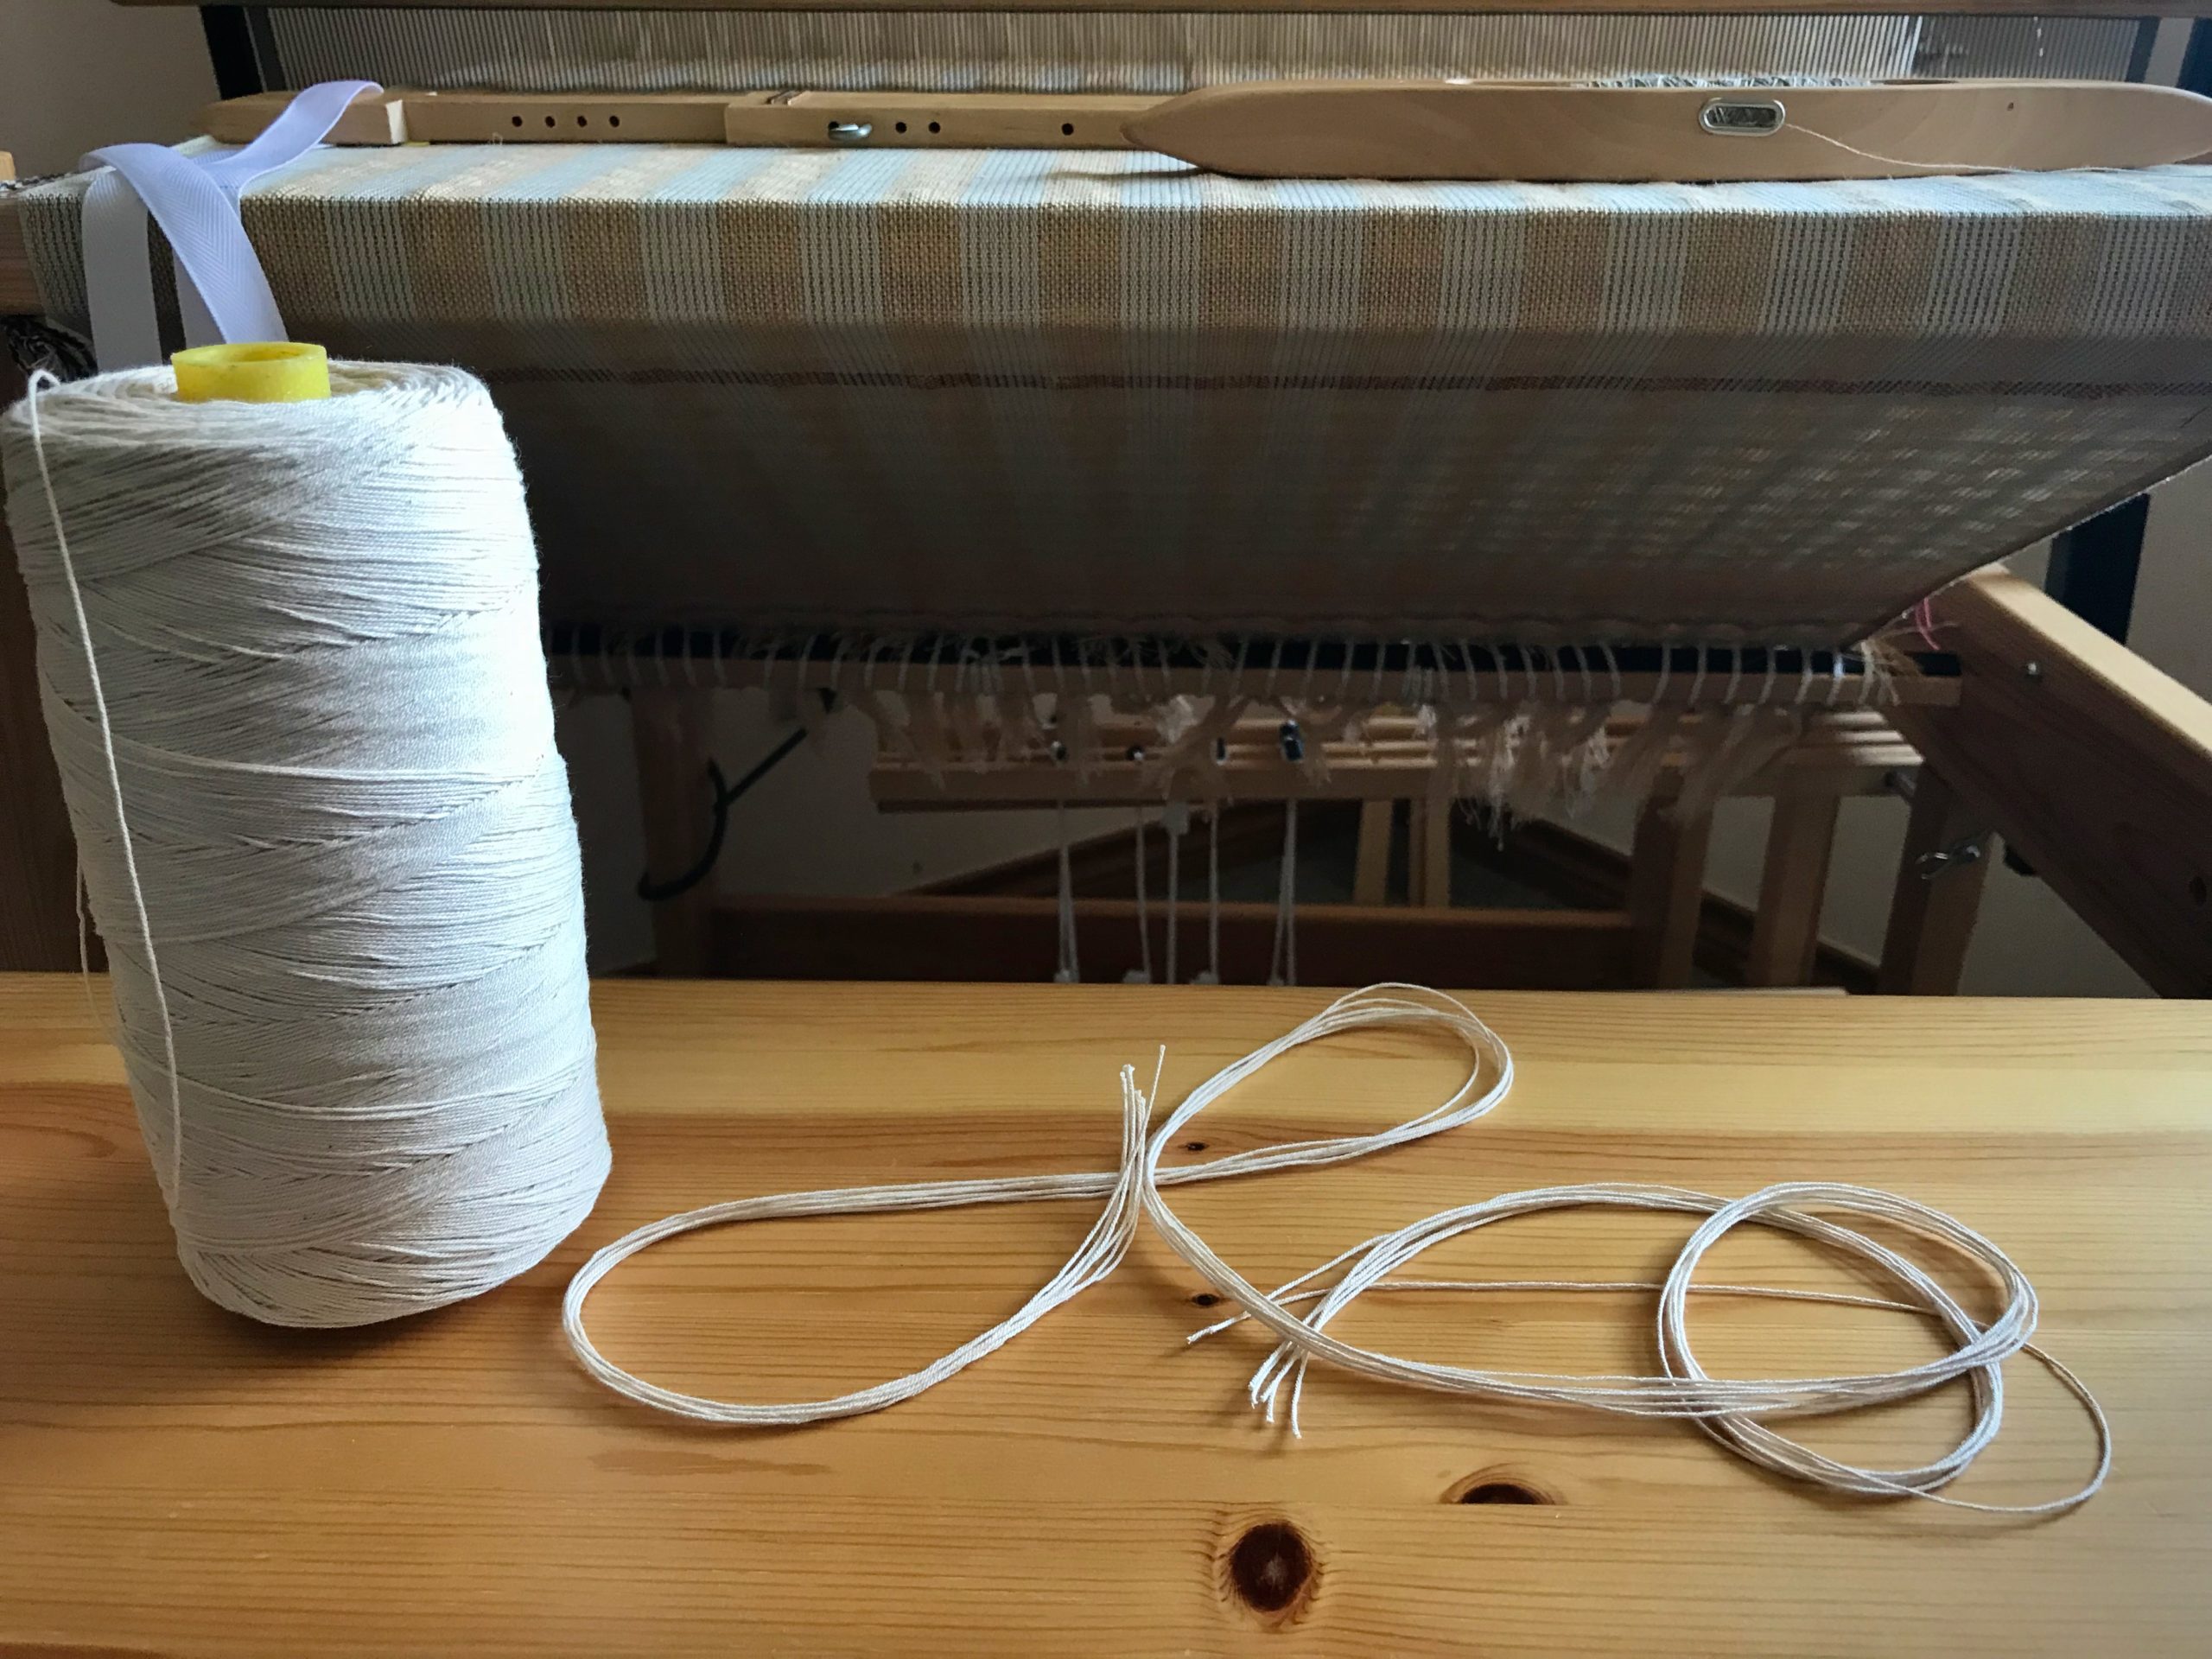
Warp is threaded, sleyed, and tied on. After arranging and connecting a few Texsolv cords, I will tie up the treadles.

Find Misaligned Cords

1 Follow each Texsolv cord, starting from the countermarch at top of the loom.

All the shafts are good to go, right? Not quite. Better see what’s happening at the top of those Texsolv cords.

2 Make sure that each cord is connected in the right order at the right place.

Is the first countermarch jack connected to the first shaft, the second jack to the second shaft, and so on?

Misaligned cords as seen from the top of the loom.

Are the cords that go to the lower lamms strictly in order?

– With horizontal countermarch, does each cord fall behind the shafts in order?

Cords from the horizontal countermarch go through the center of the warp, to be attached to lower lamms below.
Make sure each cord goes behind its corresponding shaft bars to the lamms below. When attaching the cords to the lamms, make sure the cords are attached in the correct order. If loom is already tied up, follow each cord to check that it is attached to its corresponding lamm.

– With vertical countermarch, is each cord on its pulley, and connected to lamms in the right order?

Vertical countermarch has cords that go over pulleys on the side down to the lower lamms. I have to be extra careful to keep from attaching a cord to the wrong lamm.

3 Correct any misaligned cord.

Now, step on each treadle, one by one. Decent sheds that just need a little refining? Triumph!

Helpful Habit

When attaching a cord while dressing the loom, start your hand at the top of the cord and slide it down to the point of connection. This helps you take hold of the correct cord.

Ready to connect the shaft cords on the Glimåkra Julia, made easy by the small hooks on the shaft bars. Instead of expecting the cords to hang straight down in order, I reach my hand up to the top of the cord.
Touching where the cord meets the wood, I know I have the correct cord for the shaft closest to the front of the loom. I do the same for the next cord.
My hand slides down the cord and I connect the cord to the correct shaft. Now, all that’s left is tying up the treadles. Then, we weave!

May none of your cords be crossed.

Happy Weaving,
Karen