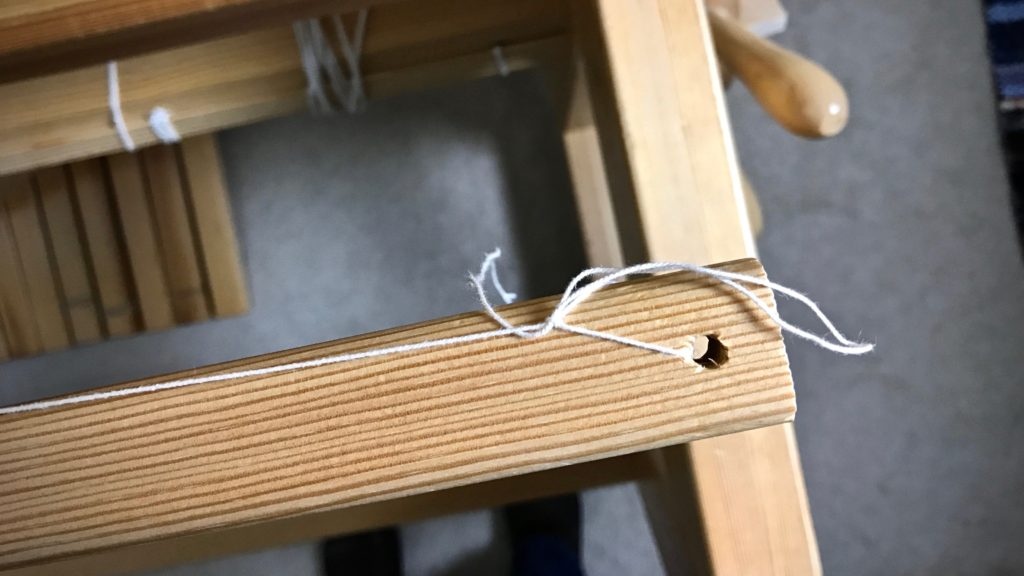
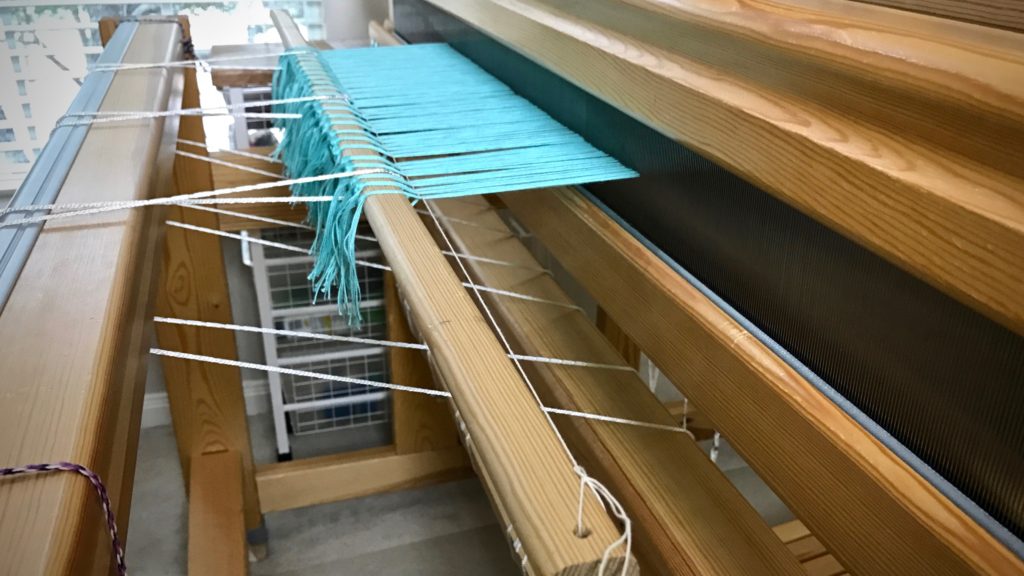
Treadle Adjustments on a Countermarch Loom

The countermarch loom is known for having a clean shed, so that is my goal. Is that possible for ten shafts and ten treadles? The first treadle I step on reveals that treadle cord adjustments are definitely needed!

How to evaluate the shed and adjust on countermarch looms.
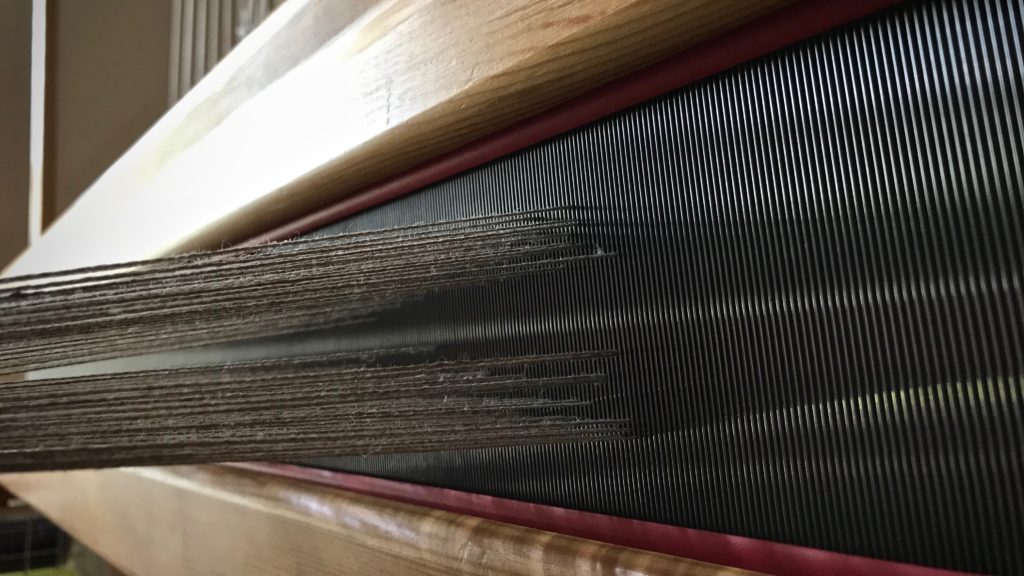
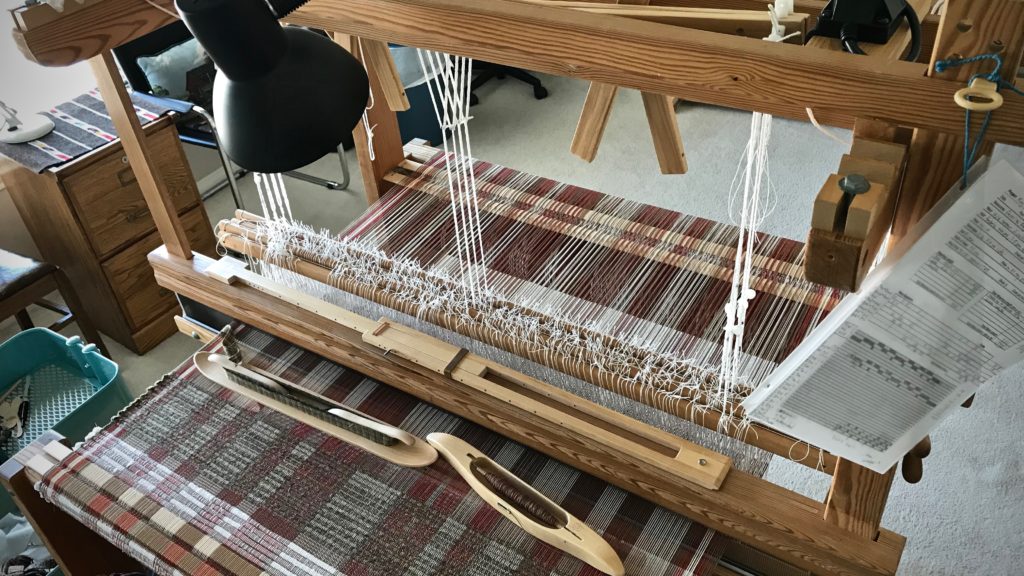
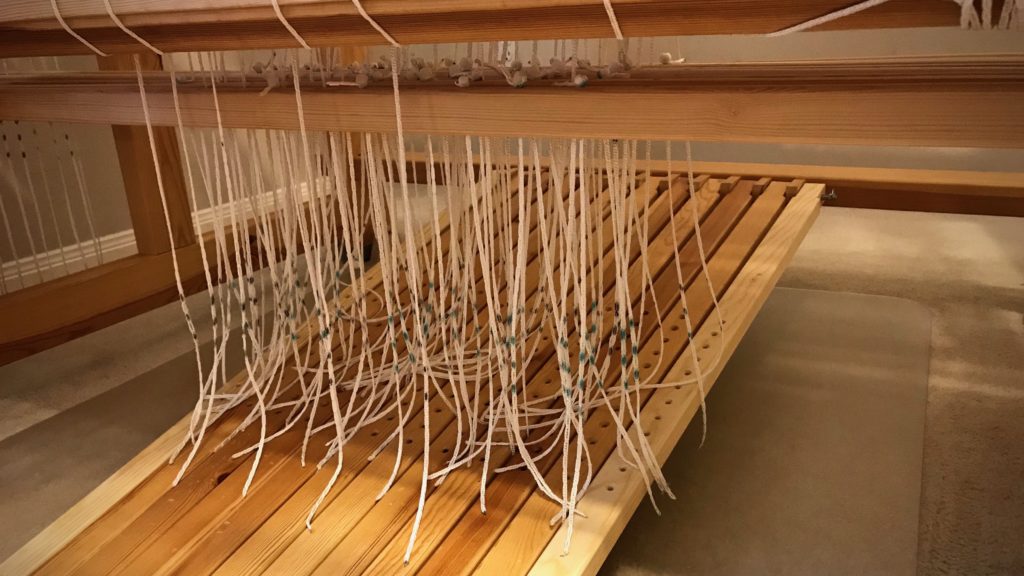
Before making any adjustments, a few of the sheds look impassable, like this one.

I learned the basics of making adjustments to treadle cords from Learning to Warp Your Loom, by Joanne Hall, and The Big Book of Weaving, by Laila Lundell. I also gained valuable experience from Vävstuga Basics, with Becky Ashenden.

Here’s how the process looks for me, with this ten-shaft, ten-treadle project as an example.

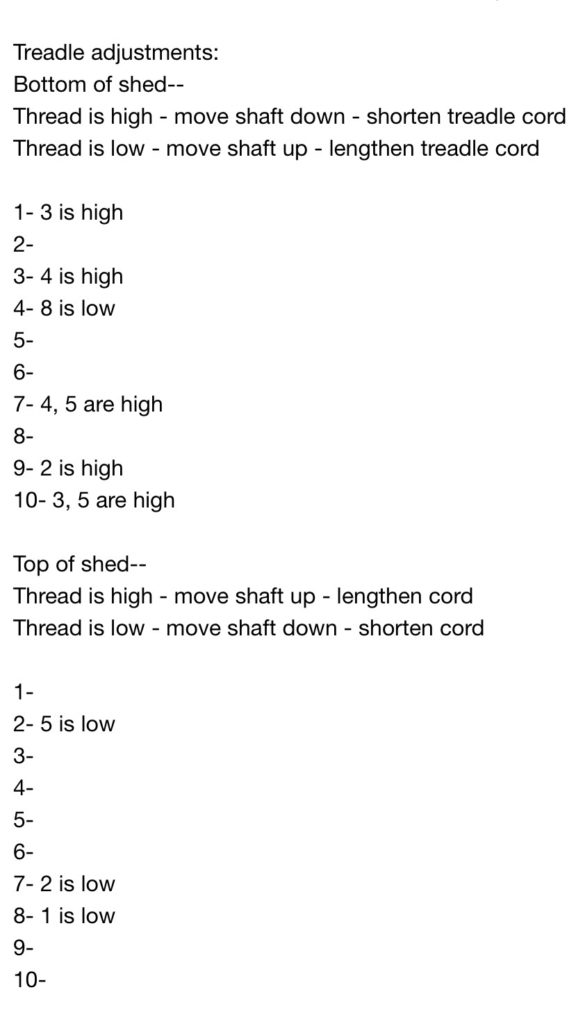
I keep the following note on my iPhone. It helps me remember how things work.
I fill in the blanks for each treadle, noting which shafts are too high or too low. Then, using my iPhone note for reference, I make the needed adjustments.

Note on iPhone for making countermarch treadle adjustments.

  • The first time through, I am primarily interested in the bottom of the shed. I make adjustments to clear the shed enough to be able to weave a little bit.
  • Weave an inch or two. It is surprising how the shed cleans up with a little bit of weaving.
Adjusting treadles on countermarch loom.
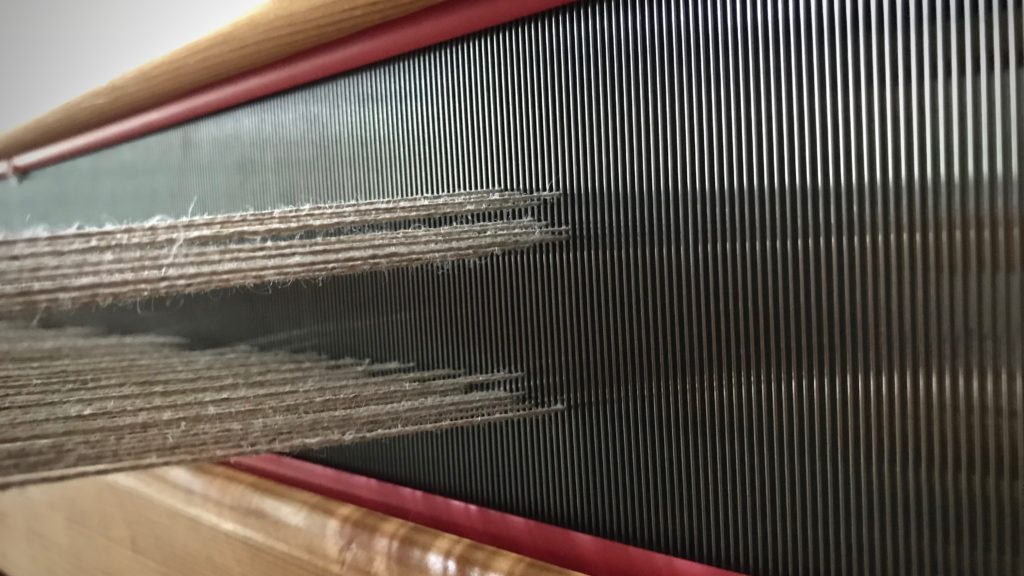
Bottom of the shed has threads on one or two shafts that need to be lowered. After making those adjustments, this treadle will have a clean shed for weaving.
  • After weaving that first inch or so, I go through a second, and a third time, if needed, to get a clean shed on each treadle. Adjustments for the top of the shed are only needed if there are threads that will interfere with the shuttle.
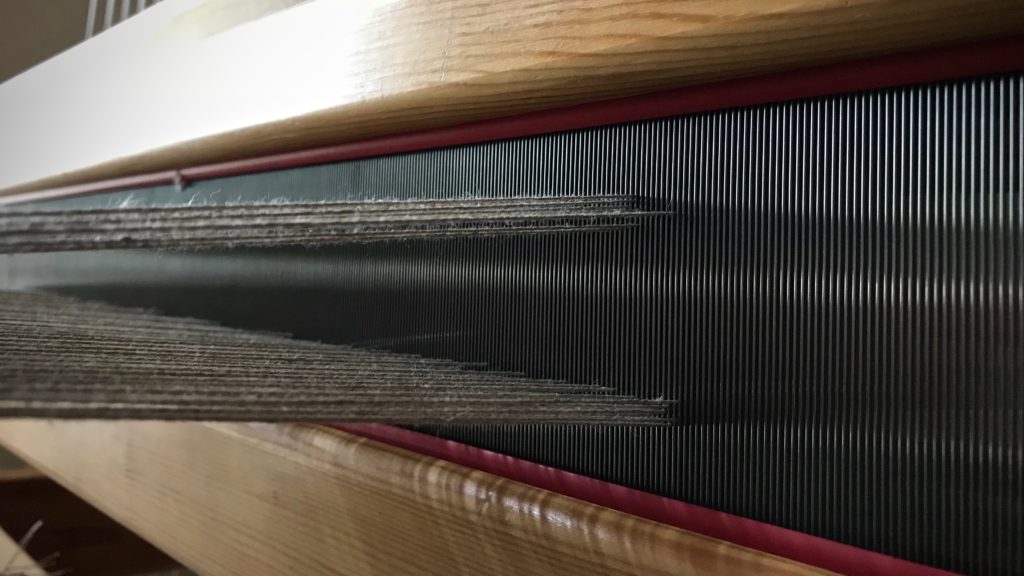
Clean shed of a countermarch loom. Tutorial.
No hindrance for the shuttle here. This is the kind of shed I hope to see on every treadle.

When I first see a messy shed, I think, “How will I ever get my shuttle through that?” But it turns out to be little adjustments here and there. It’s not too difficult if you understand the loom.

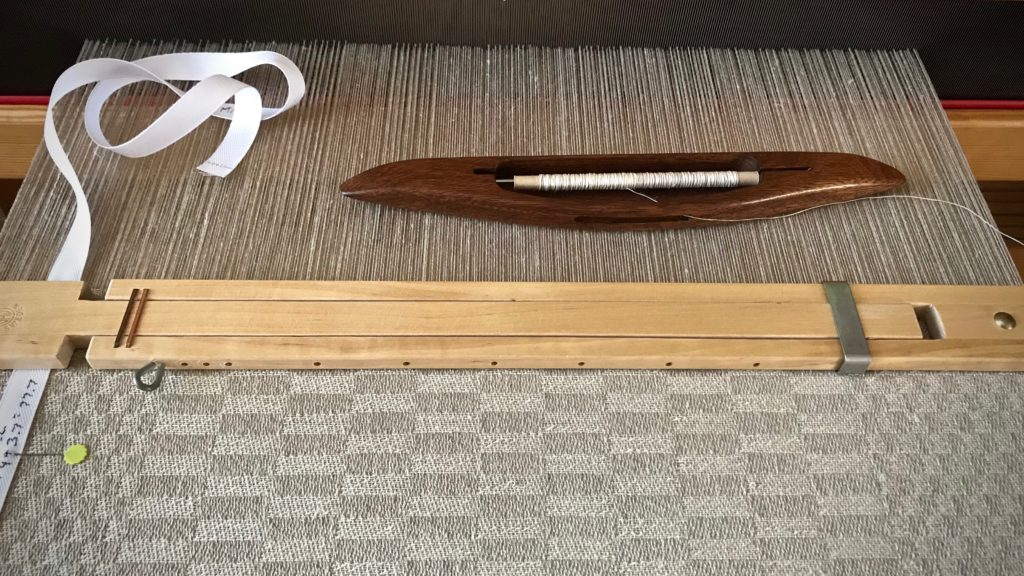
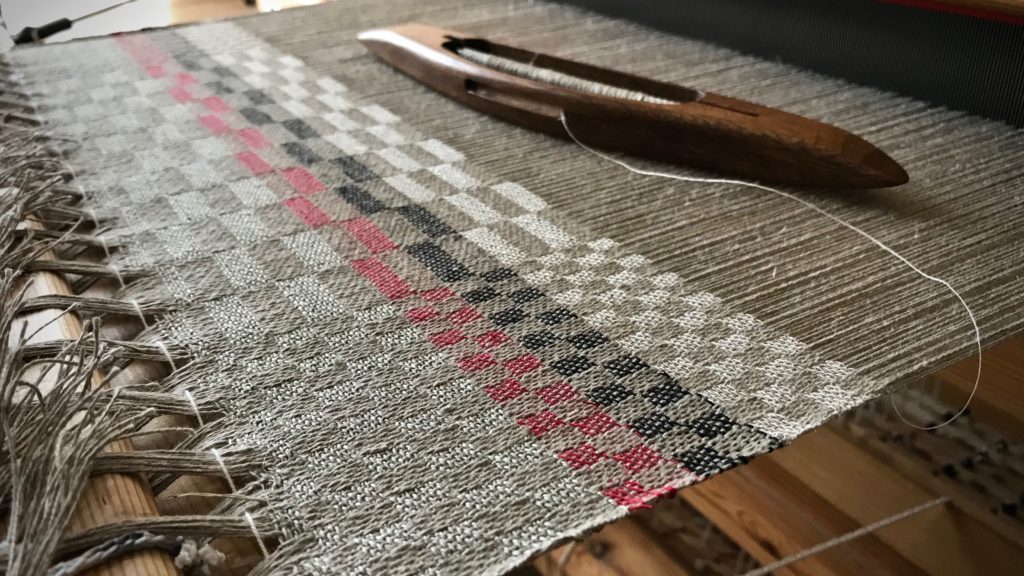
Five-shaft satin dräll in linen. How to adjust countermarch treadles.
After all treadle adjustments have been made, the shuttle glides freely through the shed. And pick by pick, linen threads become cloth.

Nothing is too difficult for the one who made heaven and earth. Our Creator knows how to help us. He hears our prayers for help, and little by little, we see what He is doing as the shed clears and the shuttle glides through, unhindered.

May little adjustments clear the way for you.

With you,
Karen

Tools Day: Countermarch Loom Pros and Con

When my long-held dream of weaving on a floor loom became a possibility, I started my journey with questions. What are the pros and cons of the different types of looms? After considerable research, a winner emerged—the Swedish countermarch loom!

Pros and Con of Countermarch Looms
(My experience is with Glimåkra. Other countermarch looms may differ.)

Pros

  • Weave anything. Rag rugs to lace-weight fabric.
  • Hanging beater. Swinging beater has momentum that enables a firm beat. No strain to shoulders, arms, or wrists. Asset for weaving rag rugs, and superb control for cloth with an open weave. Beater placement is adjustable, making it possible to weave longer before advancing the warp.
  • Rear-hinged treadles. Pressing treadles is effortless, no matter how many shafts. No strain on back, legs, knees, or ankles, even with robust weaving. Because treadles are close to each other, I press correct treadles with sock- or bare-footed ease…without having to watch my feet. Ample foot rest makes it easy to trade feet when using many treadles.
  • Clean shed. Stepping on a treadle raises and lowers shafts at the same time, so a great shed is not only possible, but usual.
Horizontal countermarch. Info about CM looms.
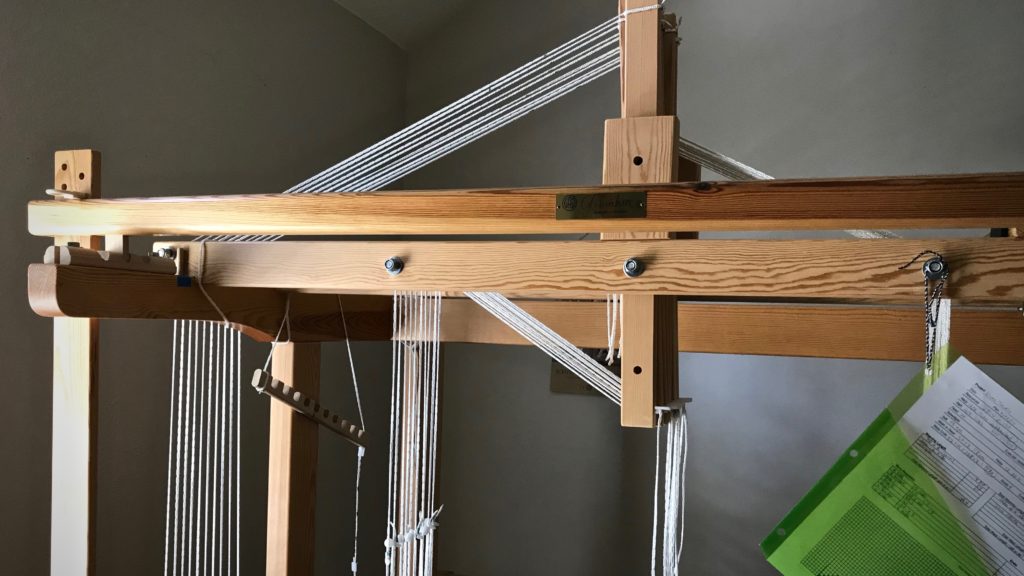
Glimåkra Ideal with horizontal countermarch. The cords from the countermarch jacks at the top of the loom go straight down through the warp to the lower lamms. The lower lamms connected to treadles cause shafts to lift when a treadle is depressed.
  • Even warp tension. Because shafts are both raised and lowered, tension is equal on raised and lowered warp ends. Even warp tension is good for all types of weaving. This even tension makes a tight warp possible. Perfect for linen, and for rugs.
Vertical Countermarch Loom - info about CM
Gimåkra Standard loom with vertical countermarch. Cords from the countermarch jacks go over the side of the loom to the lower lamms below. The upper lamms (not pictured) attached to treadles cause shafts to sink when a treadle is depressed.
Threading ease of countermarch looms.
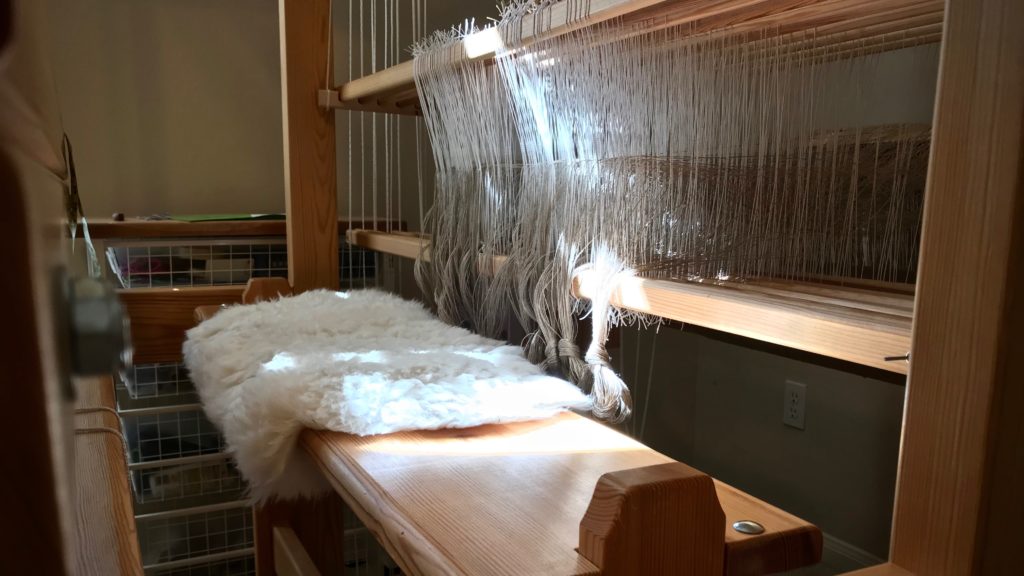
Bench sits in the loom for threading heddles. I call this my little playhouse.
  • Texsolv heddles. Heddles can be easily added or removed from shafts (shafts are also easily added or removed). Quiet. Easy to thread.
  • Perfect fit. A petite person like me can weave on a large loom (my Standard is 47”/120cm) as comfortably as someone with longer arms and legs. Able to sit in upright posture for weaving.
  • Wooden. The loom is primarily wood. Bonus if you appreciate natural beauty of wood. Held together with wooden wedges and a few bolts. No screws or wing nuts.
  • Scandinavian clarity. Because of the Swedish loom, I adopt Swedish weaving practices and have an interest in traditional Scandinavian textiles. The loom fits the style. Streamlined design, precision, systematic and logical processes, and beauty with function.

Con

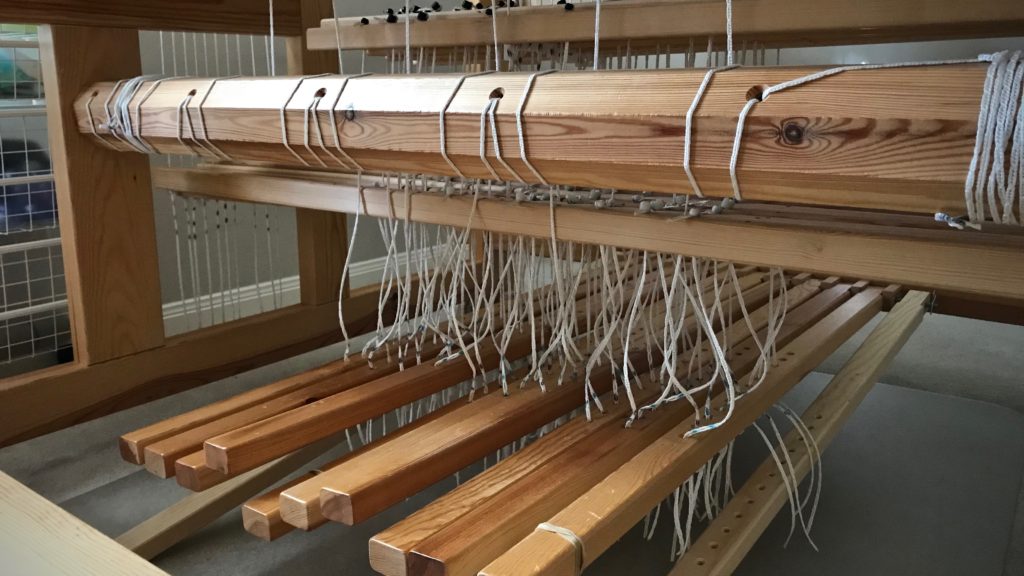
  • Treadle tie-ups. Shafts are connected to upper lamms and lower lamms. Treadle cords with a bead at one end are hung in the lamms. Lamms are then attached to treadles. Treadle tie-ups normally fall under the Pros category, because this is what enables the loom to have the clean shed it’s known for. But since I just finished tying up ten shafts to ten treadles (that’s 100 treadle cords), this is my least favorite part right now. 😉 (The weaving pleasure more than makes up for it, though.)
Countermarch treadle cords. Pros and cons.
One hundred treadle cords hang from upper and lower lamms. The only thing left is to attach all the cords to treadles. 😉
Treadle cords for 10 shafts! 5-shaft satin coming up!
Treadle cords are attached. Little anchor pins lock each cord into position under the treadle. After a few adjustments, the shed on each treadle is good. The loom is dressed! Five-shaft satin dräll coming up!

Conclusion:
When I weave on my Glimåkra Standard countermarch loom, I am soaring like an eagle. I’m sailing with the spinnaker up. I am a pipe organ maestro. I am dreaming while fully awake. This is everything I imagined weaving could be, only better.

Countermarch looms - pros and con.
Testing weft options. Gorgeous handcrafted damask shuttle, Chechen wood, made by Moberg Tools. Five-shaft satin dräll–a weaver’s dream.

For more in-depth information about countermarch looms, comparisons of looms, and other fantastic resources, see articles written by Joanne Hall, found at Glimåkra USA.

May you live your dream.

Very Happy Weaving,
Karen

Quiet Friday: Swedish Rosepath Rag Rug

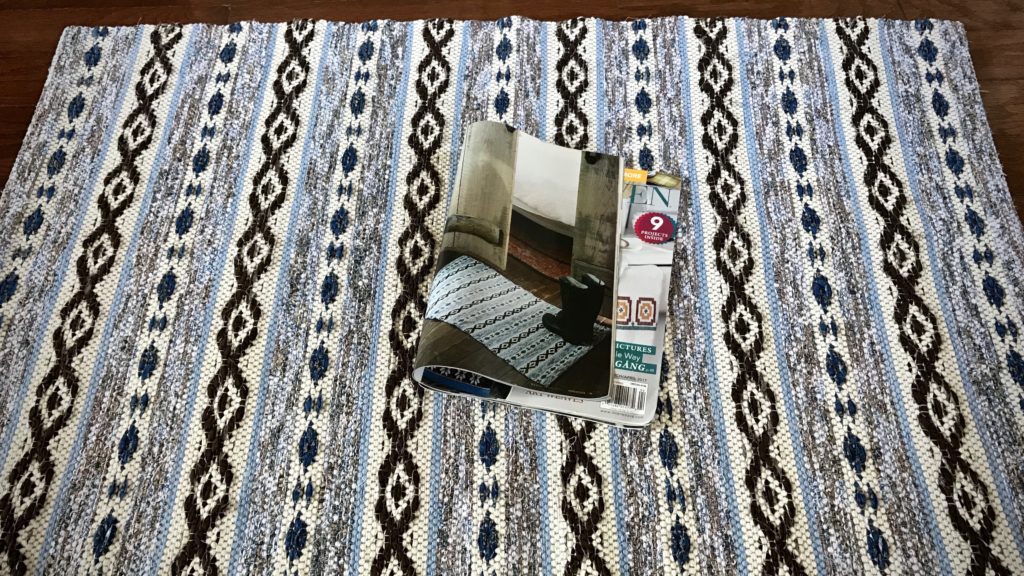
My introduction to rosepath rag rugs was on a room-size loom in Joanne Hall’s magical Montana studio. I was so happy at that moment that I actually cried. It’s no surprise, then, that I relish every opportunity to weave a rosepath rag rug. And even better, to share the joy with other handweavers who may not have tried it yet. Look what came in the mail this week! The March/April 2017 issue of Handwoven, with a project by yours truly–Swedish Rosepath Rag Rug!

Swedish Rosepath Rag Rug, as seen in March/April 2017 Handwoven.

Not everyone loves weaving rag rugs. That’s fine. But if you’re a weaver, there is probably something that draws your interest and brings delight. A certain weave structure, silky fibers, fine threads, complex patterns, bold colors. Something. And if you’re not a weaver, there is something else that triggers your pursued interest. Find that spark that ignites joy in you!

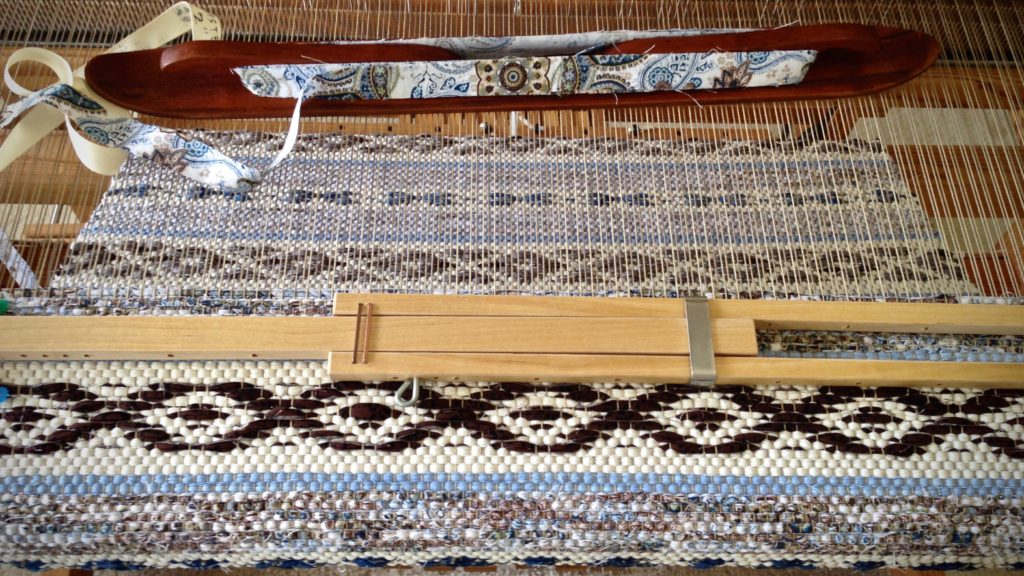
Beginning a rag rug.
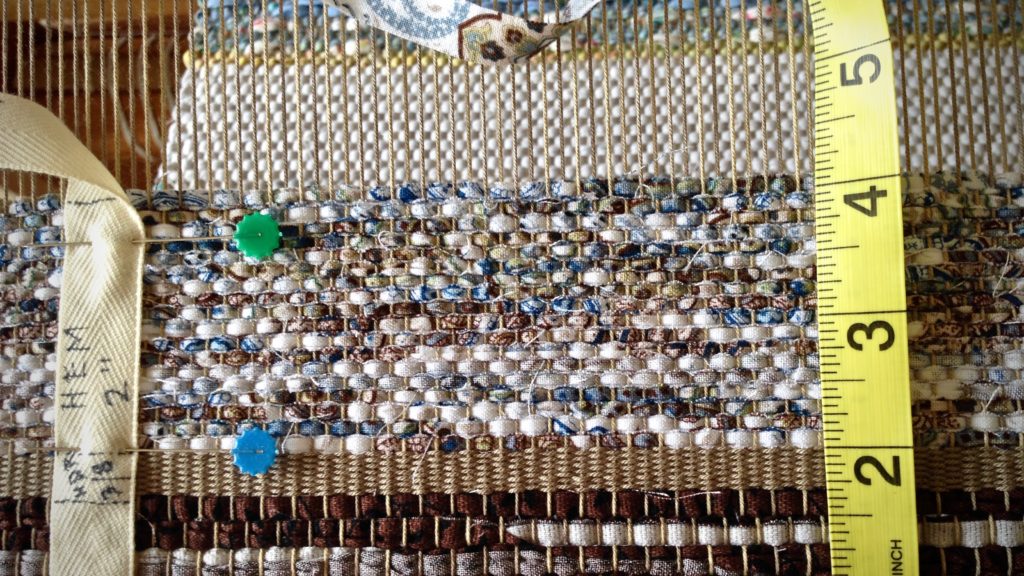
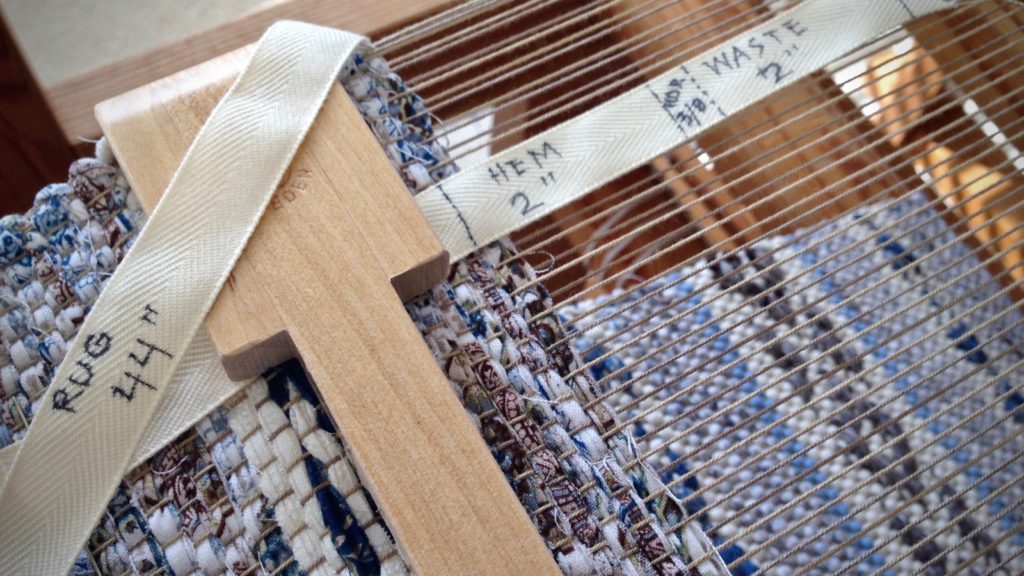
Besides using a pre-measured tape, taking a picture at the beginning of the rug, with the yellow tape measure in view, makes it easy to replicate the hem at the end of the rug.
Temple in place, weaving Swedish rosepath rag rug.
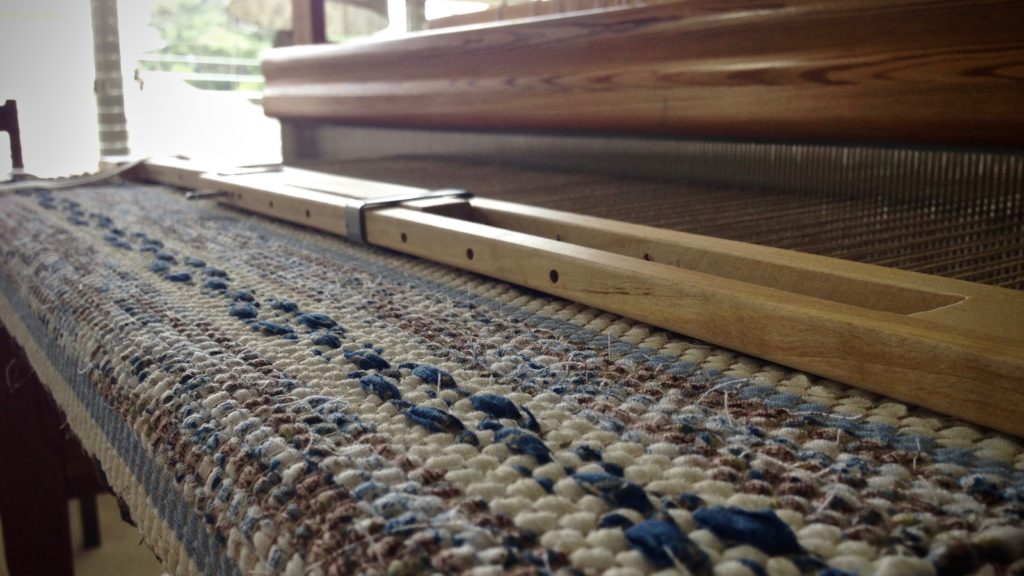
Temple is in place, keeping the rugs a consistent width. Metal rug temples are good, but I still prefer a regular wooden Glimåkra temple for weaving rag rugs.
Weaving rosepath rag rugs. Fun!
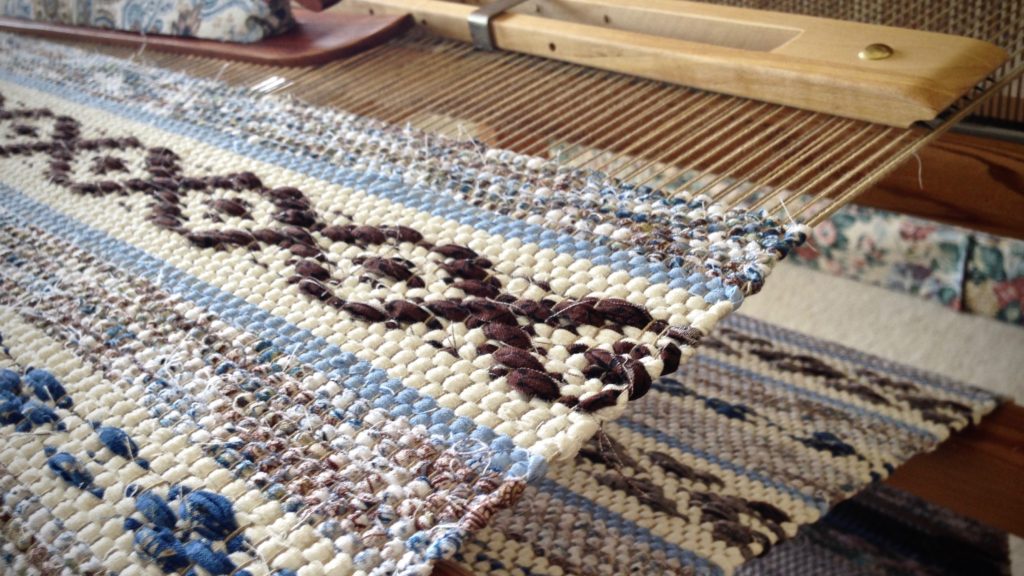
Many rosepath variations are possible. The rug on the cloth beam uses a similar design, with different colors.
Swedish Rosepath Rag Rug. Karen Isenhower
Making paths of roses. Rosepath.
Swedish Rosepath Rag Rug.
Progress!
Seeing the reverse side of the rosepath rag rug on the loom.
Reverse side of the rug has a subtly different pattern.
Swedish rosepath rag rug on the loom. Rug in March/April 2017 Handwoven.
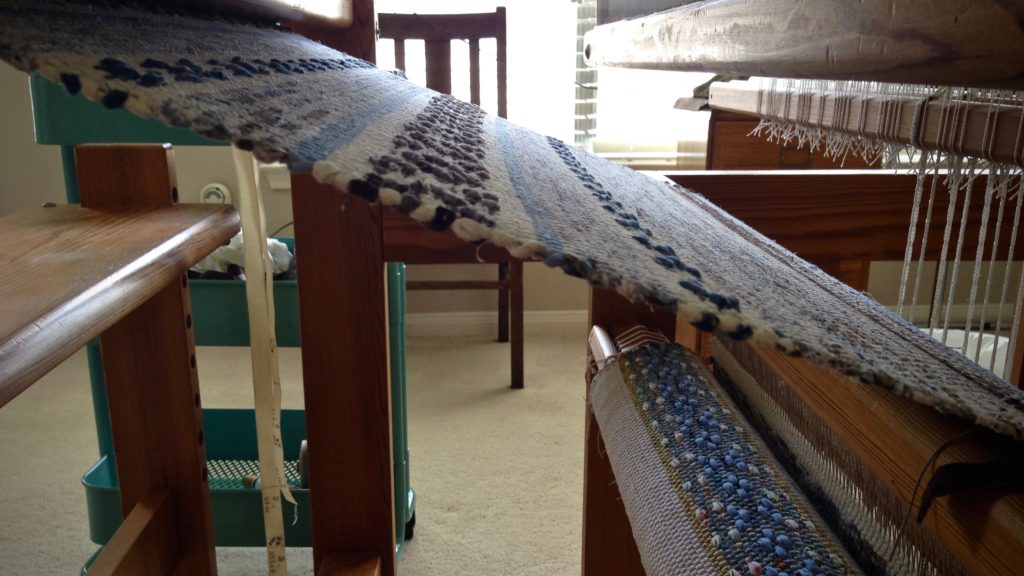
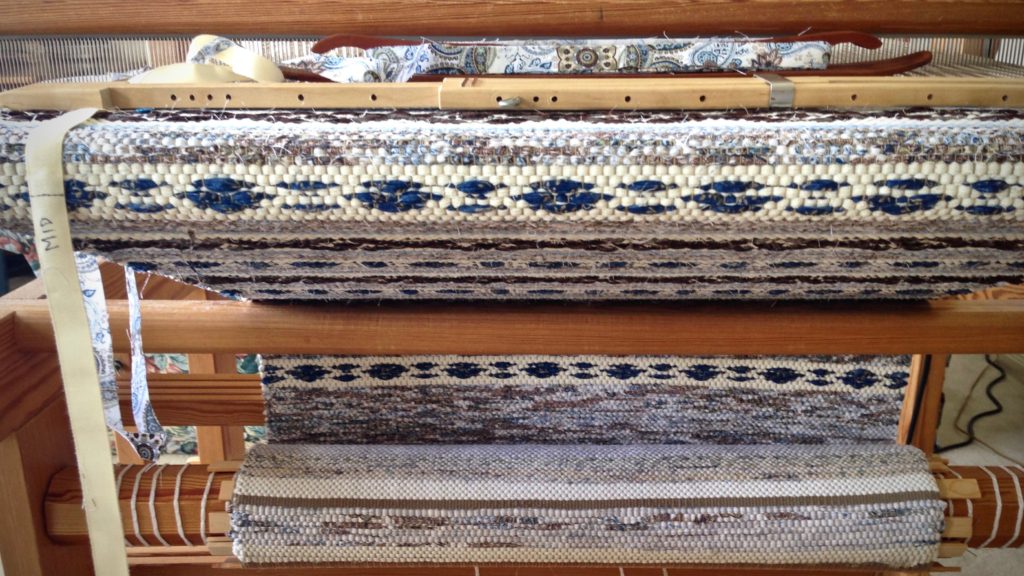
Cloth beam fills up with rag rugs. Pleasant sight for a rag rug weaver!
Ending the rosepath rag rug on the loom.
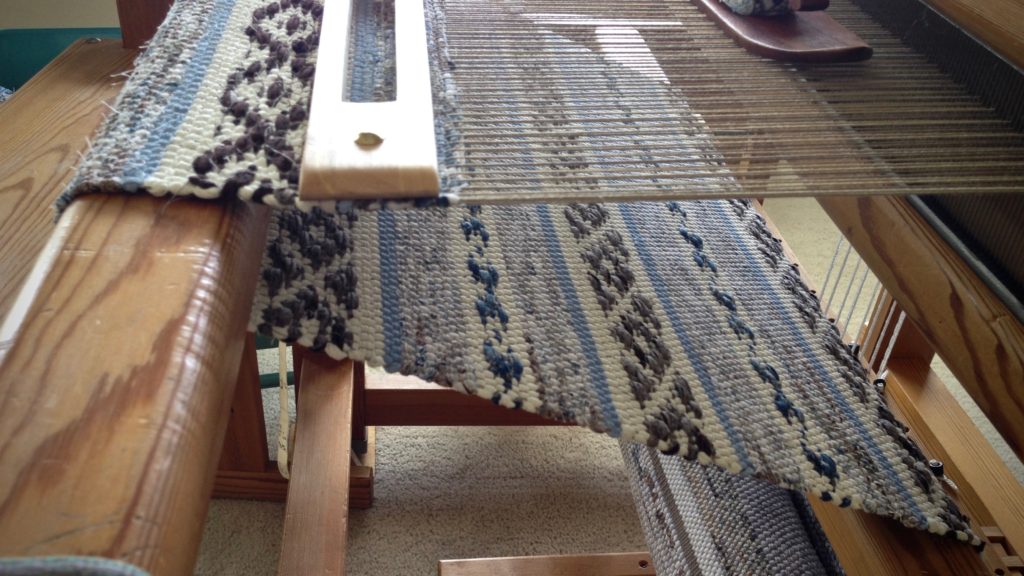
Ending the rug on the loom. Following the markings removes guesswork.

Keep a song in your heart. Sing. Sing for joy. Sing praise to the Grand Weaver who put the seed of searching in you. A seed that bursts open with joy when ignited with a spark, and flourishes into something distinguishable. Trust the Lord with all your heart. Your heart will find its melody.

Swedish Rosepath Rag Rug as seen in March/April 2017 Handwoven.
Published in March/April 2017 Handwoven.

May your heart sing a joyful tune.

ATTENTION: The draft for the  Swedish Rosepath Rag Rug from Handwoven is written for a sinking shed loom. Therefore, for a jack loom, you must tie up the “white” empty squares instead of the numbered squares for the pattern to show right side up as you weave.

If you are interested in weaving rag rugs, take a look at Rag Rug Tips, a new tab at the top of the page.

Happy Weaving,
Karen

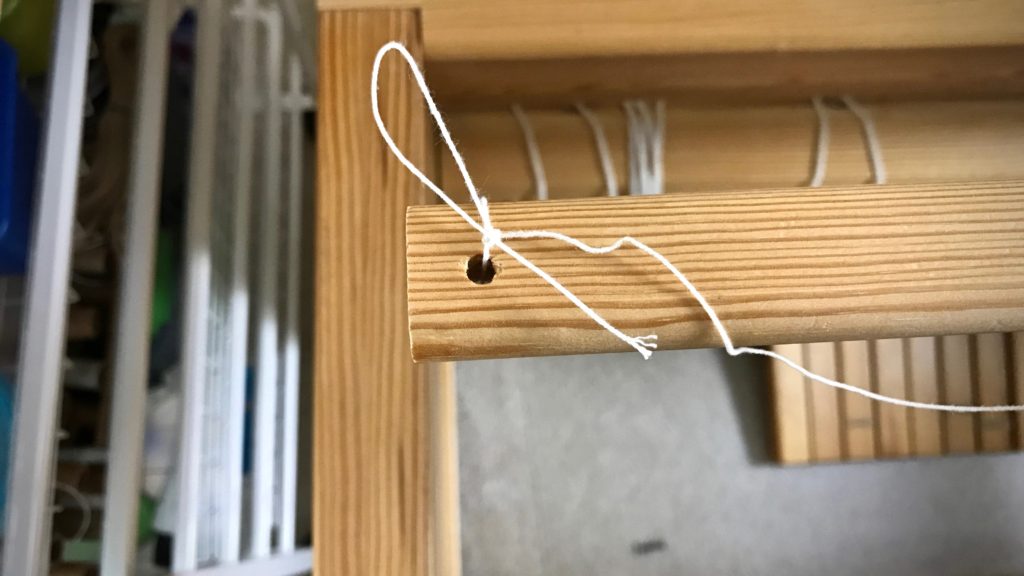
Tools Day: Leveling String

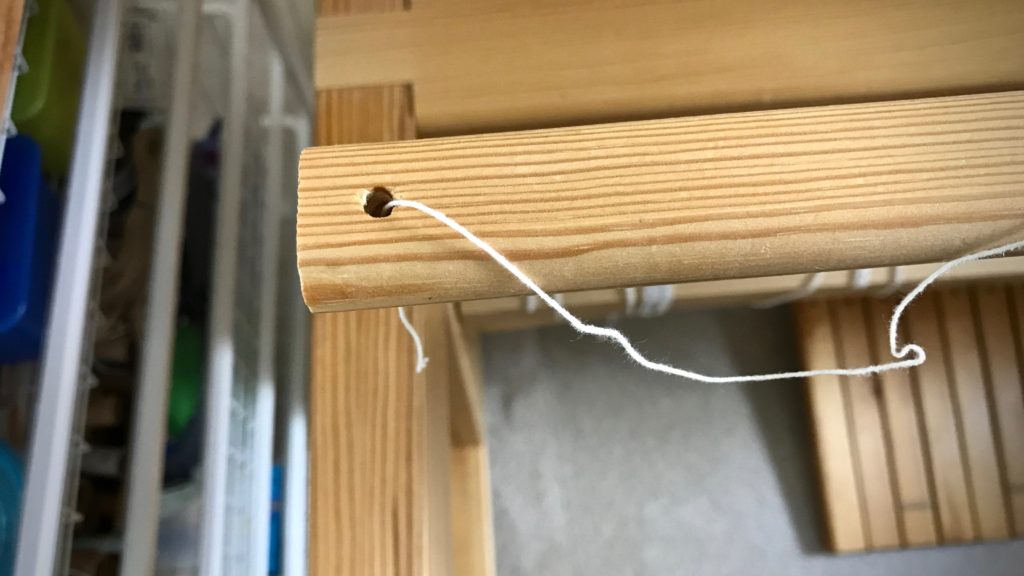
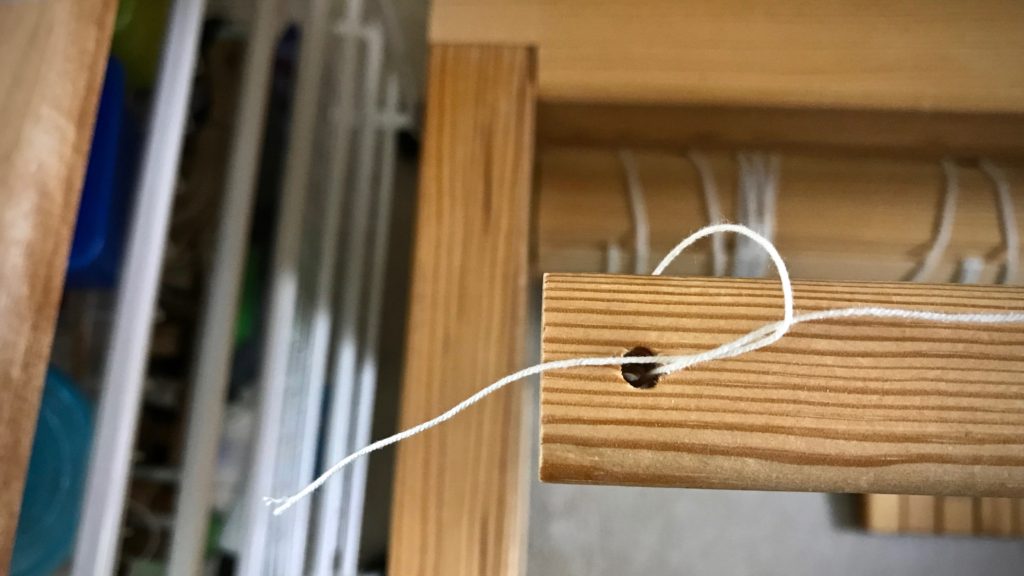
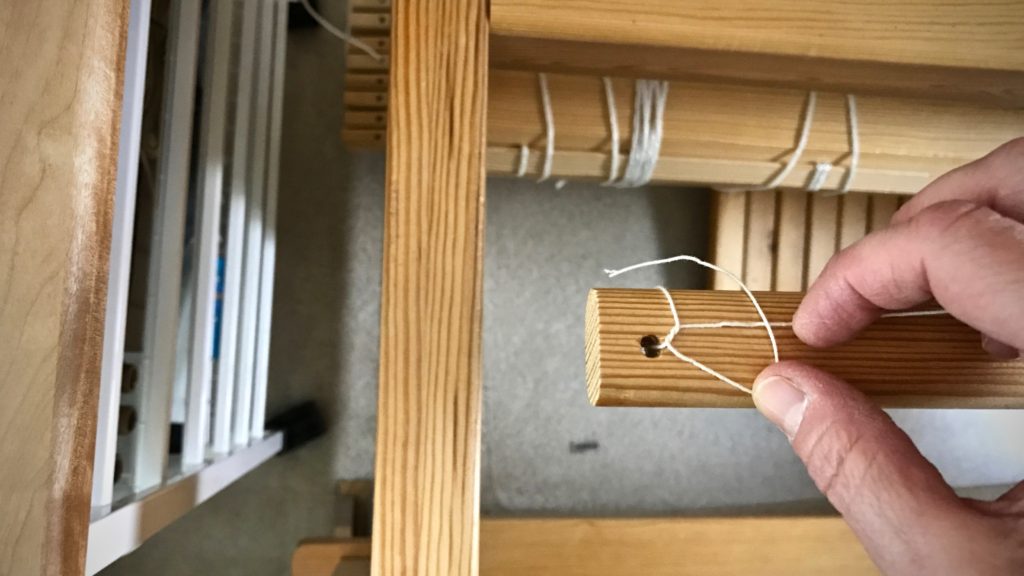
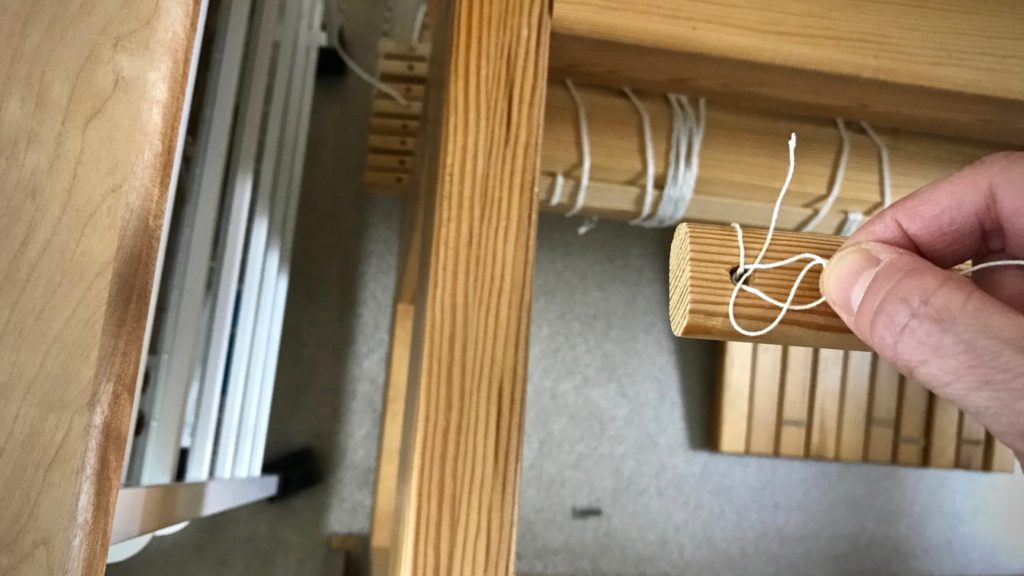
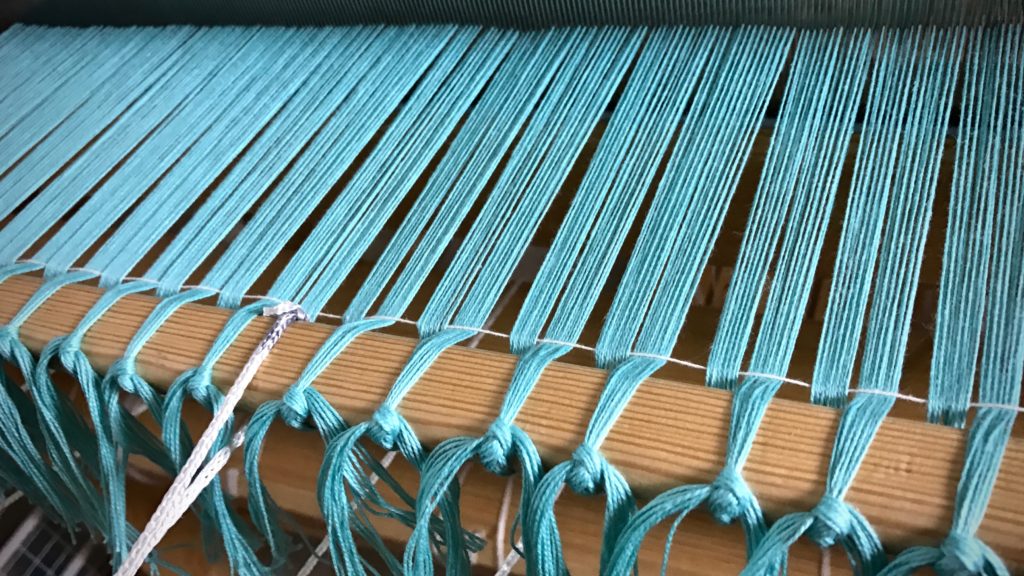
Thirty-five years ago, I took a beginner rigid heddle loom class. Our teacher taught us to use strips of toilet paper (or fat scrap yarn) as weft at the beginning of the weaving to space the warp. After several inches of weaving, the warp ends would fall into alignment. Unless fringe is planned, that beginning warp goes to waste, not to mention the unsightly aspect of the throwaway weft. Here comes the leveling string to the rescue! This piece of 12/6 cotton seine twine is just what we need to get off to a good start with every project we put on the loom. The leveling string levels out the warp ends, and delivers a nice, flat weaving surface. It is superb to be able to weave fabric right from the very beginning of the warp!

The use of a leveling string is also described in my three favorite books that detail how to warp a loom:

  • The Big Book of Weaving, by Laila Lundell
  • Learning to Warp Your Loom, by Joanne Hall
  • Dress Your Loom the Vävstuga Way: A Benchside Photo Guide, by Becky Ashenden

Tools:

  • Front tie-on bar with a hole at each end (Joanne Hall writes, “If there are no holes in your bar, replace the cord with a thin stick.” I have not tried this, but I trust anything Joanne says!)
  • 12/6 cotton seine twine, the length of front tie-on bar, plus about 20 inches (I like to have plenty of string to tie the knots on the ends)

Steps:

1. Tie on warp in small bundles, about 1″ each, with half of the bundle’s ends going over, and half going under, the front tie-on bar (as seen in Step 3 pictures). Tie the ends together with a bow knot or other tie-on knot. (TIP – If you do not tie the knots too tight, it is easier to get even tension across the warp, and it is easier to tighten the leveling string in Step 4.)

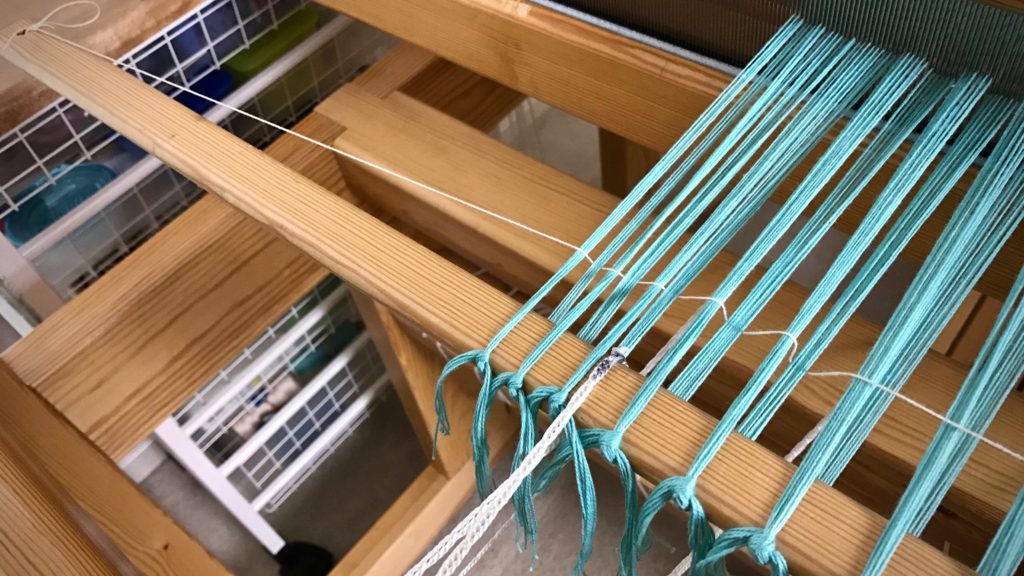
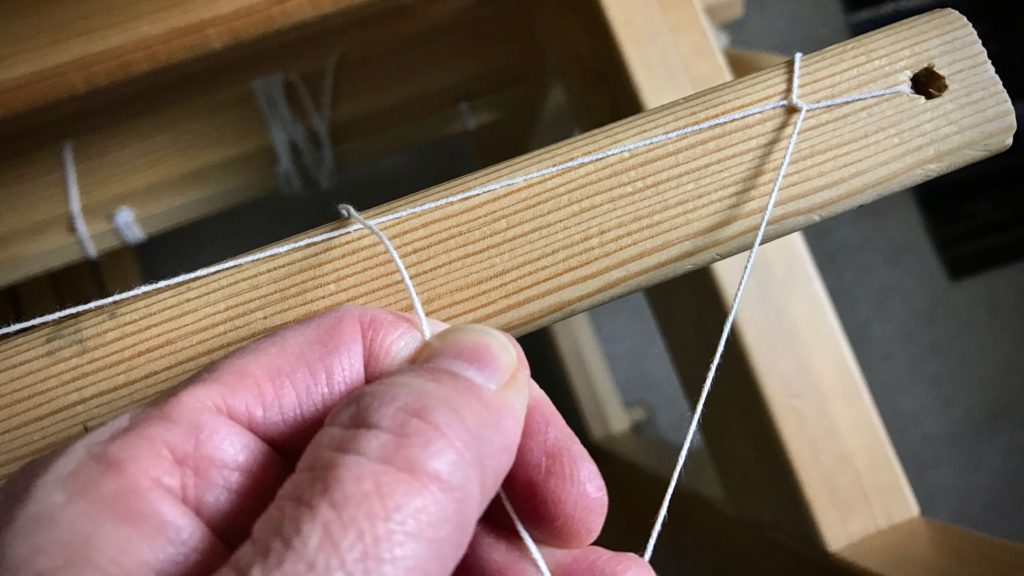
2. Tie one end of the leveling string to one end of the front tie-on bar, using a slip knot with half bow.

Tying the leveling string. Tutorial pics.

Tying the leveling string. Step-by-step.

Leveling string - tying it on.

Tying on the leveling string. How to.

How to tie the leveling string.

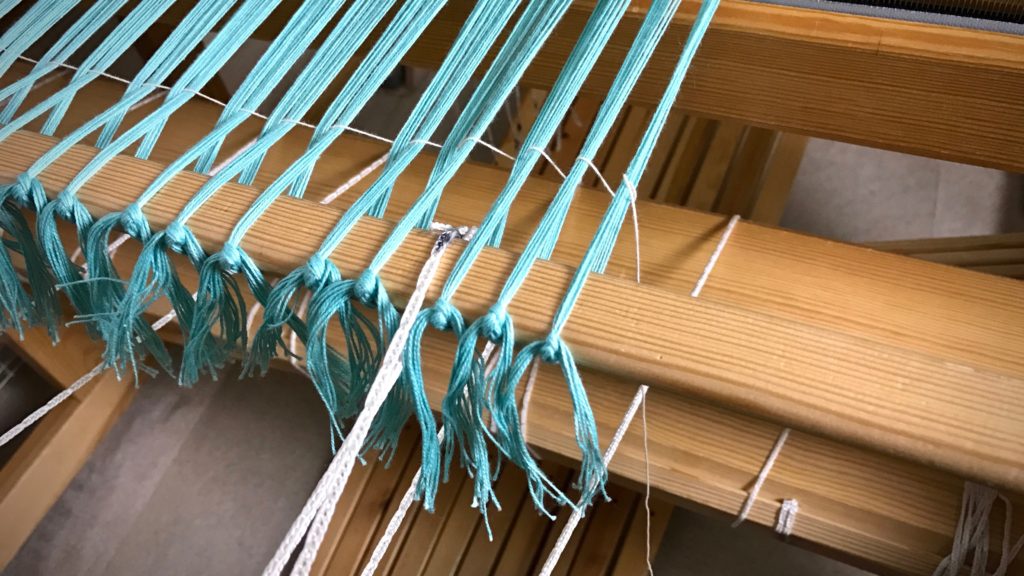
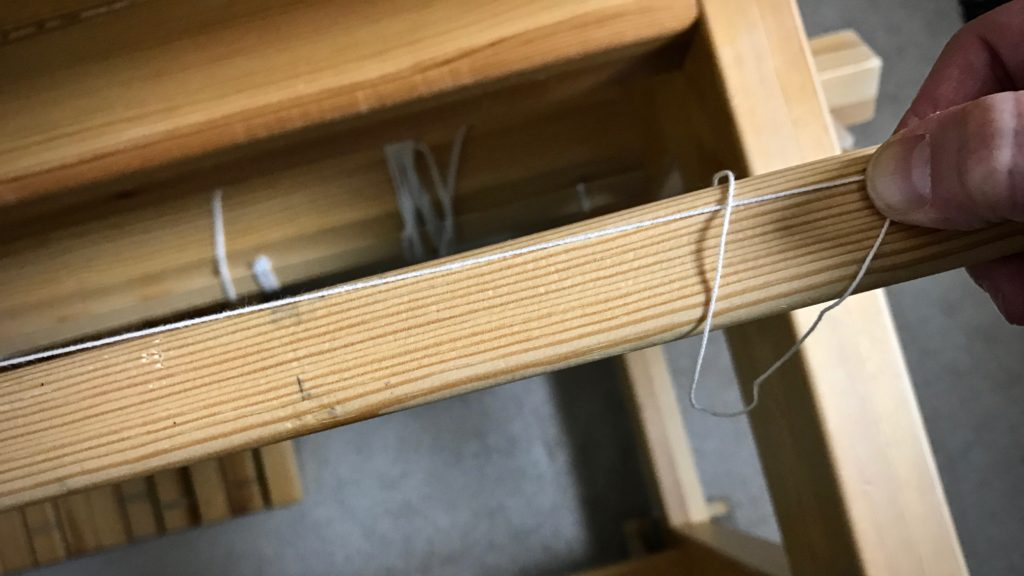
3. Thread the leveling string over and under the tie-on bundles, going over the raised ends and under the lowered ends.

Threading the leveling string through the warp. Tutorial pics.

Leveling string going through the warp.

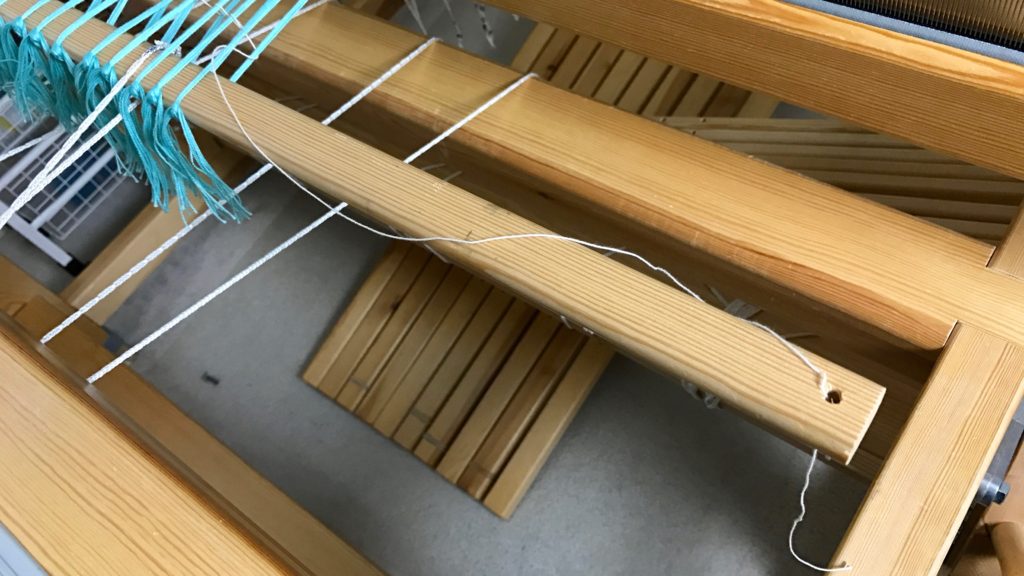
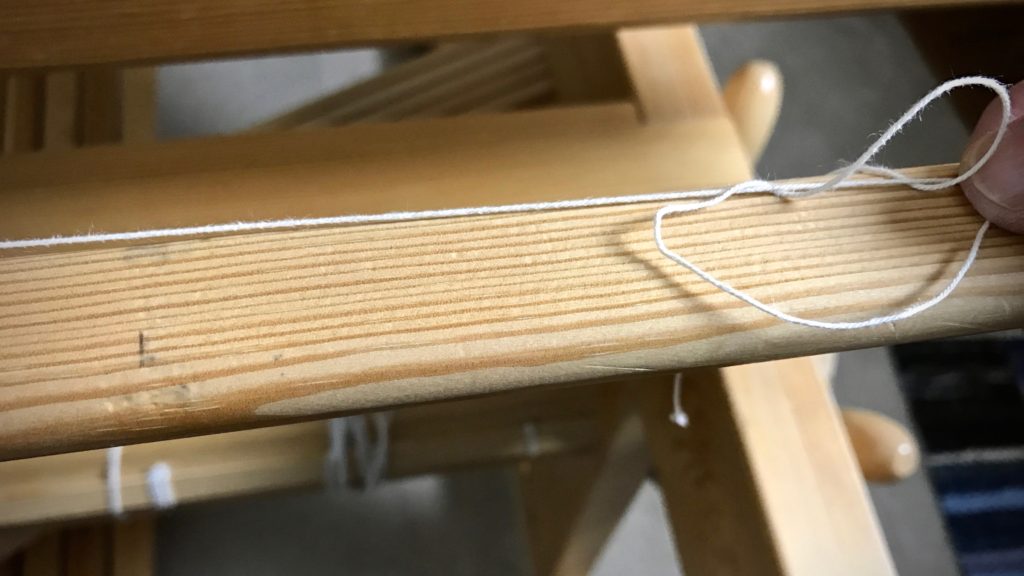
Tying the second end of the leveling string.

4. Tighten the leveling string while tapping it in with the beater.

Tightening the leveling string.

5. Tie the end of the leveling string to the end of the front tie-on bar, using a slip knot with half bow, as before.

How to tie the second end of the leveling string.

How to tie the leveling string.

Finishing the knot for the leveling string.

Why I use a leveling string.

6. Weave to your heart’s content.

Why the leveling string is so helpful!

When you get to the end of the warp, and are ready for cutting off, simply tug the loose end of the string at one end of the bar to release the slip knot, and pull the leveling string out of the warp.

May you weave as soon as possible.

Happy Valentine’s Day,
Karen

Quiet Friday: Warping Back to Front with Confidence

“Put on many short warps.” This was the best piece of advice I received as a new weaver! Repeated practice of the back-to-front warping steps accelerated my confidence at the loom. If I can get it on the loom, surely I can weave it, right? When you are comfortable dressing the loom, you start feeling like a “real” handweaver. And before you know it, you are planning, designing, and weaving. And having the time of your life!

Tips for Preparing the Warp for Beaming

  • Wind the warp with two (or more) threads, separated by your fingers to keep them from twisting. This virtually eliminates tangles during the warping process.
  • Wind multiple bouts, when needed. The rule of thumb I use is to stay under 200 ends or 10 inches. Smaller bouts equalize the tension across the width of the warp.
  • Tie tight choke ties about every yard or meter along the warp before chaining it. This keeps the warp ends from shifting.
  • Keep the warp under constant, even tension. Threads can get into trouble if you let them relax.

Warping Back to Front

1 Lay warp chains across the breast beam, and through the beater, with the lease cross of each warp chain on the other side of the beater.
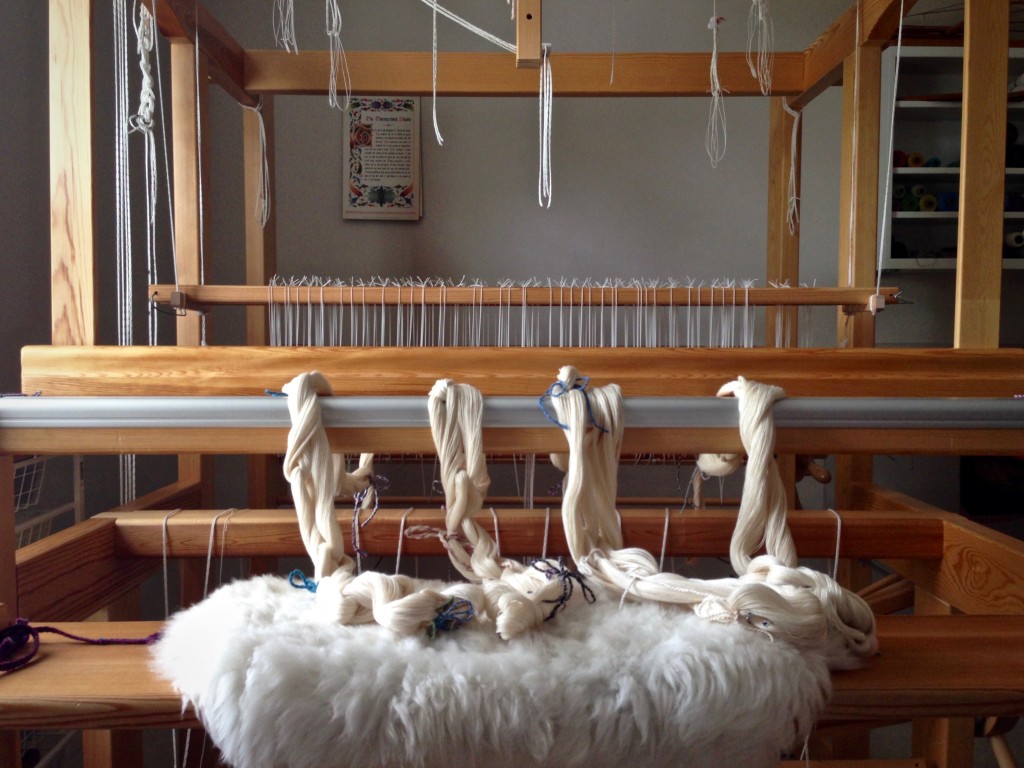
Warp chains ready for warping the loom back to front.

2 Raise the shafts out of the way, and place support sticks over the beater and the back beam to hold the lease sticks and the pre-sley reed. Thread the lease sticks through the cross of each chain. Lease sticks in the picture are being tied together.
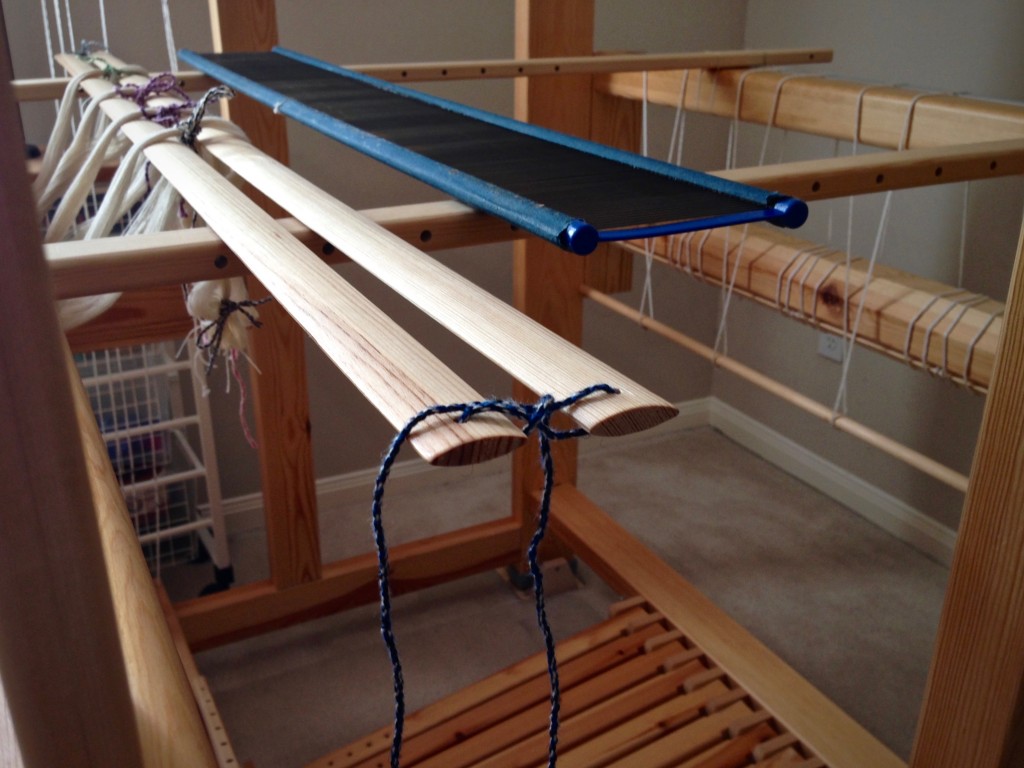
Tying lease sticks during warping process. B2F warping explained.

3 Use tape measure and reed hook to mark the starting dent for pre-sleying the reed.
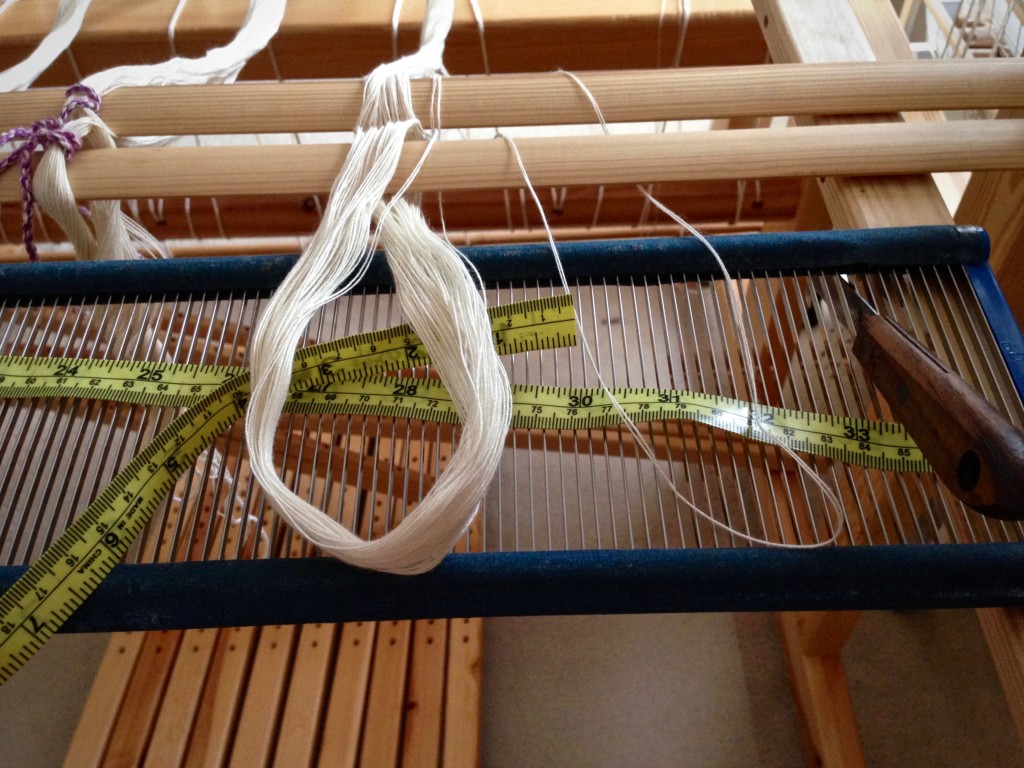
Pre-sleying the reed in back to front warping.

4 Divide warp into sections corresponding to the cords on the back tie-on bar. Insert the tie-on bar through the loops that form at the end of the warp.
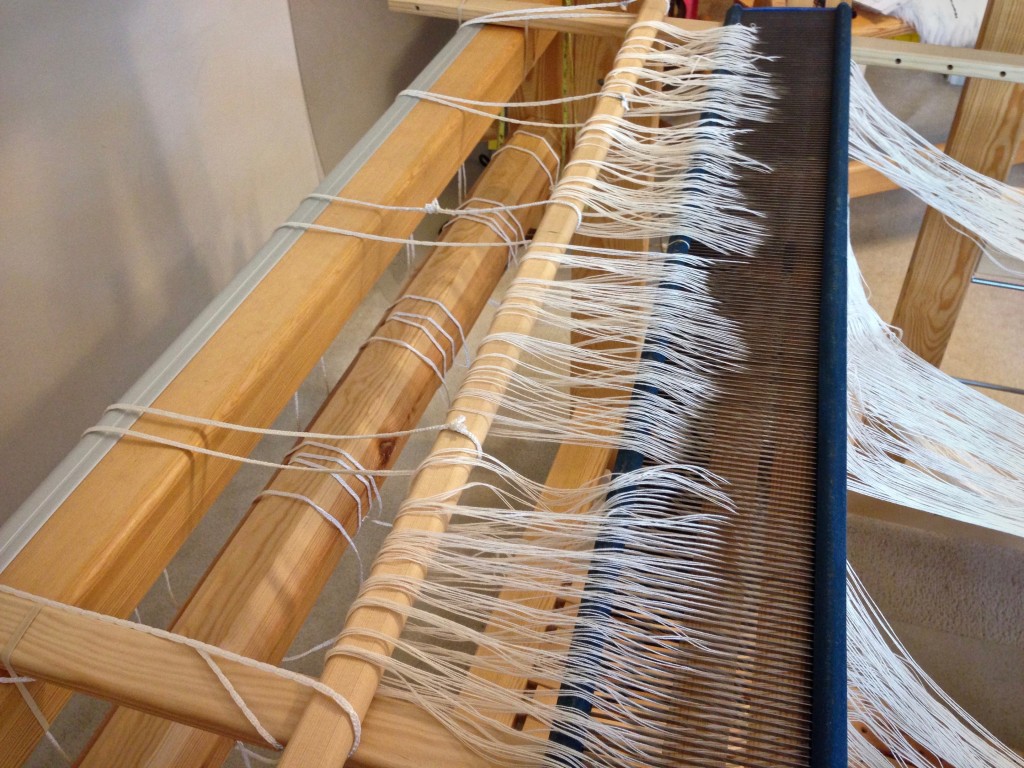
Insert tie-on bar while warping back to front.

5 Install the warping trapeze at the front of the loom, or use another method to extend the warp and weight it. Texsolv cord is connected to the end of each warp chain to extend the length. (This is a 3.5 meter warp–not long enough to go over the trapeze cross bar.) Weights are suspended from the texsolv cords with S-hooks.
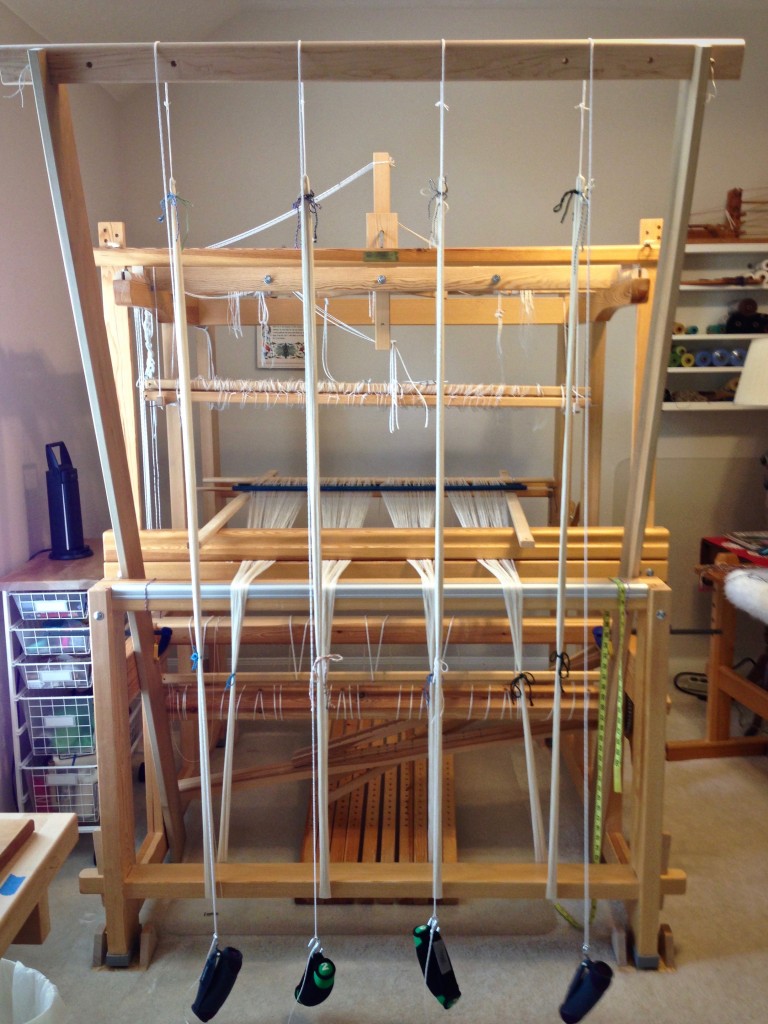
Adjusting the warp on the warping trapeze.

6 Transfer the lease sticks from in front of the reed to behind the reed. This is a gutsy way of transferring lease sticks. (Please don’t try this method unless you read about it first in Becky Ashenden’s book, noted below.)
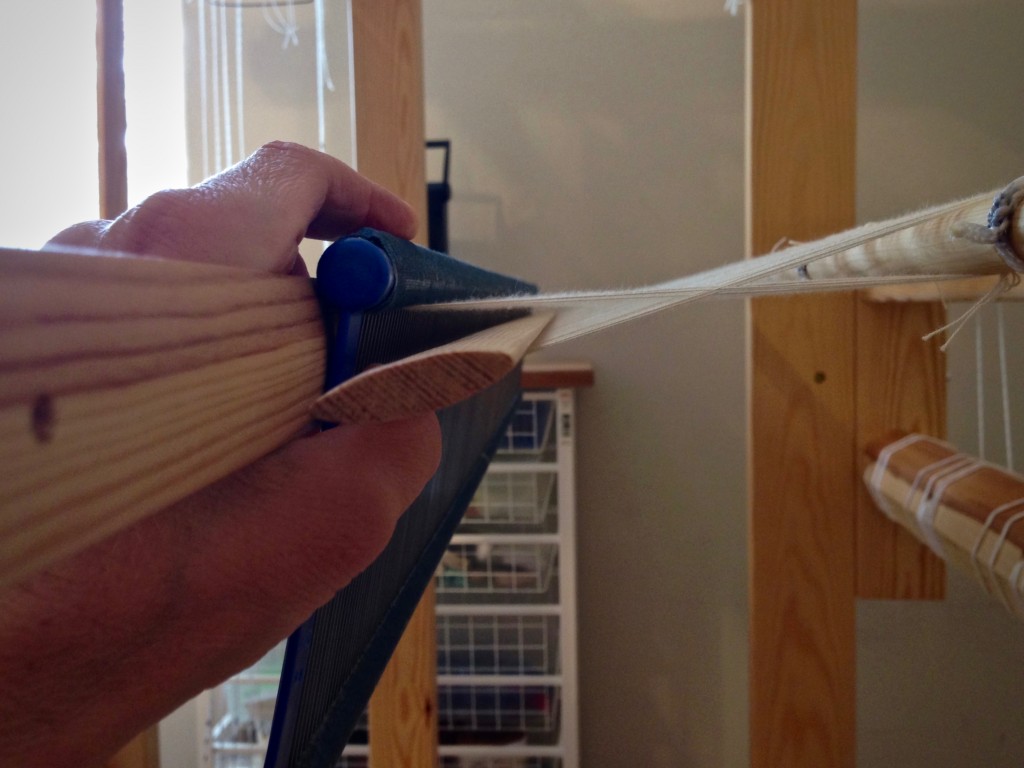
Transferring lease sticks like this takes guts!

7 Straighten out each warp end from the reed to the back tie-on bar.
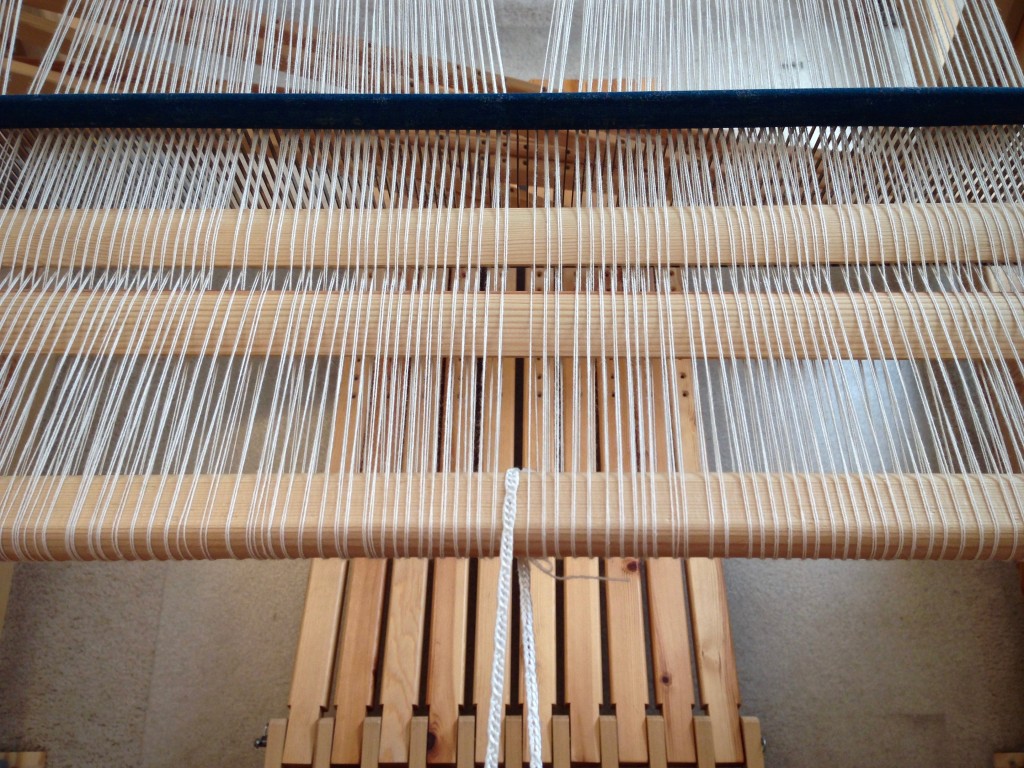
Winding on a new warp. Back to front warping pics.

8 Place the reed in the beater. Center the reed in the beater.
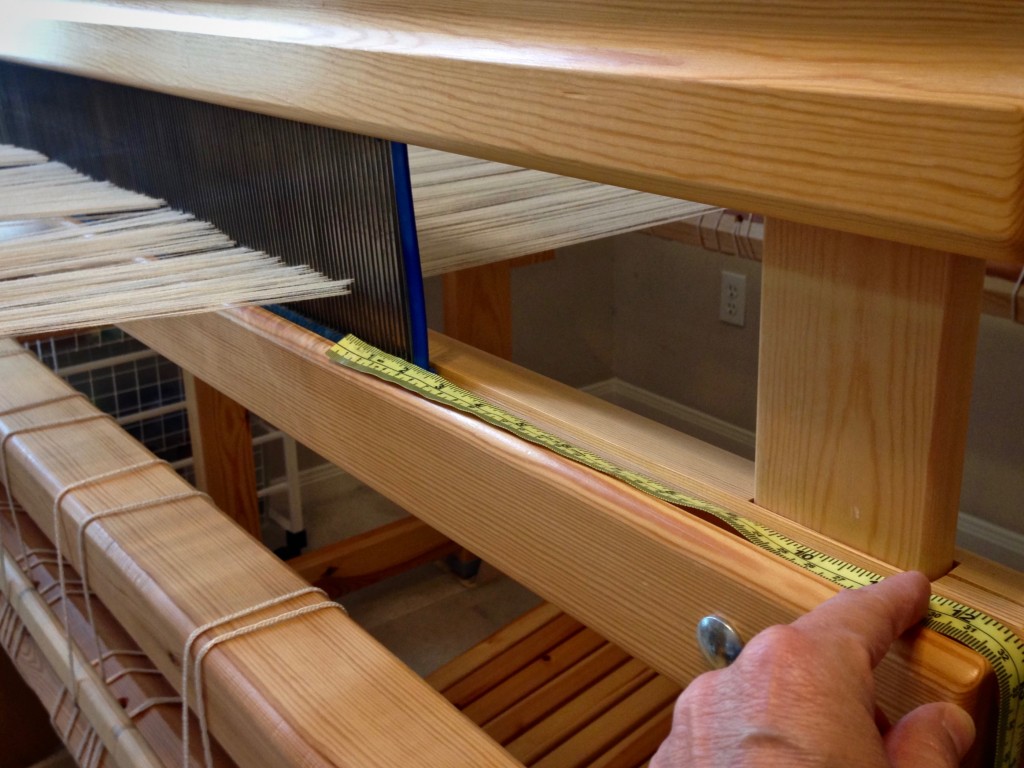
Placing the reed in the beater.

9 Remove choke ties between the beater and the trapeze cross bar, but do not remove choke ties from the very end of the warp. Starting at the reed, separate each warp bout in the middle.
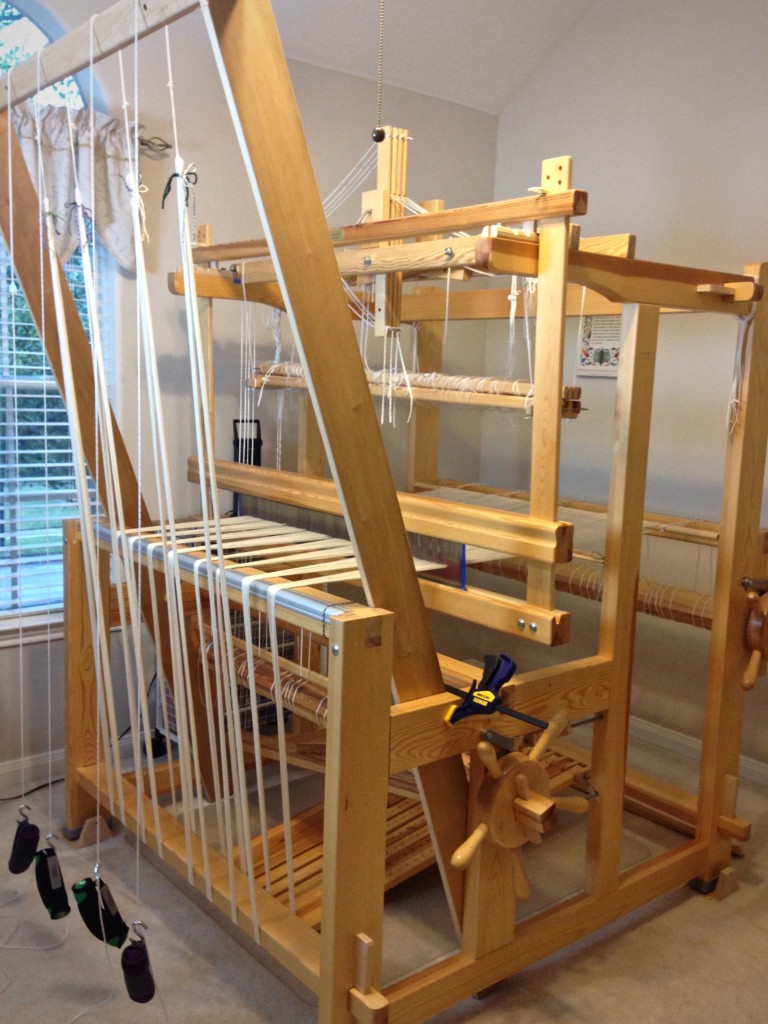
Warping trapeze in use for warping Glimakra Standard.

10 After sliding lease sticks toward the reed, wind the warp onto the beam. Place a warping slat on each flat side of the warp beam for one revolution. (Octagonal beam uses eight sticks.) Advance weight at the front of the loom as needed. After two additional revolutions of the beam, add warping slats for one revolution again. Continue this pattern as beaming progresses.
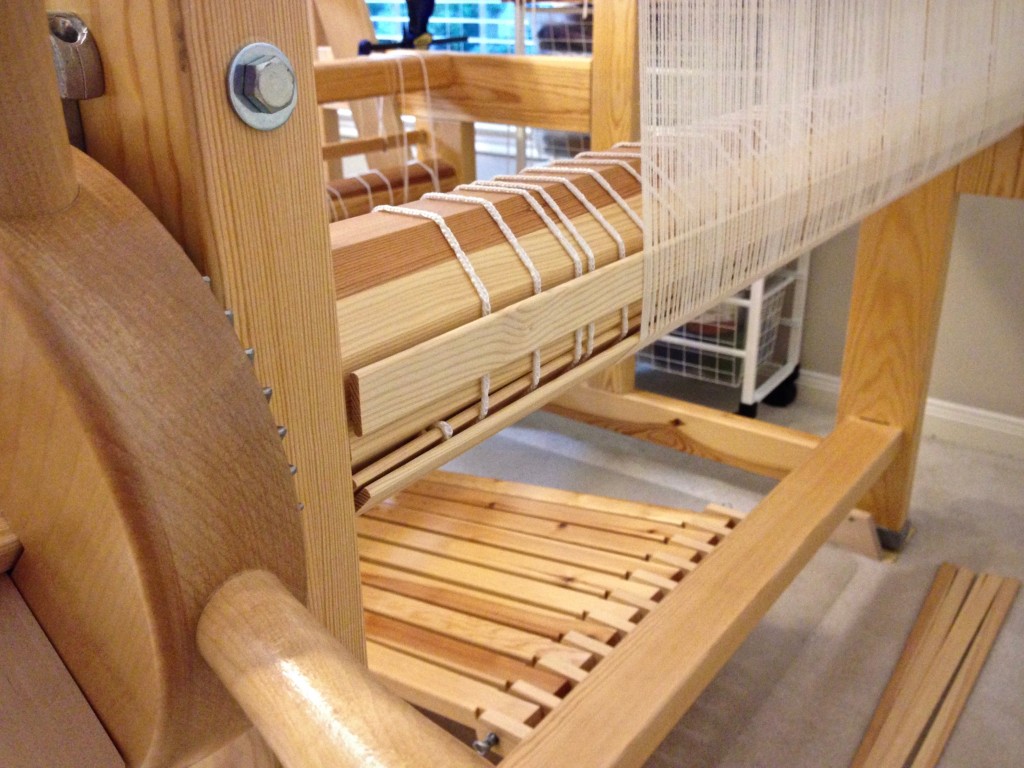
Warping slats during beaming. Beaming tutorial.

11 Tie beater back to allow a little more warp to be wound on.
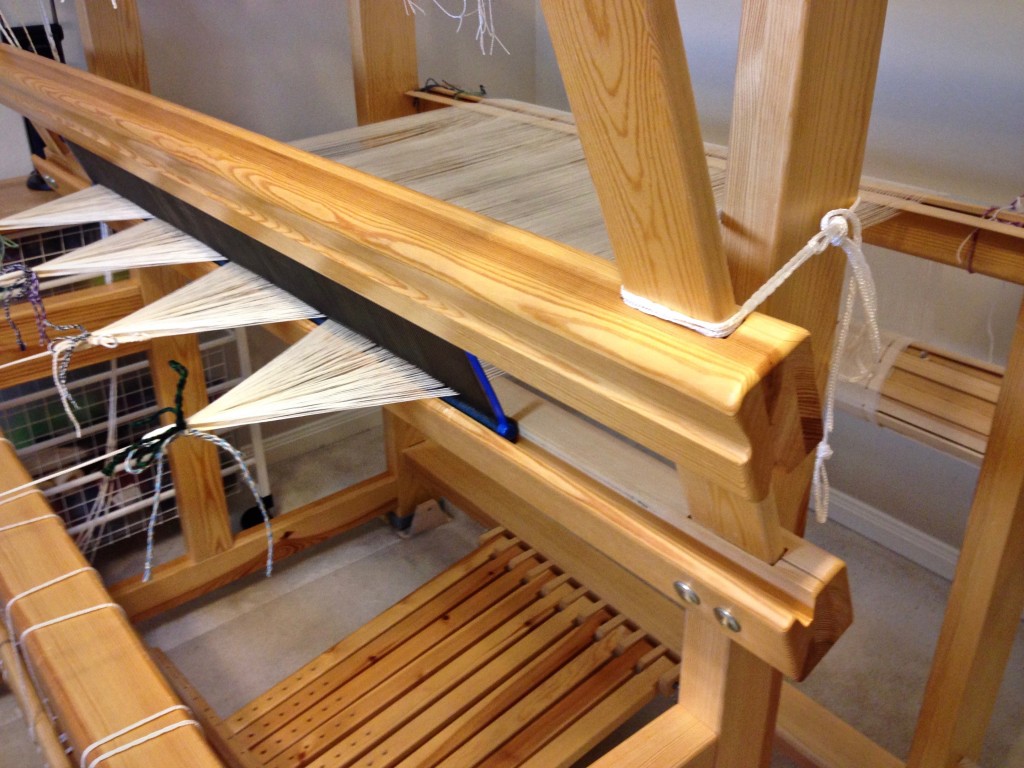
Finishing up beaming the warp.

12 Tie lease sticks to the back beam. Do not forget this step!
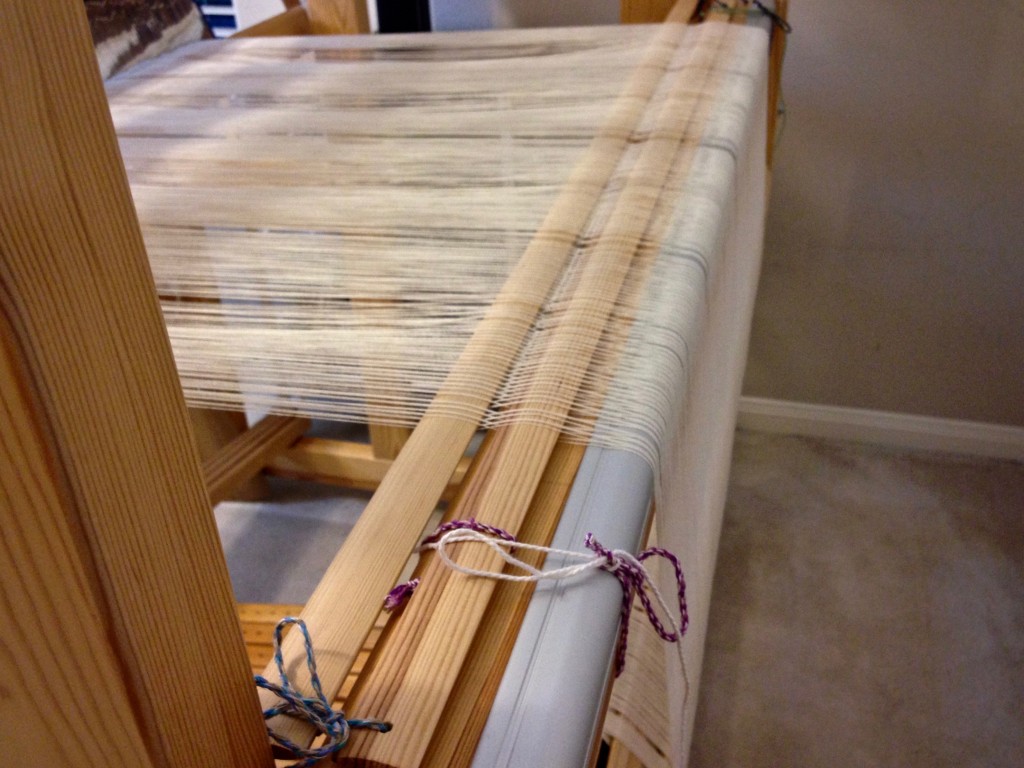
Tie the lease sticks to the back beam before cutting the ends.

If you missed step 12, do it now, or you will be yelling for help as you try to hold the cut ends with one hand while trying to keep the lease sticks from slipping out with your other hand. I speak from experience.

13 Loop the end of the warp chain around your hand, and then remove the remaining choke ties. Cut the loop.
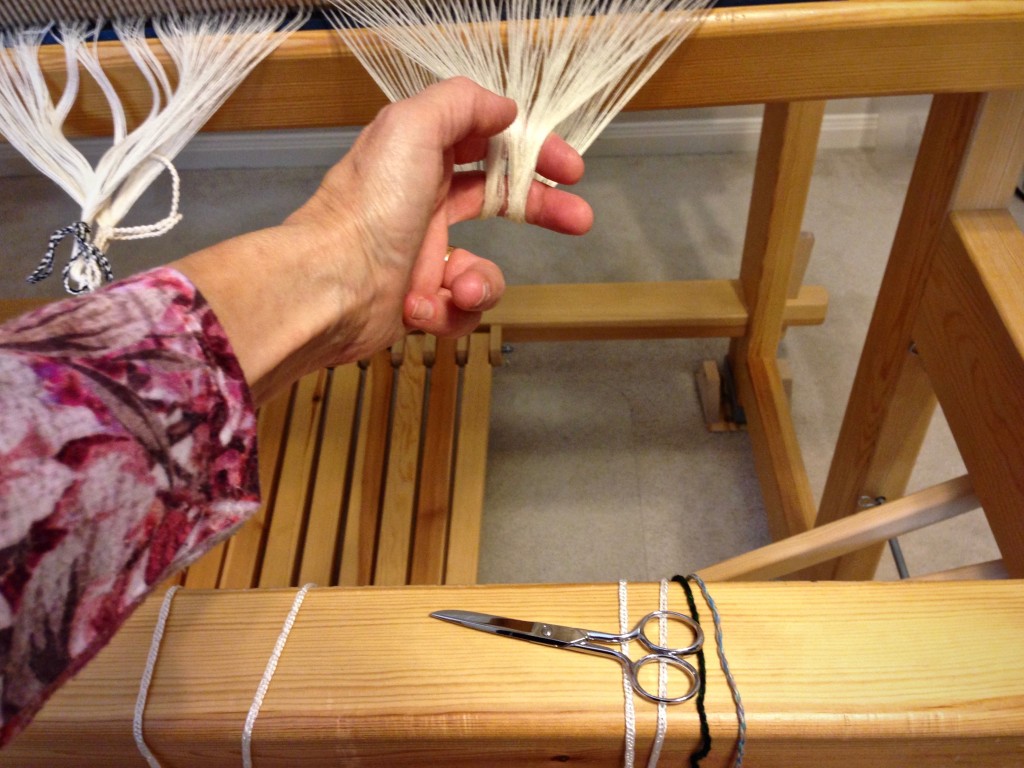
Cutting ends after beaming the warp.

14 Remove a group of warp threads from the reed and tie in a loose slipknot. Continue across the warp. Remove the reed.
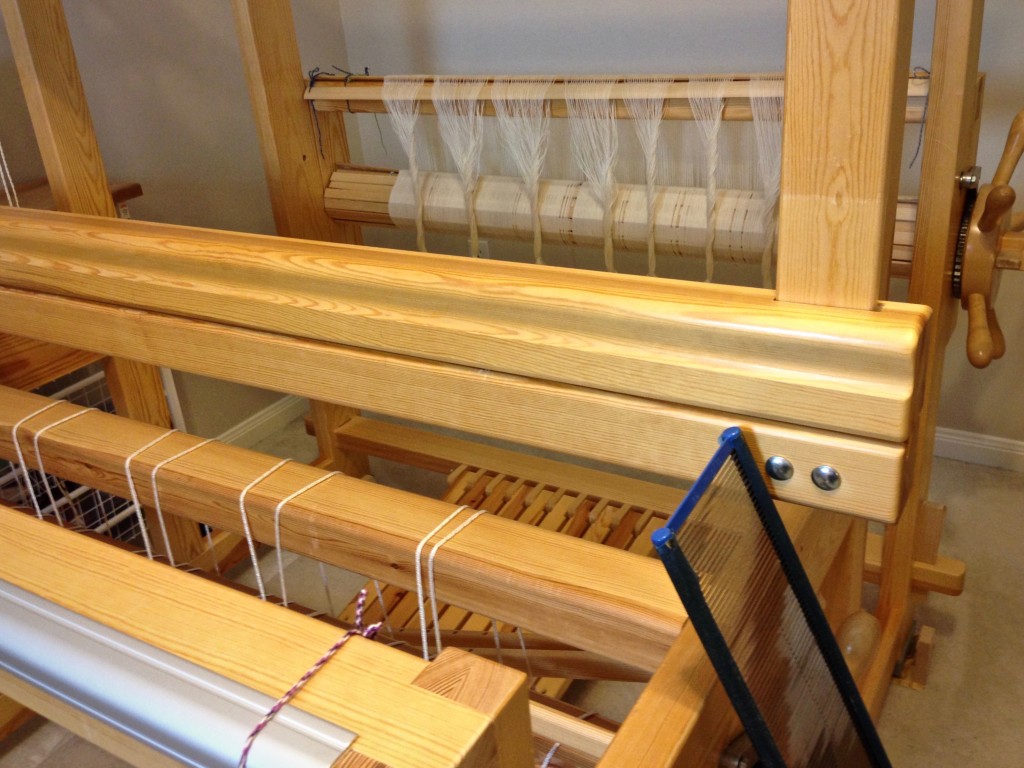
New warp of 16/2 cotton for monksbelt on weft rep.

15 Use the threading draft to count the warp ends into threading groups, tying each grouping with a slipknot.
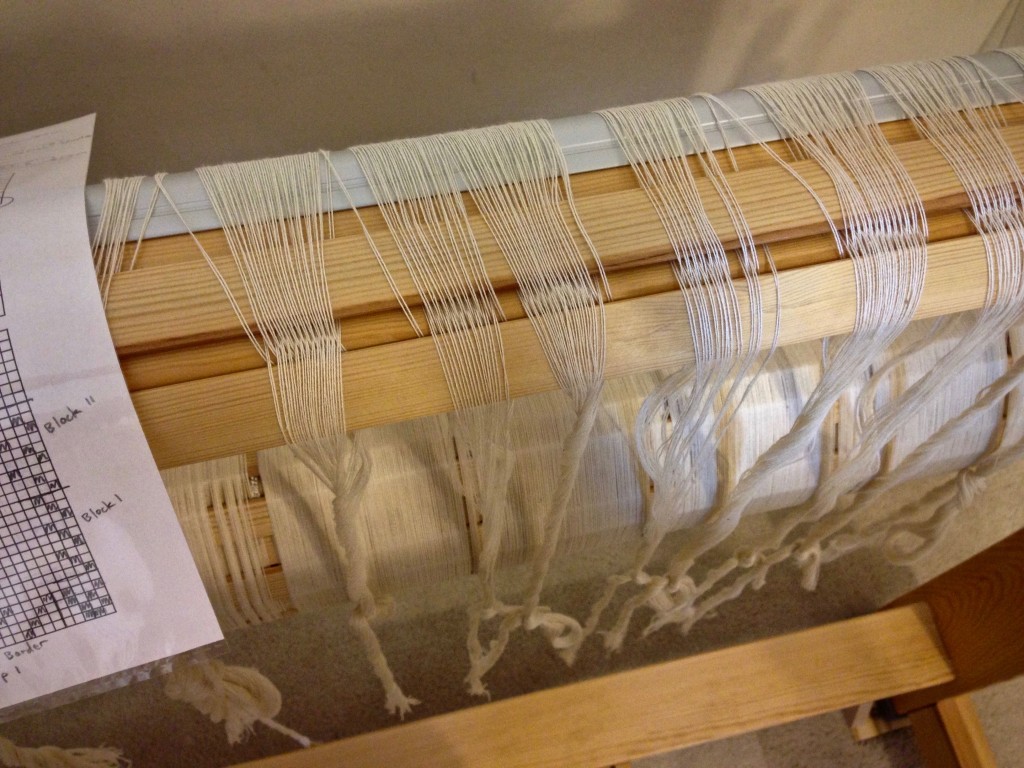
Grouping warp ends before threading.

16 Adjust the loom for threading. For this Glimåkra Standard loom, I move the countermarch assembly to the back of the loom, put the bench in the “playhouse,” and lower the shafts for threading.
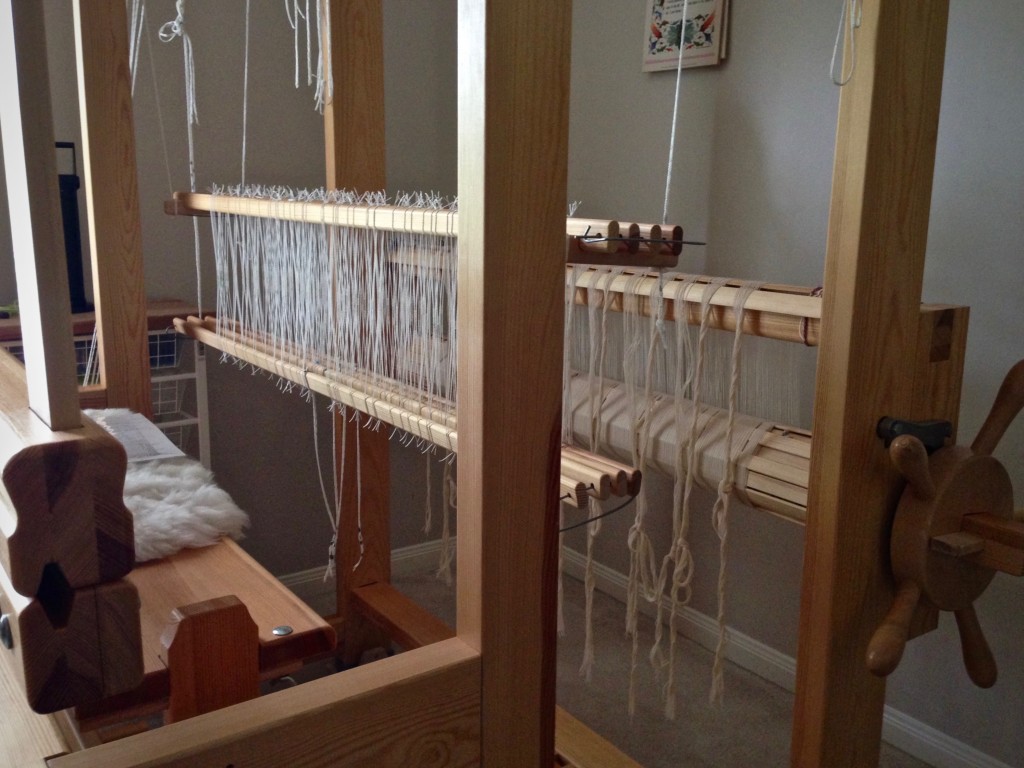
Bench "in" the loom for threading. Glimakra Standard.

For more thorough instructions about warping your loom, please consult these excellent resources:

  • Dress Your Loom The Vävstuga Way, A Bench-Side Photo Guide, by Becky Ashenden
  • Learning to Warp Your Loom, by Joanne Hall
  • The Big Book of Weaving, by Laila Lundell

May you find yourself beaming, inside and out.

Resurrection blessings,
Karen