Tried and True: Slay – Sleigh – Sley

Slay the dragon. Ride the sleigh. Sley the reed. To succeed in these challenges, you must be prepared, pay attention, and make sure you’re on the right track. Here, I’m going to focus on sleying the reed with success. (For dragon slaying and sleigh riding challenges, I won’t be of much help.) Don’t miss the new video below with tips for sleying the reed.

Loom lighting makes a difference!
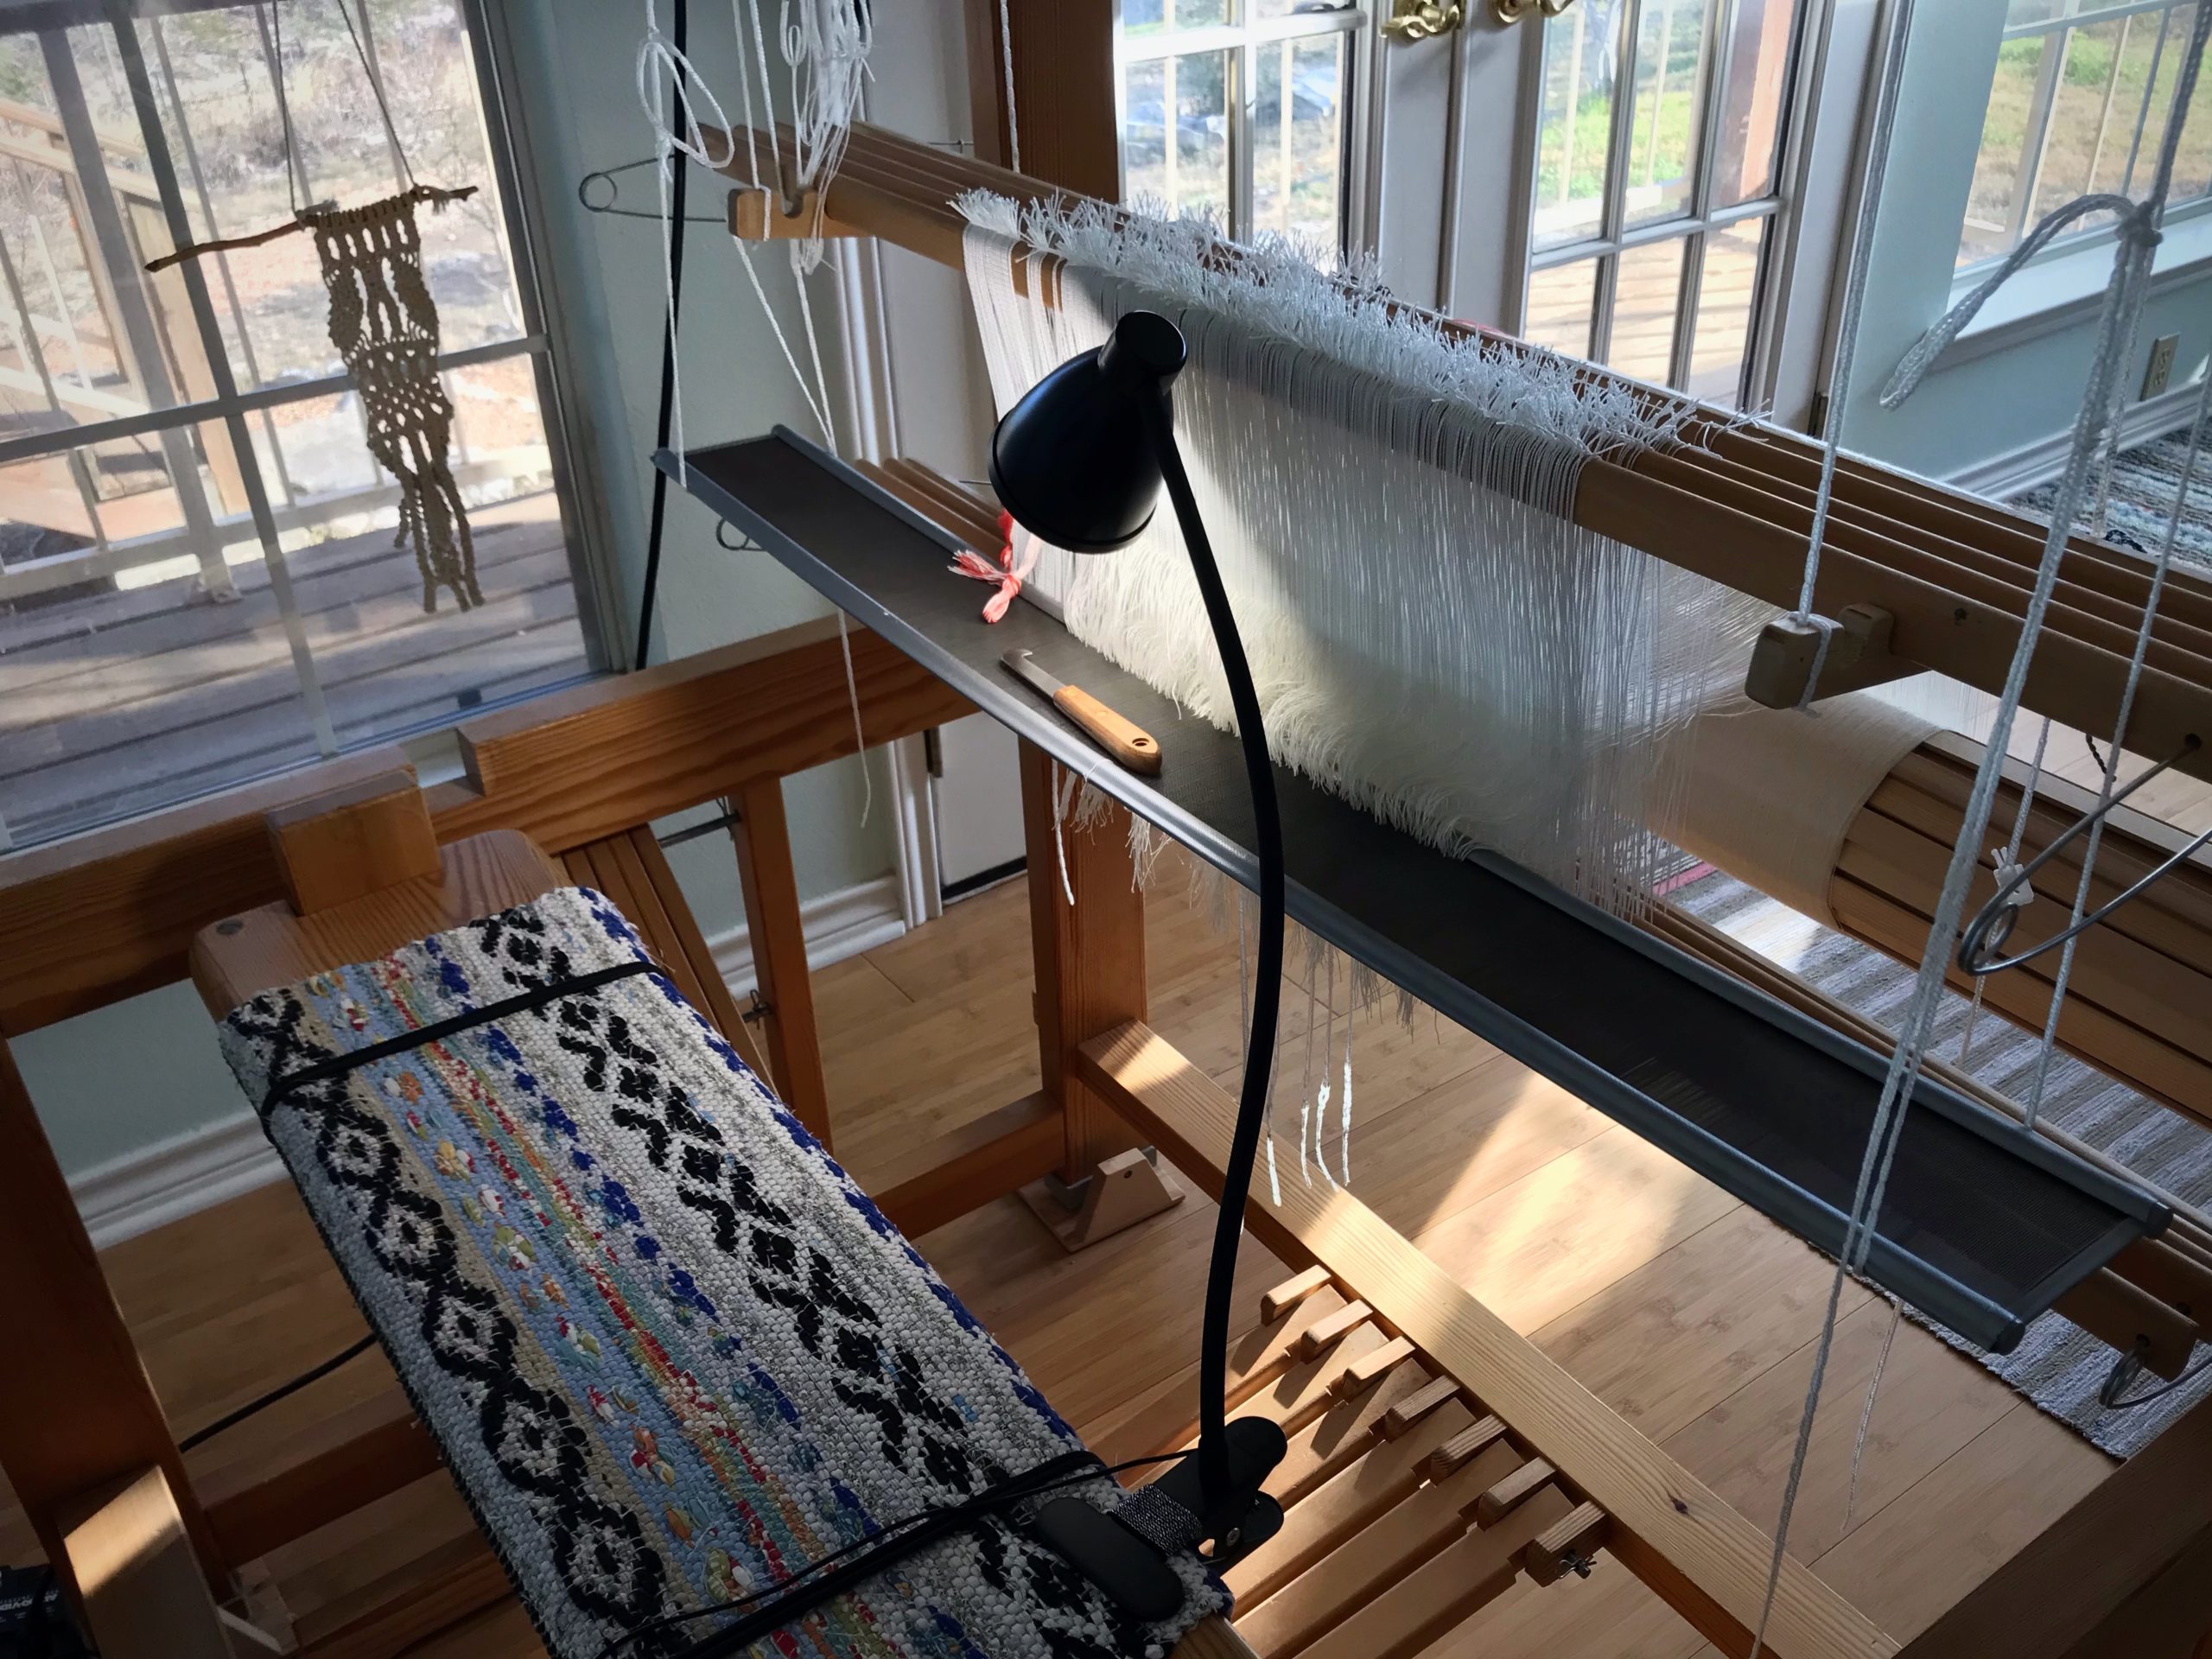
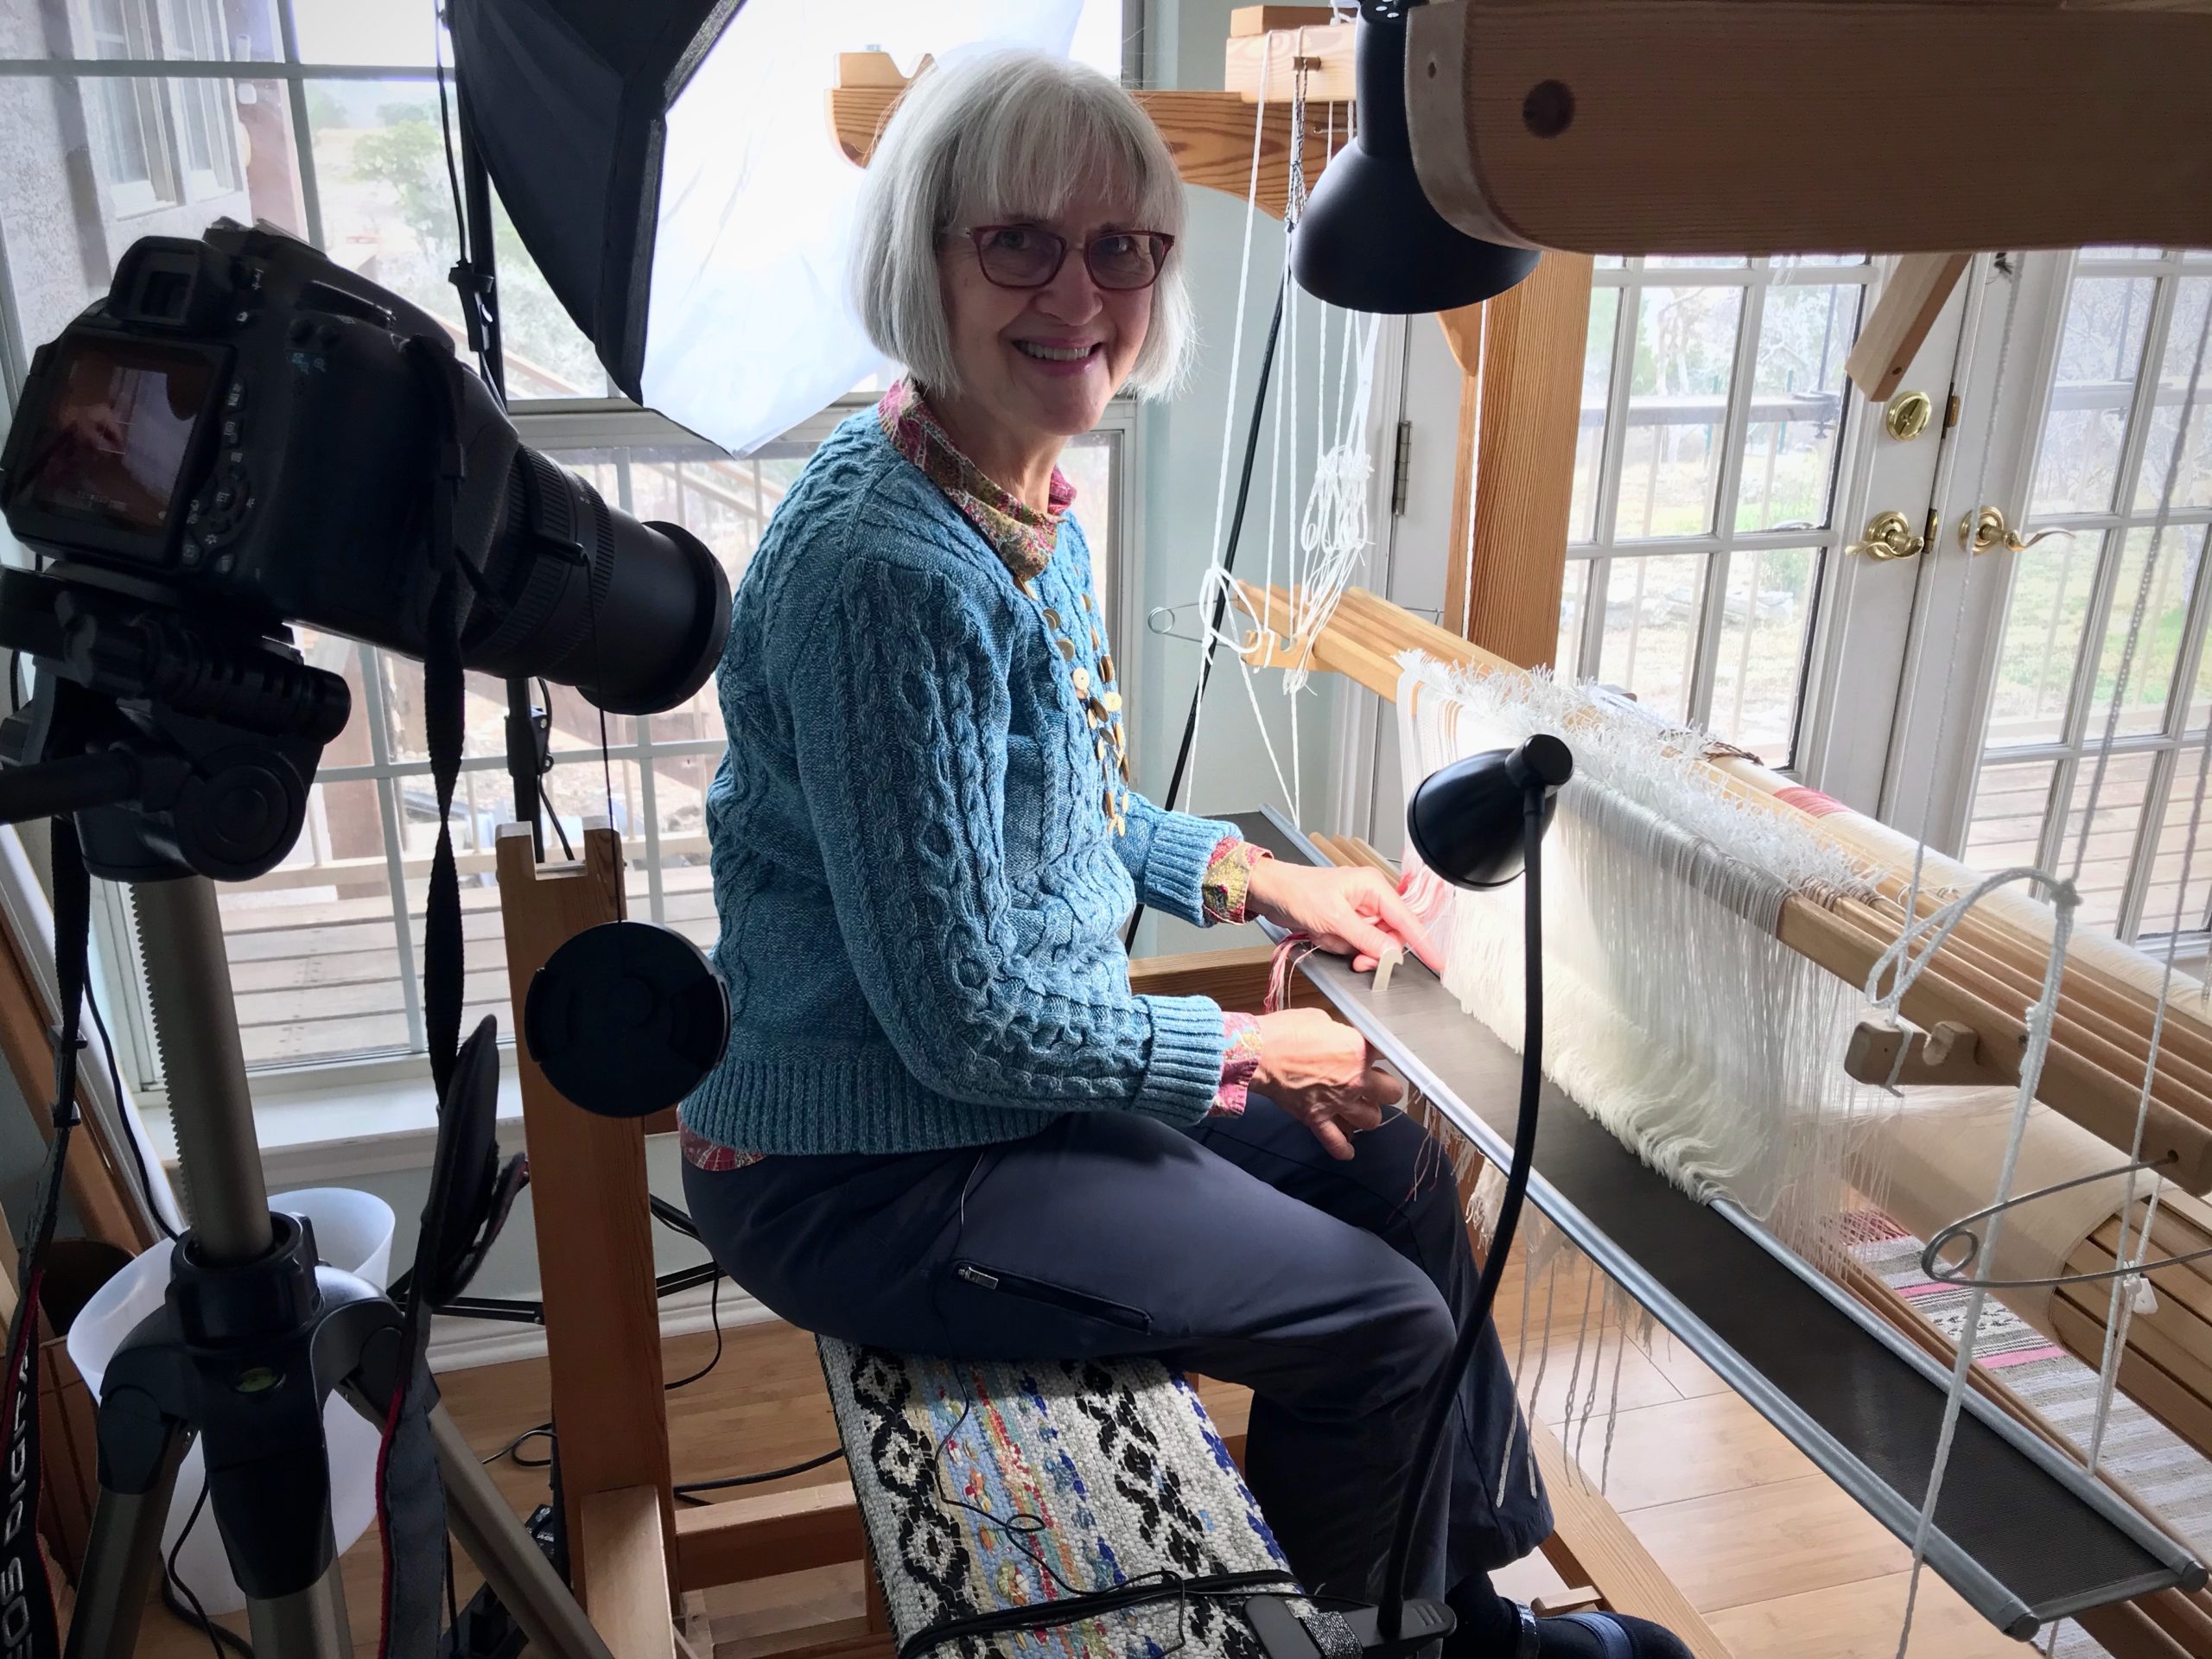
Shop light attached to top of loom provides good general lighting to all working areas of the loom. Smaller clip-on lamp provides directed light for detail work, like sleying a dense reed.
Clip-on lamp for detail work at the loom.
Even in a room filled with natural light, a focused bright light on the work area relieves eye strain and reduces errors.

First, make sure you have good lighting. I have a snake arm shop light attached to the top of my loom. (See Tools Day: Loom Lighting for more about loom lighting.) I also have a smaller clip-on gooseneck LED lamp, clipped onto my loom bench, that illuminates my specific working area. With a fine-dent reed, like this metric 100/10- (~ imperial 25-) dent reed, focused lighting makes a difference. It means seeing the dents instead of guessing.

Making a new video. Tips for sleying the reed.
Making a new video. Steve does the filming and I do the editing.

In this video, I share some tips for sleying the reed, with checkpoints to ensure success. (See Tools Day: Click Test for more about the “click test” mentioned in the video.)

May your dragons be few.

Yours truly,
Karen

Colors on Trial

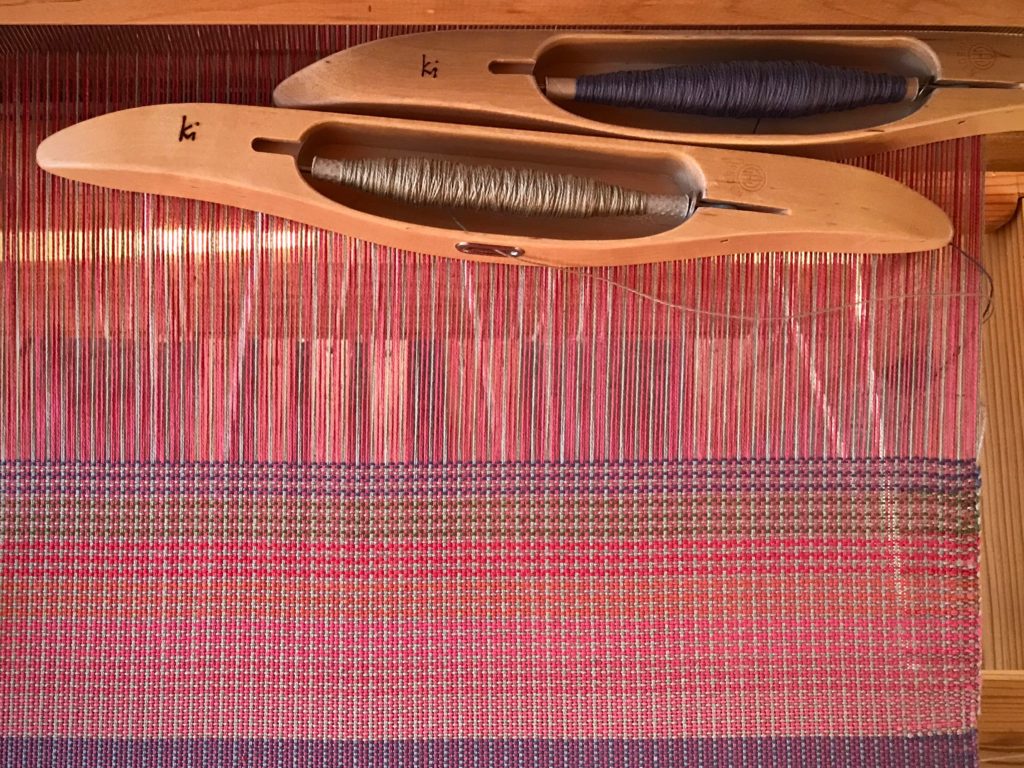
This color and weave is decorated plain weave. I have nine weft colors to put on trial. Which ones will pass the test? The winners will be used to weave colorful placemats for our Texas hill country home.

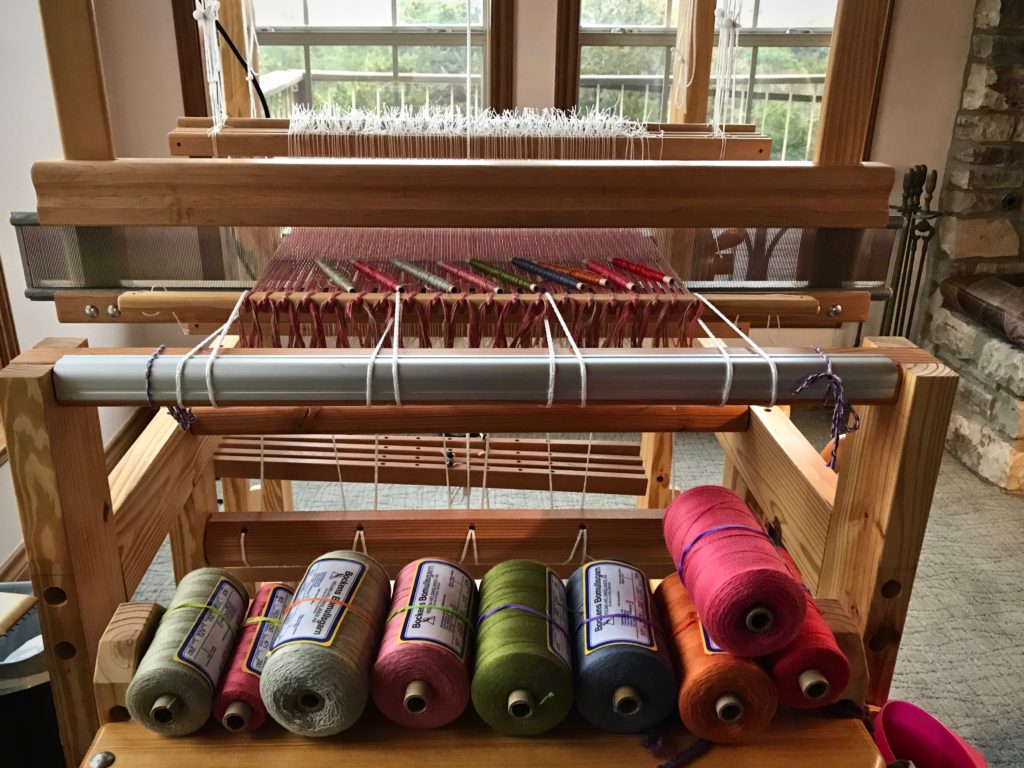
Nine colors on trial for cotton placemats.
All 8/2 cotton, with a small quill of each color waiting to be sampled. The two end tubes on the left are the same coral and camel as the stripes of the warp.

Eager to begin, I start weaving, despite knowing that evening is approaching. Even with good lighting at the loom, it is hard to judge the colors. I need daylight!

Weaving at dusk fails to show true impact of the colors.
Weaving at dusk does not give me a true indication of how the colors work, even though I have a good light at my loom.

The morning light does not disappoint. I find that the colors that are the most similar to the coral and camel in the warp showcase the color-and-weave pattern. The slate and apple green win, too, because they add welcome color contrast. The abundance of natural light in the room makes it easy to see the impact of each of these colors.

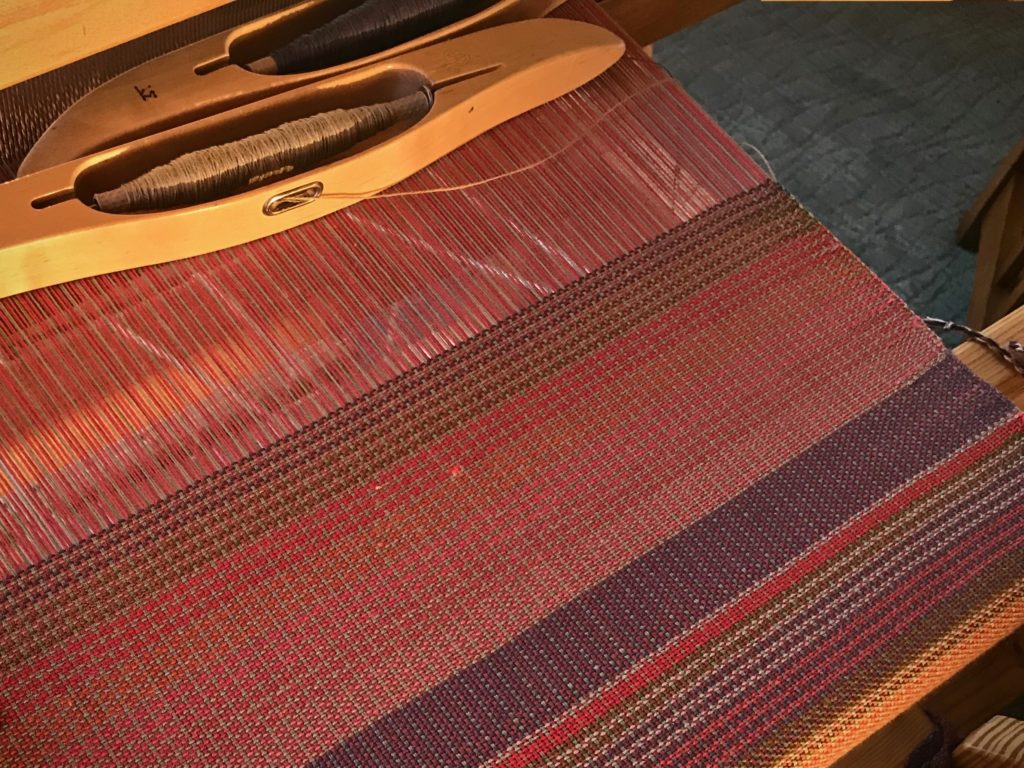
Color-and-weave effects with plain weave and 2 shuttles.
Natural light of the morning gives a true perspective of the colors. Even the subtle differences of weft colors can be seen. Keeping the camel color in one of the two shuttles helps bring out the color-and-weave effects. Which colors win? All nine of them!

We have been given a well-lit path. When we choose to go our own way, with our own artificial light, our perceptions can be off. There is a kingdom of light where Jesus is on the throne. To be one of his subjects is to be in a place where his light reveals true colors. He exchanges our colors with his own to make color-and-weave fabric that is heavenly!

May you be invigorated with color.

Happy weaving,
Karen

What to Do about Weaving Errors

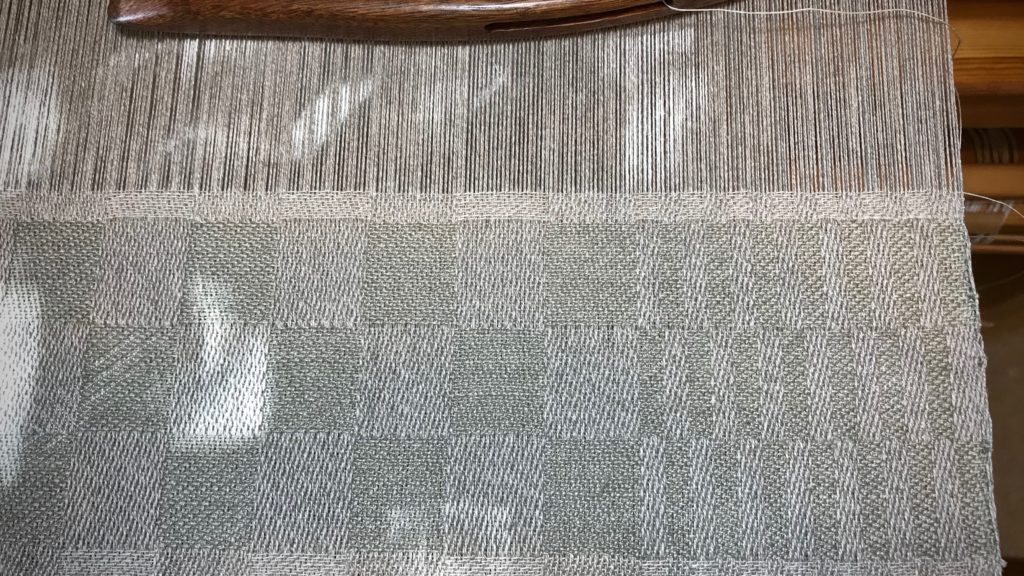
I’ve been waiting for a bright sunshiny day to thoroughly examine this tightly-woven linen satin dräll fabric. Today is perfect. Fixing errors must be done before the fabric is washed, when the weave will become even tighter. I am looking for unwanted floats where the shuttle skipped threads, and for loops at the selvedges.

In my examination I did find an errant float and a few small selvedge loops. Let’s get started.

Tools:

  • Blunt-tip needle. Sharp needle tip has been sanded to a rounded tip.
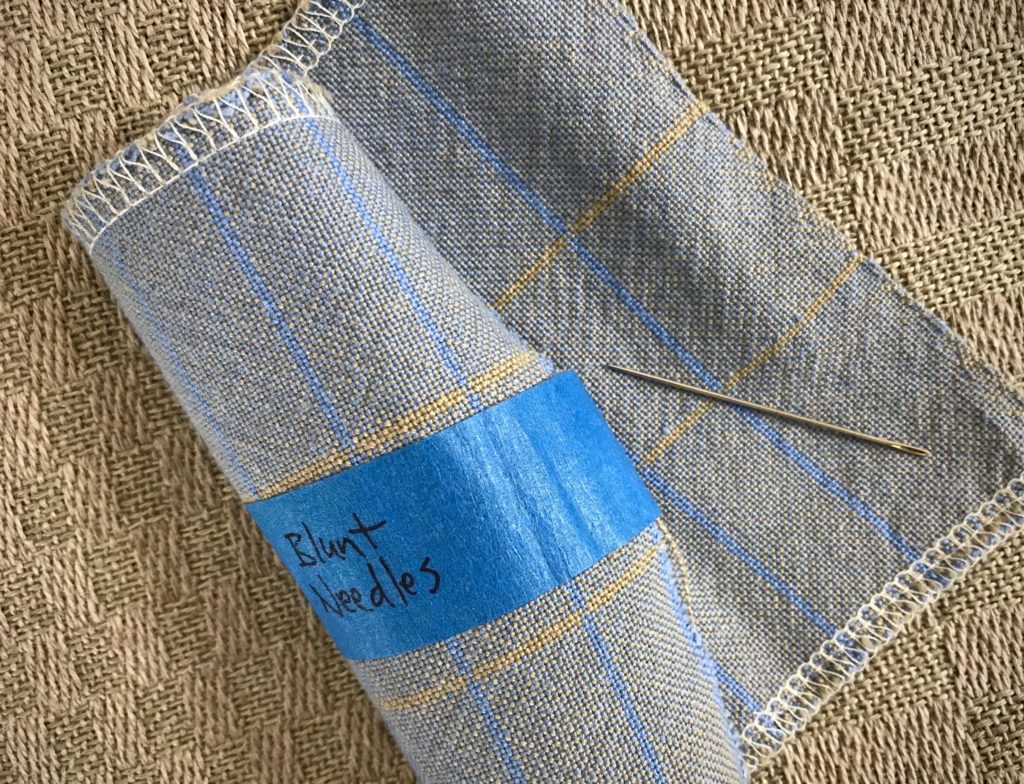
Blunt needle for fixing weaving errors.

  • Thread. Use the same weft or warp thread that is in the area needing repair.
  • Good lighting. If the fabric has a complex structure, good lighting is essential.
  • Magnification. I take a photo on my iPhone, and then zoom in to see the minute details.
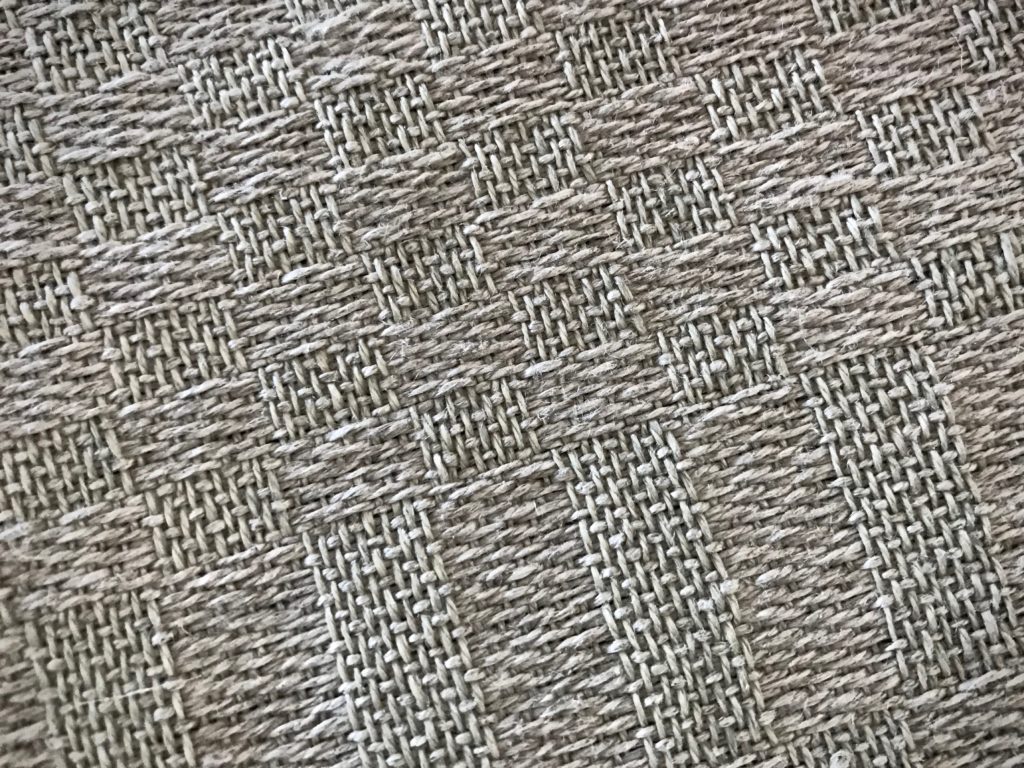
Zoom in on iPhone photo to magnify details.


How to Mend Skipped Threads:

1 Locate the error. Here is a long weft float.
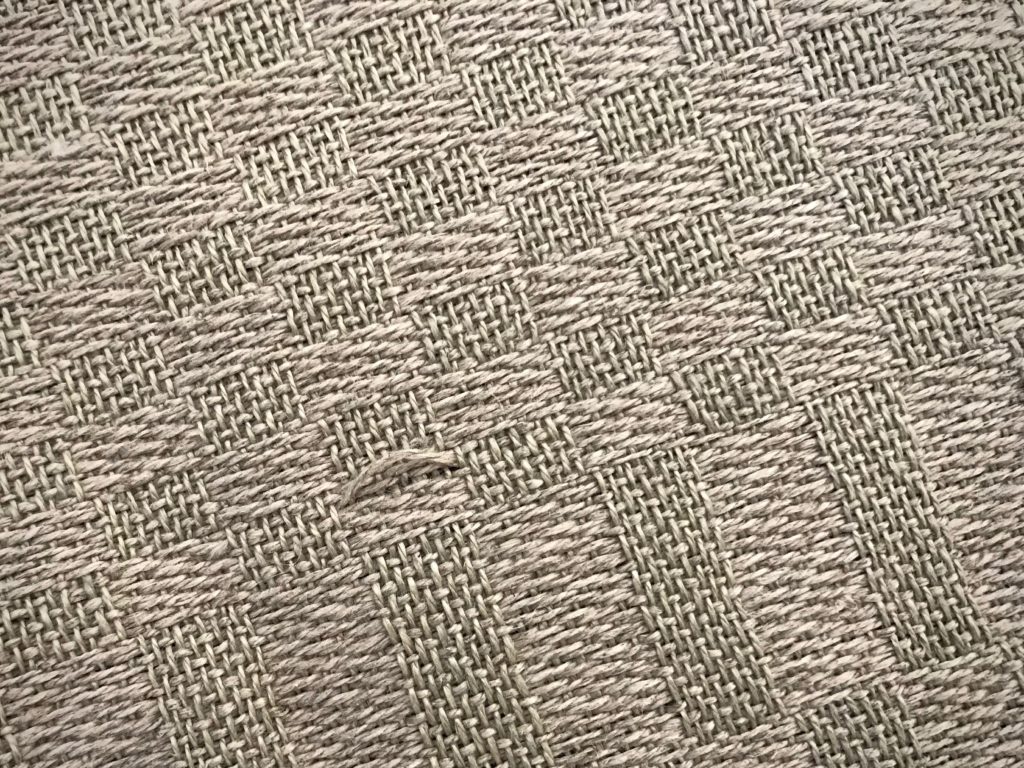
What to do with skipped threads. Tutorial.

2 Thread the blunt-tip needle with a length of the same thread as the float.
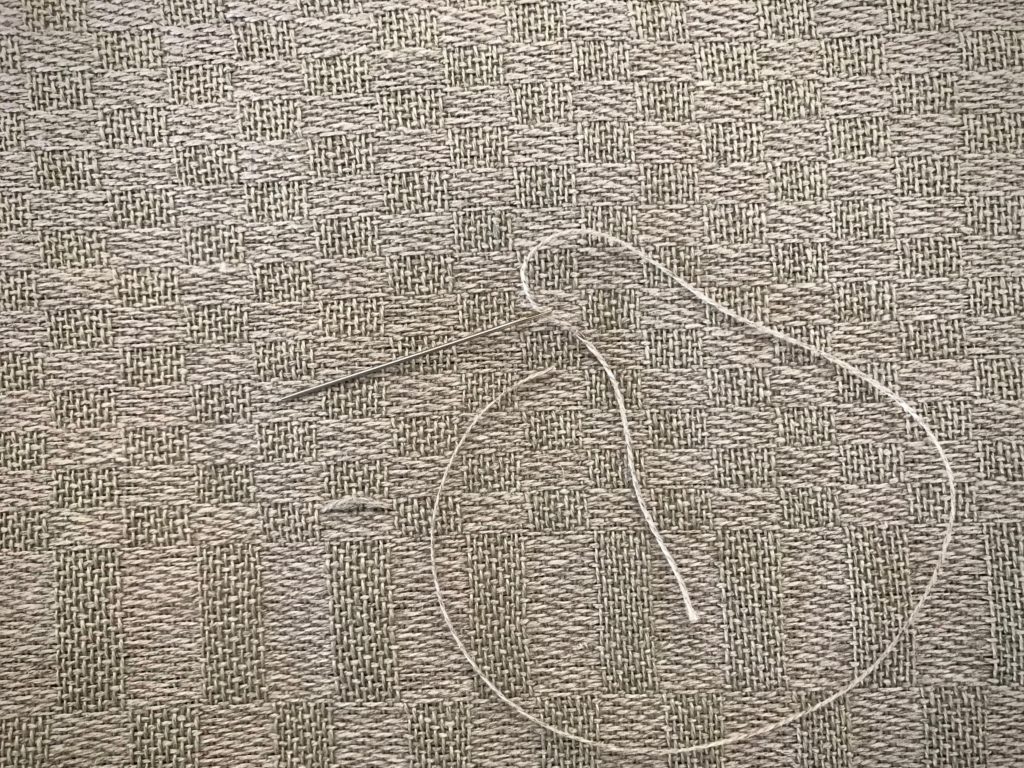
Tutorial on fixing weaving errors.

3 Following the exact under-over pattern of the weave, start one inch before the float and needle-weave toward the float. I lay my iPhone nearby, with the magnified iPhone photo clearly showing the weave pattern.
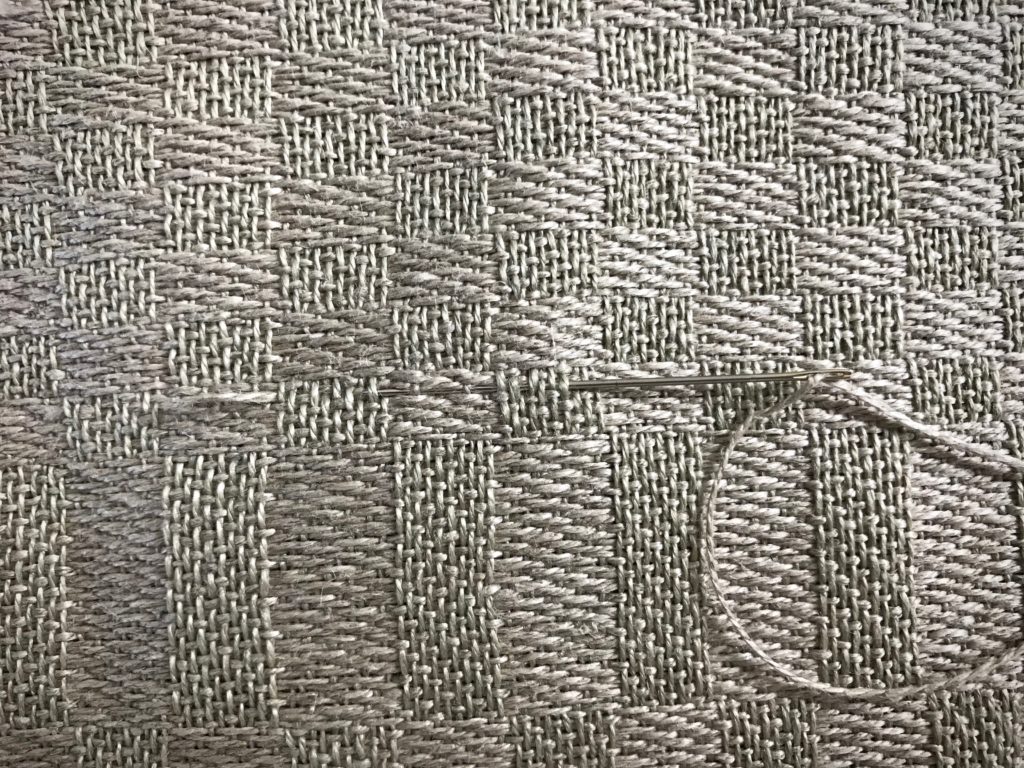
Needle weaving to mend a weaving error. How to.

4 Needle-weave the correct path of the thread through the float area. Continue needle-weaving along the same thread pathway, going one inch beyond the float.
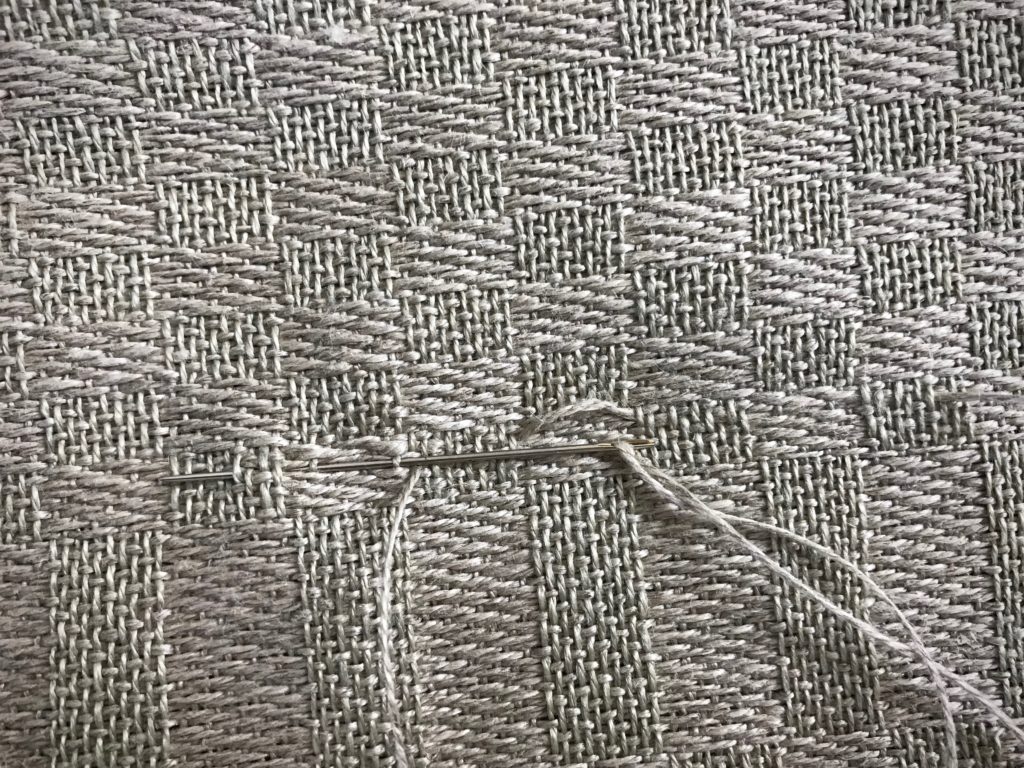
How to fix skipped threads in weaving.

5 Check the front and back of the fabric to see if your stitches match the correct pattern of the weave.
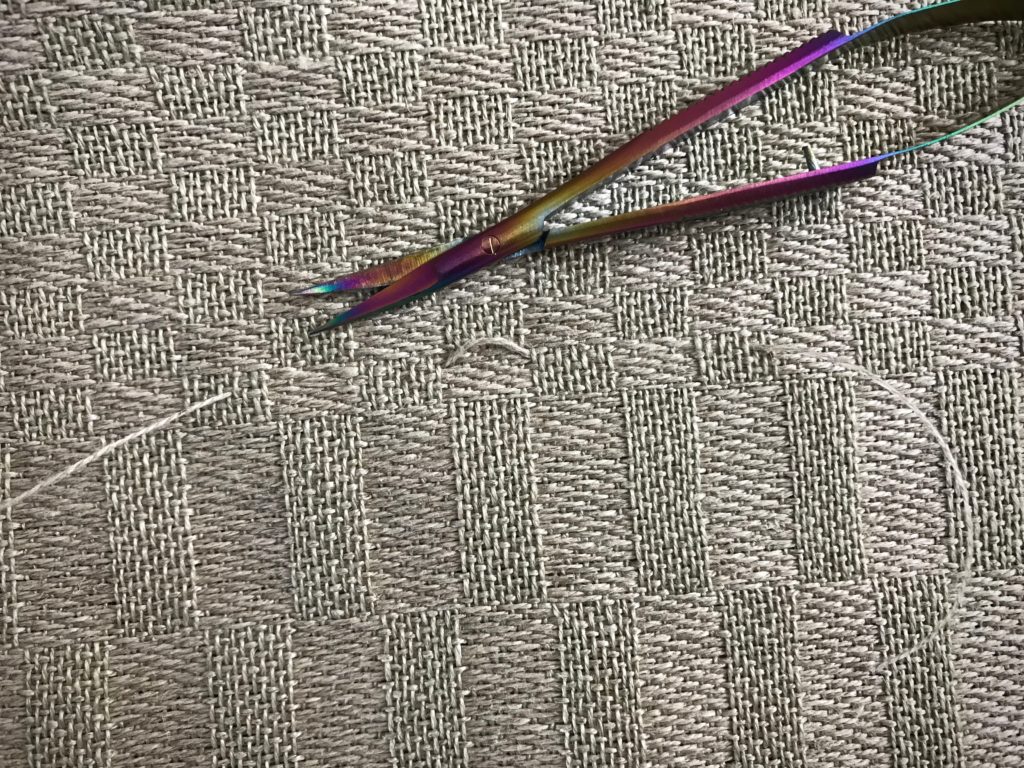
Skipped threads in weaving. Fixed!

6 When you are certain that the float thread has been accurately replaced, clip the float and remove it (or, leave it and trim it after washing). Leave two-inch tails on the replacement thread, and trim after wet finishing. (I leave the replacement tails so I can find and check the repair after it is washed. This also allows for shrinkage before trimming.)
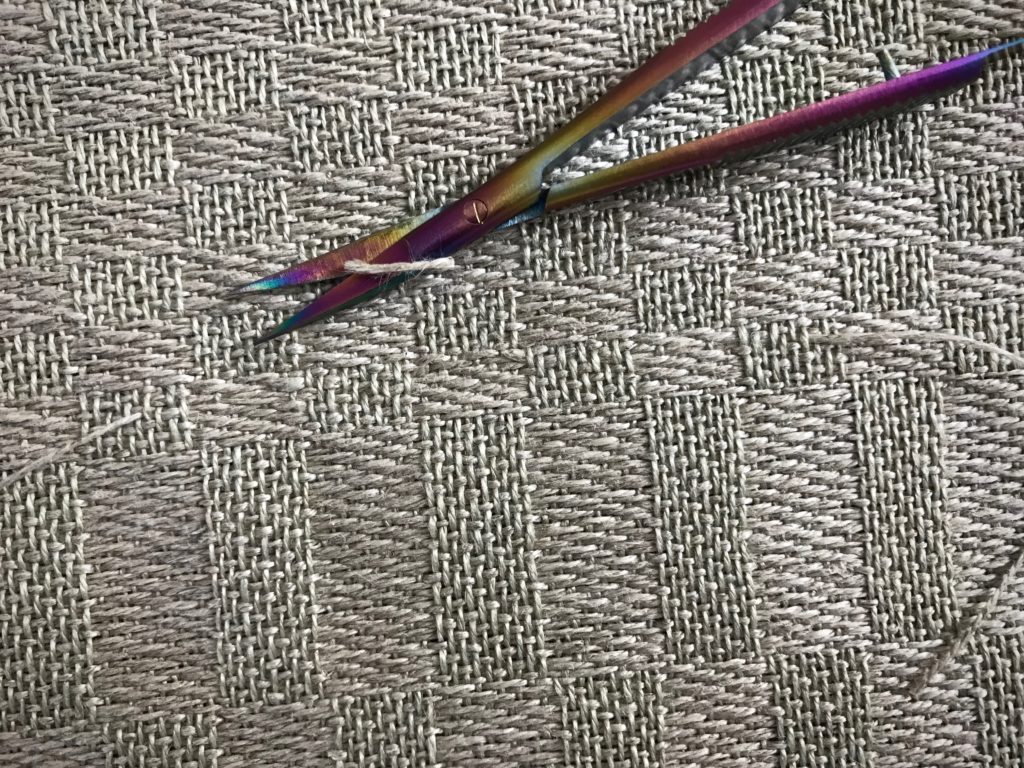
Clip off the float AFTER repair thread is in place.


How to Fix a Small Selvedge Loop

1 Locate the loop.
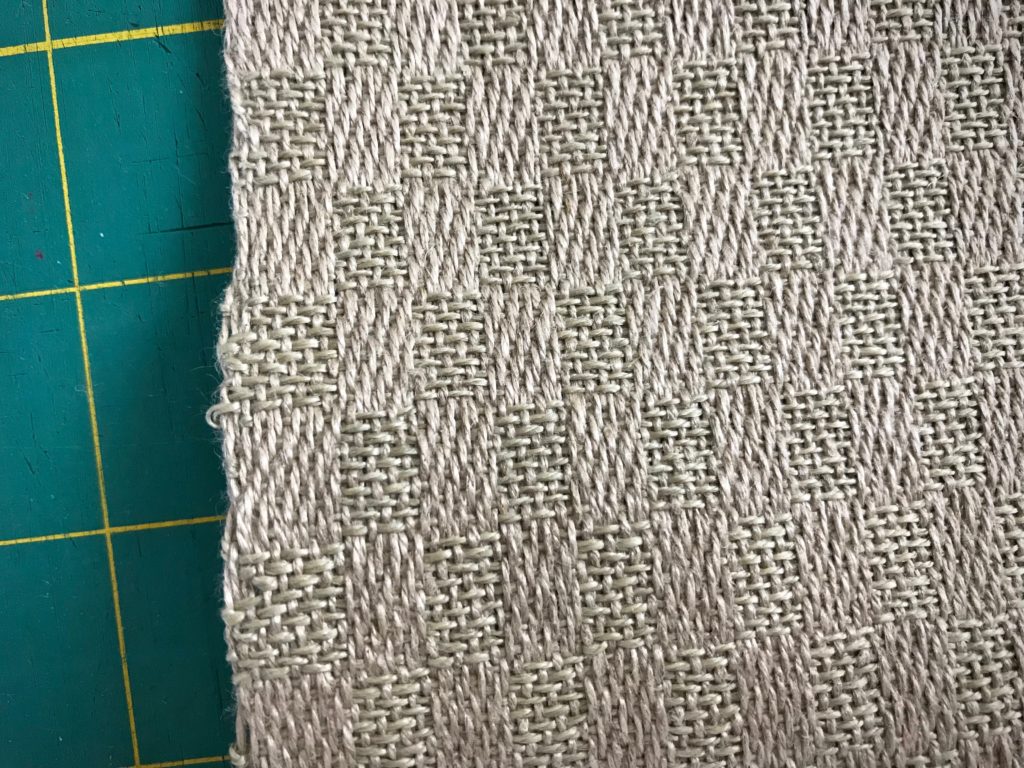
How to fix a loop in the selvedge.

2 Using the blunt-tip needle, gently ease the excess thread to spread over four or five stitches inside the selvedge.
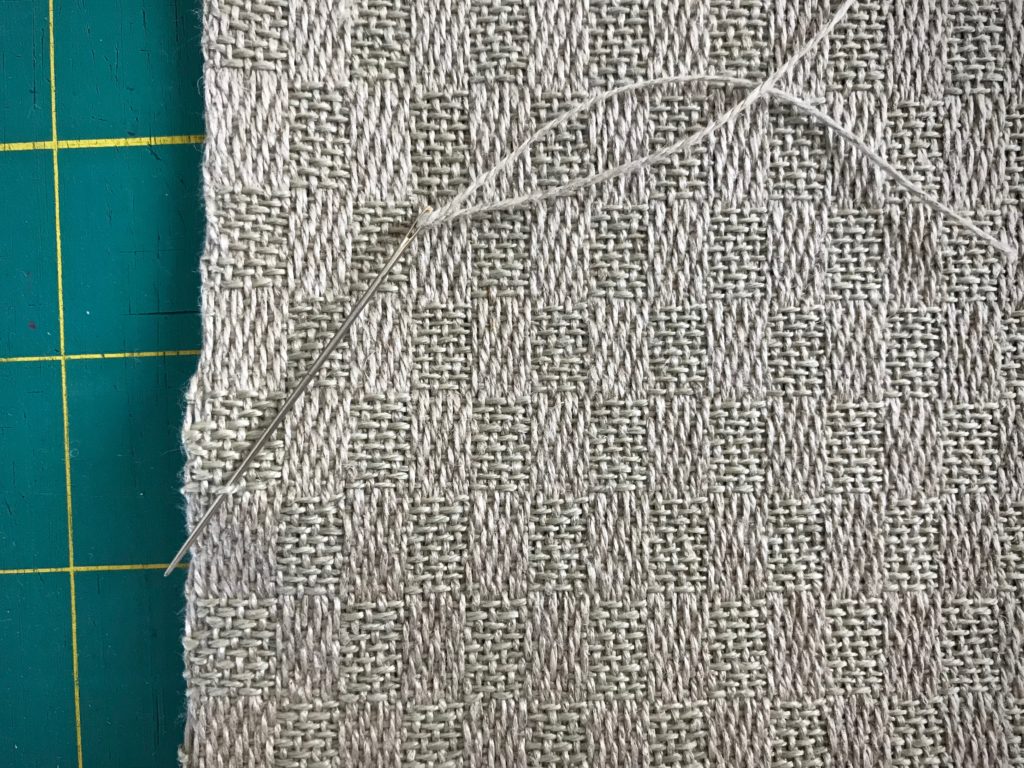
Easing in a loop at the selvedge. Short how-to.

3 The thread that has been eased in (just above the needle) will completely smooth out in wet finishing.
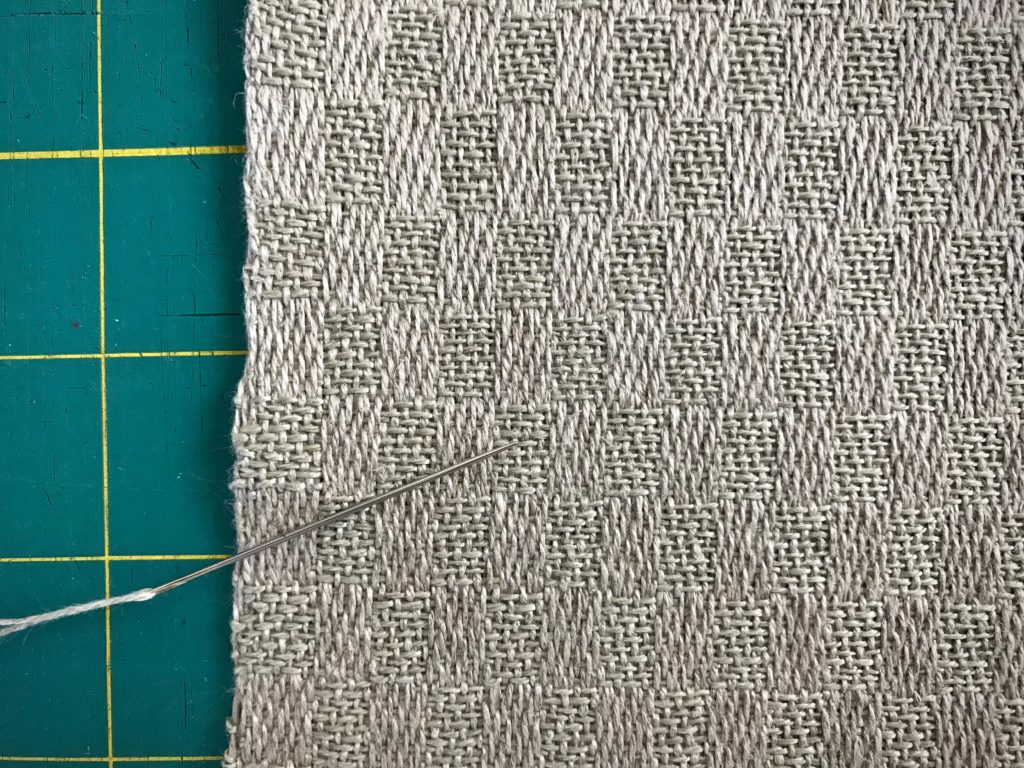
Eliminate an errant loop at the selvedge.

What skipped threads and loops would be found if I were examined this closely? Would I leave them and hope no one notices? Or, would I allow re-weaving and cutting away? A negative attitude is replaced with a thread of thankfulness. A loop of complaining is eased back in. The result is joy. A thankful heart knows joy. When the fabric is washed, the errant floats and loops are gone. What remains is the woven fabric with lustrous threads of joy.

May you have a bright sunshiny day.

With you,
Karen
Startling Surprise at the Loom

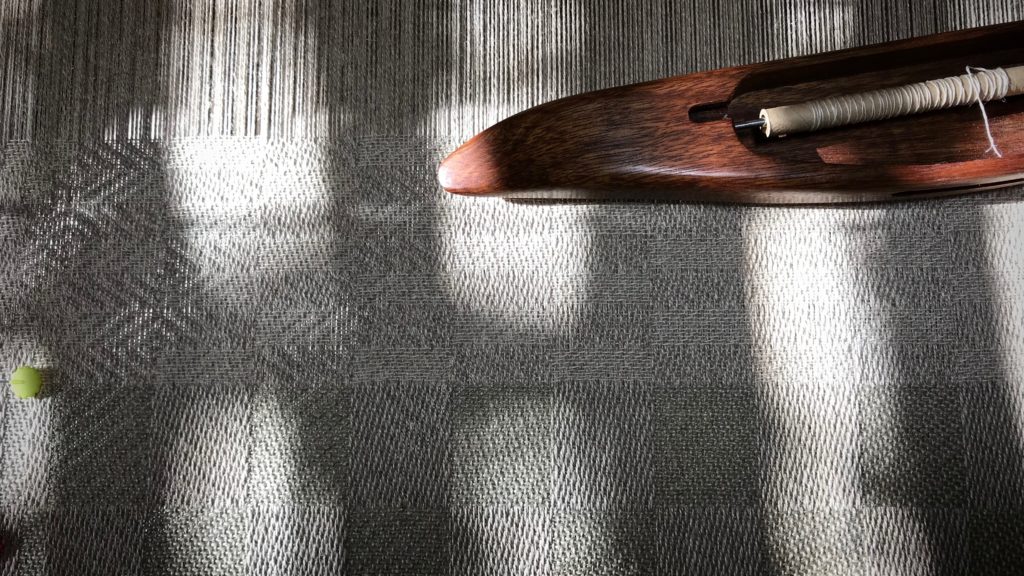
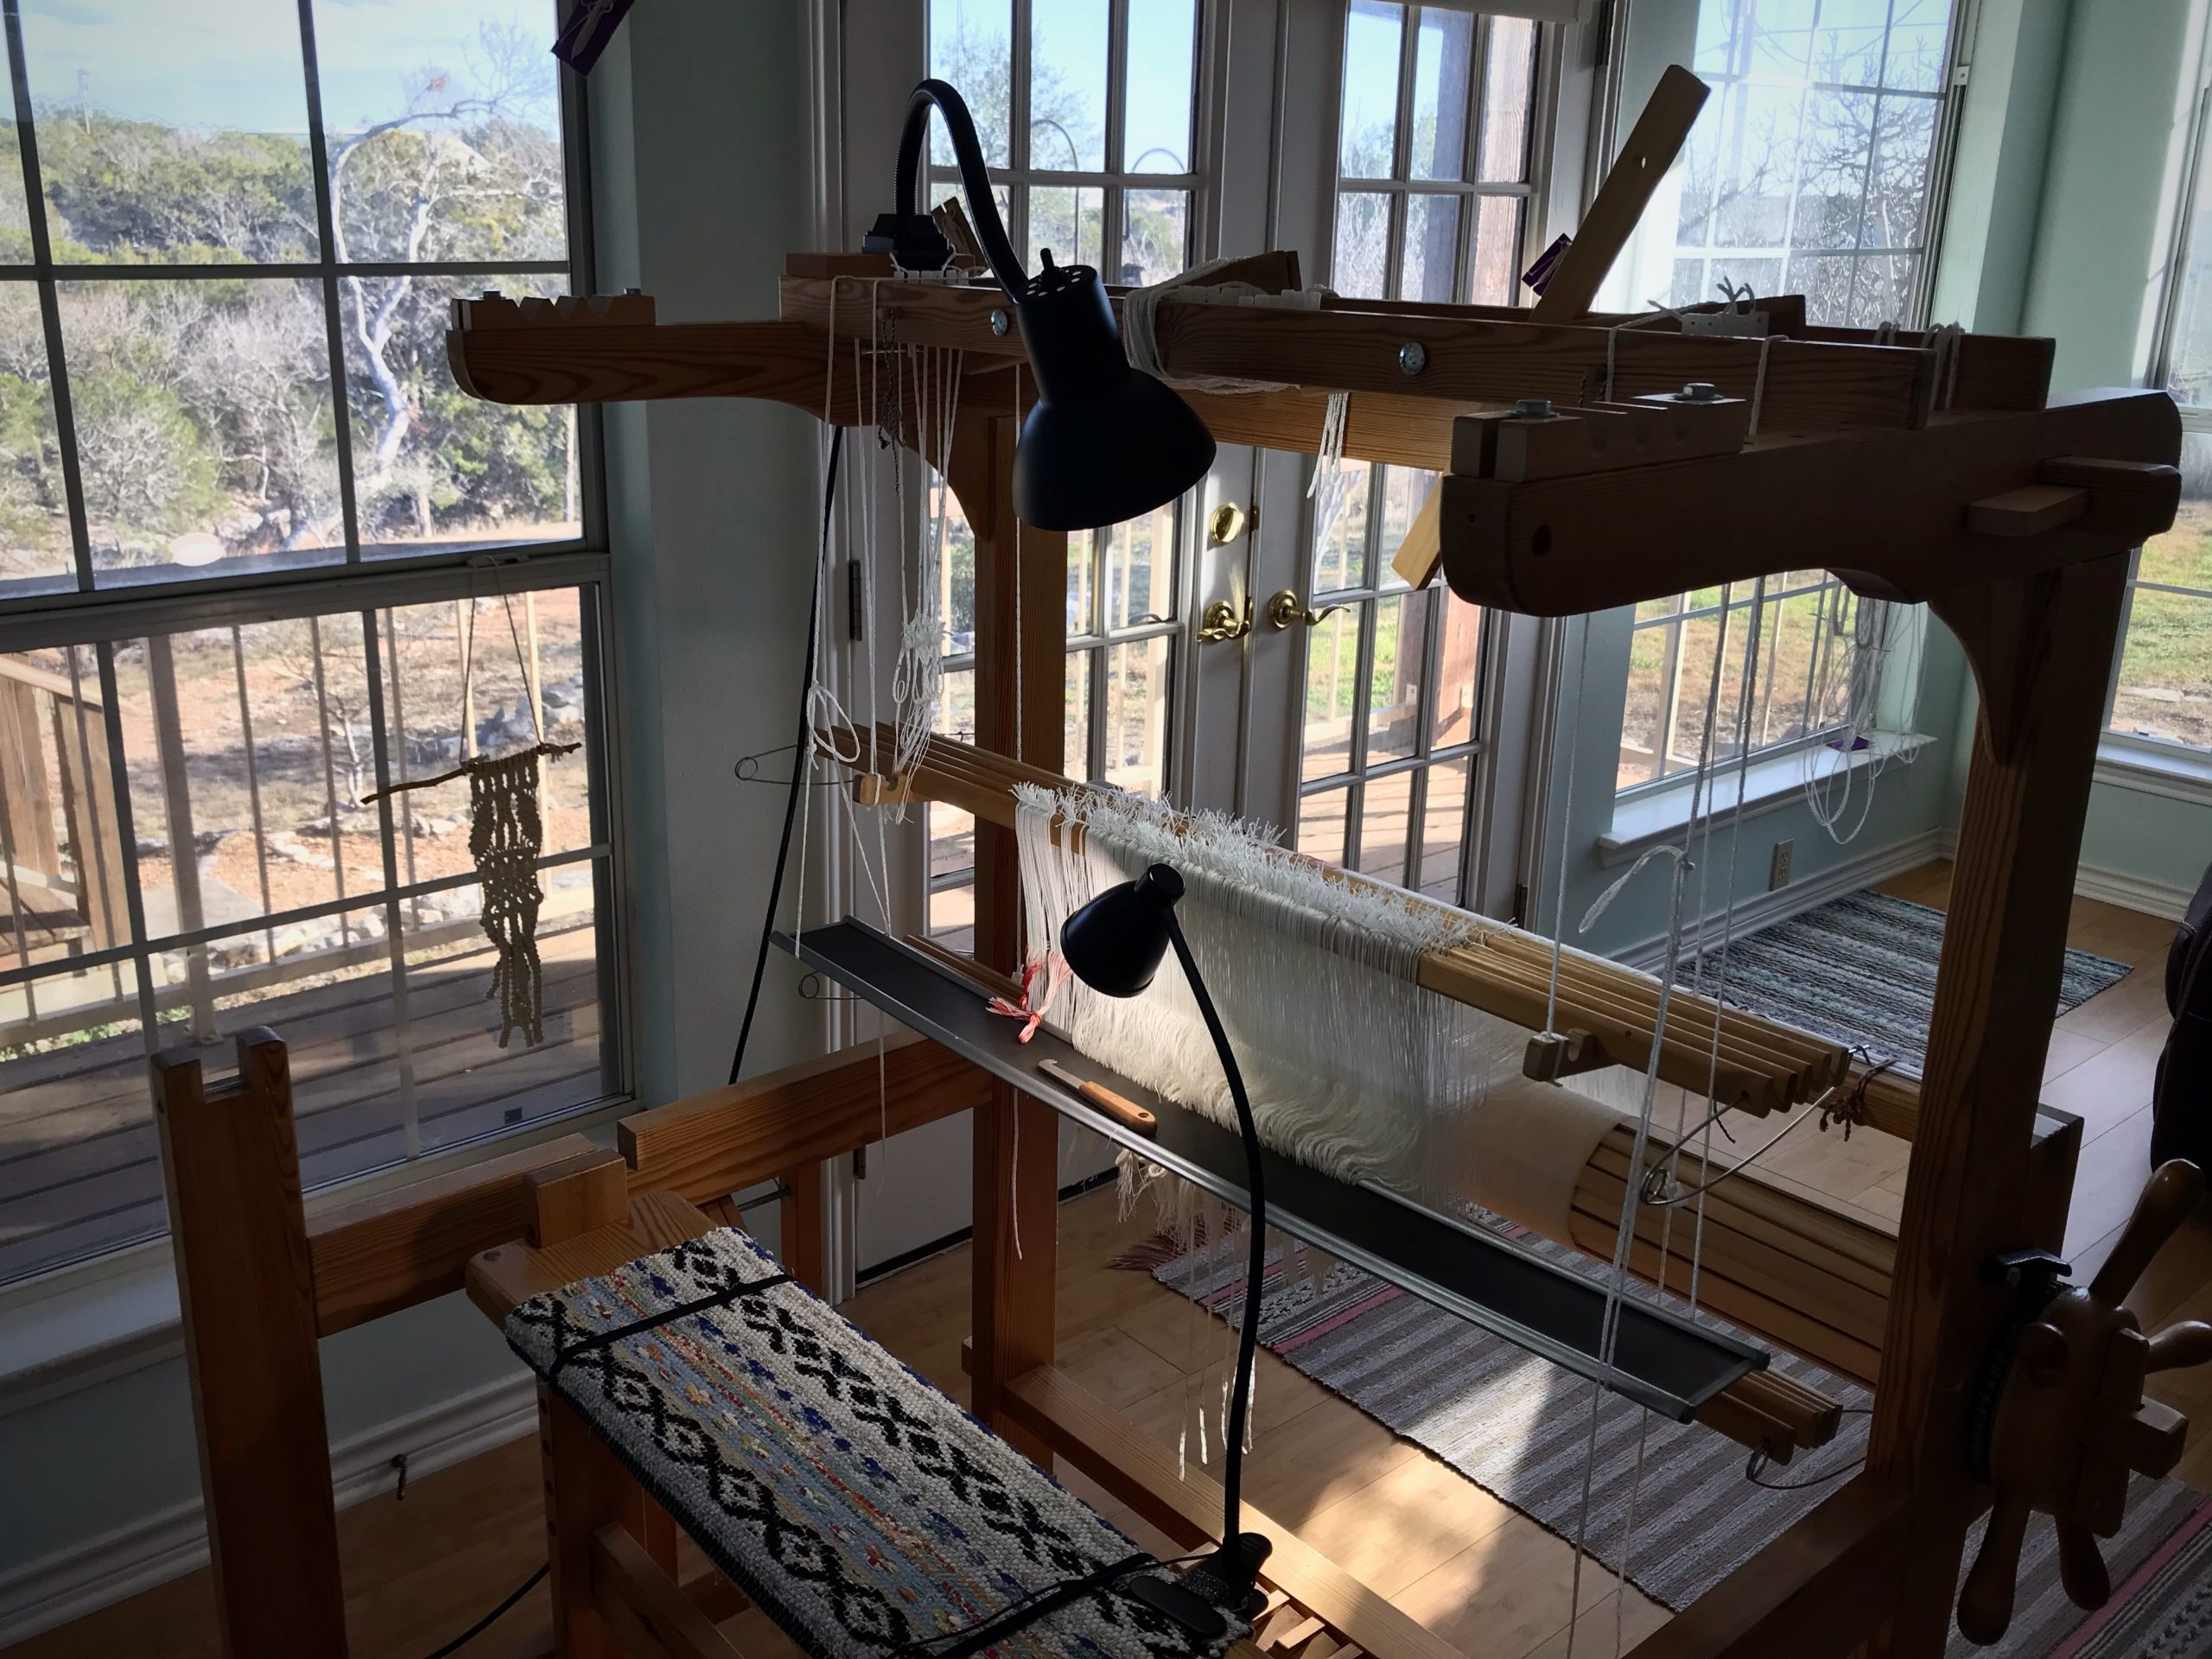
A startling surprise greeted me when I sat down at the loom yesterday afternoon! The sun was shining through the window and sparkles of light were dancing on the loom. The surprise happened when some of the light made its way under the woven warp and shined up through the cloth, revealing a hidden pattern. Whoa! I discovered a secret passageway in an old majestic house…accidentally! That’s what it felt like.

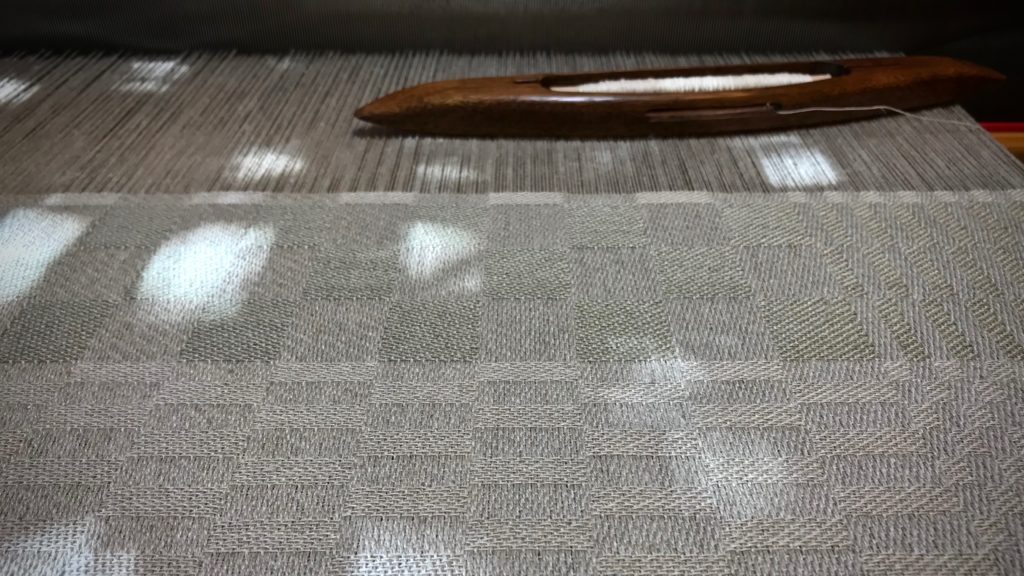
Afternoon light at the loom. Linen 5-shaft satin towels.
Linen towel in five-shaft satin dräll. Sunlight dances on the woven and not-yet-woven warp.

Linen towels in 5-shaft satin dräll.
Block pattern on the towel changes, and is emphasized with the change of weft.

Light through the fabric reveals a hidden structure!
Light comes up through the fabric on the left side of the loom, revealing a hidden structure in the cloth.

This is five-shaft satin, not goose-eye twill. How fascinating to get a glimpse of the inner structure of the cloth. I didn’t expect it, but it does make sense that the treadling pattern is woven into the fabric. But you won’t see it unless light shines through just so.

The Lord knows us intimately. He knows what we do and why we do it. Where we go and what our plans and intentions are. He not only knows what we say, he knows the thoughts behind our words. God is not surprised. He knows it all. His light reveals our inner structure. May it be pleasing to Him.

May you be pleasantly surprised.

With you,
Karen
Hint of Shadows

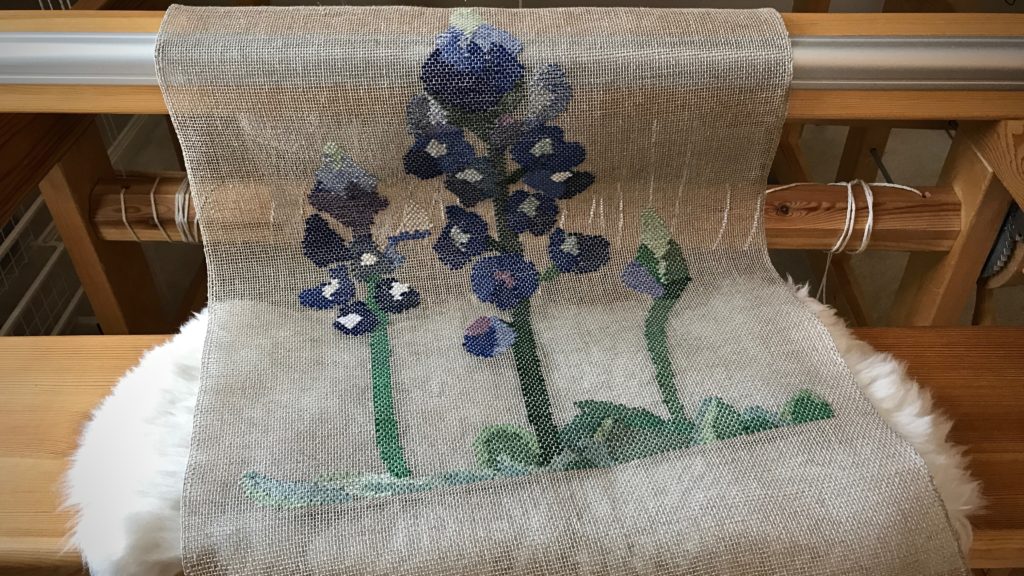
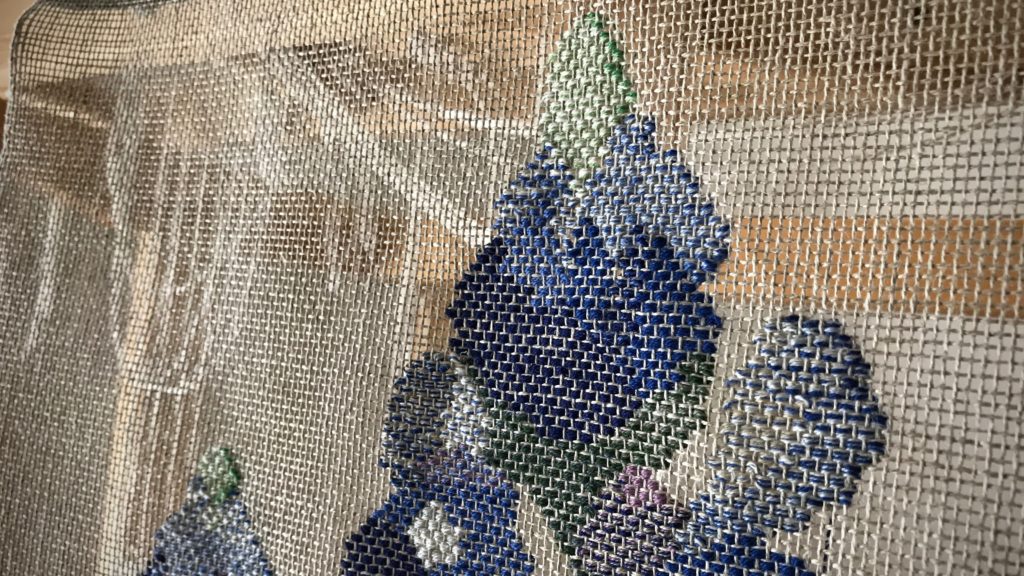
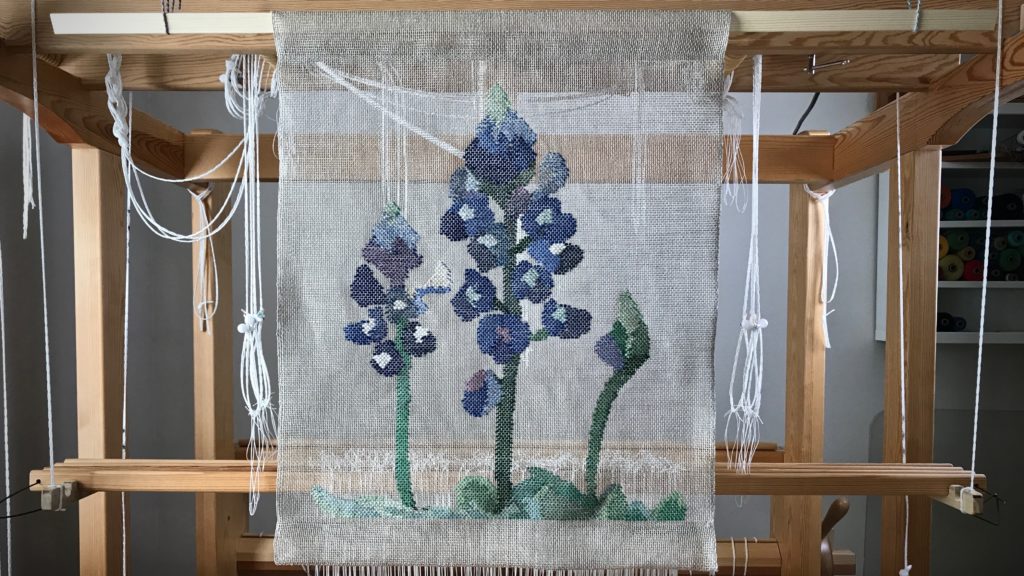
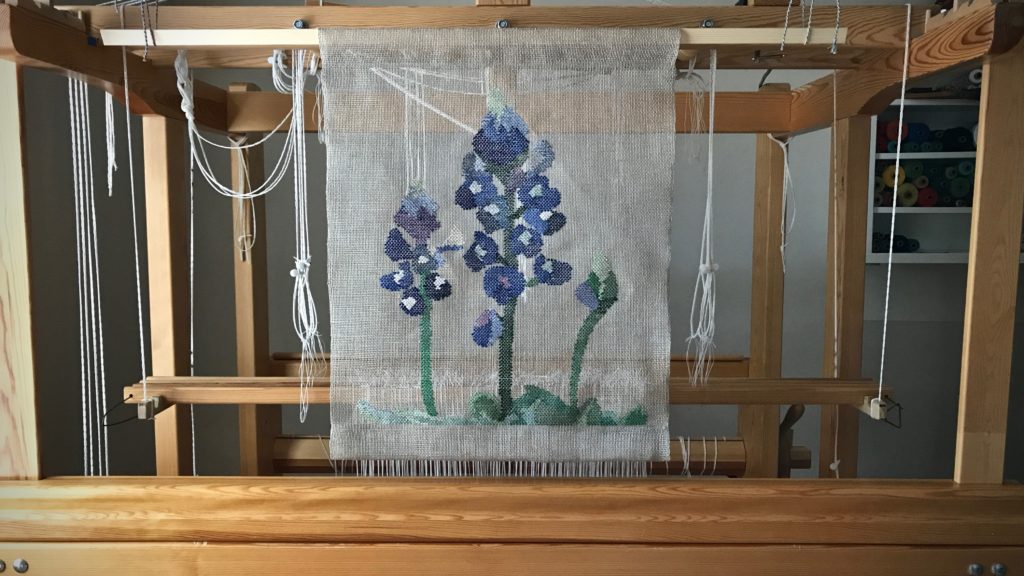
I hope this isn’t cheating, but I added a teeny bit of embroidery to the finished bluebonnets. One thing I learned with this transparency is that an image that looks flat can be improved with a hint of shadows.

Woven transparency just off the loom!
Cutting off! First moment of seeing the entire finished transparency from the front.

Woven transparency just off the loom.
Wide casing at the top and bottom of the bluebonnet transparency make it easy to hang for display. I envision it hanging from a stripped and polished cedar rod, harvested from our Texas hill country property.

I’m thankful for my husband’s artful eye. He helped me identify the “off-screen sunlight” that would produce natural shadows. I am adding a few darker stitches to the right-hand side of some of the lighter areas, and a touch at the sides and lower end of the flower stems. My hope is to give the picture a bit more depth.

Embroidery added to finished woven transparency.
A single strand of mora wool in a darker shade is used to embroider some outline stitches on the right side of some of the bluebonnet petals.

Shadows tell us something: There is a light source. Find out where the light is coming from. That is what it’s like for those seeking God. There are shadows everywhere you look. We see the shadows–the effects of a shining light. And we want to find the source.

Texas Bluebonnets transparency. Karen Isenhower
Hint of shadows helps give shape to the otherwise flat transparency.

Go on a search and exploration expedition. Start with small shadows that you see, the circumstances and blessings that hint at an outside light source. Such seekers may discover that God is just off-screen, waiting to be found.

May you follow where the shadows lead.

With joy,
Karen