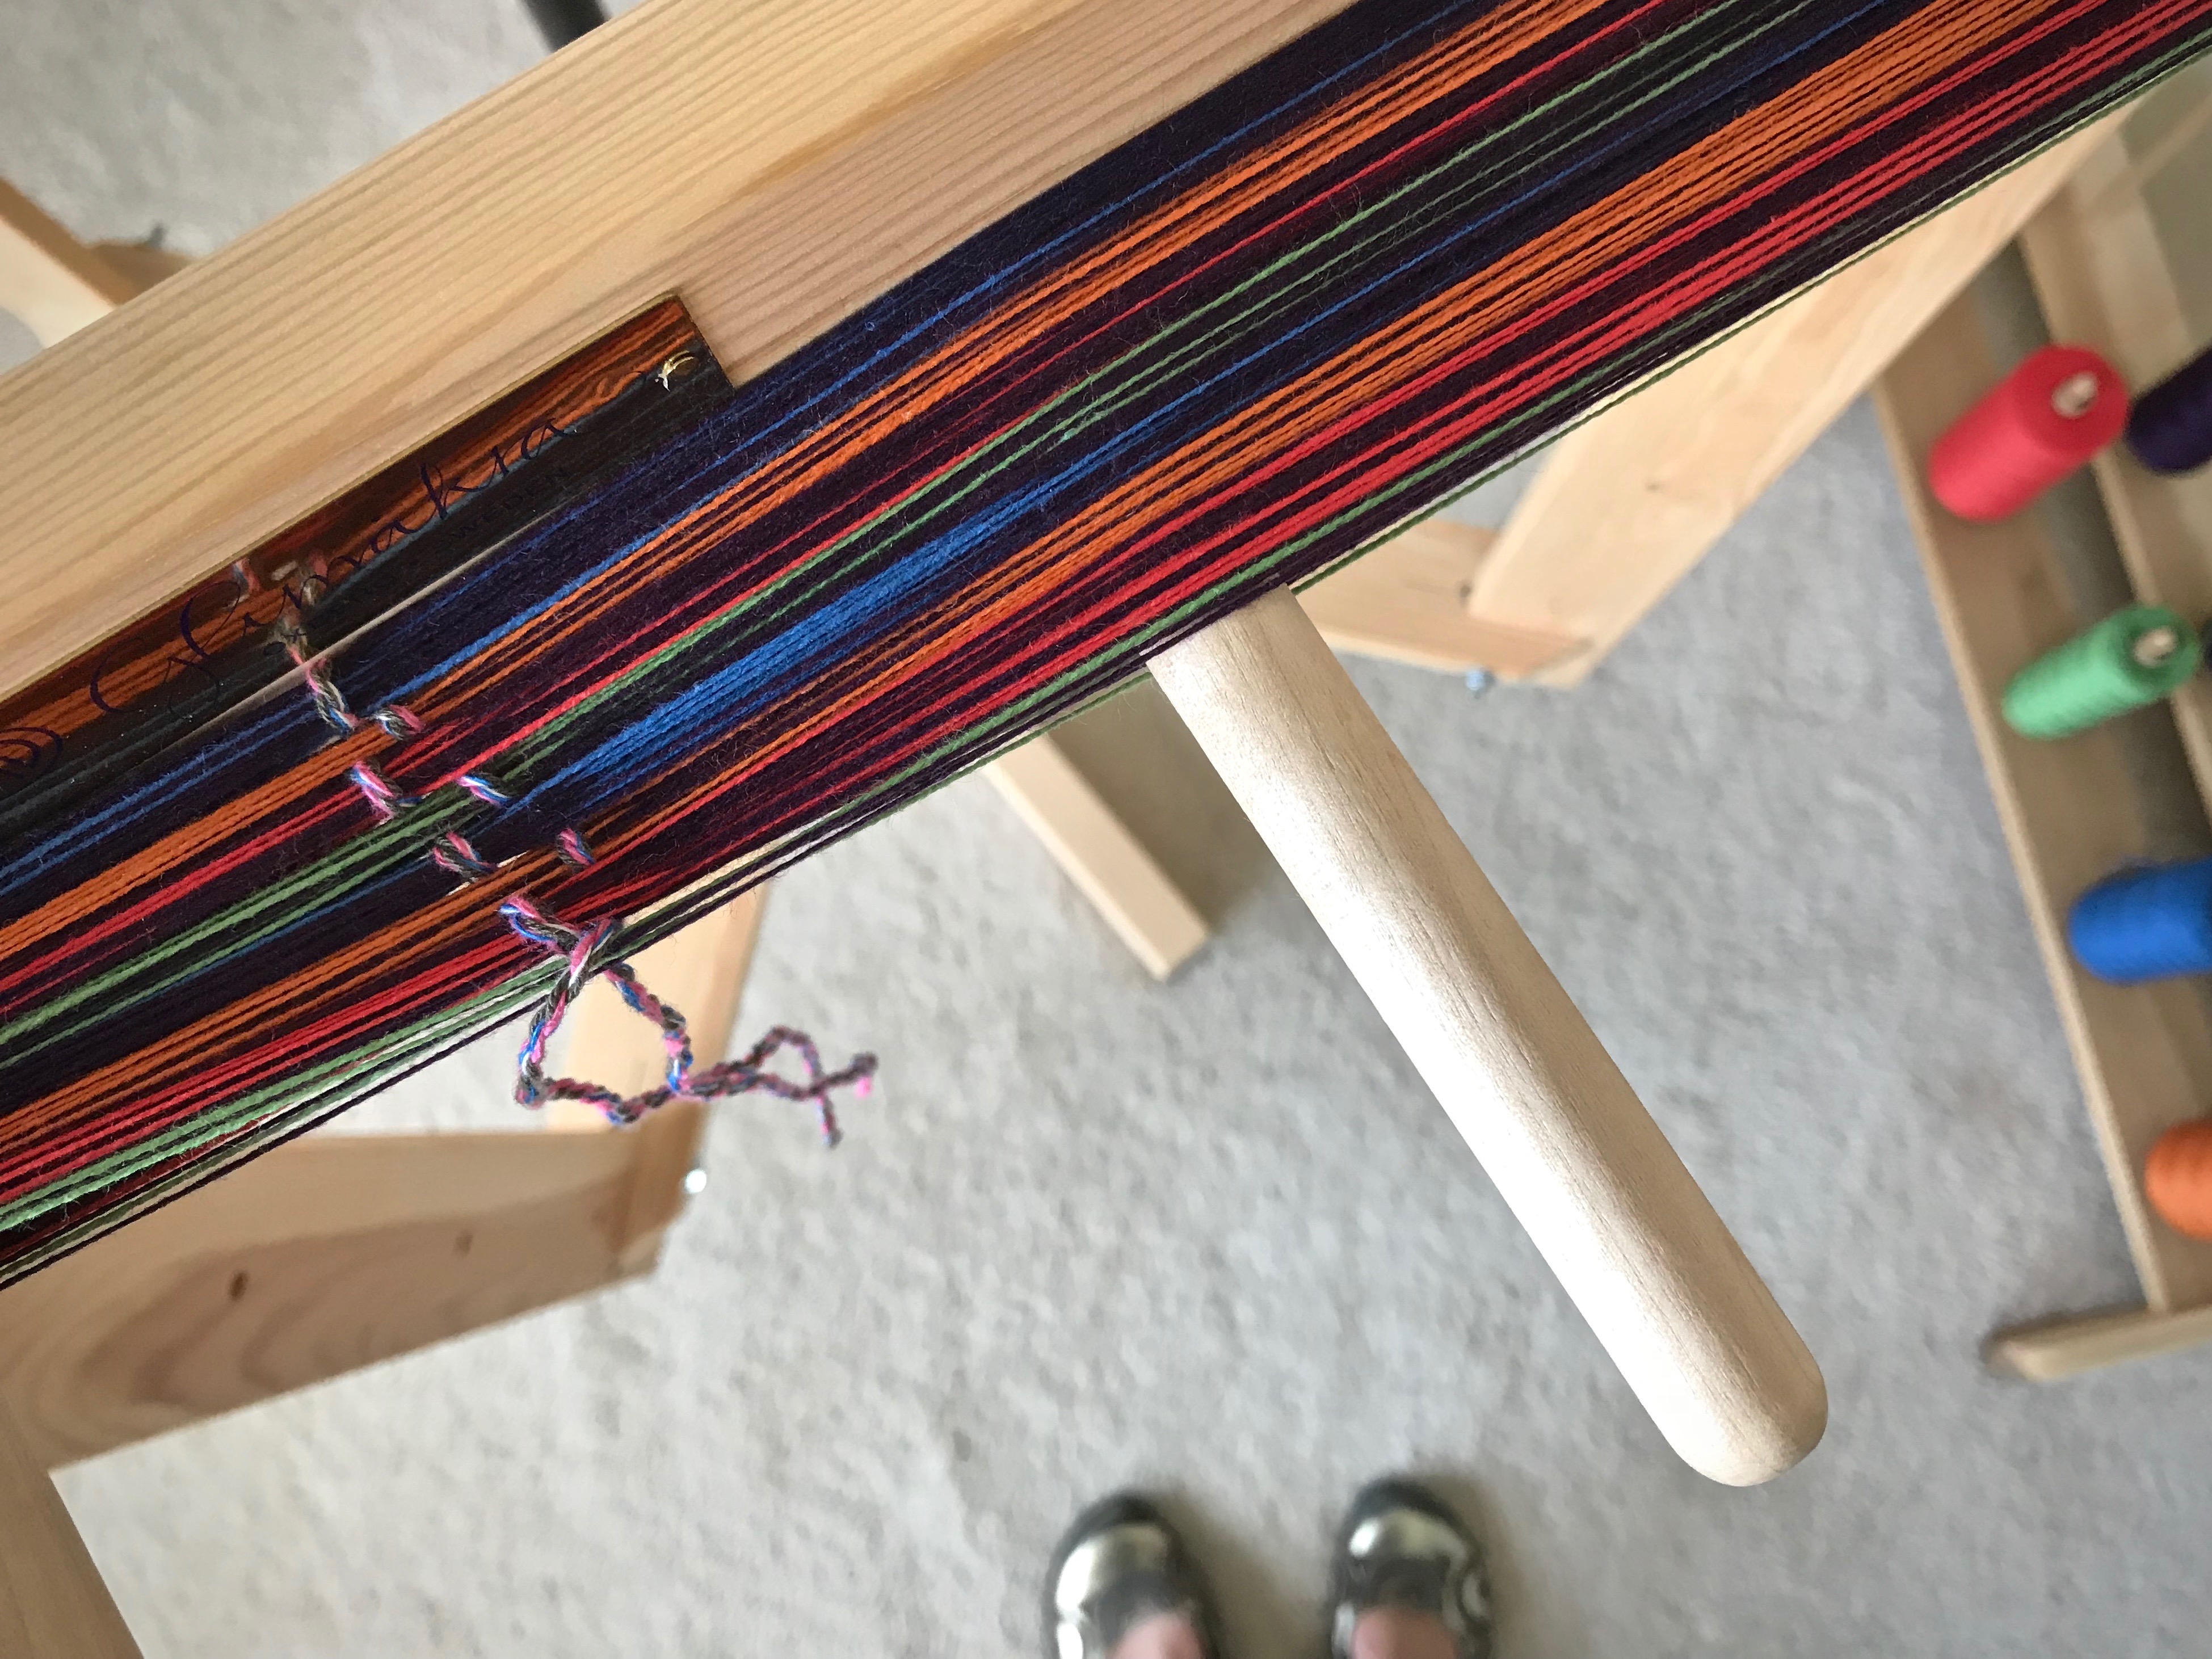
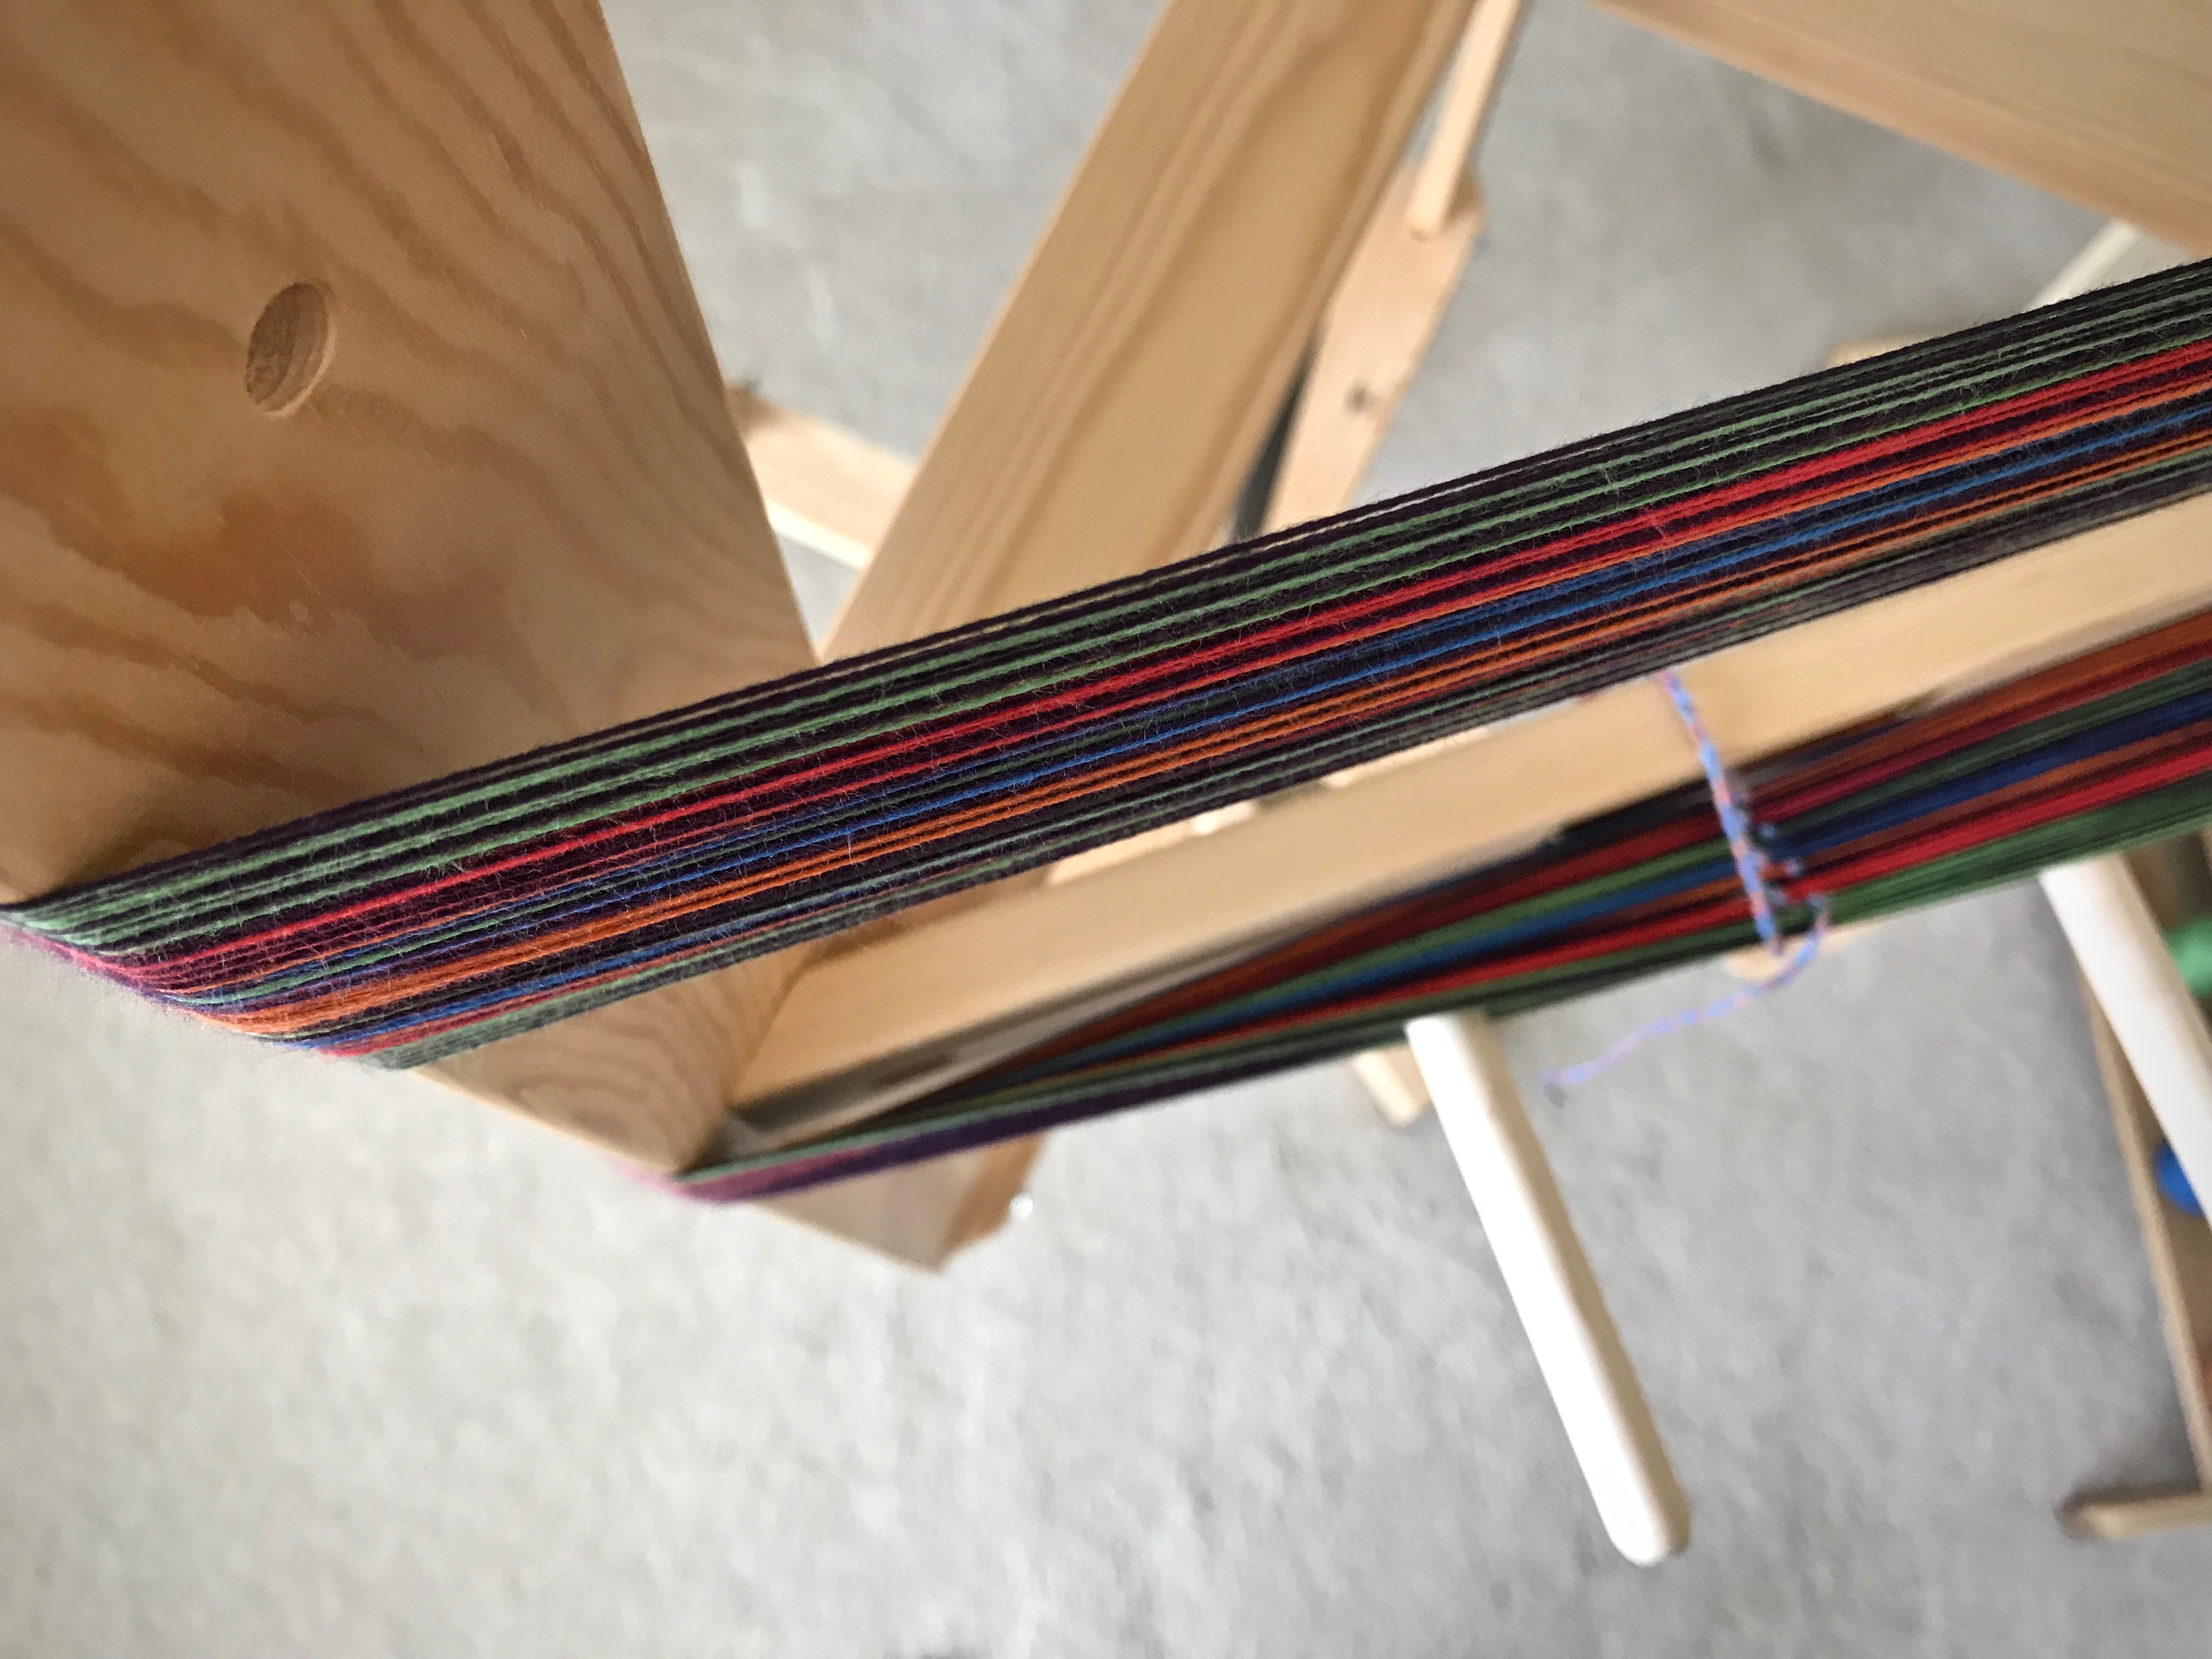
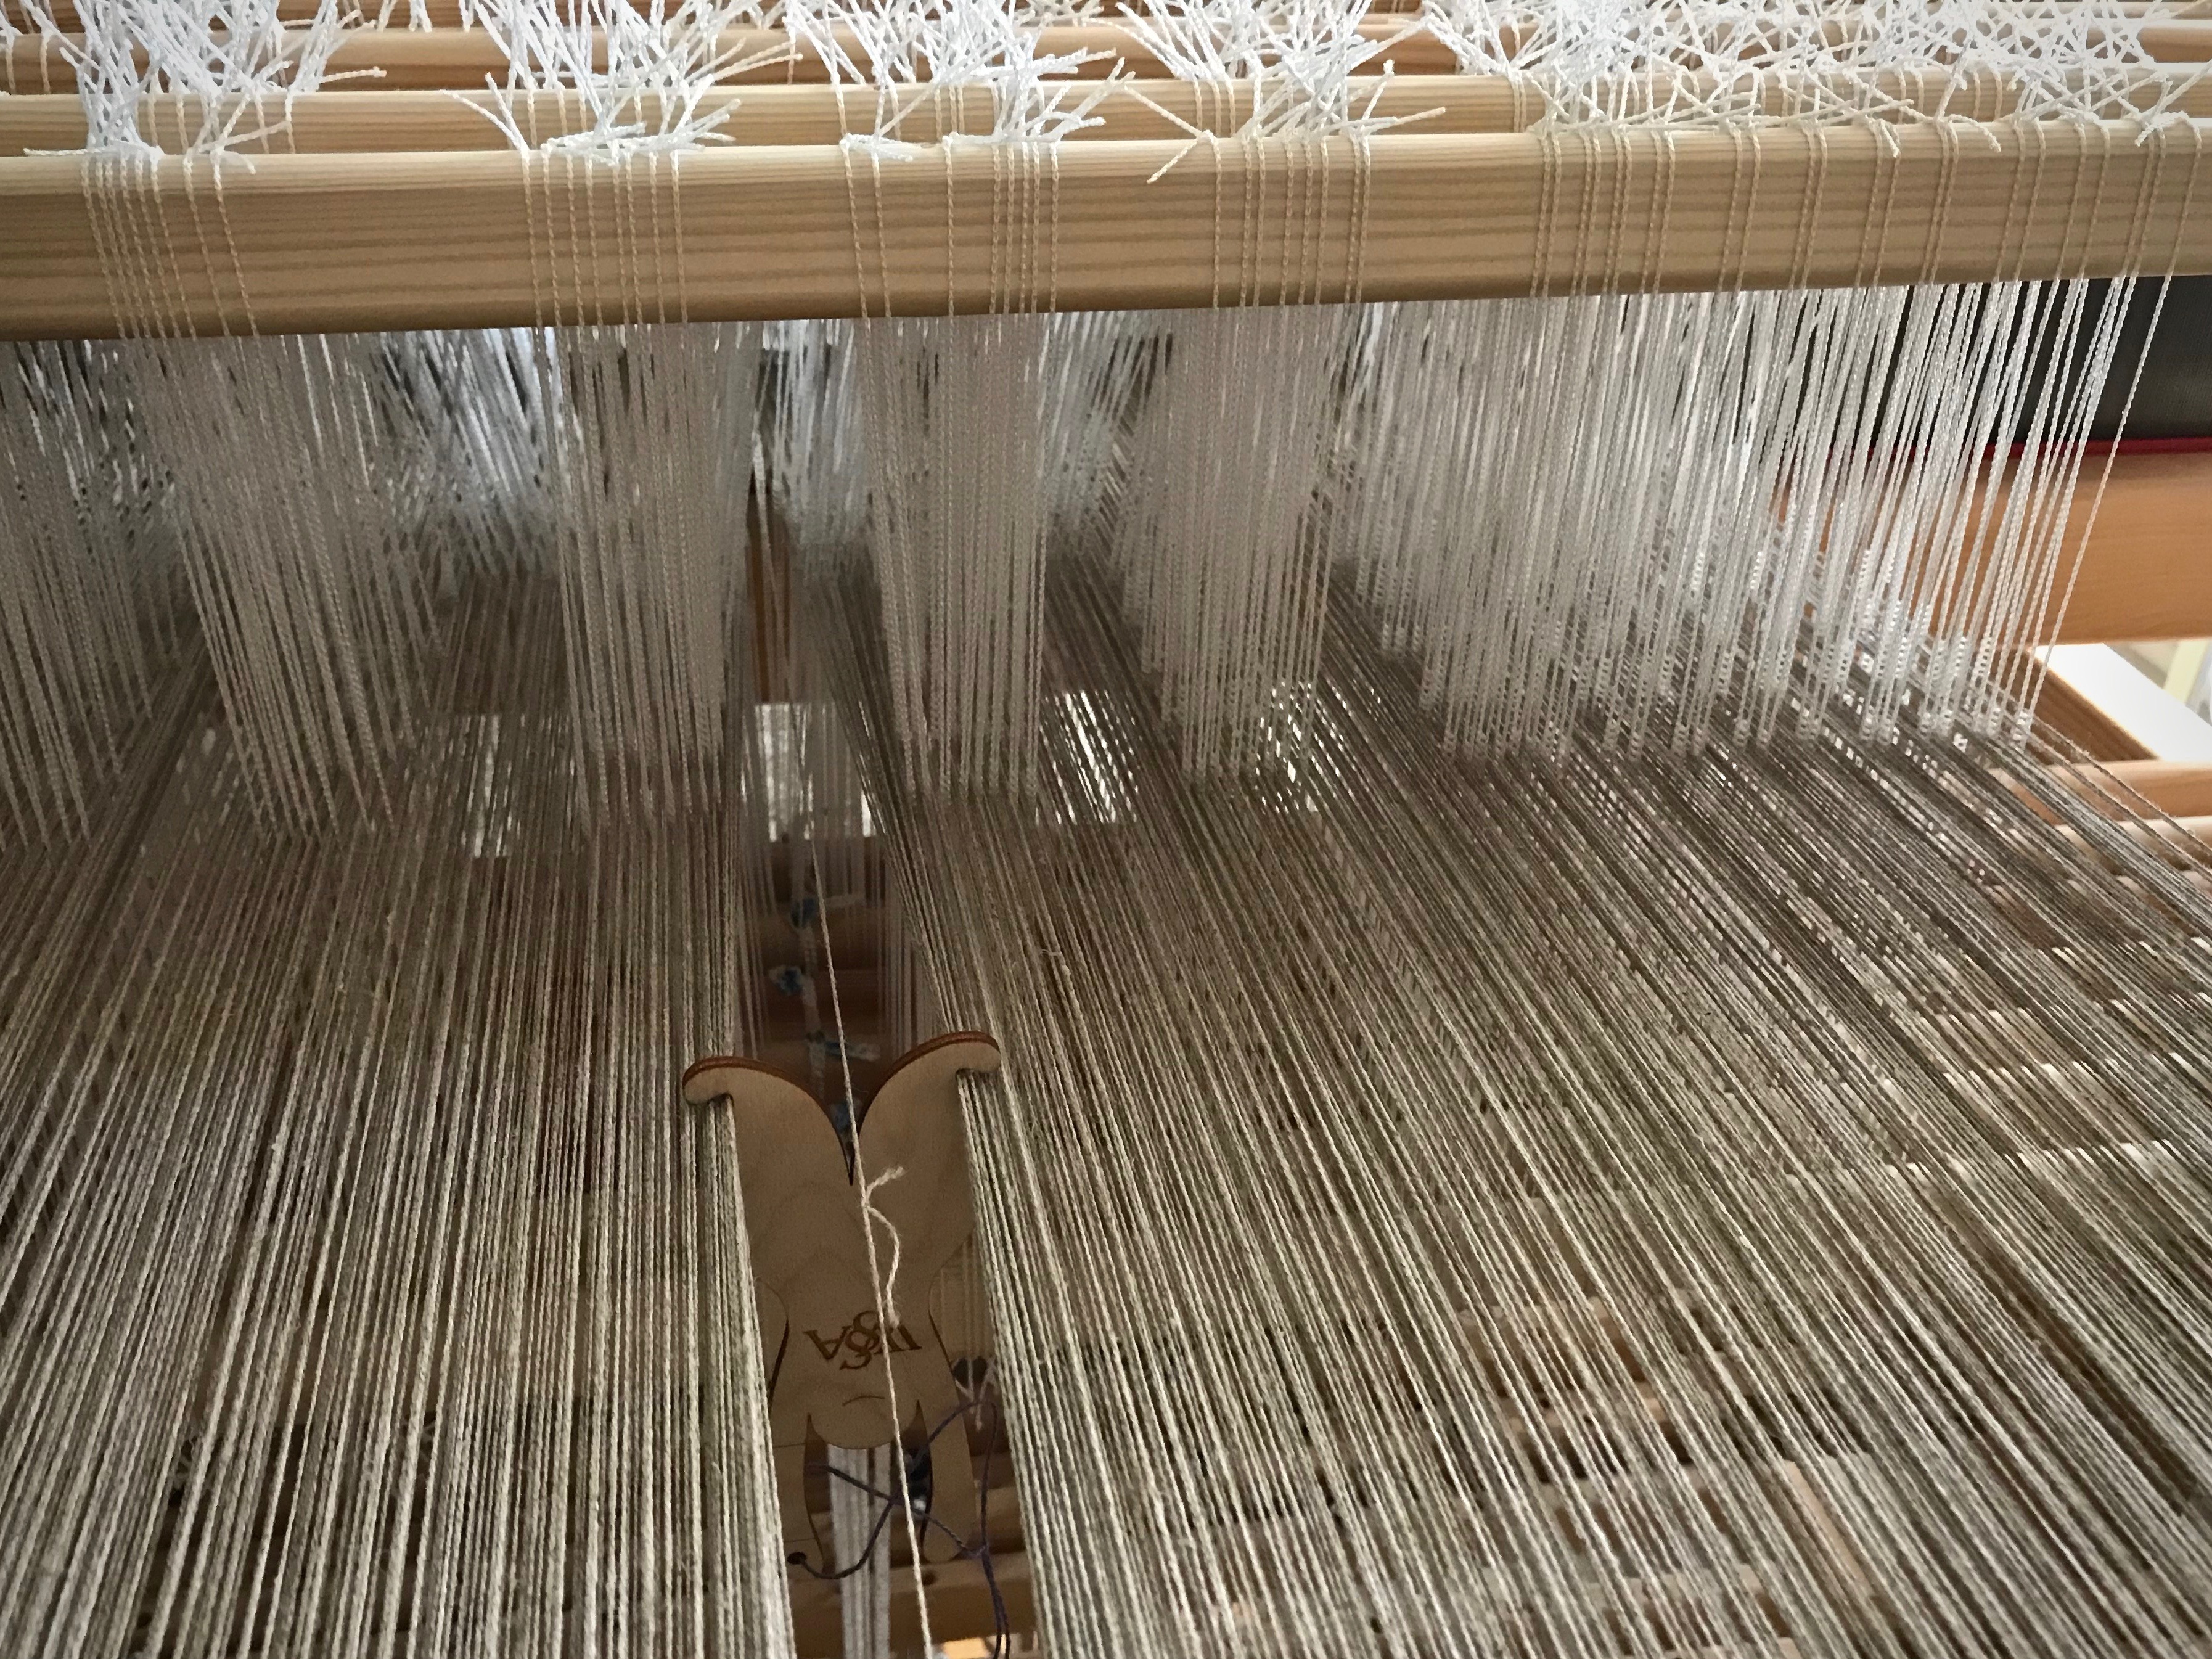
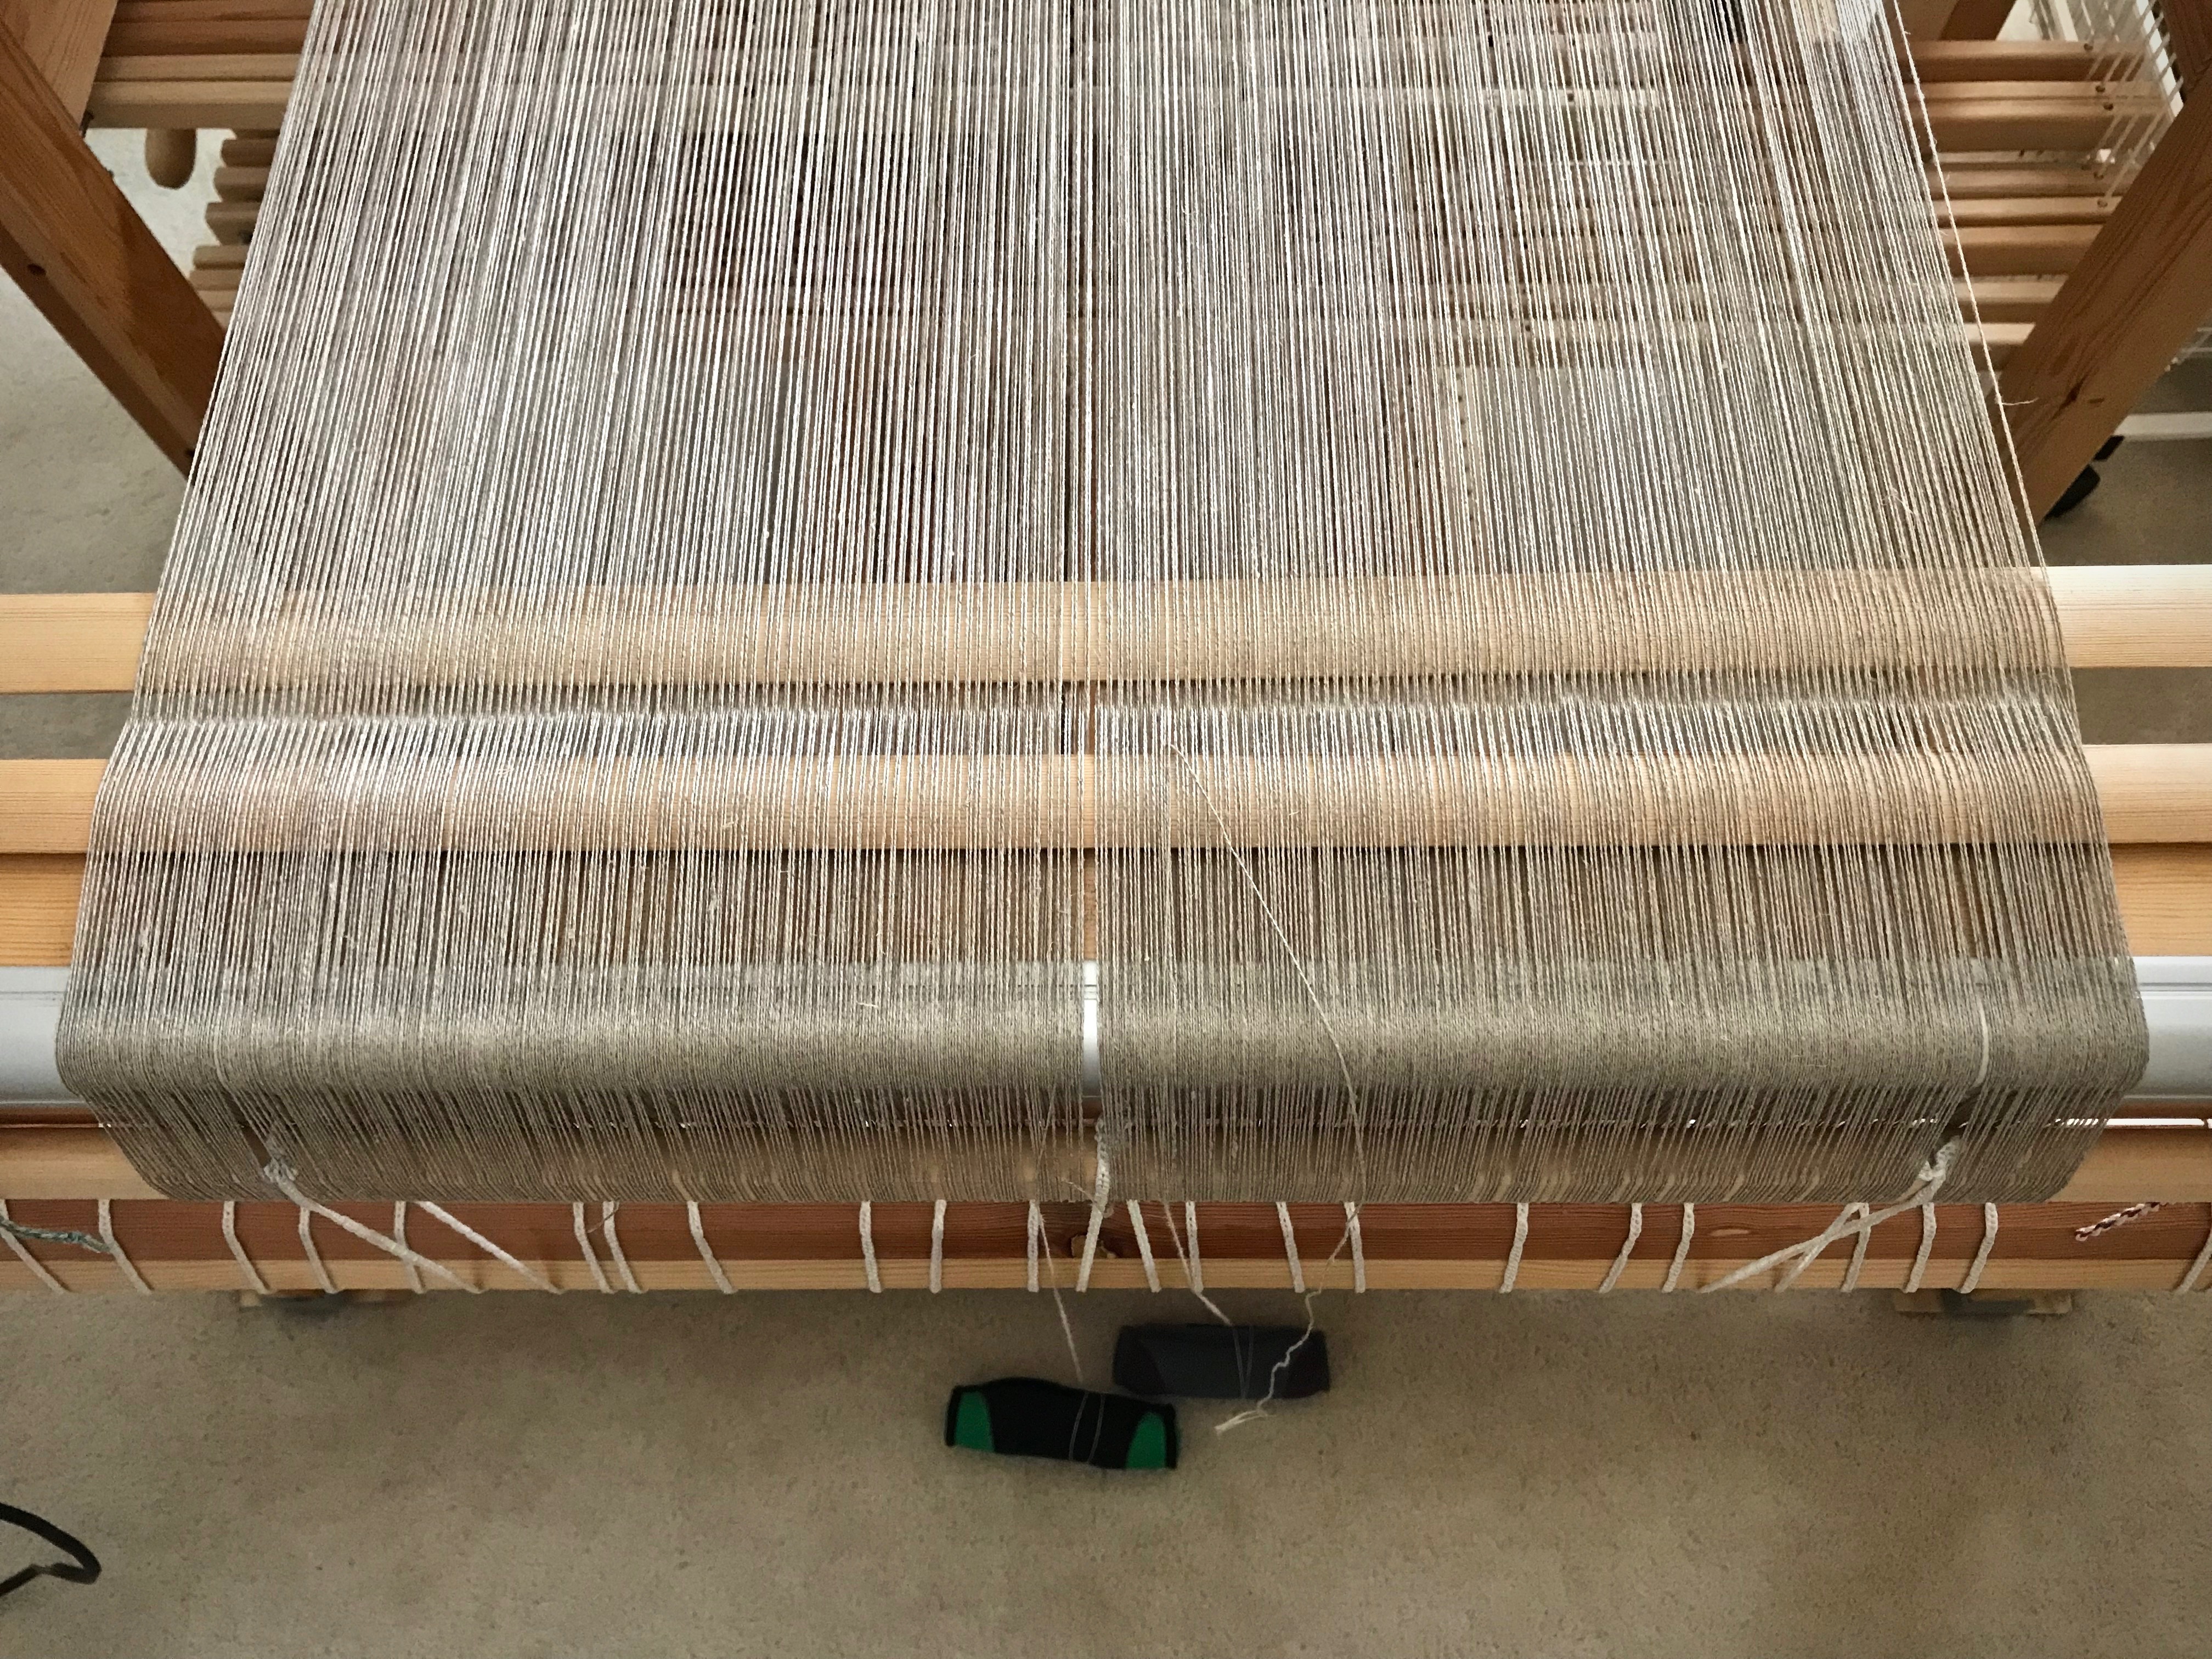
A zillion threads—2,064 ends, to be exact. I wound the warp in four bouts. And then, …a sinking feeling! I had wound each bout with exactly half the ends needed. This double weave throw, almost the full weaving width of the loom, needs 1,032 more ends.
Winding one bout of the warp.One bout.Two bouts.Three bouts.Four bouts. Not enough.
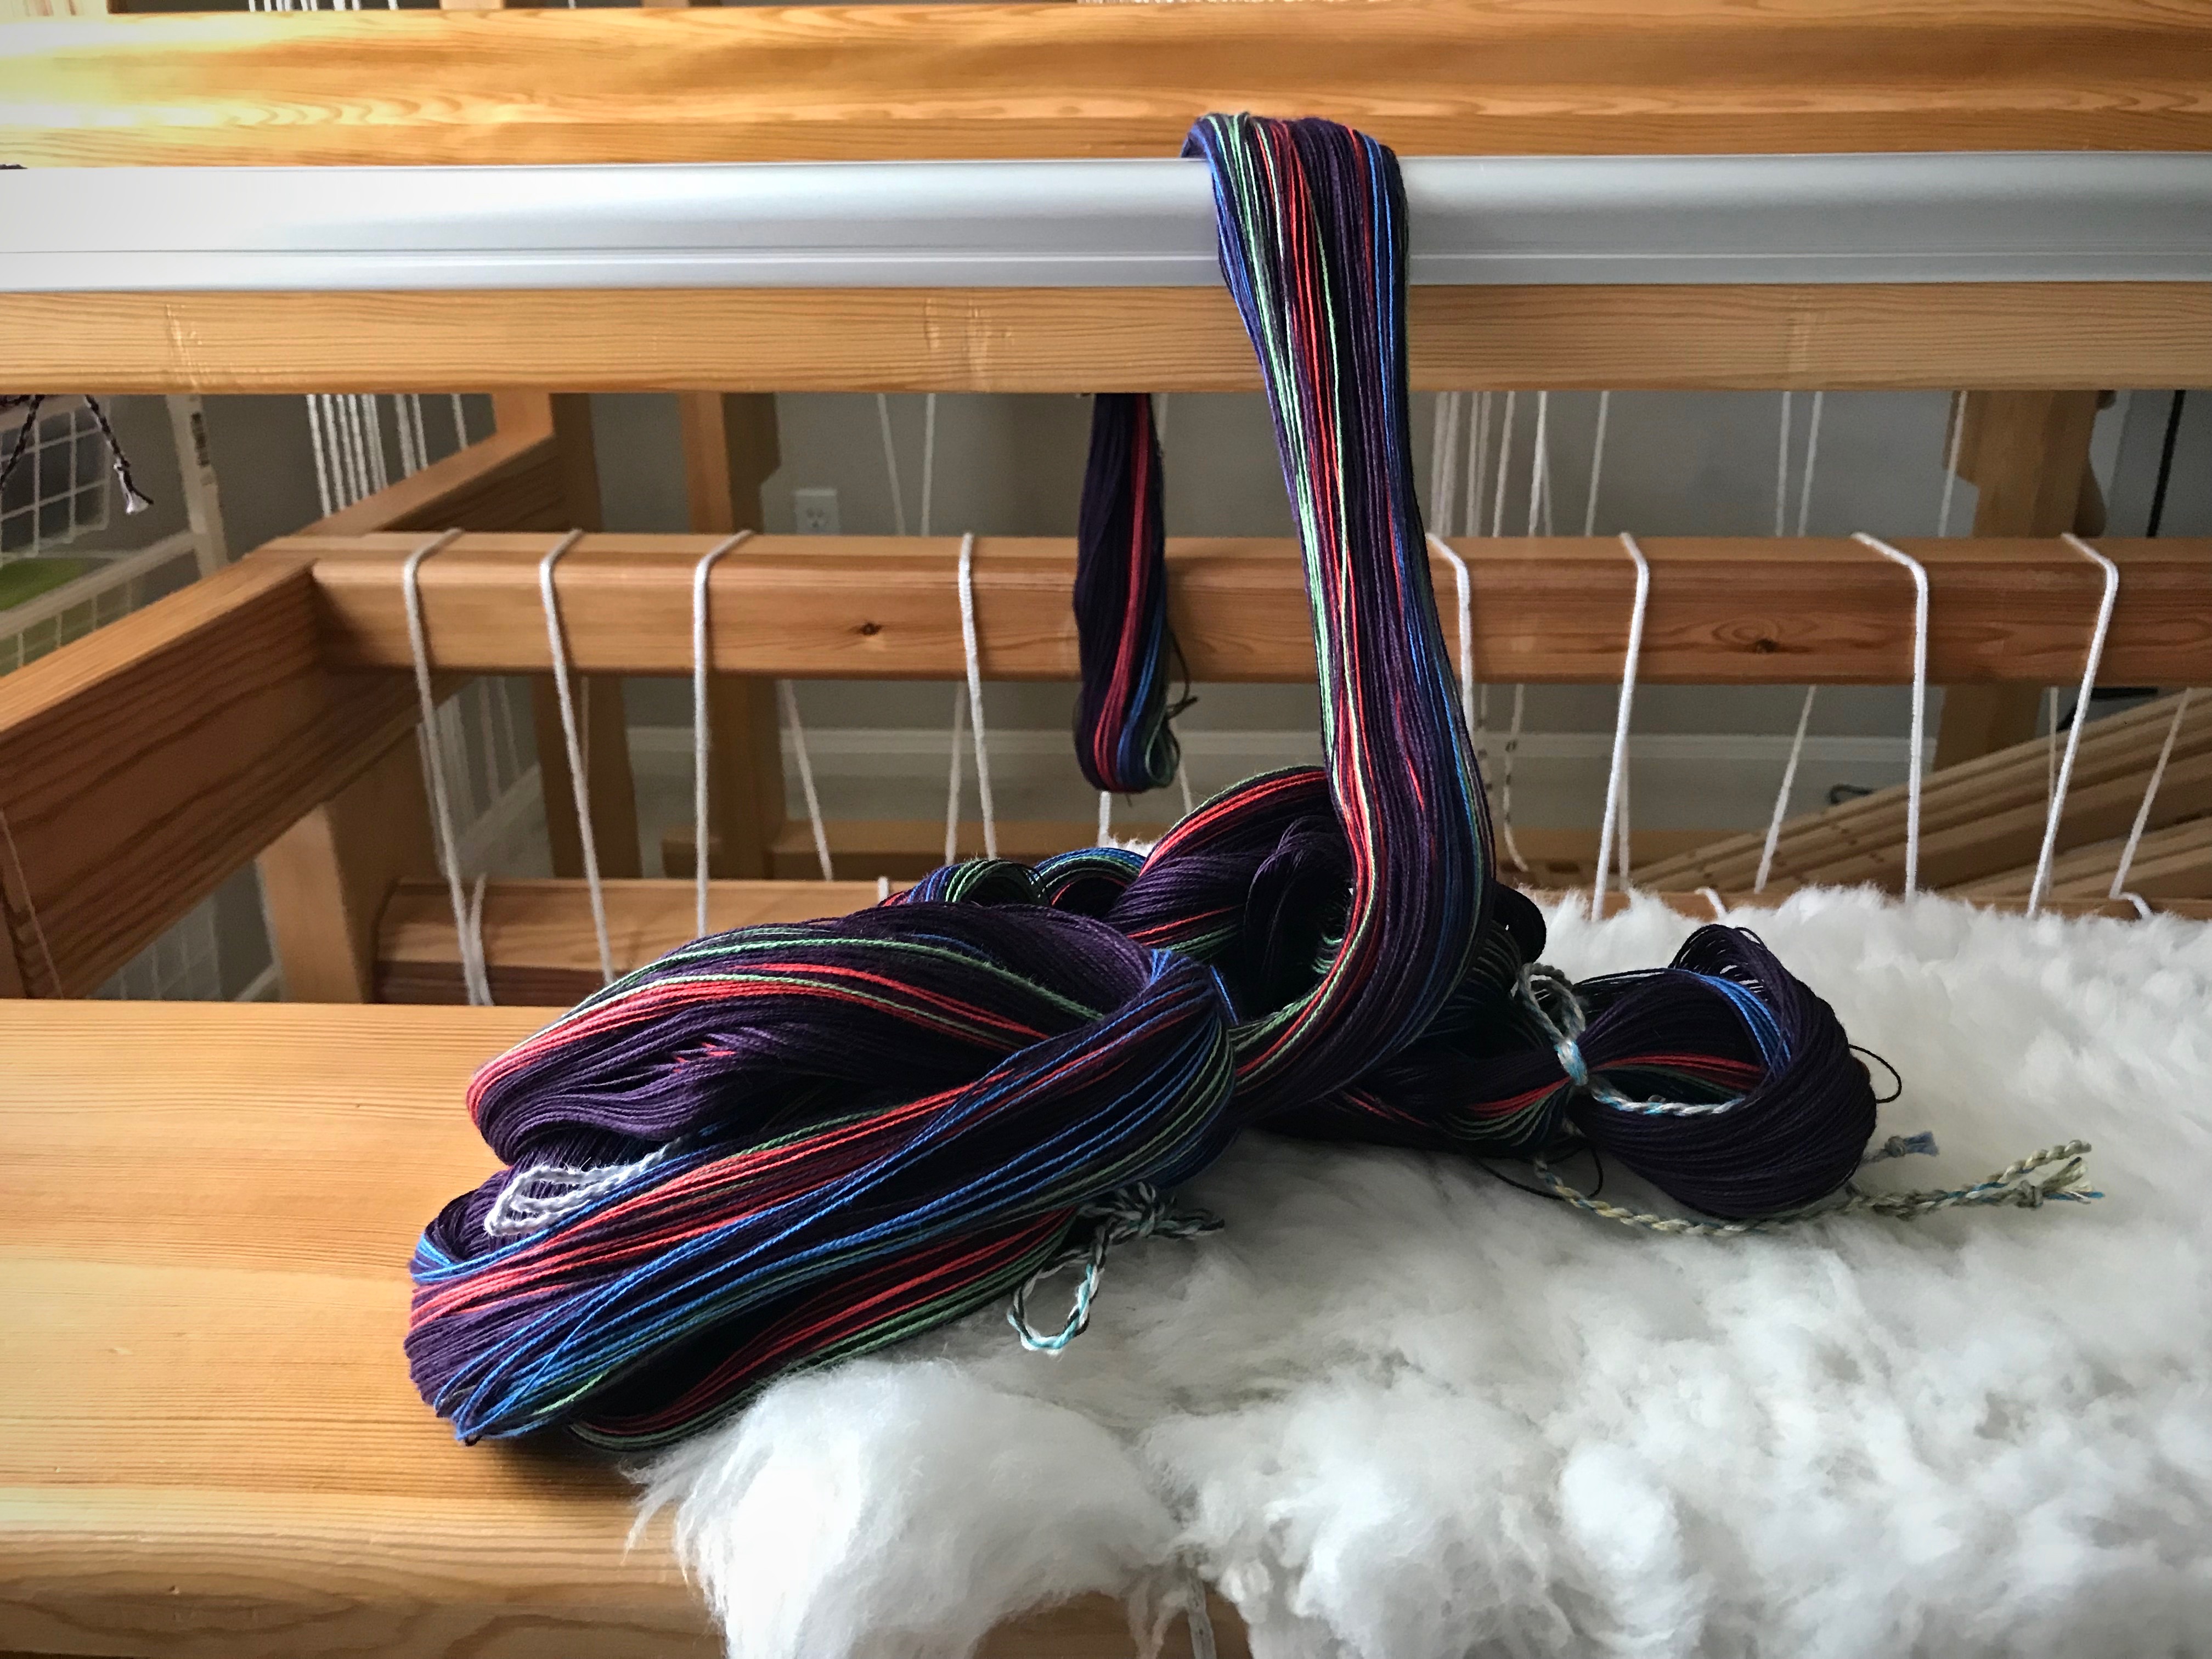
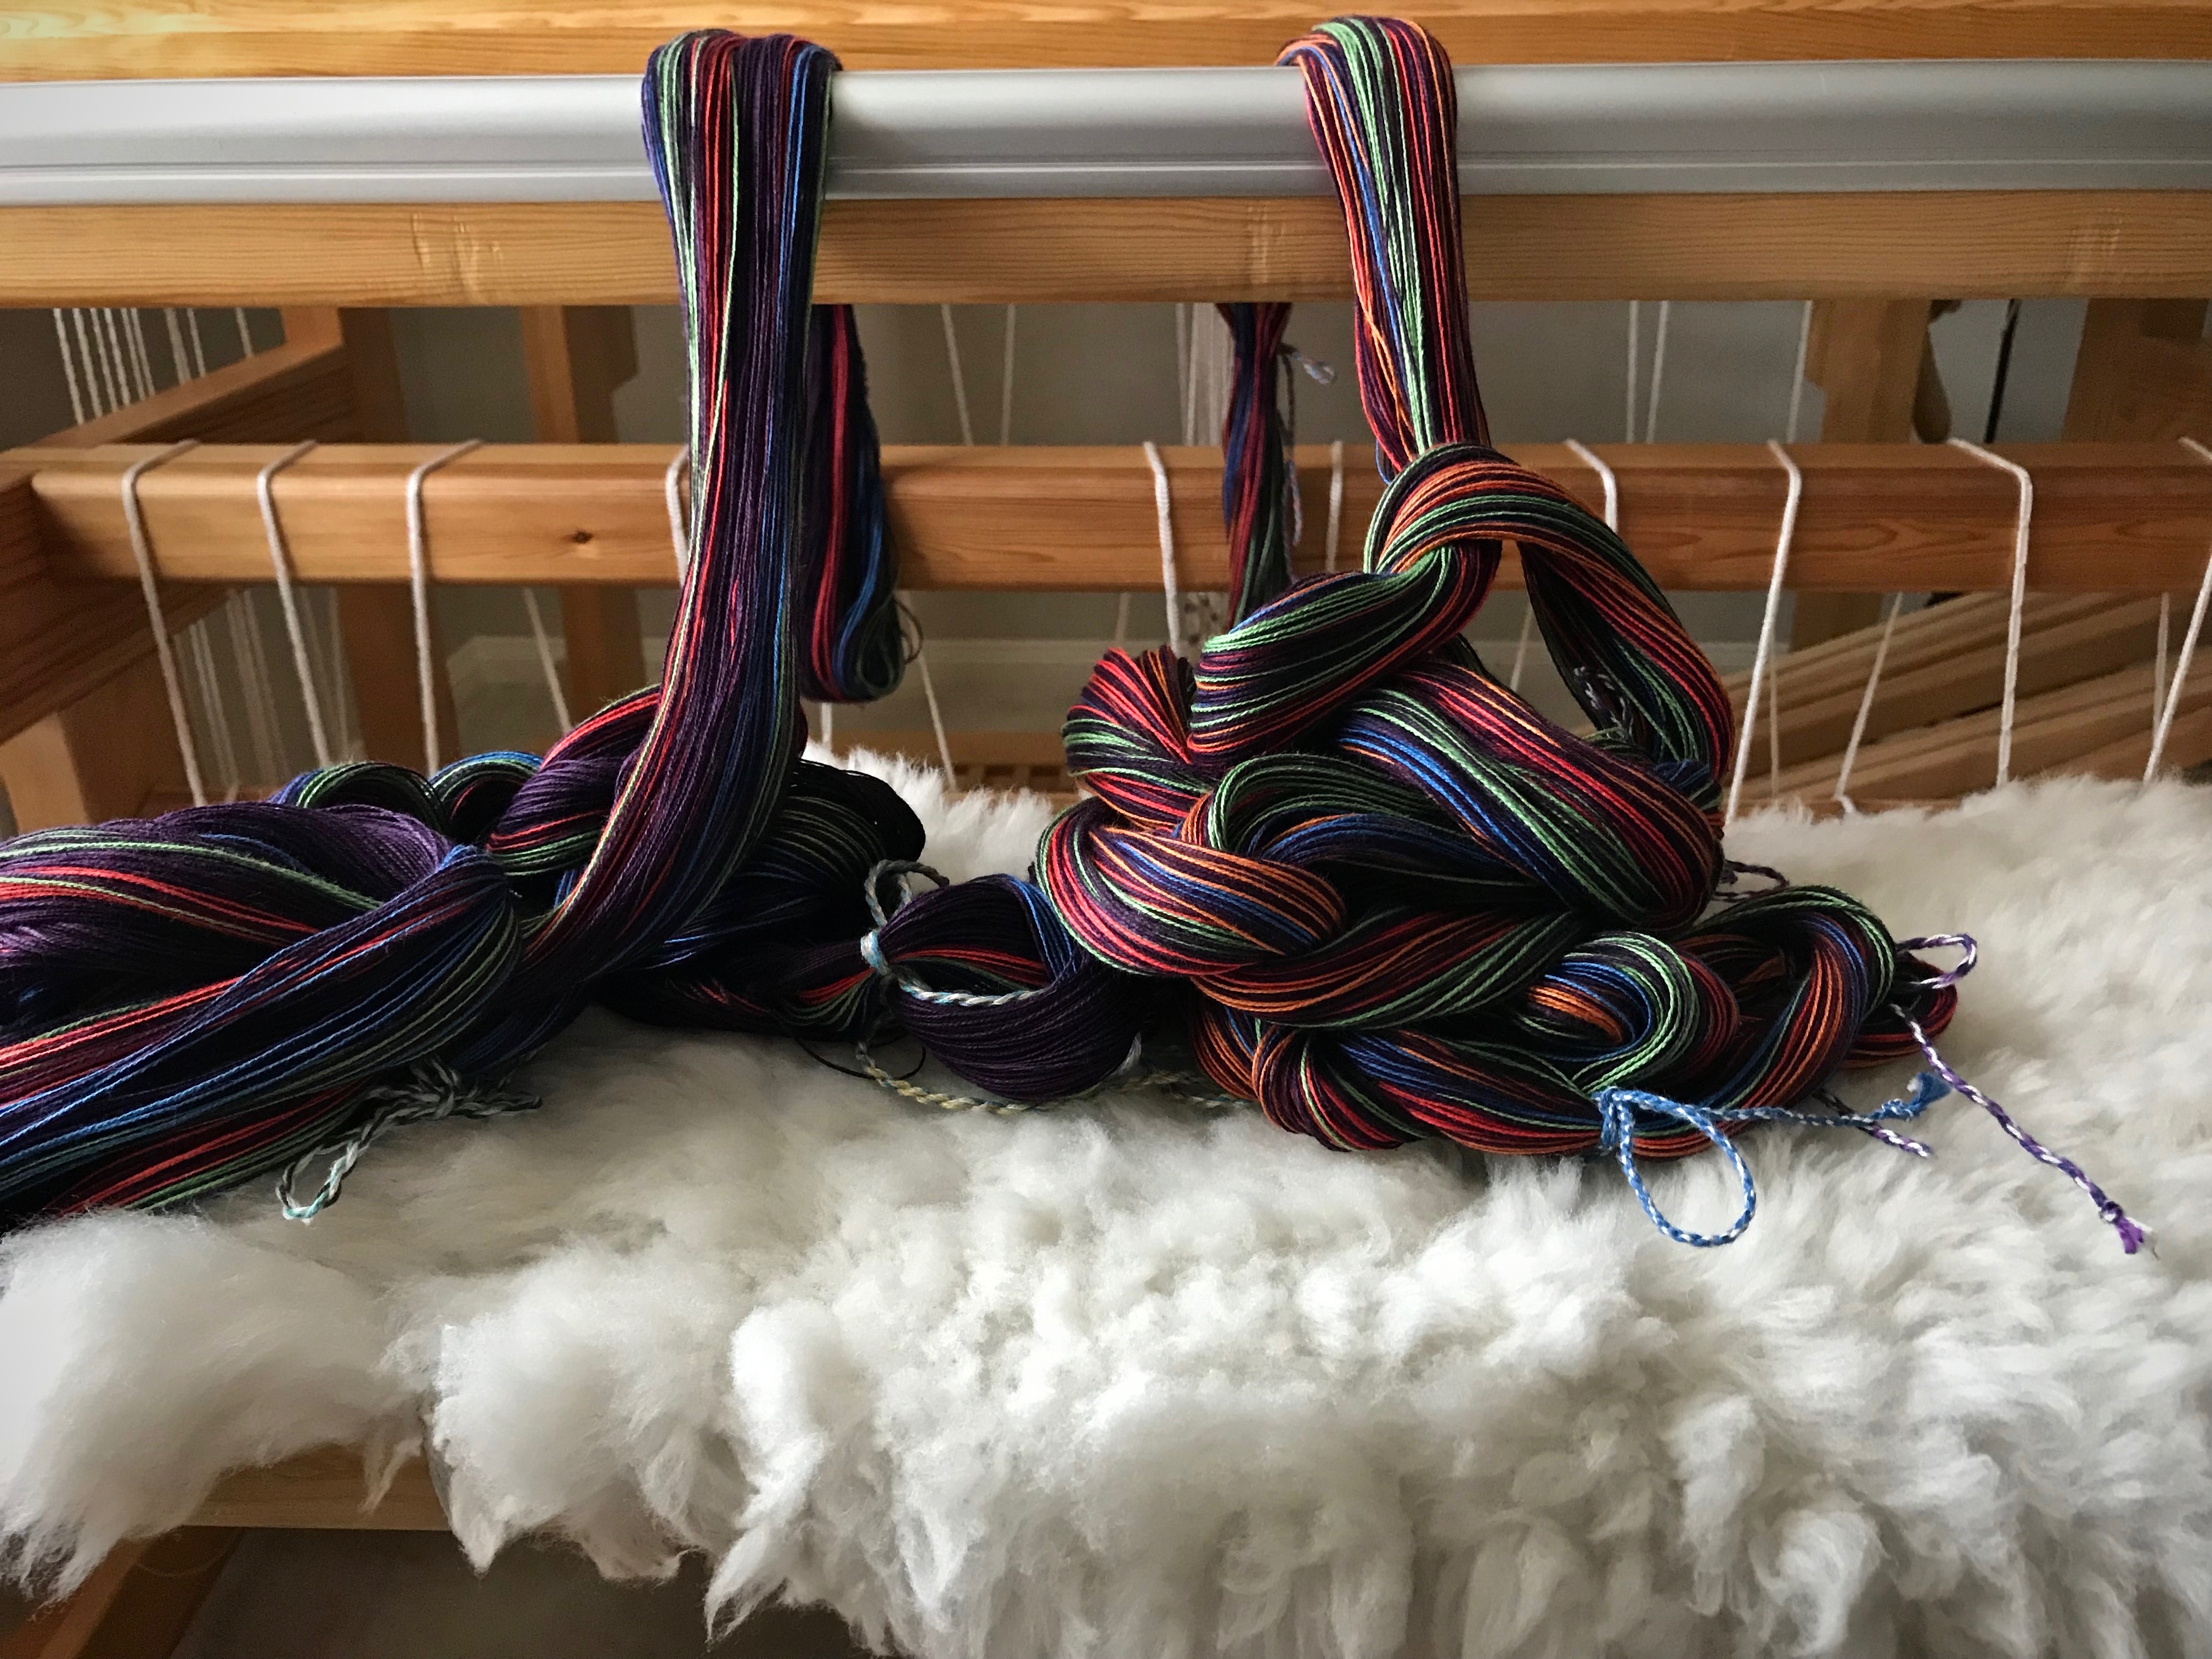
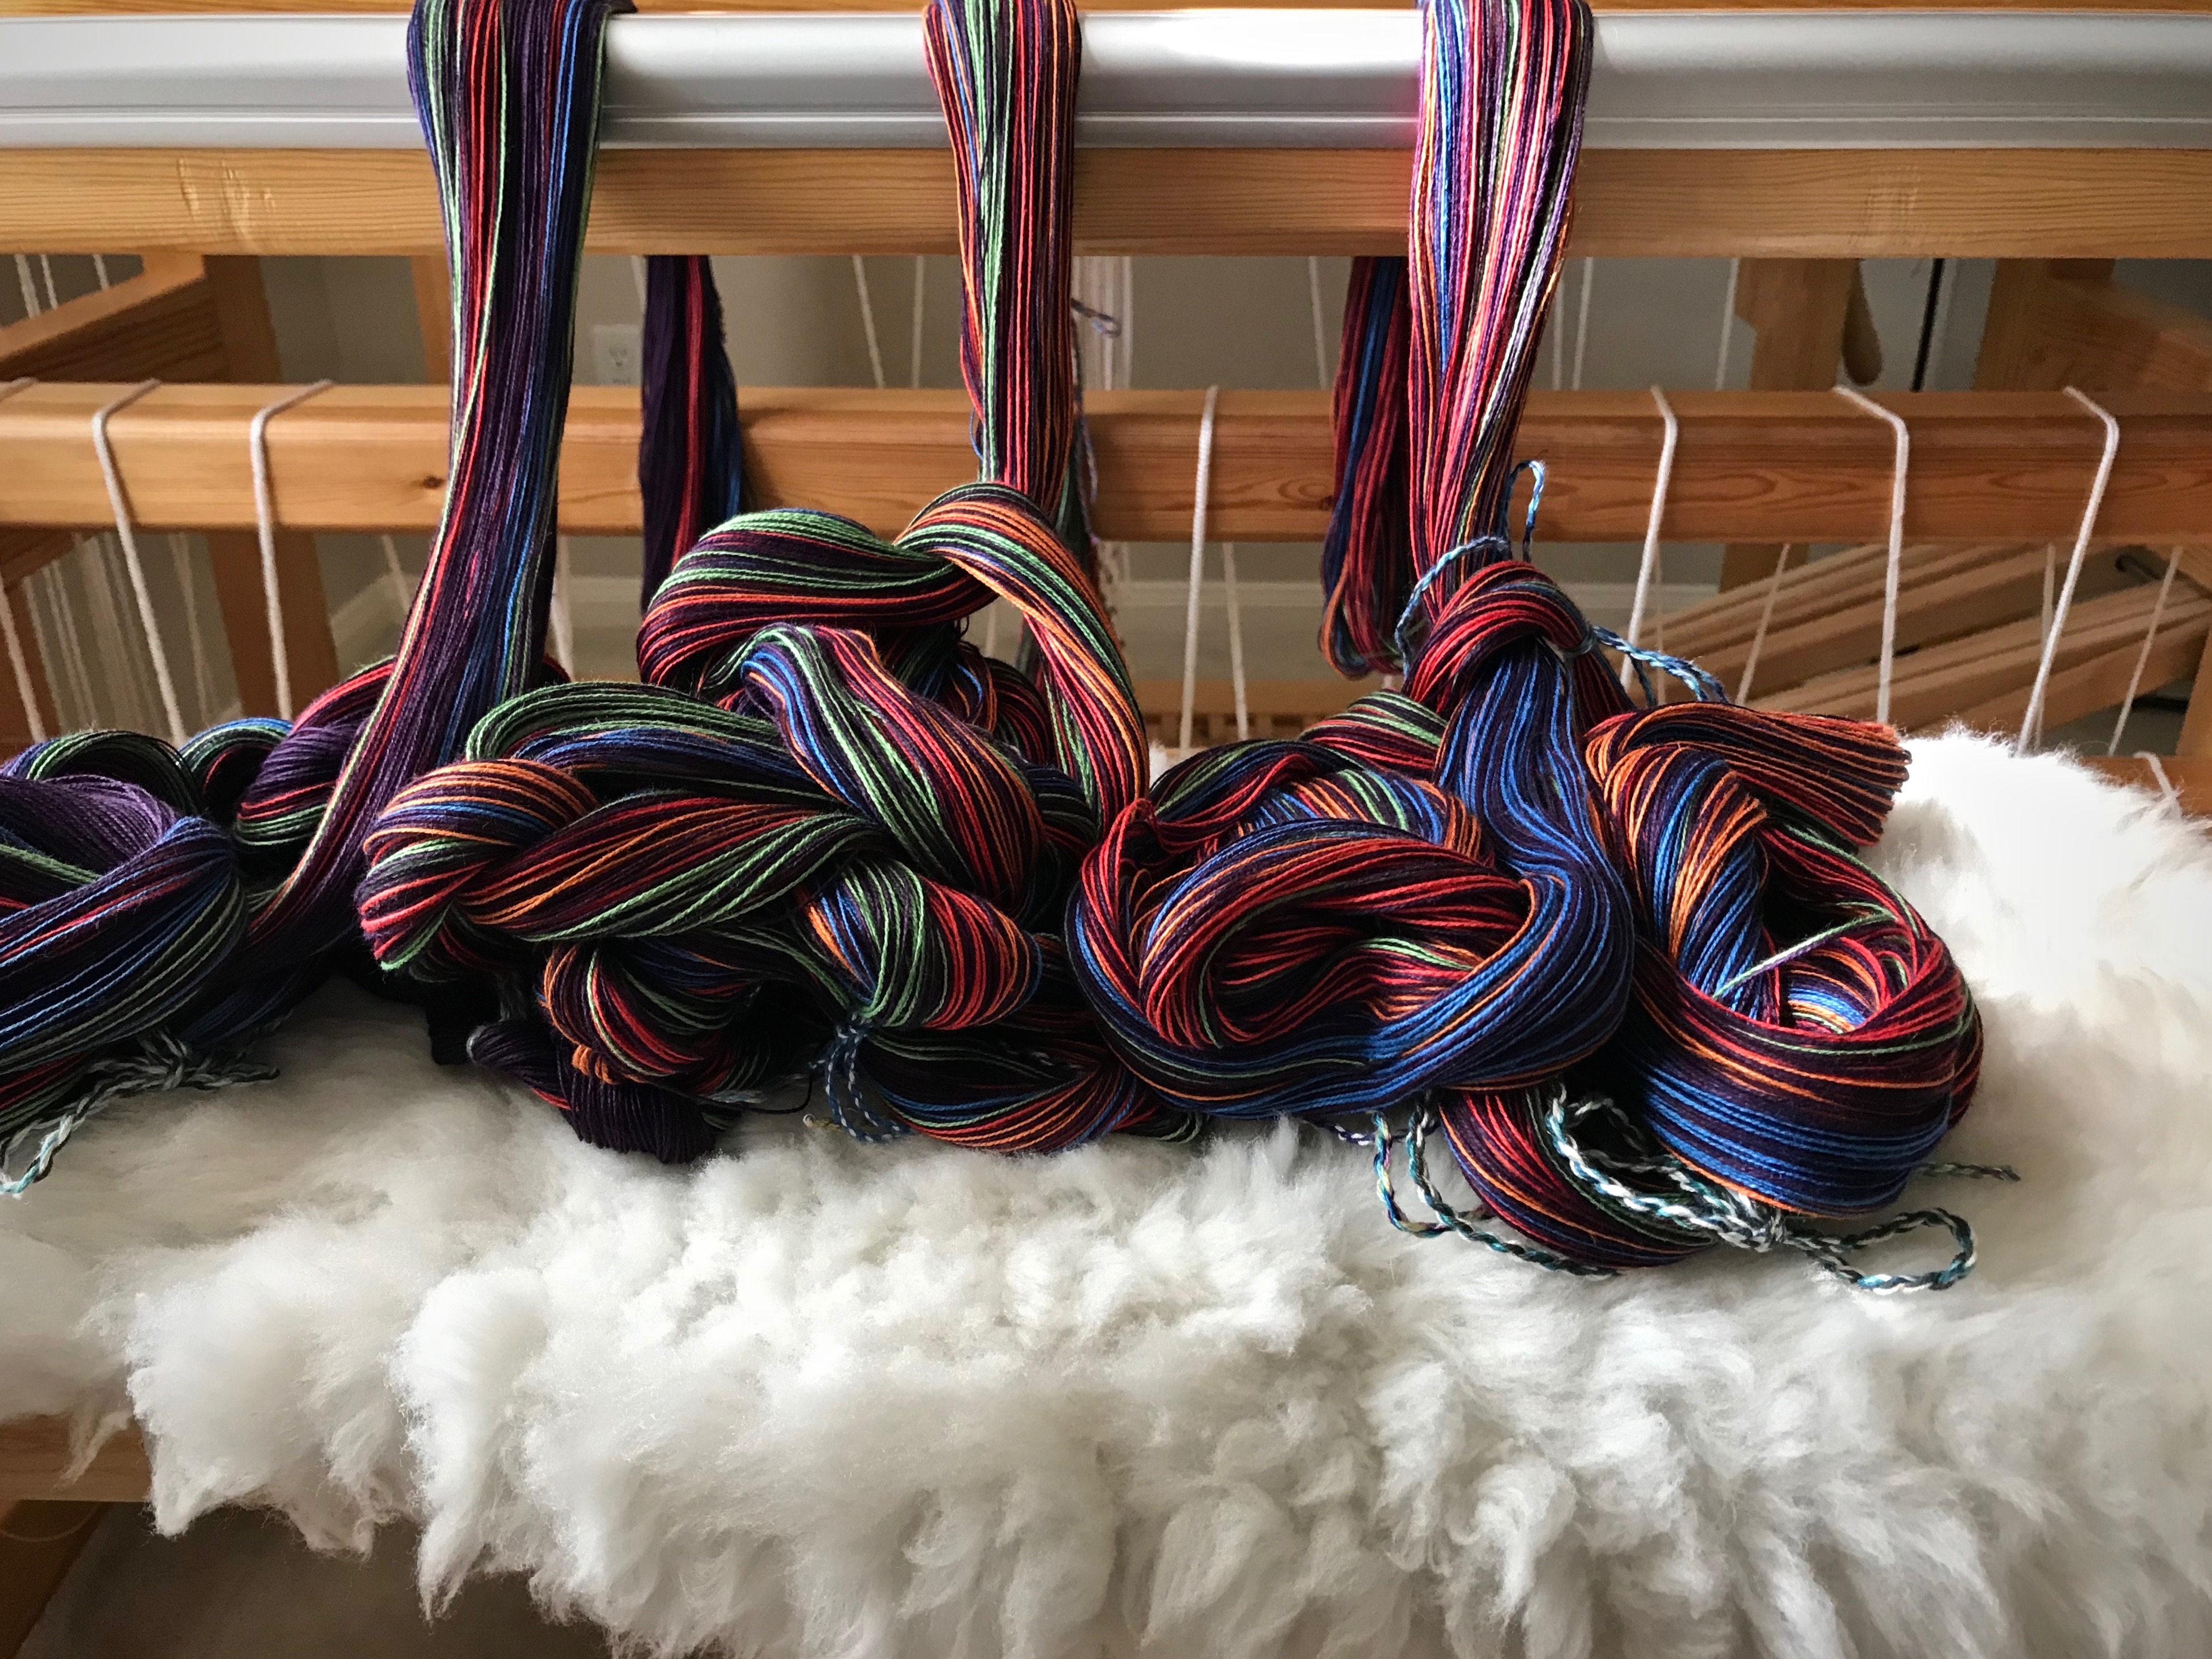
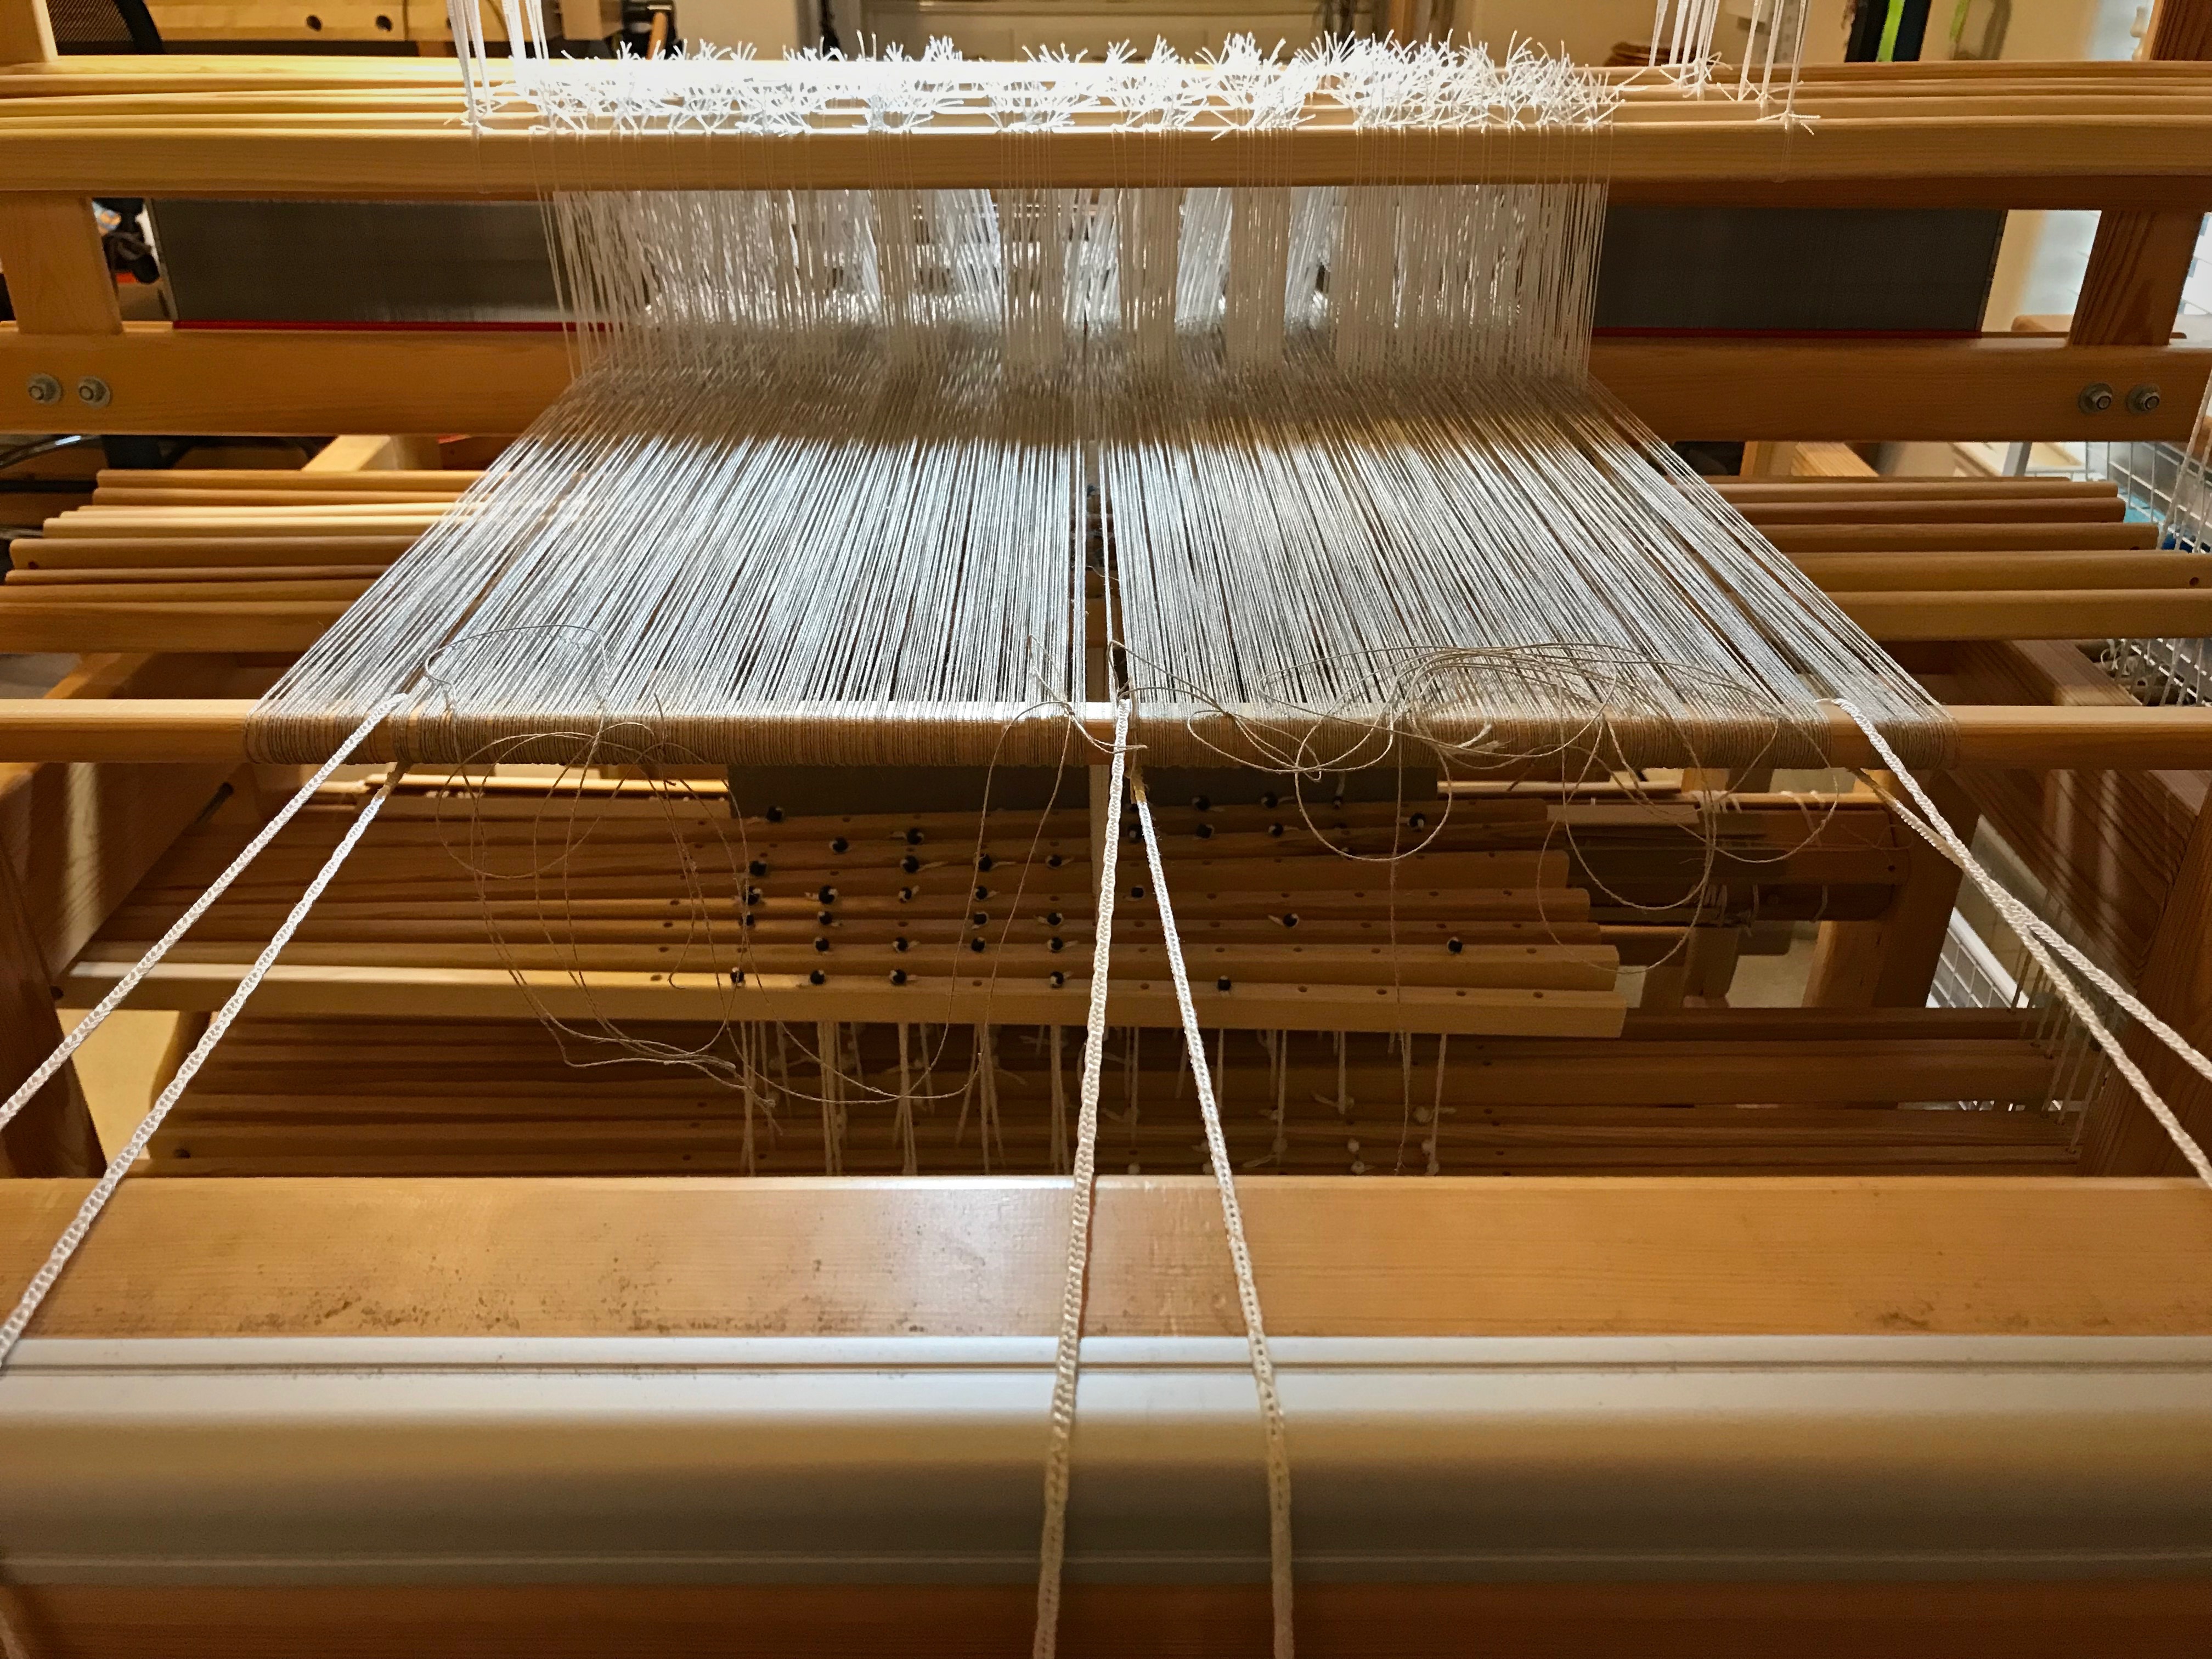
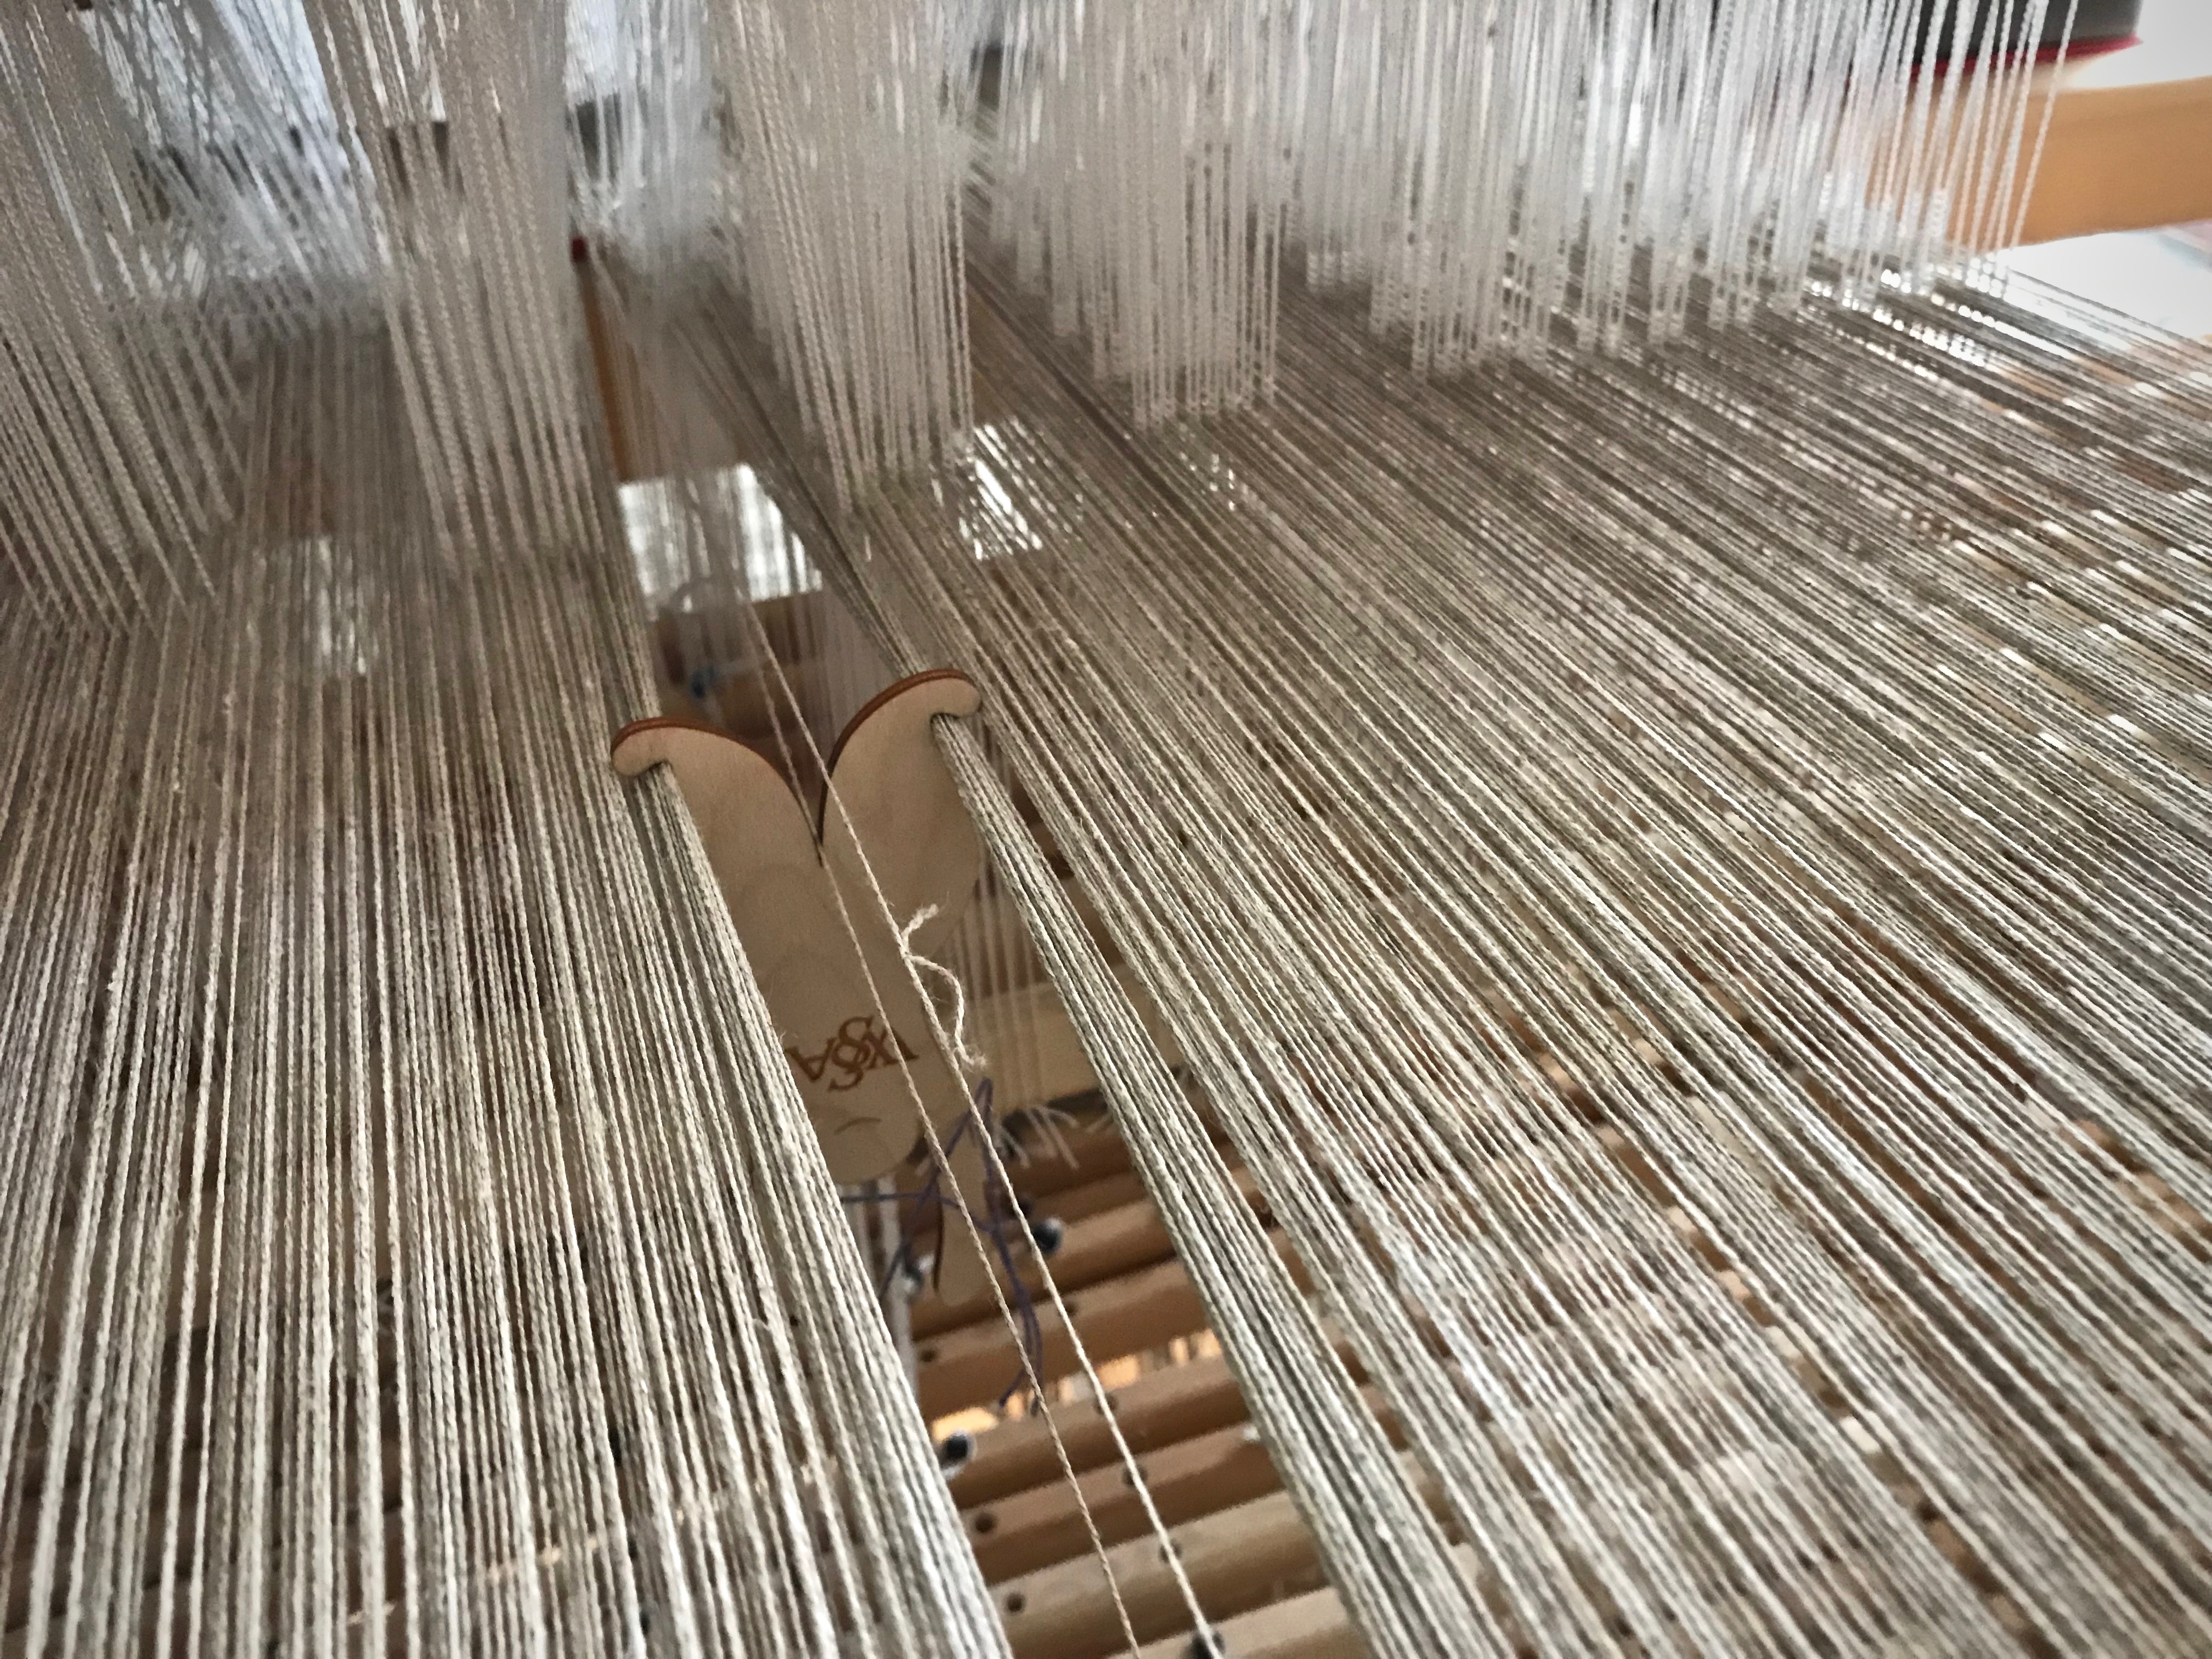
I had counted ends as if there were only one layer. I did all four bouts that way. Yikes! Now I am winding four more identical bouts. I will put the lease sticks through all eight bouts. Somehow. Thoughtful study of the details on my planning sheet would have prevented this major error. But I knew what I was doing, and could remember the important things. Or, so I thought. And I was eager to get started…
Winding more warp bouts.Eight warp bouts. Ready to begin dressing the loom.
Walk. How we walk through life matters. To walk in a manner pleasing to God we need to know what he wants, and give that our full attention. If I run ahead, eager for the next experience, and neglect to consult the Grand Weaver’s project notes, I’m asking for trouble. The vibrant-colored warpwill still get on the loom, but this is called learning the hard way.
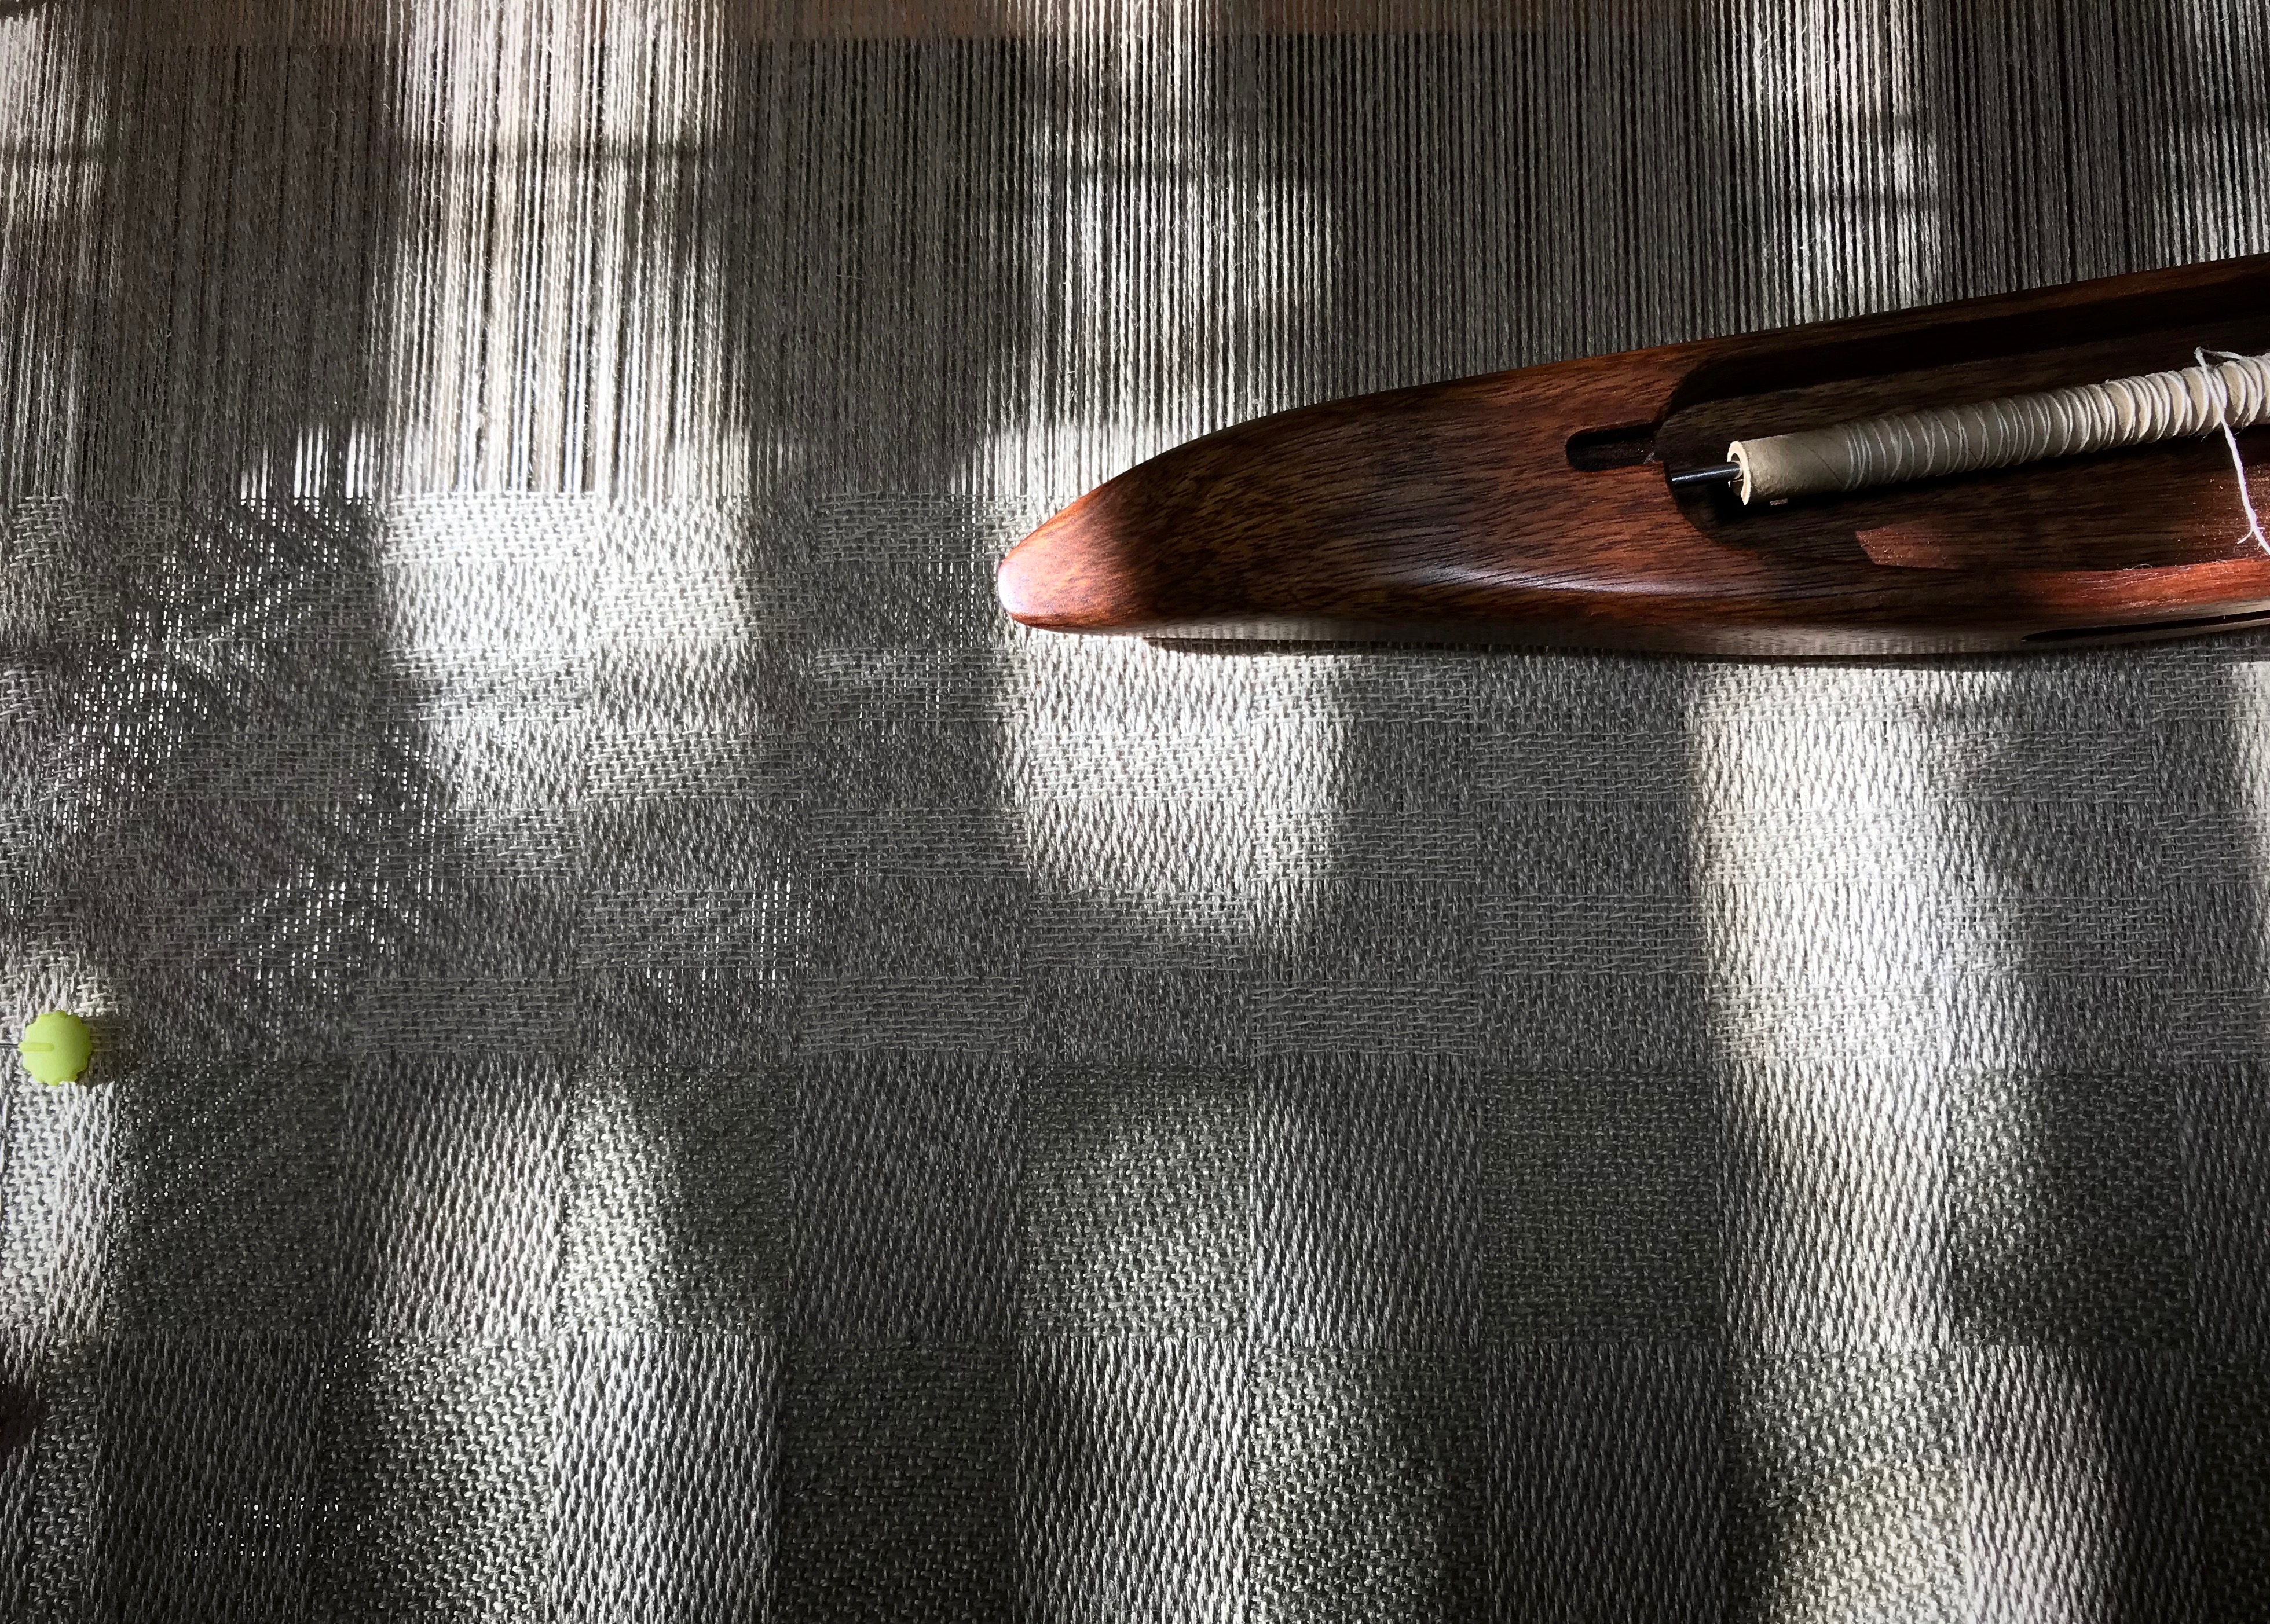
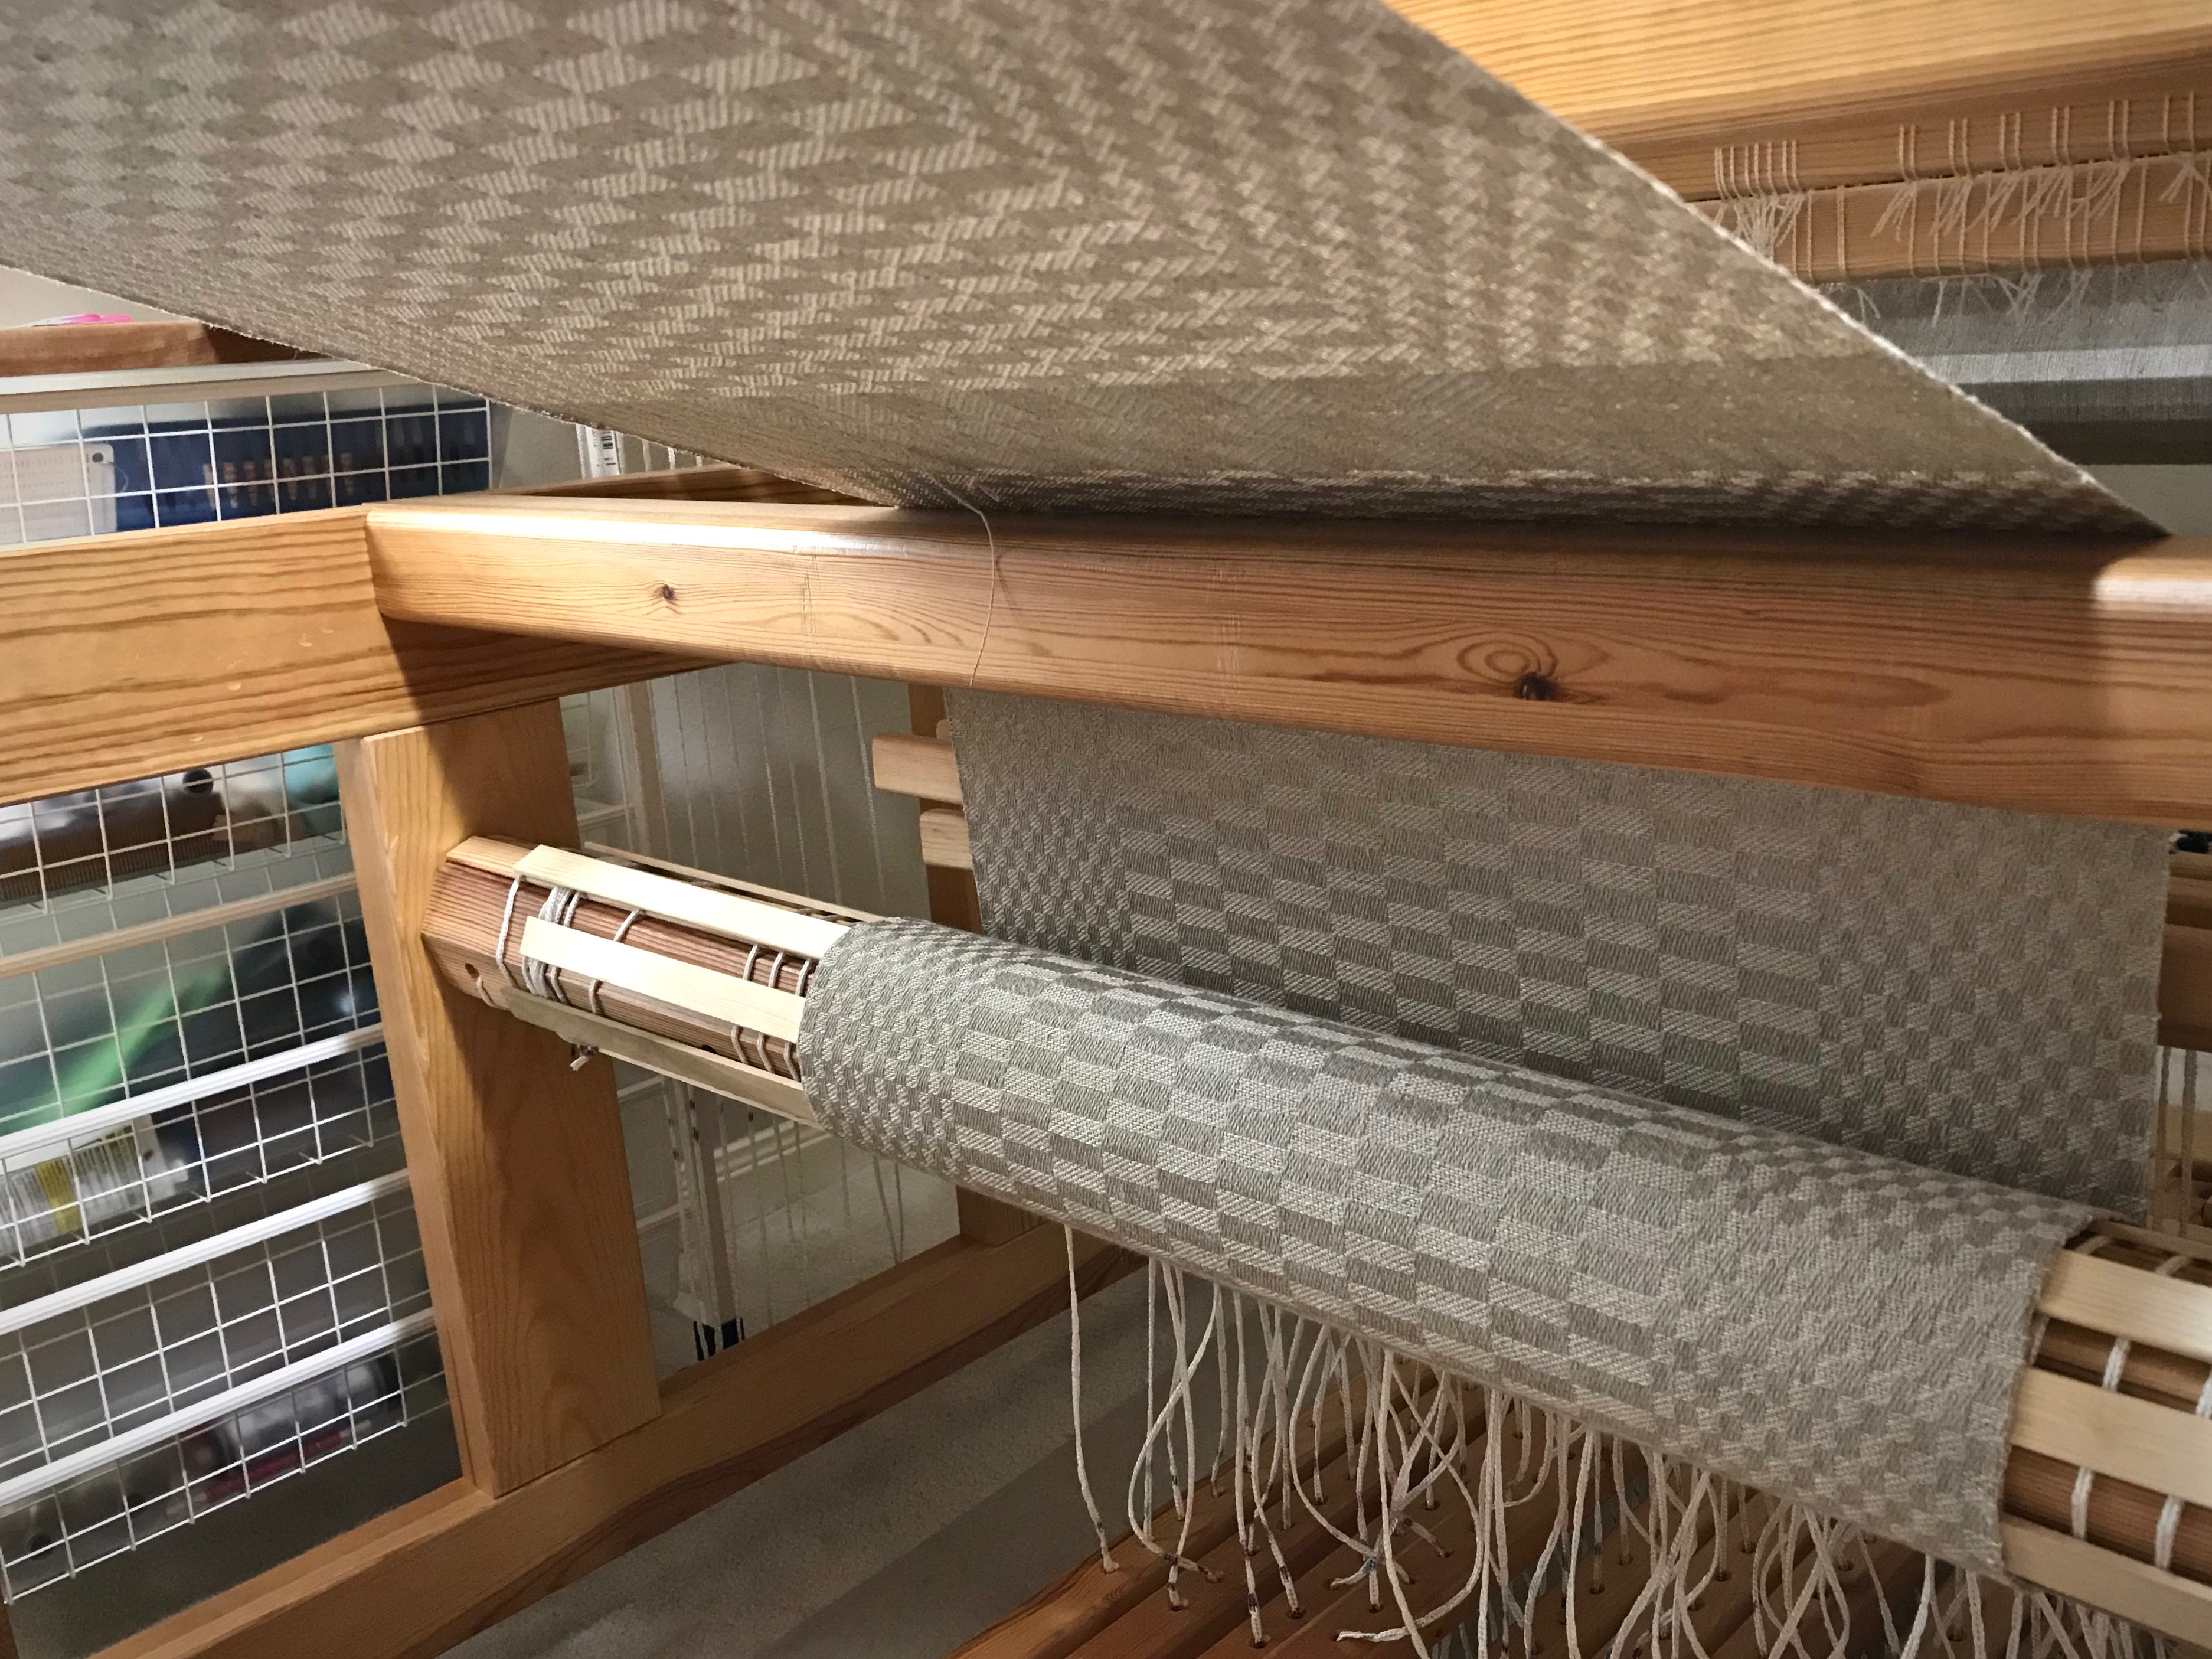
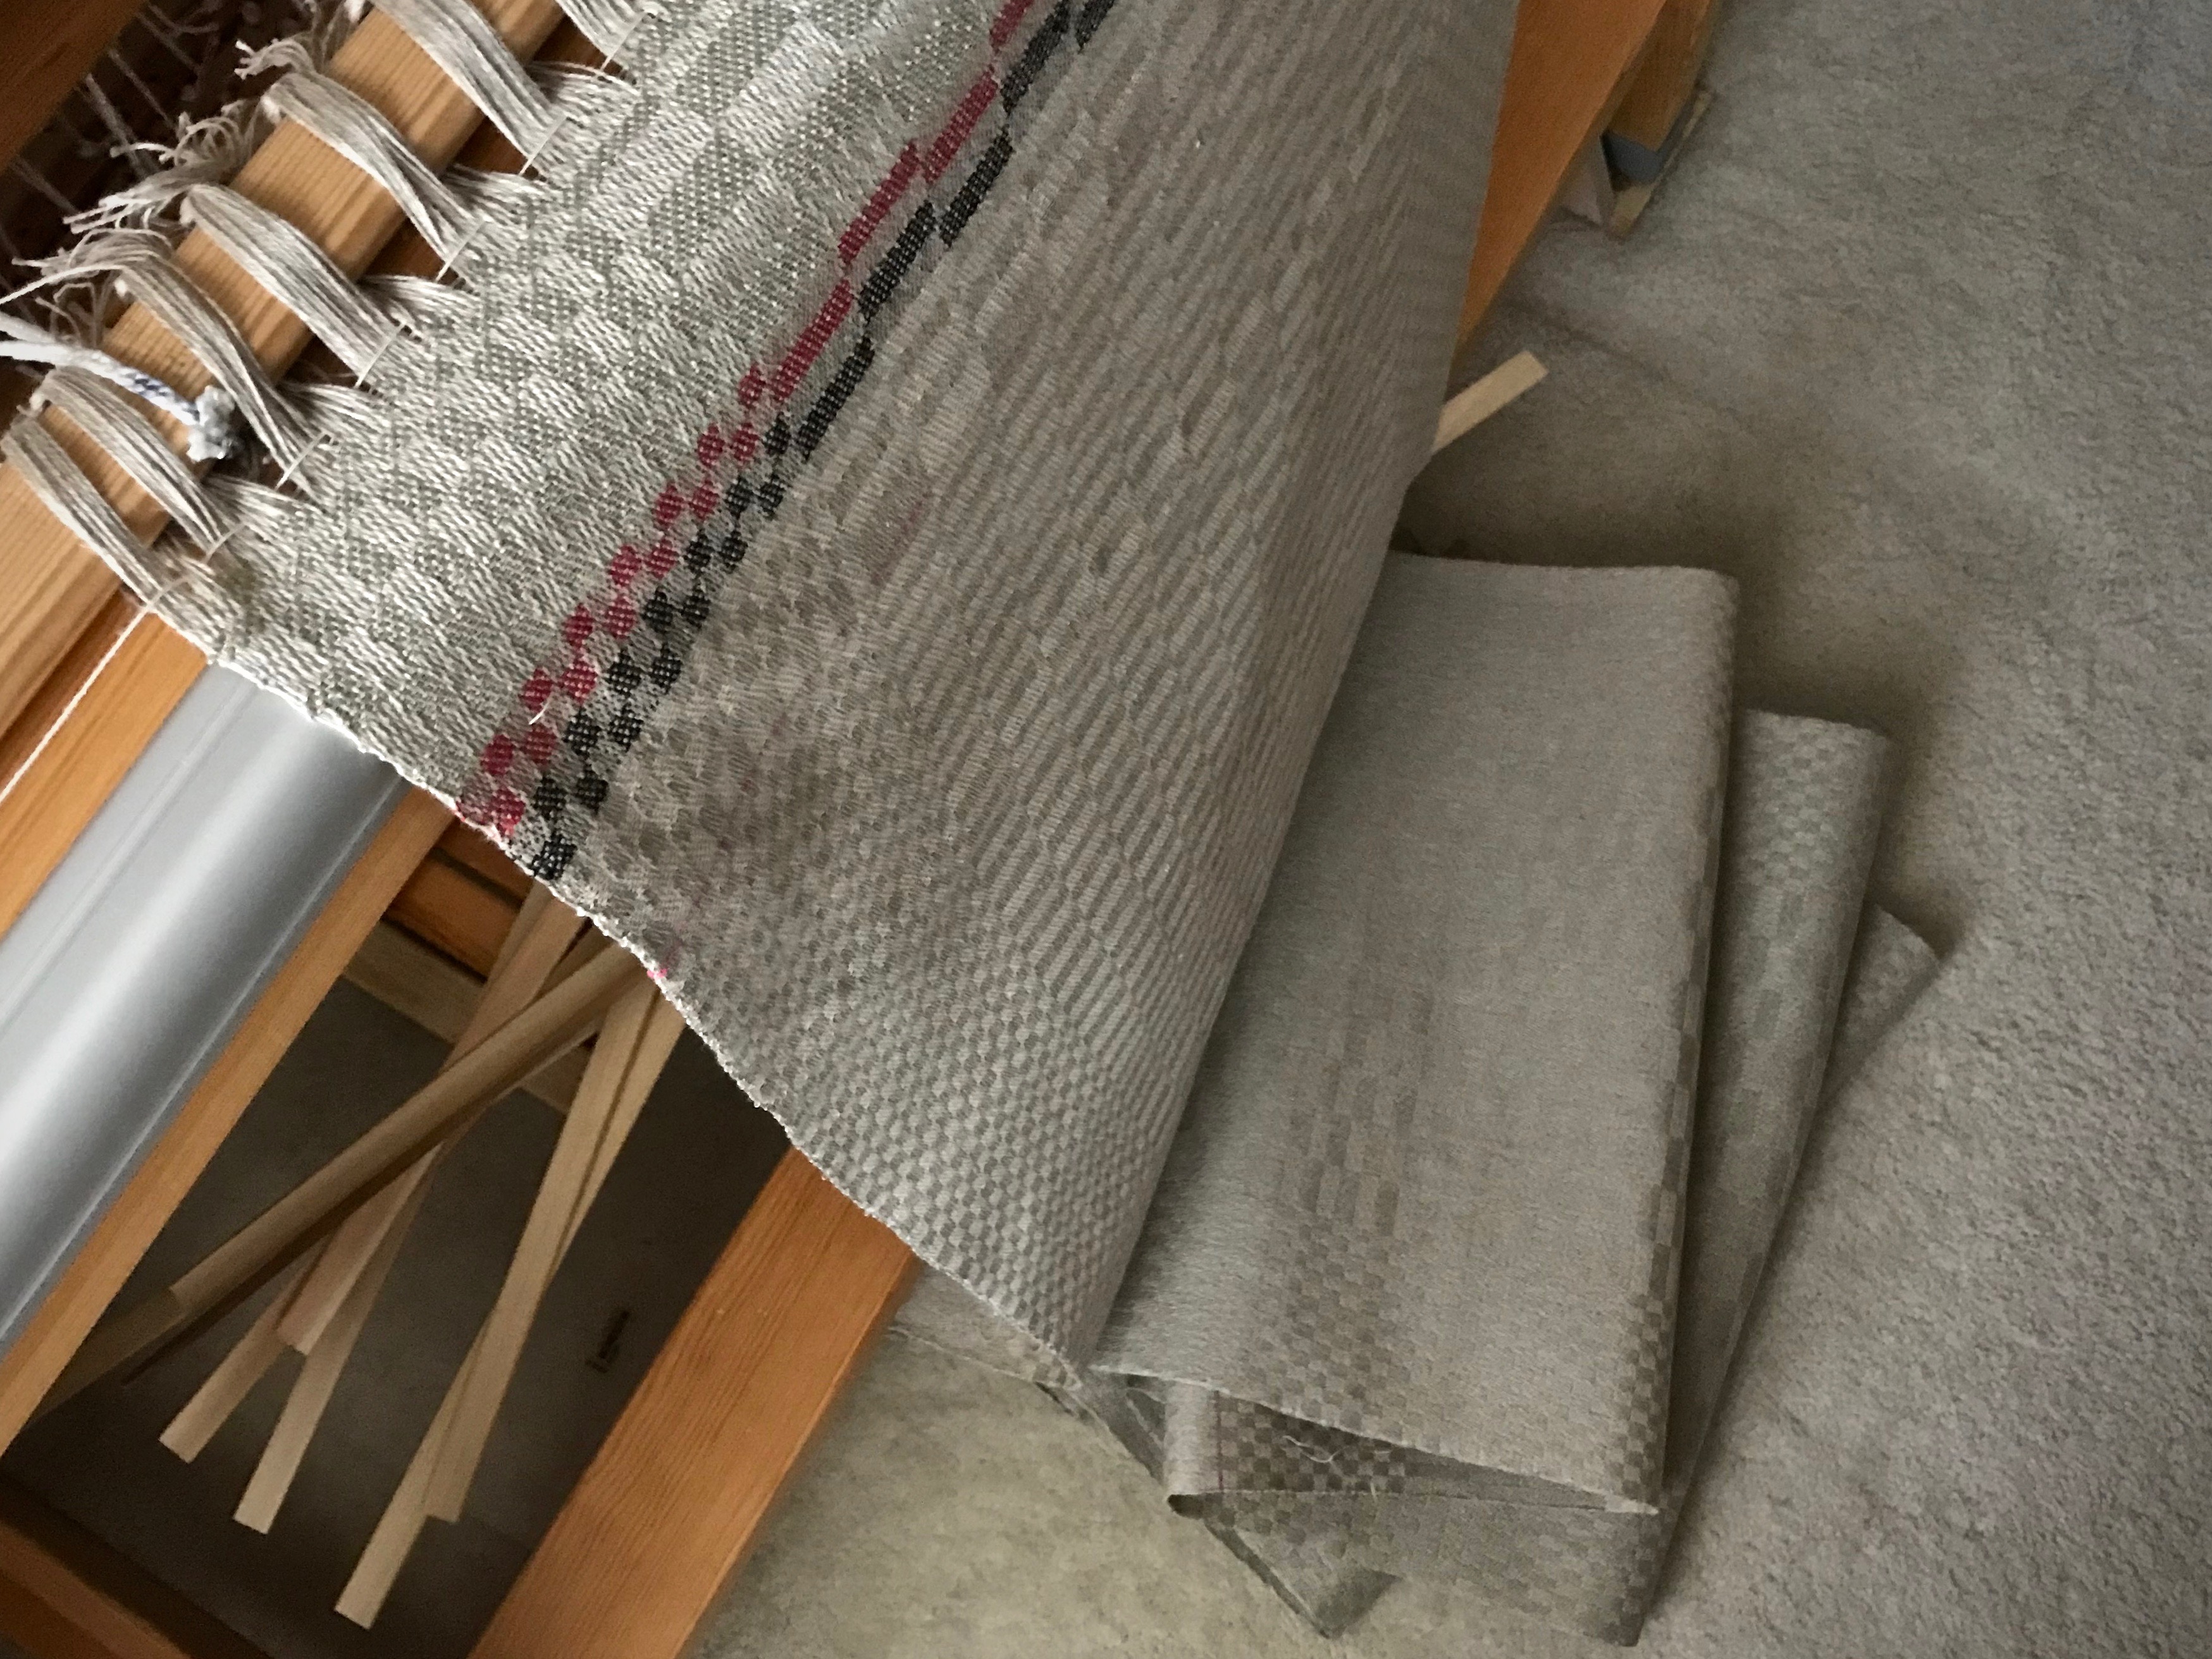
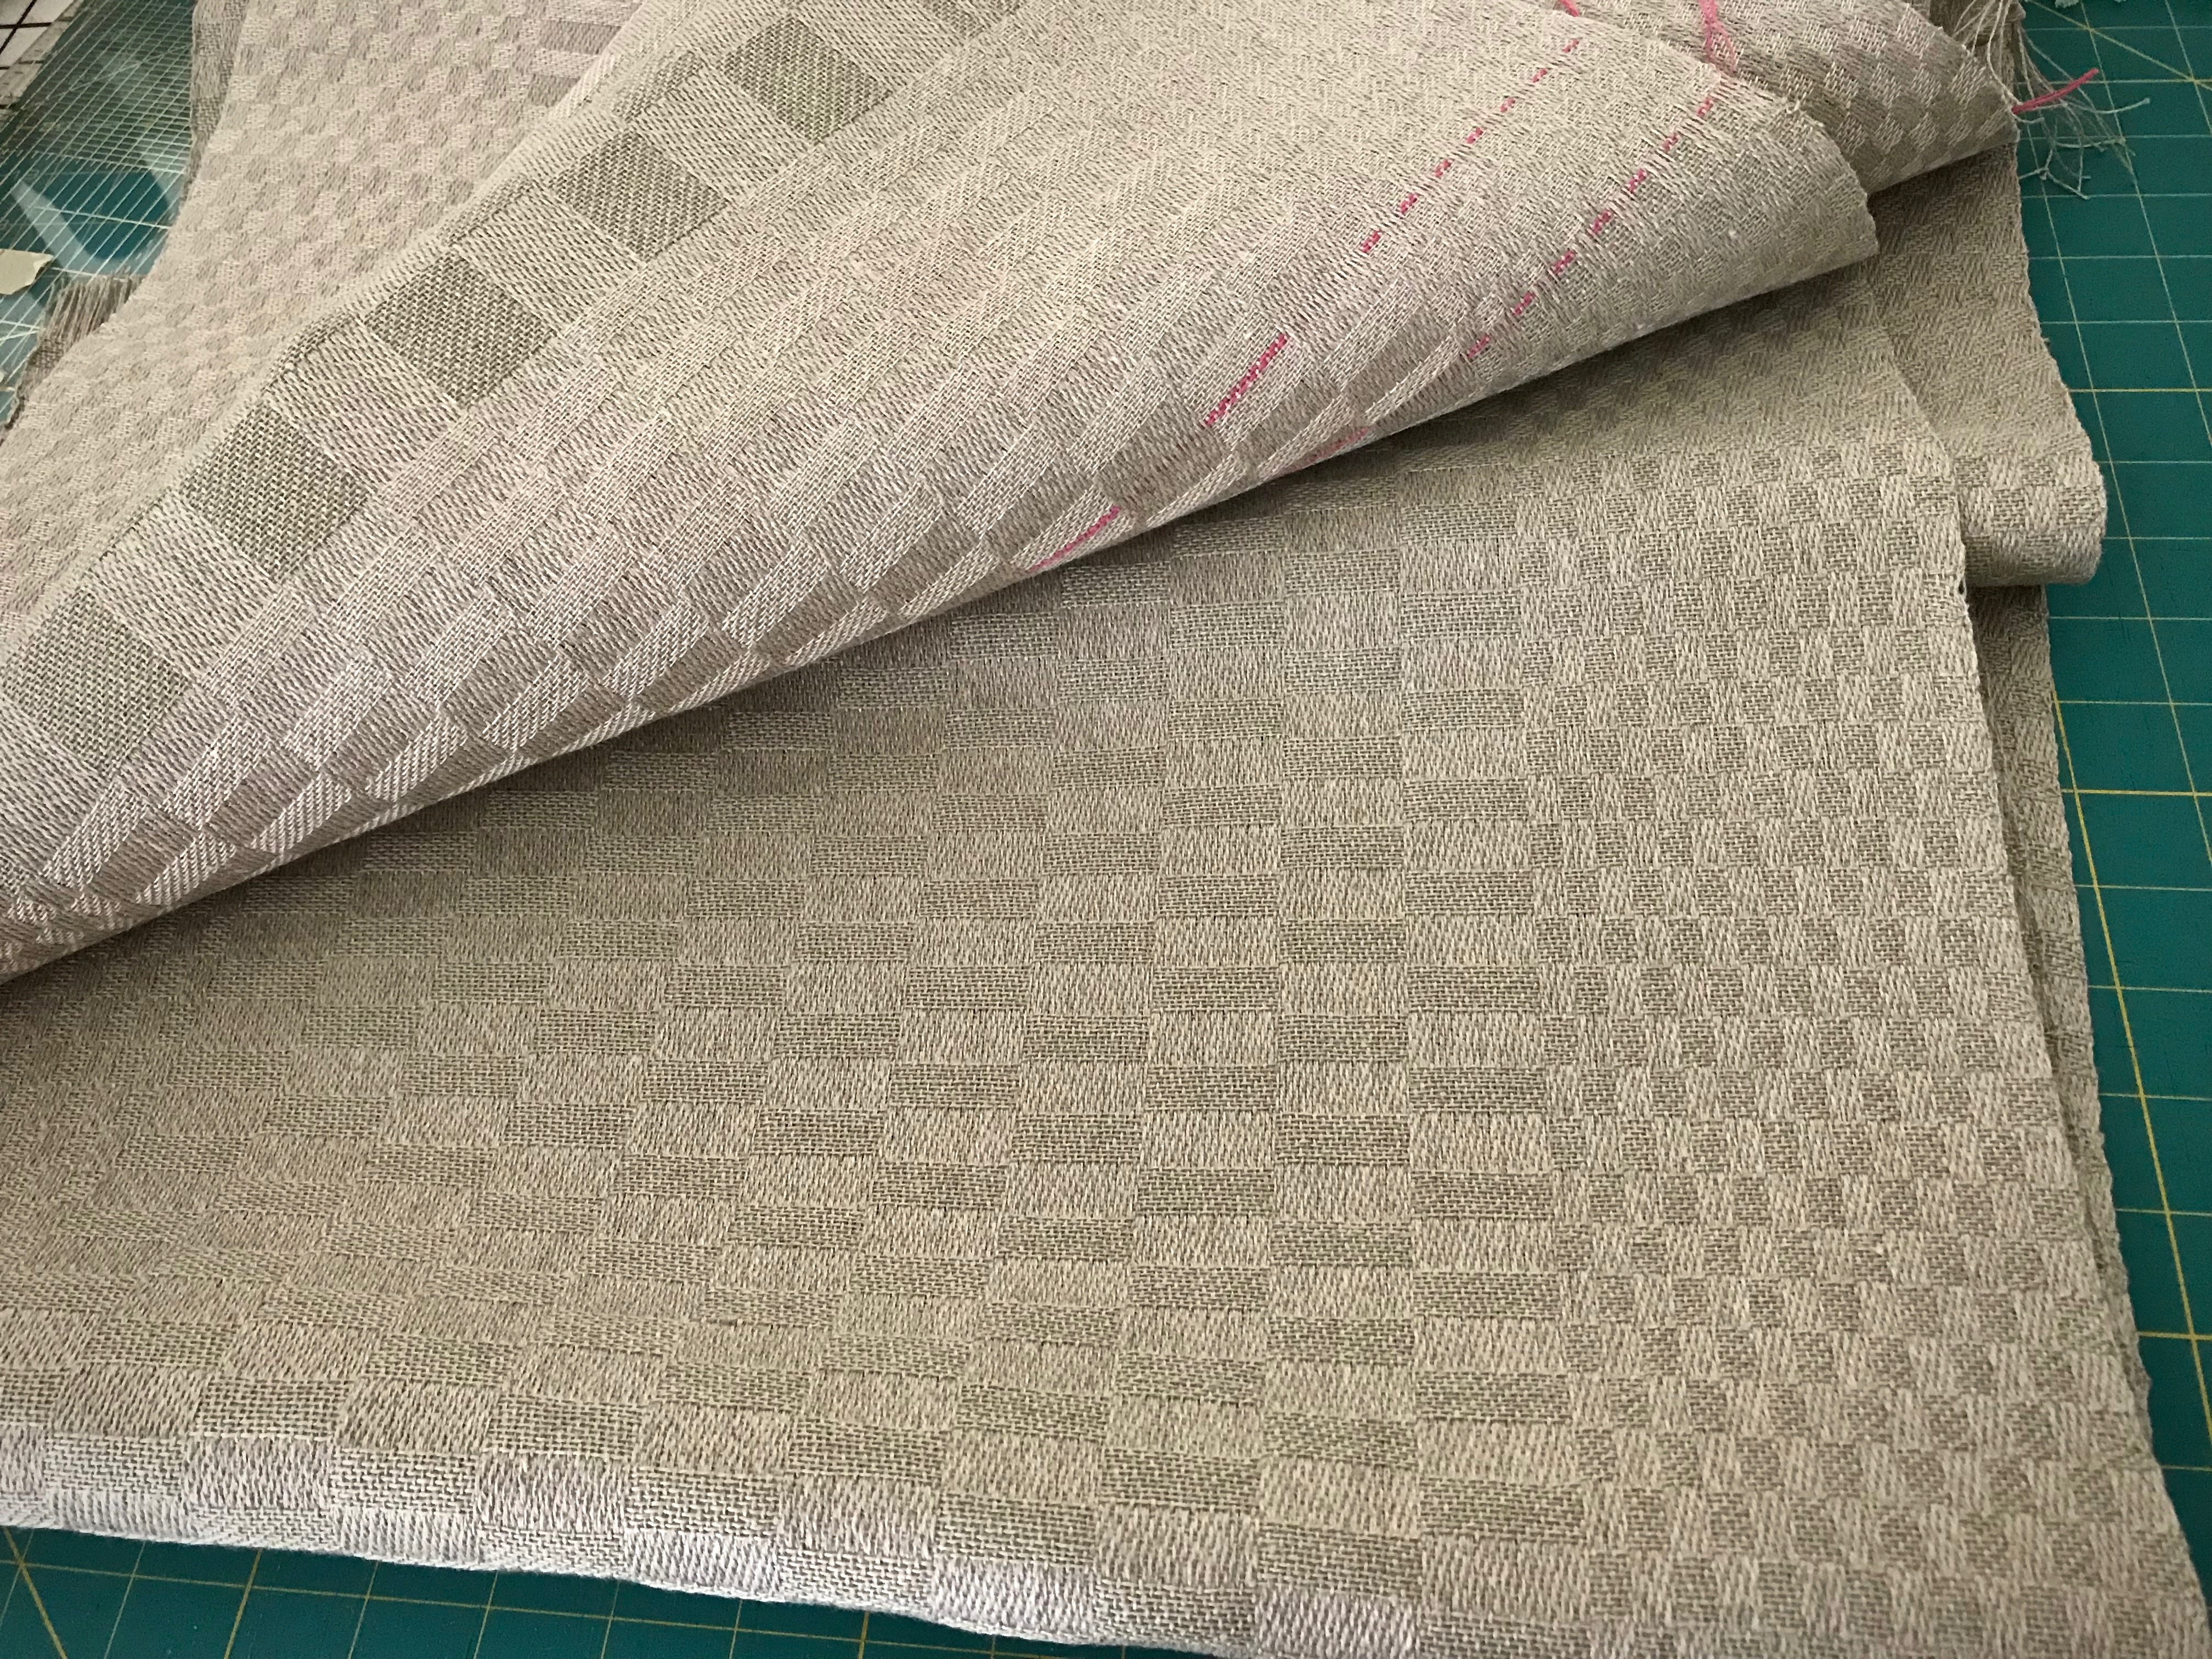
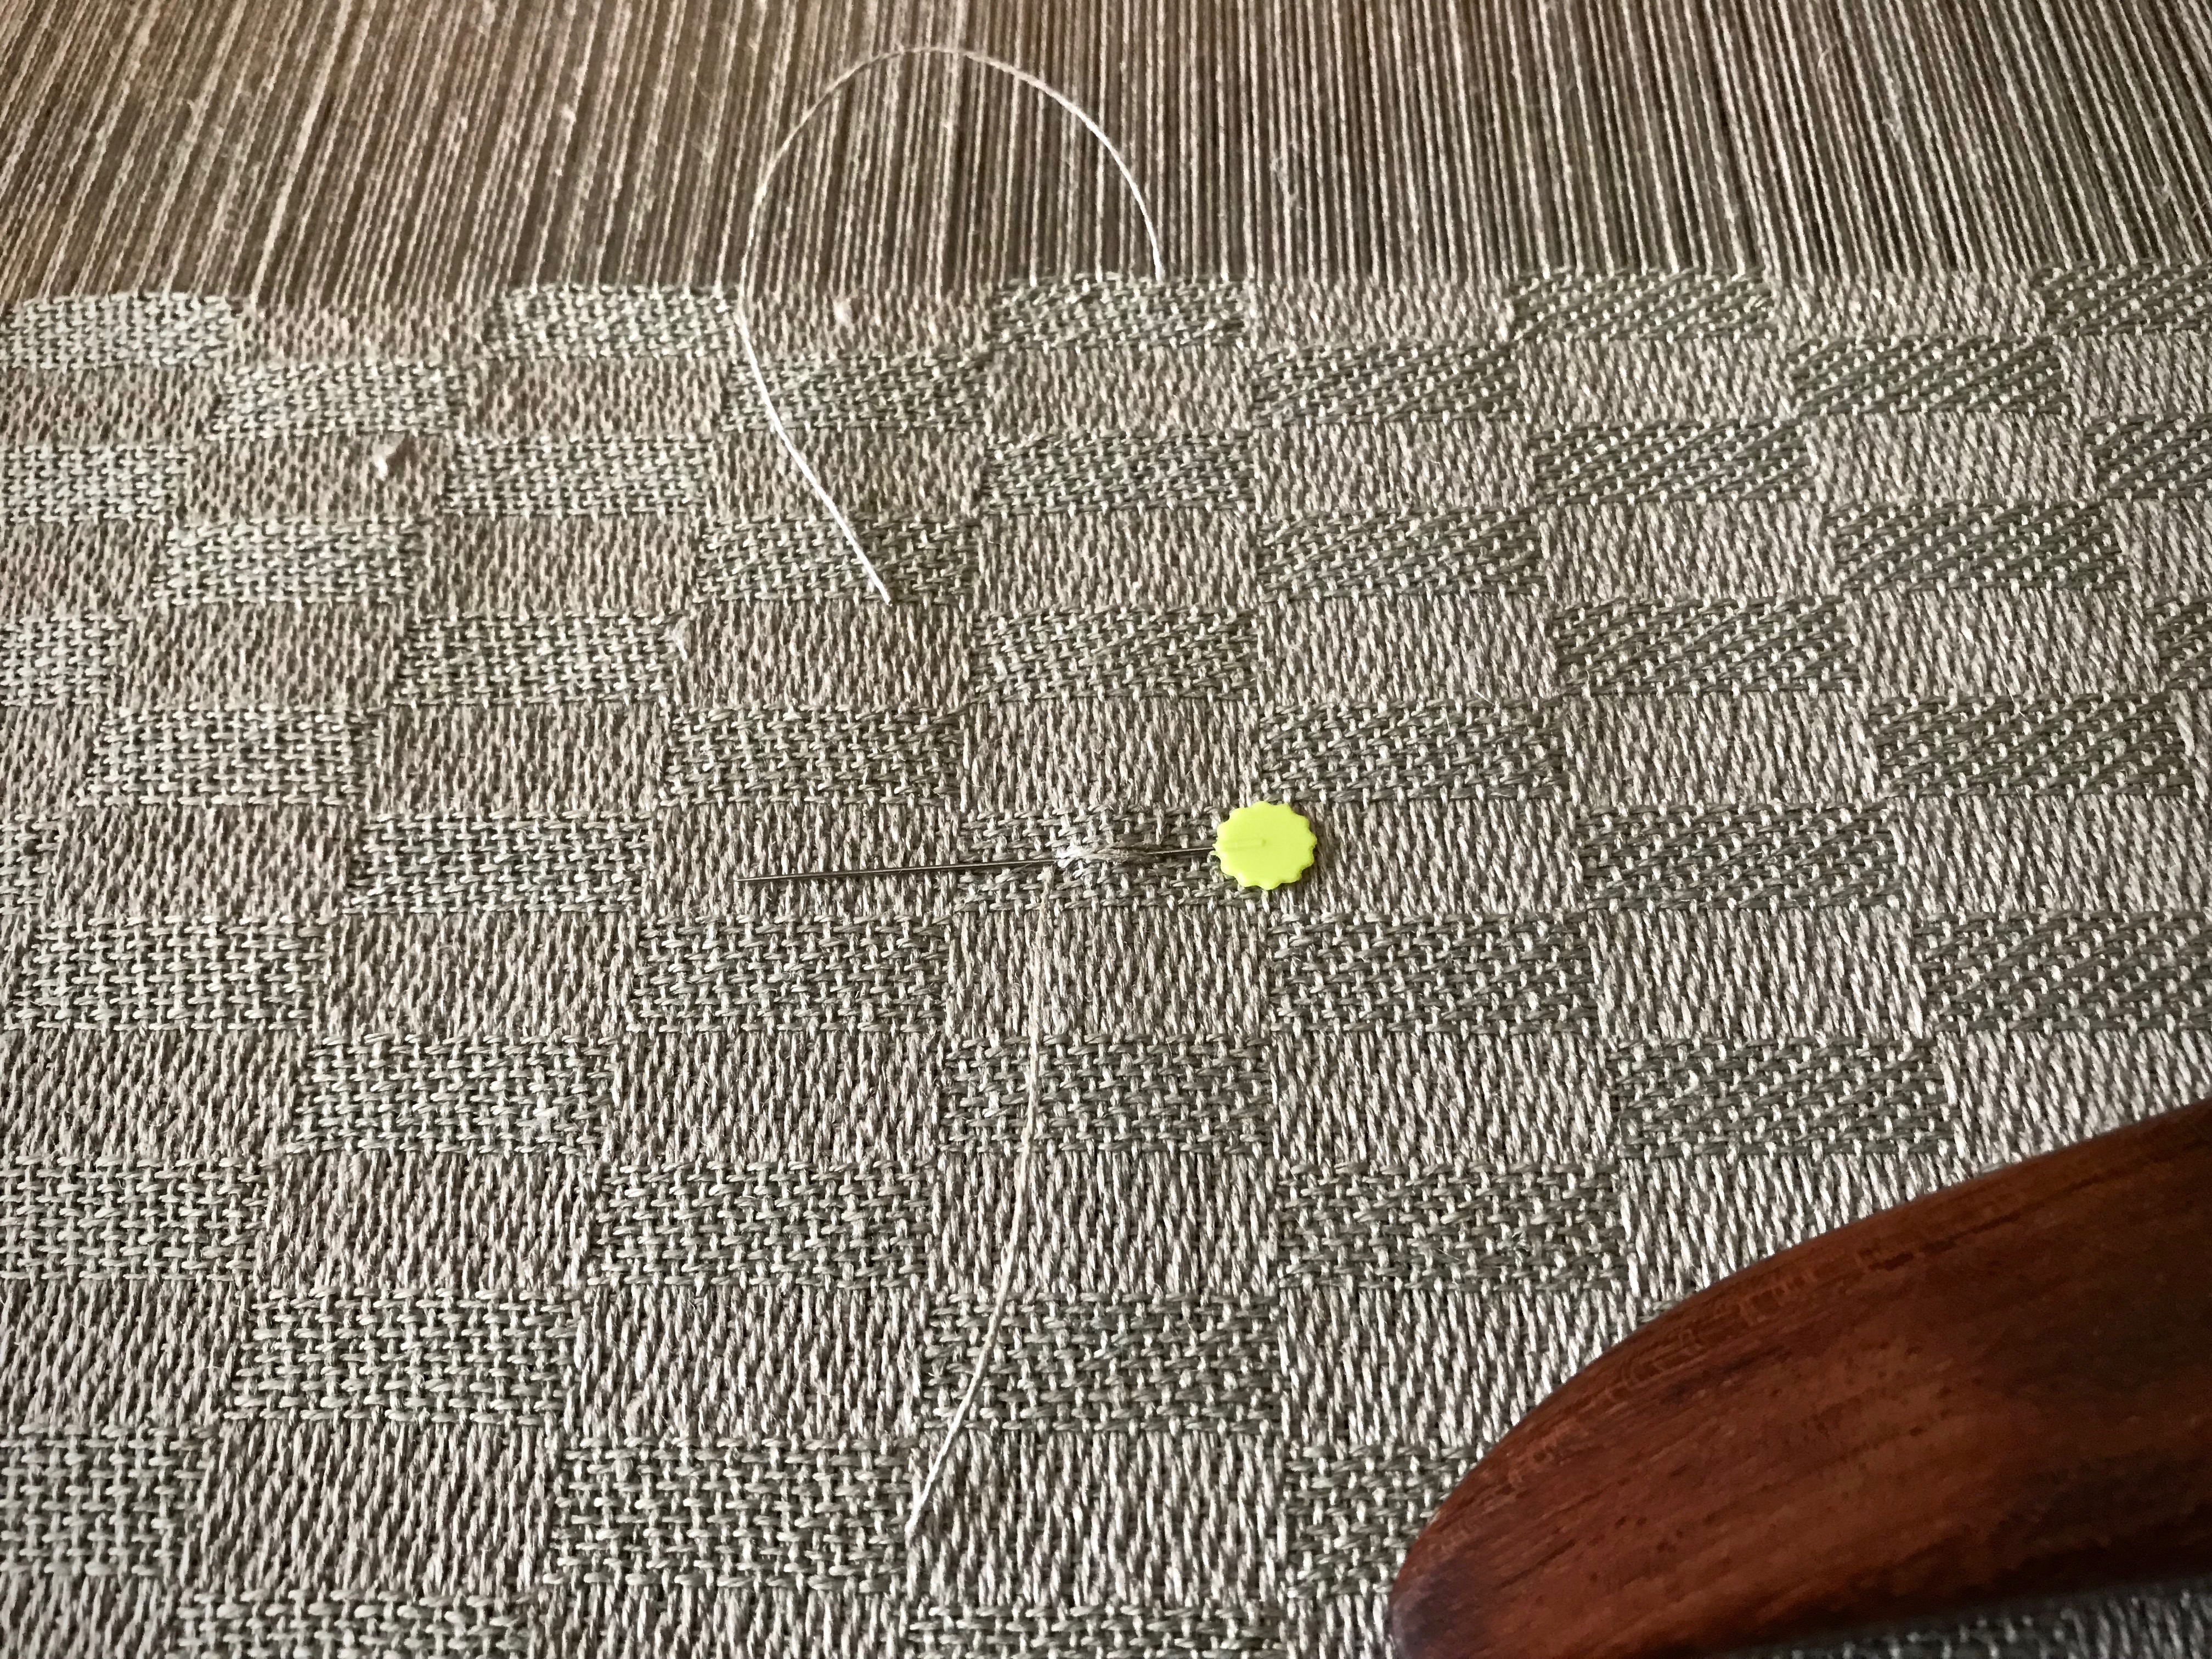
This is one of those weaving projects that puts you on top of the world. Everything about it. Linen, ten shafts, five-shaft satin weave, ten treadles, gorgeous Moberg damask shuttle, single-shuttle rhythm, full-body weaving, magical fabric. I did have more than my share of knots in the warp, and a few skipped threads and selvedge loops. But you will see no evidence of those glitches now. All you will see is the natural beauty of linen, with its characteristic unevenness. And the reflective satin dräll weave, with its light-catching trickery.
The warp is Bockens unbleached 16/2 line linen. Two of the towels use 16/1 golden bleached linen for the weft. At my husband’s request, the remaining three towels have 16/2 linen weft, in ecru. The thicker weft helps make these into robust absorbent handtowels. A table square finishes off the set.
Enjoy the process with me as I reminisce over the start-to-finish pleasure of weaving these towels.
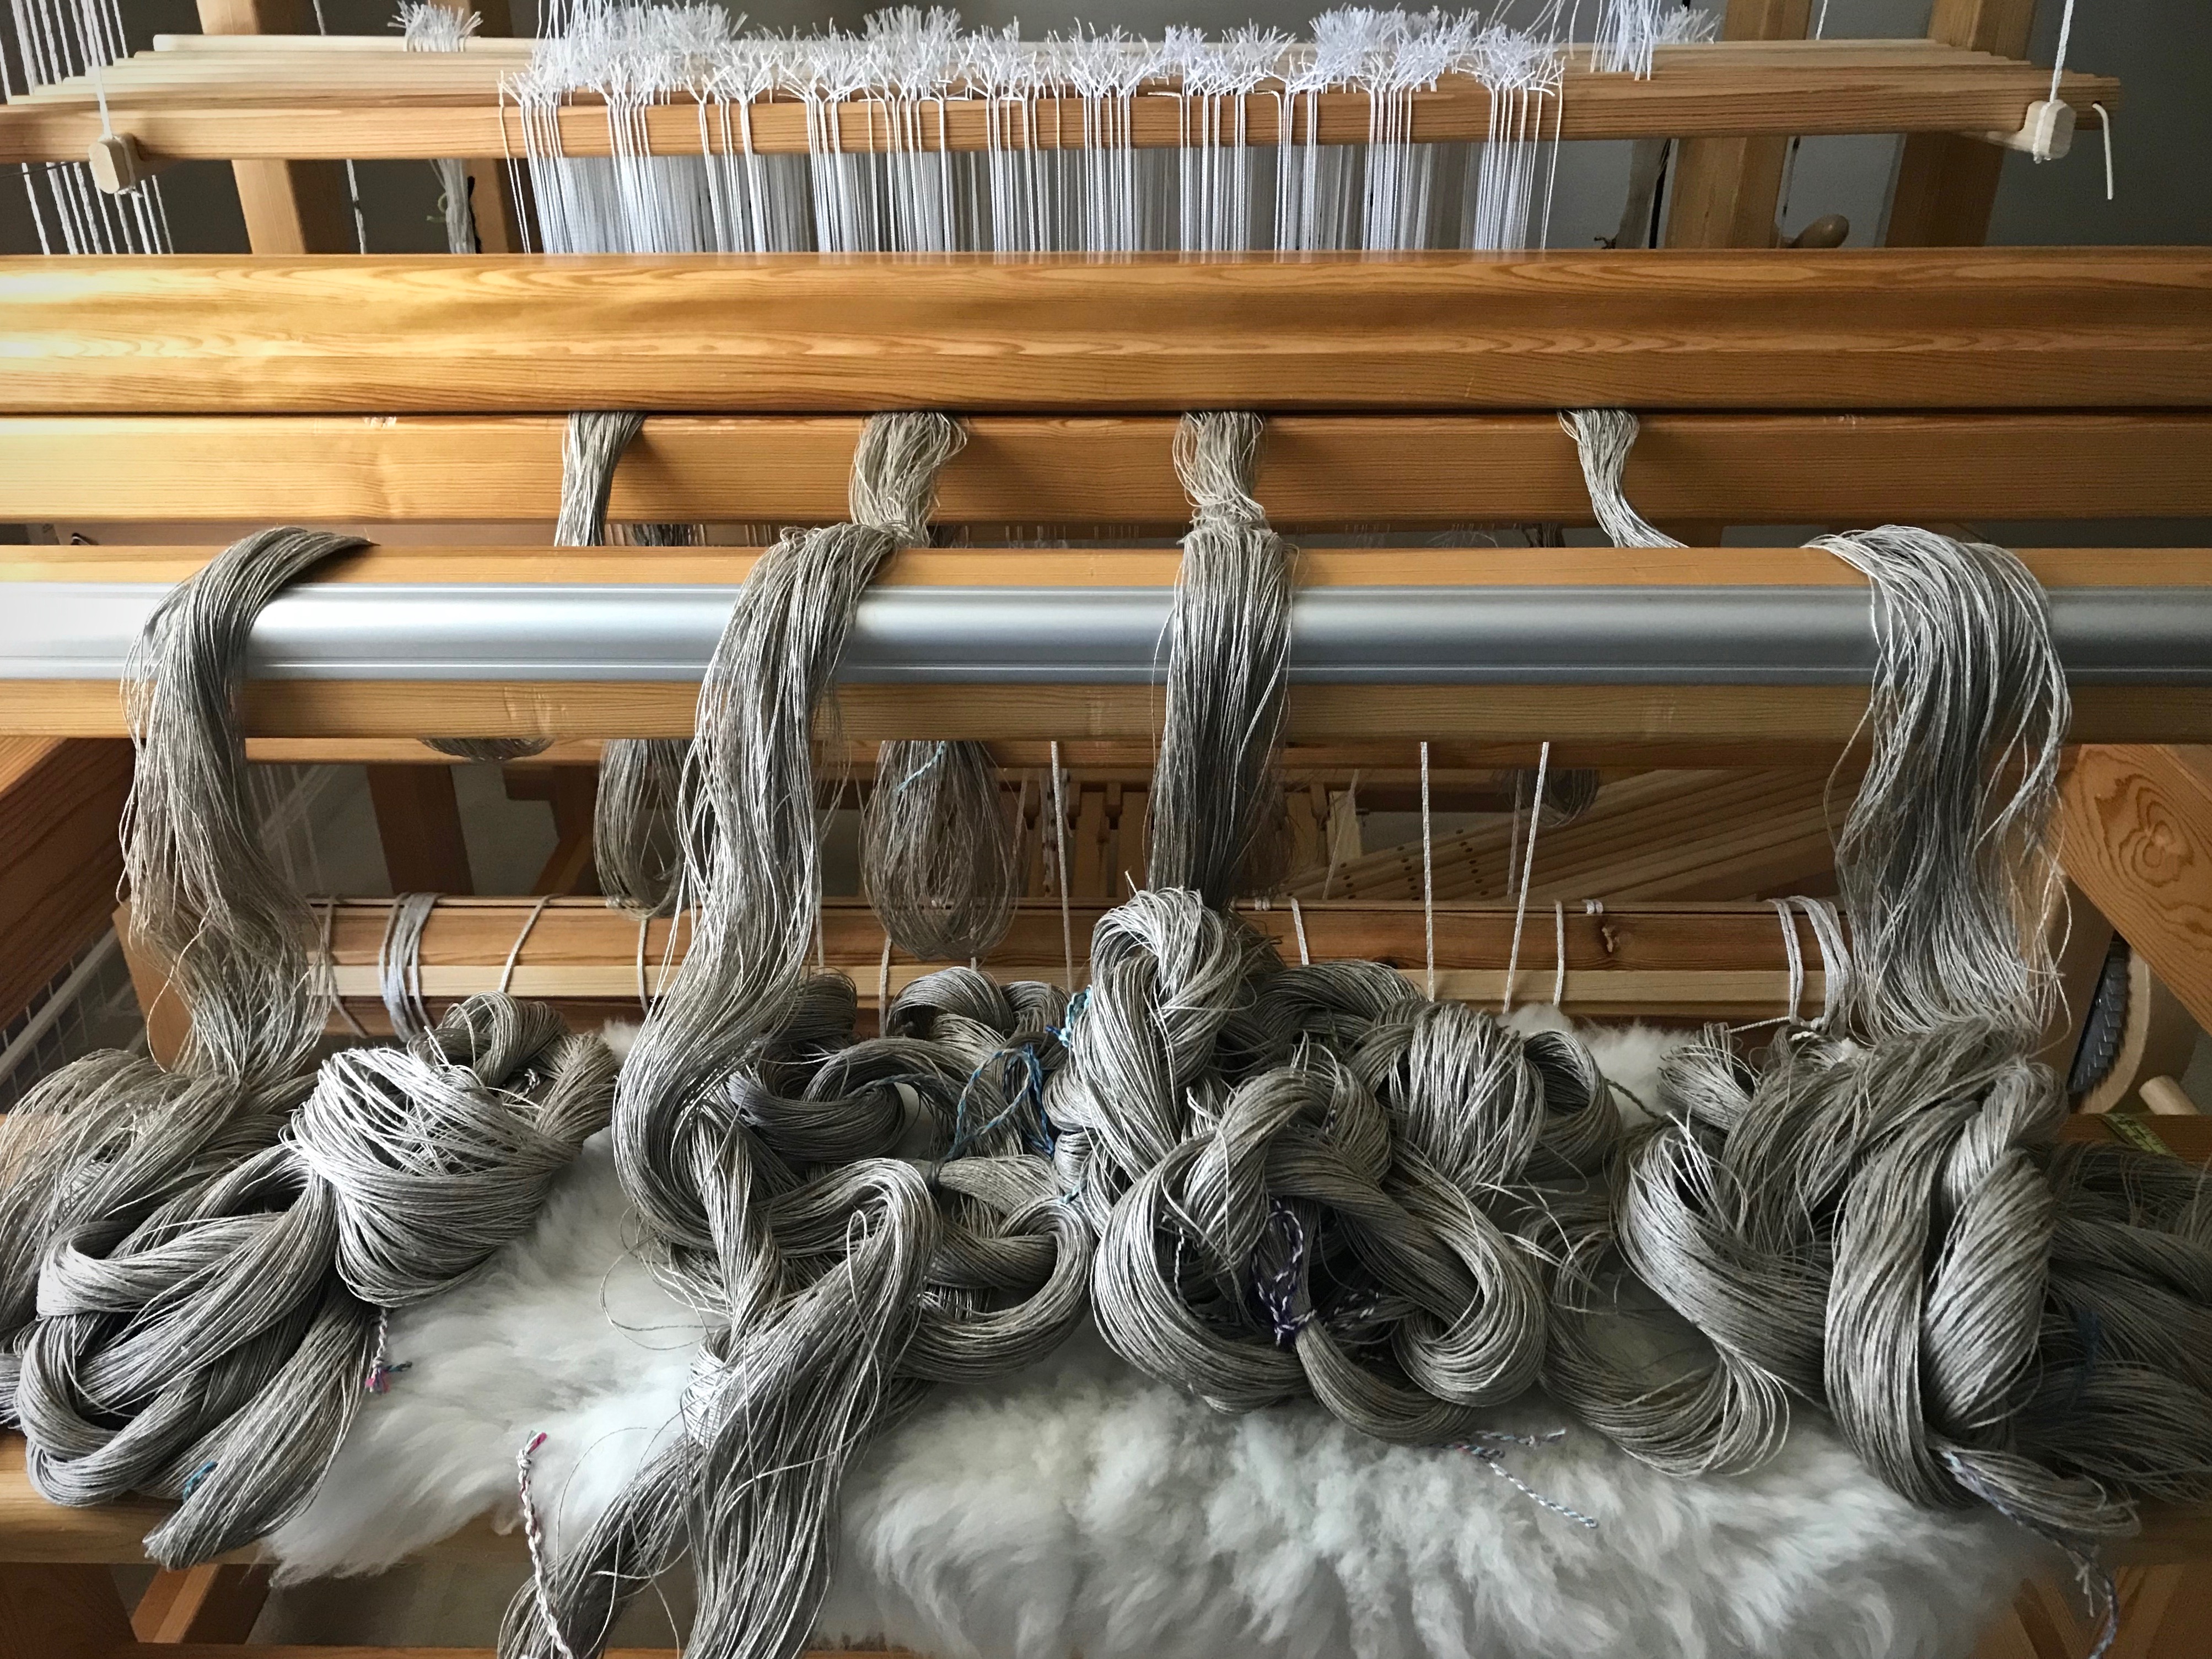
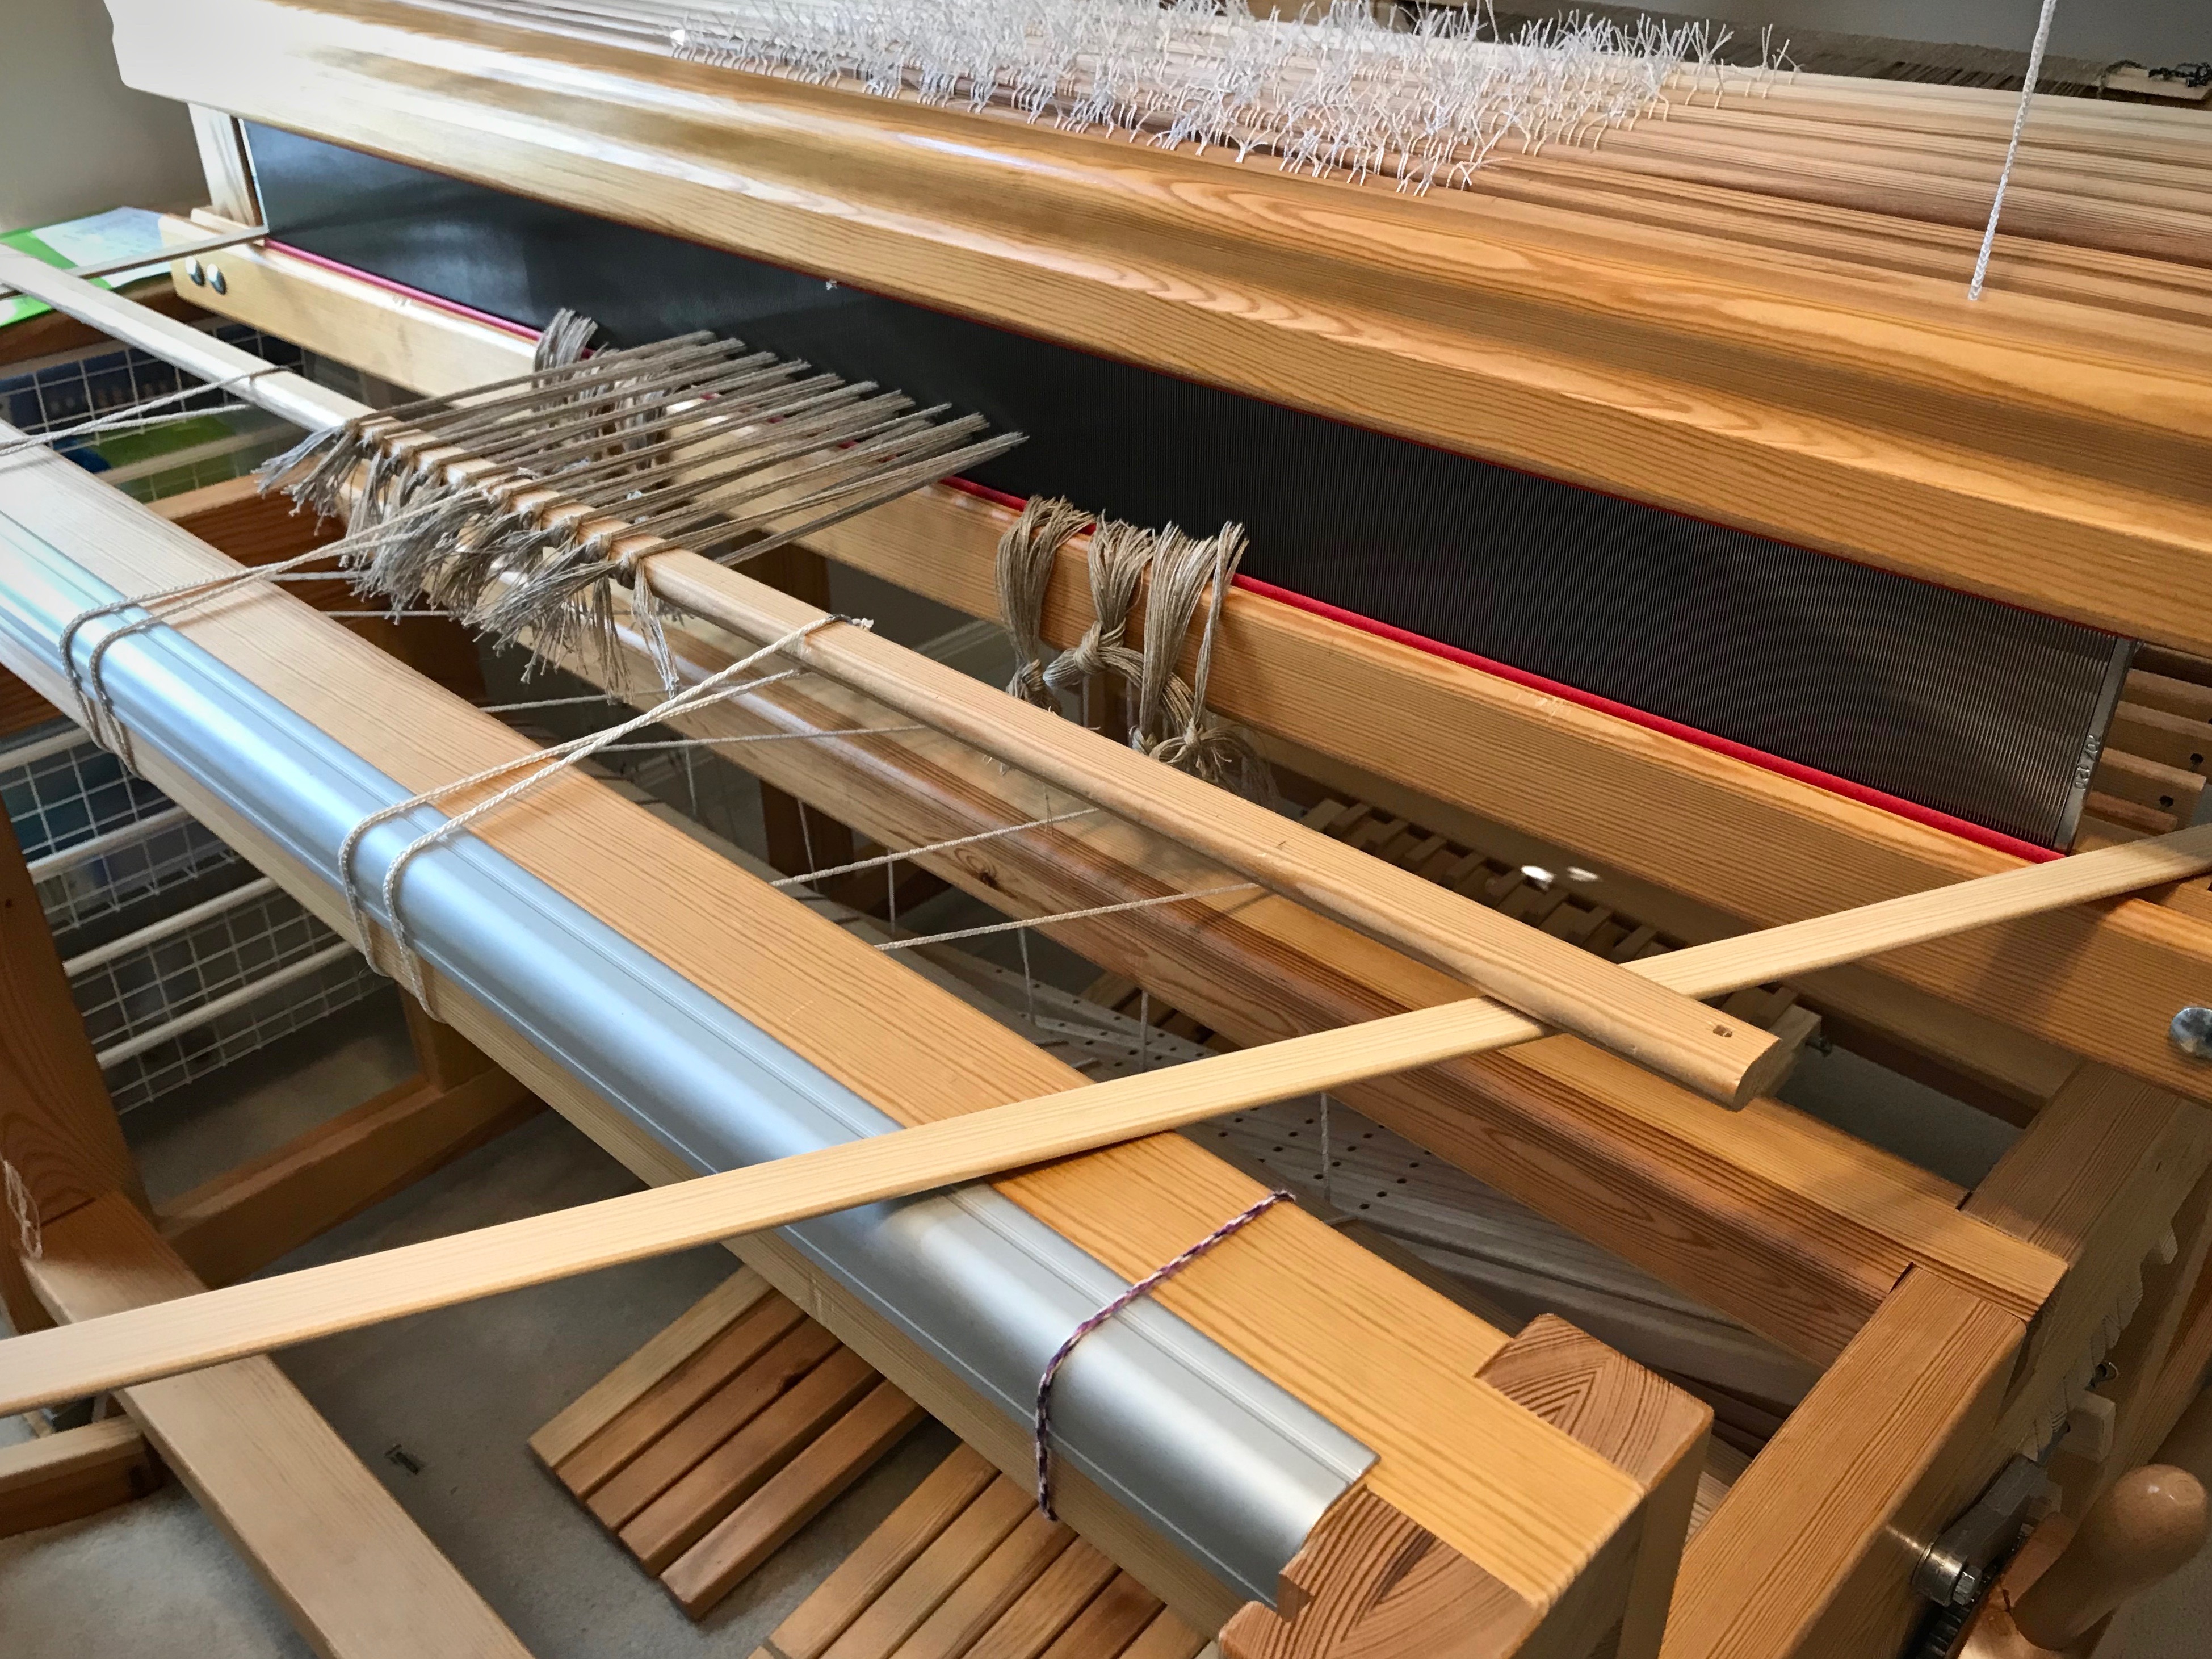
Everything starts on paper and in my mind. And then the action begins! Warps are ready now to dress two more looms. One in linen, and one in cotton. Linen for chair-seat upholstery, and cotton for kitchen towels.
Counting thread goes over and under groups of warpends (in this case, 40 ends) to help me keep track of the number of ends being wound on the warping reel. 8/2 linen, unbleached.Solid color cotton is wound (measured out) on the warping reel.
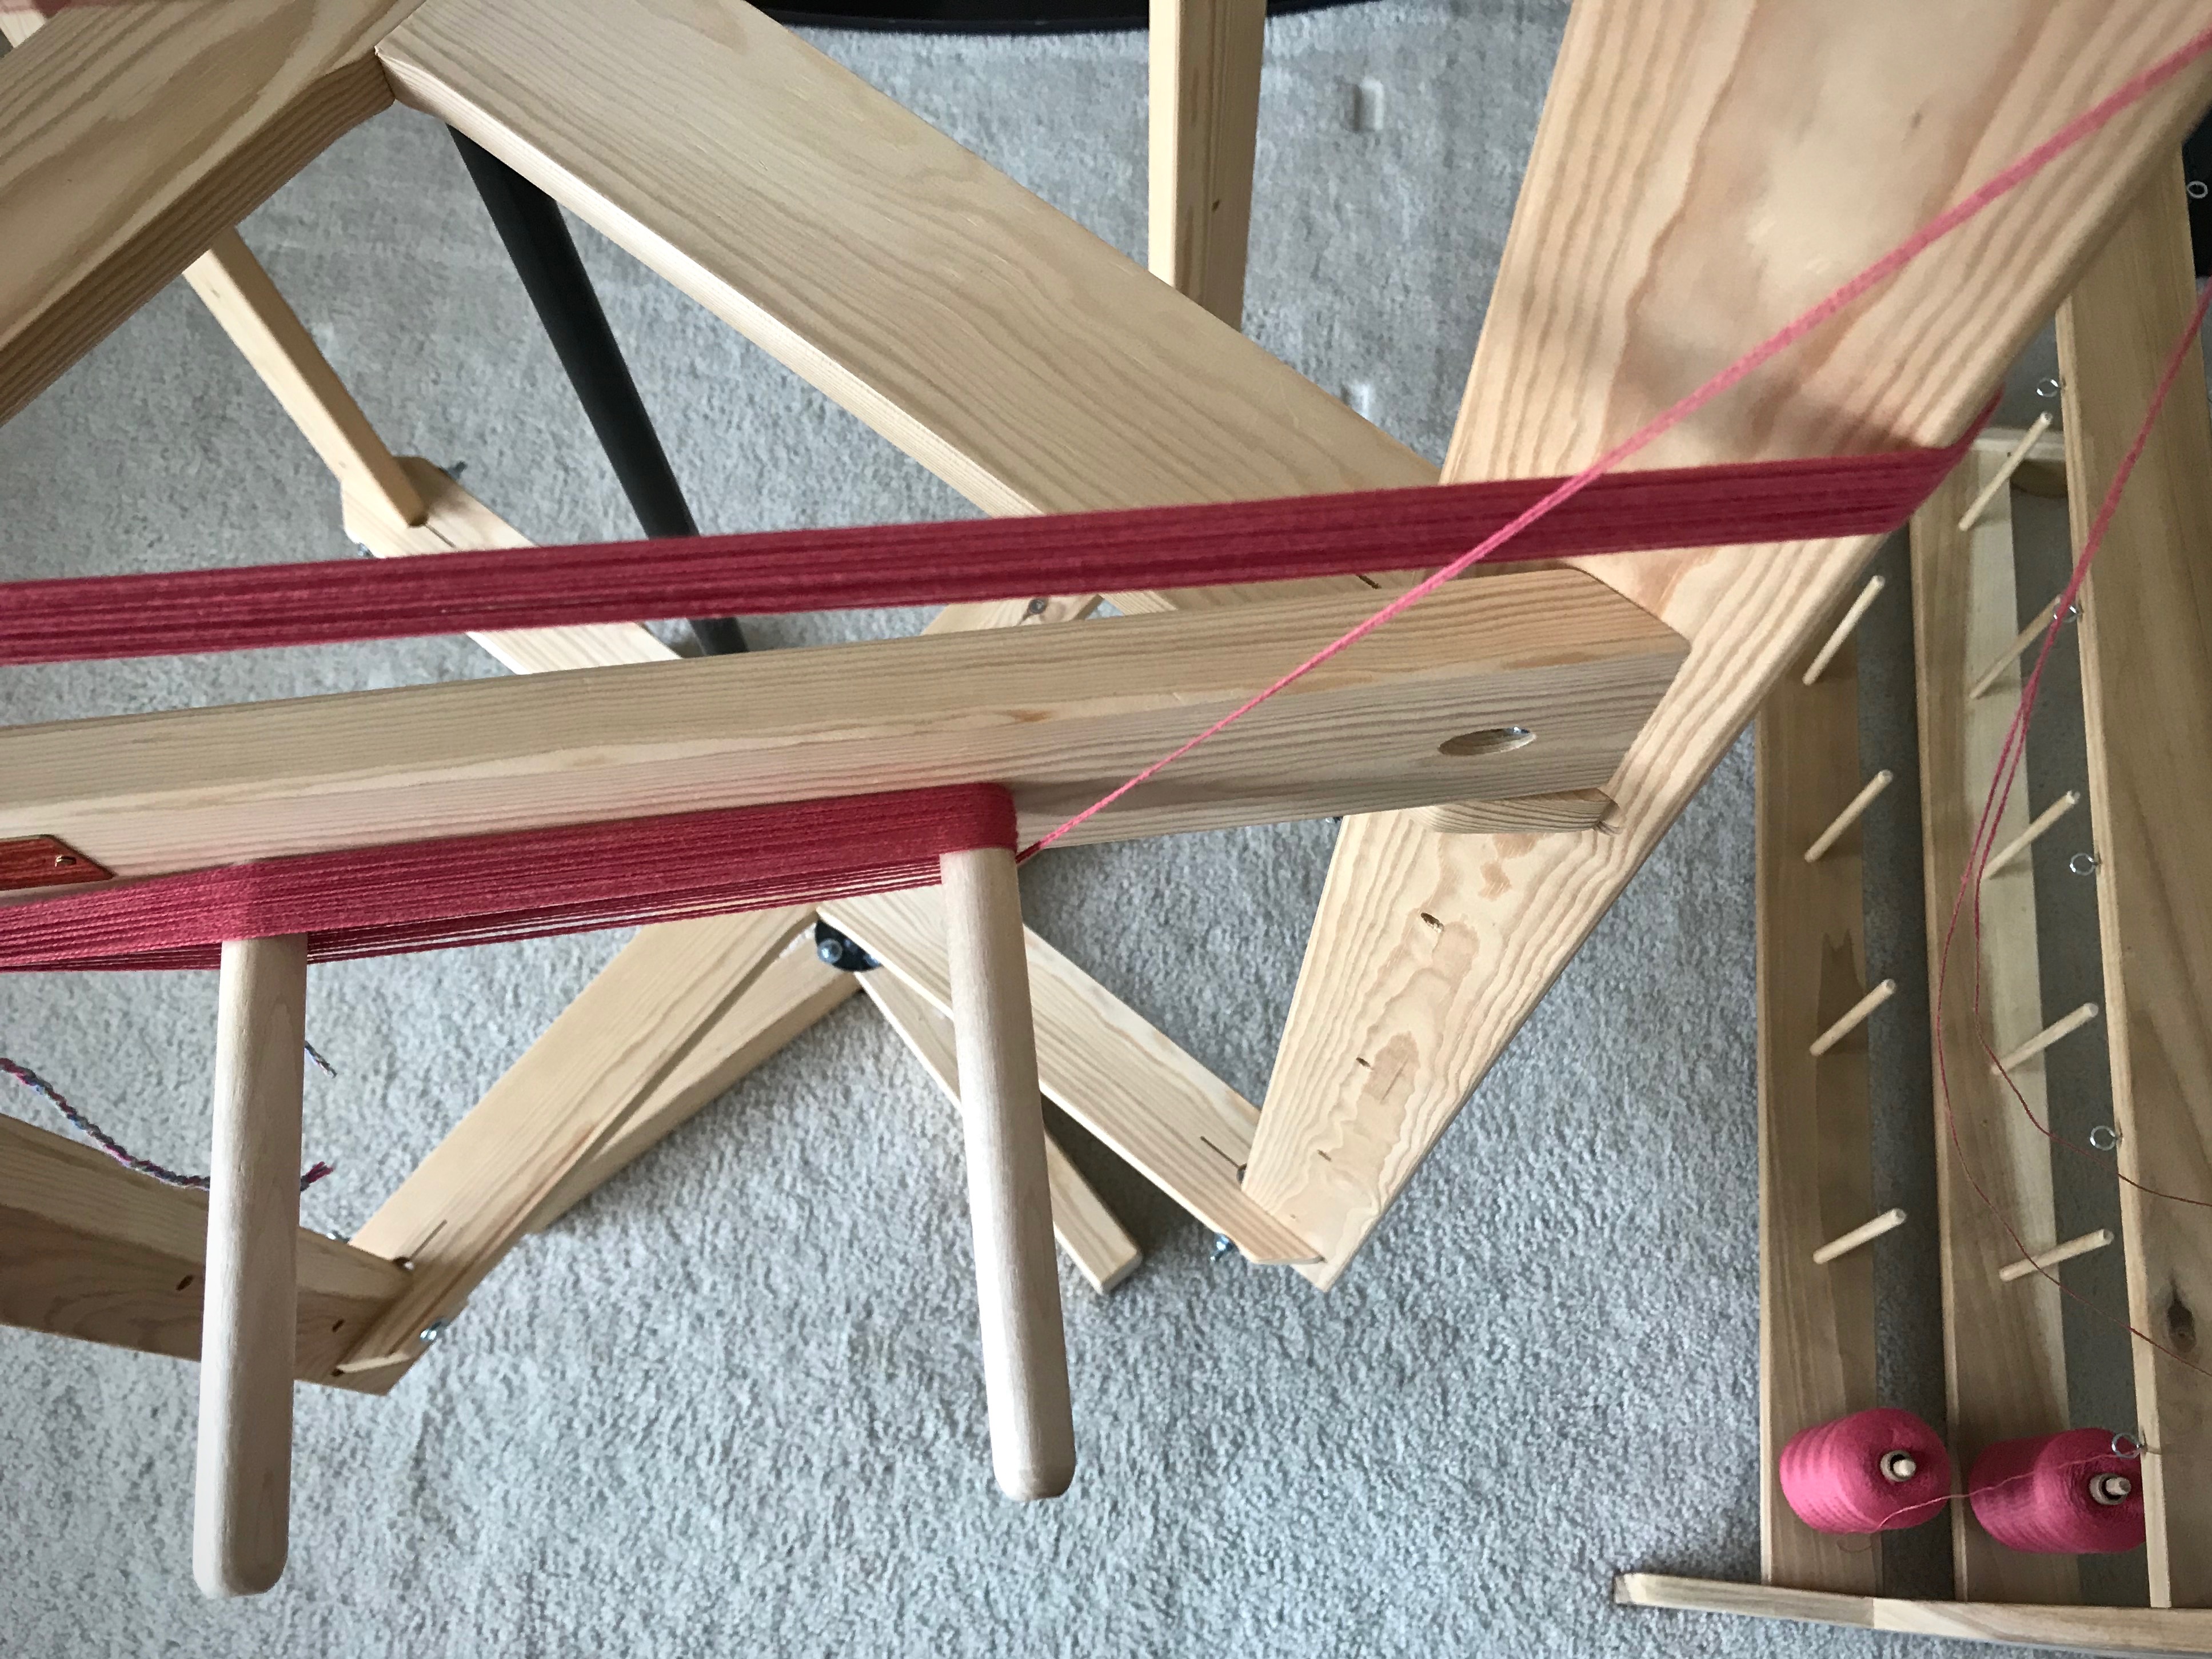
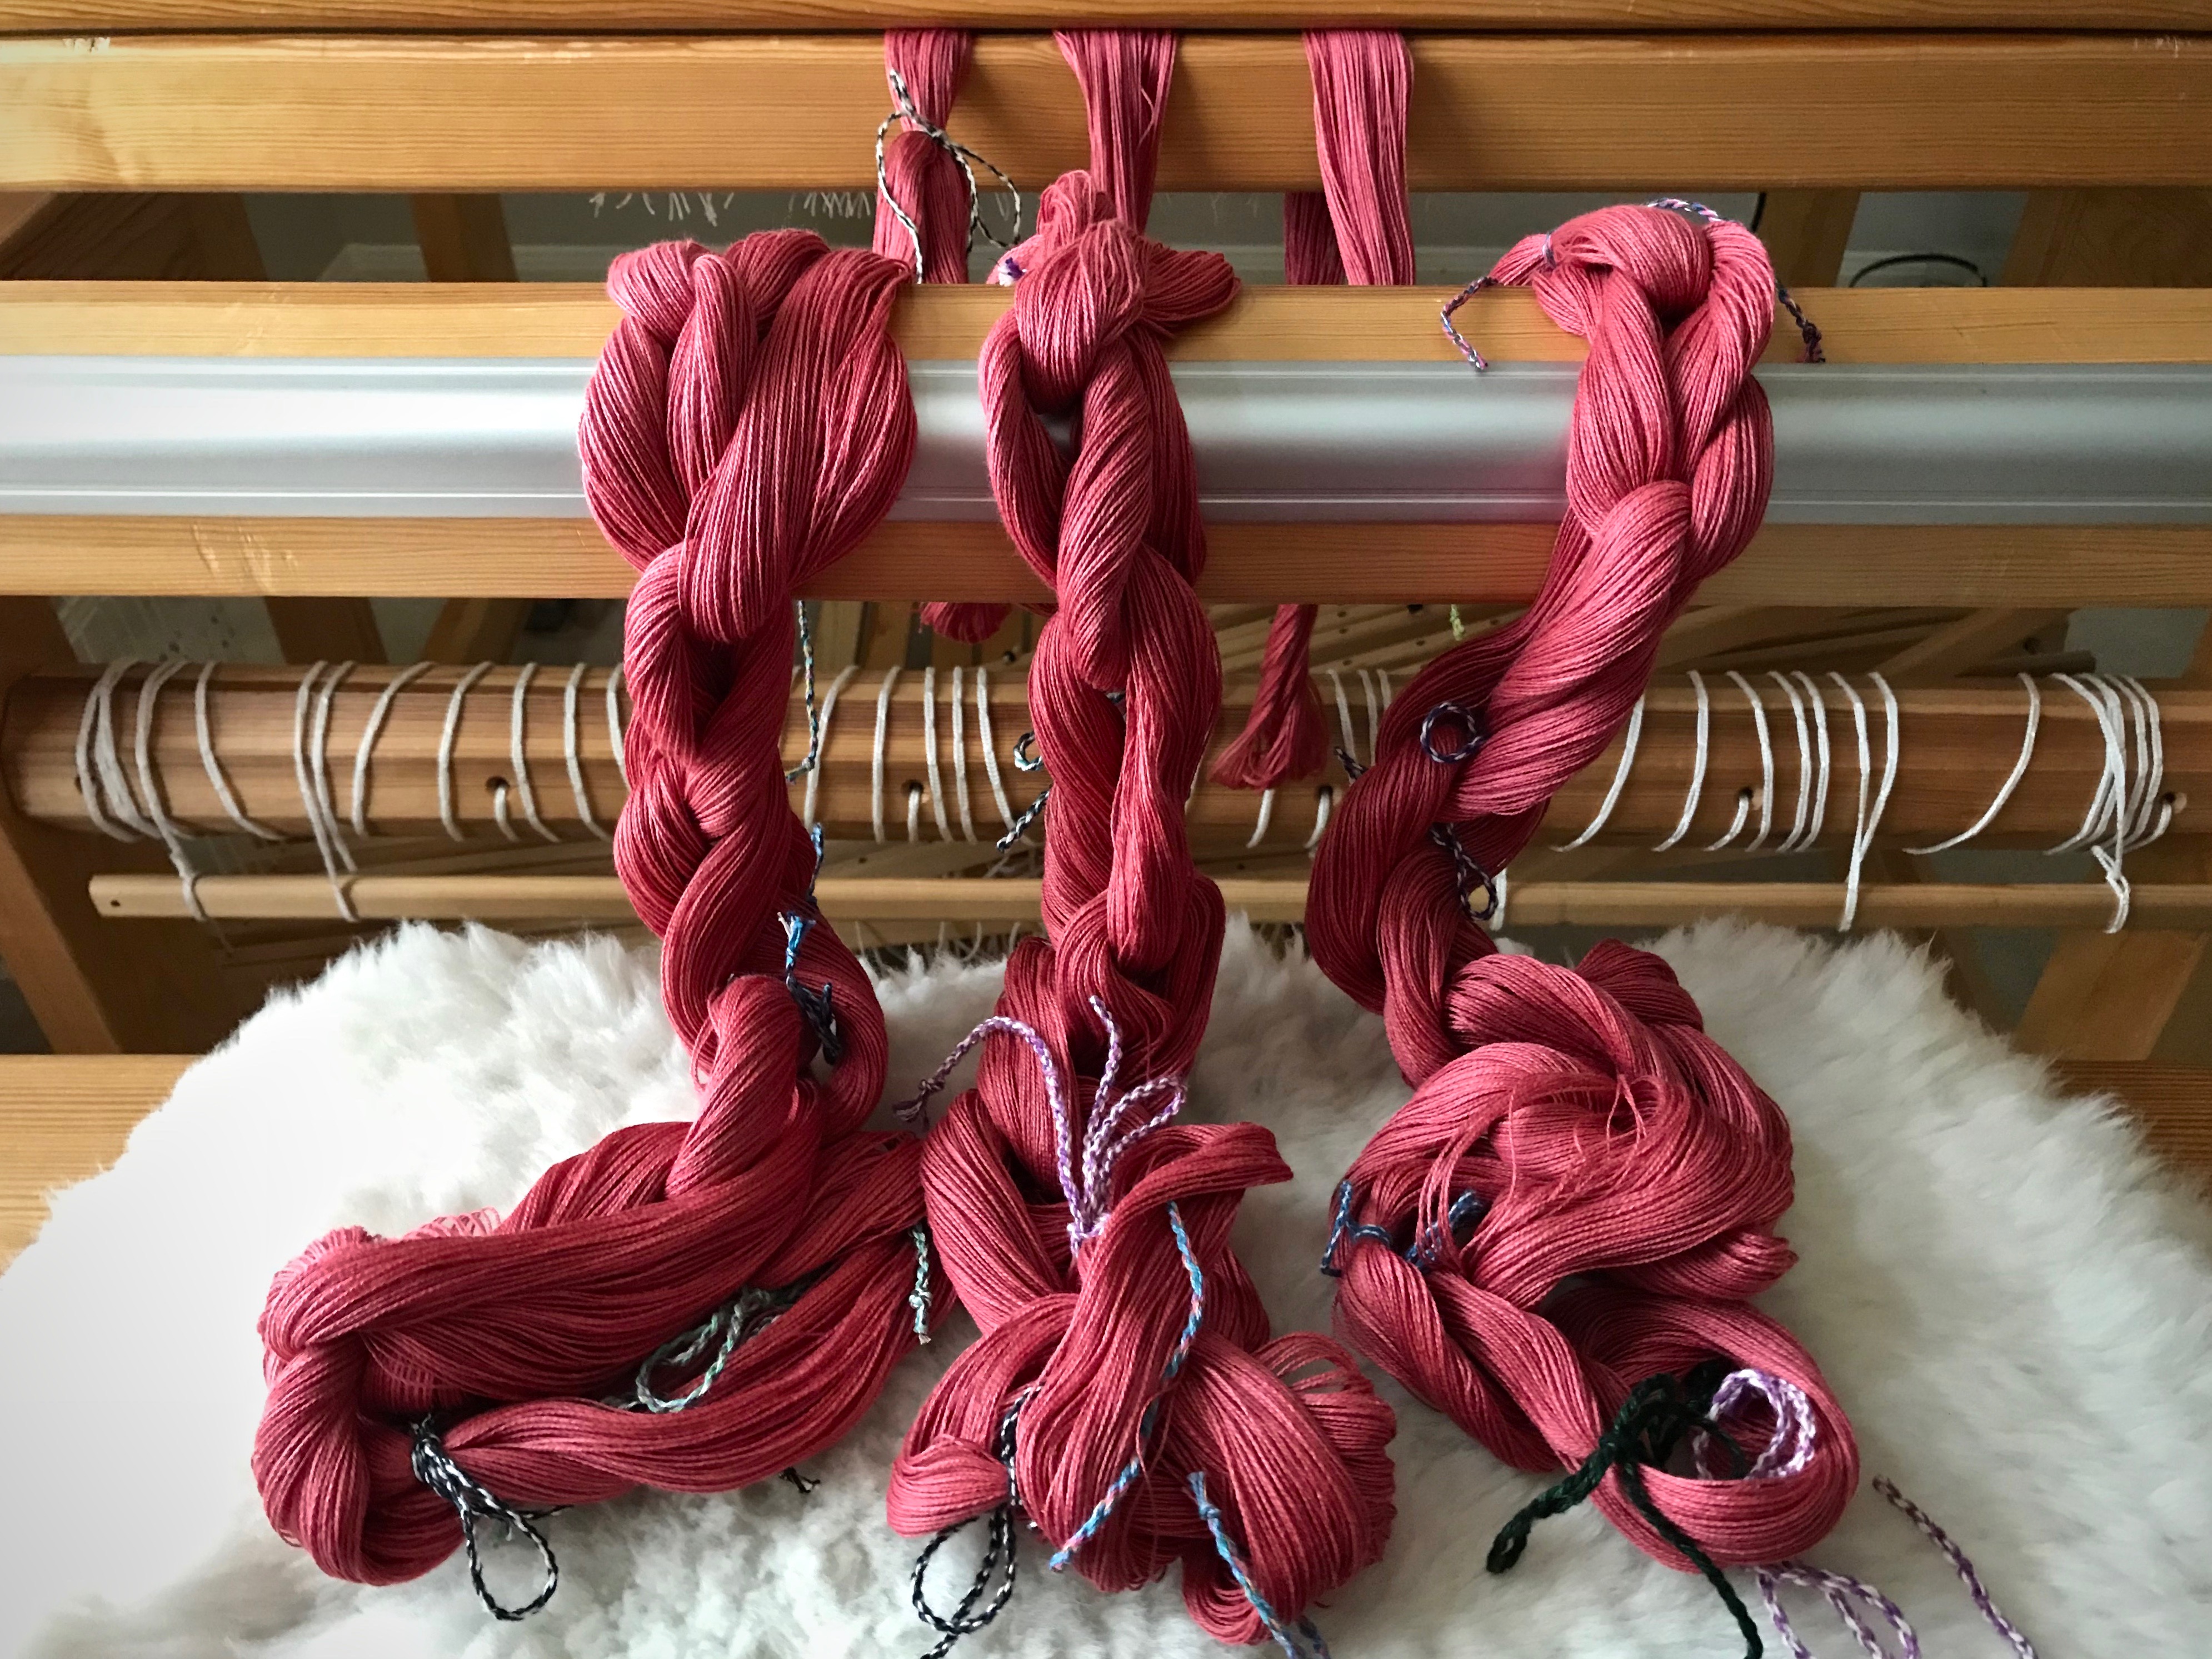
These are part of the coordinating textiles I’ve been designing for our Texas hill country home. (See Awaken the Empty Looms) I am looking forward to the moment these fabrics become visible! The anticipation is electric! I will know the success of my plans when I can see and feel the fabric. Every step, including getting these threads ready for the loom, gives me a preview glimpse of the actual fabric to come.
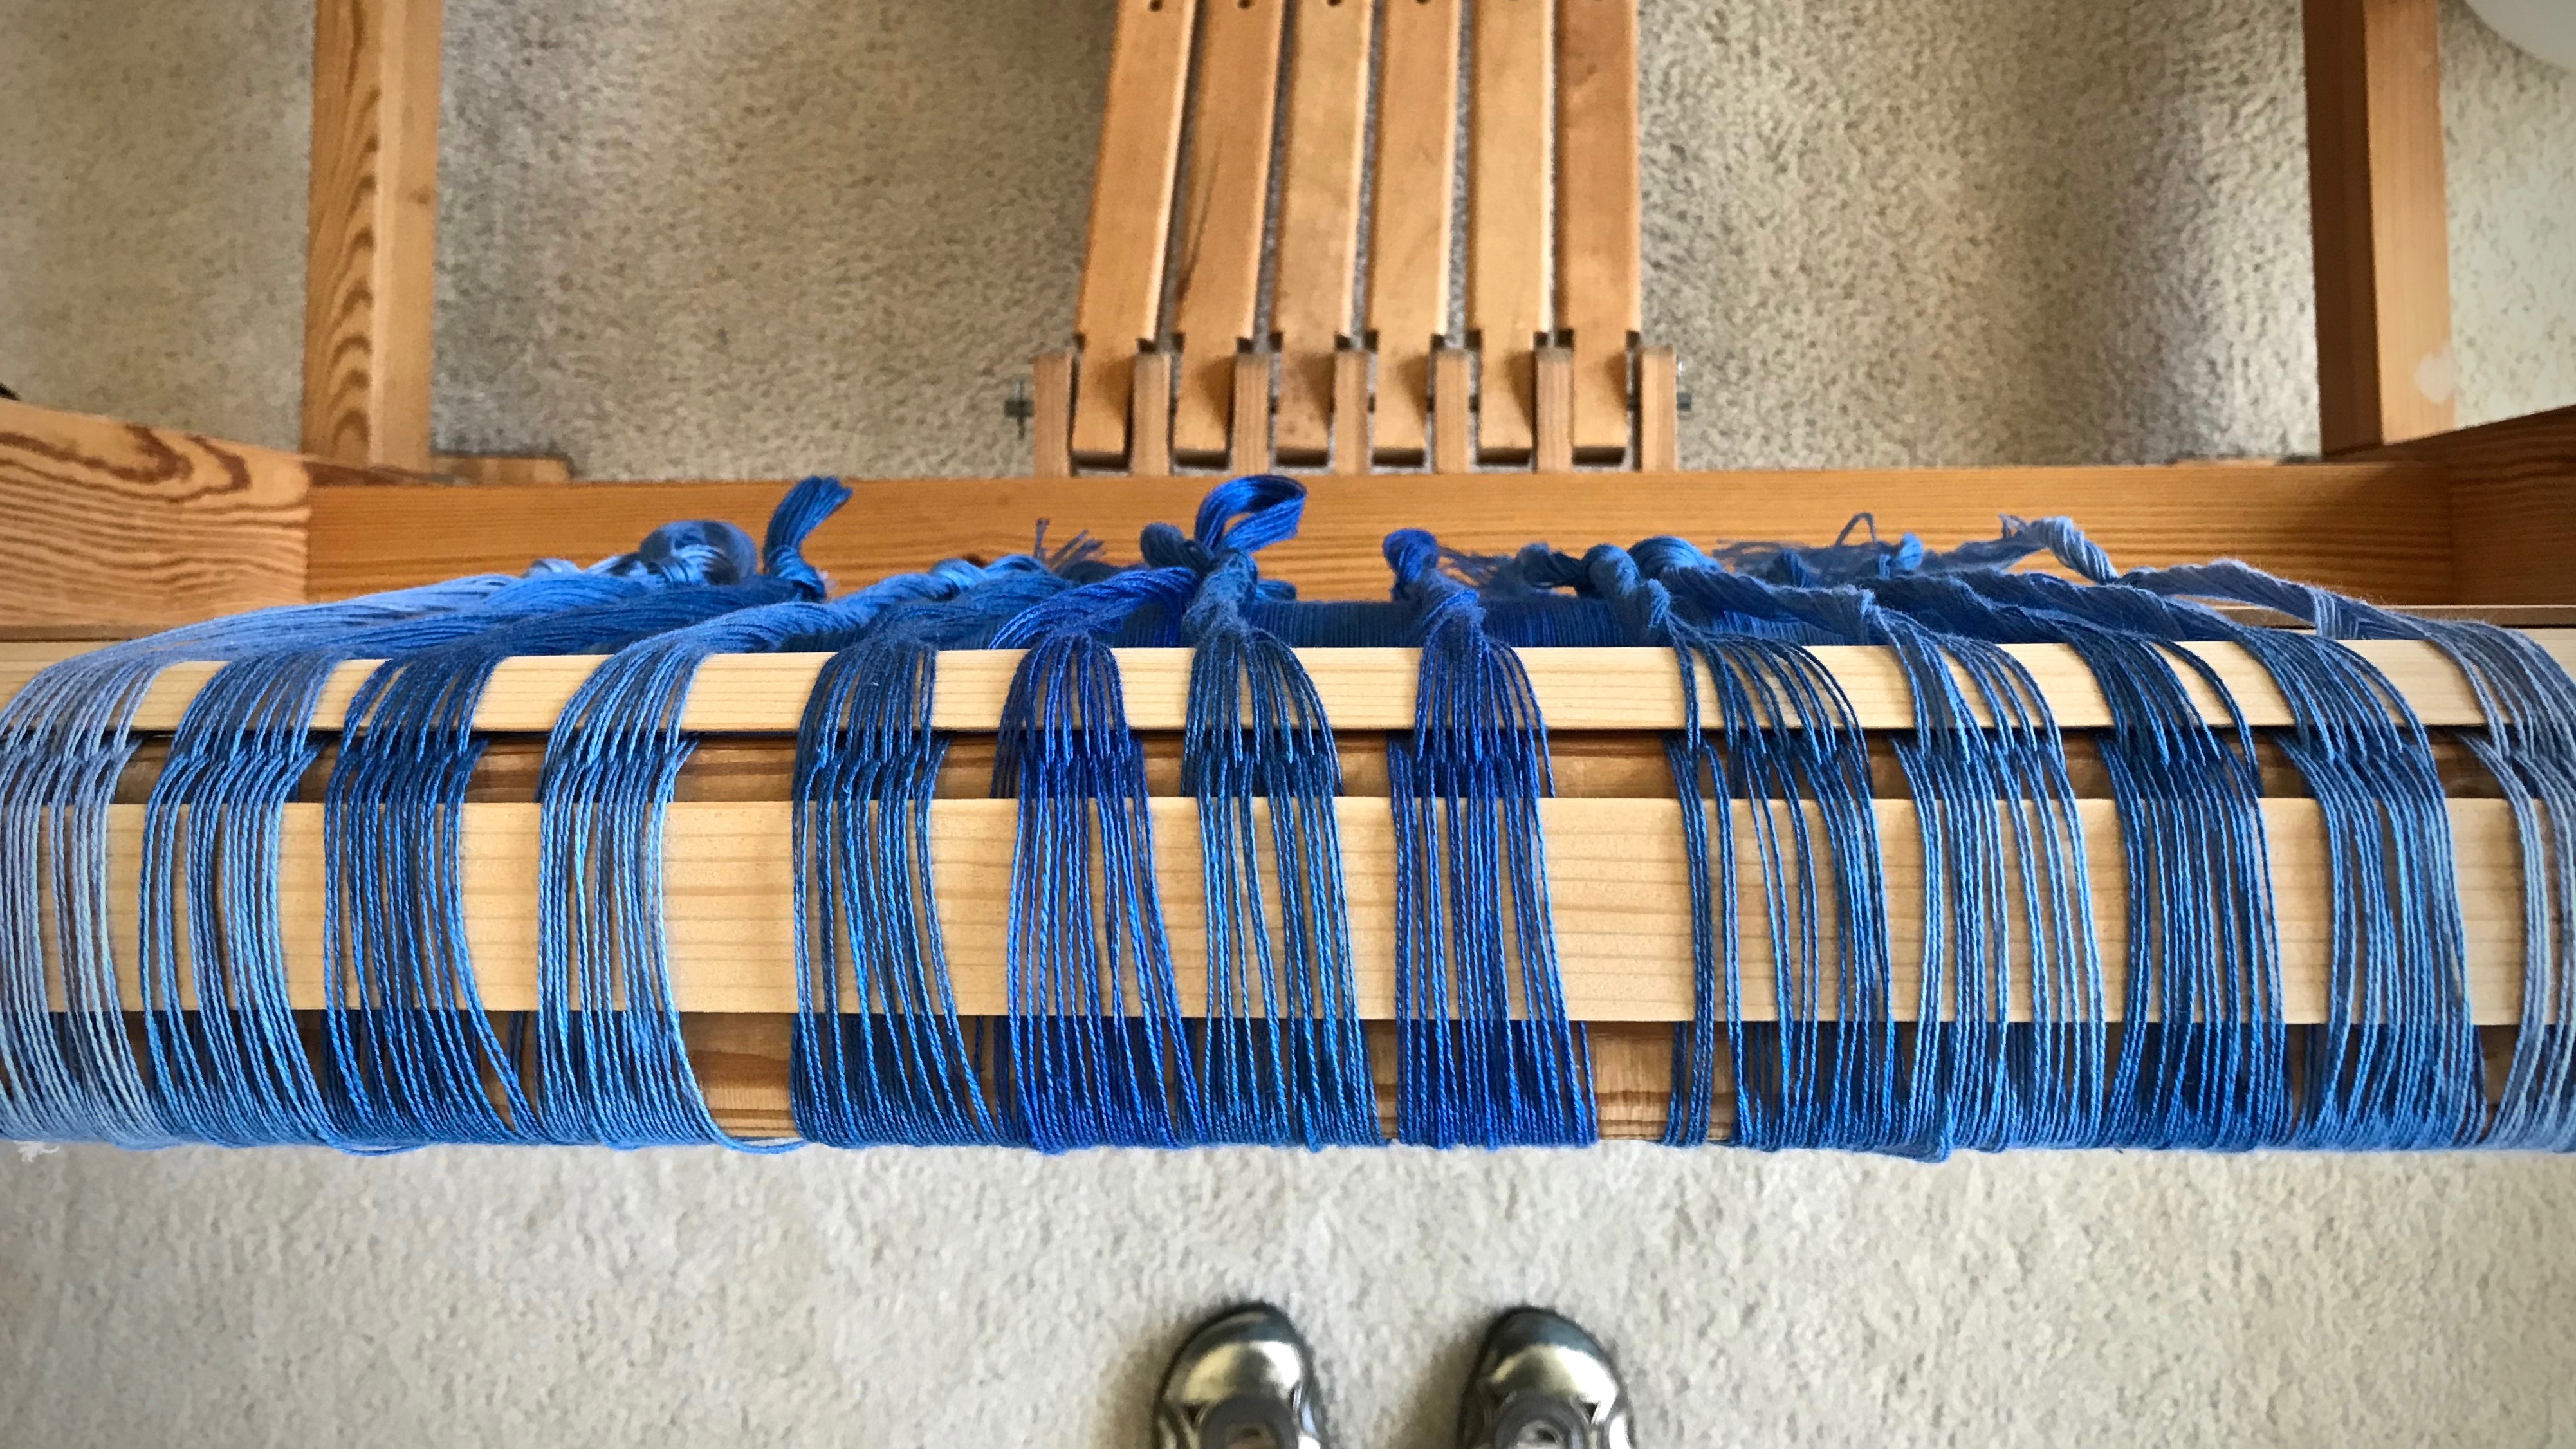
Two warp chains are prepared. This is a striped warp, and the chains will be spread separately, each with its own set of lease sticks.Nothing like big, soft warp chains of 8/2 cotton!
Visible. Actual love is visible. It’s much more than kind thoughts and intentions. It is threads of kind thoughts that become touchable fabric in someone else’s life. Jesus Christ is the love of God made visible, in that God sent His Son so that we could fully live. How appropriate for us to make such a fabric visible for each other.
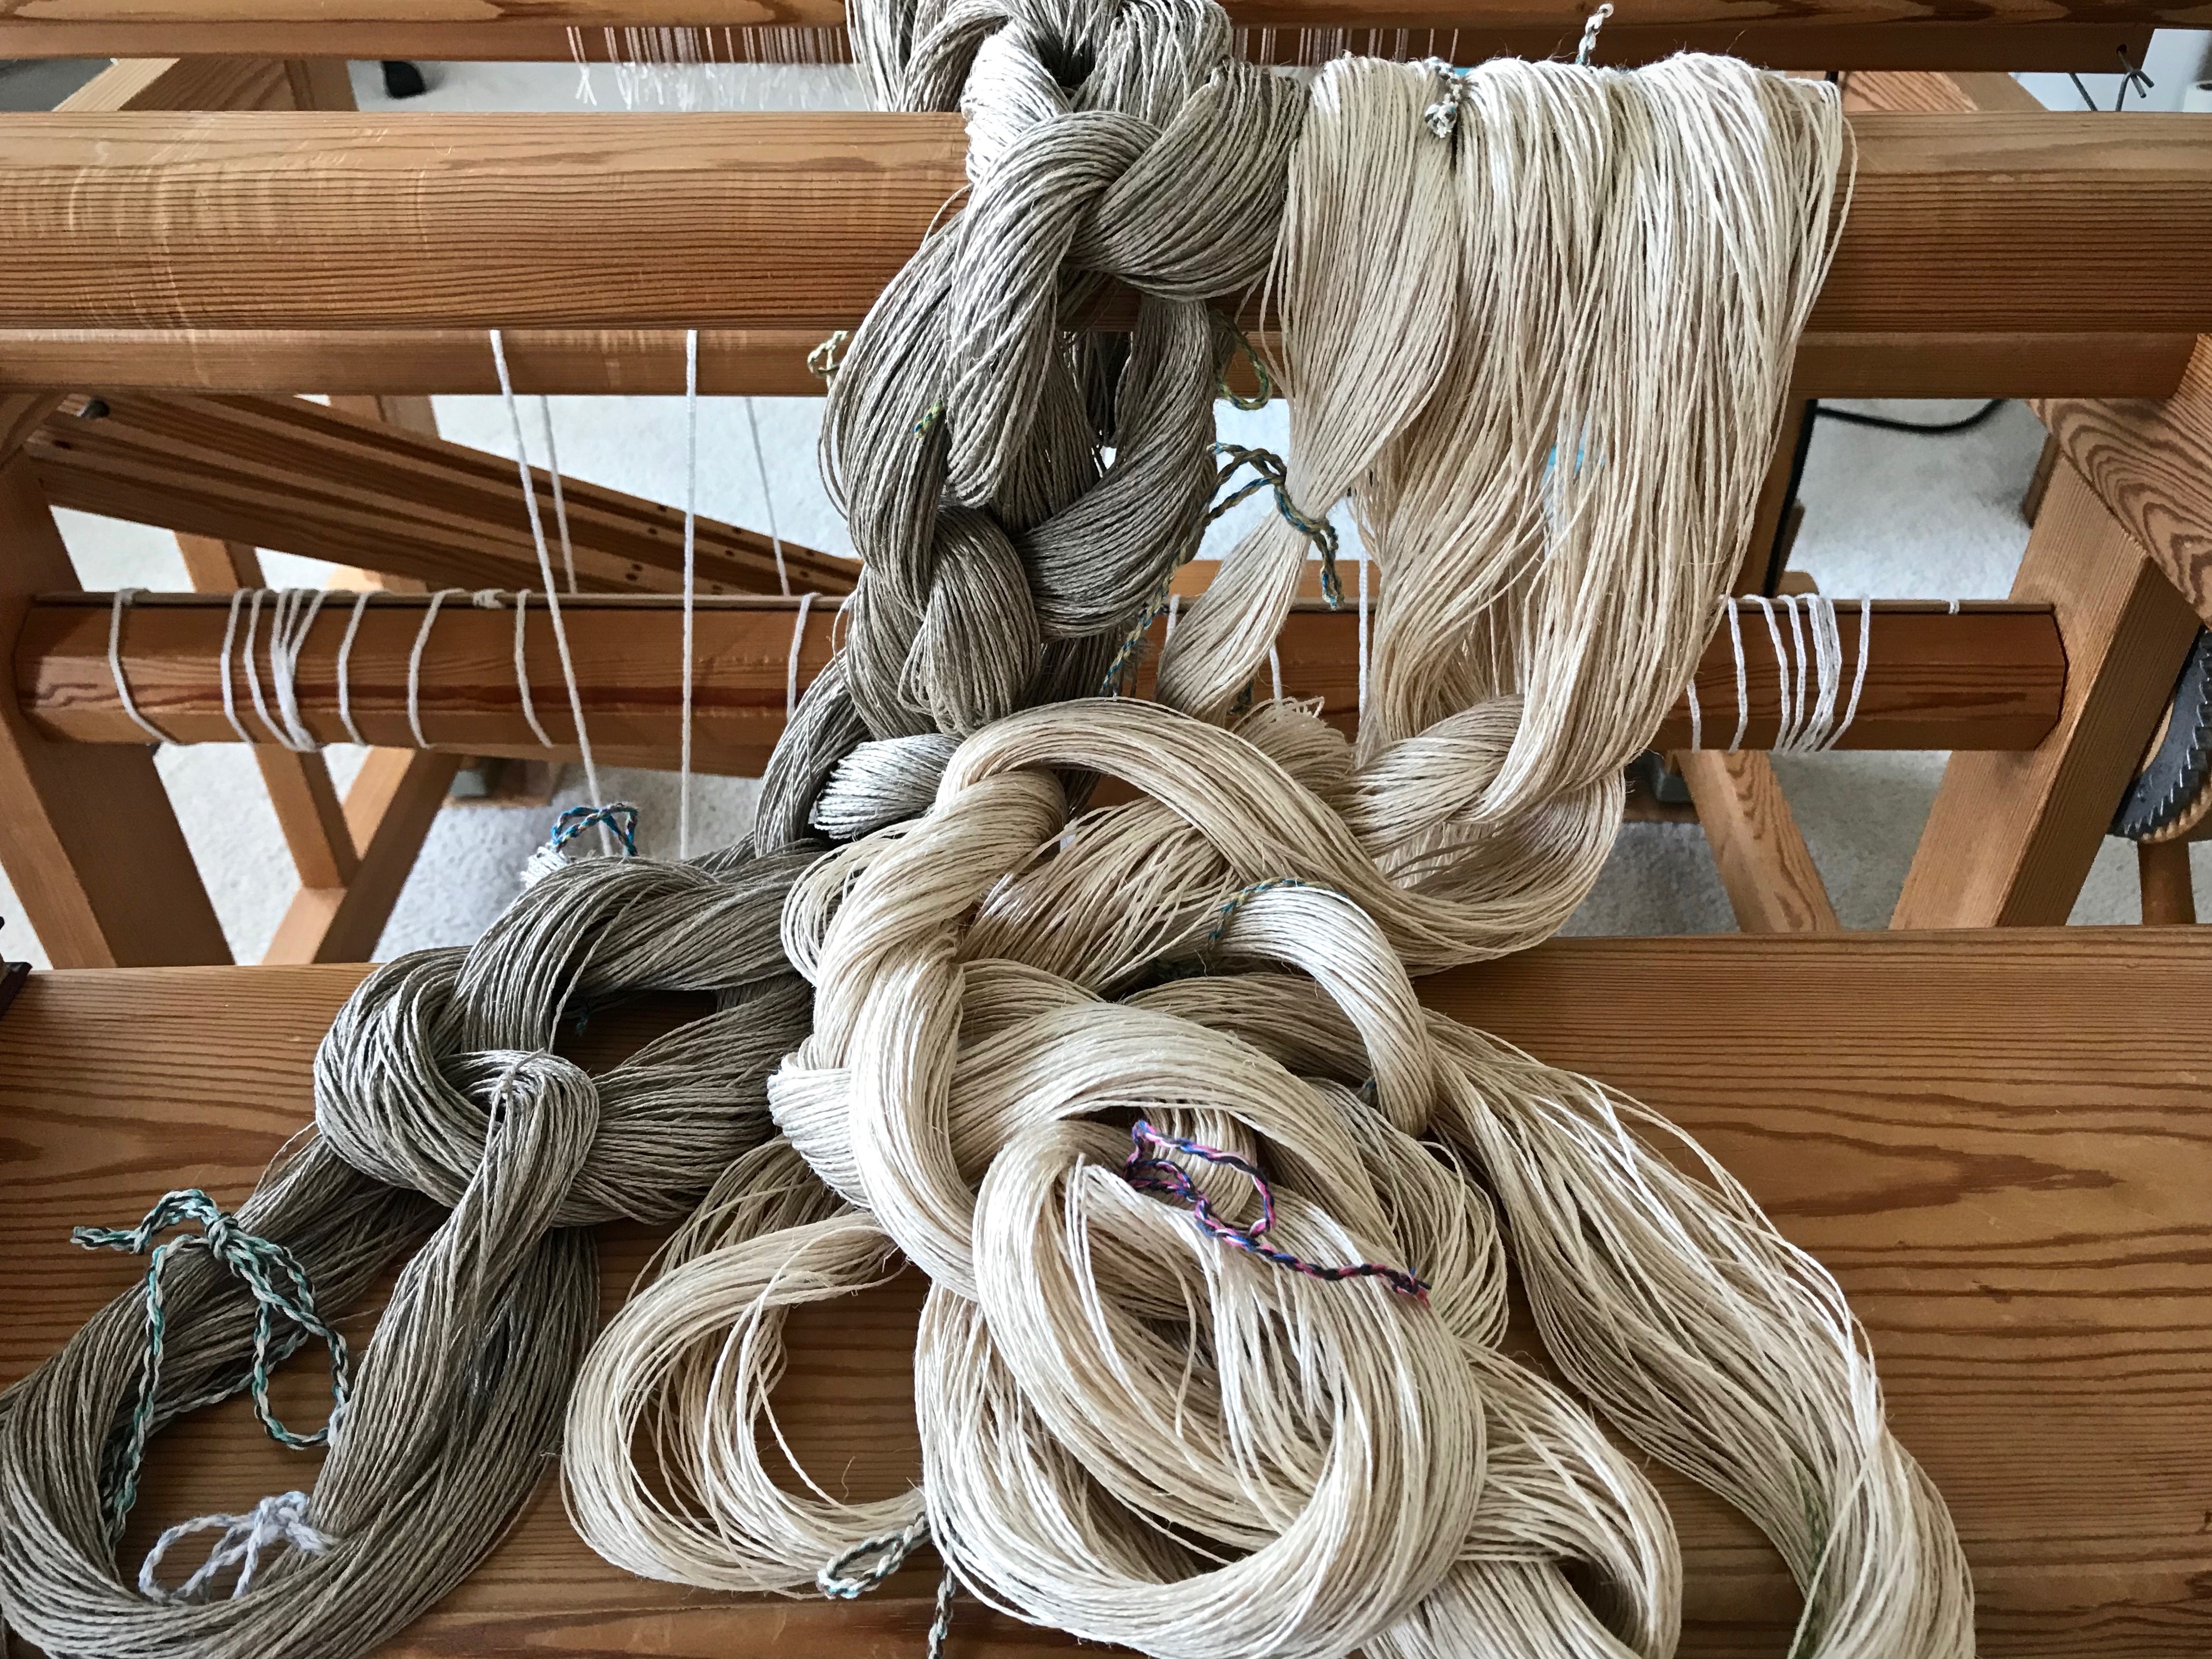
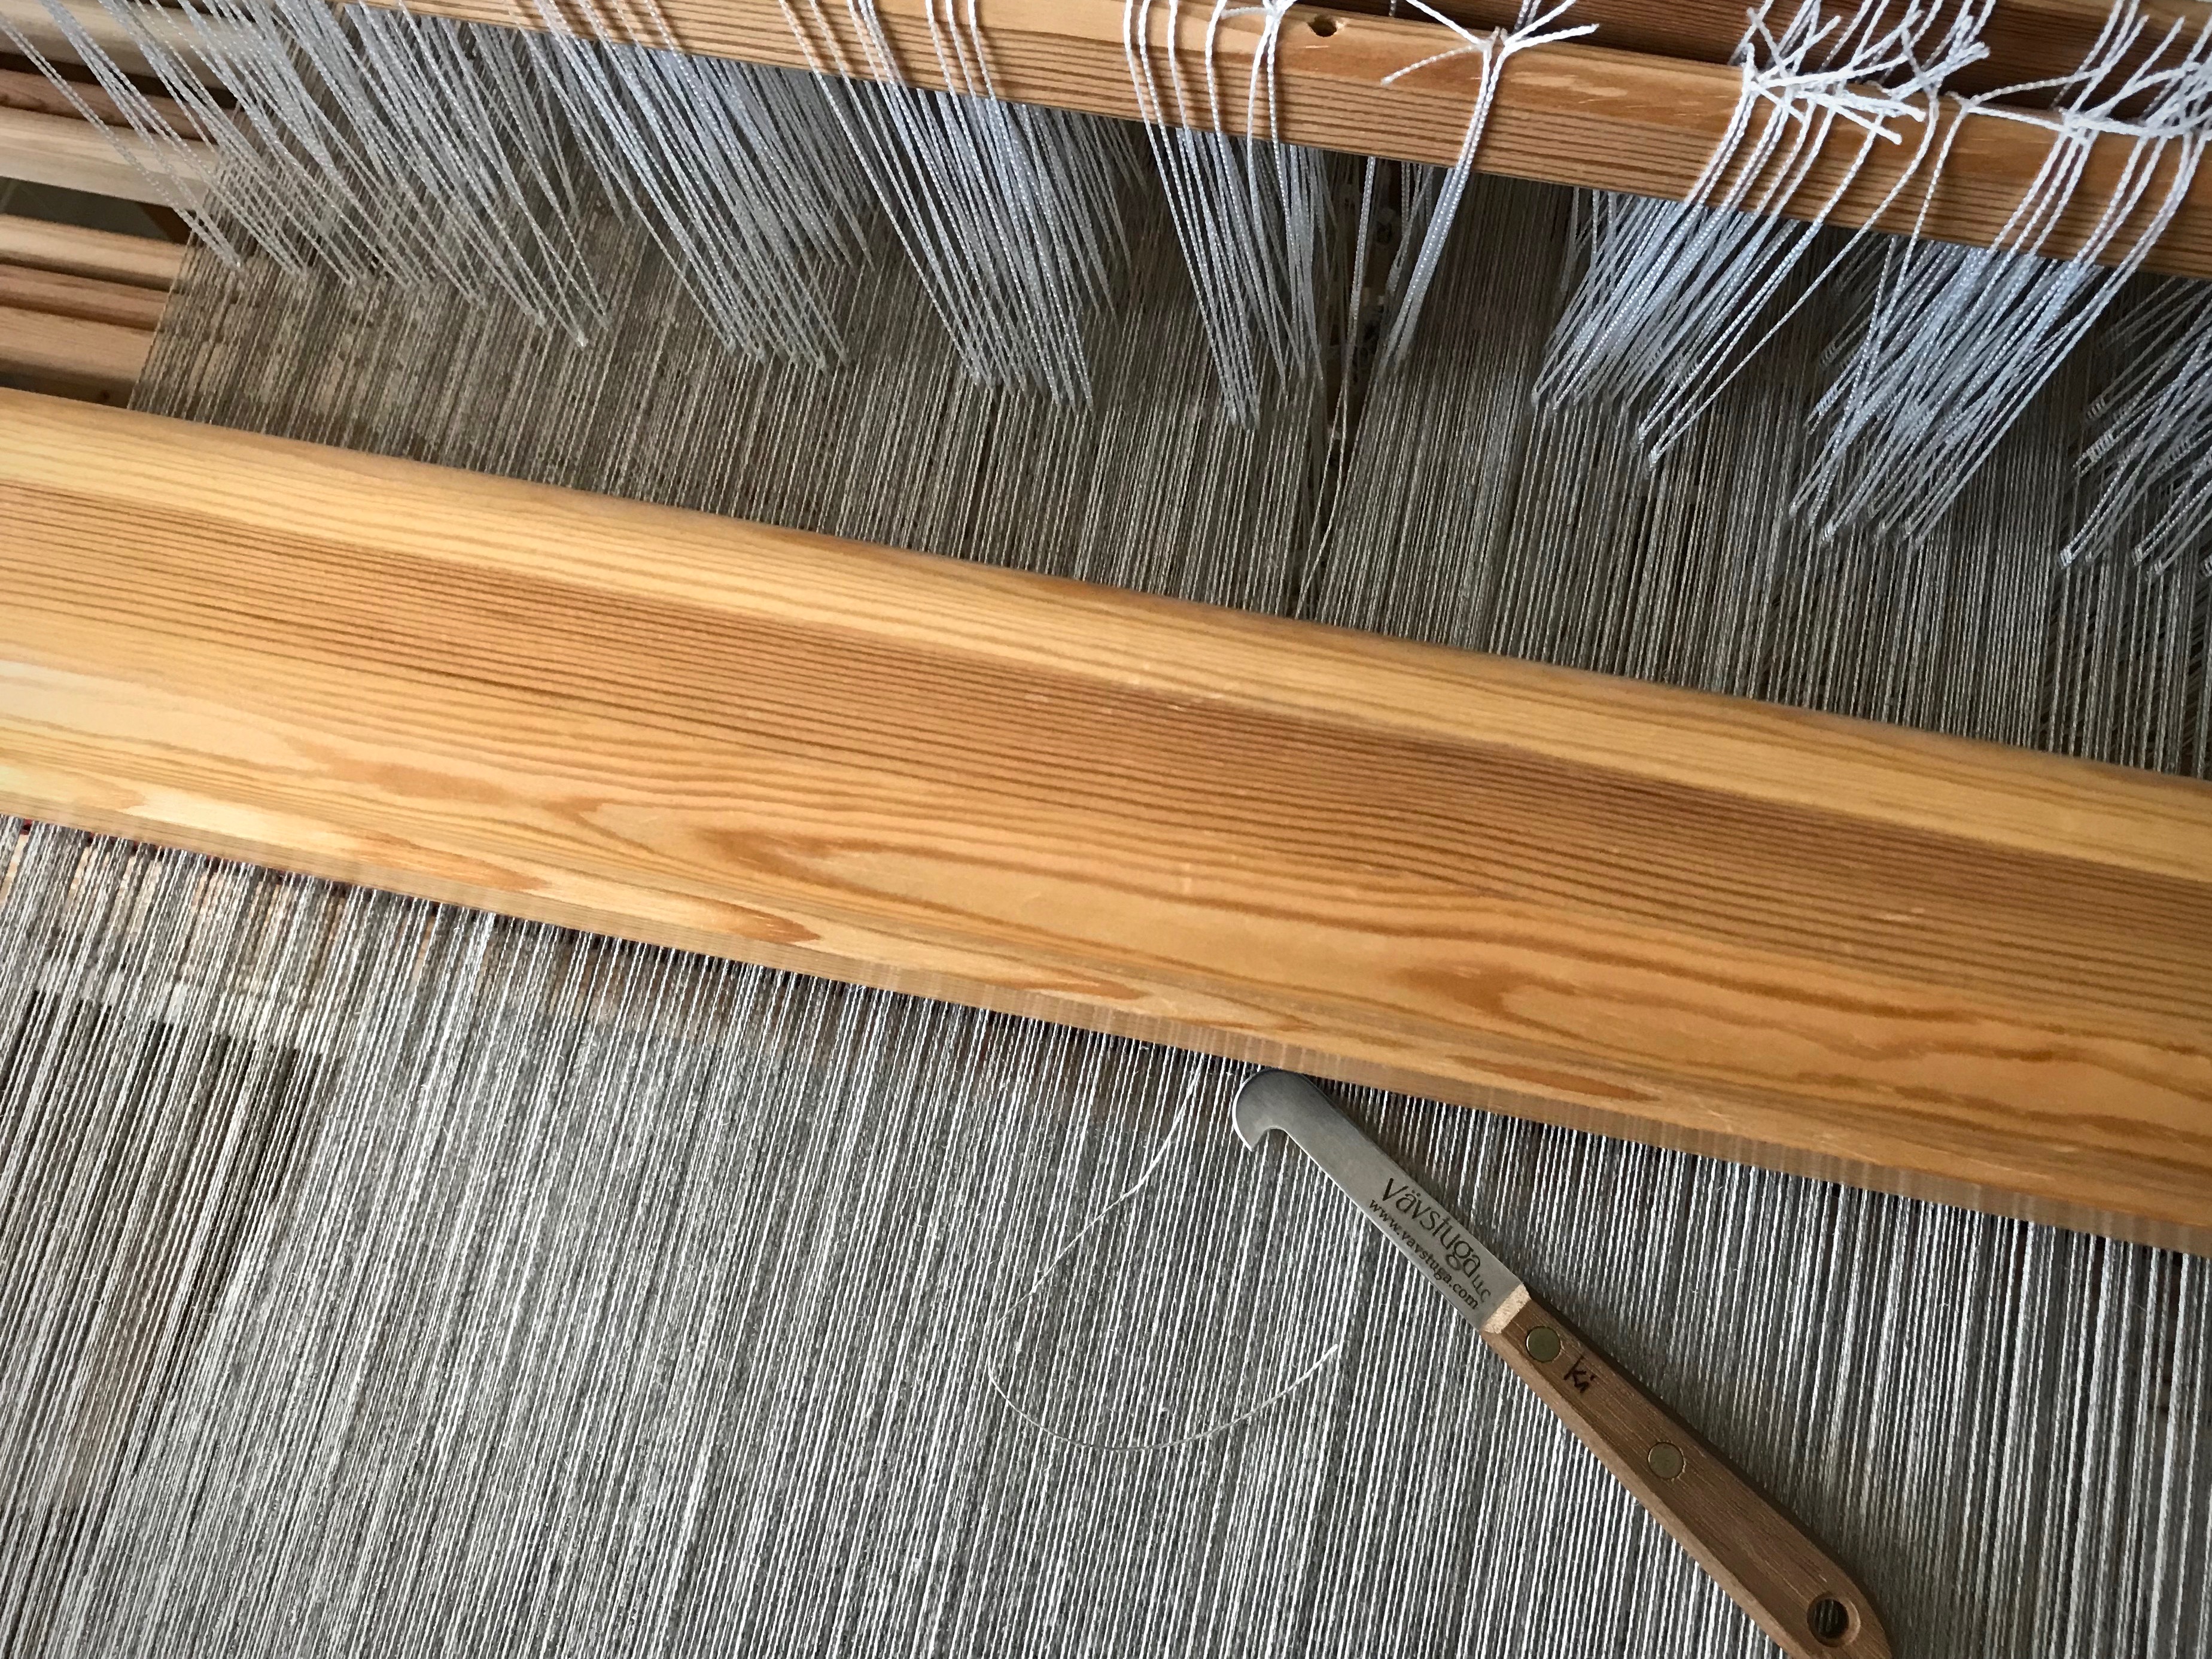
You are not going to believe how many knots I came across in this 16/2 linen warp! Too many. As I wound the warp I made the decision to leave most of the knots, and deal with them on the loom. (I did remove knots that were close to the beginning or ending peg on the warping reel.) I lost count, but I’m sure I have spliced the warp on this five-and-a-half-meter project at least a dozen times. (To see more details about how I splice the warp, visit this blog post and video: How To Splice the Warp – Video.)
I do not weave over warp knots. A knot introduces a spot of vulnerability to the fabric. Knots can fray, loosen, or come undone over time, even if the knot is originally imperceptible.
In a couple instances, a knot distorted the tension of the warp end because of catching on a heddle or passing through the reed. For that reason, I now try to eliminate knots in the warp before they reach the heddles.
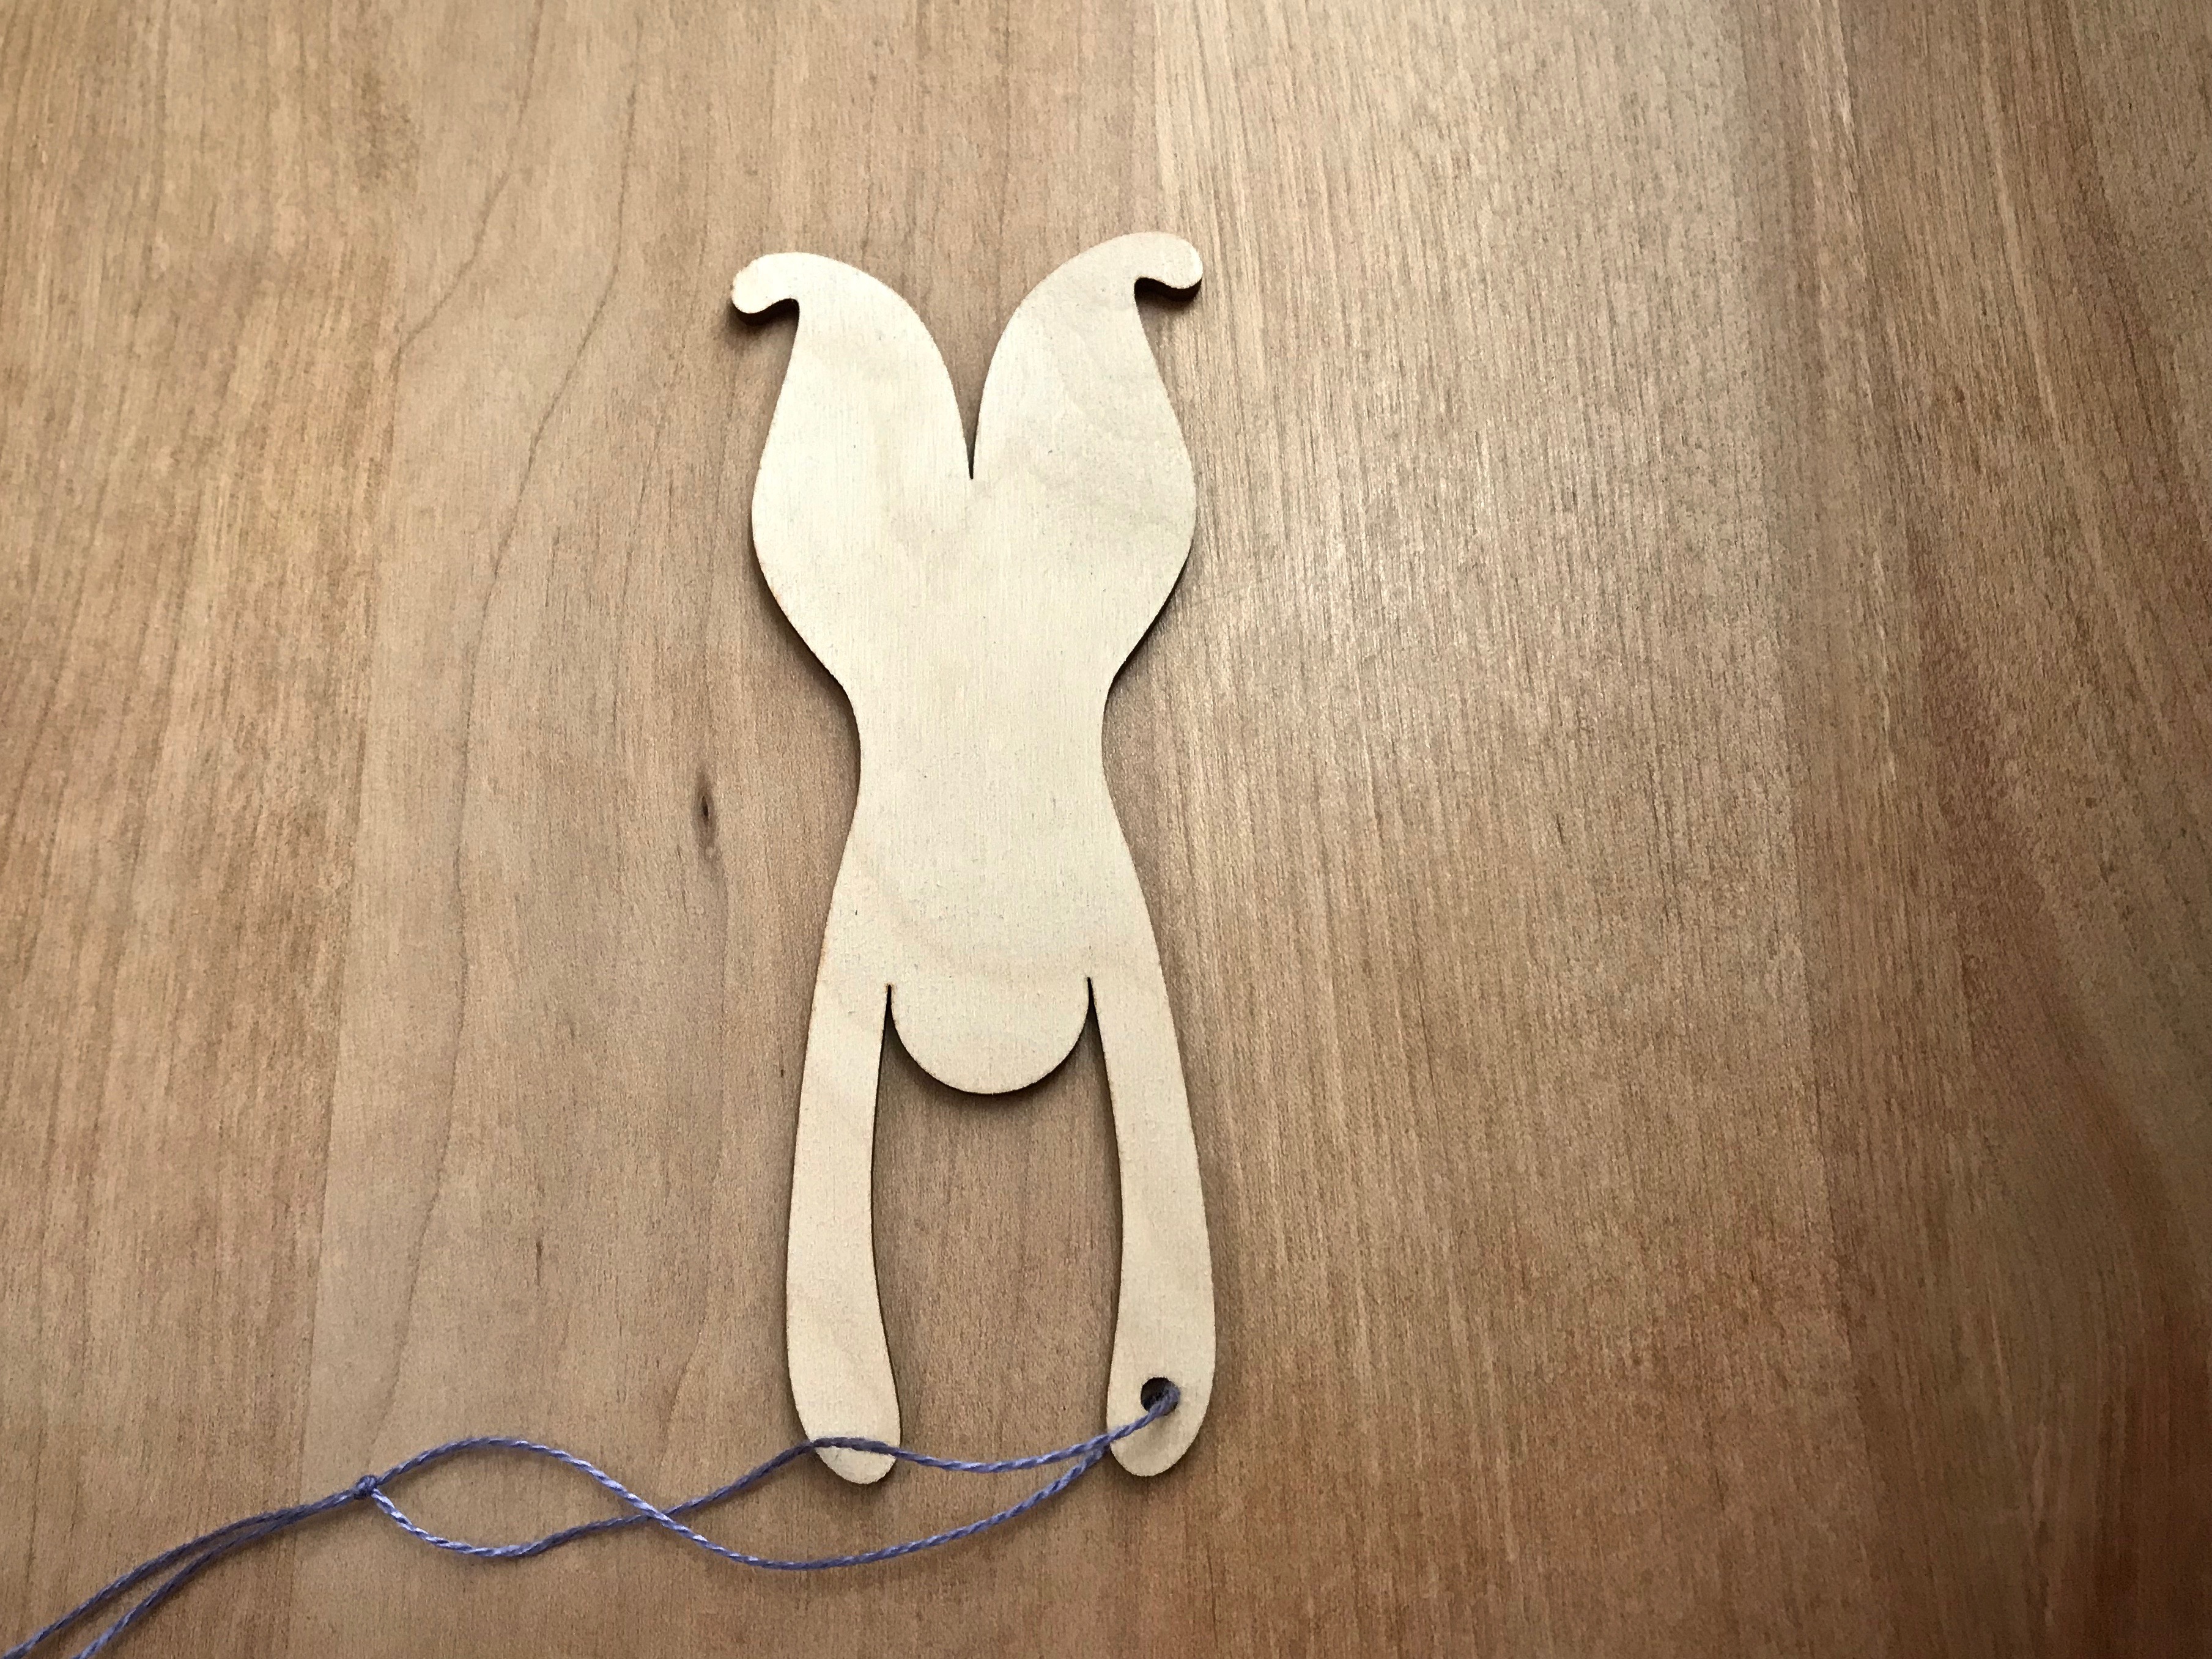
Tool: Warp Separator
Identify the warp end that has a knot, and insert the warp separator between warp ends to isolate the thread.
With a length of repair warp thread, follow the path of the original thread to splice in the new warp end, feeding it through the heddle of the original warp end.
Bring the repair warp thread through the reed in the same dent as the warp end that has a knot.
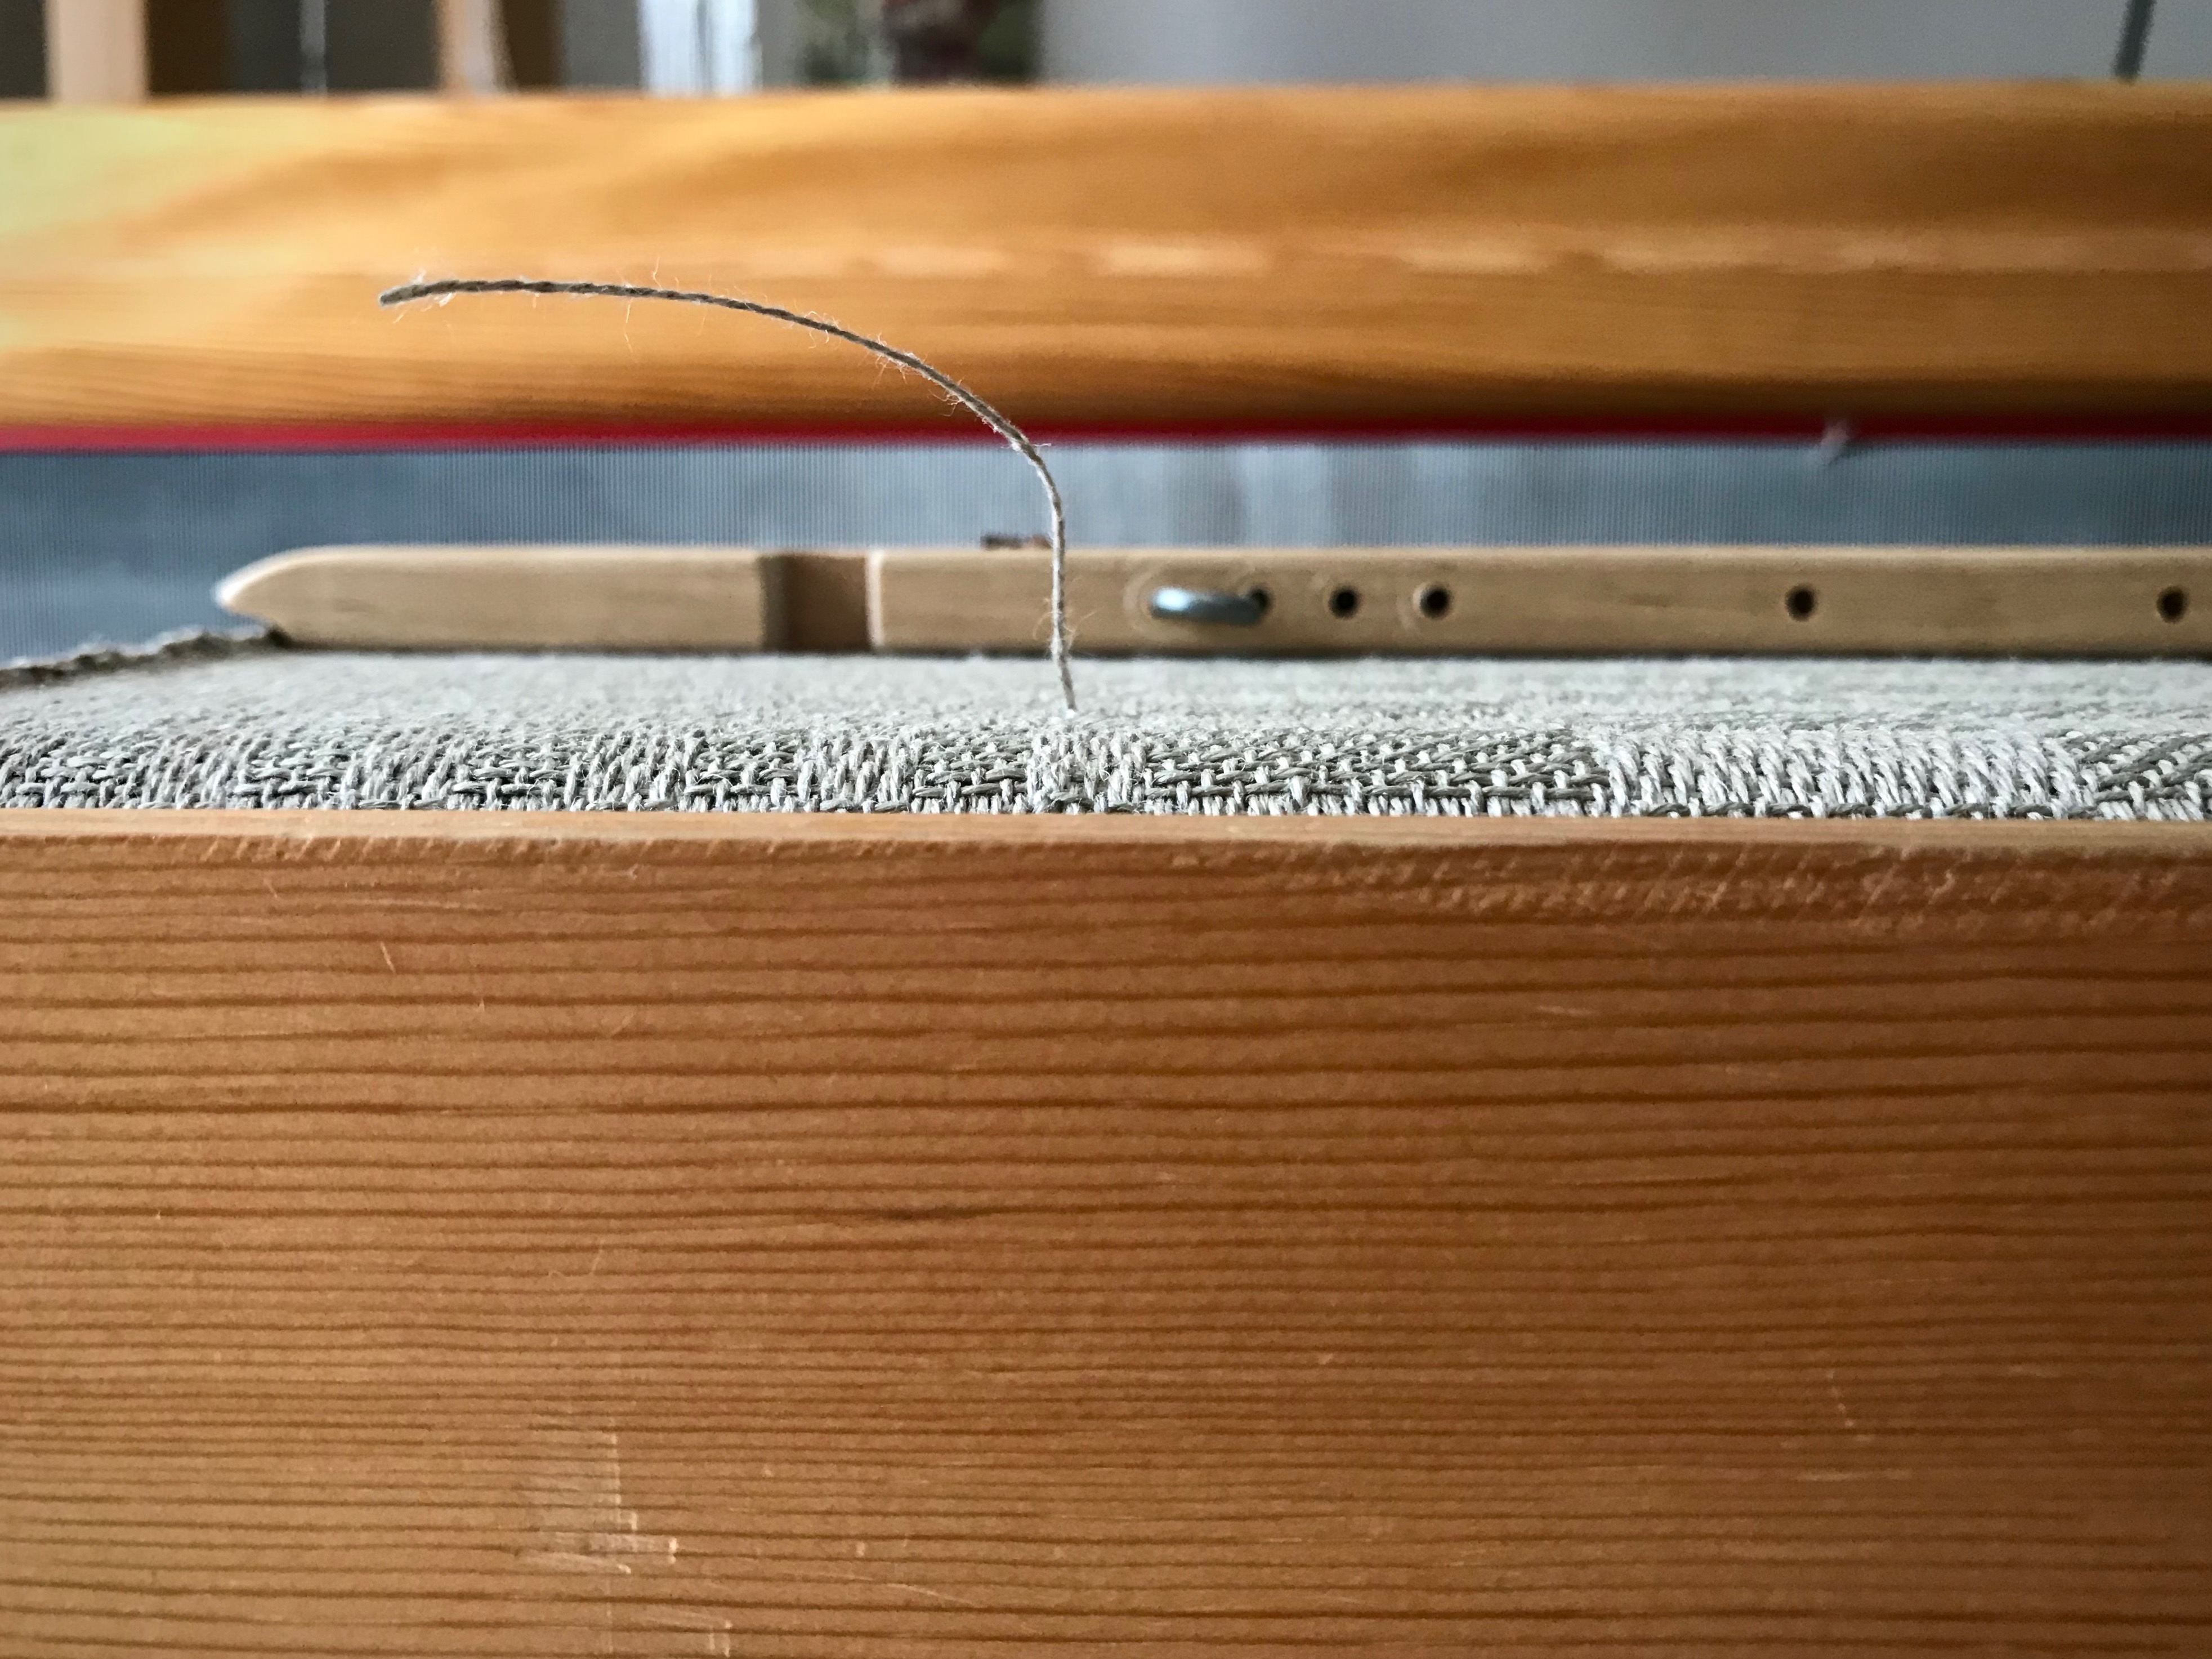
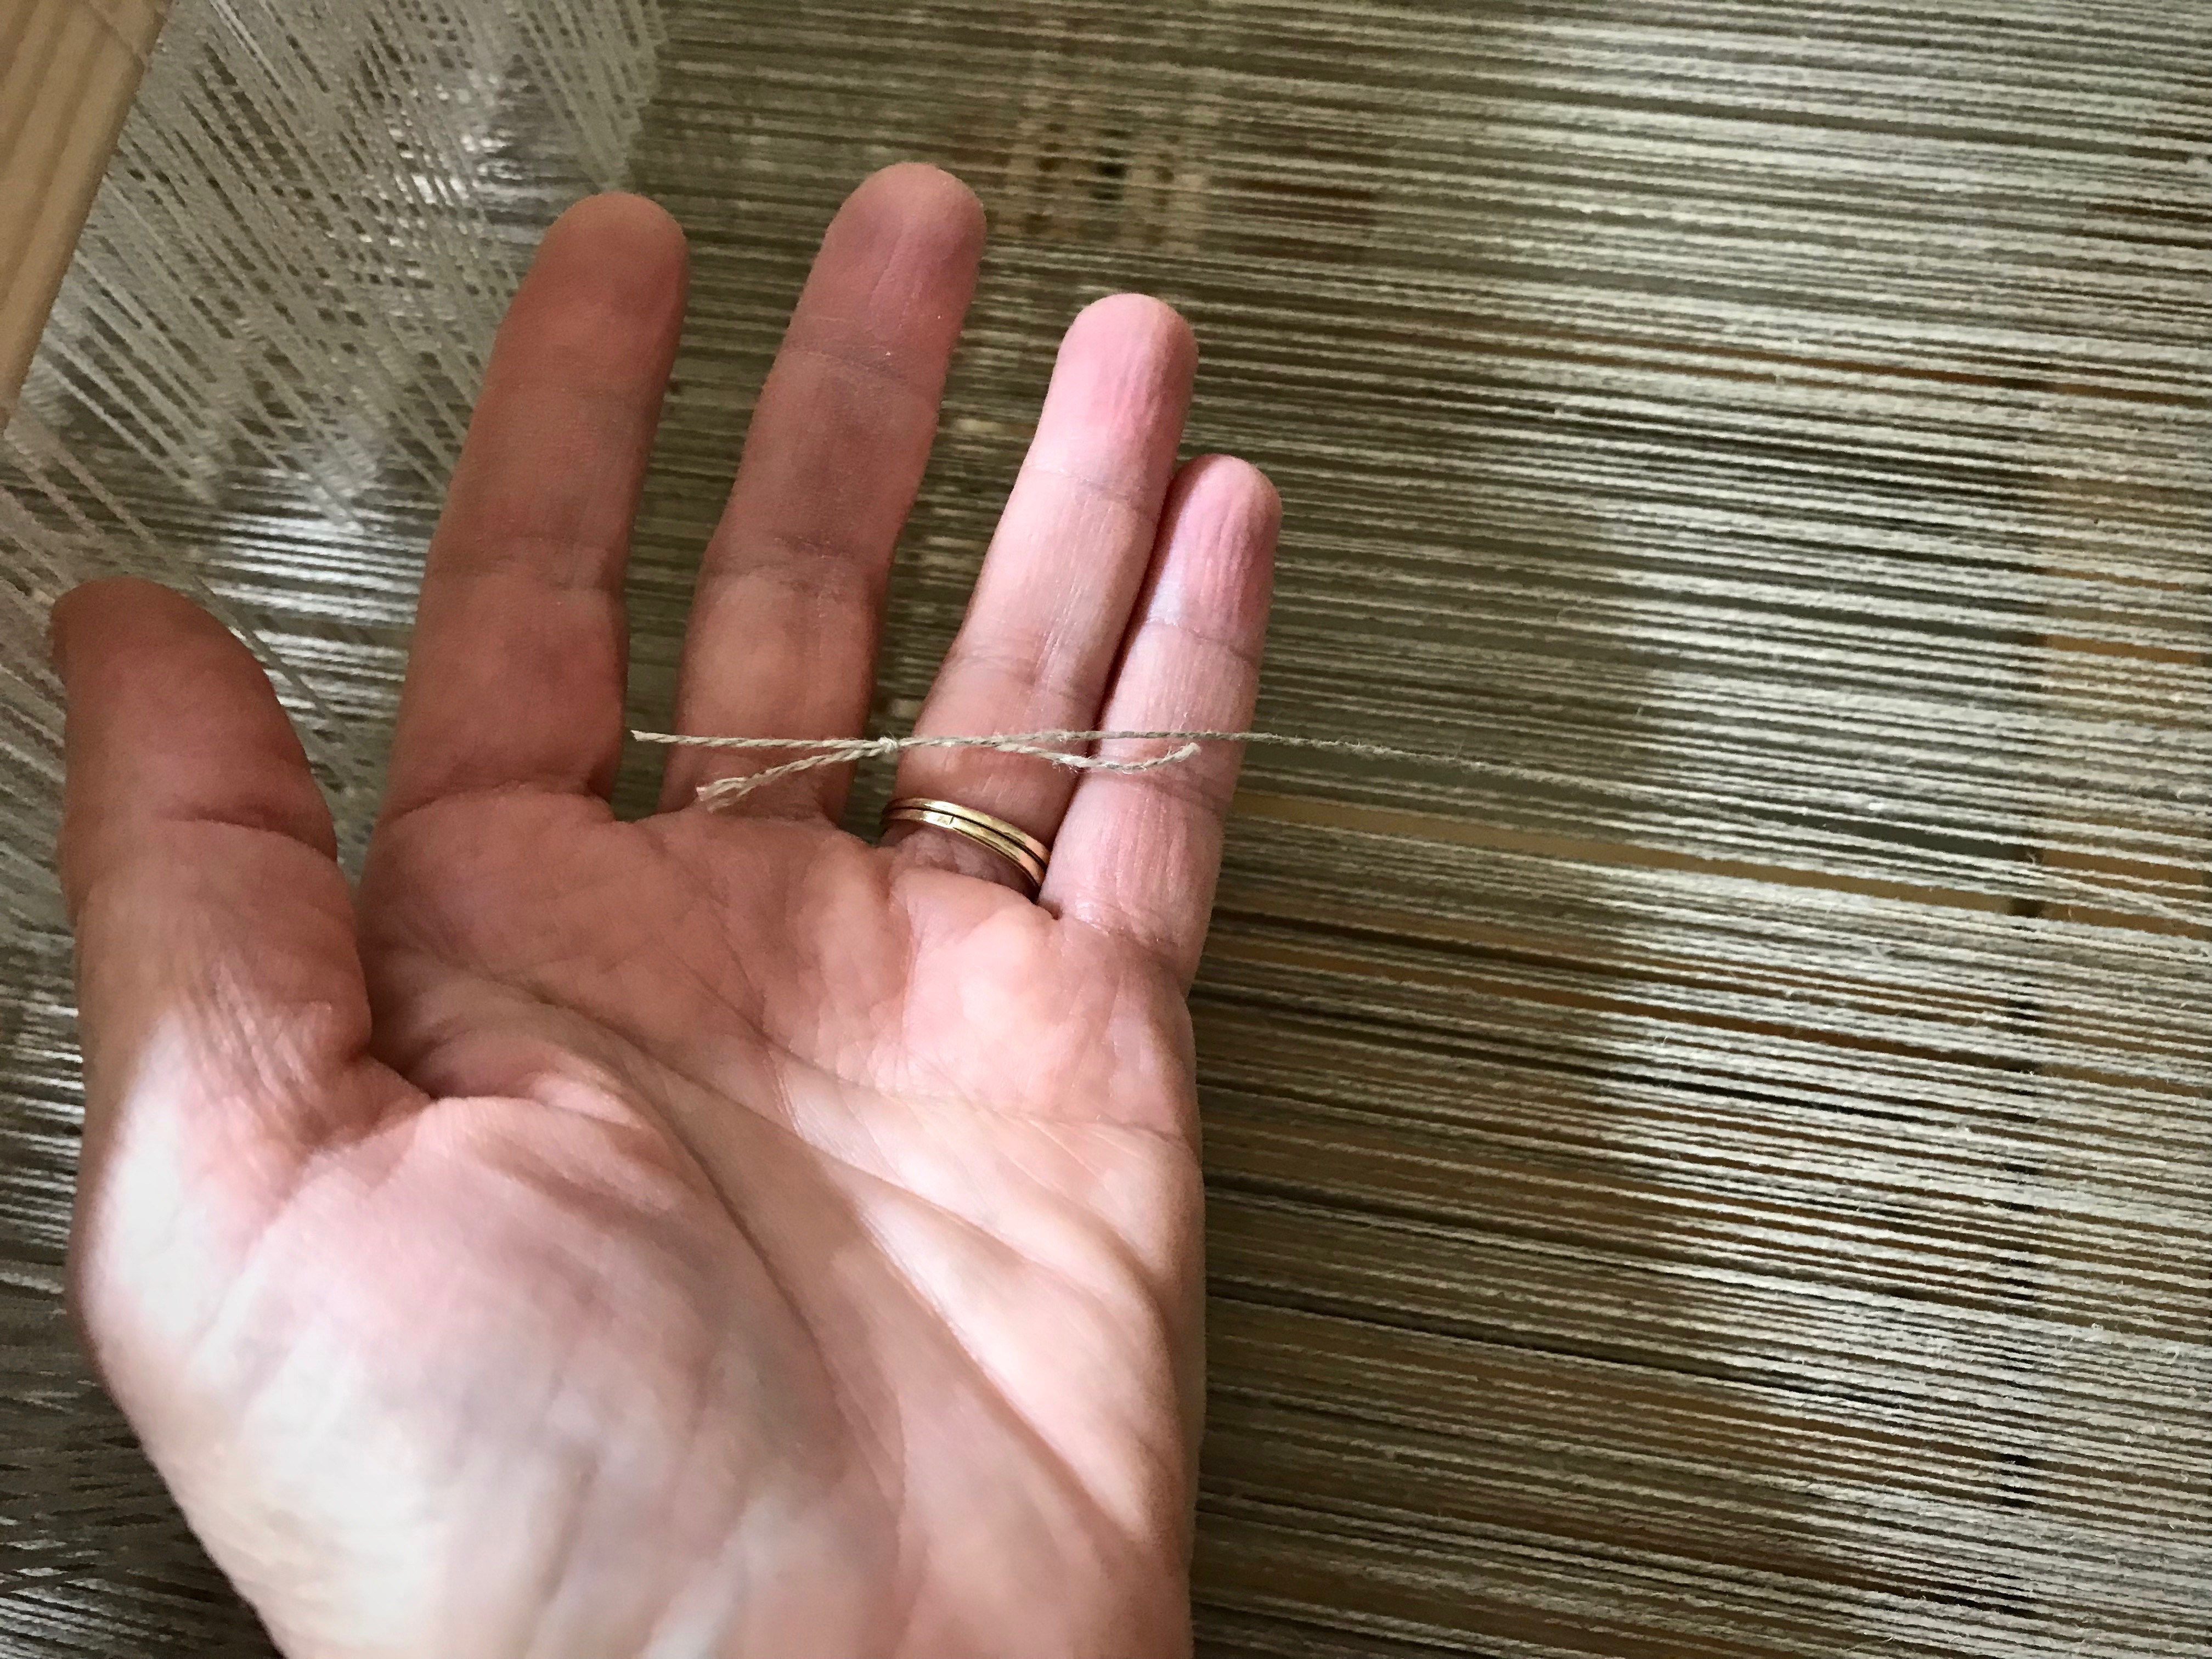
Attach the repair warp thread near the fell by wrapping it around a flat straight pin.
Remove the warp separator from between the warp ends.
Place a weight on the floor below the back beam. Wrap the repair thread around the weight two or three times to hold the thread at tension that matches the rest of the warp. Loosen the wrapped-around thread before advancing the warp, and then re-tighten before resuming weaving.
Weave one to two inches with both the original warp end and the repair warp thread in place.
Then, cut the original warp end with the knot (behind the heddles) and let it hang over the back beam.
The original and replacement warp ends overlap in the weaving for about one to two inches.
Remove the straight pin when it reaches the breast beam.
Re-attach the original warp end when it is long enough to secure in front of the fell line with a flat straight pin.
And then, cut and remove the replacement warp thread.
This warp separator was a gift from The Weavers and Spinners Society of Austin, included in the goodie bag from last summer’s Contemporary Handweavers of Texas Conference. It would not be hard to make a warp separator like this from wood or sturdy cardboard. I have not been able to locate a supplier online.
If you know where to find a warp separator tool, please put a link in the comments.
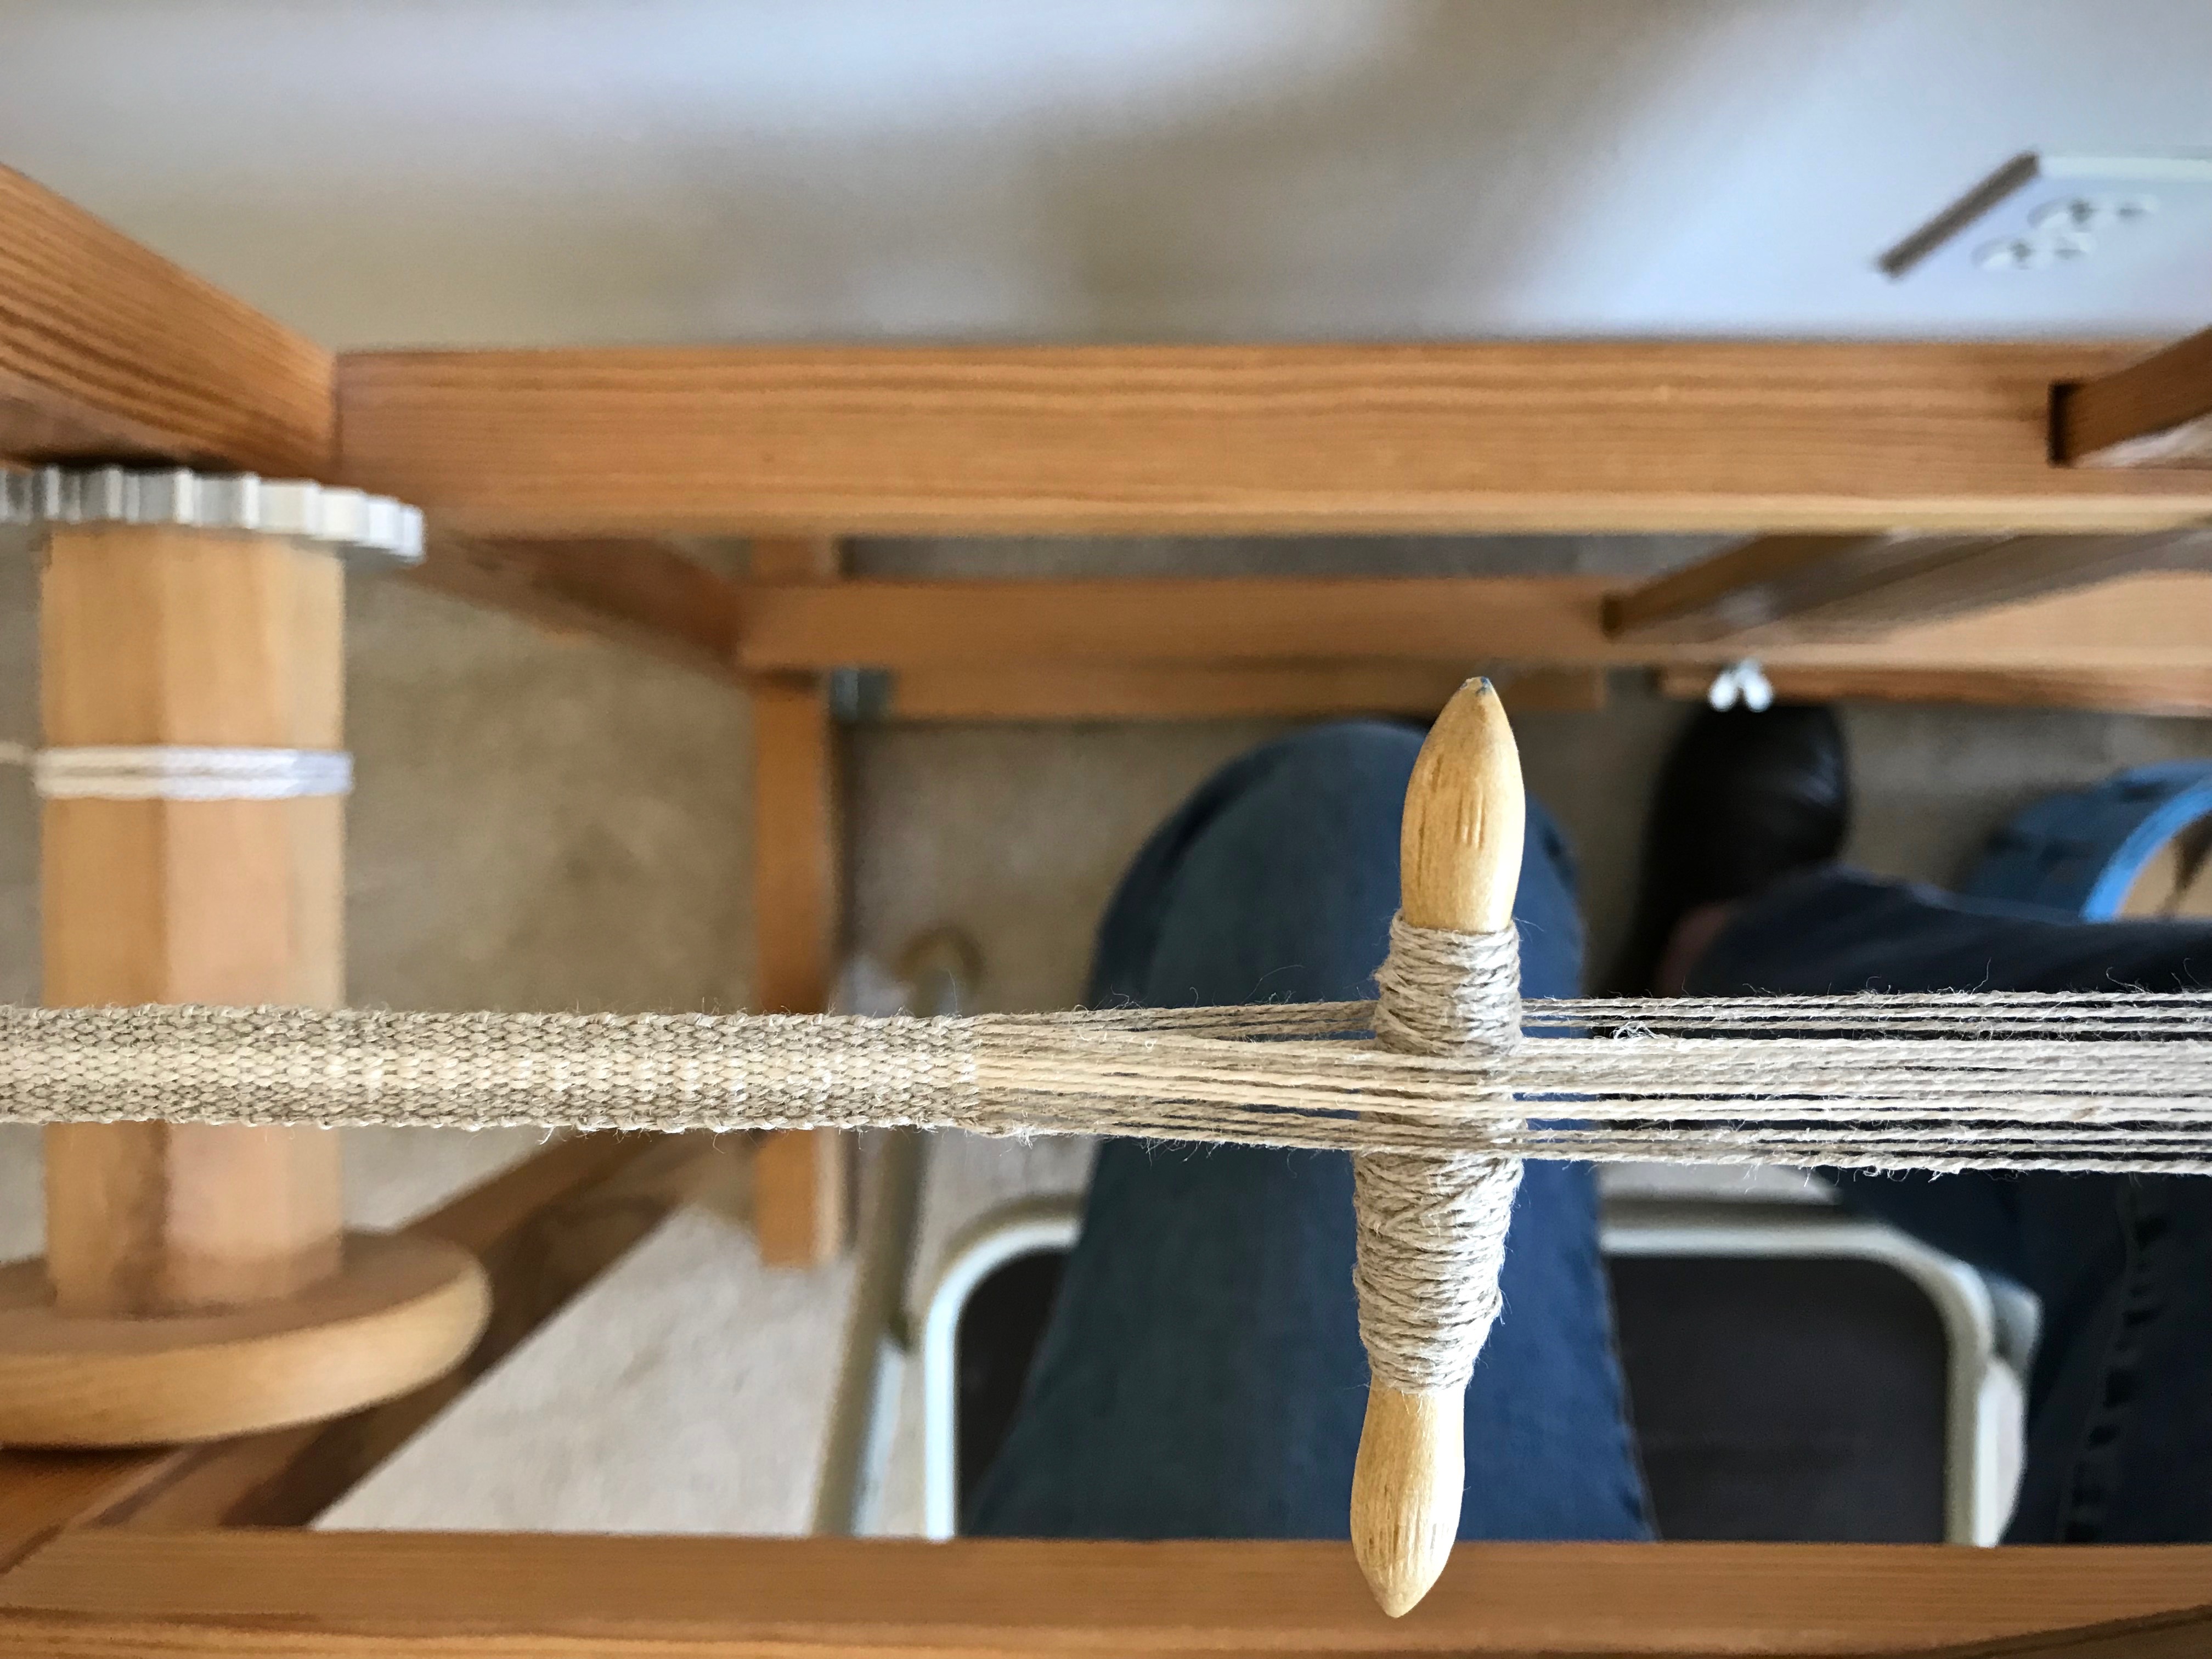
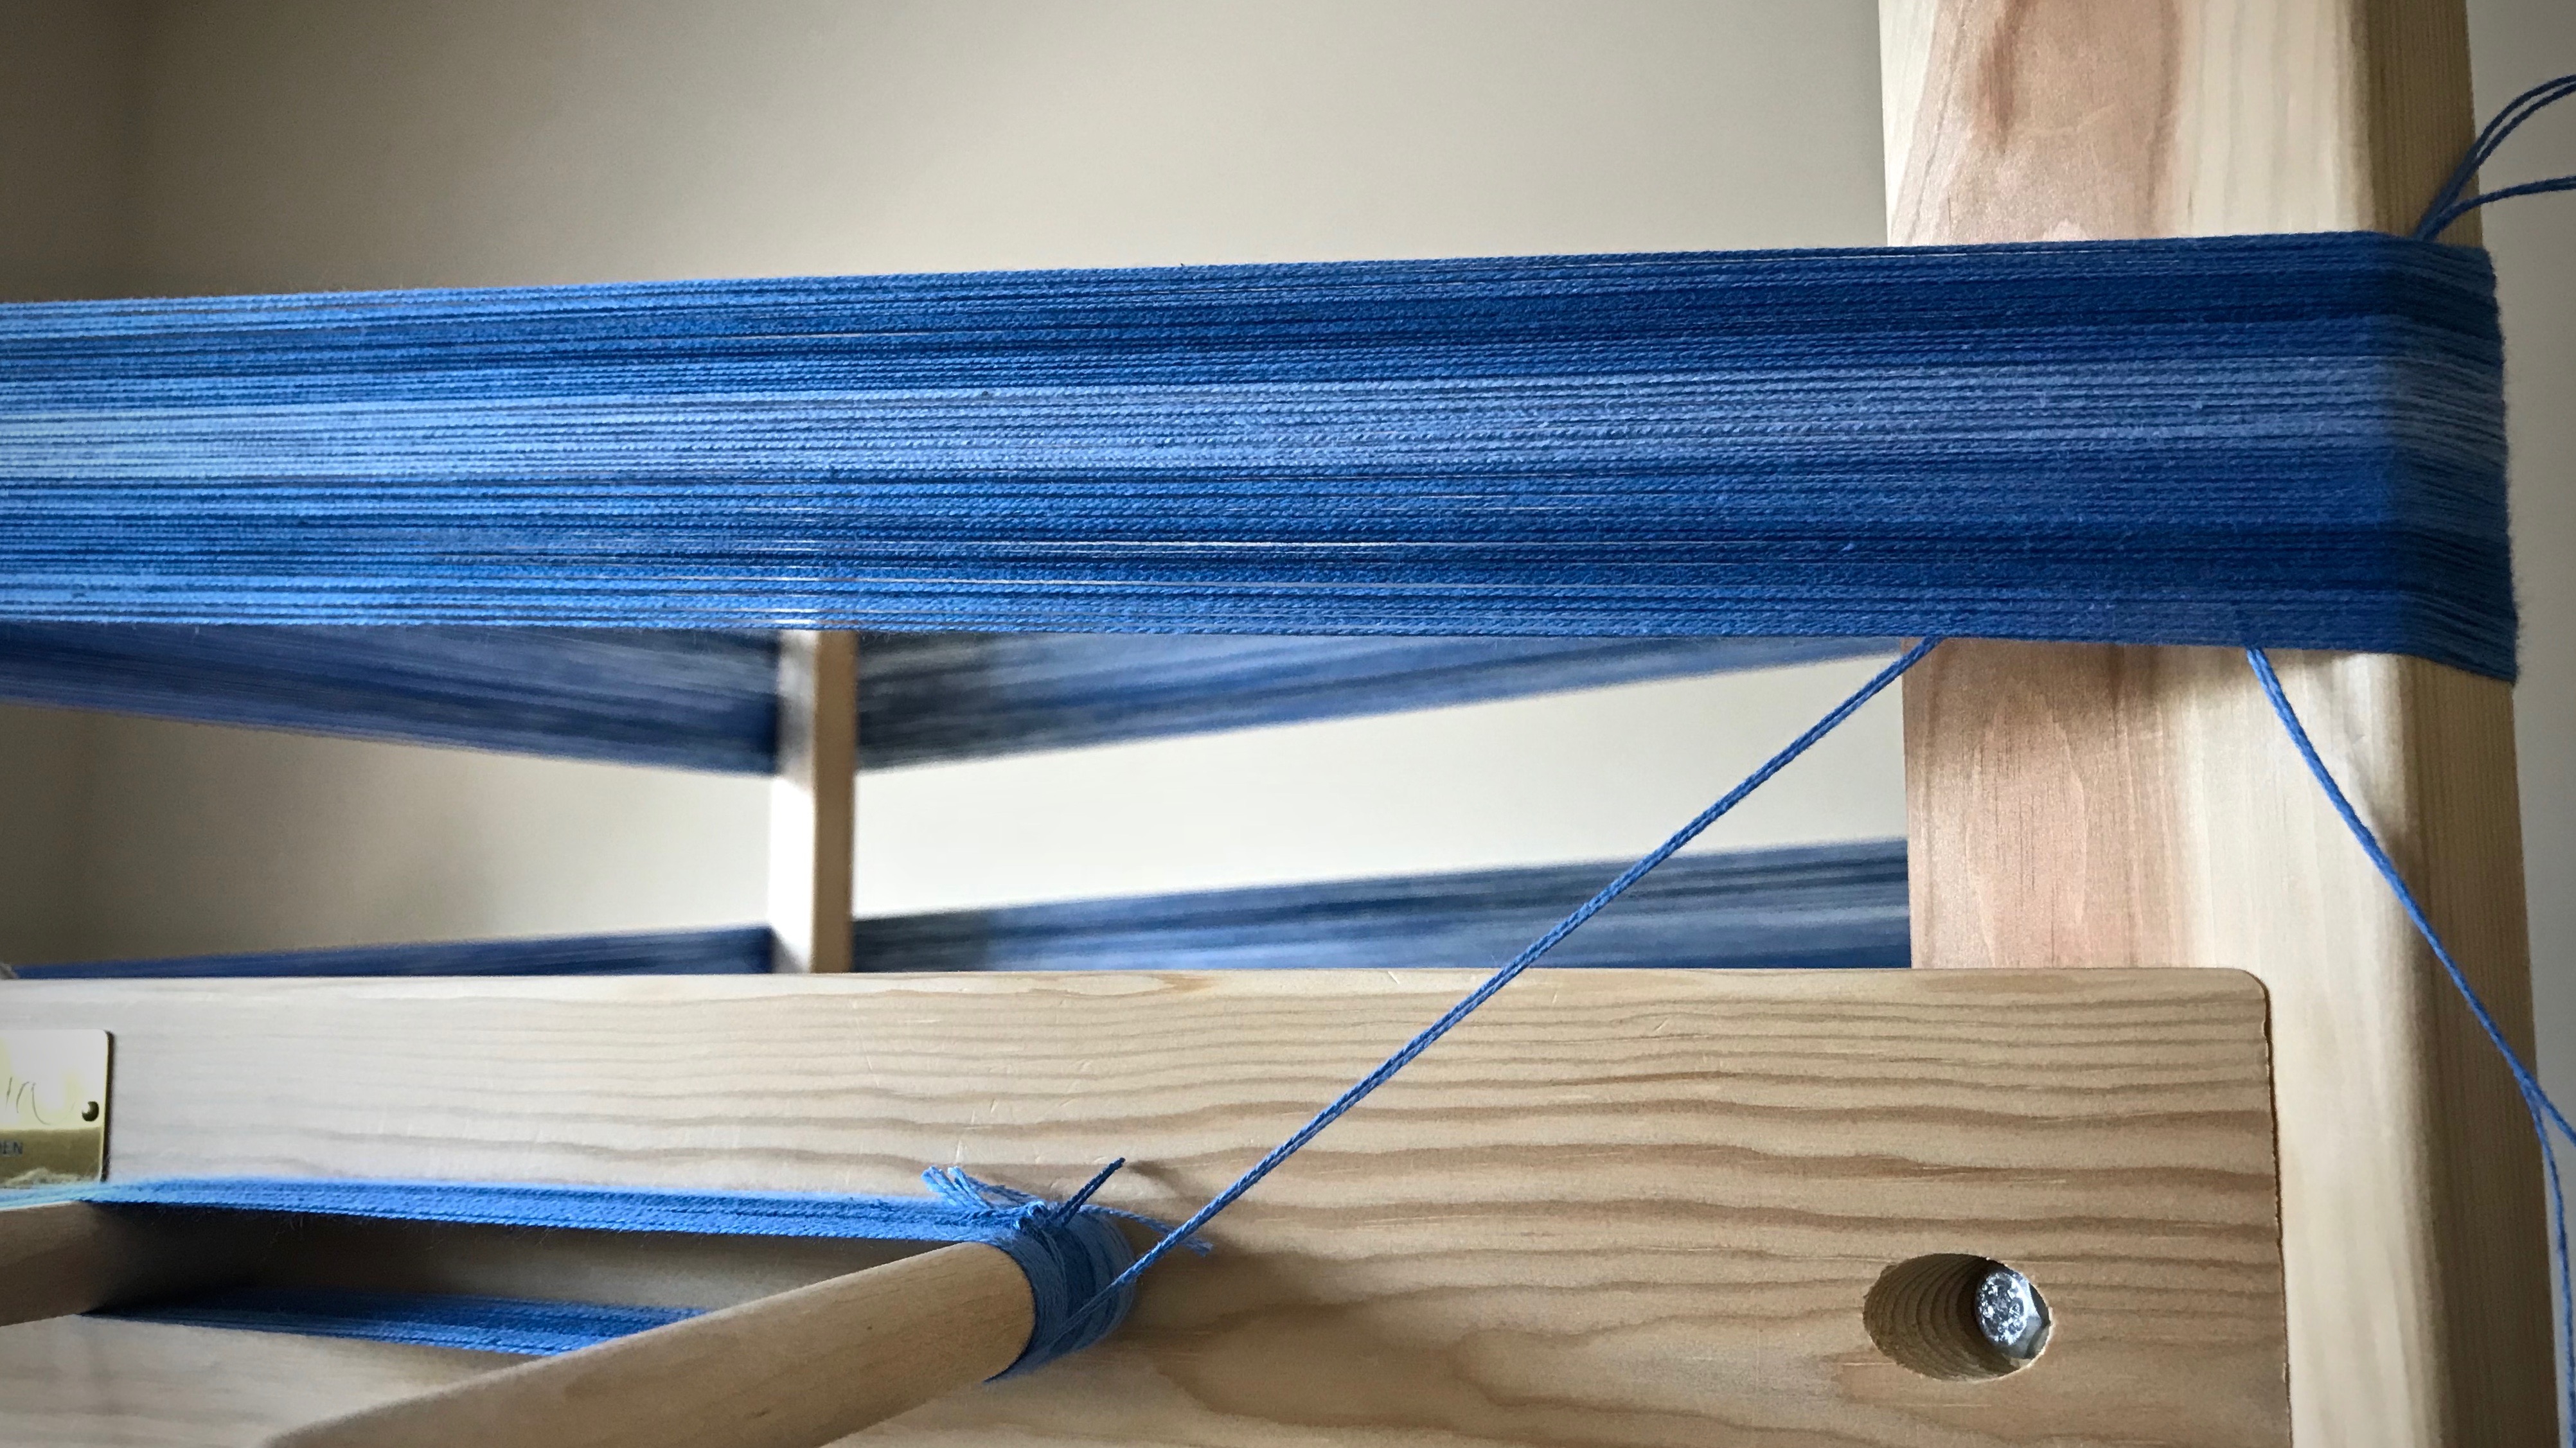
I am winding a lovely all-blue warp on my warping reel. When I pause, as I do regularly to count the ends, it is easy to put the winding on hold. I tuck the pair of warp ends under a section of wound warp at one of the vertical posts of the reel. That holds it, and keeps threads under tension until I’m ready to continue where I left off.
Pair of warpends are held secure while I stop to count another section of ends.
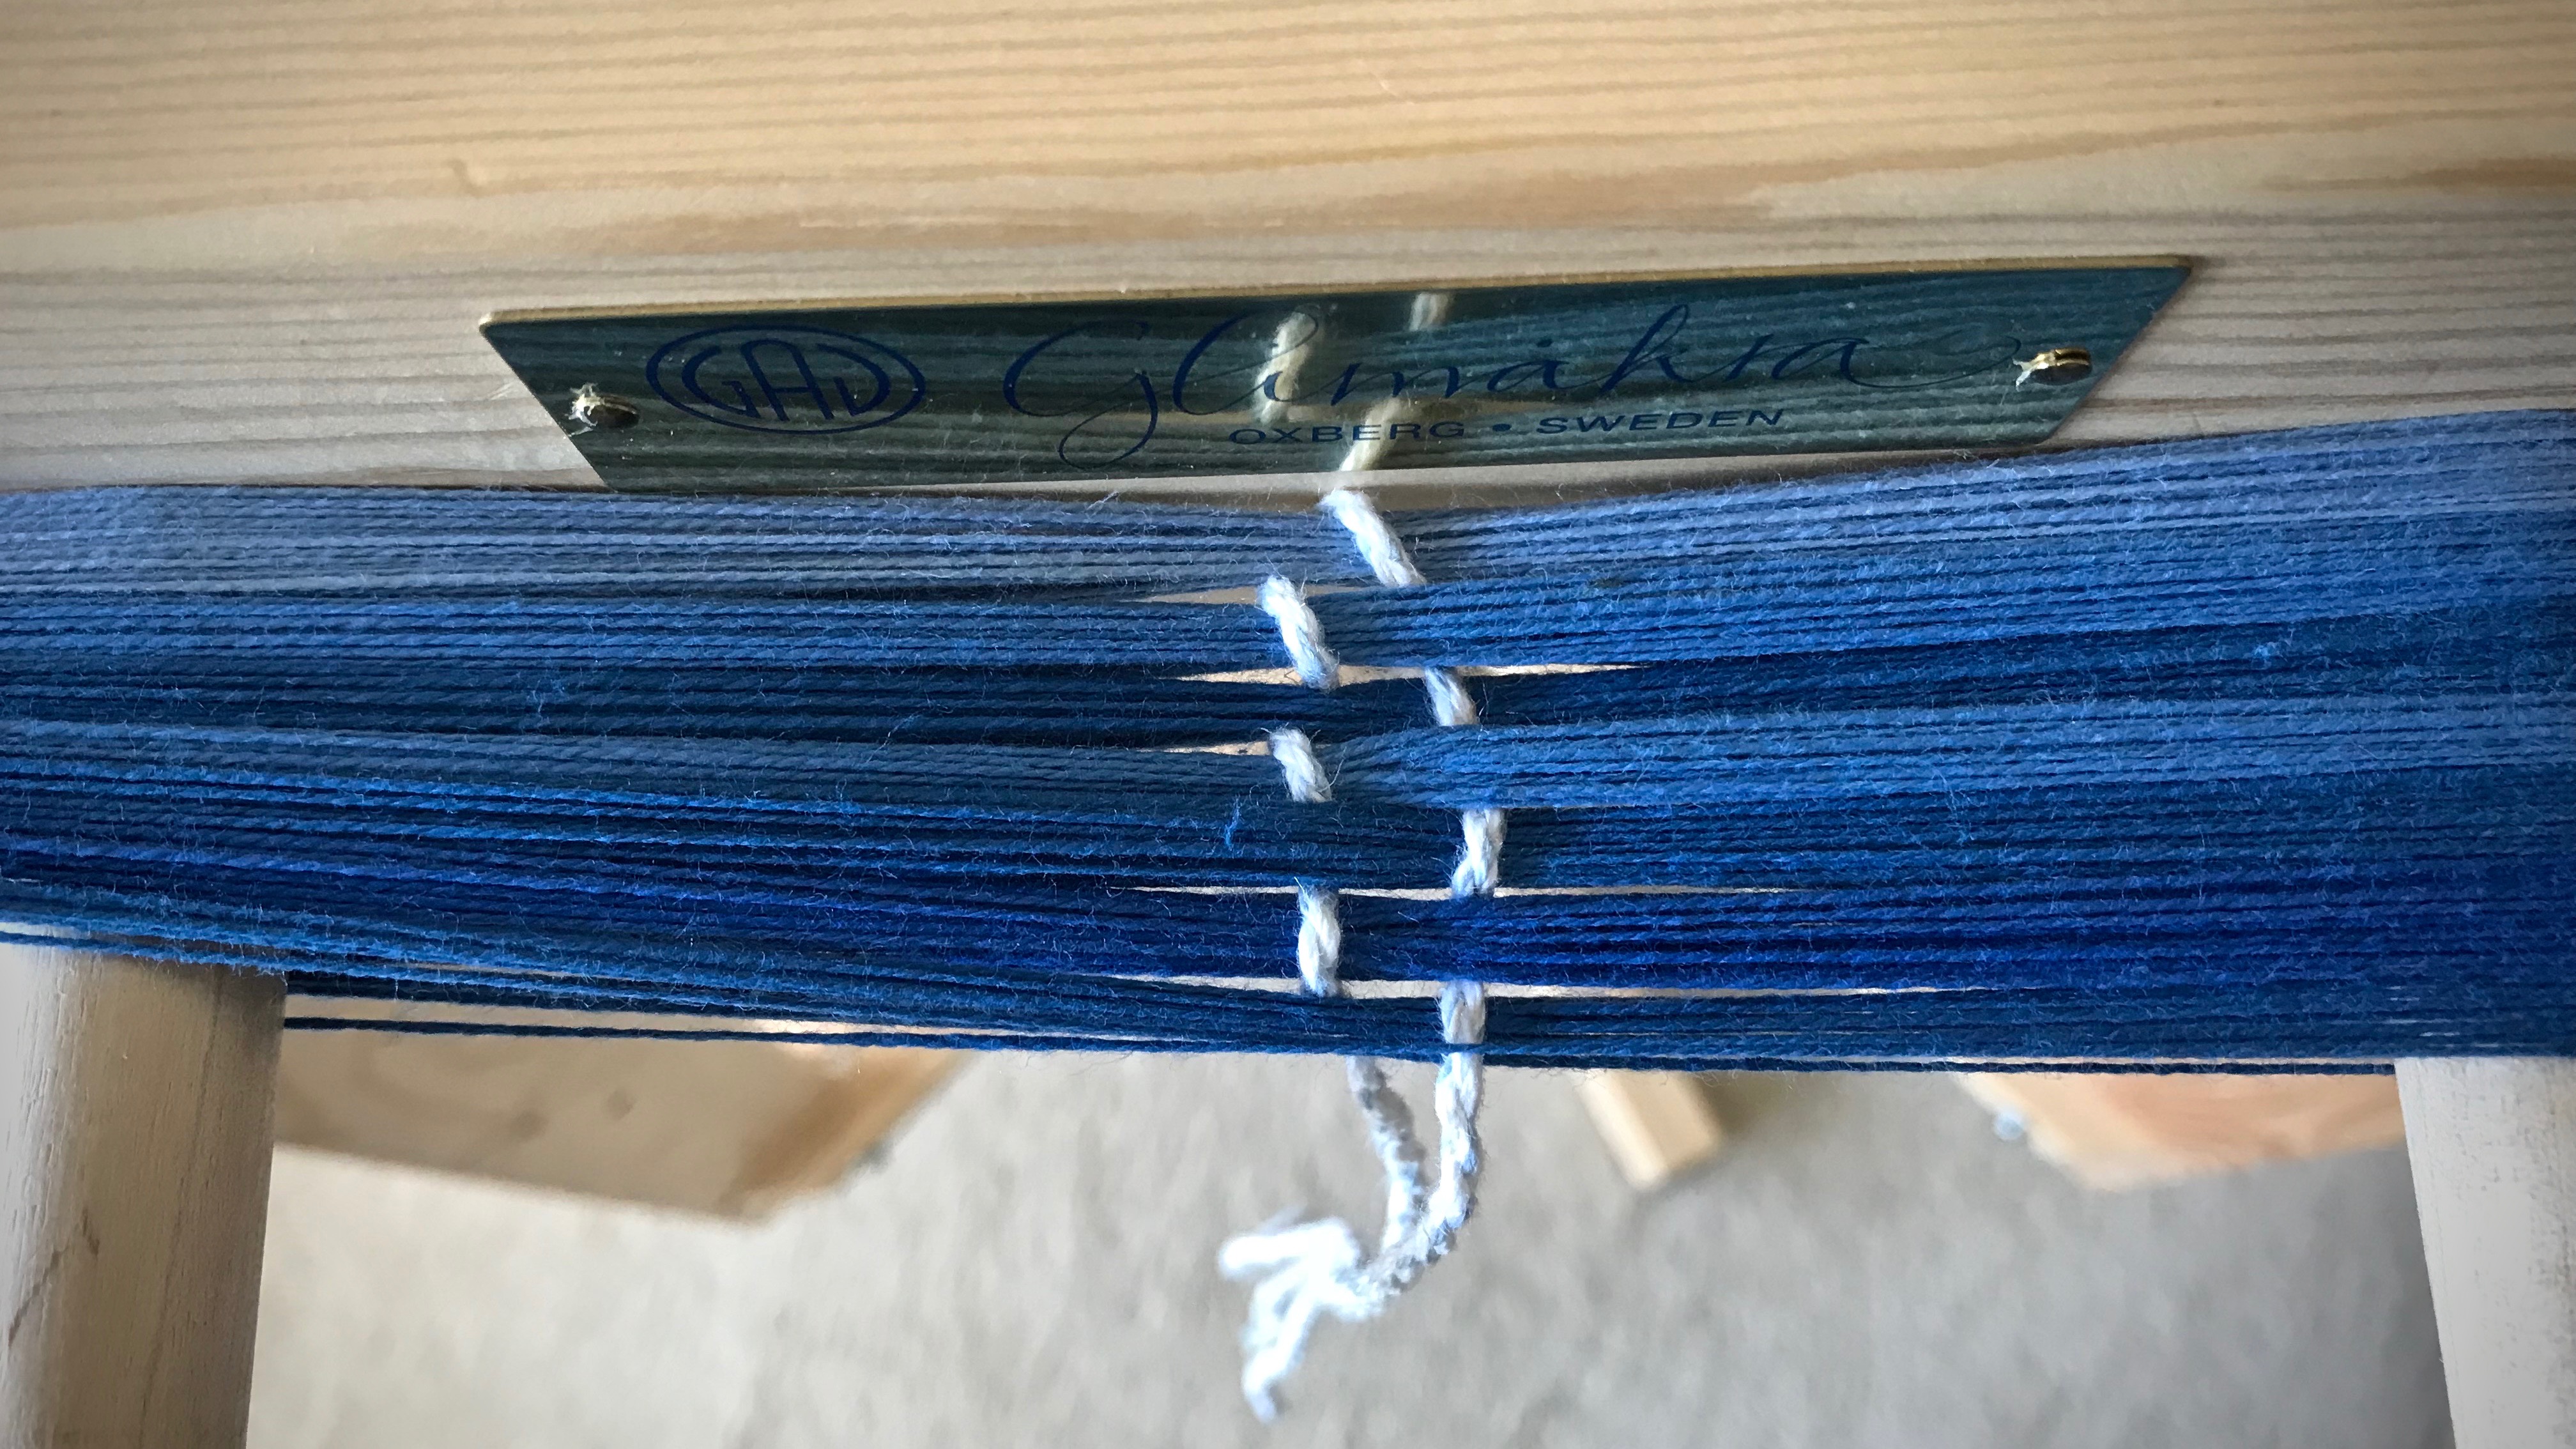
I stop after winding each section. I do the counting at the cross, always counting twice. A long twisted cord (one of my choke ties) marks my place, section by section. The count needs to be an exact match, of course, with the number of ends in the pattern draft.
Long twisted cord helps keep track of how many ends have been counted.After the warp is beamed, each section is counted again to prepare for threading the loom.
The Christmas season reminds us that Jesus brought grace to earth. From manger to cross. The grace of the Lord Jesus is perfectly complete. Like a planned warp, there is nothing more to add. All the threads have been counted. And they match the divine plan. Any threads of my own effort would be threads that don’t belong. The grace of forgiveness comes purely as a gift.