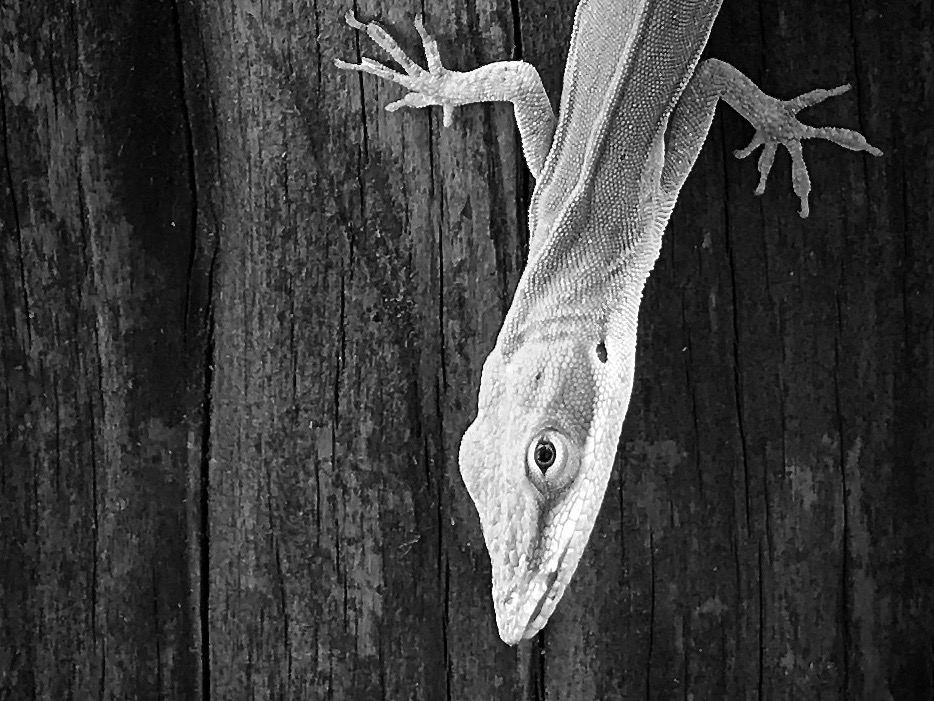
Some things are better seen without color. Hence, an enlarged version of my lizard in black and white. Variances in value are not as easily discerned in the full-color print. These subtle value distinctions bring realism to the lizard tapestry. For this reason, I sort all the yarn into small groups of color and value, which clarifies my choices for each wool butterfly.
Lizard portrait in black and white shows nuances in color value.
Yarn Sorting Process:
1. Select yarn colors for the tapestry.
2. Group like colors together.
Wool yarn, much of which has been accumulated from previous projects.
For each color group (I have seven color groups):
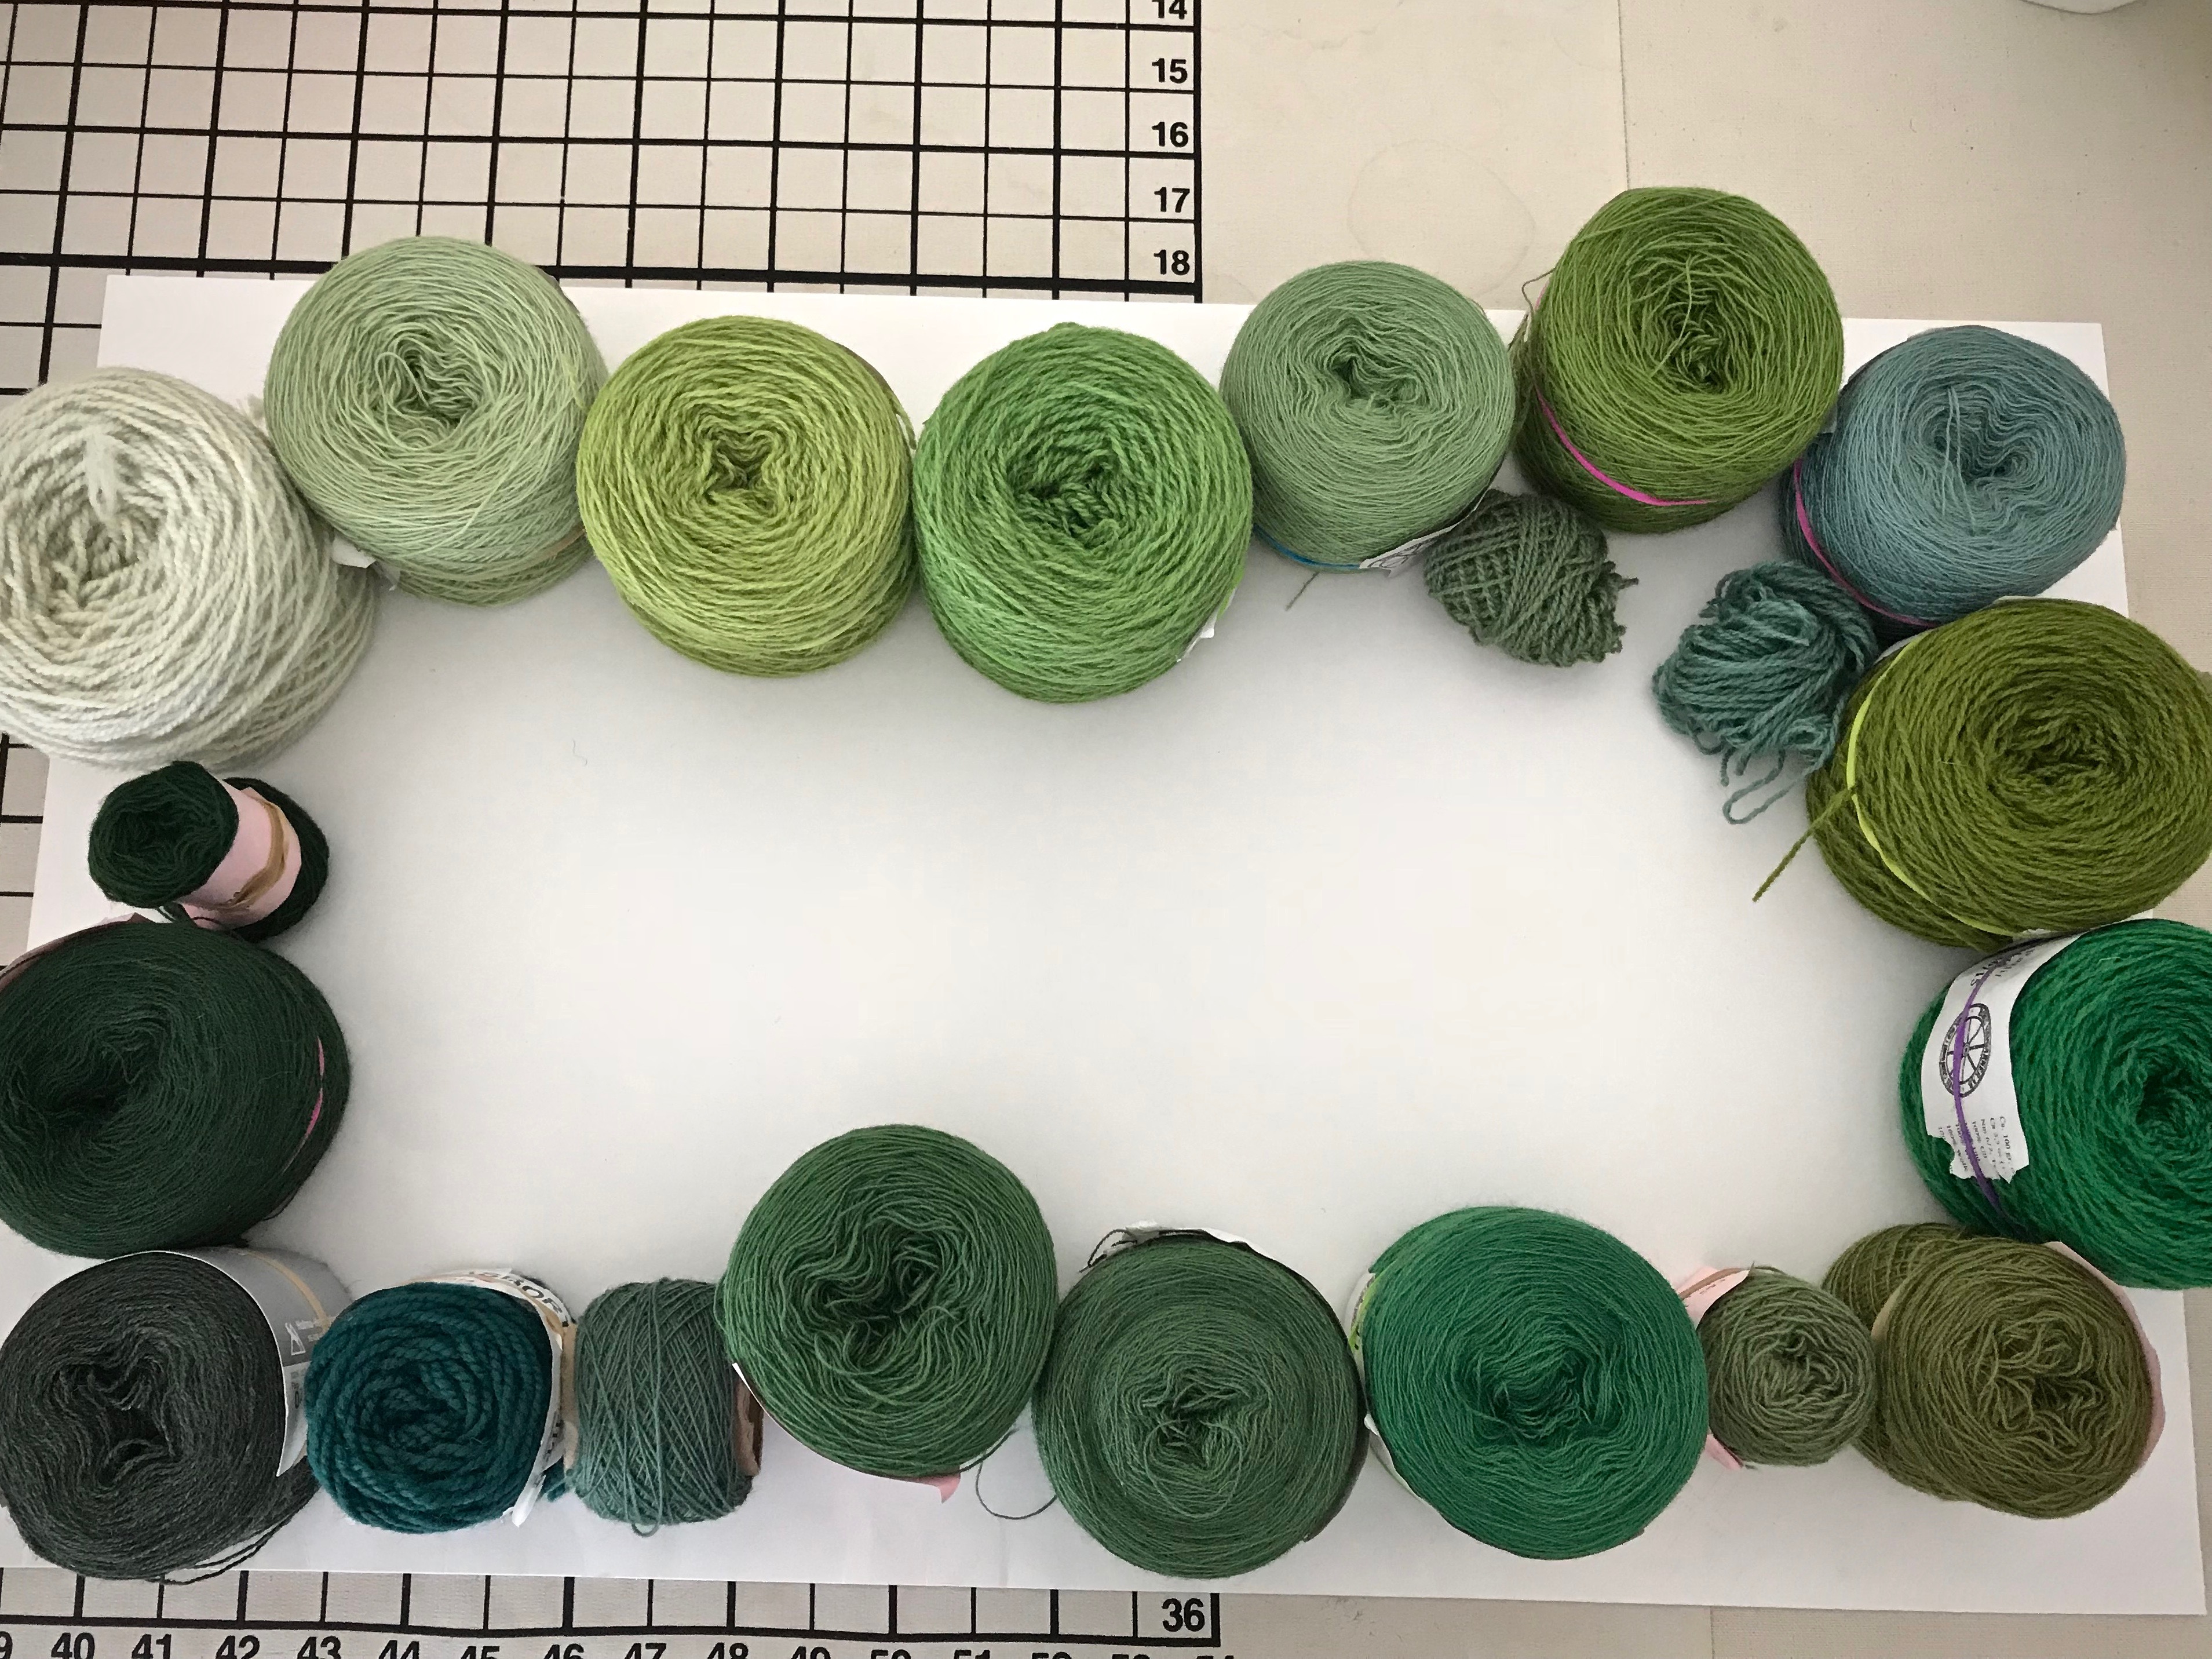
1. Arrange yarn on a white background in value order, from light to dark. Take a picture.
Green, from light to dark.
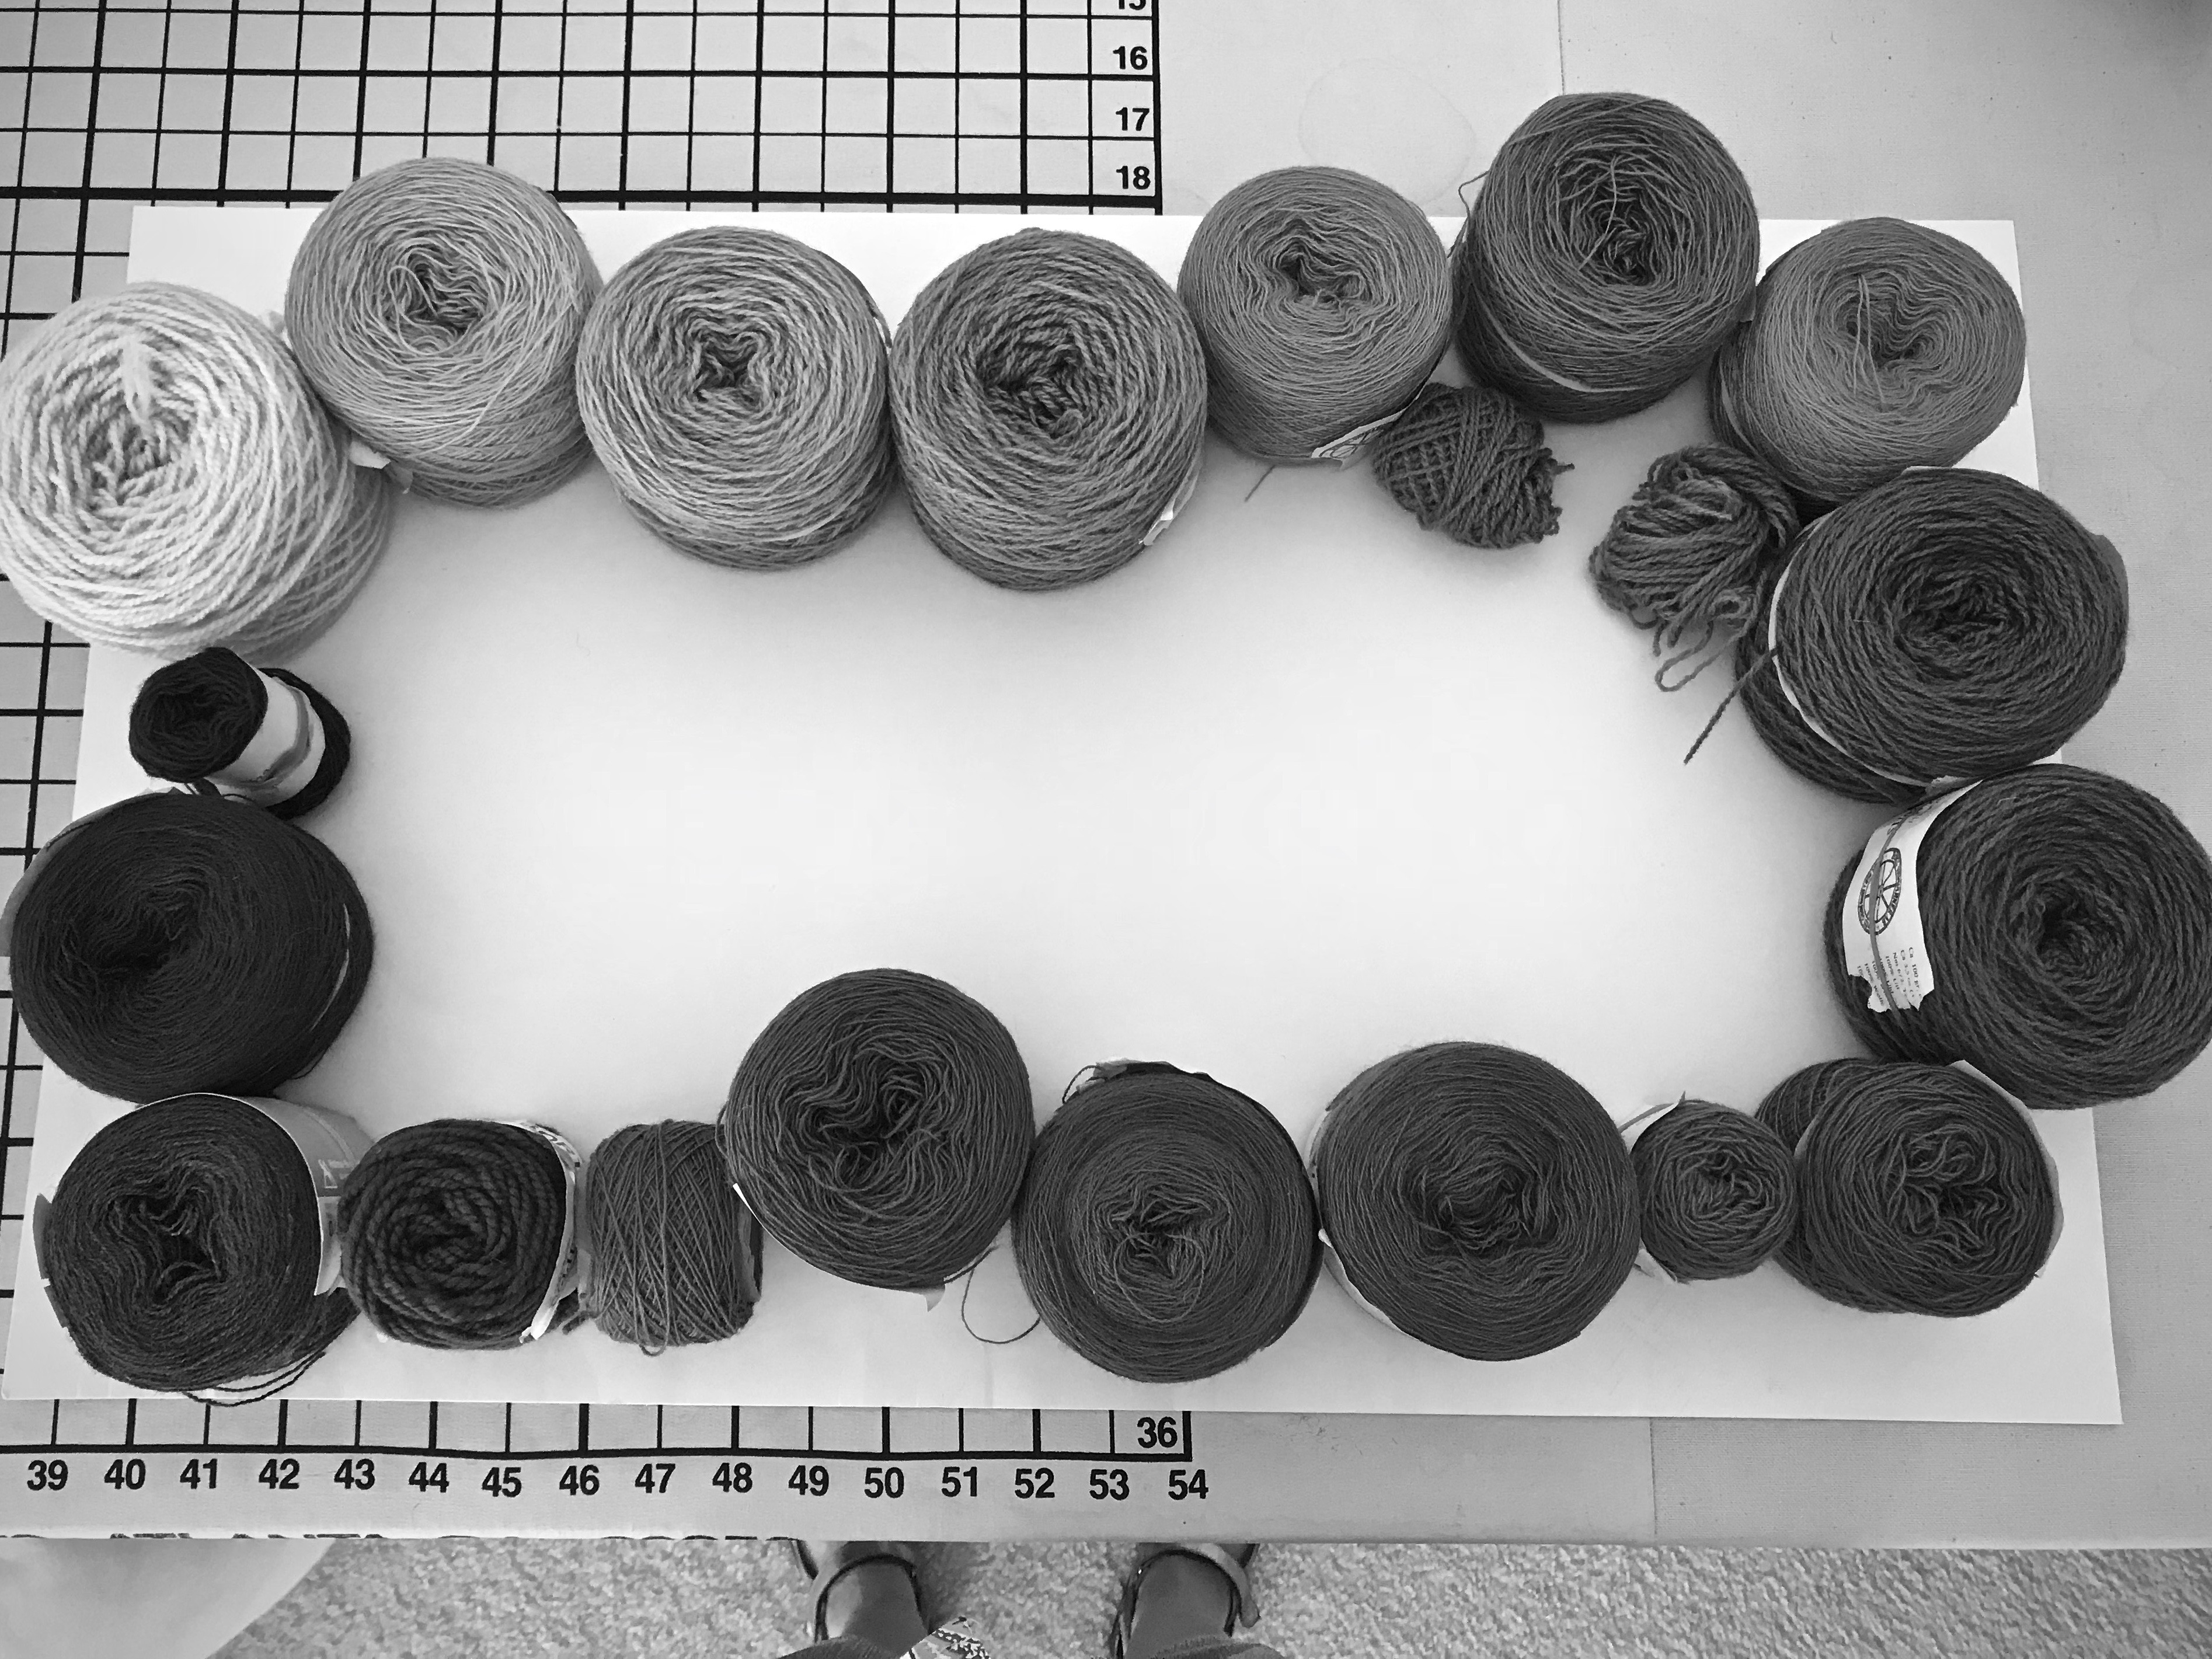
2. Take another picture using the smart phone black and white setting (“Noir” in the filters on my iPhone).
Photo shows that a couple adjustments are needed for the yarn-value order.
3. Adjust yarn to make value order corrections.
Adjustments made.
4. Divide the yarn into three value sections. 1. light, 2. medium, 3. dark.
5. Label baskets to hold each yarn section; i.e., “G 3” for green, dark.
The preparation for a project like this is immense. And tedious. But this is a weaving adventure. Indeed, the results may very well be astounding. That’s my hope.
Little baskets of yarn next to the loom, sorted by color and value.
Life itself is a full color project. Immense and tedious. Rise above these earthly things. Our Grand Weaver sees the value distinctions that we miss with our natural eye. What hope this gives! Trusting him through this real life adventure brings assurance of astounding results. Setting my mind on these “above” things turns troubles into treasures whose values will be evident in the final real tapestry.
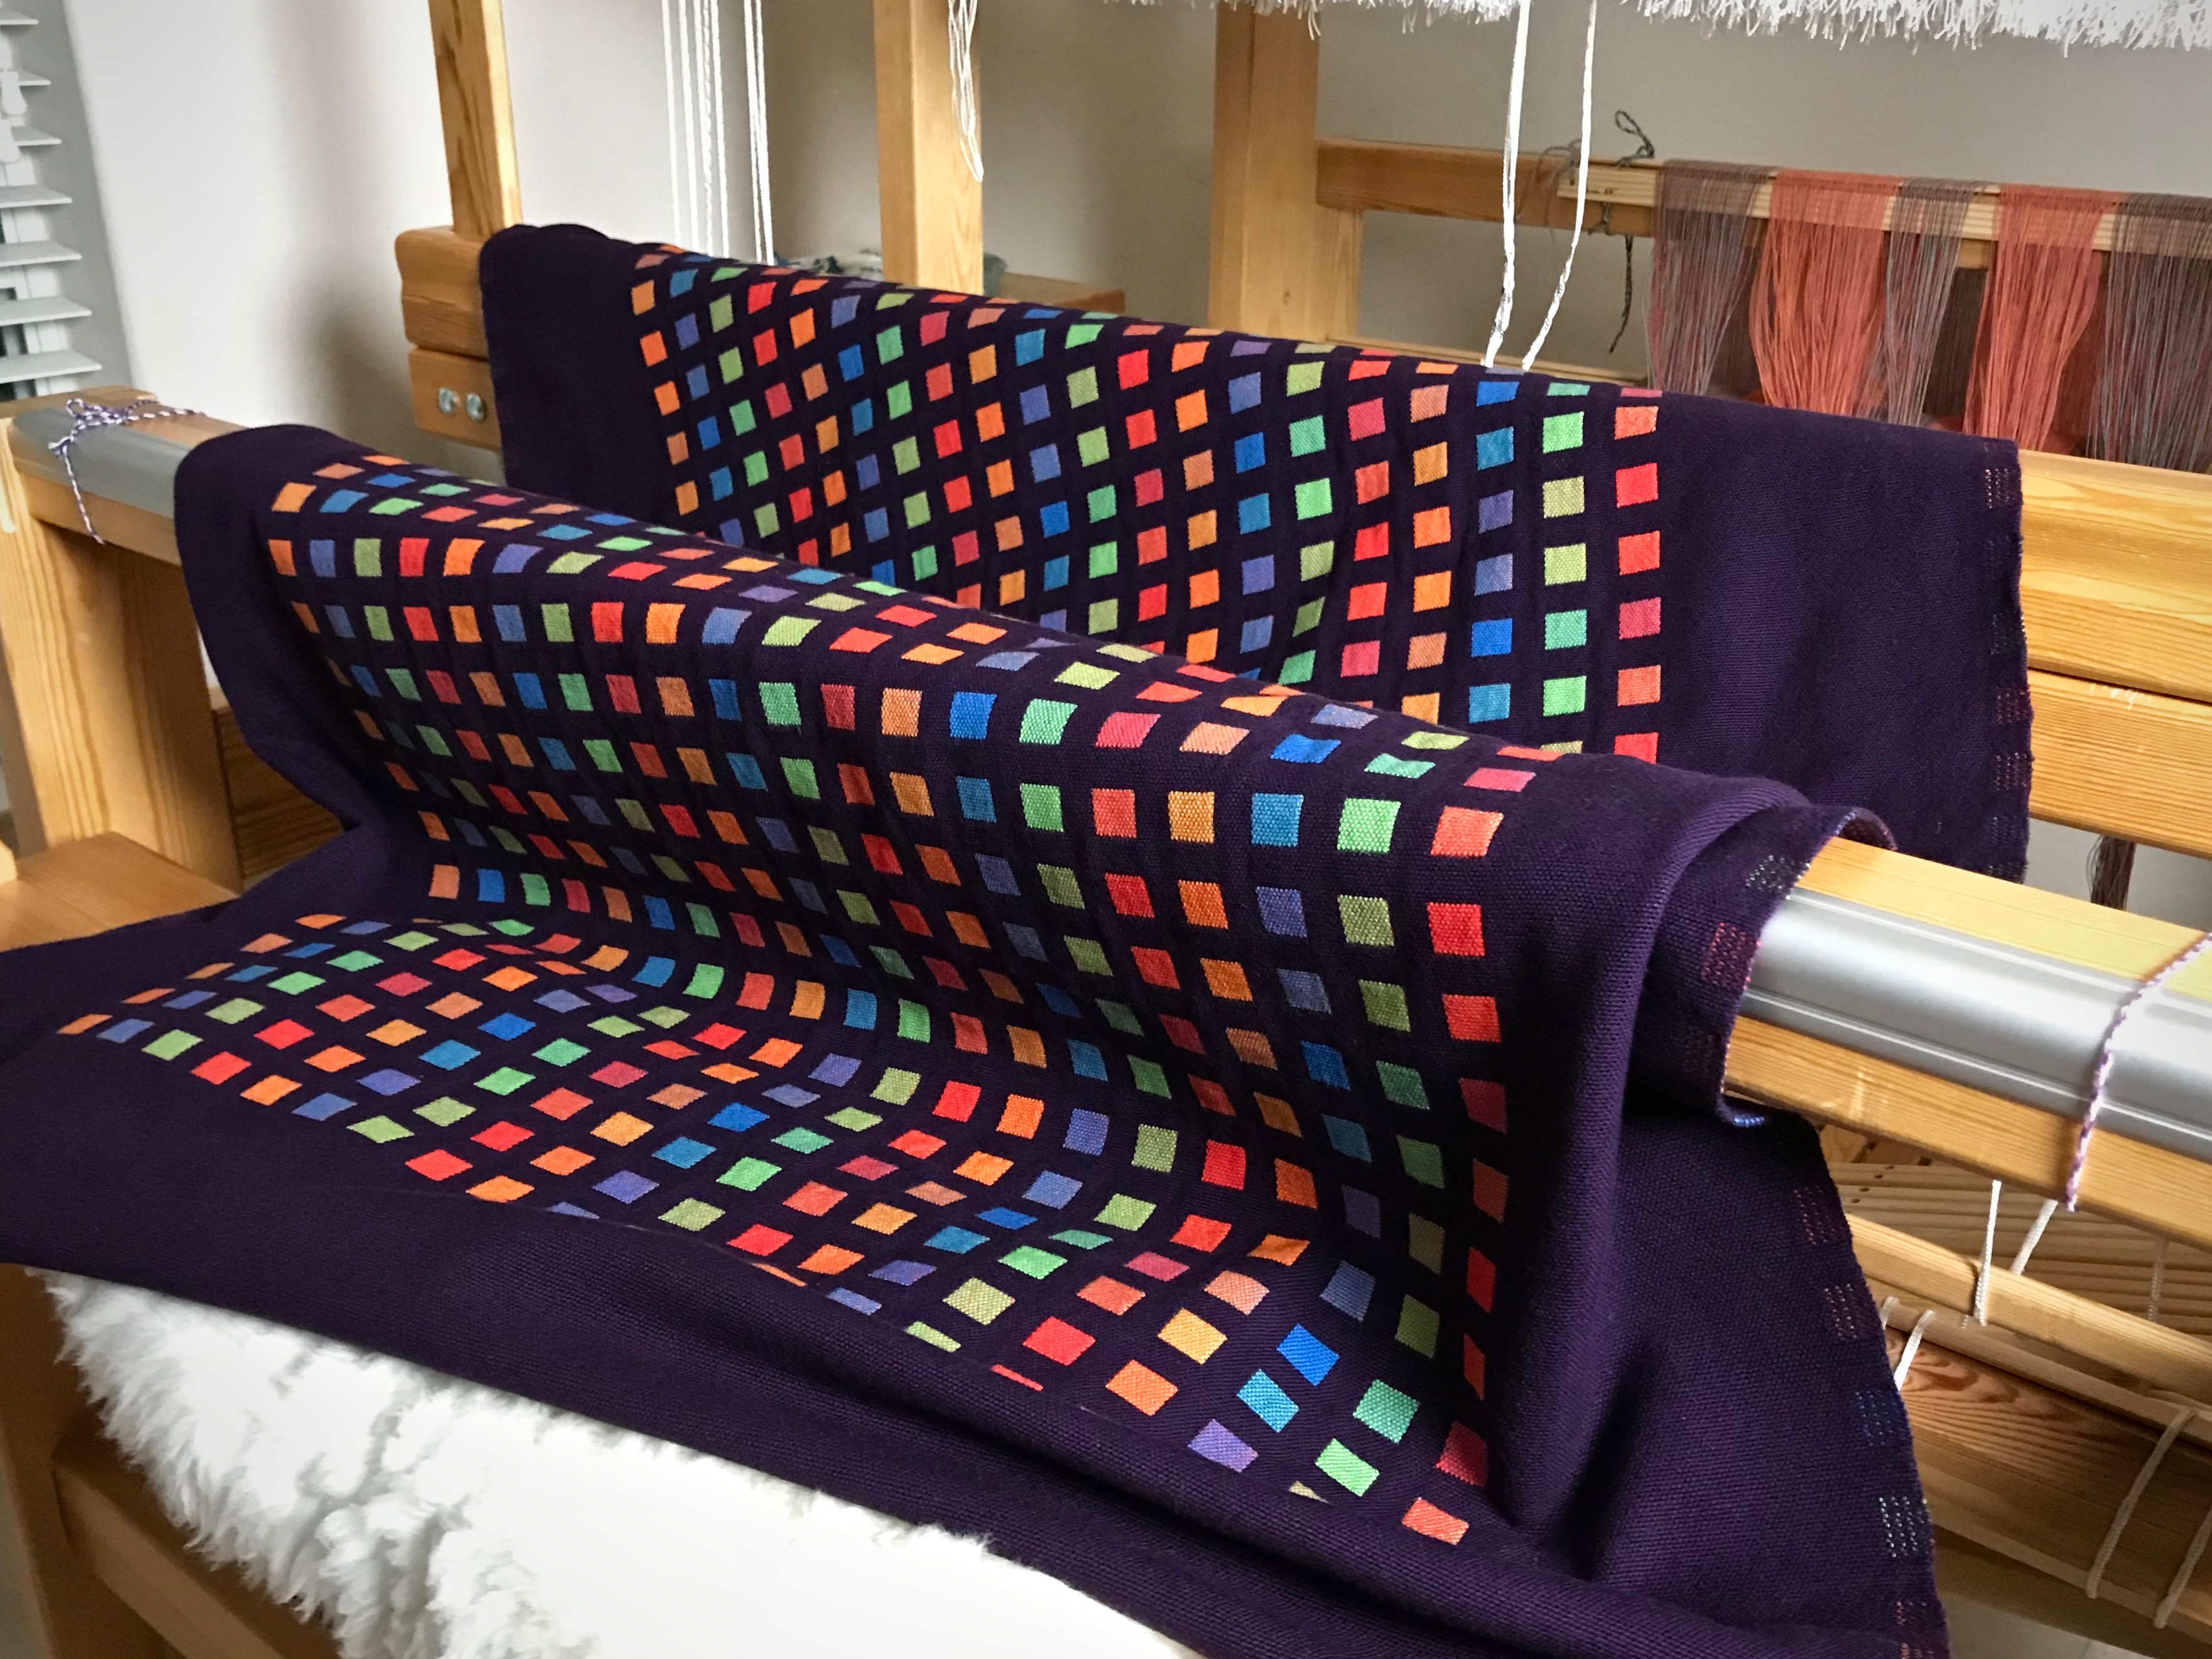
The first of my Christmas promise gifts is now complete. This large throw in vivid colors fills the request from my daughter-in-law Marie. How fitting for a mother of three exuberant little boys to wrap up on the couch in her own fabric hug of exuberant color! This colorful cotton double weave throw is Woven Radiance.
Radiance. Large cotton throw with radiant blocks of color. The warp for the next Christmas promise gift is wound and waiting on the warp beam.
Double weave, with eight shafts and eight treadles, and 2,064 ends, is a challenge. But results like this make all the effort worthwhile. My heart sings as I see these brilliant threads intersect to make sensational cloth! I am filled with amazement and gratitude that I’ve been given the opportunity to play with colorful threads on a weaving loom.
I hope you enjoy the process photos in this little slideshow video I created for you.
Alignment, security, and visibility are the main things I think about in regard to attaching and supporting the cartoon. In order to weave a tapestry this size, or any size for that matter, you need a good way to manage the cartoon. My cartoon is drawn onto a thin Pellon product (Pellon 830 Easy Pattern, 45″ wide) that is meant for pattern making. This material is easy to pin, doesn’t tear, and only barely wrinkles.
Alignment Align center of cartoon to center of warp.
A blue dashed line from top to bottom of the cartoon marks the center. I also have a pencil mark on the exact center of my beater. When the blue line on the cartoon is perfectly aligned with the center warp end, as seen from the mark on the beater, I know my cartoon is in the correct position.
Pencil mark on the beater is above the center warpend.
Security
Pin the cartoon in two places on each side of the woven tapestry.
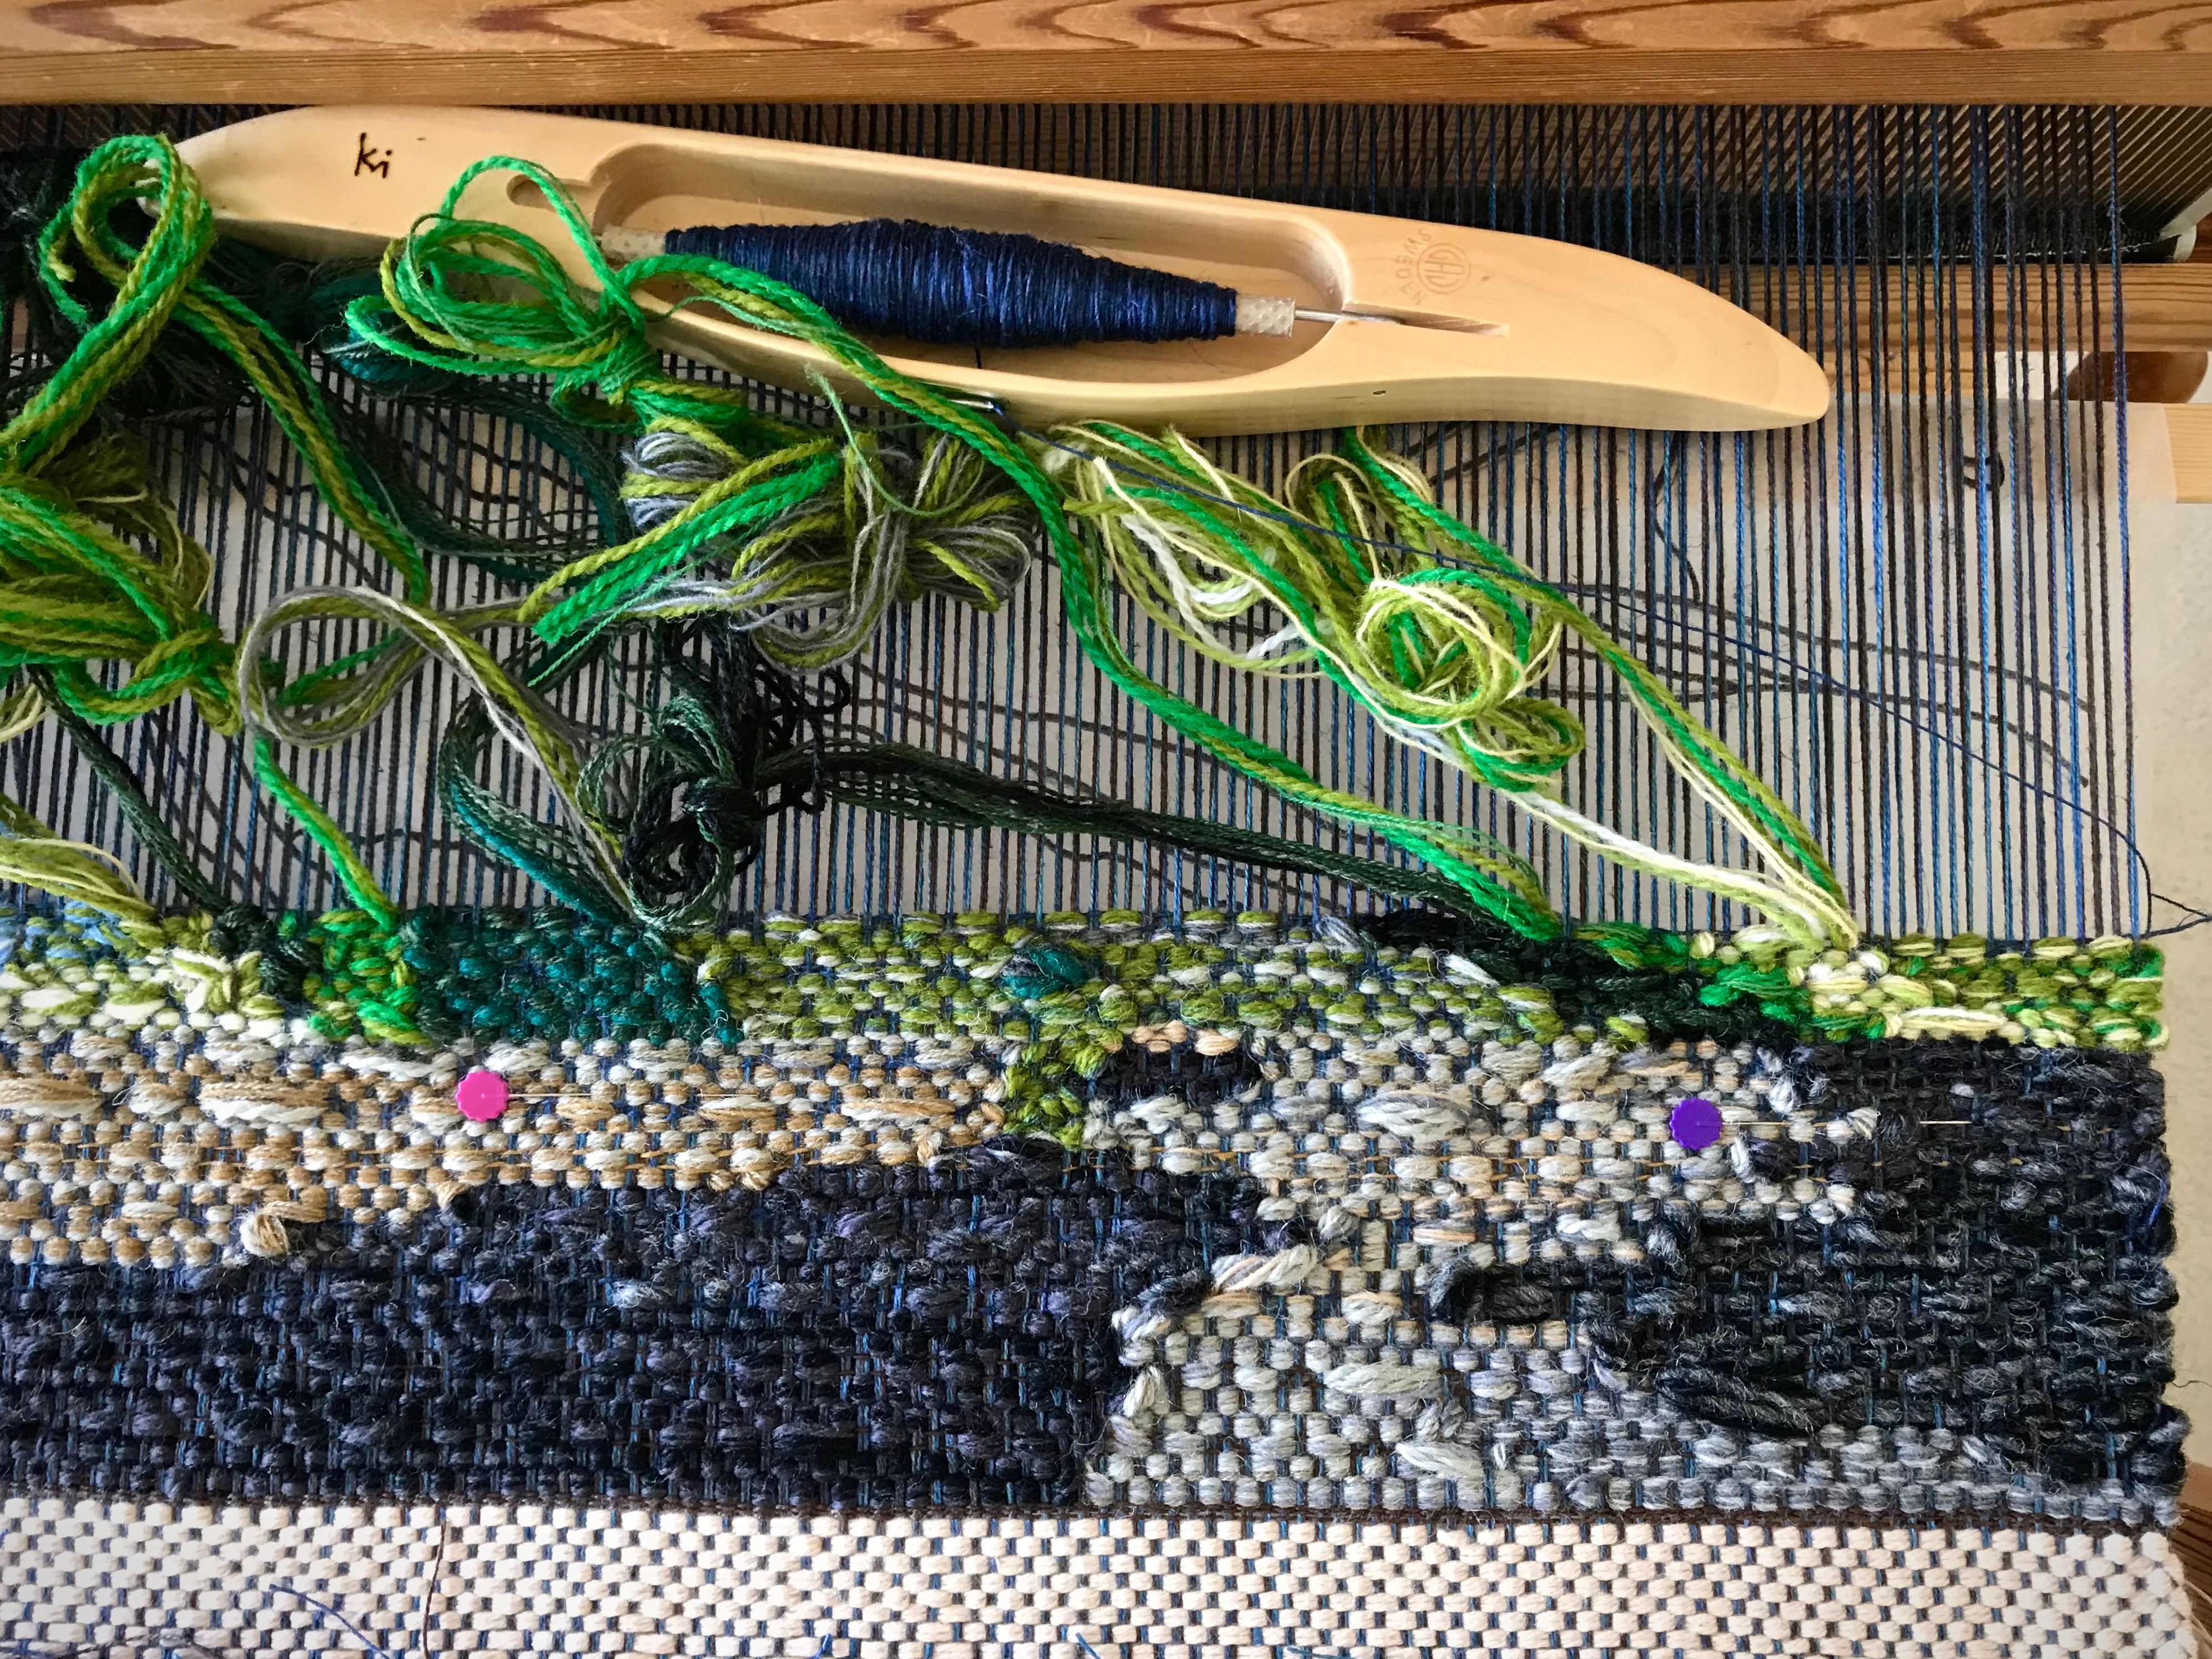
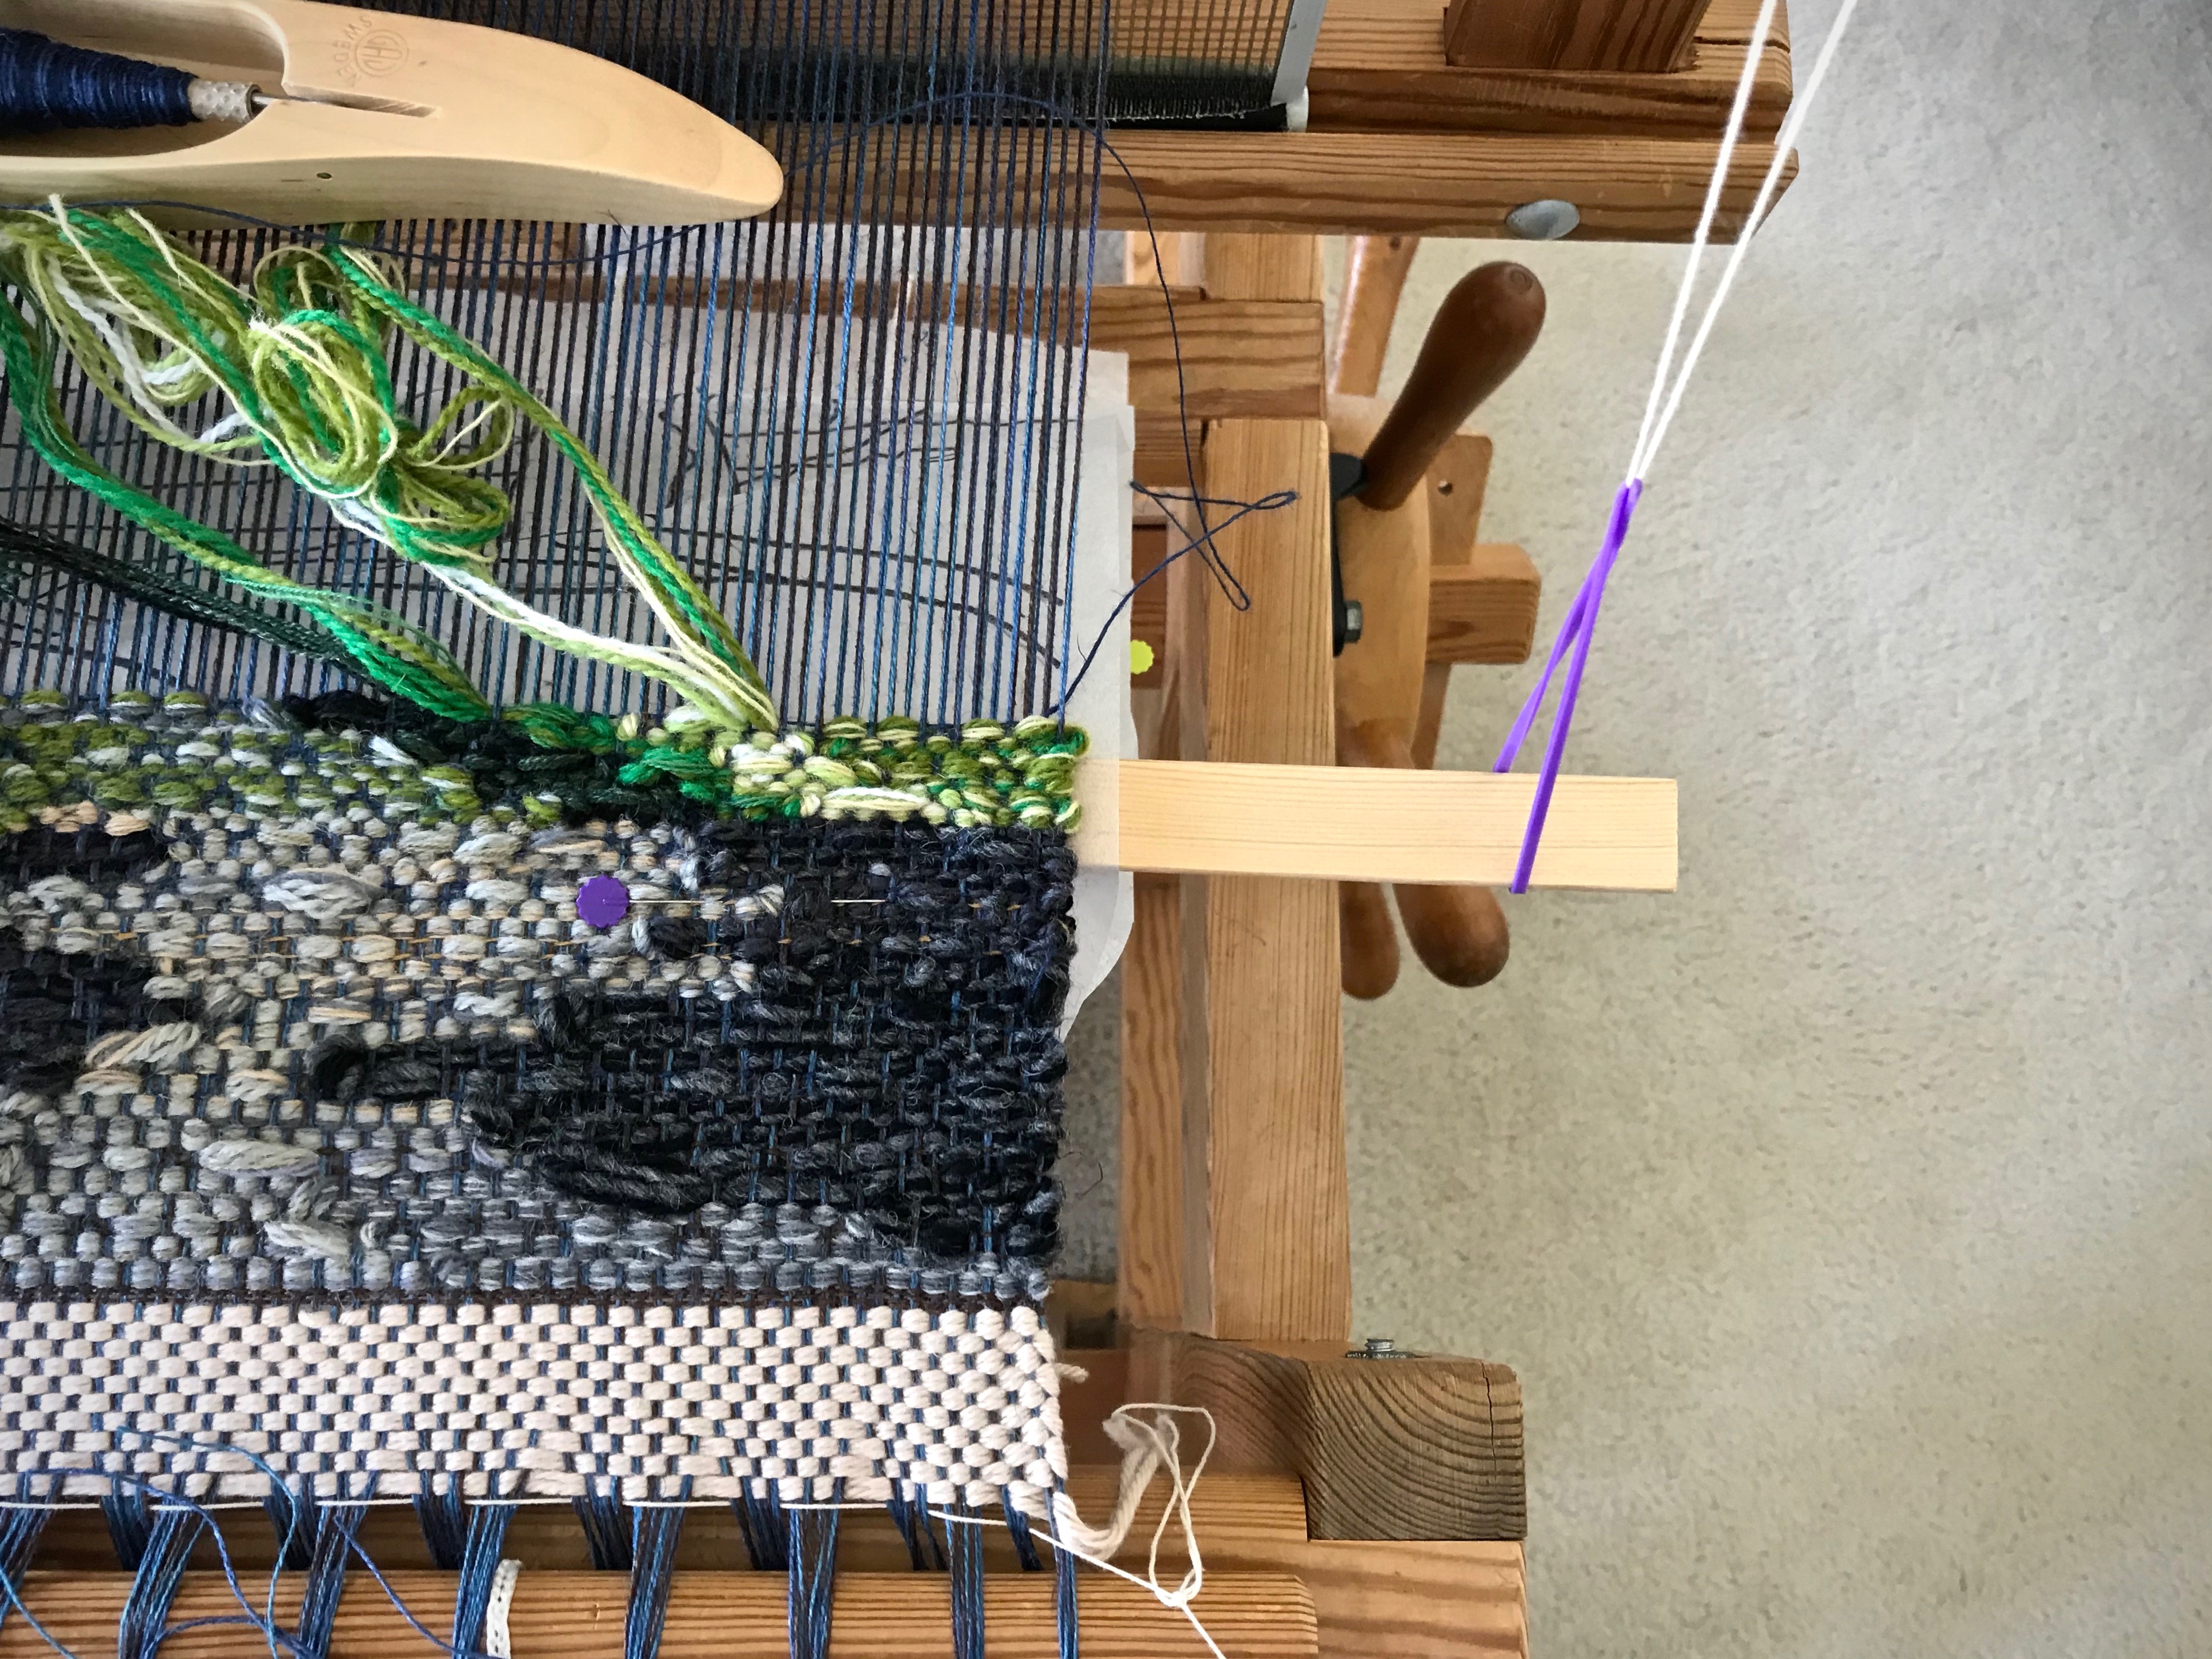
This warp is too wide for me to reach all the way to pin the cartoon in the center. So, on both sides of the weaving I place one flathead pin near the selvedge, and another one as far as I can comfortably reach toward the center. I move the pins forward each time I am ready to advance the warp.
Two flat-head pins hold the cartoon under the tapestry weaving on the right-hand side.
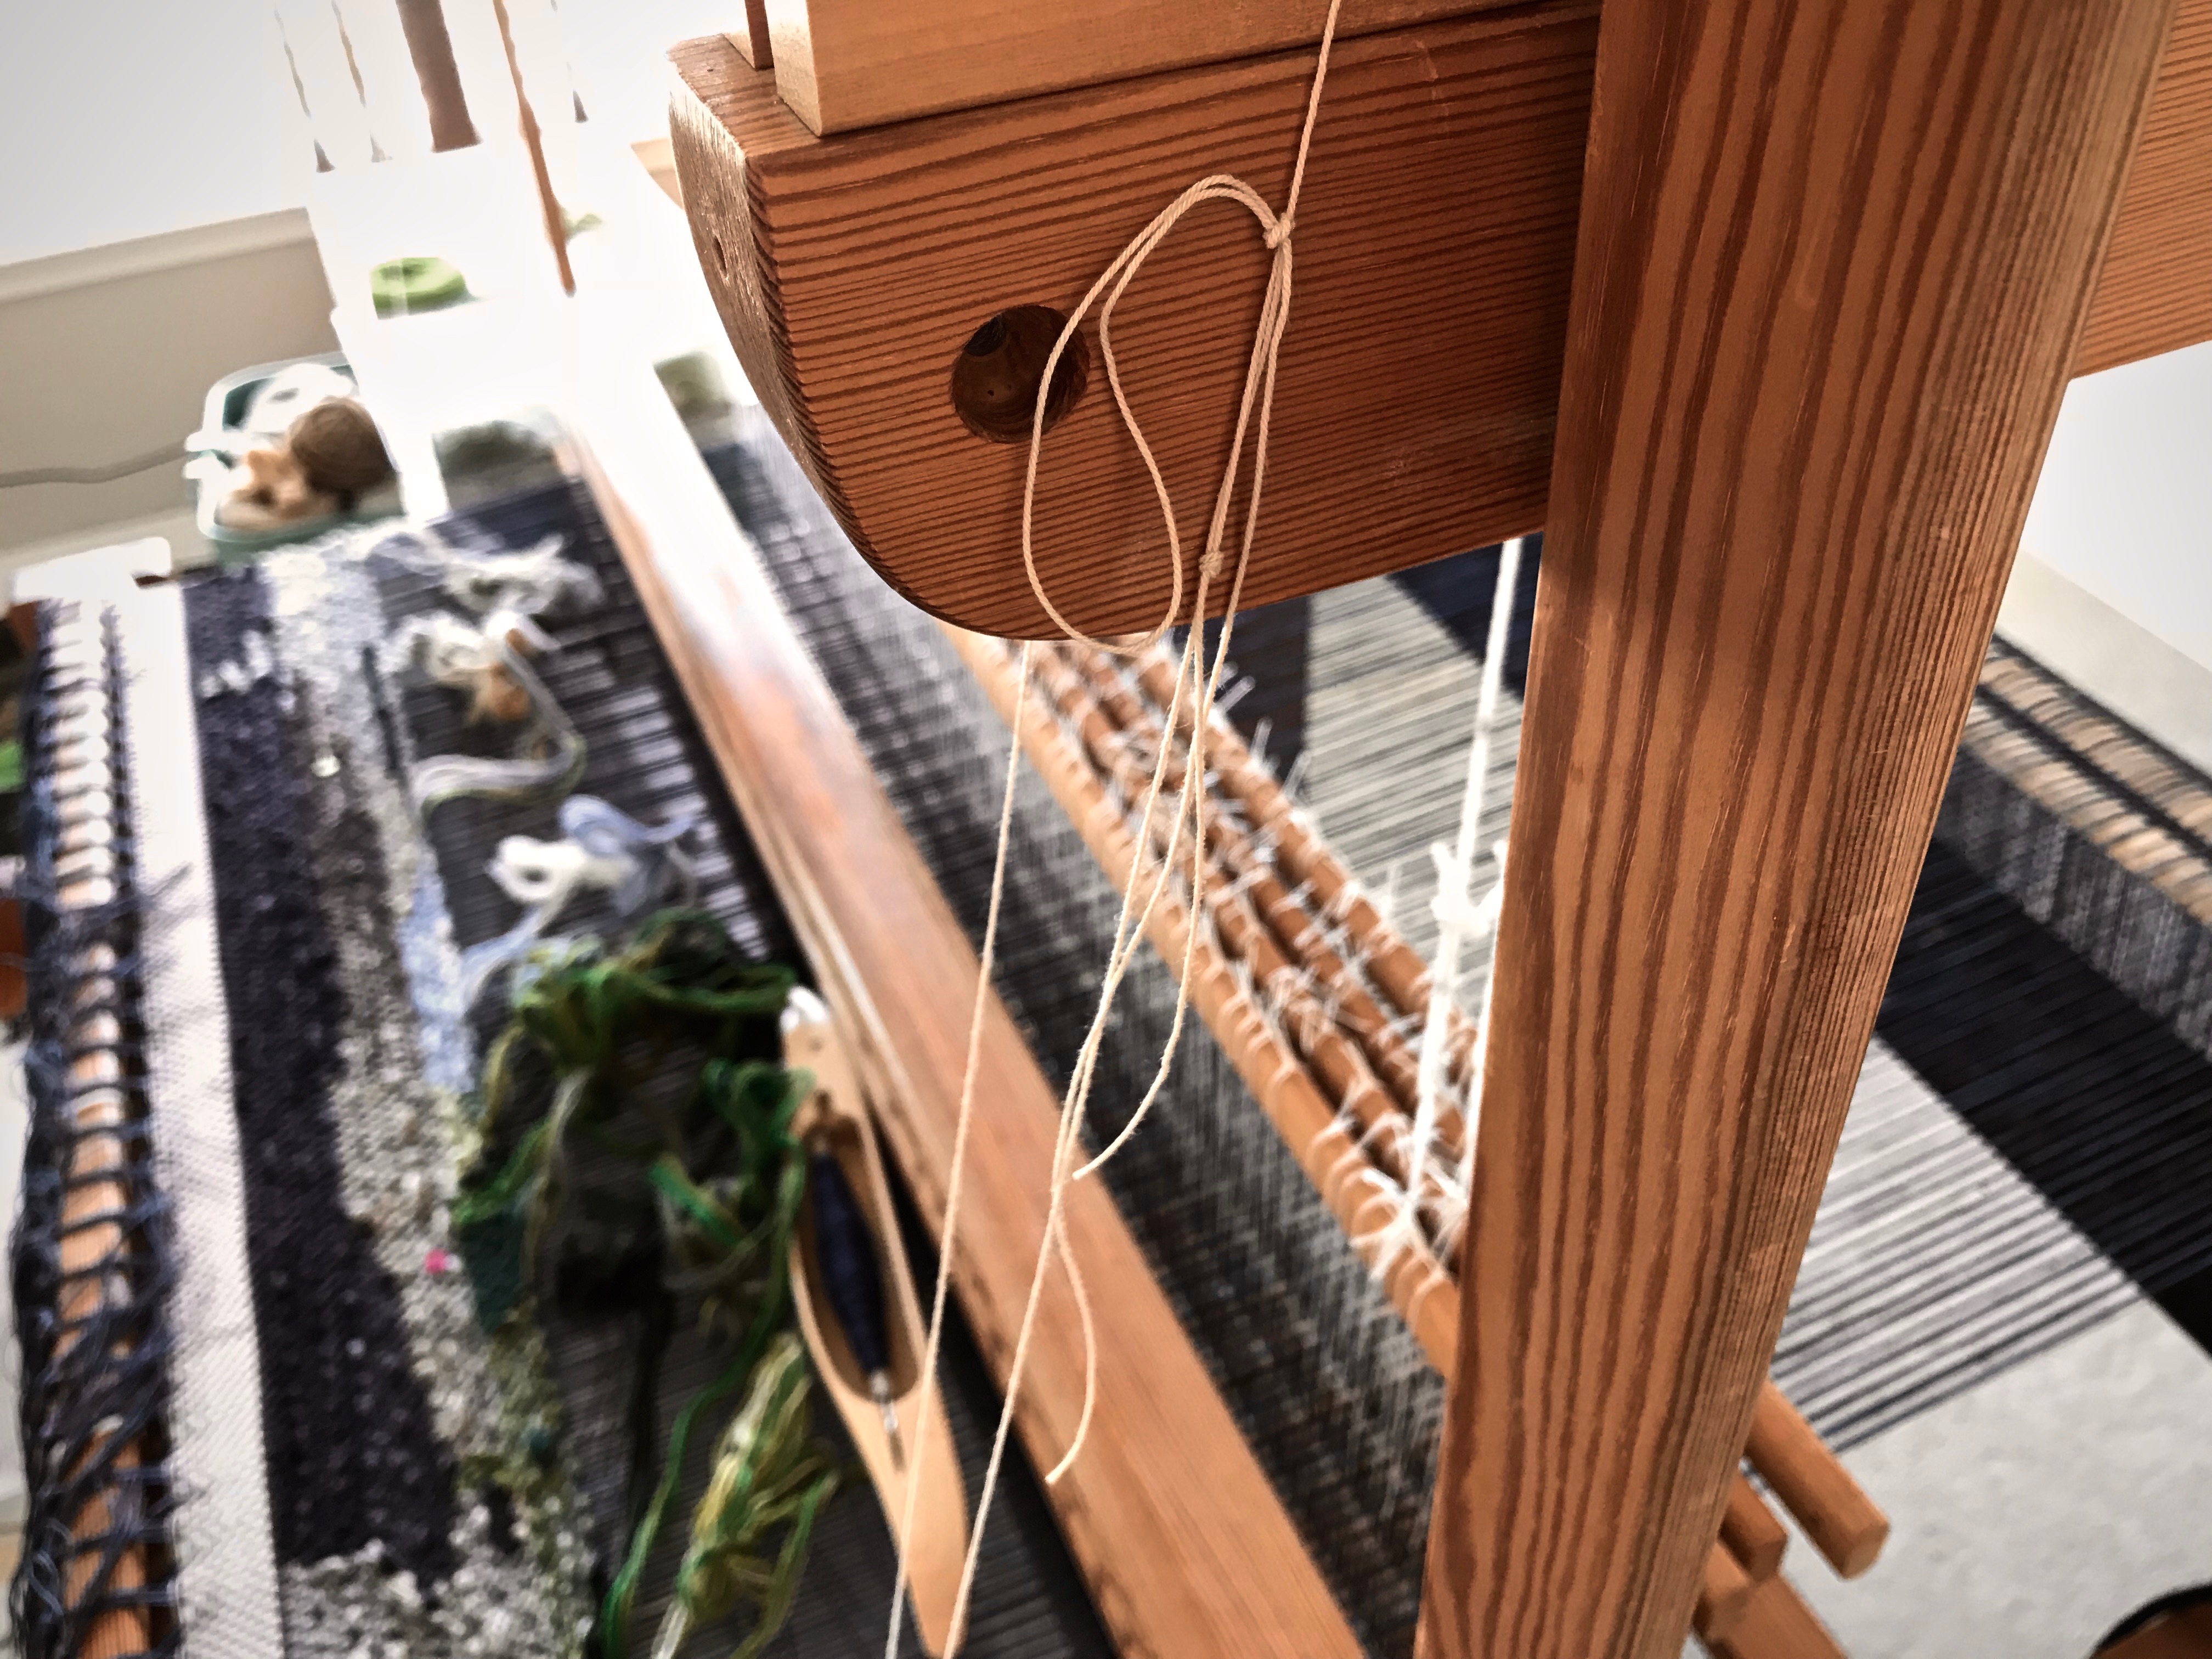
Hang a support slat under the cartoon.
I learned this from The Big Book of Weaving, by Laila Lundell, p. 239, 2008 edition. I used this method previously for a rag rug that had a cartoon for a large inlay pattern. It also works well for holding the cartoon for a woven transparency.
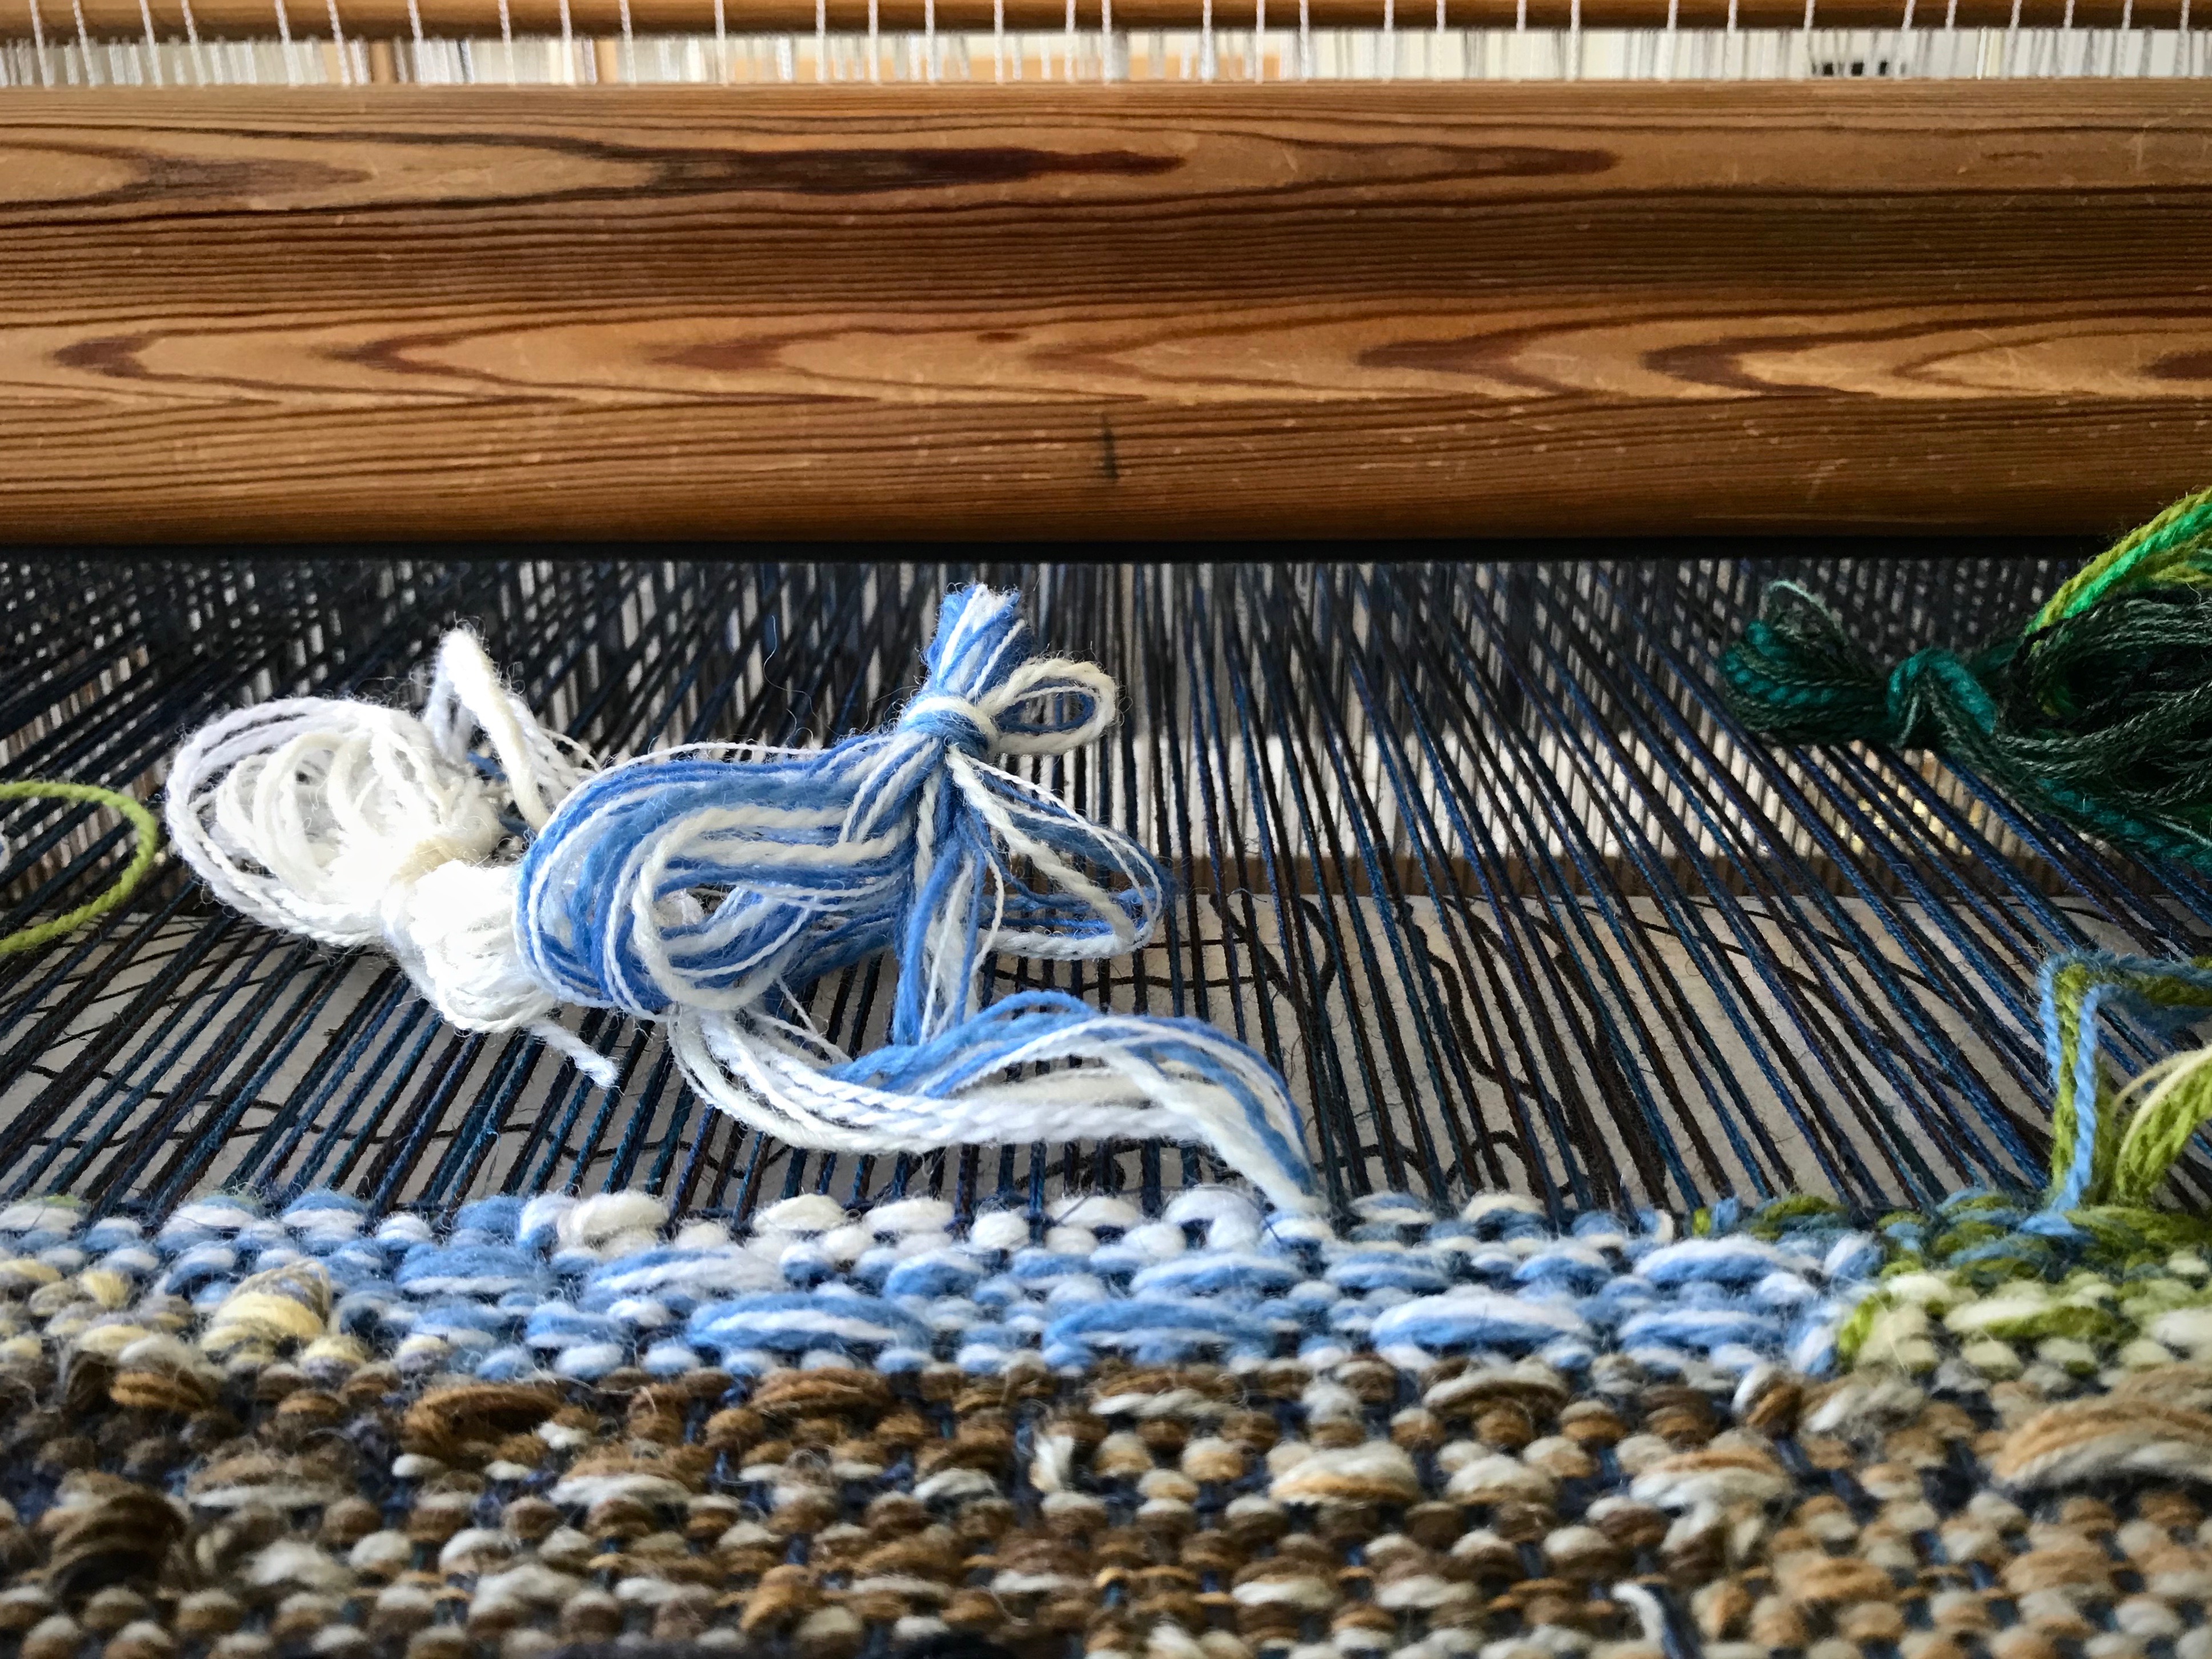
Seine twine loop with rubber band hangs from beater cradle. Slat holds cartoon up against the warp.
Supplies: 12/6 cotton seine twine, 2 rubber bands, long warping slat
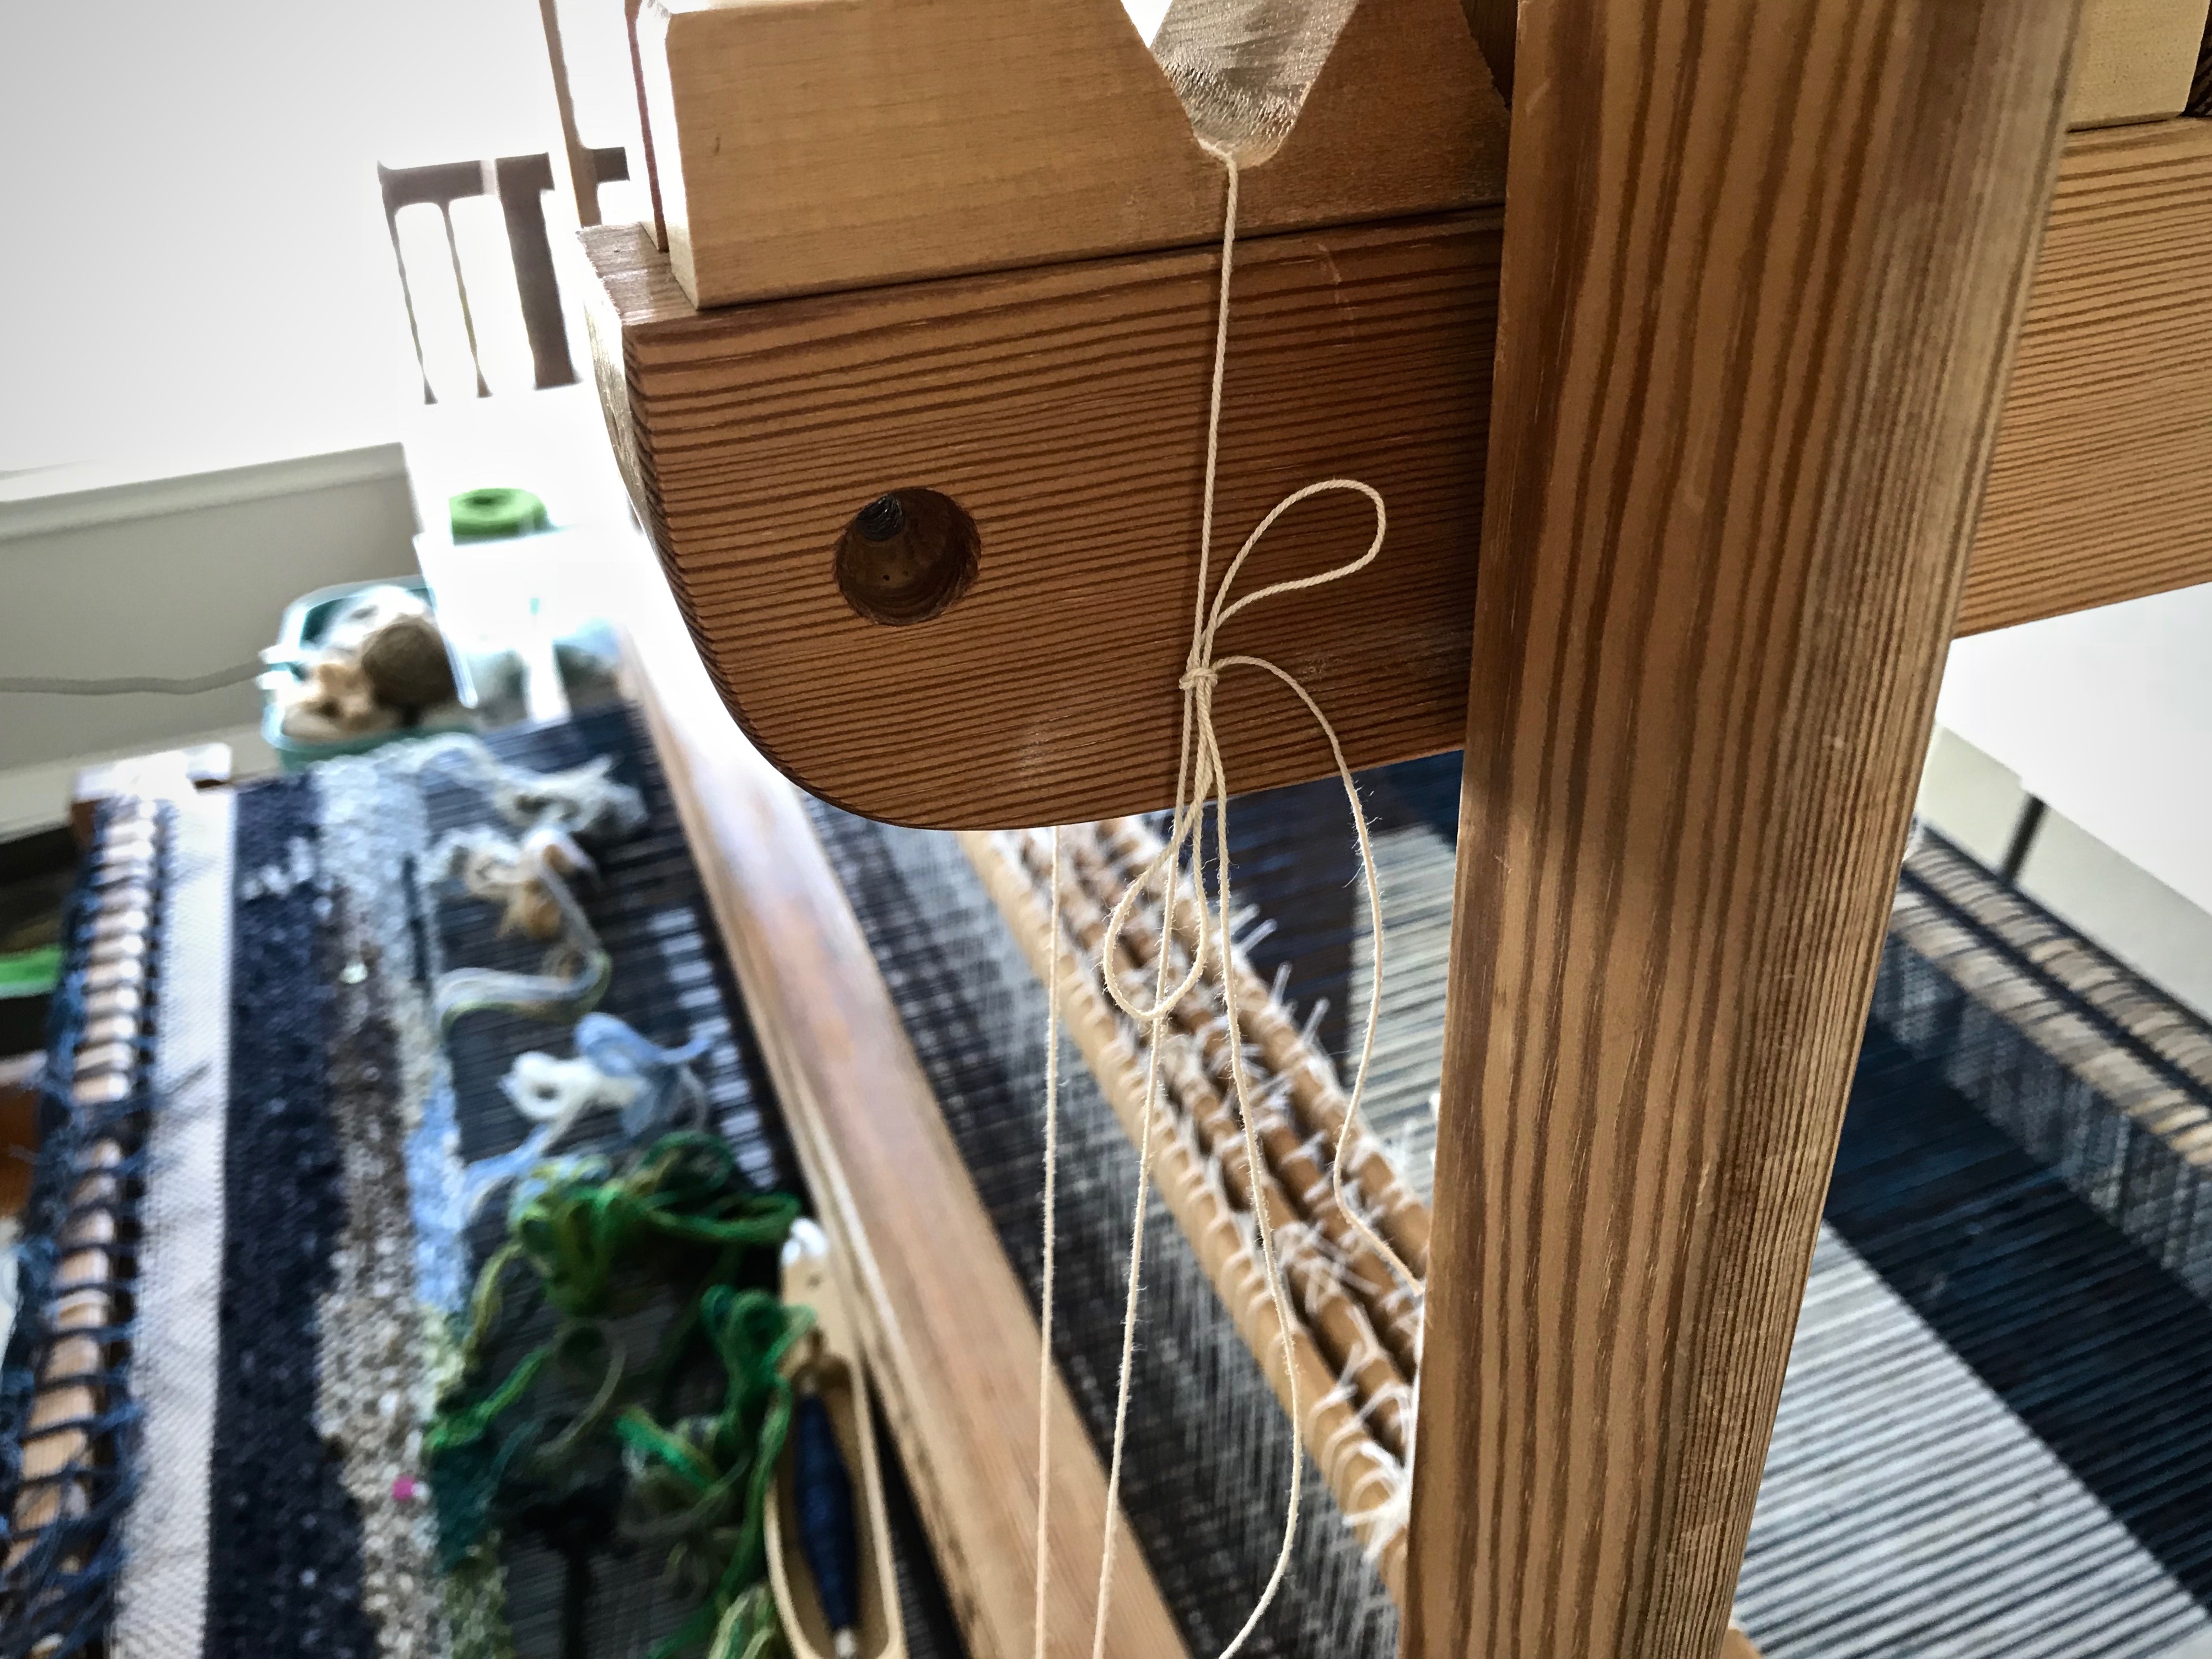
1 Make a loop with the seine twine to hang from the beater cradle to just below the warp, with a rubber band on the loop.
2 Tie the ends of the loop with a bow knot or a weaver’s tie-up knot (this useful knot is described in How to Warp Your Loom, by Joanne Hall, p. 39).
Top of loop tied in a bow knot.Weaver’s tie-up knot is perfect for this application, since it is quick and easy to undo and re-tie if repositioning is needed.
3 Make another loop the same way, with rubber band, and hang it on the other beater cradle.
4 Place the warping slat in the hanging rubber bands, underneath the cartoon.
5 Adjust the length of the loops so that the slat lightly presses up on the cartoon and the warp.
Rubber band gives flexibility to the seine twine loop that is holding up the cartoon.
Pin the rolled-up cartoon underneath.
I roll up the Pellon cartoon under the warp and pin it once on each side. As the warp and cartoon advance I can reposition the pin as needed.
Under the warp, the cartoon is loosely rolled up and pinned.
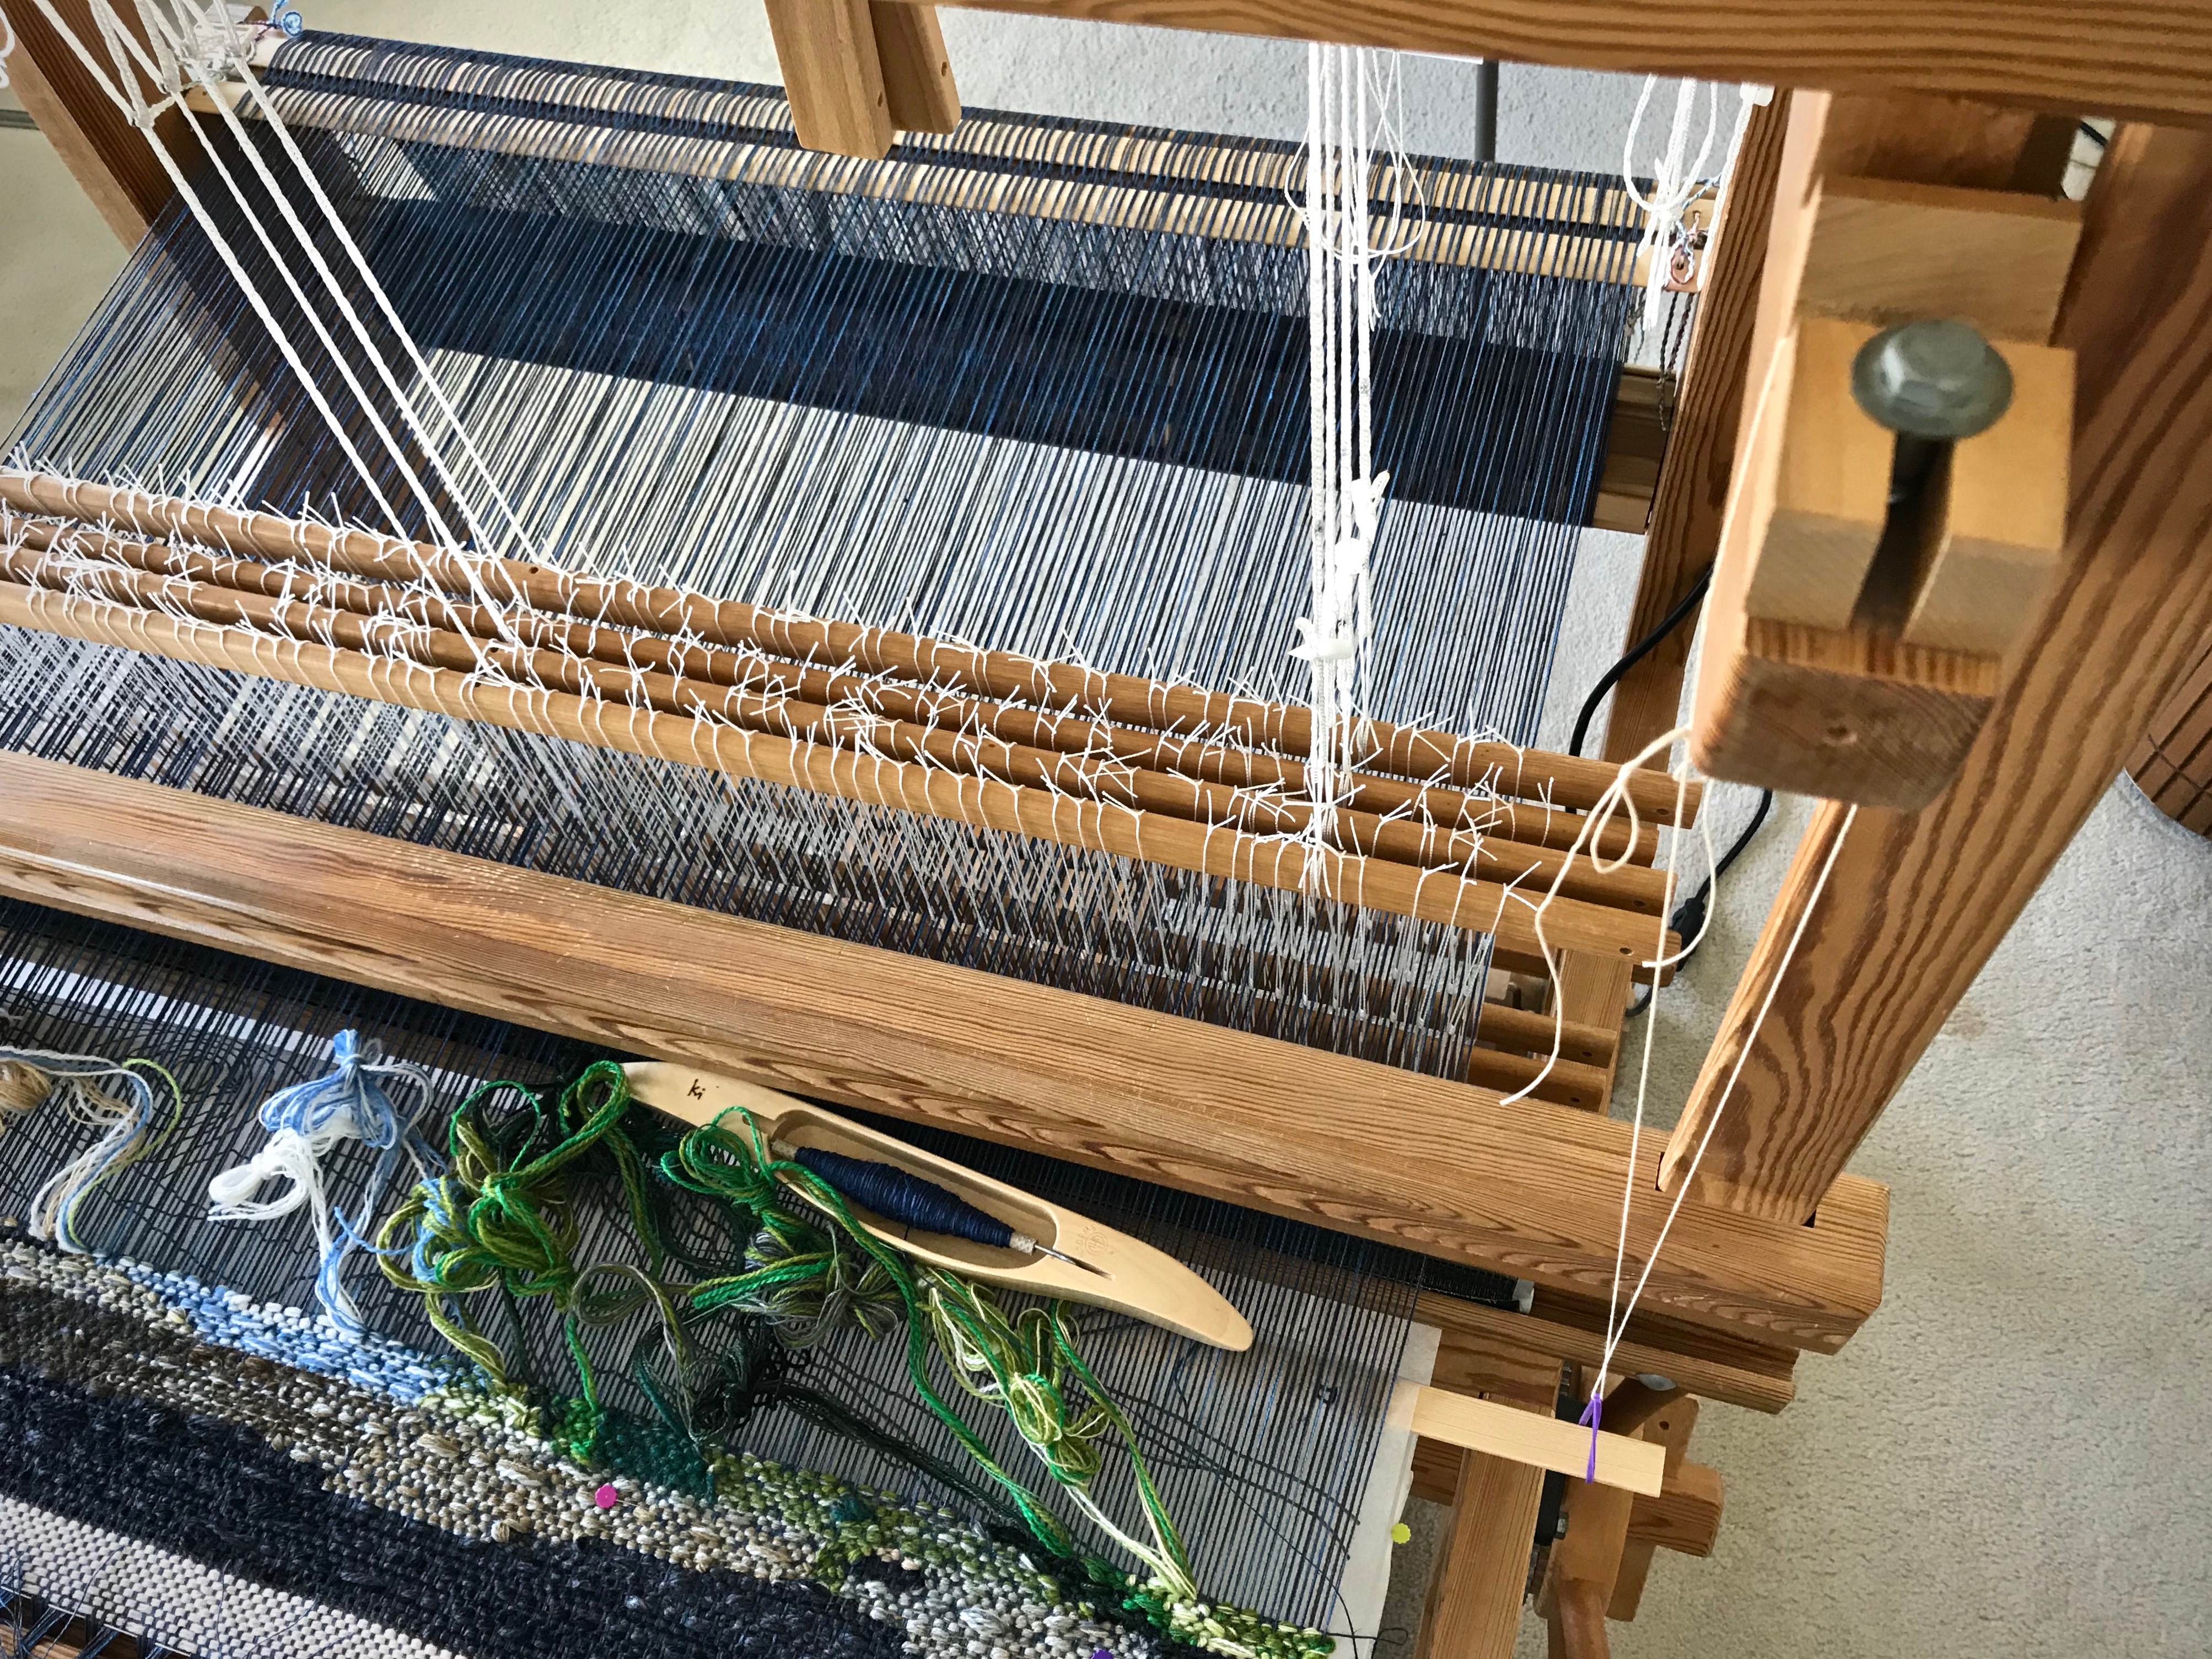
Move the slat toward the breast beam, out of the way, to beat in the weft.
Because of the rubber bands, the slat support has flexibility and does not impede the movement of the beater.
With the slat under or near the fell line, it presses the cartoon up to the warp. By doing this, I can easily see what comes next as the tapestry weaving develops row by row.
Placing the slat under the fell of the weaving raises the cartoon to visibility where it is needed most.
I wait for my ordered yarn to arrive. Meanwhile, I dream of this tapestry becoming a reality as cartoon meets wool.
May you have the alignment, security, and visibility you need.
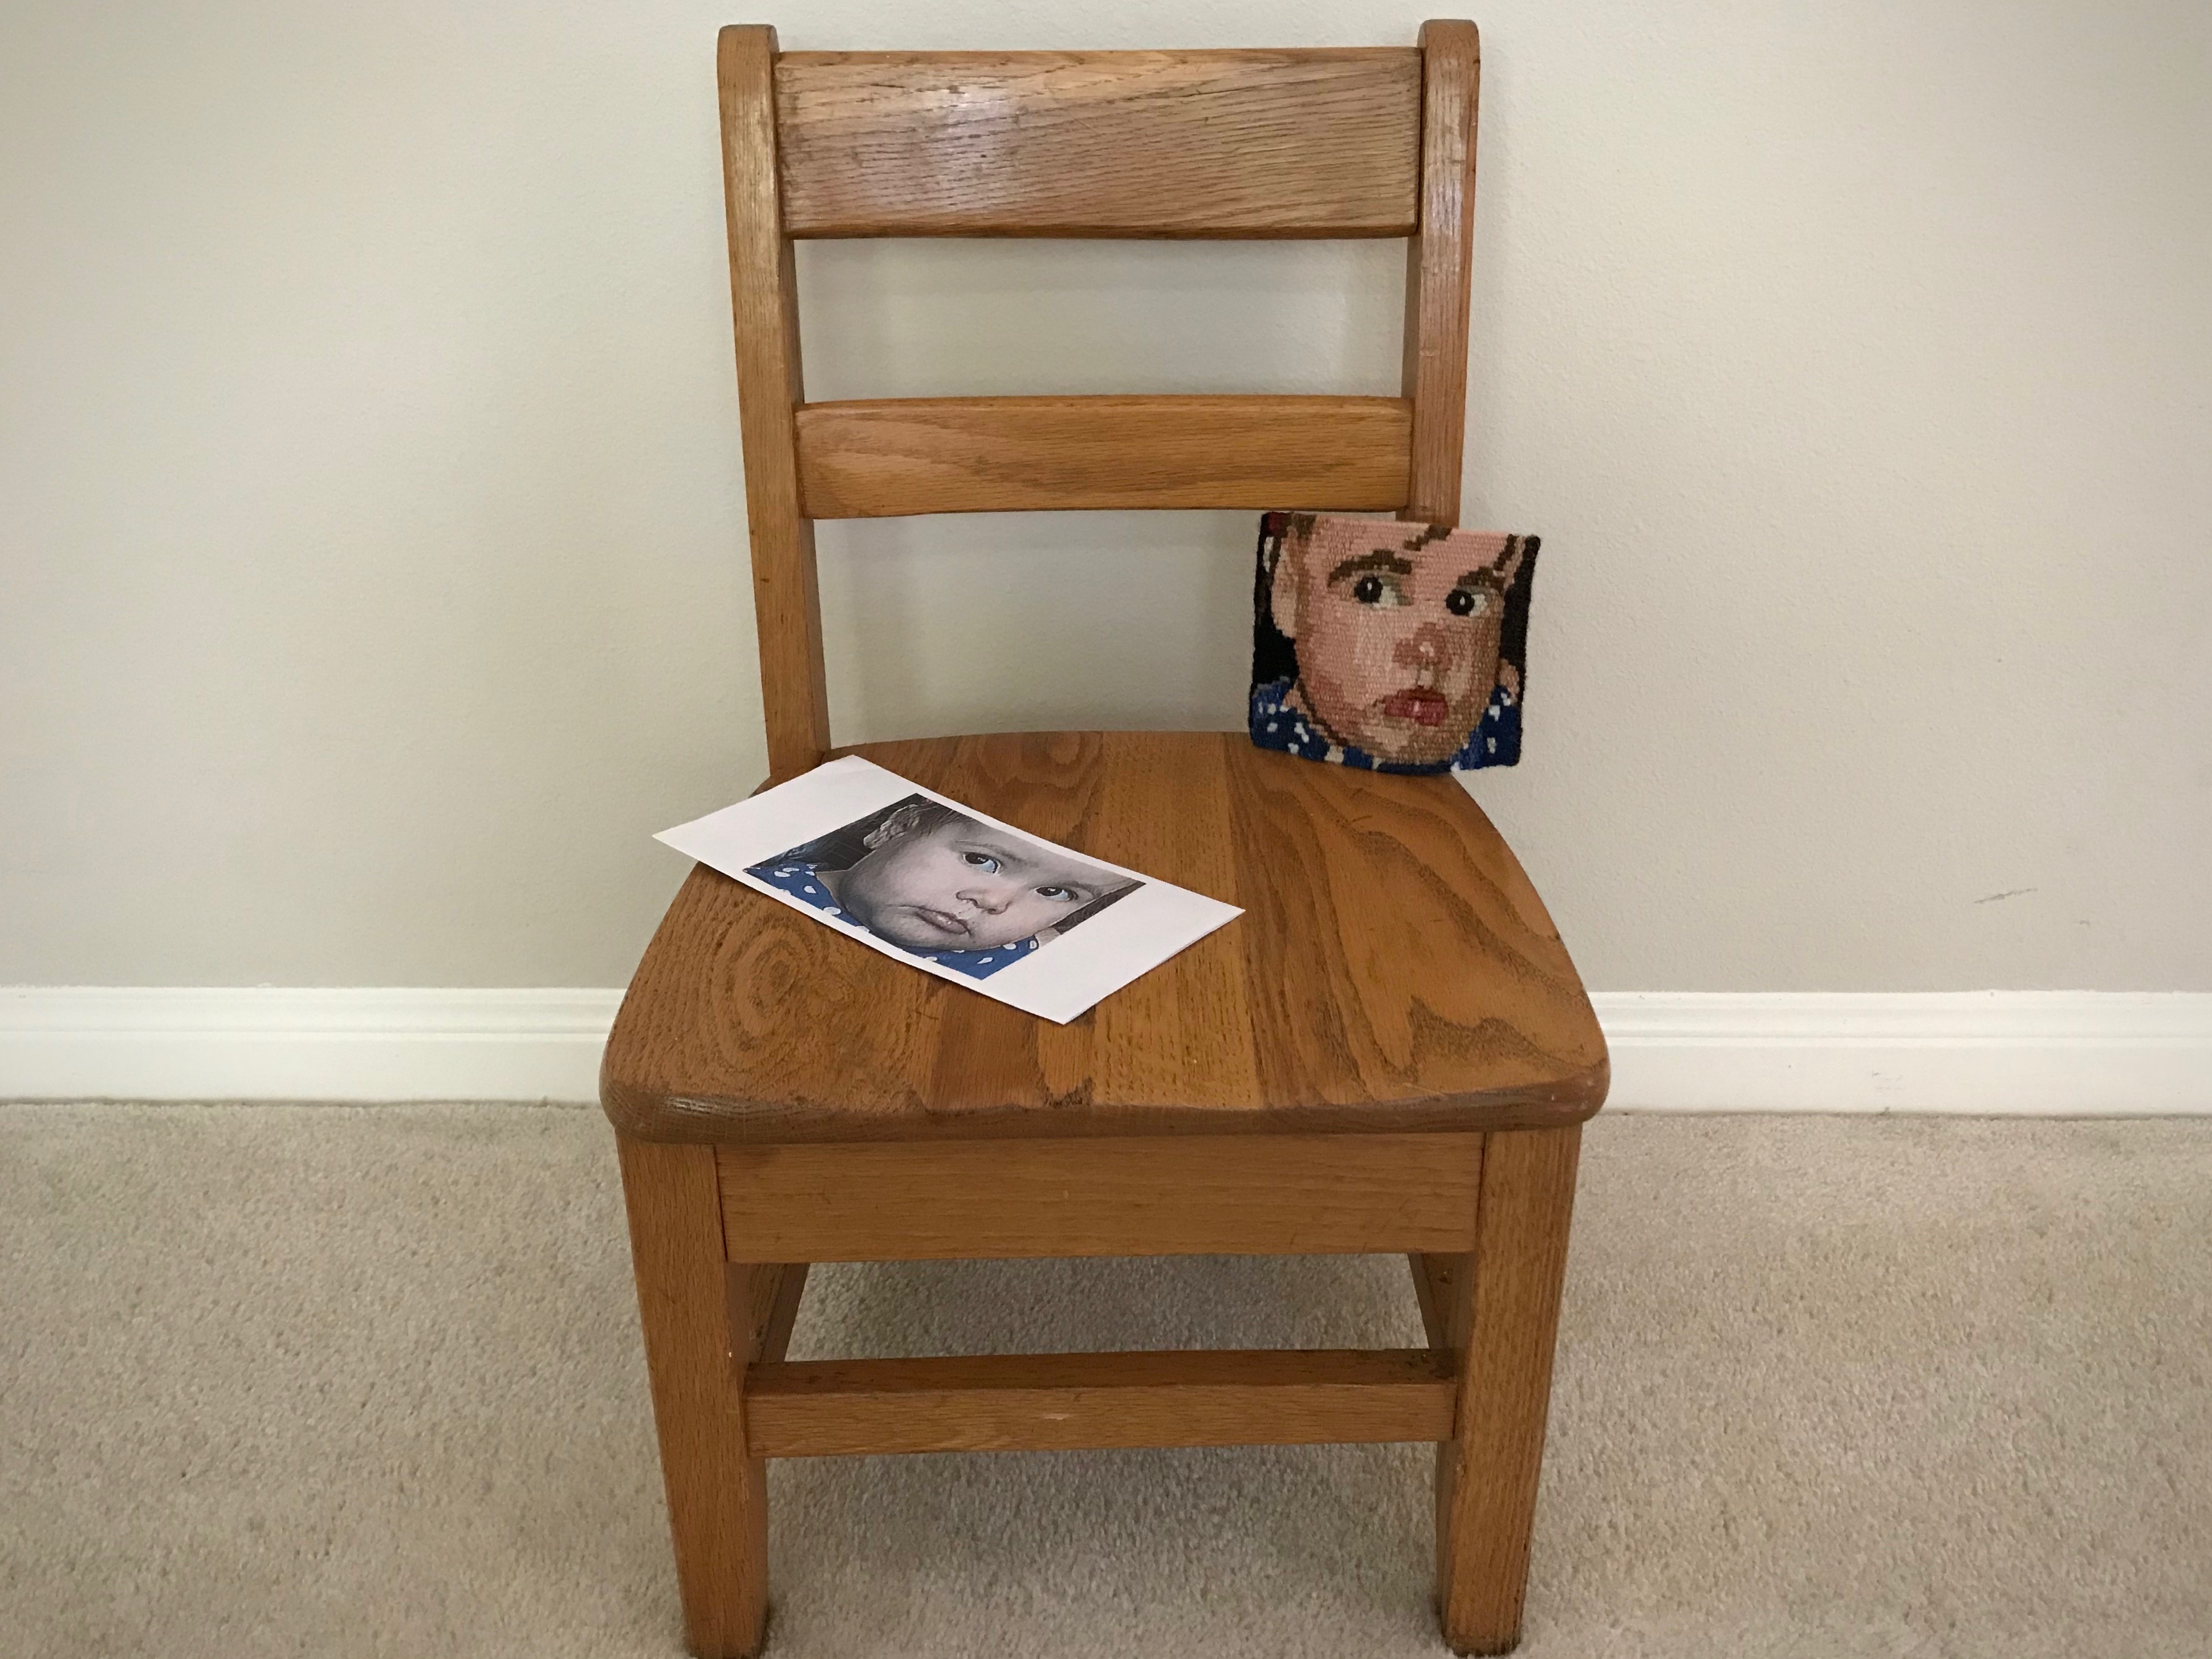
A little here, a little there, and eventually I finish another small tapestry. This little woven portrait of my granddaughter Lucia was a huge challenge. I knew that from the beginning. In fact, I had about three beginnings with this intimidating project. My aim is not to make a masterpiece, but to keep making. And making, and making. Every time I go beyond what I think I can do, I learn more.
This Lucia Portrait Tapestry is best viewed from a distance. Up close, the details seem abrupt and harsh. But when I look at her from across the room, I see the picture of a child’s face.
I trimmed the weft tails on the back, steamed the piece, and made a half Damascus edging. The edging and the weft tails near the sides are stitched down. The hems are turned under and stitched. I plan to mount this on a linen-covered square, and hang the finished piece where it can be easily viewed from a few steps back.
Small tapestry ends with a short hem, warp thread header, and a scrap header. I overestimated how far I could comfortably weave. This is a less-than-optimal distance from the end of the warp for weaving.Most of my tapestry weaving is done in the evenings as part of my winding-down routine. In this session the back of the tapestry gets a haircut.Straggler weft tails are reigned in with a little sewing thread.Finished Lucia Portrait Tapestry is 4 1/4″ x 4 7/8″.
Enjoy this slideshow video. The ending is sure to make you smile!
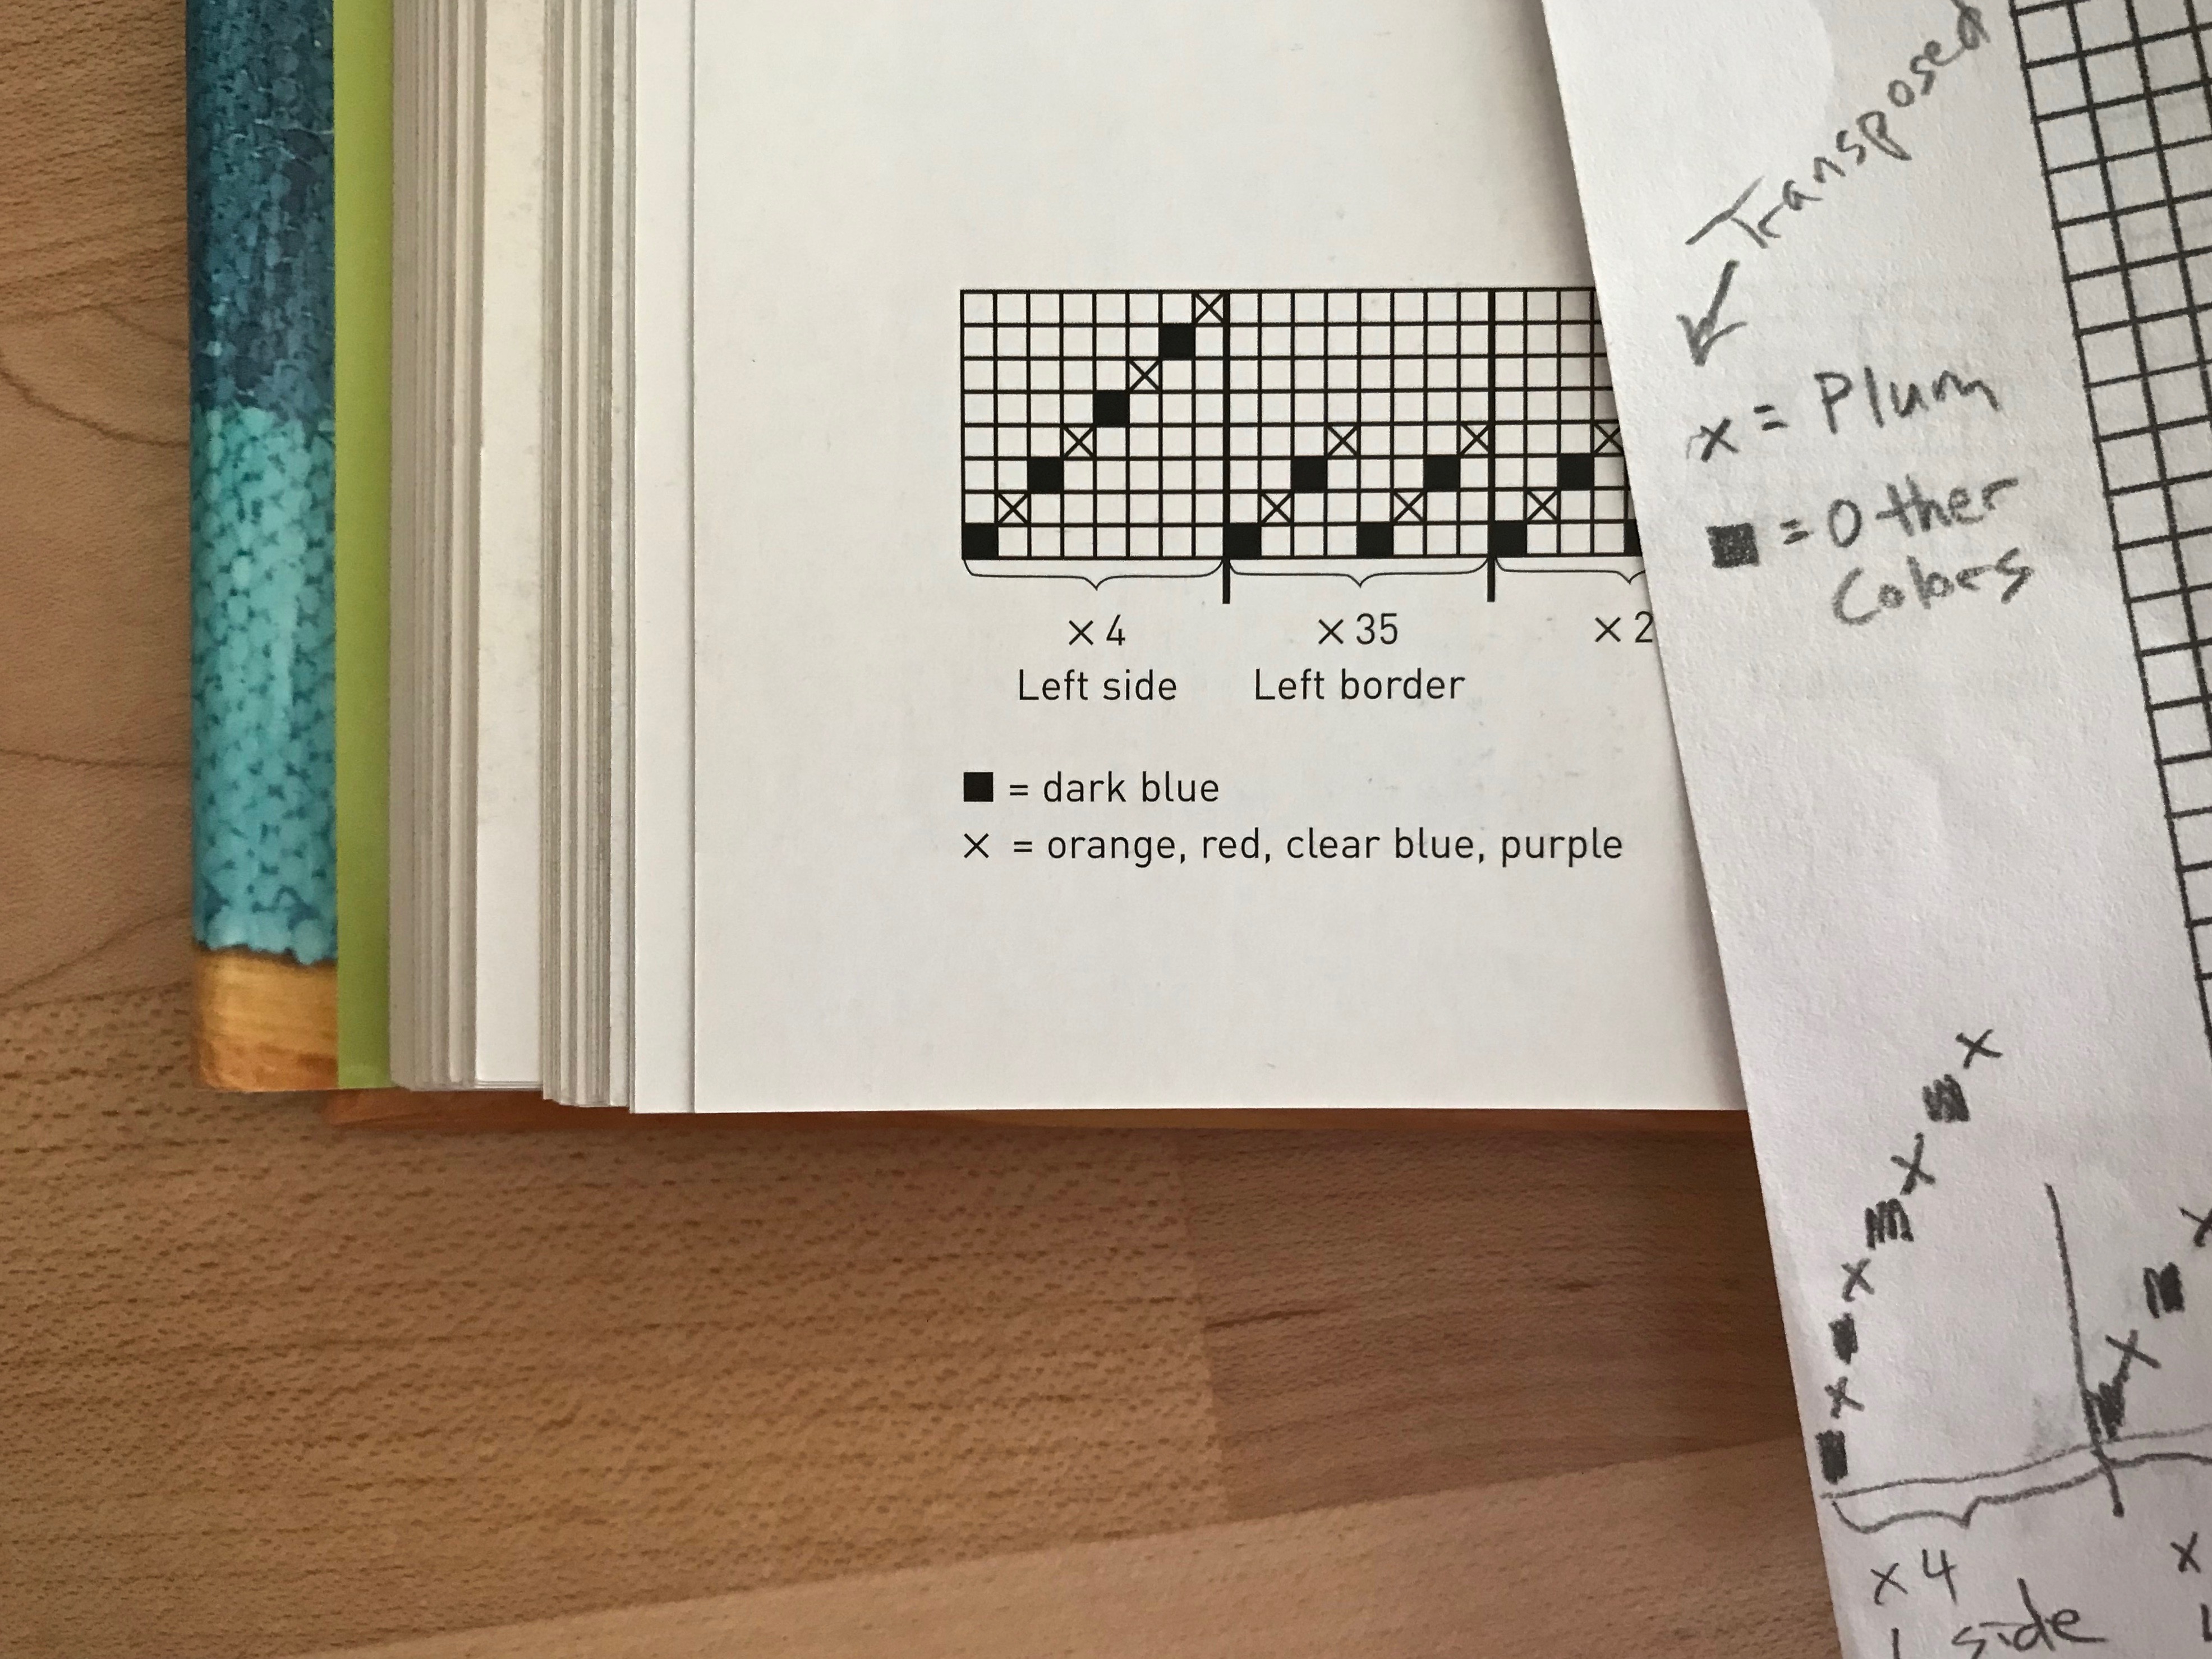
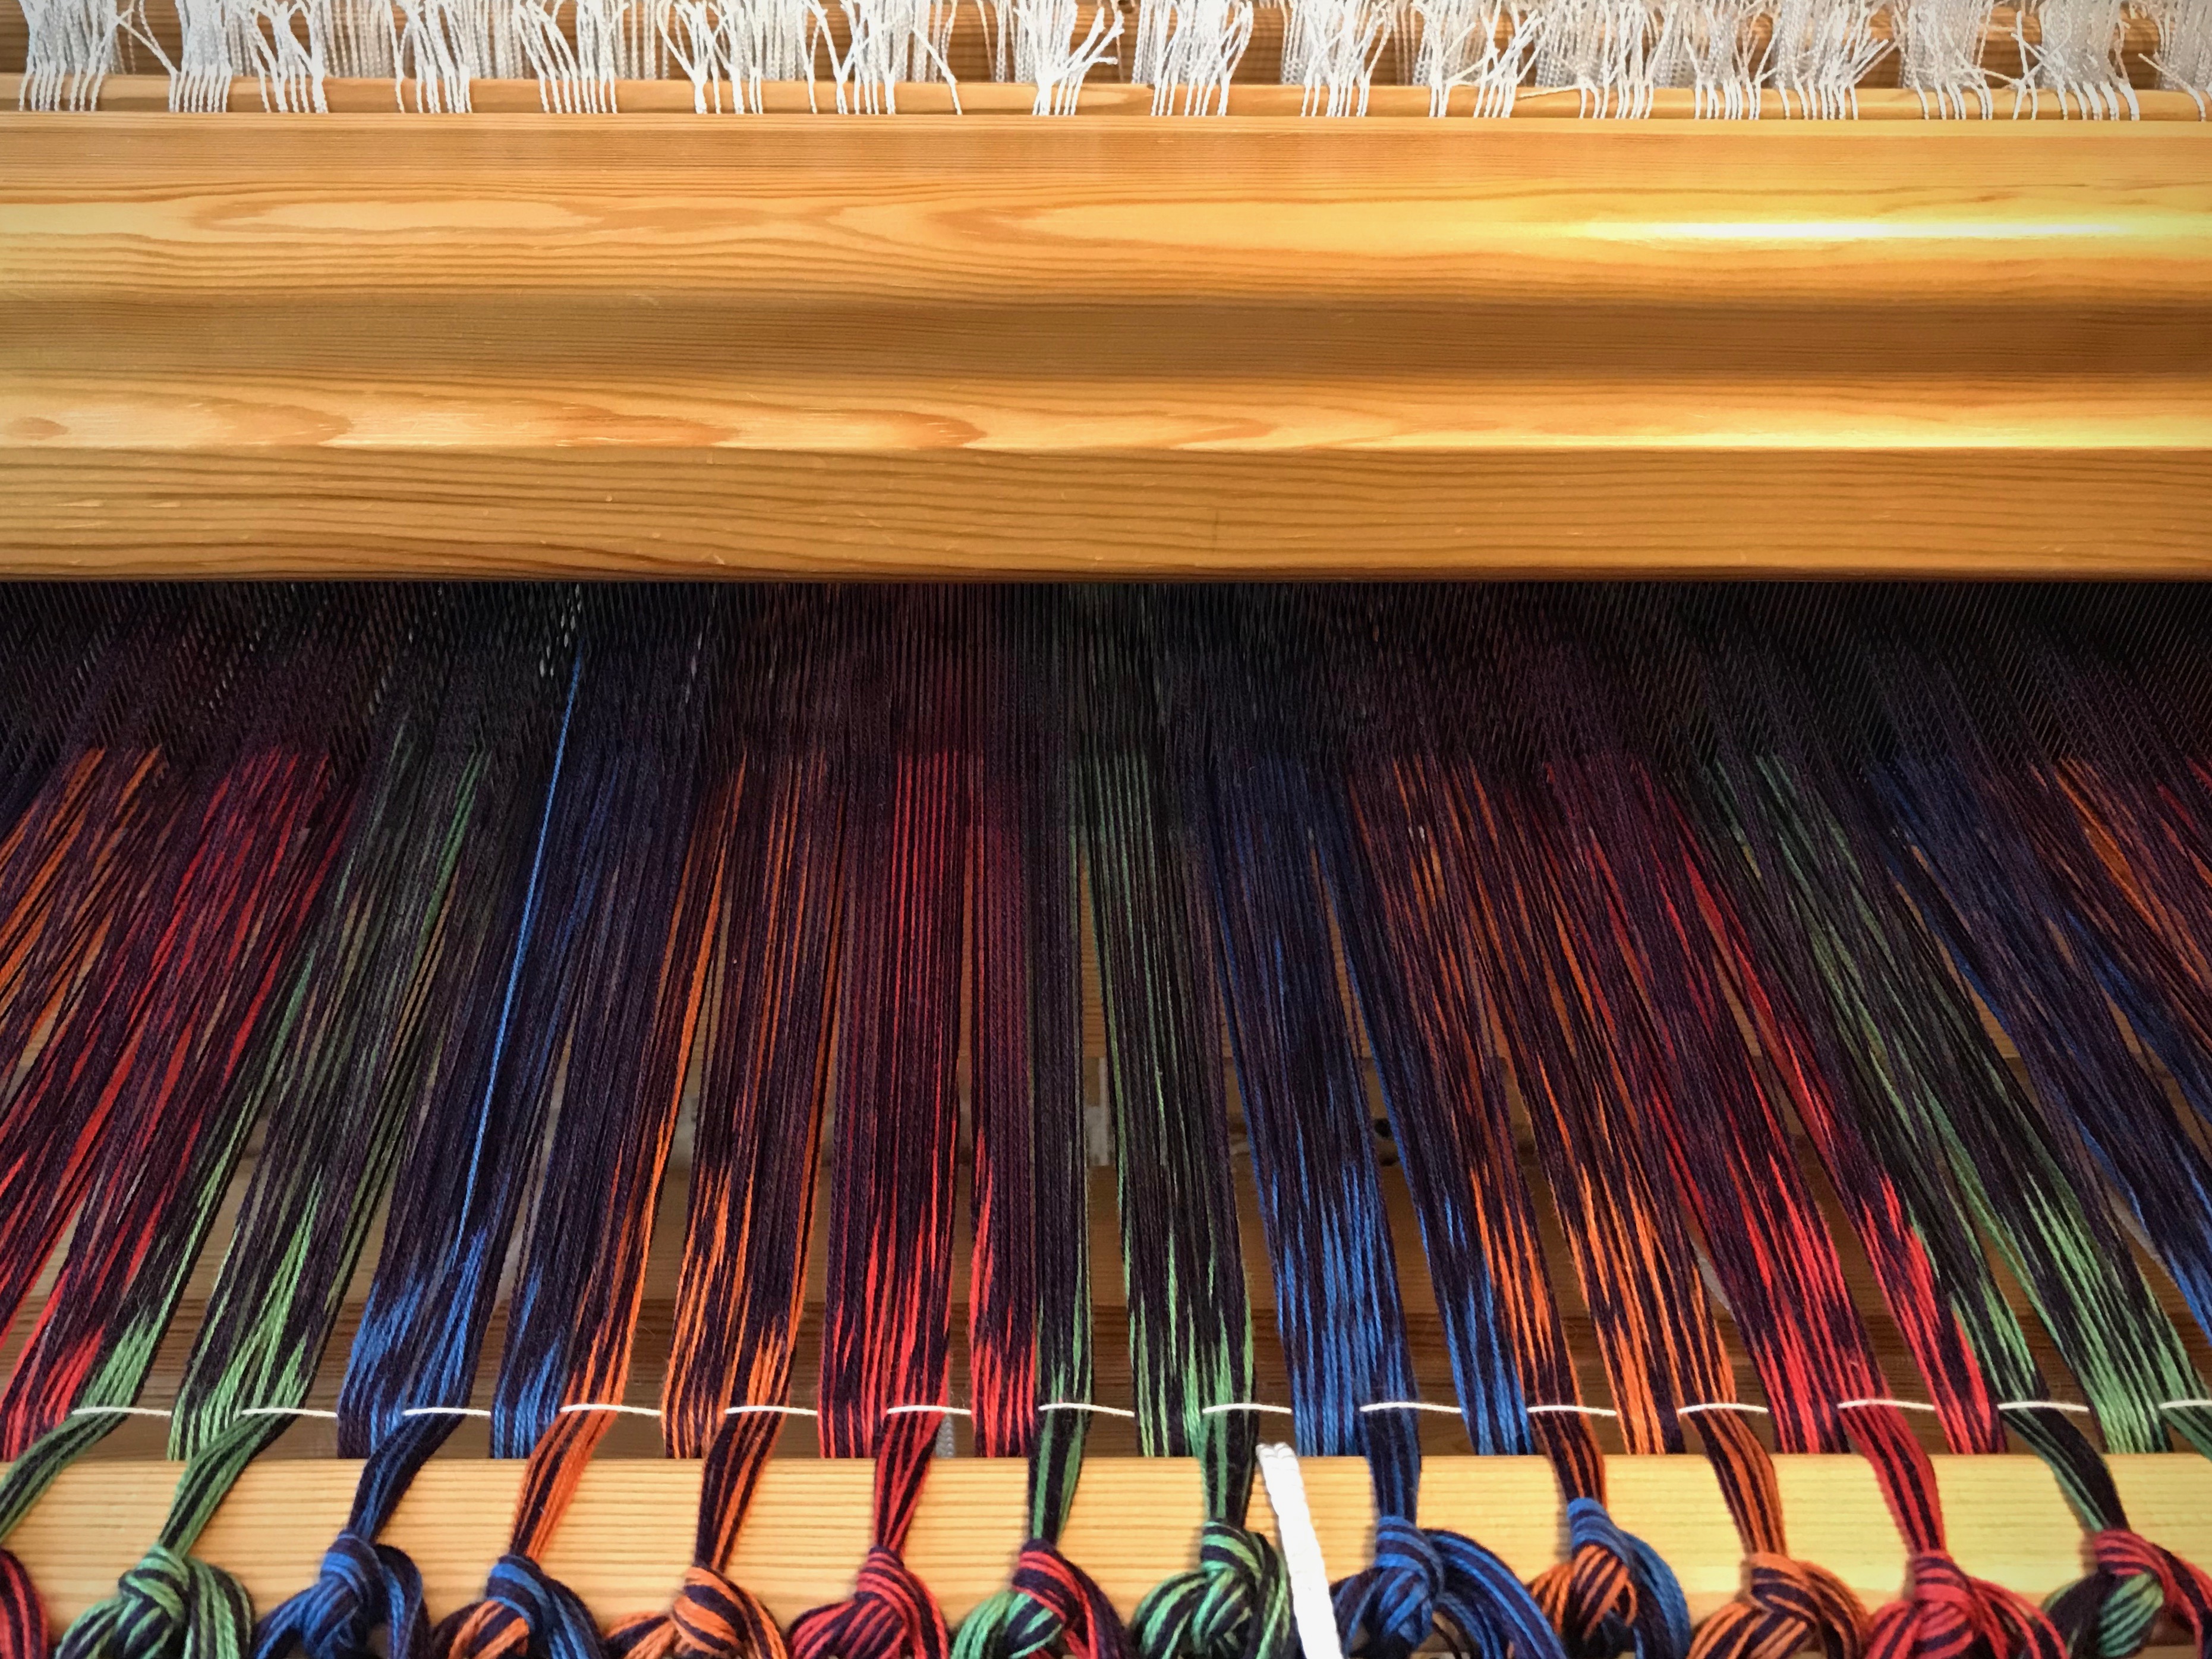
Nothing about the original draft is incorrect, but when I wrote it in pencil on my planning sheet, I transposed one. little. thing. The threading key. “X = plum; black square = other colors.” Exact opposite of what is written in the draft from The Big Book of Weaving, by Laila Lundell. (See When You Misread the Threading Draft, where I discover my dilemma.)
Blind to my own mistake, even as I double check my handwritten draft.
Thanks to Fiberworks weaving software I am working out a solution. I adjusted the tie-up, so the treadle tie-ups on the first, third, fifth, and seventh shafts trade places with the tie-ups on the second, fourth, sixth, and eighth shafts. It works. And now, the one little threading error that is clearly visible seems like a breeze to correct!
Tie-up adjustments bring the correct warpends to the surface. Solid stripes of color are set to produce the desired design when woven.One blue warp end stands out like a sore thumb. I’m glad to find this one threading error at this stage in the process.
There are times when my whole perspective needs an adjustment. It’s time for love. Love adjusts our view. At the heart level, love brings about changes in us. It re-sets our attention and motivations. Because God loved us, we can love, too. We don’t see, understand, or know everything now, which shows how incomplete we humans are. But the love that heaven knows is something we get to participate in here and now. Our cloth is far from perfected, but our love adjustments give us a glimpse of cloth from another realm.