Dressing the Standard Looks Like a Mess

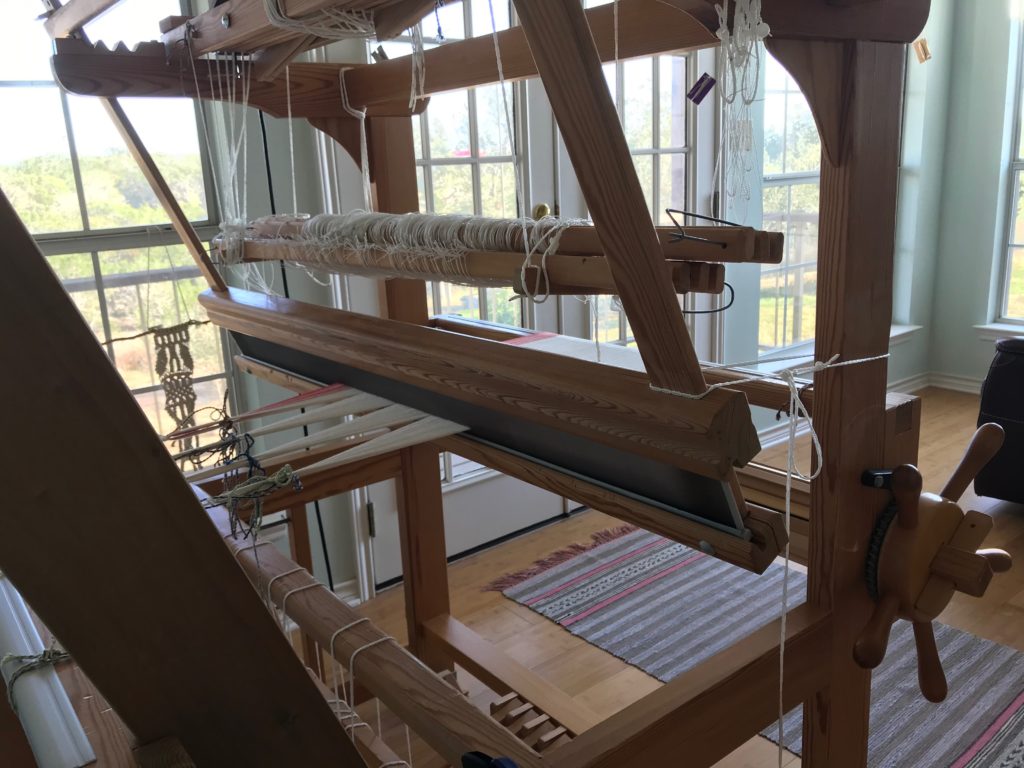
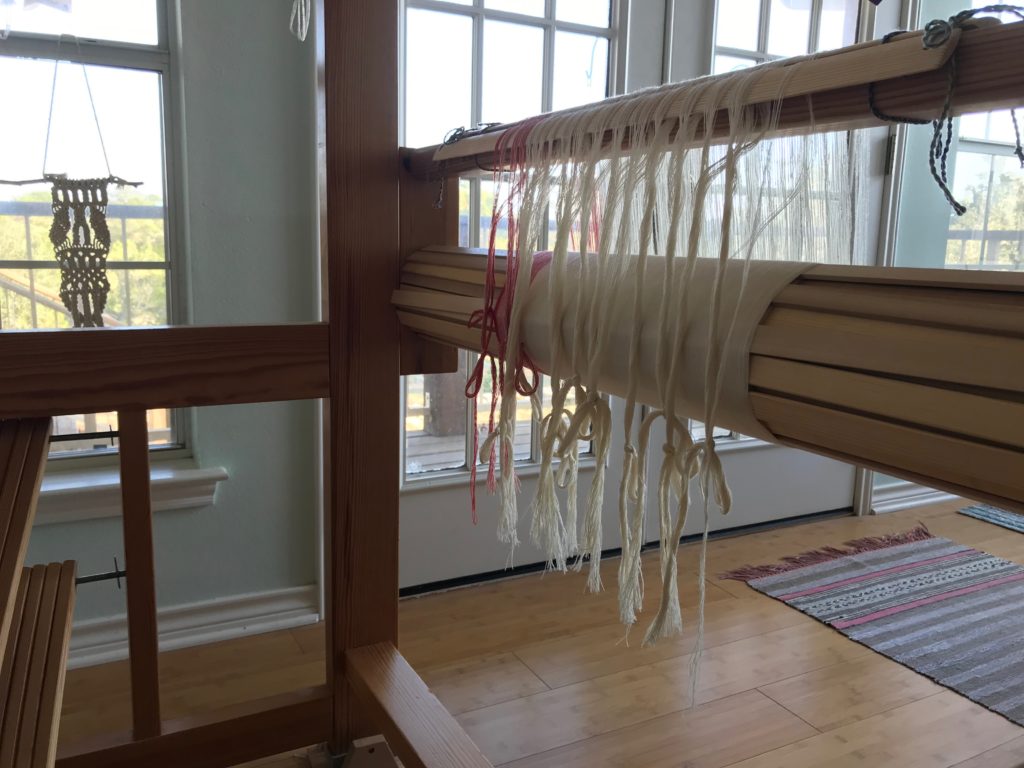
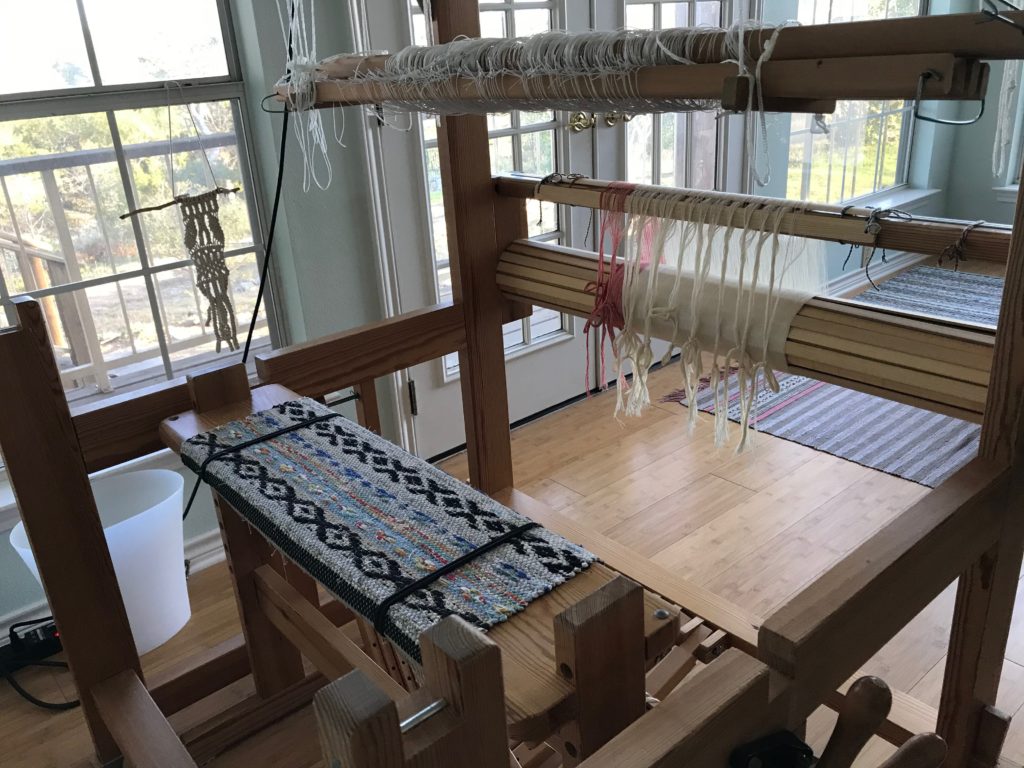
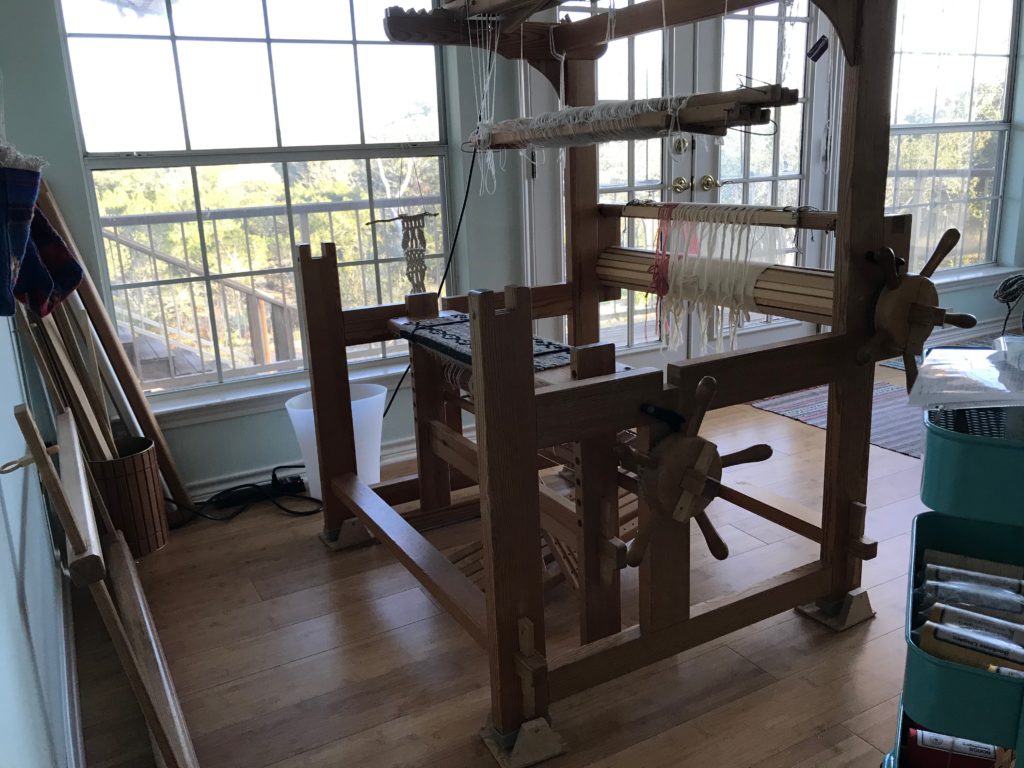
It is my husband’s idea for me to make handwoven curtains for the windows in our newly renovated master bathroom. Now that I have had time to think about it, I think it’s a great idea. Fortunately, the yellow rug warp on the Glimåkra Standard is still sitting on the loom bench, so I am putting it aside temporarily in order to put this bathroom-curtains warp on the loom.

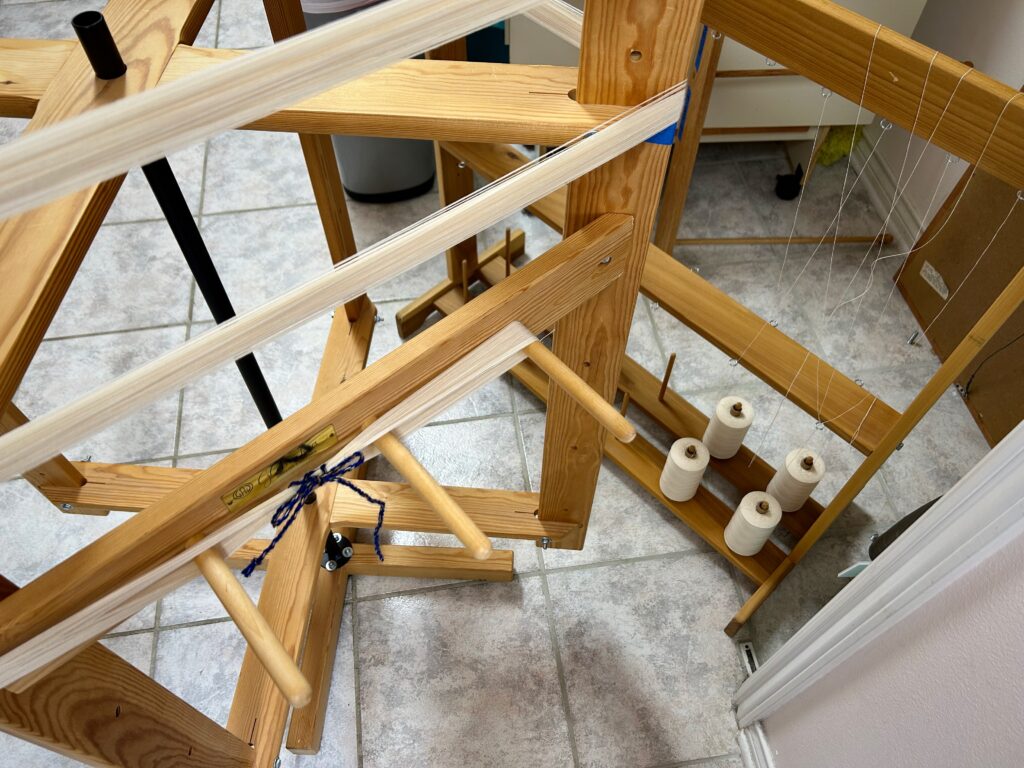
Winding a warp of 24/2 unbleached cotton.
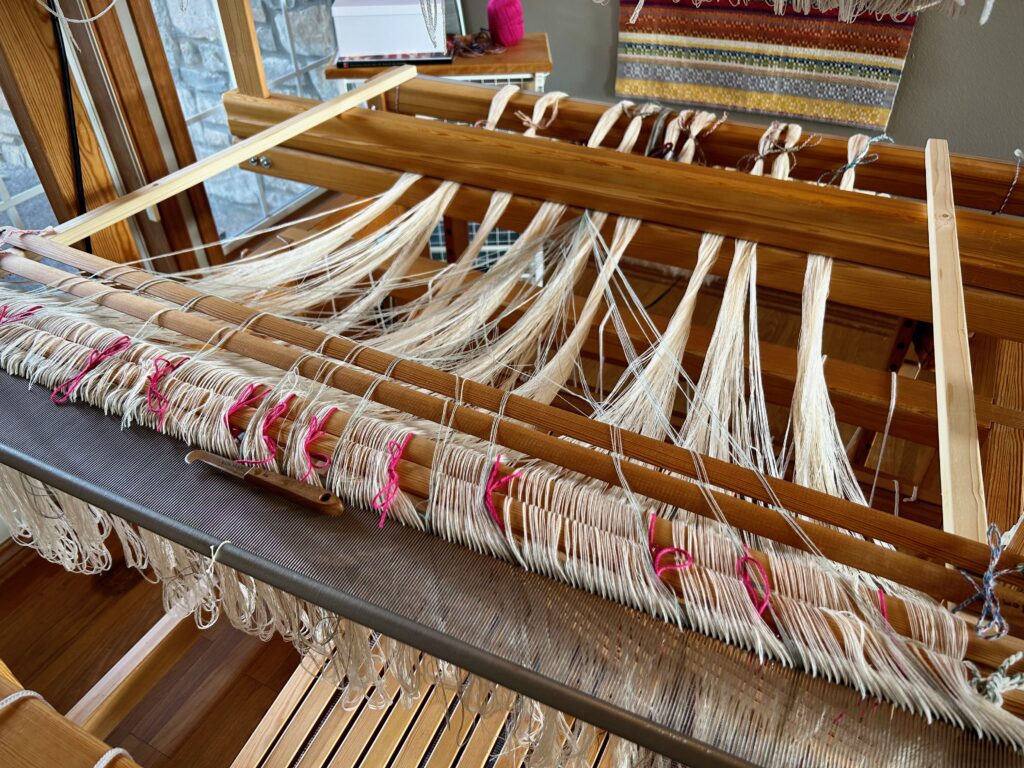
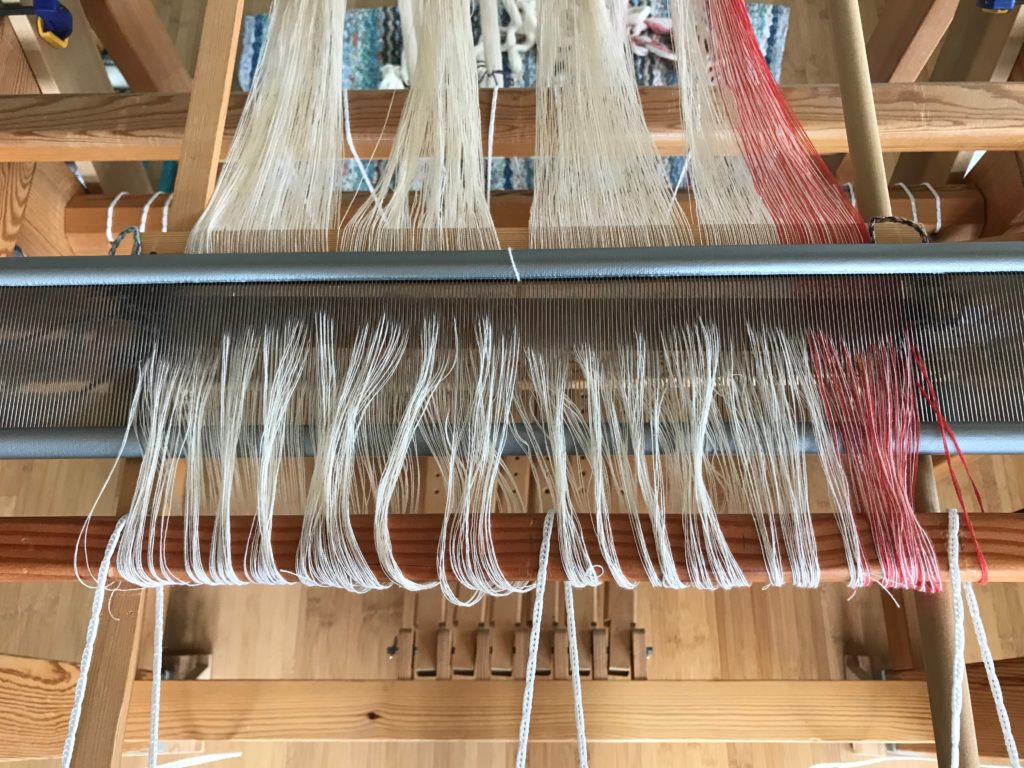
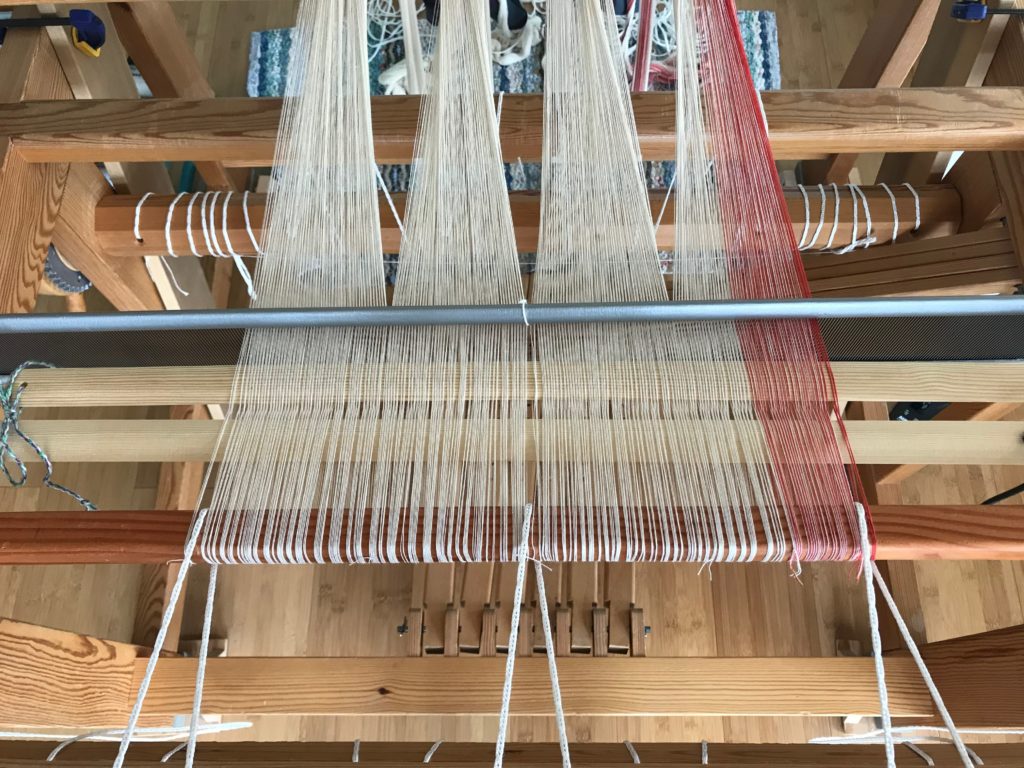
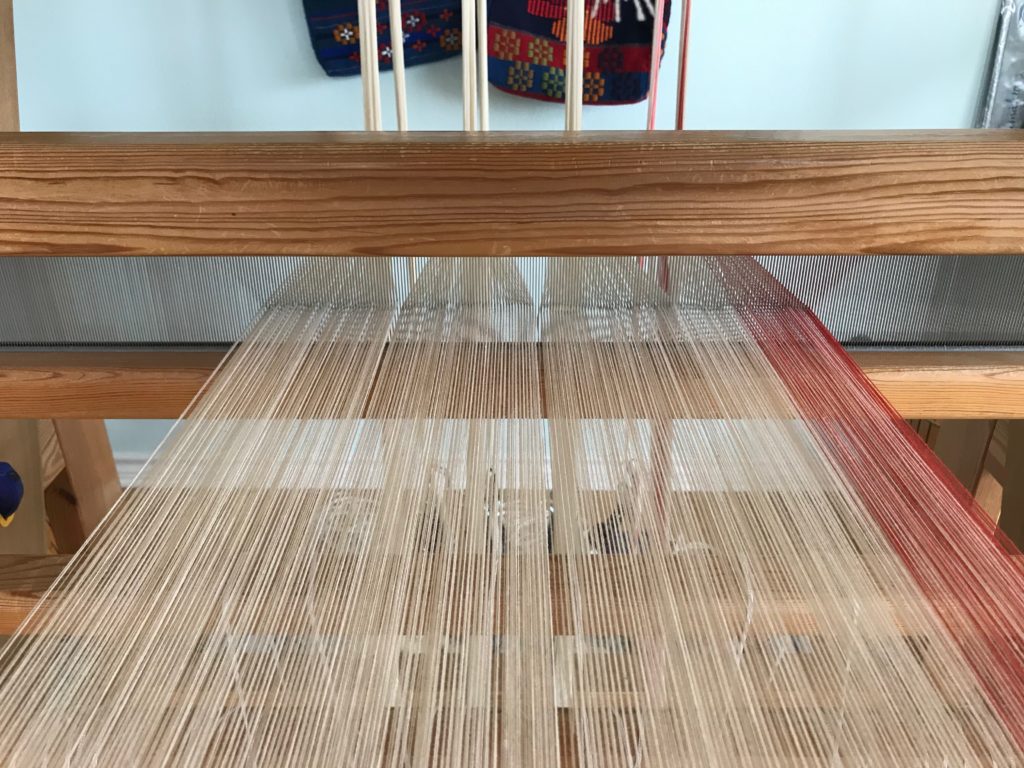
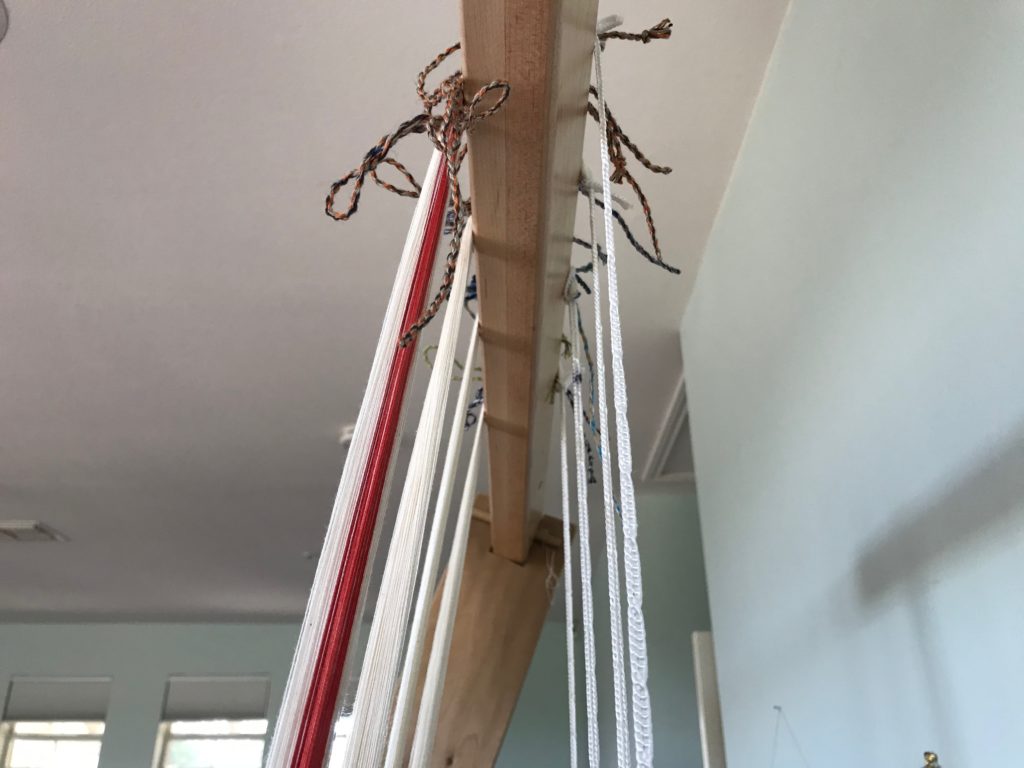
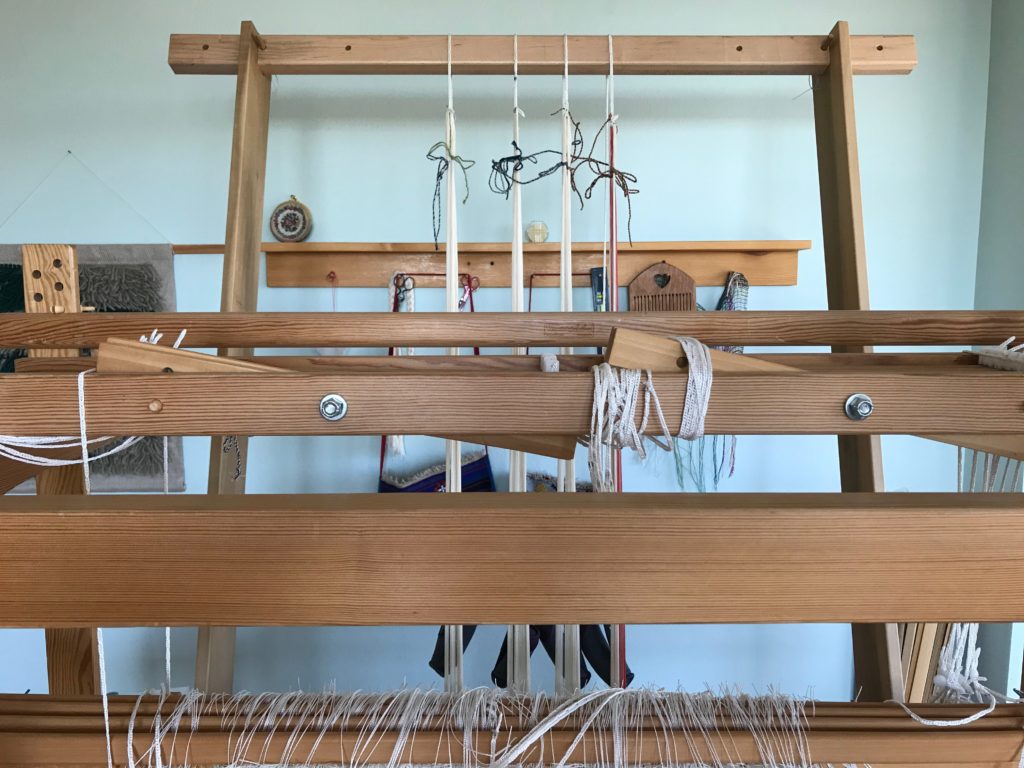
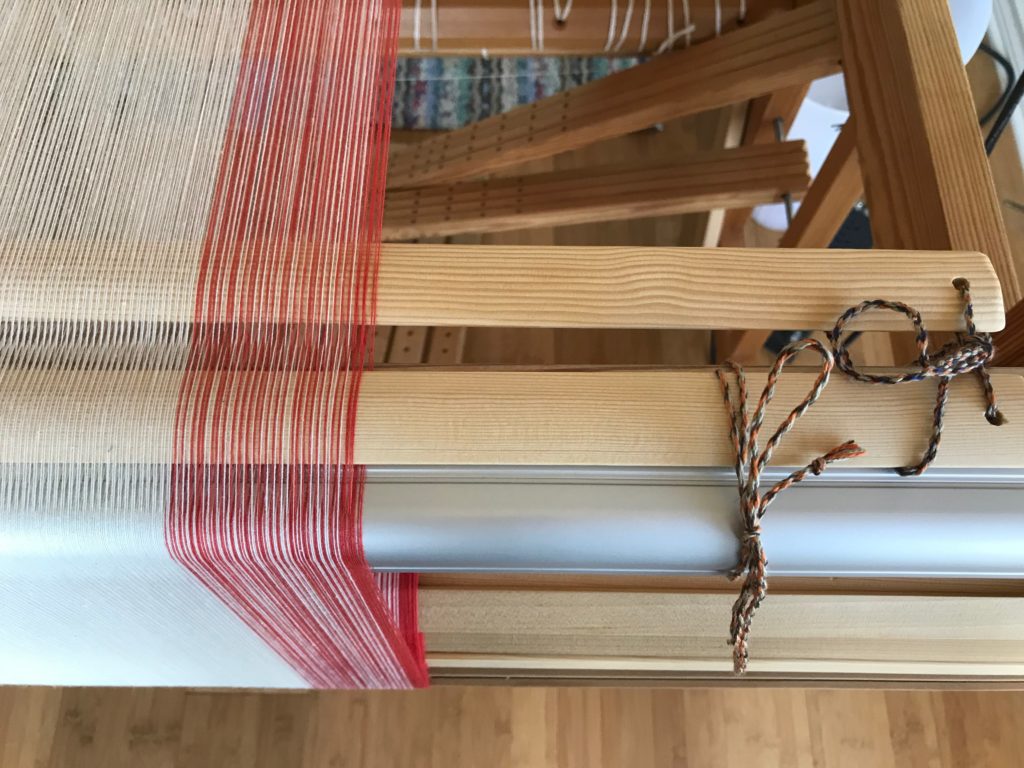
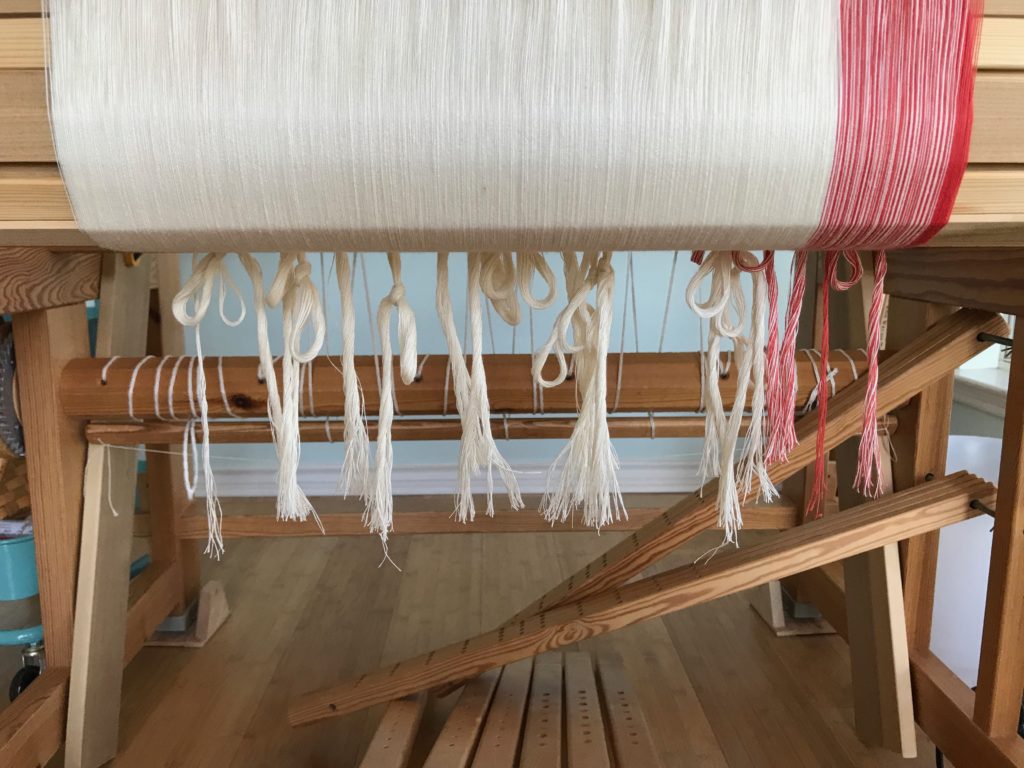
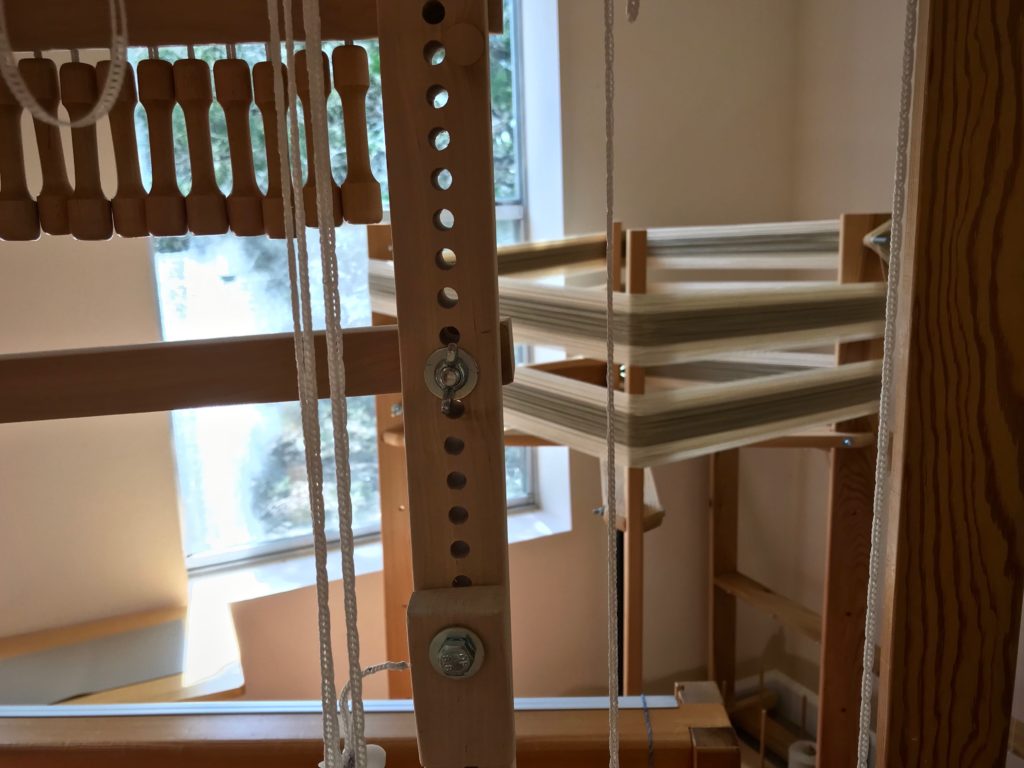
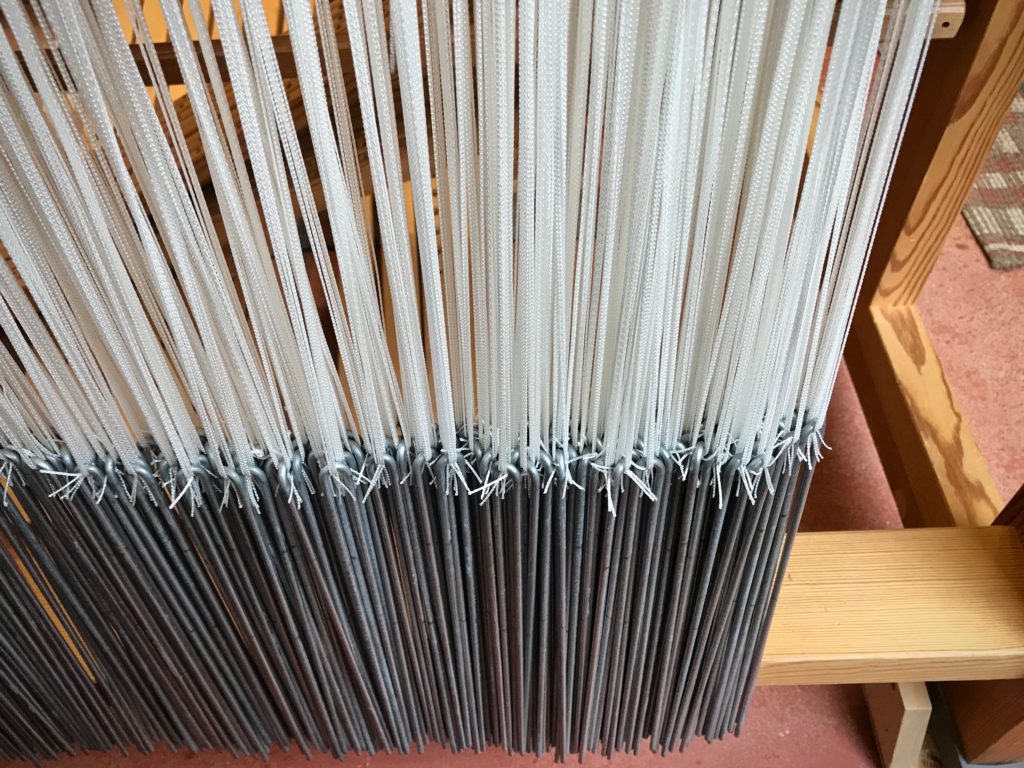
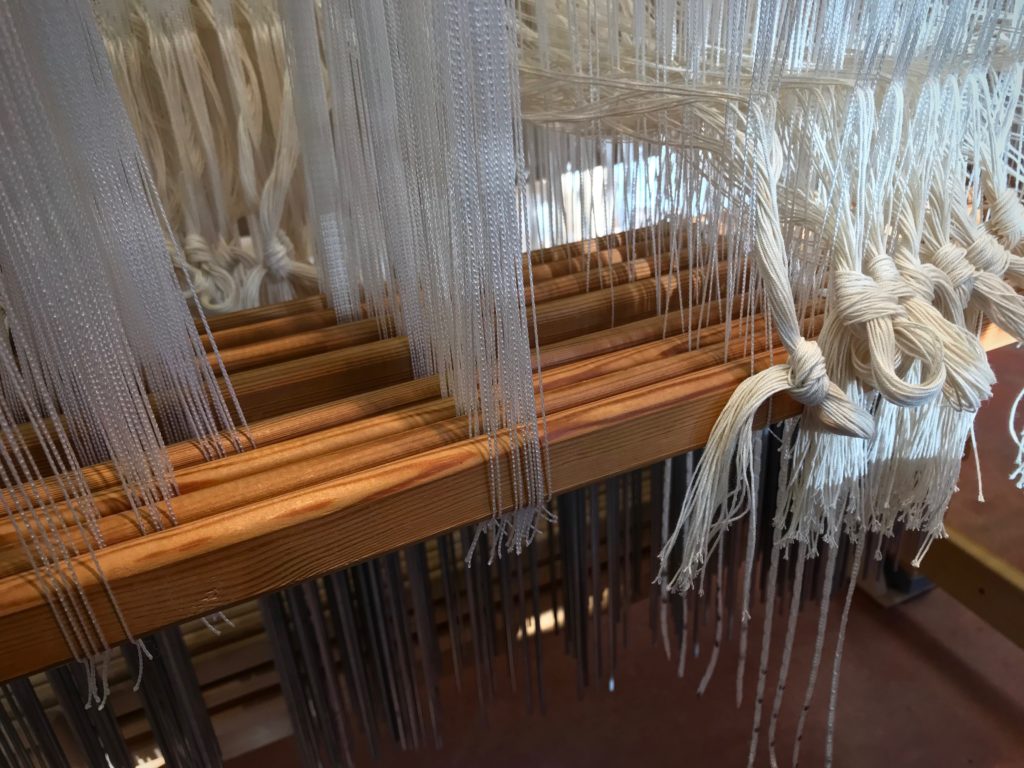
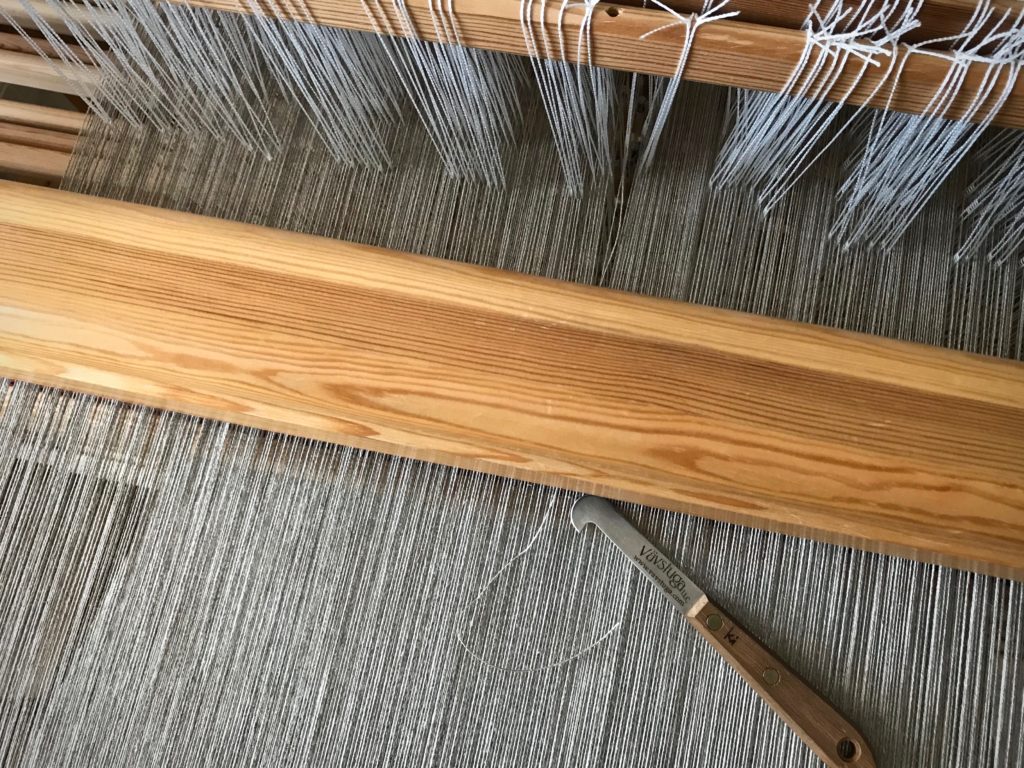
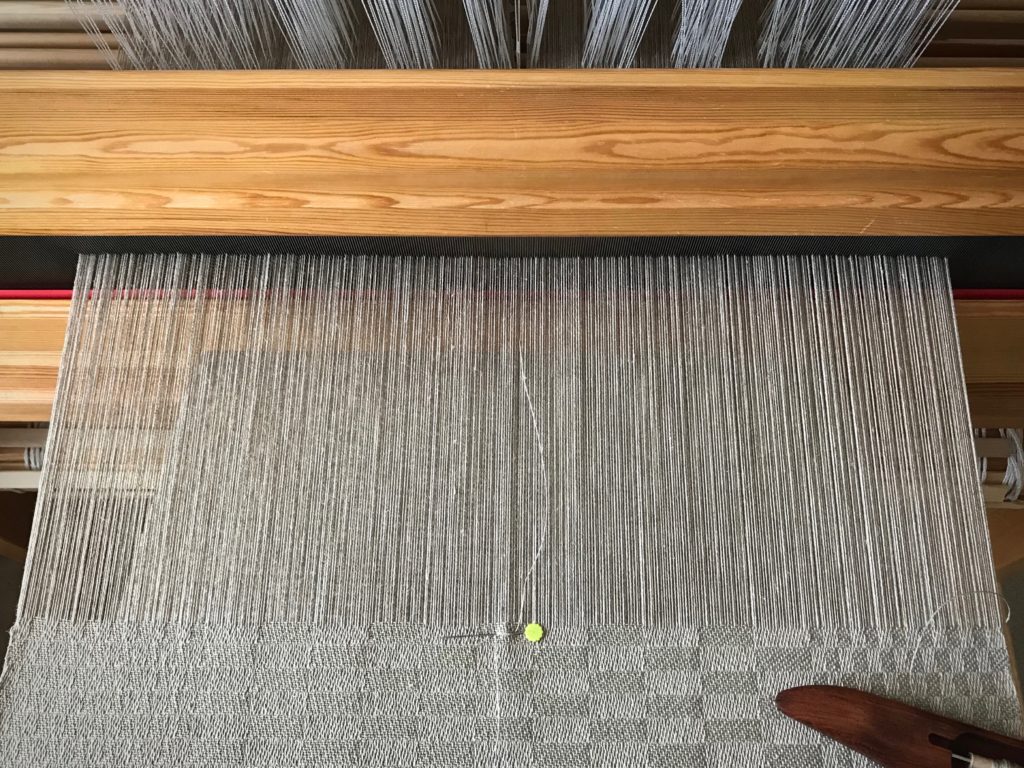
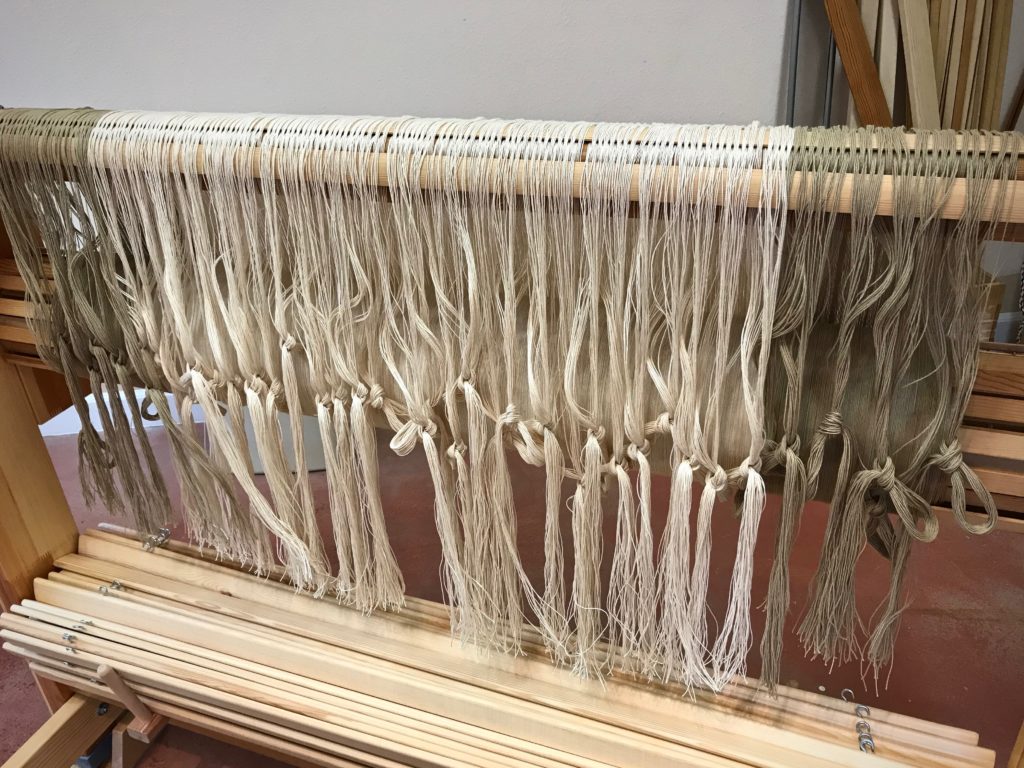
Looks like a mess. Pre-sley the reed to spread the warp. Two sets of lease sticks. Narrow gray stripes of 16/2 cotton are inserted between the unbleached ends. Somehow, it all works out…
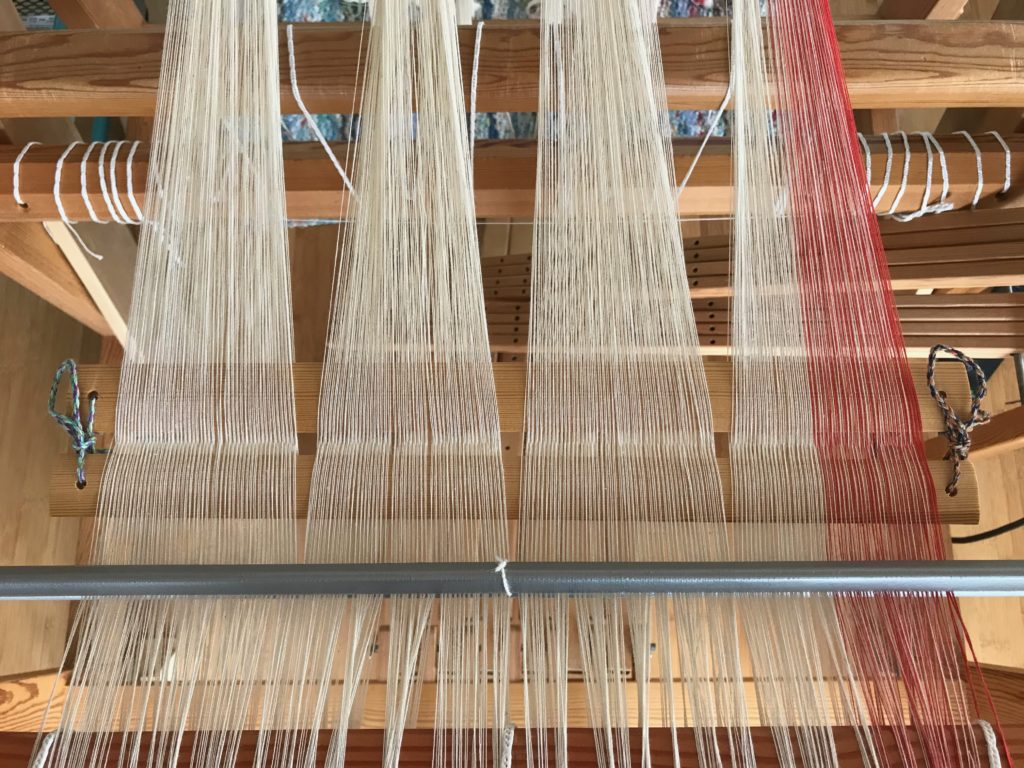
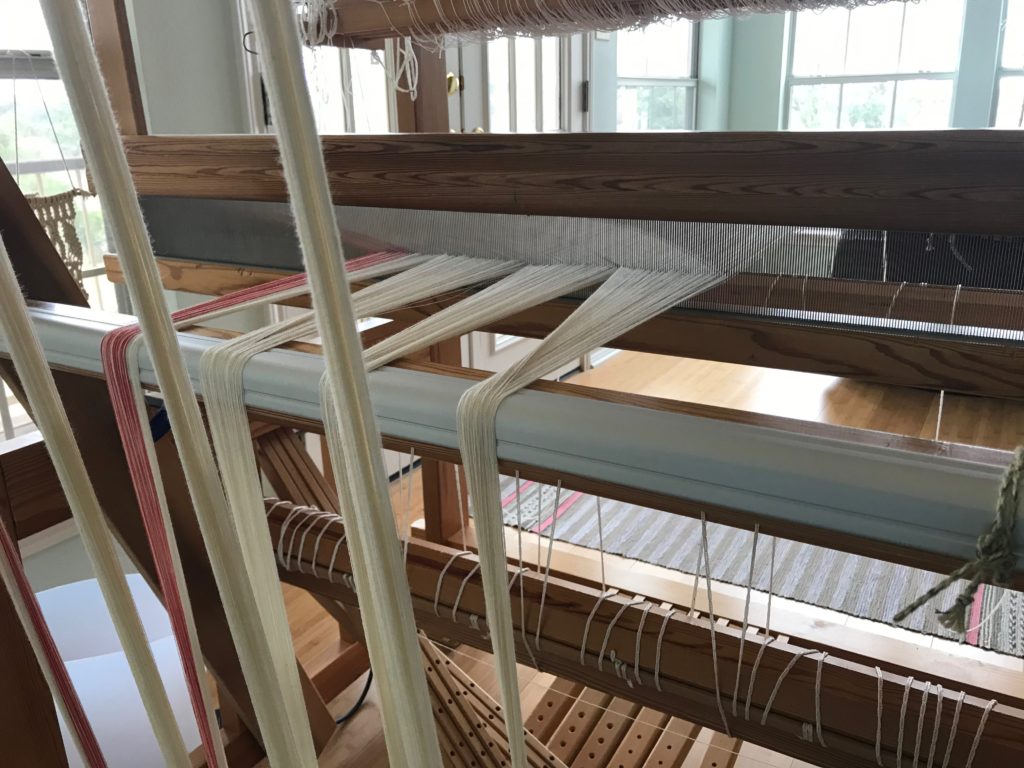
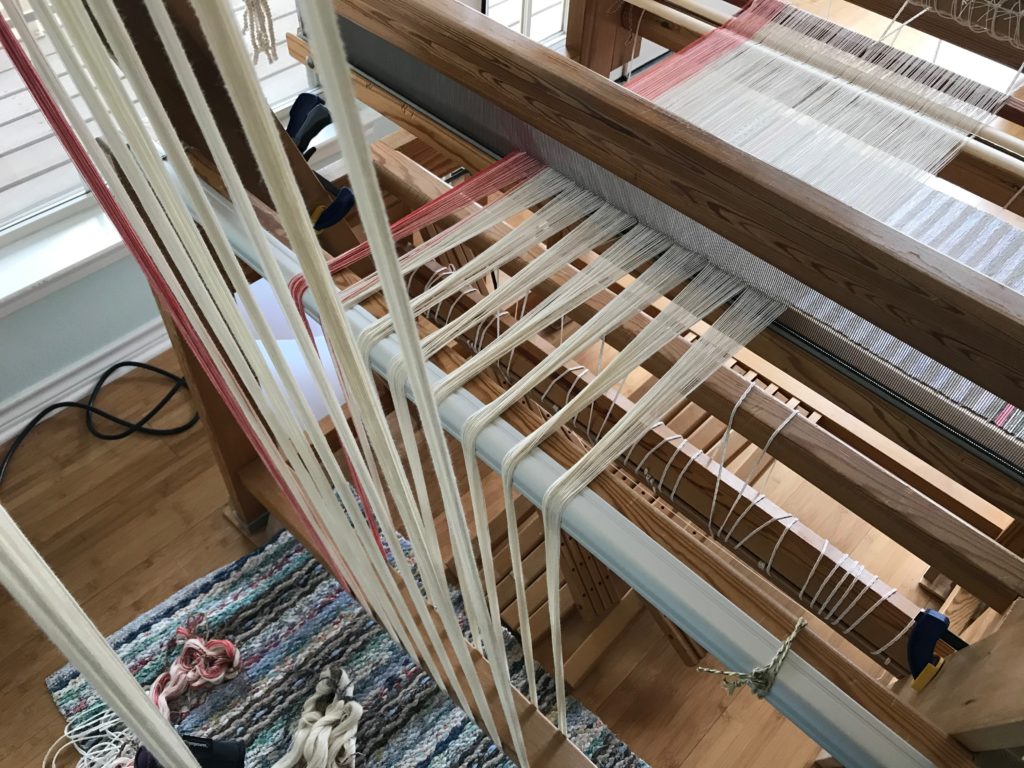
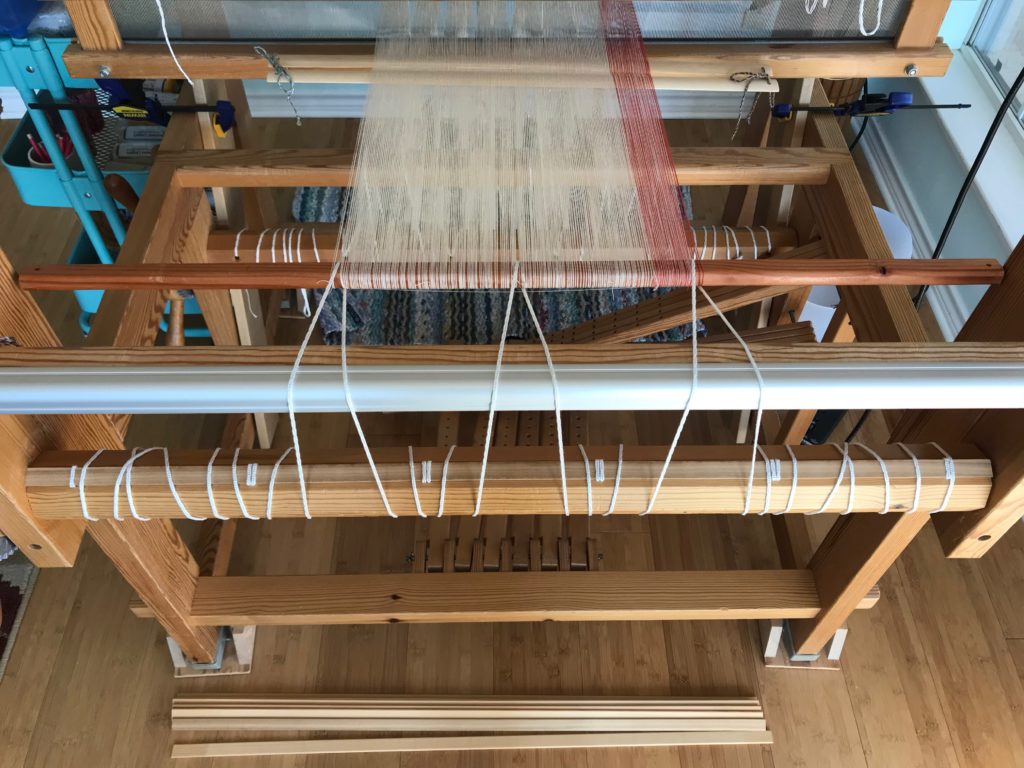
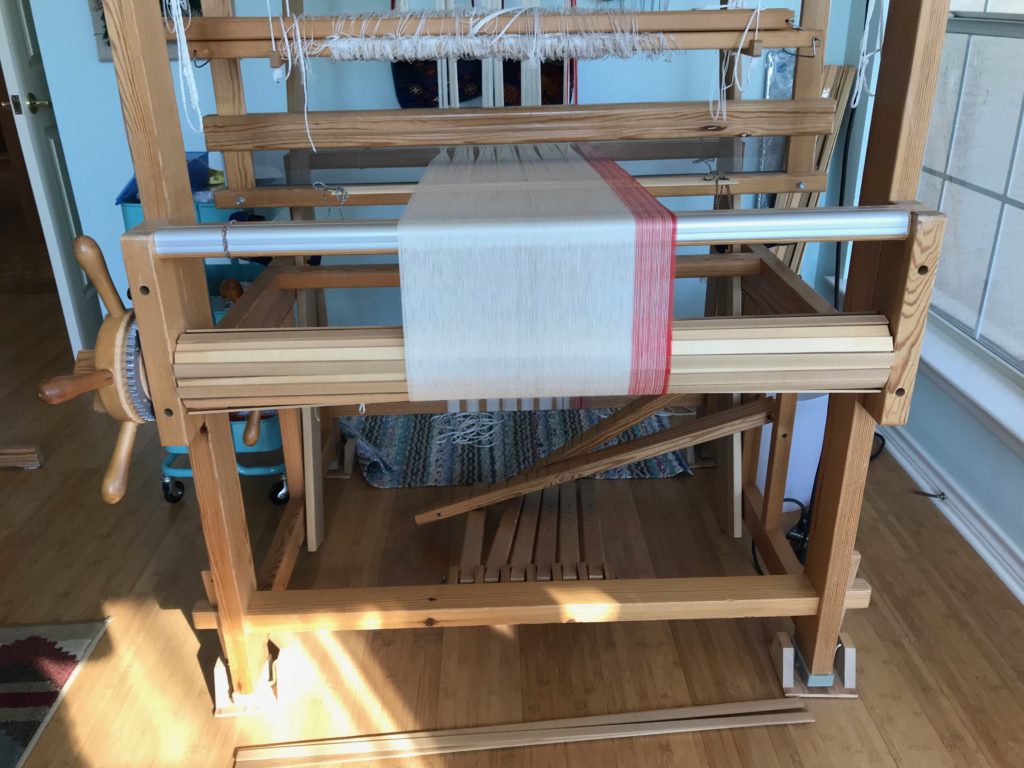
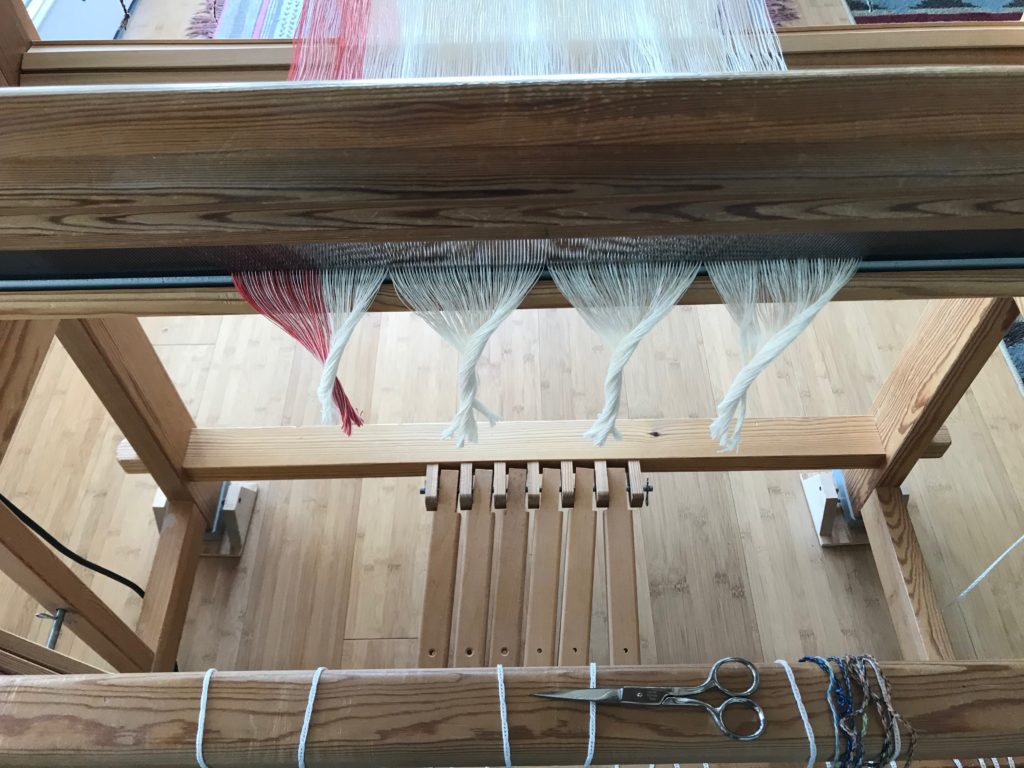
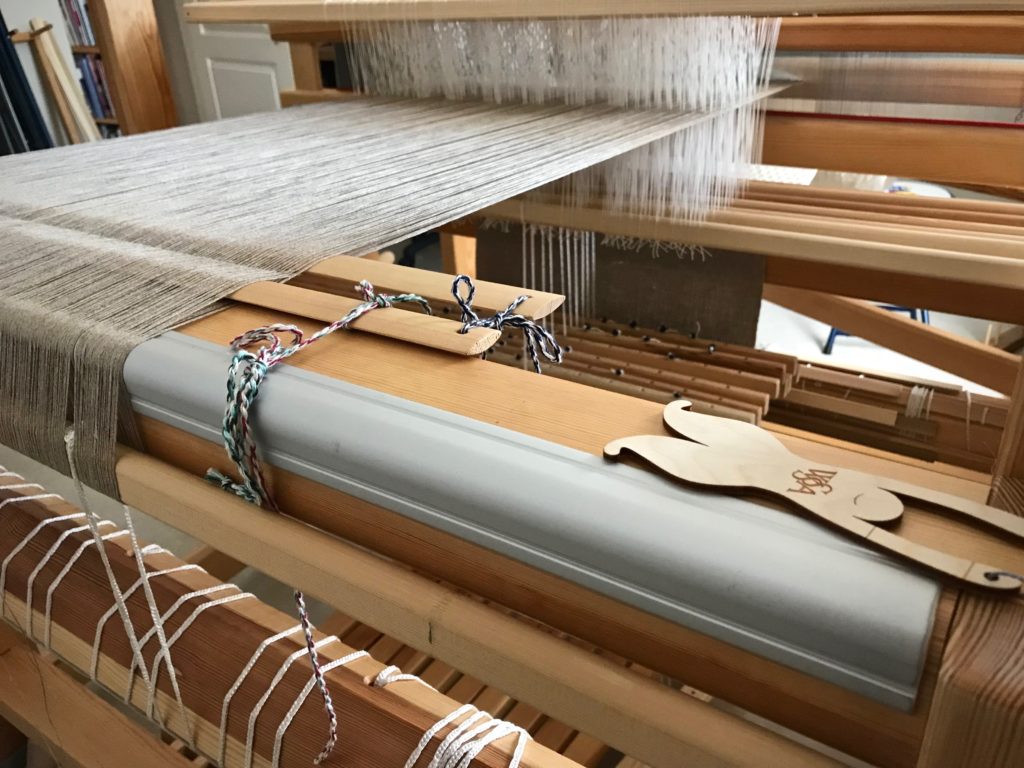
All the end loops are on the back tie-on bar, and ends from two lease sticks have been transferred to one set of lease sticks. Ready to beam the warp!
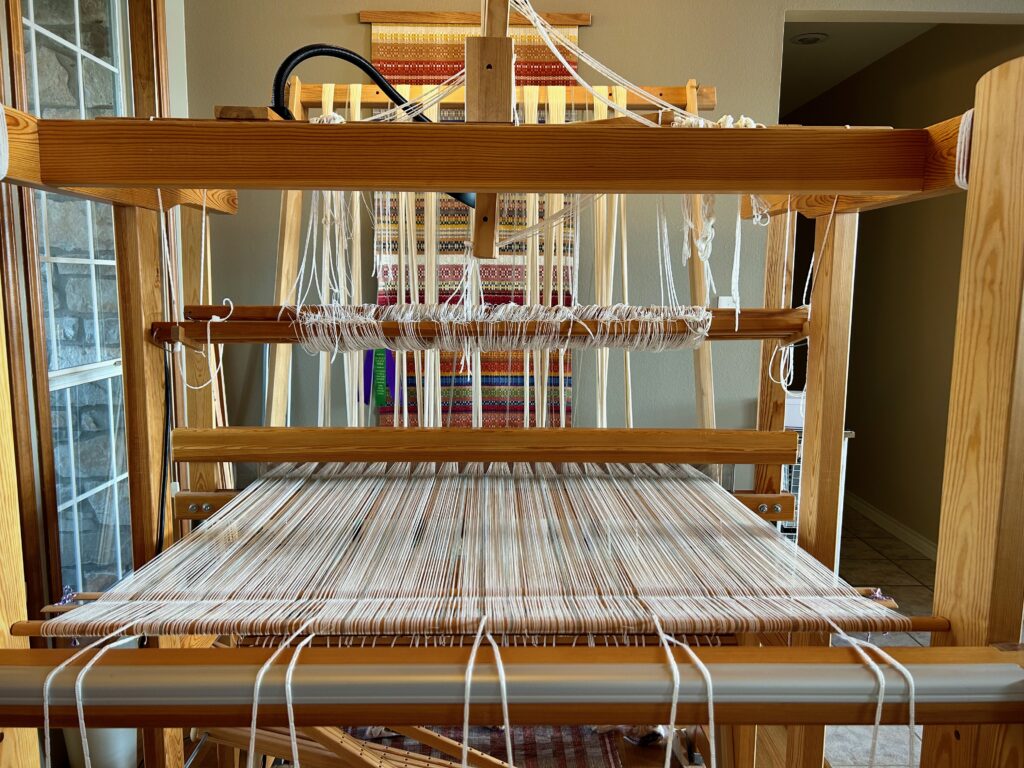
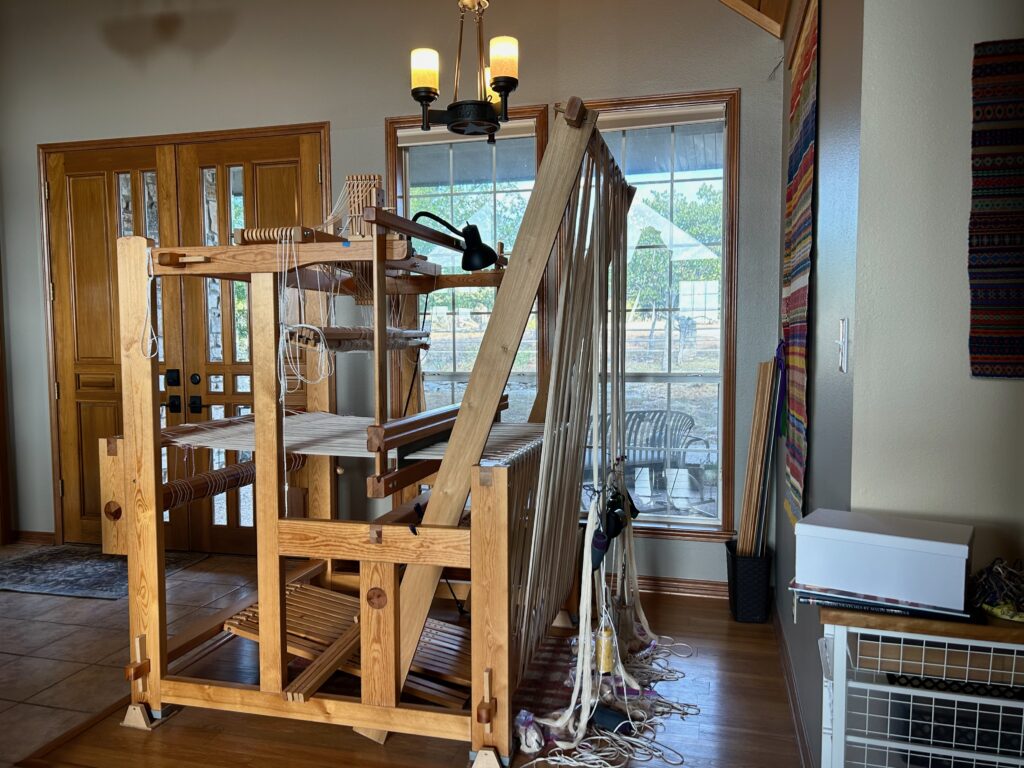
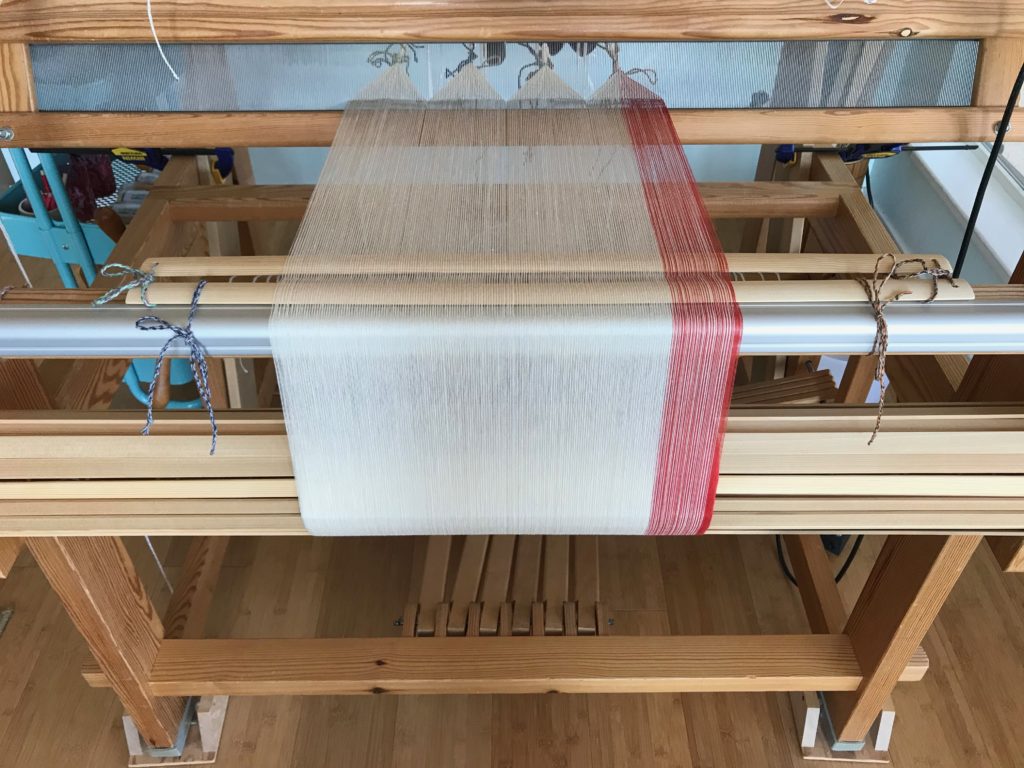
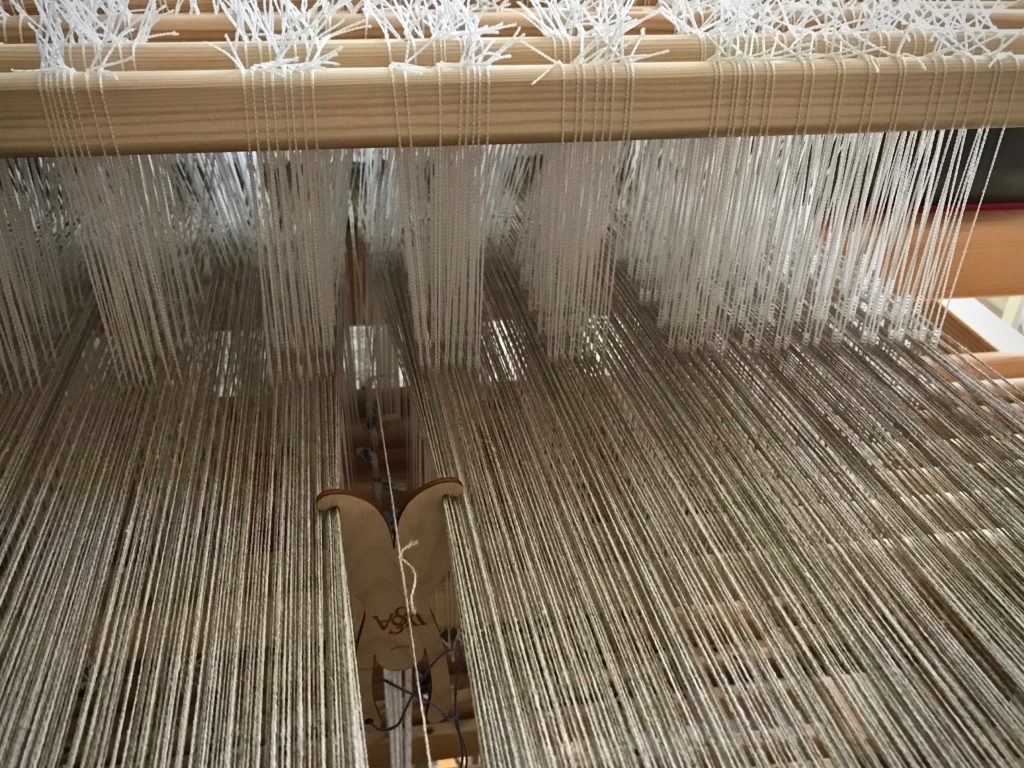
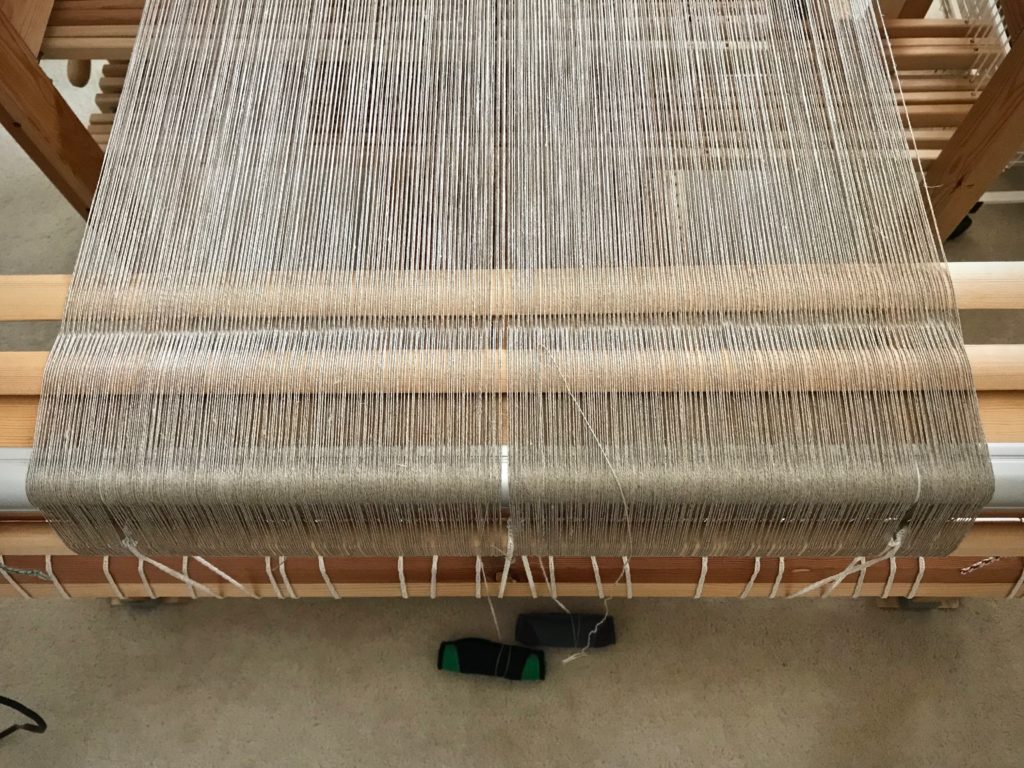
Just about set to beam.
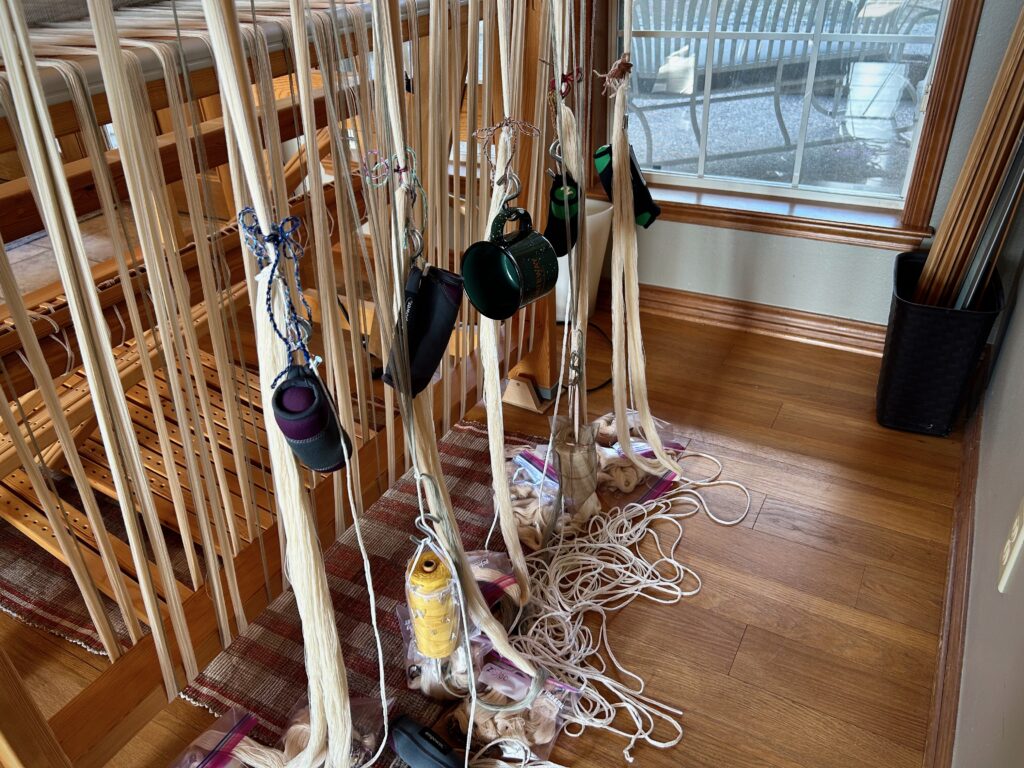
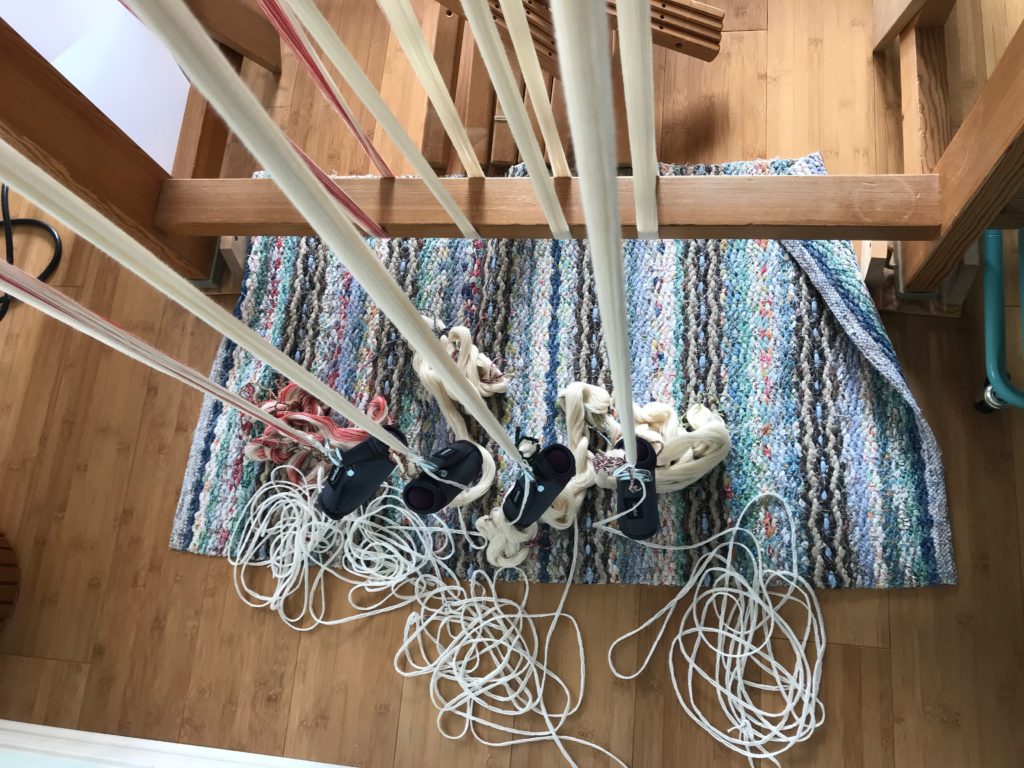
My usual two-pound weights are just right for most of the warp bouts, but I need a one-pound weight (large coffee mug) for one smaller bout, and two 1/2-pound weights (tube of thread in a small bag) for the small bouts of gray warp ends. Whew! Is it all going to work??
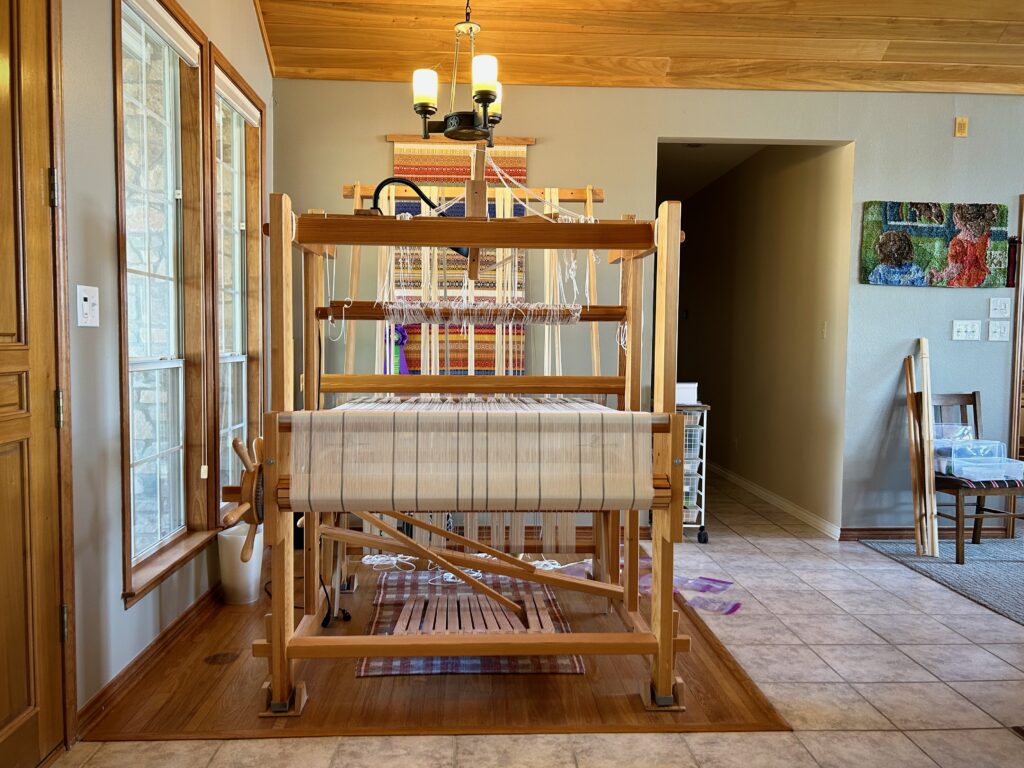
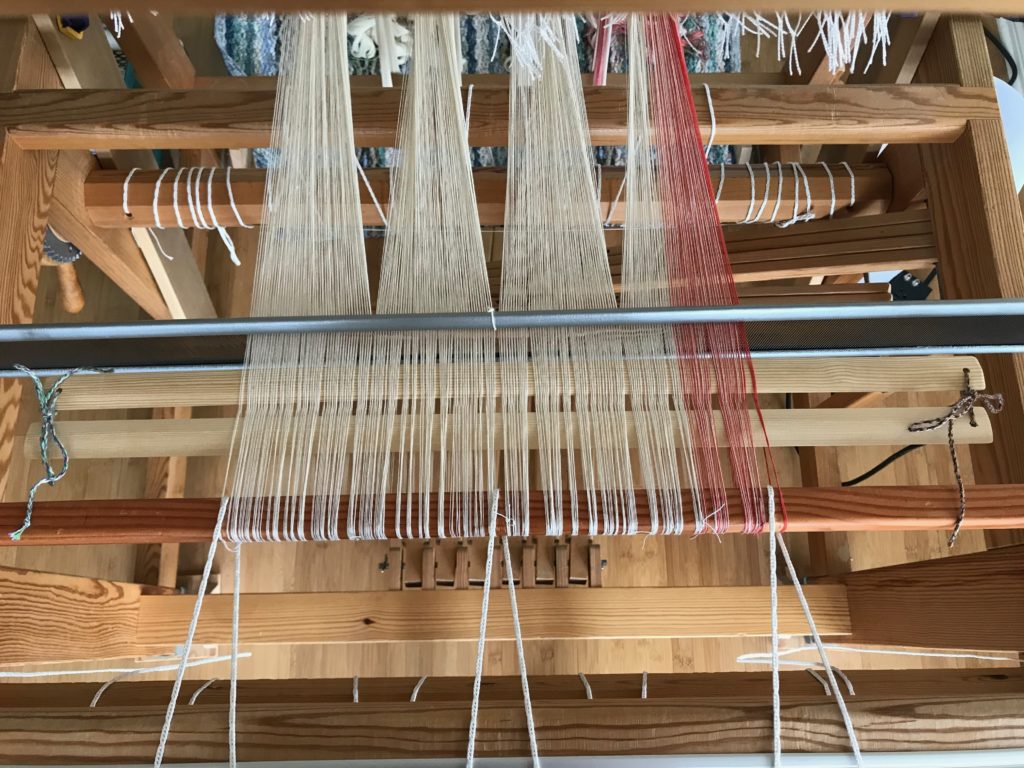
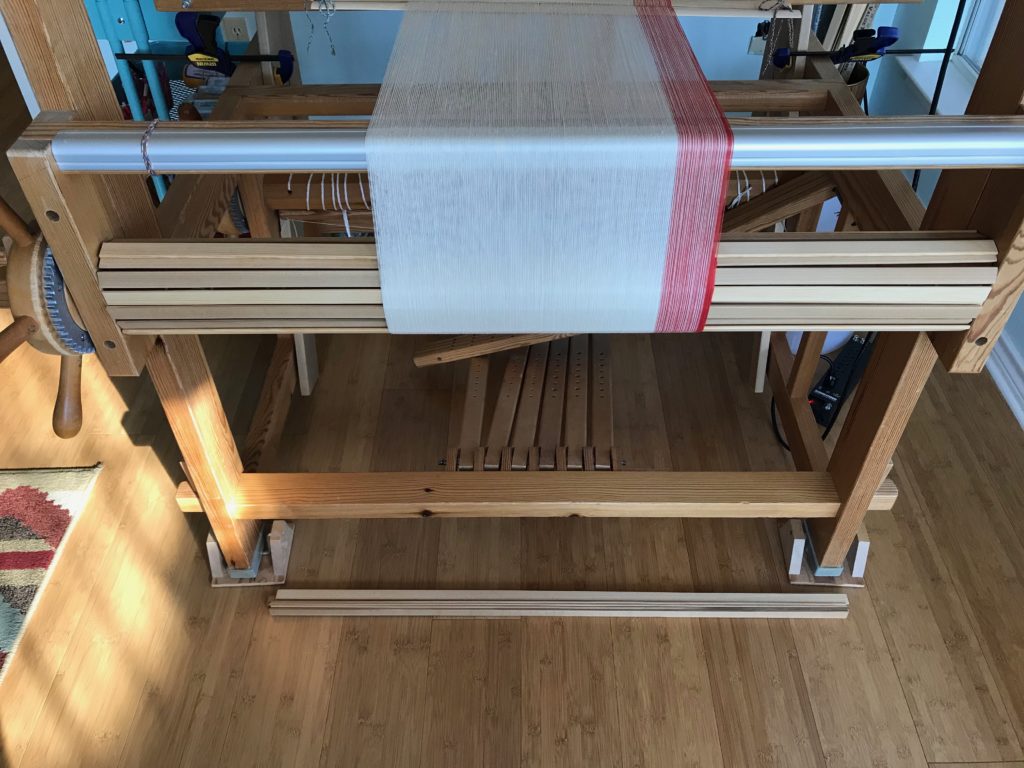
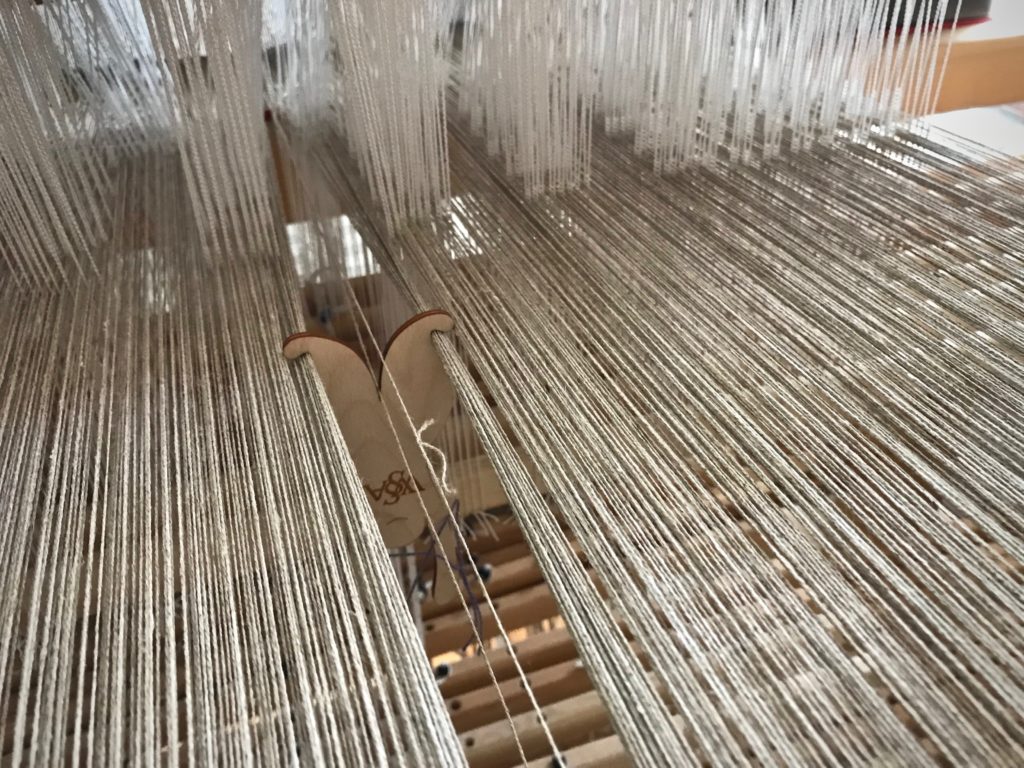
Now…everything is ready!
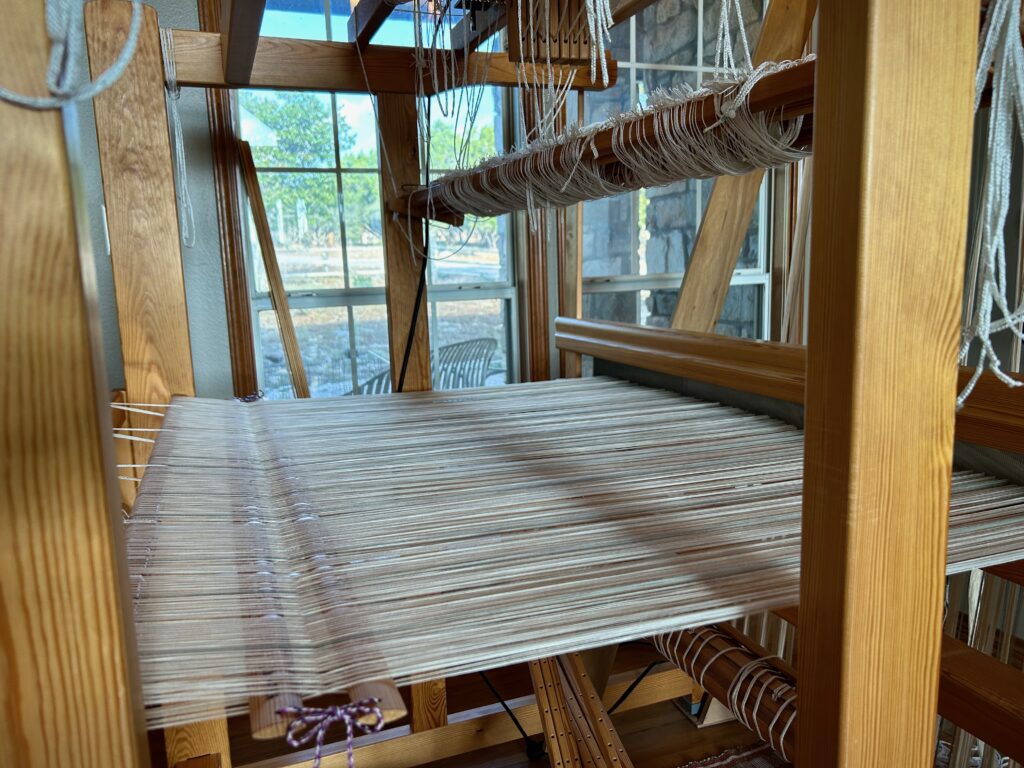
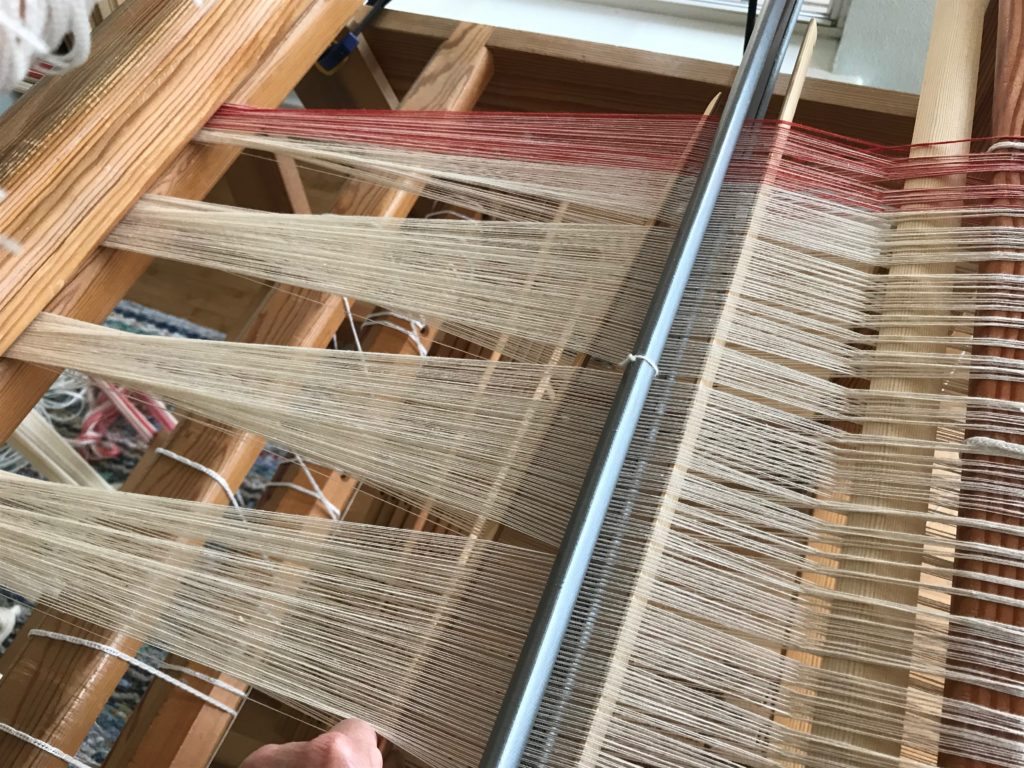
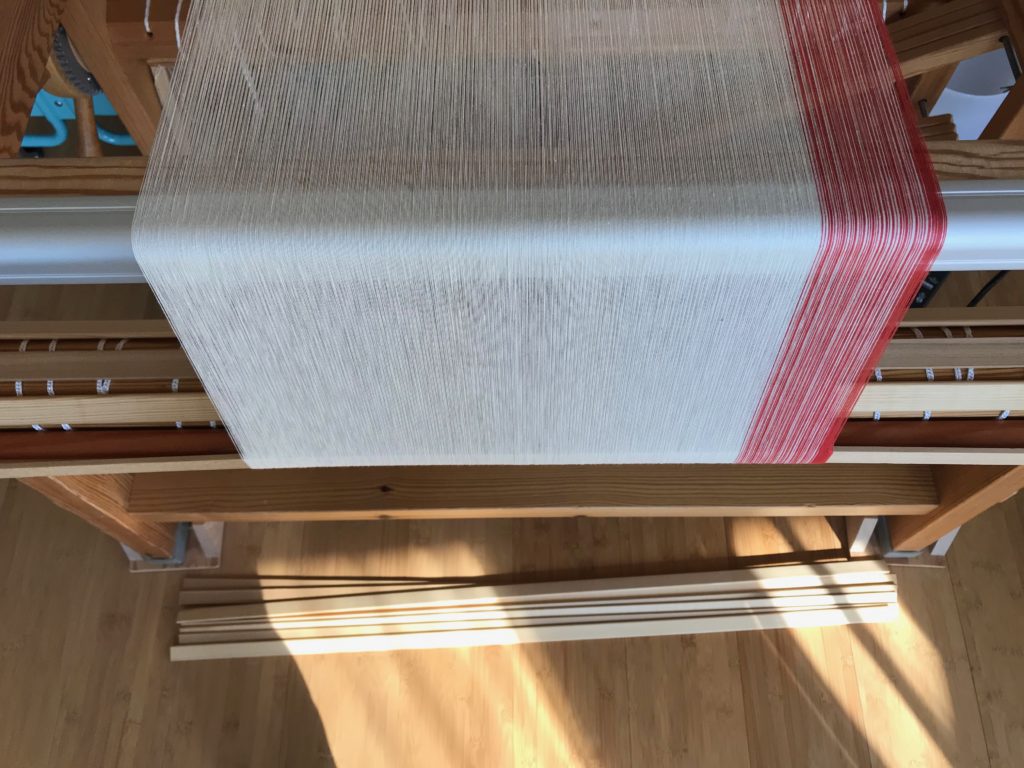
It’s working. Just look at that beautiful warp!

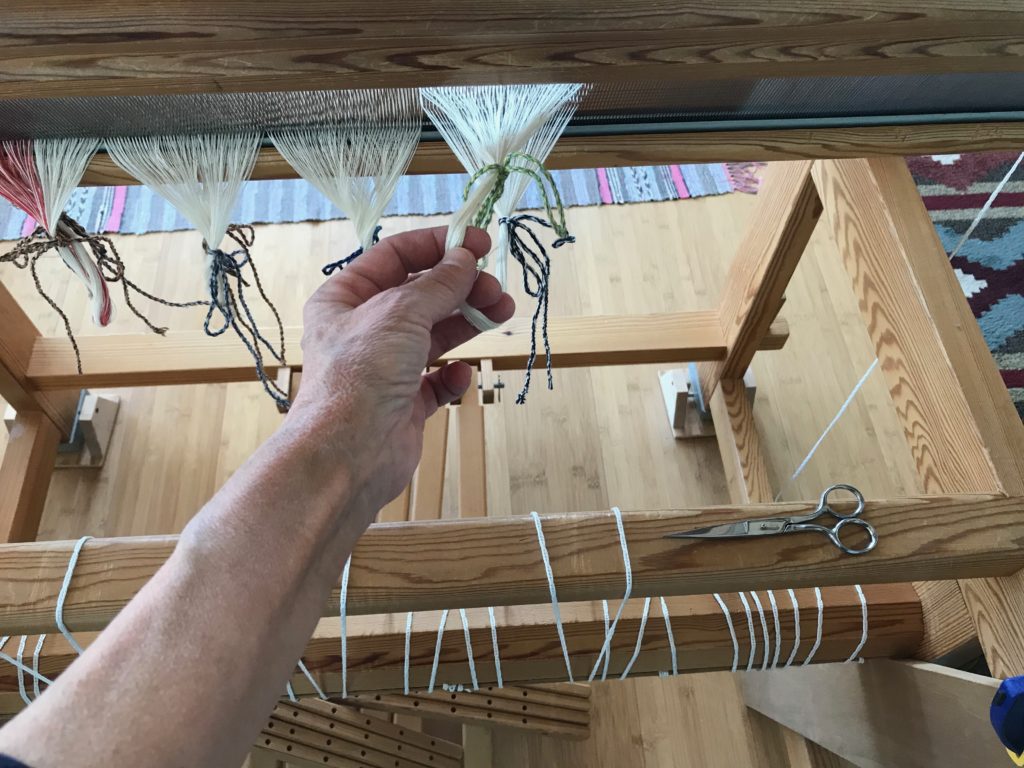
I have 1,984 ends to thread and sley. Then, I will be weaving almost full width! It’s exciting!

May you gain order out of a mess.

Happy Weaving,

Karen

Process Review: Beaming the Warp

I am making a new ‘cello skirt (a tiered skirt), starting from scratch. The warp is 24/2 cotton, most of it unbleached. Each tier will be edged with a narrow Poppy border. The pattern in the cloth will be a huckaback (huck lace) design, adapted from Little Tablecloth in Huckaback on p.10 in Happy Weaving from VävMagisinet.

Preparing to beam the warp.

Today, I’m beaming the warp. My method includes a combination of things I have learned from these three excellent sources: Learning to Warp Your Loom, by Joanne Hall, Dress Your Loom the Vävstuga Way, by Becky Ashenden, and The Big Book of Weaving, by Laila Lundell.

I’ll let the pictures speak for themselves.

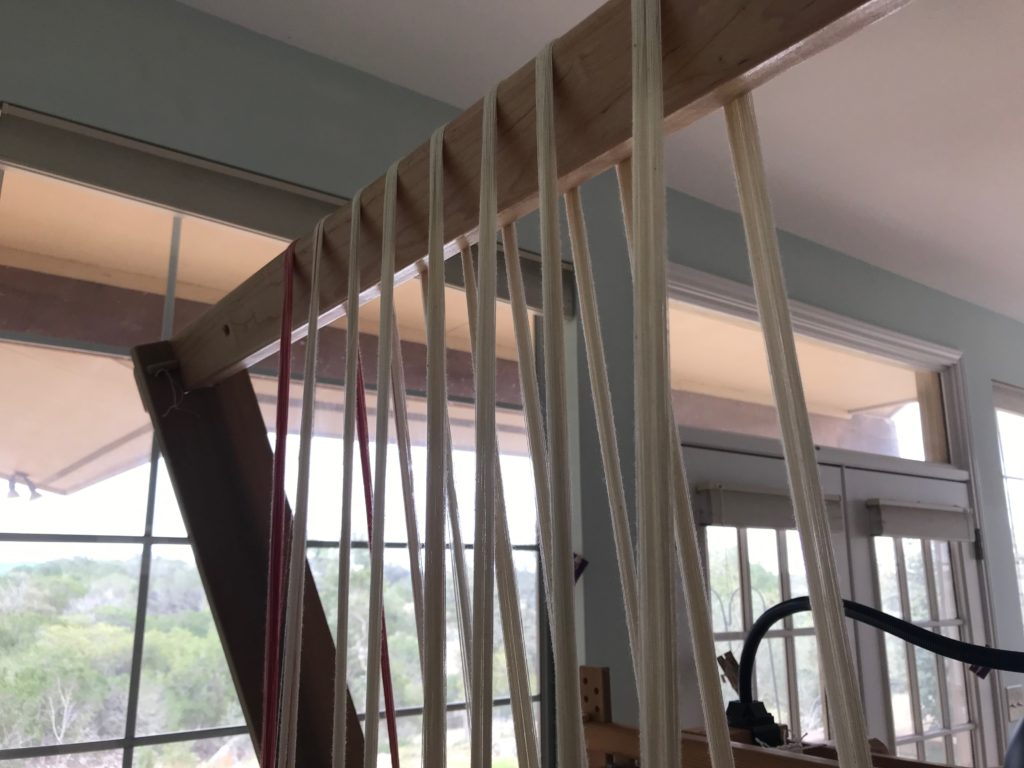
Using warping trapeze to beam the warp.
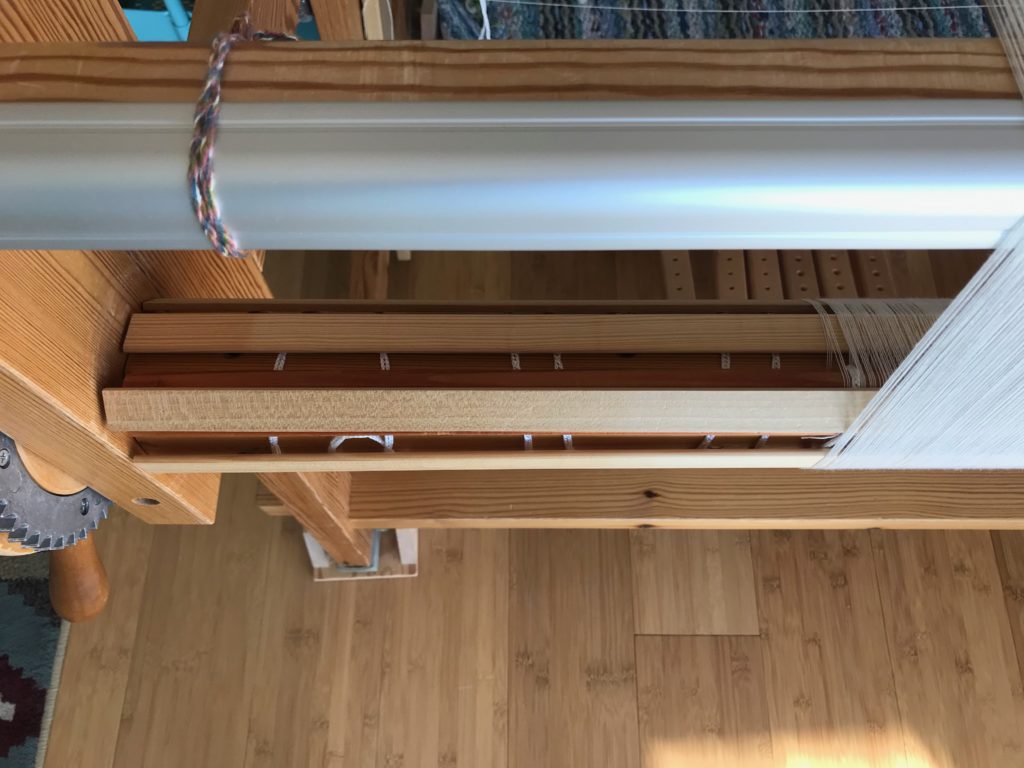
Transferring the lease sticks.
Transferring lease sticks.
Transferring lease sticks. Beaming.
Beaming a new warp.
Beaming the warp with a trapeze.
Warping trapeze in use.
Using warping slats.
Placing warping slats.
Beaming with warping slats.
Warping trapeze in use.
Warping slats for beaming the warp.
Last step in beaming the warp.
Tie the lease sticks to the back beam.
Lease sticks tied to back beam.
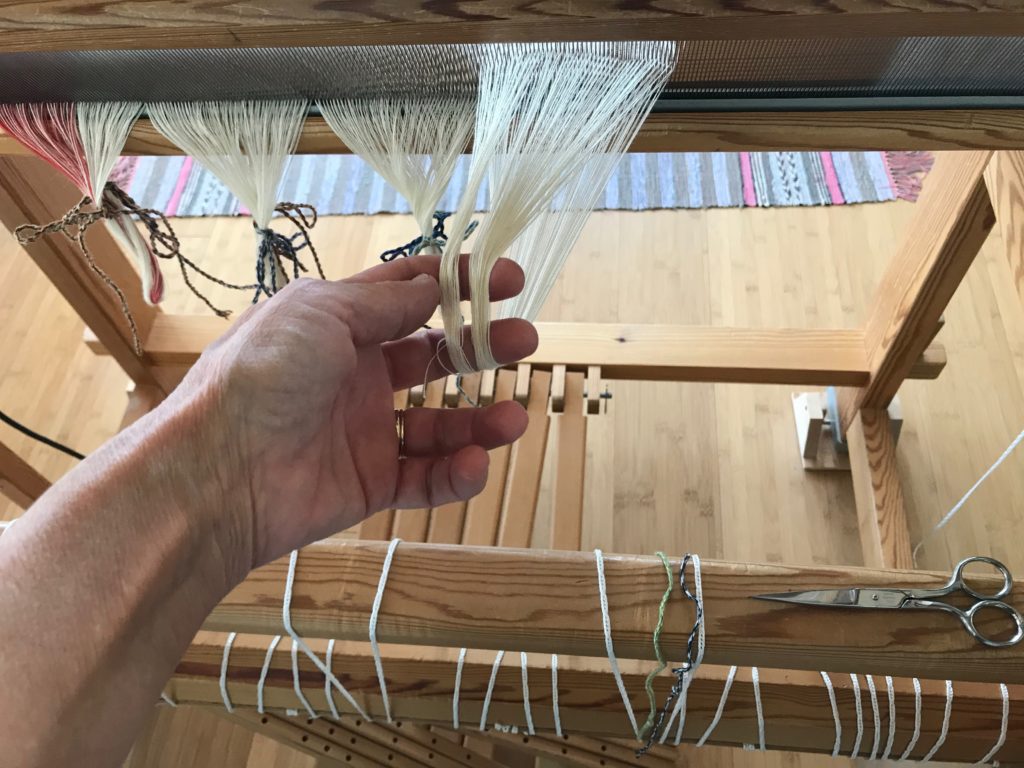
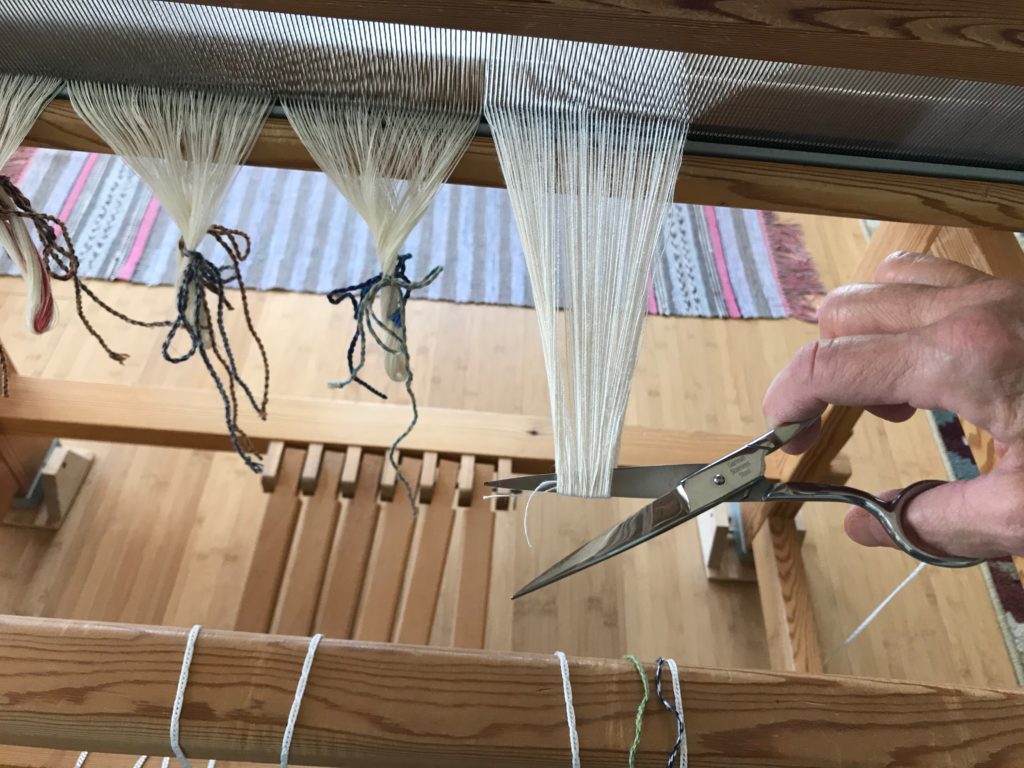
Ready to cut the end-of-warp loops.
Cutting loops at end of the warp.
Cutting the loops at the end of the warp.
Beaming a new warp.
All Counted into Threading Groups
Newly beamed warp. Complete process pictures.
Newly beamed warp ready for threading.
Beaming process in pictures.

Do you have any questions about my beaming process? If you warp back to front, like I do, what do you do differently?

May you find yourself beaming.

Happy Weaving,
Karen

Imagine Rag Rugs on the Drawloom

Rag rug weaving on the drawloom! I can only imagine the delight. In the meantime, the drawloom is getting dressed. It takes time to group the pattern heddles into units, add lingos, thread pattern shafts, thread eight ground shafts, sley the reed, move the ground shafts and pattern shafts to their positions, and tie on. After I finish all that I can think about adding all the single-unit draw cords and finish tying up. Whew!

Winding a warp for the next drawloom project.
Warping reel is in a corner of the drawloom studio. When not in use, the reel is folded up and pushed against the wall.
Warp chains of 12/6 cotton rug warp. Drawloom rag rugs!
Warp chains of 12/6 cotton rug warp.
Drawloom - rug warp is ready for threading.
Warp is beamed and ready for threading.

I became acquainted with the single-unit drawloom at Joanne Hall’s studio (see Drawlooms in Montana), but this is my first go at it on the drawloom in my studio. Because of the reward that awaits, I will gladly tackle all the tasks of dressing this loom. Weaving rag rugs on a drawloom will be phenomenal!

Pattern heddles and weights for prepping the drawloom.
Pattern heddles are hanging on the breast beam for grouping into pattern units. A lingo is hung on each unit.
Threading the drawloom.
Pattern heddles have been threaded. You can see the lingos hanging below. Ground heddles are now being threaded. Straight draw threading on eight ground shafts.

Joy sees hidden treasure. We go to great lengths to unearth high-value treasure. Jesus did this, seeing us as the reward. That’s what Christmas celebrates. Jesus left his splendor in heaven to come to earth as a baby. He entered this world and endured the worst because of the joy set before him. He did it all for the joy of having us in fellowship with God. We come to him and find that we are the Grand Weaver’s reward.

May your joy be full.

Joy to you,
Karen

Tools Day: Eliminating Warp Knots

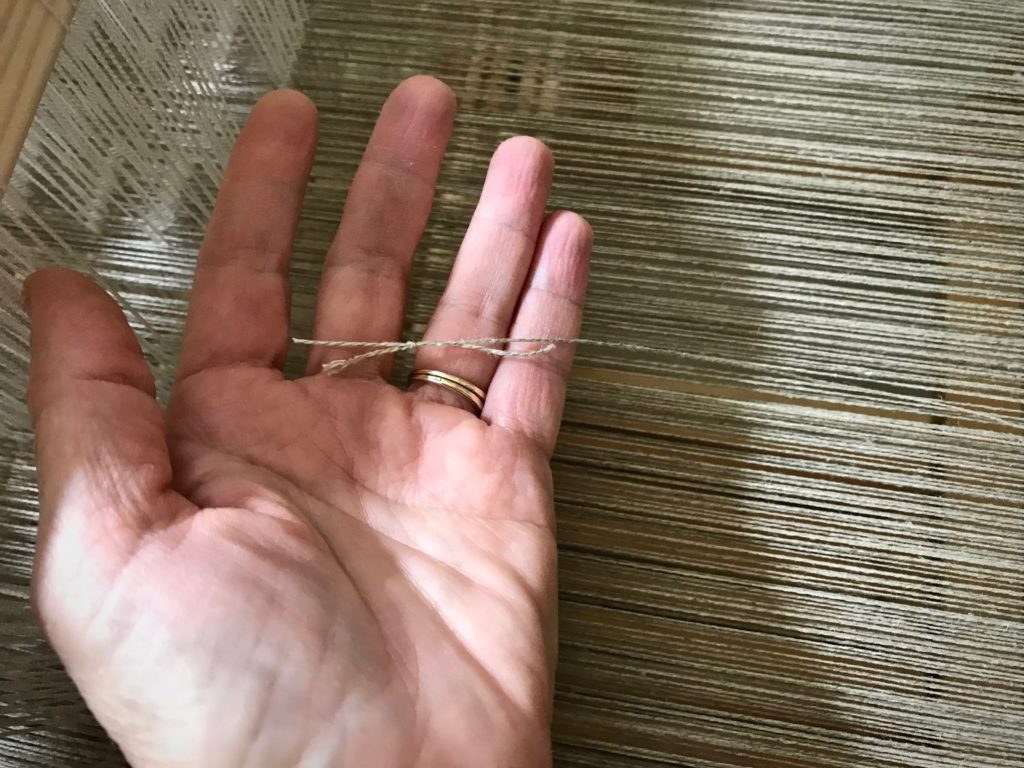
You are not going to believe how many knots I came across in this 16/2 linen warp! Too many. As I wound the warp I made the decision to leave most of the knots, and deal with them on the loom. (I did remove knots that were close to the beginning or ending peg on the warping reel.) I lost count, but I’m sure I have spliced the warp on this five-and-a-half-meter project at least a dozen times. (To see more details about how I splice the warp, visit this blog post and video: How To Splice the Warp – Video.)

I do not weave over warp knots. A knot introduces a spot of vulnerability to the fabric. Knots can fray, loosen, or come undone over time, even if the knot is originally imperceptible.

In a couple instances, a knot distorted the tension of the warp end because of catching on a heddle or passing through the reed. For that reason, I now try to eliminate knots in the warp before they reach the heddles.

Tool: Warp Separator

  • Identify the warp end that has a knot, and insert the warp separator between warp ends to isolate the thread.

Warp separator to isolate warp with knot.

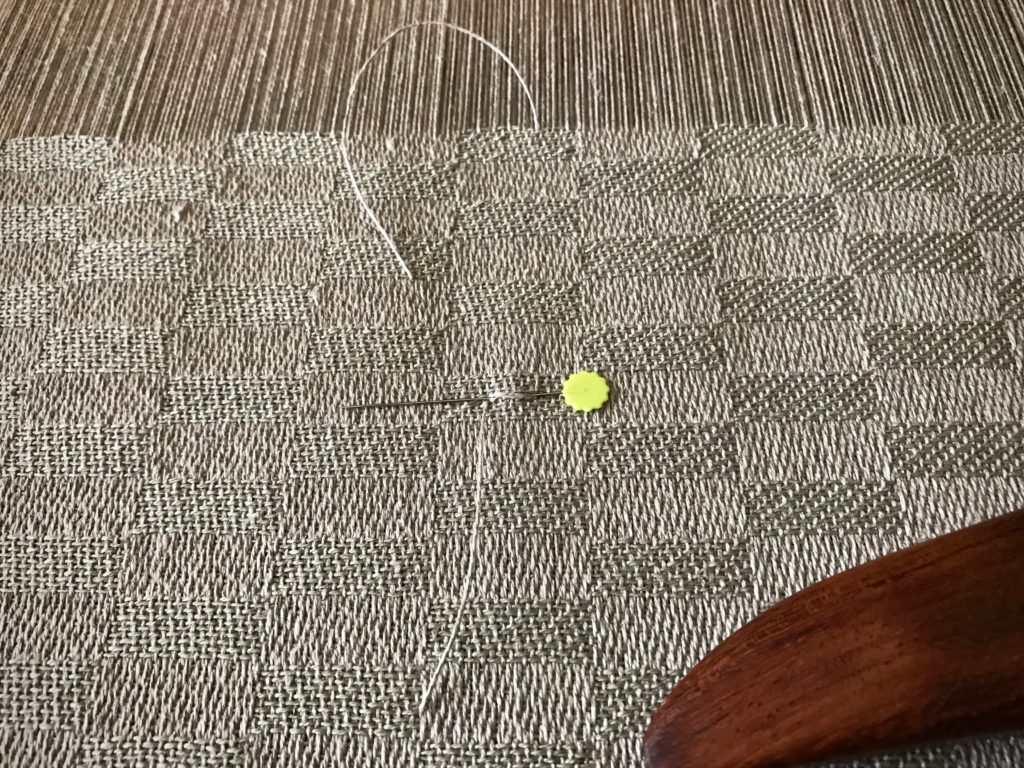
  • With a length of repair warp thread, follow the path of the original thread to splice in the new warp end, feeding it through the heddle of the original warp end.

Warp separator to isolate warp end with knot.

  • Bring the repair warp thread through the reed in the same dent as the warp end that has a knot.

Eliminating a warp knot.

  • Attach the repair warp thread near the fell by wrapping it around a flat straight pin.

Splicing a warp end.

  • Remove the warp separator from between the warp ends.

Warp separator for repairing a warp end.

  • Place a weight on the floor below the back beam. Wrap the repair thread around the weight two or three times to hold the thread at tension that matches the rest of the warp. Loosen the wrapped-around thread before advancing the warp, and then re-tighten before resuming weaving.

Splicing warp ends.

  • Weave one to two inches with both the original warp end and the repair warp thread in place.
  • Then, cut the original warp end with the knot (behind the heddles) and let it hang over the back beam.

Cutting a warp knot behind the reed.

  • The original and replacement warp ends overlap in the weaving for about one to two inches.
  • Remove the straight pin when it reaches the breast beam.
  • Re-attach the original warp end when it is long enough to secure in front of the fell line with a flat straight pin.
  • And then, cut and remove the replacement warp thread.
  • Trim all the spliced warp tails after wet finishing.

Spliced warp end to eliminate a knot in the warp.

Warp separator guy, ready to jump in and help!

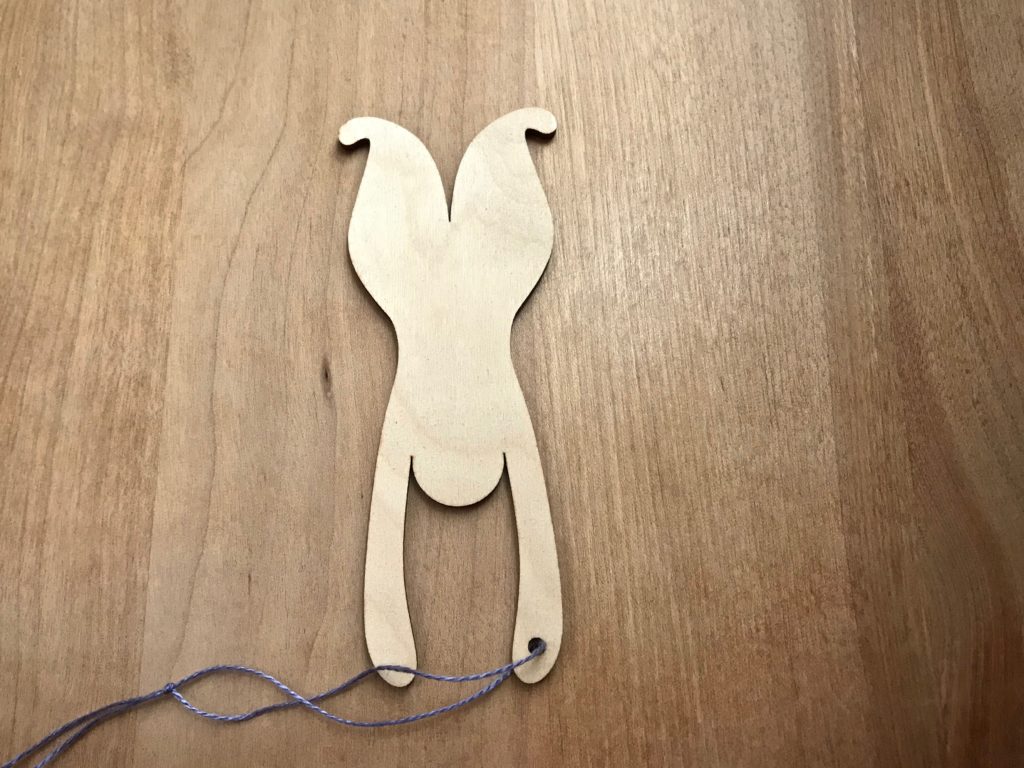
This warp separator was a gift from The Weavers and Spinners Society of Austin, included in the goodie bag from last summer’s Contemporary Handweavers of Texas Conference. It would not be hard to make a warp separator like this from wood or sturdy cardboard. I have not been able to locate a supplier online.

If you know where to find a warp separator tool, please put a link in the comments.

May you have very few warp knots.

All the best,
Karen

Quiet Friday: Warping Back to Front with Confidence

“Put on many short warps.” This was the best piece of advice I received as a new weaver! Repeated practice of the back-to-front warping steps accelerated my confidence at the loom. If I can get it on the loom, surely I can weave it, right? When you are comfortable dressing the loom, you start feeling like a “real” handweaver. And before you know it, you are planning, designing, and weaving. And having the time of your life!

Tips for Preparing the Warp for Beaming

  • Wind the warp with two (or more) threads, separated by your fingers to keep them from twisting. This virtually eliminates tangles during the warping process.
  • Wind multiple bouts, when needed. The rule of thumb I use is to stay under 200 ends or 10 inches. Smaller bouts equalize the tension across the width of the warp.
  • Tie tight choke ties about every yard or meter along the warp before chaining it. This keeps the warp ends from shifting.
  • Keep the warp under constant, even tension. Threads can get into trouble if you let them relax.

Warping Back to Front

1 Lay warp chains across the breast beam, and through the beater, with the lease cross of each warp chain on the other side of the beater.
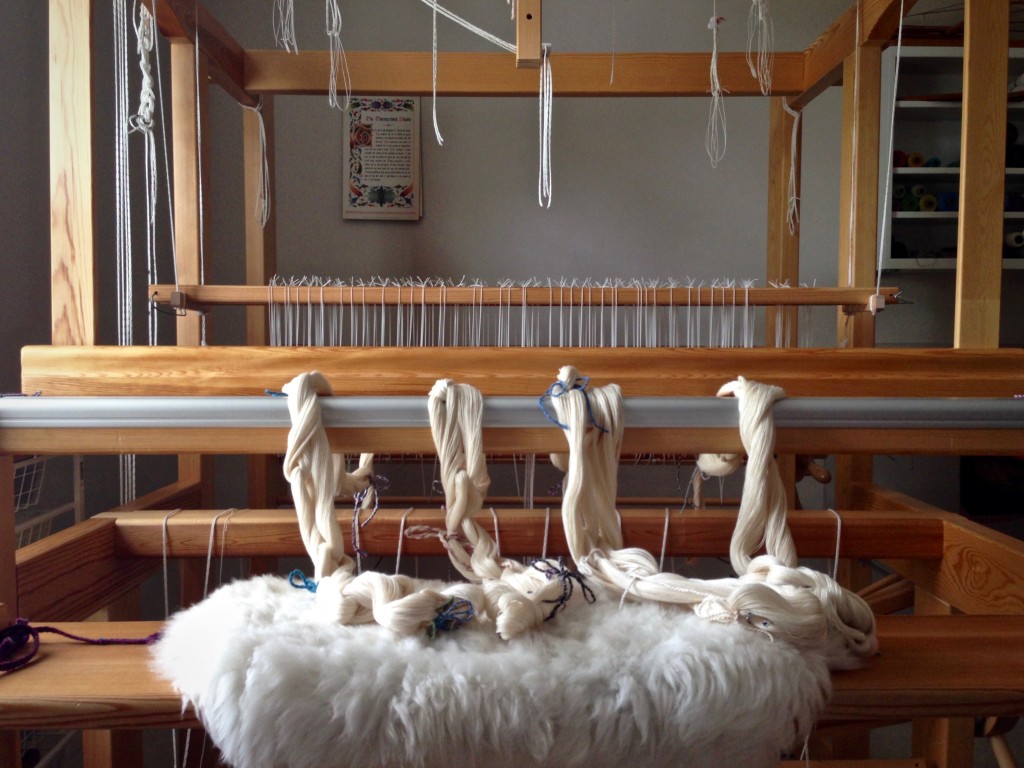
Warp chains ready for warping the loom back to front.

2 Raise the shafts out of the way, and place support sticks over the beater and the back beam to hold the lease sticks and the pre-sley reed. Thread the lease sticks through the cross of each chain. Lease sticks in the picture are being tied together.
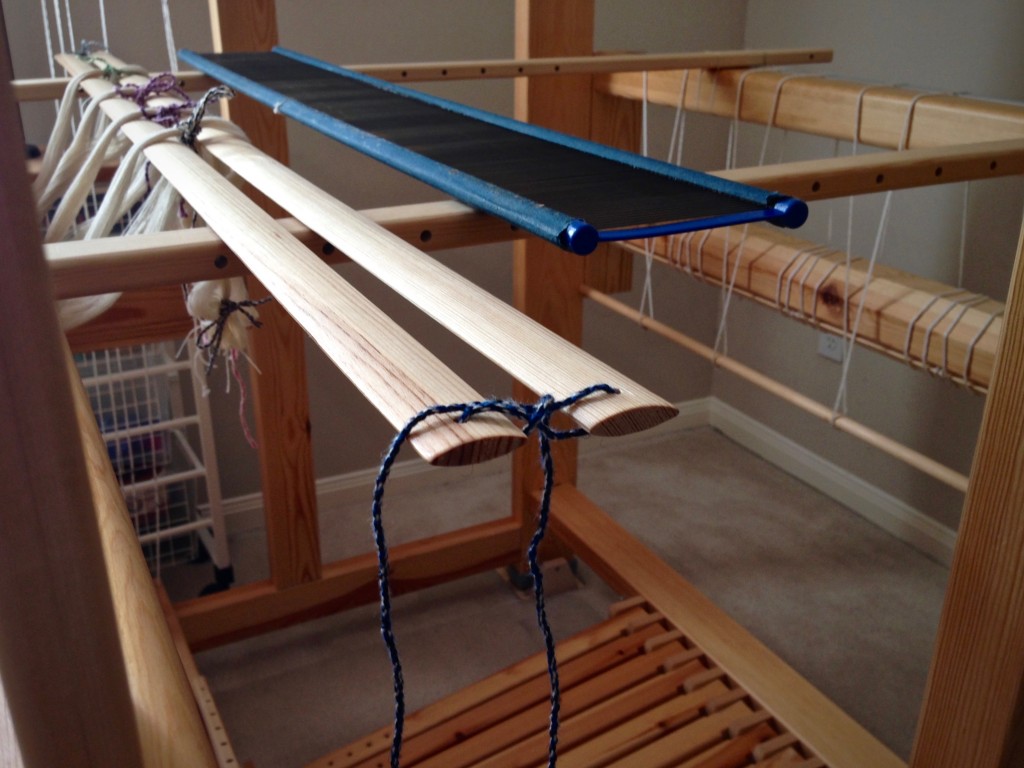
Tying lease sticks during warping process. B2F warping explained.

3 Use tape measure and reed hook to mark the starting dent for pre-sleying the reed.
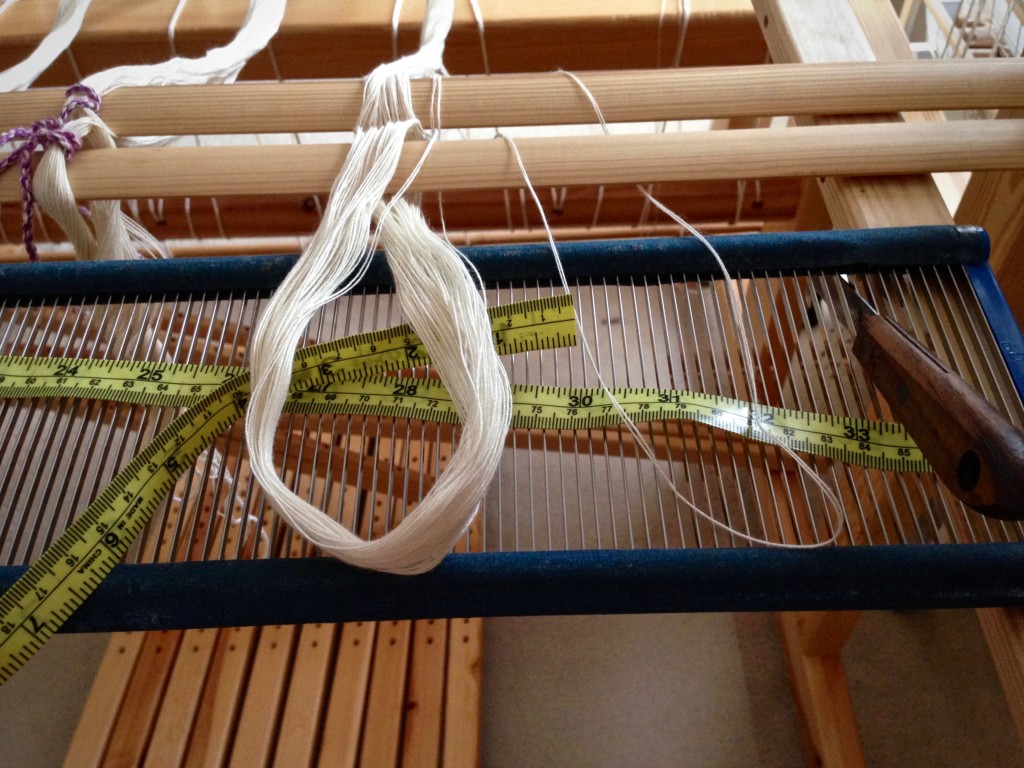
Pre-sleying the reed in back to front warping.

4 Divide warp into sections corresponding to the cords on the back tie-on bar. Insert the tie-on bar through the loops that form at the end of the warp.
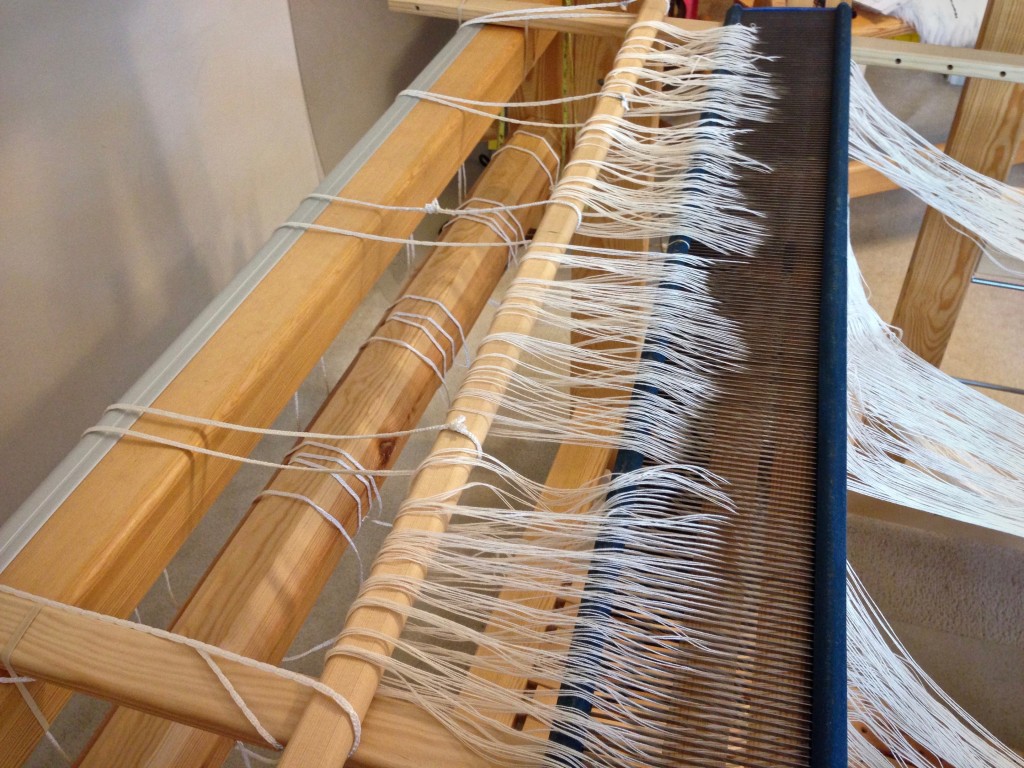
Insert tie-on bar while warping back to front.

5 Install the warping trapeze at the front of the loom, or use another method to extend the warp and weight it. Texsolv cord is connected to the end of each warp chain to extend the length. (This is a 3.5 meter warp–not long enough to go over the trapeze cross bar.) Weights are suspended from the texsolv cords with S-hooks.
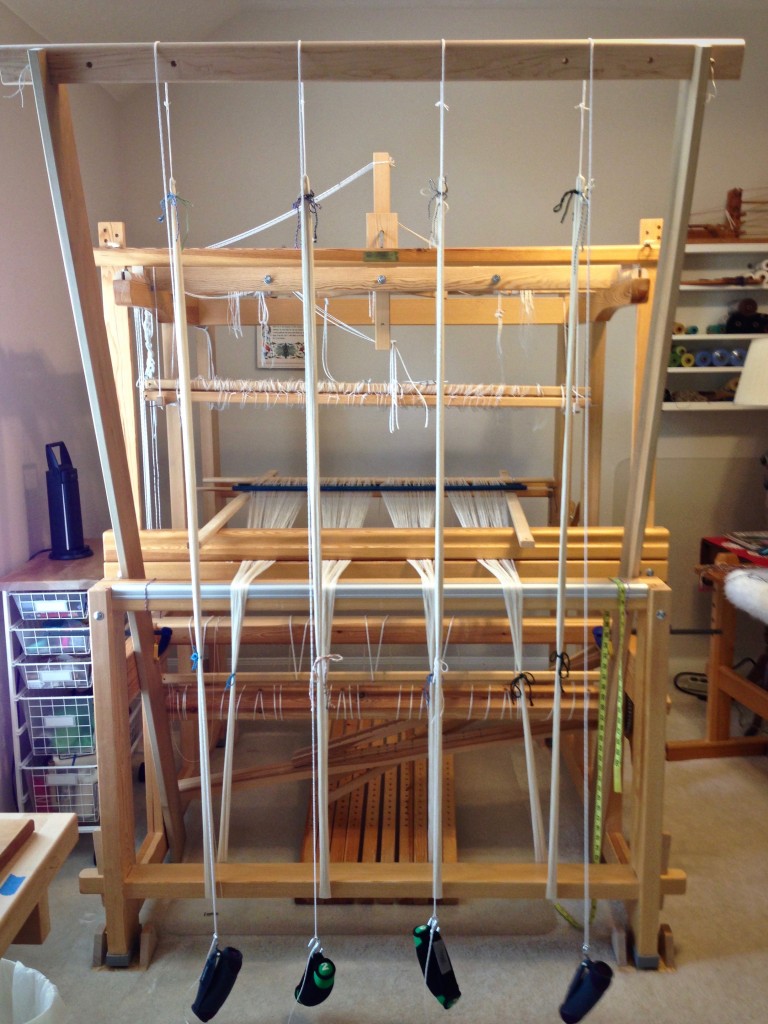
Adjusting the warp on the warping trapeze.

6 Transfer the lease sticks from in front of the reed to behind the reed. This is a gutsy way of transferring lease sticks. (Please don’t try this method unless you read about it first in Becky Ashenden’s book, noted below.)
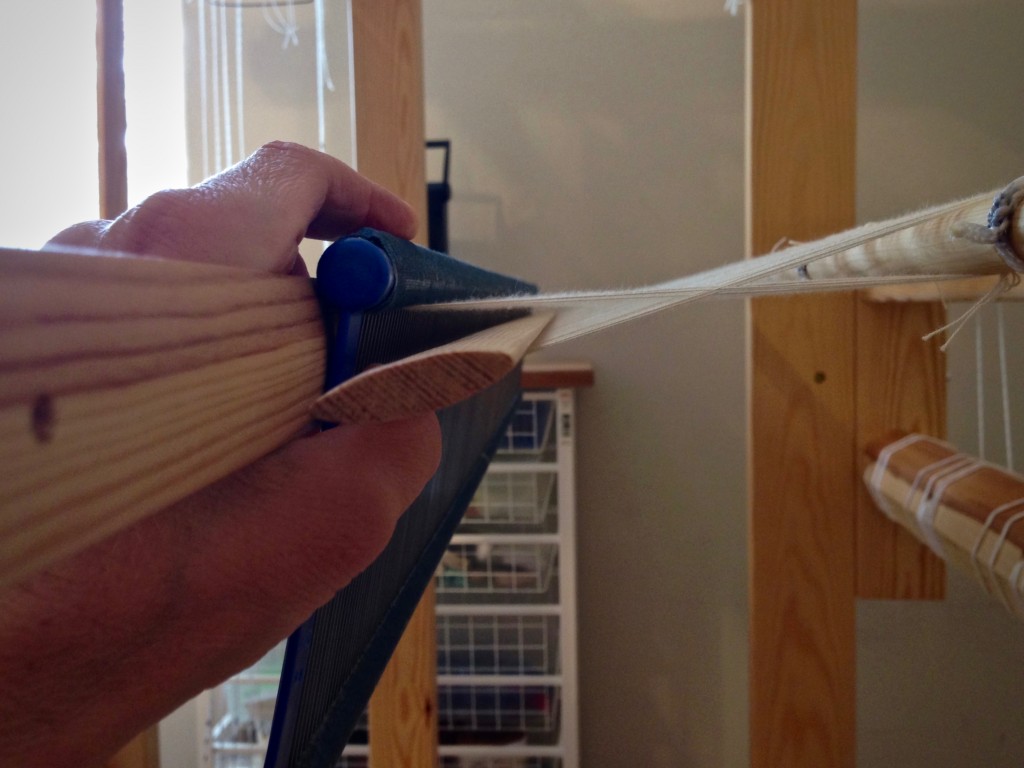
Transferring lease sticks like this takes guts!

7 Straighten out each warp end from the reed to the back tie-on bar.
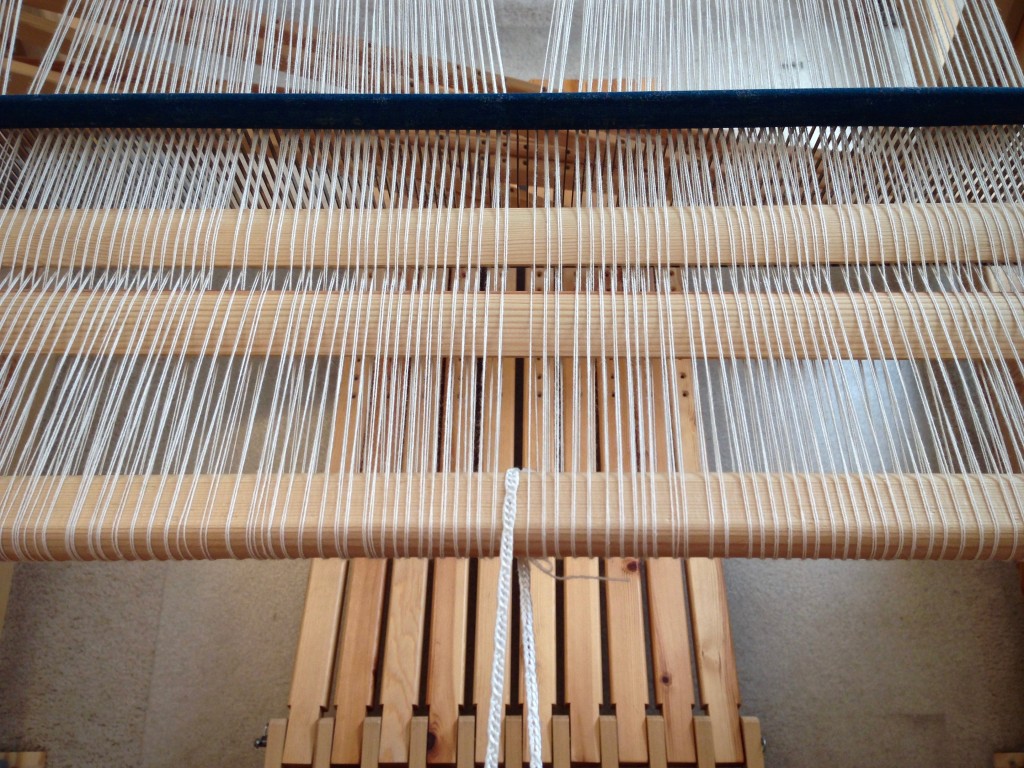
Winding on a new warp. Back to front warping pics.

8 Place the reed in the beater. Center the reed in the beater.
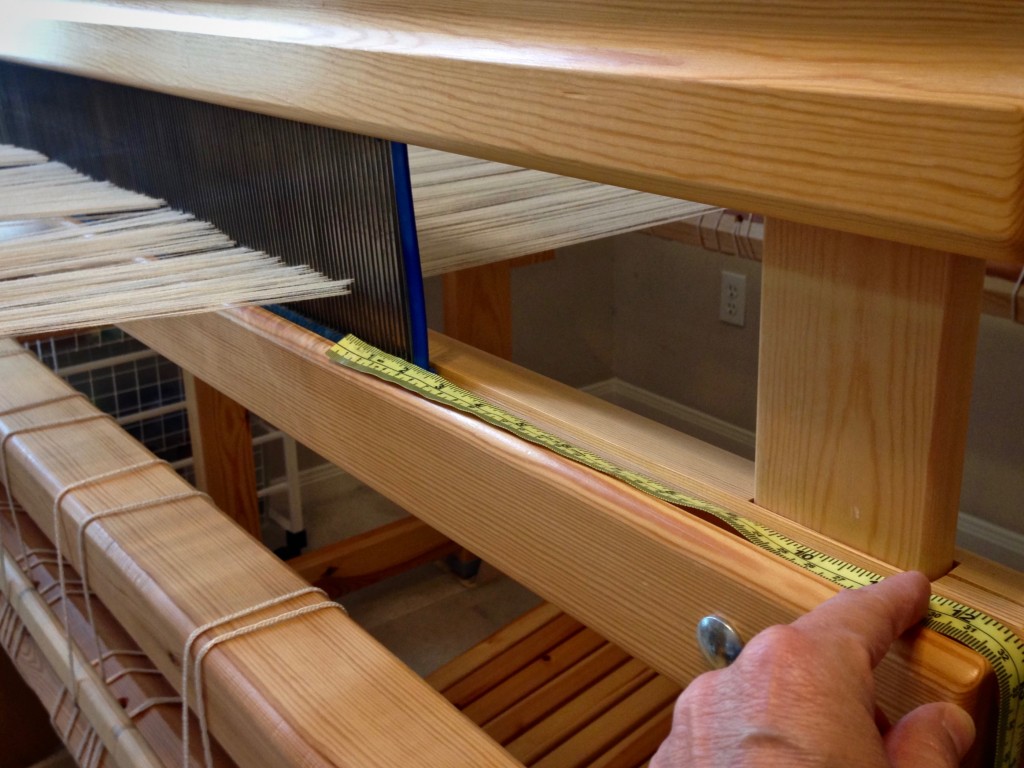
Placing the reed in the beater.

9 Remove choke ties between the beater and the trapeze cross bar, but do not remove choke ties from the very end of the warp. Starting at the reed, separate each warp bout in the middle.
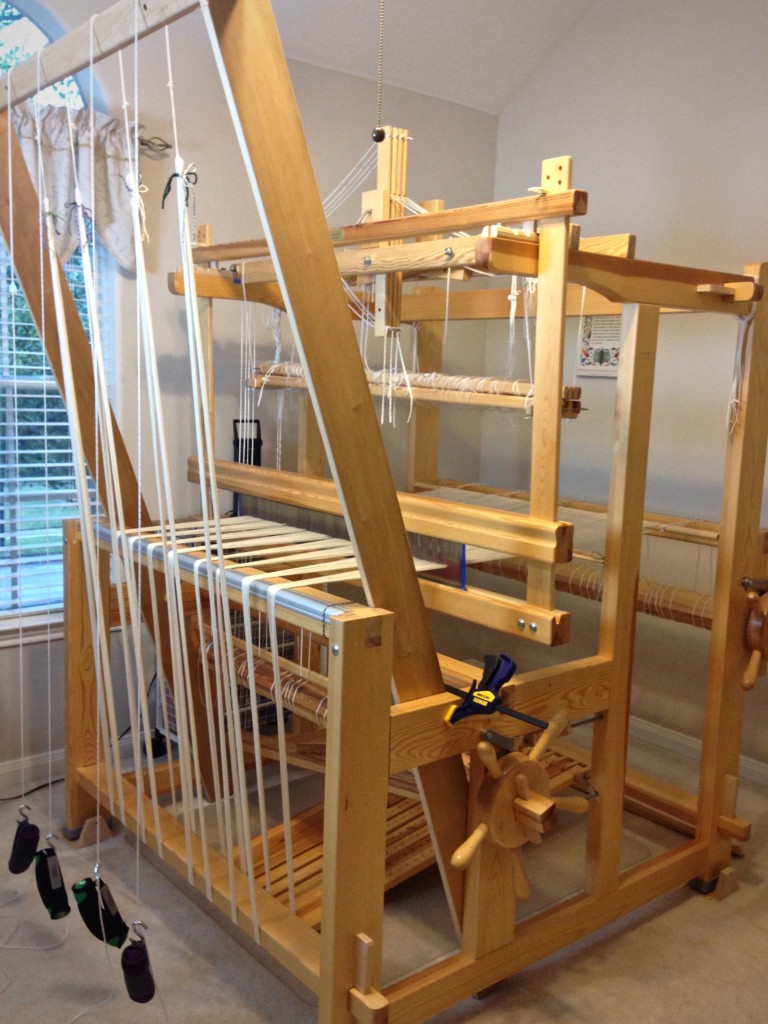
Warping trapeze in use for warping Glimakra Standard.

10 After sliding lease sticks toward the reed, wind the warp onto the beam. Place a warping slat on each flat side of the warp beam for one revolution. (Octagonal beam uses eight sticks.) Advance weight at the front of the loom as needed. After two additional revolutions of the beam, add warping slats for one revolution again. Continue this pattern as beaming progresses.
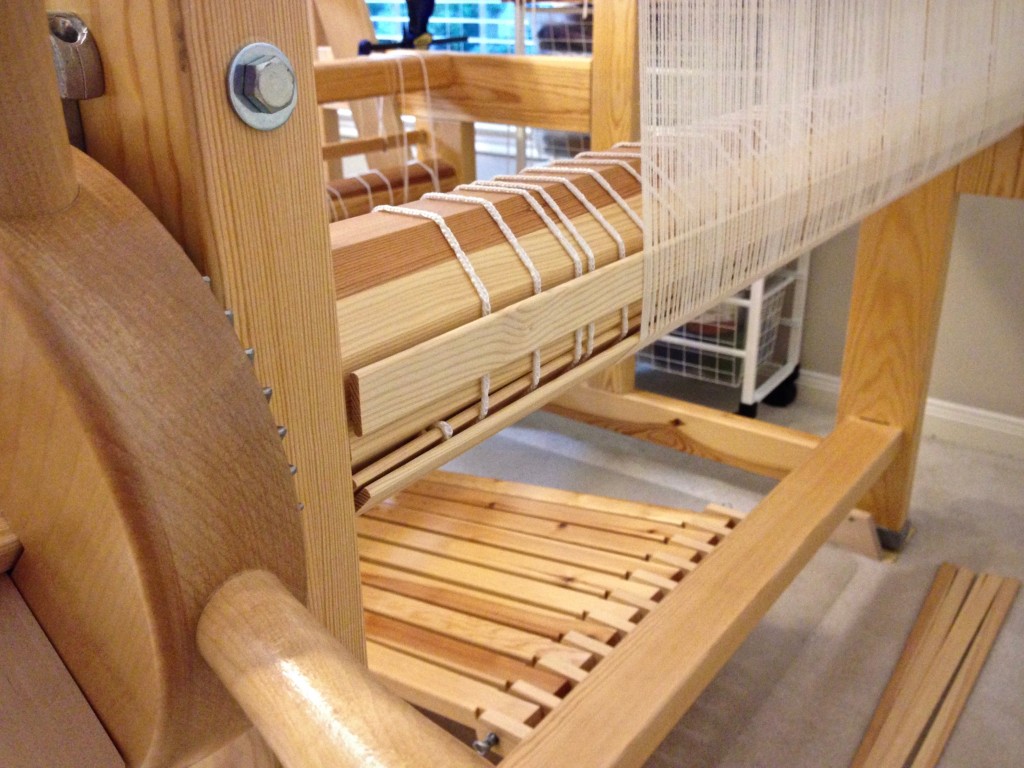
Warping slats during beaming. Beaming tutorial.

11 Tie beater back to allow a little more warp to be wound on.
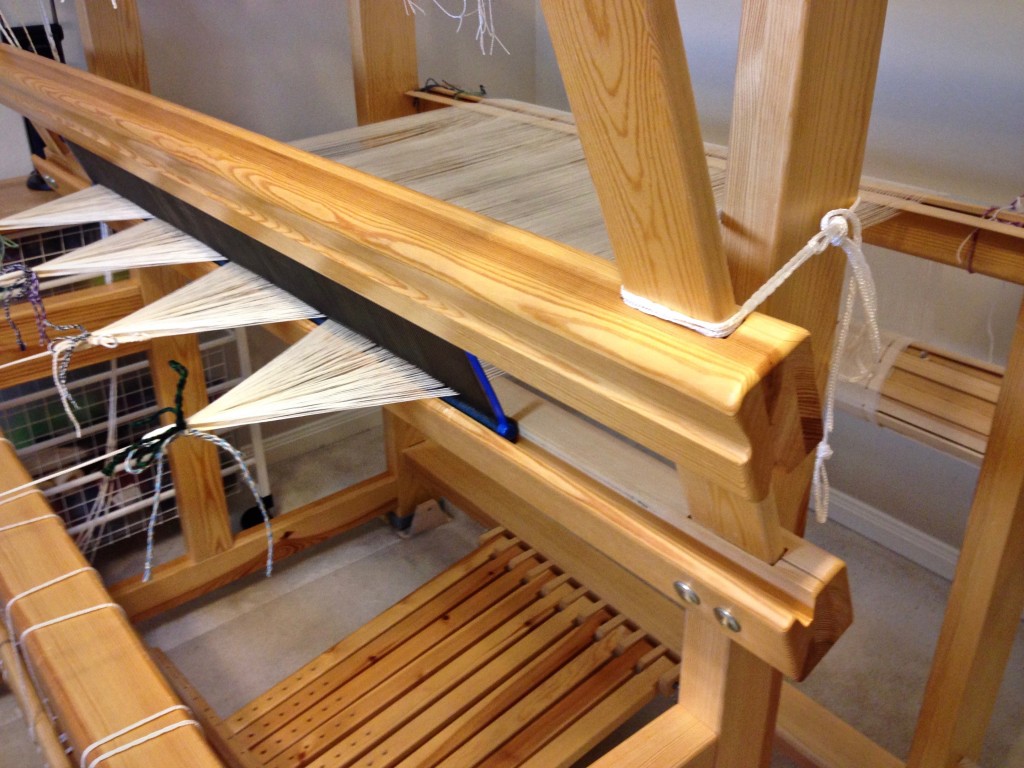
Finishing up beaming the warp.

12 Tie lease sticks to the back beam. Do not forget this step!
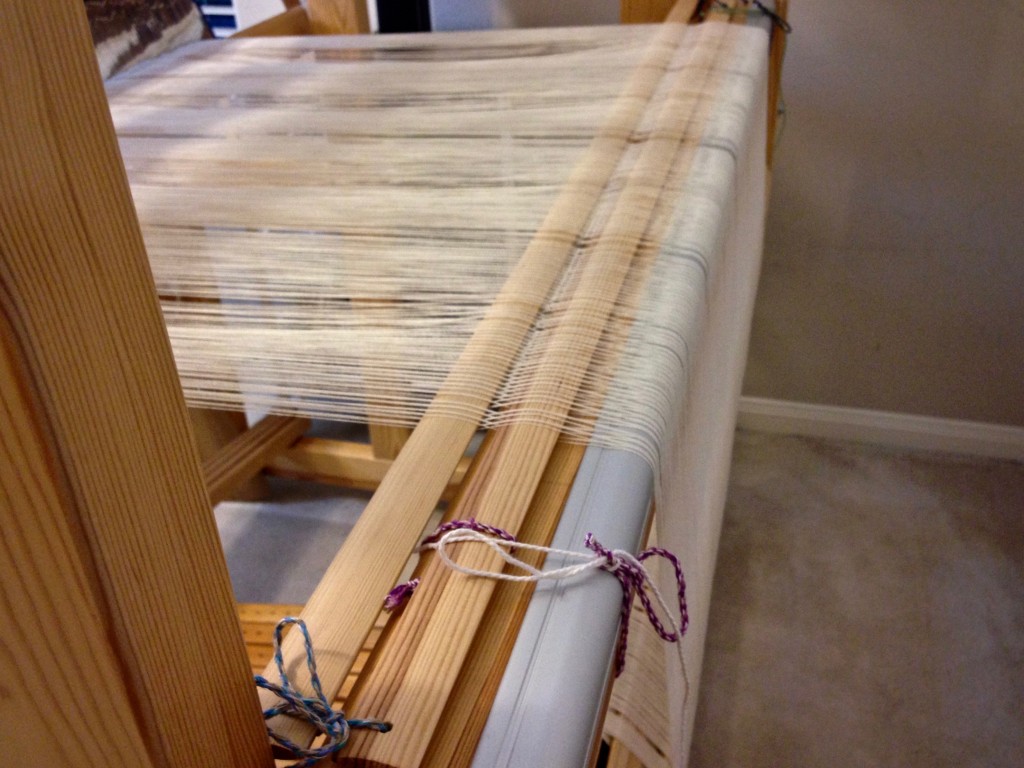
Tie the lease sticks to the back beam before cutting the ends.

If you missed step 12, do it now, or you will be yelling for help as you try to hold the cut ends with one hand while trying to keep the lease sticks from slipping out with your other hand. I speak from experience.

13 Loop the end of the warp chain around your hand, and then remove the remaining choke ties. Cut the loop.
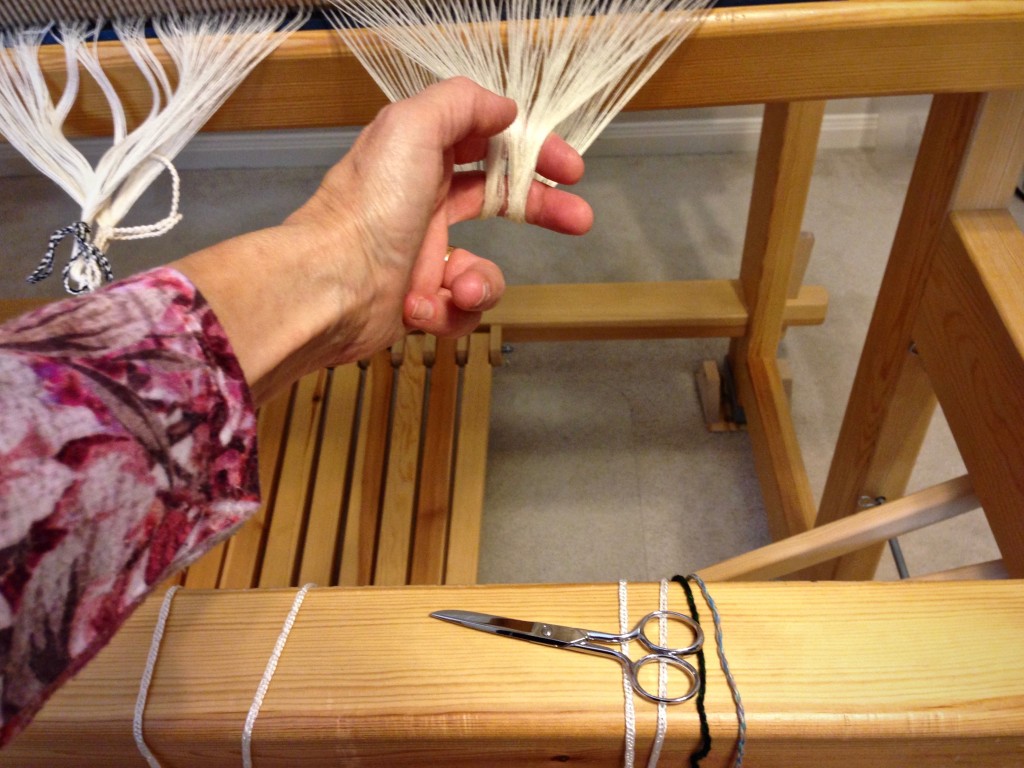
Cutting ends after beaming the warp.

14 Remove a group of warp threads from the reed and tie in a loose slipknot. Continue across the warp. Remove the reed.
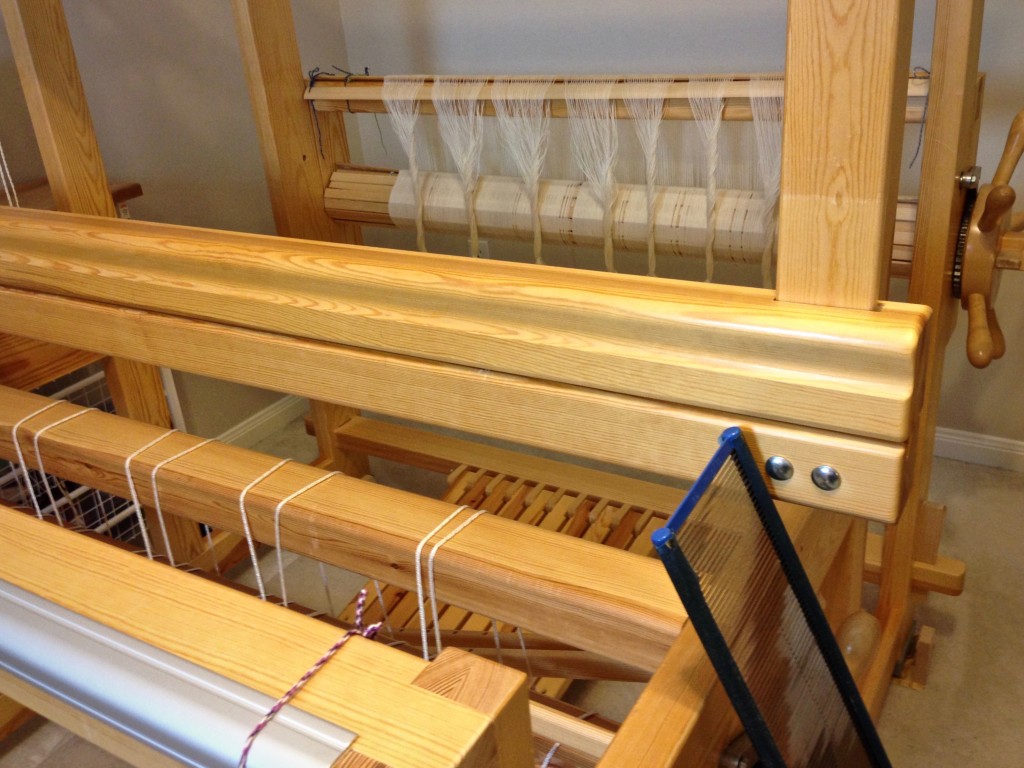
New warp of 16/2 cotton for monksbelt on weft rep.

15 Use the threading draft to count the warp ends into threading groups, tying each grouping with a slipknot.
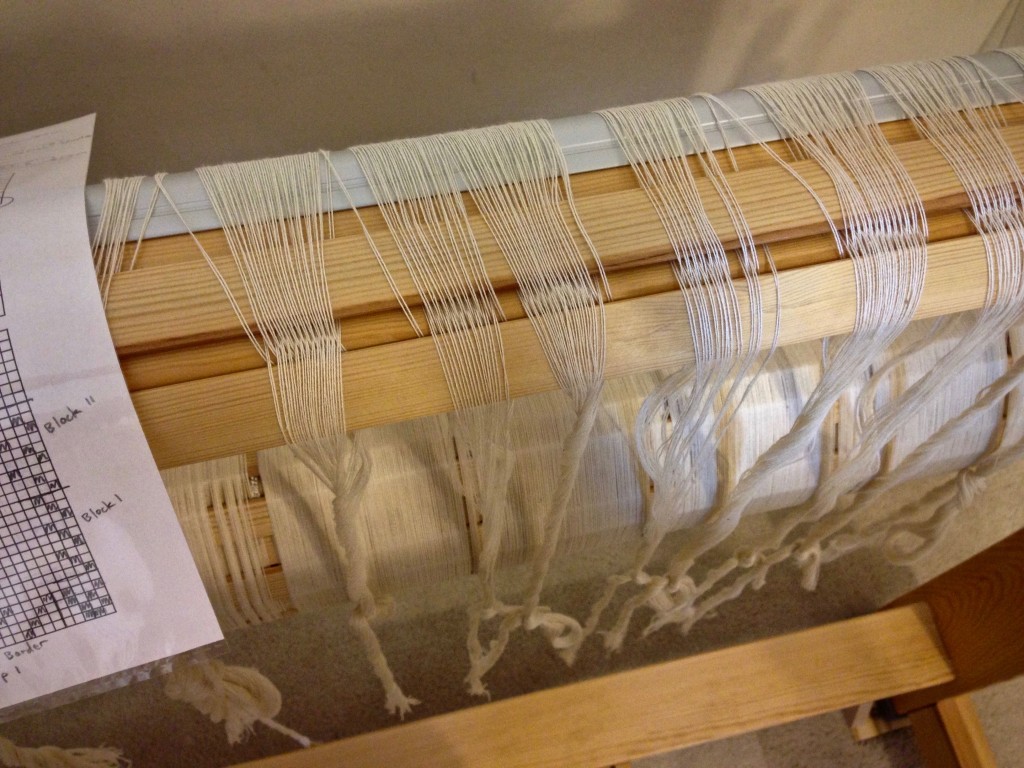
Grouping warp ends before threading.

16 Adjust the loom for threading. For this Glimåkra Standard loom, I move the countermarch assembly to the back of the loom, put the bench in the “playhouse,” and lower the shafts for threading.
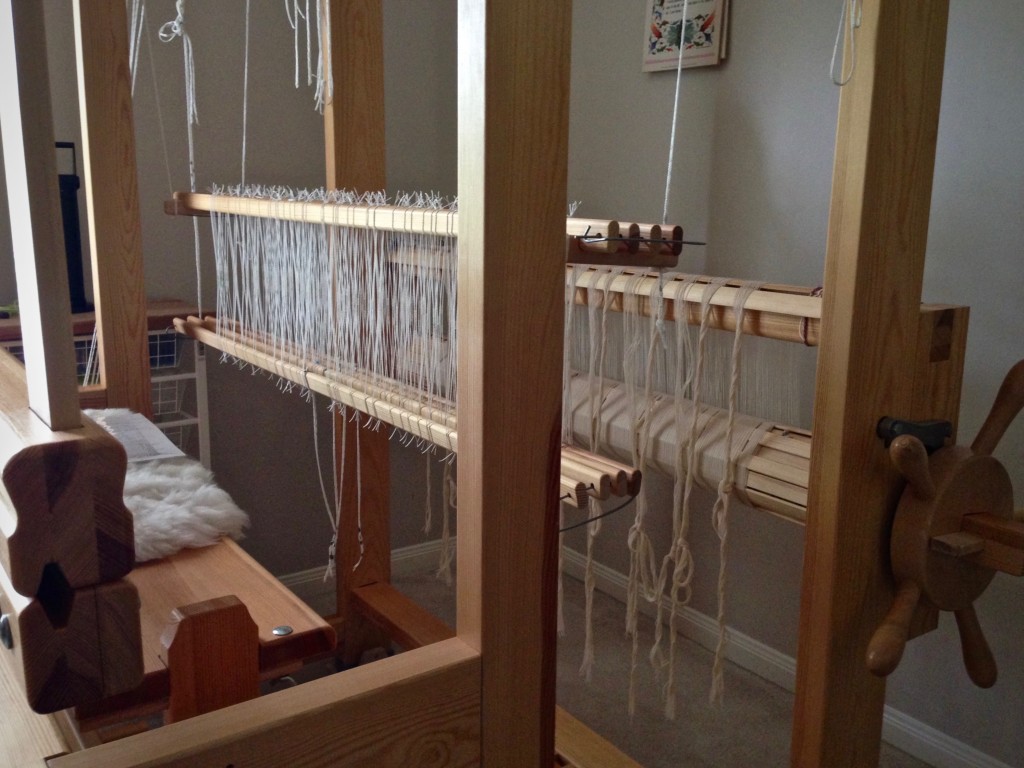
Bench "in" the loom for threading. Glimakra Standard.

For more thorough instructions about warping your loom, please consult these excellent resources:

  • Dress Your Loom The Vävstuga Way, A Bench-Side Photo Guide, by Becky Ashenden
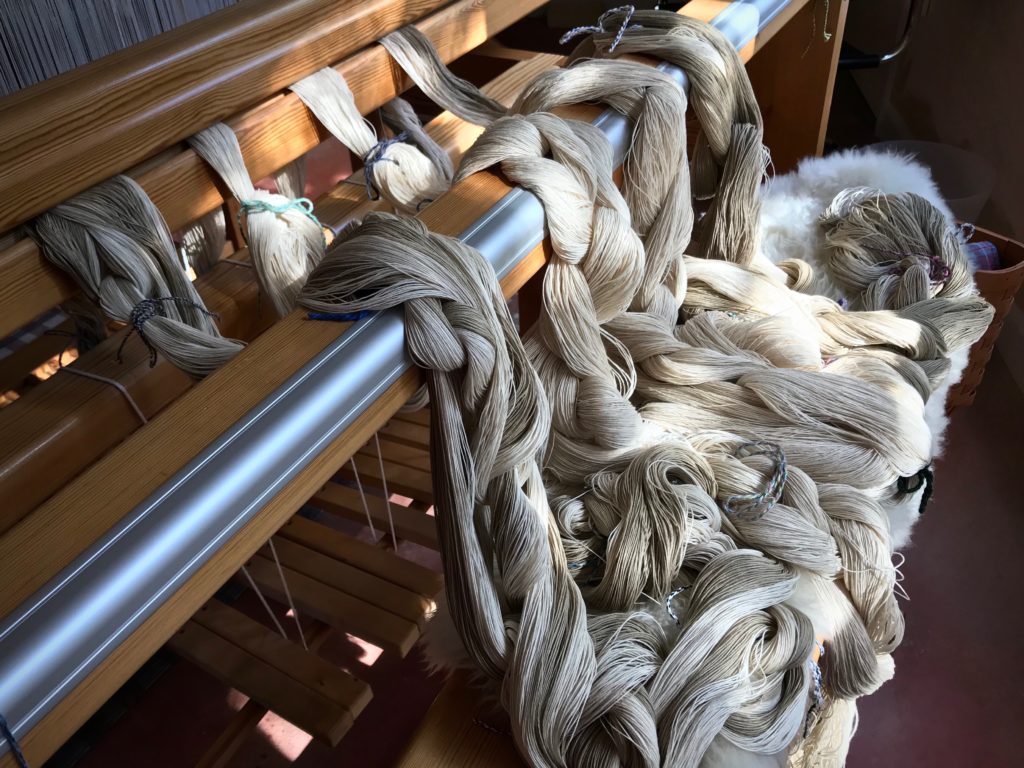
  • Learning to Warp Your Loom, by Joanne Hall
  • The Big Book of Weaving, by Laila Lundell

May you find yourself beaming, inside and out.

Resurrection blessings,
Karen