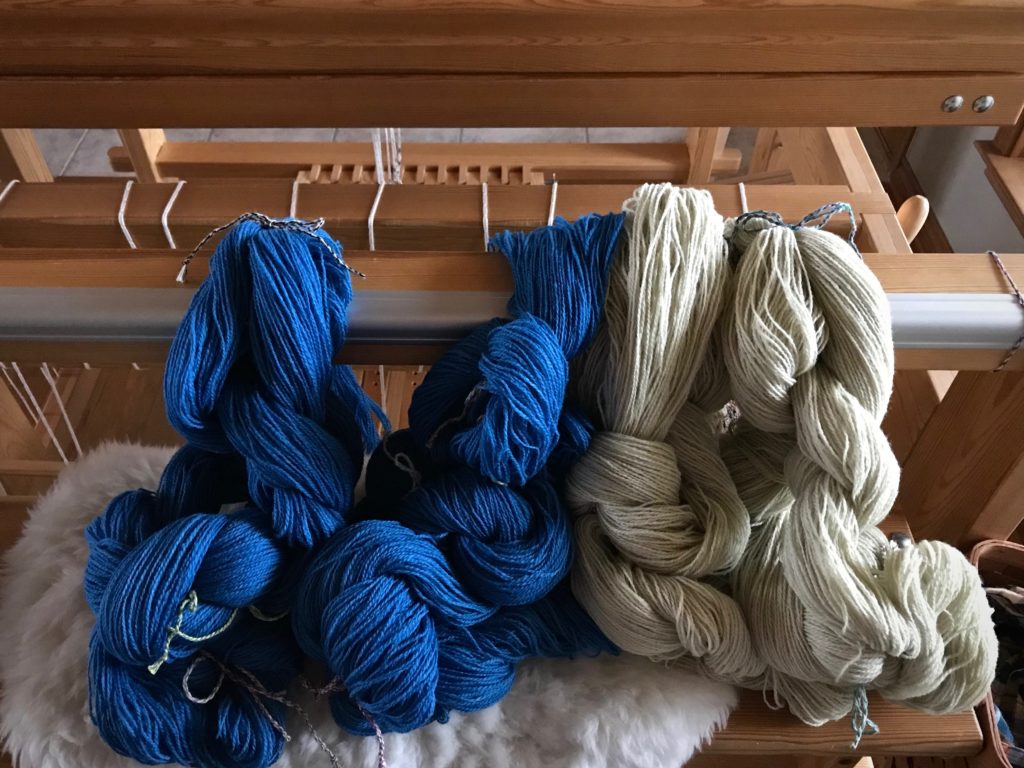
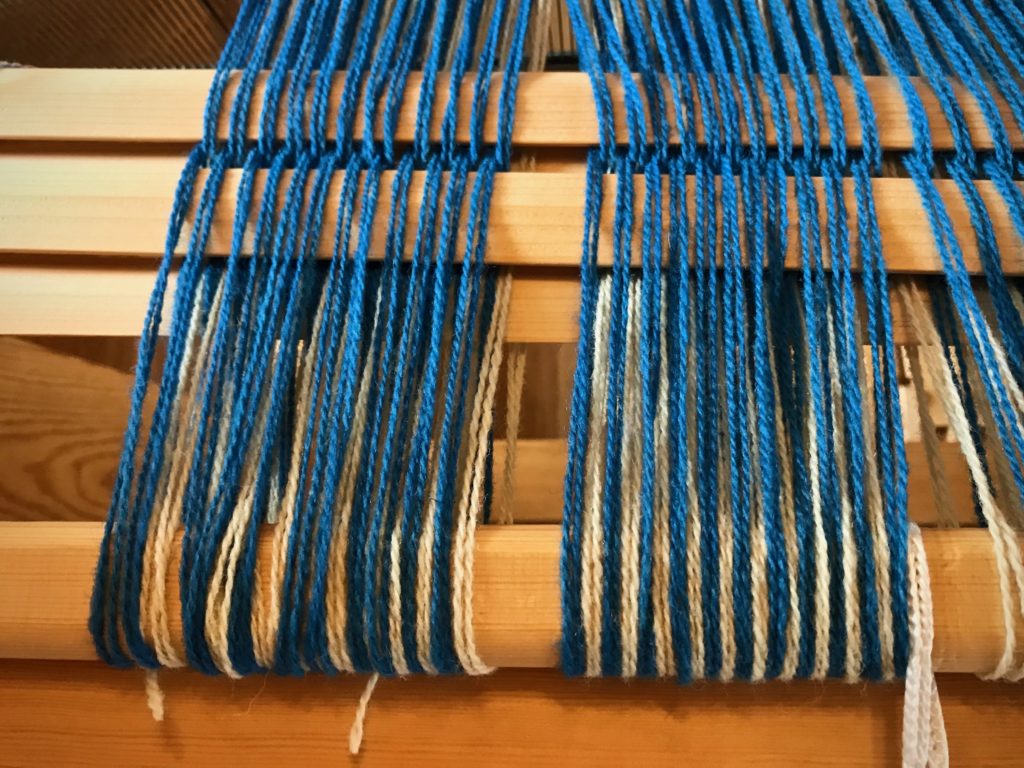
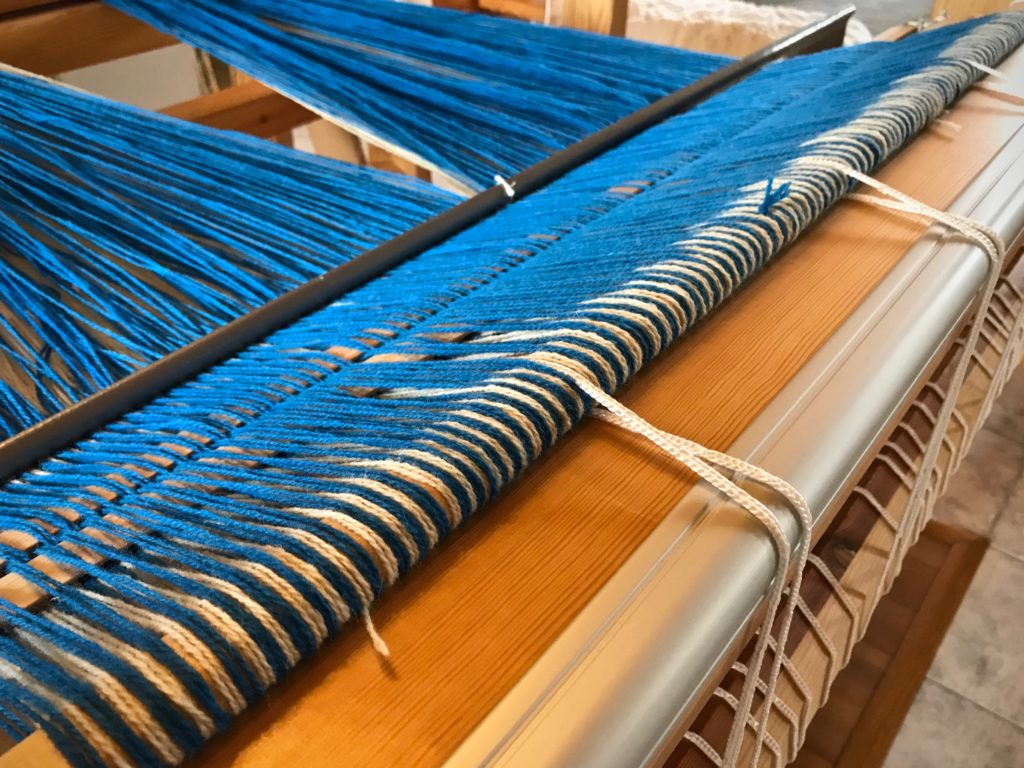
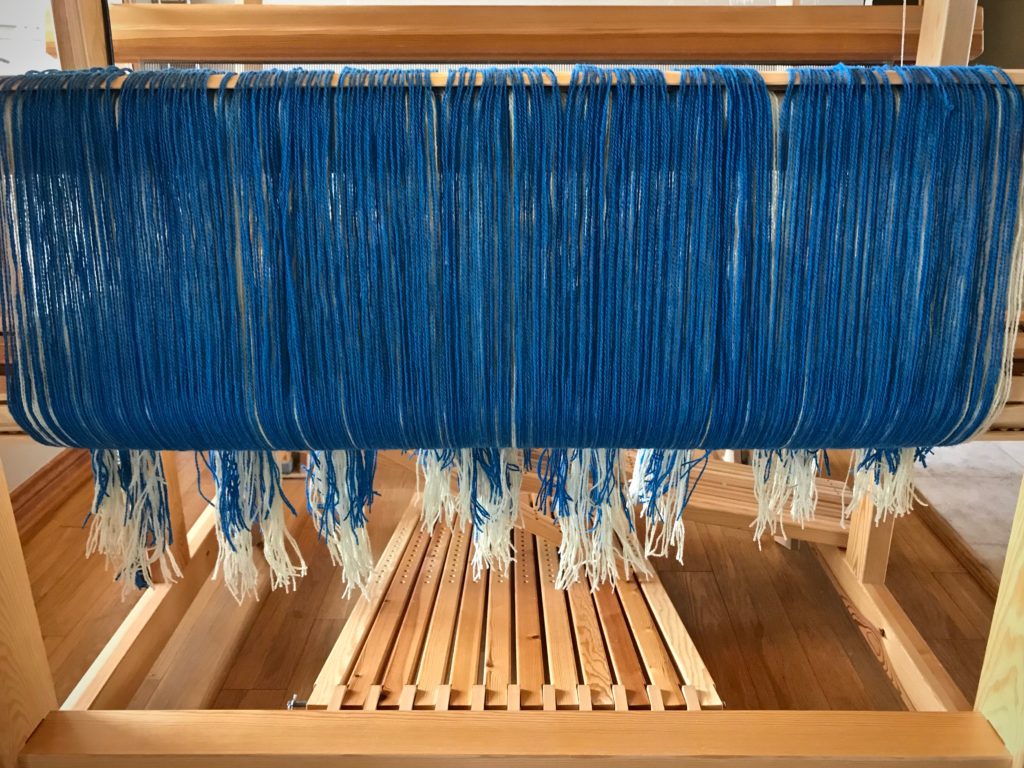
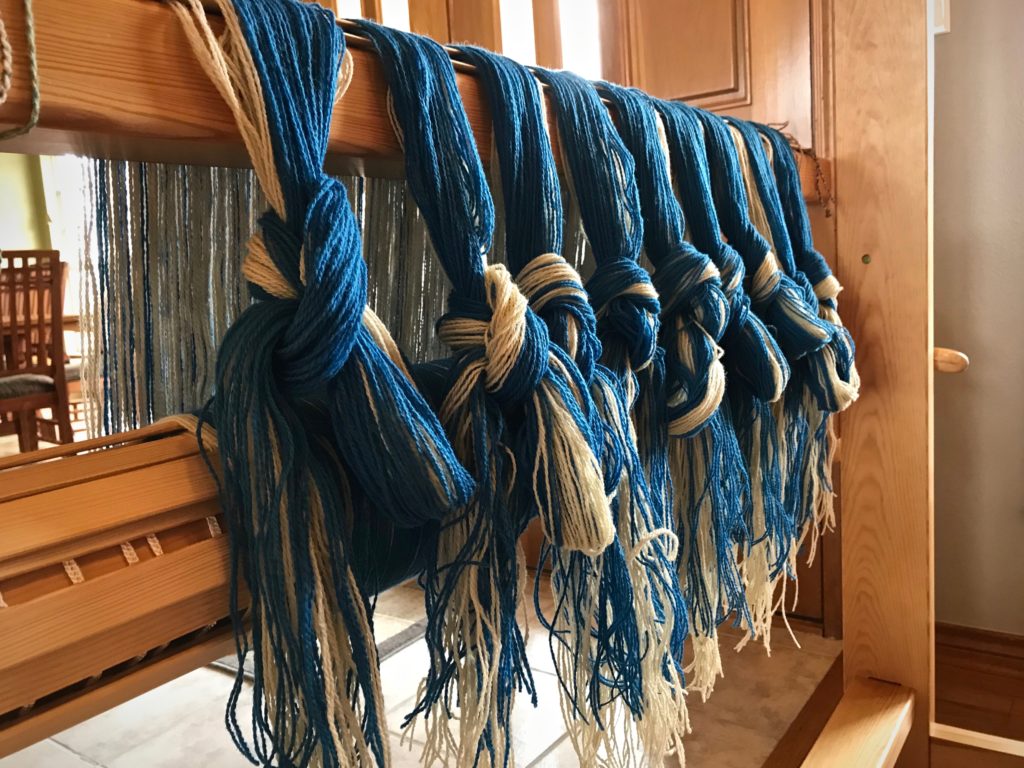
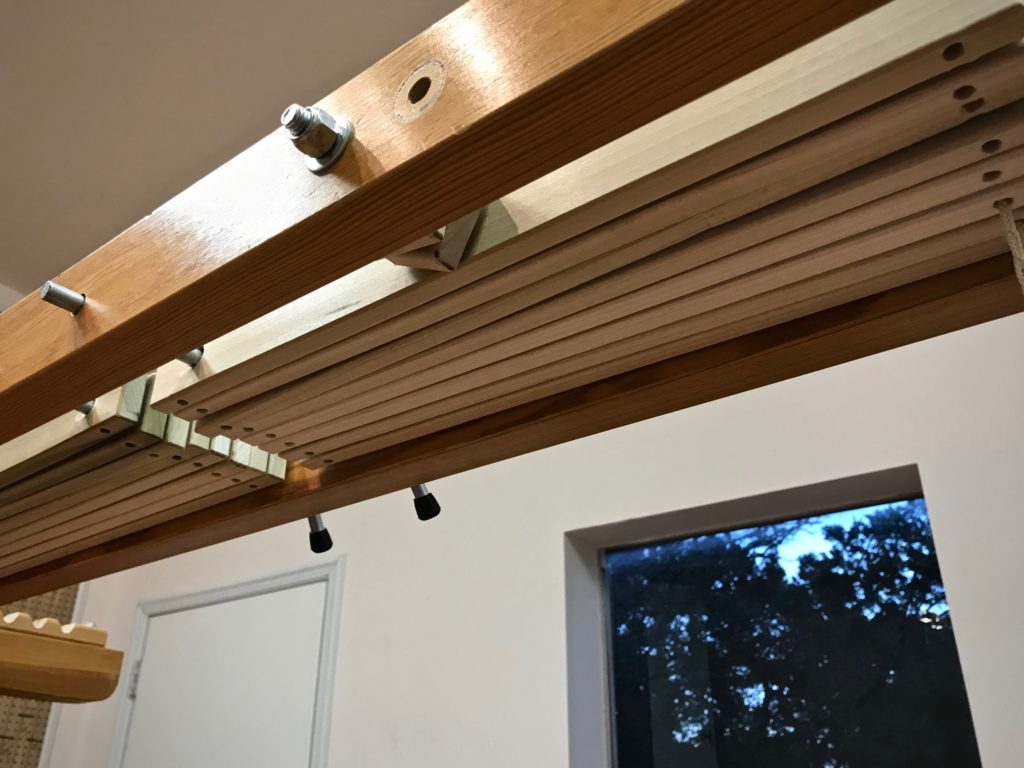
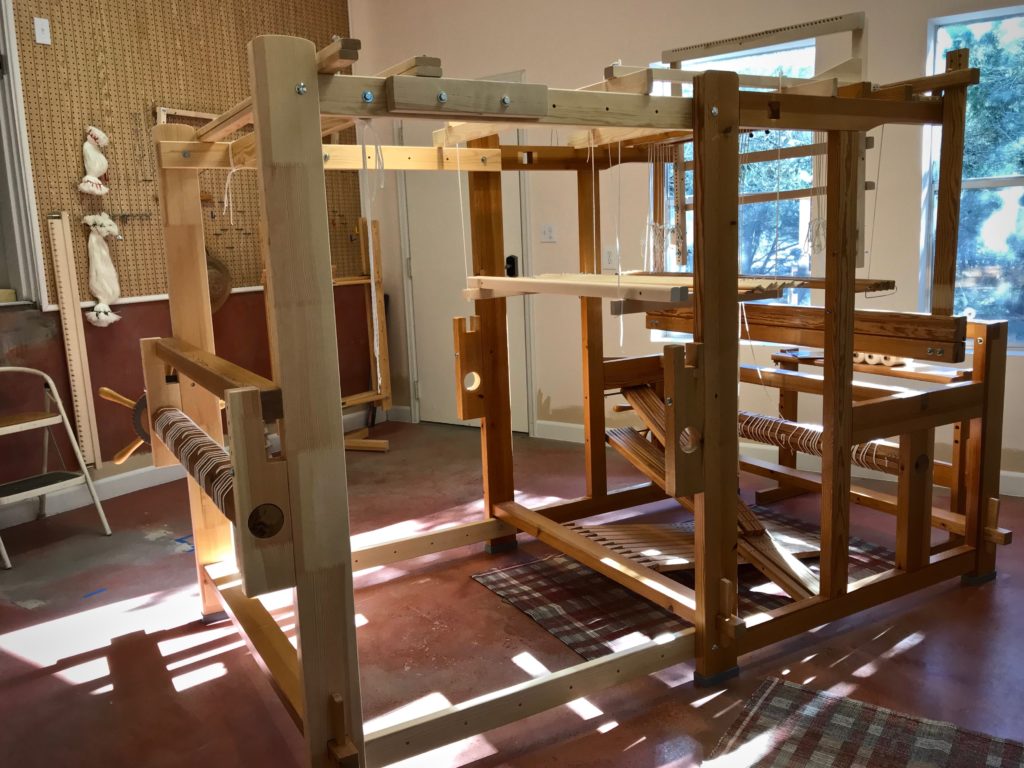
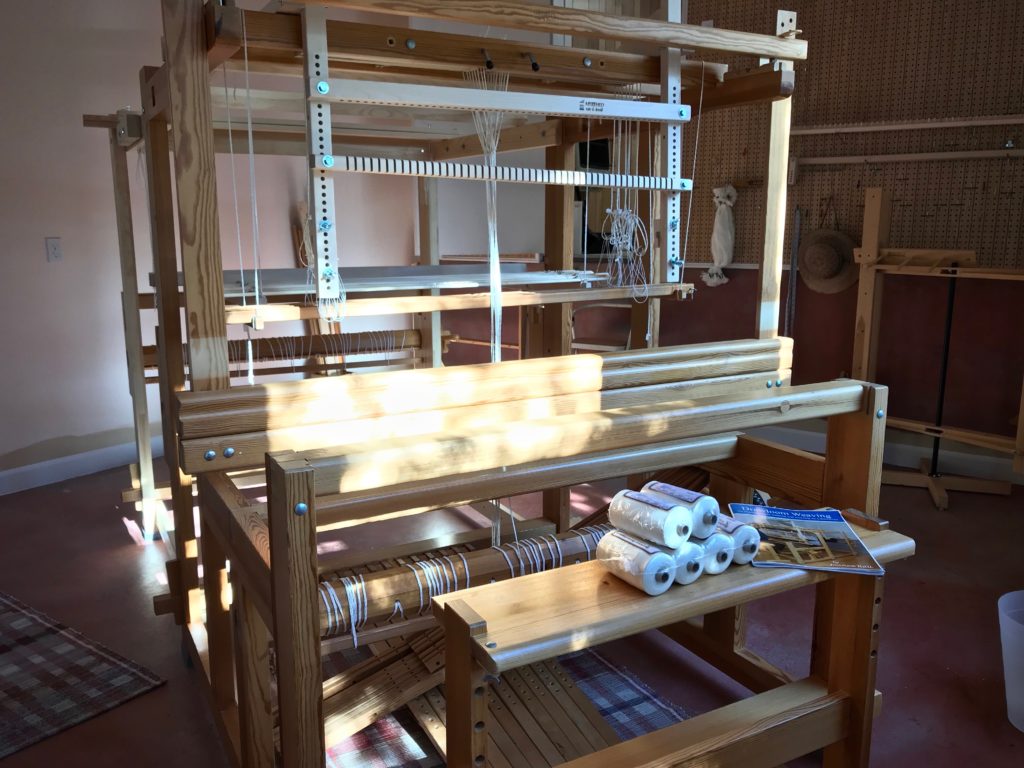
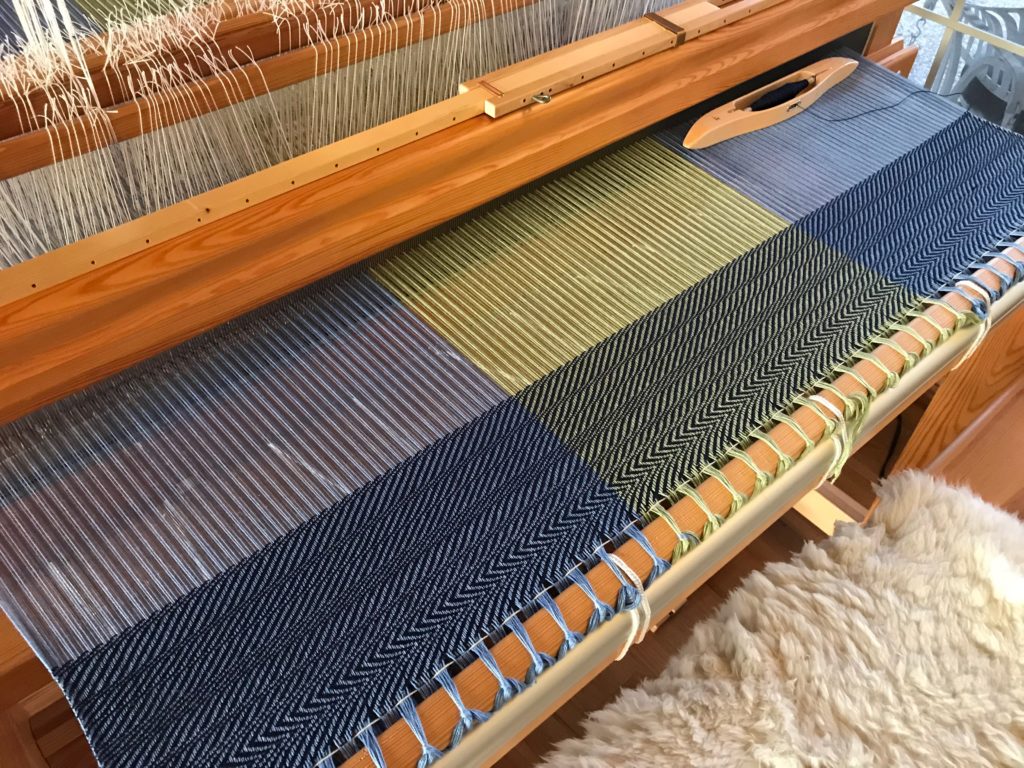
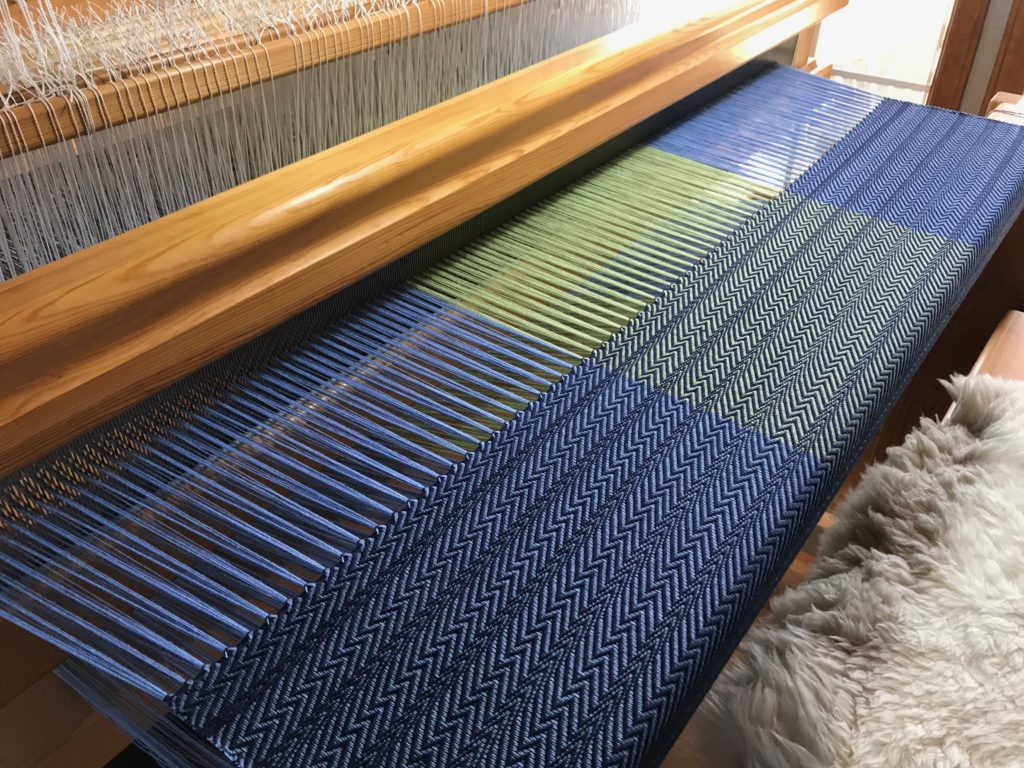
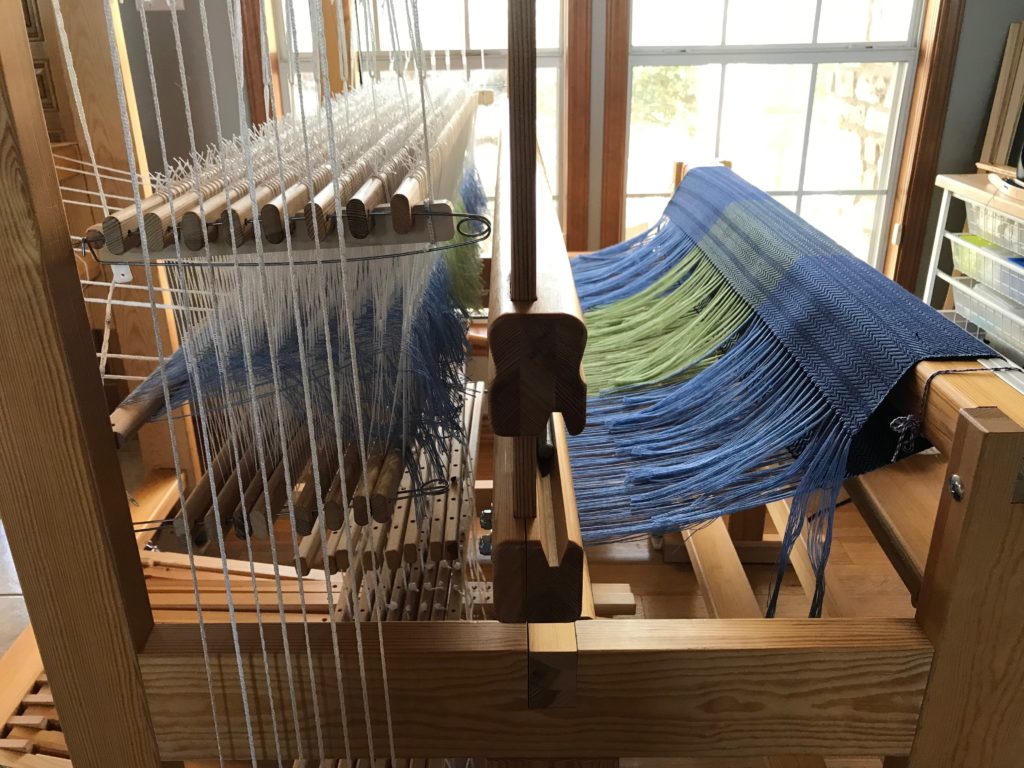
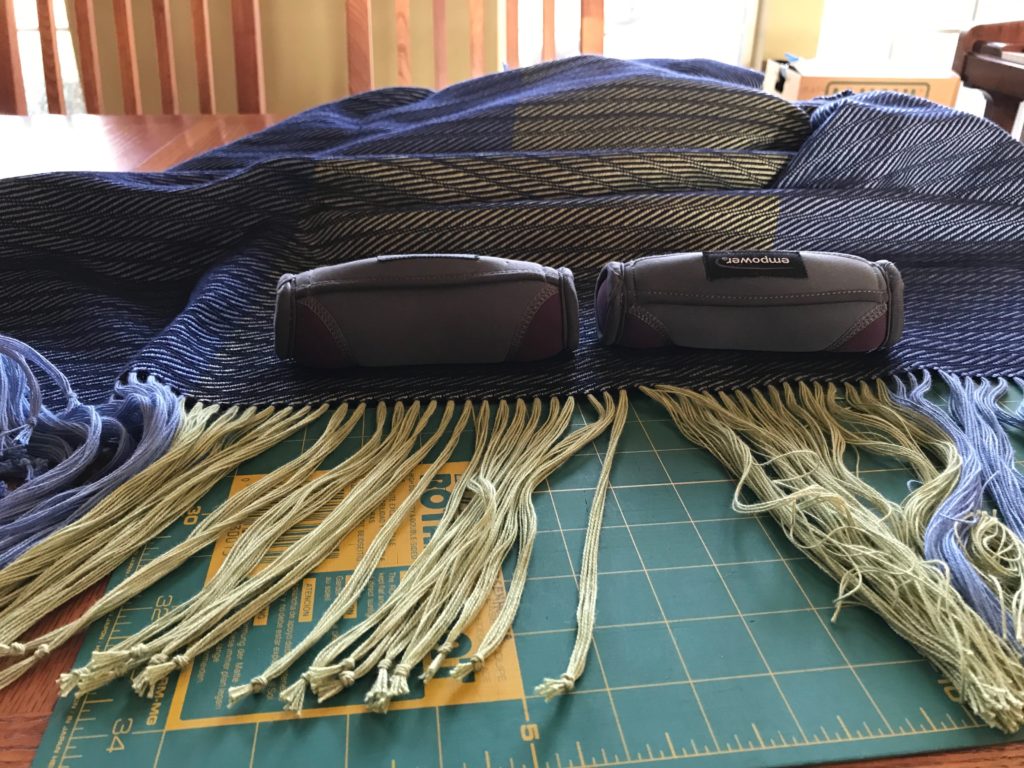
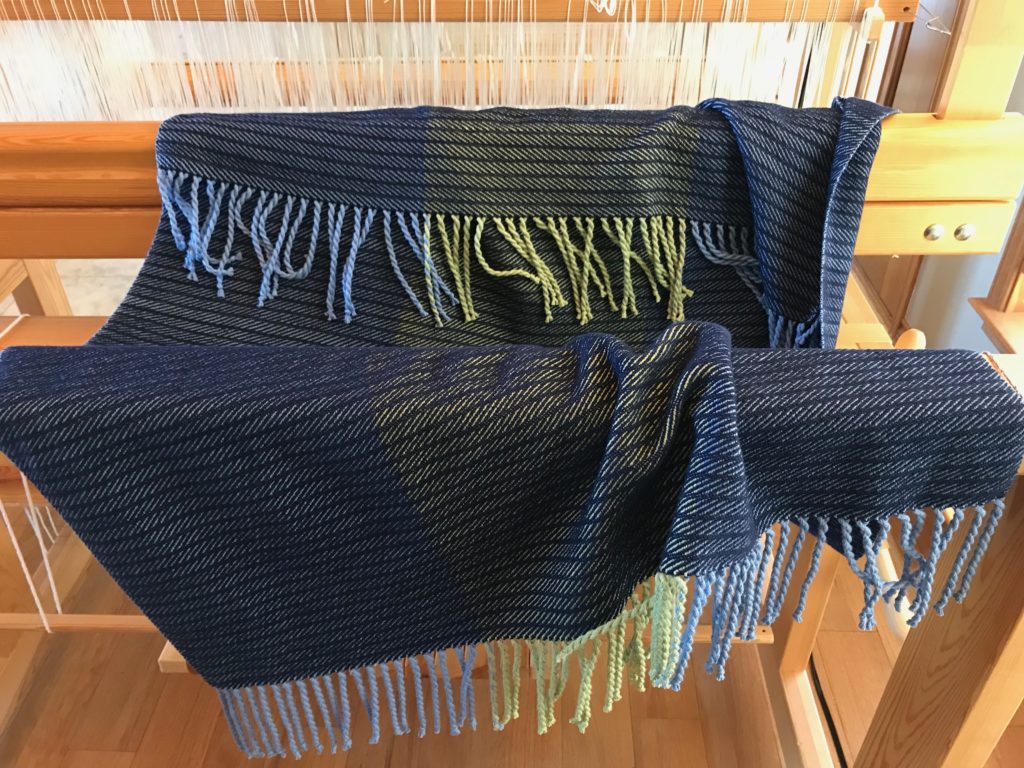
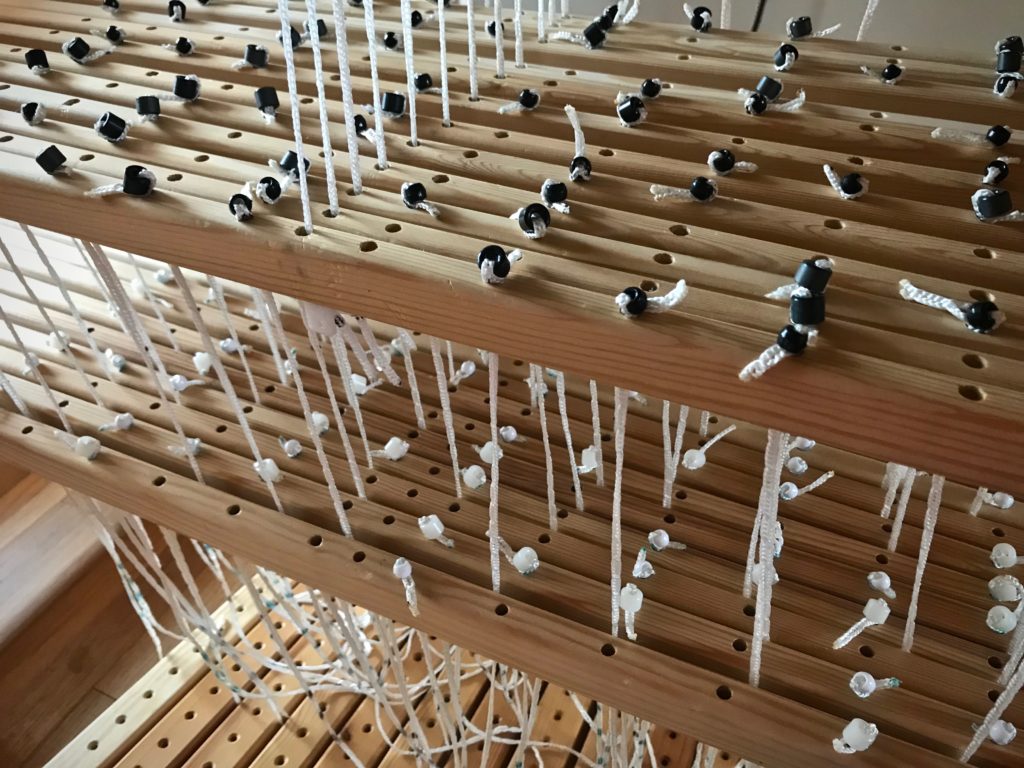
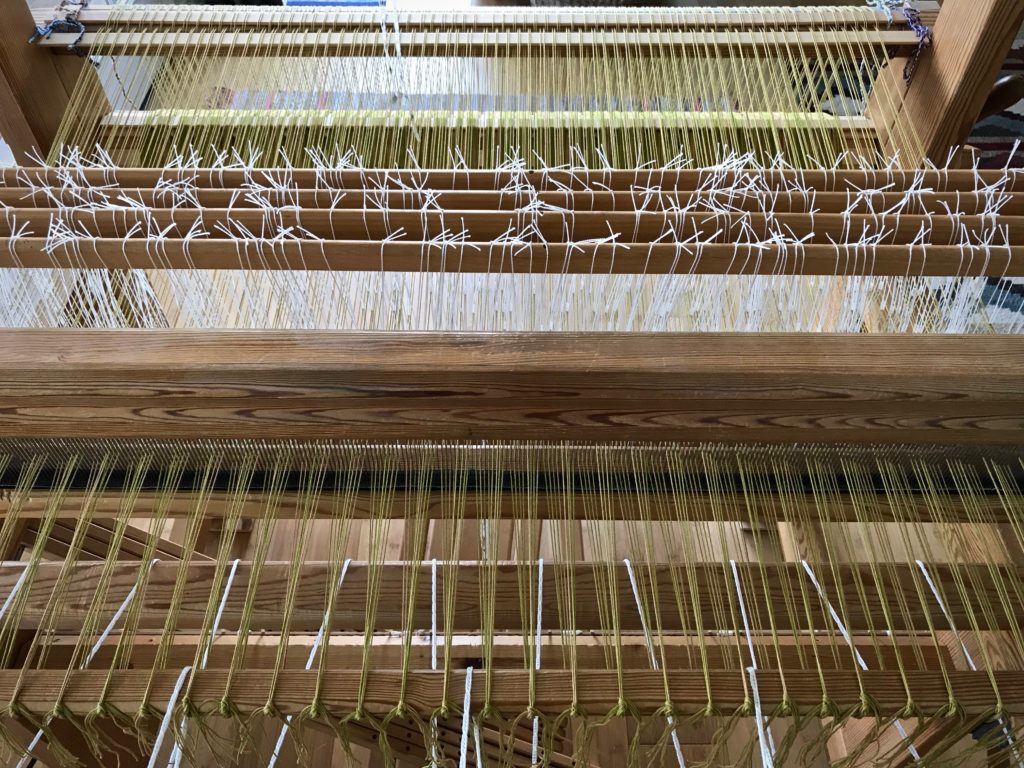
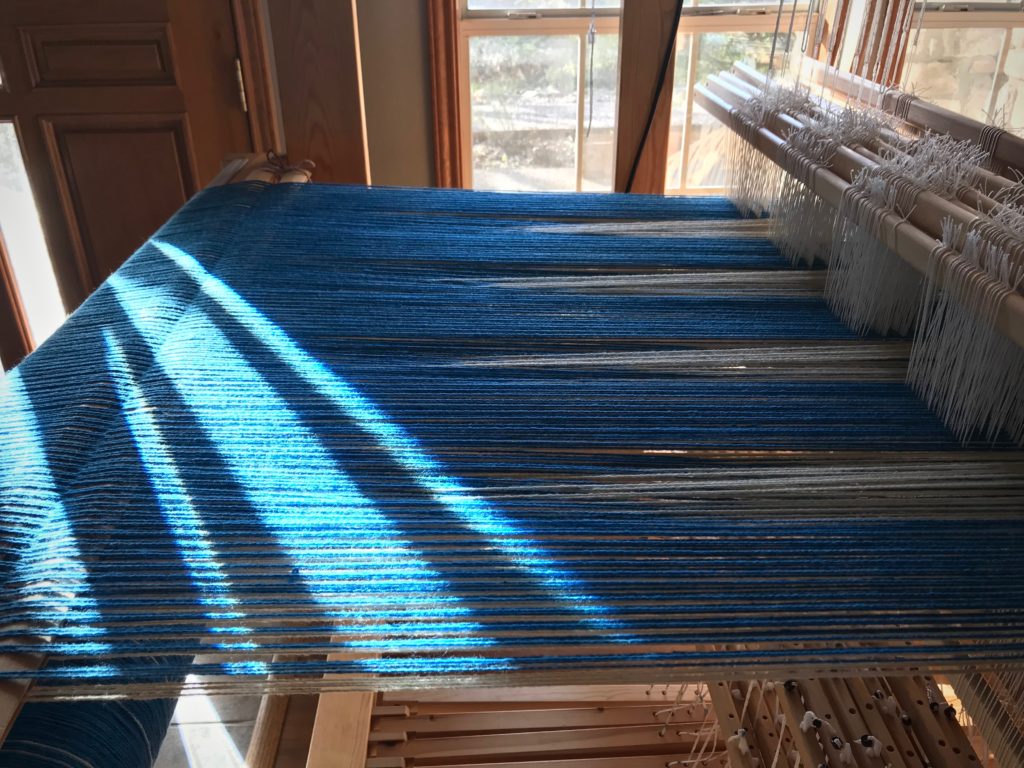
The plan to keep every loom dressed is easy when there is only one loom. Now that I have four floor looms, it’s a tough plan to follow. The drawloom—check. The Glimåkra Standard, dressed in Tuna wool—check. The two smaller looms are threaded, and just need tying on and tying up. So, I’m well on my way! The end of the first warp on the drawloom is in view, however. That means the drawloom will soon be back in the queue. And so it goes.
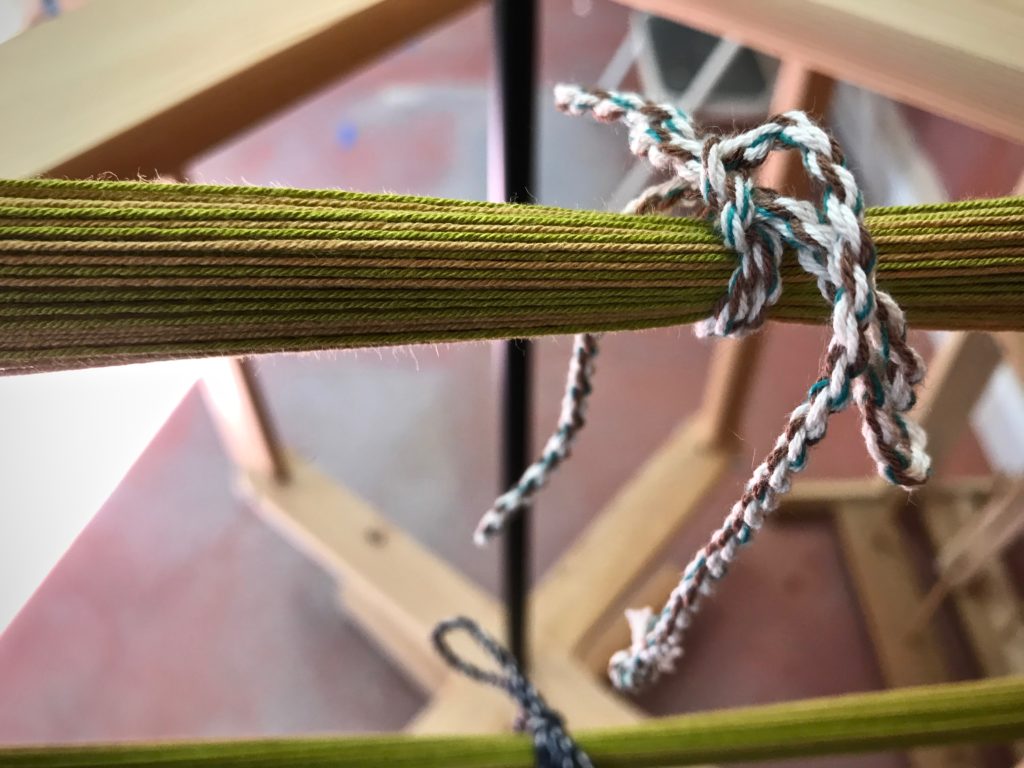
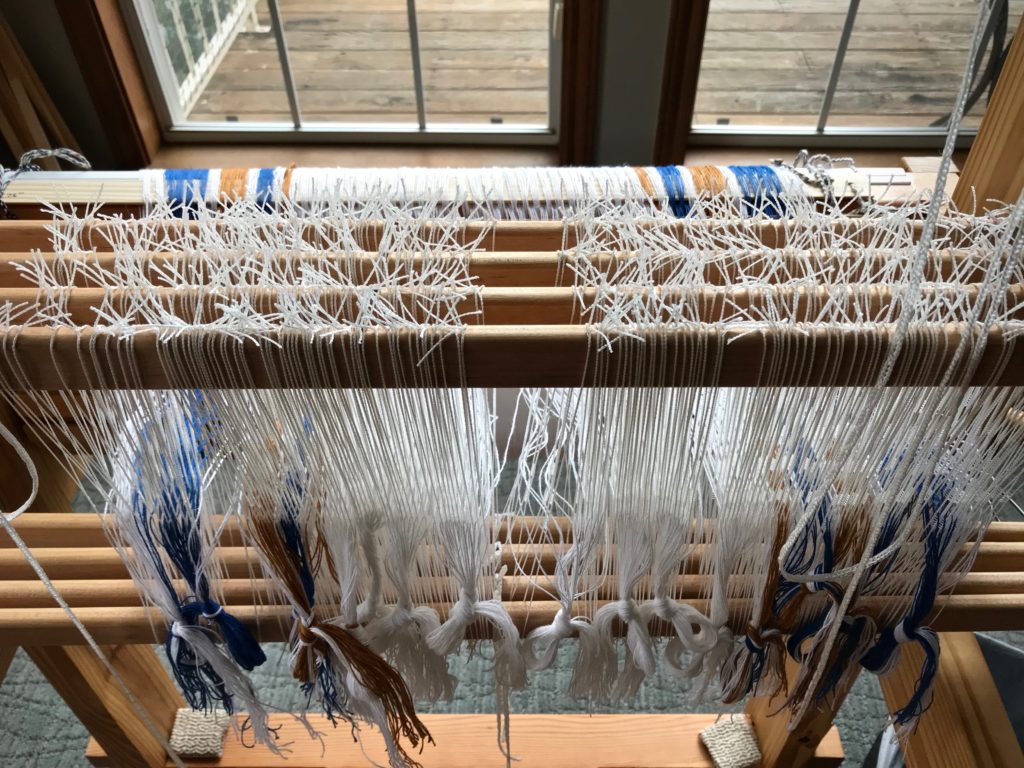
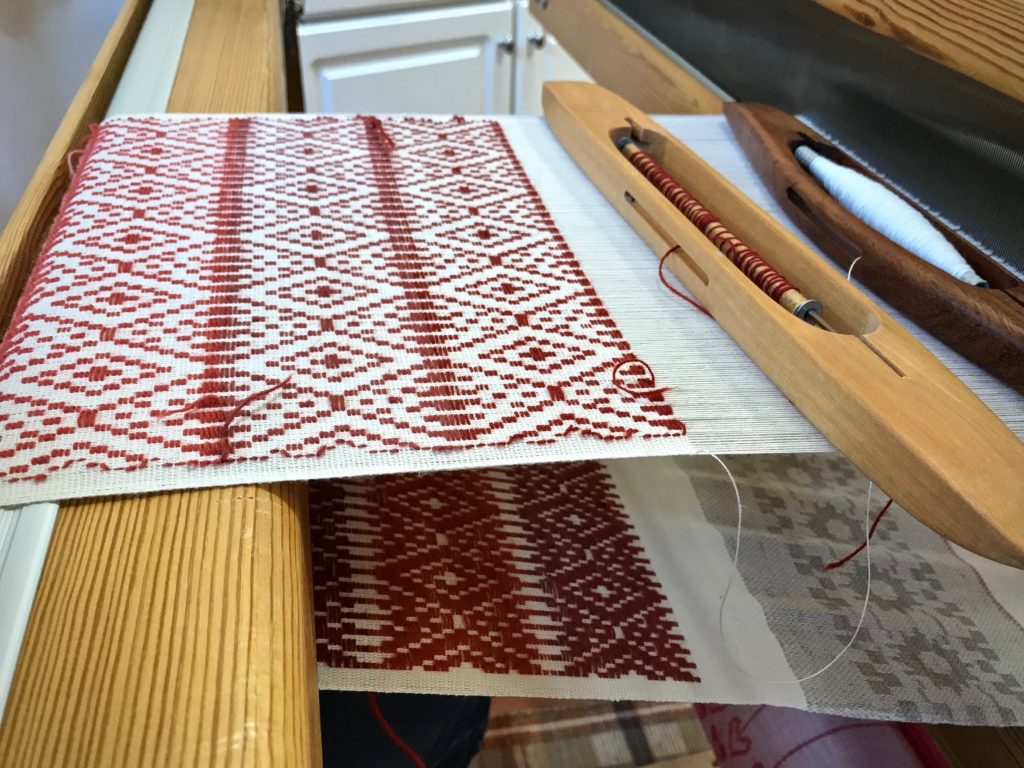
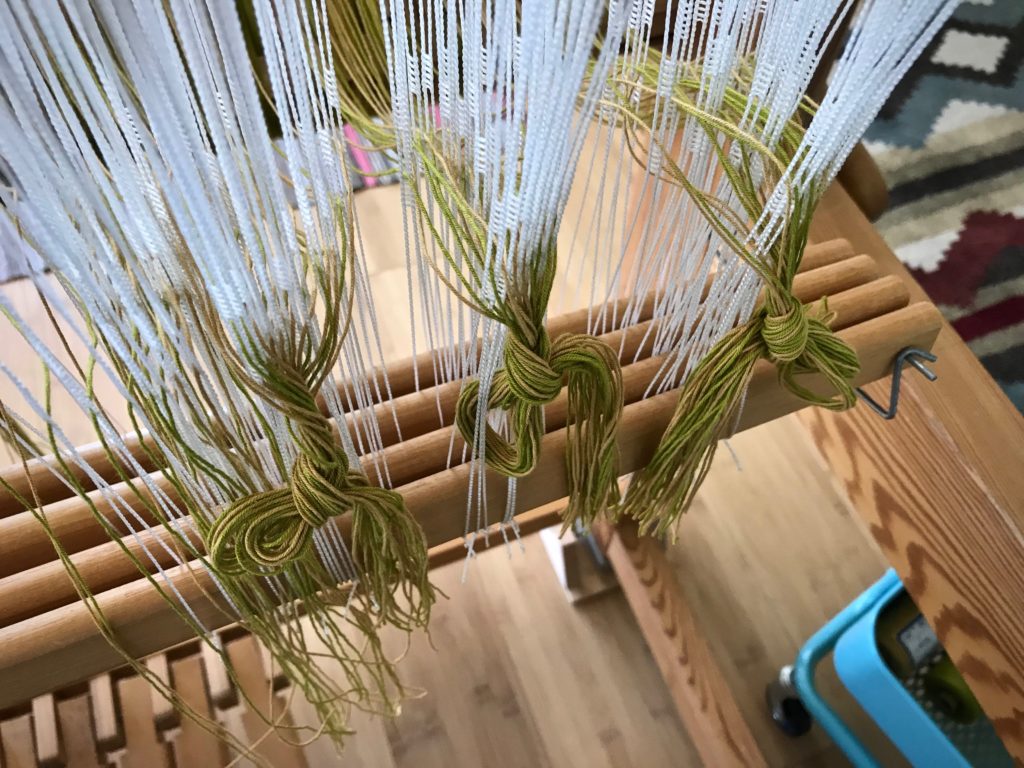
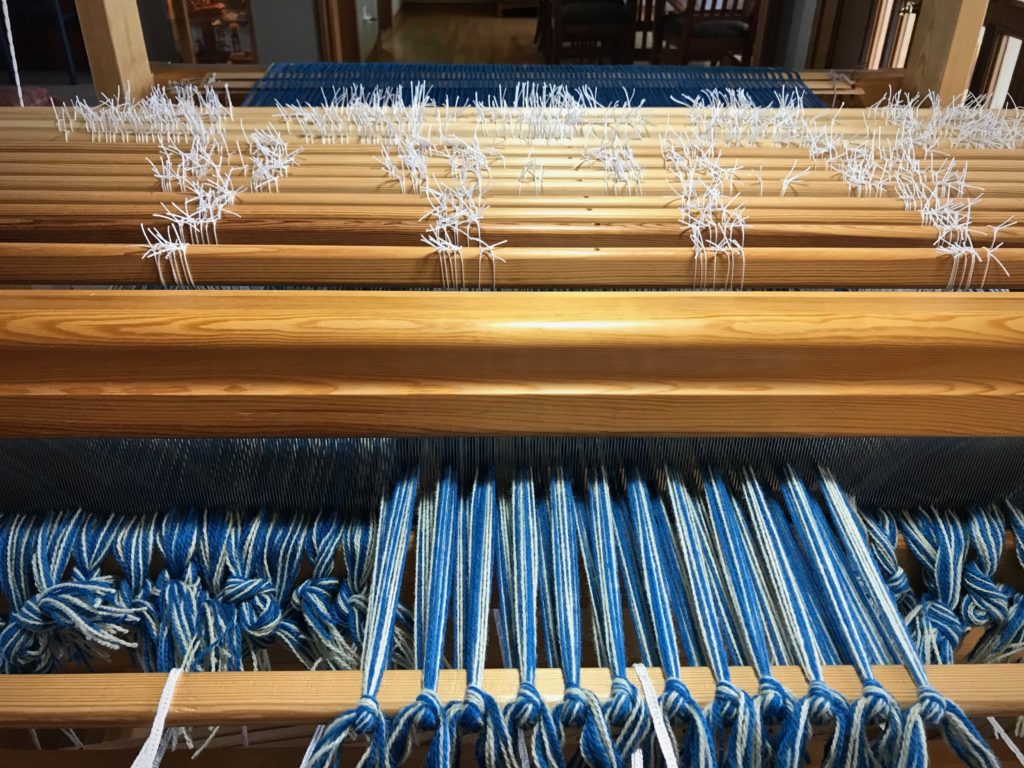
I like to stay a step ahead of my looms. I’m ready to wind a new warp as soon as I finish cutting off. It’s the cycle of weaving. But I have trouble staying ahead.


We have good plans for our lives. But often, it’s tough to follow those plans. Too many things happen at once, and we don’t know how to stay ahead of it all. The thing to remember is that our plans stem from our inner commitments. When we commit our ways to the Lord, trusting him, he leads us through our days. Trust turns plans into achievements. And those are the plans worth pursuing.
May your best plans succeed.
Happy Weaving,
Karen


