Perfect Warp Tension?

Two fingers gently test the resistance of the threads, from the center of the warp, moving outwards to the right, and to the left. This is how I evaluate the warp tension. I don’t rush; and I give the effort all my attention. Weft rep, where the ground weft almost completely covers the warp, is especially susceptible to hills and valleys from uneven warp tension. After I have made several tension adjustments, I tie on the leveling string. Next is tying up lamms and treadles, and winding quills. Then, the joy of weaving this monksbelt begins!

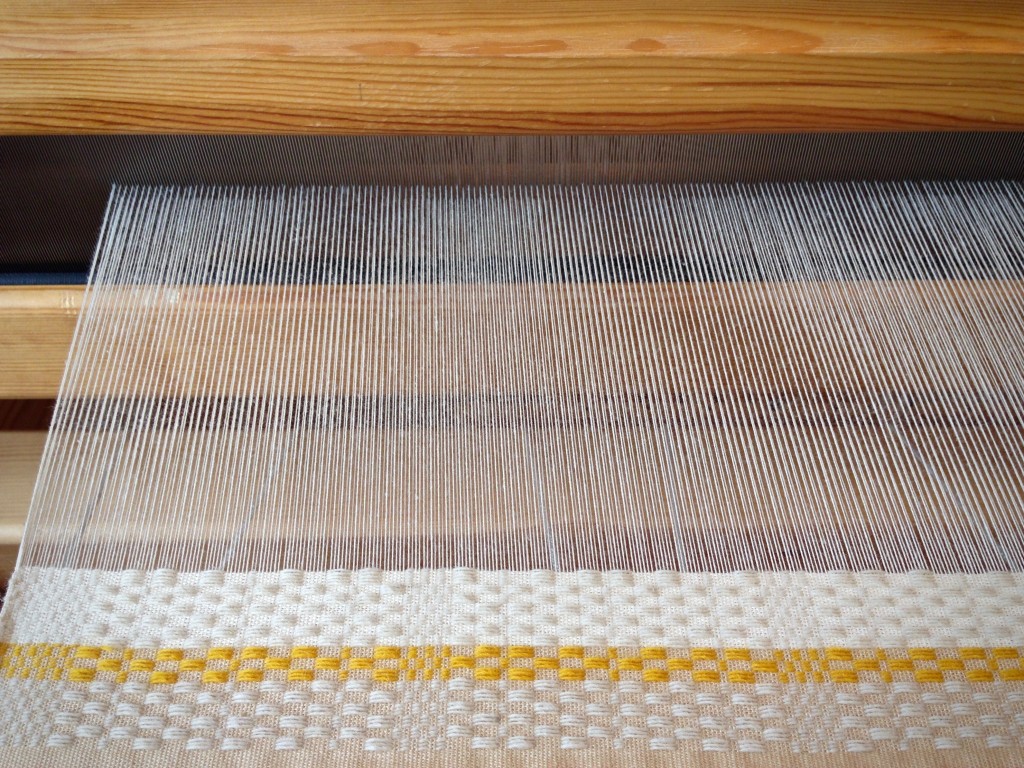
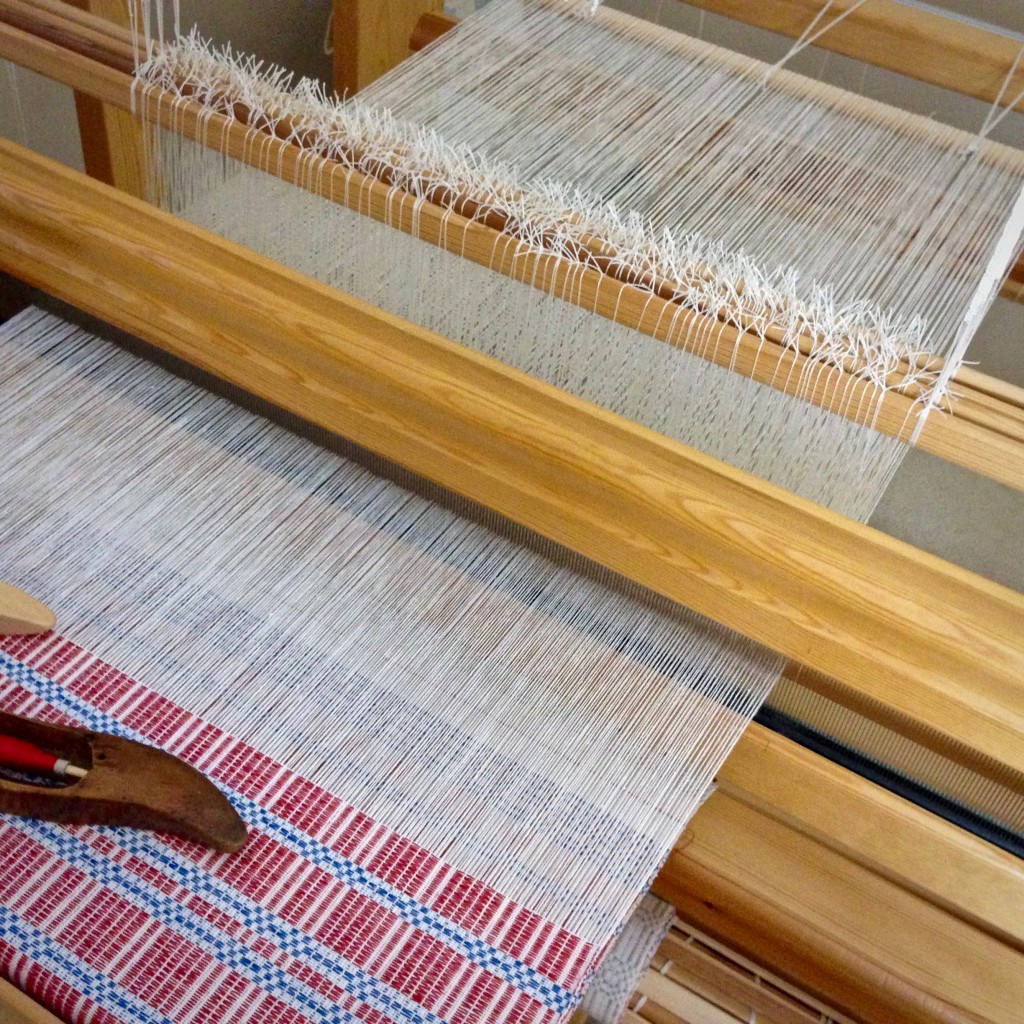
Cotton warp with leveling string, getting ready to weave monksbelt!
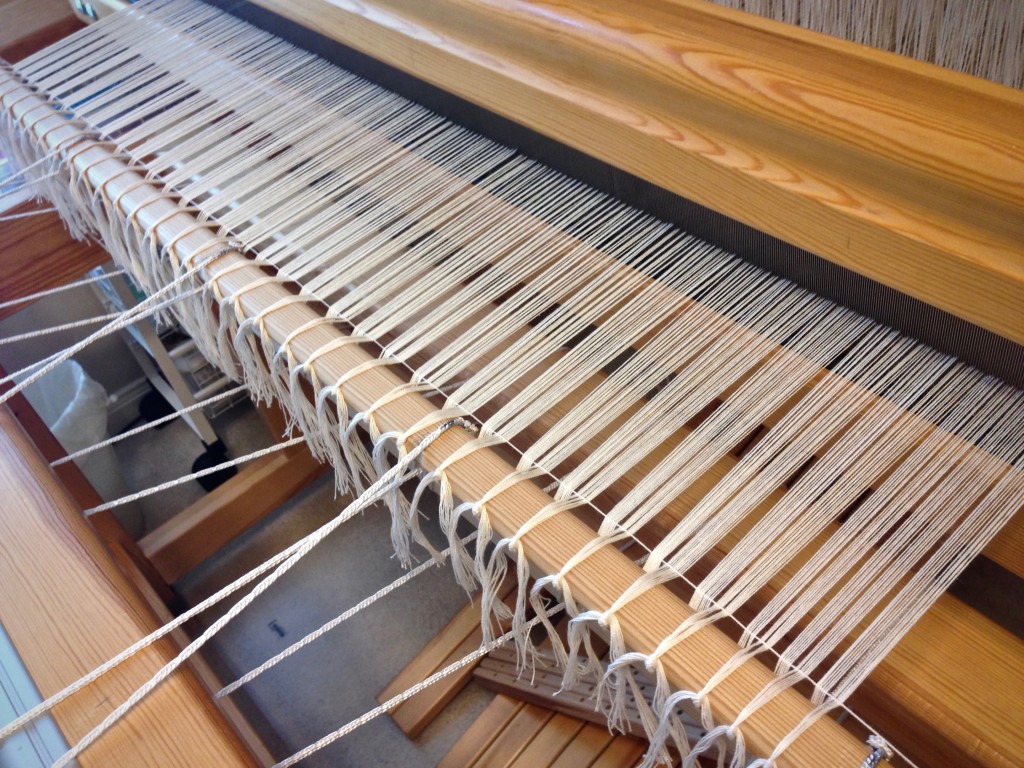
Leveling string is in place across the beginning of the warp. Lamms, which can be seen below the warp, are tied up next. And then, the treadles are tied up. After that, weaving begins!

The ability to feel unevenness in warp tension is a learned practice. Being attentive is half the battle; and patience is the other half. Taking time on the front end reduces correction time after weaving has begun.

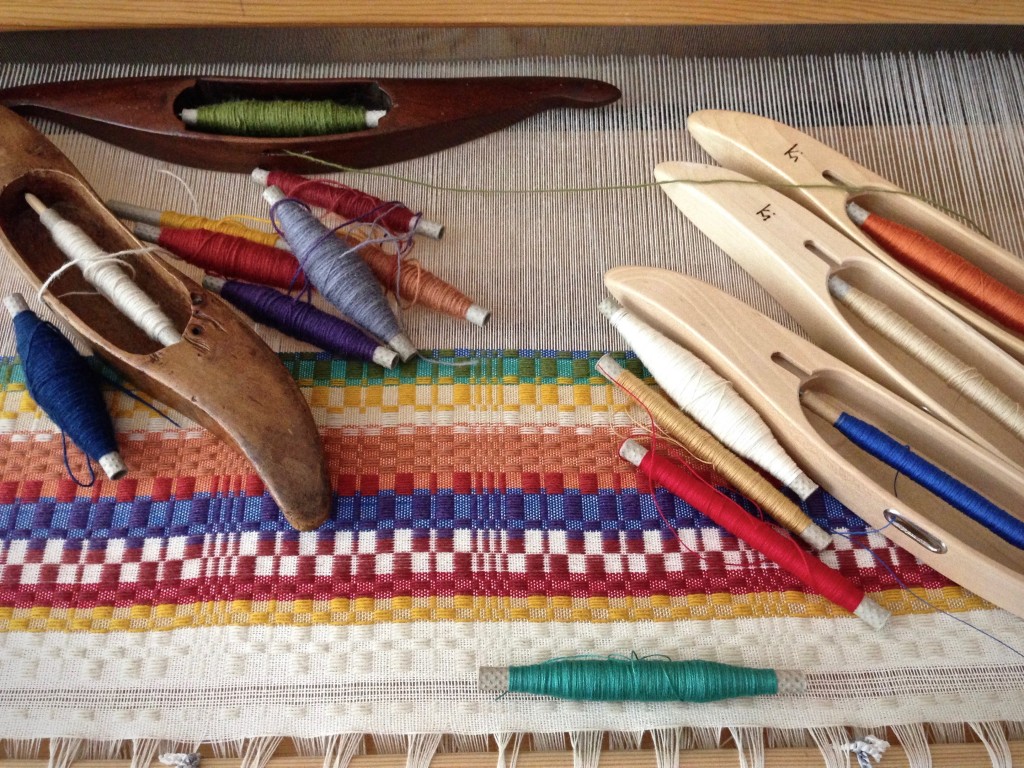
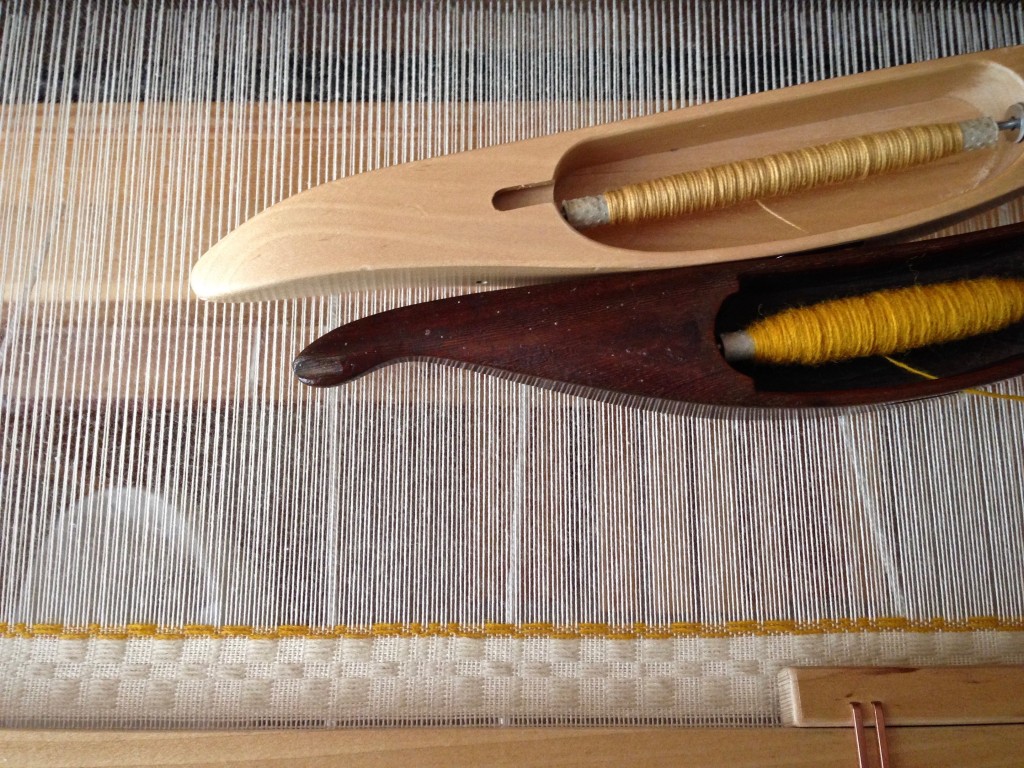
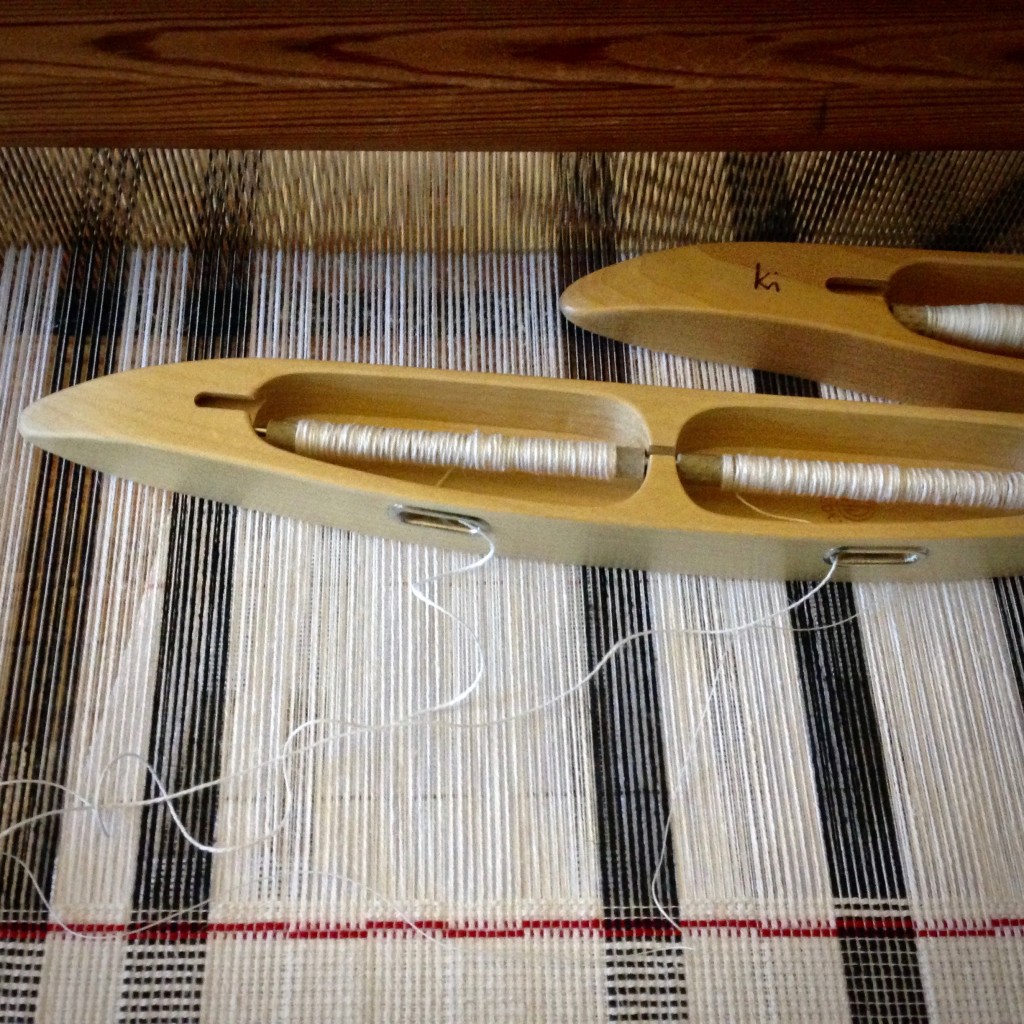
Sampling at the beginning of monksbelt project. 16/2 cotton and 6/1 Fårö wool.
Classic Swedish weave, monksbelt, is woven here with 6/1 Fårö wool for the pattern weft, over 16/2 cotton for the weft rep ground weave. Sampling has begun!

Skilled listening is a learned practice, too. Listening is more than hearing, isn’t it? Pay attention to how you listen. It matters. It takes a gentle touch to listen with a heart of understanding. When we listen with an unbending heart, we only hear what we want to hear. Patience on the front end results in fewer corrections later.

May you hear and be heard.

Gently,
Karen

Quiet Friday: Warping Back to Front with Confidence

“Put on many short warps.” This was the best piece of advice I received as a new weaver! Repeated practice of the back-to-front warping steps accelerated my confidence at the loom. If I can get it on the loom, surely I can weave it, right? When you are comfortable dressing the loom, you start feeling like a “real” handweaver. And before you know it, you are planning, designing, and weaving. And having the time of your life!

Tips for Preparing the Warp for Beaming

  • Wind the warp with two (or more) threads, separated by your fingers to keep them from twisting. This virtually eliminates tangles during the warping process.
  • Wind multiple bouts, when needed. The rule of thumb I use is to stay under 200 ends or 10 inches. Smaller bouts equalize the tension across the width of the warp.
  • Tie tight choke ties about every yard or meter along the warp before chaining it. This keeps the warp ends from shifting.
  • Keep the warp under constant, even tension. Threads can get into trouble if you let them relax.

Warping Back to Front

1 Lay warp chains across the breast beam, and through the beater, with the lease cross of each warp chain on the other side of the beater.
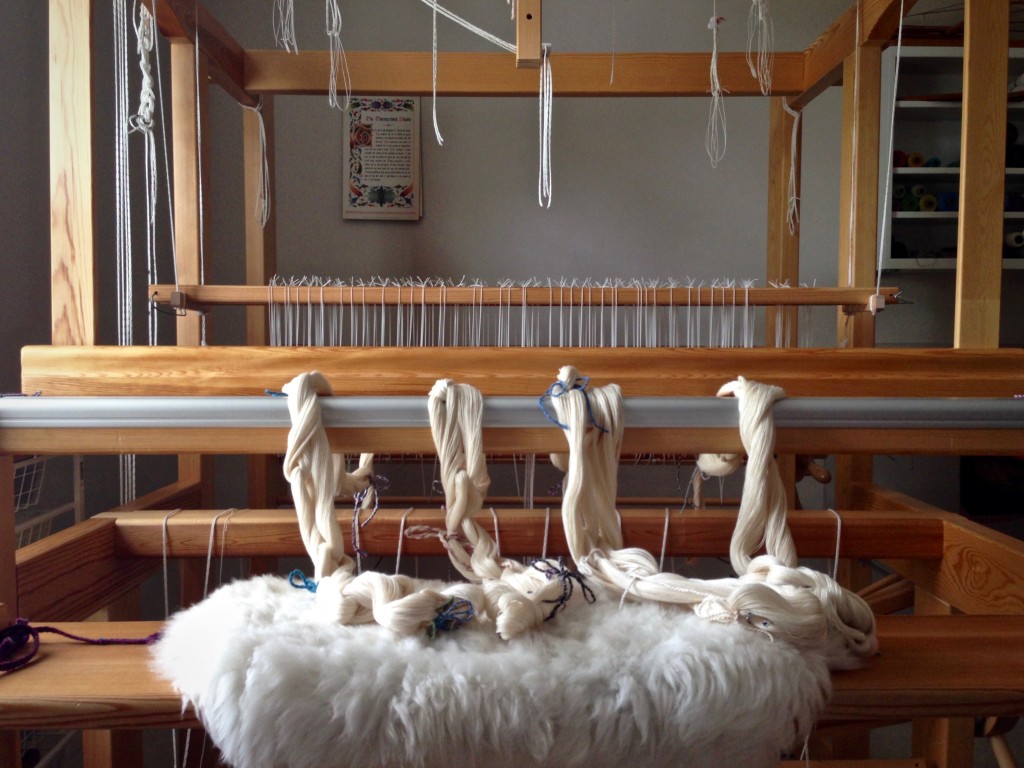
Warp chains ready for warping the loom back to front.

2 Raise the shafts out of the way, and place support sticks over the beater and the back beam to hold the lease sticks and the pre-sley reed. Thread the lease sticks through the cross of each chain. Lease sticks in the picture are being tied together.
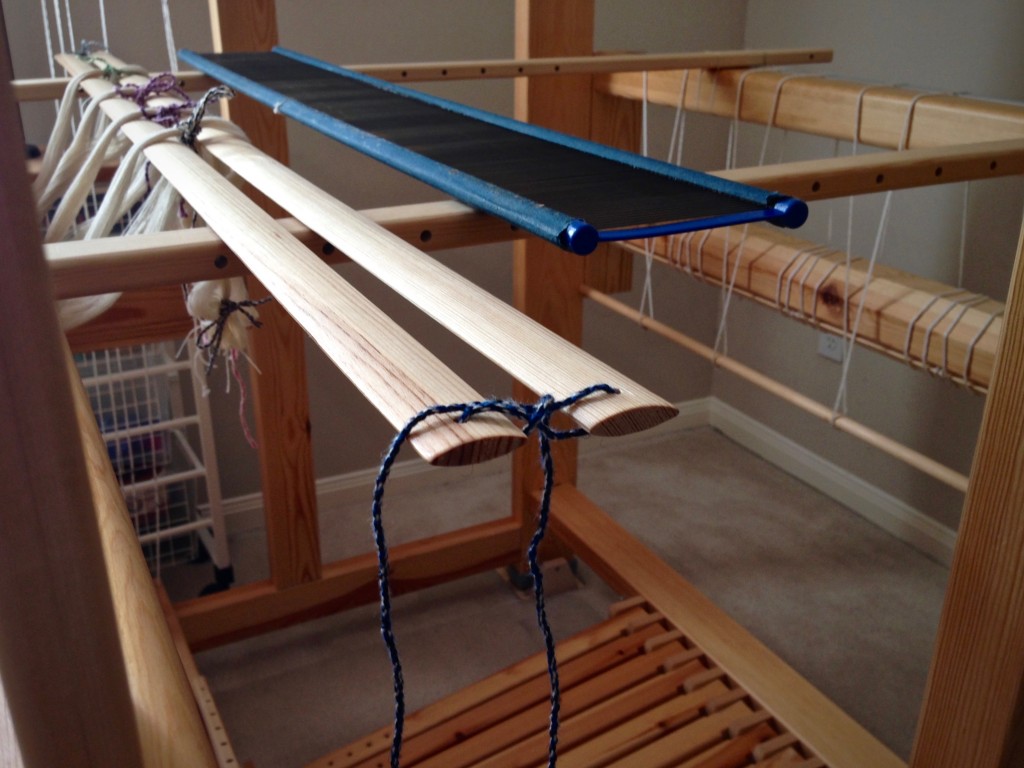
Tying lease sticks during warping process. B2F warping explained.

3 Use tape measure and reed hook to mark the starting dent for pre-sleying the reed.
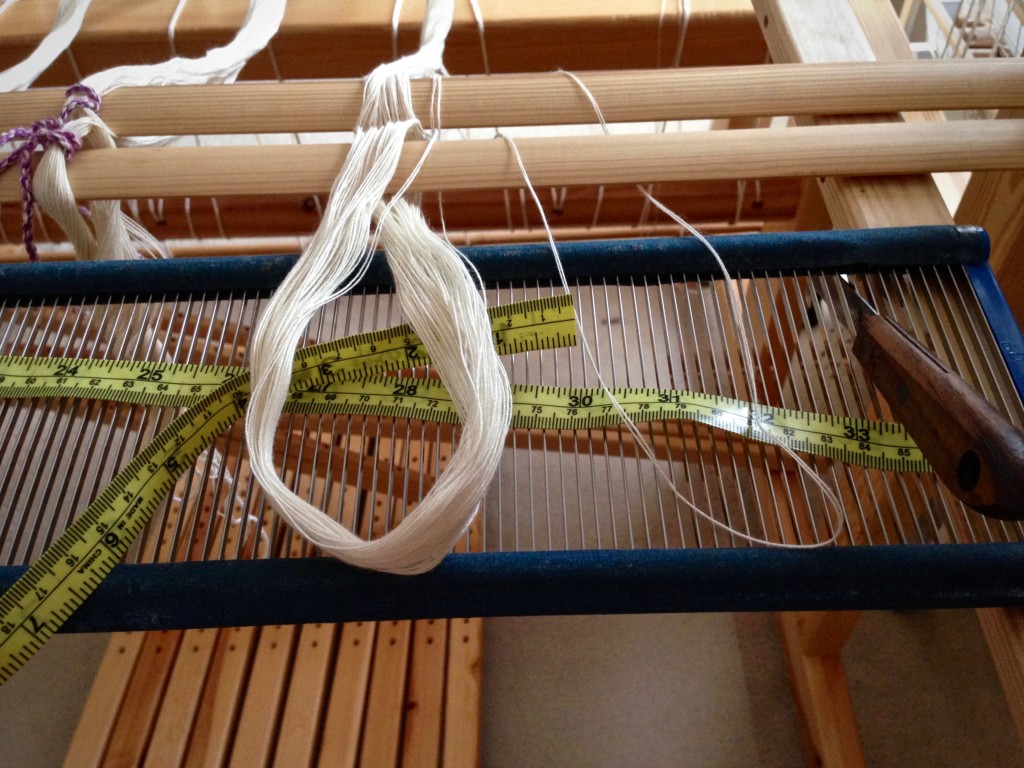
Pre-sleying the reed in back to front warping.

4 Divide warp into sections corresponding to the cords on the back tie-on bar. Insert the tie-on bar through the loops that form at the end of the warp.
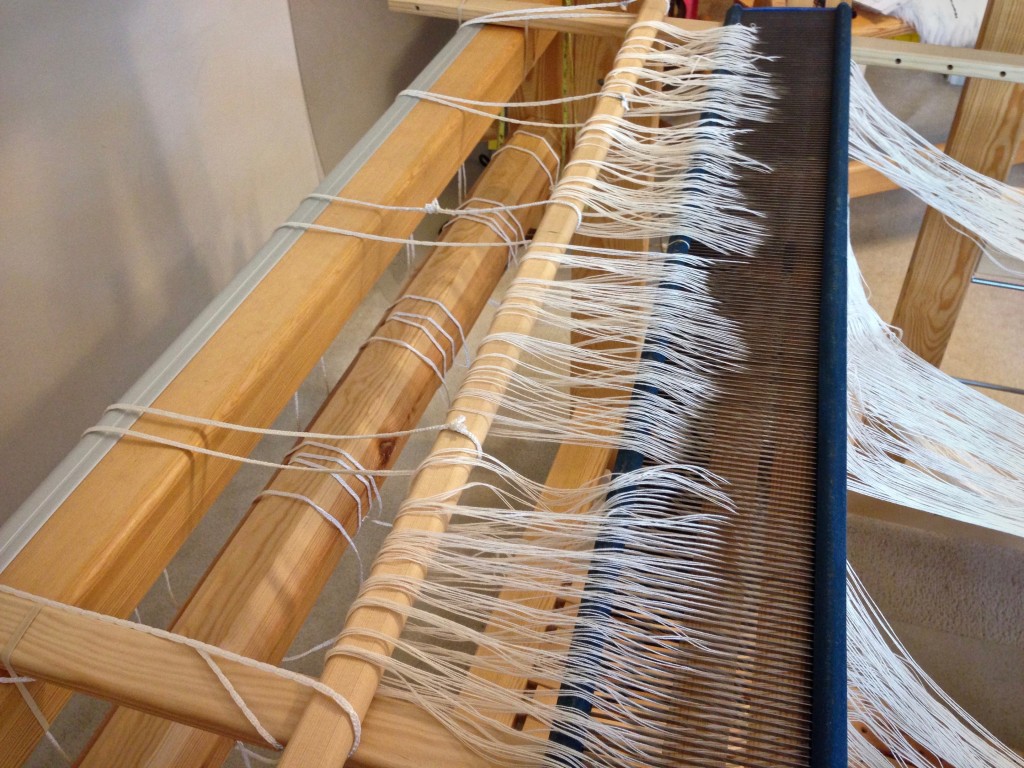
Insert tie-on bar while warping back to front.

5 Install the warping trapeze at the front of the loom, or use another method to extend the warp and weight it. Texsolv cord is connected to the end of each warp chain to extend the length. (This is a 3.5 meter warp–not long enough to go over the trapeze cross bar.) Weights are suspended from the texsolv cords with S-hooks.
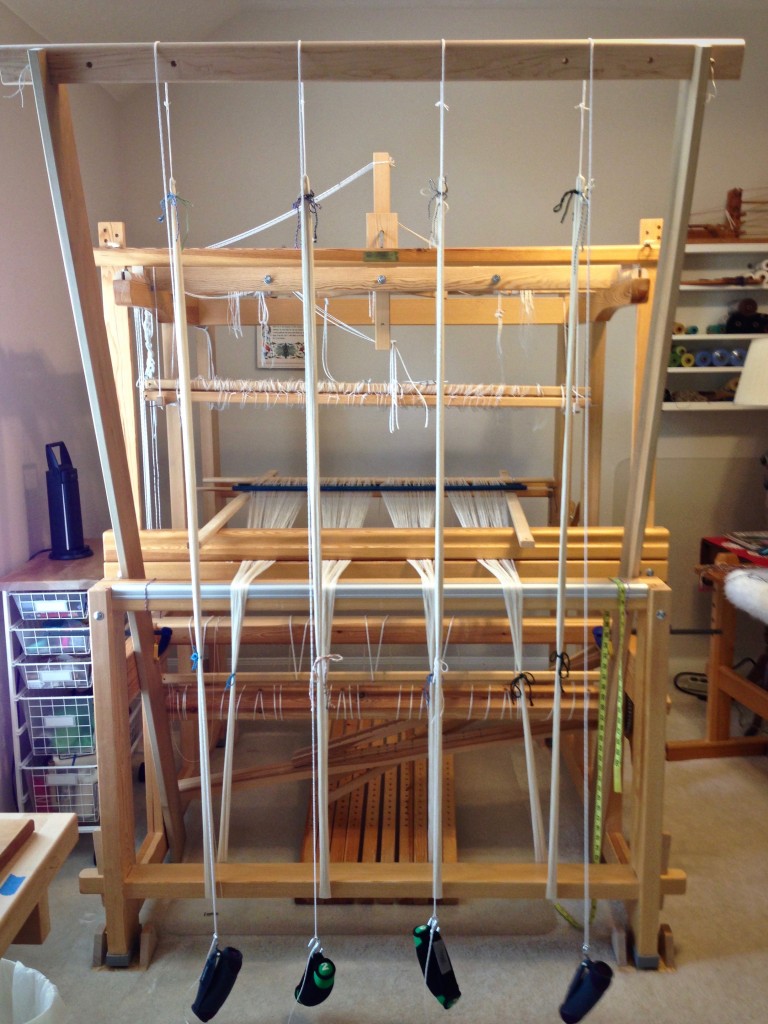
Adjusting the warp on the warping trapeze.

6 Transfer the lease sticks from in front of the reed to behind the reed. This is a gutsy way of transferring lease sticks. (Please don’t try this method unless you read about it first in Becky Ashenden’s book, noted below.)
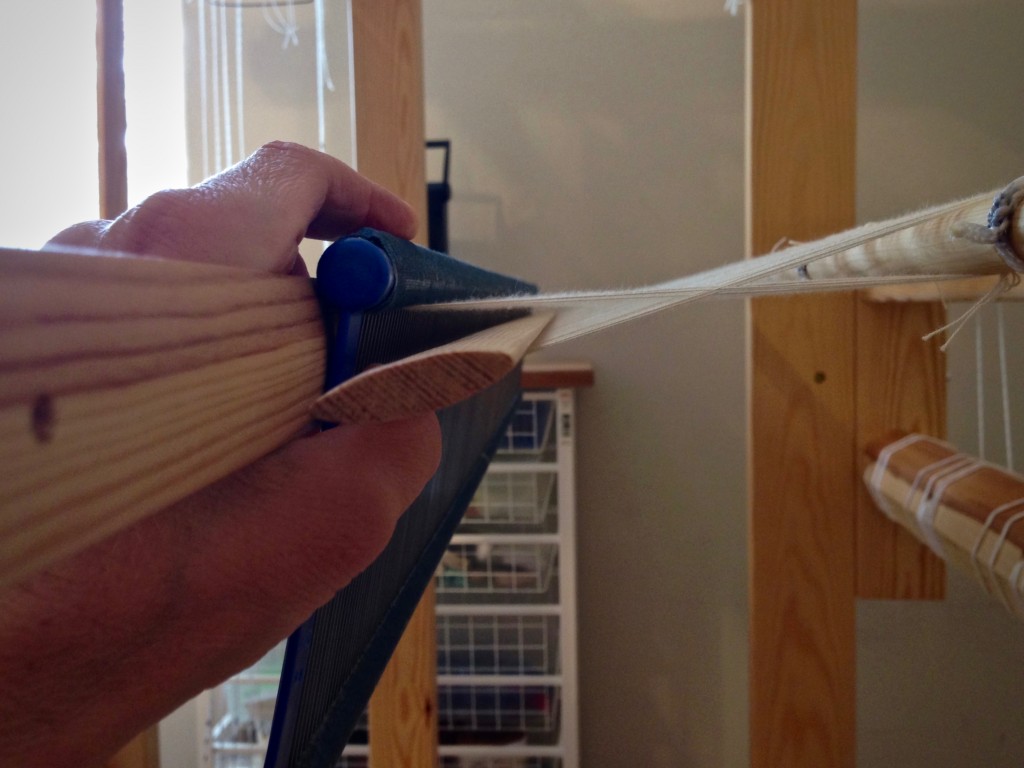
Transferring lease sticks like this takes guts!

7 Straighten out each warp end from the reed to the back tie-on bar.
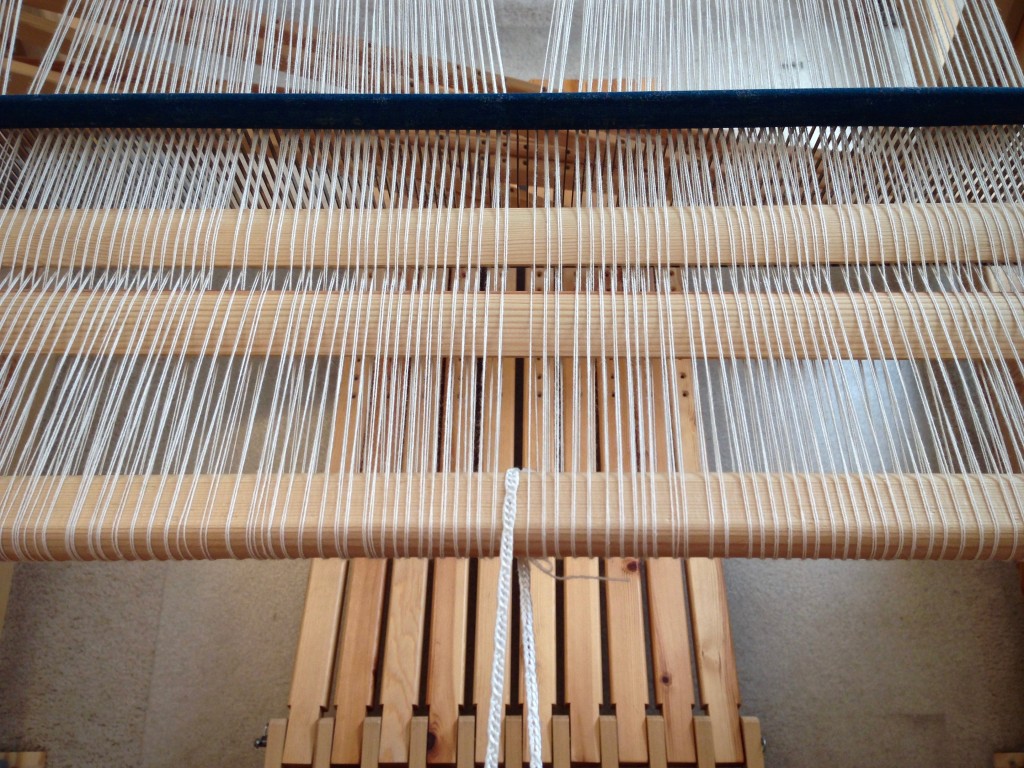
Winding on a new warp. Back to front warping pics.

8 Place the reed in the beater. Center the reed in the beater.
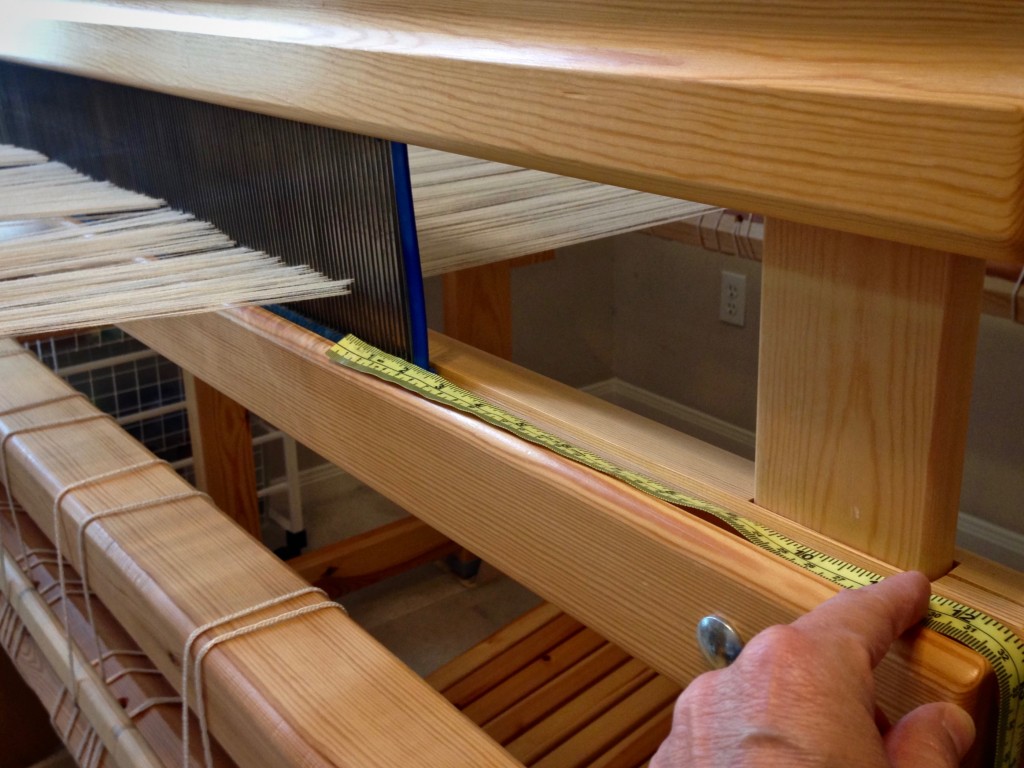
Placing the reed in the beater.

9 Remove choke ties between the beater and the trapeze cross bar, but do not remove choke ties from the very end of the warp. Starting at the reed, separate each warp bout in the middle.
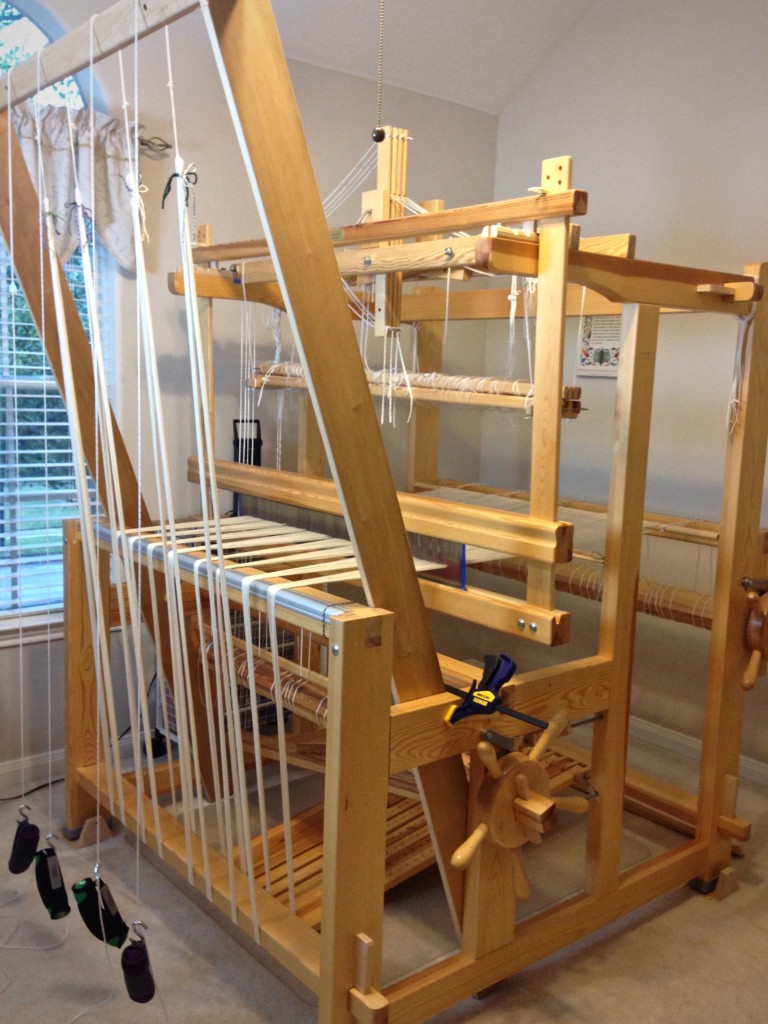
Warping trapeze in use for warping Glimakra Standard.

10 After sliding lease sticks toward the reed, wind the warp onto the beam. Place a warping slat on each flat side of the warp beam for one revolution. (Octagonal beam uses eight sticks.) Advance weight at the front of the loom as needed. After two additional revolutions of the beam, add warping slats for one revolution again. Continue this pattern as beaming progresses.
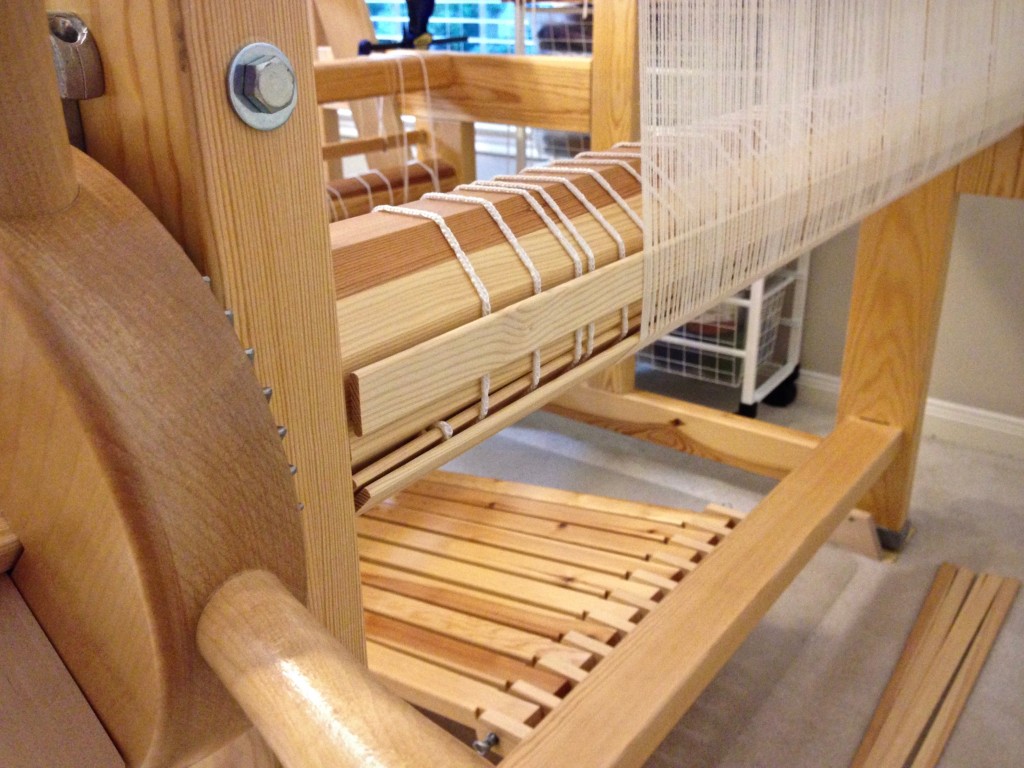
Warping slats during beaming. Beaming tutorial.

11 Tie beater back to allow a little more warp to be wound on.
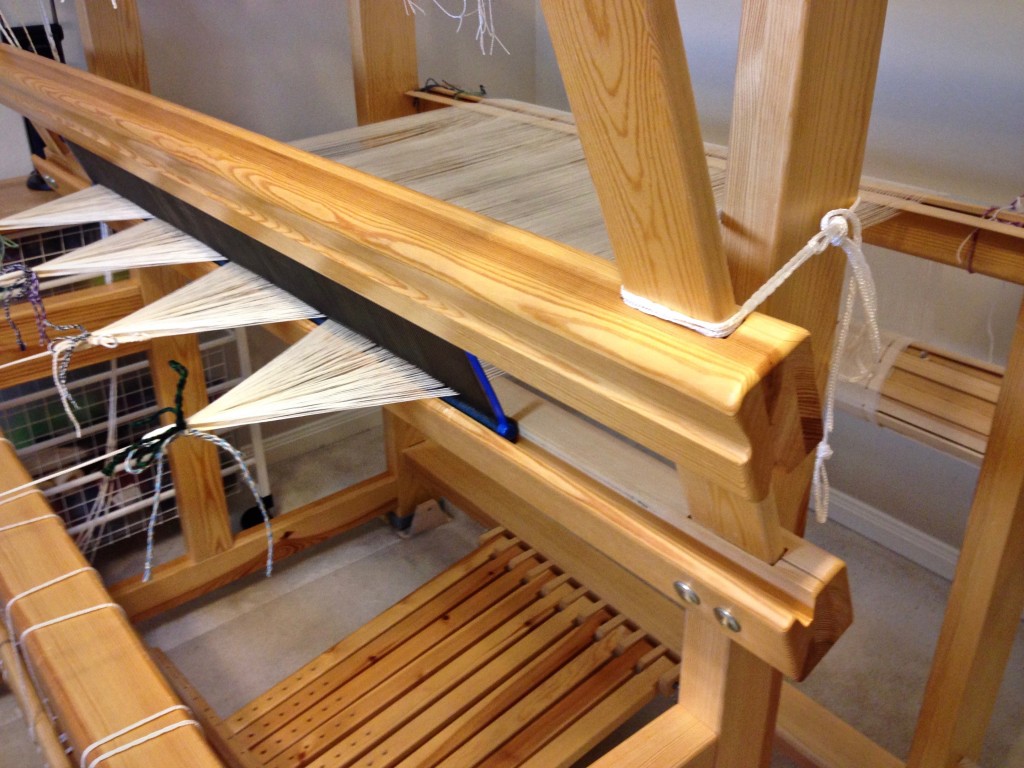
Finishing up beaming the warp.

12 Tie lease sticks to the back beam. Do not forget this step!
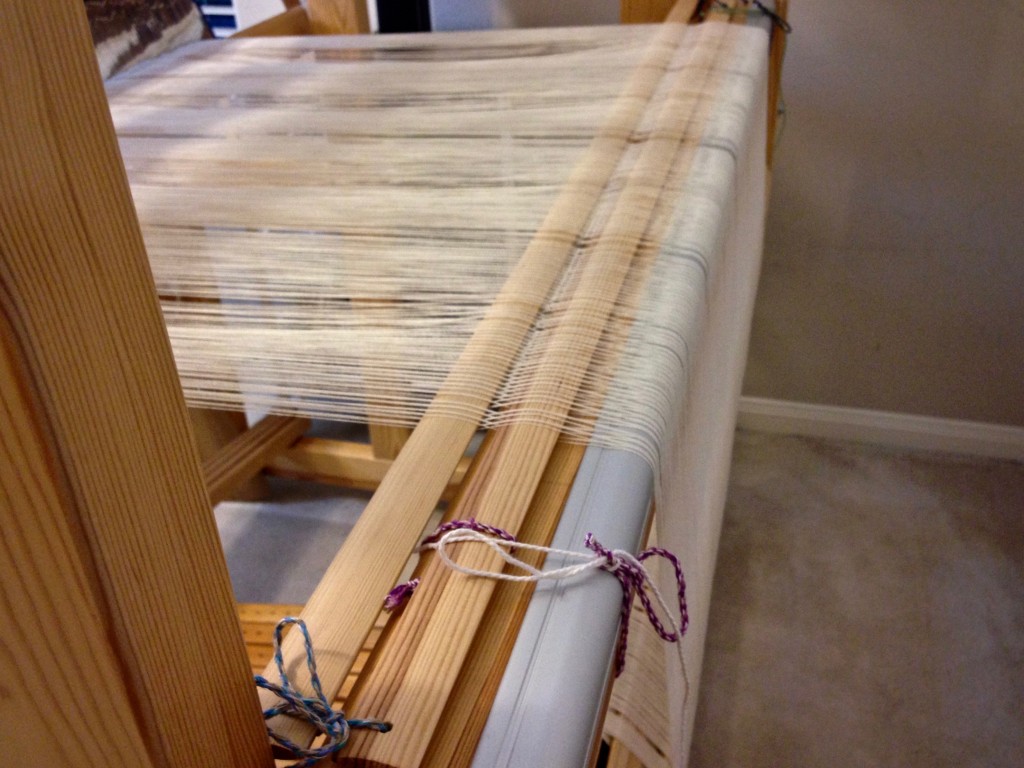
Tie the lease sticks to the back beam before cutting the ends.

If you missed step 12, do it now, or you will be yelling for help as you try to hold the cut ends with one hand while trying to keep the lease sticks from slipping out with your other hand. I speak from experience.

13 Loop the end of the warp chain around your hand, and then remove the remaining choke ties. Cut the loop.
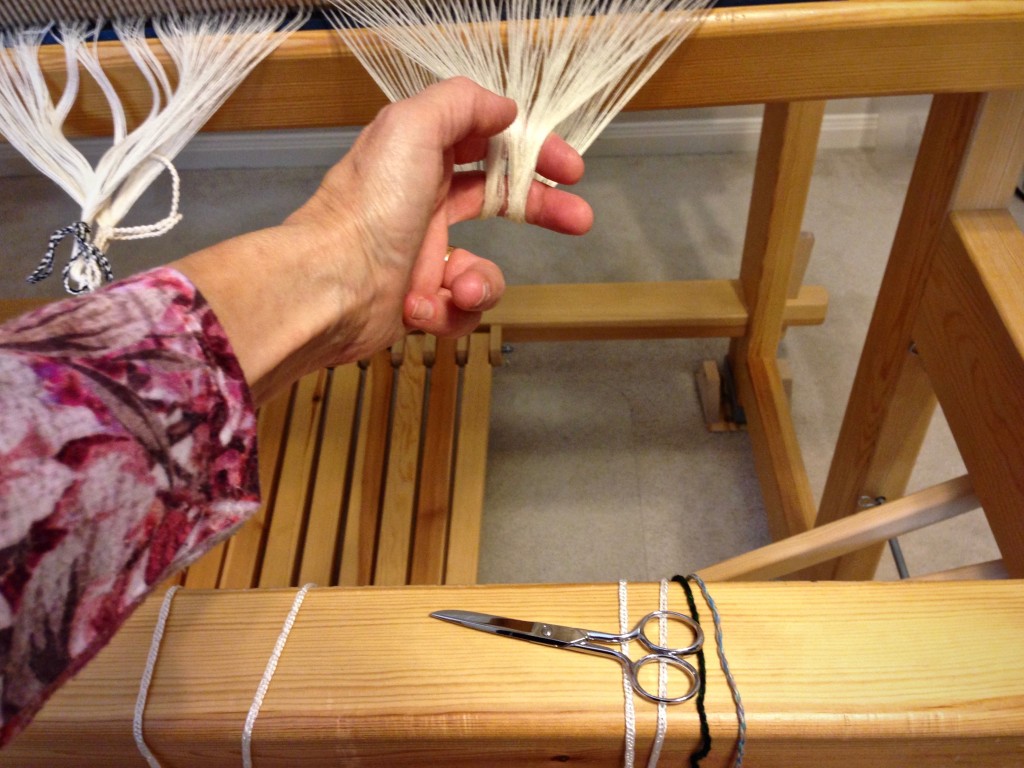
Cutting ends after beaming the warp.

14 Remove a group of warp threads from the reed and tie in a loose slipknot. Continue across the warp. Remove the reed.
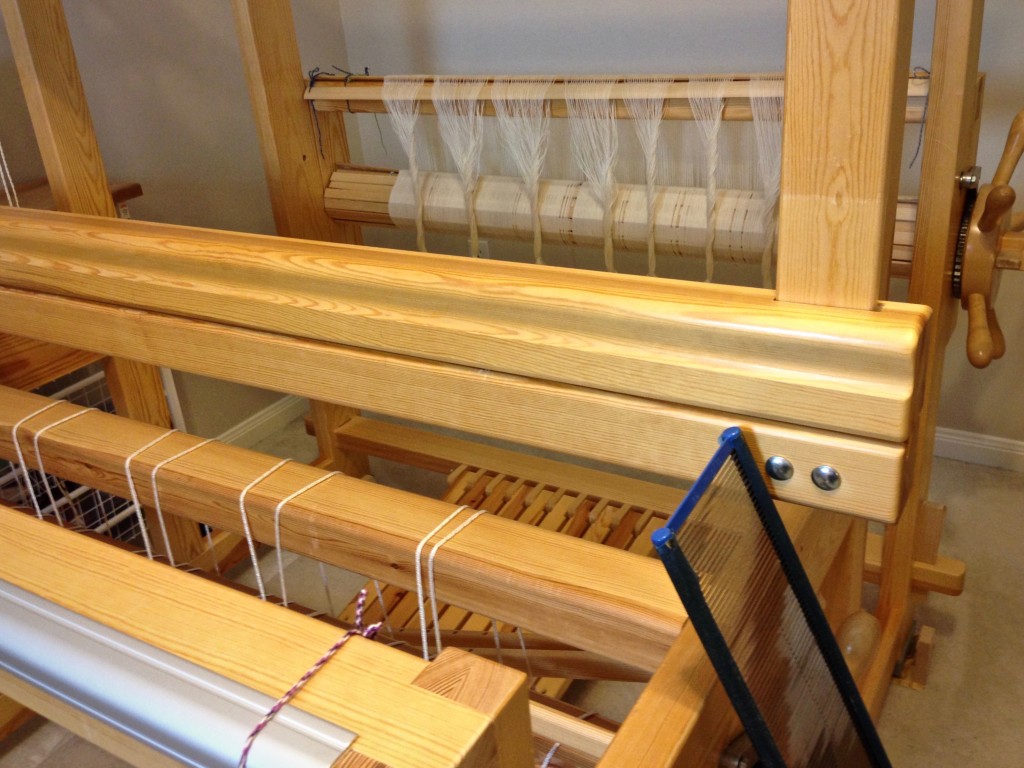
New warp of 16/2 cotton for monksbelt on weft rep.

15 Use the threading draft to count the warp ends into threading groups, tying each grouping with a slipknot.
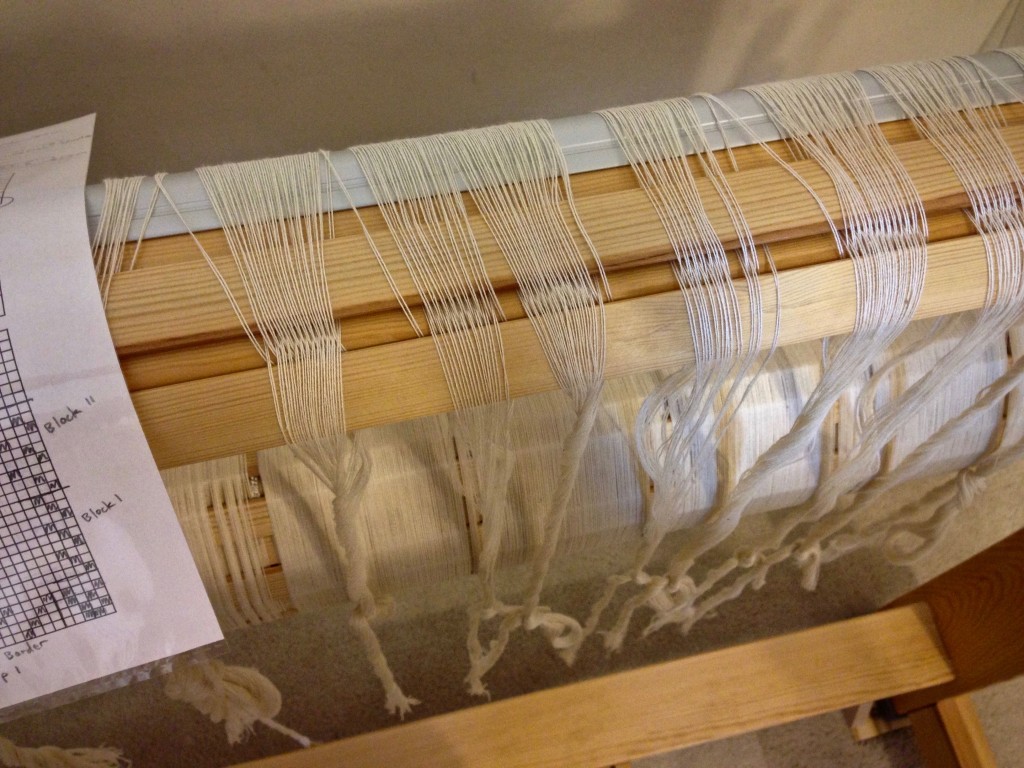
Grouping warp ends before threading.

16 Adjust the loom for threading. For this Glimåkra Standard loom, I move the countermarch assembly to the back of the loom, put the bench in the “playhouse,” and lower the shafts for threading.
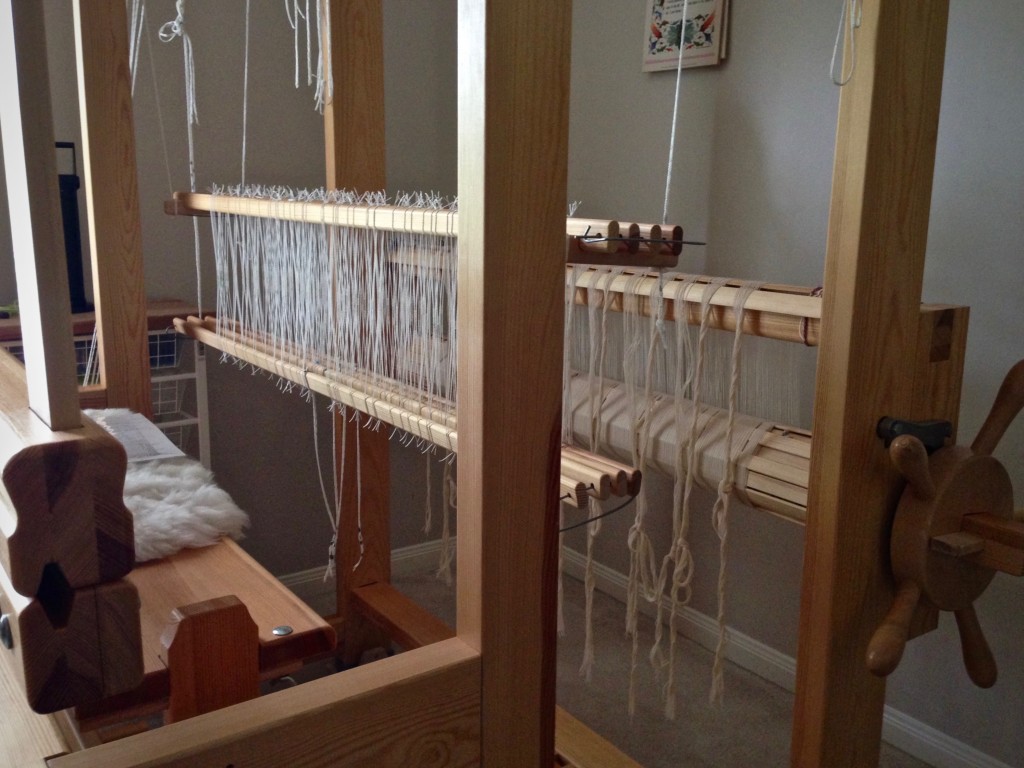
Bench "in" the loom for threading. Glimakra Standard.

For more thorough instructions about warping your loom, please consult these excellent resources:

  • Dress Your Loom The Vävstuga Way, A Bench-Side Photo Guide, by Becky Ashenden
  • Learning to Warp Your Loom, by Joanne Hall
  • The Big Book of Weaving, by Laila Lundell

May you find yourself beaming, inside and out.

Resurrection blessings,
Karen
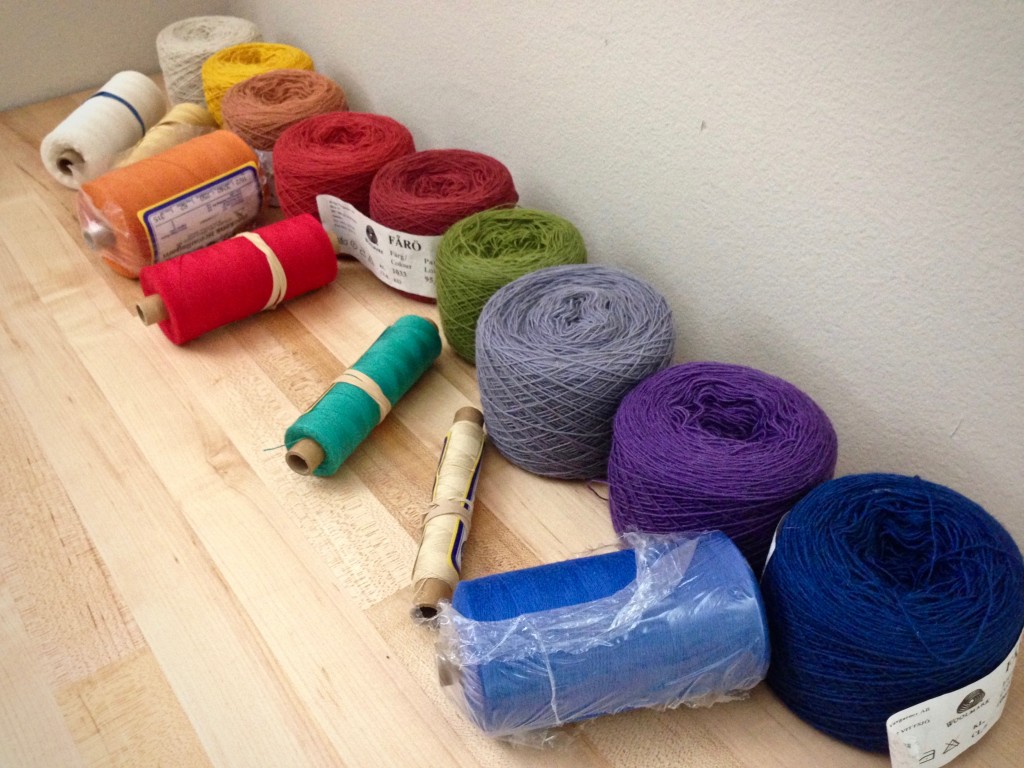
Another Classic Swedish Weave

Monksbelt is up next, another classic Swedish weave. I’m thrilled! This time I am weaving yardage, without knowing exactly how the fabric will be used. I planned this project while the rya rag rug was still on the loom; and I’m eager to get started!

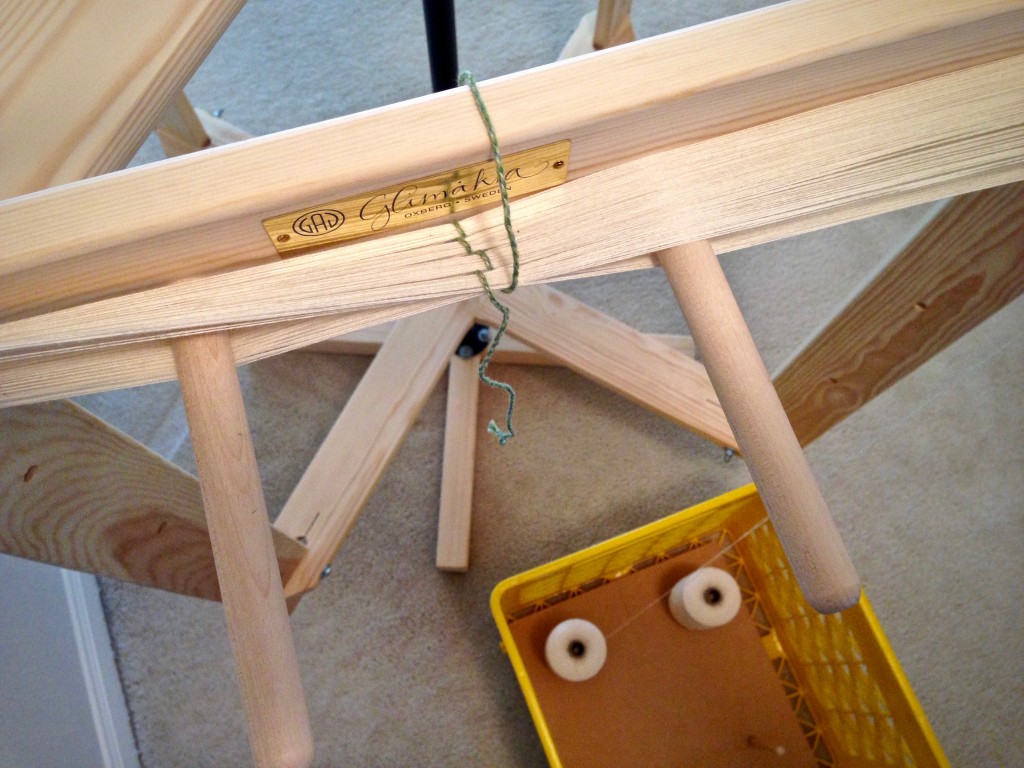
Winding warp on Glimåkra warping reel.
Glimåkra warping reel not only accelerates the warpwinding process, it makes it downright fun! This is the first of four bouts of unbleached 16/2 cotton. 760 warp ends in all.

Winding the warp is a rewarding part of the process. When I wind a warp, it goes directly to a ready-and-waiting loom. So, this is a declaration of a new beginning. It is also the anticipation of future rewards. The final reward is long-lasting–a useful length of colorful handwoven fabric.

Look for rewards that will last. We get side-tracked if we look only for immediate satisfaction, or short-term success. The long view brings perspective that cannot be seen in quick snapshots. I don’t have to know exactly how things will look in the future. I can enjoy the stage of the process I am in right now. Ultimately, though, I await the finished cloth. Keeping that reward in mind brings purpose to each step along the way. The eternal reward that heaven holds for us fills each season here with meaning.

May you enjoy many rewarding experiences.

On purpose,
Karen

Happy Weaving New Year!

January 1st is more than just another day, isn’t it? It’s a time to review the past year and bring new dreams into the year ahead. This pivot point calls for gratitude. I am especially grateful for friends like you who walk with me on this weaving journey!

Thick and thin cottolin towels on this warp. One towel to go!
The end is near! The end of the warp, that is. Halvdräll on the loom.
The end is near! The end of the warp, that is. Almost ready for the final border of the halvdräll table square. There will be just enough warp left for a short sample piece.

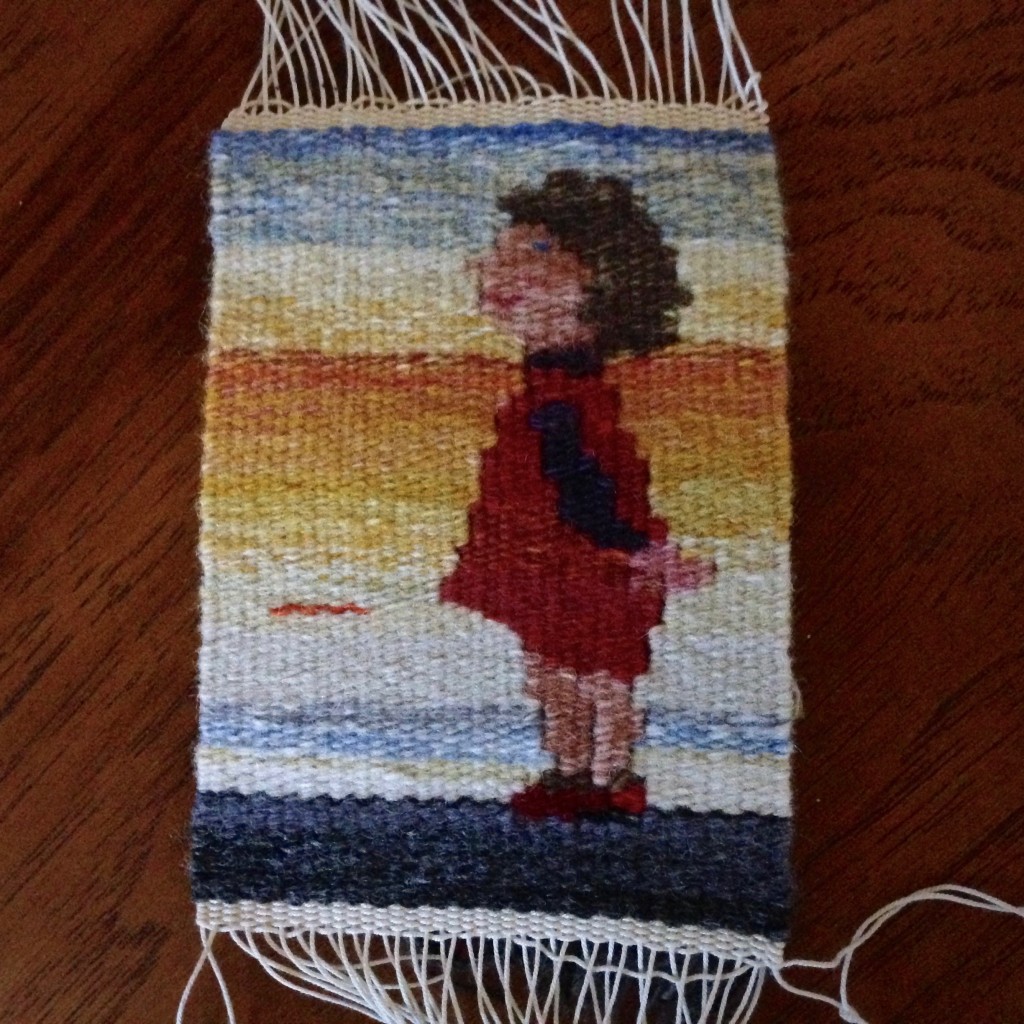
First up in the new year I have thick and thin towels to finish, and the halvdräll is oh so close to the end of the warp (didn’t quite make it for Christmas). And one little girl is off the small tapestry loom, waiting for final finishing, mounting, and framing.

Little girl small tapestry.
Little girl small tapestry. After finishing the ends, the piece will be mounted on linen-covered foam board and placed in a frame.

Thank you for walking with me through 2015!

May you bring big dreams into the new year!

Joyful New Year,
Karen

Quiet Friday: Linen Dice Weave Pillows

The linen on my loom last spring was a secret project. I only showed hints of what I was doing. Now that the “secret” linen project is published, let’s go back to see some of the process. Complete instructions for weaving and sewing these Linen Dice Weave pillows are in the January/February 2016 issue of Handwoven magazine. Read how it all came about in Caught by Surprise – in a Good Way.

Linen arrives!
Linen arrives!
Ready to pre-sley the reed with linen.
Ready to pre-sley the reed.
Warping trapeze in action to beam linen warp.
Warping trapeze in action to beam the linen warp.
Linen, ready to be threaded in the heddles.
Ready to thread the heddles.
Linen dice weave on the loom.
First pillow.
Linen dice weave as seen through the warp.
Linen dice weave coming around the cloth beam. Karen Isenhower
Coming around the cloth beam.
Linen dice weave on the loom.
Ending the pattern.
Dice weave in linen on the loom.
Dice weave.
Cutting off celebration!
Assembling handwoven linen pillows.
Assembling pillows.
Two sets of handwoven linen dice weave pillows
Two sets of linen dice weave pillows.
Linen dice weave pillows. Karen Isenhower
Linen dice weave pillows ready to send.

May you and those you love make meaningful memories on this Christmas day.

Merry Weaving Christmas,
Karen