Skeleton Tie-Up on a Countermarch?

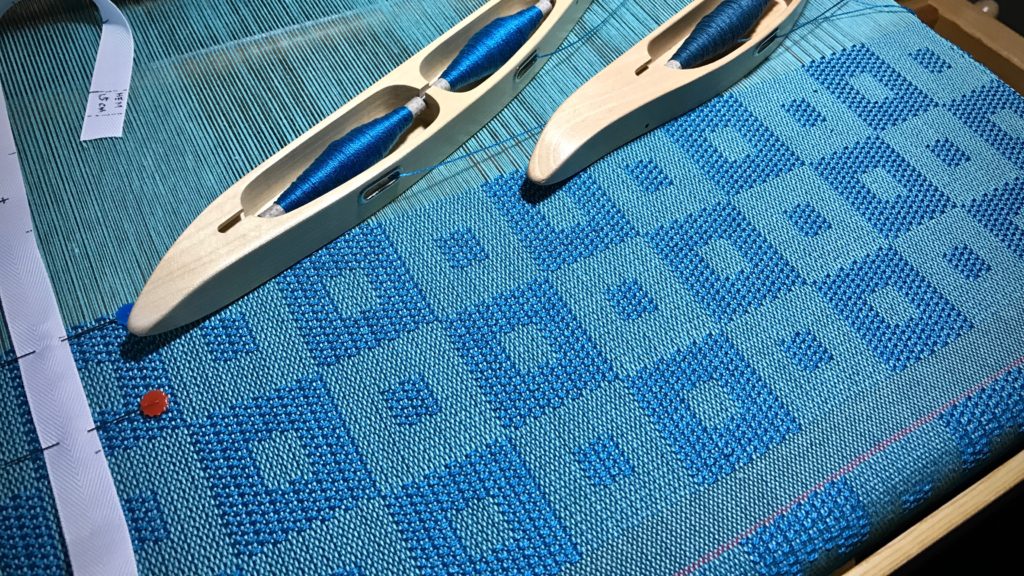
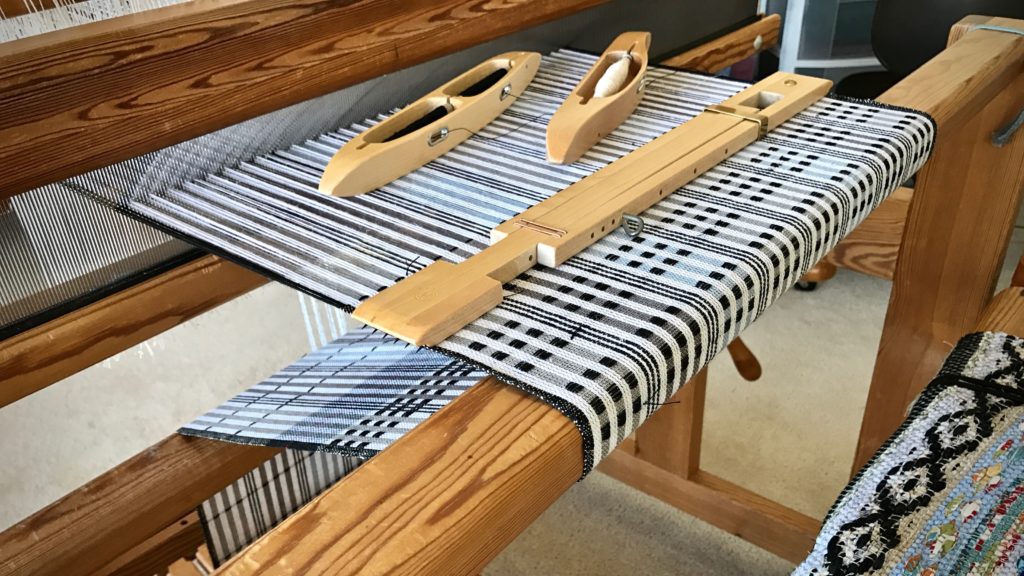
I’ve been told that you cannot do a skeleton tie-up on a countermarch loom. That would require pressing two treadles at the same time, which is not feasible on a countermarch. Guess what? I have a skeleton tie-up, and I’m pressing two treadles at a time for the pattern blocks in this kuvikas structure. On my countermarch!

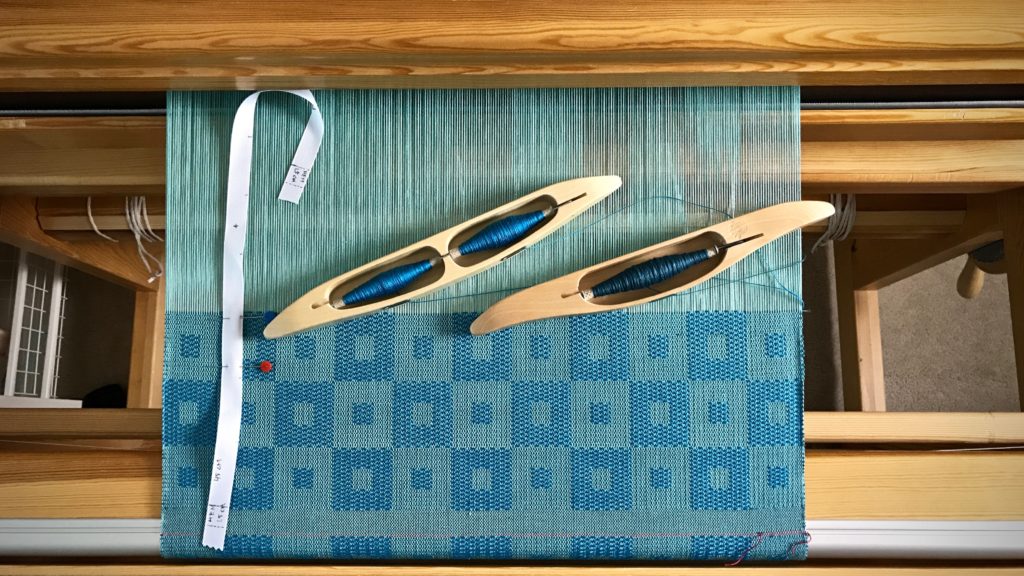
Kukivas (summer and winter) on the loom. Karen Isenhower
Trying to establish a consistent beat so that the squares are all the same size. Making the squares a little taller than they are wide will, hopefully, produce actual squares in the end. The fabric is expected to shrink more in length than in width when it is cut from the loom, and washed and dried.

It works because the tie-up is carefully planned to avoid conflicting treadle movements. I couldn’t be more thrilled with the square-within-a-square results. Isn’t it fascinating that a design such as this can be fashioned by hand, using a simple wooden loom and a bunch of strings, with a few simple tools? And a non-standard tie-up?

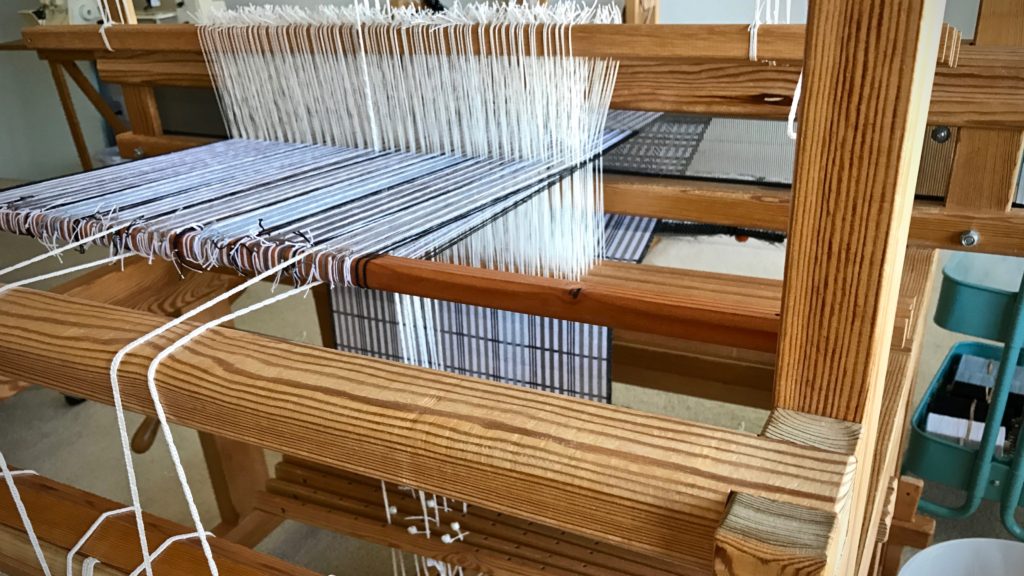
Skeleton tie-up on a countermarch loom for kukivas.
Pressing two treadles at the same time is surprisingly less cumbersome than I had imagined it would be. The whole series of motions feels like a slow majestic dance.

Have you seen the sky on a moonless night? Who made that starlit fabric? Who wove the pattern of the heavens? Who put the sun in place, and set the earth on its axis? How grand and glorious are these constant features of our existence! Our human hands can create no such thing. The heavens reveal the glorious nature of God. They shout the unmistakable truth that God is our Creator. Surely, the fabric we make with our hands serves to confirm that we belong in the hands of our Maker.

May the work of your hands be a reflection of you.

In awe,
Karen

New Warp Comes Alive

Put on a new warp as soon as possible. That’s my philosophy. A weaving loom should not stay bare. I am ready to begin a stack of rep weave mug rugs (my local weaving group is making them for an upcoming conference).

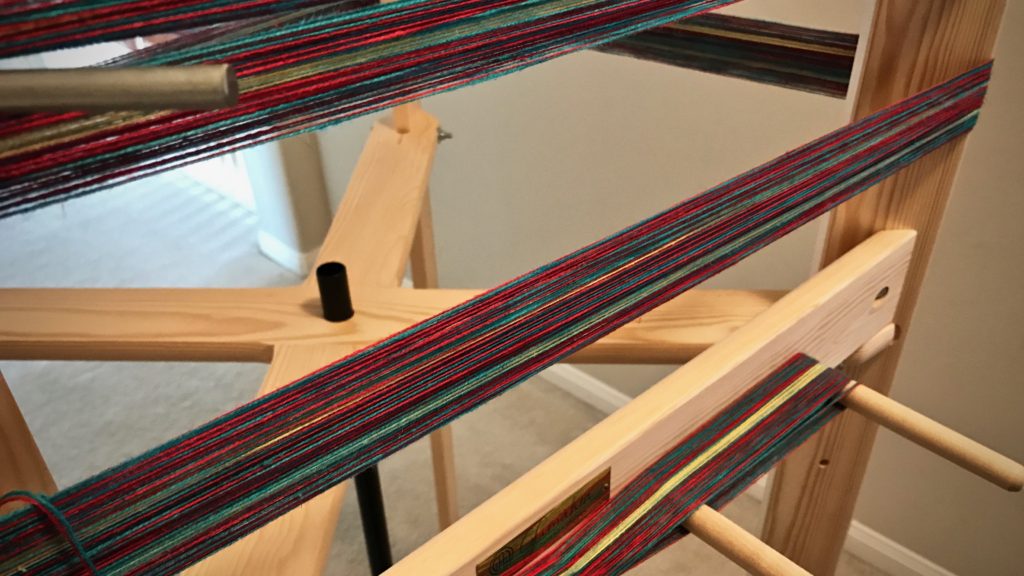
Cottolin warp on the warping reel.
Cottolin warp seems to light up on the warping reel. The colors become more vibrant when lined up together.

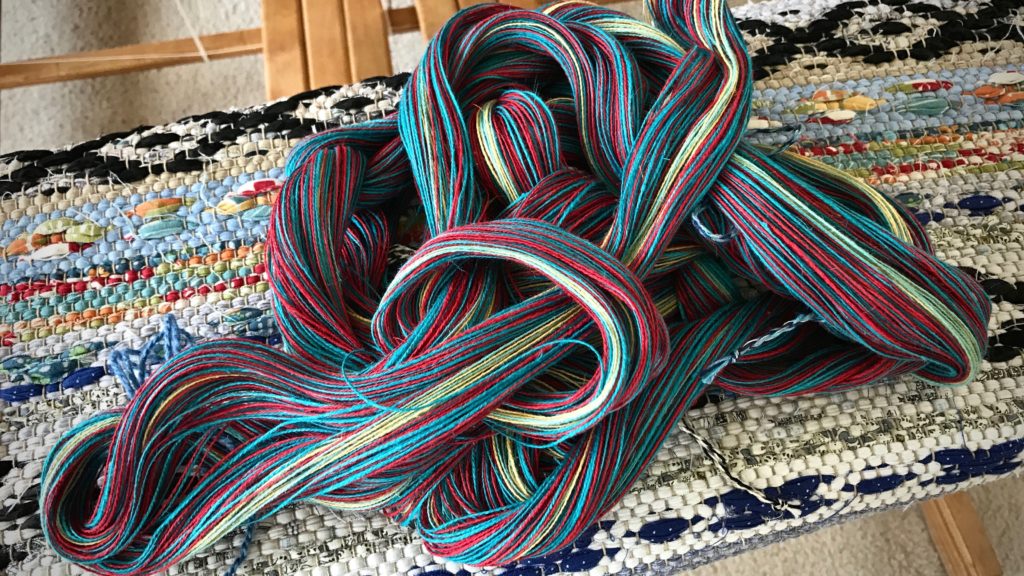
A new warp comes alive as I wind the threads on the warping reel. It is a picture of possibility! Every warp has a beginning and an end. Beginning a new warp on the loom is always exciting. And when I come near the end, I often wish I could weave a little longer.

Cottolin warp chain with vibrant colors!
Warp chain is ready for dressing the Glimåkra Ideal loom.
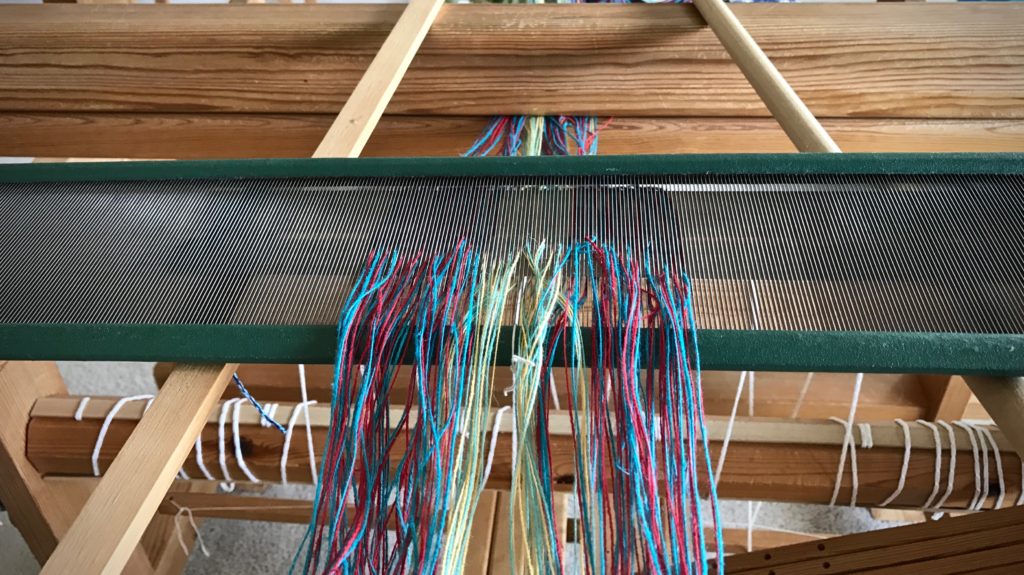
Pre-sleying the reed for rep weave mug rugs.
Lease sticks are in place under the reed, held up by two support sticks, and the warp has been pre-sleyed. Next step is to set up the warping trapeze.

Have you considered the warp as a metaphor for a life’s span? It is measured out in advance, with a certain type of fabric in mind. The setts, patterns, and structures vary. But they are all meant to be woven. Weft passes are like days and years. For a time, it seems like it will never end. And then, you see the tie-on bar coming over the back beam. You’re reminded that this warp is temporary. We all have this in common: We are mortal. Time is a precious gift. Every pass of the weft is a reminder of our Grand Weaver’s loving attentiveness to complete the weaving he began.

May you enjoy the gift of time.

Happy Weaving,
Karen

Not Just Any Old Weft

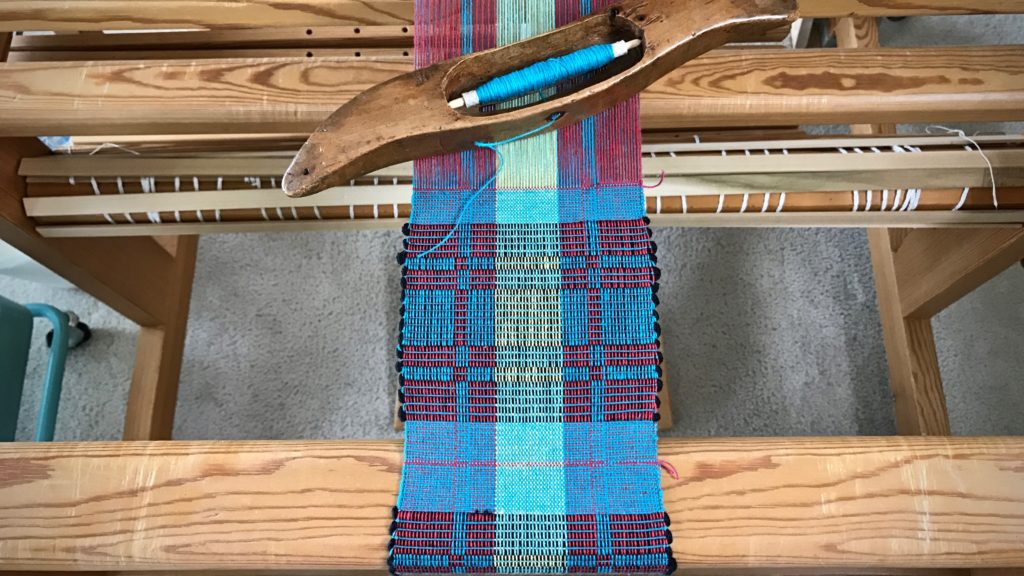
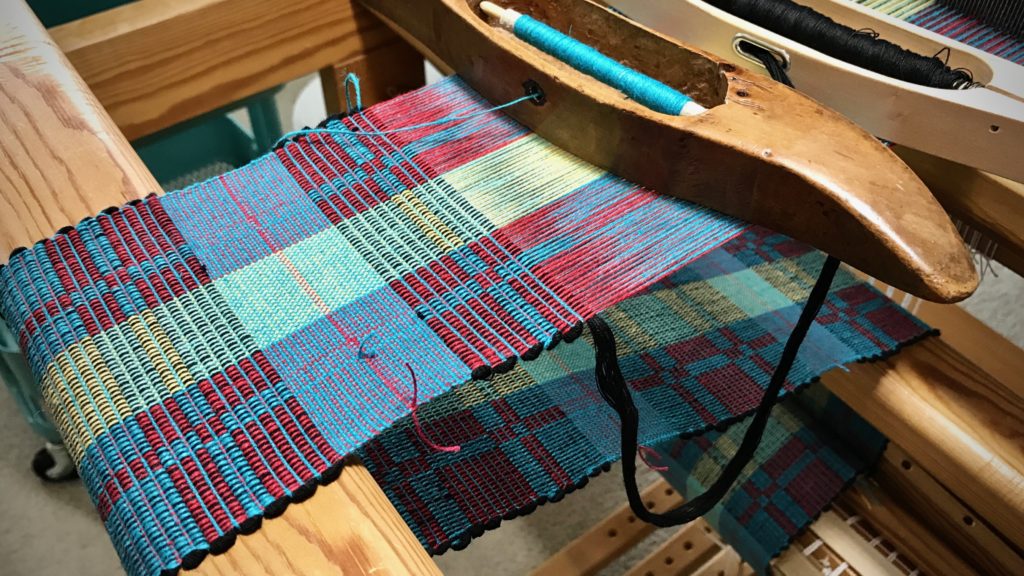
The weft makes or breaks a weaving project. 16/1 linen weft requires careful weaving, but the quality of Swedish Bockens linen won’t disappoint. If you use superior quality warp thread, like this Swedish Bockens Nialin (cottolin), it makes perfect sense to choose a weft that equals that degree of excellence.

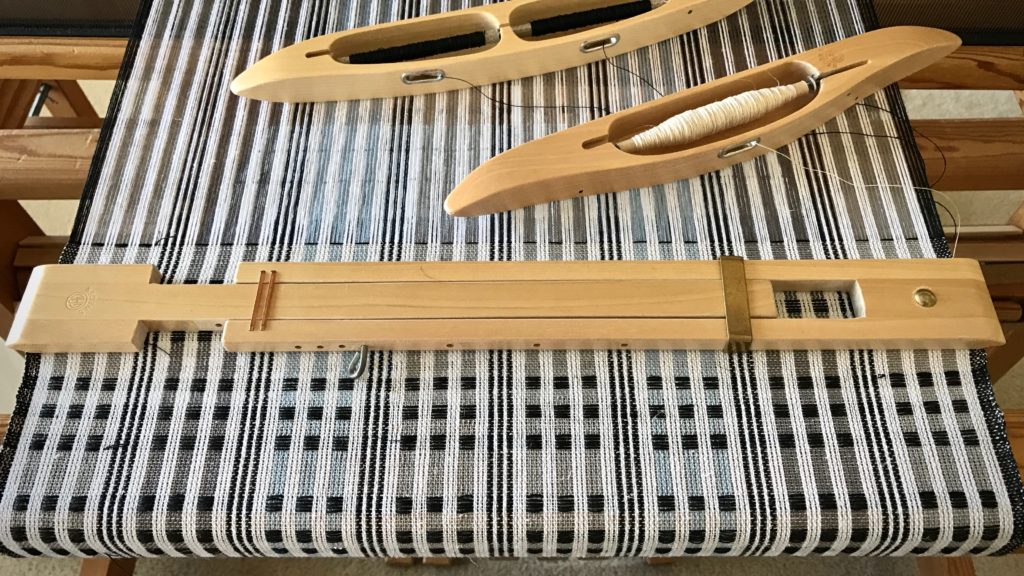
Platväv table runner. Linen weft.
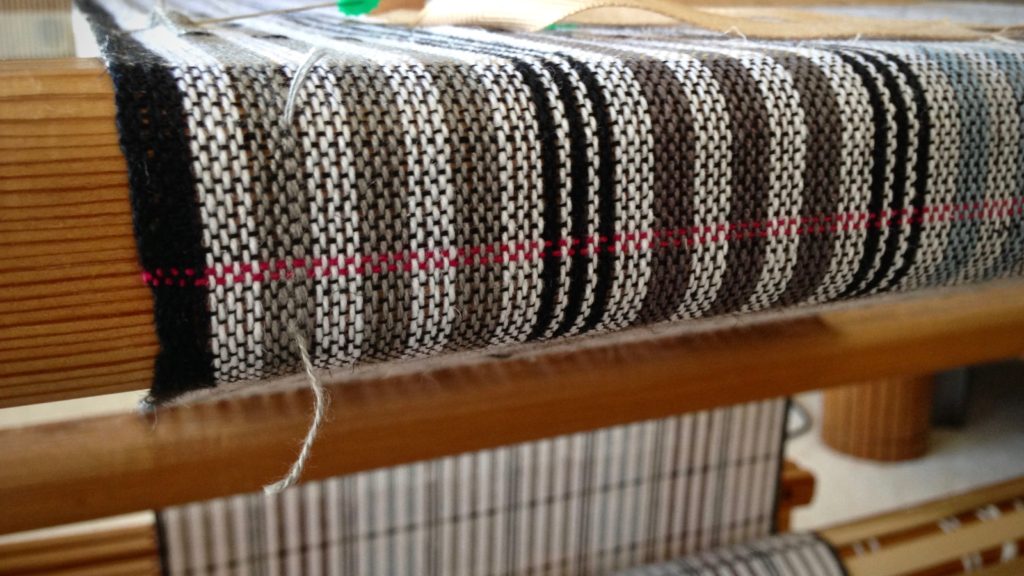
Plattväv table runner. Black 16/1 linen is doubled for the pattern weft in this plattväv design. The background tabby weft is golden bleached 16/1 linen.

When I weave useful items on my loom, I want them to stand the test of time. I want these plattväv towels and table runner to outlive me. So, no skimping on quality. Time and patience are woven into the cloth, with artisan details and carefully applied skills. Perfection? No, not this side of heaven. But making the most of what I’ve been given is one way I show gratitude to my Maker.

Plattväv table runner. Linen weft.
End of towel kit sample warp has enough room to weave a companion short table runner with plattväv squares. All weft tails will be trimmed after the fabric has been wet finished.
End of warp closes in.
Weaving as far as feasible. End of warp closes in.

We have much to be grateful for. The Lord’s enduring love is of measureless worth and quality. It’s the basis for our unwavering hope, which sustains us through every adversity. This isn’t a knowledge of the love of God. This is the actual love of God, poured into willing hearts. Love changes everything. This love is the weft that makes perfect sense for the completion of something as valued as you or me. What if every fiber of our being reflected the love of God? How beautiful!

May your finest qualities be seen and cherished.

Love,
Karen

PS Plattväv towel kit is in development. The kit includes a pre-wound warp and sufficient weft to weave four hand towels, and one companion short table runner/table square. PLUS, special access to one or two short instructional videos.

How to Splice the Warp – Video

Knots show up in the warp. It’s a normal part of weaving. Weaving over the knot is almost never a good idea. You have to deal with the little obstacle. This is why it is handy to know how to splice the warp. Thankfully, it’s not hard to do. There are a few standard variations on how to perform this operation. I use a method that I first came across here, by Kirsten Froberg, that makes sense to me. And, hooray, there are no tails to weave in later!

I made a new video to demonstrate how I do it. You can watch it below…

How to splice the warp.
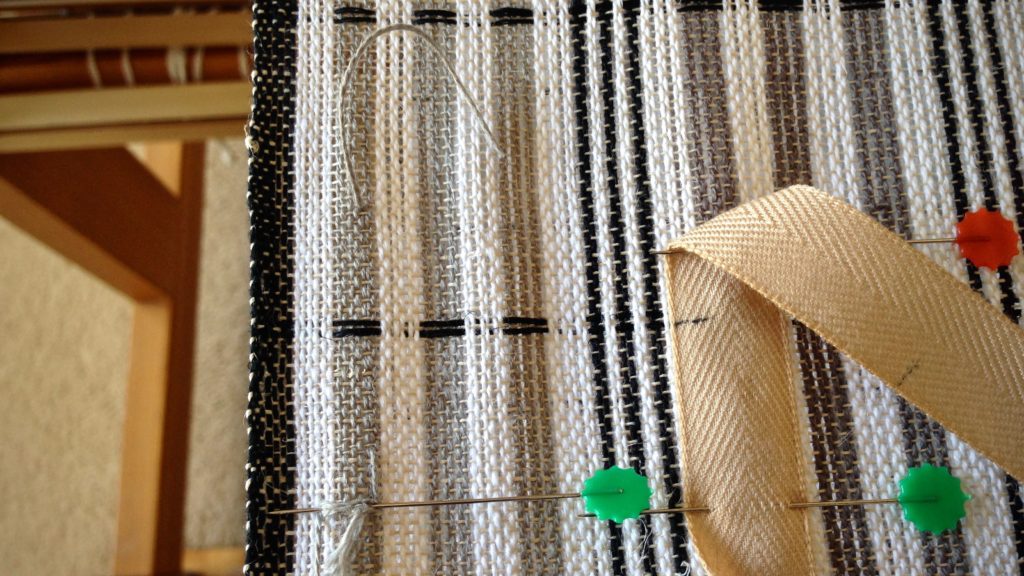
Spliced area of the warp happens to land in the hems of two adjoining towels. Pink weft picks serve as a cutting line between the towels.
How to deal with a knot in the warp. Tutorial video.
Ending the splice. There are no tails to weave in later with this method.

How to Remove a Knot in the Warp

  • Insert a replacement warp end. Attach with a pin.
  • Weave an inch with original and replacement warp ends in place.
  • Cut original warp end. Hang it over the back beam.
  • Weave until original warp end is long enough to reinsert.
  • Insert original warp end. Attach with a pin.
  • Weave an inch with replacement and original warp ends in place.
  • Cut and remove replacement warp end.
  • Trim cut warp ends after wet finishing.

May the knots that get in your way be easy to remove.

Happy Weaving,
Karen

Now This Year

New year 2017 is beginning! It’s time again to take account of where we stand in our life’s dreams and goals. What can we check off the list? And, what is still in progress? And, maybe there’s something new to add. But first, let me count my blessings. I’m filled with gratitude, thankful for you! What a JOY it is to have friends like you to walk through this weaving journey with me.

Here’s what you’ll find on my looms right now:

Striped cottolin warp for towels.
Glimåkra Ideal loom: Striped warp for the sample kit is all set! Winding quills is next. Then, weaving! If all goes well, a few pre-warped plattväv towel kits will show up in my Etsy shop.
Transparency with linen warp and background weft. Cotton chenille weft inlay.
Glimåkra Standard loom: Weaving a transparency. 16/2 linen warp and background weft. The weft pattern inlay is cotton chenille.
Practice piece on little Hokett loom.
Hokett loom has the start of a simple stripes tapestry practice piece. 12/6 cotton warp, 6/1 Fåro wool weft.

Thank you for joining me through 2016!

May you have joy in the journey.

Happy Weaving New Year,
Karen