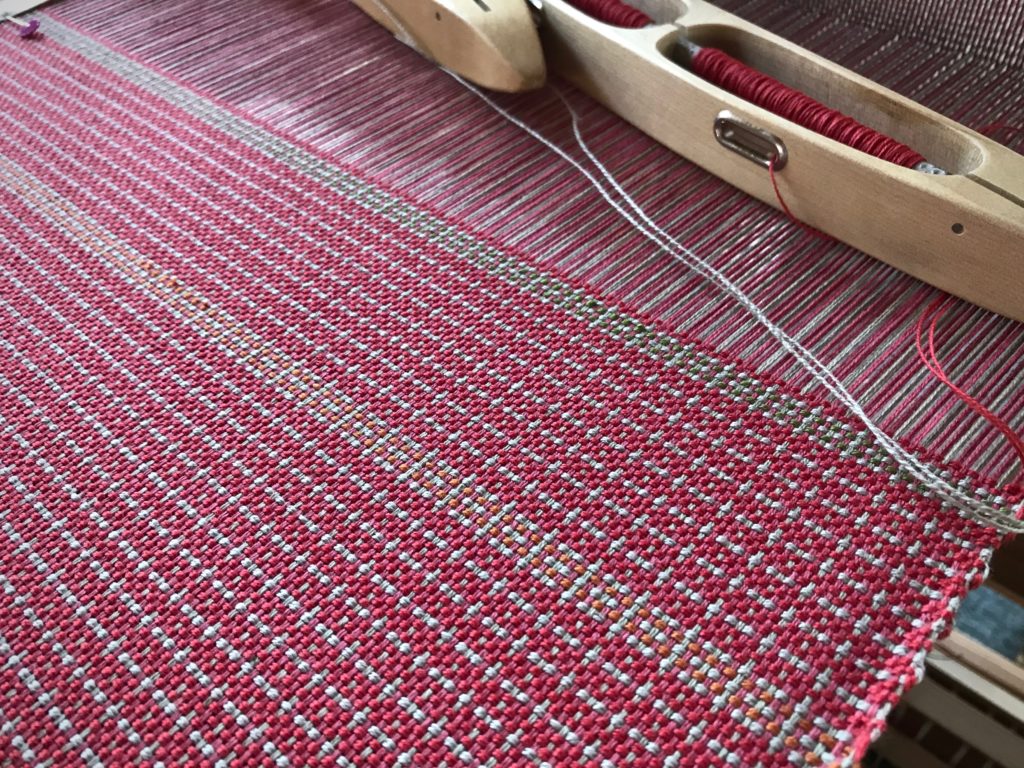
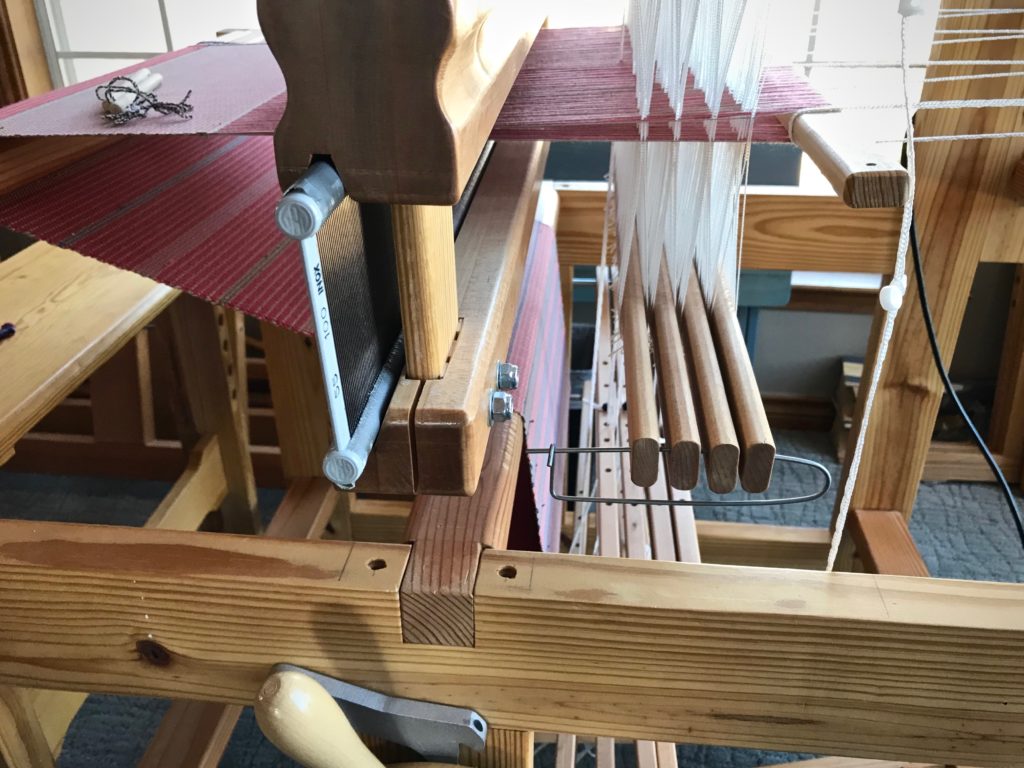
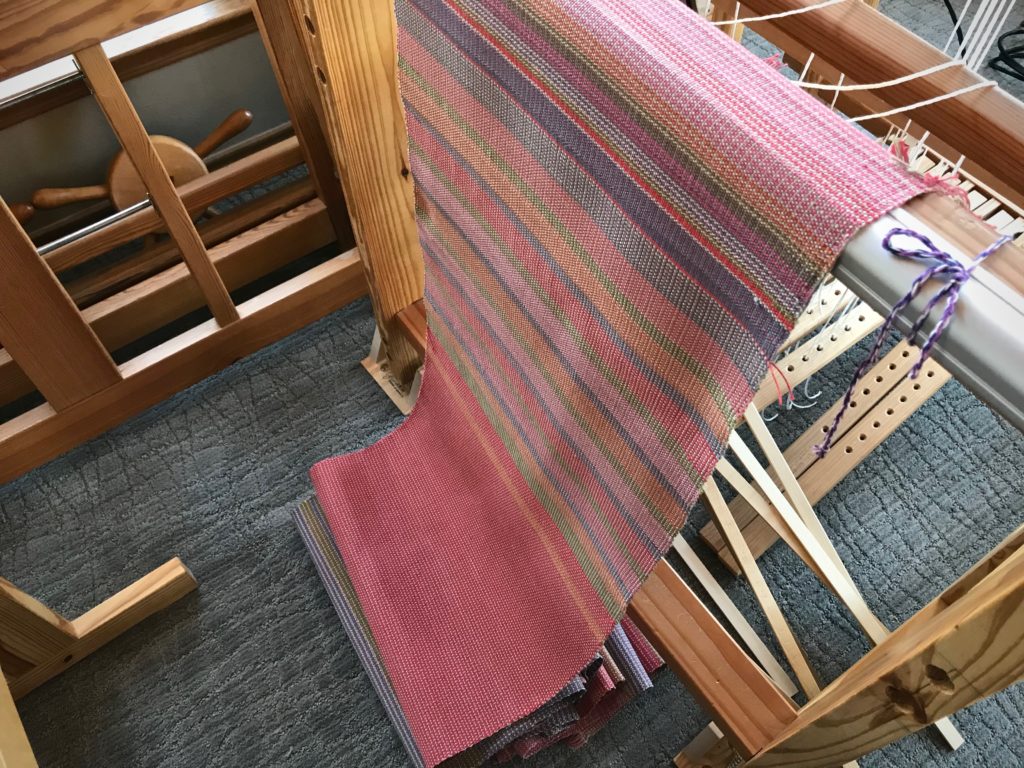
Weaving through The Big Book

It took me seven years of study, practice, and mistakes to complete this rigorous Swedish weaving curriculum! You have been with me through much of it right here. I’m talking about The Big Book of Weaving, by Laila Lundell. I made it through the book, sequentially, page by page, warp by warp. 43 warps in all! Remember the blue 12-shaft double-weave blanket I had on the loom in June? That is the final project in the book.
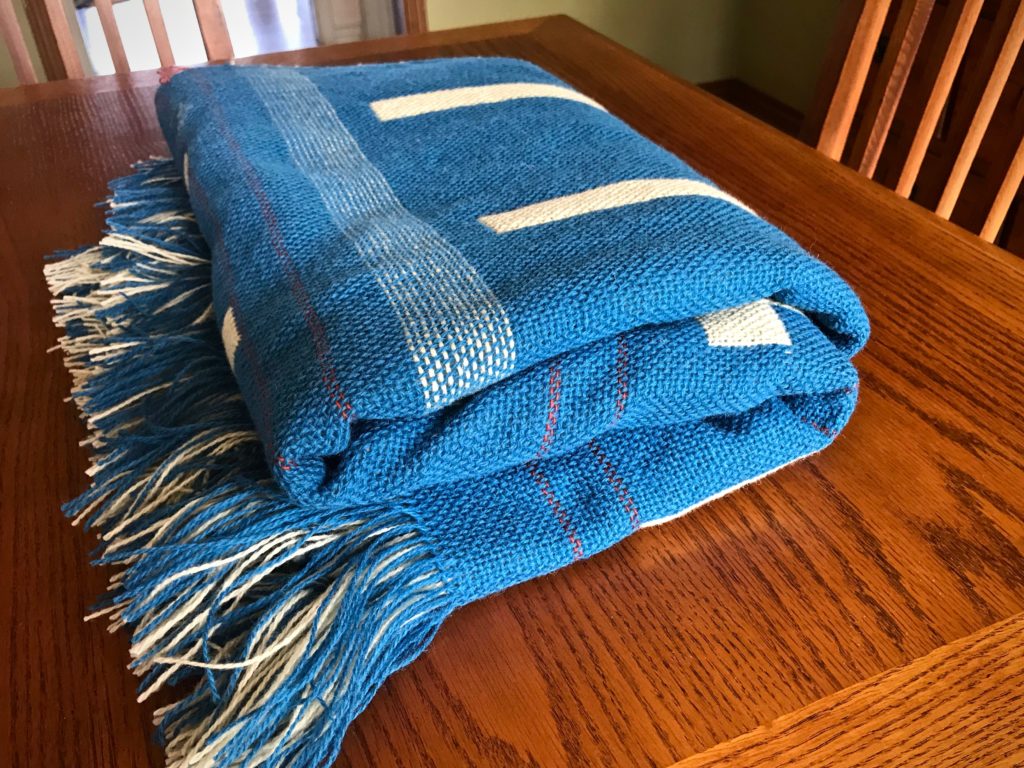
Handwoven double weave blanket. 12 shafts.
Double-weave wool fabric is ready for wet finishing, where it will be transformed into a soft, cozy blanket.

In the short video below, each completed project is presented in order in our Texas hill country home. Watch to the end to see the blue blanket in all its finished glory.

For nitty-gritty details, check out The Big Book of Weaving tab at the top of the page.

I. Secrets to success:

  • mindset of a student
  • determination
  • eyes on the goal
  • no option other than completion

One loom dedicated to the book.


II. Lessons learned:

  • technique
  • processes
  • planning
  • drafting
  • Swedish practices

Any mistake can be remedied.


III. Treasures gained:

  • patience
  • humility
  • endurance
  • focused attention
  • problem solving
  • creative freedom

Confidence.


IV. Prized perspectives:

  • new experiences
  • delight of dressing the loom
  • wonder of cloth-making
  • fresh ideas
  • joy of discovery
  • knowledge and understanding of the loom

Getting lost and absorbed in the whole process of weaving.

V. Favorite project: Old-Fashioned Weaving / Monksbelt (at 4:46 in the video)

Are we determined students of heavenly things? Oh, to know God’s will! Study what’s written, don’t lose heart, eyes on the prize, no option besides completion through Jesus Christ. One life dedicated to know him. Day by day, warp by warp, the Grand Weaver teaches us. We can know God’s will.

May you be a lifelong learner.

Happy Weaving to you,
Karen

Pictorial Tapestry Weaving

Inspired by some of Joanne Hall’s exquisite large tapestries, I have been taking steps to learn her techniques. This fascinating style that is unique to Joanne enables her to weave large tapestries at a comfortable pace. My Lizard tapestry last year was a step in this direction. (See Quiet Friday: Lizard Tapestry.) One thing that the lizard taught me is how much more I need to learn. So, you can imagine my delight in having the opportunity to take a Pictorial Tapestry Weaving workshop taught by Joanne Hall last week! (Contemporary Handweavers of Texas Conference in Fort Worth was the setting.)

Texas Wildflowers, tapestry by Joanne Hall.
Texas Wildflowers, tapestry by Joanne Hall. Photo credit: Steve Isenhower 2013
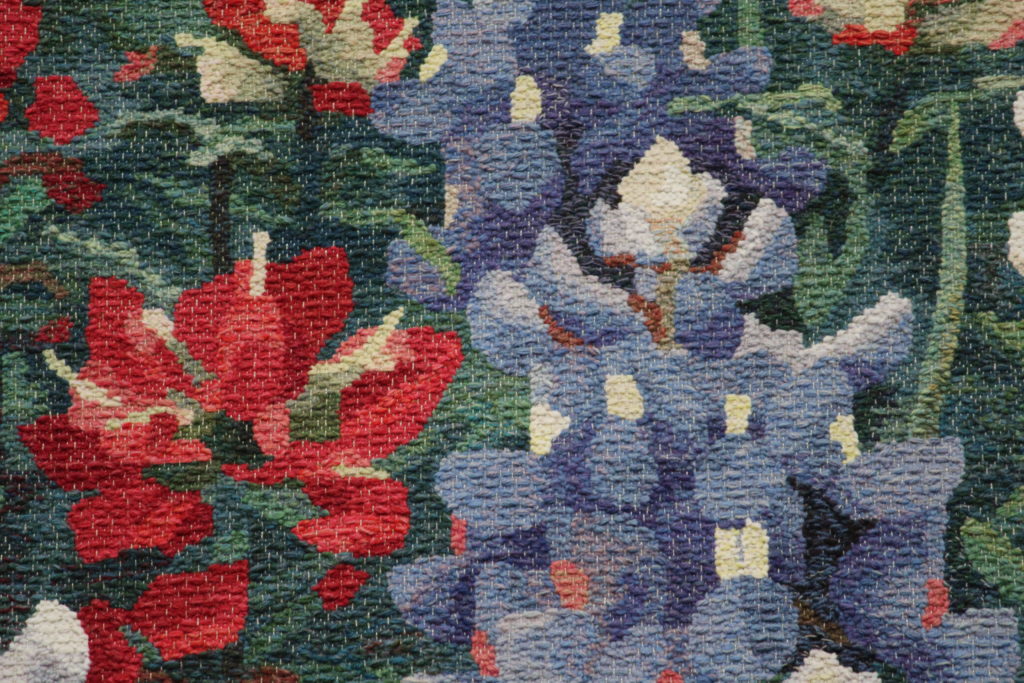
Detail of Texas Wildflowers, tapestry by Joanne Hall.
Detail of Texas Wildflowers. Threaded in rosepath, with a linen warp. Woven with butterfly bundles of wool yarn. Photo credit: Steve Isenhower 2013

Things to remember: Don’t beat hard. Bubble the weft more. Color theory is invaluable for adding depth and intensity. Simplify the cartoon. And countless more bits of insight and instruction! I am invigorated in my pursuit to develop these tapestry skills. Expect to see a tapestry on my 120cm Glimåkra Standard in coming days.

Workshop looms.
My hand-built countermarch loom is perfect for a tapestry workshop. Betsy brought her Glimåkra Julia loom.
Tapestry sampler in Joanne Hall's workshop.
Workshop sampler gives students various tapestry techniques to practice. We learned techniques of other tapestry weavers, such as Hans Krondahl and Helena Hernmarck, as well as Joanne’s unique approach.
Tapestry workshop with Joanne Hall.
Fellow student Cindy created this pear, taking advantage of the rosepath threading to add pattern to the image.
Joanne Hall's tapestry workshop.
Joanne, center, explains the process of creating a cartoon. She spreads out photos of flowers as a starting point for students’ cartoons.
Joanne Hall's tapestry sample.
Joanne’s tapestry sample demonstrates the outcome of her process. A portion of the photo was enlarged from which she drew the cartoon.
Tapestry workshop.
Fellow student Deborah creates a flower from her original cartoon.
Making a tapestry cartoon.
I am choosing to make my cartoon from an enlarged portion of a lily photo.
Weaving from a cartoon in tapestry workshop.
Color studies and technique exercises all come together in the last part of the tapestry sampler. Weaving from a cartoon.
Tapestry progress.
Time to take the loom apart and head home. Checking my progress with the photo before packing up.
Lily sample from tapestry workshop with Joanne Hall.
Lily sample is finished at home.

I find myself pondering how experiences fall into place in our lives. There are times when the stepping stones seem to be set out before us, showing the way, when we don’t know exactly where we are going. The Lord knows where I am going. He knows me. And he kindly sets out the next steps. Perhaps he smiles as he sees our delight when we figure out that we are the bundles of yarn in his tapestry.

May your joy in learning never cease.

Happy Weaving,
Karen
Tried and True: Center the Reed

Eleven hours and thirty-six minutes into this project, the starting line for weaving is just around the corner. Wind the warp, and beam it. Thread the heddles. Sley the reed. Unlock the back beam ratchet. Move the countermarch to the front of the loom. … Pause when you think about moving the twelve shafts and the reed forward with the countermarch. Reach. Wiggle. Pull. Wiggle. Pull some more. Got it. Now, put the reed in the beater. Relax? Almost, but not yet.

Time to move the whole shebang forward.
Reed is sleyed, so reed support cords have been removed. Time to move the whole shebang forward.
Ready to insert the reed into the beater.
Plastic-coated wire is threaded through the ends of the shaft bars because I don’t have shaft pins long enough for twelve shafts. After coaxing and wiggling the mass of shafts forward, with the countermarch above them, I am ready to insert the reed into the beater.
Basics: How to center the reed.
As I put the reed in the beater I make sure all of the ends are free, and not trapped in the beater’s grip.

We must not forget to center the reed. I center the reed just as soon as the reed is in the beater.

How to Center the Reed

(We are actually centering the warp that is in the reed.)

Supplies needed: Tape measure (or string)

1. Using the tape measure, measure from the right edge of the warp in the reed to the outer edge of the beater on the right-hand side. Hold the tape measure with your fingers marking the measurement.

Center the reed.


2. Holding that measurement, place the tape measure at the left edge of the warp in the reed stretching out toward the outer edge of the beater on the left-hand side.

How to center the reed.


3. Note the difference in measurement between the right side and left side. Move the reed in the beater to center.


4. Repeat the first two steps until the measurements are the same on both sides.

Centering the reed.
Tips for centering the reed in the beater.
Reed is centered.

Now you can relax. Enjoy the moment, because you are that much closer to seeing fabric take shape!

May you enjoy the process you’re in.

Patiently,
Karen
Weaving Rhythm Awakening

All the looms are bare right now. Four empty, quiet looms. But they won’t be quiet for long. I have thread/yarn and plans ready for each loom. I hear a rumbling as the looms begin to wake up. Before long, the weaving rhythm will be fully awakened in this place!

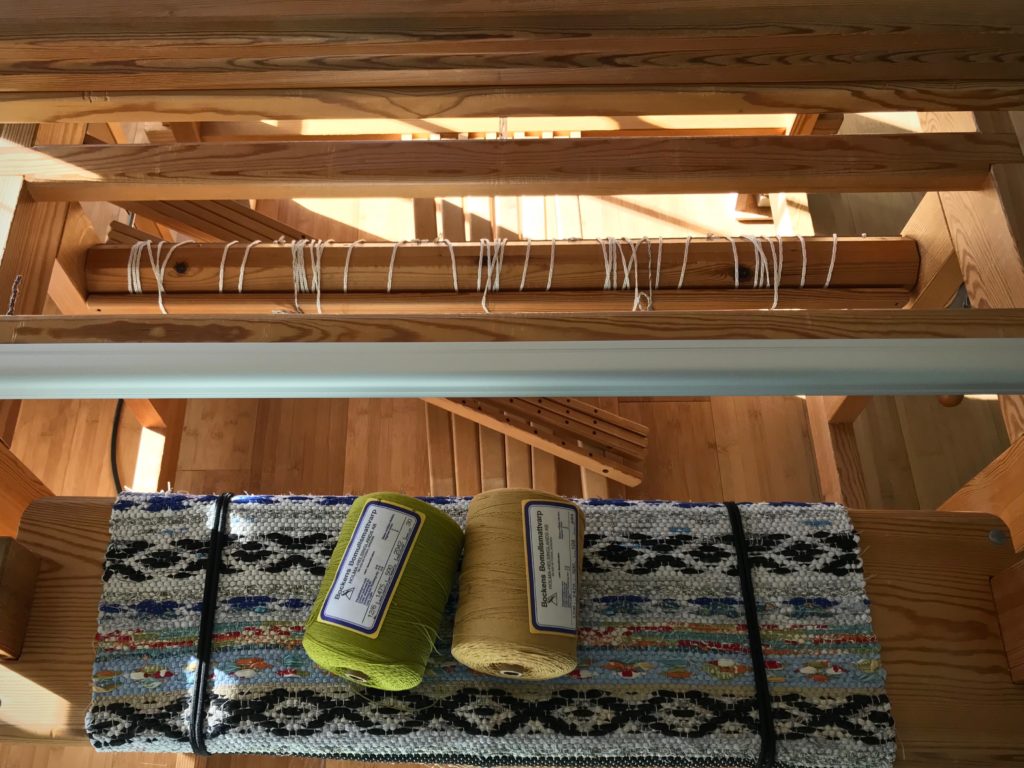
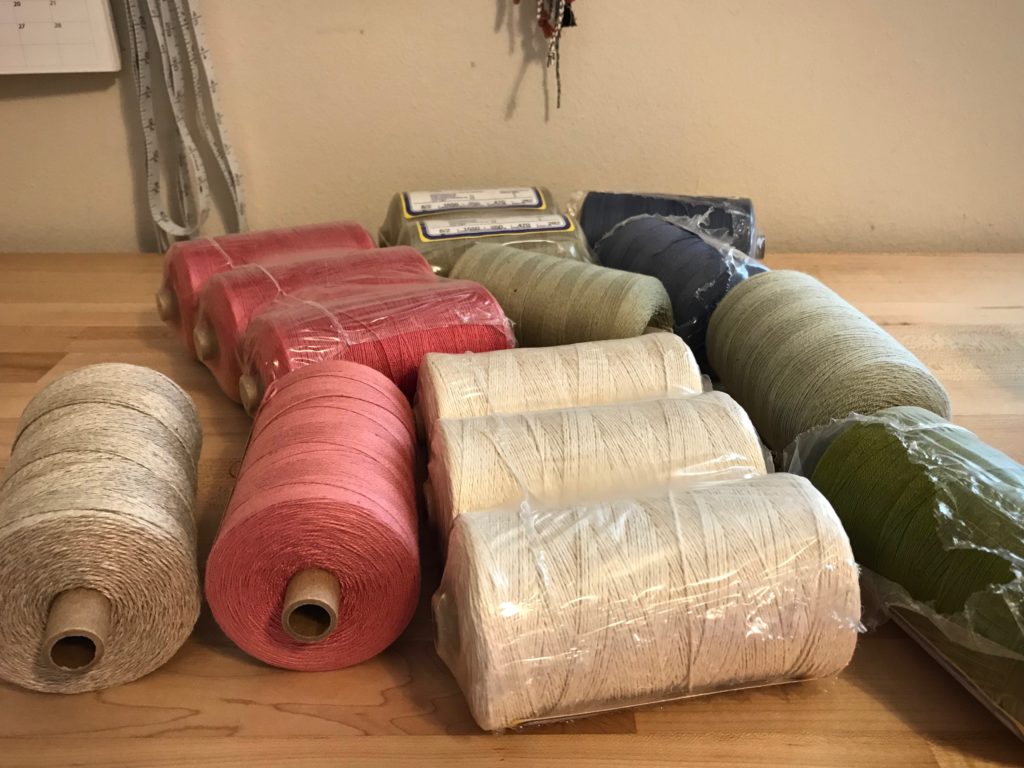
12/6 cotton rug warp in Pear and Brass for rag rugs.
Glimakra 100cm Ideal countermarch loom has moved into the spot vacated by my recently-acquired Glimakra Standard 120cm countermarch loom that we have moved to a new location.
12/6 cotton rug warp in Pear and Brass for Rosepath rag rugs.
6/2 Tuna wool for a 12-shaft double weave blanket.
Glimakra 120cm Standard countermarch loom in its favored position in our home. This loom has not been moved.
6/2 Tuna wool in Lapis Lazuli and Almond for a 12-shaft double weave blanket.
Vavstuga pre-wound warp for towel kit.
Handbuilt little 70cm countermarch loom in its perfect little corner by the windows. Pre-wound warp from Vavstuga (Mary’s Towel Kit) that my dear friend Elisabeth is letting me weave.
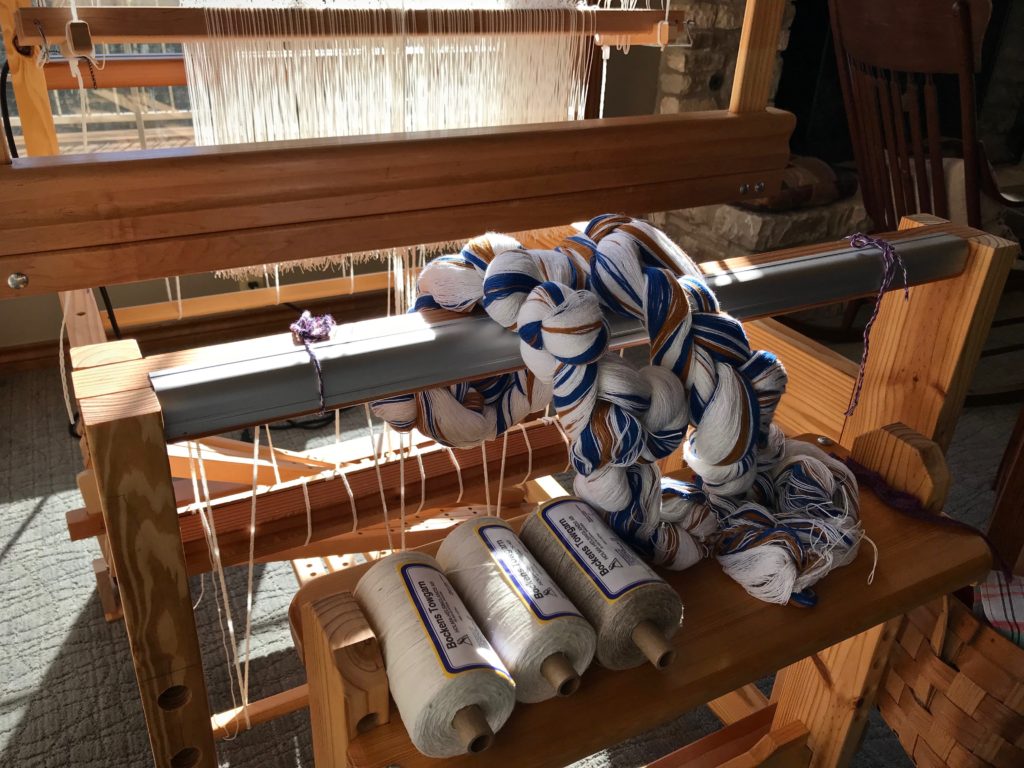
22/2 Cottolin in Sapphire and Yellow Ochre for towels.
Moving the Glimakra Standard loom to its new studio space.
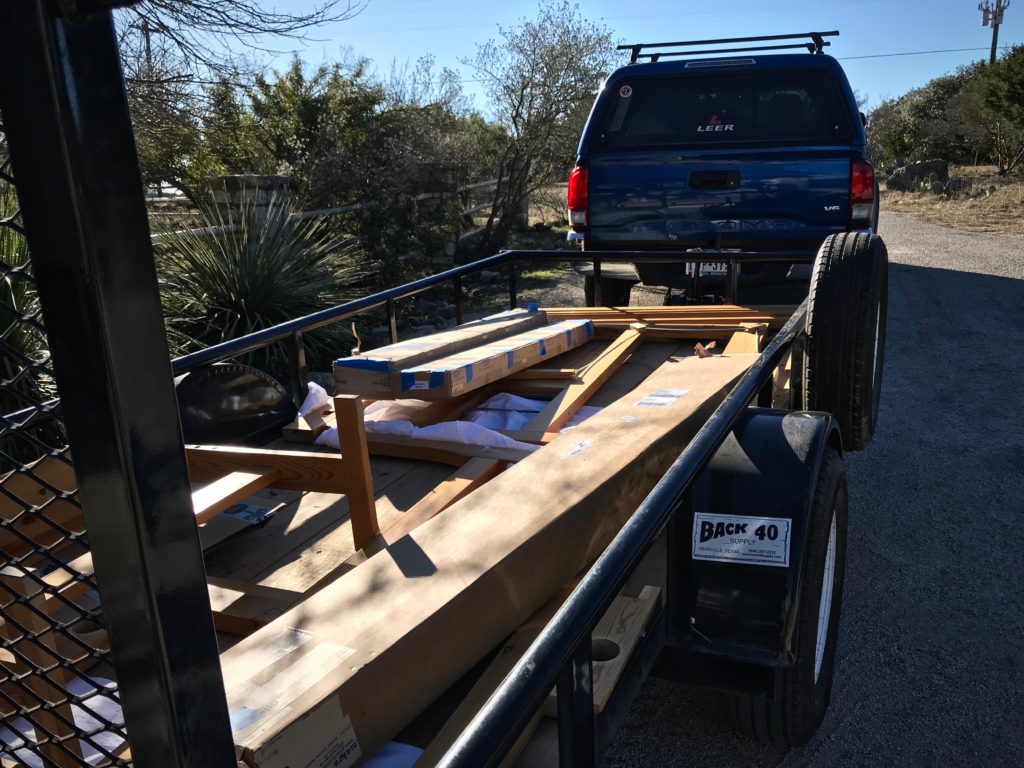
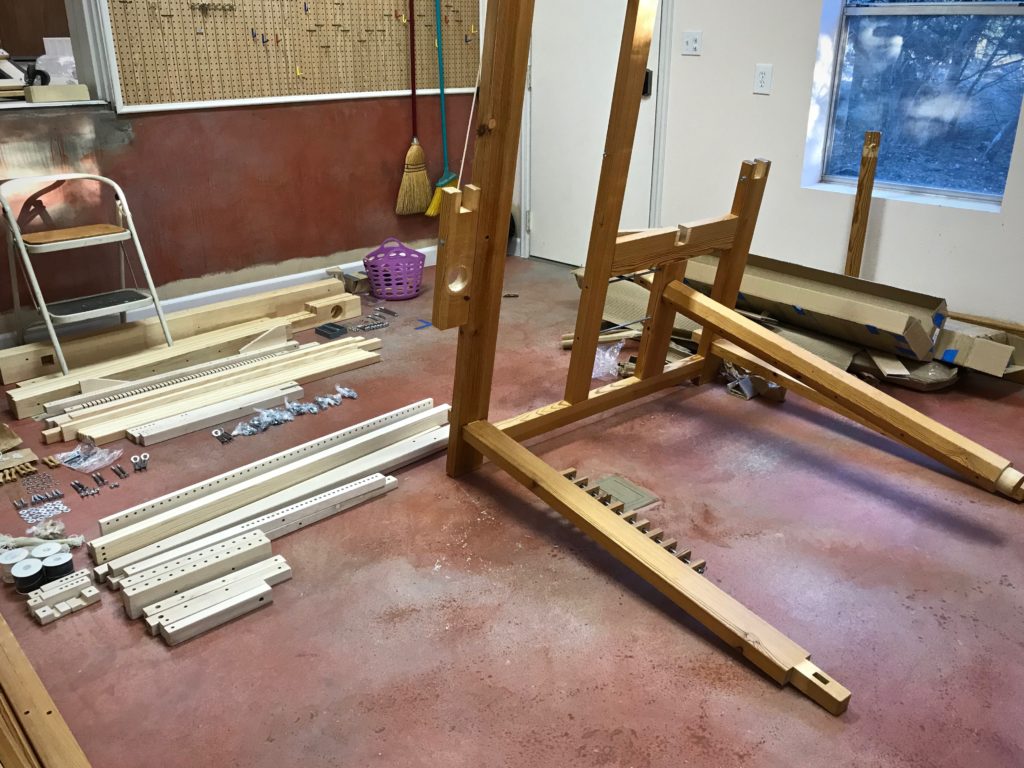
Glimakra 120cm Standard countermarch loom…in pieces. We are moving the newest loom in the family to a room that is next to Steve’s carving workshop.
Starting to put together the new drawloom.
Glimakra Standard horizontal countermarch loom is being reassembled in its new Drawloom Studio! The drawloom boxes have been opened and parts sorted and organized. Let the fun begin!
The room is undergoing some renovations, too.
New jacks for th horizontal countermarch to fit with the drawloom attachment.
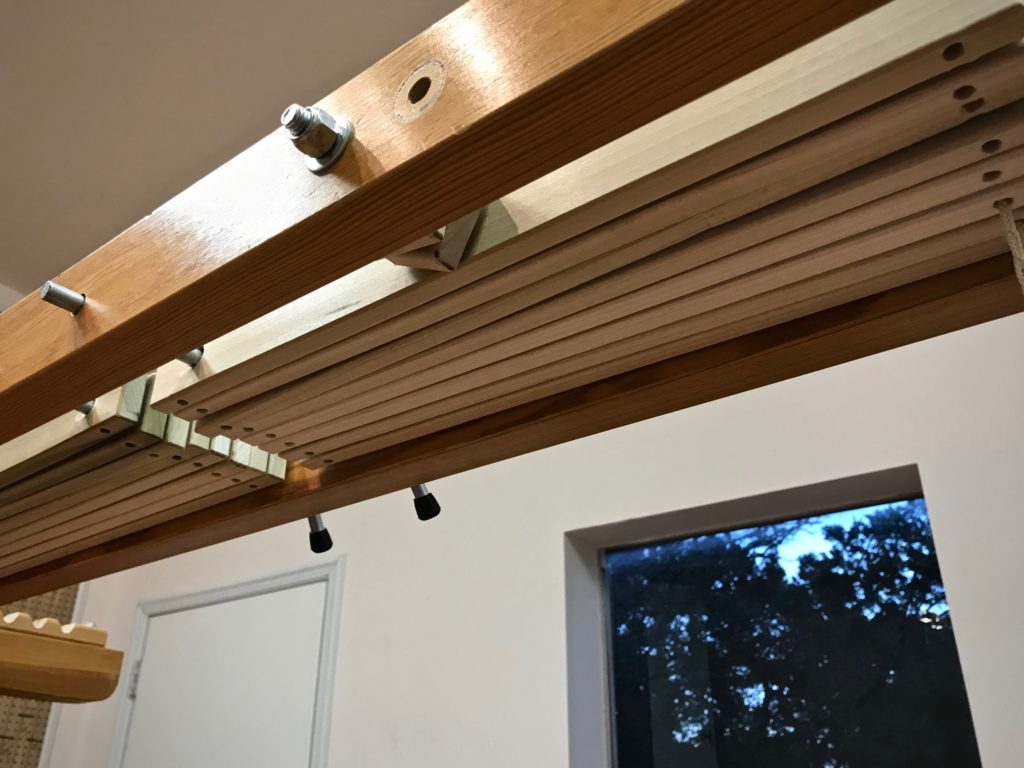
Draw attachment frame obstructs the jacks in the horizontal countermarch on the 120cm Standard loom. So Steve made all new horizontal jacks for the countermarch.
New drawloom!
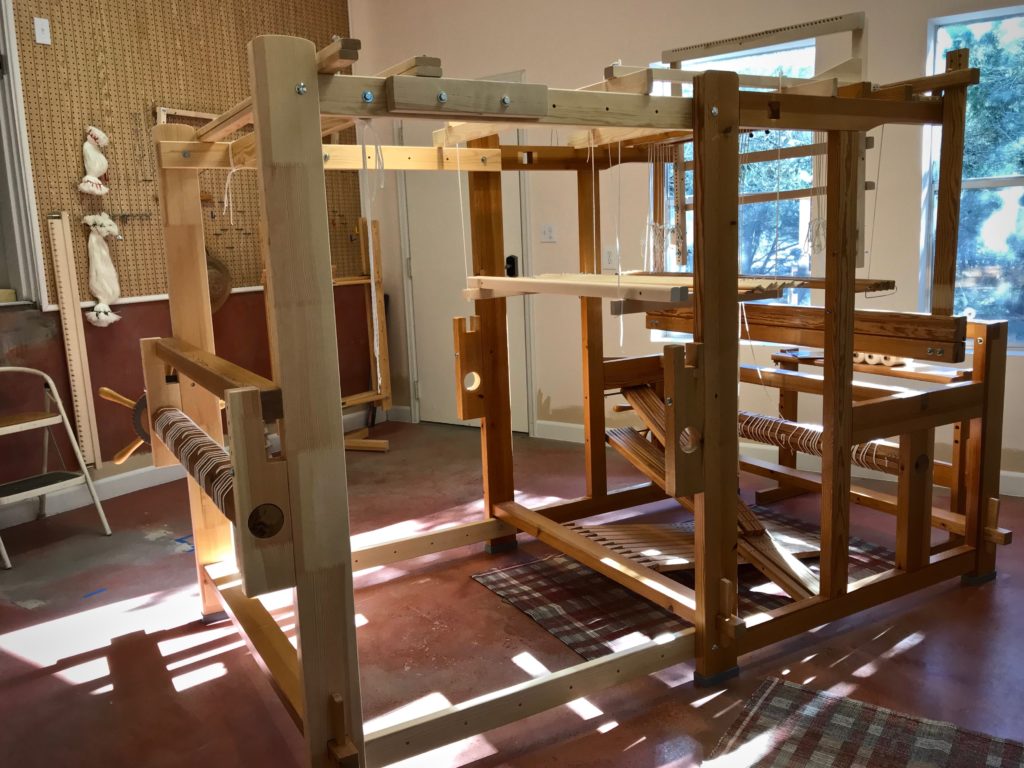
Loom has an extension added at the back. We put it at its fully extended length to make sure it fits in this room. It does!
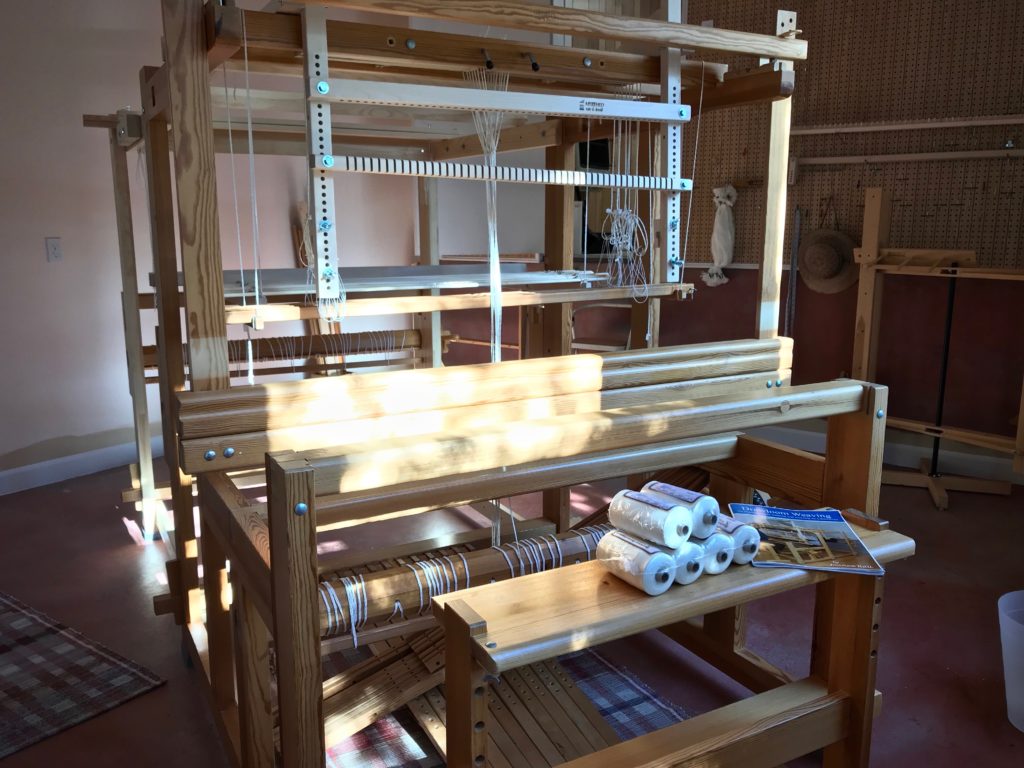
New drawloom! Just about ready to start!
Glimakra Standard with Myrehed Combination Drawloom–Shaft draw system and single unit draw system.
Unbleached 16/2 cotton for I-don’t-know-what-yet. But I will soon!
Book pictured is Drawloom Weaving, An introduction to warping and weaving on a drawloom by Joanne Hall.

May you see your best dreams unfold.

Happy, Happy Weaving,
Karen
Process Review: Twelve Placemats

Twelve placemats just came off the loom! Now, for the finishing work. Measuring, examining, repairing, washing and drying, and hemming. Soon they will be ready to dress the table for a home-cooked meal. Mmmm… The focus is on food and fellowship. The placemats are there to catch the drips and crumbs. And then, washed and made ready for the next meal.
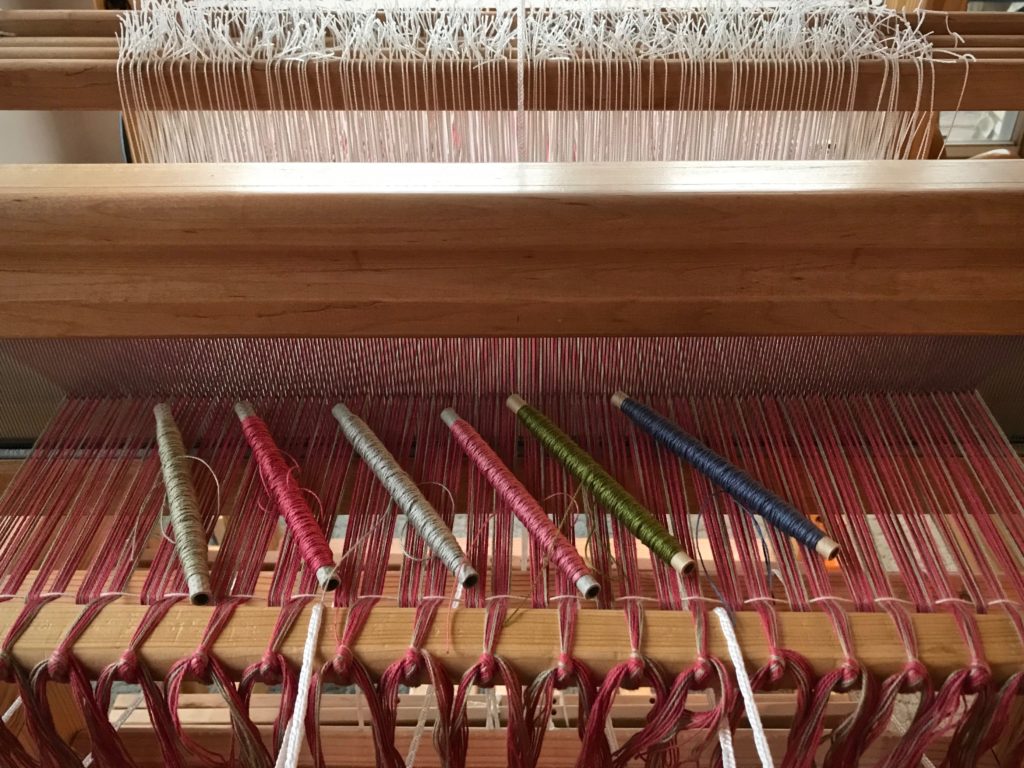
8/2 cotton for placemats.

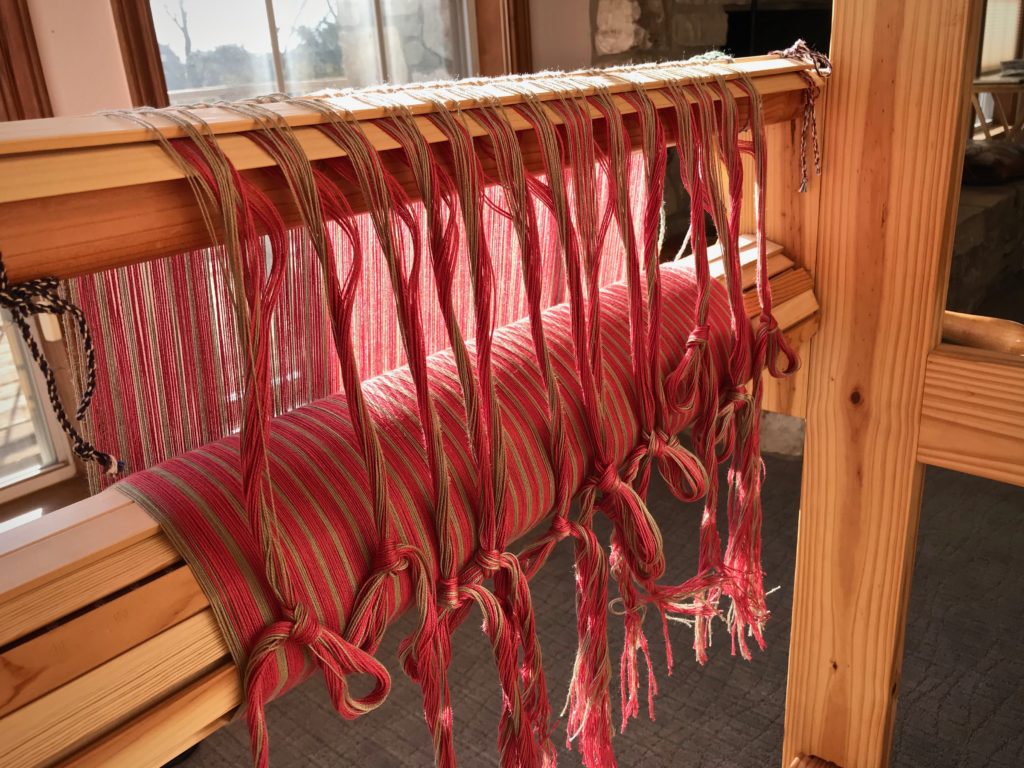
Striped warp is beamed.

Tied on and ready to weave.

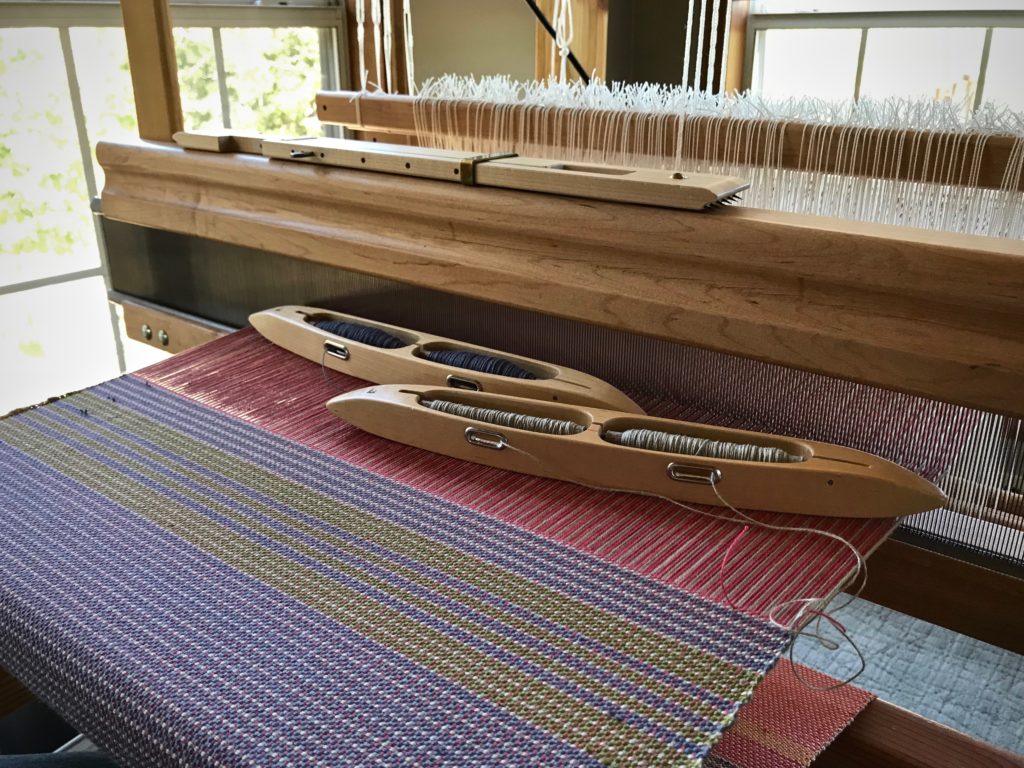
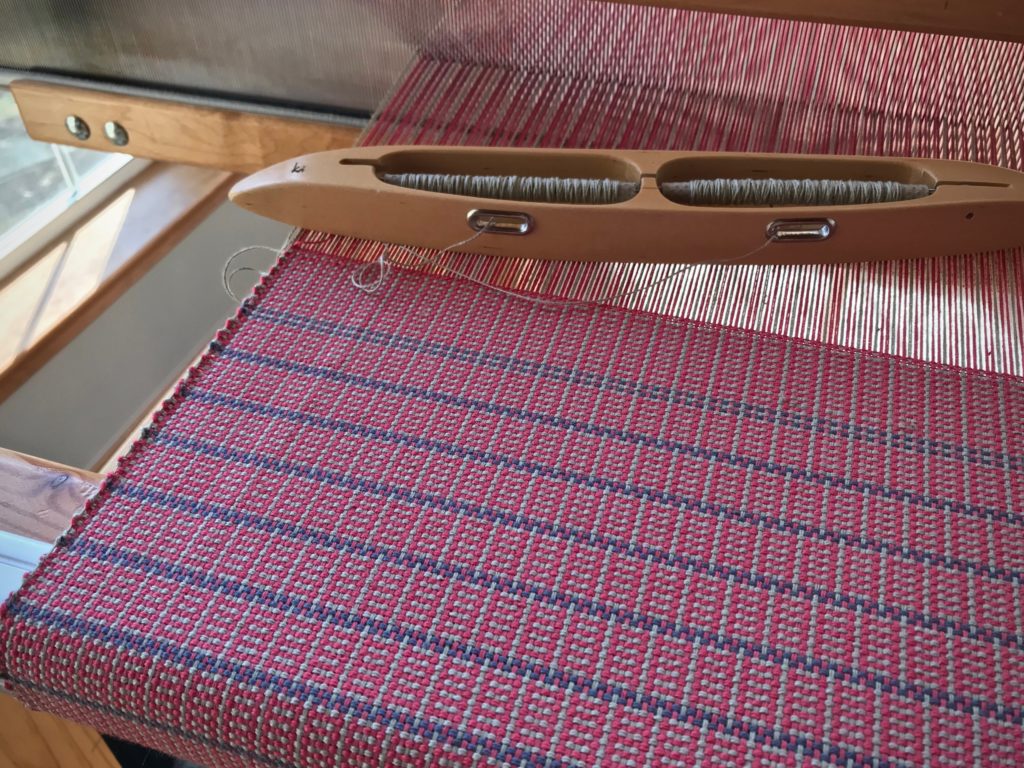
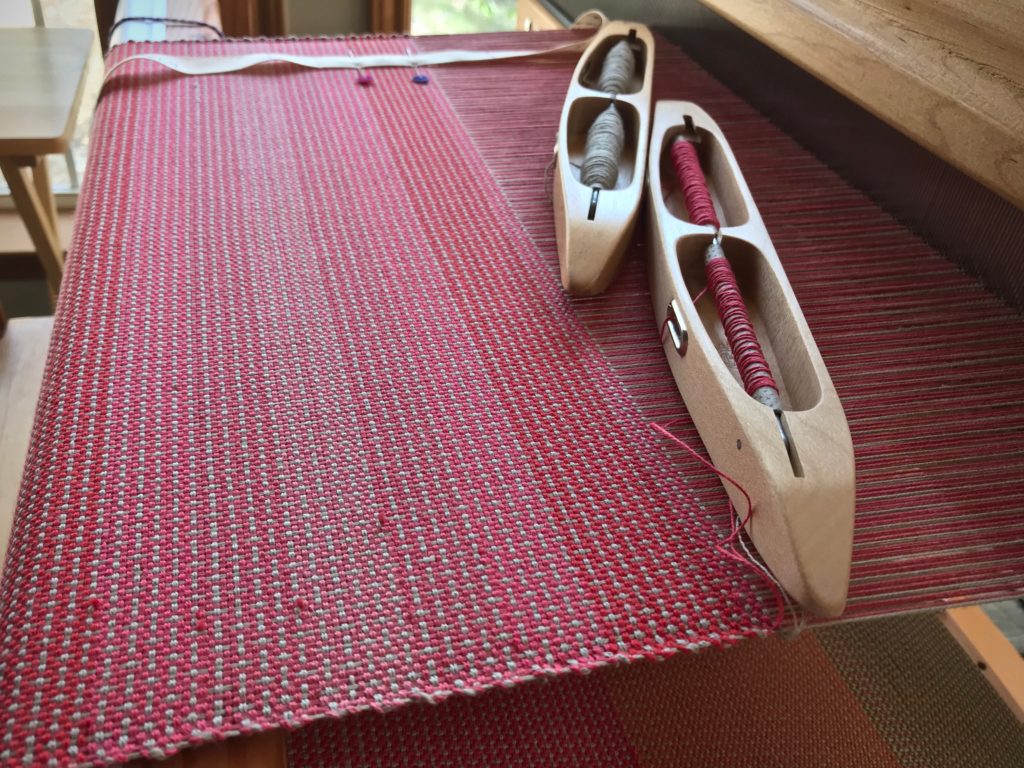
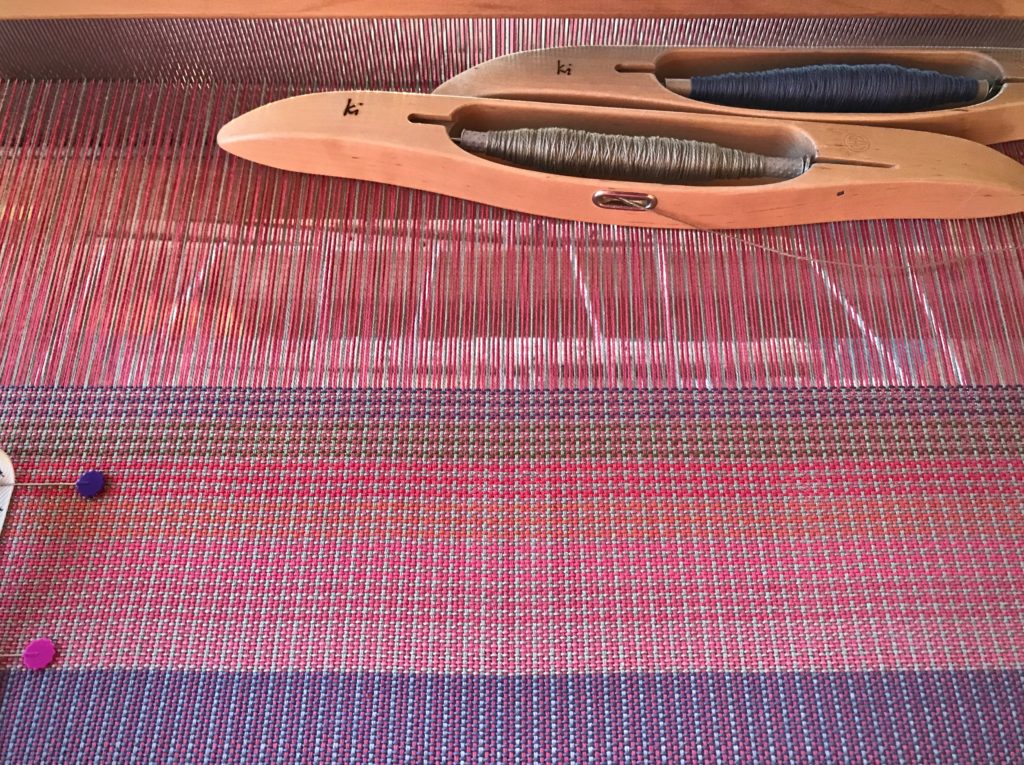
Color and Weave placemats.

Color and weave produces different patterns.

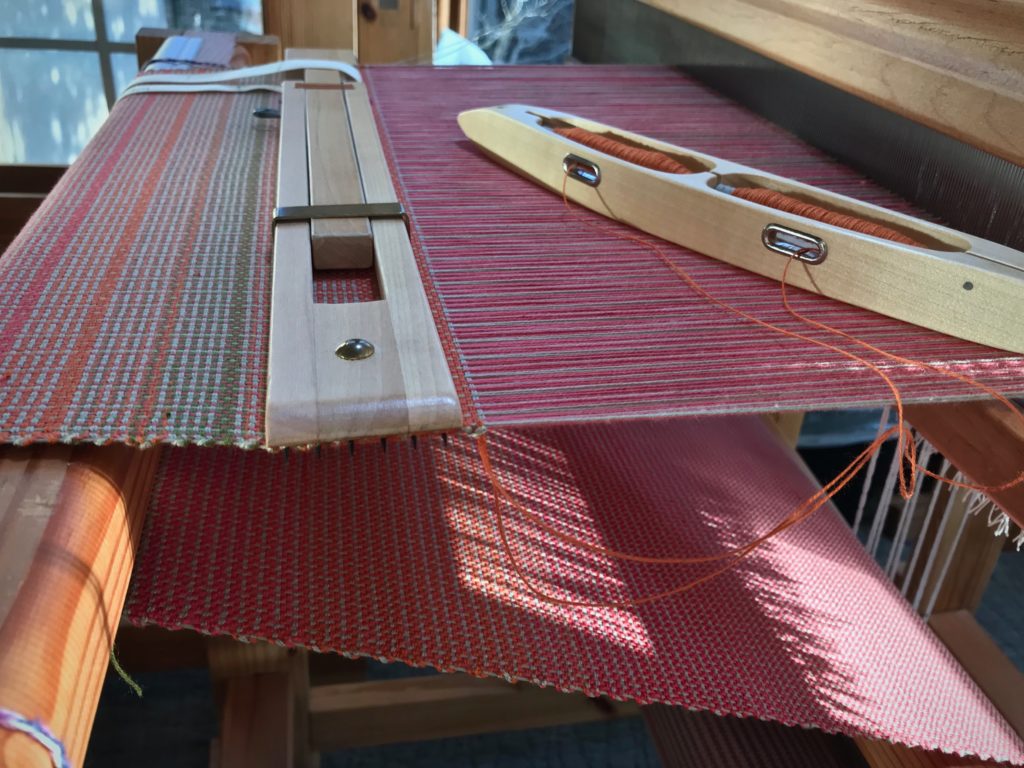
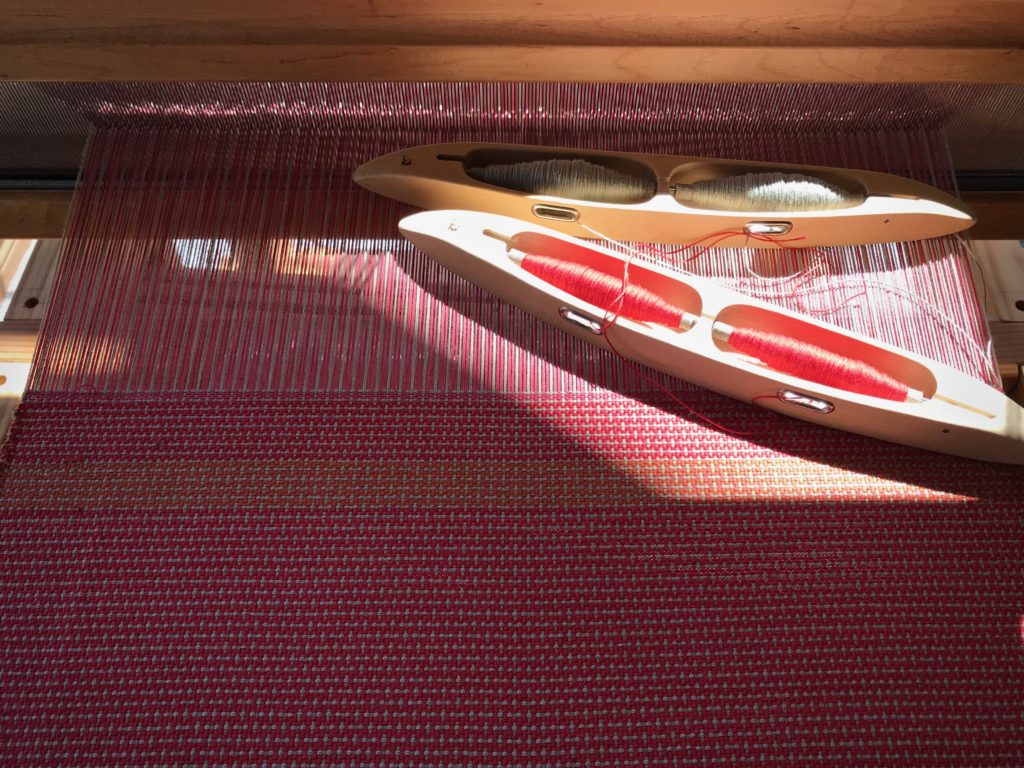
Weaving in the afternoon shadows.

Weaving placemats in a sunny corner.

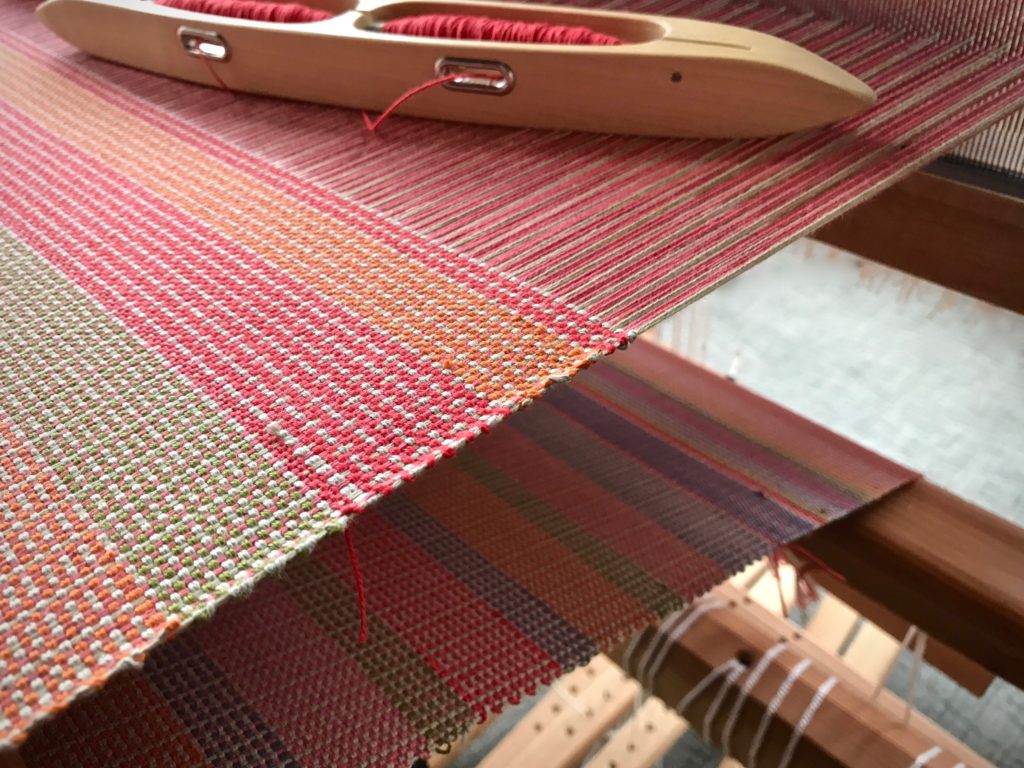
Variety of stripes with color and weave placemats.

Sisters in the color family!

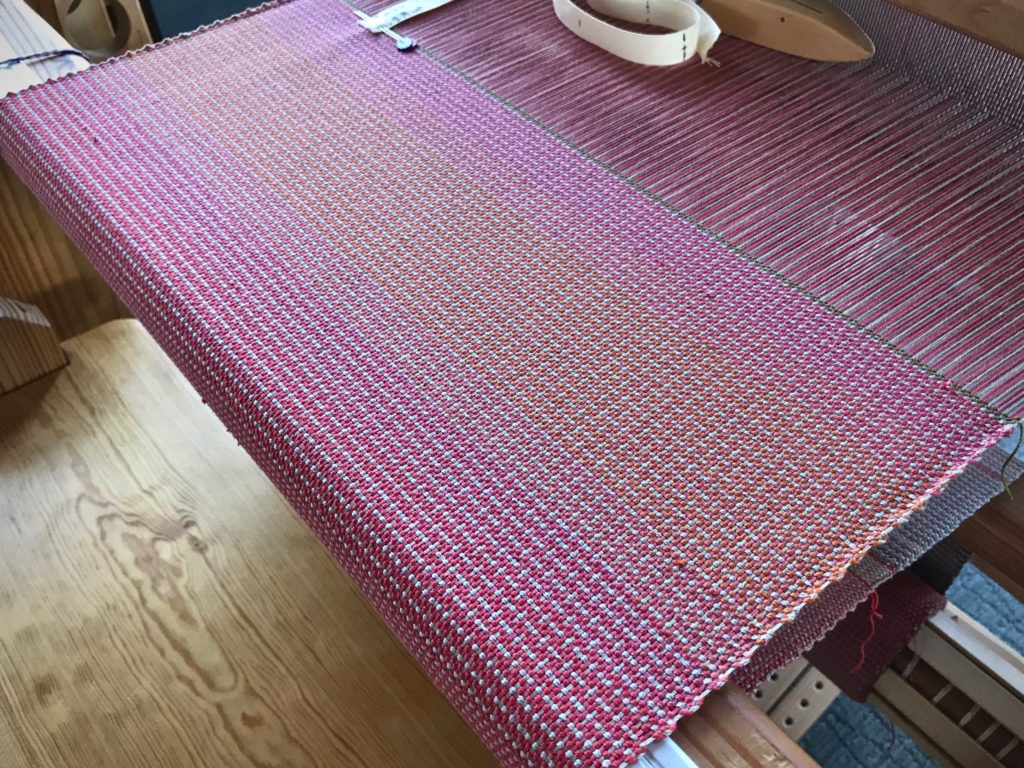
Color gradation and color and weave.

Interesting shadows at the loom.

Christmas. While our focus is on food and fellowship, a beautiful mystery plays out right in front of us. A baby named Jesus entered the world. Christmas celebrates this. Jesus came to take away our offenses, catching our drips and crumbs. The mystery of God is glorious. This is the mystery: Jesus takes our stains, and we who trust in him come out washed and made ready for glory. This is good news, for which a weary world rejoices!

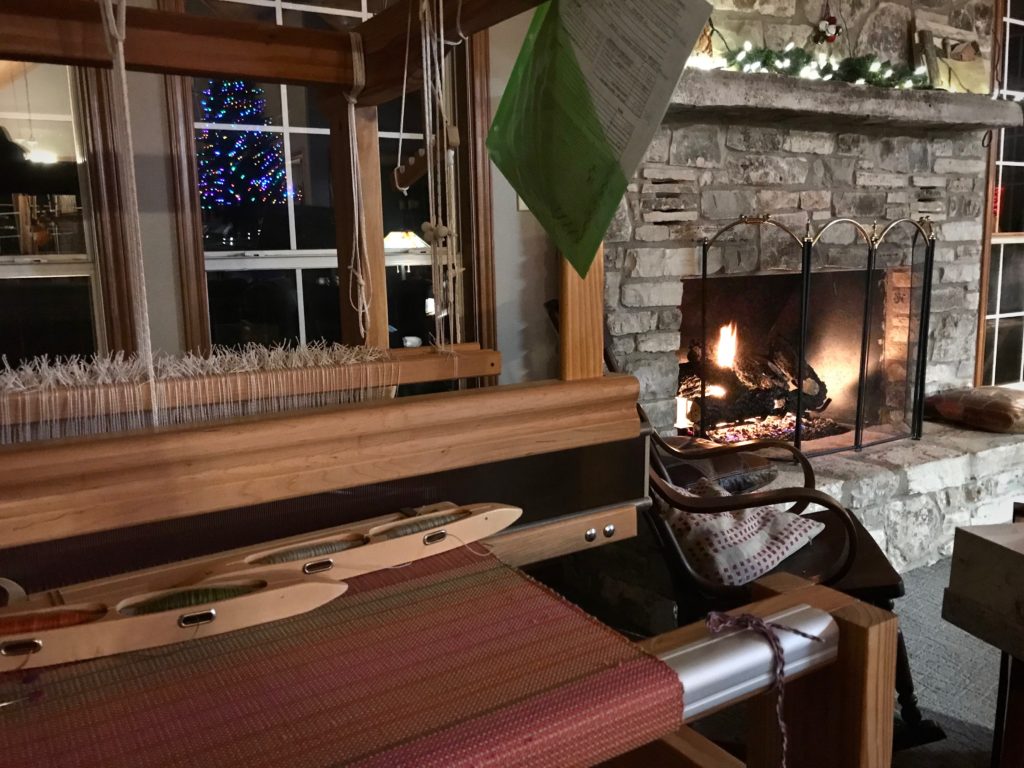
Weaving at night by the fire, Christmas lights reflected.

Plain weave placemats in color and weave.

The End!

Cutting off! Twelve 8/2 cotton placemats.

May your table be dressed for good times.

Have a glorious Christmas,
Karen