Tried and True: Color Gradation

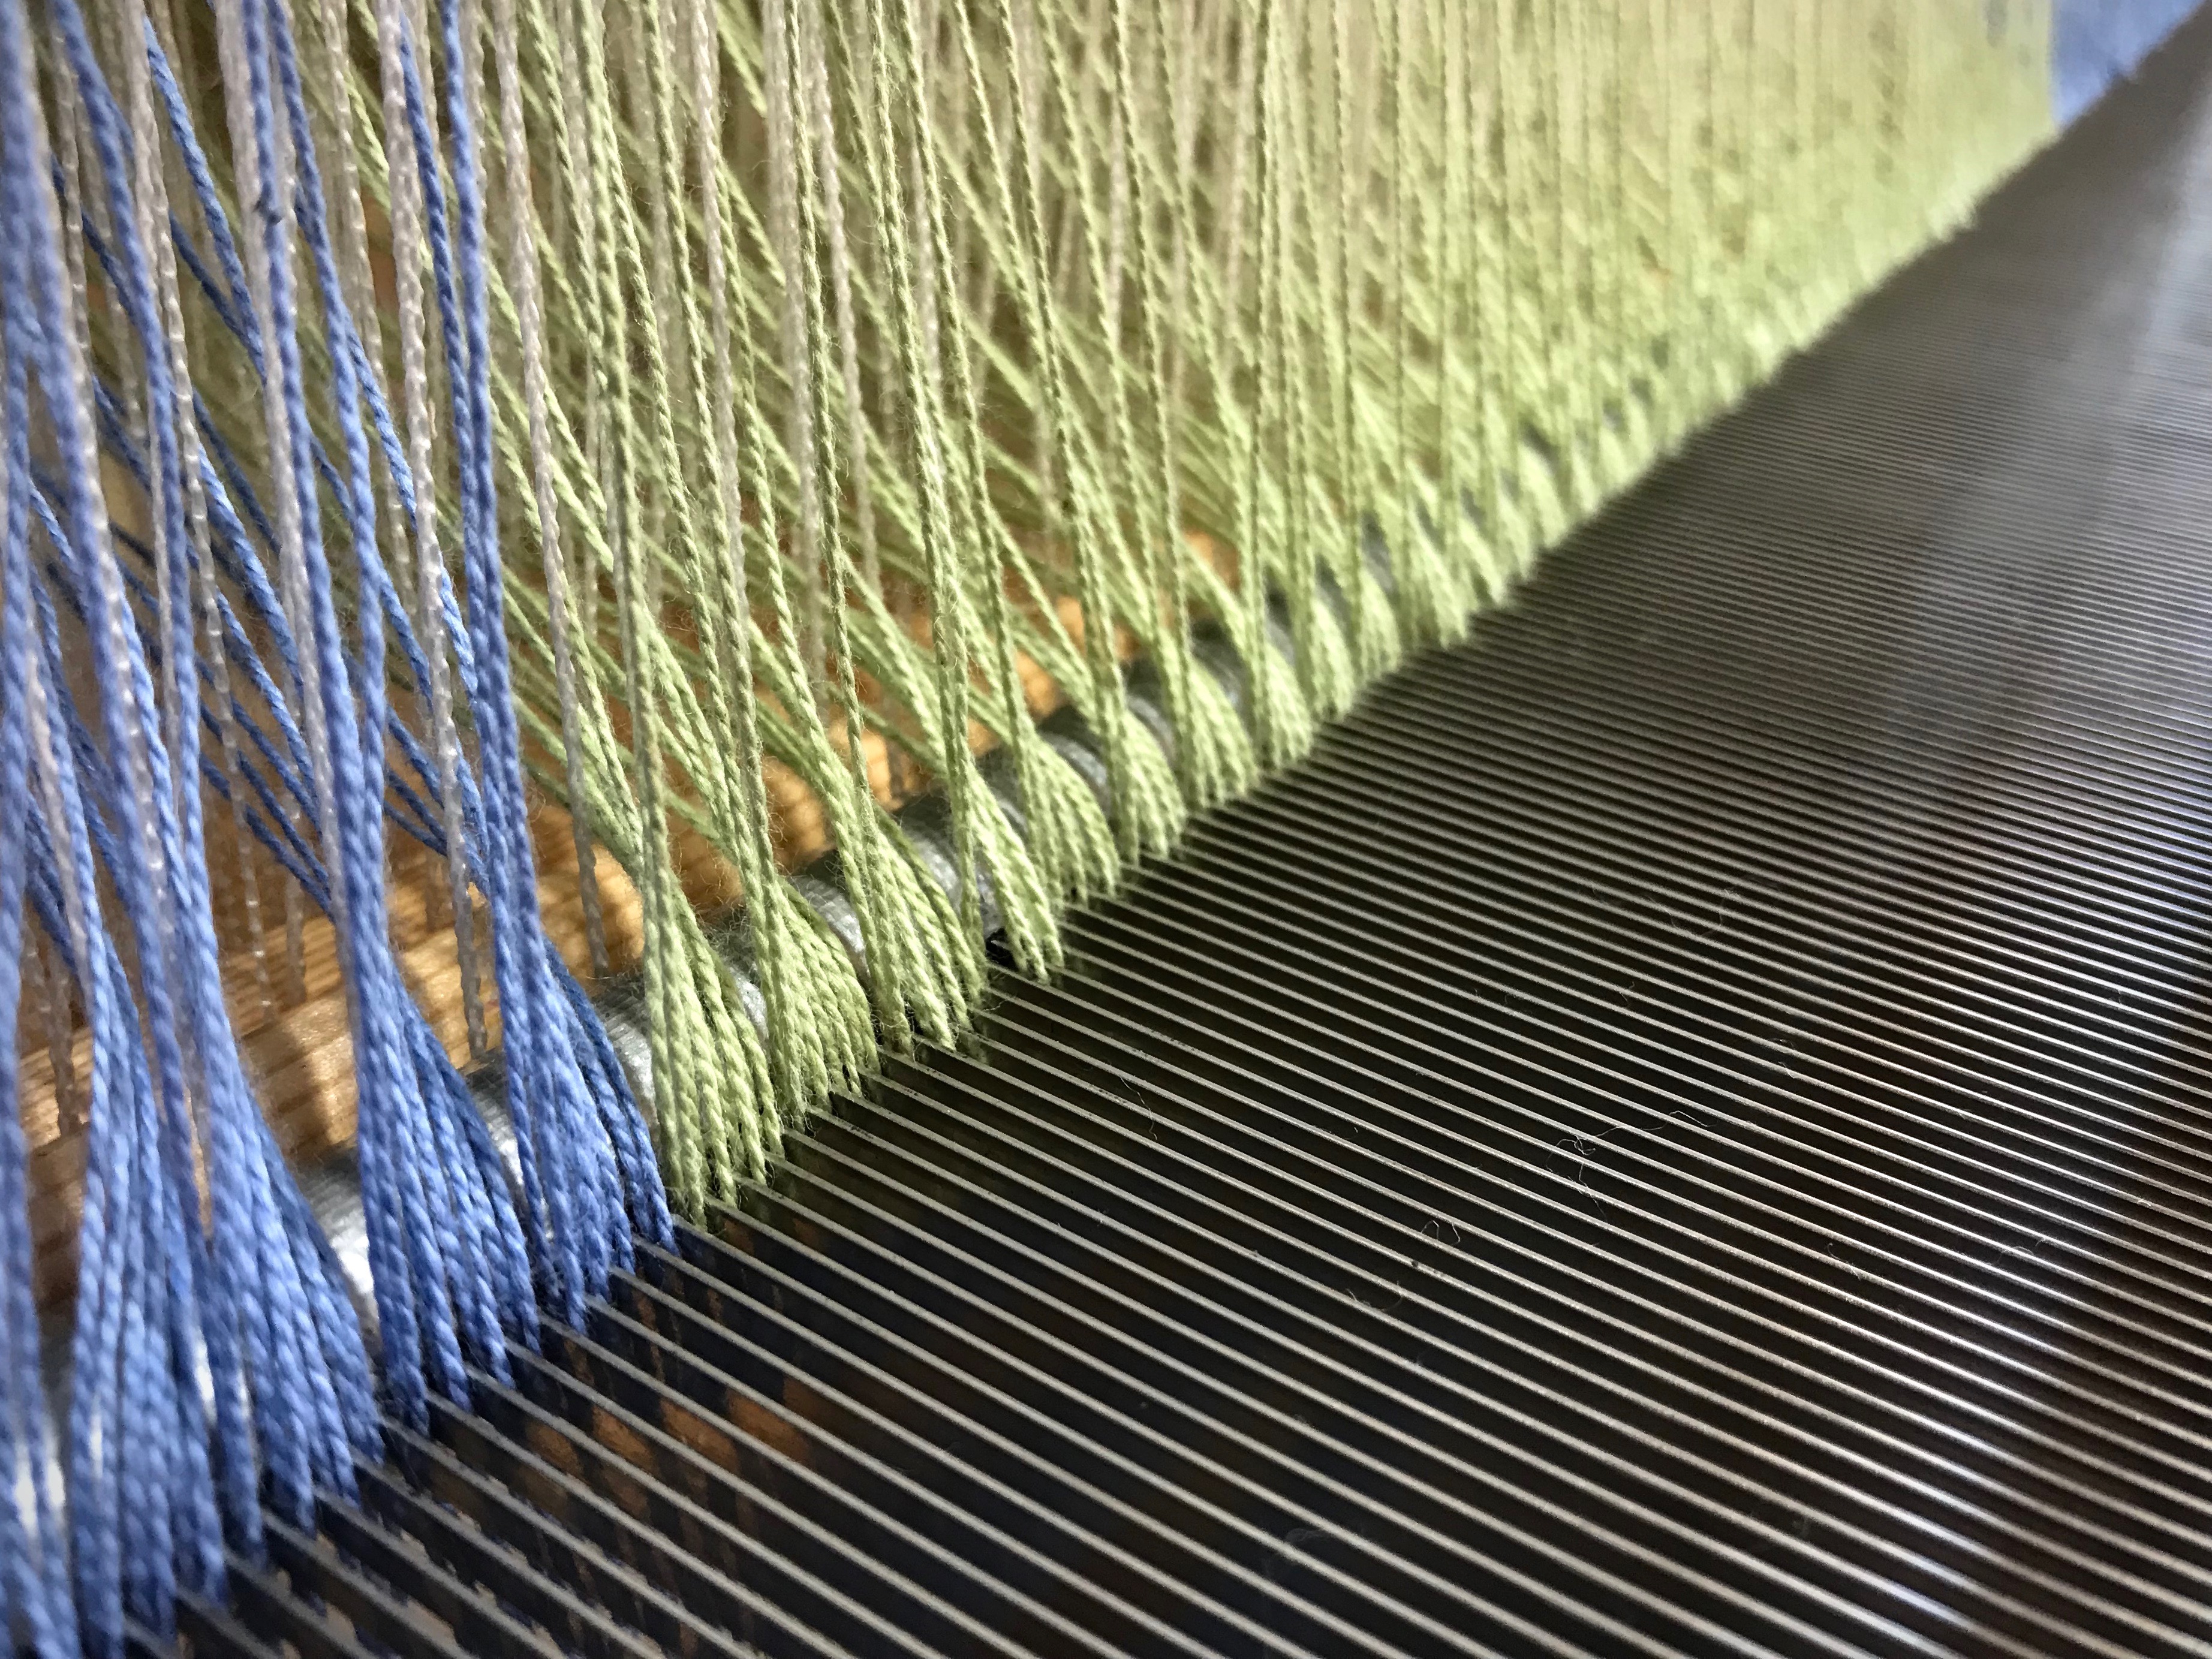
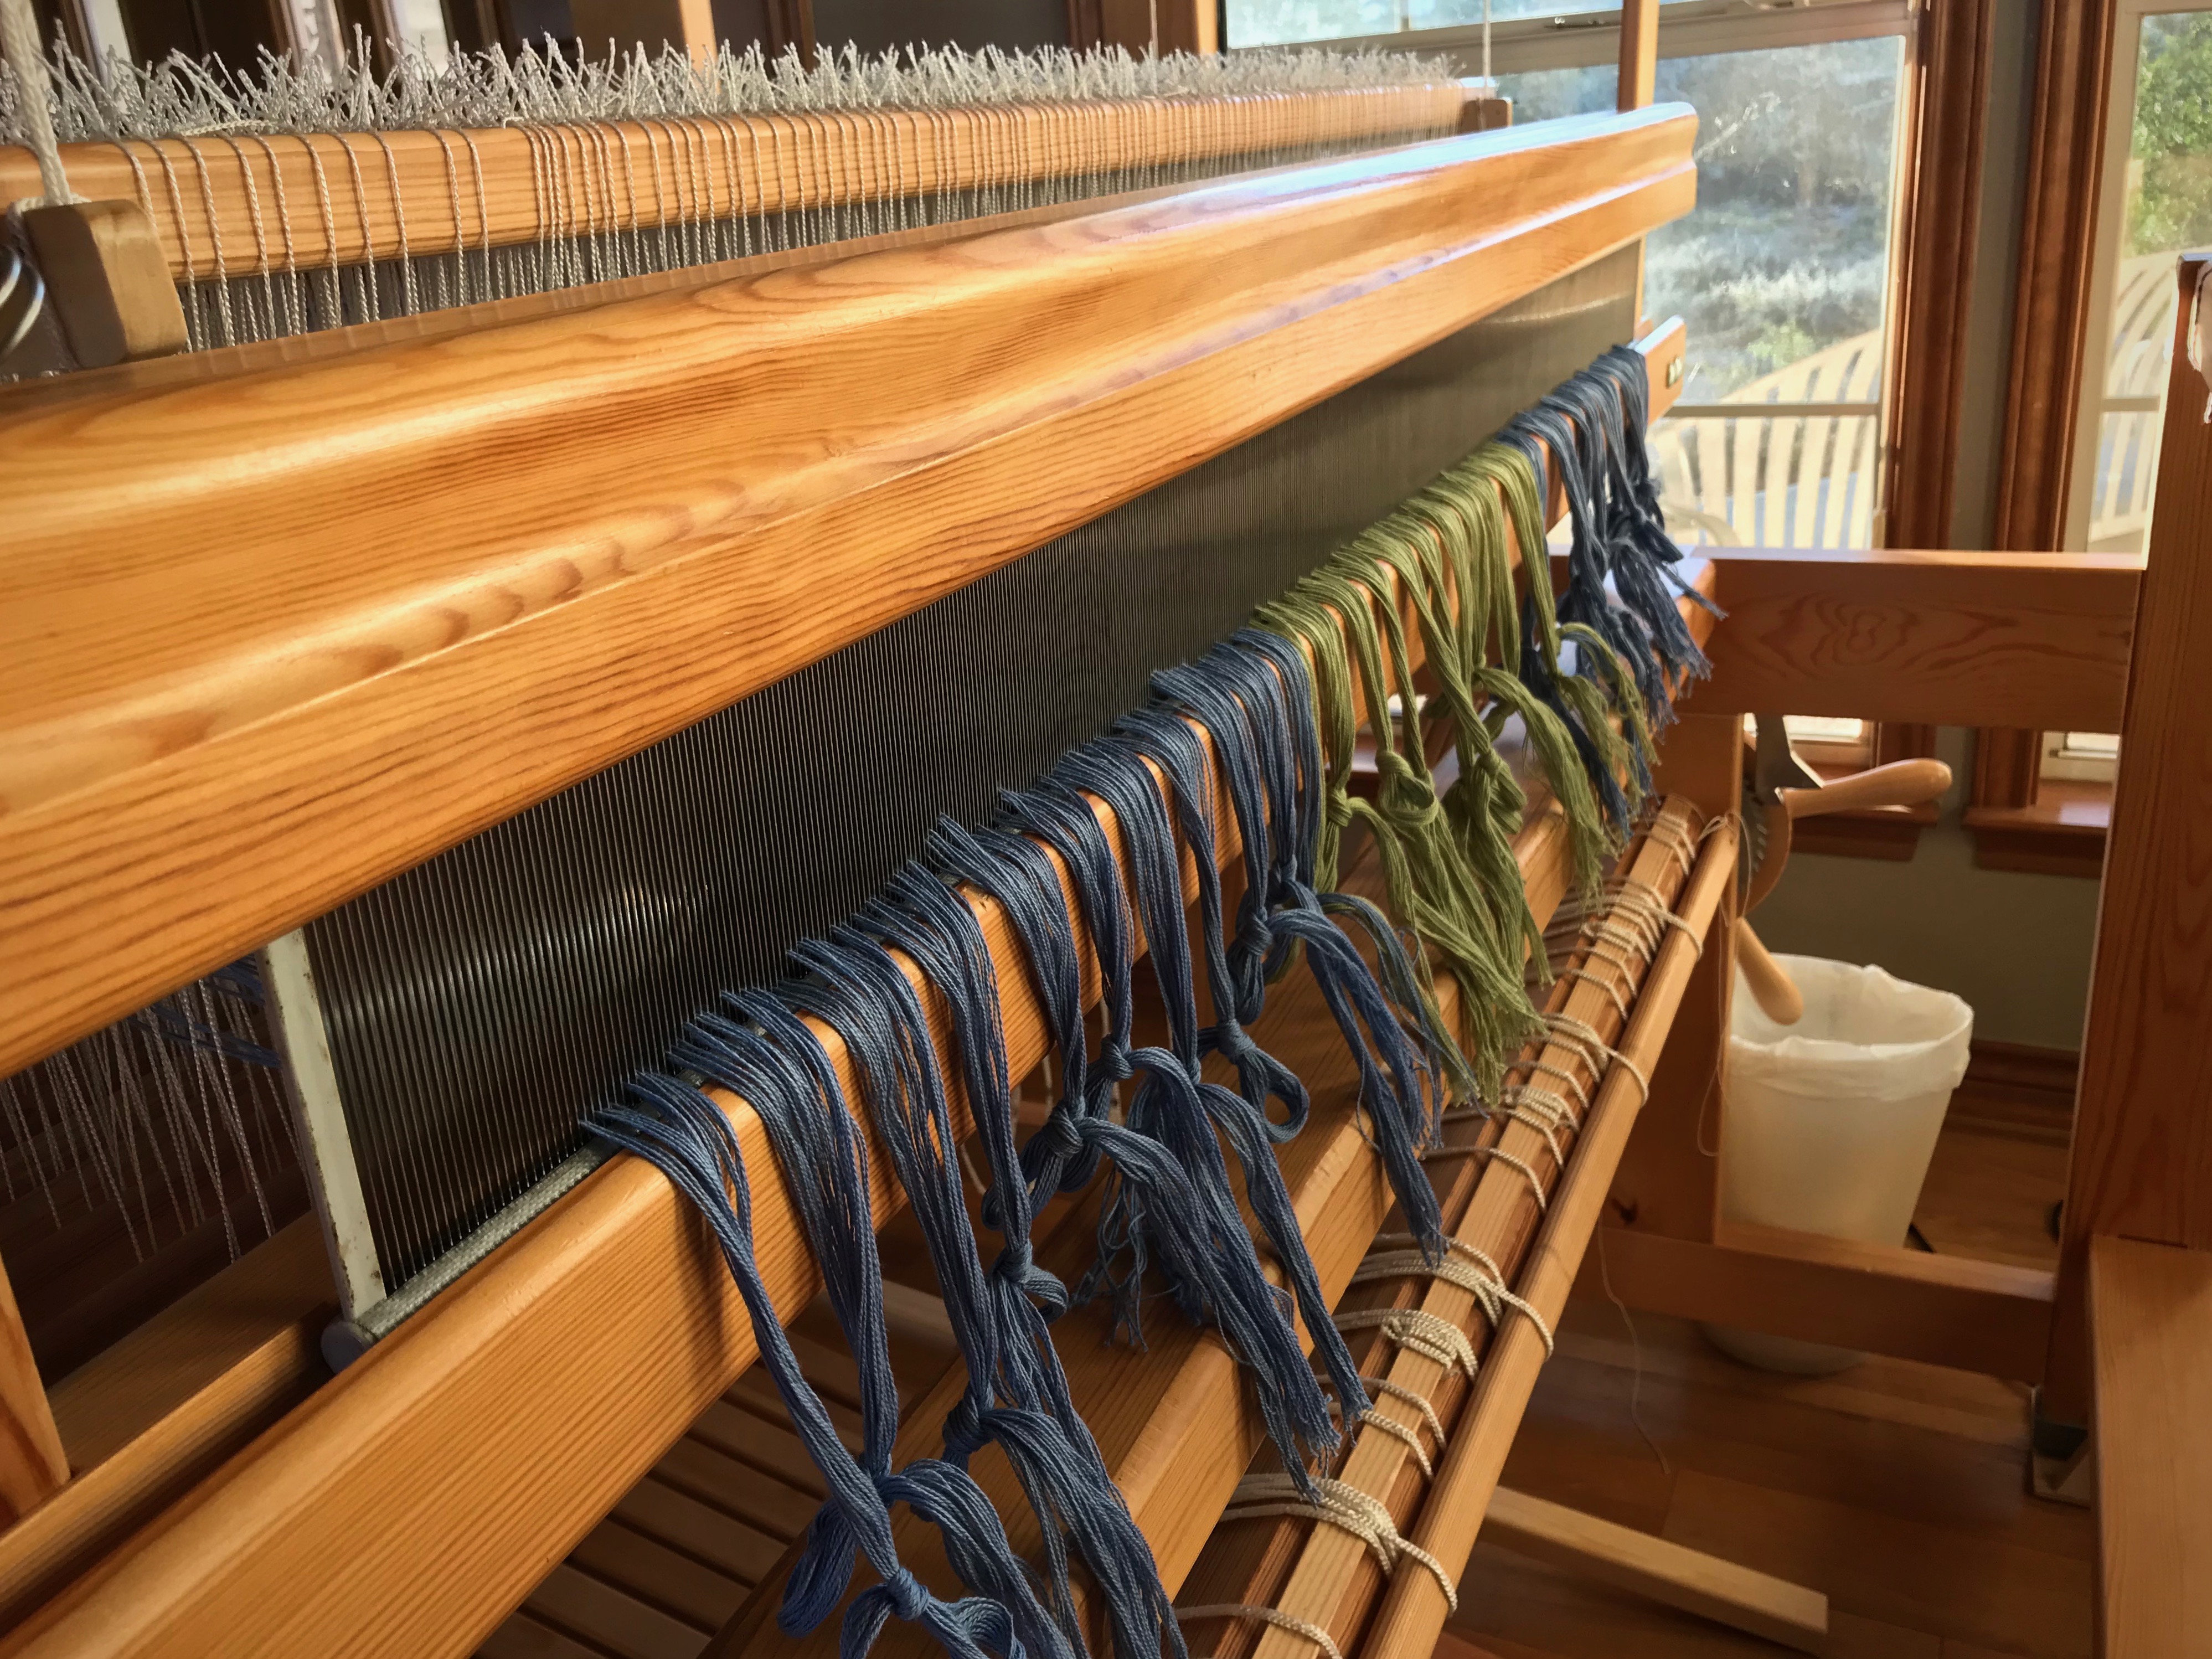
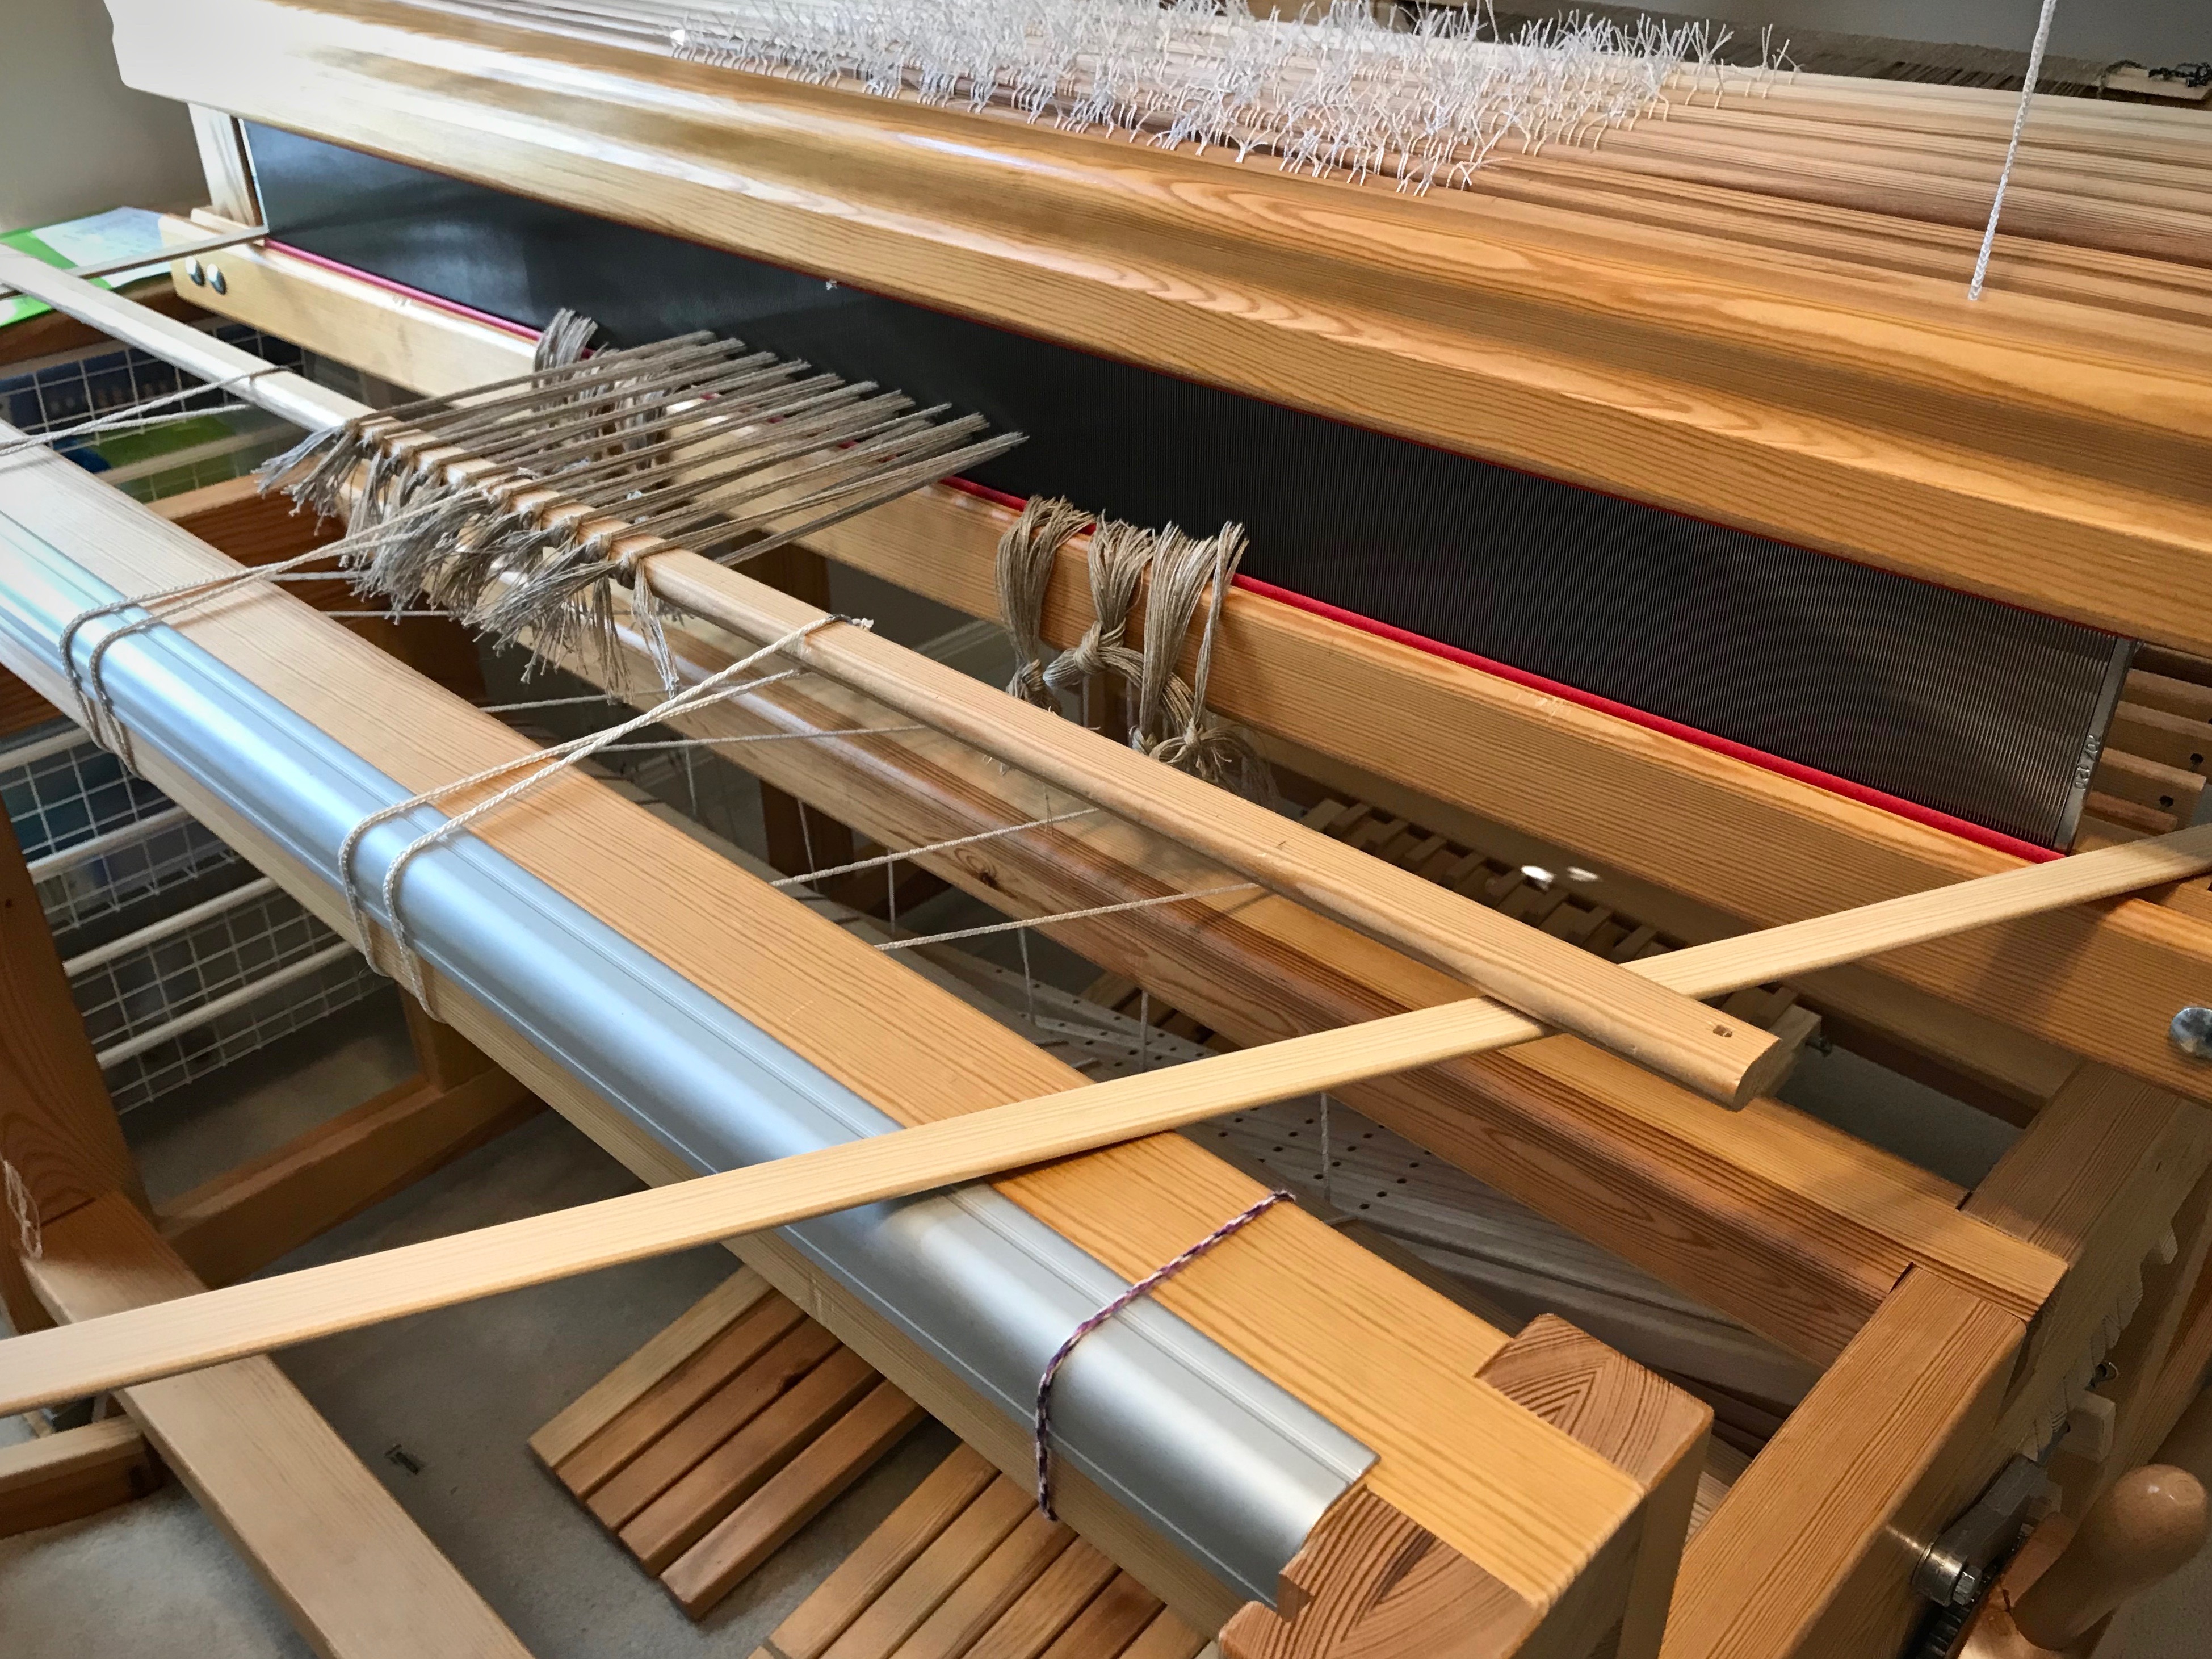
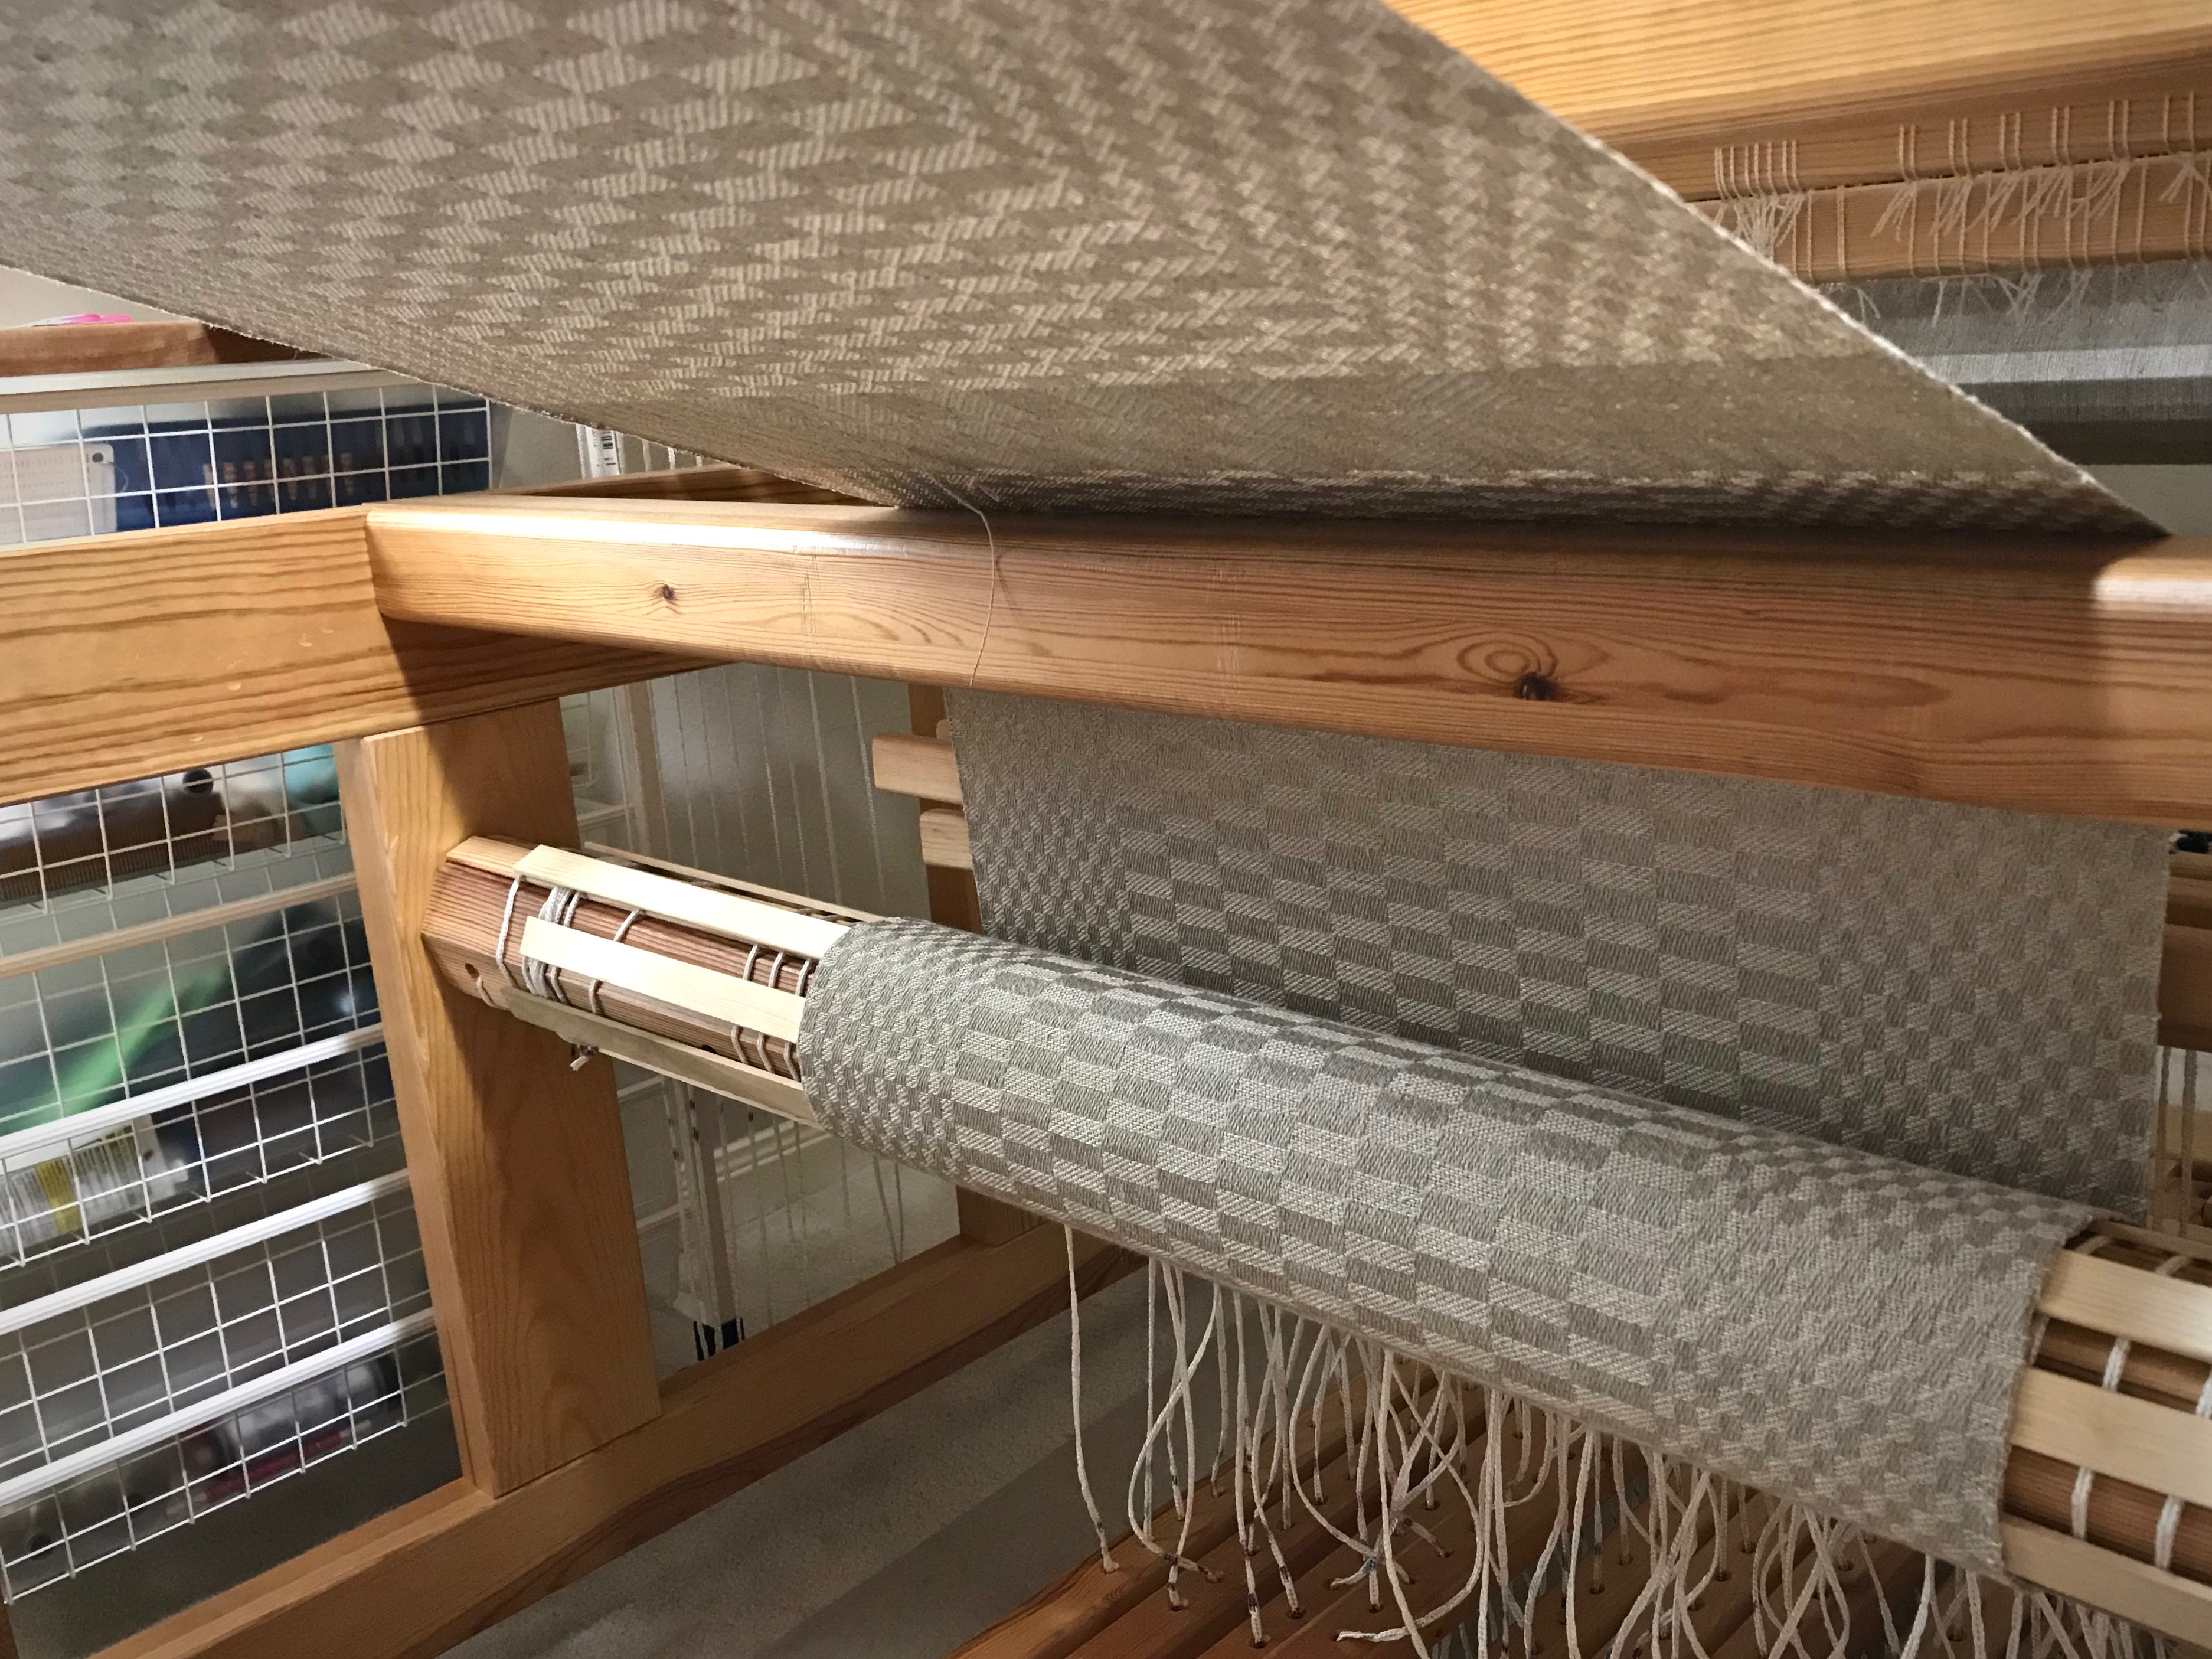
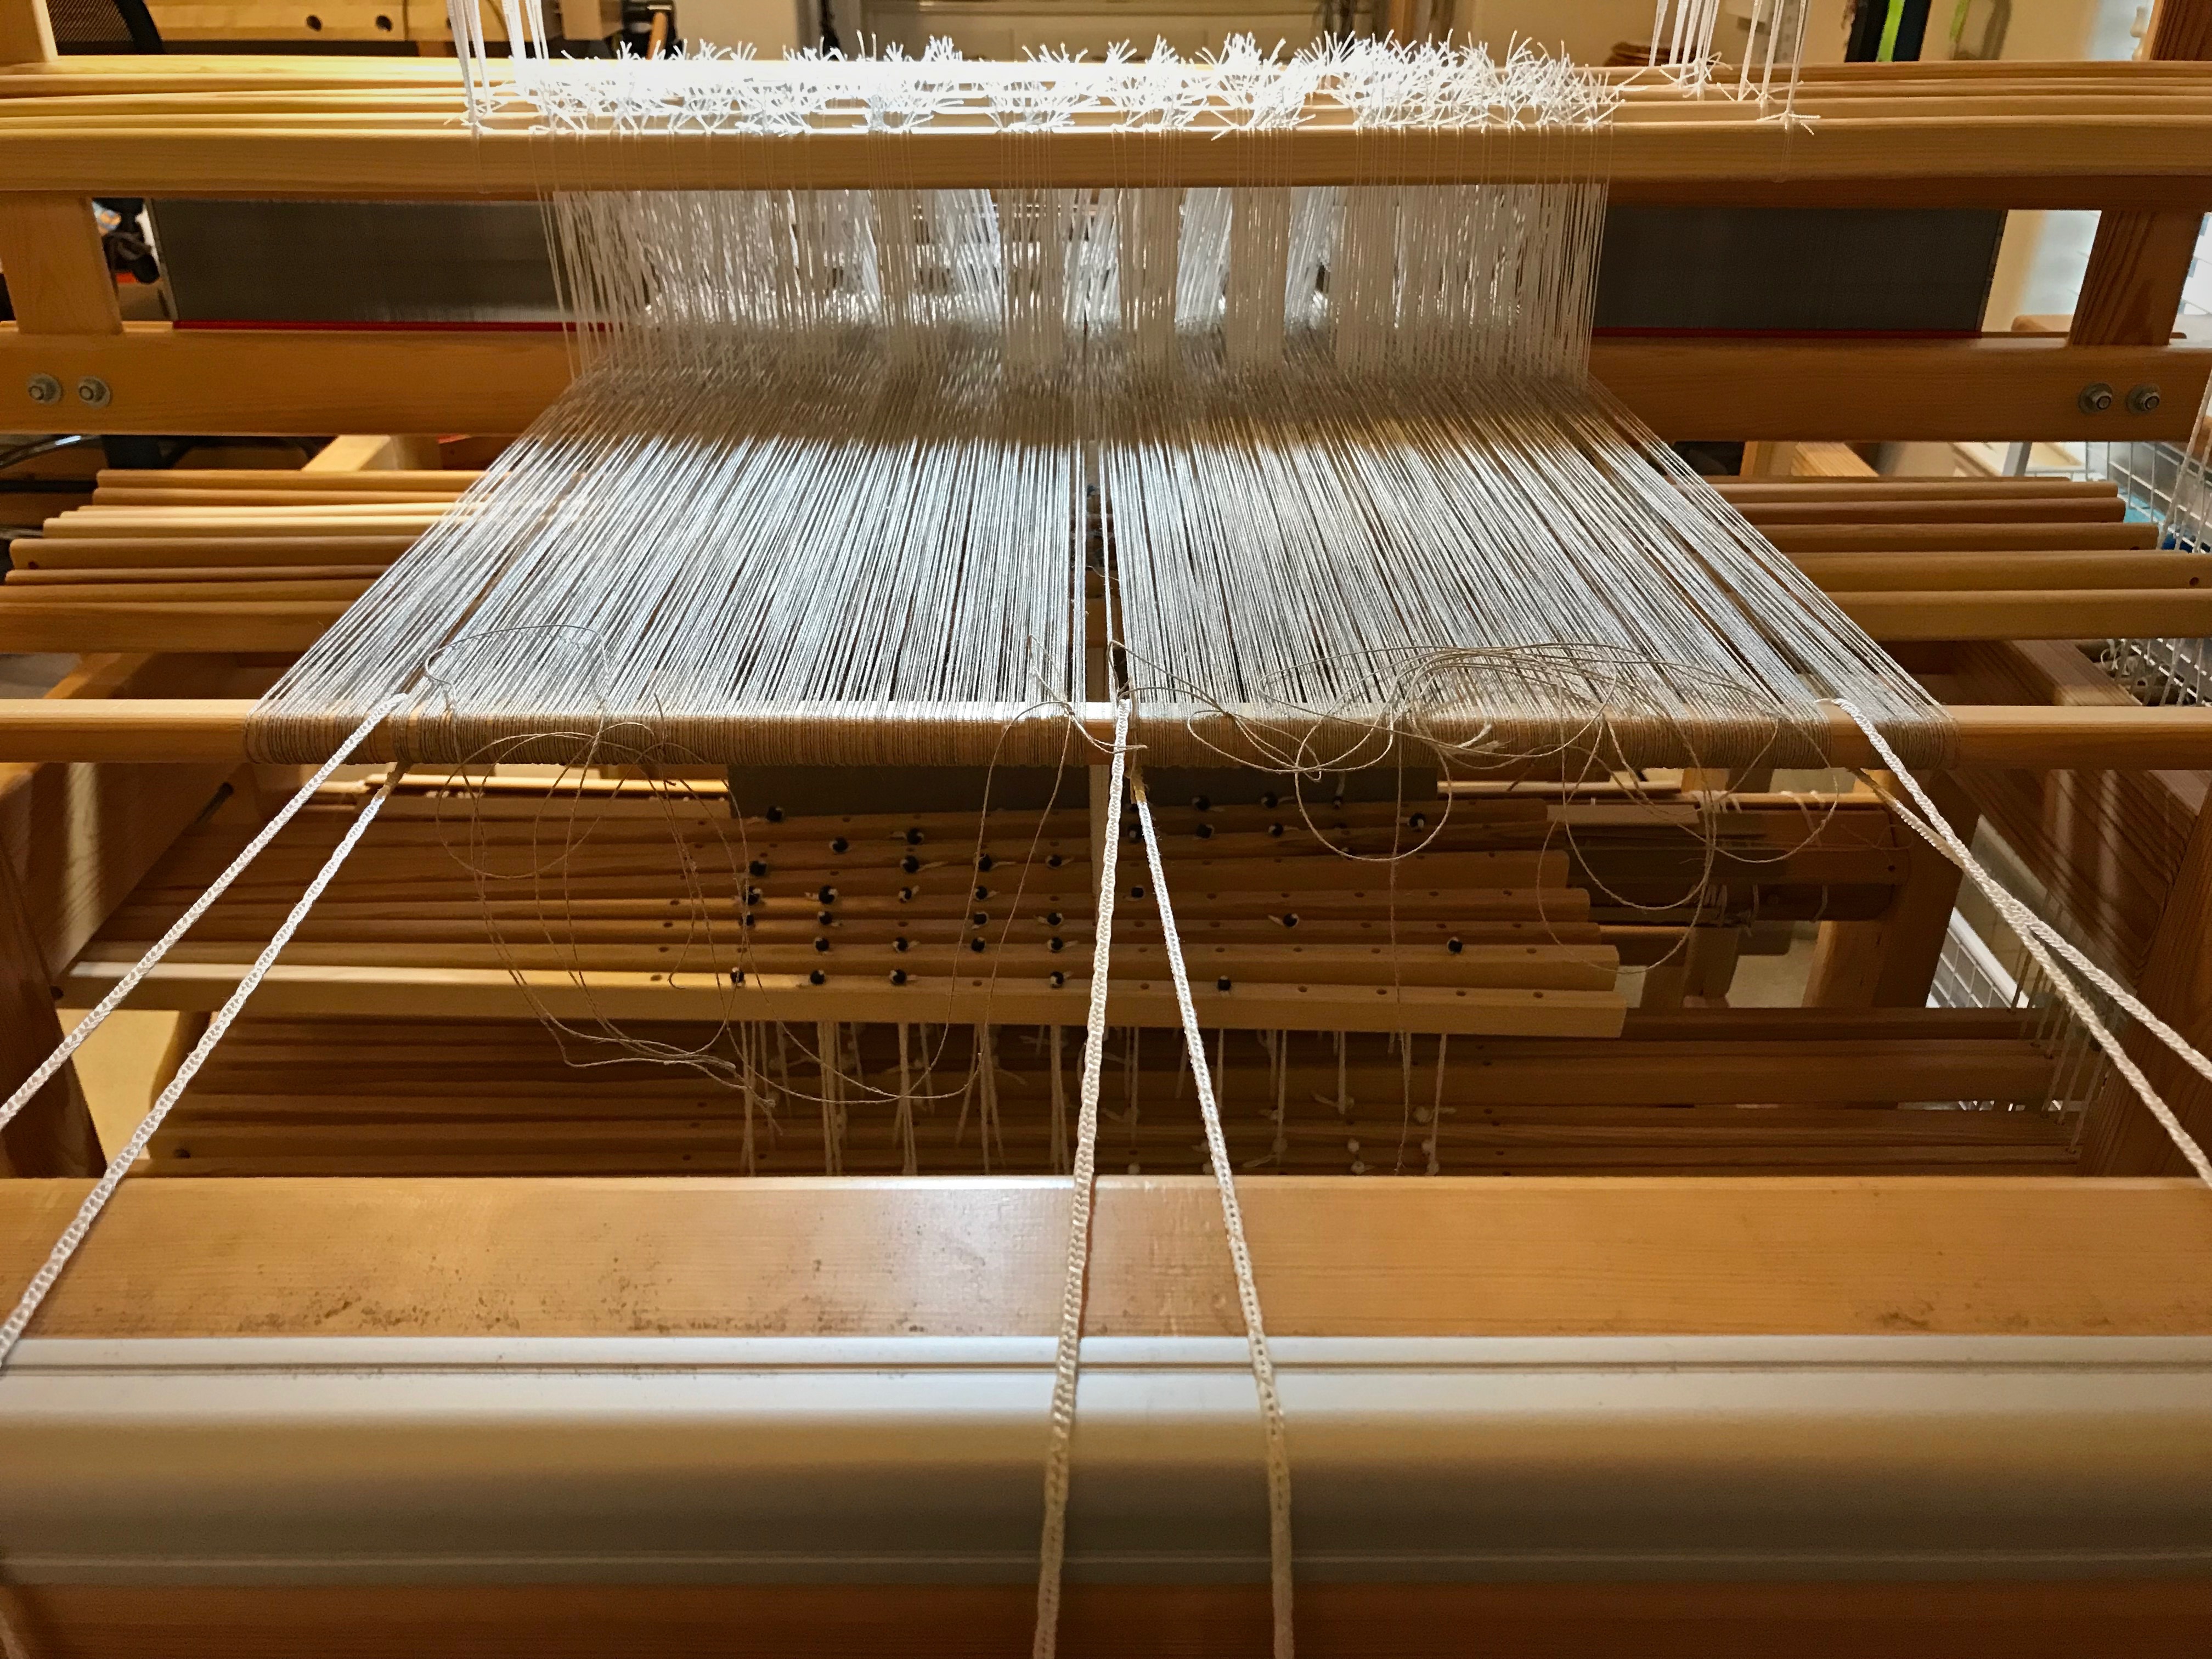
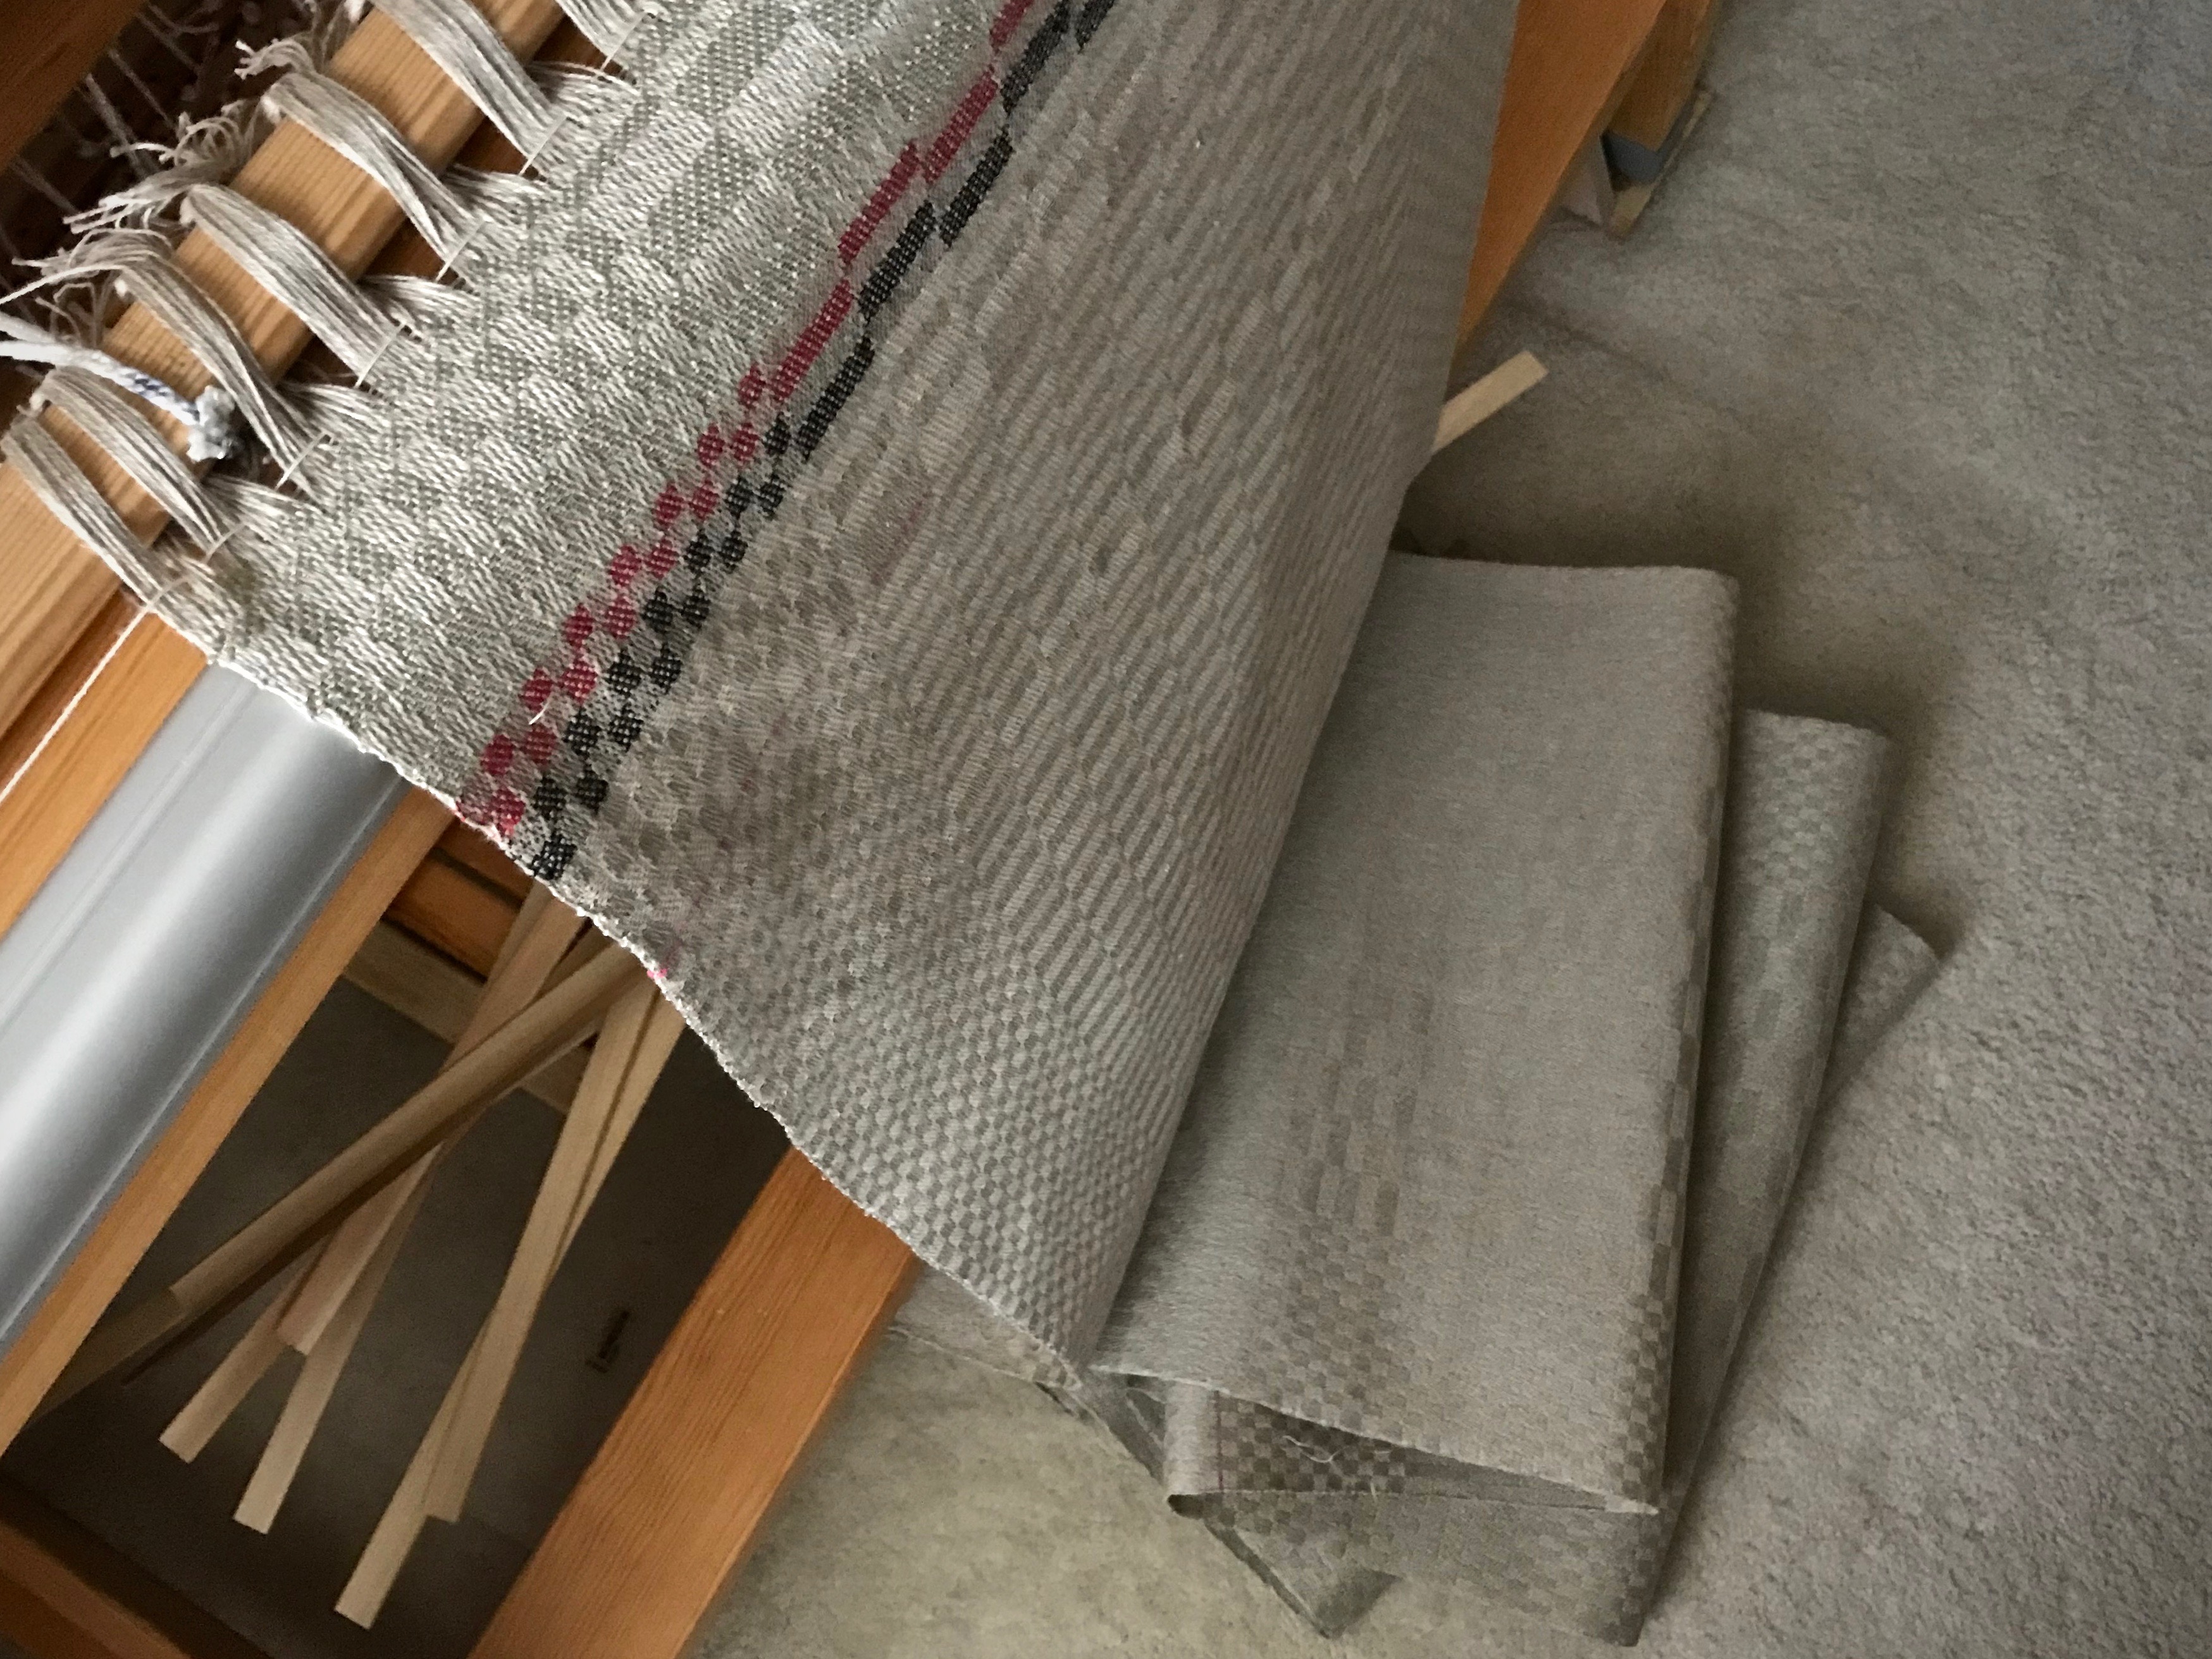
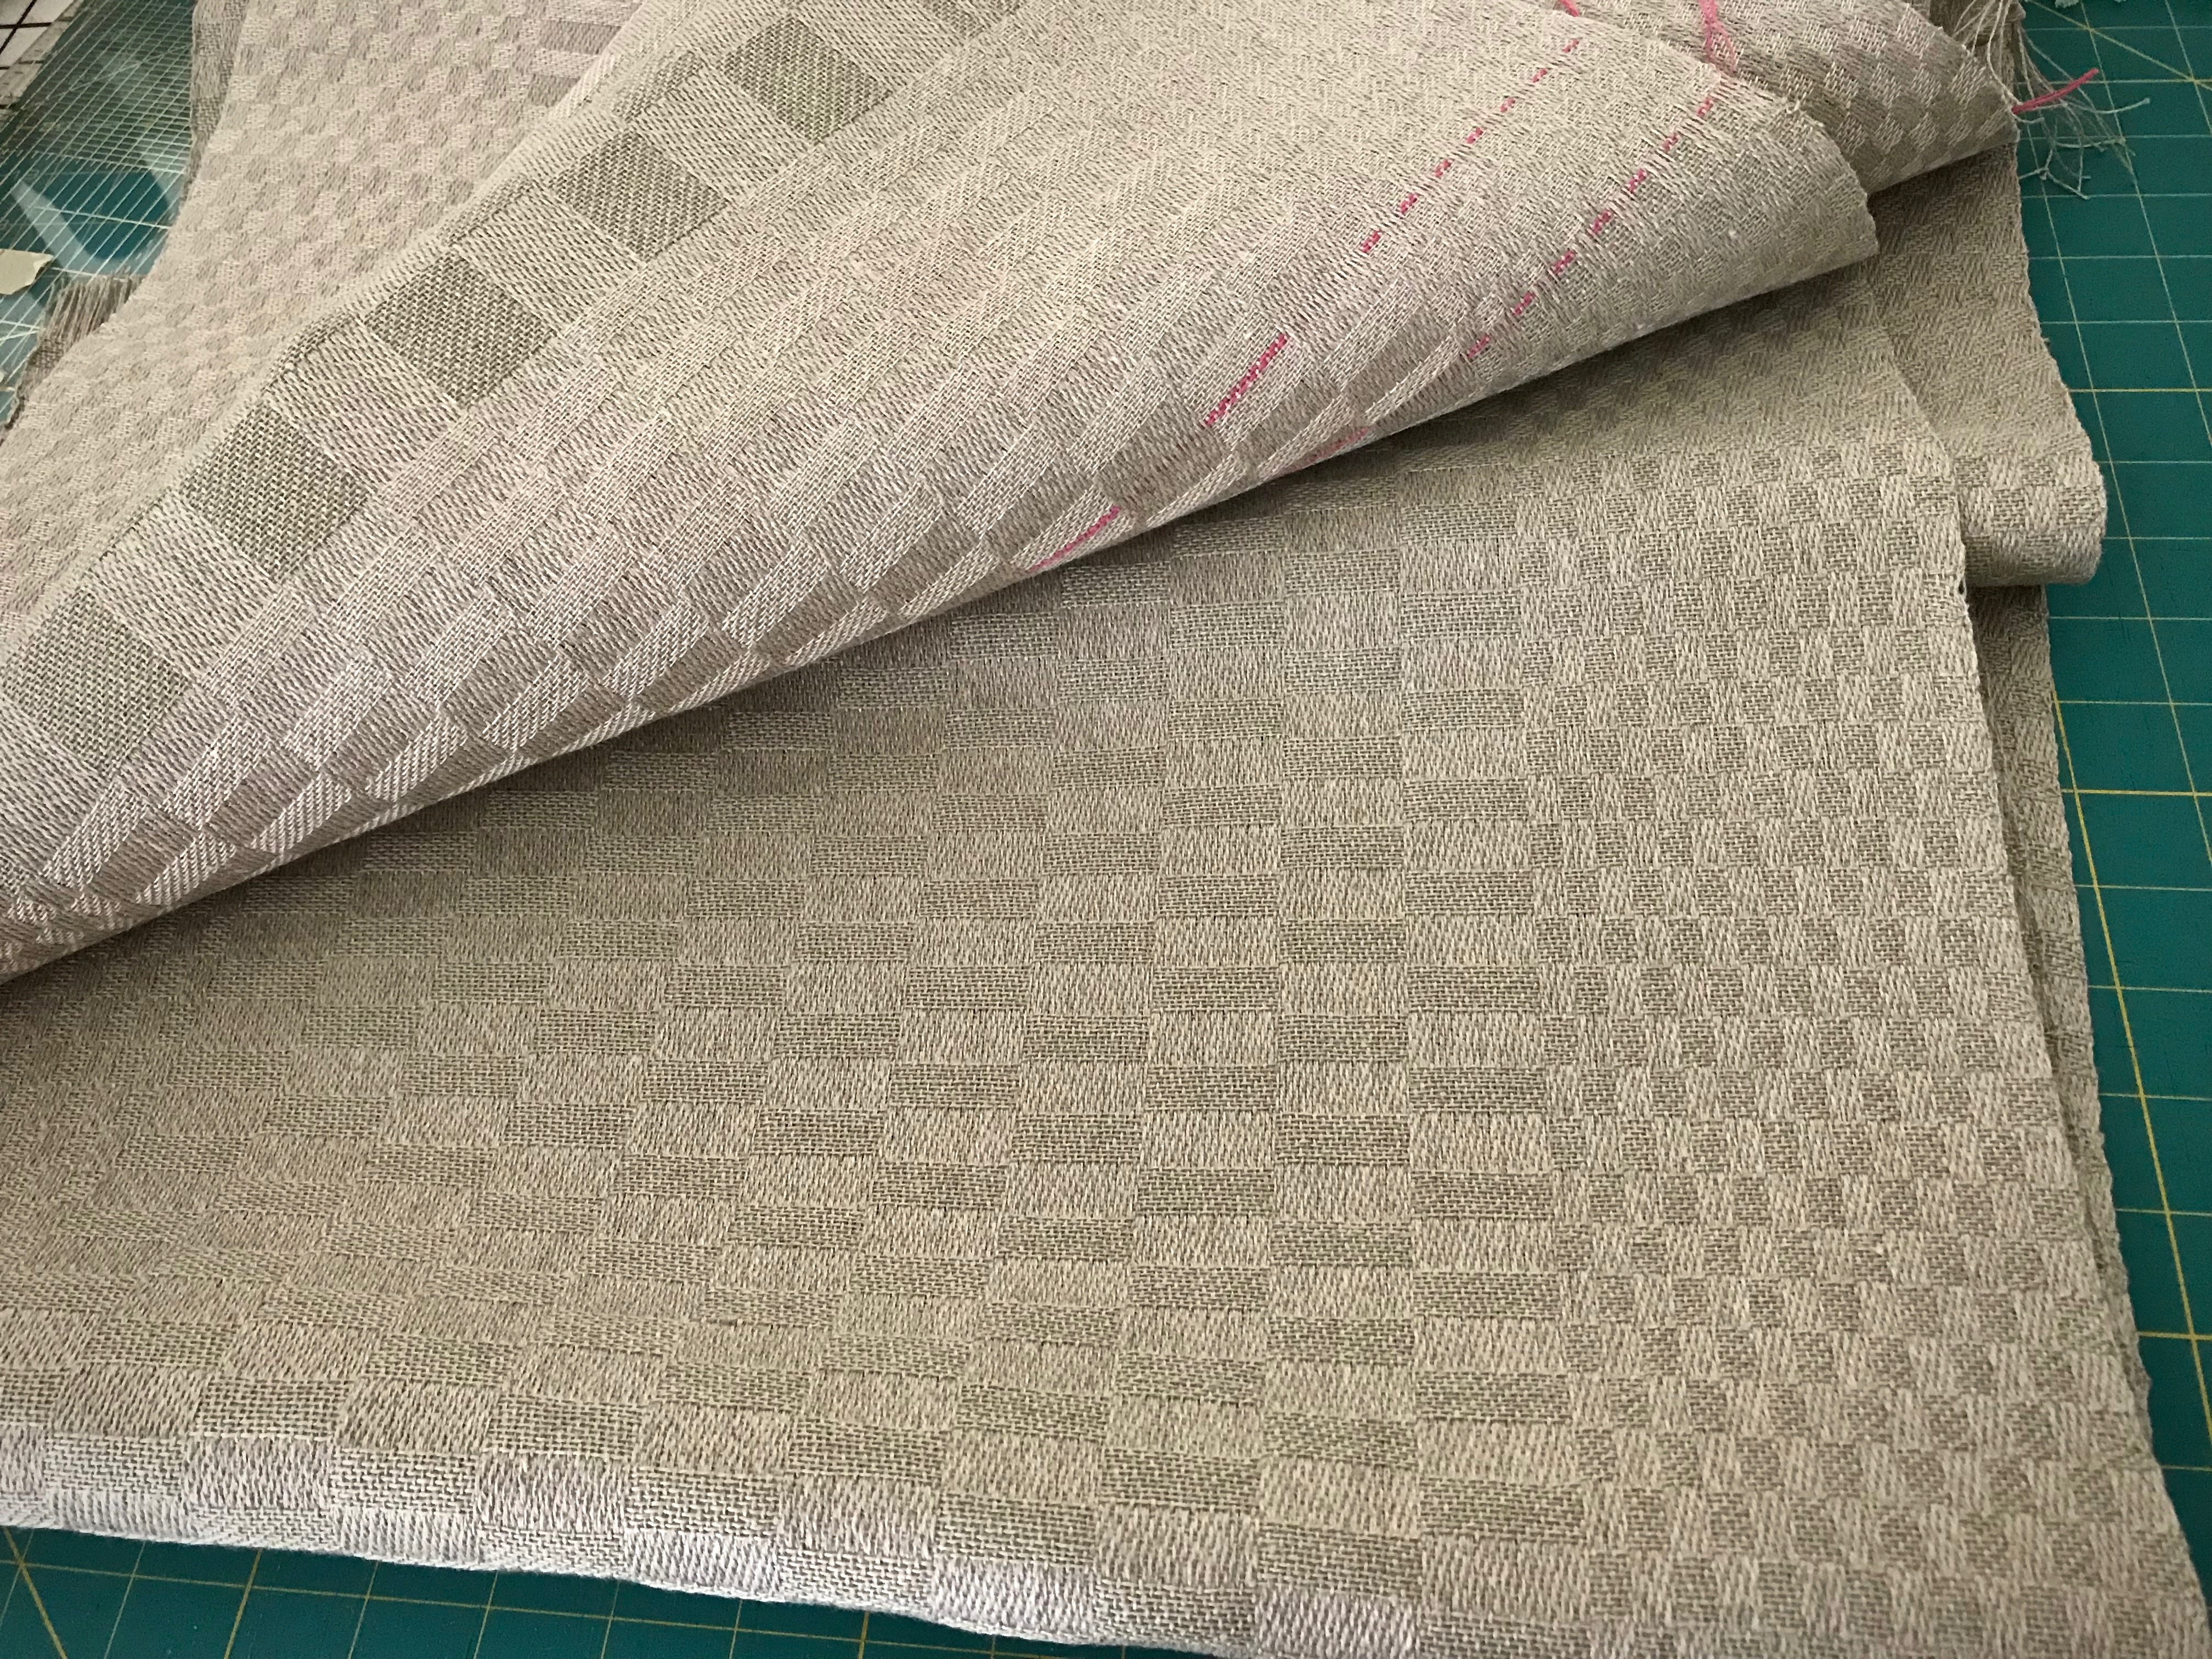
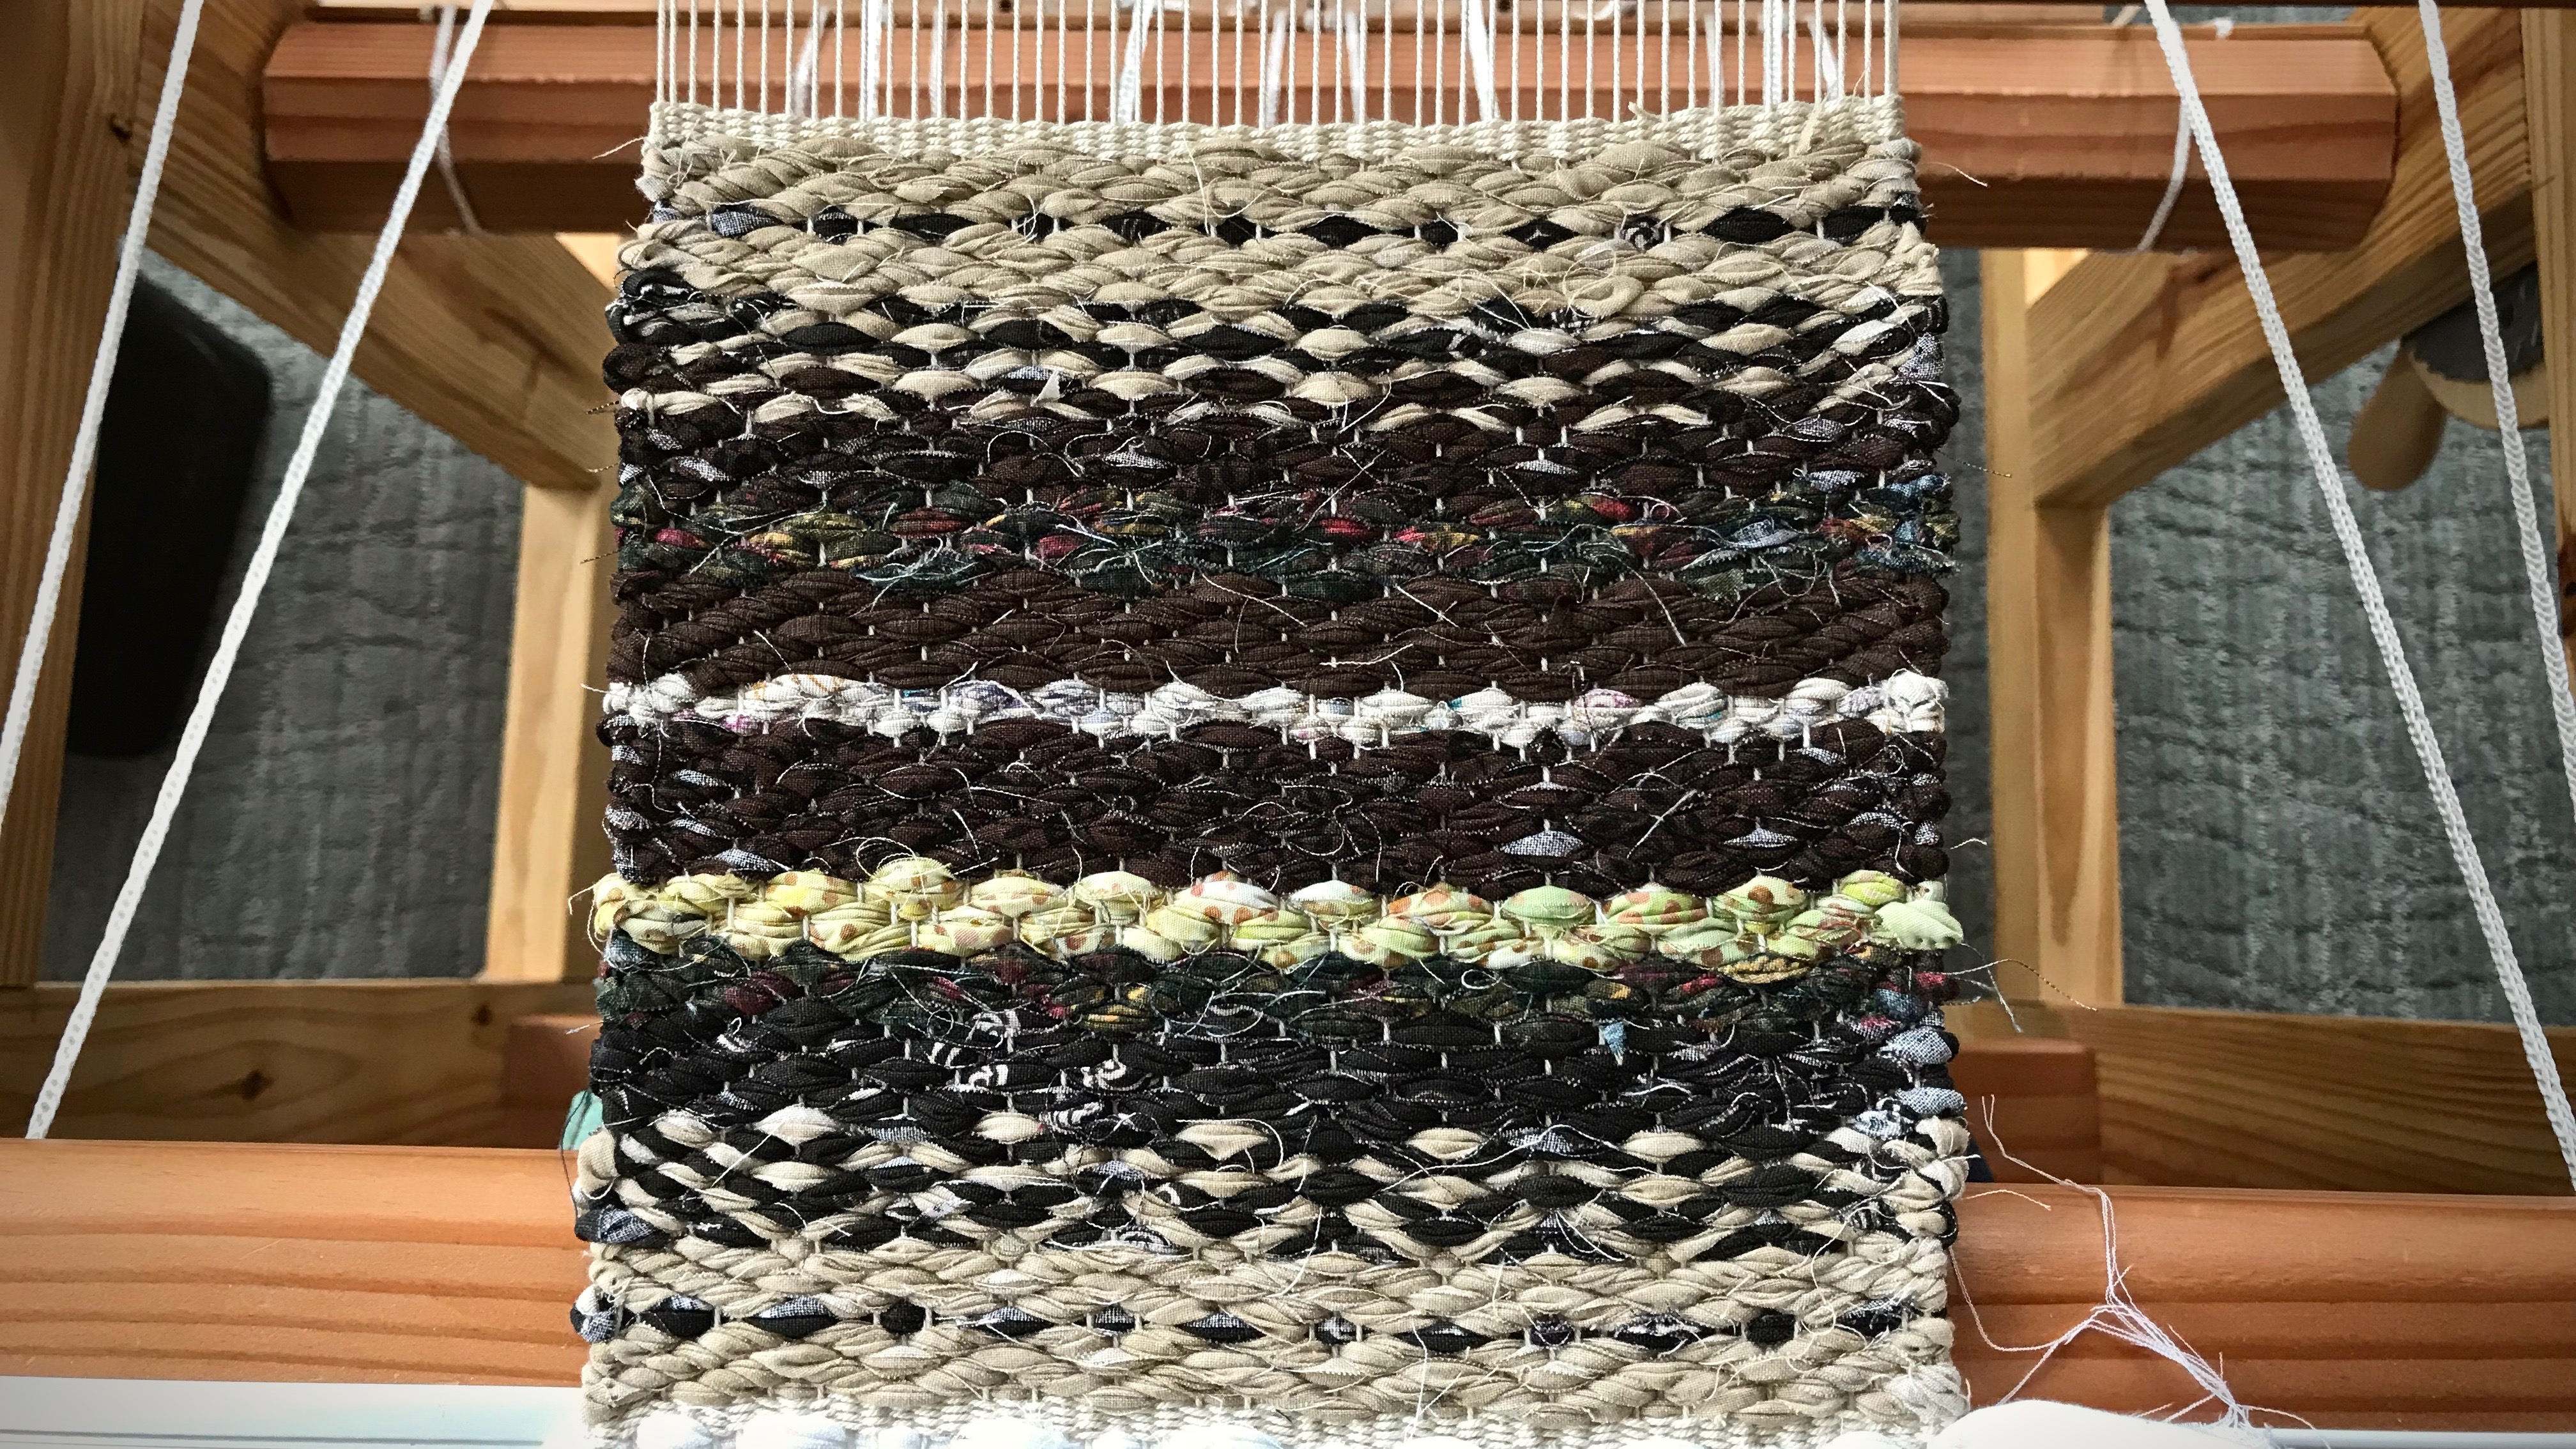
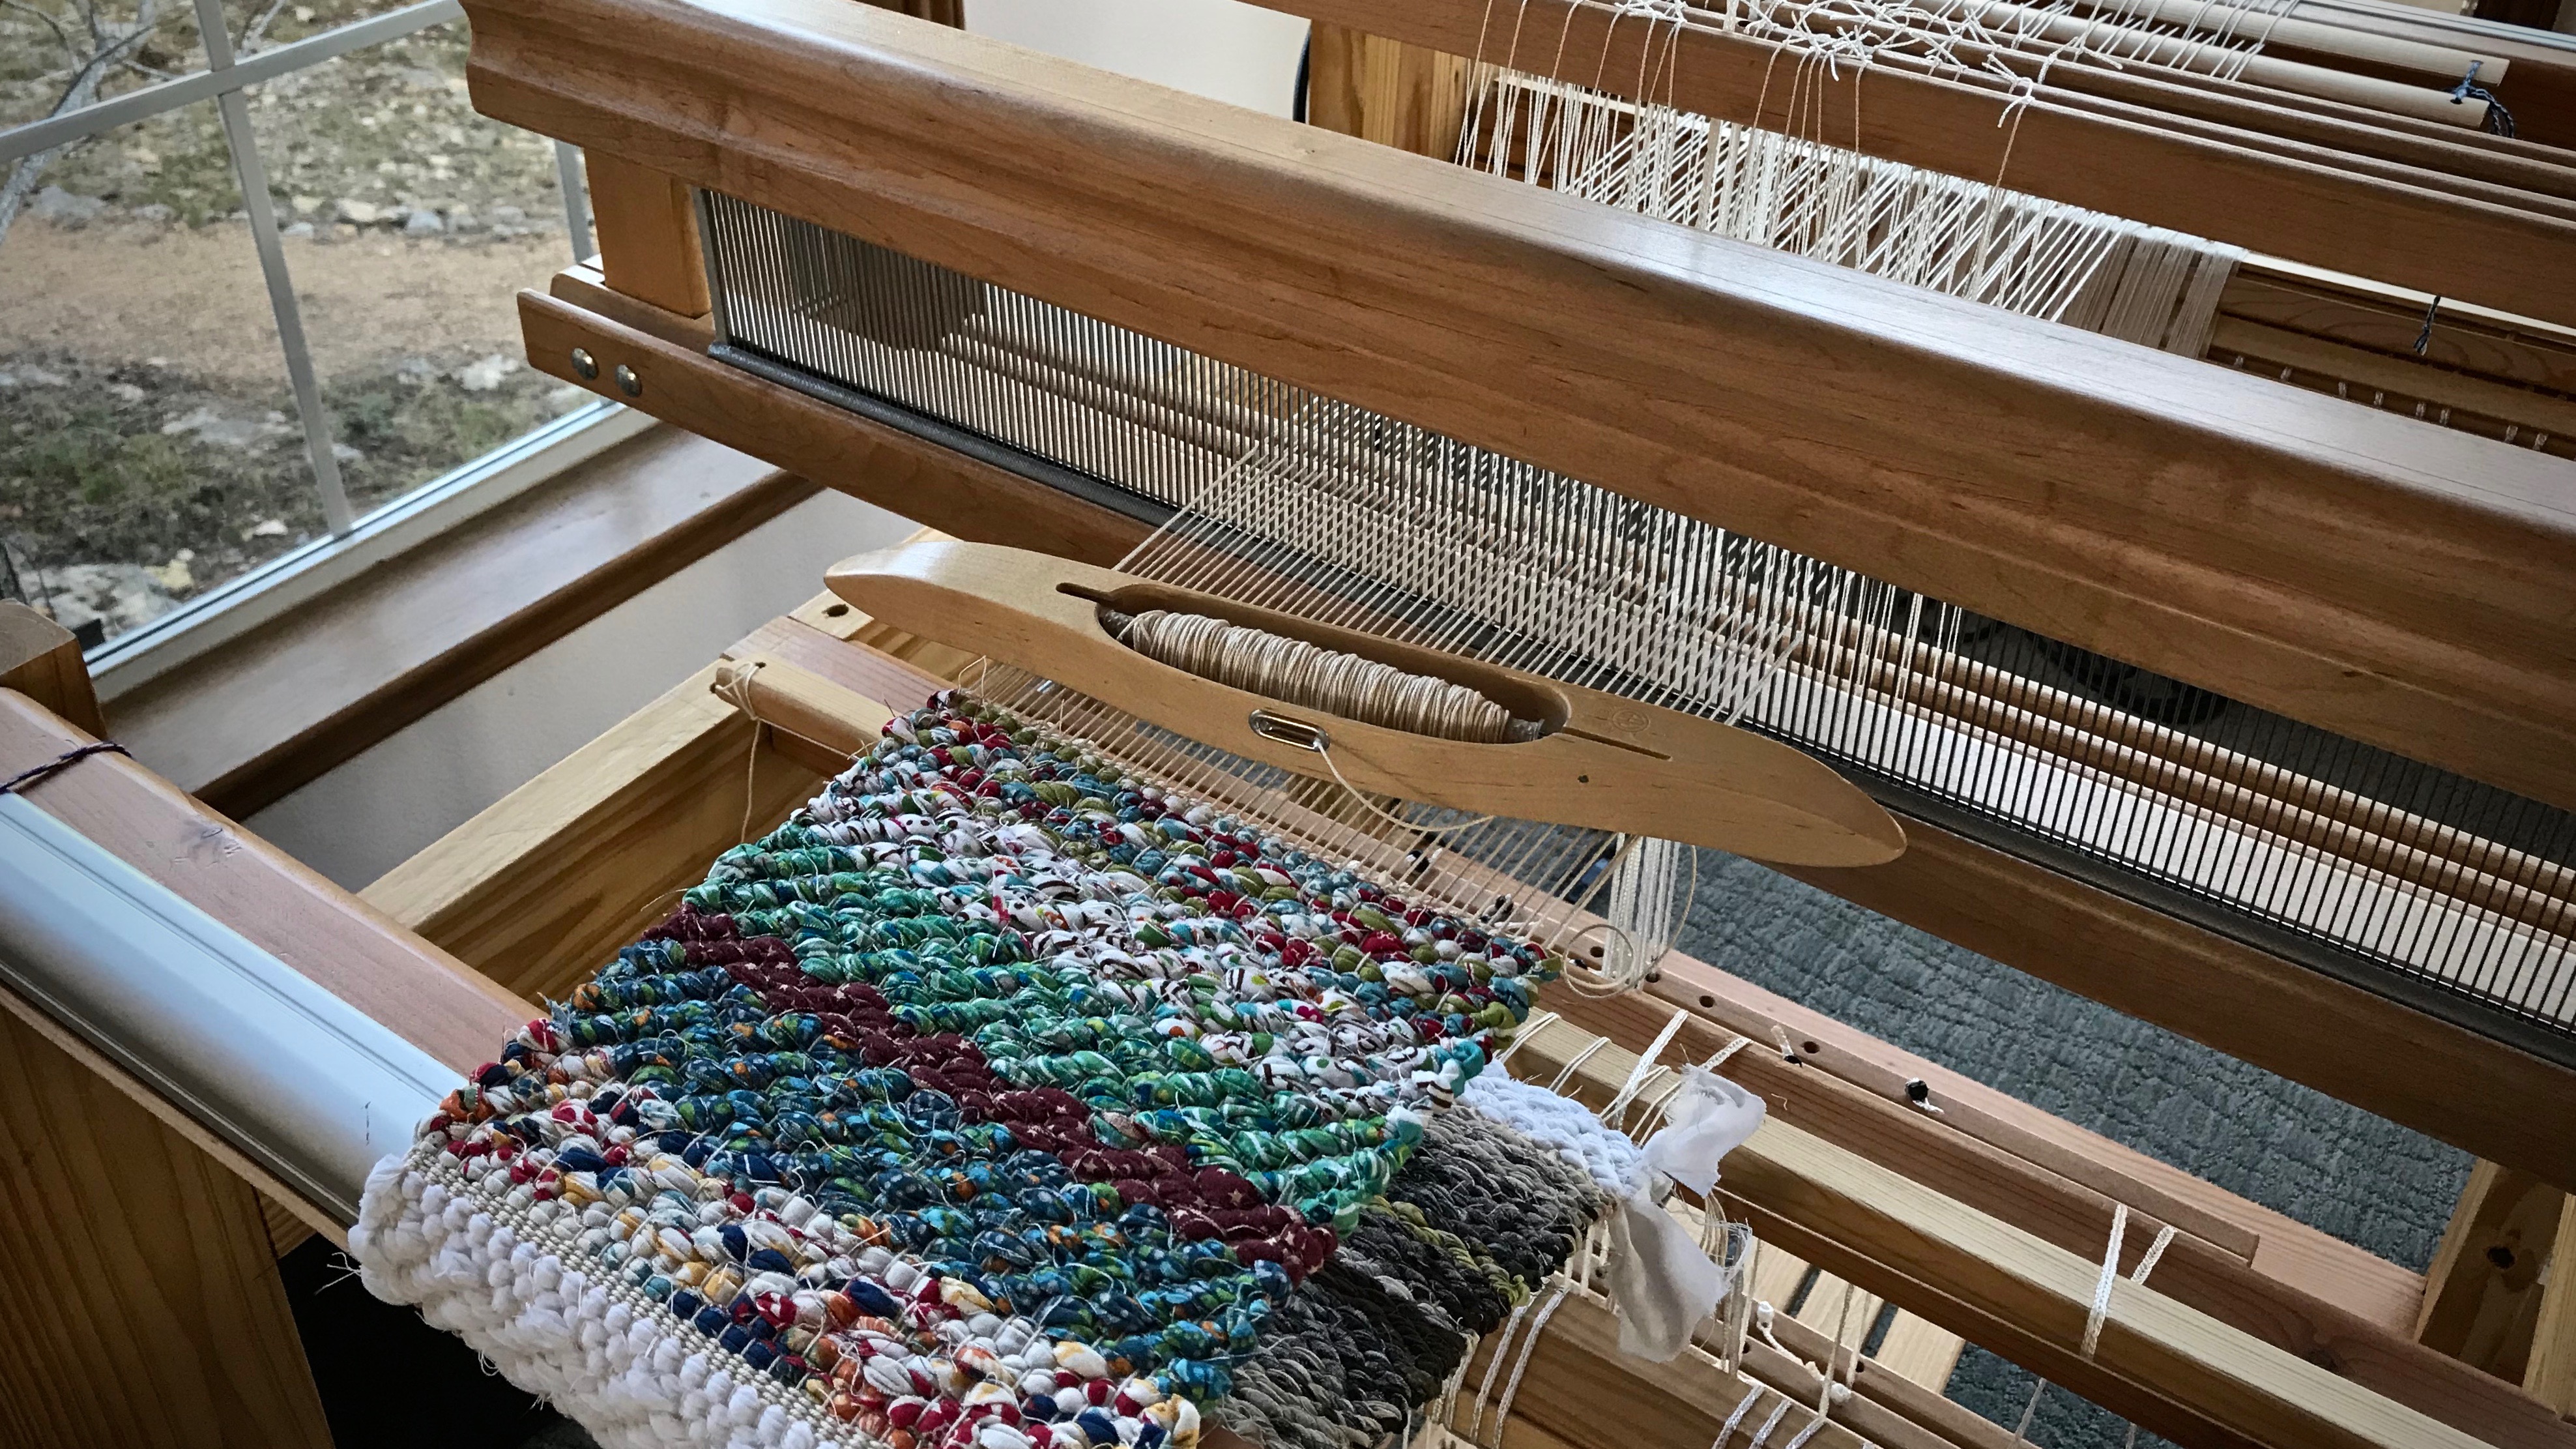
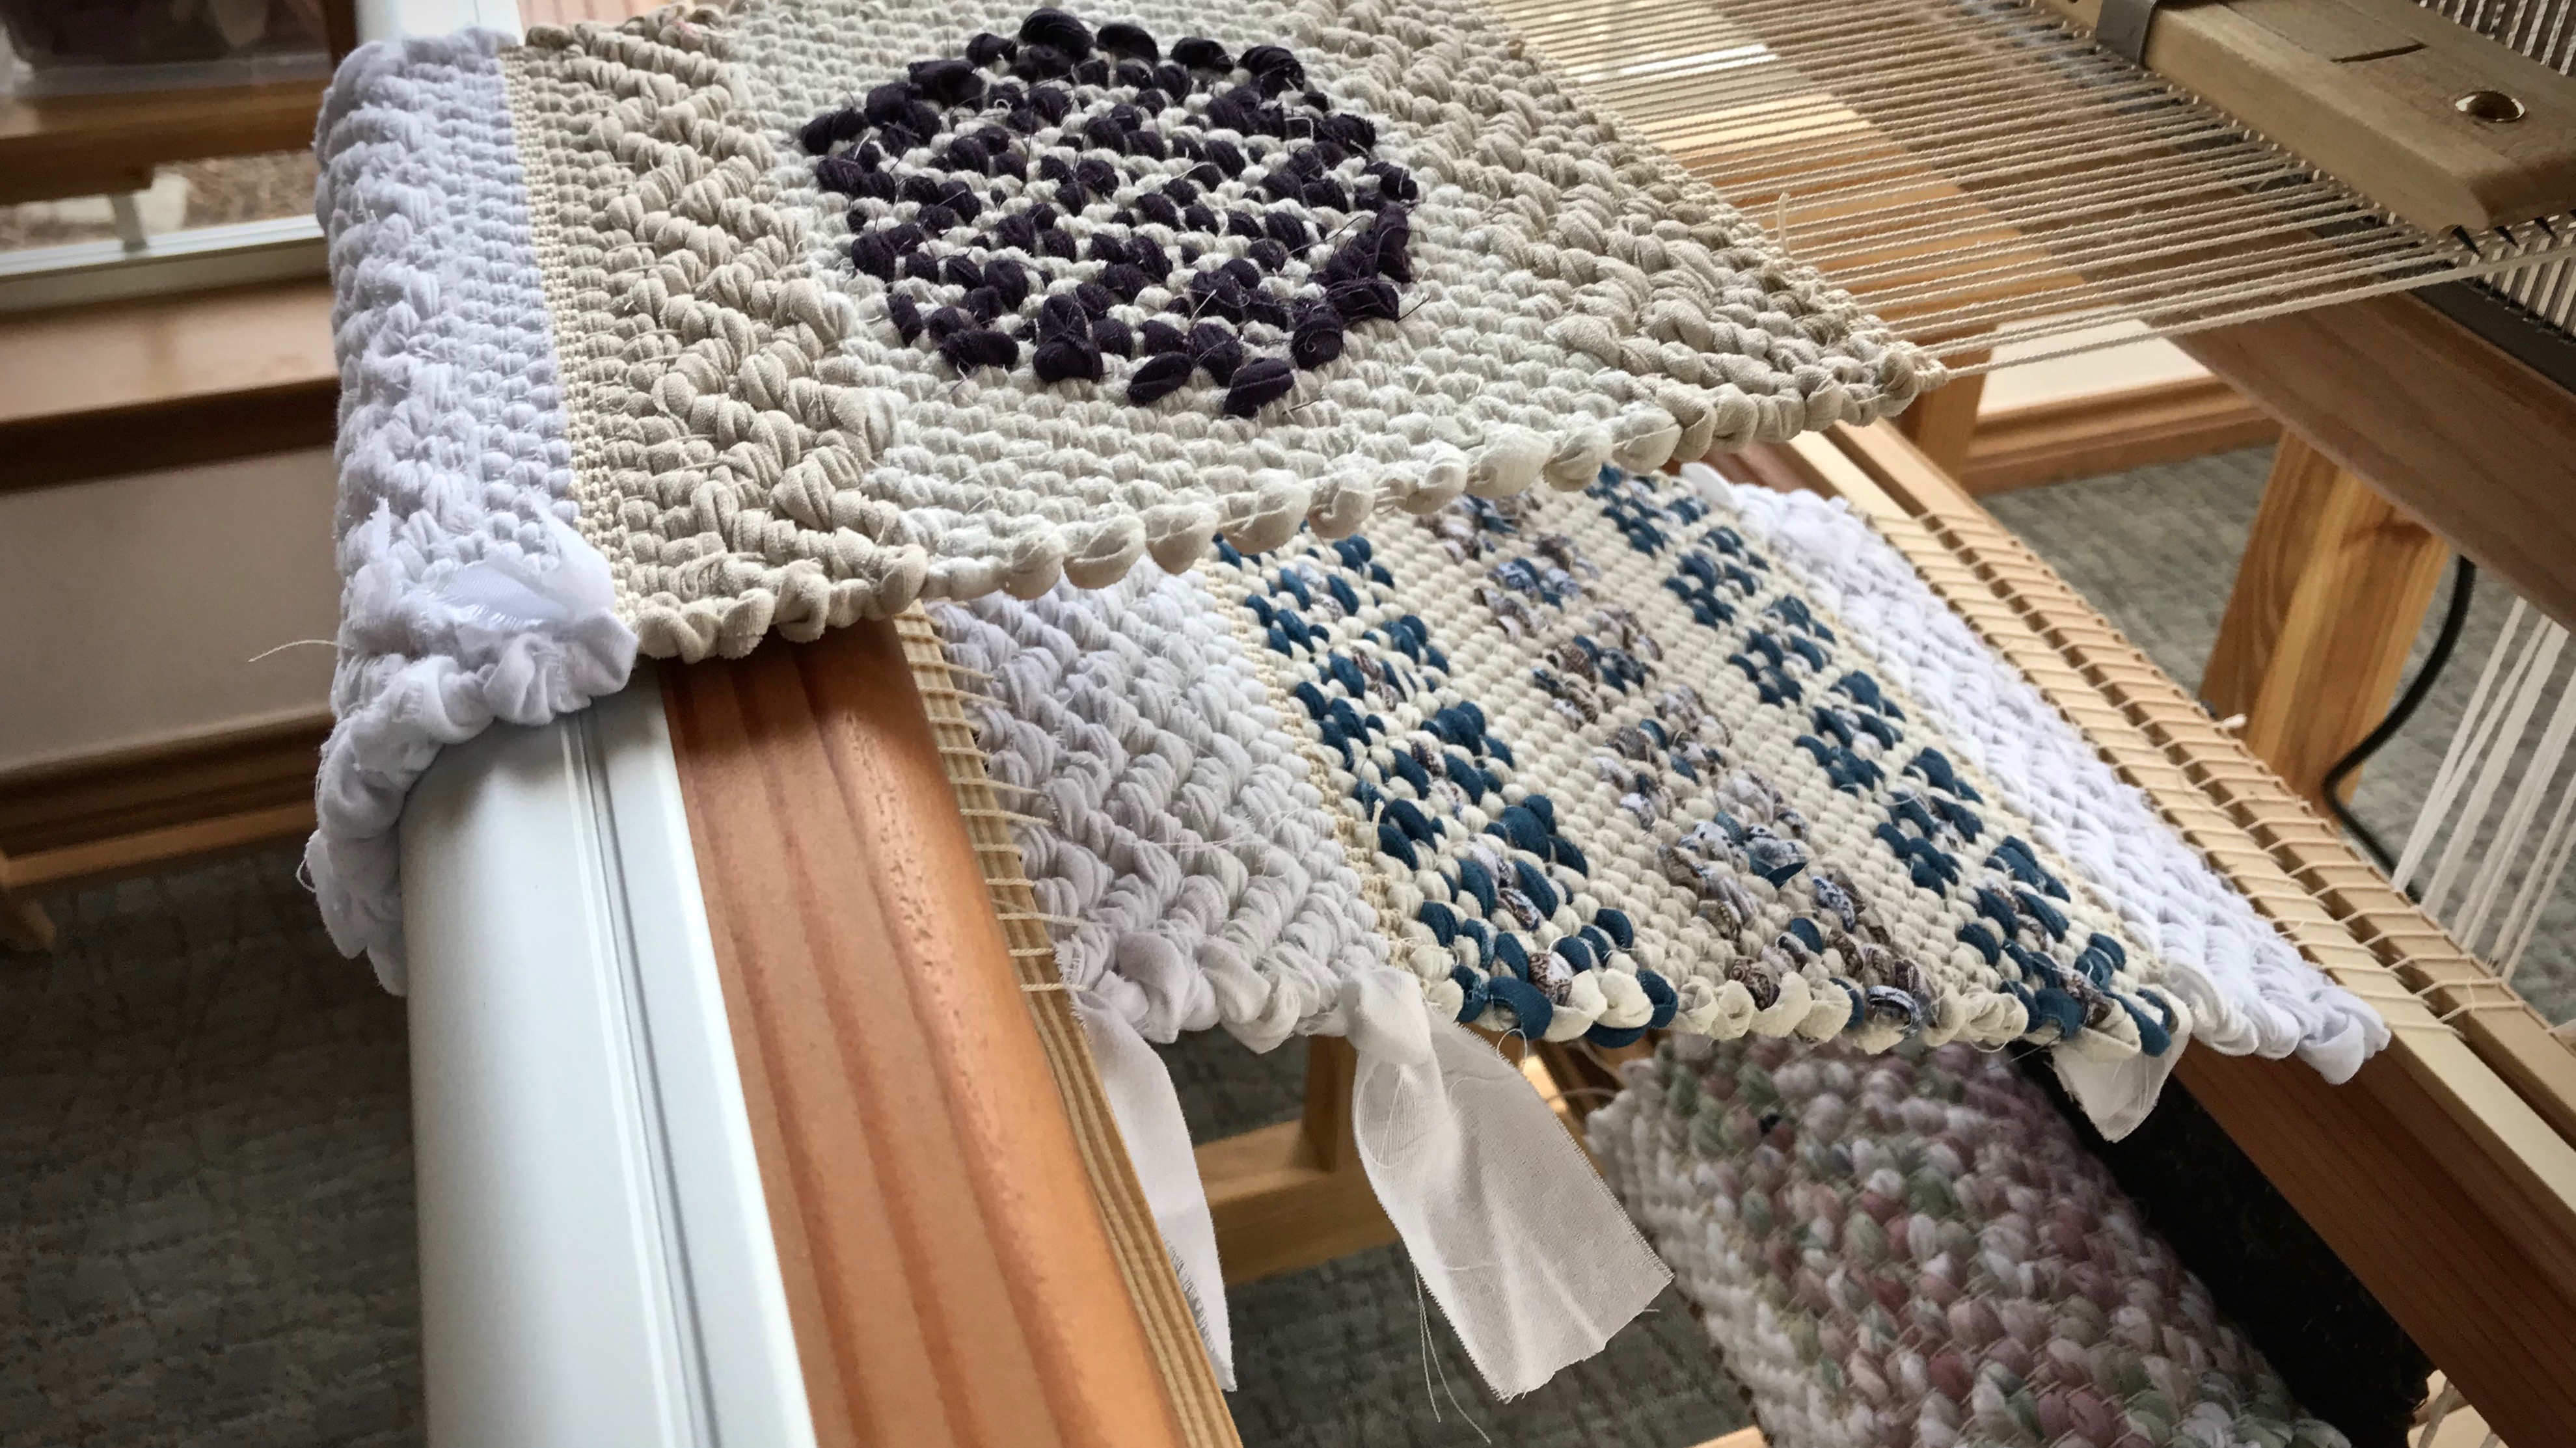
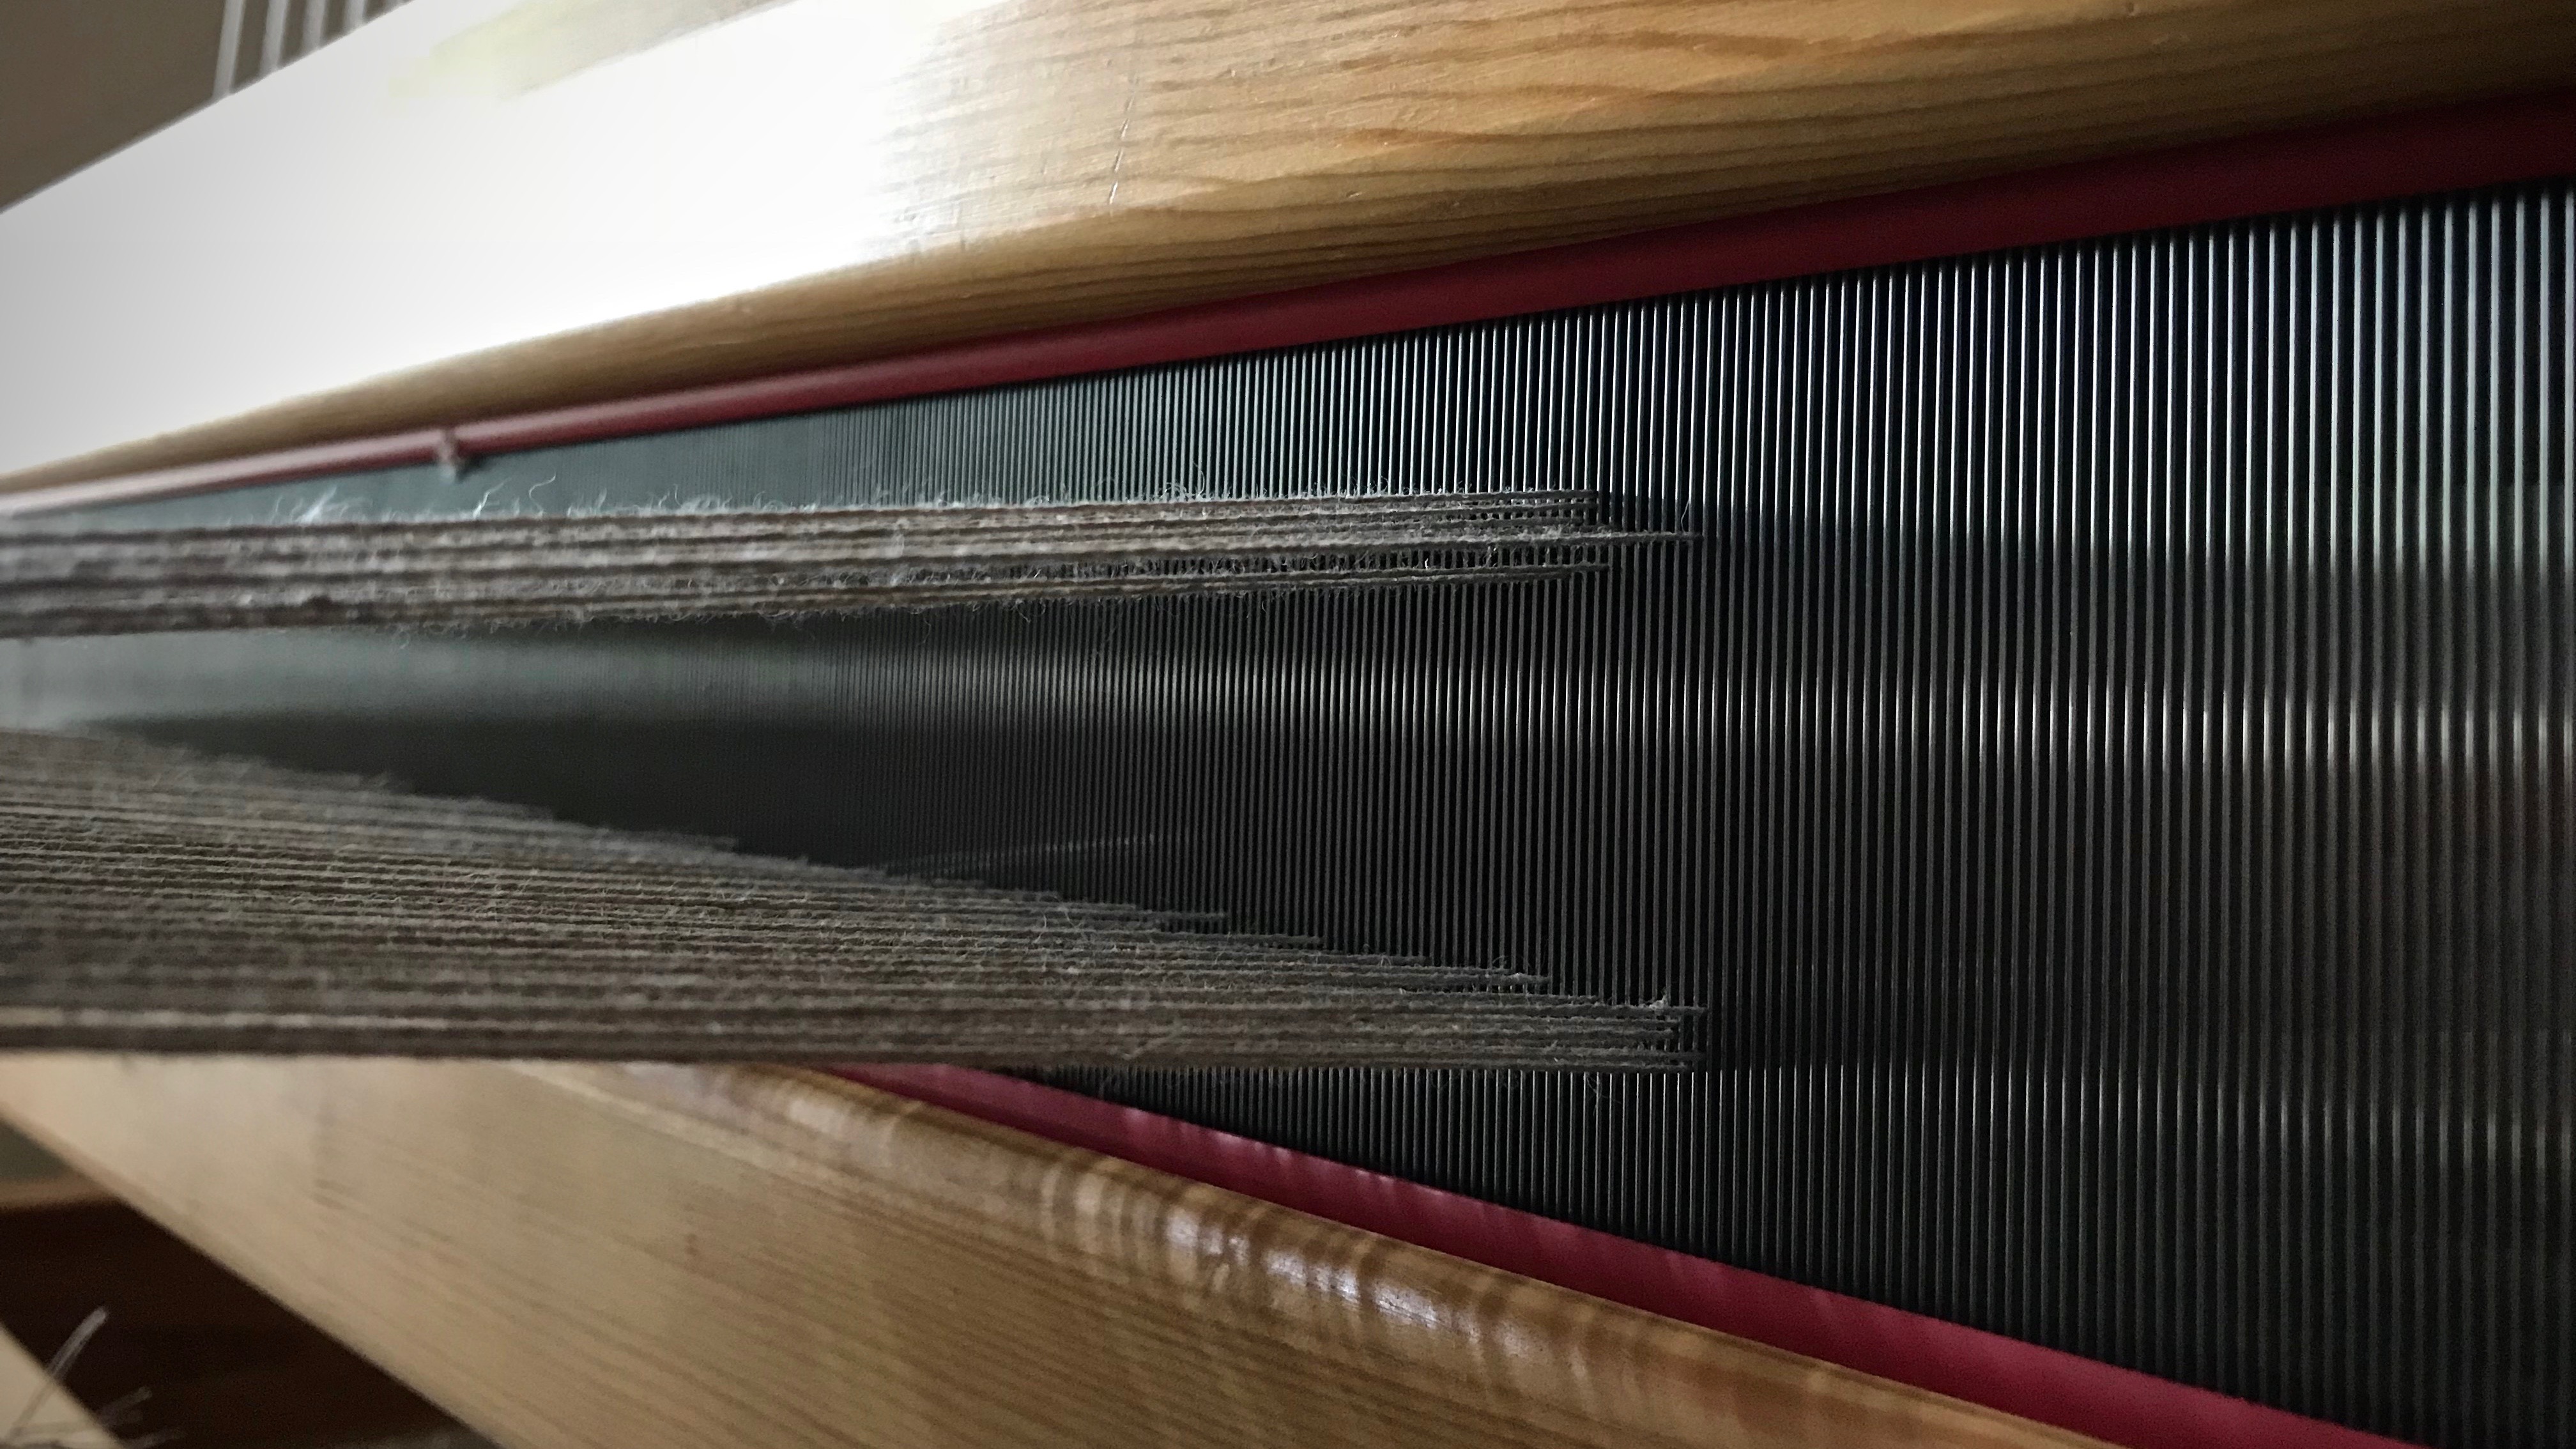
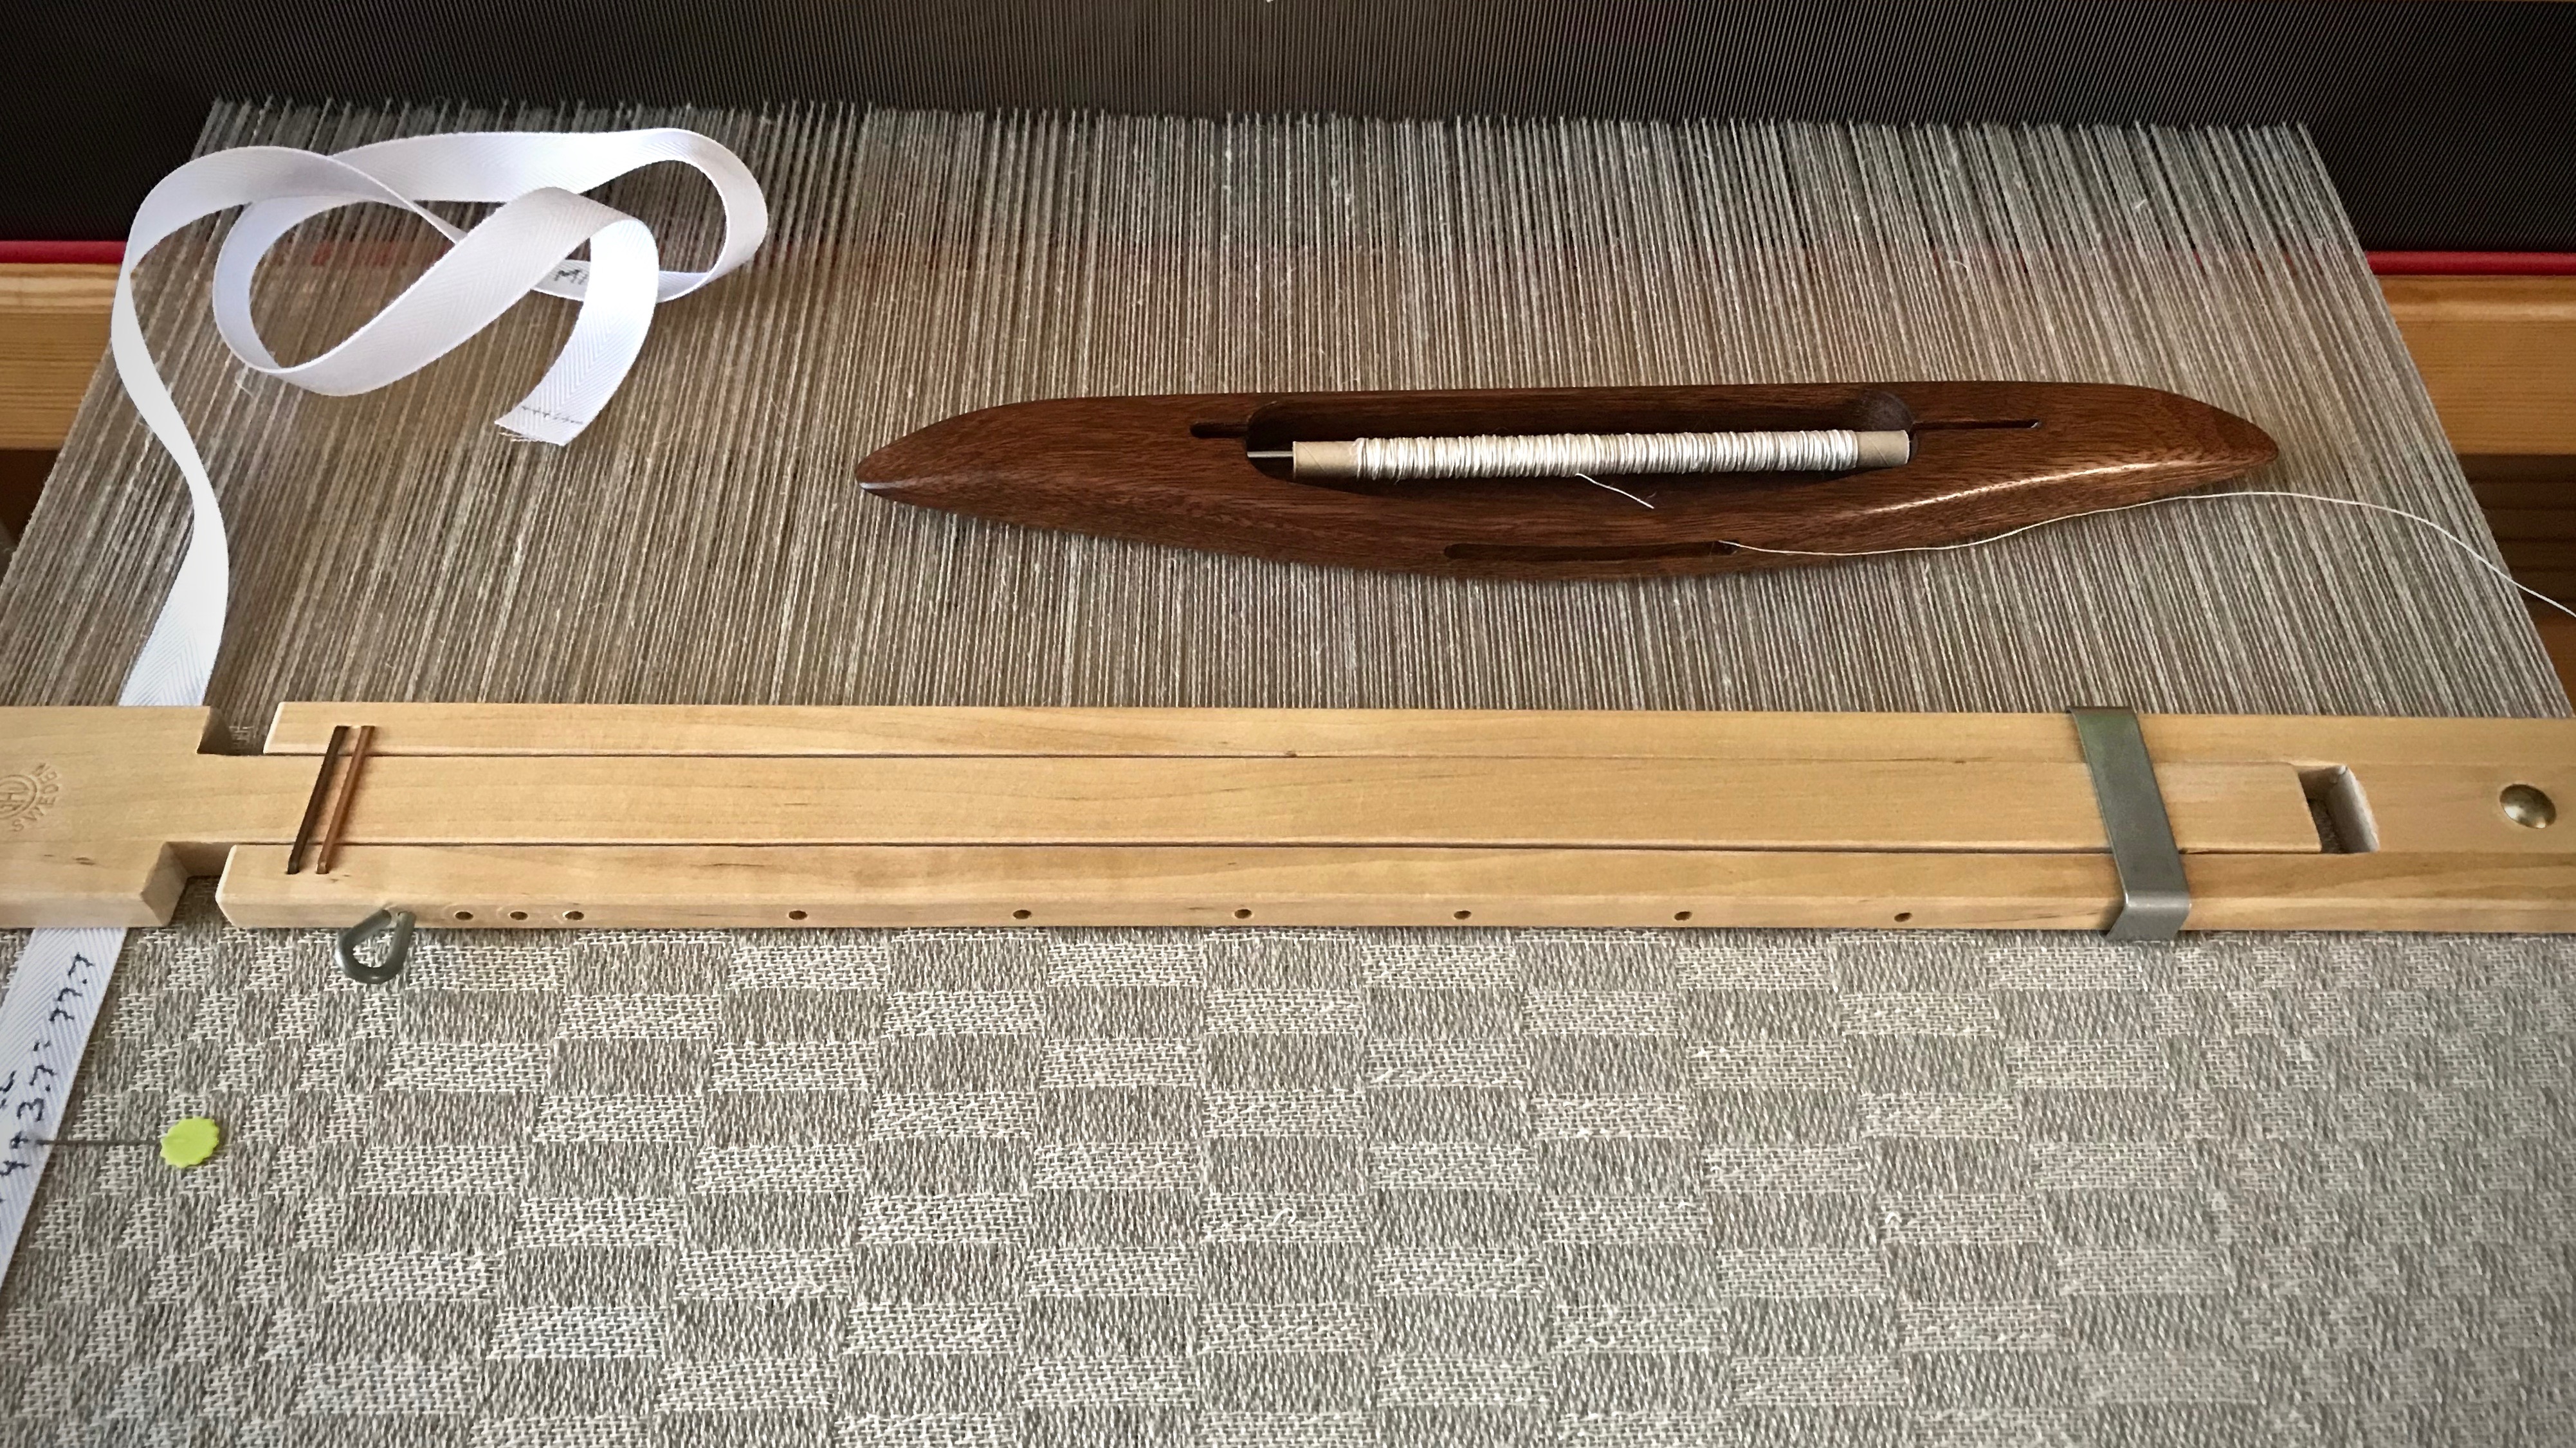
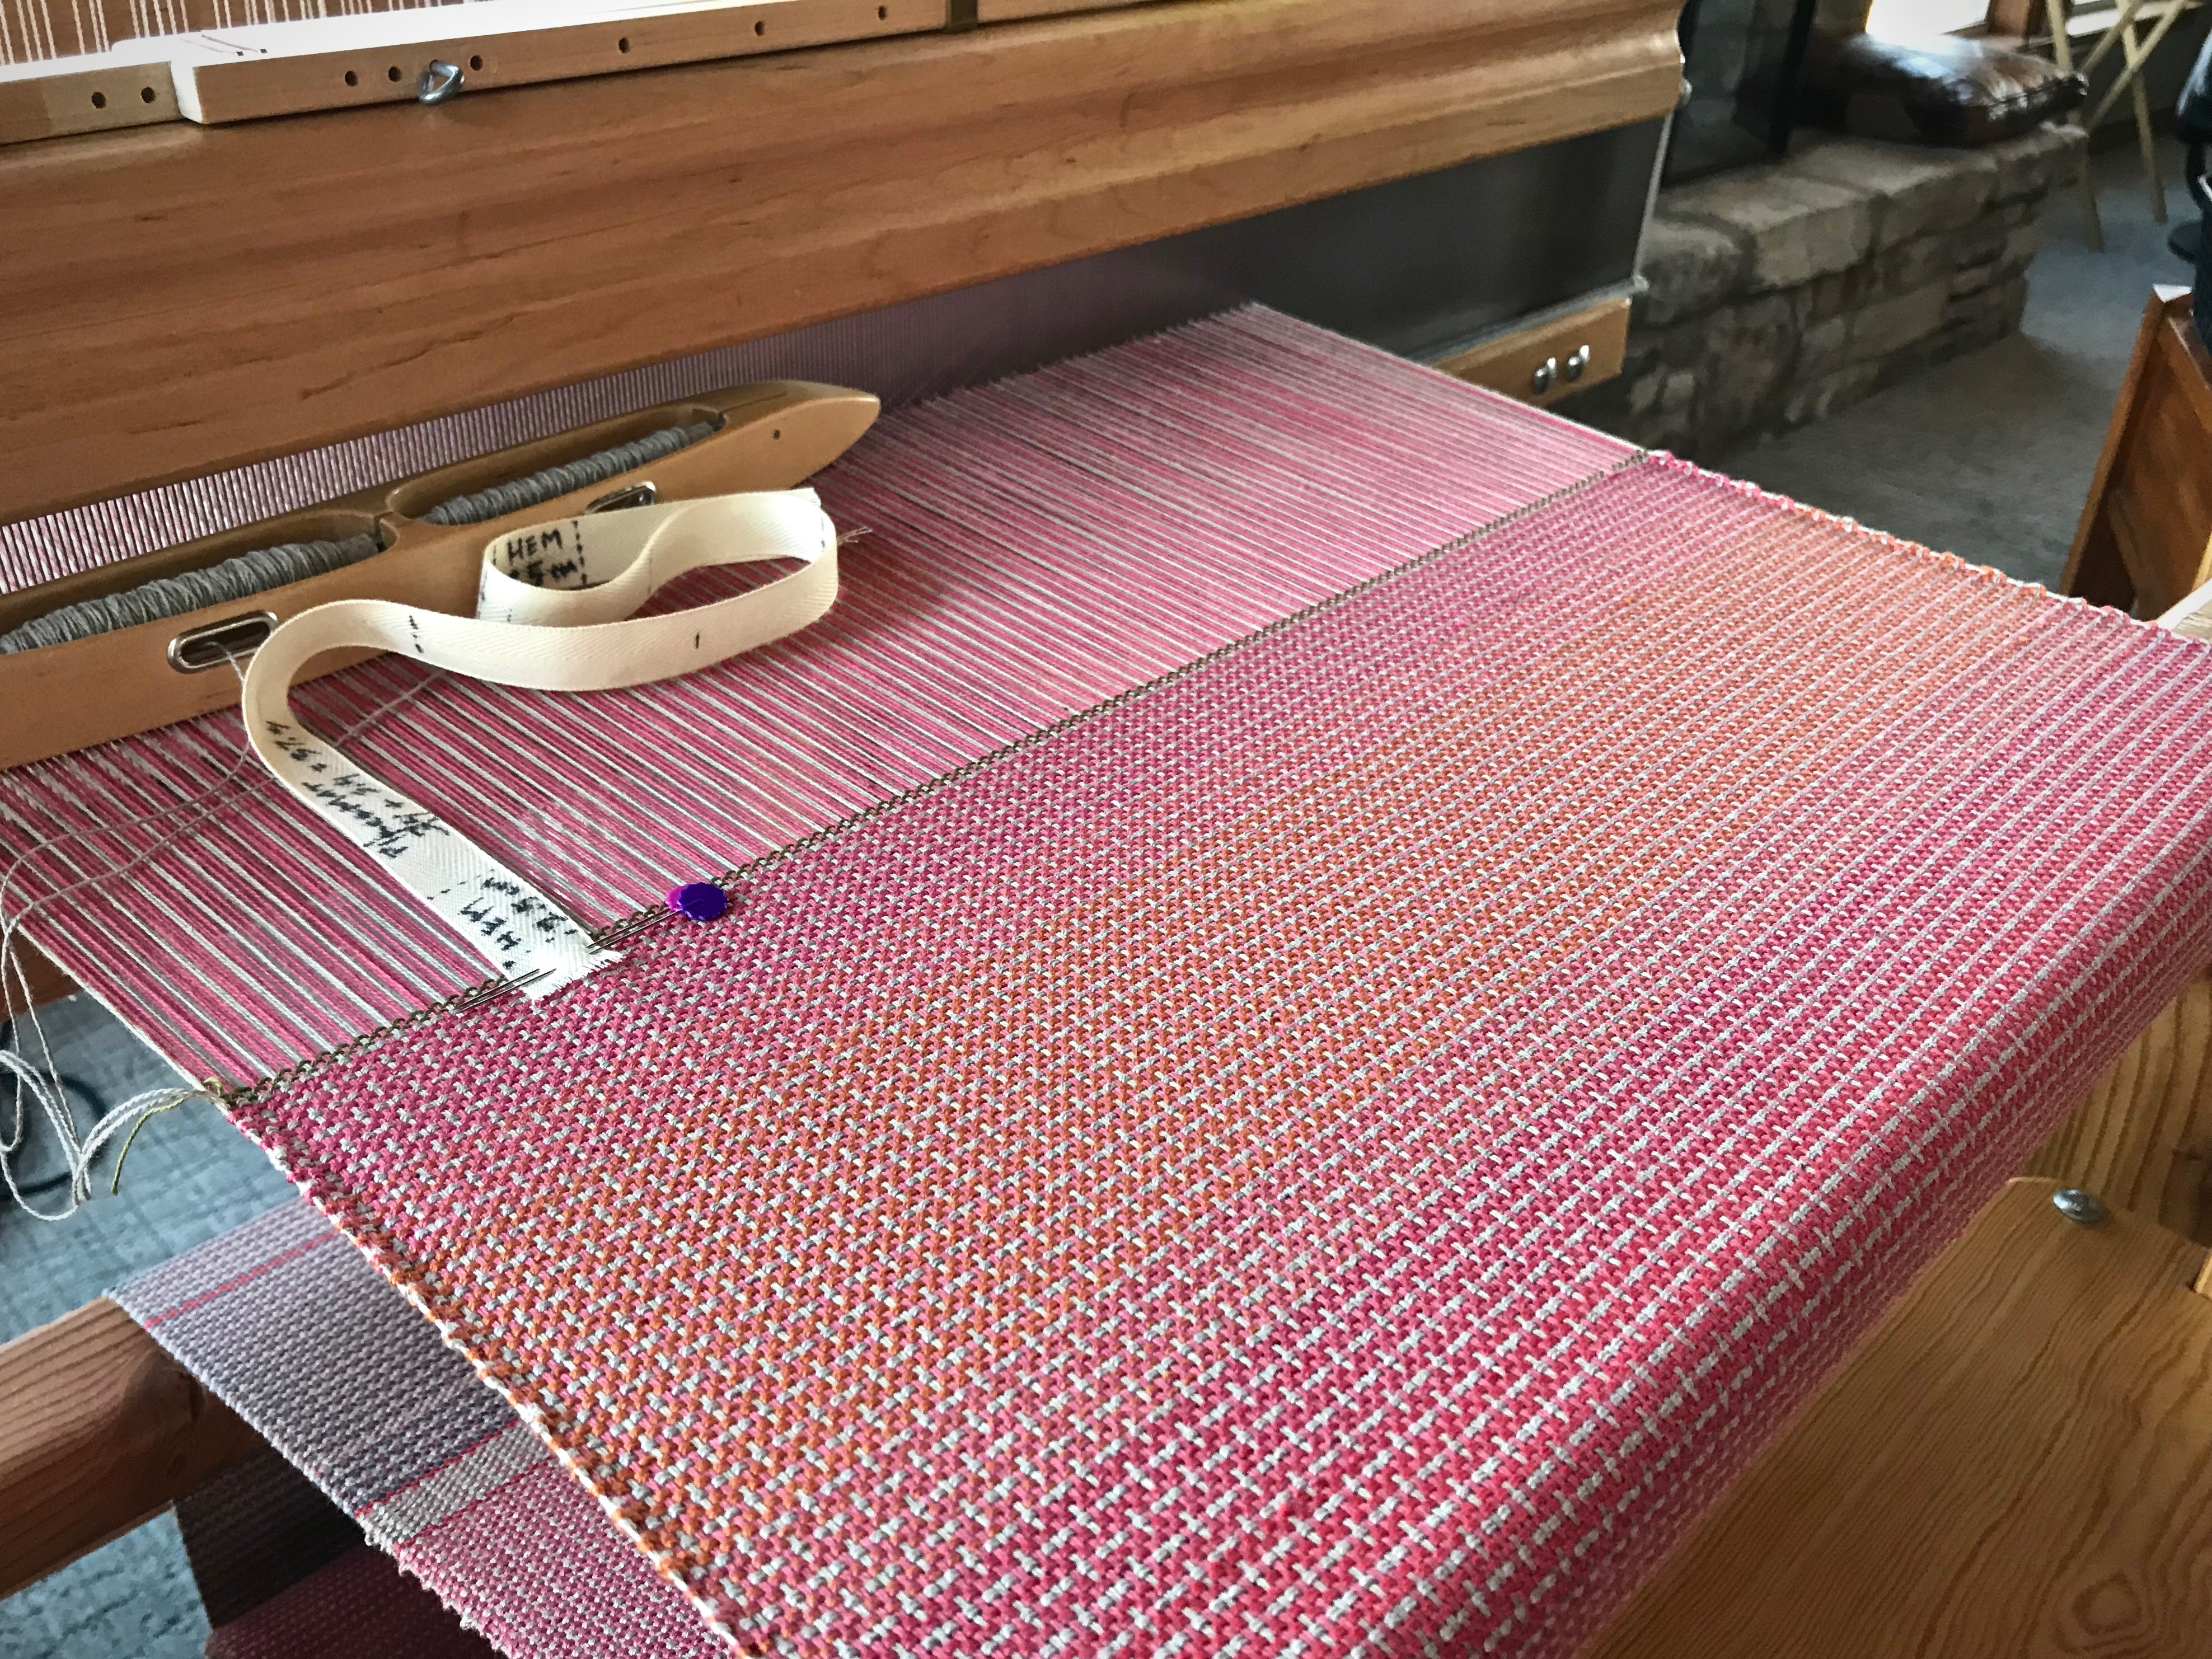
When I decided to use up some of the quills that have collected, I stumbled on one of my favorite techniques—color gradation. The weft colors change gradually instead of making distinct weft stripes. Remember the placemats on the little countermarch loom? I am weaving the last few.

Color gradation on plain weave with color and weave effects.
Using up thread left on quills for some color gradation play.
Doubled weft gives opportunity for easy color gradation.
Color and weave effects on plain weave. 8/2 cotton weft is doubled.

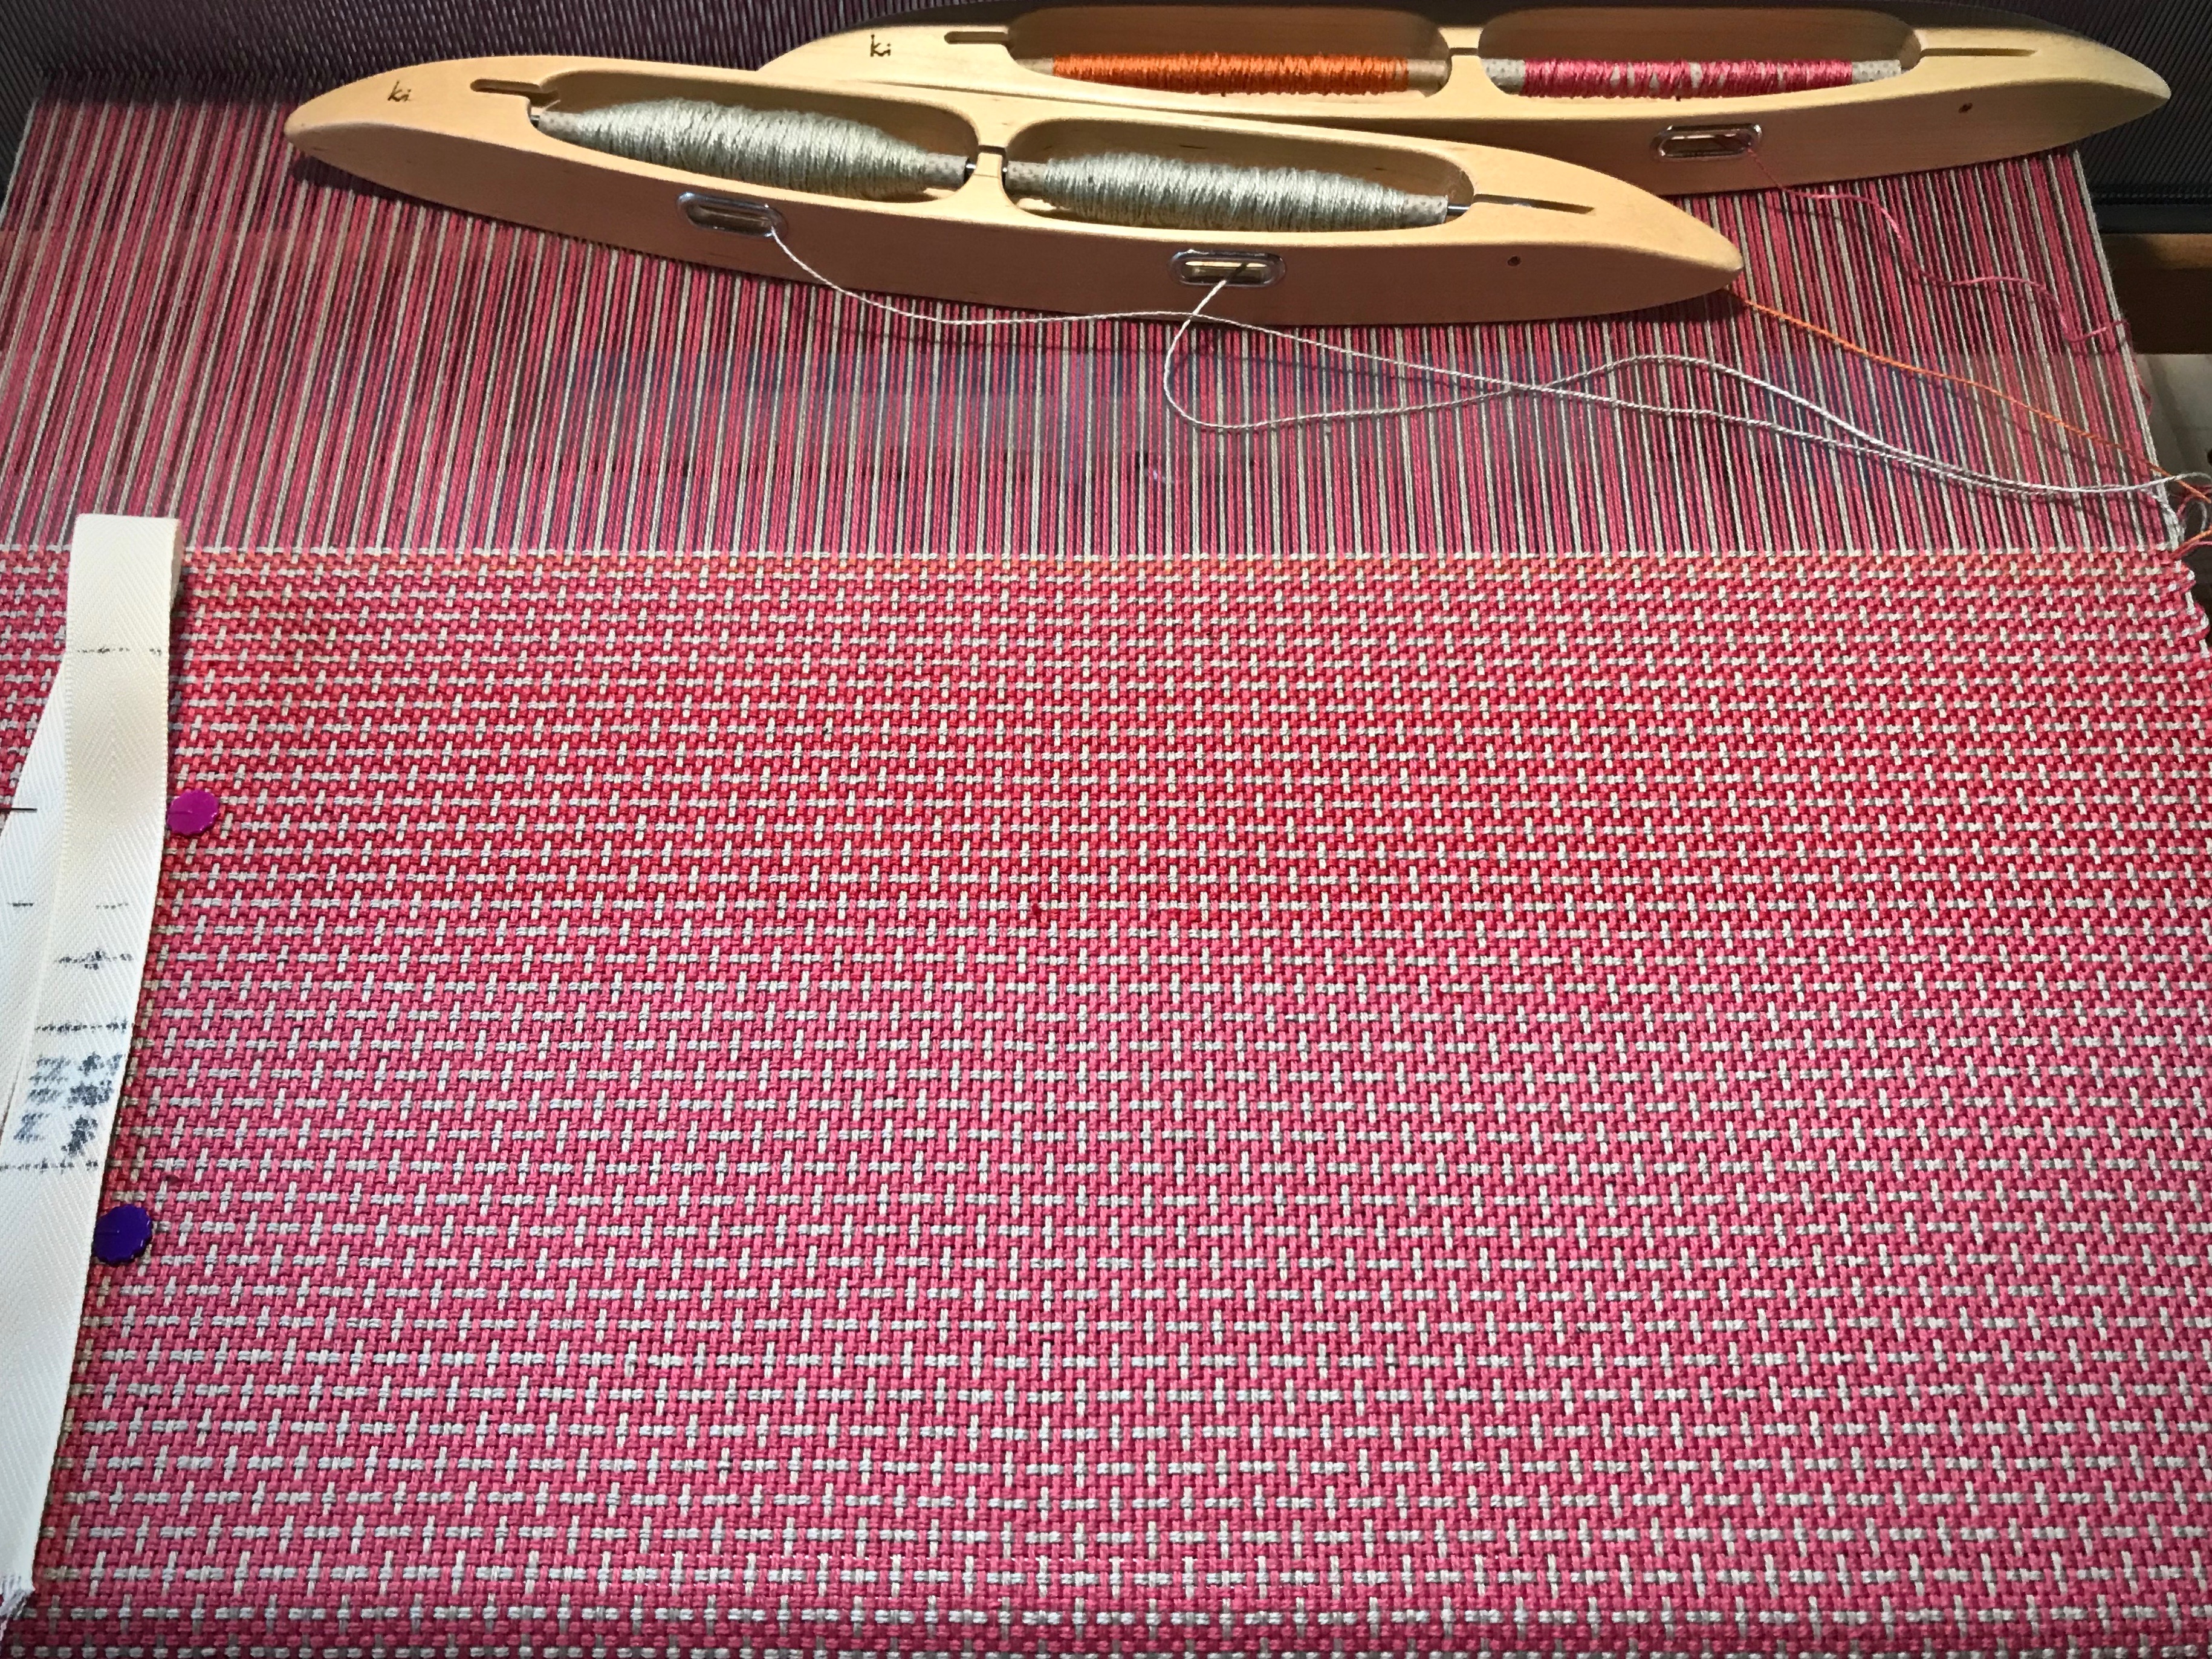
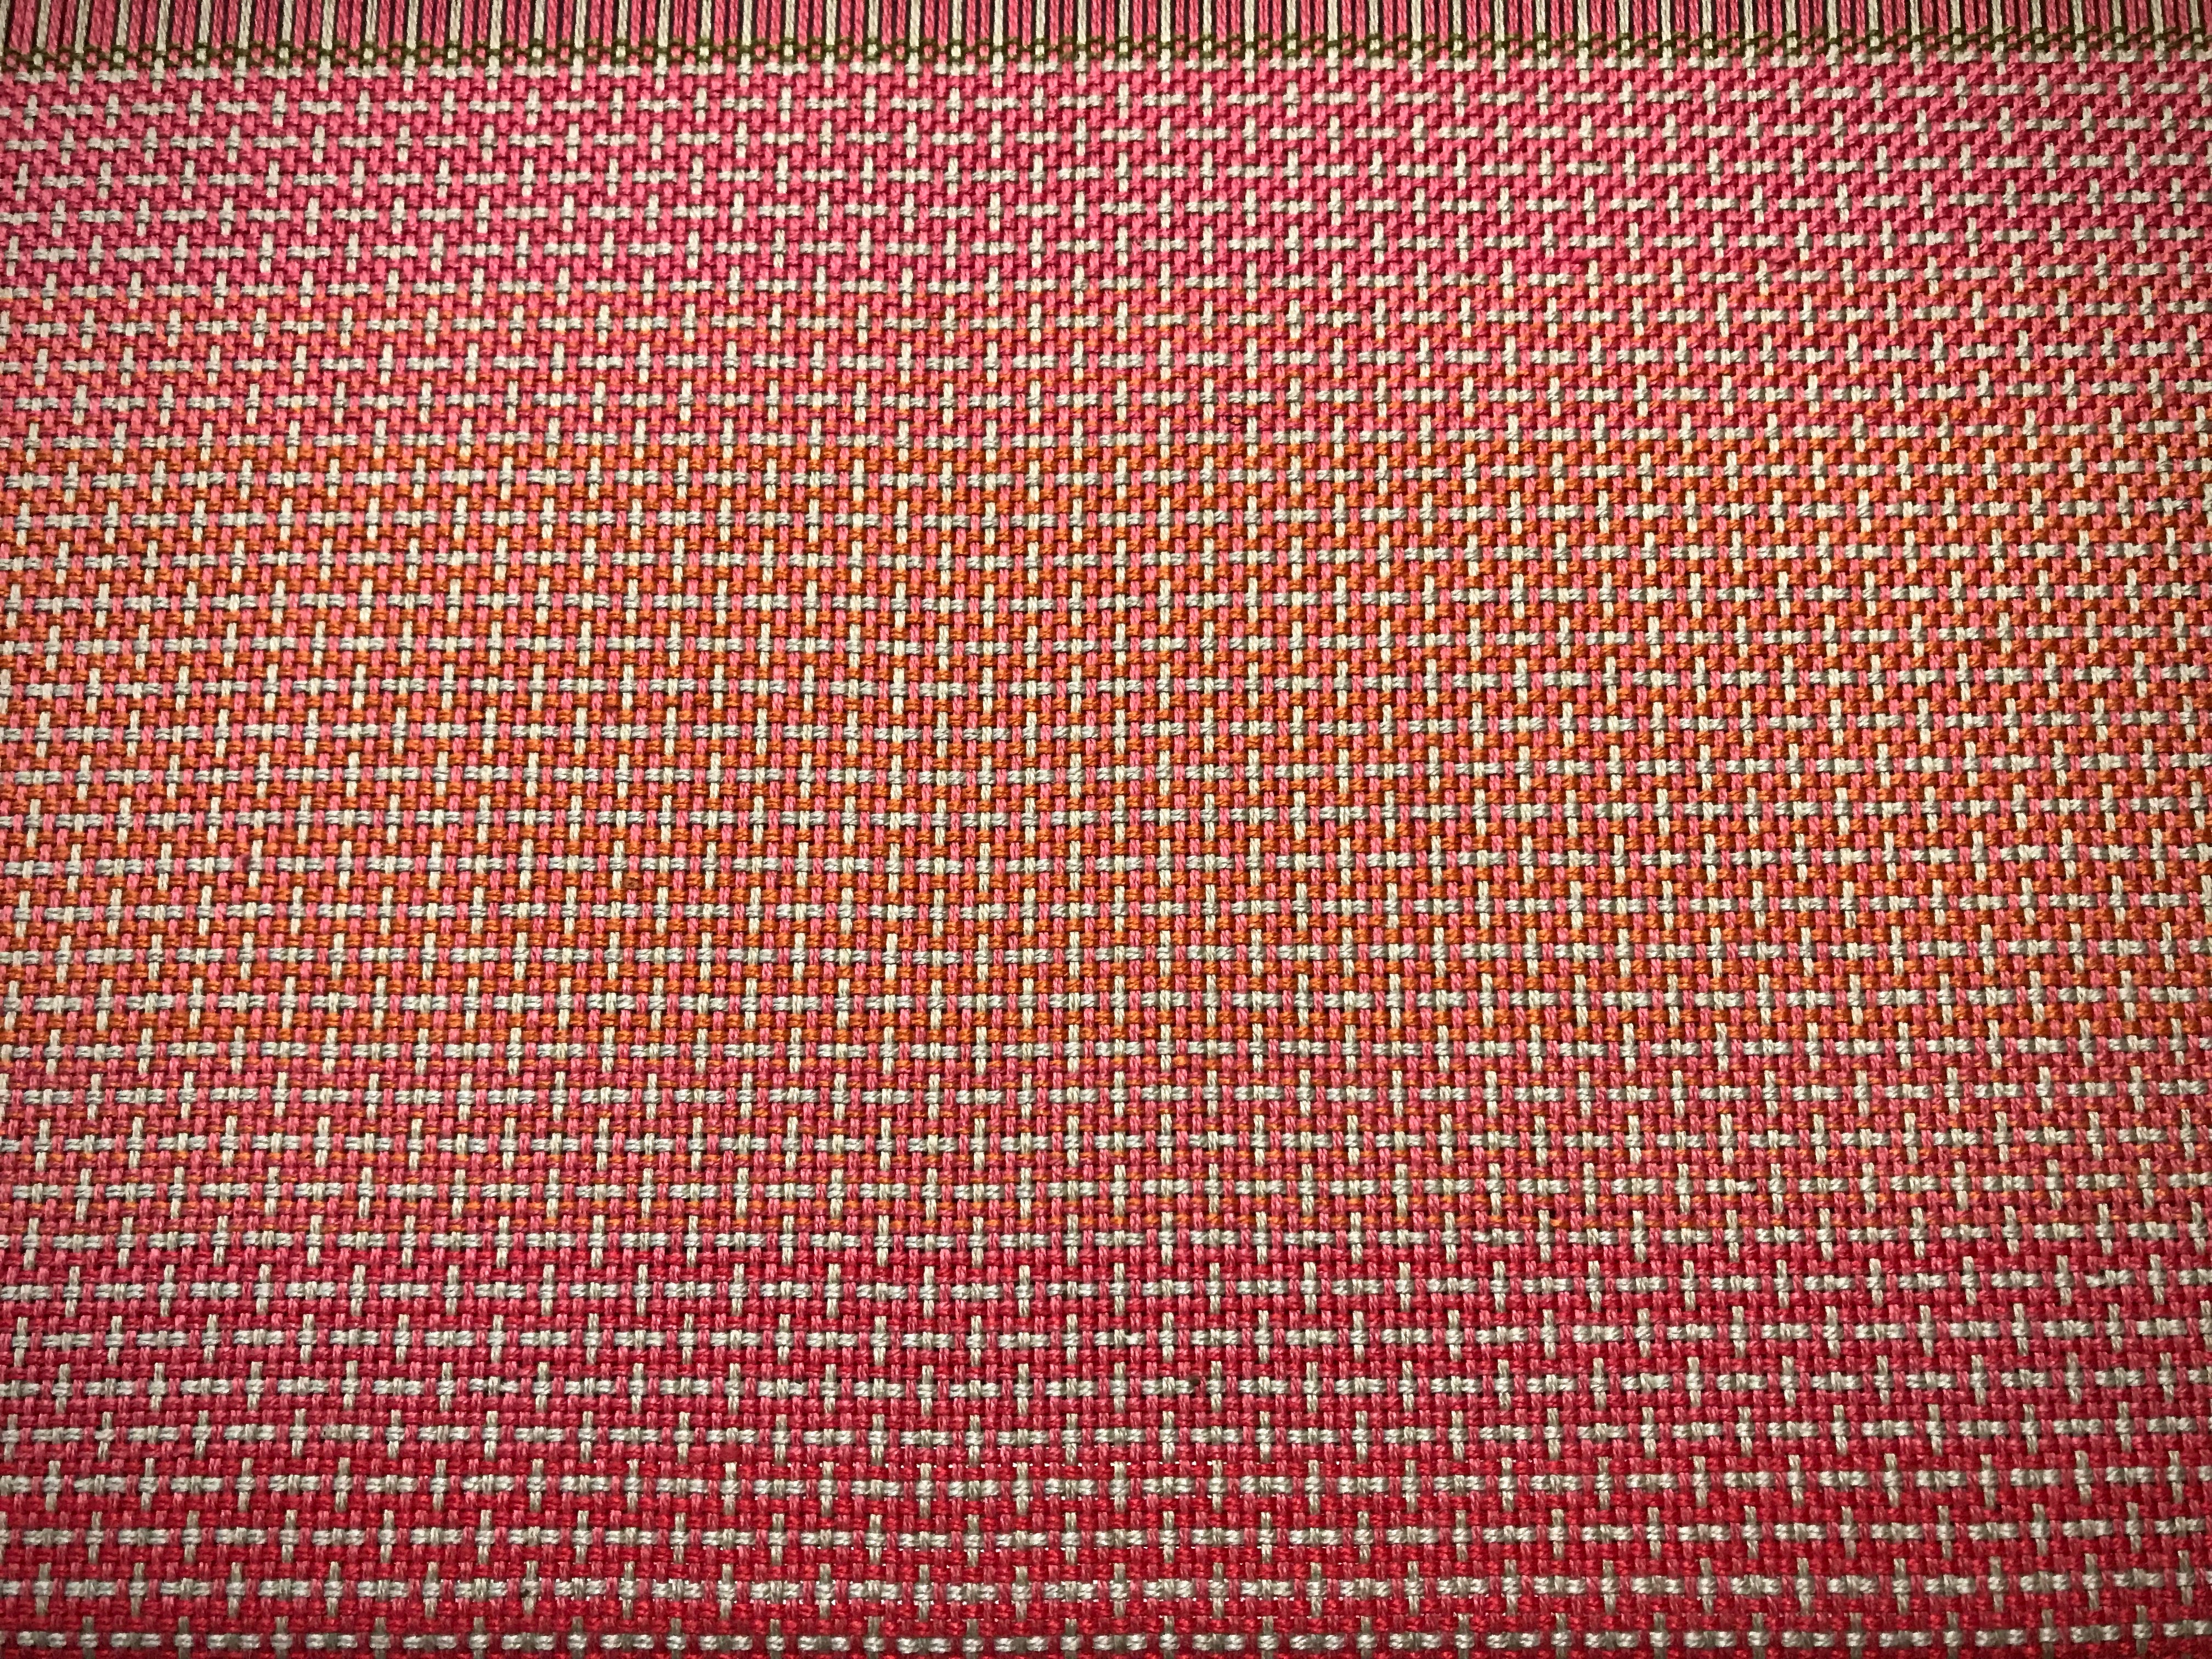
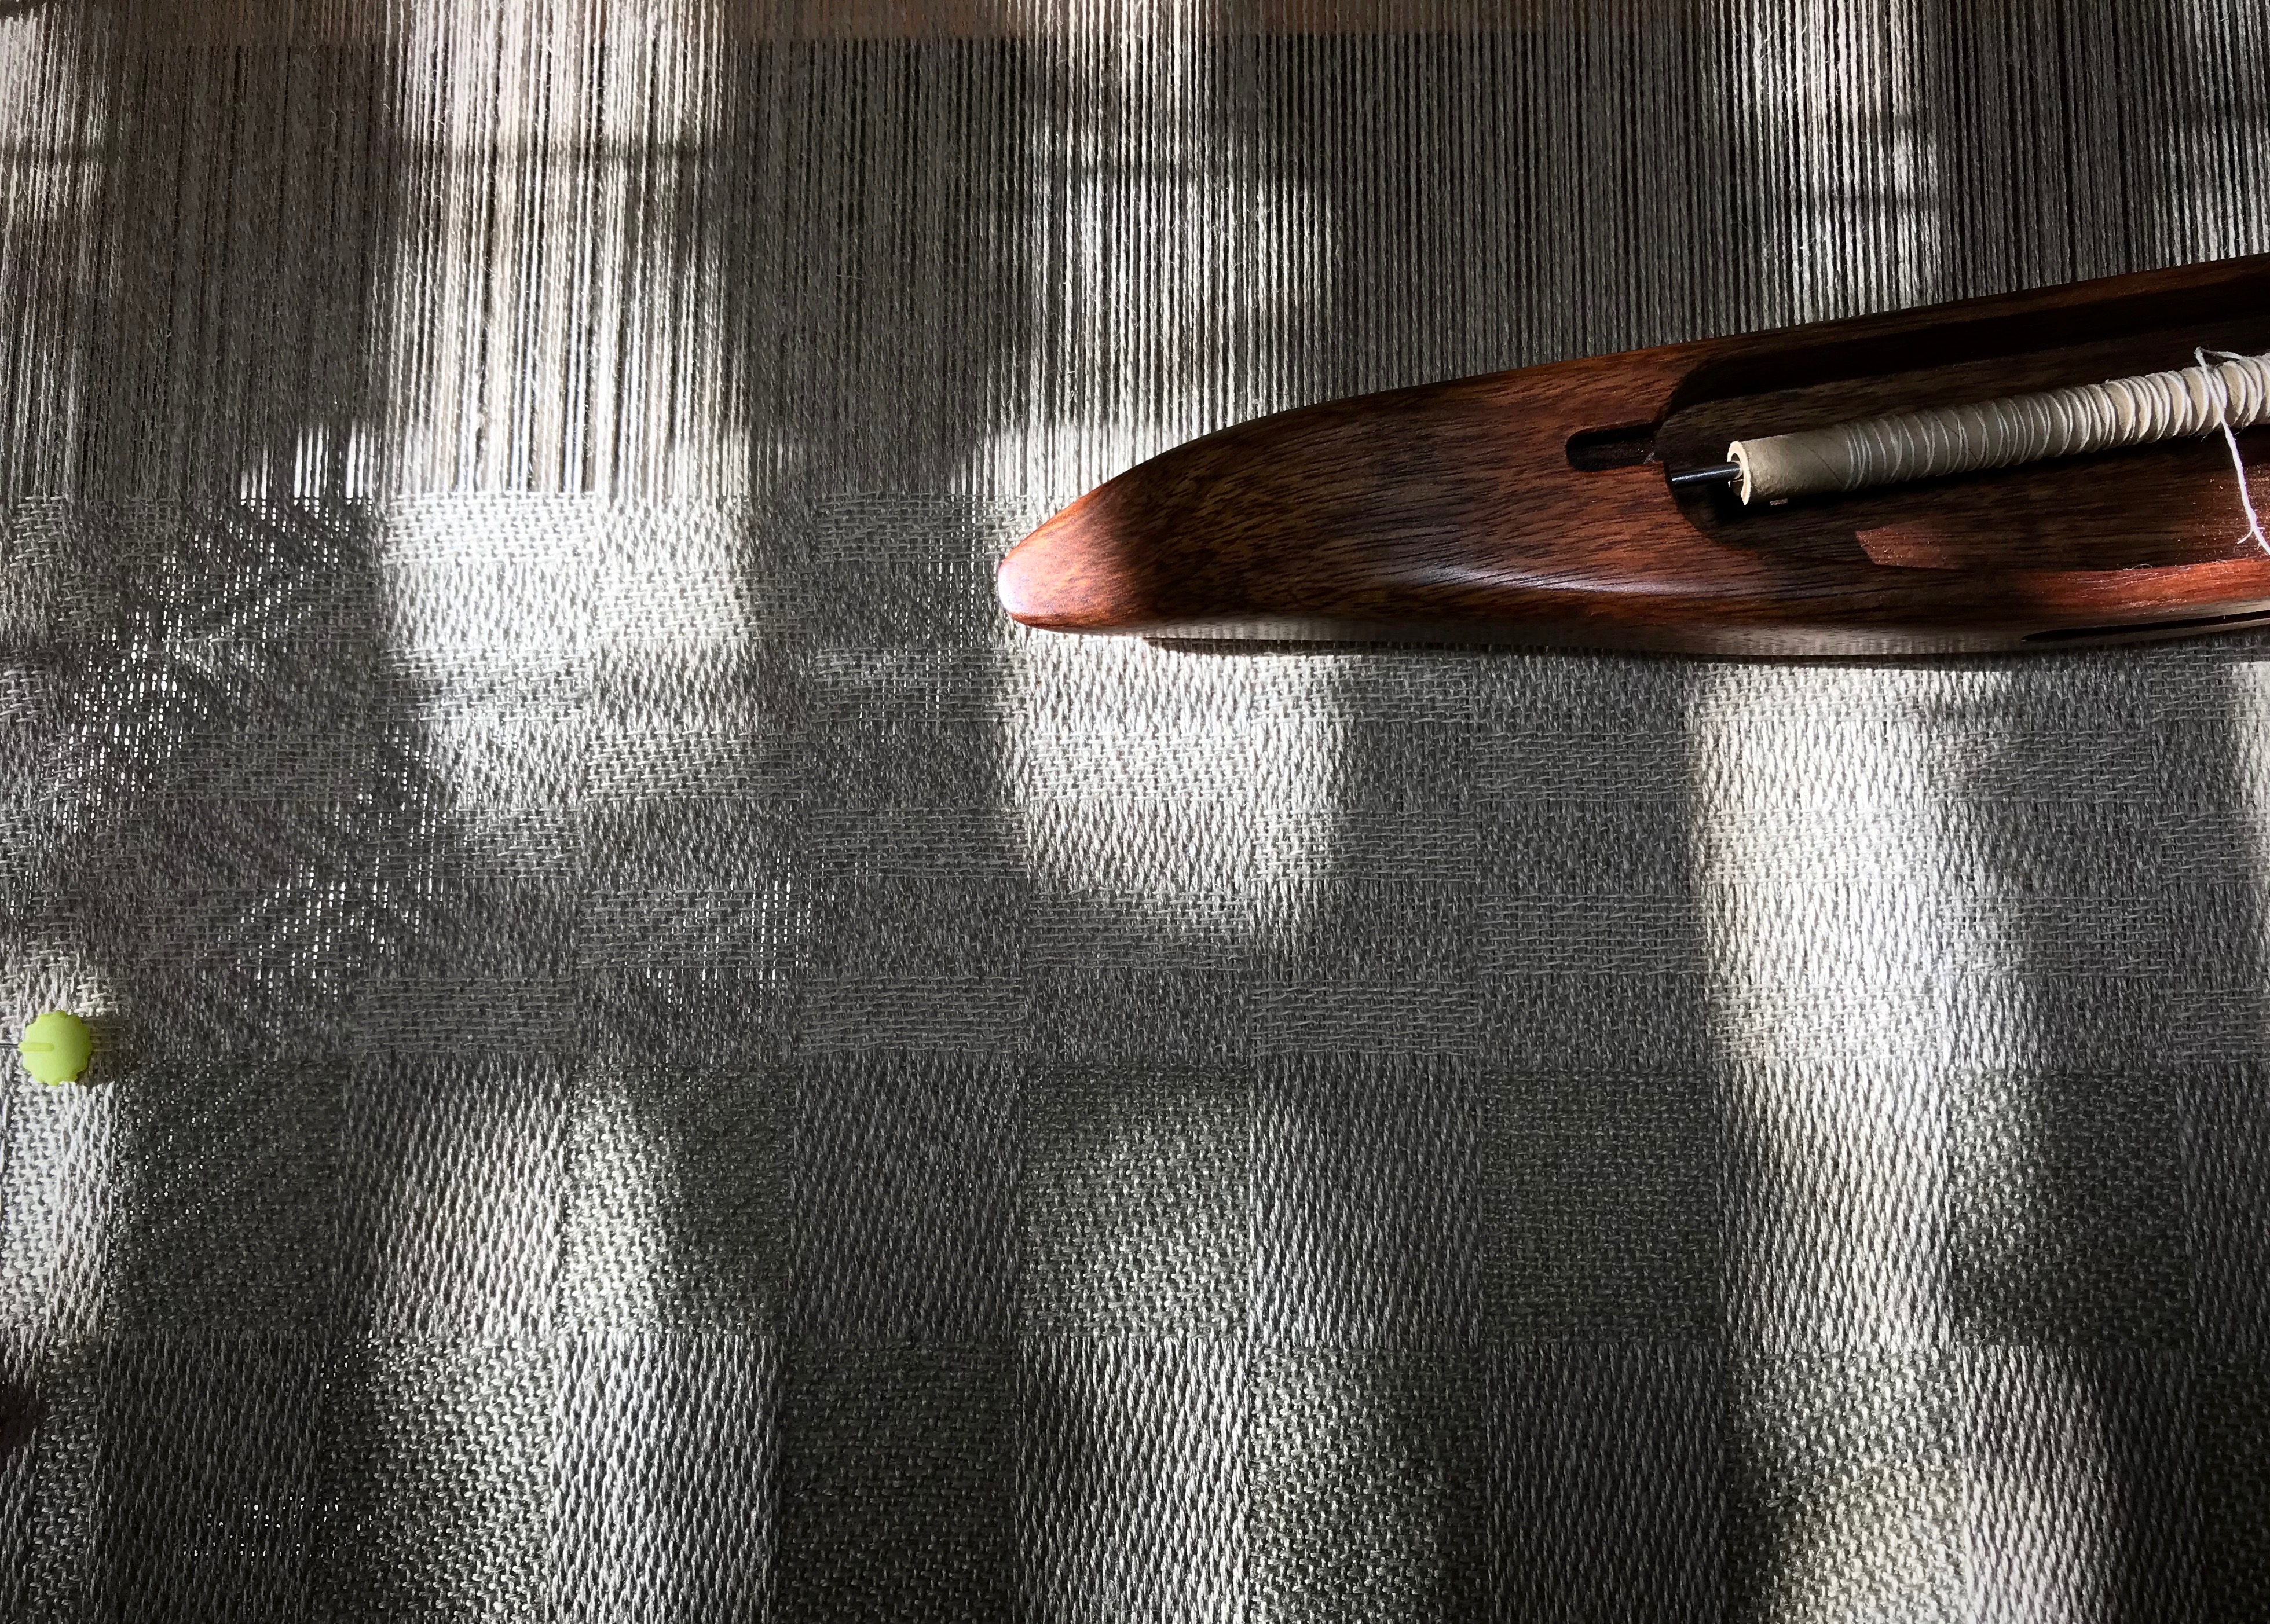
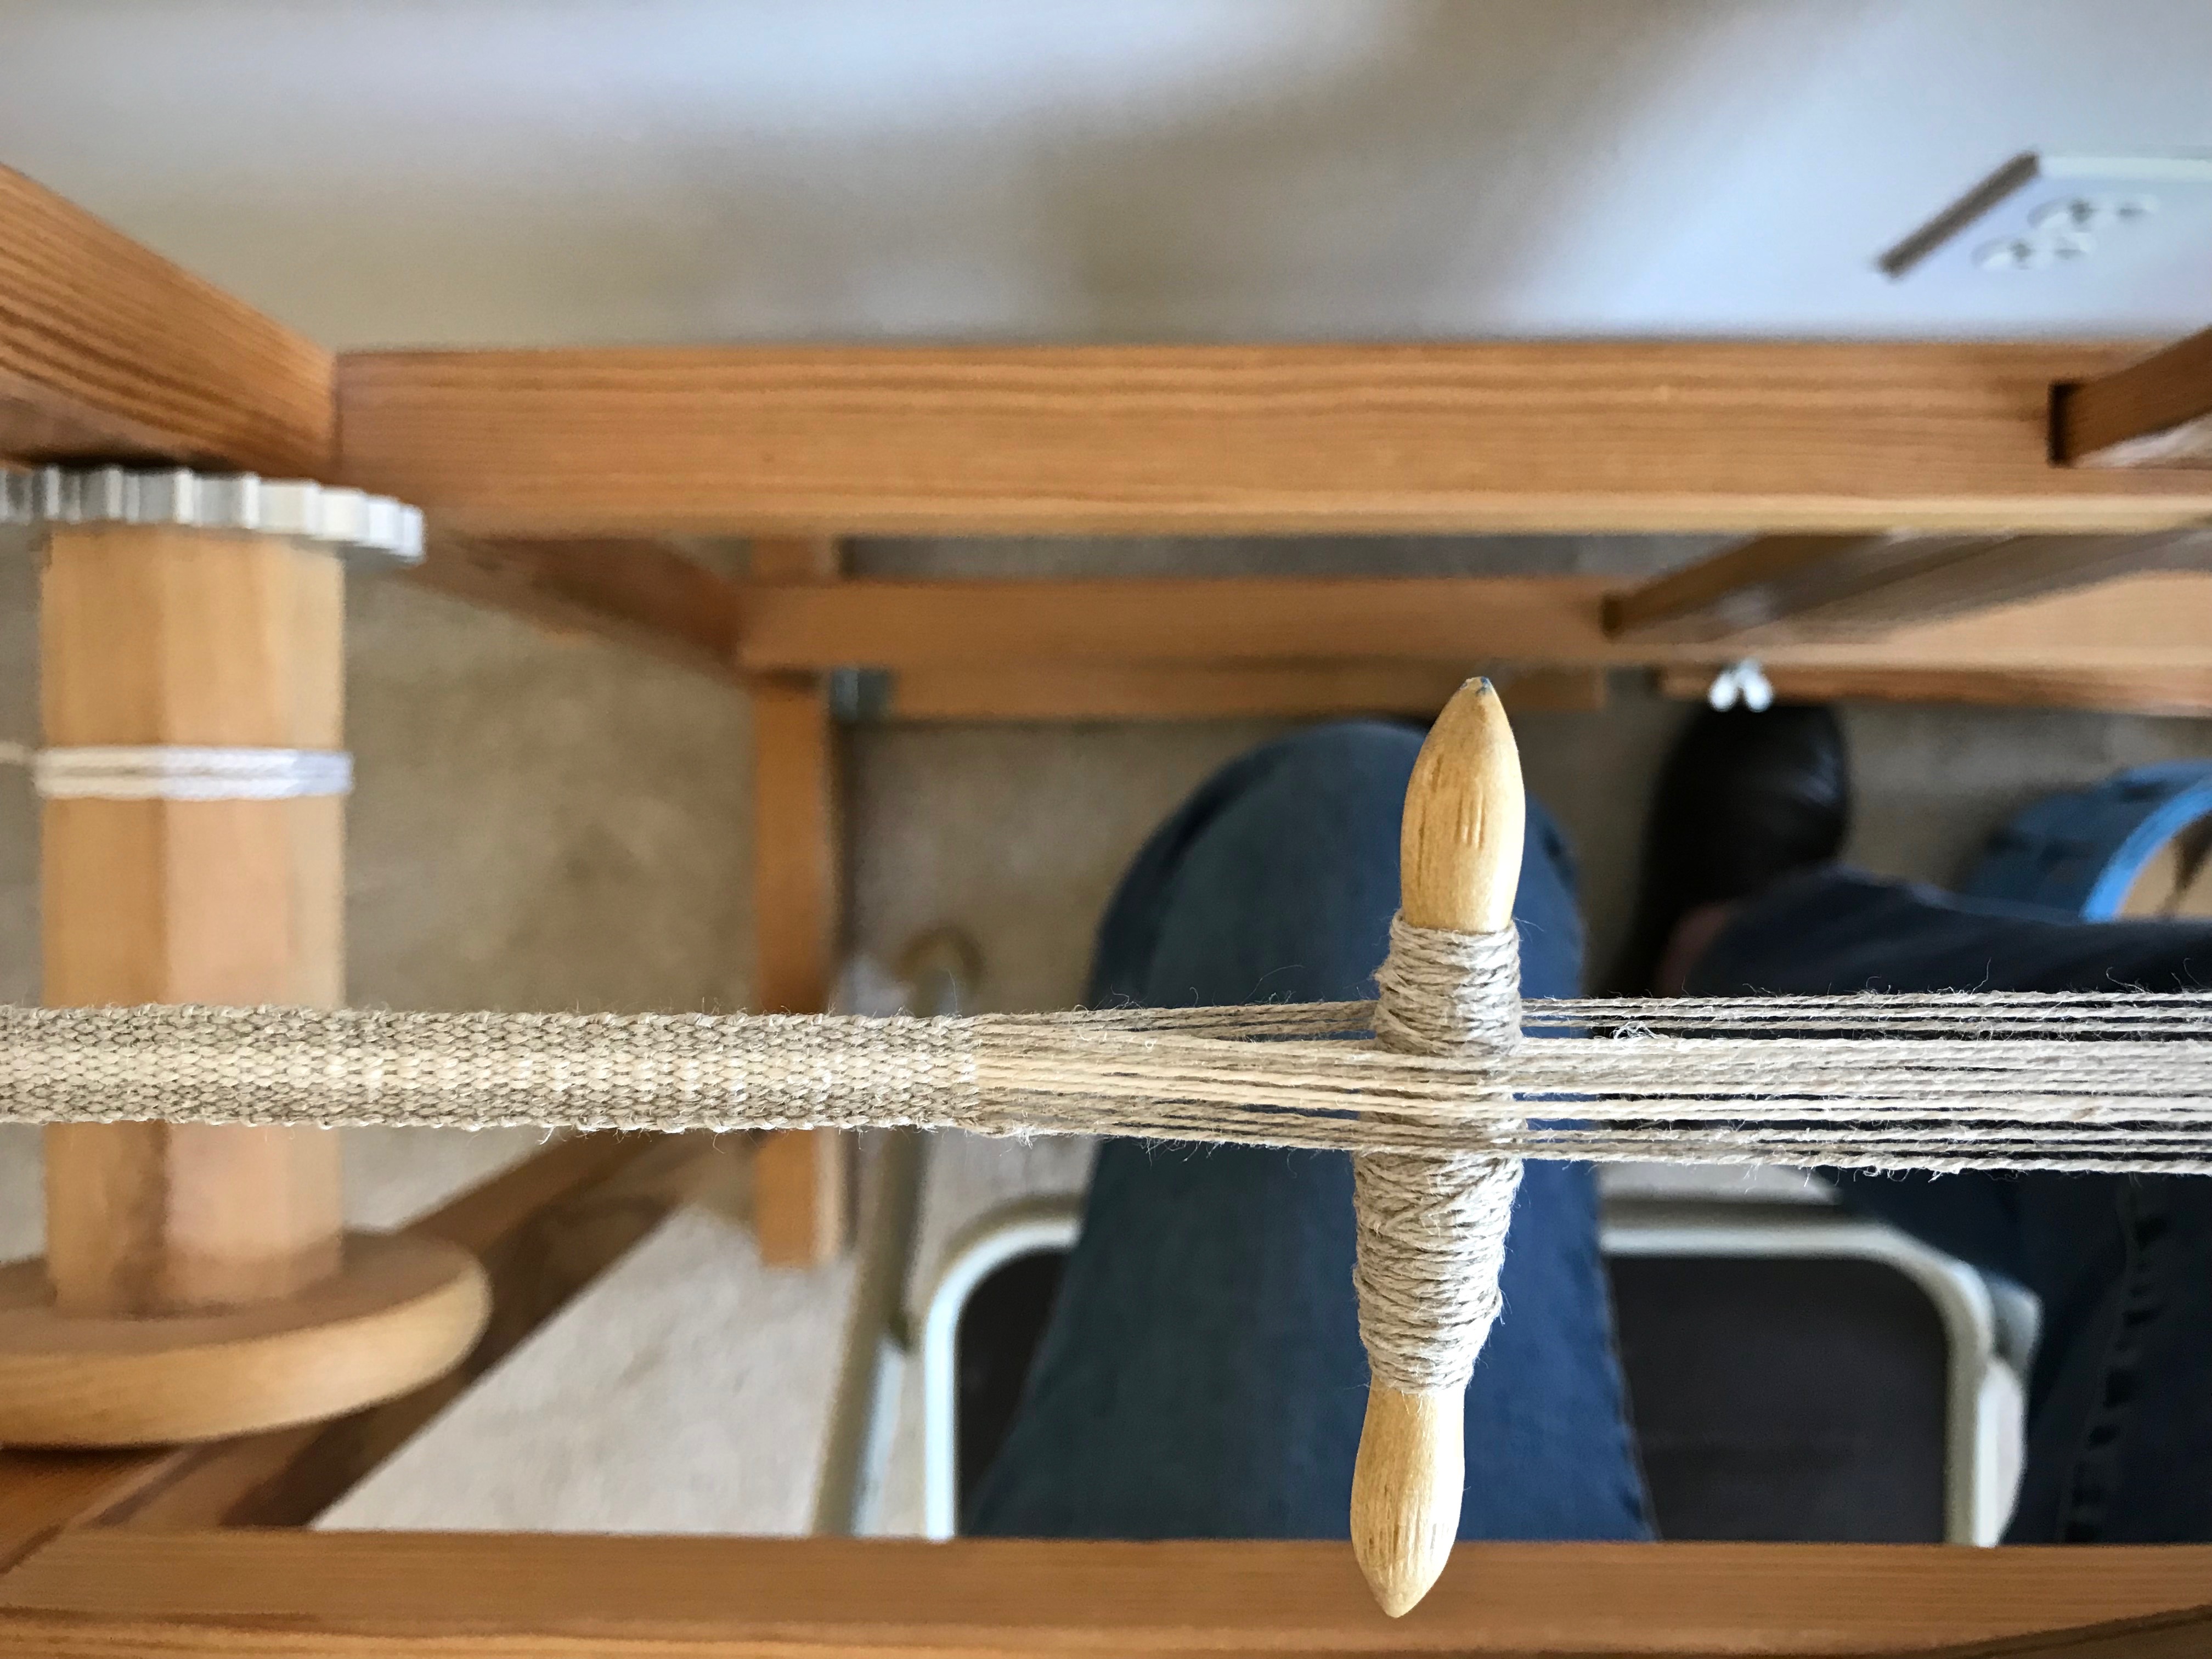
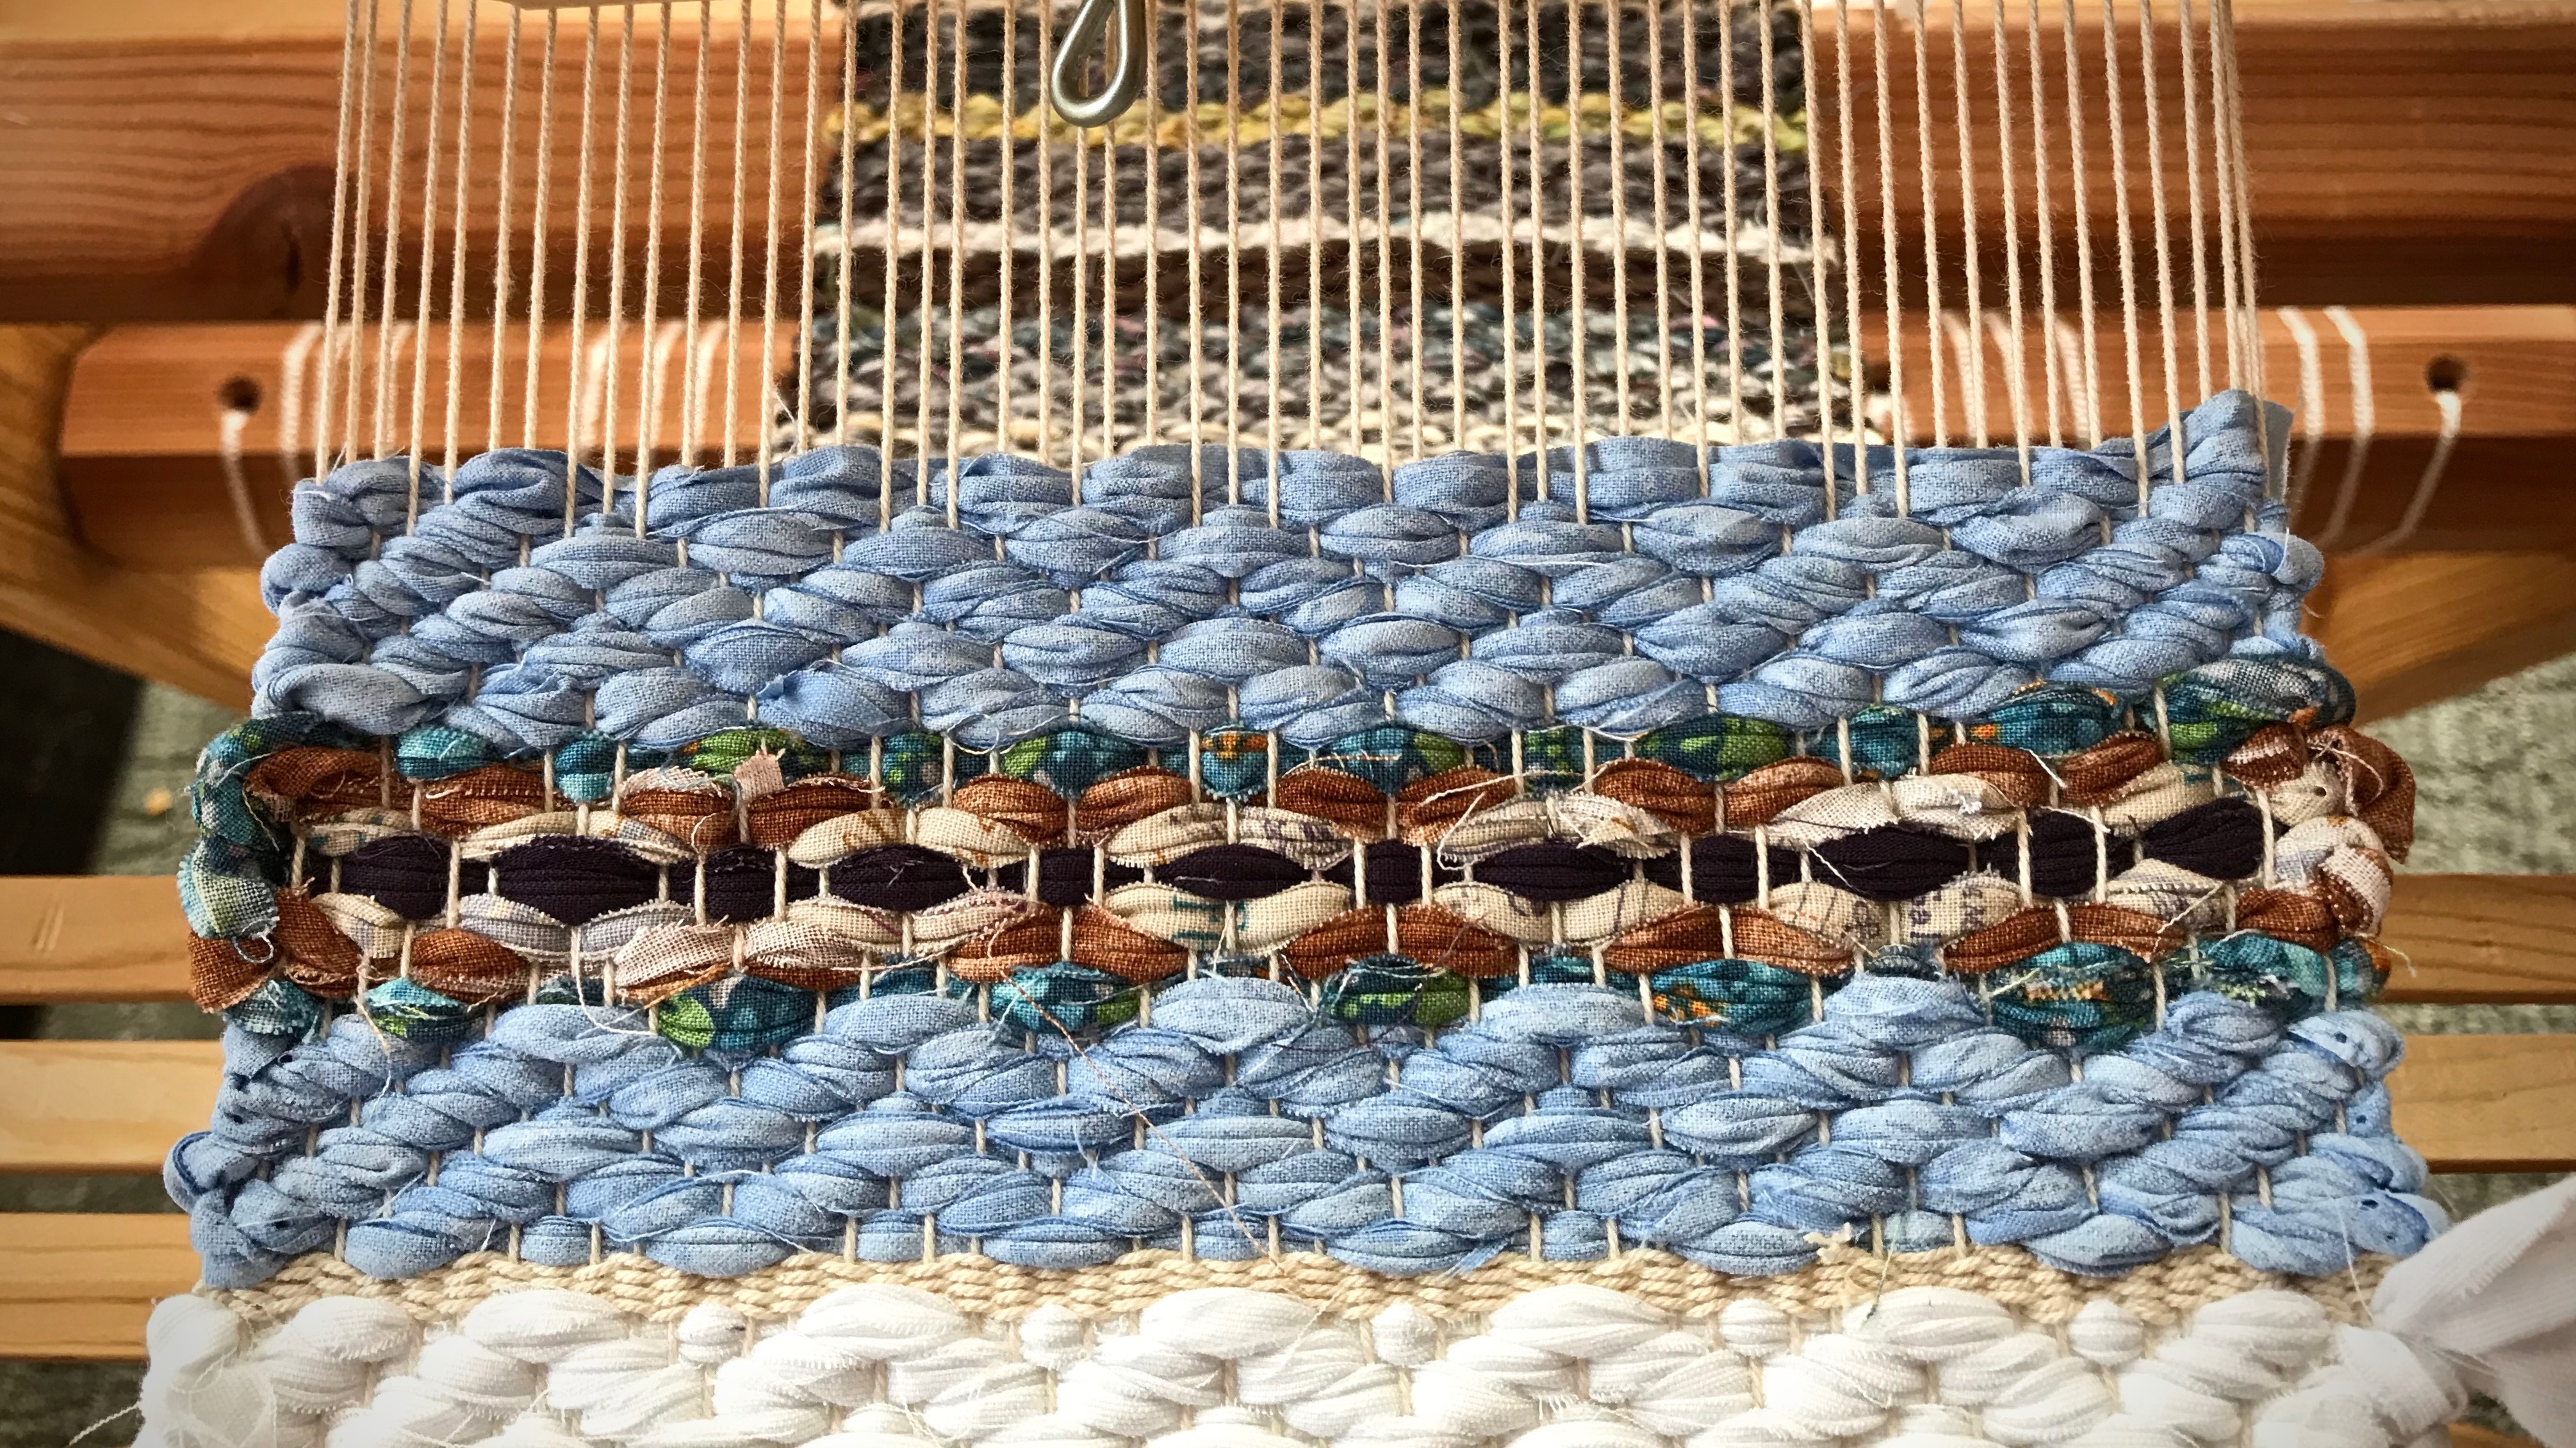
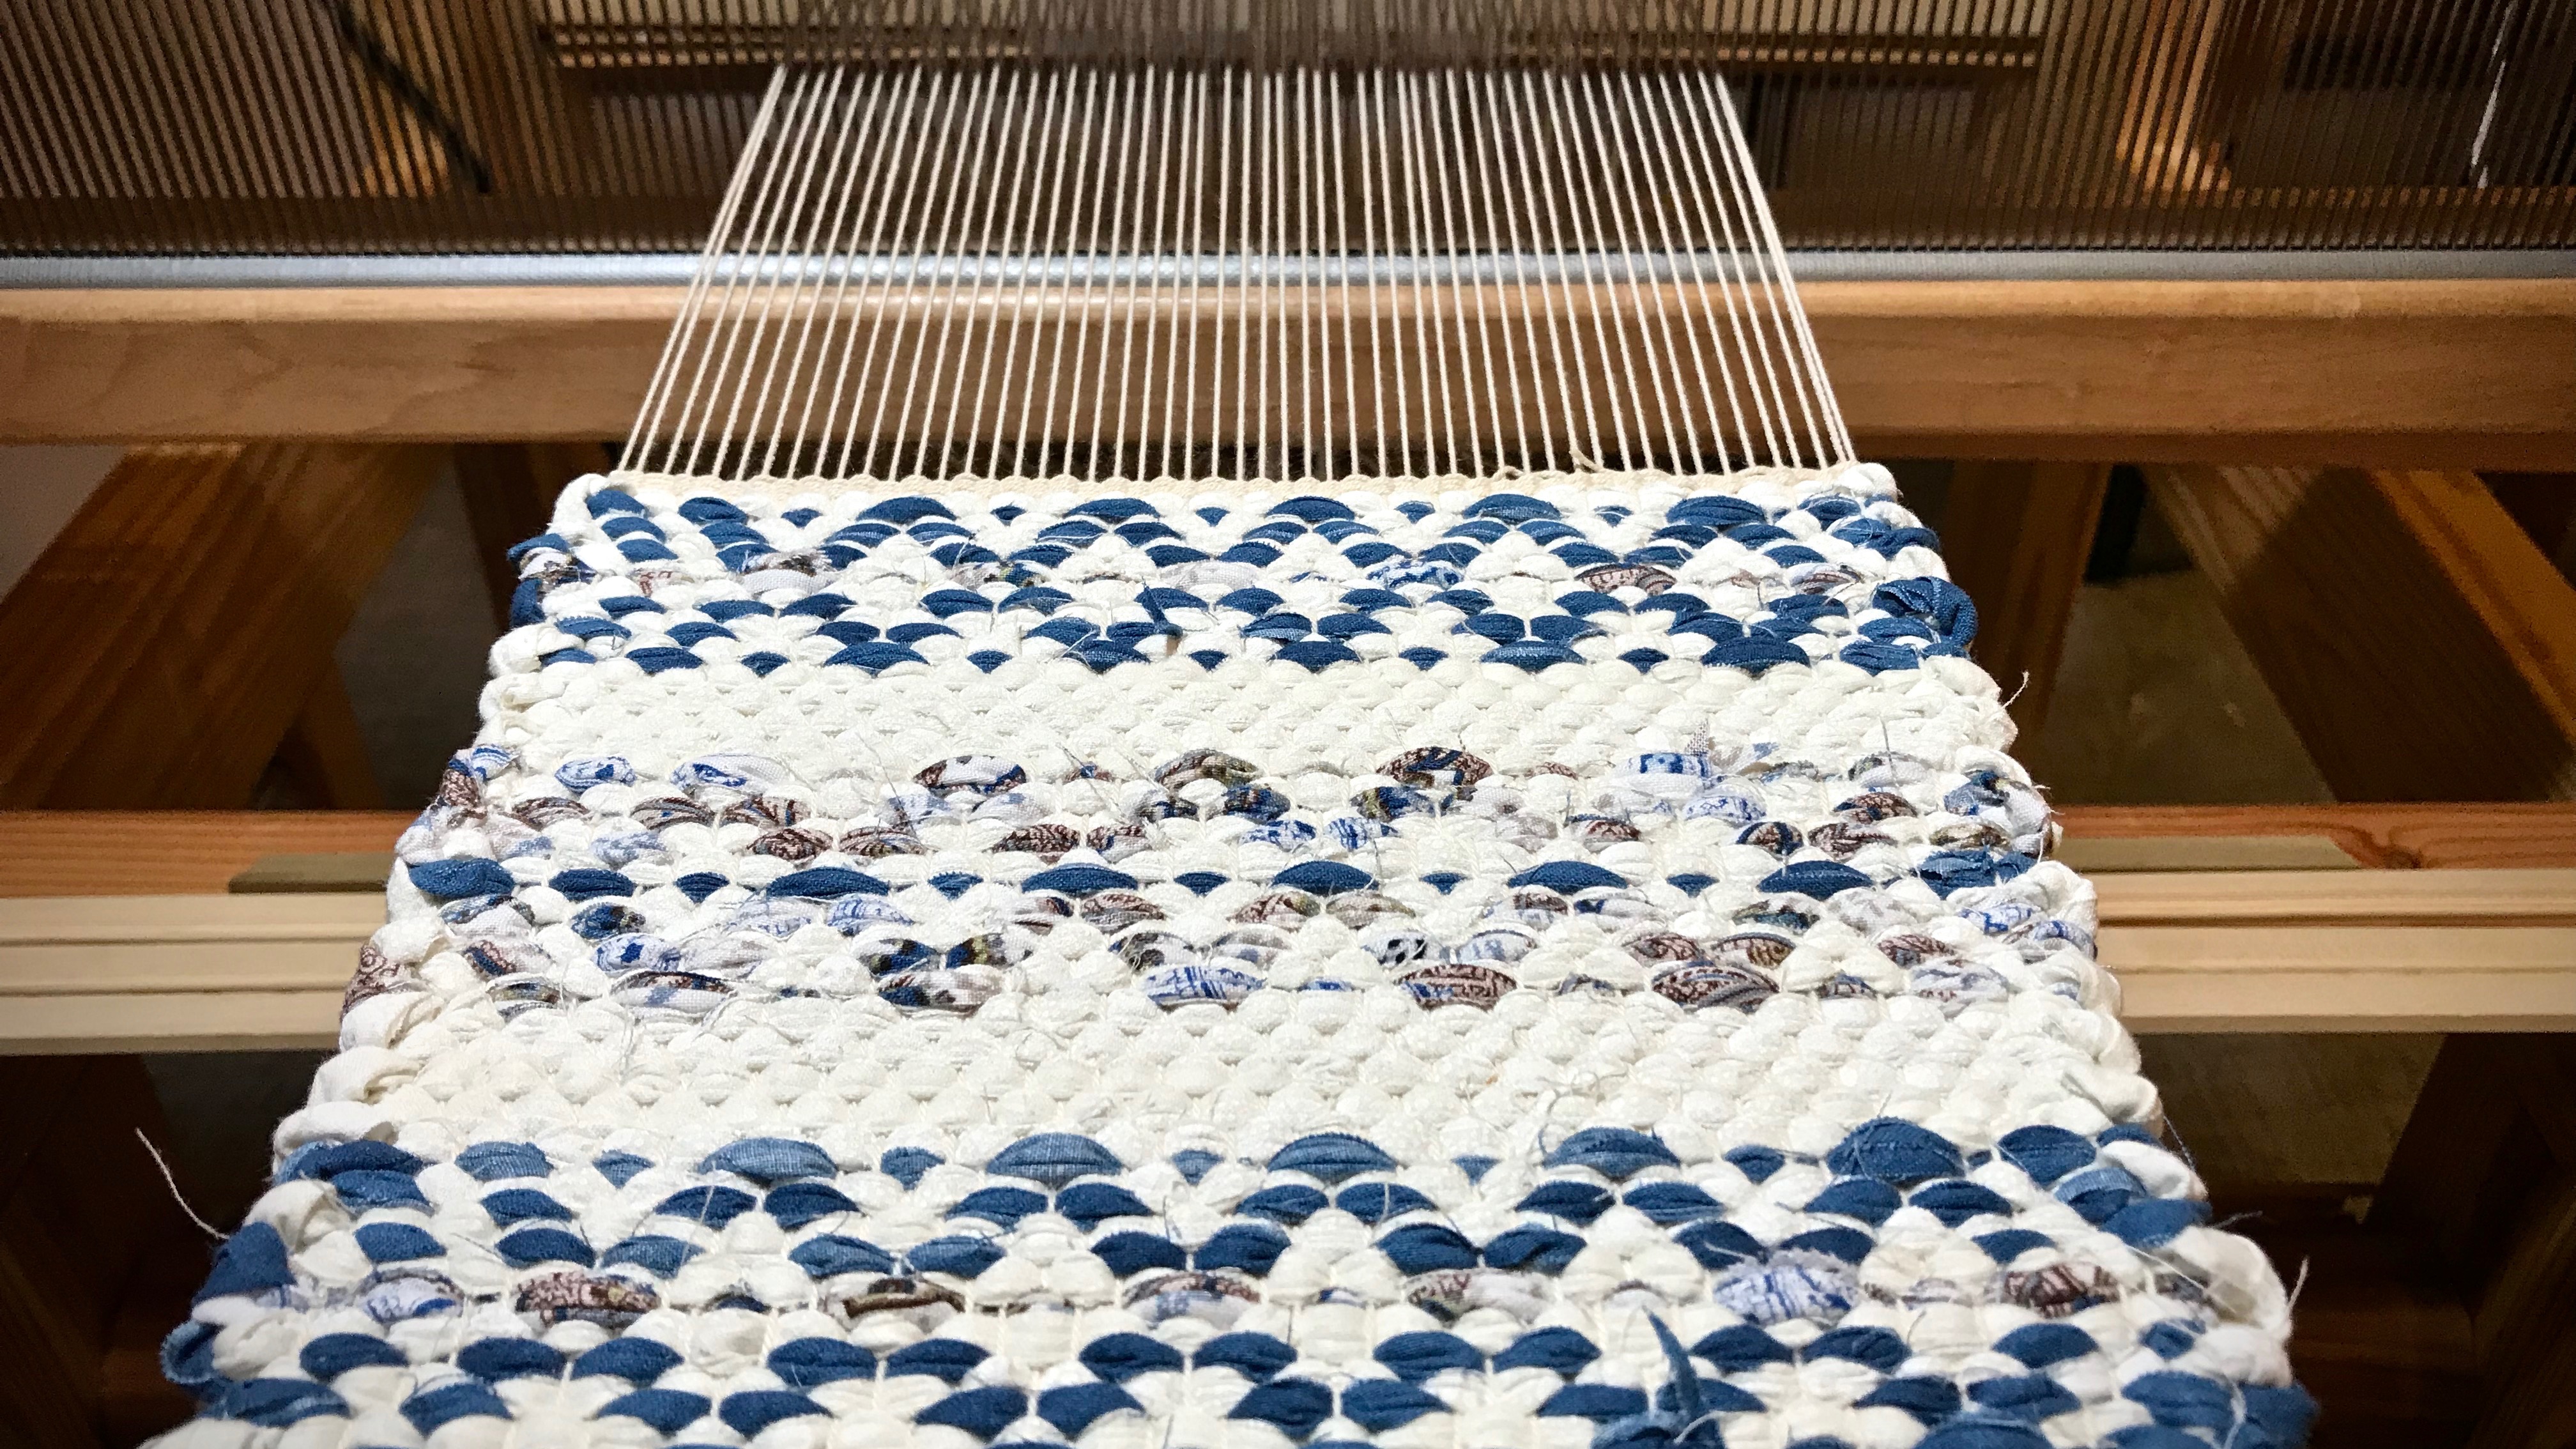
The quills on a double-bobbin shuttle don’t always empty at exactly the same time. The quill that has thread remaining on it goes in a box for later use. Those quills in the box are what I’m using here. For this placemat I’m letting gradient color changes happen in varying increments, according to the amount of thread left on the quill. I have five shades of 8/2 cotton, ranging from coral pink to pumpkin.

Colors for gradient weaving.
Color “sisters” play well together.

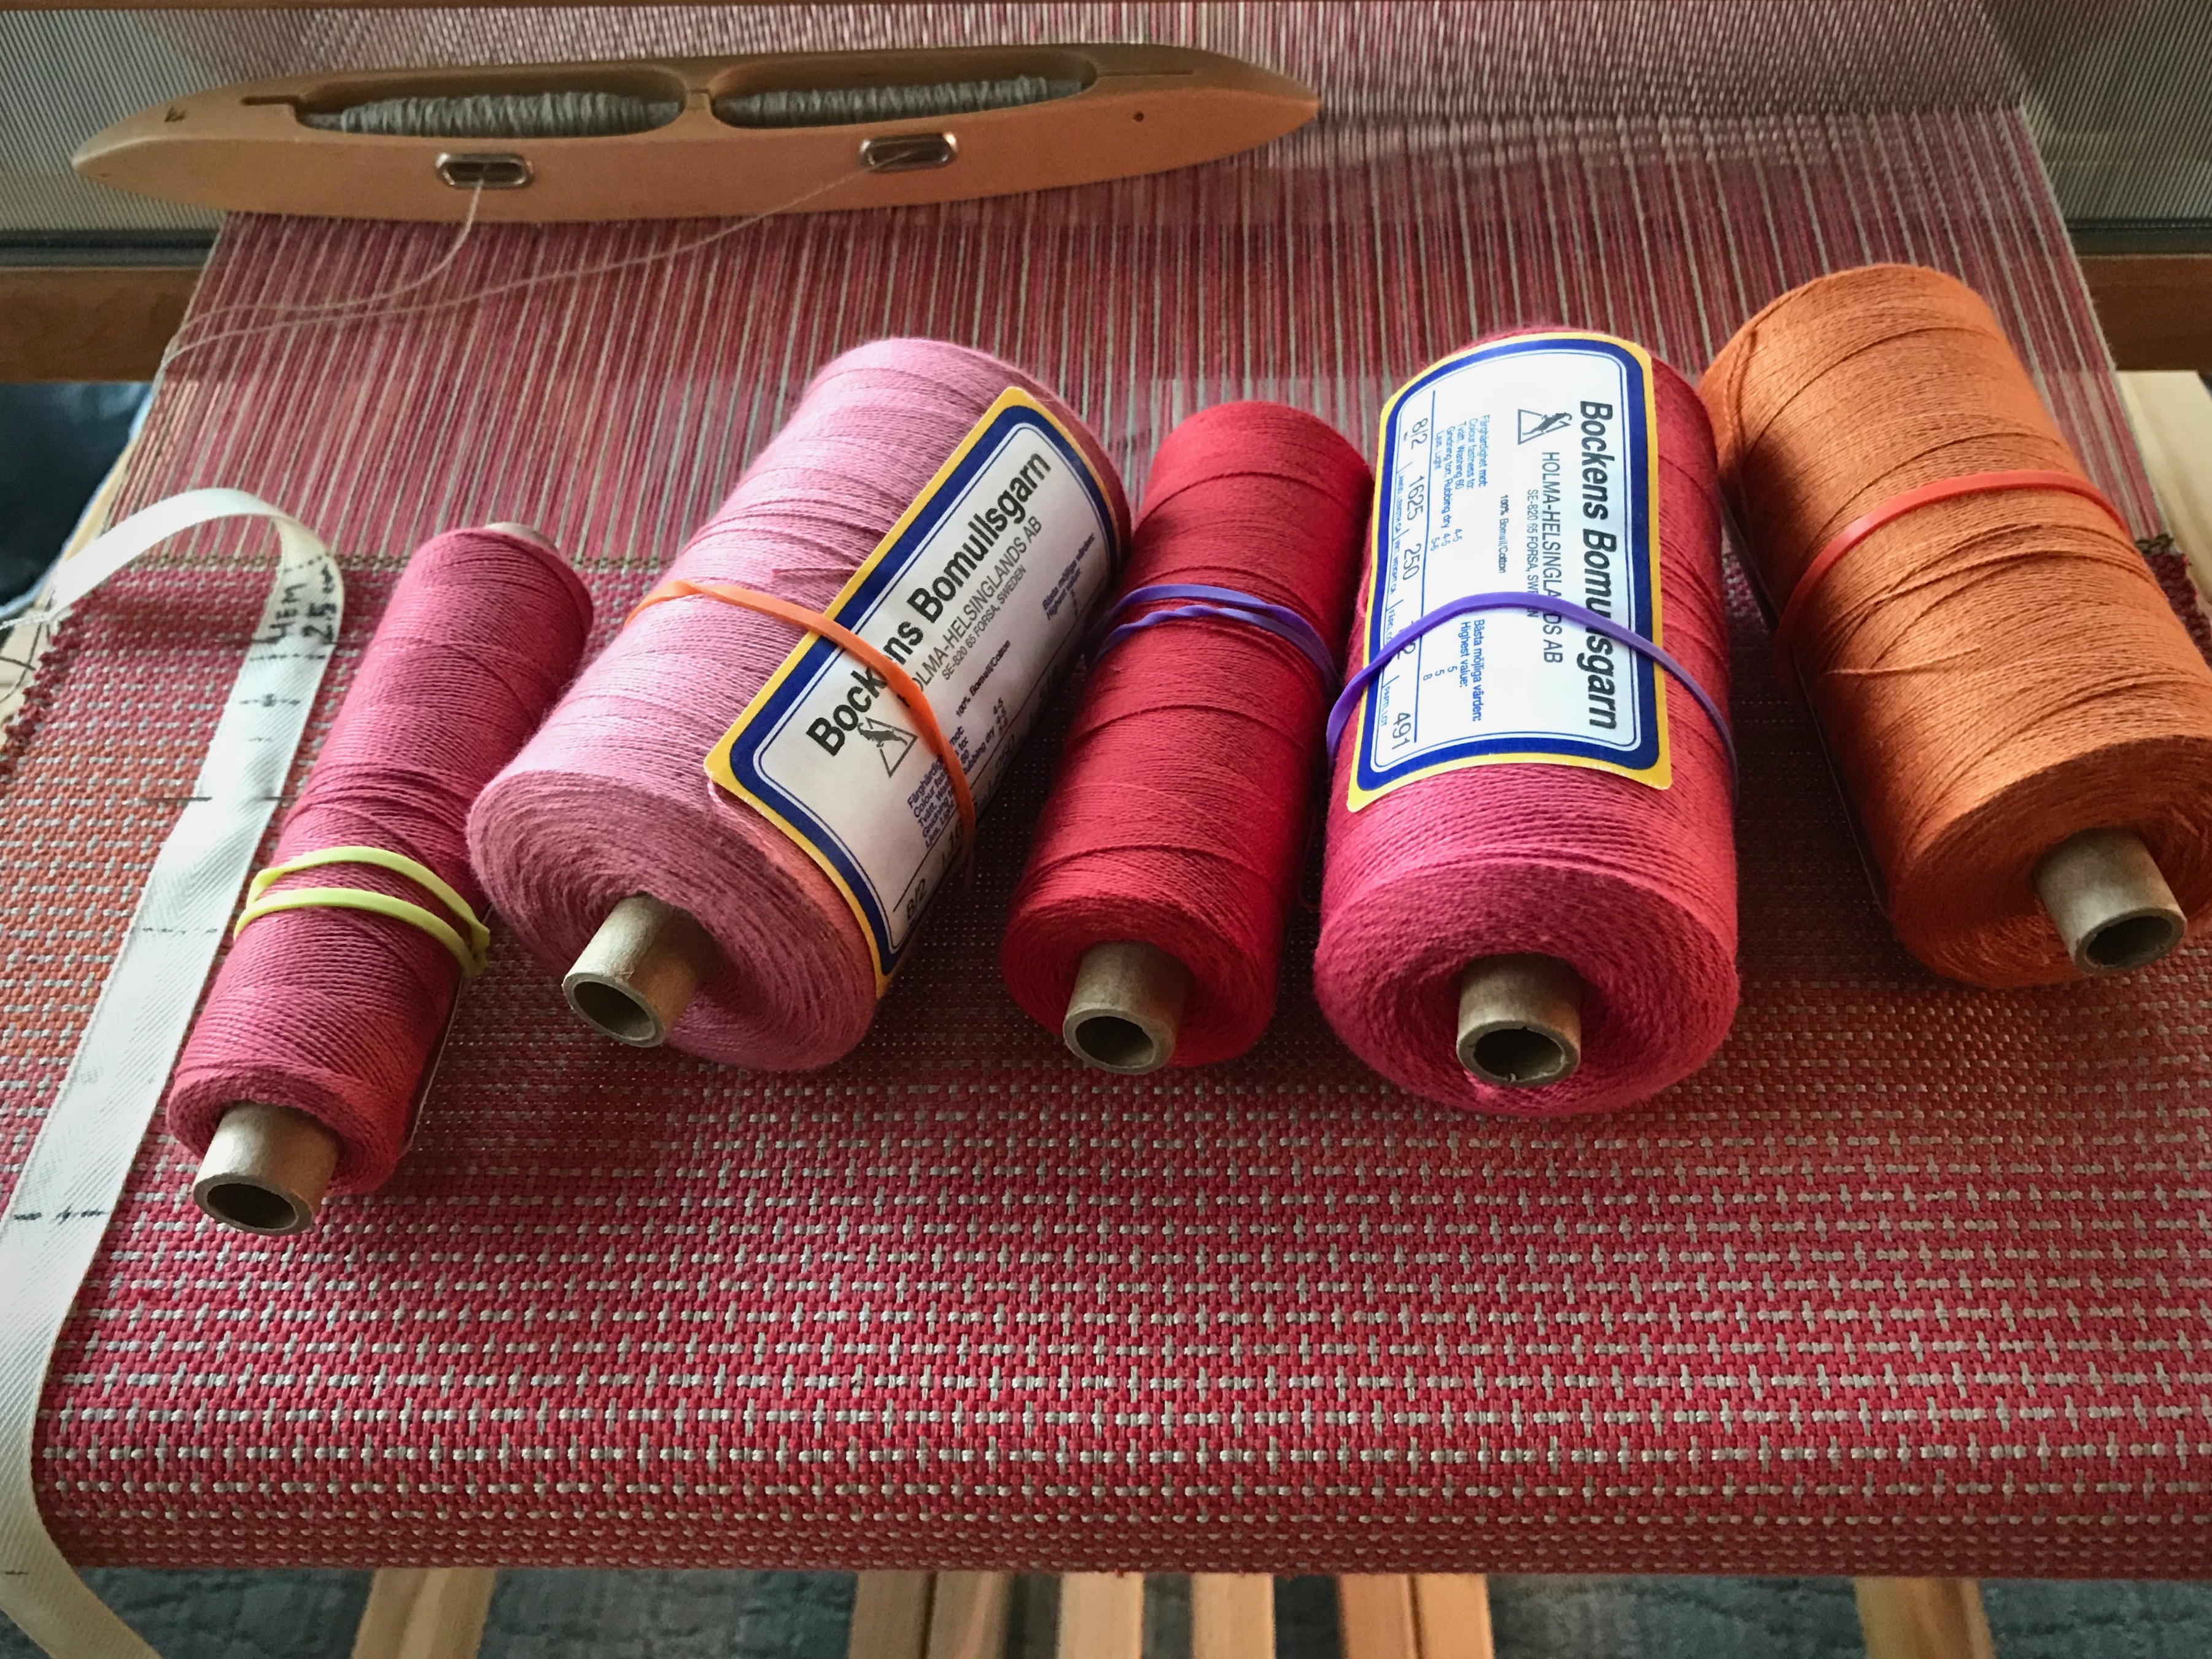
This is the perfect setup for some subtle color gradation: Five closely-related hues, a double-bobbin shuttle, and a supply of leftover quills. For best effect, I arrange the colors in order, from light to dark, or dark to light.

Color Gradation

  • Weave a section with two quills of color A (the lightest color)
  • Weave the next section with one quill of color A and one quill of color B (one shade darker than color A)
  • Weave the next section with two quills of color B
  • Weave the next section with one quill of color B and one quill of color C (one shade darker than color B)

And so on…

What could be simpler?

Color gradation.
Pumpkin color adds a pleasing subtle accent to the corals and reds in the cloth.

May you make something beautiful with the little bits that you have.

Happy weaving,
Karen

Two Kinds of Dressing

Before everyone arrives for our Thanksgiving family gathering, I am making pie crust for the pecan pie, dough for my “famous” cranberry bread, and doing the prep to make Gram’s turkey dressing. Each family is bringing their contributions to the meal (feast). Thanksgiving Day is a flurry of activity with too many cooks in the kitchen—just how we like it! And sitting at the table with the feast before us, we give thanks. Thanks to each other, and to our Creator. We are blessed!

Making perfect pecan pie for Thanksgiving.
Thanksgiving feast prep. It takes two pastry chefs to make the perfect pecan pie.

And before everyone arrives I also manage to sley the reed on the Standard. A different kind of dressing—loom dressing.

Sleying the reed.
Two ends per dent in a 45/10 metric reed.
Sleying the reed.
I sit “inside” the loom on my loom bench to sley the reed.
Next step - tying on!
After the reed is sleyed, I remove the loom bench, lower the shafts, and move the countermarch to the front of the loom. Then, I place the reed in the beater and make sure it is centered. Next step–tying on!
Fresh warp on the back beam. Magical!
Getting dressed. Oh the beauty of a fresh warp going over the back beam! Magical.

A feast for the eyes and hands and heart. Thankful indeed!

May you give thanks,
Karen

Quiet Friday: Linen Satin Dräll

This is one of those weaving projects that puts you on top of the world. Everything about it. Linen, ten shafts, five-shaft satin weave, ten treadles, gorgeous Moberg damask shuttle, single-shuttle rhythm, full-body weaving, magical fabric. I did have more than my share of knots in the warp, and a few skipped threads and selvedge loops. But you will see no evidence of those glitches now. All you will see is the natural beauty of linen, with its characteristic unevenness. And the reflective satin dräll weave, with its light-catching trickery.

The warp is Bockens unbleached 16/2 line linen. Two of the towels use 16/1 golden bleached linen for the weft. At my husband’s request, the remaining three towels have 16/2 linen weft, in ecru. The thicker weft helps make these into robust absorbent handtowels. A table square finishes off the set.

Enjoy the process with me as I reminisce over the start-to-finish pleasure of weaving these towels.

Winding a linen warp.

Linen warp chains.

Tying on the linen warp.

Tying up 10 treadles on a countermarch!

Sampling weft colors on a linen warp.

Sunlit linen damask weaving.

Hidden patterns in the 5-shaft satin.

Linen 5-shaft satin dräll!

Beautiful Moberg damask shuttle.

Spliced warp ends.

Linen satin dräll on the loom.

End of the warp is near. So many warp end repairs!

Cutting off! Linen 5-shaft satin dräll.

Just off the loom--linen 5-shaft satin.

Glimakra band loom. Hanging tabs for towels.

Ready to sew handwoven hanging tabs on new linen towels.

Just off the loom--linen 5-shaft satin handtowels.

Handwoven linen towel with handwoven hanging tab.

Handwoven set of linen satin dräll towels. Karen Isenhower

May you find pleasure in what you do.

Happy Weaving,
Karen

Rag Rug Playground

This is a rag rug playground! I am weaving miniature rugs—rosepath rag rug hot pads. My small countermarch loom is perfect for this exploration. Without tabby or with tabby? Planned weft or hit and miss? Vibrant colors or soft neutrals? Weft inlay or plain and simple? So many possibilities! My “idea bank” is exploding.

Mini rag rugs for hot pads.
Reverse treadling adds a diamond design element at both ends of this mini rug.
Handwoven hot pads. Mini rosepath rag rugs.
Color choices are inspired by views outside this Texas hill country window.

My goal is to weave as many different versions as possible. No two alike! Sure, they all have the same 12/9 cotton warp and all-cotton-fabric-strips weft, but with all sorts of variations. Most will be gifts. Handwoven hot pads, making it to the kitchens of friends, to serve them well.

Rosepath detail in mini rag rugs. Making hot pads.
Rosepath detail.
Rosepath rag rug hot pads on the loom.
White fabric strips are used as tabby weft to highlight the blue rosepath pattern.
Rosepath inlay with mini rag rugs--hot pads.
Deep purple fabric strip is used for weft rosepath inlay over a plain weave background. Woven hot pads wind their way around the cloth beam, separated by scrap weft and warping slats.

There is no one like you, with your hopes, dreams, and pains. You touch others like no one else can. Your life makes a difference. Your life matters because it matters to God. Your Creator had good things in mind when he formed you. Lord, place us where we will best show your handiwork, where we can humbly serve those you’ve given us to love.

May you live on purpose.

Your friend,
Karen

Treadle Adjustments on a Countermarch Loom

The countermarch loom is known for having a clean shed, so that is my goal. Is that possible for ten shafts and ten treadles? The first treadle I step on reveals that treadle cord adjustments are definitely needed!

How to evaluate the shed and adjust on countermarch looms.
Before making any adjustments, a few of the sheds look impassable, like this one.

I learned the basics of making adjustments to treadle cords from Learning to Warp Your Loom, by Joanne Hall, and The Big Book of Weaving, by Laila Lundell. I also gained valuable experience from Vävstuga Basics, with Becky Ashenden.

Here’s how the process looks for me, with this ten-shaft, ten-treadle project as an example.

I keep the following note on my iPhone. It helps me remember how things work.
I fill in the blanks for each treadle, noting which shafts are too high or too low. Then, using my iPhone note for reference, I make the needed adjustments.

Note on iPhone for making countermarch treadle adjustments.

  • The first time through, I am primarily interested in the bottom of the shed. I make adjustments to clear the shed enough to be able to weave a little bit.
  • Weave an inch or two. It is surprising how the shed cleans up with a little bit of weaving.
Adjusting treadles on countermarch loom.
Bottom of the shed has threads on one or two shafts that need to be lowered. After making those adjustments, this treadle will have a clean shed for weaving.
  • After weaving that first inch or so, I go through a second, and a third time, if needed, to get a clean shed on each treadle. Adjustments for the top of the shed are only needed if there are threads that will interfere with the shuttle.
Clean shed of a countermarch loom. Tutorial.
No hindrance for the shuttle here. This is the kind of shed I hope to see on every treadle.

When I first see a messy shed, I think, “How will I ever get my shuttle through that?” But it turns out to be little adjustments here and there. It’s not too difficult if you understand the loom.

Five-shaft satin dräll in linen. How to adjust countermarch treadles.
After all treadle adjustments have been made, the shuttle glides freely through the shed. And pick by pick, linen threads become cloth.

Nothing is too difficult for the one who made heaven and earth. Our Creator knows how to help us. He hears our prayers for help, and little by little, we see what He is doing as the shed clears and the shuttle glides through, unhindered.

May little adjustments clear the way for you.

With you,
Karen