Tried and True: Five Reasons Sampling Makes Sense

Why sample? It means using more warp and weft. And it means waiting longer to start to the “real” project. What do I gain from it, anyway? Is it a waste of resources and time?

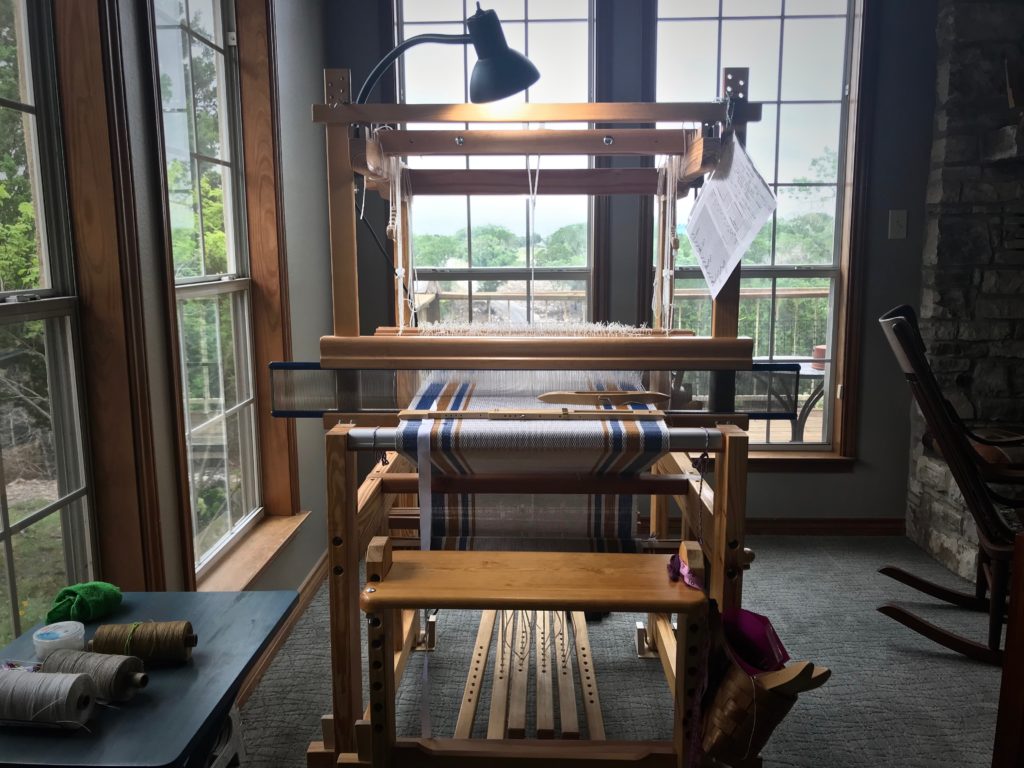
I can’t imagine putting on a warp that didn’t have room up front for sampling. There’s more than one reason to put on sufficient warp to weave a sample. It makes perfect sense, especially if there is anything new or unfamiliar about your planned project.

Five Reasons to Add Extra Warp for Sampling

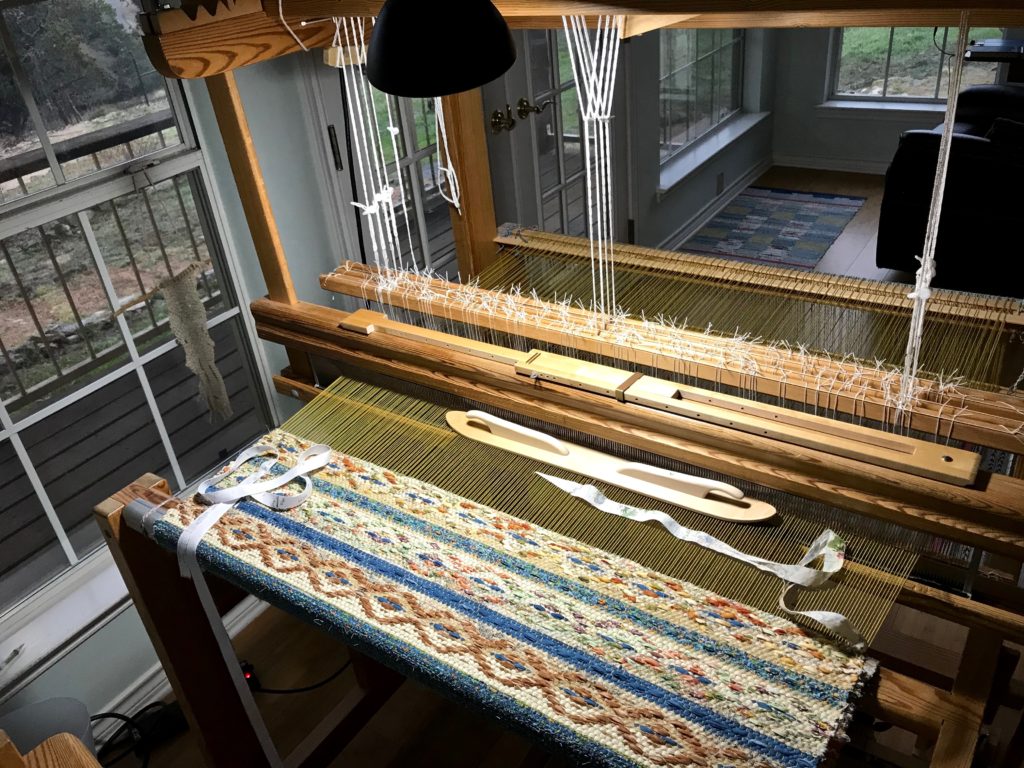
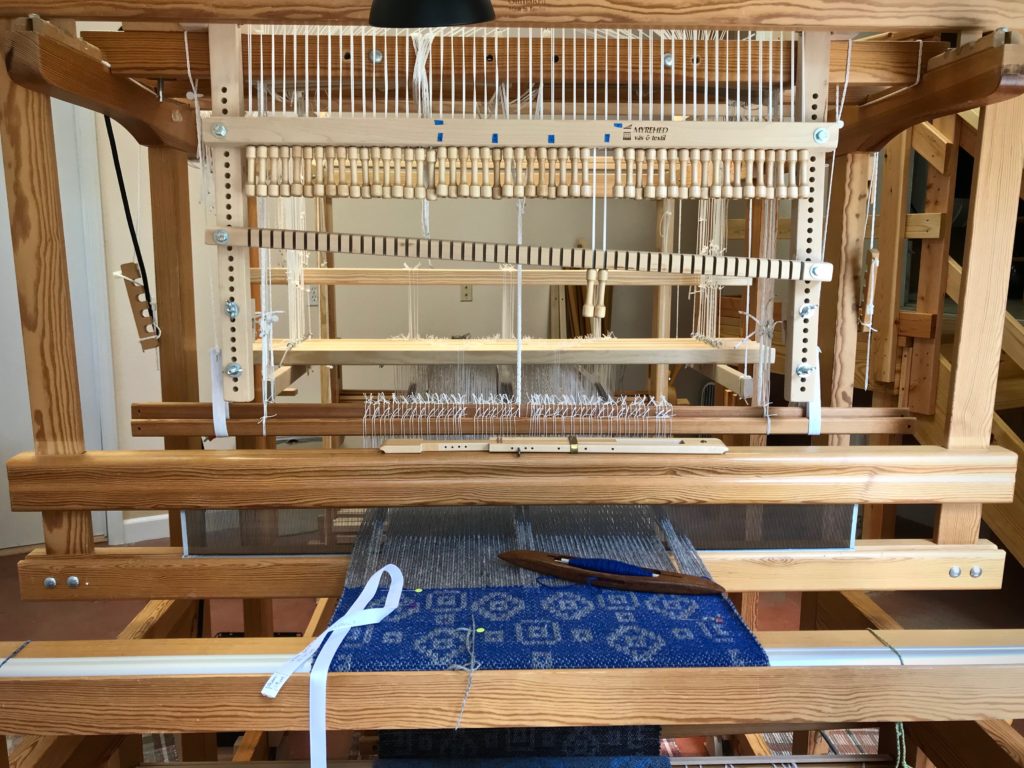
Drawloom
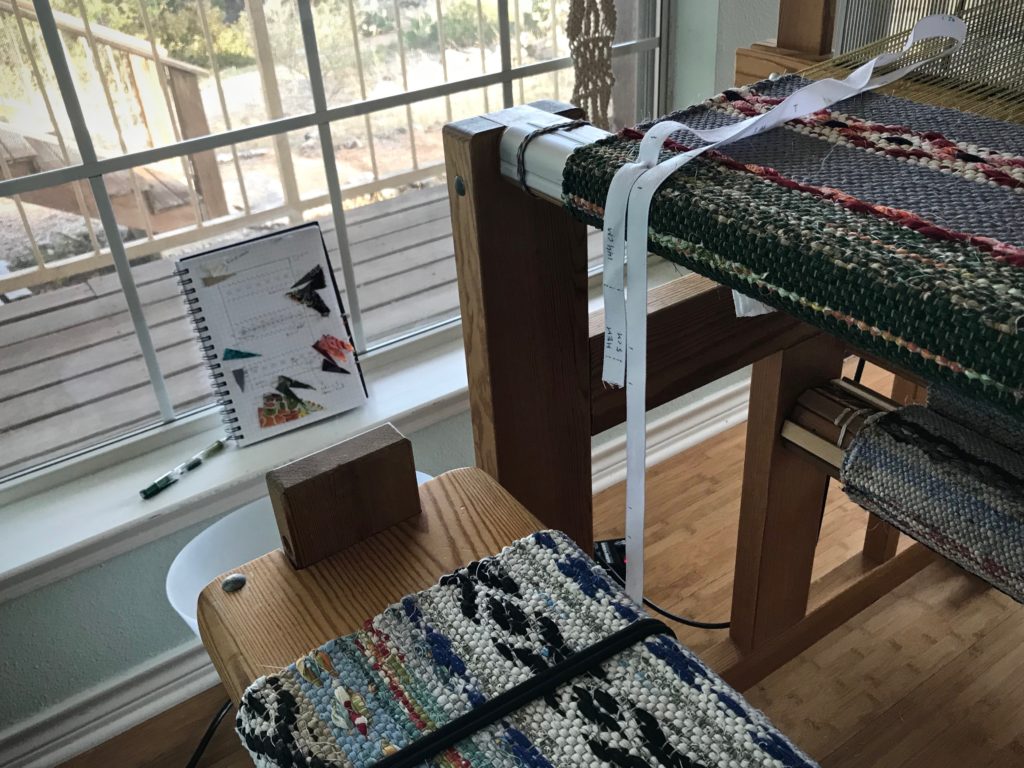
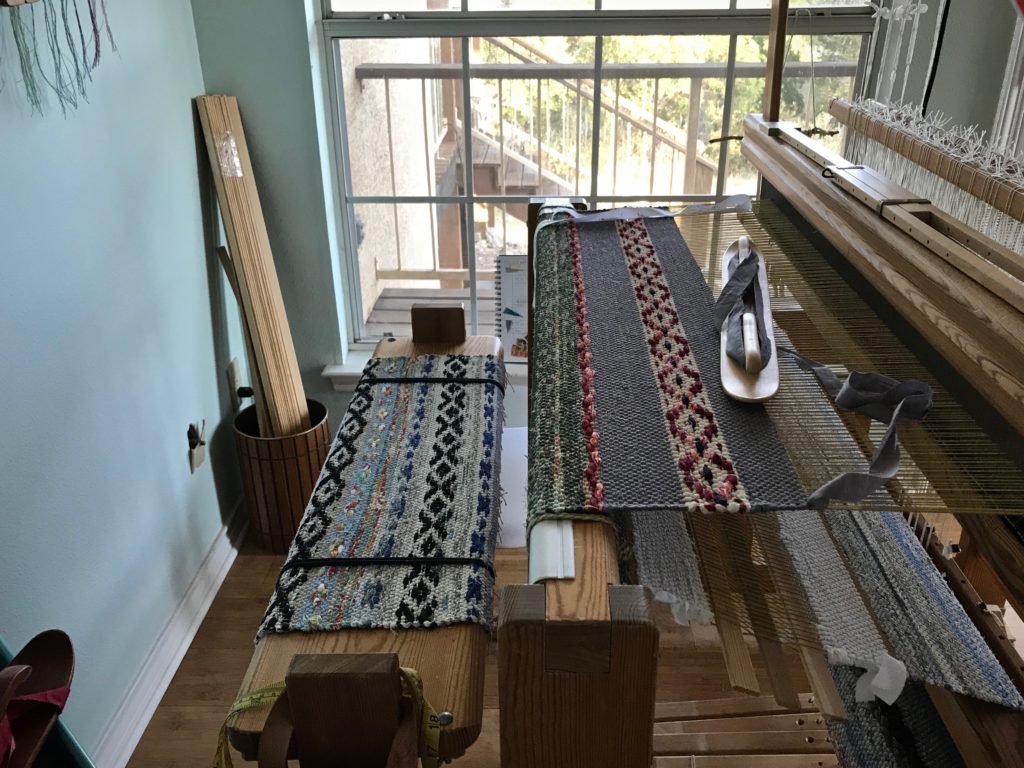
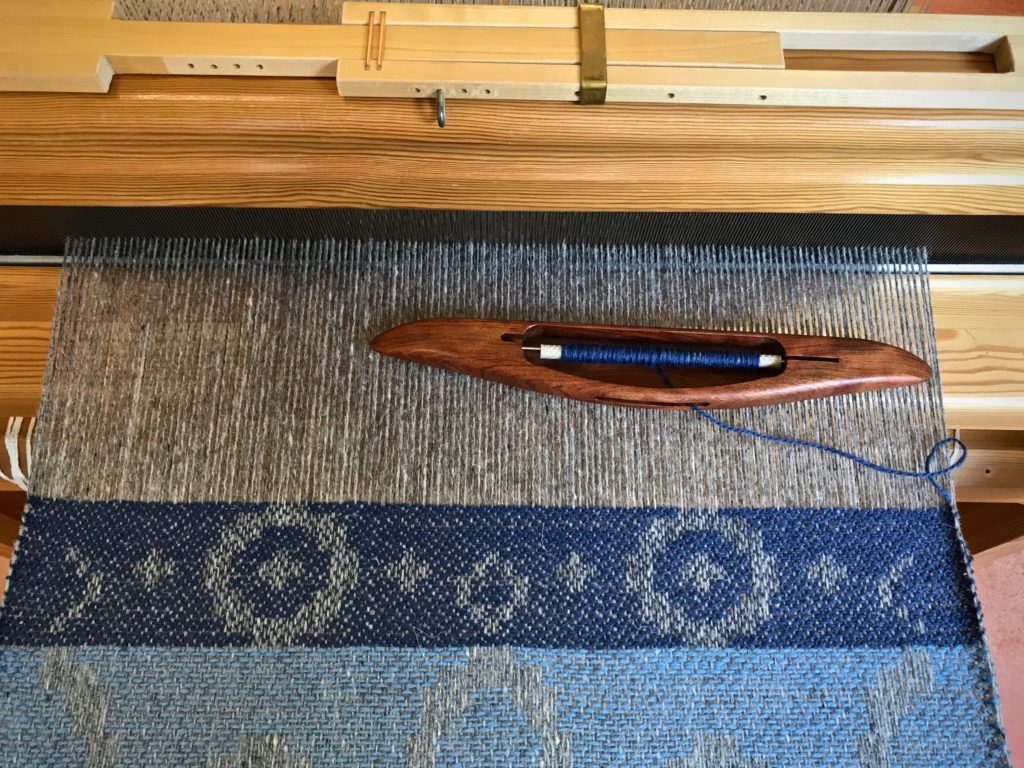
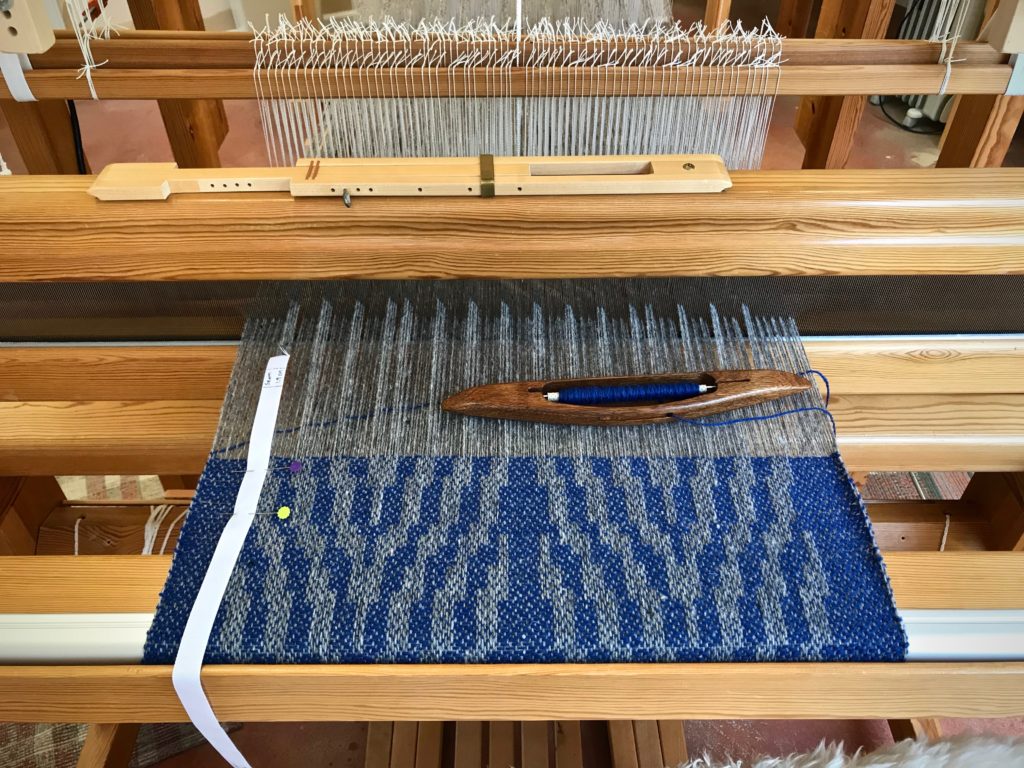
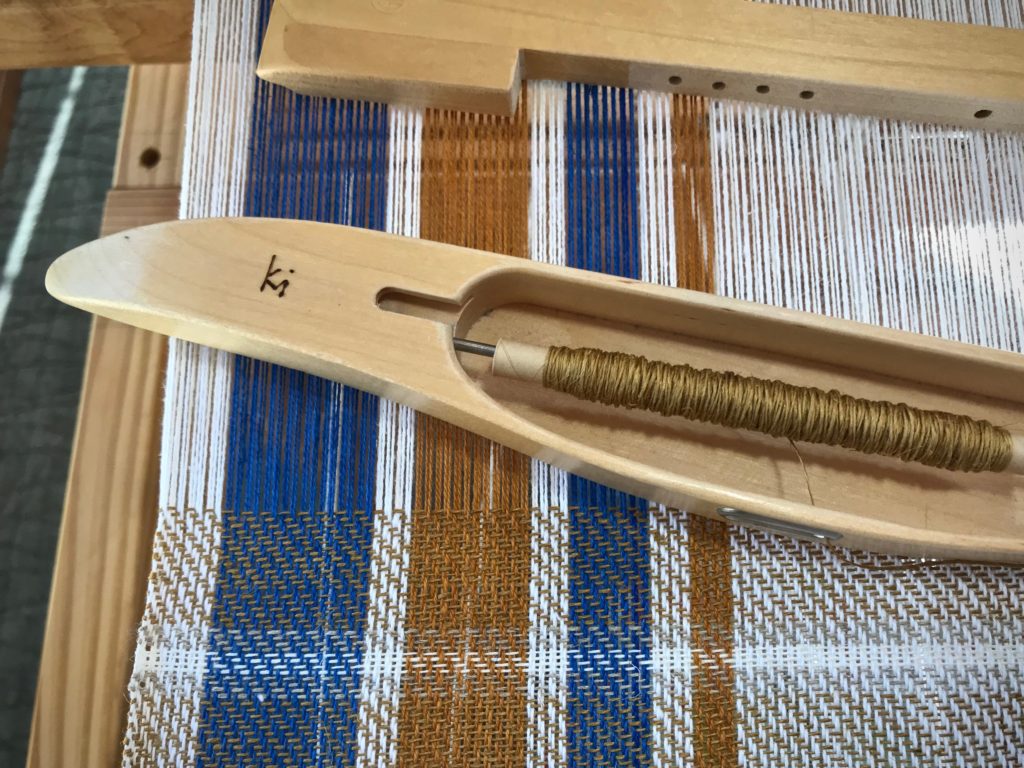
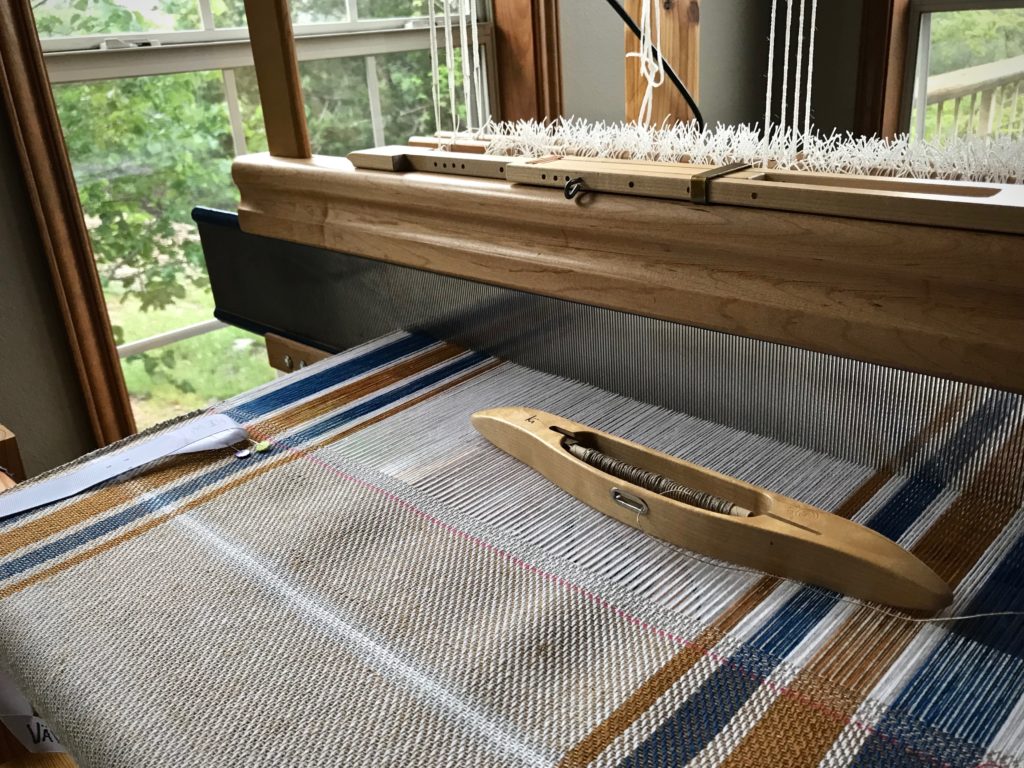
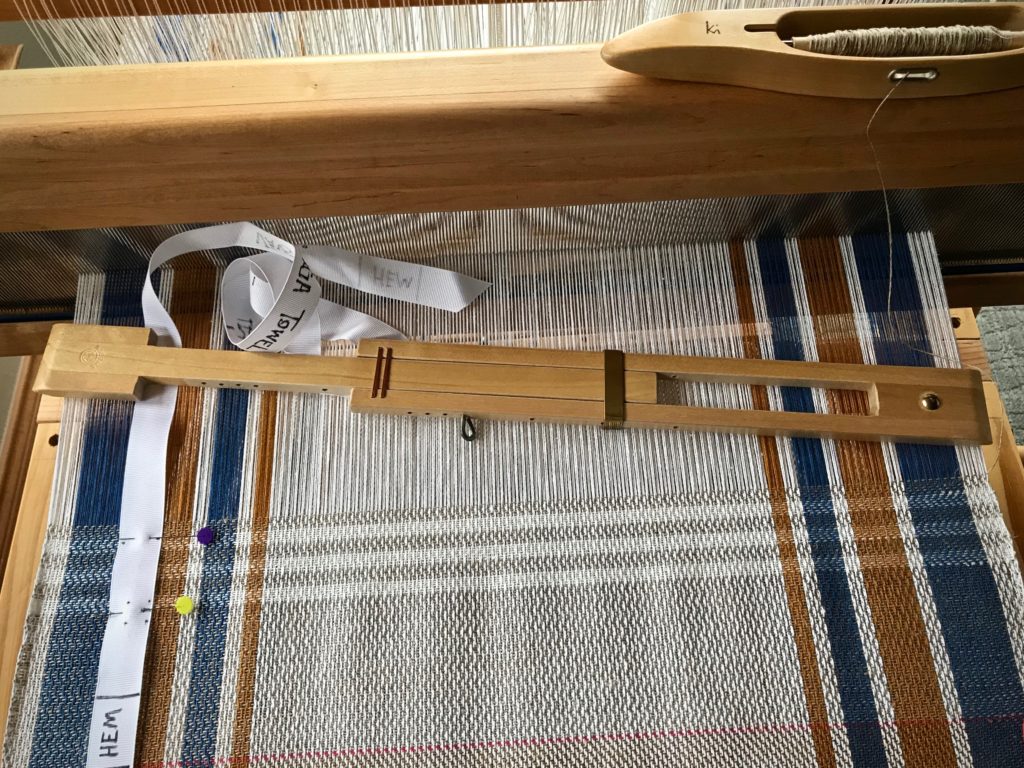
Sampling to test patterns, weft colors, and beat consistency, before starting on fabric for a garment.


1 Space to play. I want plenty of room to play, and to practice techniques that are new to me.
2 Room to try out designs. By weaving a portion of my designs, I am able to determine what works, and what adjustments need to be made.
3 Warp for testing weft colors. Only when woven can I see the full effect of each potential weft color.
4 Time to gain a consistent beat. When I start the main project, I want to have woven enough to be able to “feel” how firmly or softly I need to move the beater.
5 The best reason of all! It’s always good to have enough warp on the loom that you can invite friends and family to enjoy some weaving time. …Before your main project is in progress.

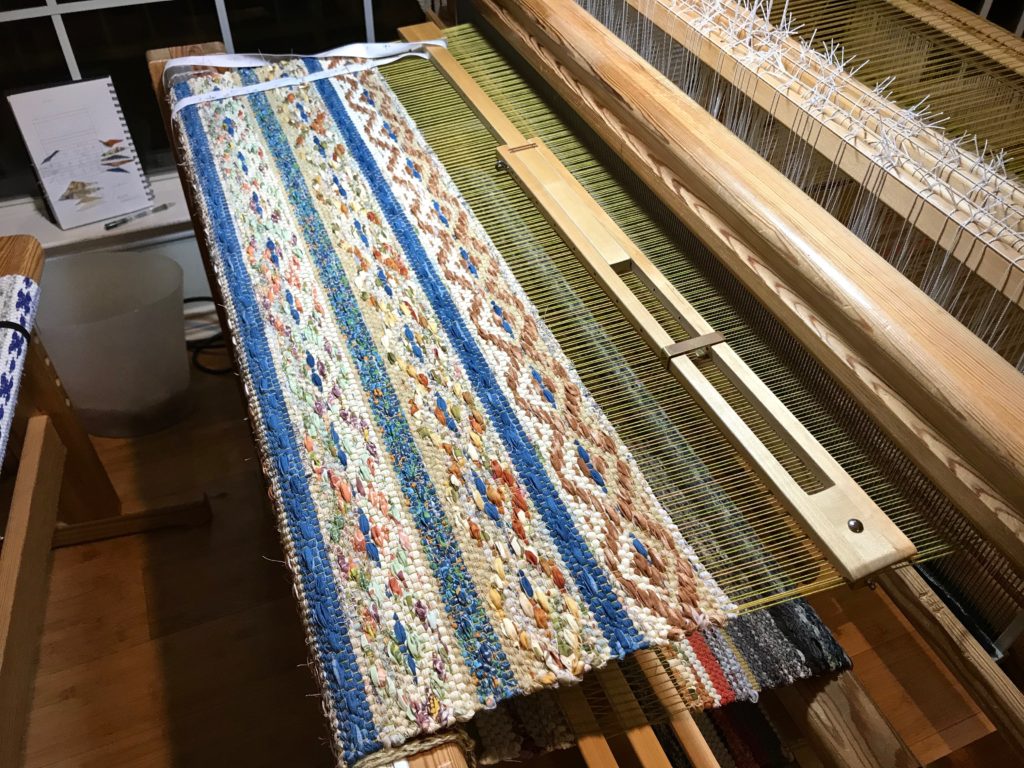
Drawloom
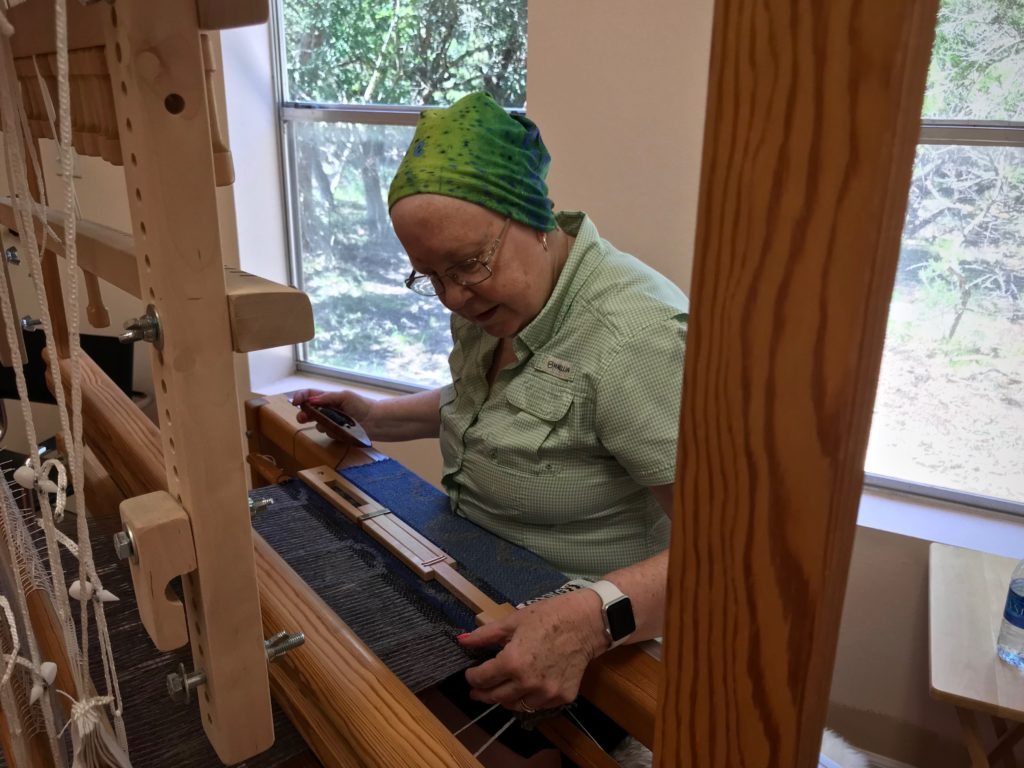
My weaving friend Betsy came over to see what it is like to weave on a drawloom.
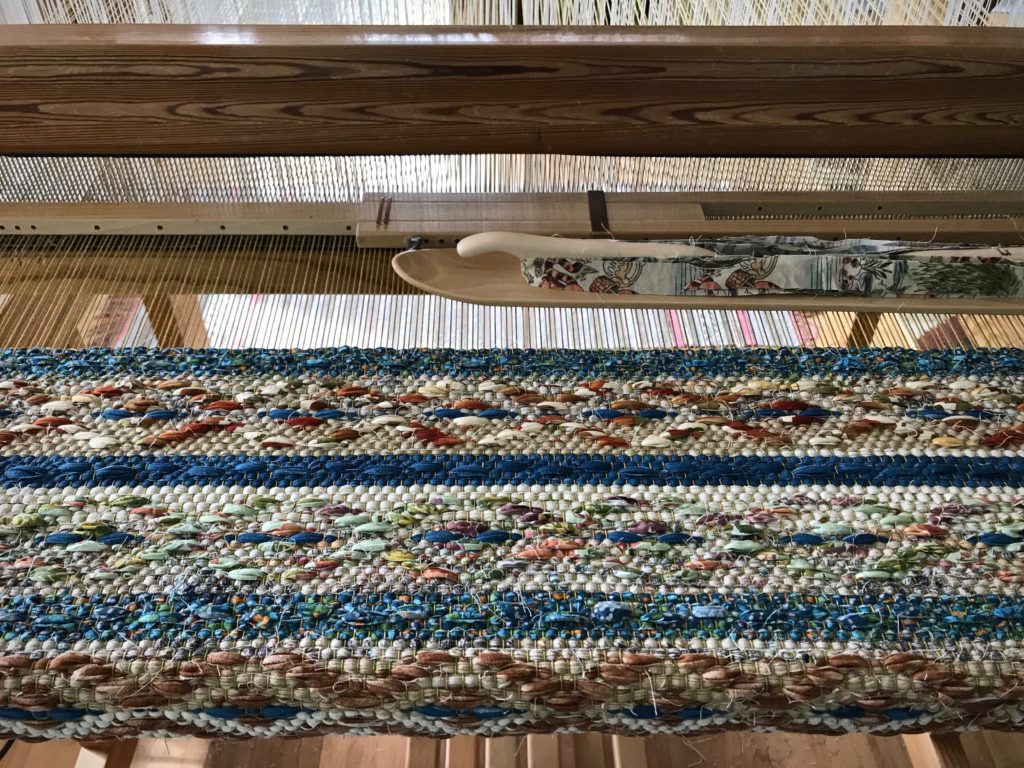
Drawloom
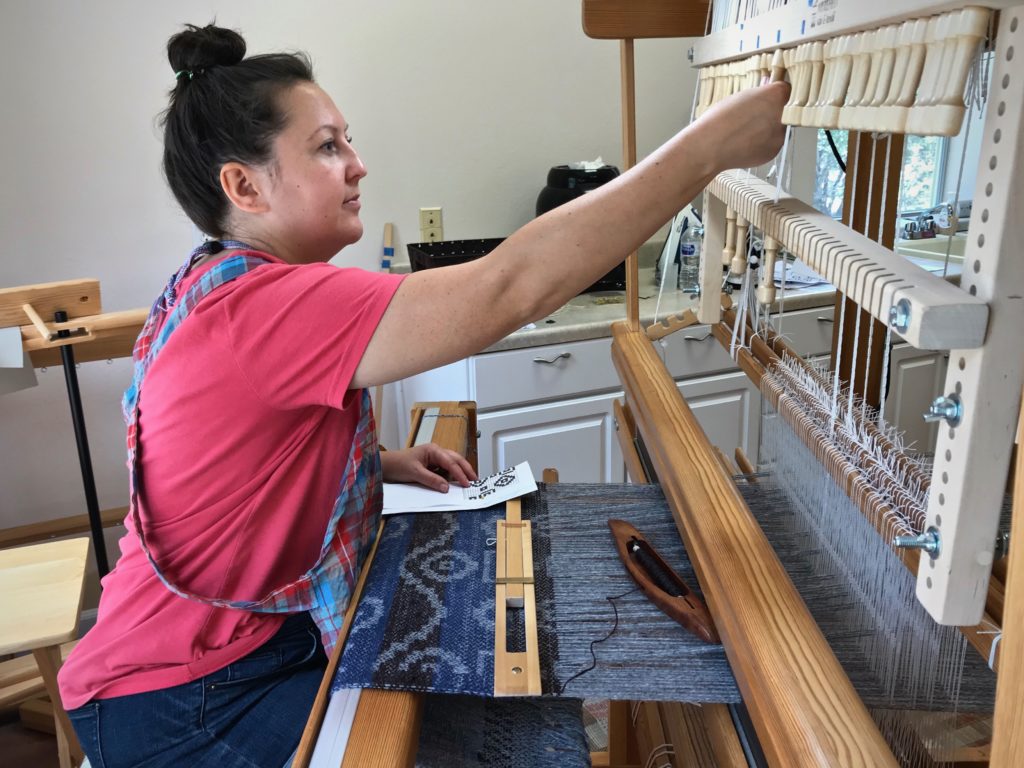
My daughter Melody came for a visit and wanted to see what it was like to weave on a drawloom.
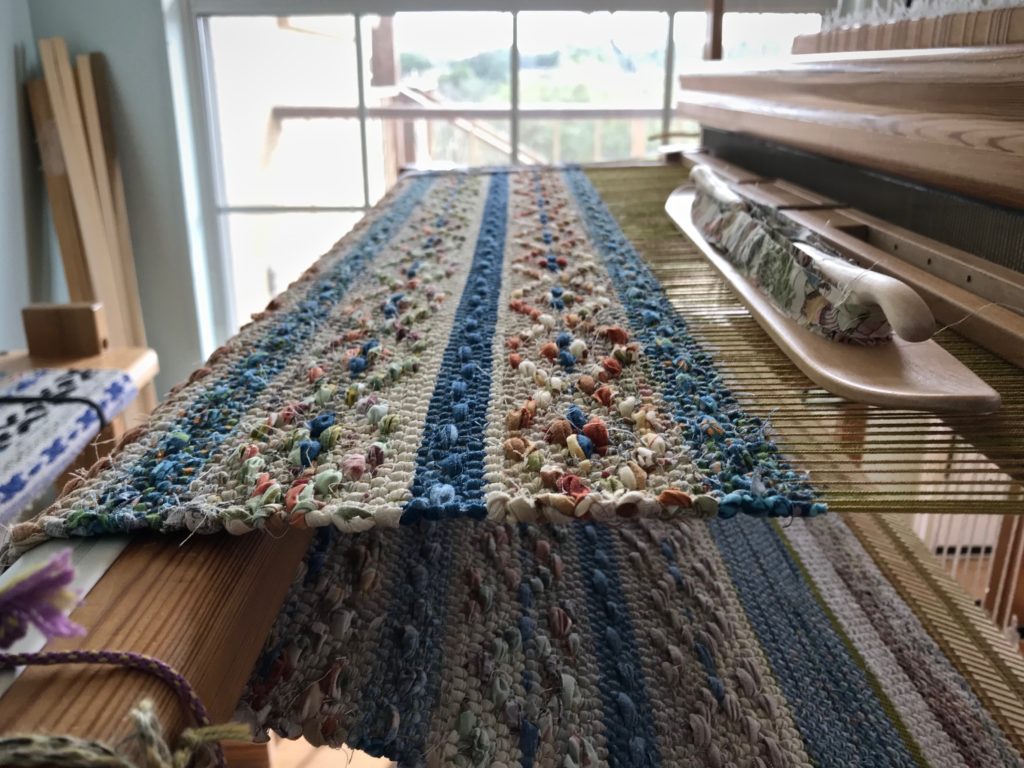
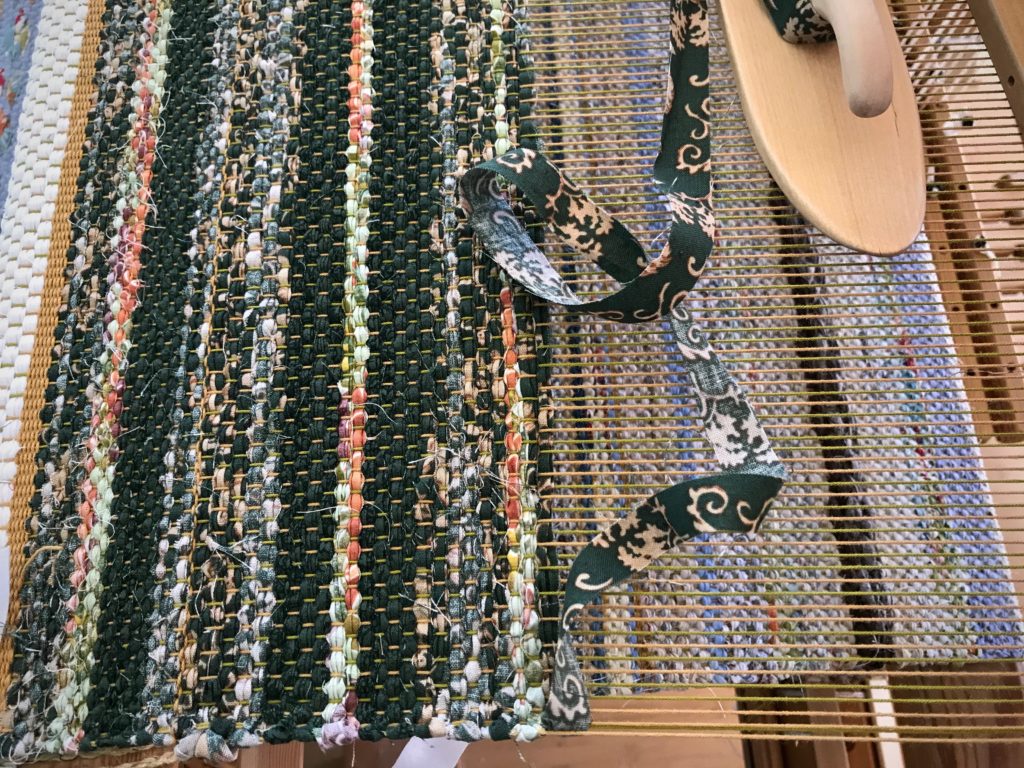
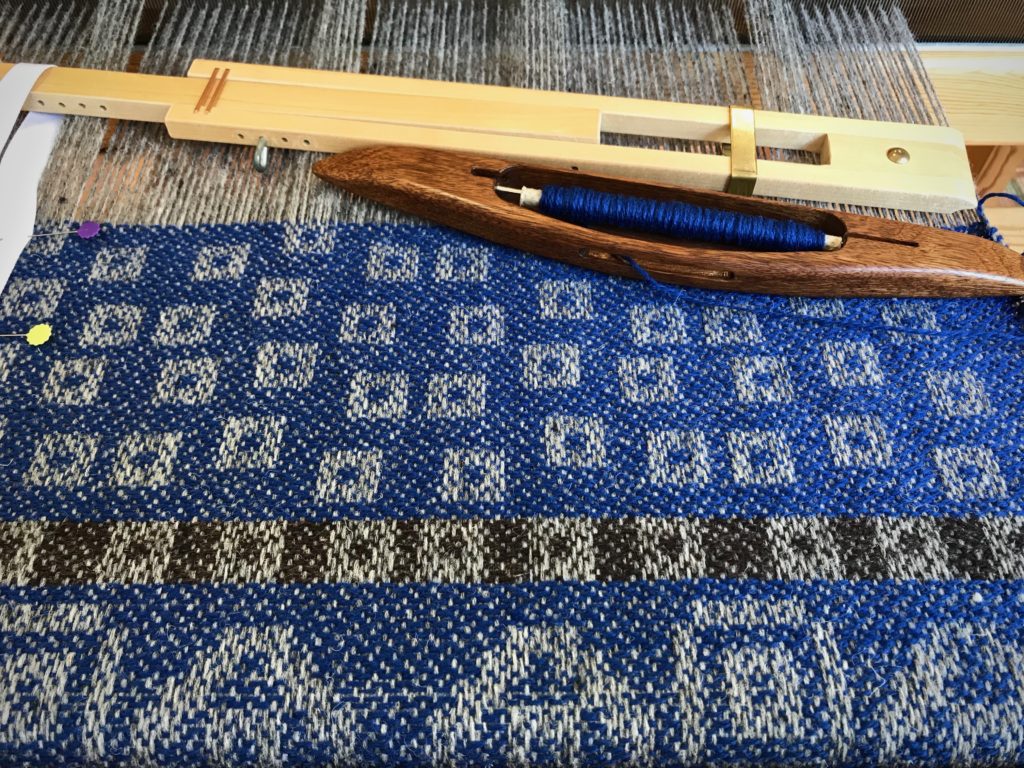
Drawloom, making garment fabric.
Garment fabric. This is to be used for two side panels of a vest I plan to make for myself.
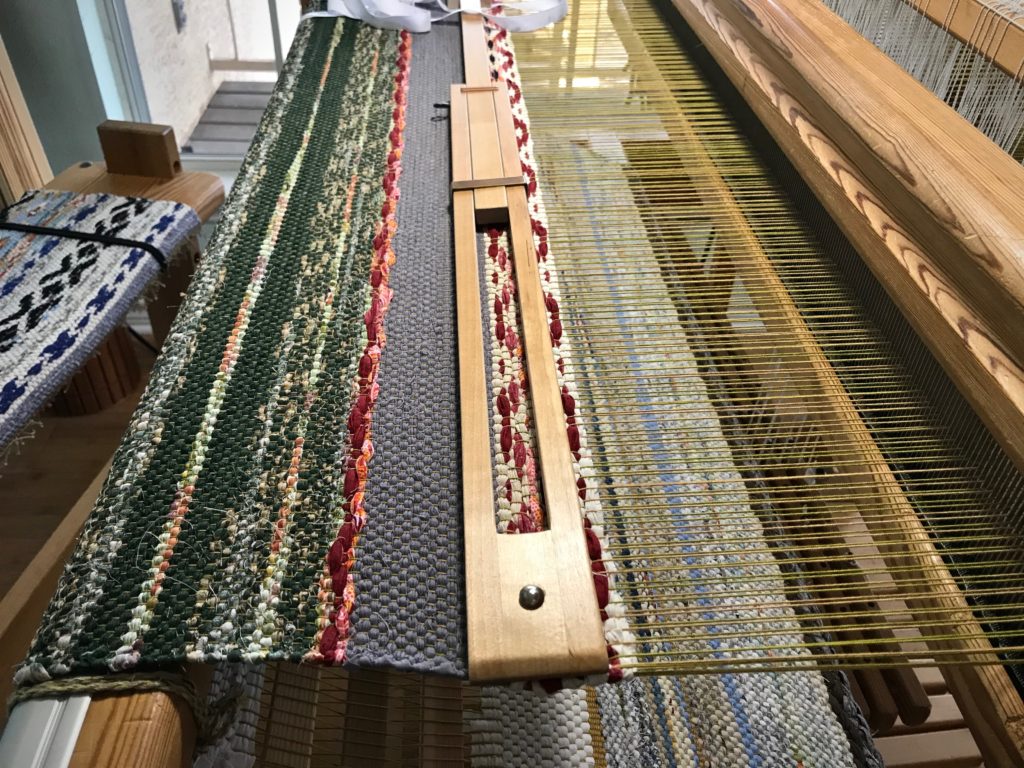
Drawloom, making garment fabric.
This is to be the back panel of the vest.
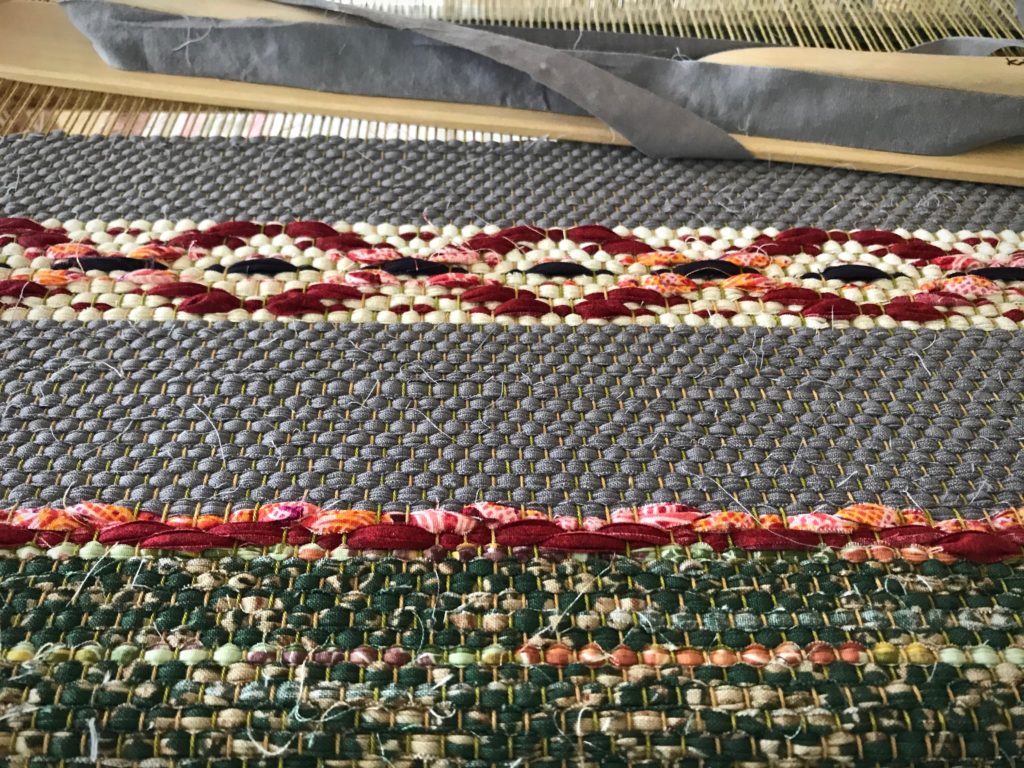
Drawloom, making garment fabric.
This is the beginning of the front panels for the vest.

May you give yourself room to play.

Yours truly,
Karen

Tried and True: Designing with Fibonacci

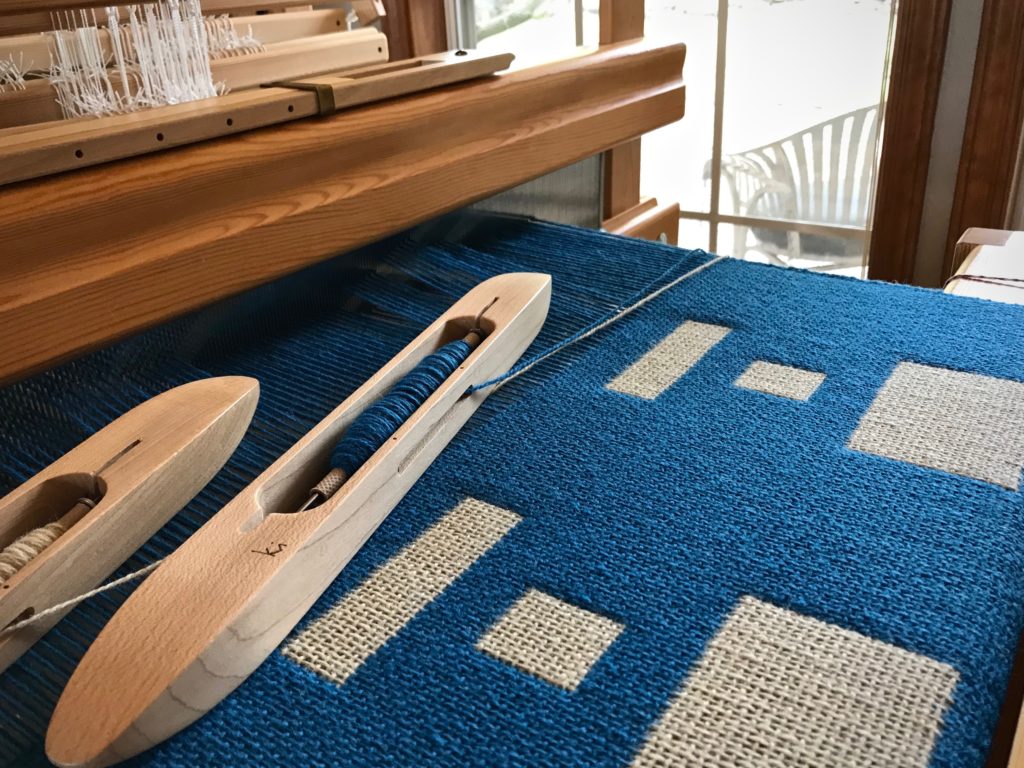
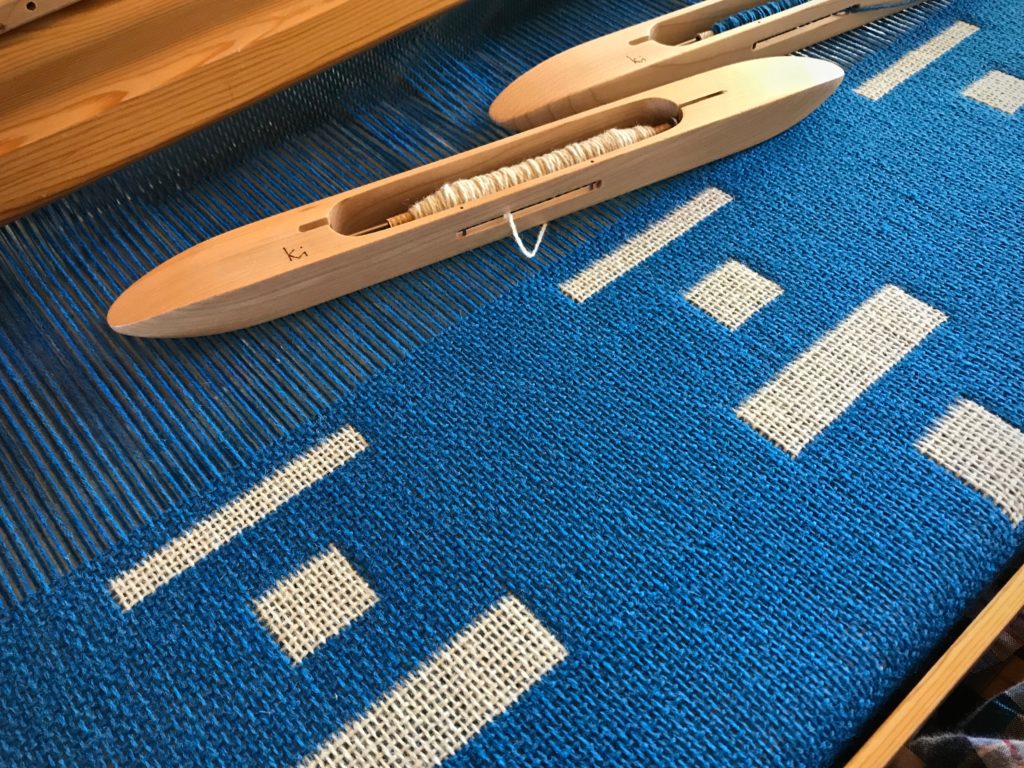
Before starting, I sketched out several versions of the finished blanket, showing different sizes and arrangements of the rectangle blocks. My favorite version is one with a random look. This twelve-shaft double weave has three blocks. Block 1 is a solid color across the warp. Block 2 has a narrow, vertical contrasting rectangle. Block 3 has a wide, horizontal contrasting rectangle. The warp threading determines the width of the rectangles. But the height of the rectangles is determined by the treadling pattern. I decided to use a Fibonacci sequence of numbers in random order to guide my treadling options as I weave.

Double weave blanket.
Rectangles vary in size.

Low-Tech Random Fibonacci Sequence

1 Determine the desired range of the Fibonacci sequence. 1, 2, 3, 5, 8, 13

2 Determine the number of repeat options for each block (one repeat is 4 picks per double-weave layer).

  • Block 1, solid color – 2 repeats every time
  • Block 2, narrow rectangle – 2, 3, 5, 8, or 13 repeats
  • Block 3, wide rectangle – 1, 2, 3, or 5 repeats

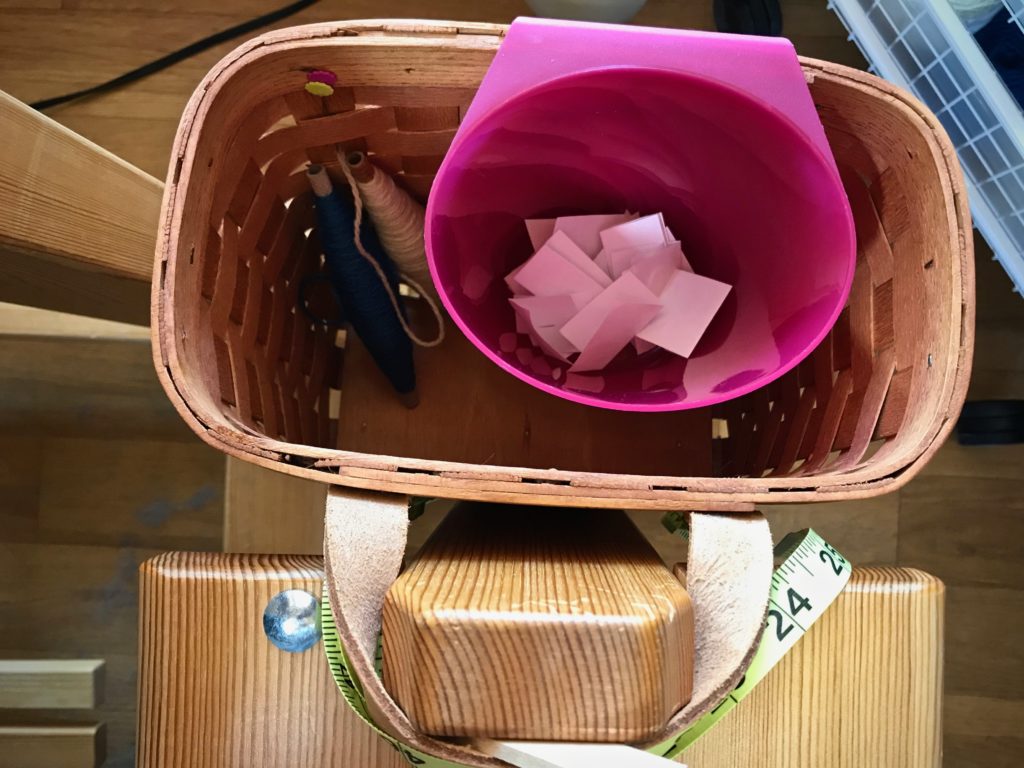
3 Write each number of the sequence on individual squares of paper. Make three sets of these numbers. 1, 2, 3, 5, 8, 13

4 Fold each paper square in half and place in a container at the loom. Mix thoroughly.

Designing with random Fibonacci numbers. Low tech!
Fibonacci numbers are ready for eyes-closed random selection.

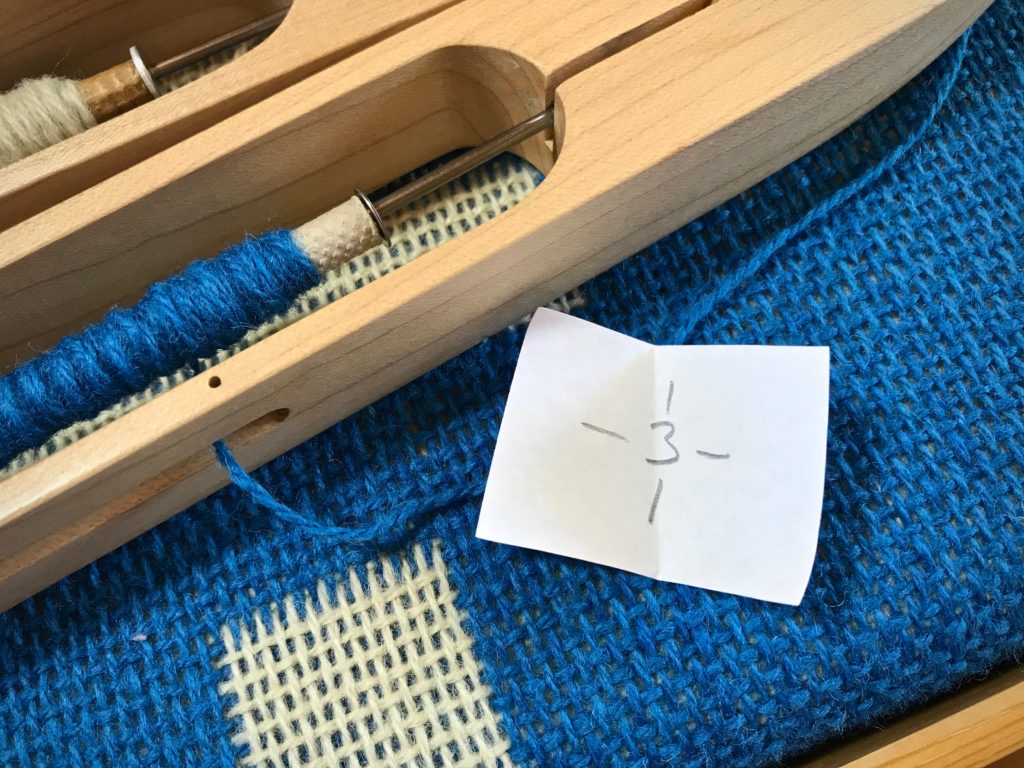
5 Randomly select a paper square to reveal the number of repeats for the next narrow or wide rectangle block.

Fibonacci numbers as design tool.
Assignment for the next rectangle block – three repeats. The lines indicate that this number can be used for Block 2 (narrow, vertical) or Block 3 (wide, horizontal).

For this blanket I have a woven hem and border, and then two repeats of Block 1 (solid color) between alternating Block 2 (narrow) and Block 3 (wide) rectangles of varying heights.

Double weave wool blanket.
Back side has reverse colors.
Double weave Tuna wool blanket.
Block 1 (solid blue across) stays a consistent size between the white rectangles.

Surprise is built in which makes it hard to leave the loom. “Just one more block,” I tell myself…

Double weave blanket. Fibonacci for design.
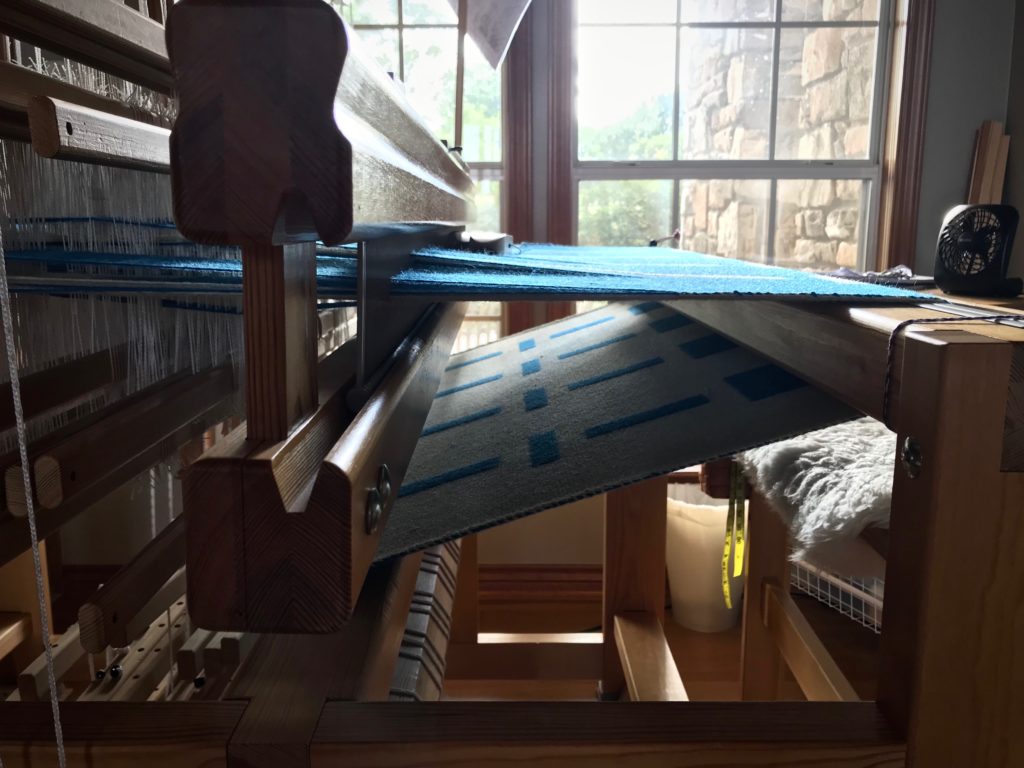
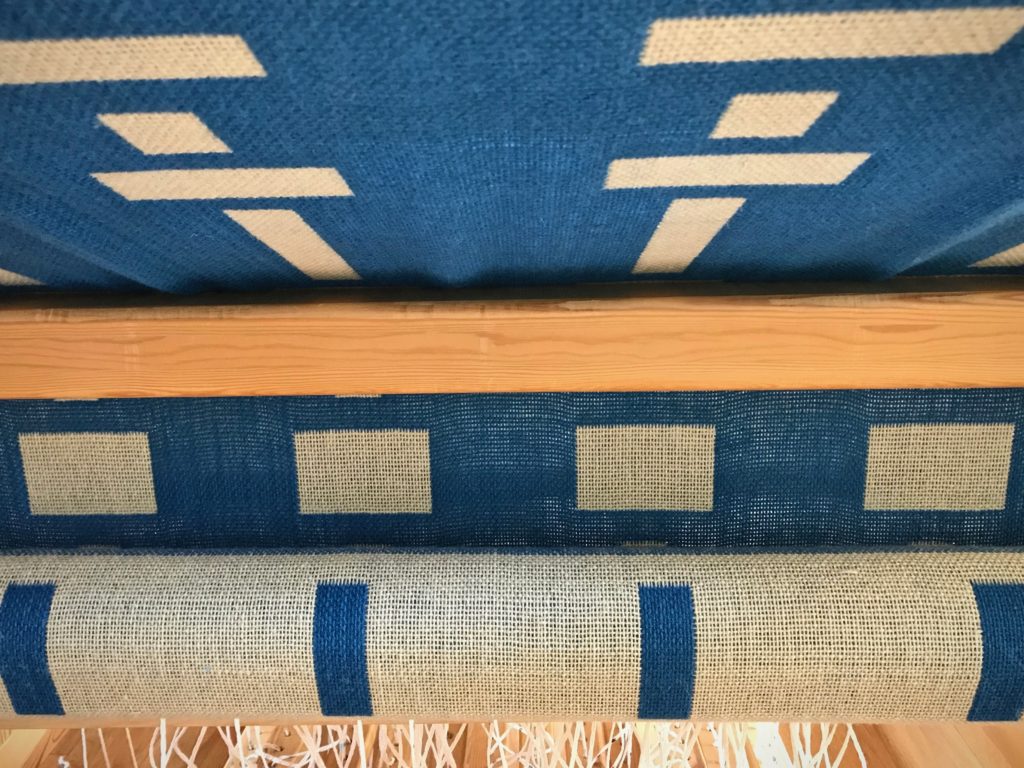
View of the cloth beam reveals the variety of sizes of rectangles. Eager to see it off the loom!

May you be greeted by random (happy) surprises.

Happy Weaving,
Karen
Weaving Some Simple Borders

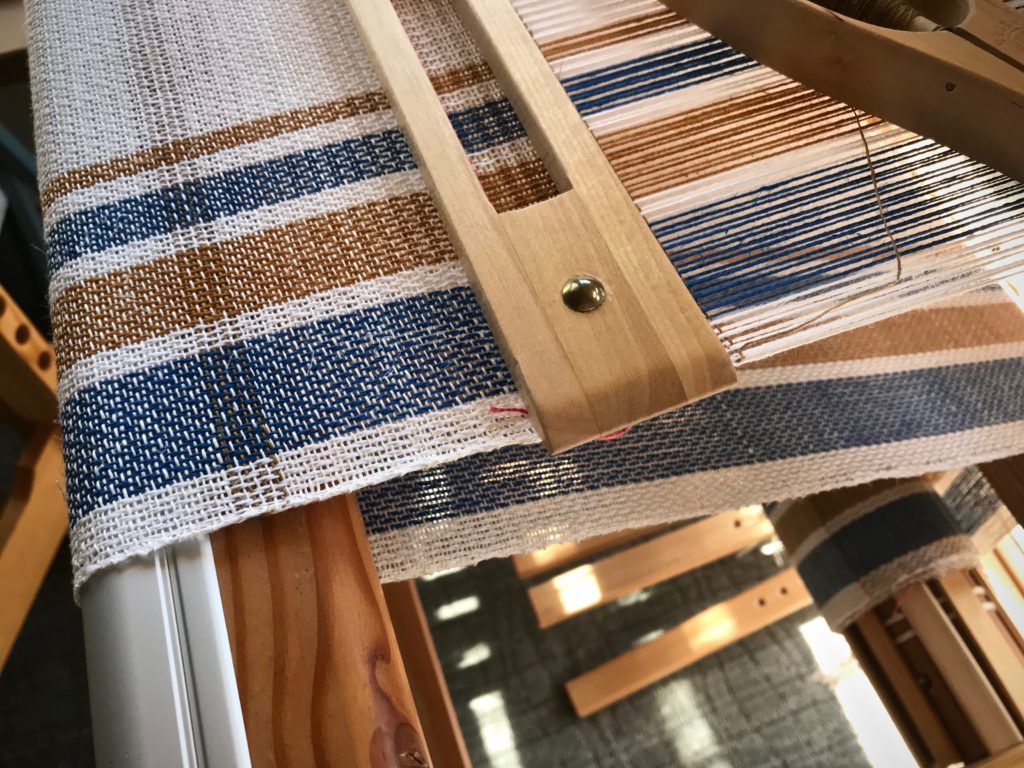
I need to free up this little loom in order to put on a different warp that has a deadline. So, now that I have returned from my travels, my attention is going to these towels. My friend is letting me weave this lovely cottolin warp that she got at Vavstuga.

Simple border stripe in first towel of the Vavstuga towel kit.
Simple border stripe in first towel. Straight twill.
Cottolin warp and 8/1 tow linen weft.
Point twill on four shafts.
Point twill on four shafts. Three horizontal stripes made with half-bleached tow linen weft.

Straight twill, point twill, broken twill, and now “rick-rack.” And after that, a couple towels in plain weave. Everyone who weaves this Vavstuga towel kit and follows the instructions will end up with the same six towels. True? Not necessarily. I like to step off the expected path. That is why I vary the weft and include some type of simple border design on each towel.

Loom with a view. Texas Hill Country.
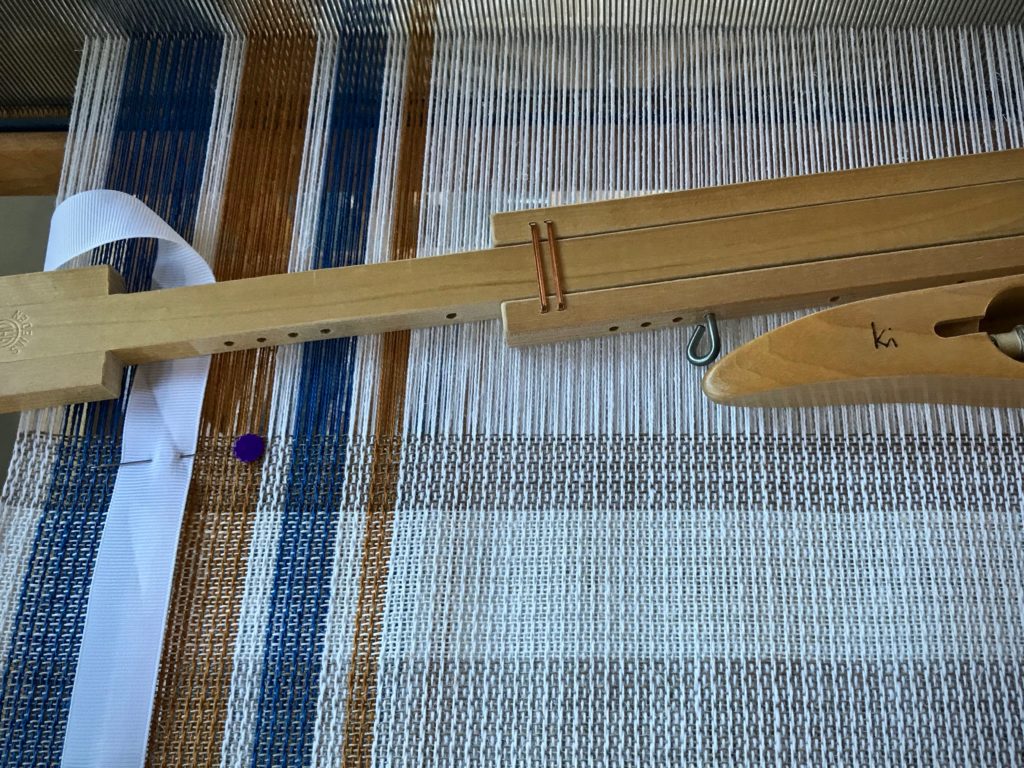
Three colors of 8/1 tow linen sit on the little blue table as choices for weft. Half-bleached, Unbleached, and Bronze.
Broken twill for a cottolin towel.
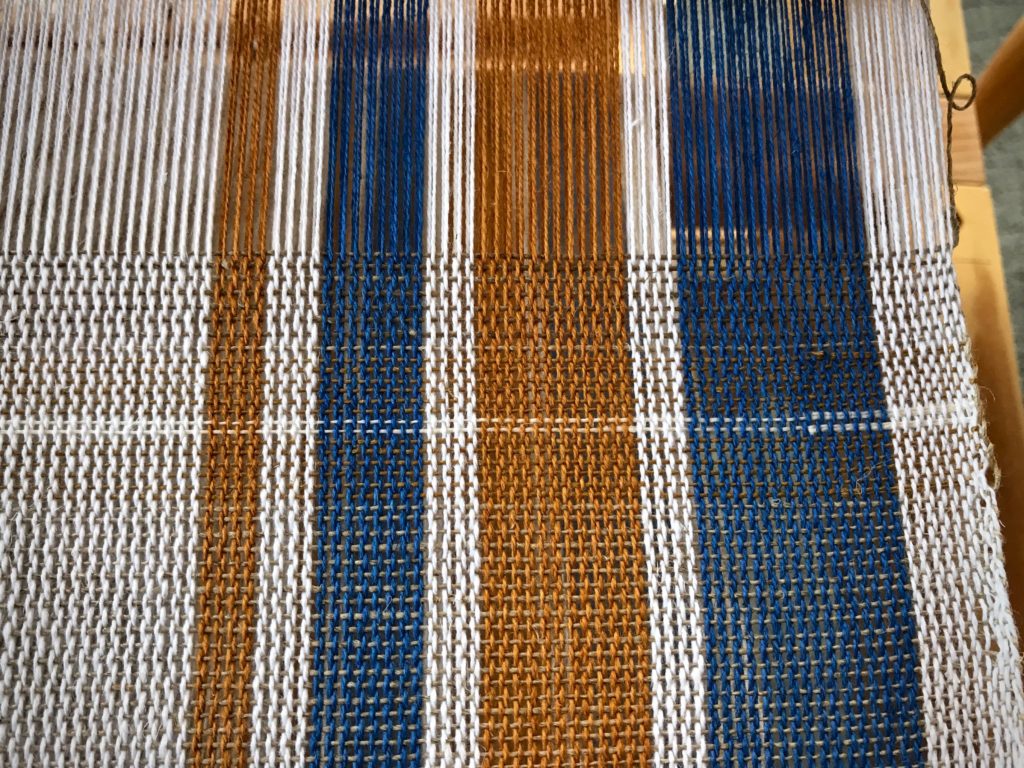
Changed the tie-up to broken twill, which allows me to keep a simple straight treadling pattern. Dashed weft pattern for the border stripe is produced by alternating the bronze linen weft with the half-bleached linen weft.
Color-blocked towel uses three neutral weft colors.
Long wavy vertical lines give the appearance of rick-rack. Again, I changed the tie-up to keep the simple straight treadling pattern. I use all three weft colors in this color-blocked towel.
Cottolin towels with 8/1 tow linen weft.
Plain weave, with four shafts and two treadles. The main body of the towel uses the unbleached linen weft. Two picks of half-bleached linen are sandwiched between several rows of bronze linen weft.

There is a wide path that is crowded with many people. It’s the common and expected way of life. It’s where you stay if you want to fit in with everyone else. But if you search for it, you’ll find an uncommon path. It’s narrow; and few find it. It’s the path of life that is found in Jesus Christ. Stand in the narrow path. That is where your unique features will show up as border designs that set you apart as a cherished child of God.

May you be set apart.

Happy weaving,
Karen

No Hurry at the Little Loom

I hope you haven’t forgotten about this sweet little loom at our Texas hill country home. It is refreshing to be able to start right back up and weave another placemat. This is a breeze, even with two double-bobbin shuttles. Color and weave brings plenty of design play. Over the weekend I was able to squeeze in enough weaving time to finish one more placemat.

Color and weave cotton placemats.
New placemat begins. Two red picks will become the cutting line that separates placemats.

Peaceful setting for unhurried weaving.

There is no hurry or urgency with this project. Other events, transitions, and necessities have taken precedence the last few months. It’s nice to have a ready loom that doesn’t hold a deadline. Simple two-treadle plain weave during a transitional season is a welcome respite.

Color and weave cotton placemats on the loom.
Two doubled-weft picks of dark coral make a line of contrast in the color-and-weave cotton placemat.

Faith is trust. It’s the simple framework we long for when life gets complicated. Trusting the Lord is like knowing what to expect when you throw the shuttles, yet still being pleasantly surprised as you see the fabric form in front of you. His grace removes the hurry and the worry. We find his grace through faith. And isn’t that exactly the respite we need?

May you have a break from hurry and worry.

Happy weaving,
Karen

Band Loom Time!

Before I can hem these new towels, I need to make some hanging tabs. Band loom time! Making a warp for the band loom is one way to use up some of the weft on quills that didn’t quite get emptied when weaving the towels. Of the four colors in the towels, I am using aqua, poppy, and orchid for the hanging tabs. The bright marigold, my favorite of the four colors, may bring too much attention to itself, so I’m leaving it out. A hanging tab must be a stable and firm loop that becomes a pleasing part of the towel.

Planning to weave hanging tabs for handwoven towels. Karen Isenhower
Towels, before wet finishing, are spread out with the thread colors on top. I am trying to determine which colors will work together in woven hanging tabs for all four towels.

Glimakra band loom. Hanging tabs for handwoven towels.
Eleven ends are just enough for weaving a narrow band. (The two ends in the center are doubled in the heddle and counted as one.)

Glimakra band loom, making hanging tabs for handwoven towels.
Simple symmetrical design with aqua, poppy, and orchid colors. To use as hanging tabs for towels, the band is cut into short pieces, about ten centimeters (four inches) each. Each cut tab is then sewn into the hem of a towel.

Established. Stable (root word of e-stabl-ish) and firm. That’s how important our faith is as we walk through life. Everything hangs from it. So it must be woven carefully and stitched in securely, a pleasing part of who we are. Stable and firm in faith as we live for the Lord—that’s a beautiful way to live.

May your finishing details be pleasing.

With you,
Karen