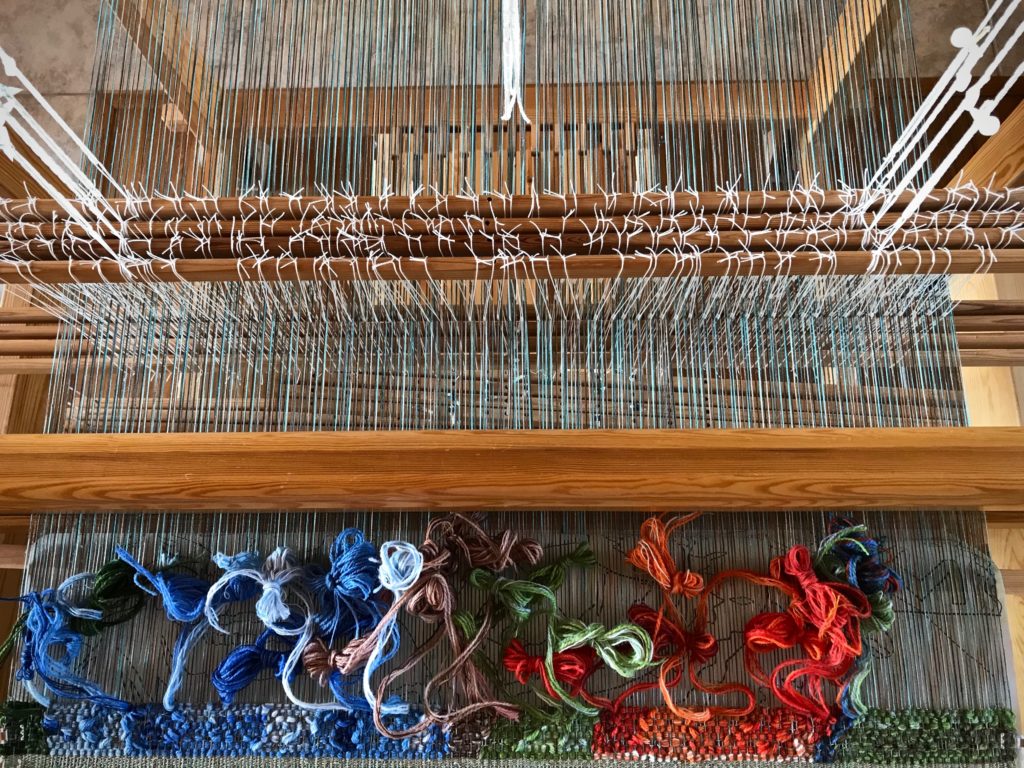
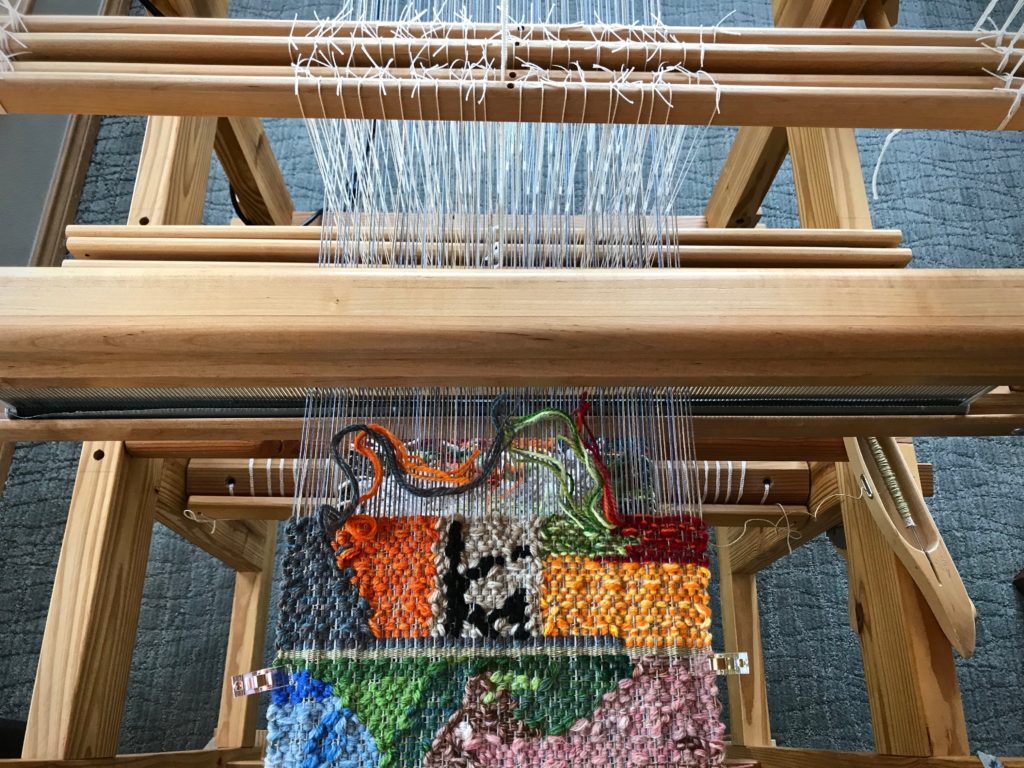
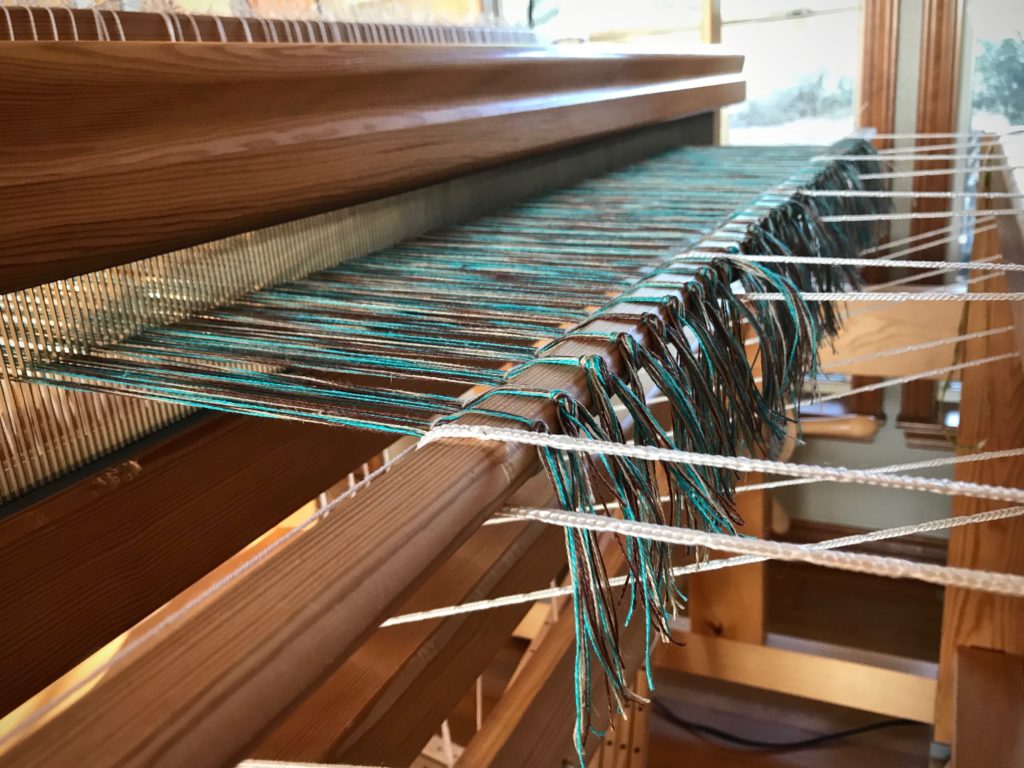
Wool butterflies are my crayons. I use them to color the spaces of my color-by-number cartoon that’s under the warp. I am using Borgs 6/2 Tuna wool and Borgs 6/1 Fårö wool in this tapestry, combining strands of various colors to get just the right hue, value, and intensity. Getting that right is the hard part. Winding butterflies is the easy part. Especially if you learned it from Joanne Hall, as I did.
Start of new tapestry. Butterflies are composed of specific colors to achieve desired results for contrast, shading, and depth.
It is essential to know how to make a good butterfly when you want to weave a tapestry on a big floor loom like this. A good butterfly is compact enough to easily pass through warp ends. And secure enough to stay intact through all those passes. It also needs to have a tail that is simple to extend. A good butterfly never ends up in a knot or a jumble of threads, but instead, gives your hands pure delight as it flows through your fingers to color your tapestry.
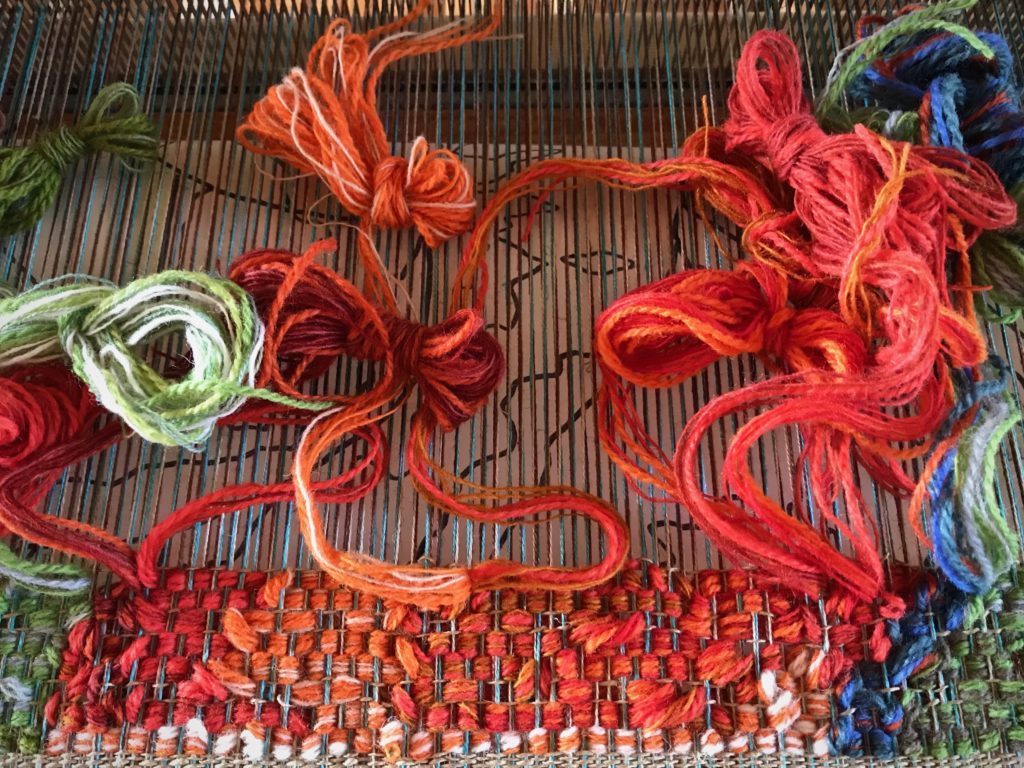
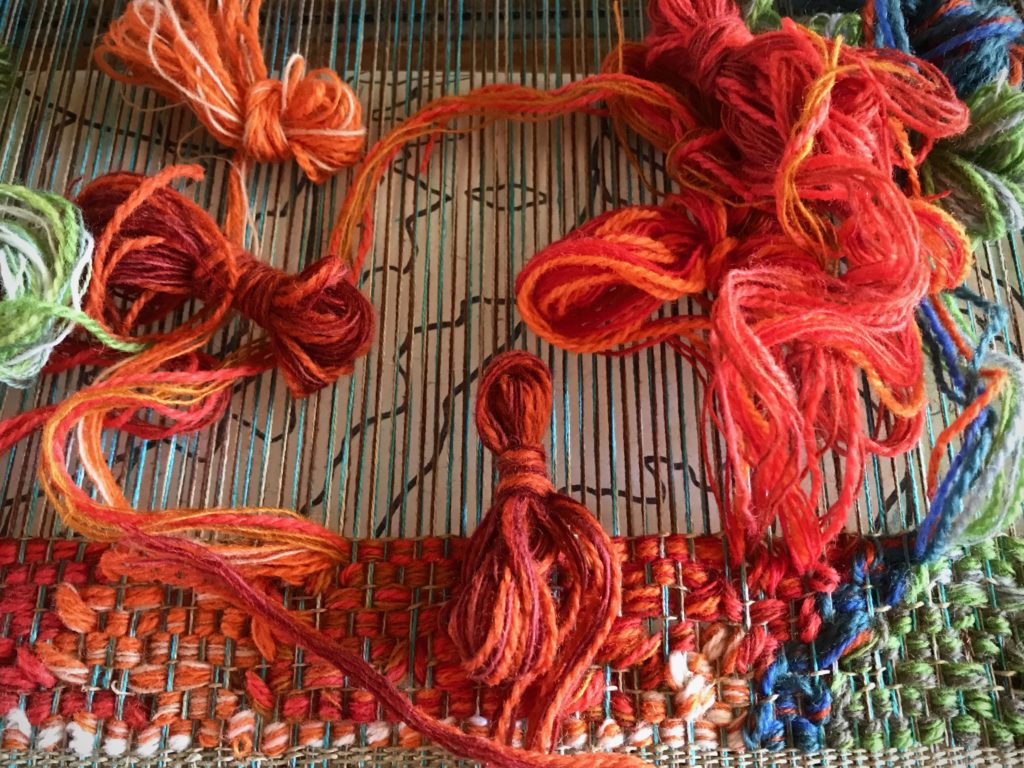
Detail of colorful tapestry butterflies.New butterfly is ready to find its place in the mix.
This video shows how I make my tapestry butterflies.
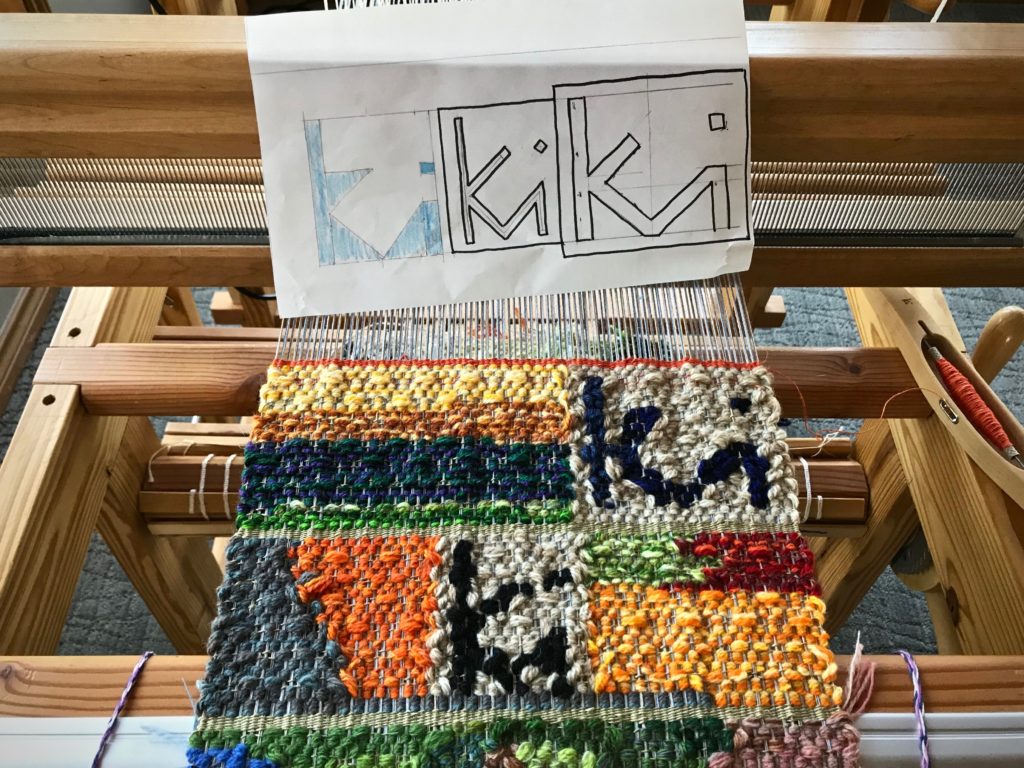
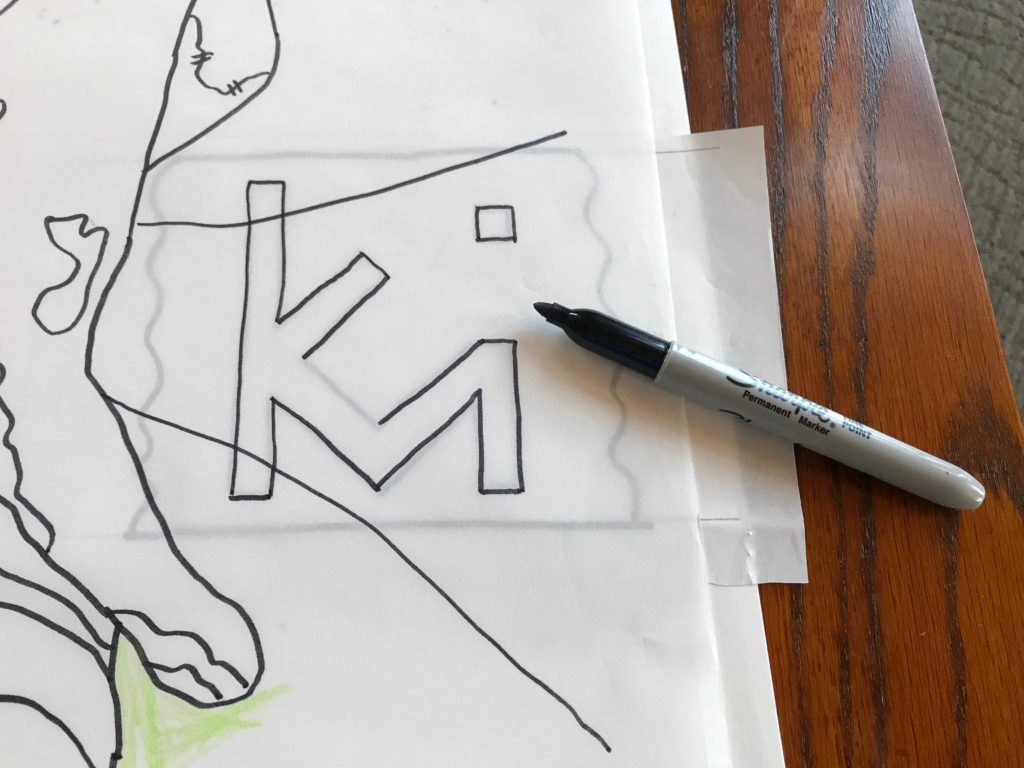
This logo goes back to at least 1982. It is on the underside of a bowl I made that year in my one-and-only pottery class. kmi for Karen Marie Isenhower. This personal logo will be woven into my upcoming pictorial tapestry. I know how I want the image to look, but it’s not easy to weave it successfully. I am practicing on a samplewarp.
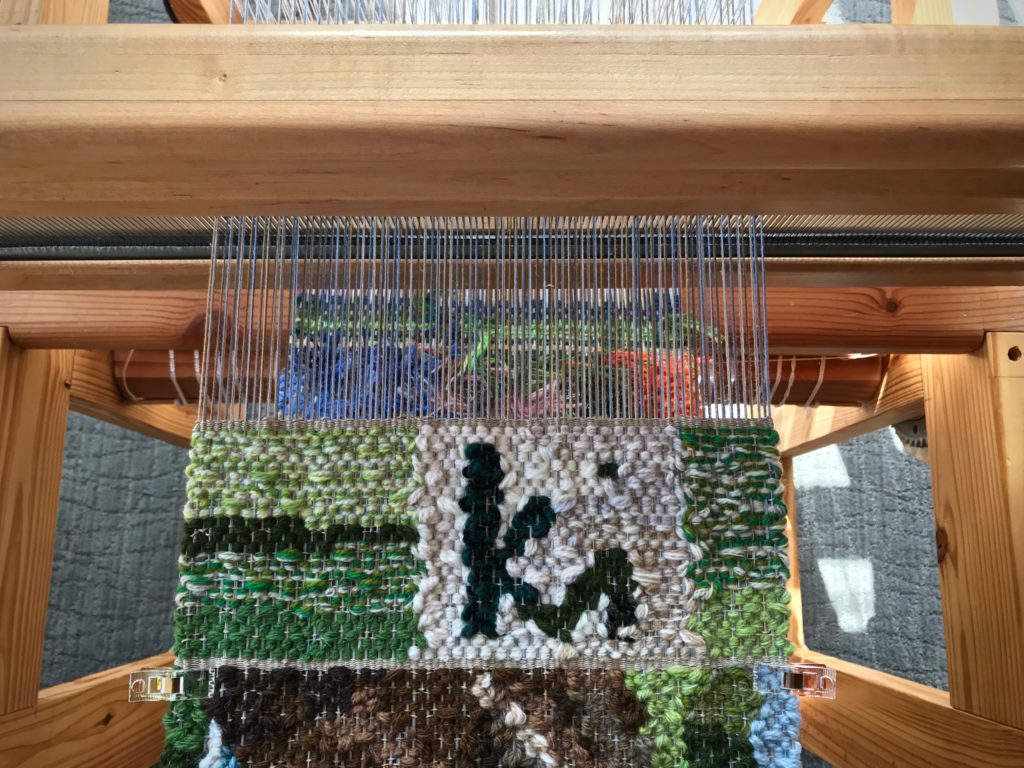
Lizard tapestry, woven from the side. This was my first attempt to weave my personal logo into a tapestry.
I am starting with the little cartoon that I used when I wove the Lizard tapestry last year (see Quiet Friday: Lizard Tapestry), thinking I can improve in the weaving of it.
Nope. It’s not any better. I am redrawing the cartoon to spread the letters out further.
Nope. Now, the letters are too spread out.
Finally, I reach a happy medium.
kmi
Yes. This attempt is successful. Now I am ready to weave my personal stamp into the new tapestry project.
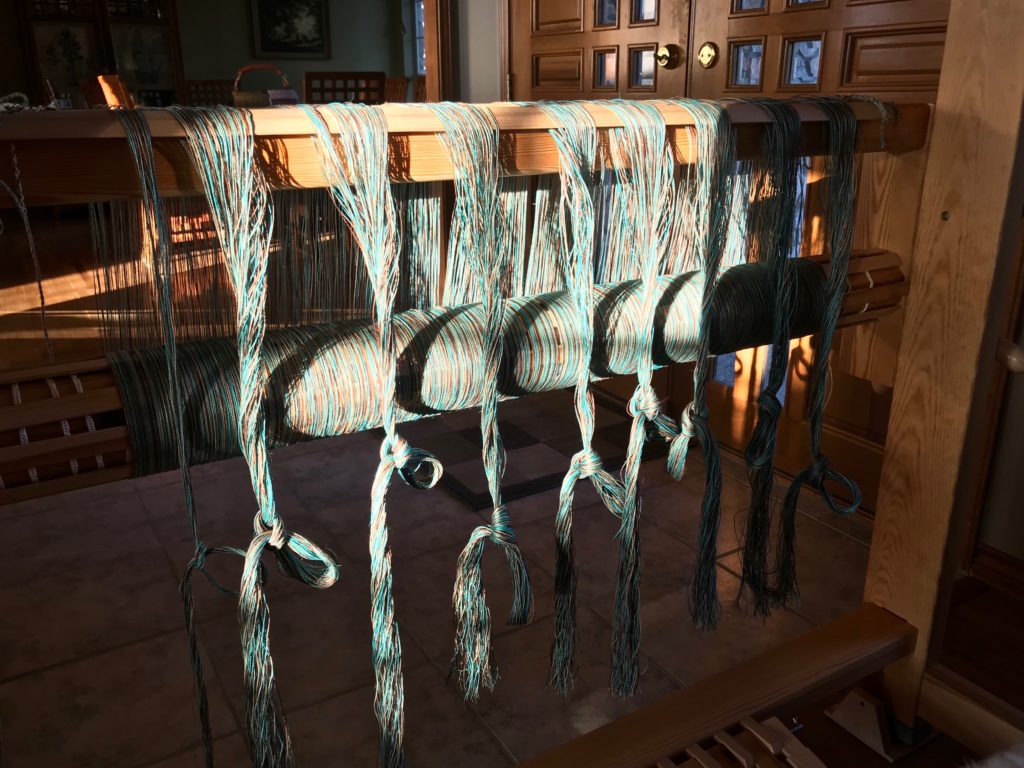
Linen warp is beamed for the next tapestry.Ready to start the new tapestry!Cartoon of the logo is traced onto the big cartoon that will be used for the pictorial tapestry.
You were made on purpose for a purpose. When the Grand Weaver created you He started a masterpiece with your initials on it. He develops the cartoon and lays out the colorful butterflies of yarn, with your personal logo in mind. Finish what He started. It takes a lifetime. In the end, my personal logo, never quite perfect, will diminish. And His royal insignia, embroidered in threads of gold, becomes the label on my life’s tapestry.
Why sample? It means using morewarp and weft. And it means waiting longer to start to the “real” project. What do I gain from it, anyway? Is it a waste of resources and time?
I can’t imagine putting on a warp that didn’t have room up front for sampling. There’s more than one reason to put on sufficient warp to weave a sample. It makes perfect sense, especially if there is anything new or unfamiliar about your planned project.
Five Reasons to Add Extra Warp for Sampling
Sampling to test patterns, weft colors, and beat consistency, before starting on fabric for a garment.
1 Space to play. I want plenty of room to play, and to practice techniques that are new to me. 2 Room to try out designs. By weaving a portion of my designs, I am able to determine what works, and what adjustments need to be made. 3 Warp for testing weft colors. Only when woven can I see the full effect of each potential weft color. 4 Time to gain a consistent beat. When I start the main project, I want to have woven enough to be able to “feel” how firmly or softly I need to move the beater. 5 The best reason of all! It’s always good to have enough warp on the loom that you can invite friends and family to enjoy some weaving time. …Before your main project is in progress.
My weaving friend Betsy came over to see what it is like to weave on a drawloom. My daughter Melody came for a visit and wanted to see what it was like to weave on a drawloom. Garment fabric. This is to be used for two side panels of a vest I plan to make for myself.This is to be the back panel of the vest.This is the beginning of the front panels for the vest.
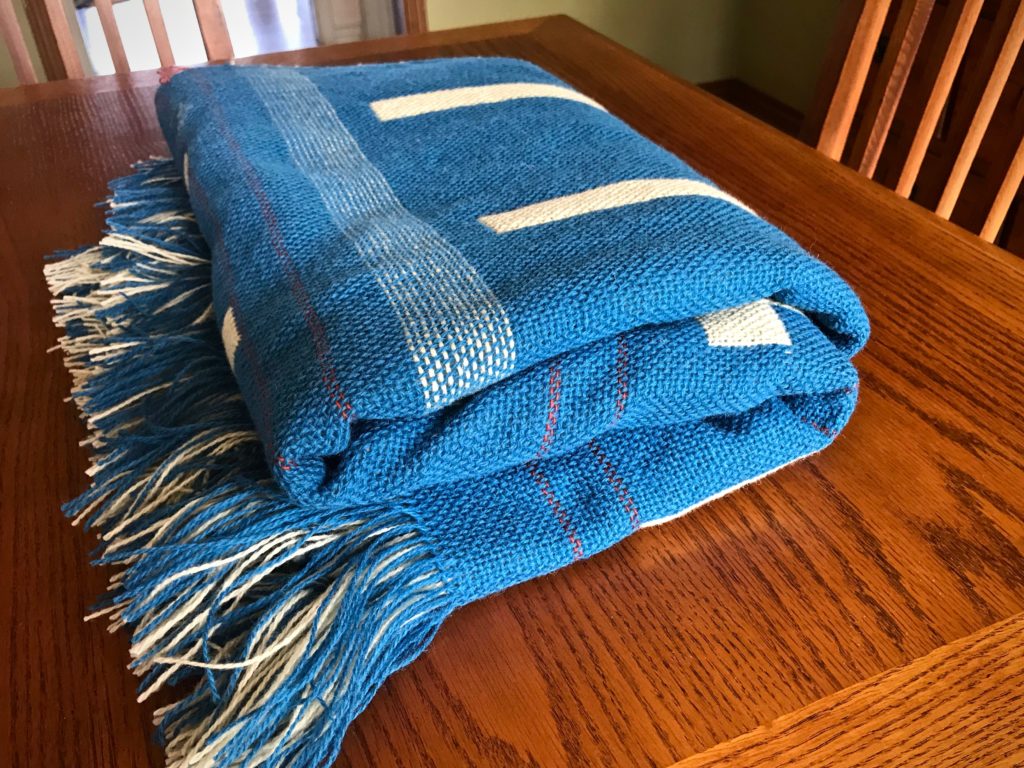
It took me seven years of study, practice, and mistakes to complete this rigorous Swedish weaving curriculum! You have been with me through much of it right here. I’m talking about The Big Book of Weaving, by Laila Lundell. I made it through the book, sequentially, page by page, warp by warp. 43 warps in all! Remember the blue 12-shaftdouble-weave blanket I had on the loom in June? That is the final project in the book.
Double-weave wool fabric is ready for wet finishing, where it will be transformed into a soft, cozy blanket.
In the short video below, each completed project is presented in order in our Texas hill country home. Watch to the end to see the blue blanket in all its finished glory.
For nitty-gritty details, check out The Big Book of Weaving tab at the top of the page.
Getting lost and absorbed in the whole process of weaving.
V. Favorite project: Old-Fashioned Weaving / Monksbelt (at 4:46 in the video)
Are we determined students of heavenly things? Oh, to know God’s will! Study what’s written, don’t lose heart, eyes on the prize, no option besides completion through Jesus Christ. One life dedicated to know him. Day by day, warp by warp, the Grand Weaver teaches us. We can know God’s will.
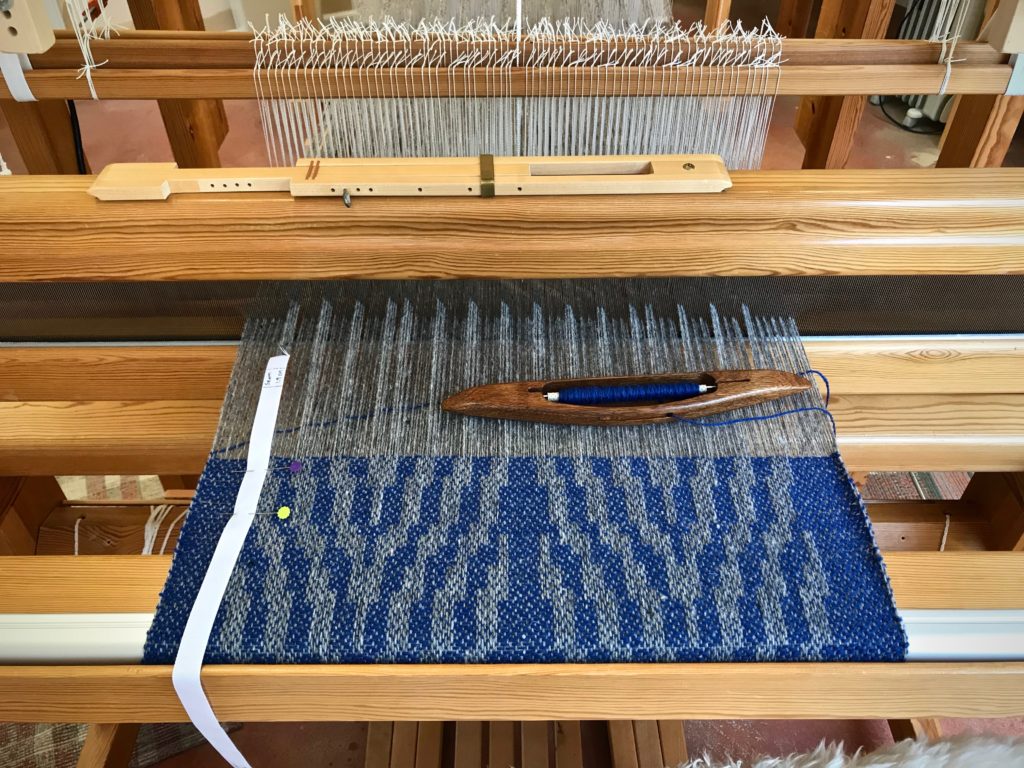
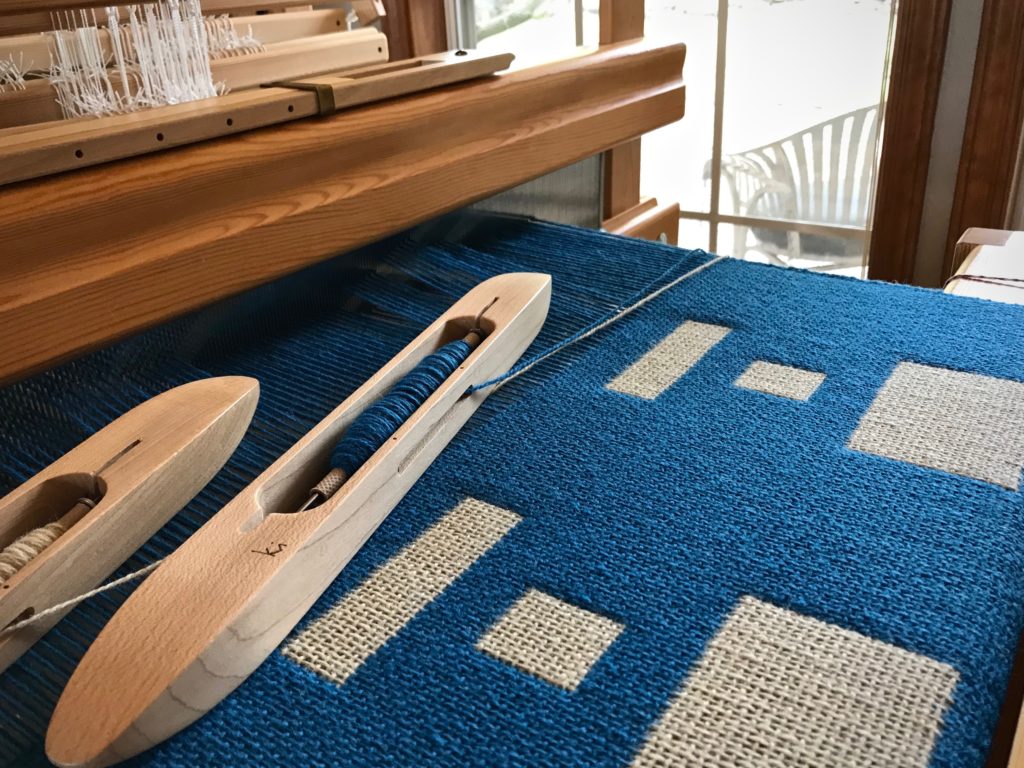
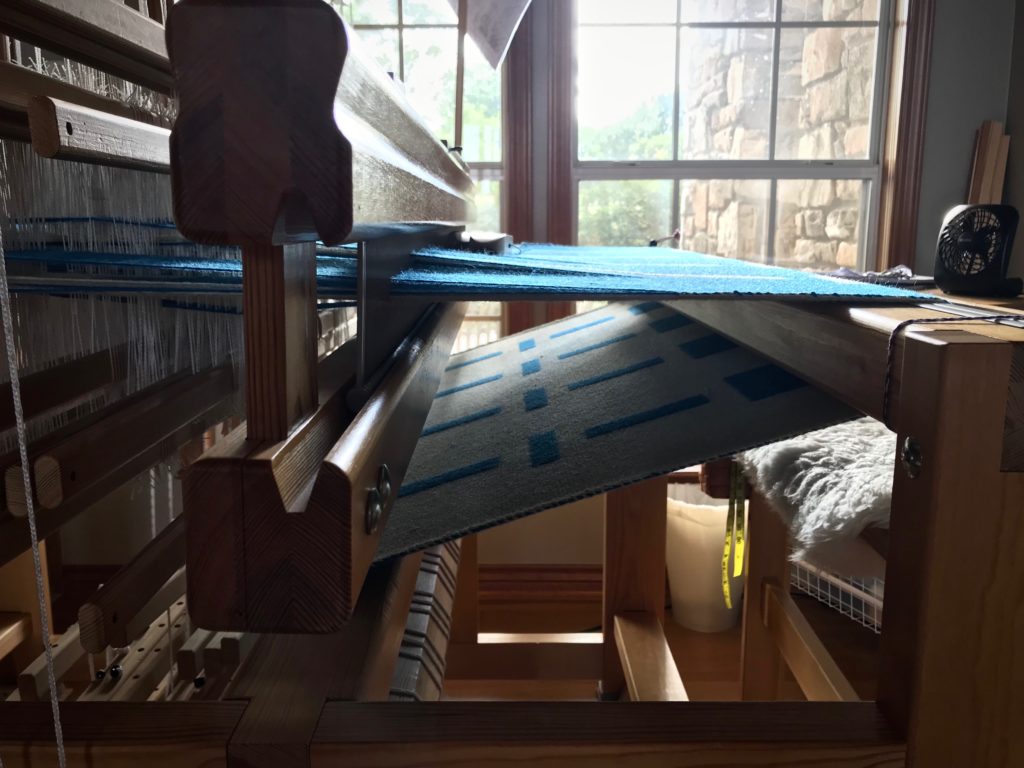
Before starting, I sketched out several versions of the finished blanket, showing different sizes and arrangements of the rectangle blocks. My favorite version is one with a random look. This twelve-shaftdouble weave has three blocks. Block 1 is a solid color across the warp. Block 2 has a narrow, vertical contrasting rectangle. Block 3 has a wide, horizontal contrasting rectangle. The warp threading determines the width of the rectangles. But the height of the rectangles is determined by the treadling pattern. I decided to use a Fibonacci sequence of numbers in random order to guide my treadling options as I weave.
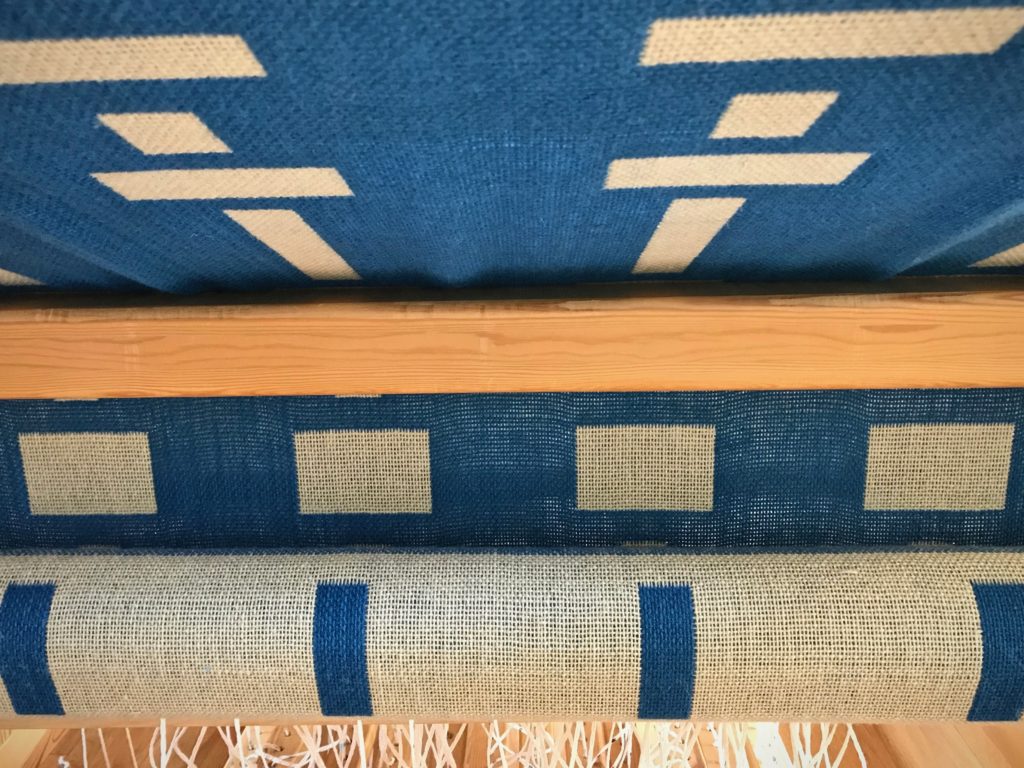
Rectangles vary in size.
Low-Tech Random Fibonacci Sequence
1 Determine the desired range of the Fibonacci sequence. 1, 2, 3, 5, 8, 13
2 Determine the number of repeat options for each block (one repeat is 4 picks per double-weave layer).
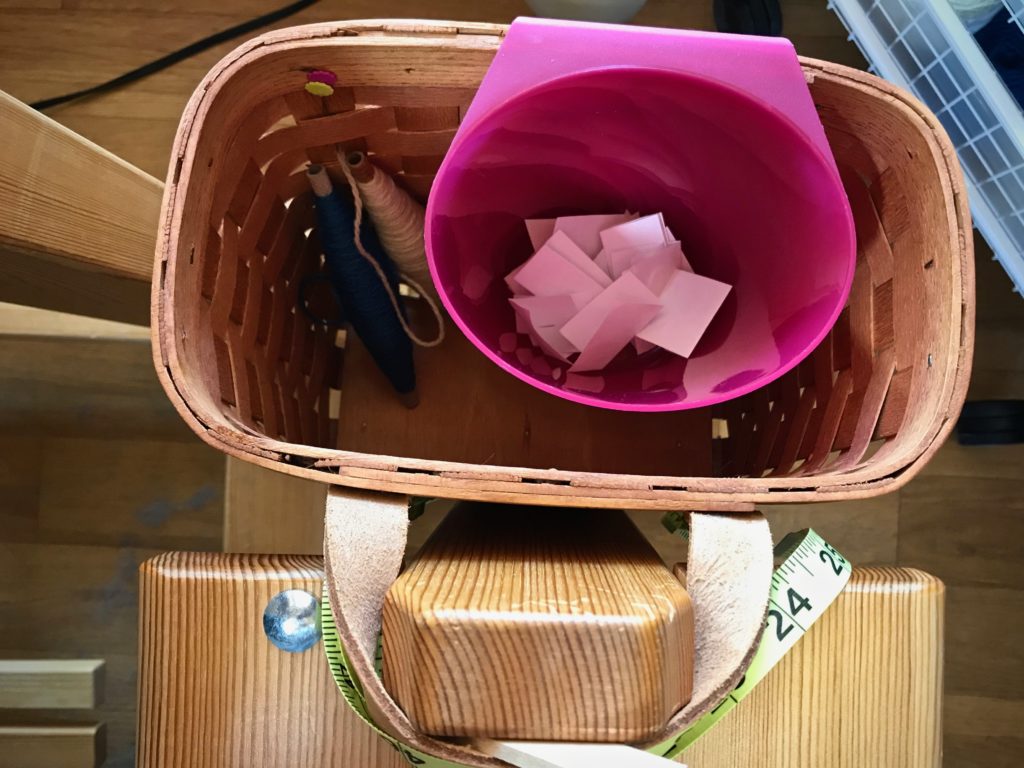
3 Write each number of the sequence on individual squares of paper. Make three sets of these numbers. 1, 2, 3, 5, 8, 13
4 Fold each paper square in half and place in a container at the loom. Mix thoroughly.
Fibonacci numbers are ready for eyes-closed random selection.
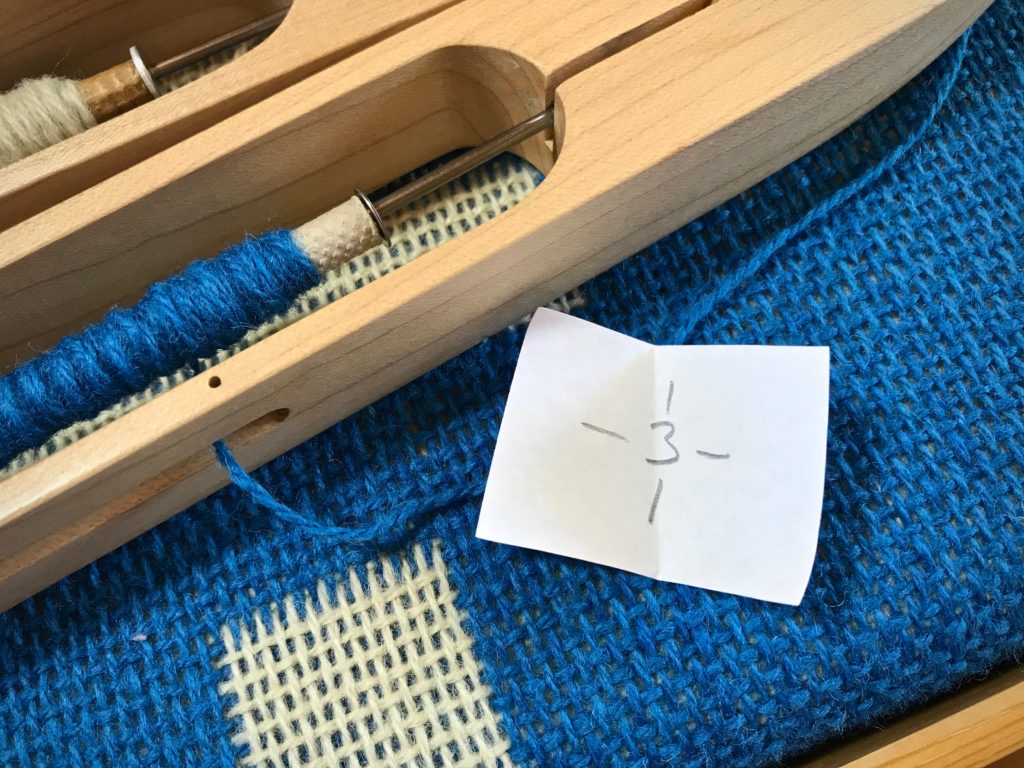
5 Randomly select a paper square to reveal the number of repeats for the next narrow or wide rectangle block.
Assignment for the next rectangle block – three repeats. The lines indicate that this number can be used for Block 2 (narrow, vertical) or Block 3 (wide, horizontal).
For this blanket I have a woven hem and border, and then two repeats of Block 1 (solid color) between alternating Block 2 (narrow) and Block 3 (wide) rectangles of varying heights.
Back side has reverse colors.Block 1 (solid blue across) stays a consistent size between the white rectangles.
Surprise is built in which makes it hard to leave the loom. “Just one more block,” I tell myself…
View of the cloth beam reveals the variety of sizes of rectangles. Eager to see it off the loom!