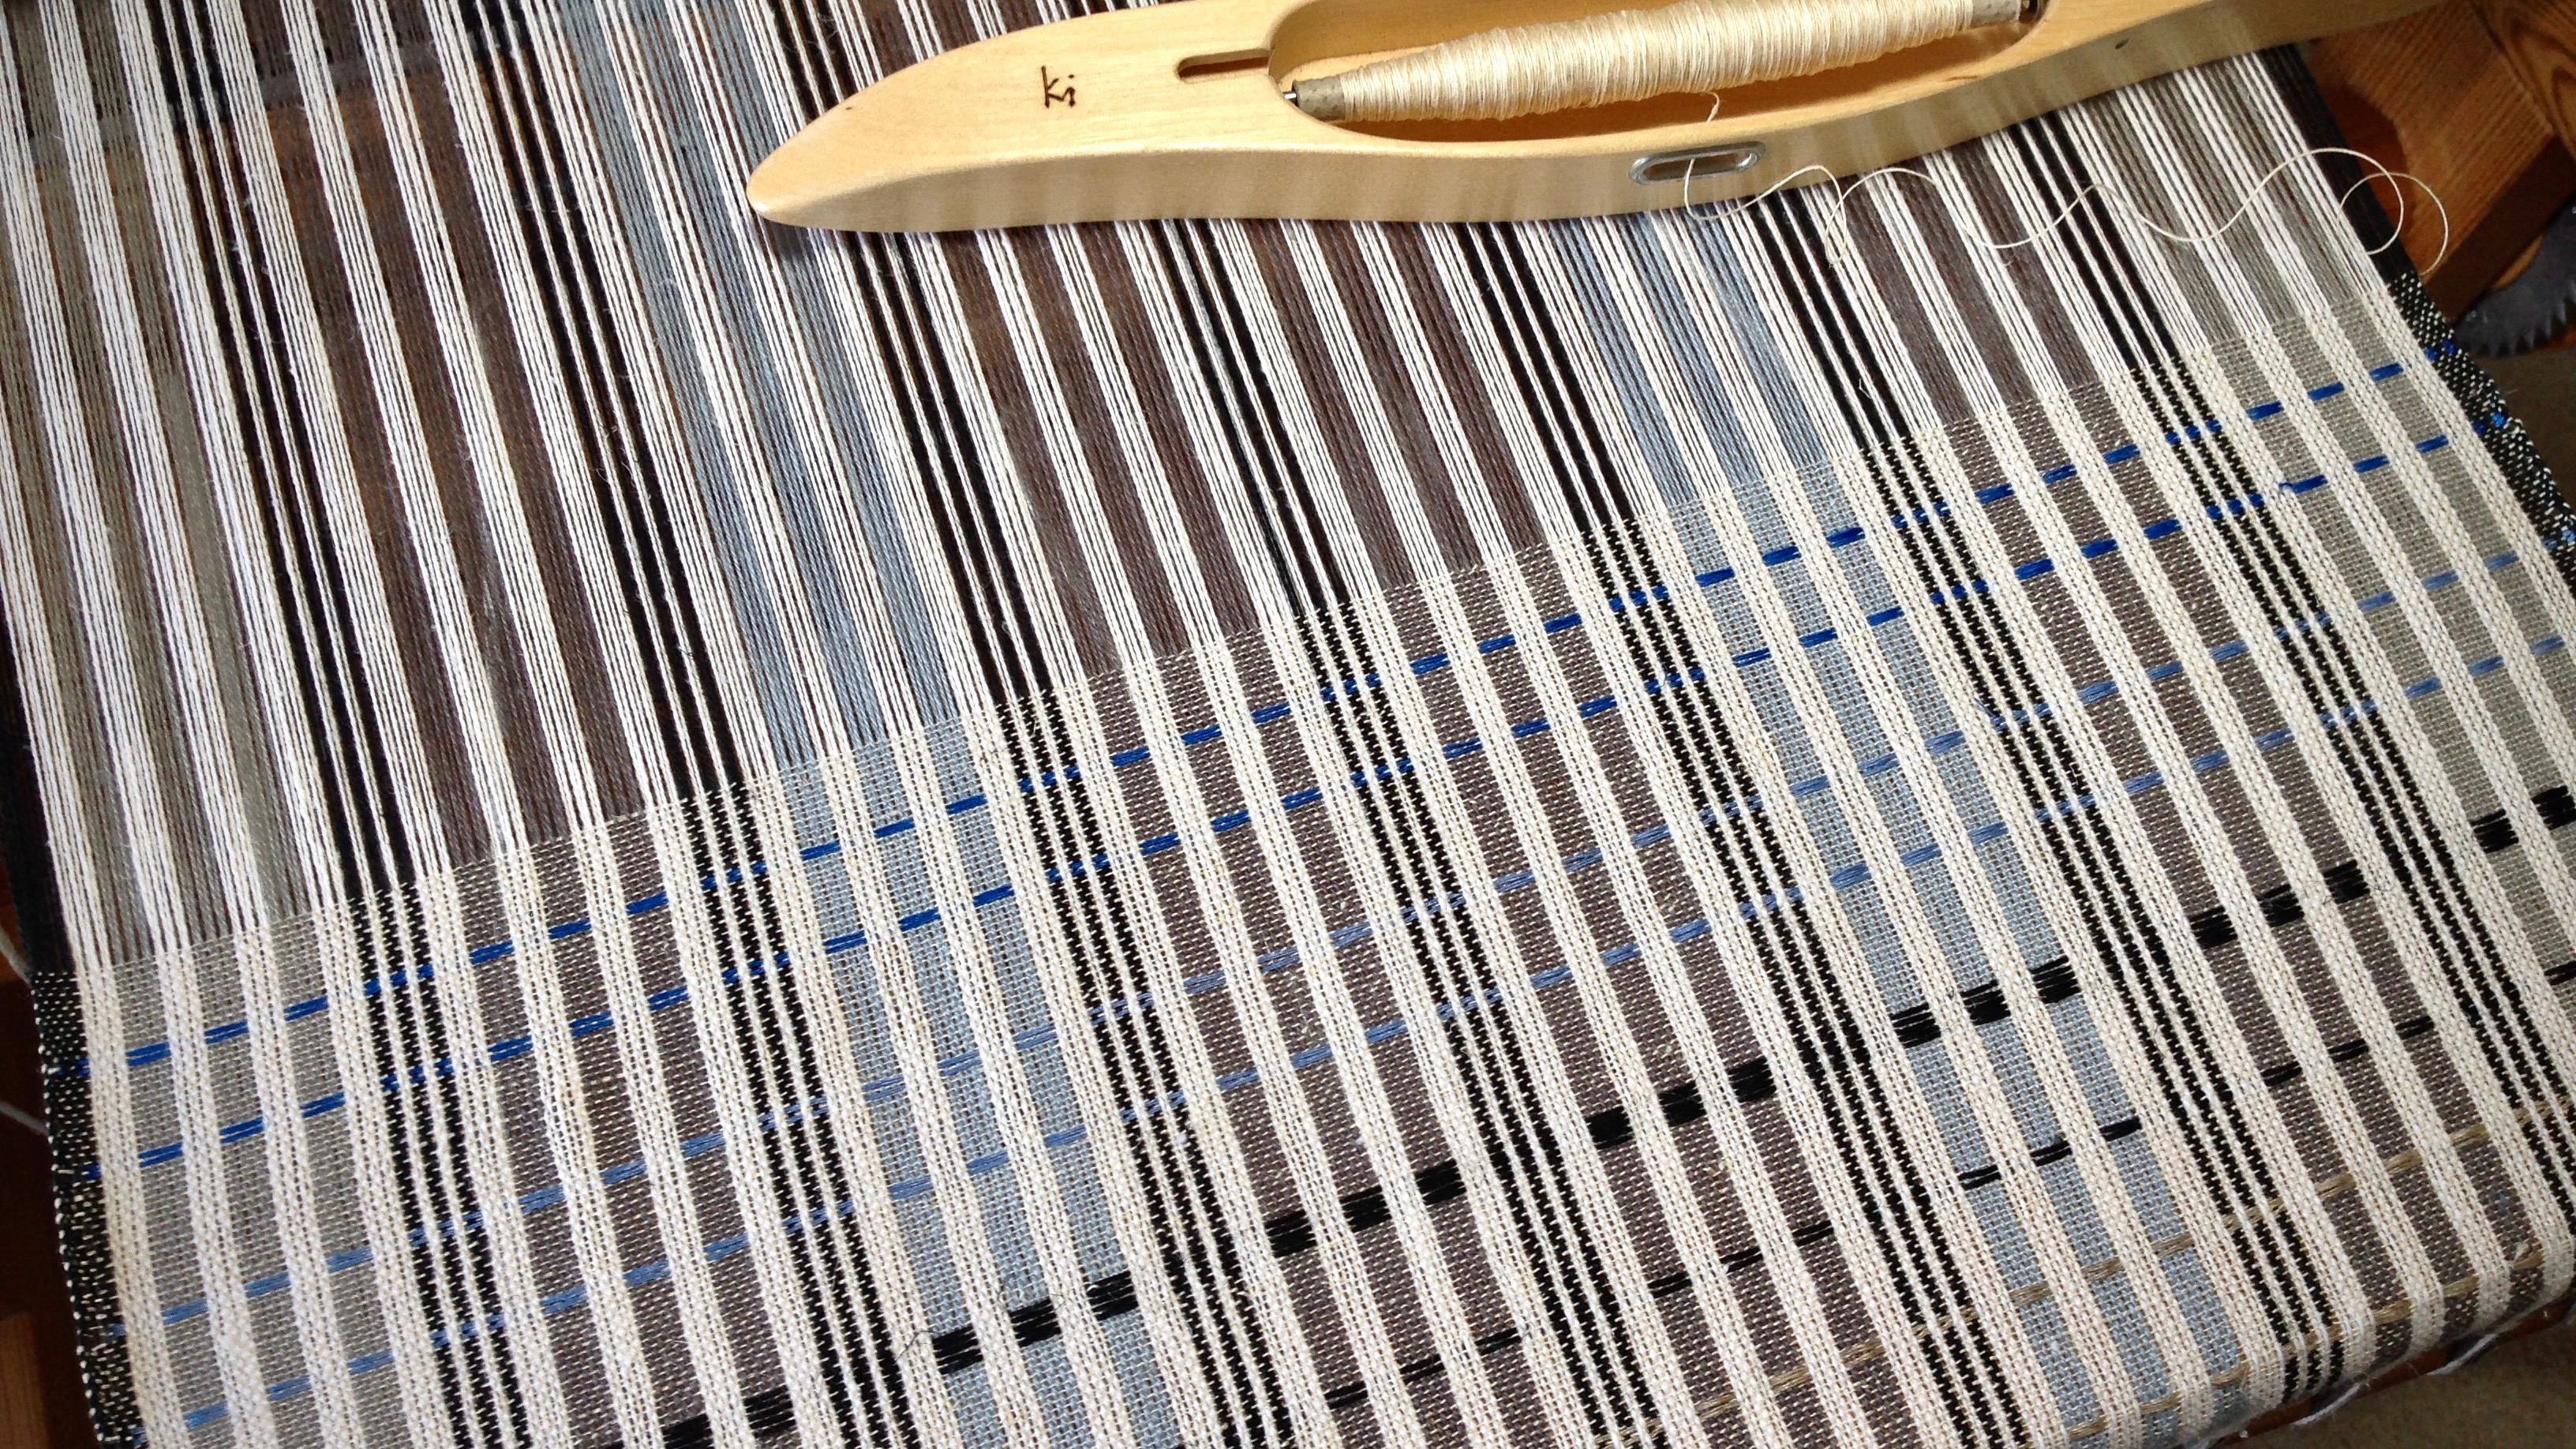
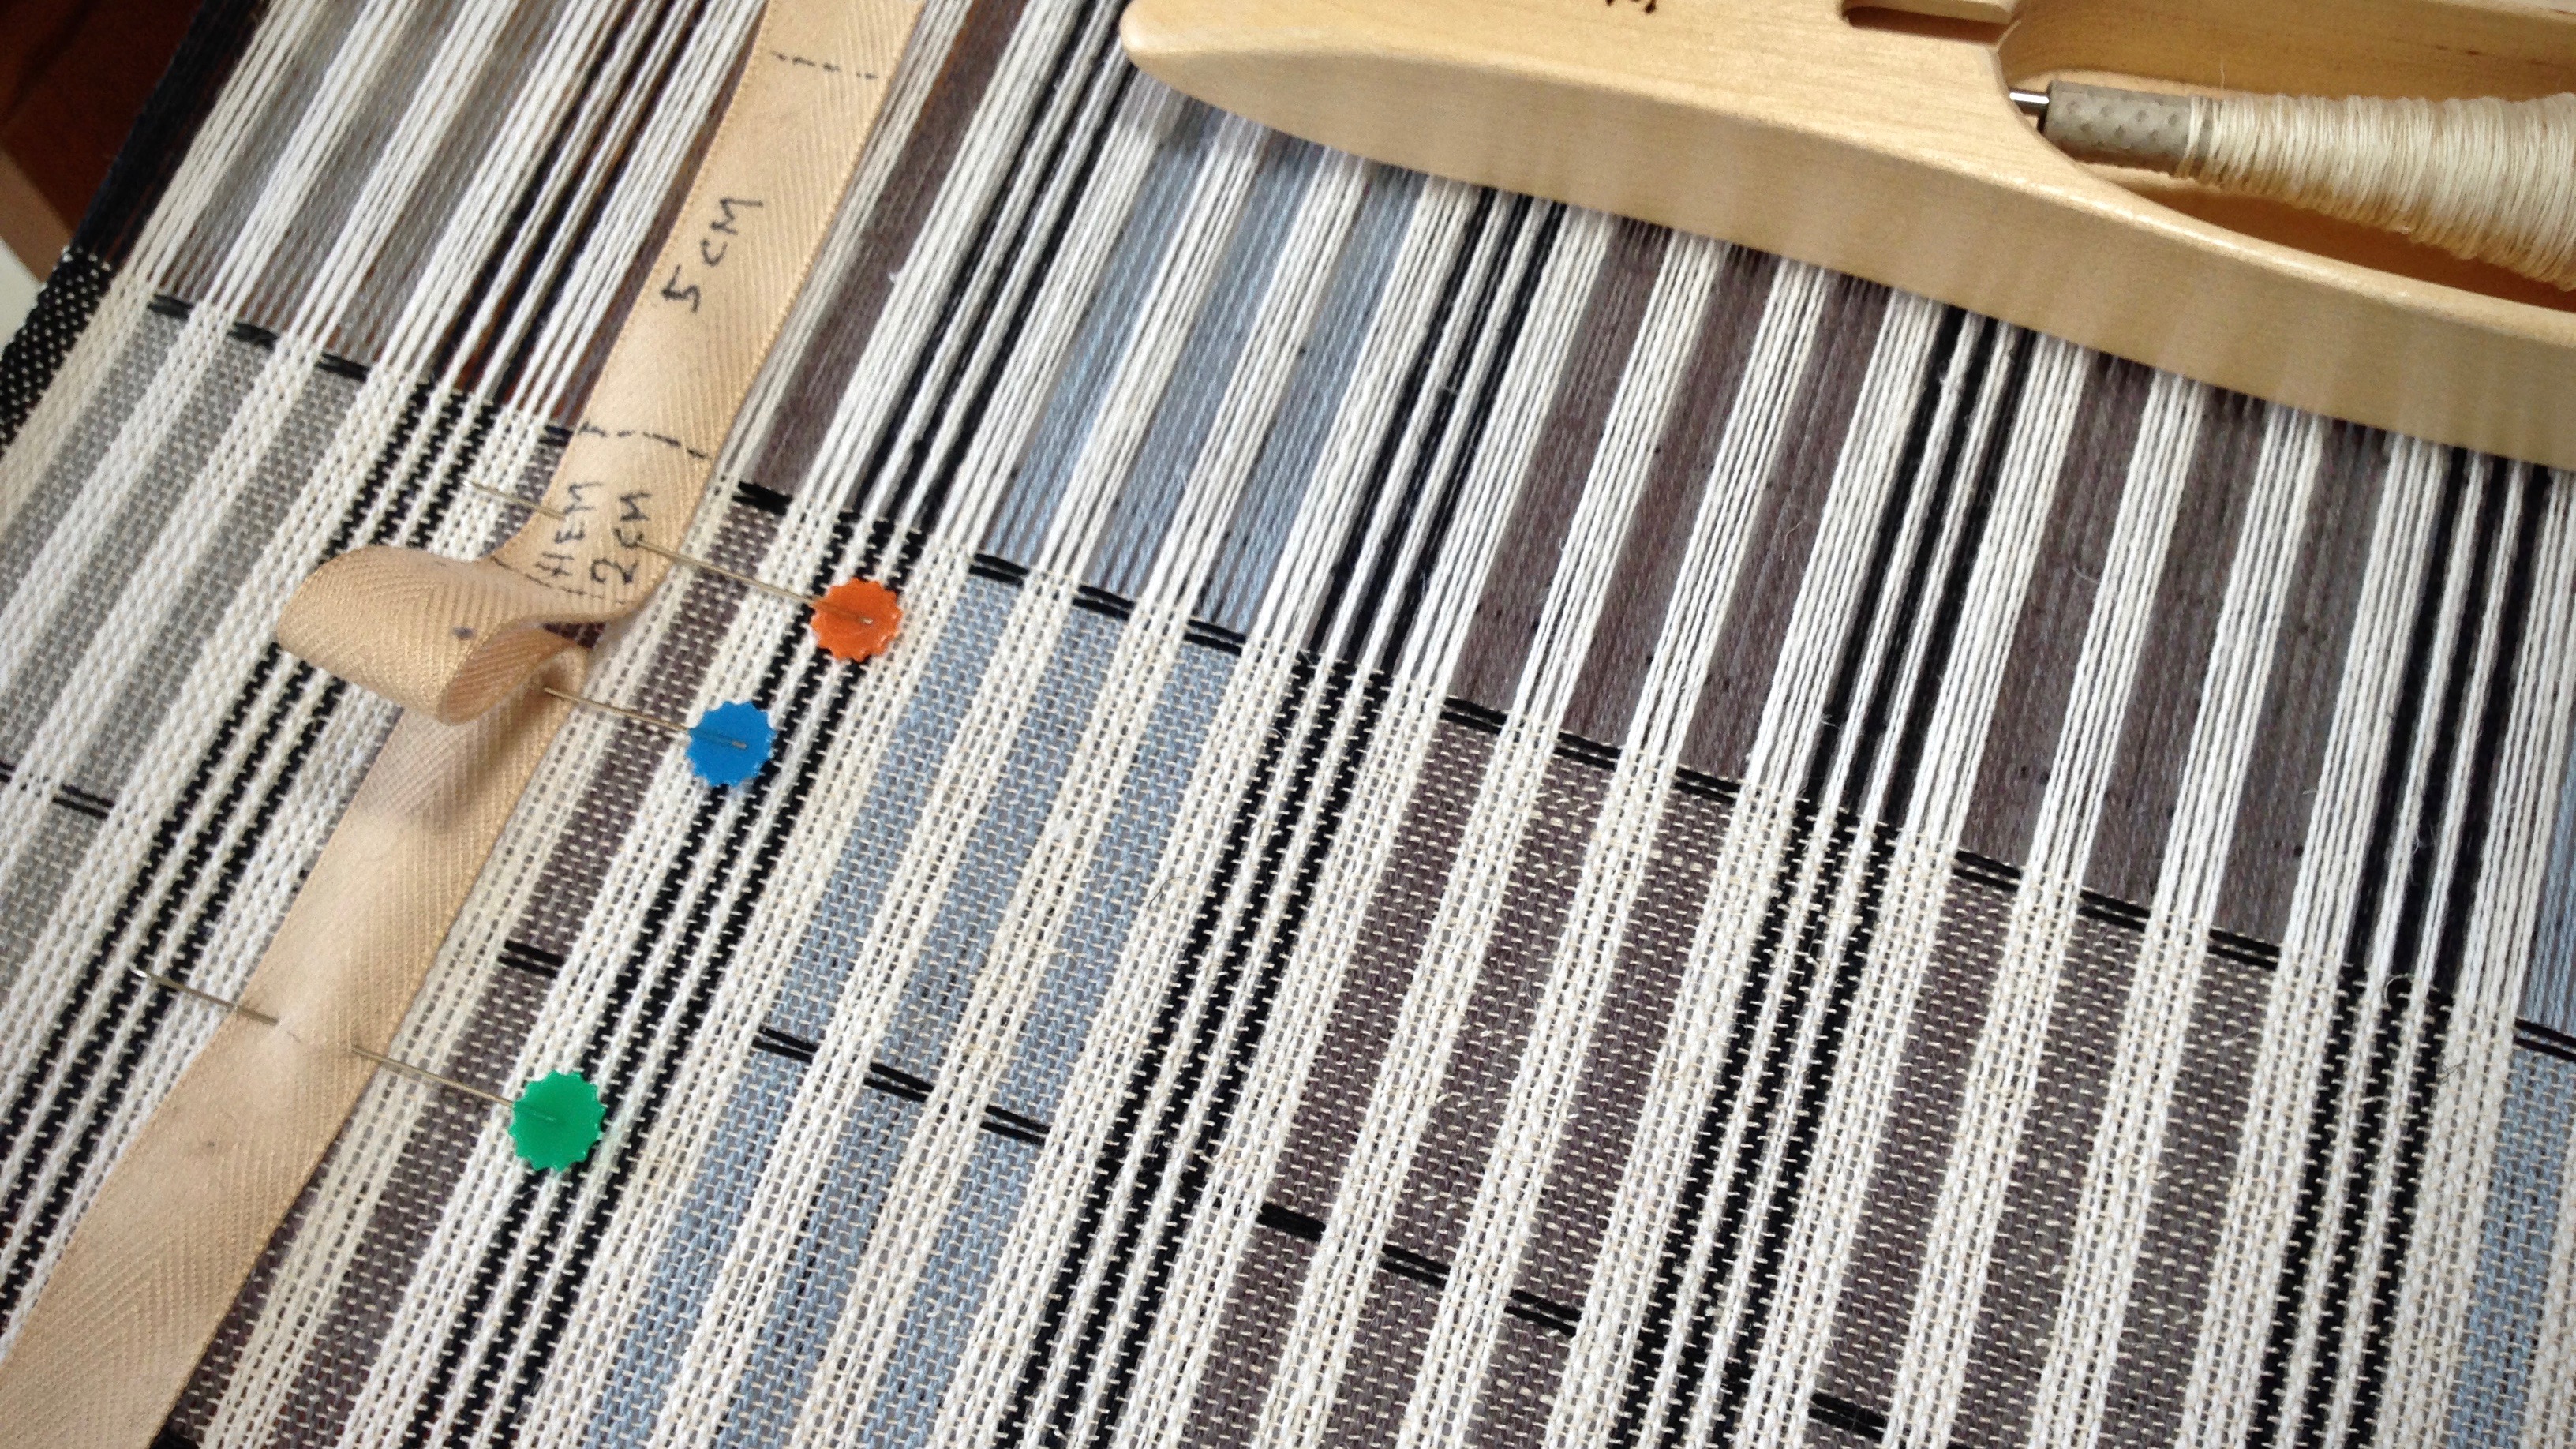
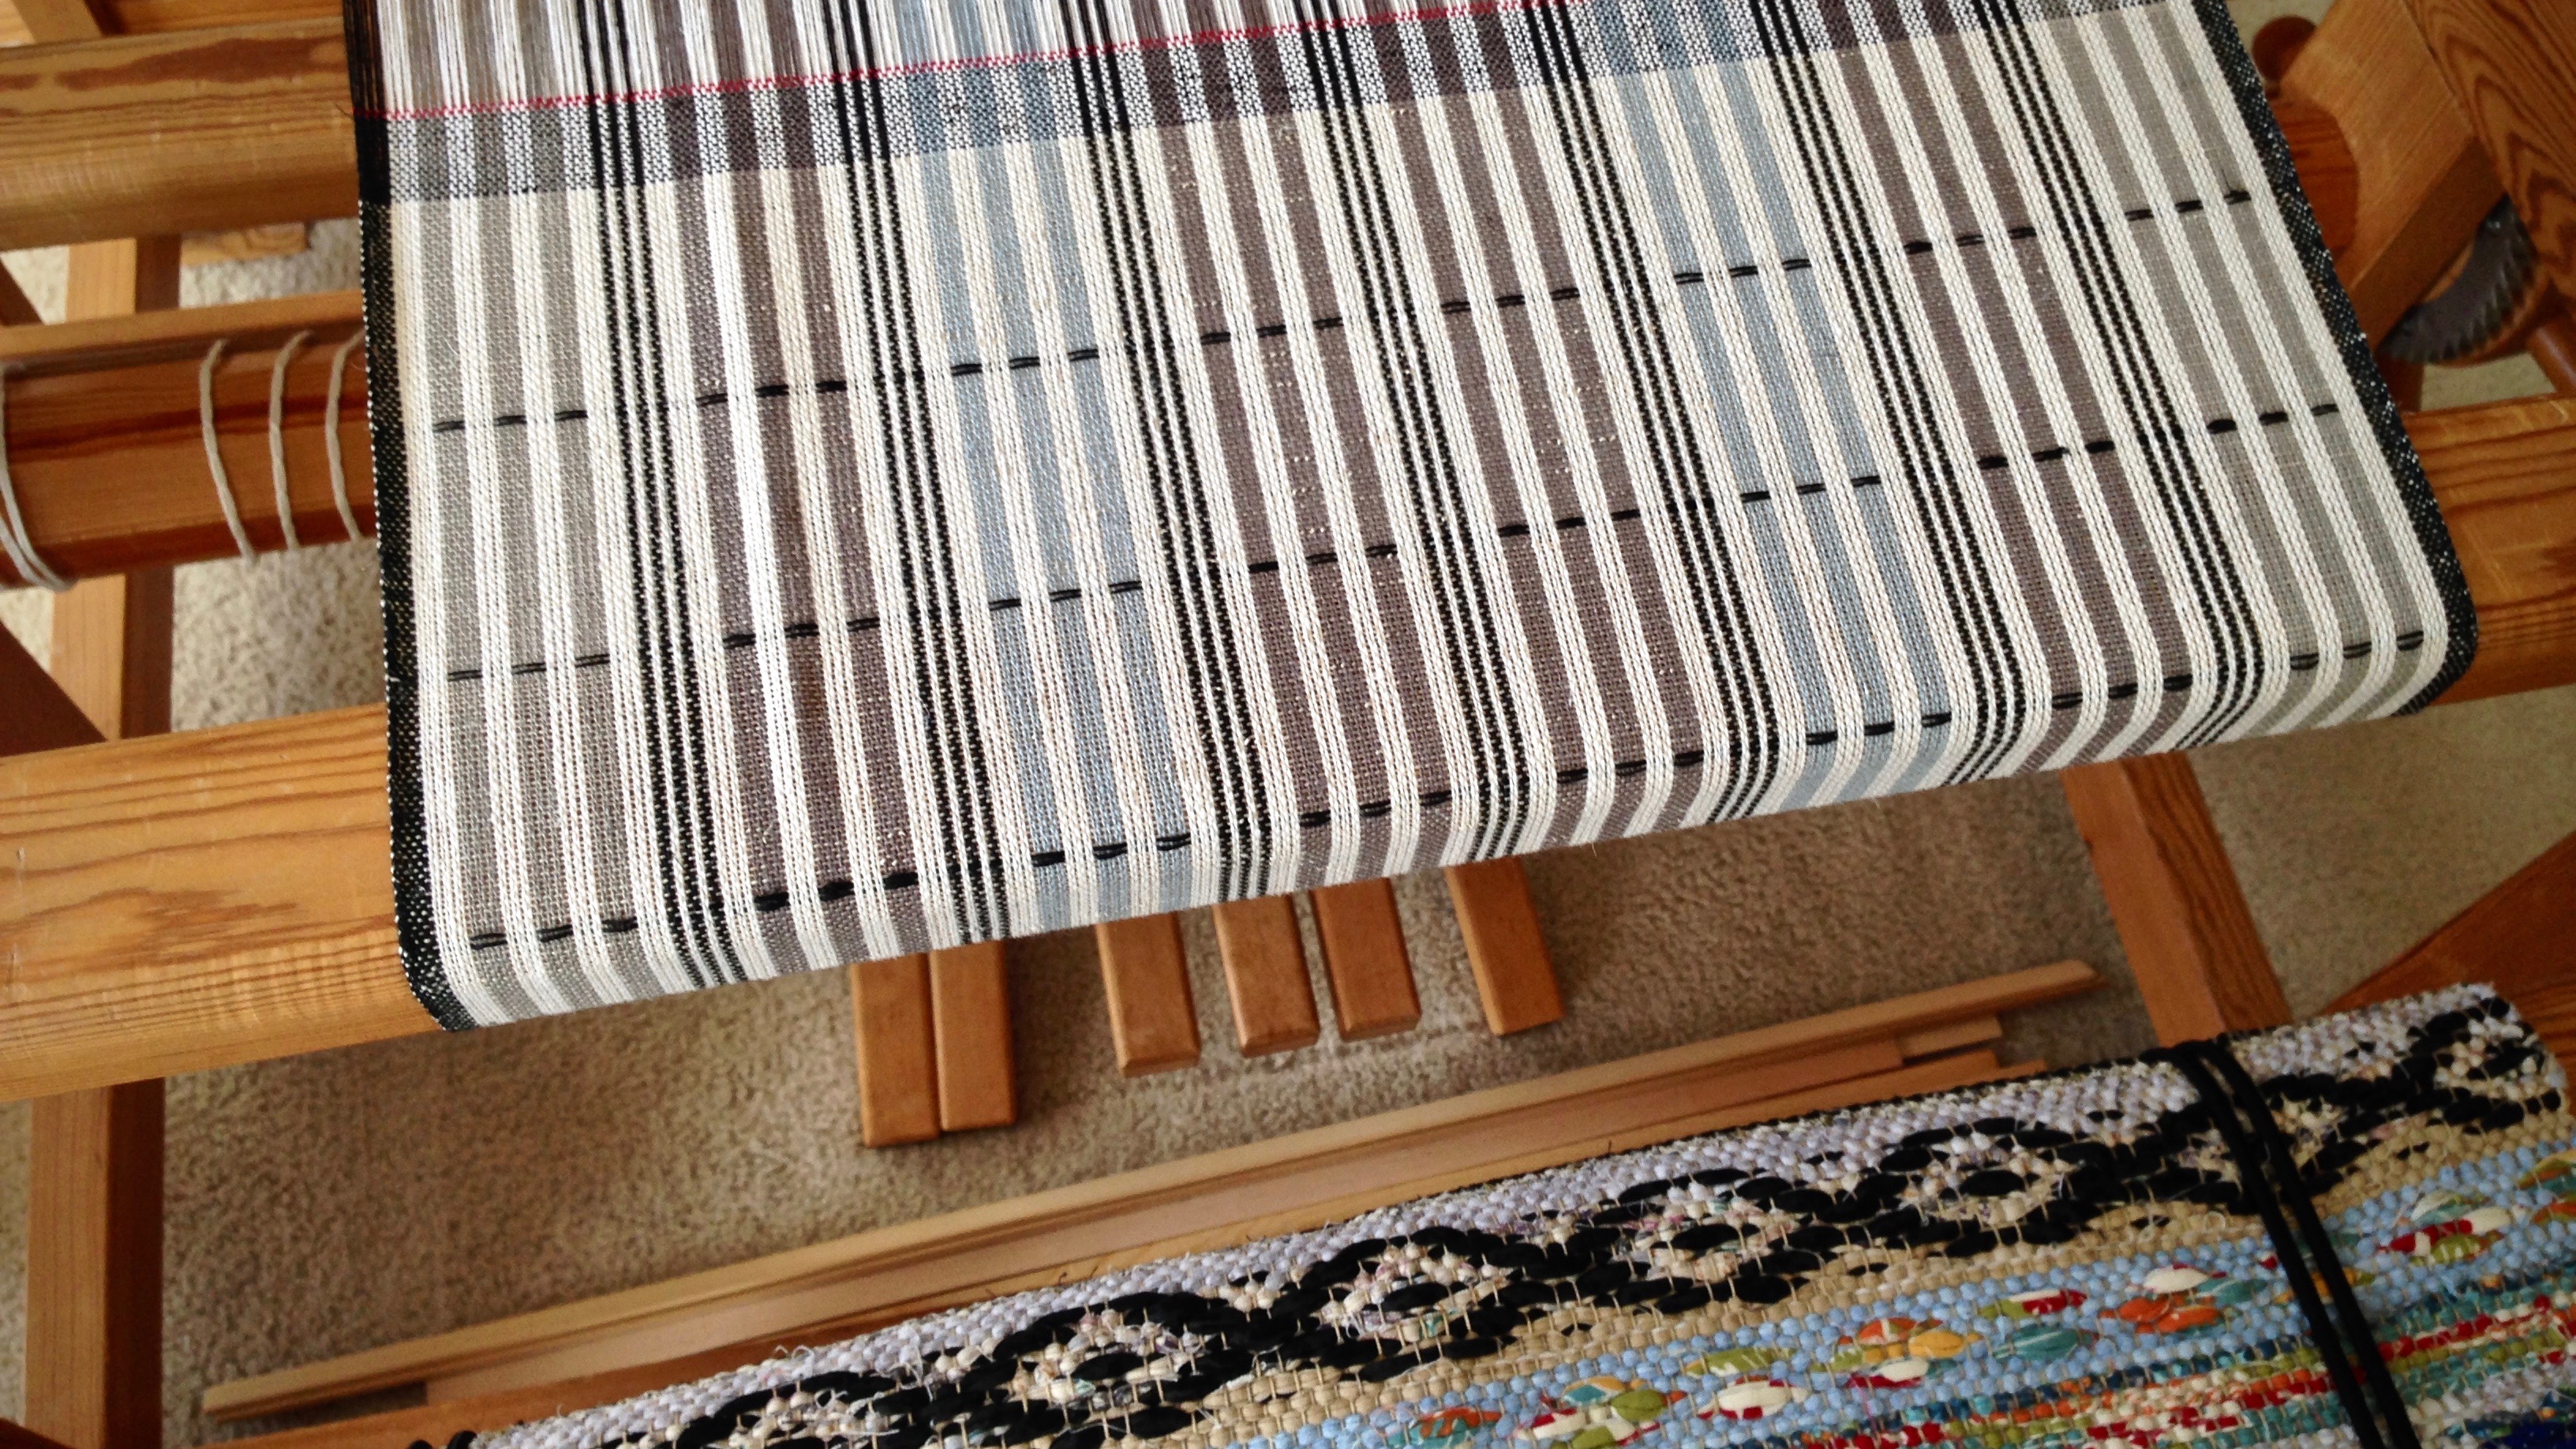
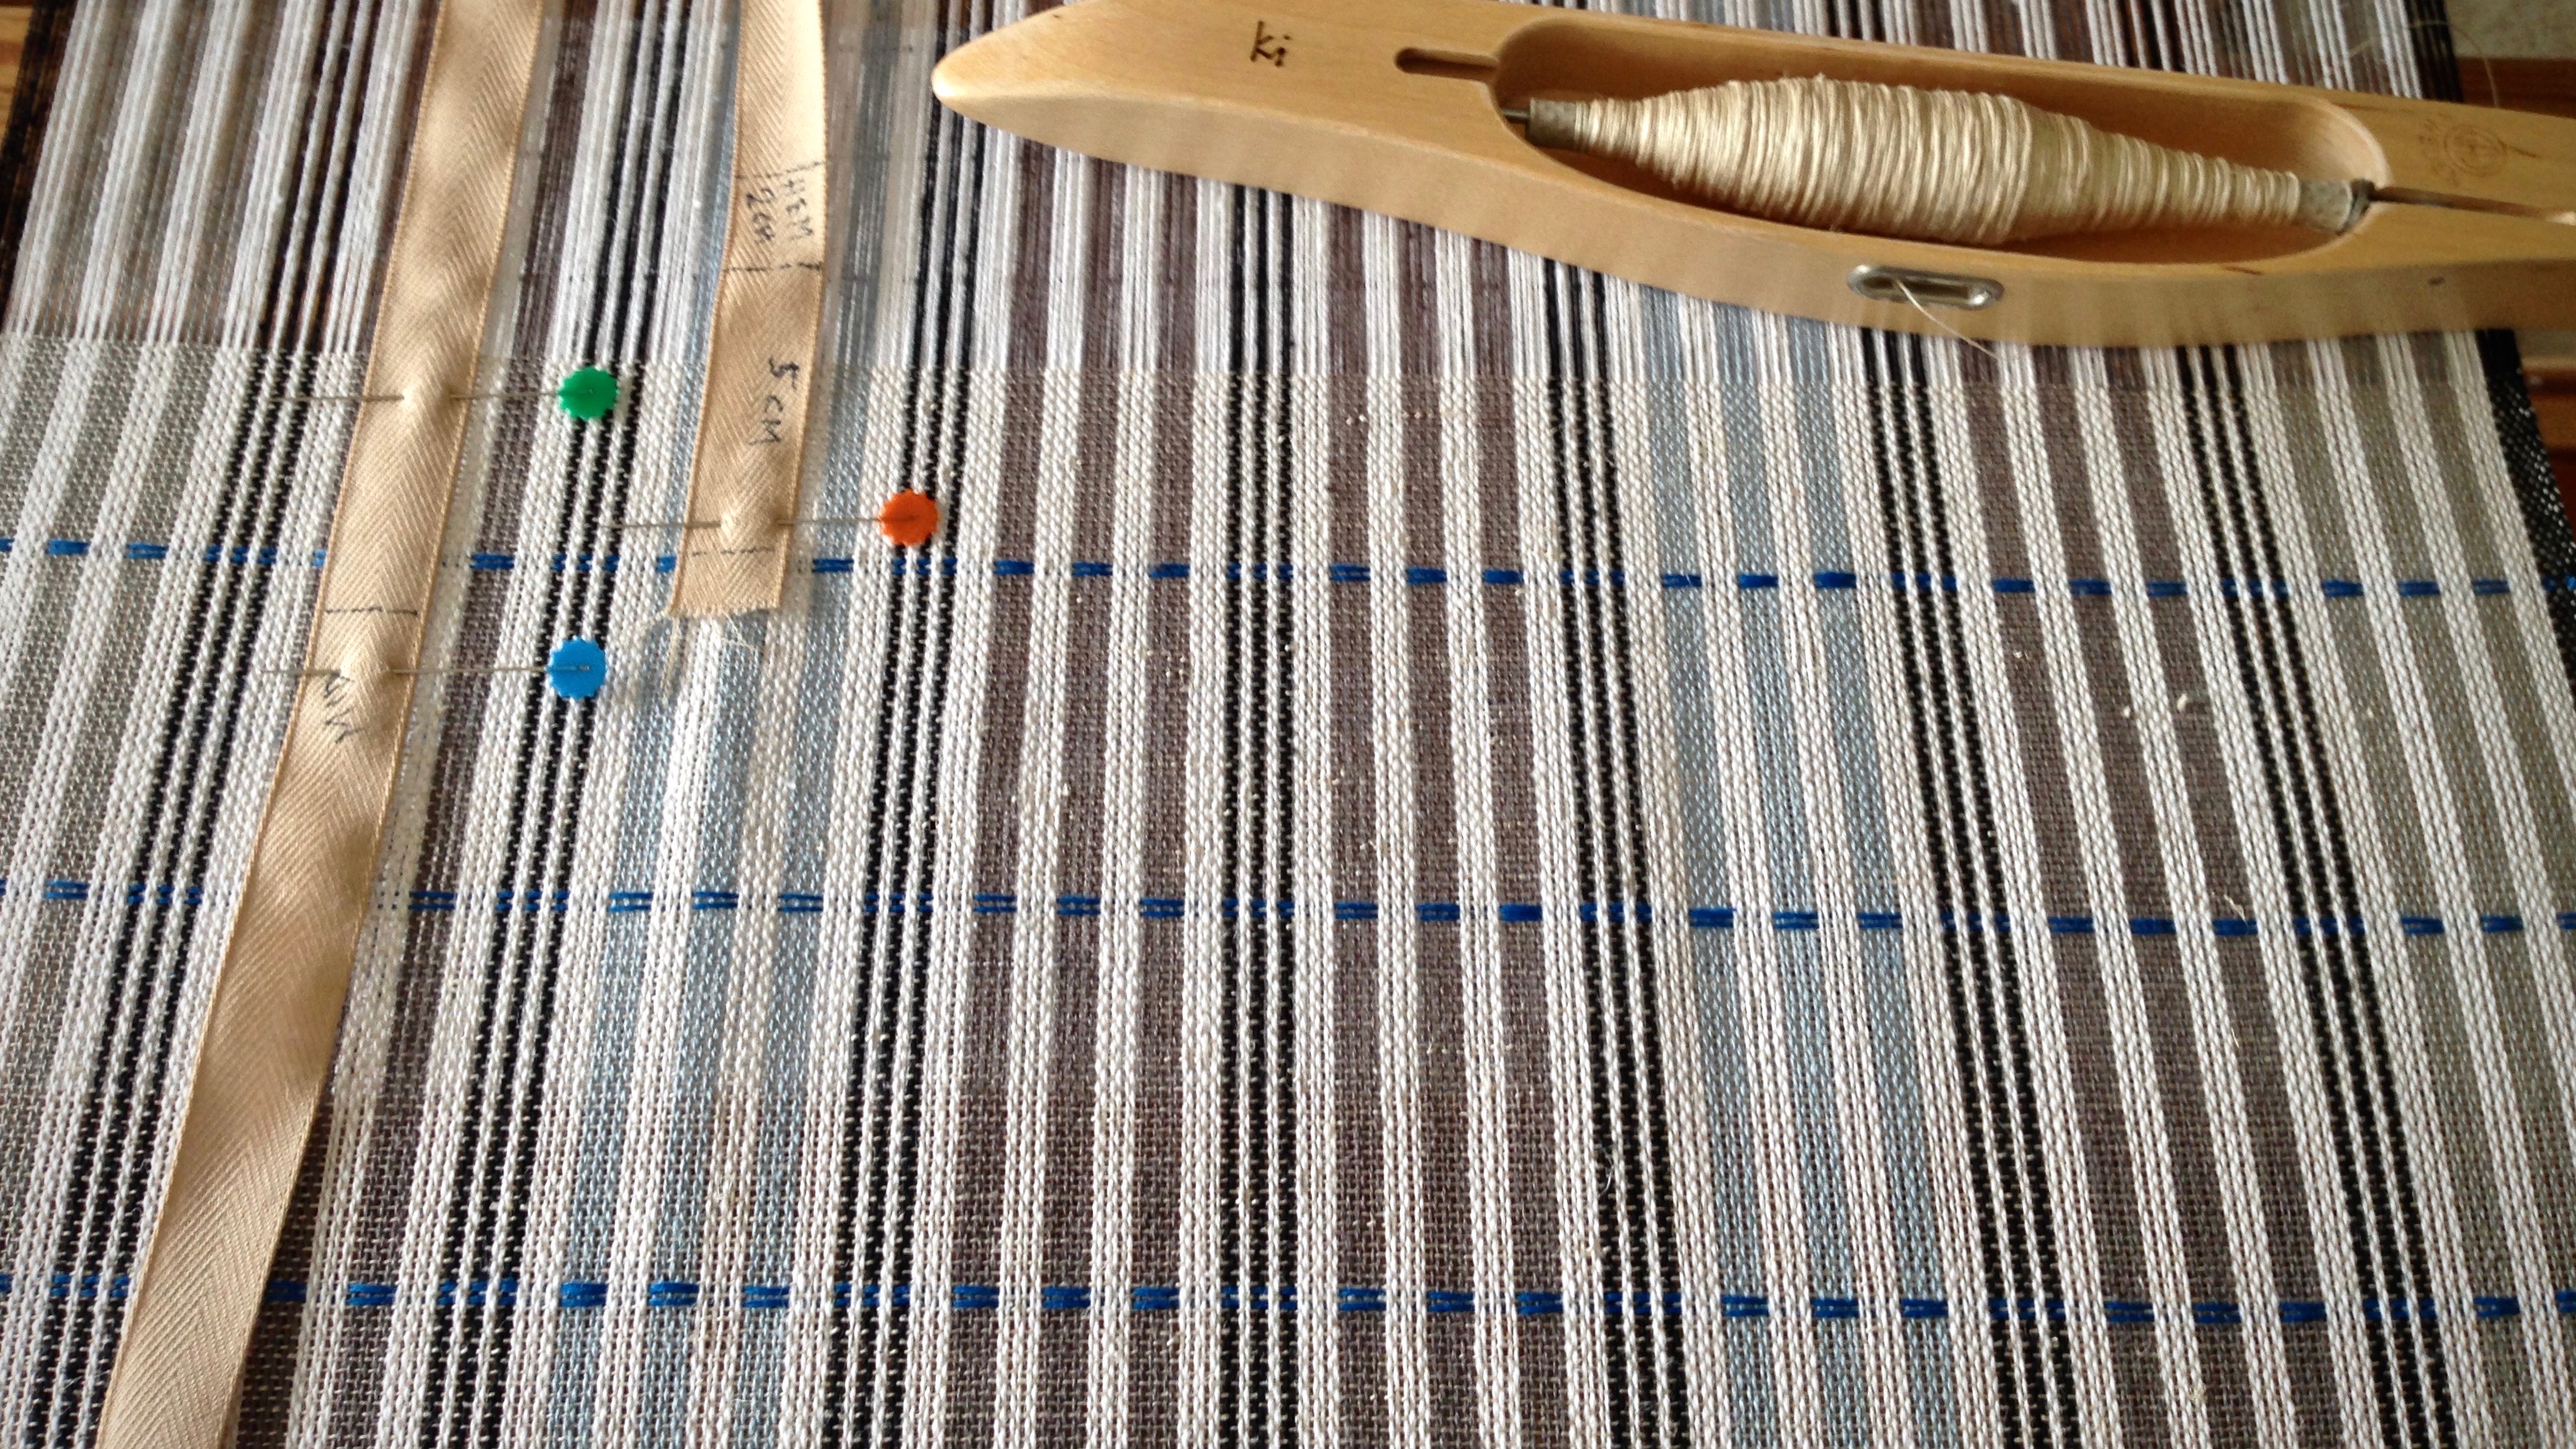
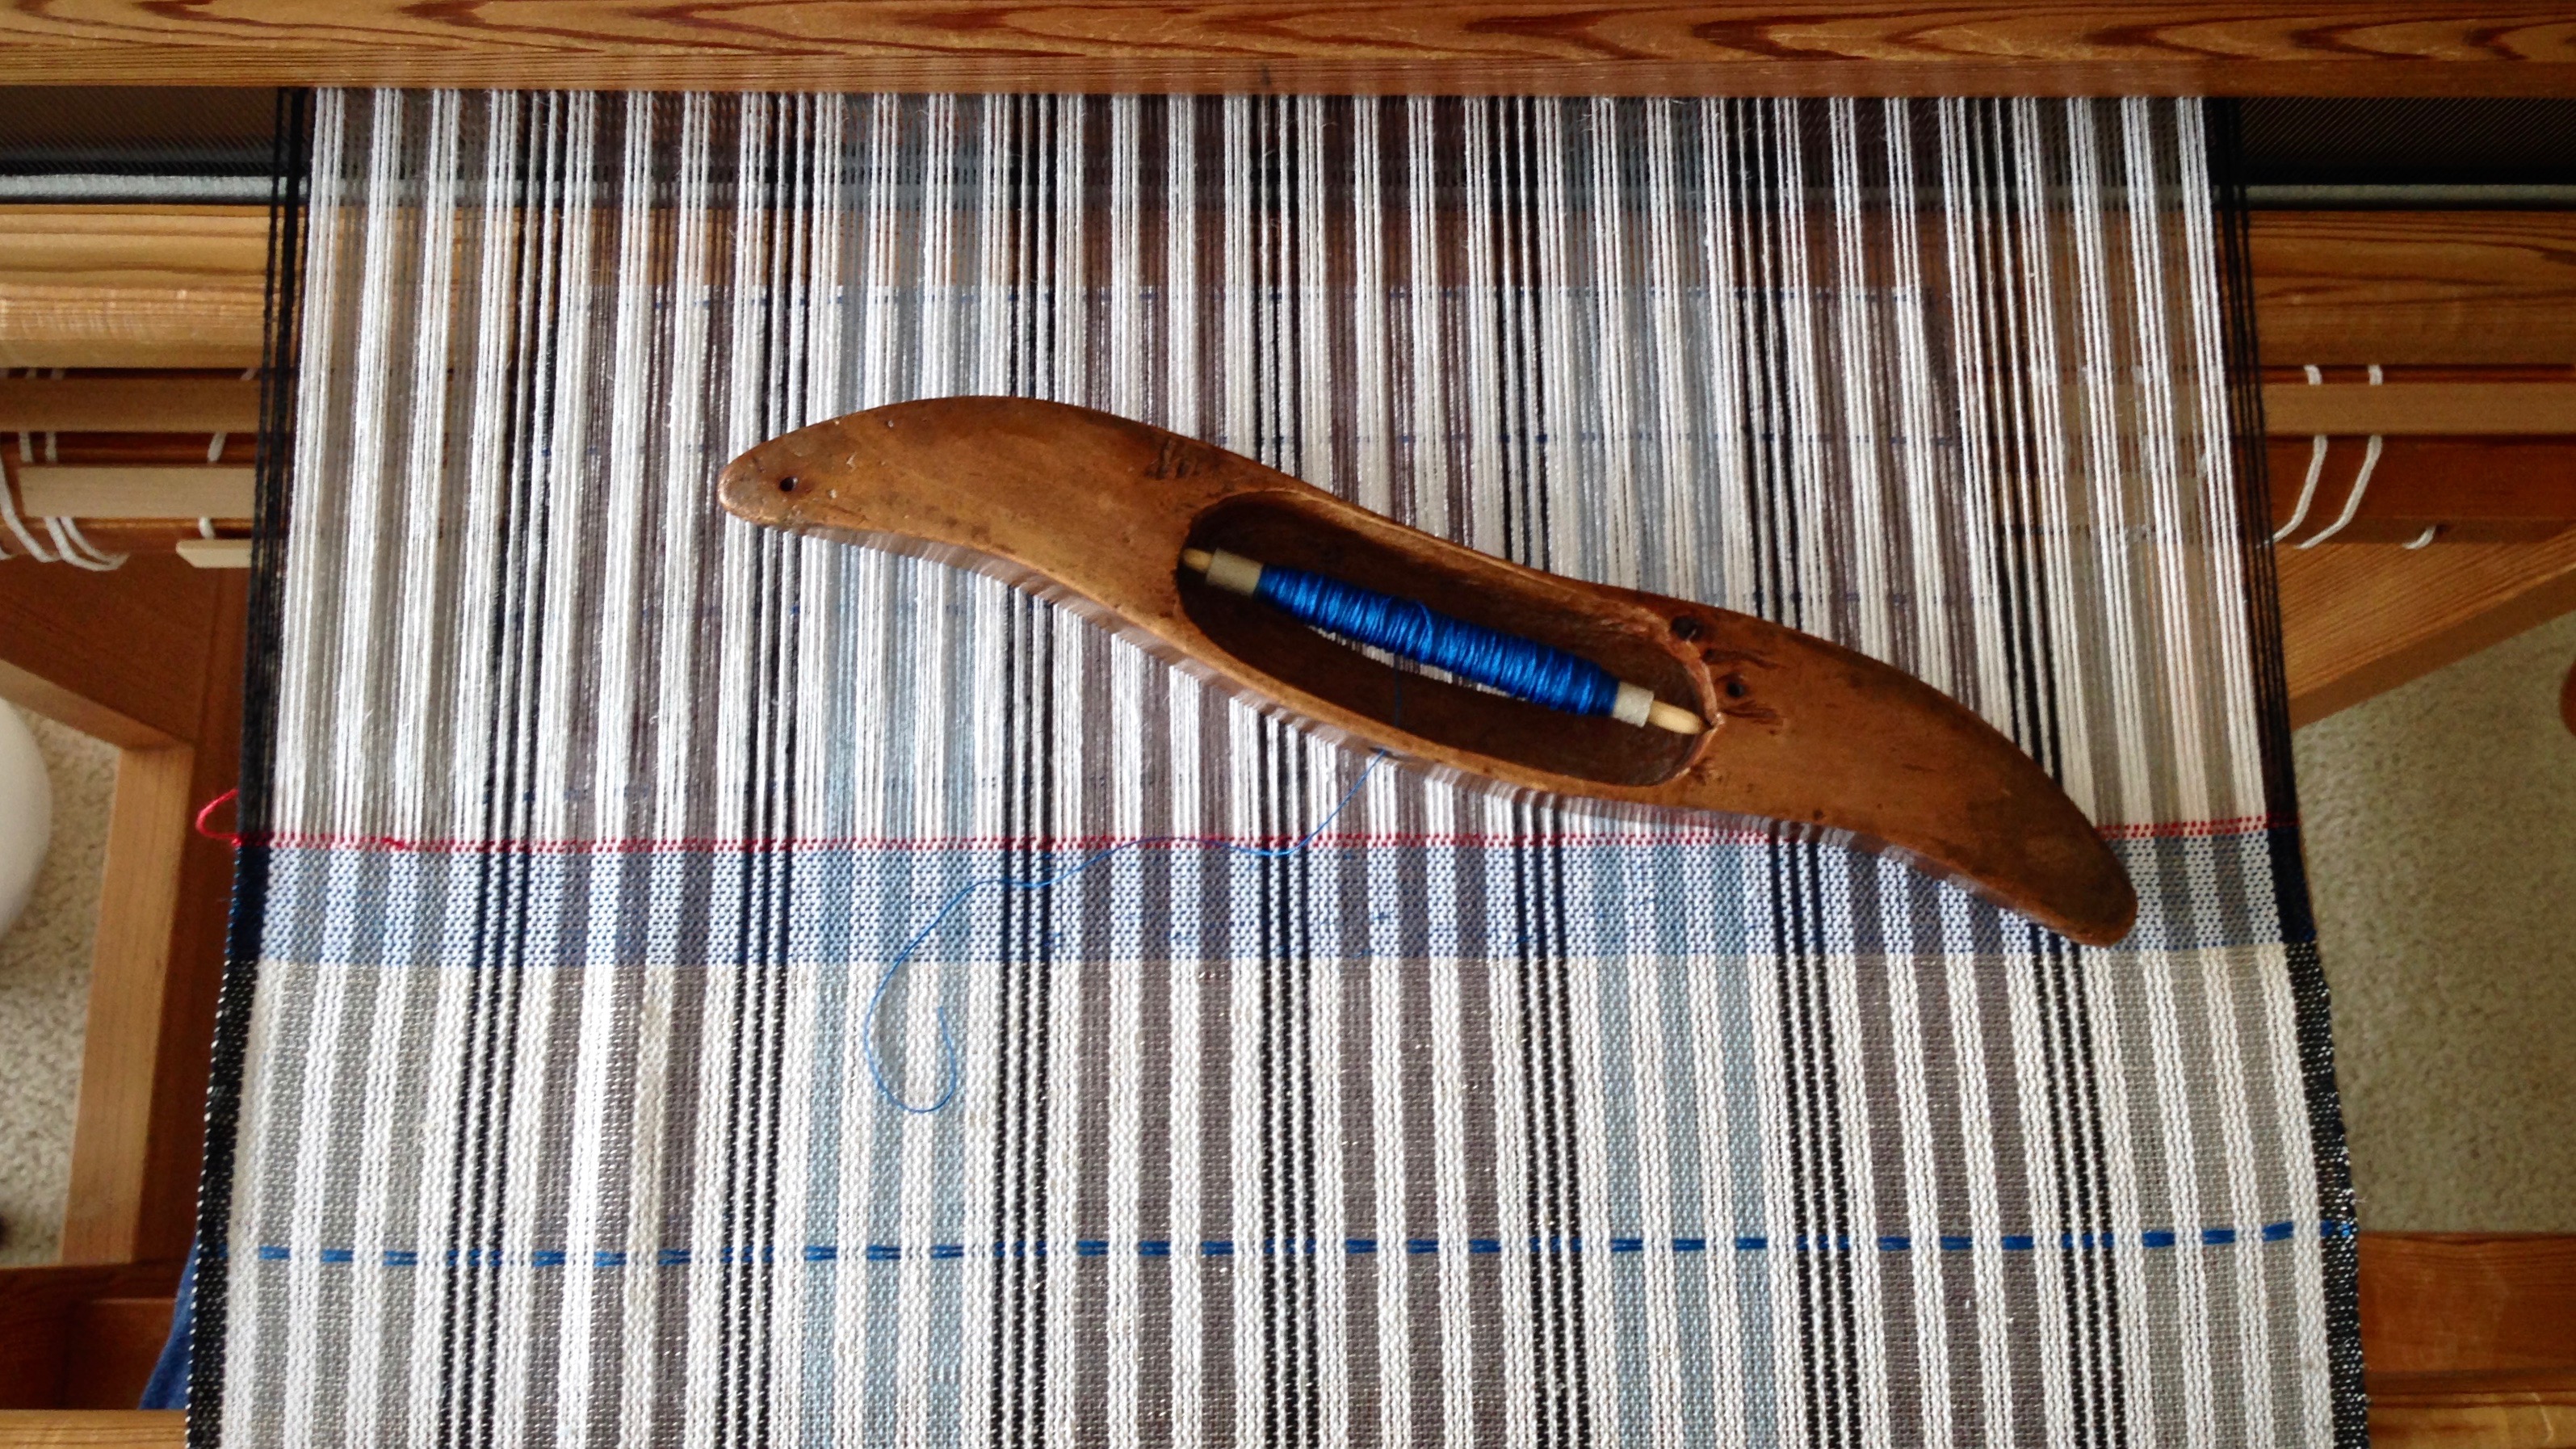
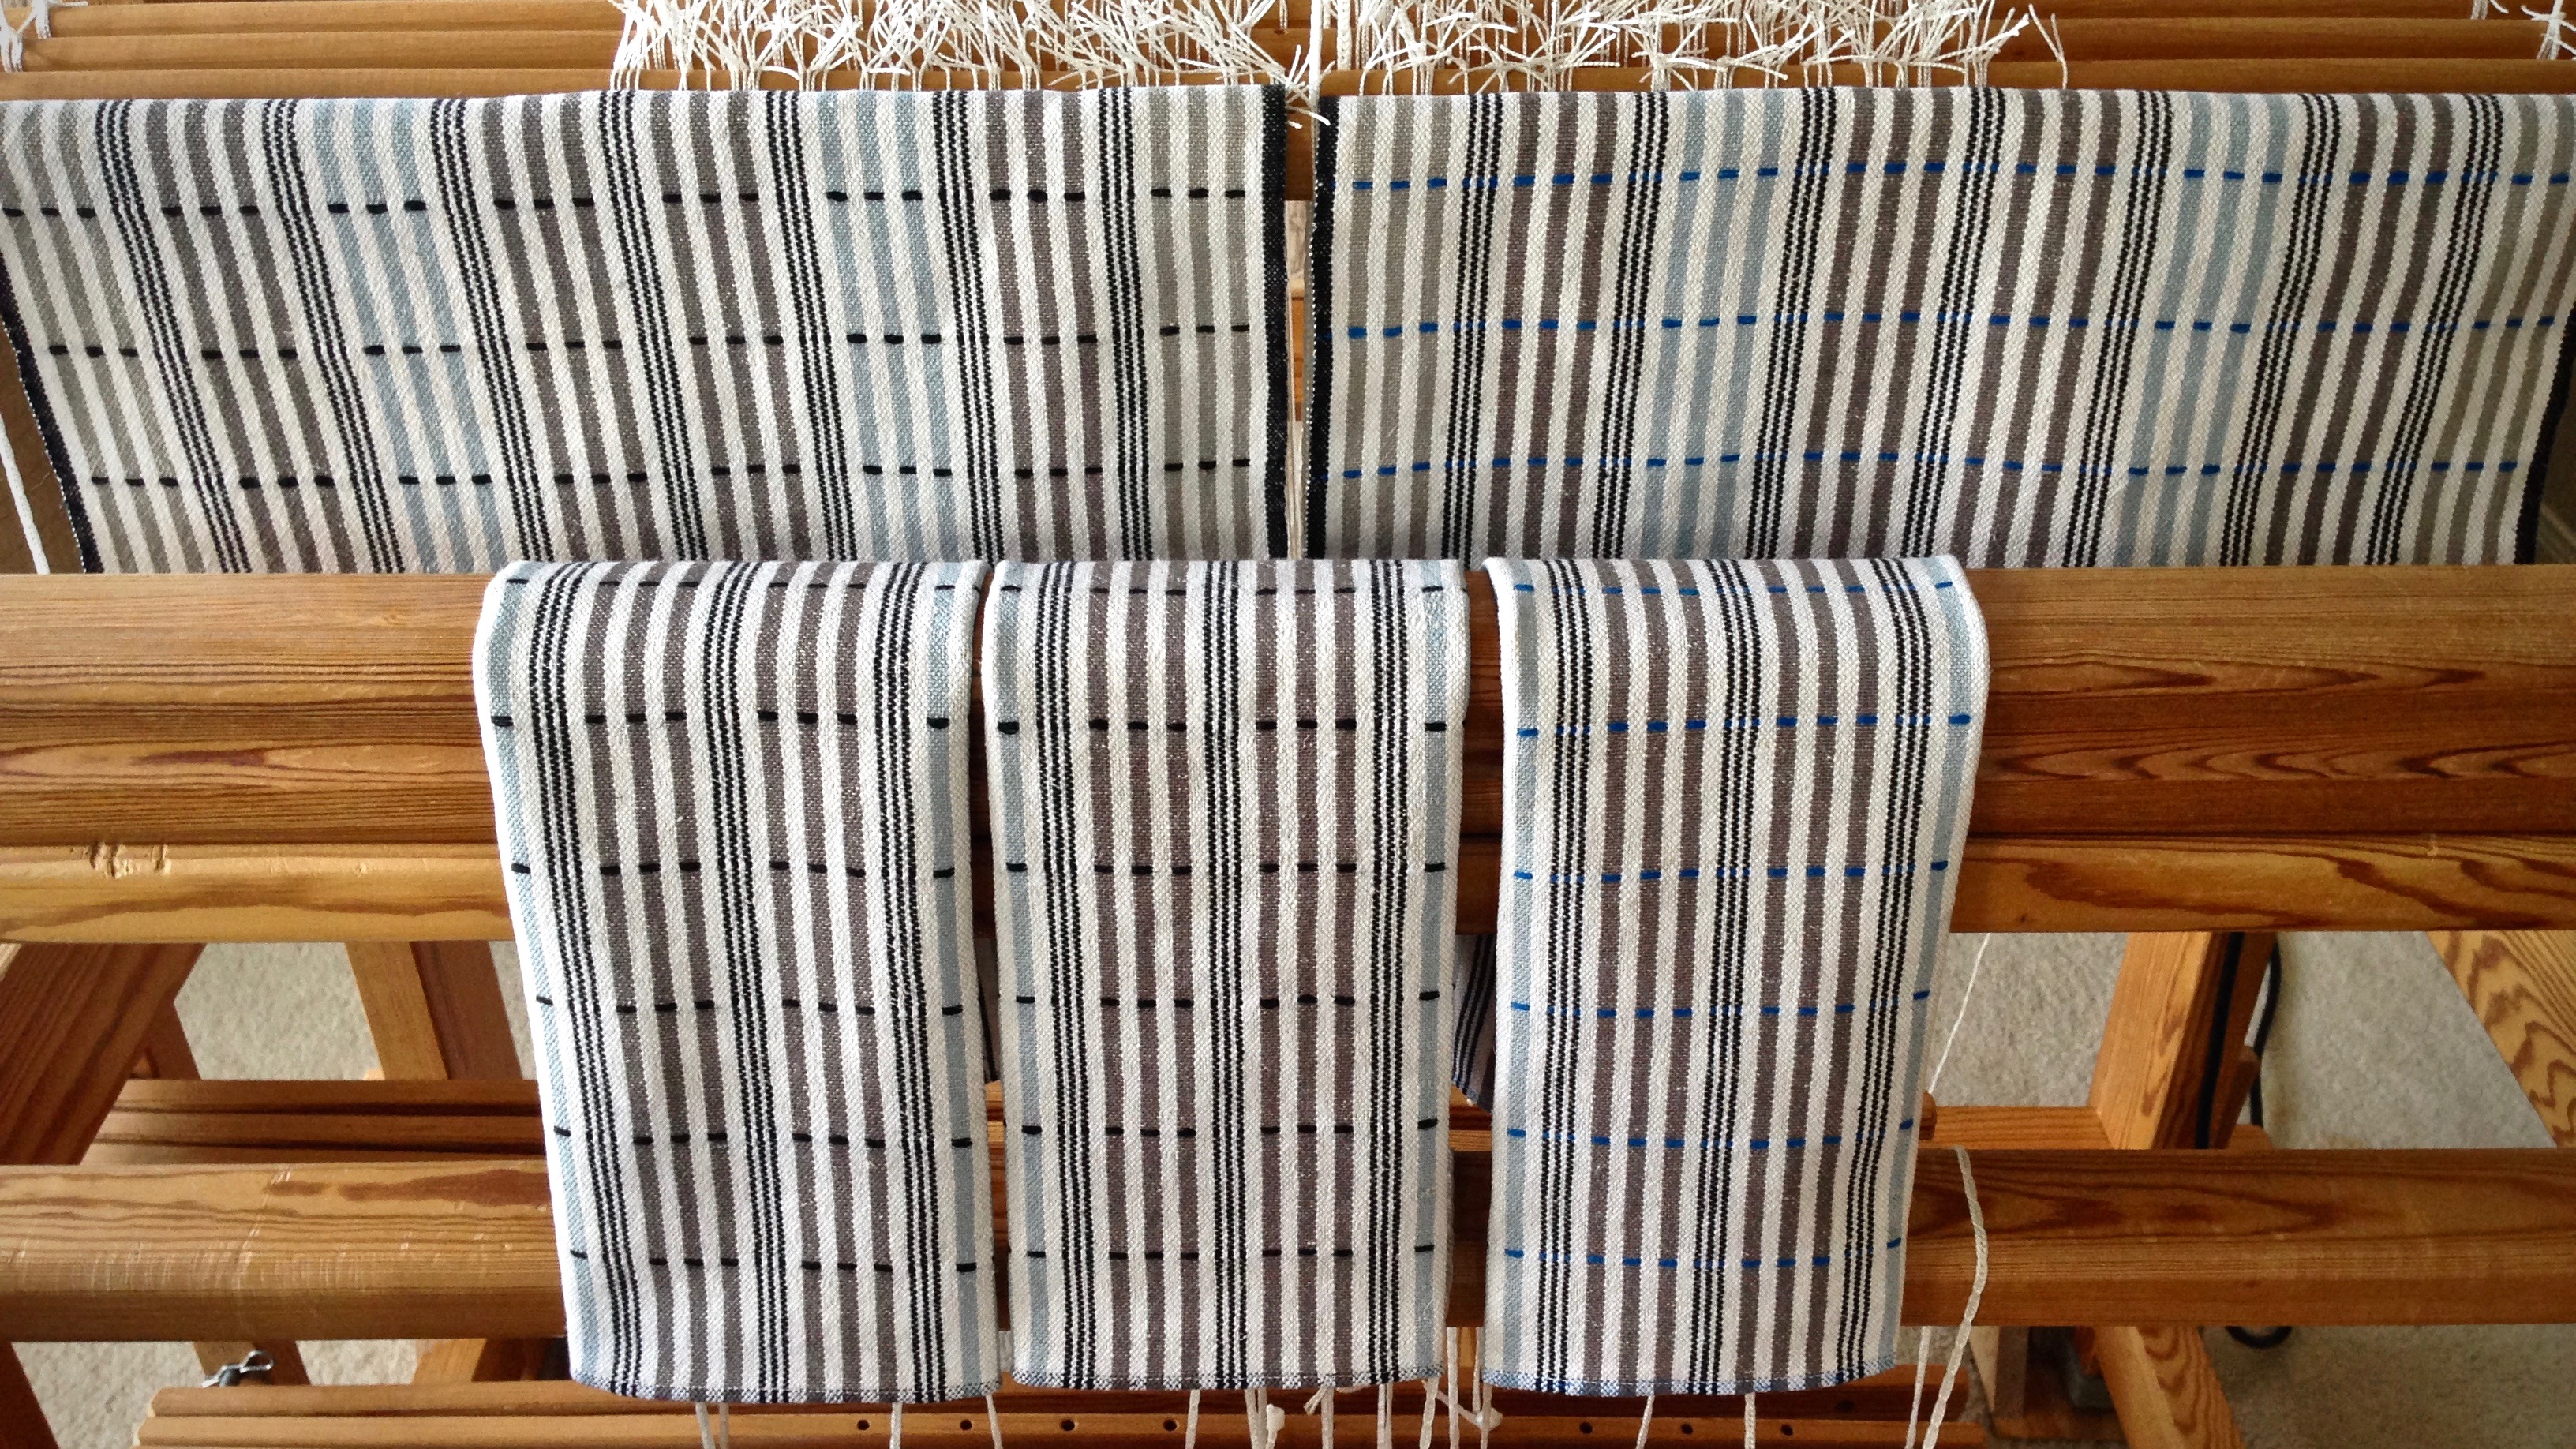
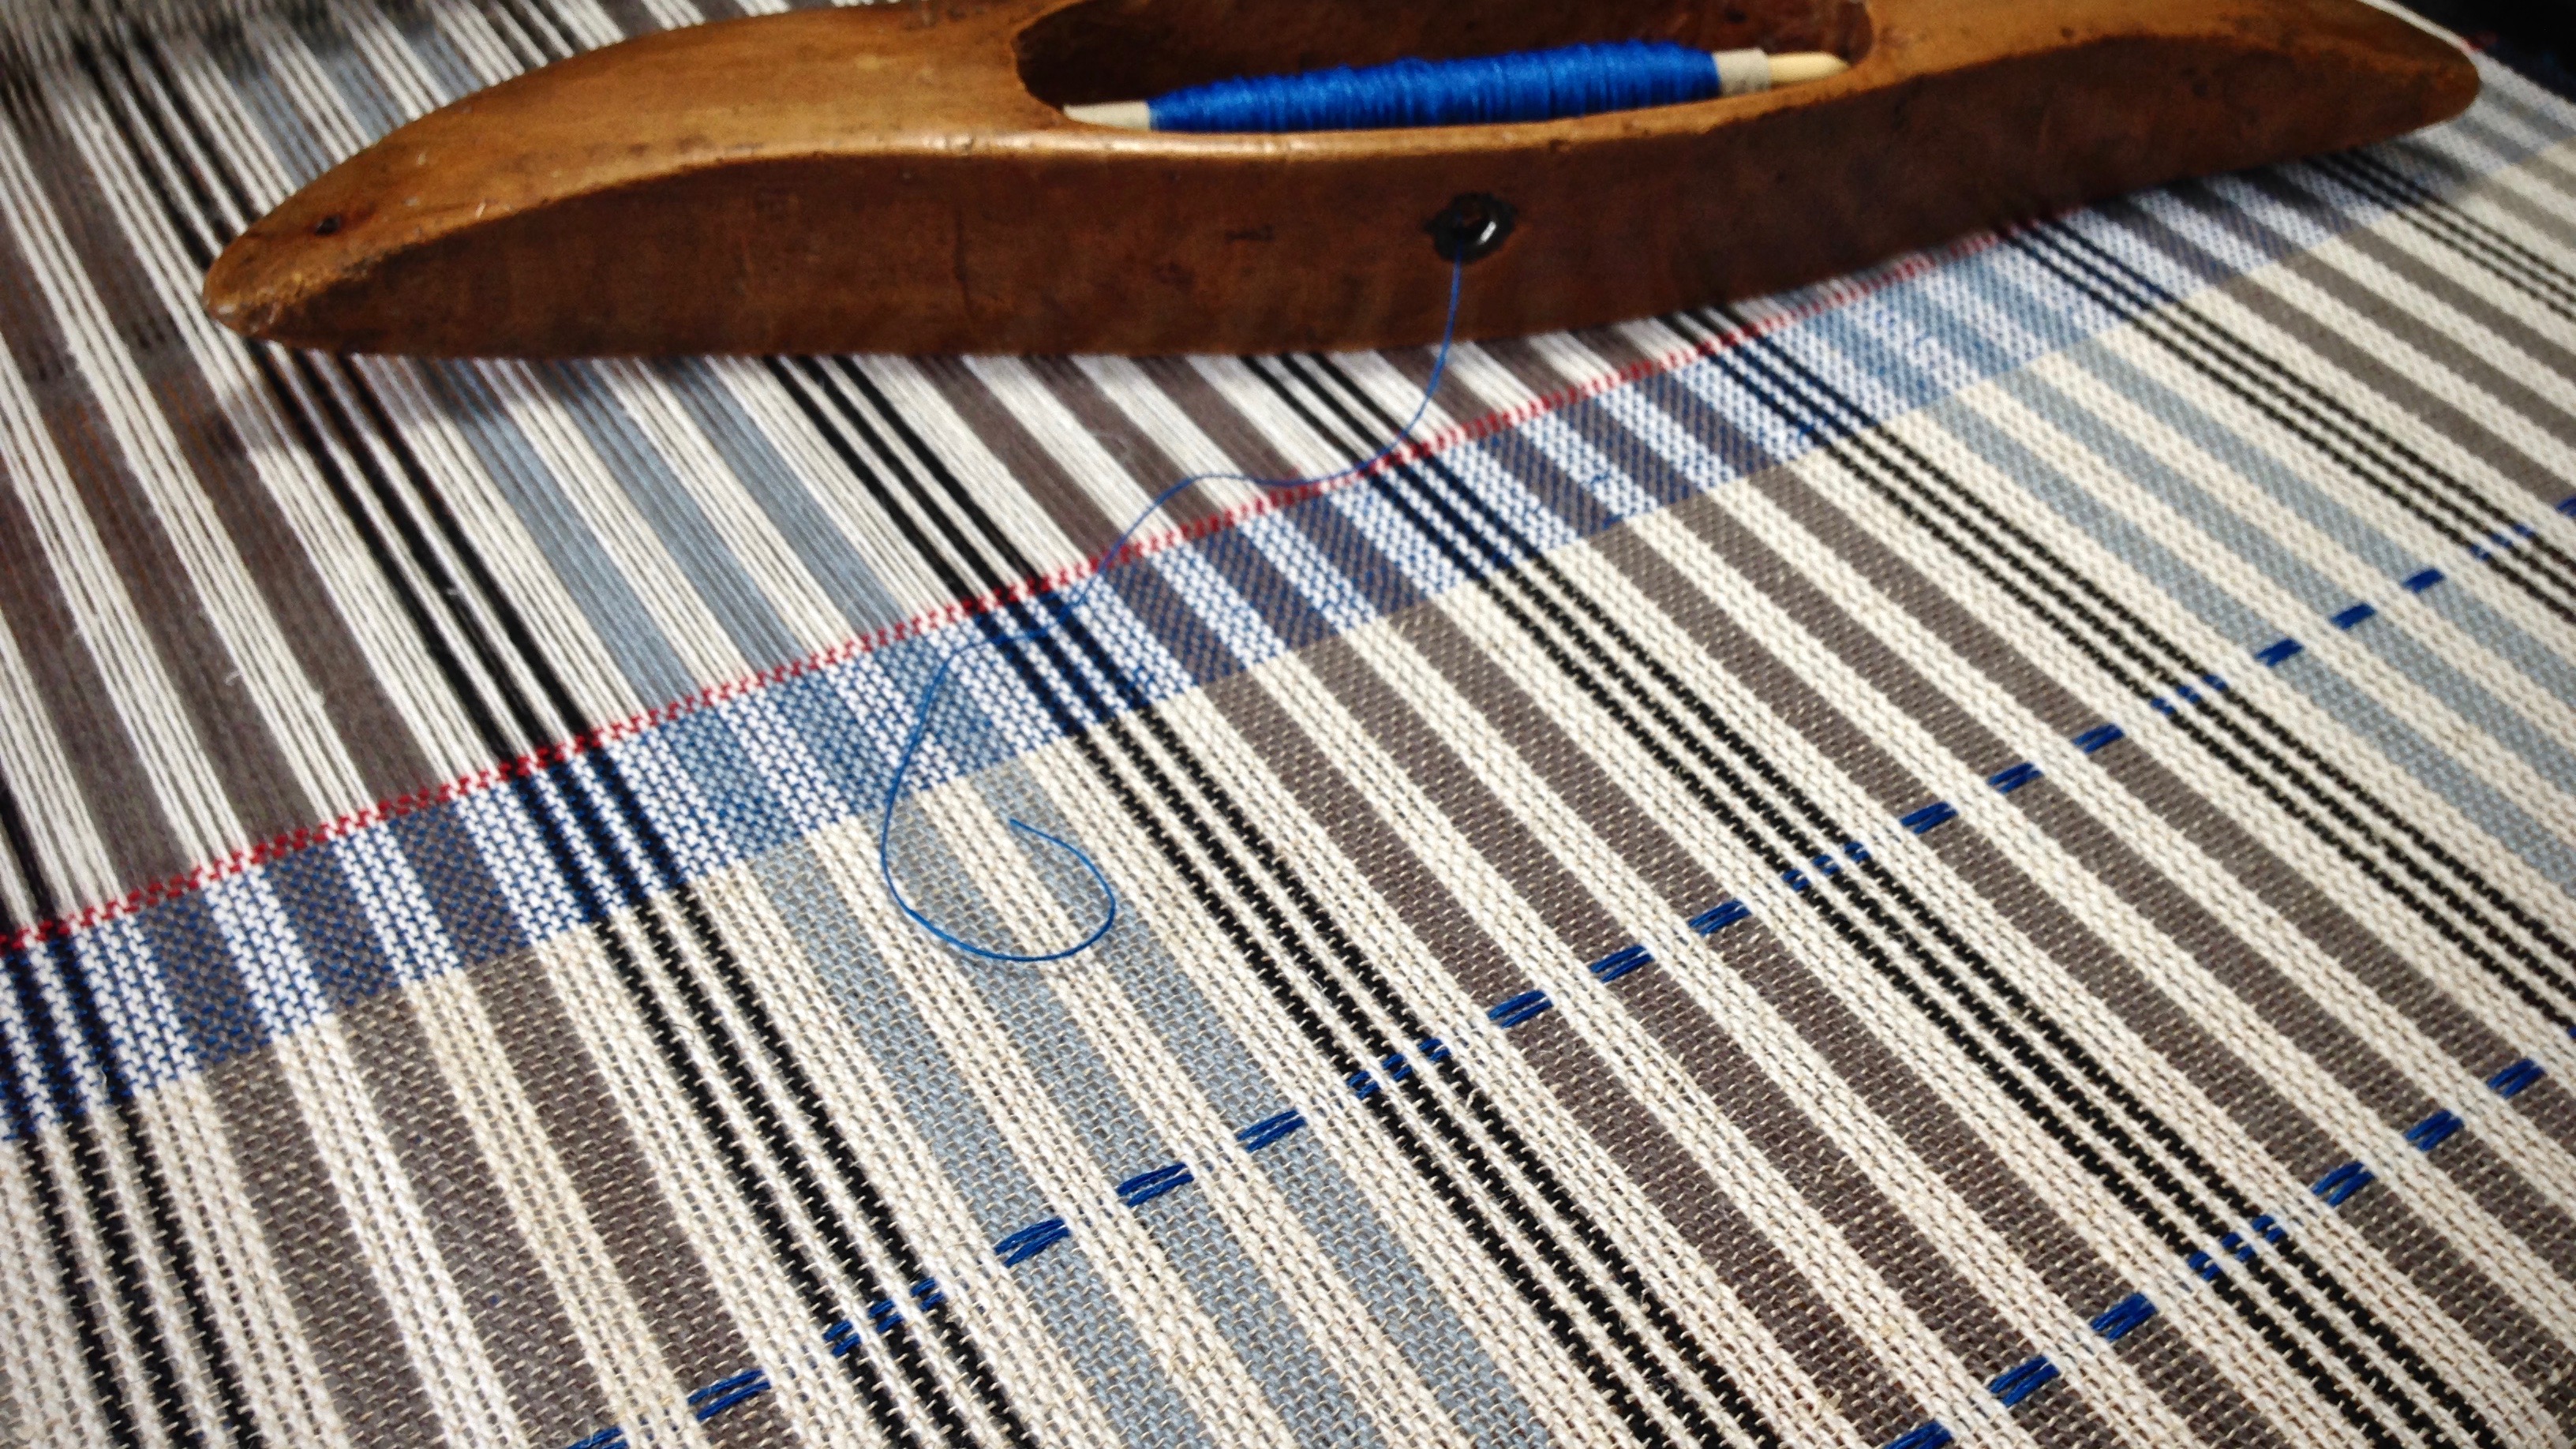
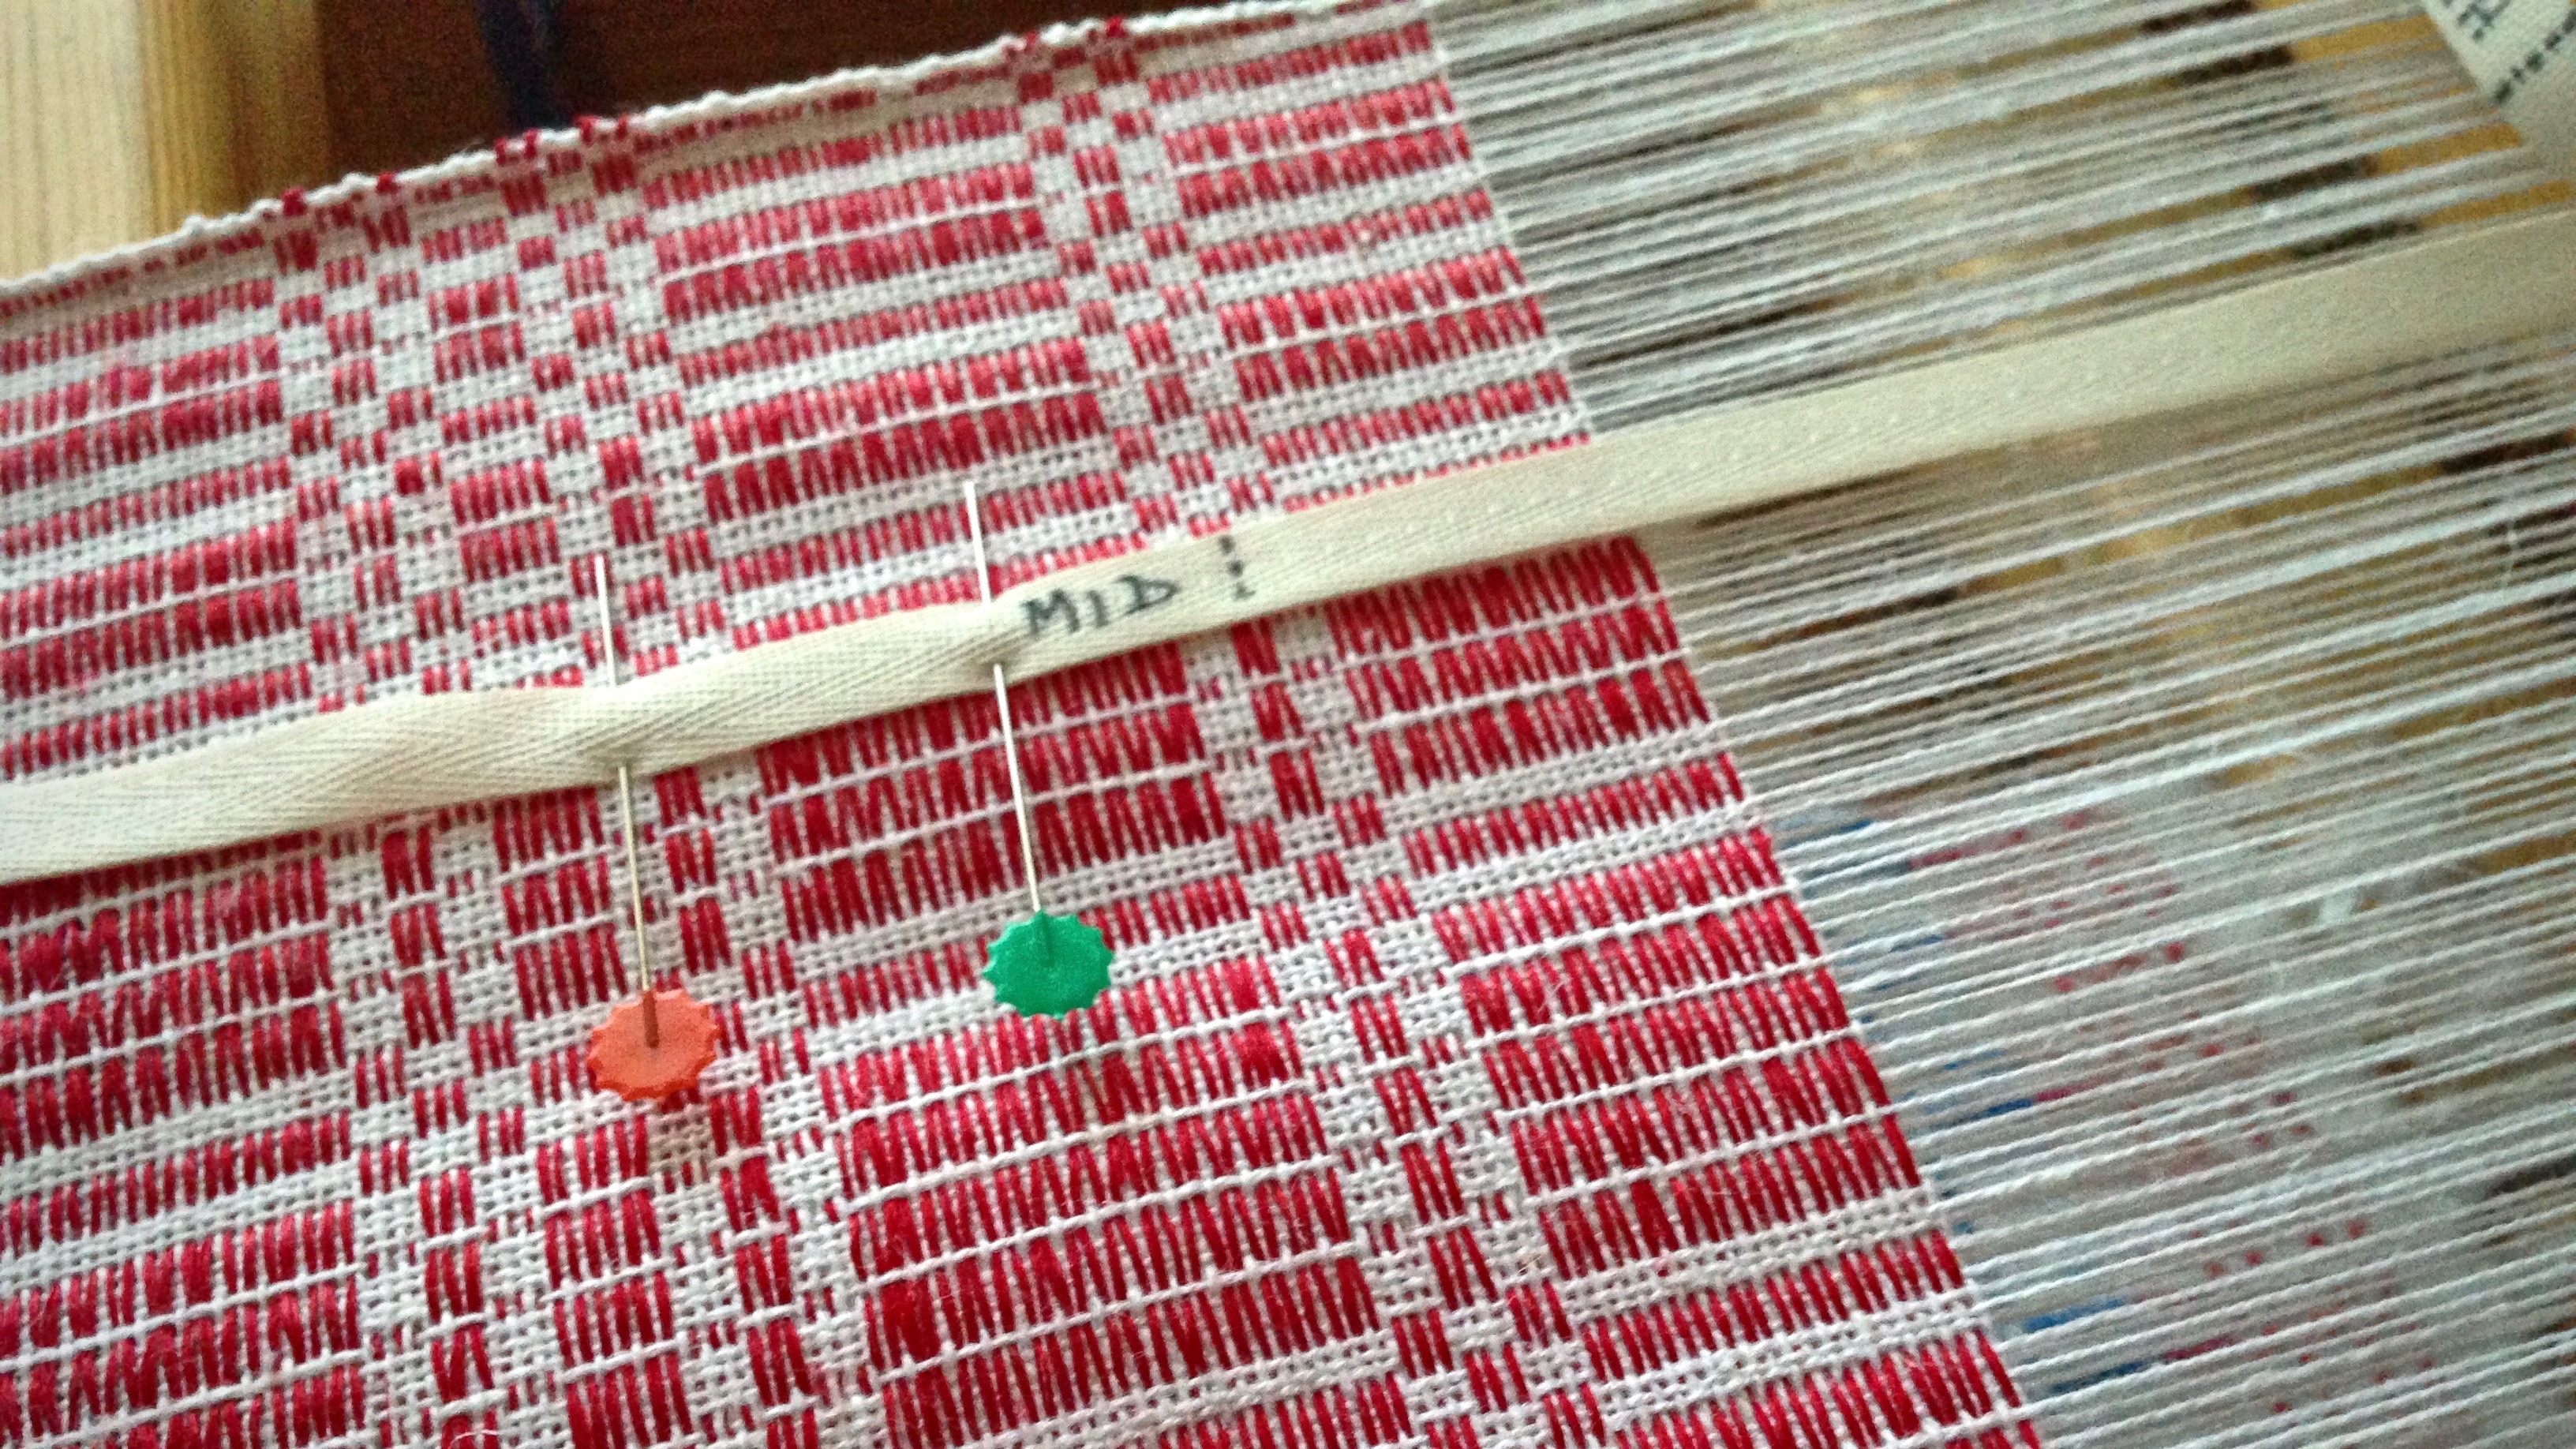
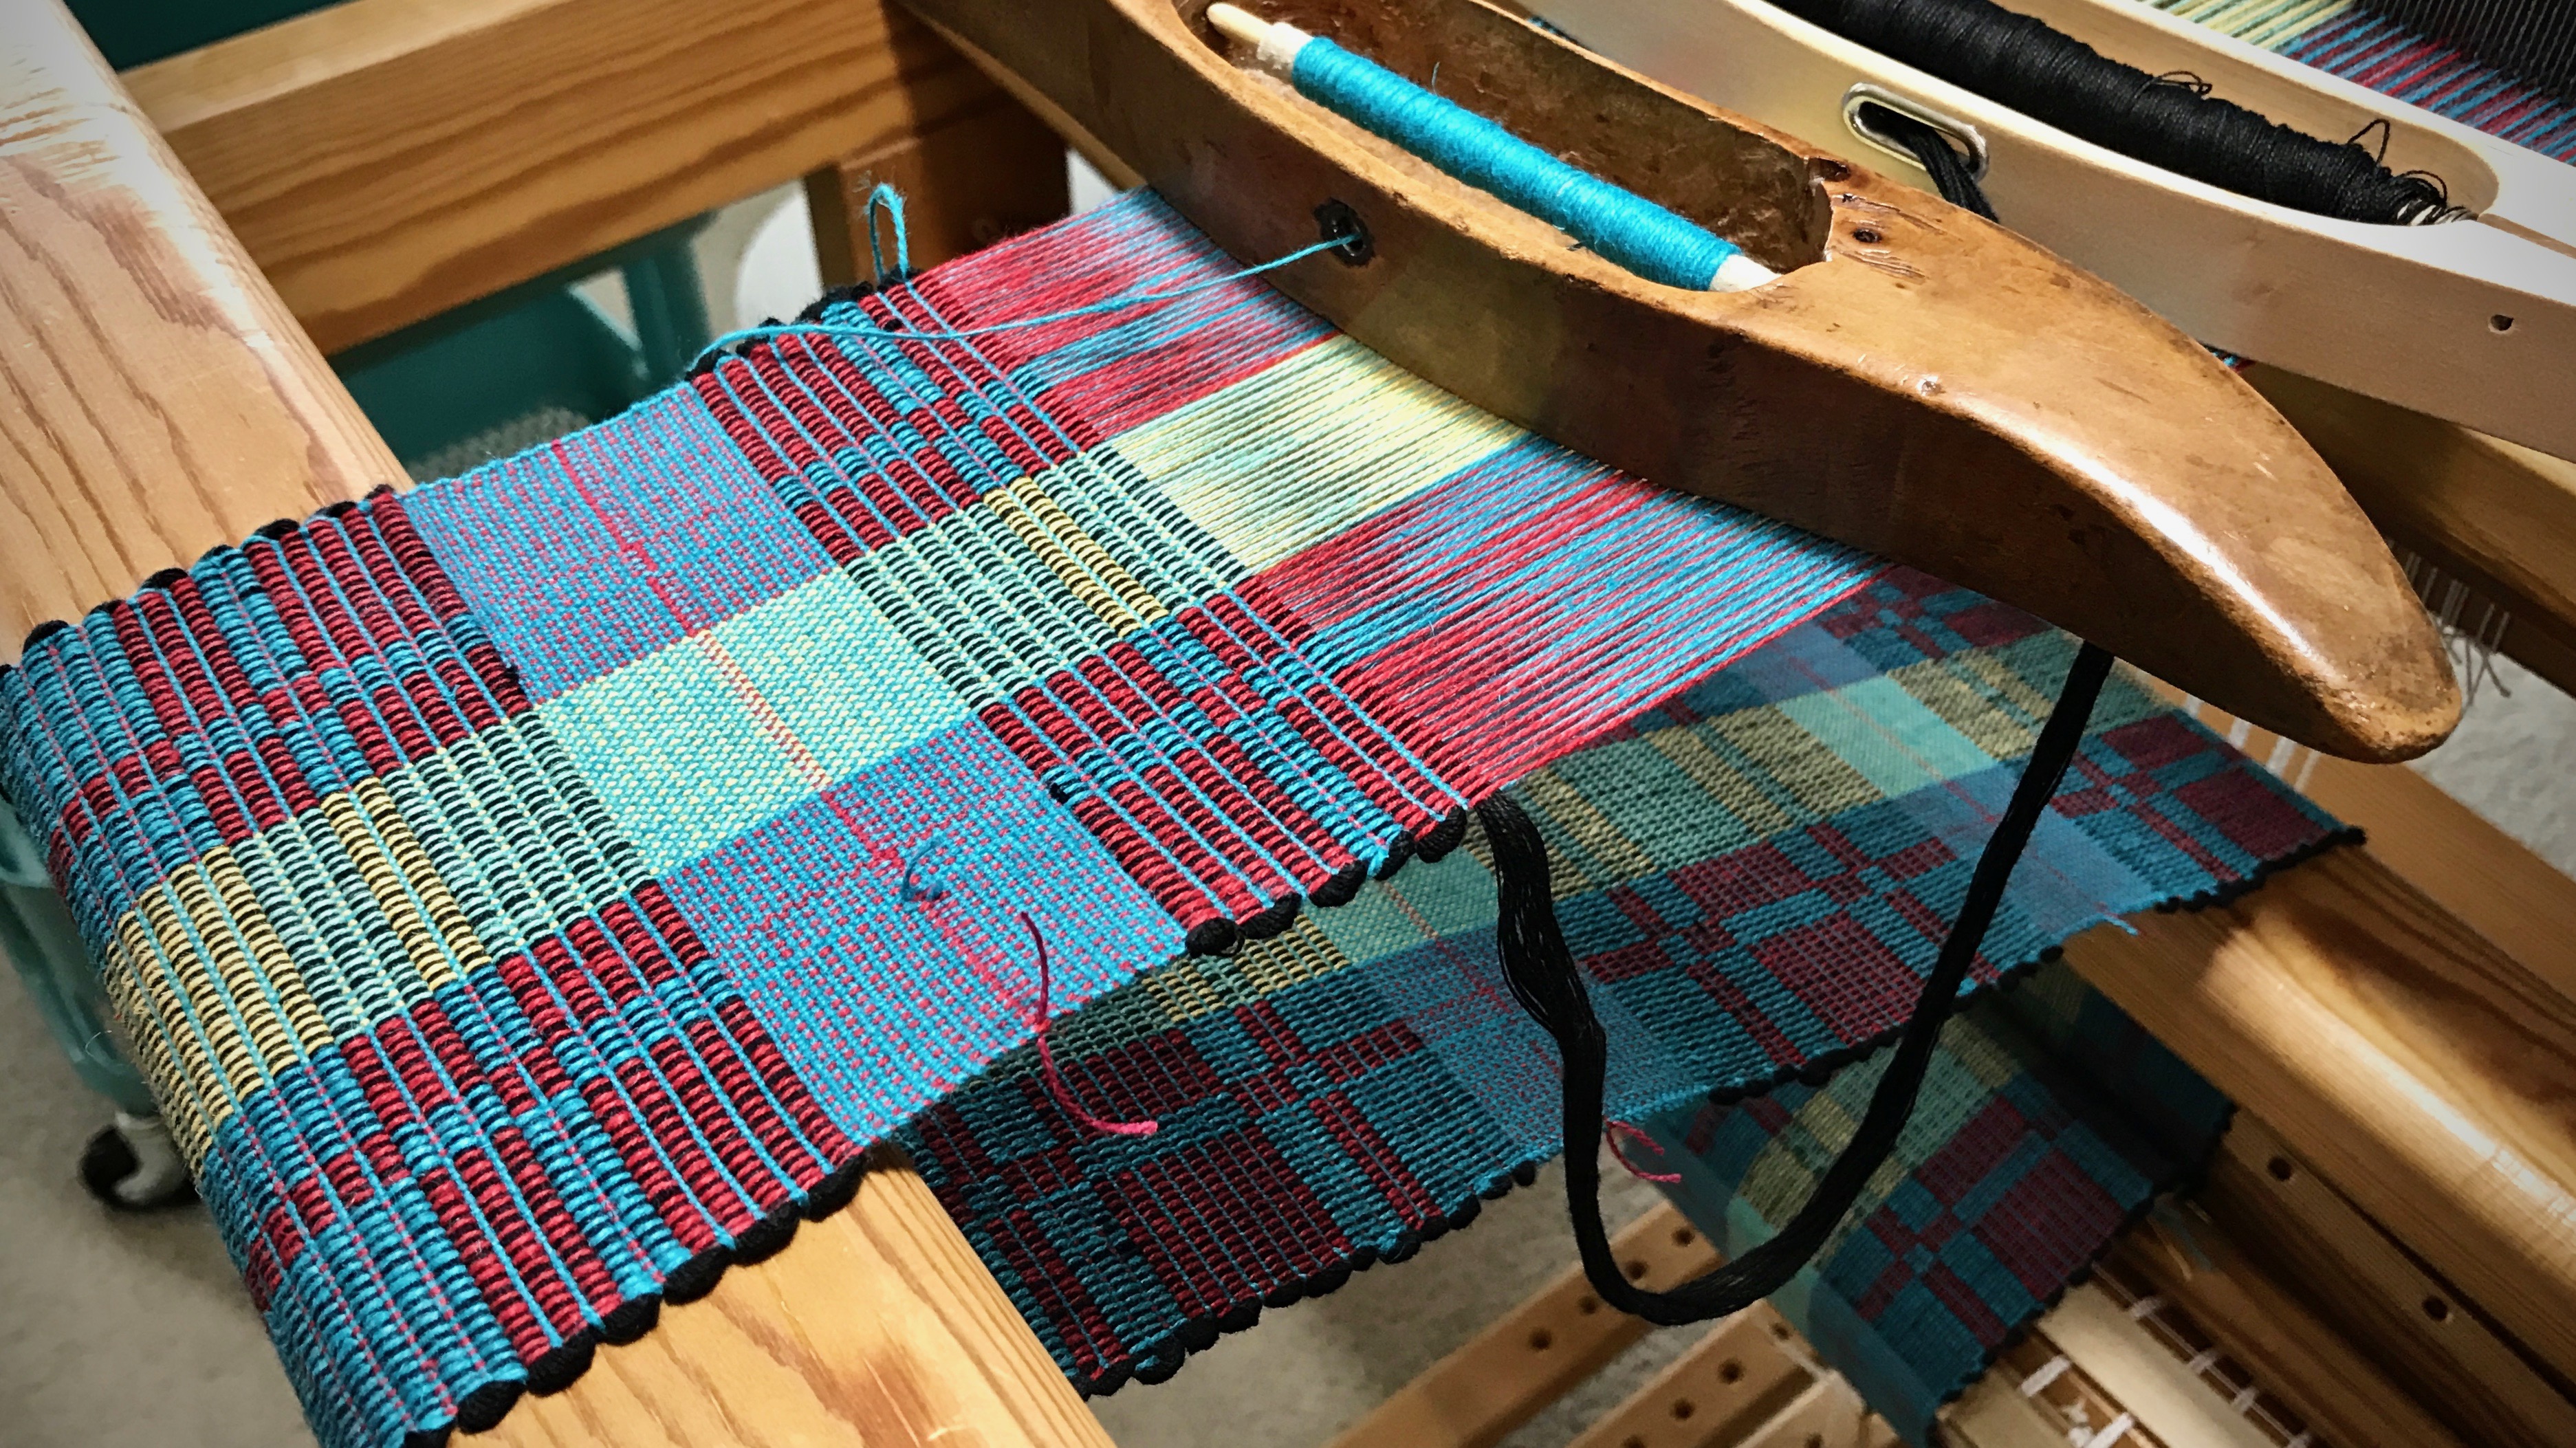
I don’t mind slow weaving. The progress that is measured in hours, not minutes, is satisfying. I don’t mind fast weaving, either. It’s a chance to be productive. These mug rugs fall in the fast-weaving category. I can whip up a few of these in an afternoon.

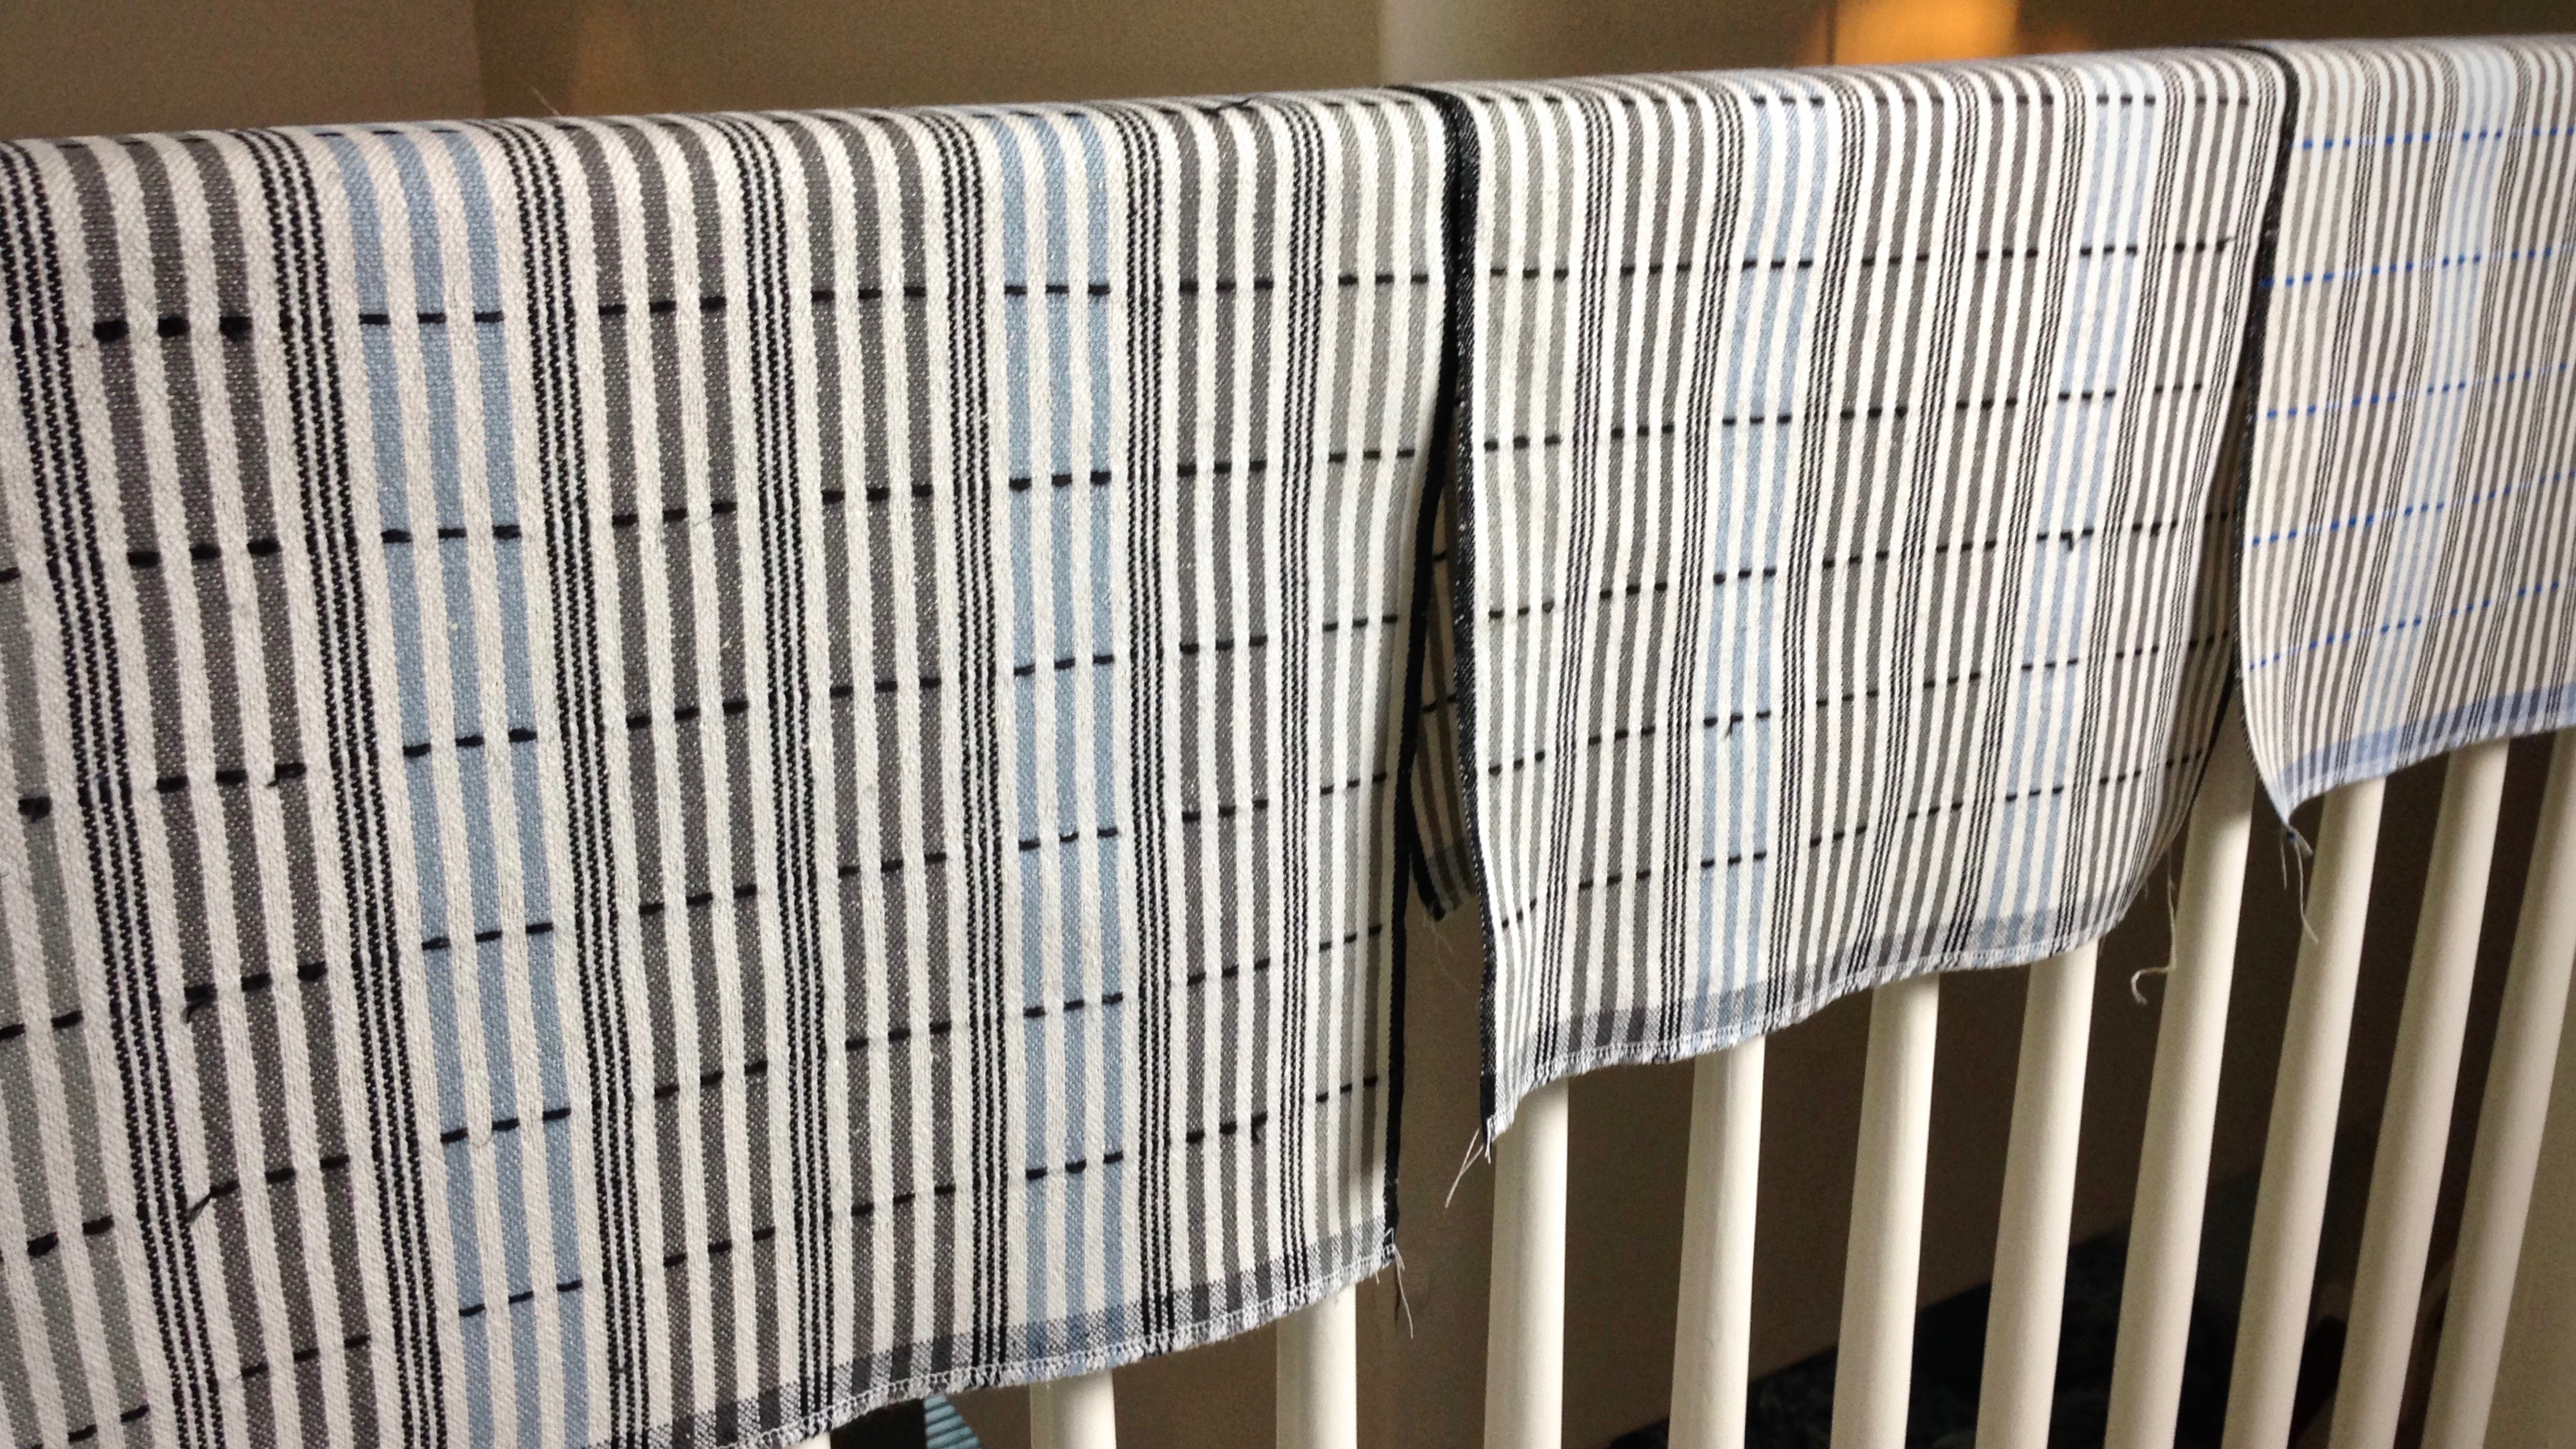
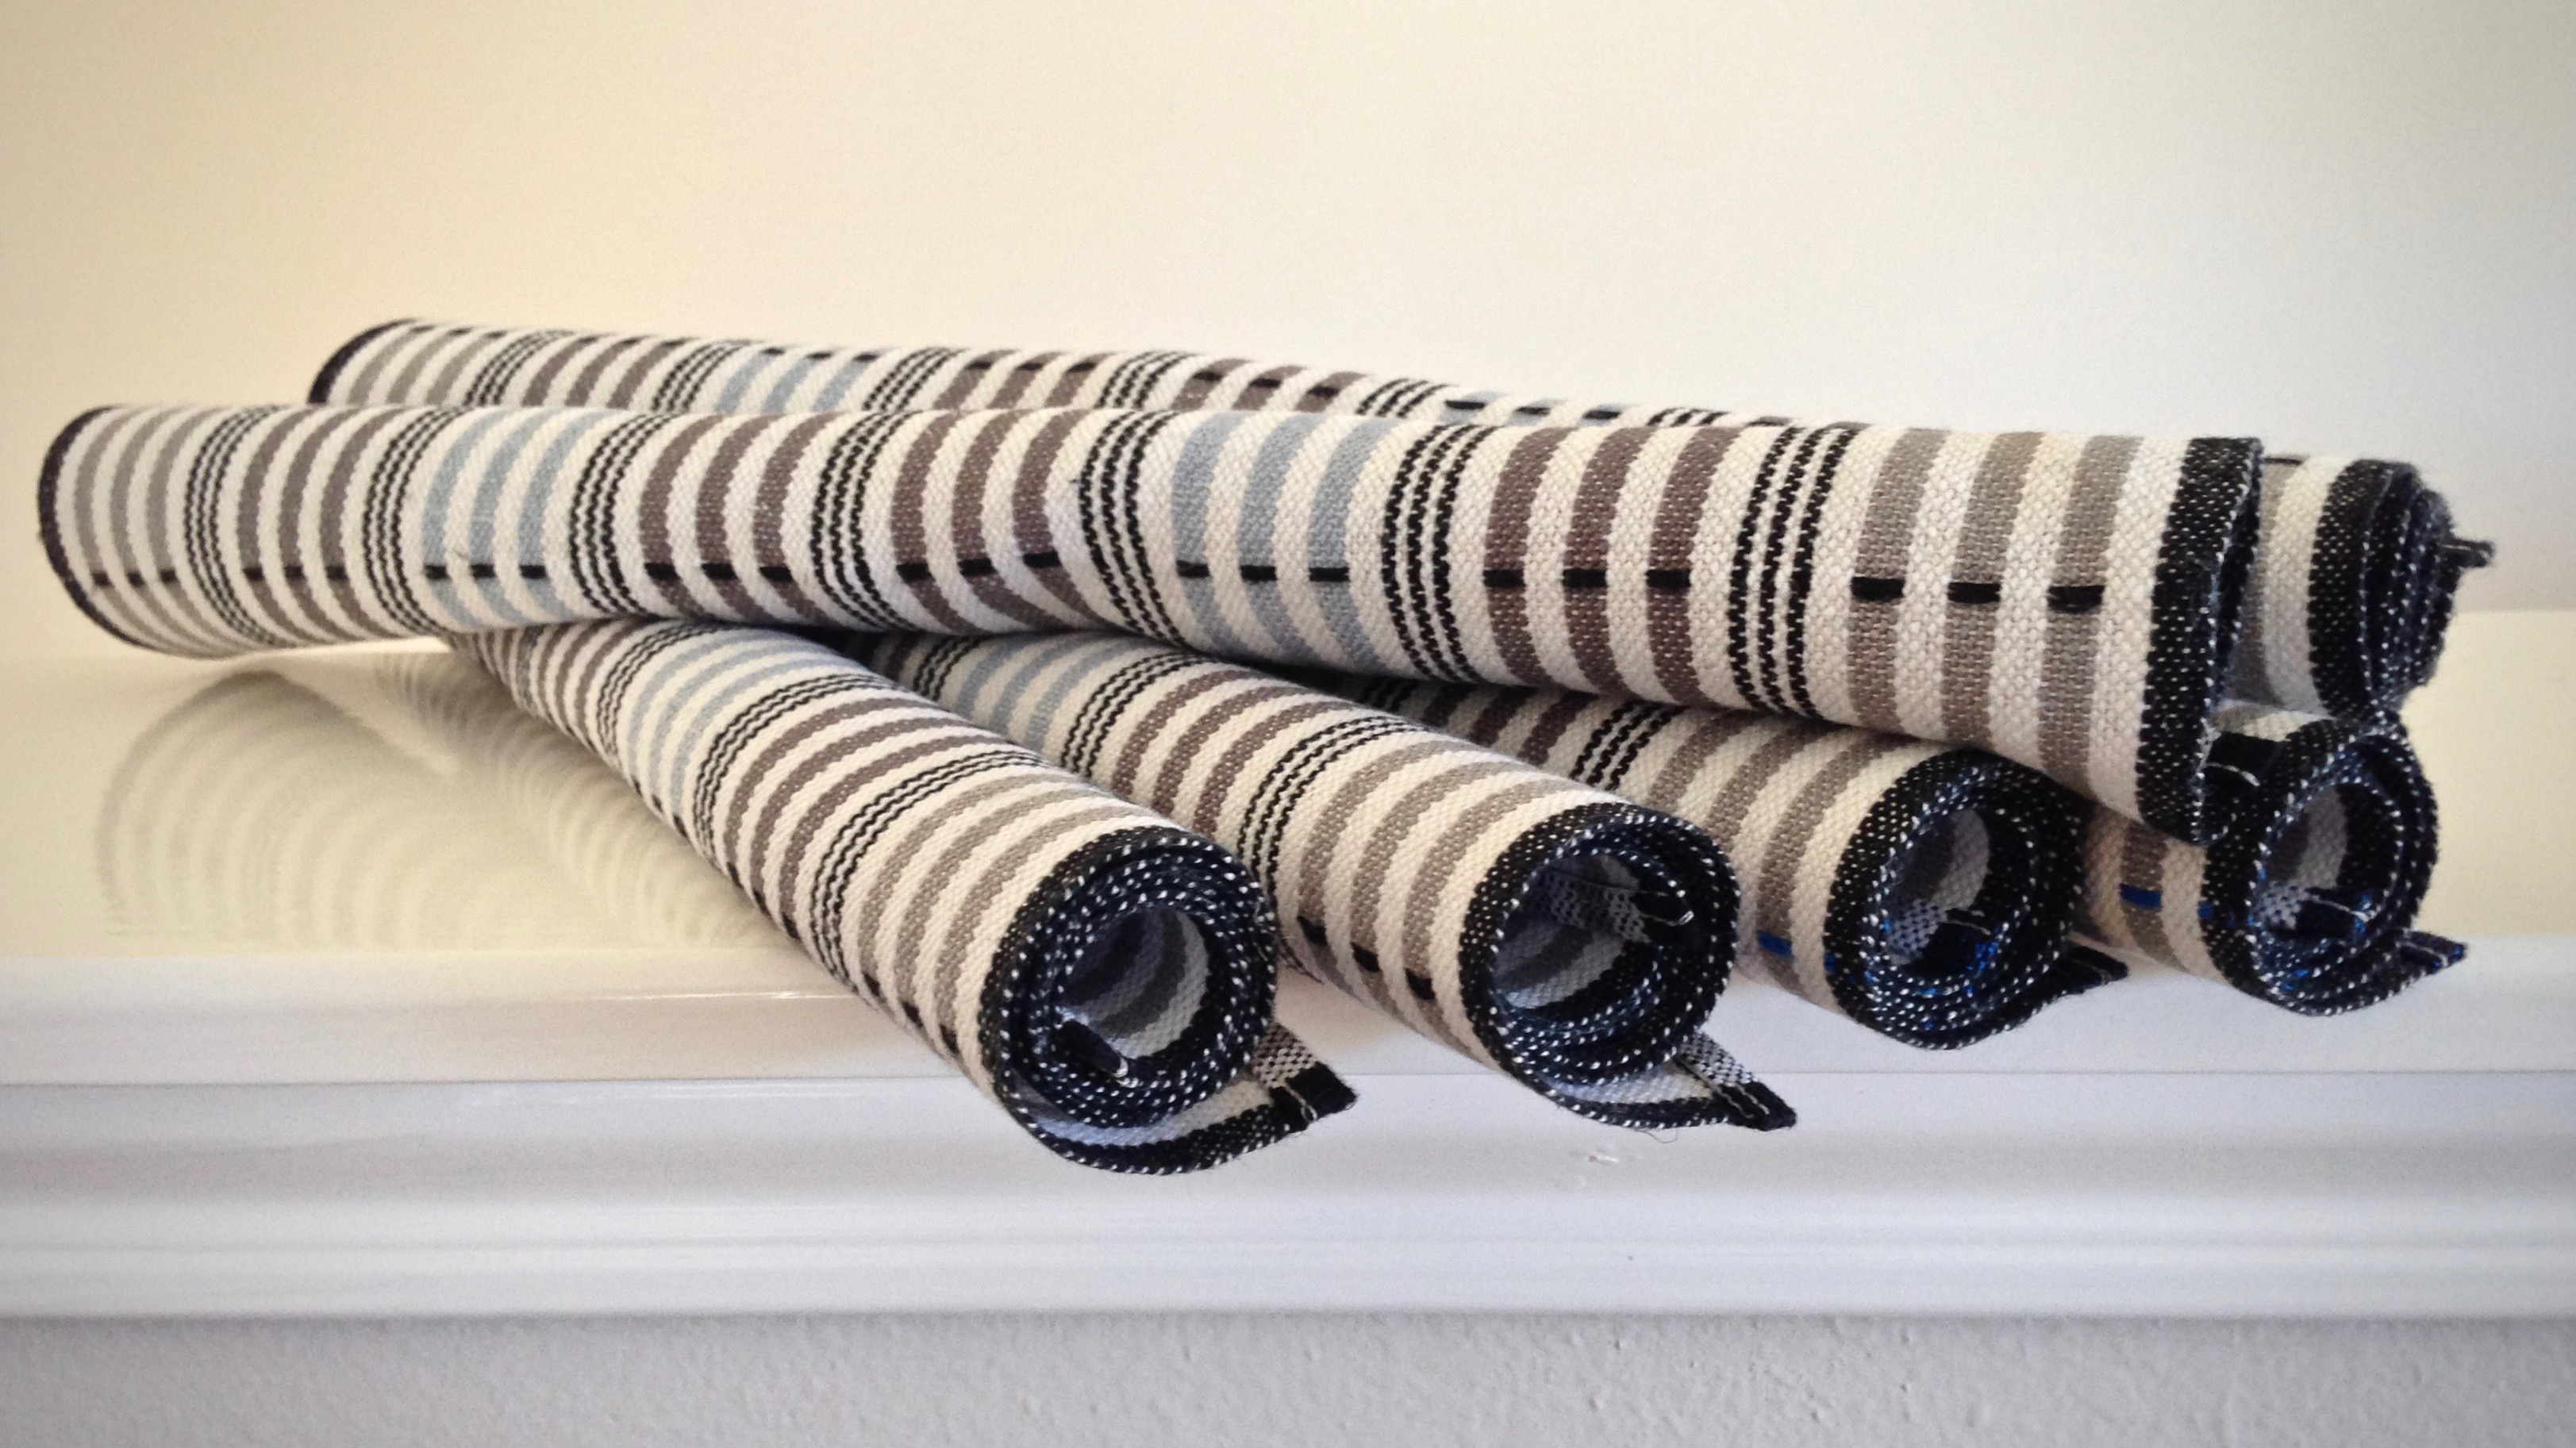
I hope to get 20 to 25 of these little mug rugs from this six-yard warp. I have to admit, it’s fun to weave something easy once in a while. Now, I can measure progress in minutes, instead of hours. We determine the value of things according to time and effort, don’t we? How long did it take, and how much effort? Some woven items are destined for elegance, and others are, simply, rugs under mugs.
Grace doesn’t measure value that way. The Lord’s generous grace demonstrates true equality and fairness. His grace places equal value on people, not taking into account how “good” they are, or how much effort they extend to do “good” things. Grace is distributed equally. The Lord offers it to all, not because of who we are or what we have done, but because of who he is, and what he has done. That’s good news. The mug rugs may end up on an elegant table, after all.
May you receive and extend grace.
Happy weaving,
Karen
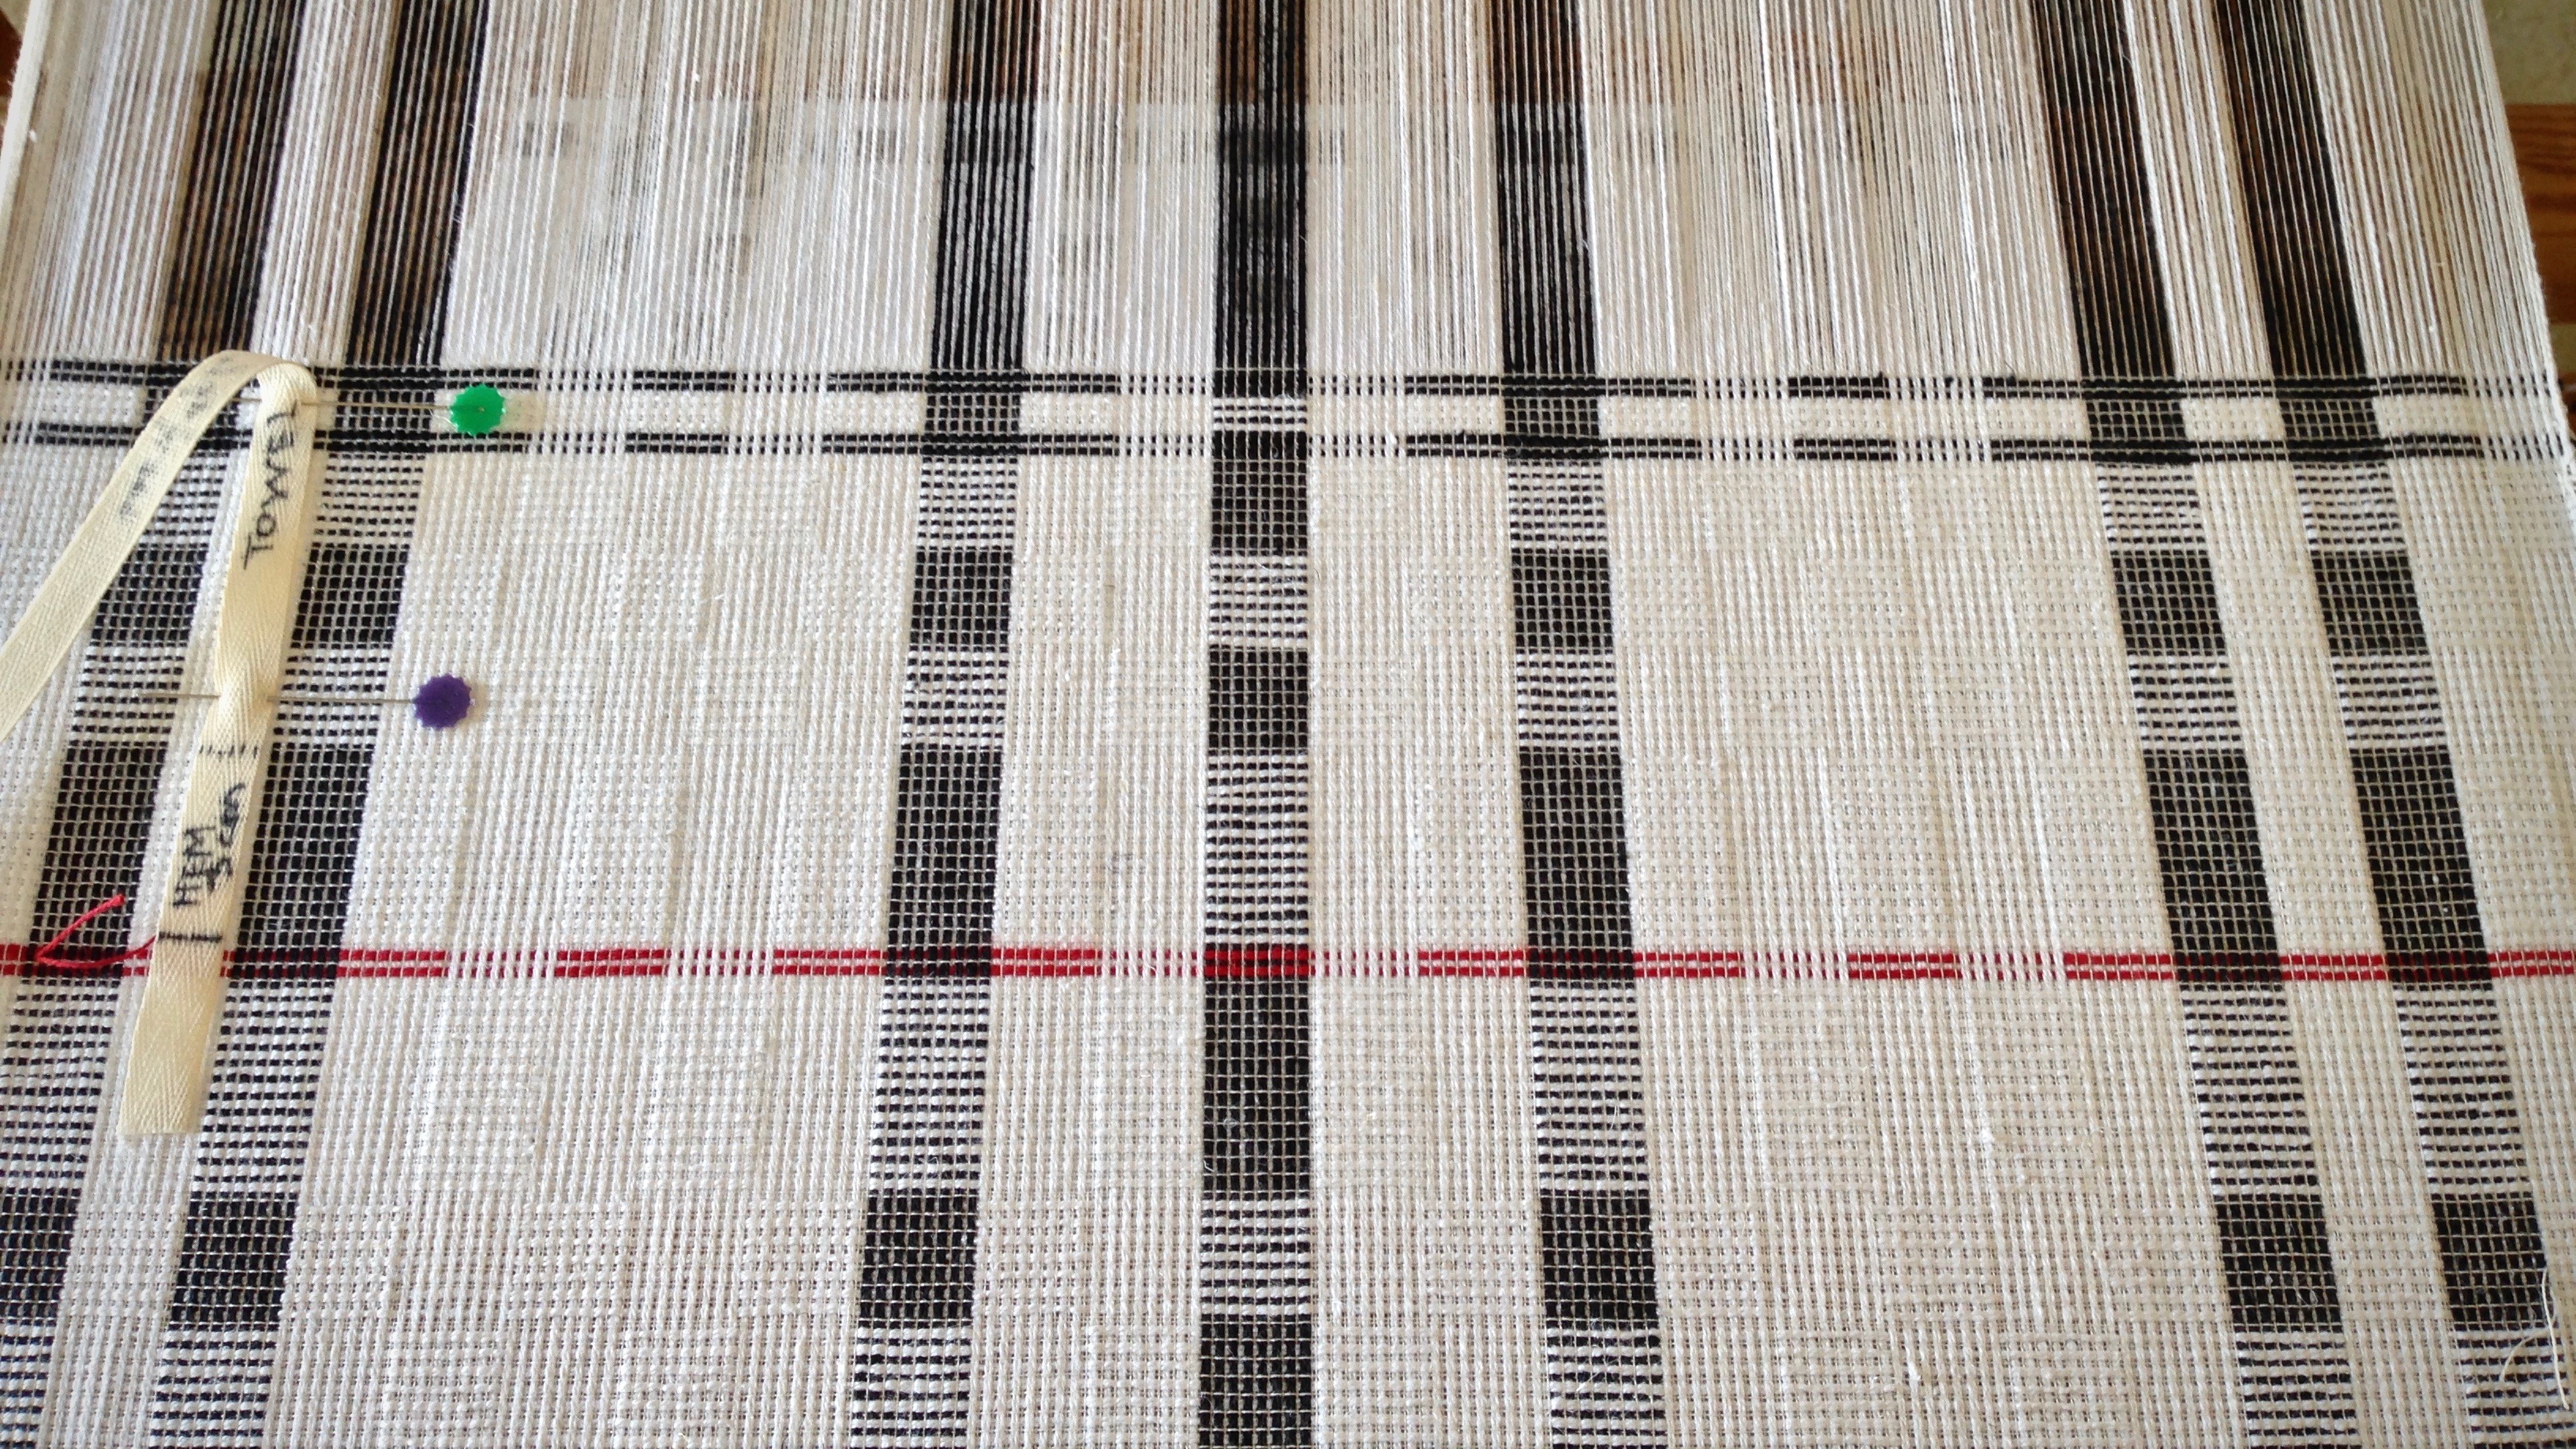
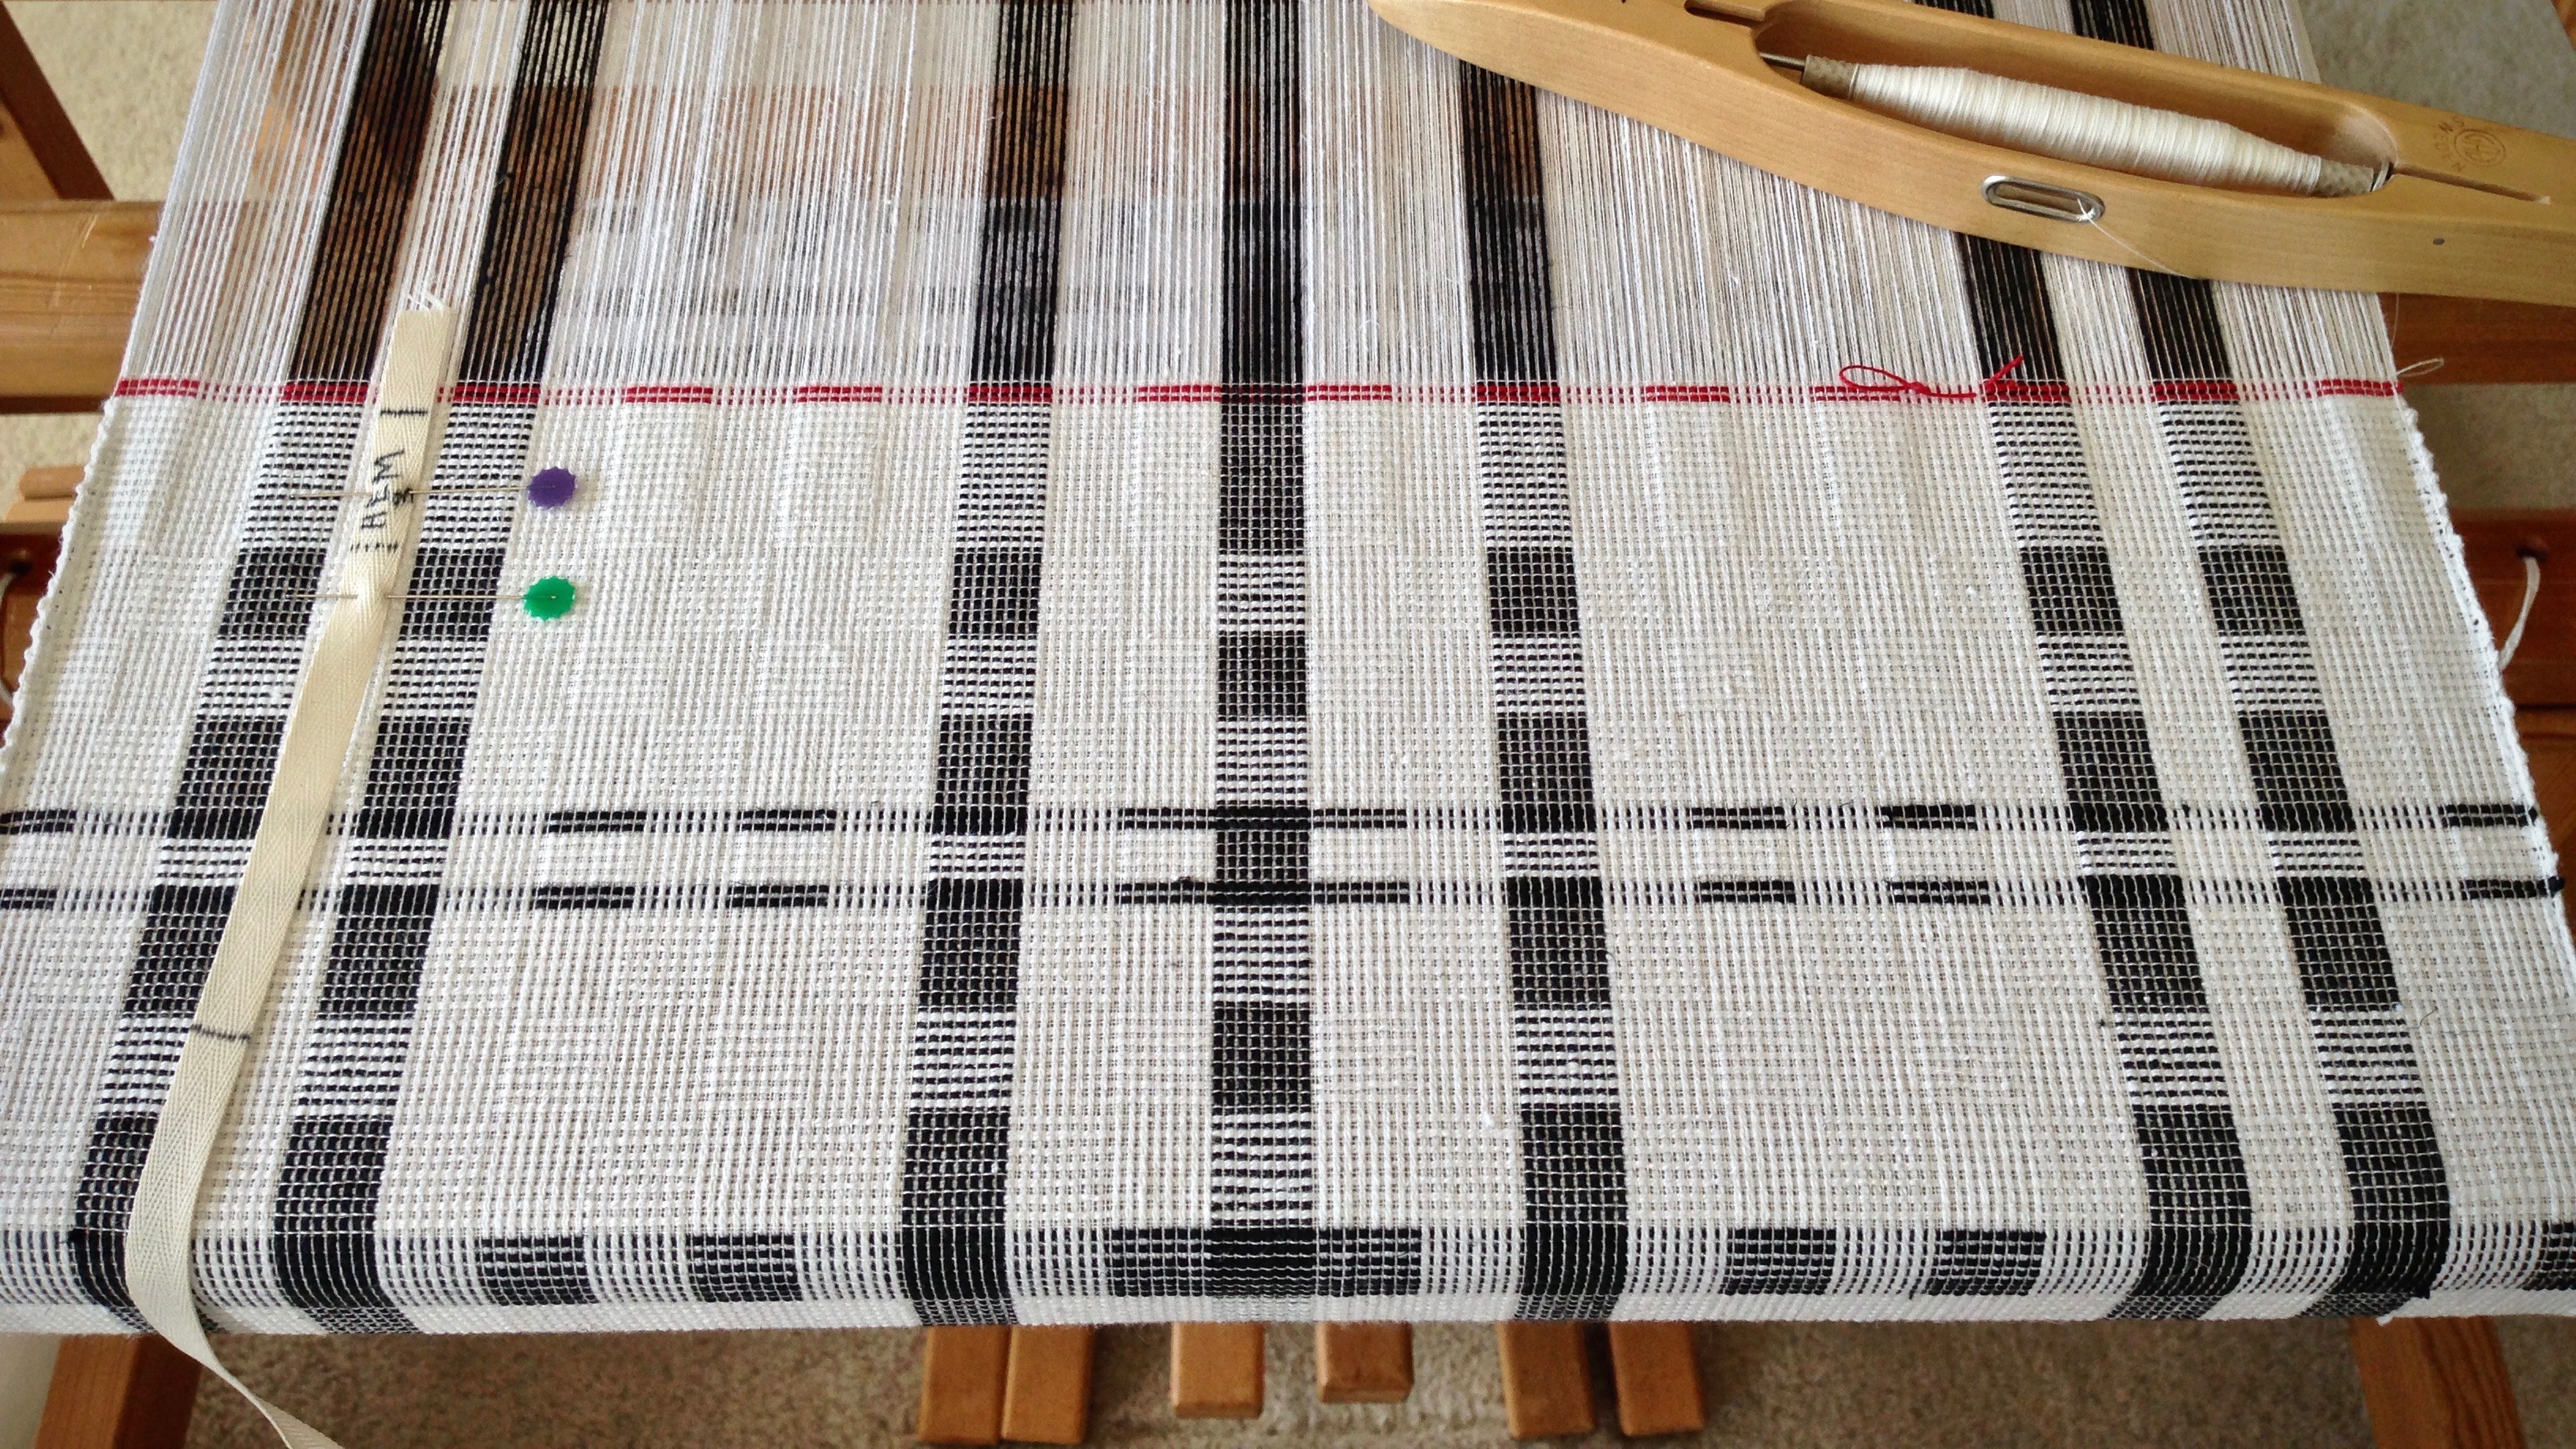
PS Plattväv Towel Kit update: Still in progress! You will be the first to know when the kits are ready.