Tried and True: Wool Skeins into Balls

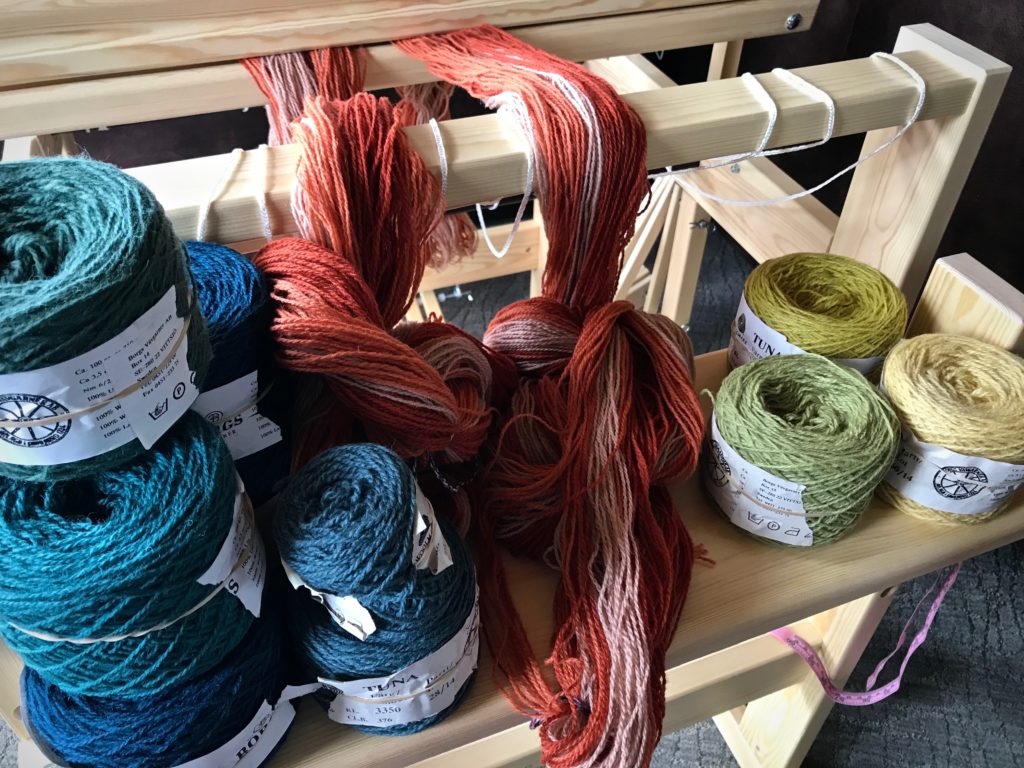
I am adding about thirty more skeins to my yarn supply to get the colors I need for a new tapestry. At this rate, maybe I will have every single color of Borgs 6/2 Tuna and 6/1 Fårö wool on my shelves some day. That’s wishful thinking… But I do have what I need for now to make the butterflies for this special pictorial tapestry.
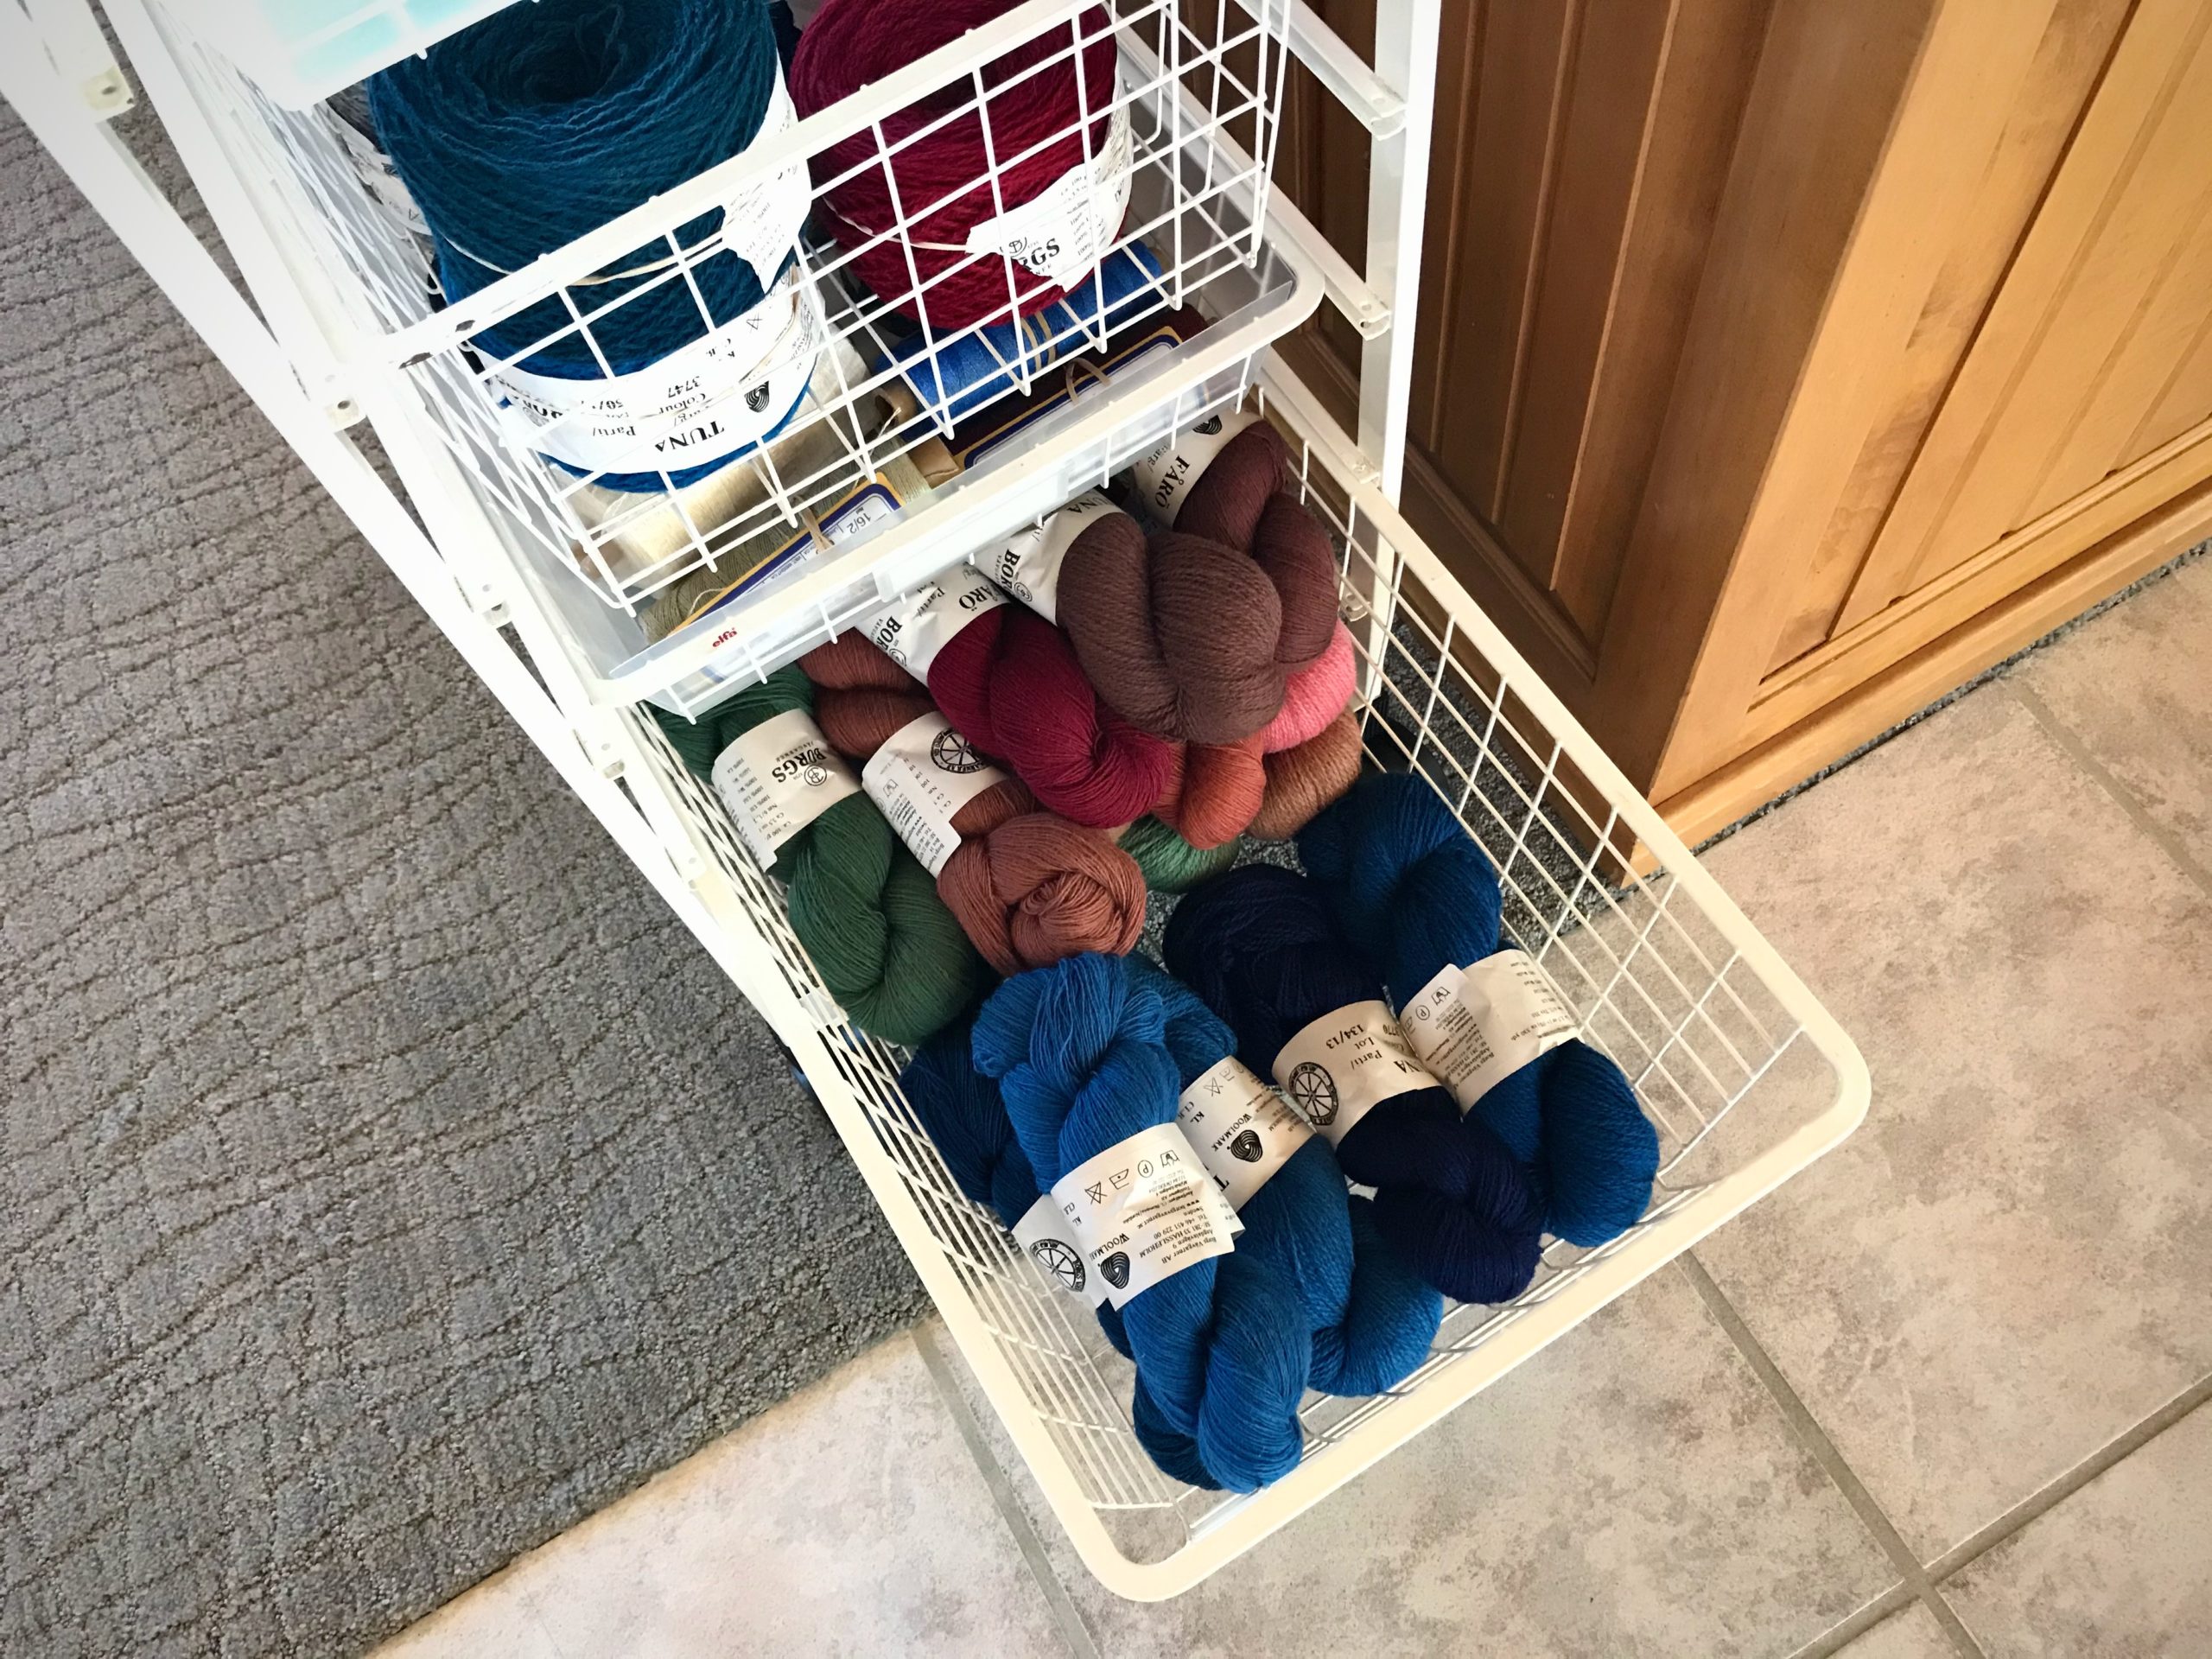
Preparing to weave a new pictorial tapestry.
Beautiful colors of wool skeins of yarn.

All these new skeins of yarn need to be wound into balls using my Swedish umbrella swift and a ball winder. In the past, I have used a manual ball winder. That means a lot of handle turning, but eventually all the yarn is wound into balls.
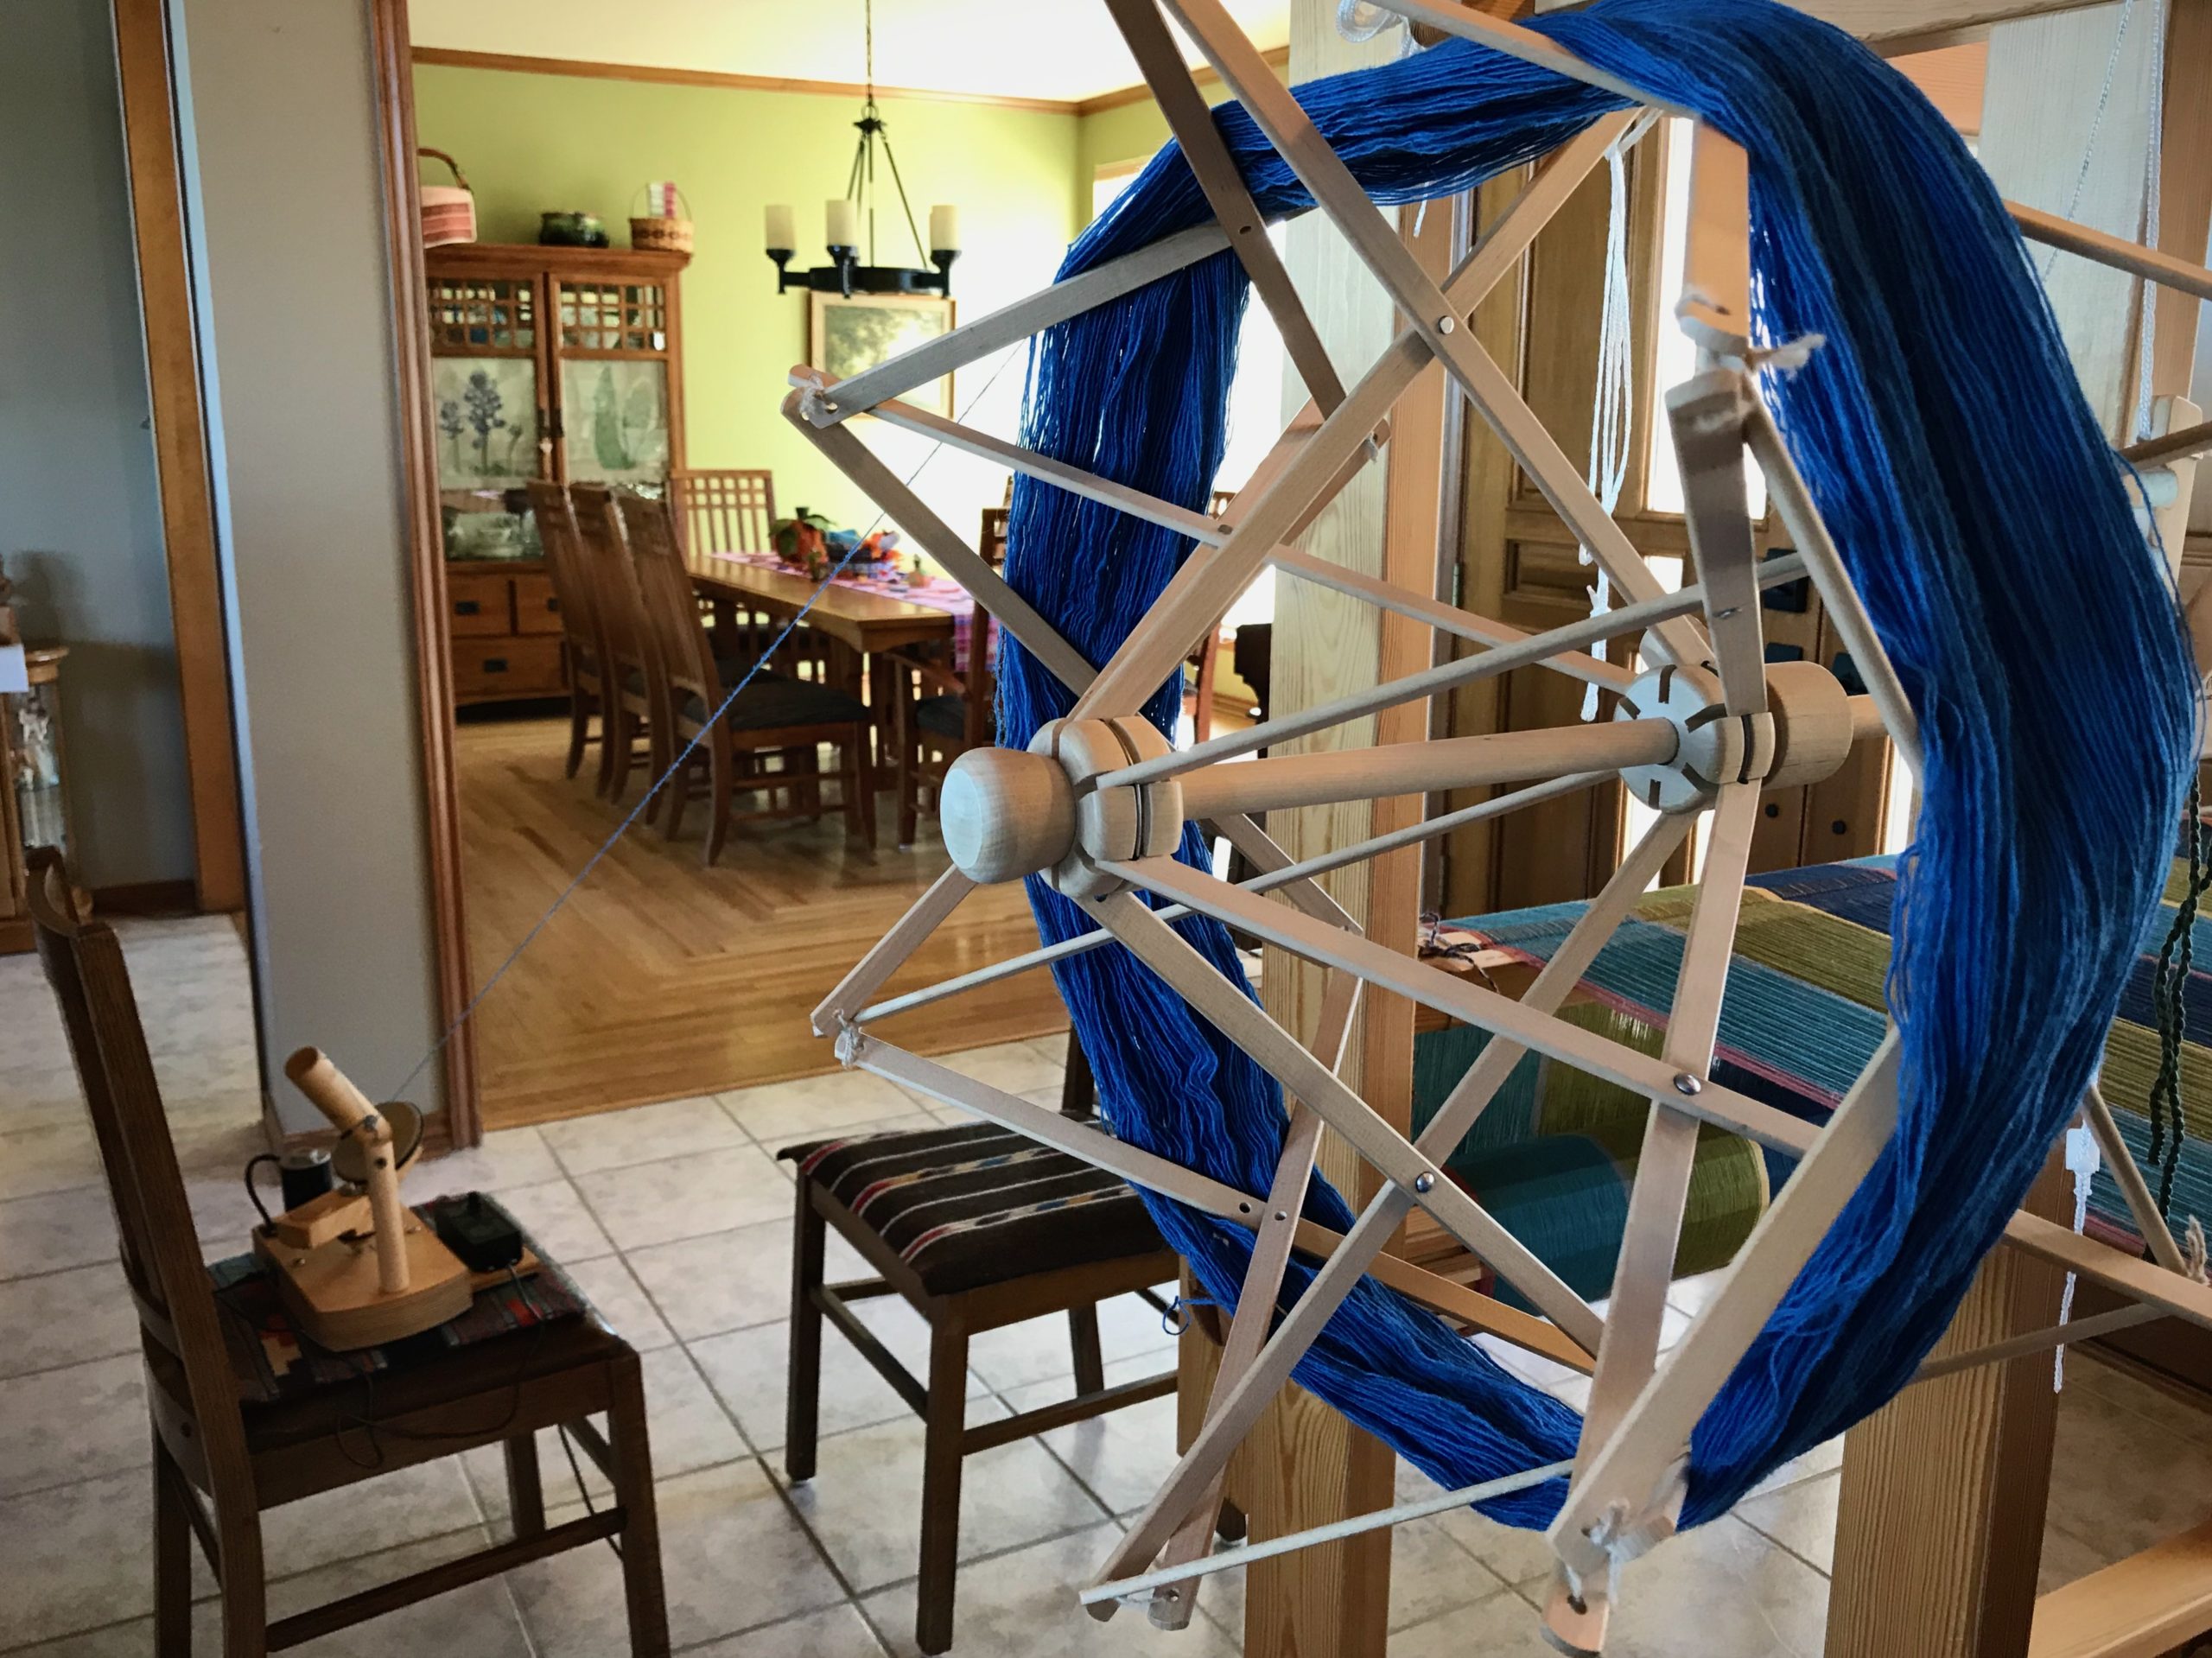
Swedish umbrella swift and an electric ball winder.
Skein of yarn is opened and placed on the umbrella swift.

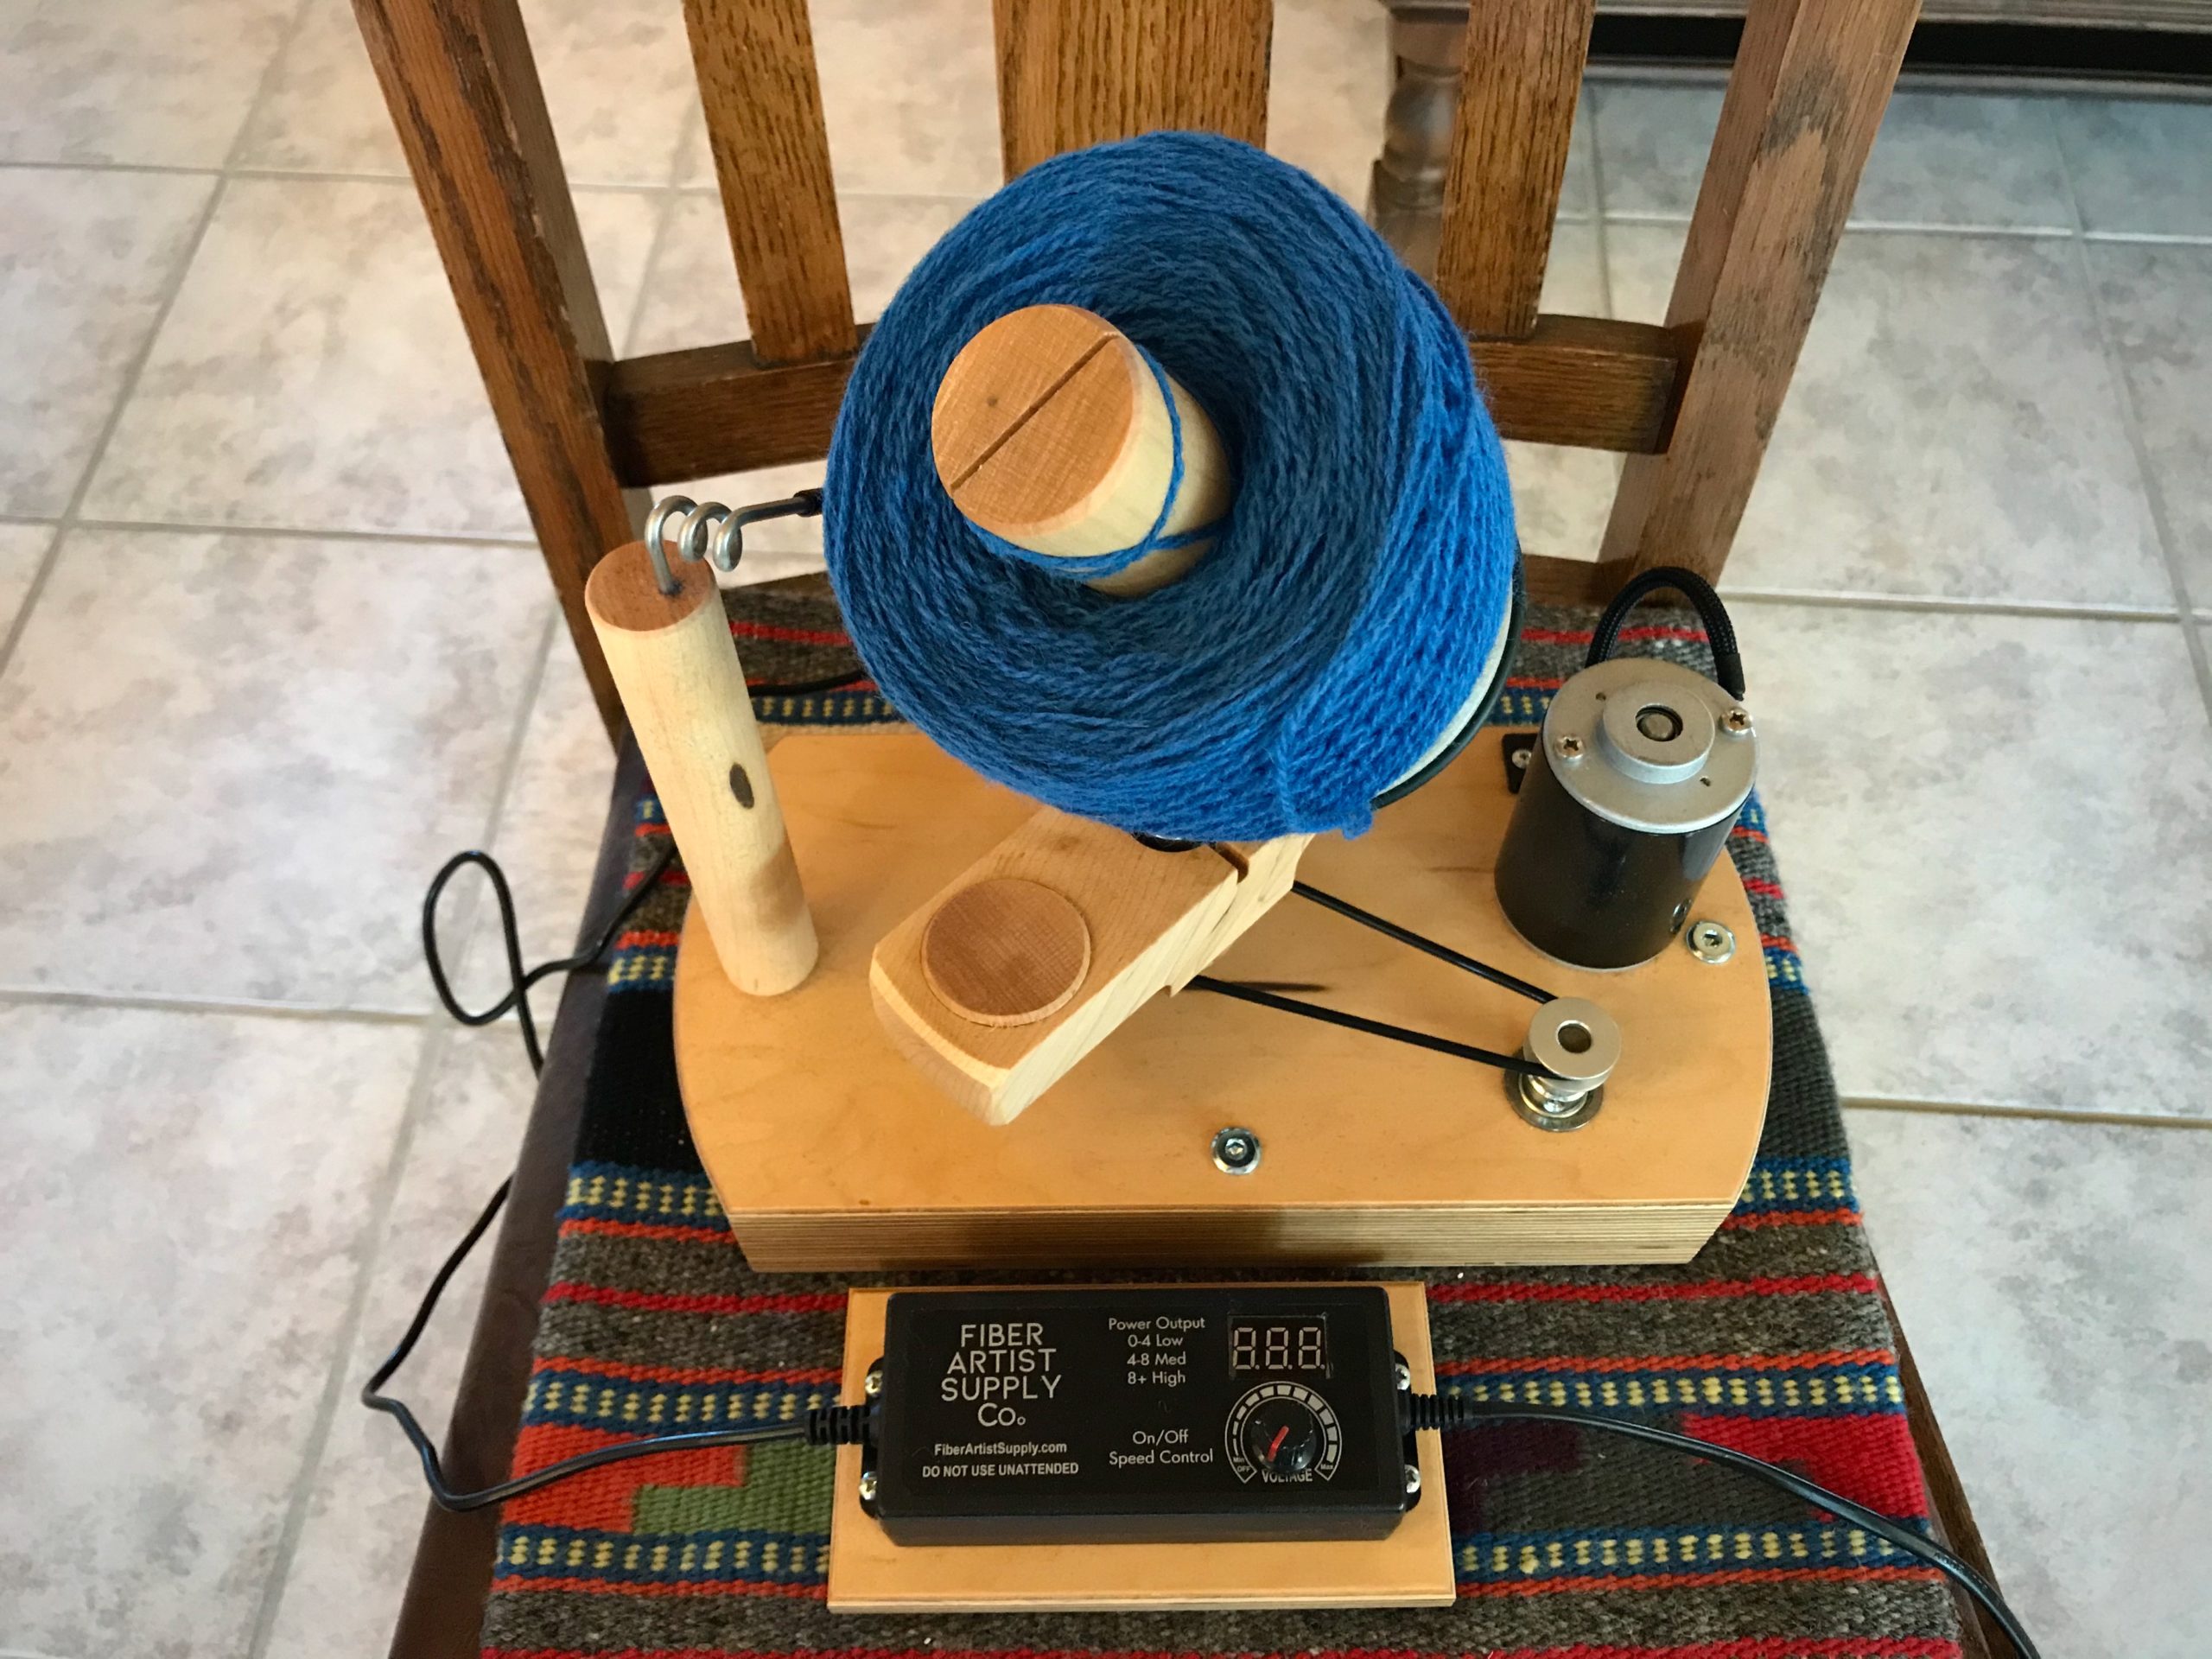
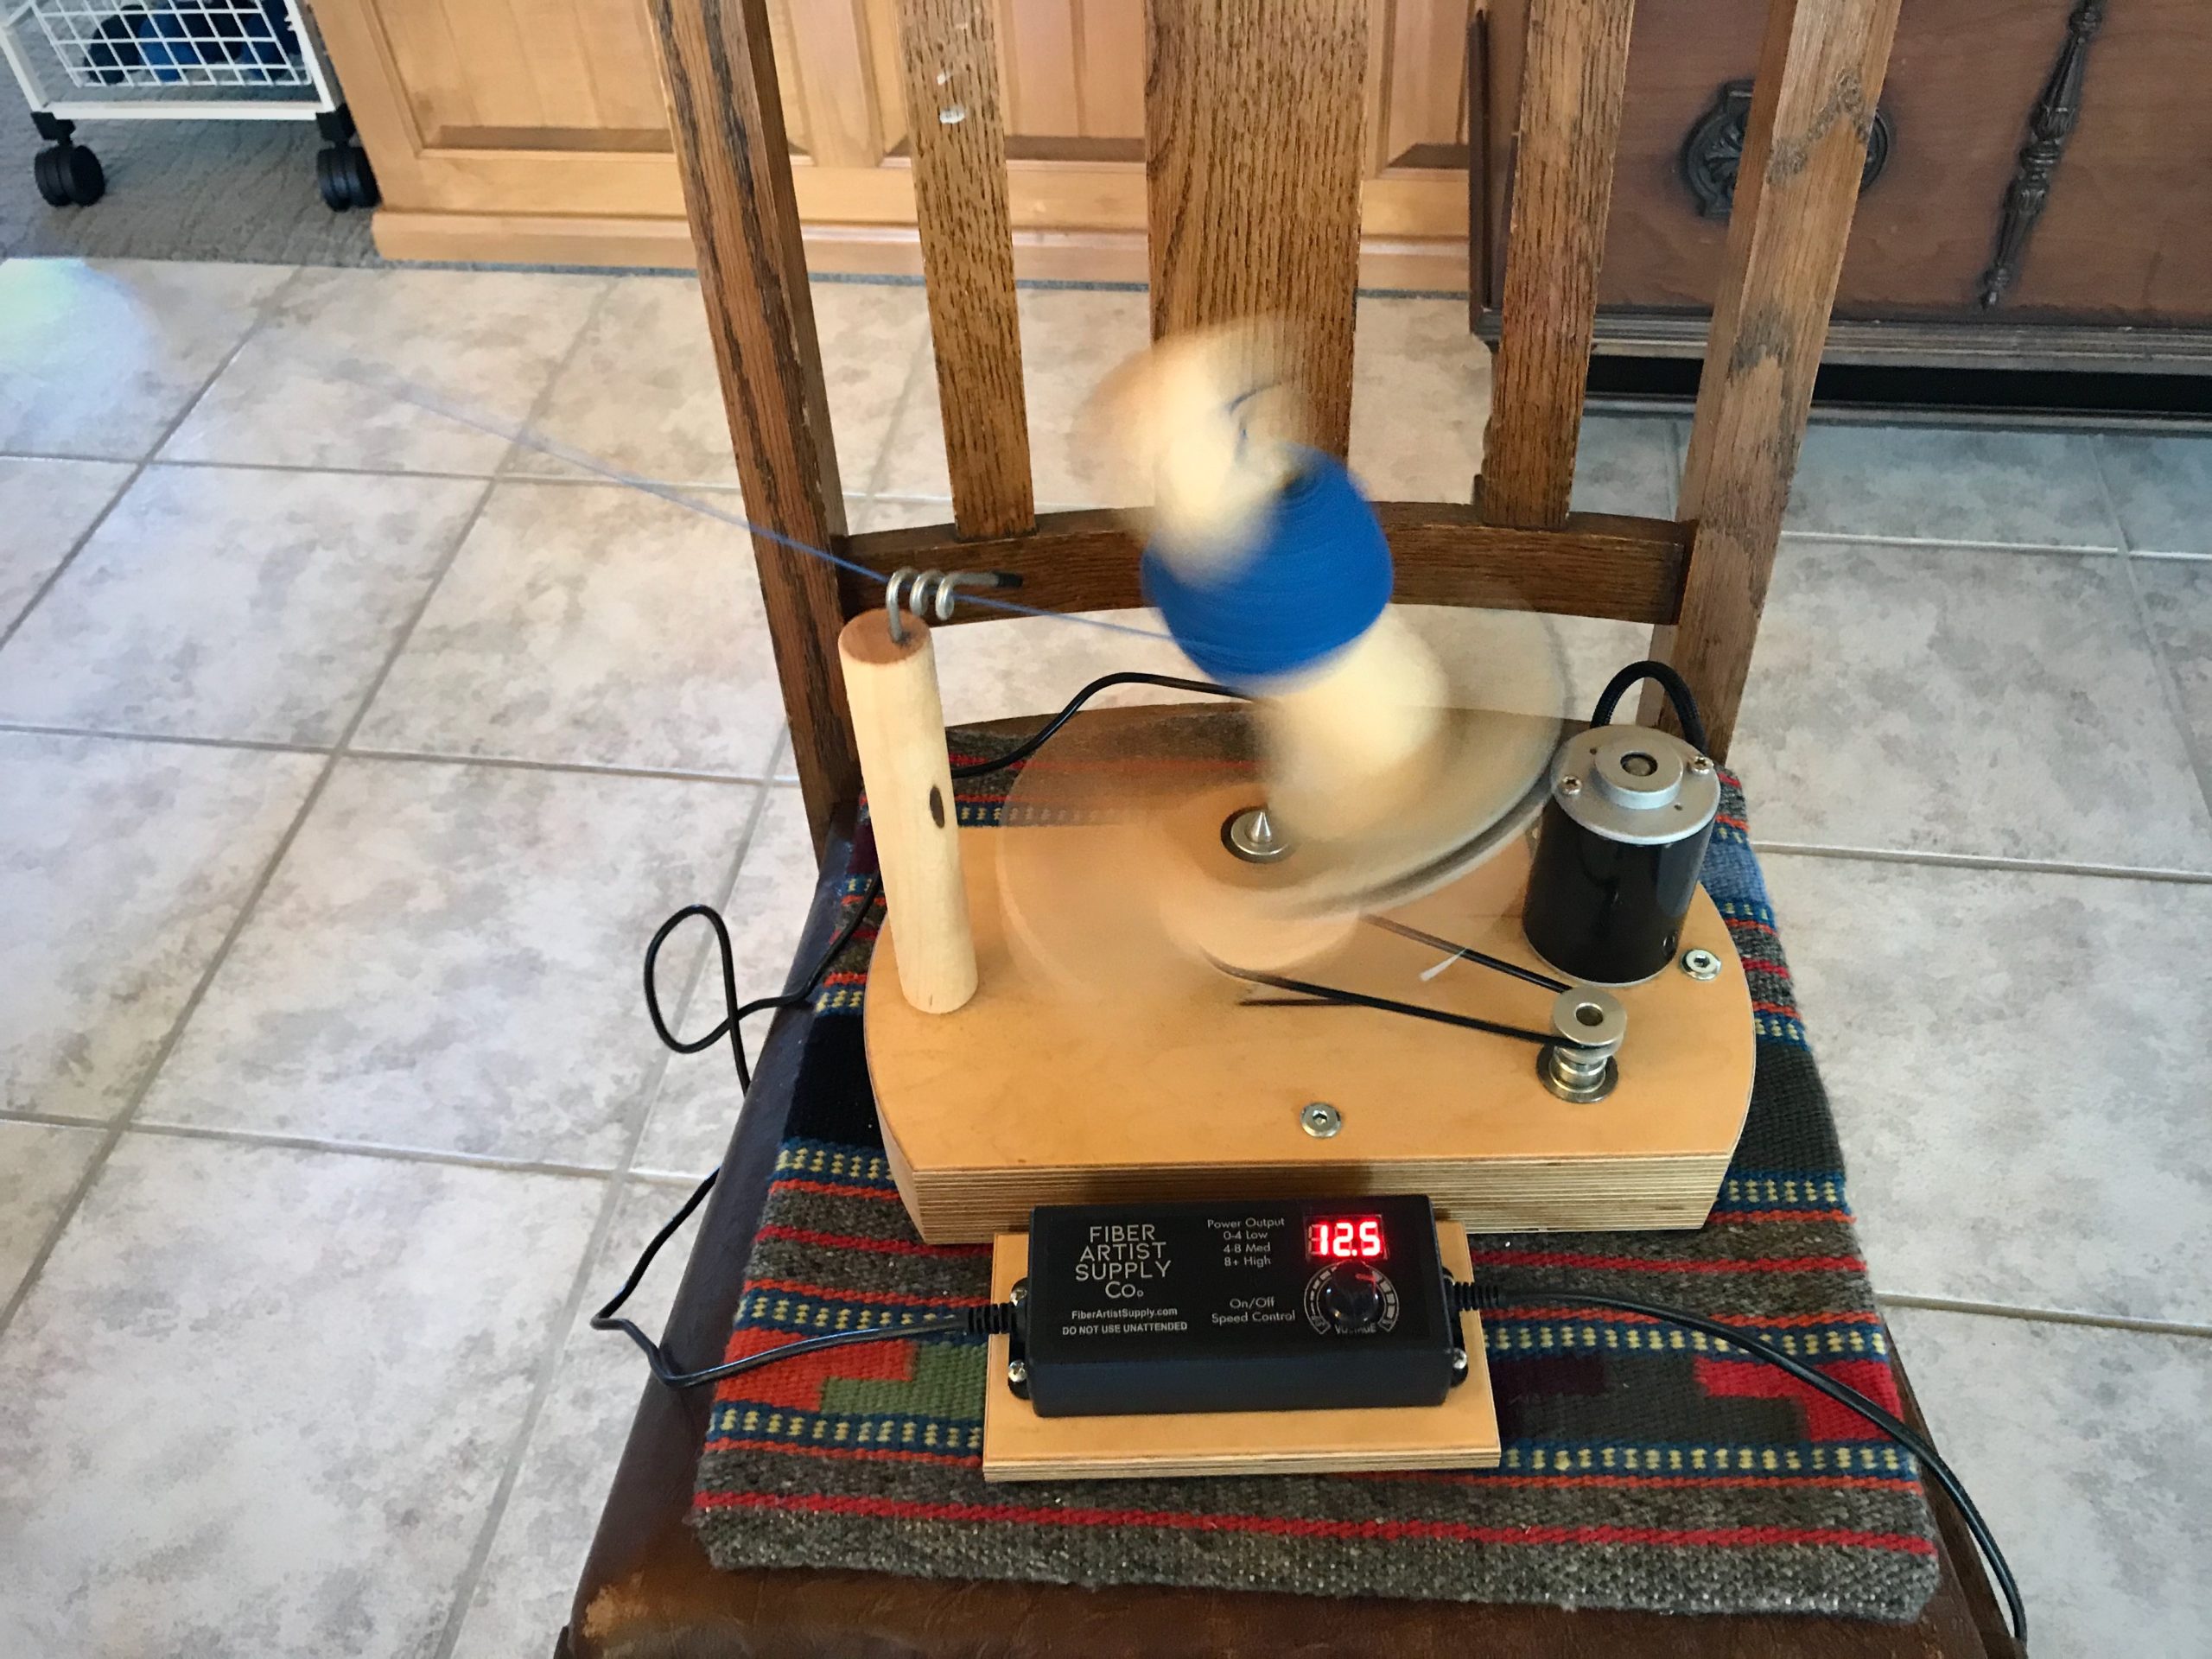
This time is different. I found a new time-saving and arm-saving tool. It’s an electric ball winder, made by Fiber Artist Supply Company. I put the skein on the swift, cut the ties, secure the loose end of yarn to the ball winder, and then turn it on, gradually increasing the speed. In less than two minutes, I have another beautiful ball of yarn to use for making tapestry butterflies.
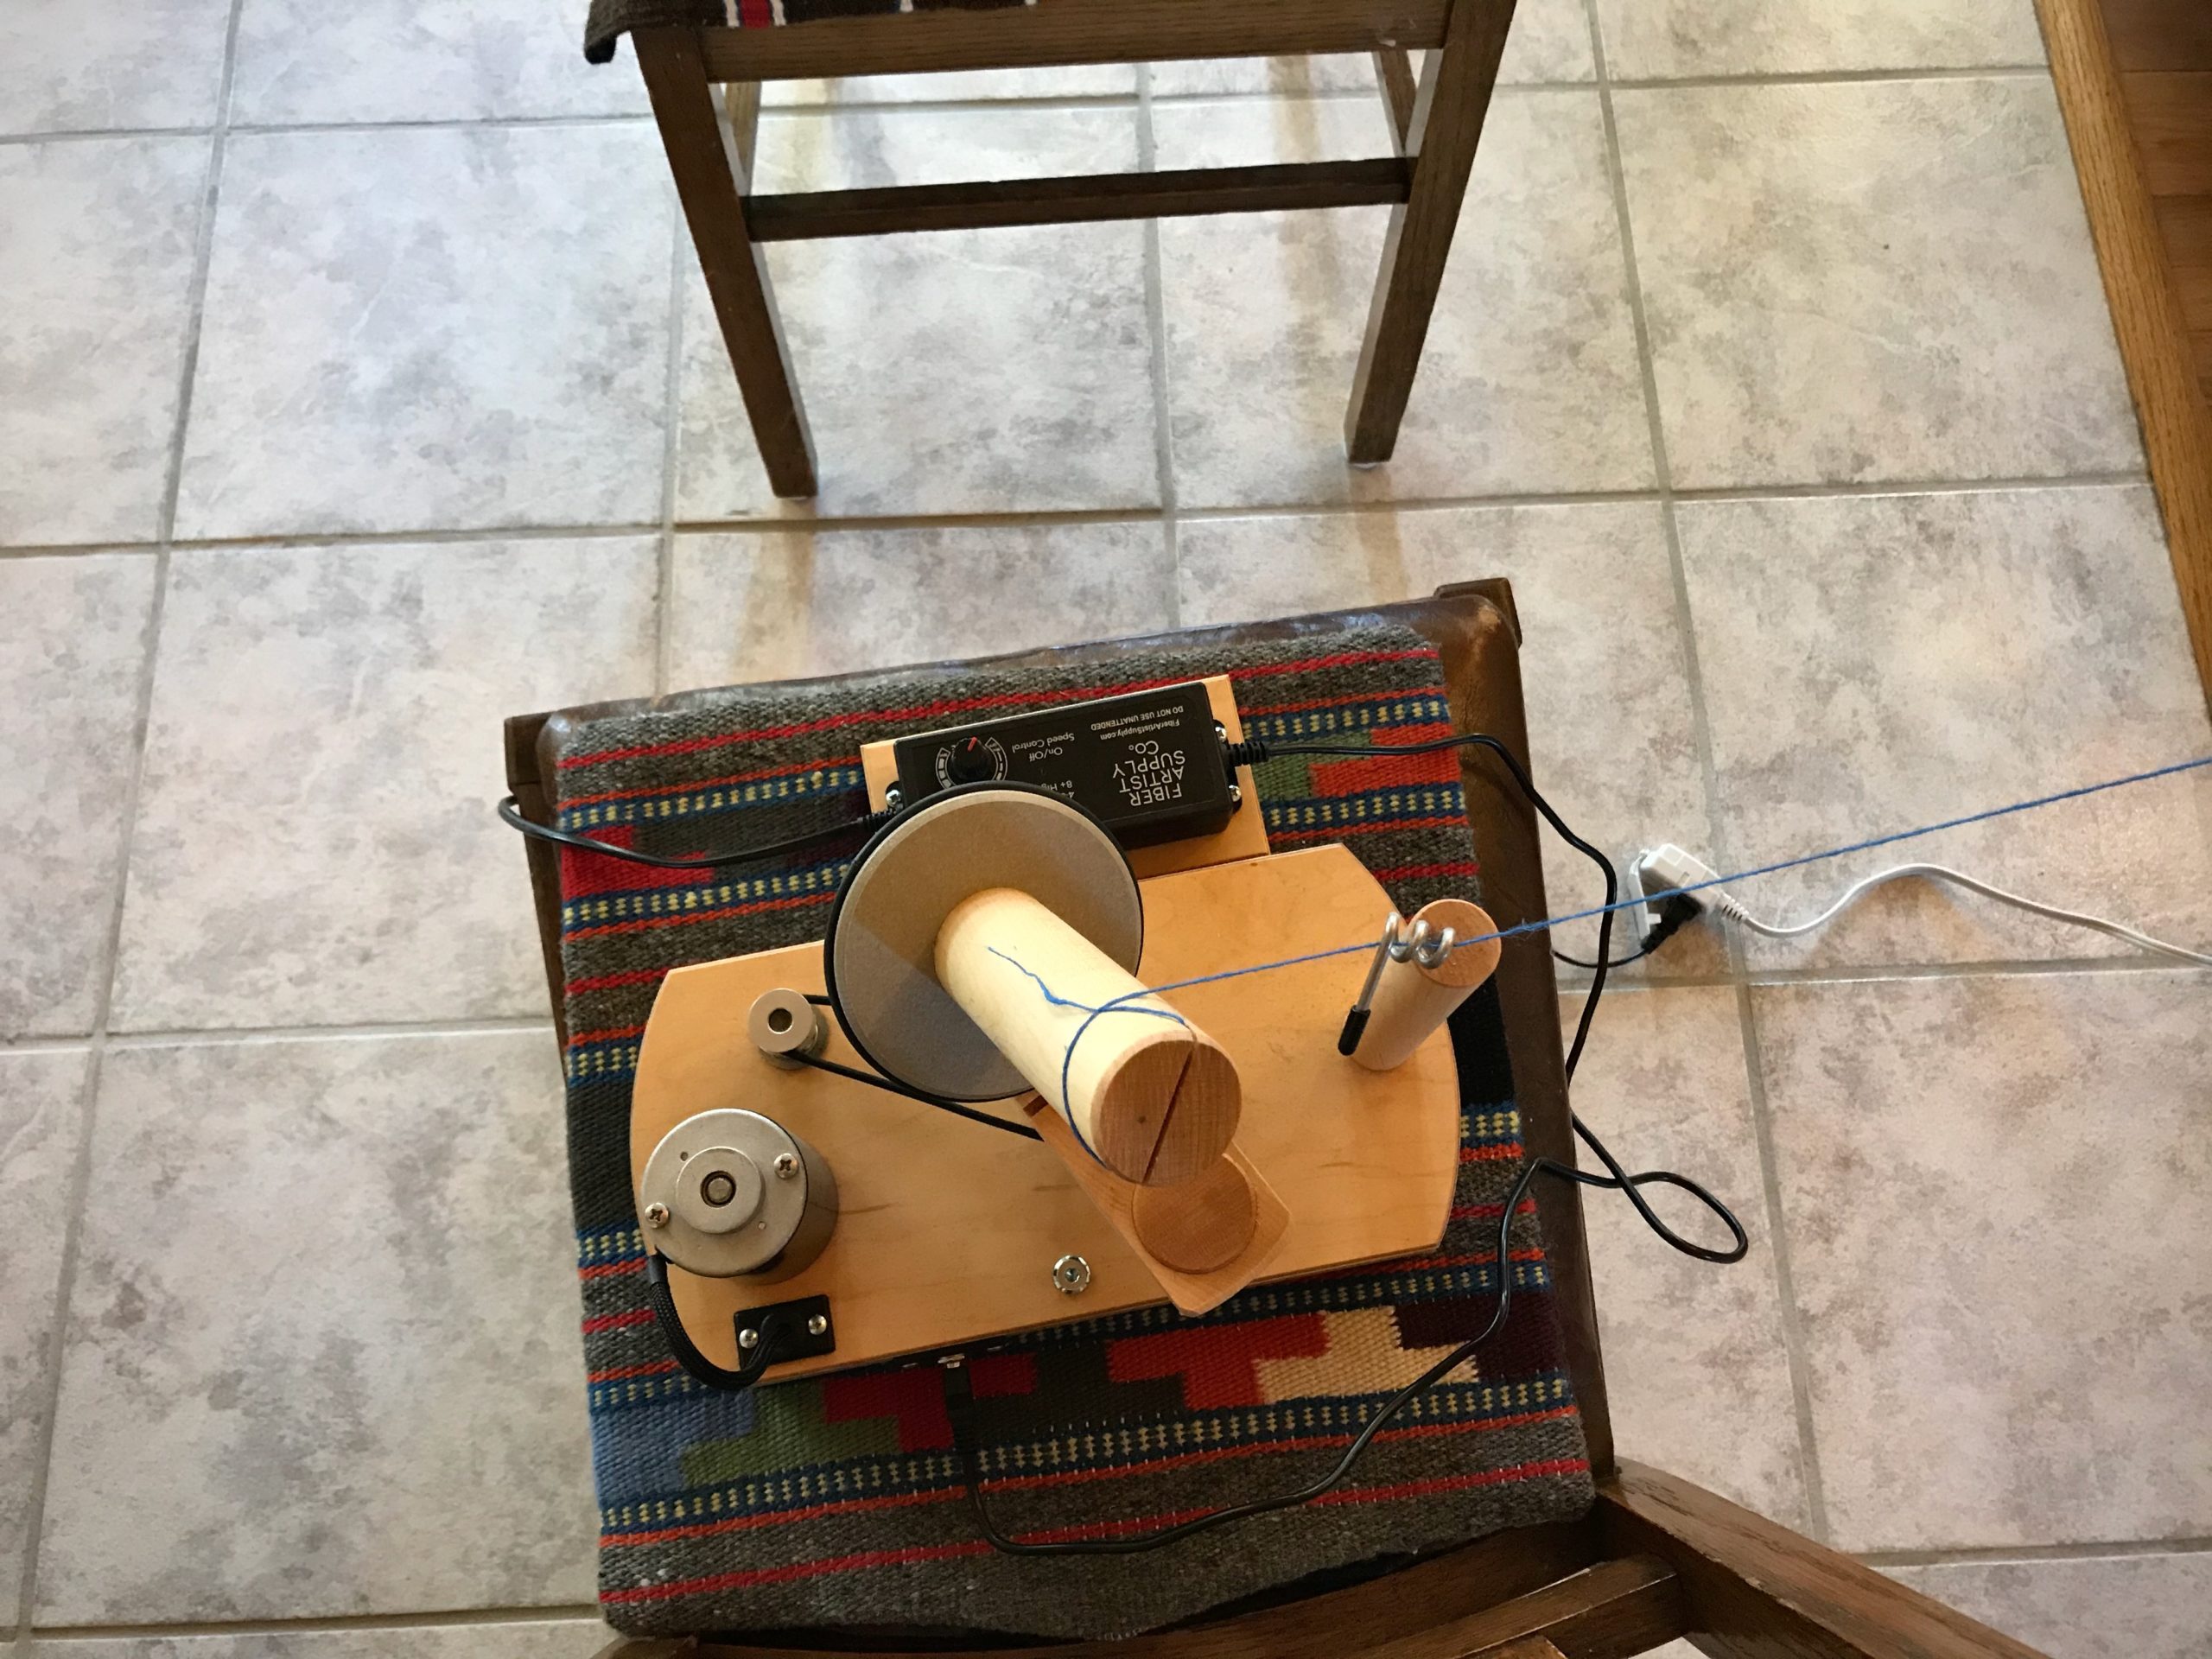
My new electric ball winder.
End of yarn is secured on the post of the ball winder.
Electric ball winder. Time-saver and arm-saver!
Dial on the winder allows me to gradually increase the speed. When I see that the skein is unwinding properly, I turn the dial to full speed.
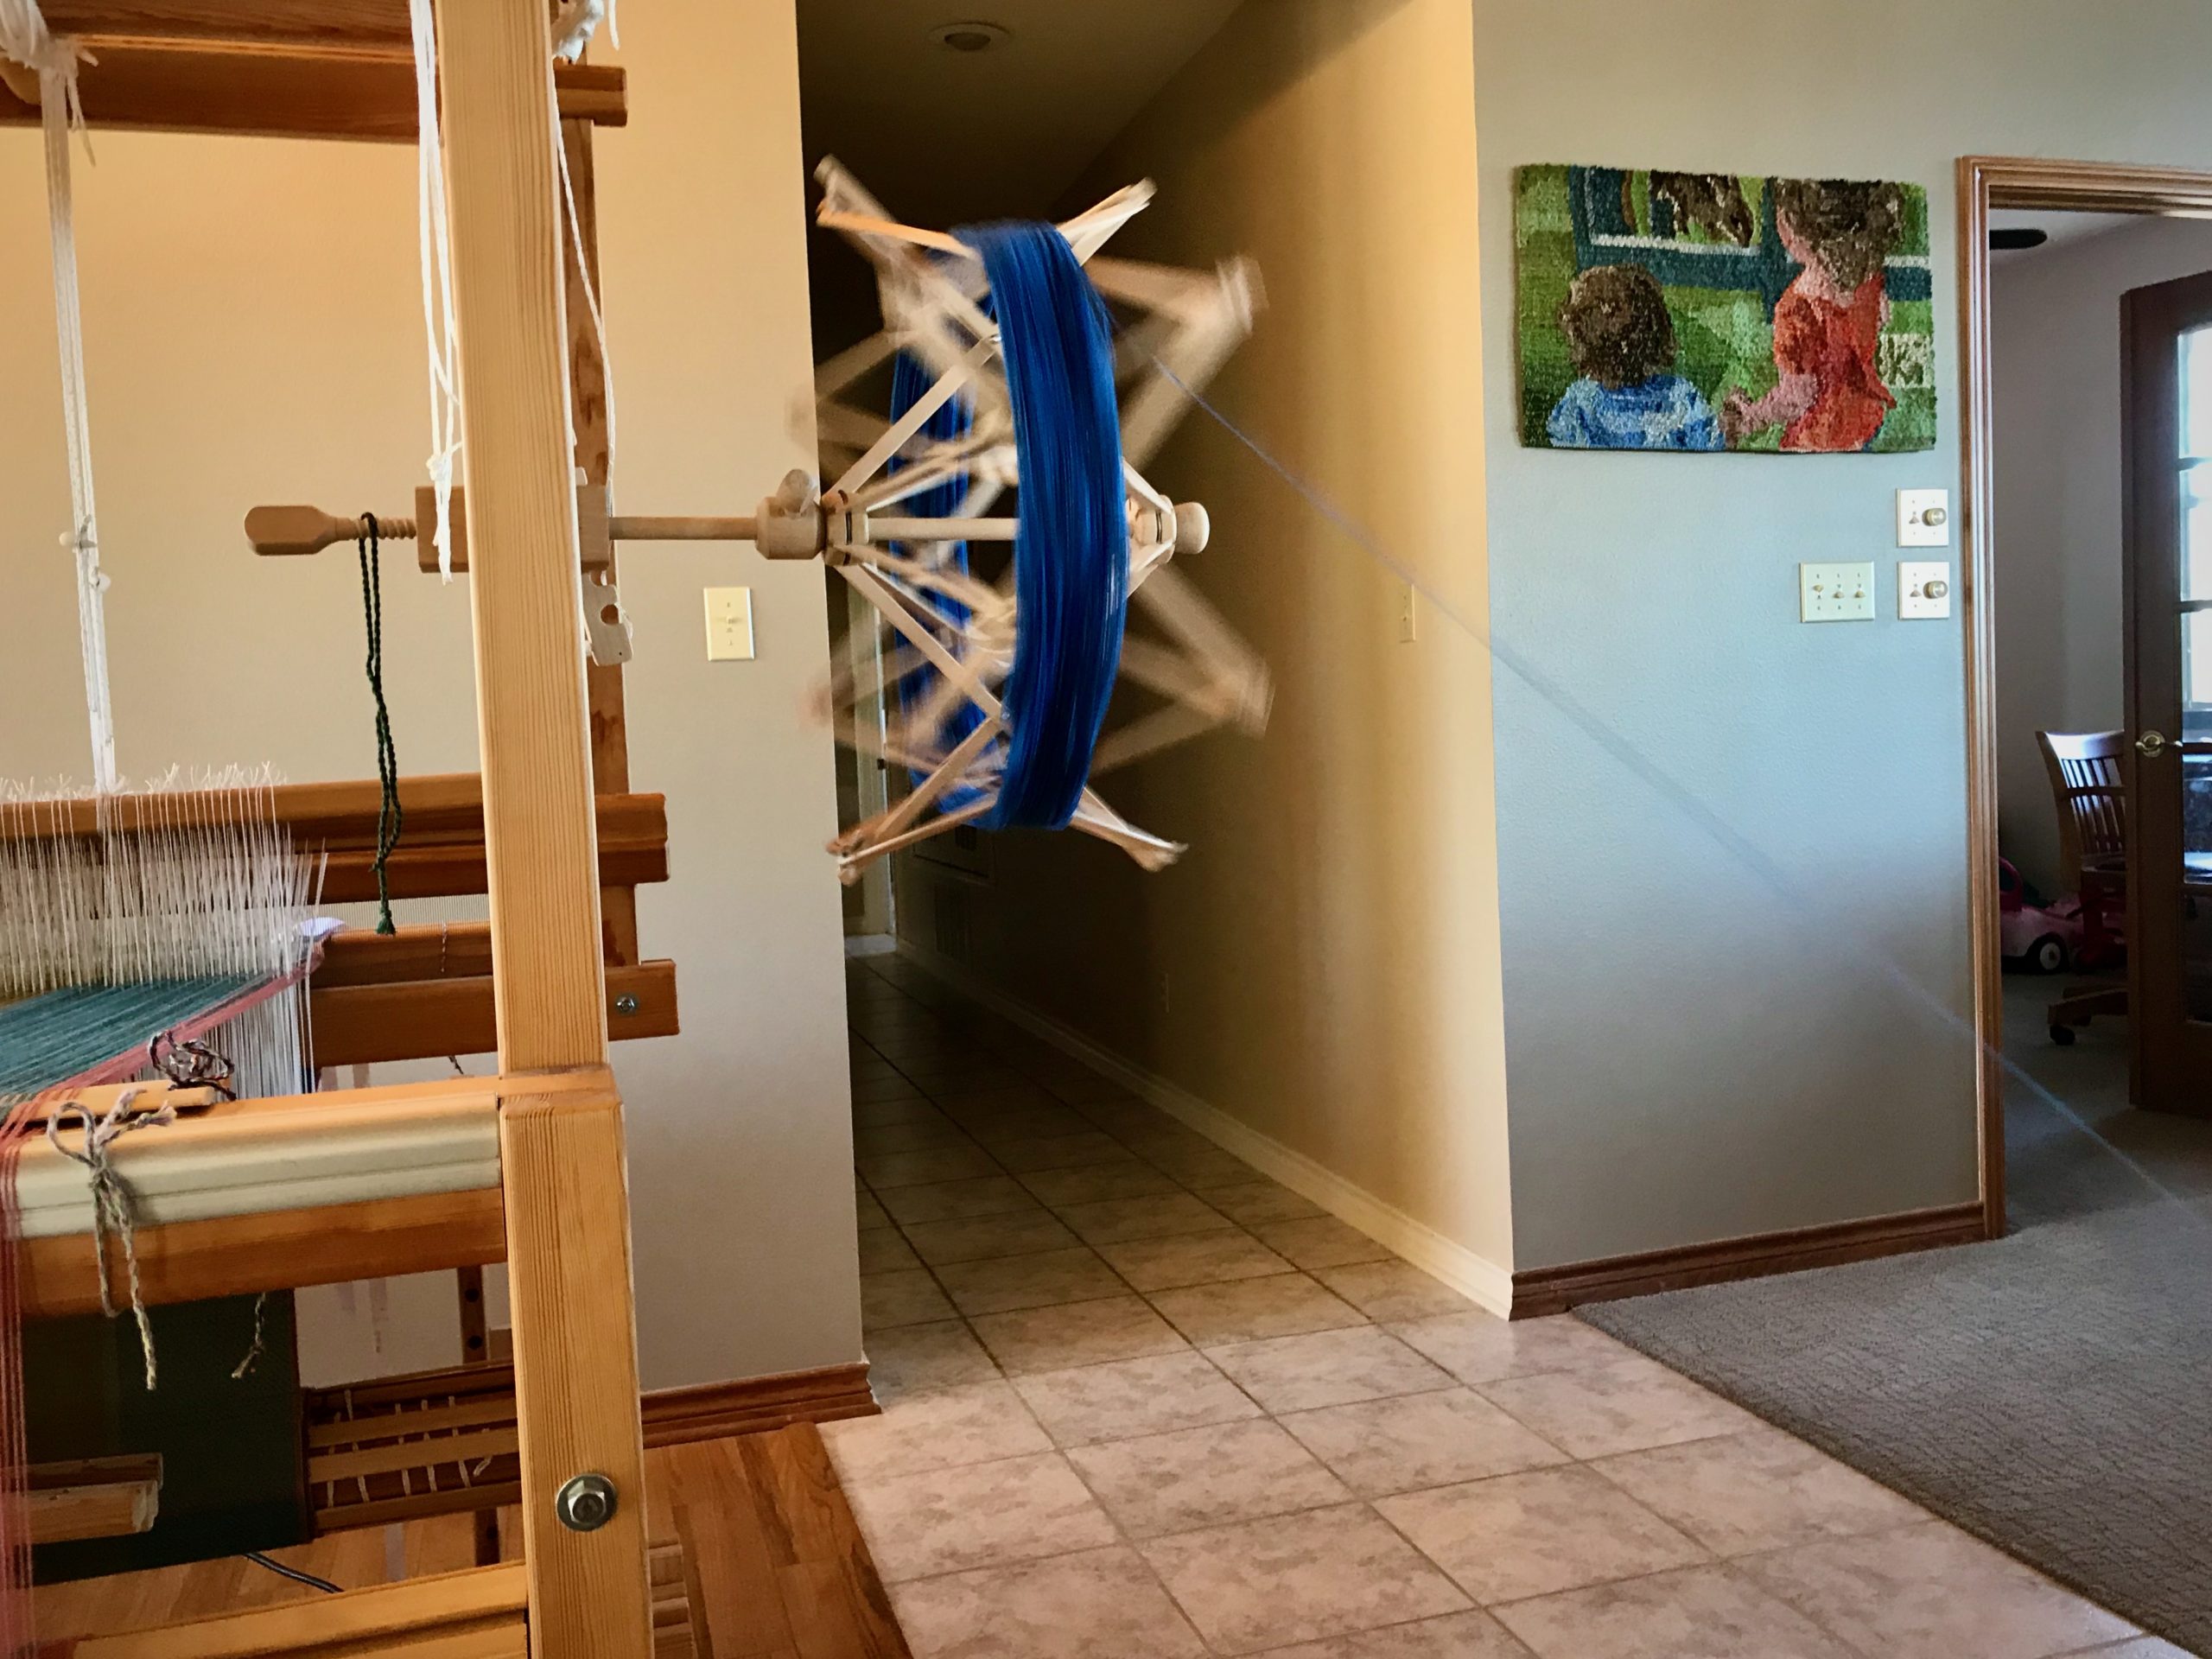
Yarn swift is turning swiftly!
Maybe this is why it’s called a yarn “swift.” Previous pictorial tapestry, Siblings, is seen on the wall.
Electric ball winder. Time-saver and arm-saver!
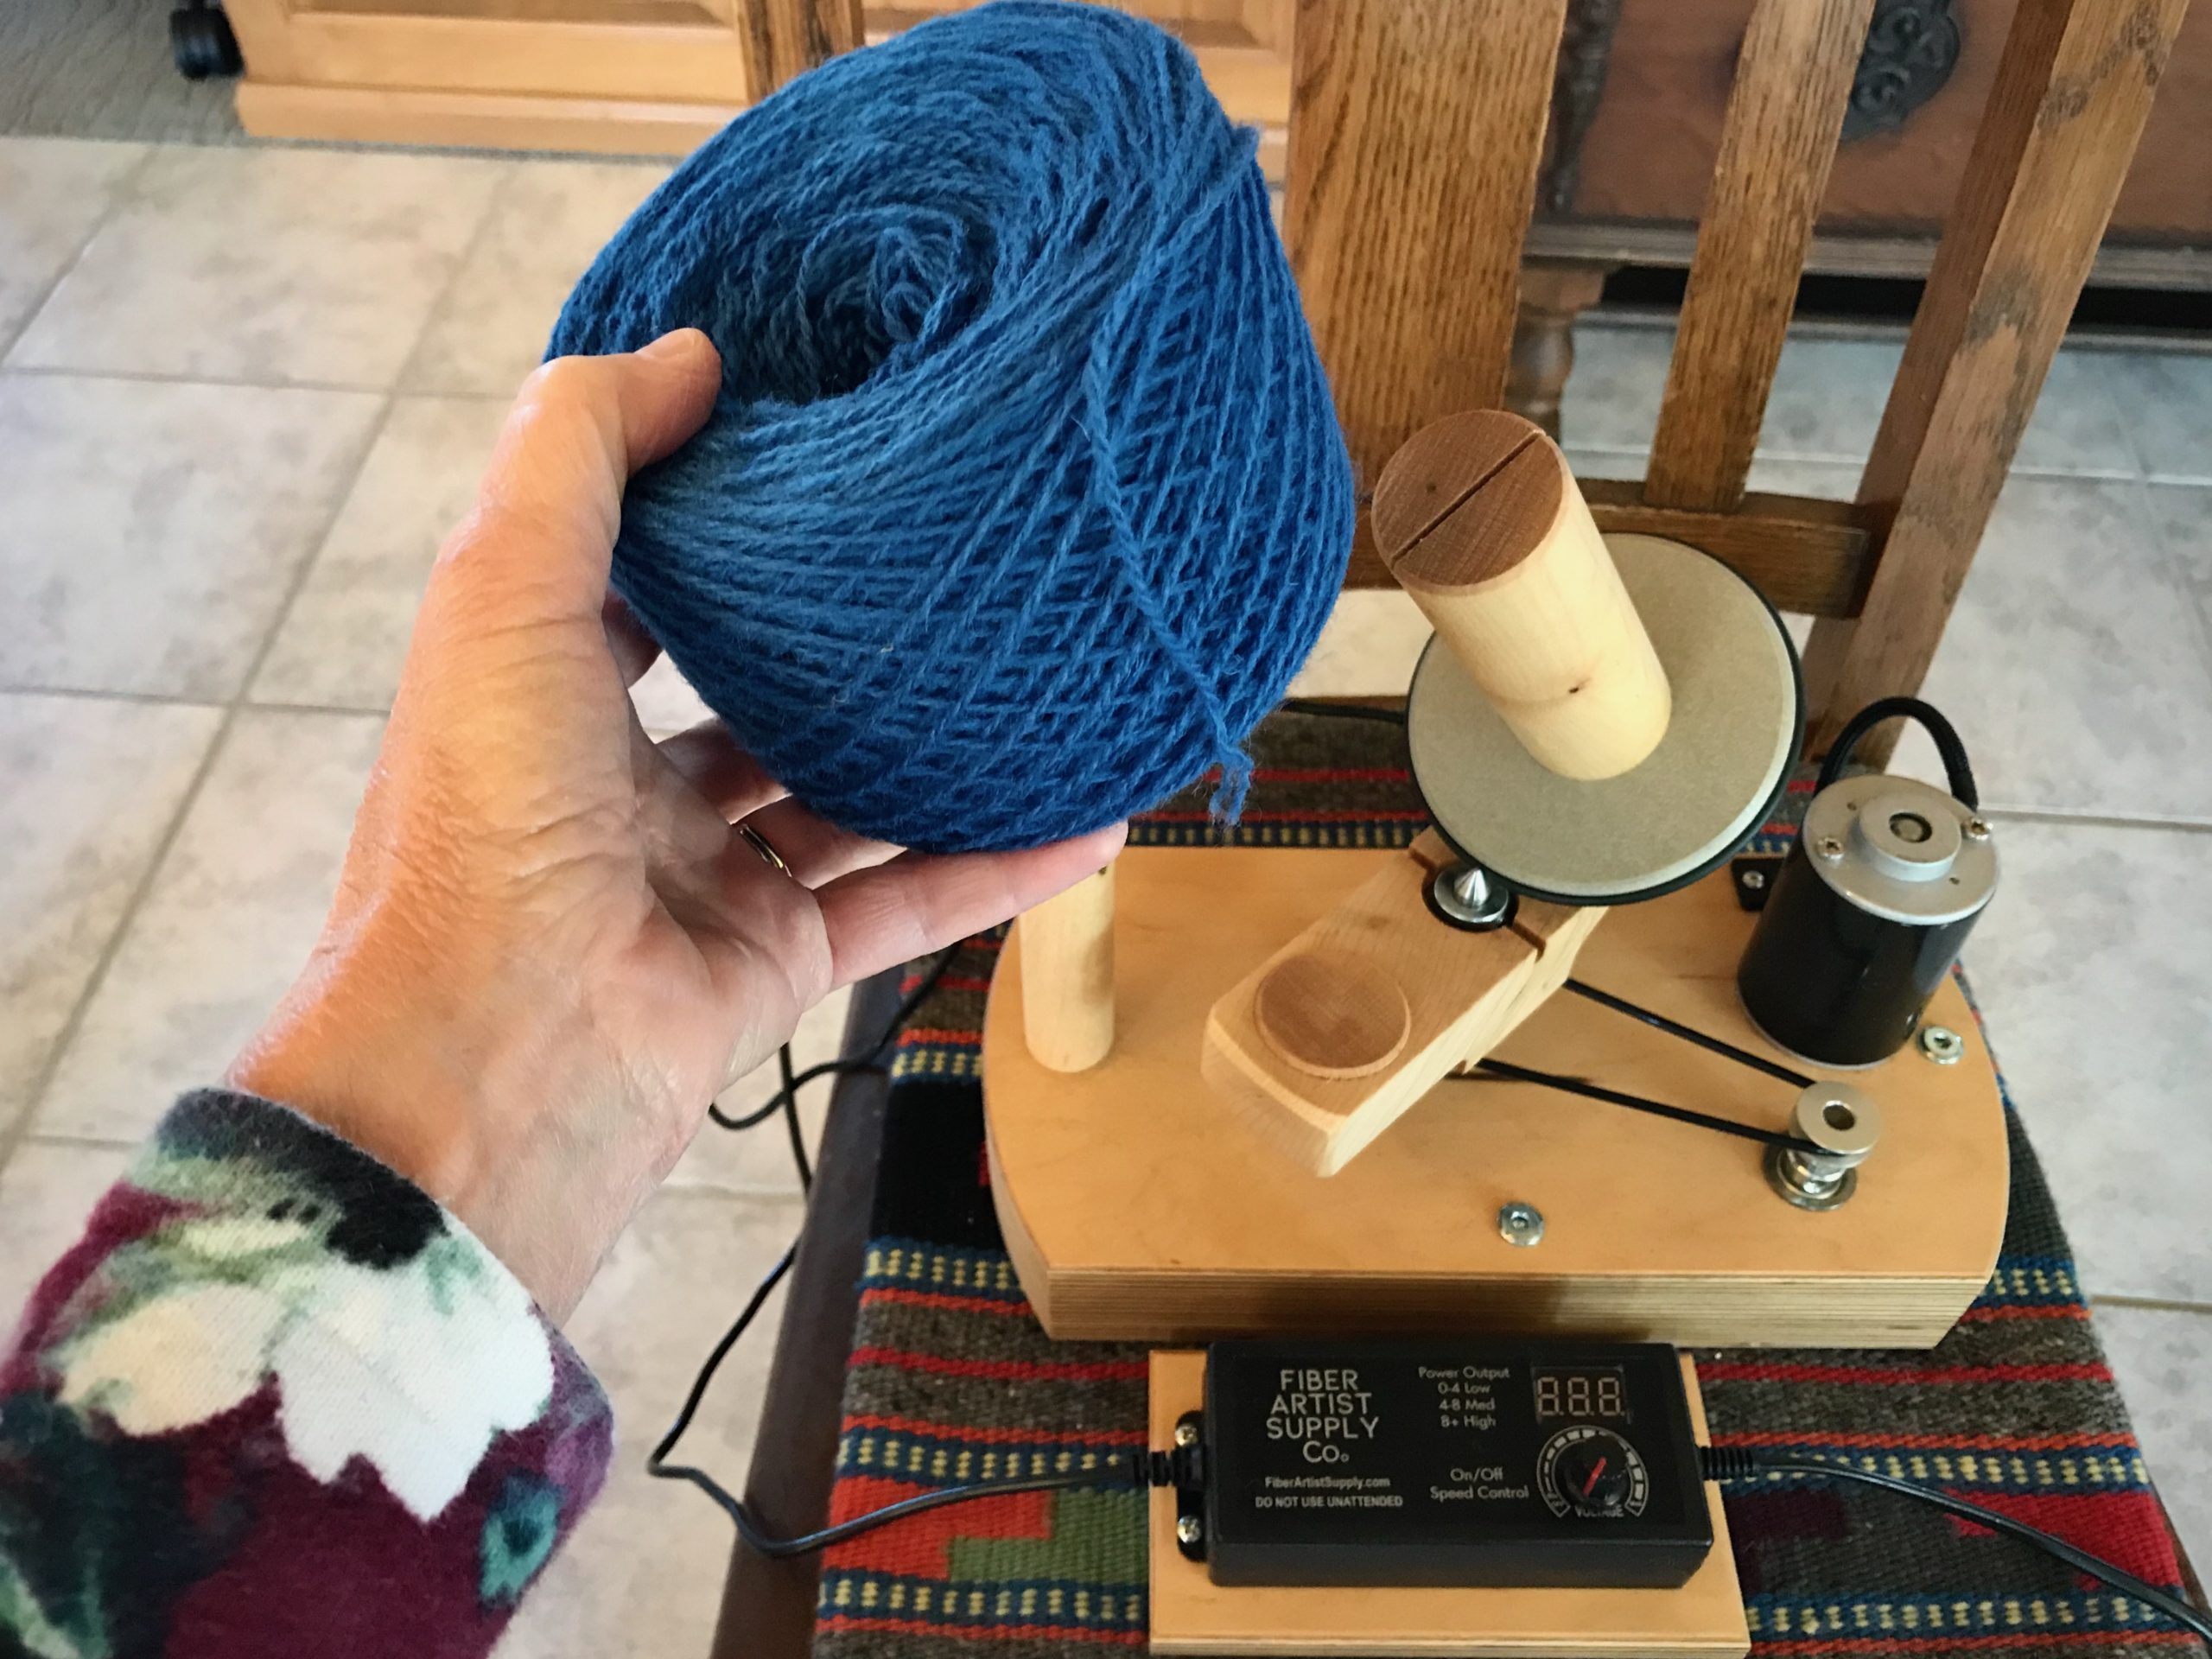
One minute, fifty-four seconds later, and we have a ball of yarn.
New ball of yarn from the electric ball winder.
I will wrap the label on this ball of yarn and it will join the yarn collection for this tapestry.
Getting ready to start a new pictorial tapestry!
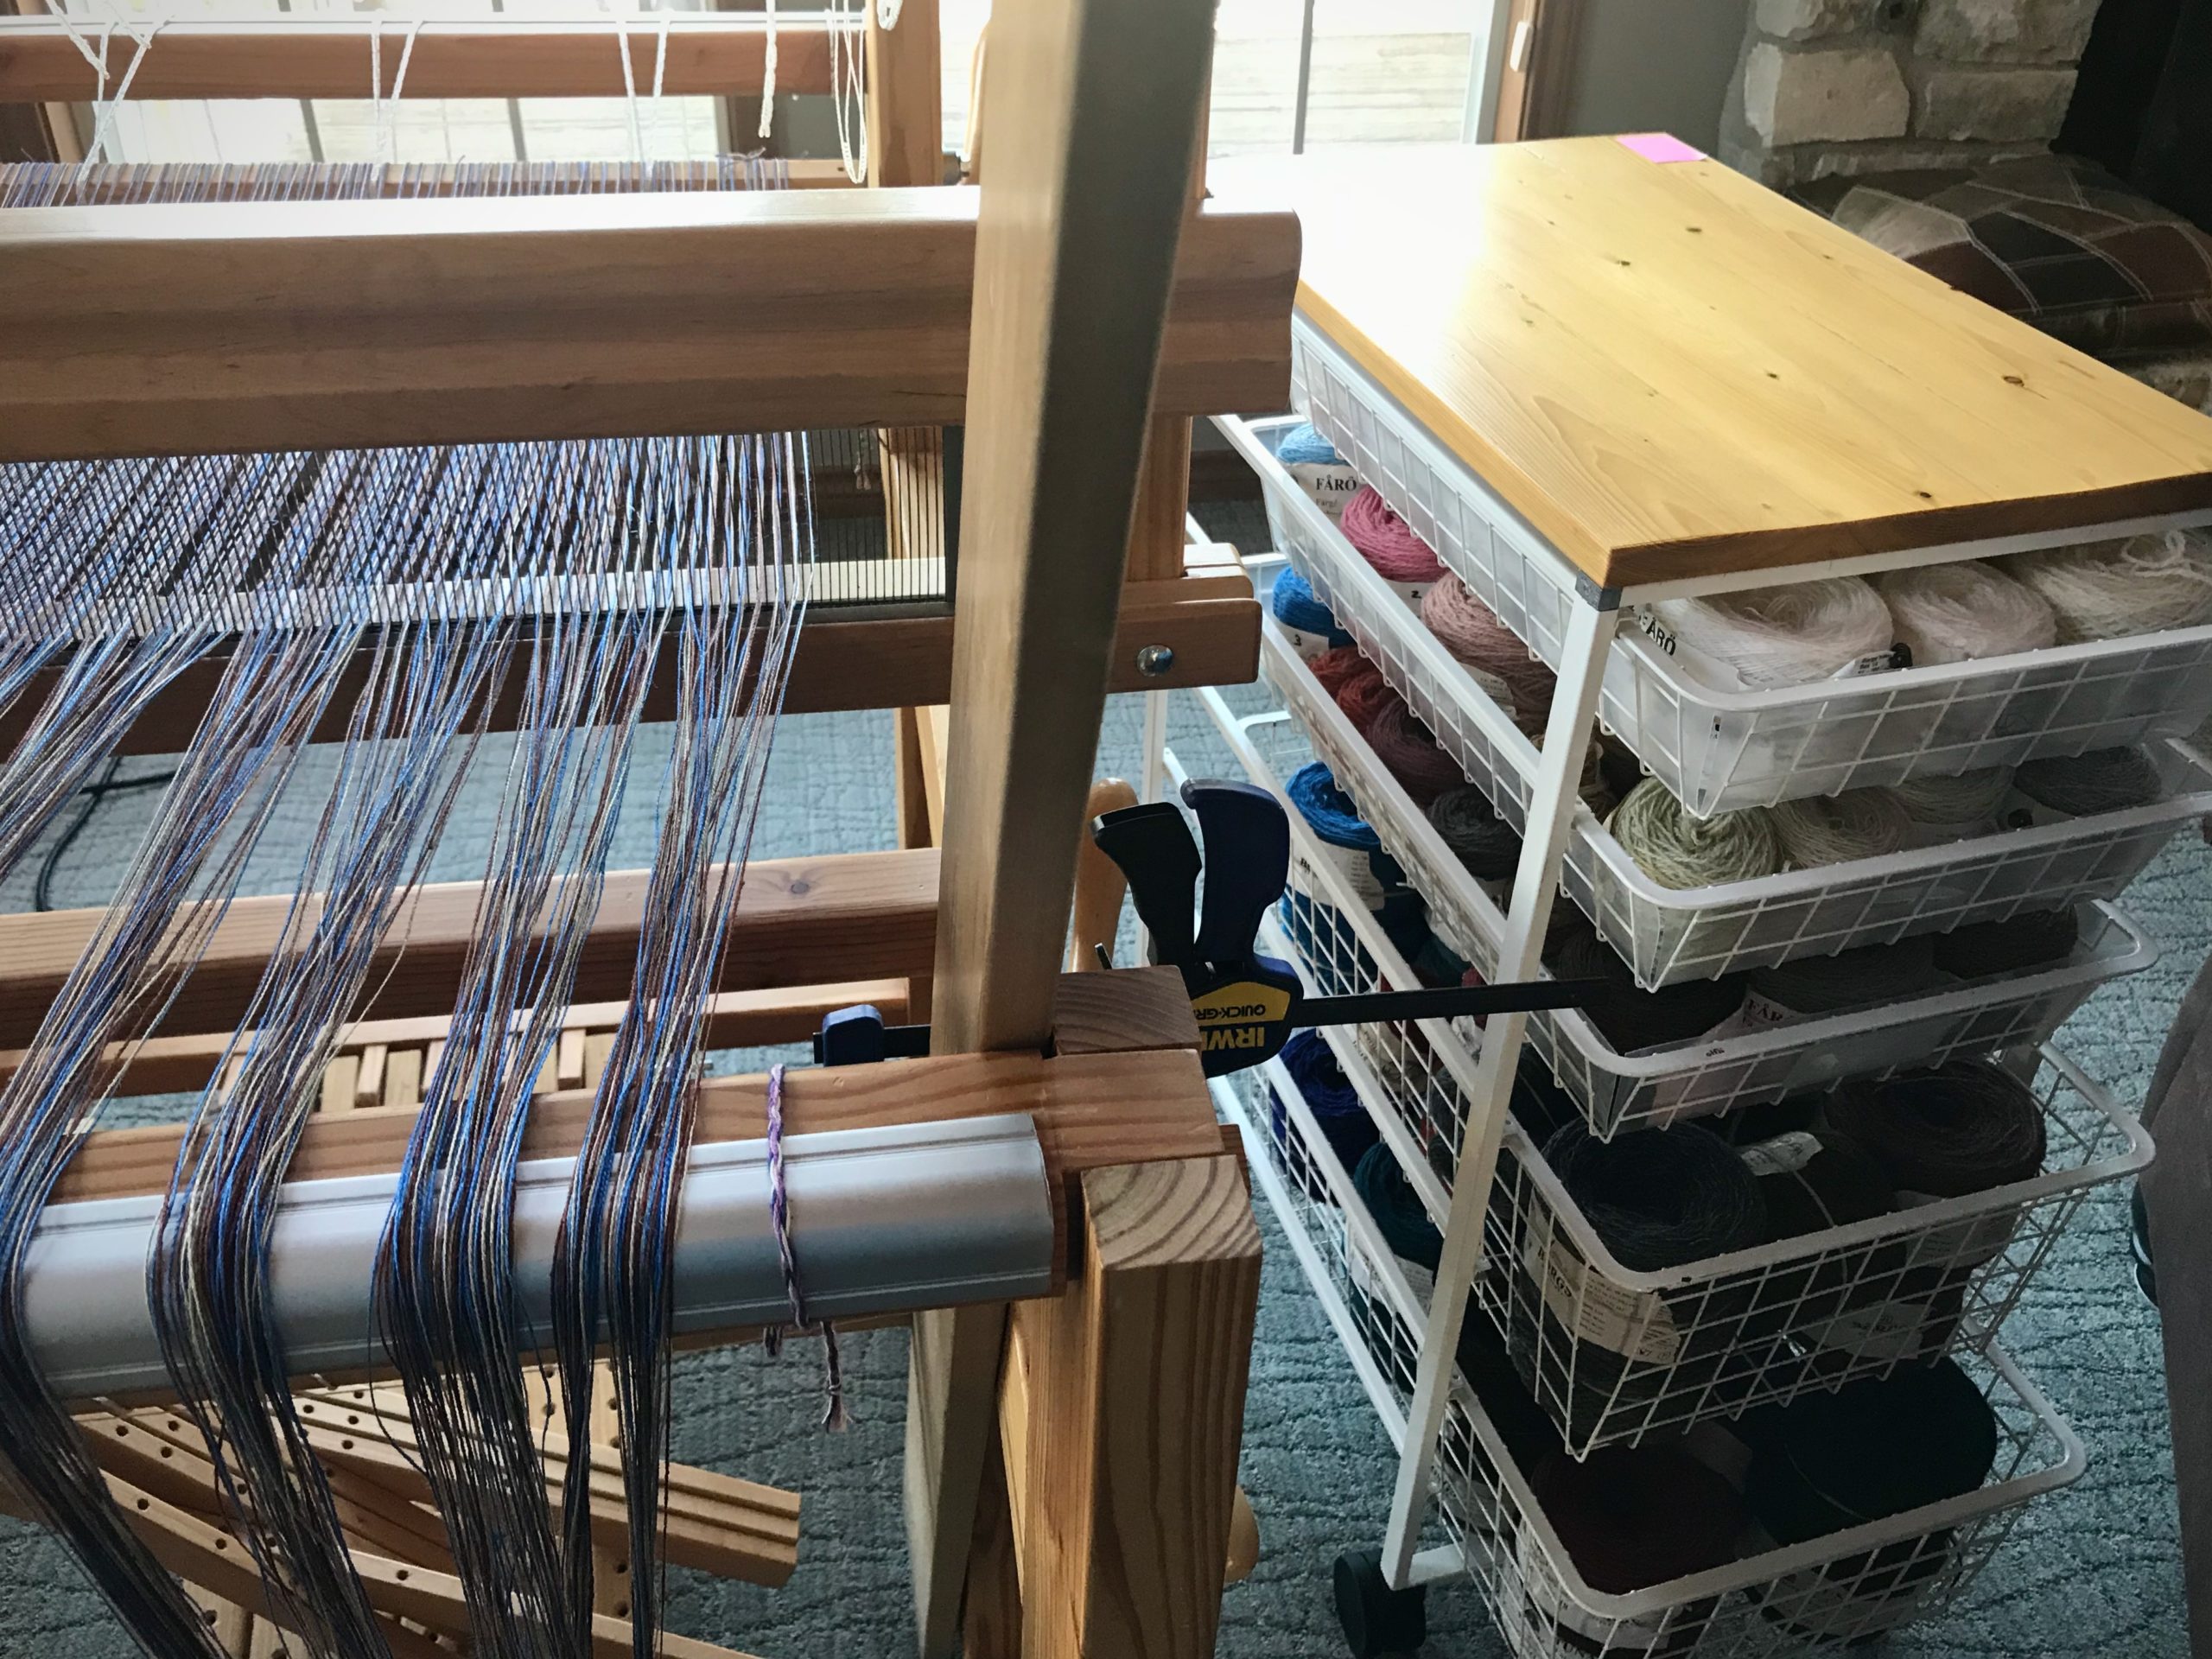
Linen warp is ready for beaming. Wool weft yarn is being sorted and organized for making butterflies.

May your tools give you more time for weaving.

Making it easier,
Karen

Warp Sequence Planning

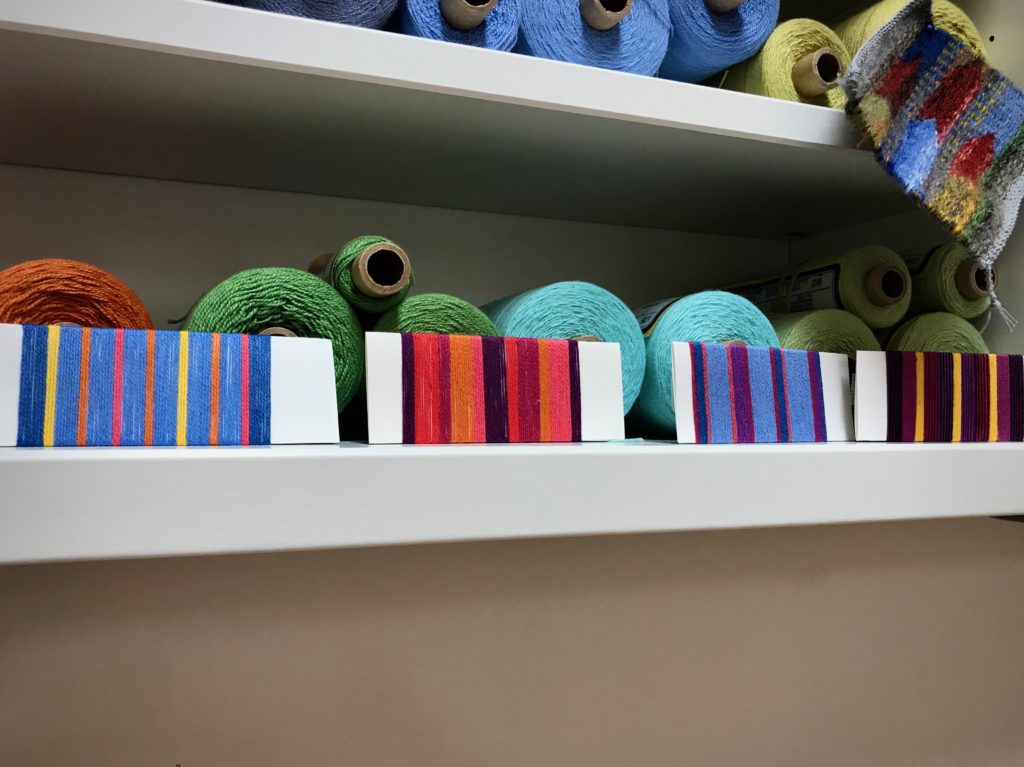
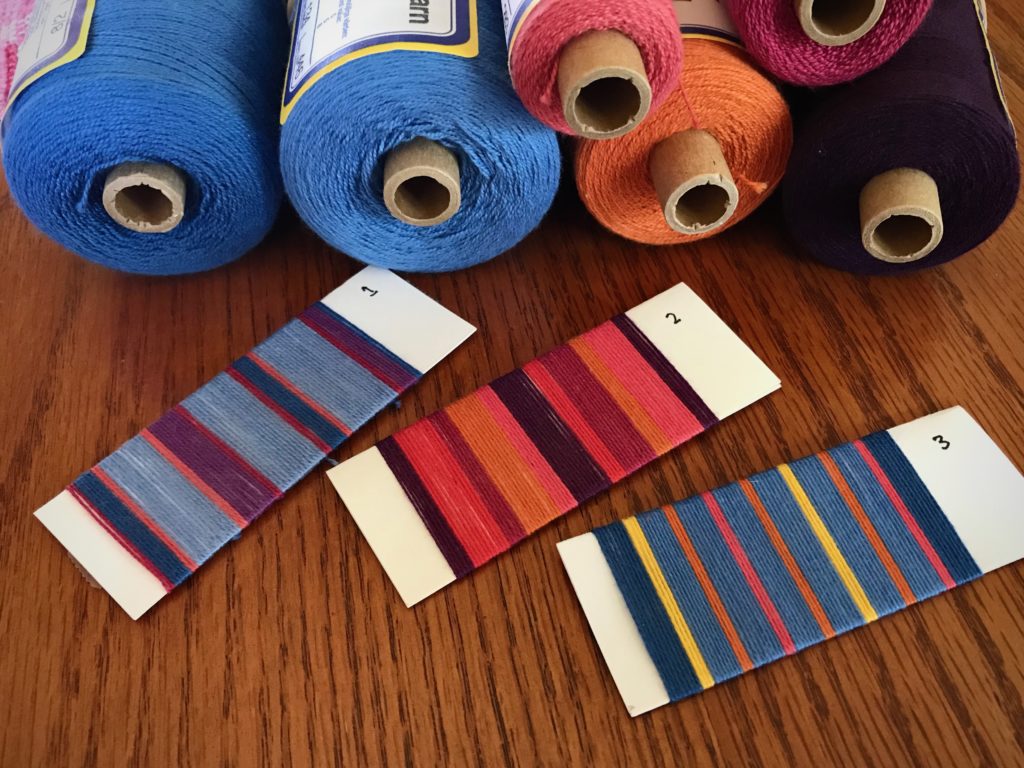
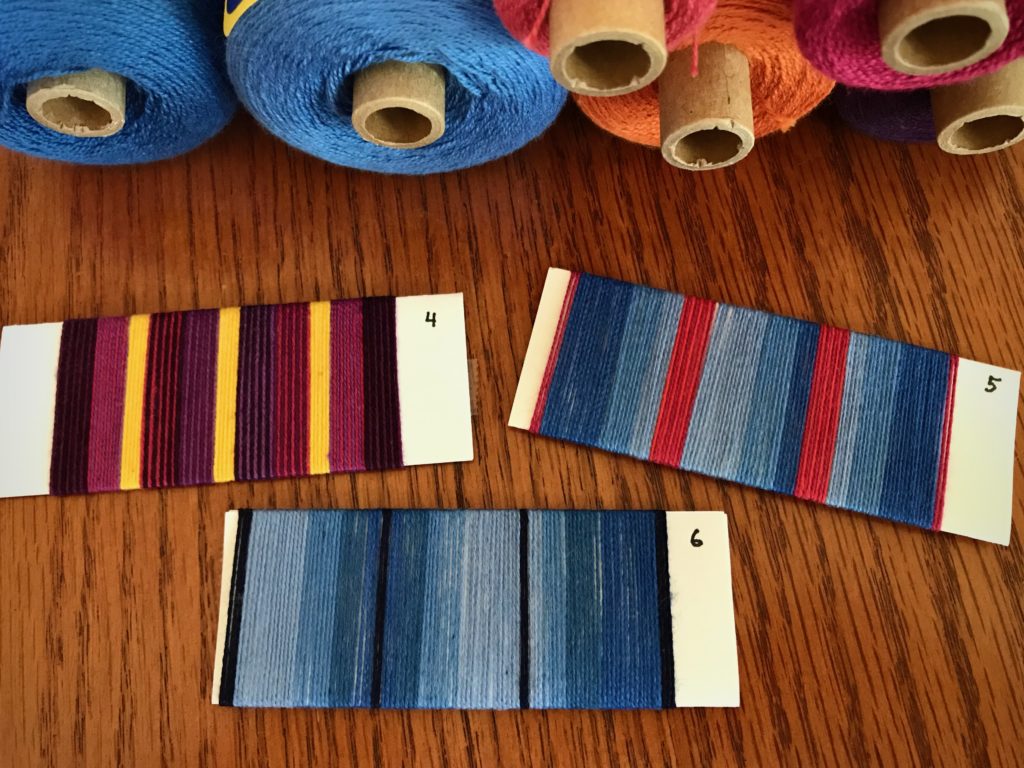
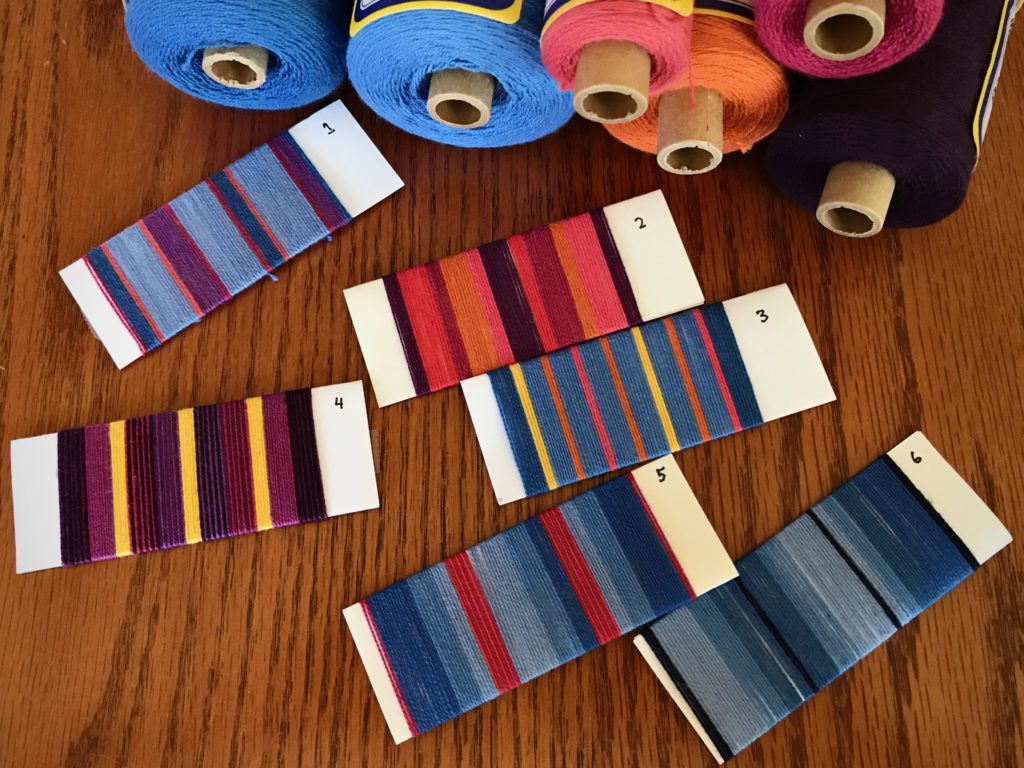
When I wrap potential warp sequences on folded index cards it brings design thoughts out into the open. It makes the ideas tangible, helping me plan a pleasing warp. For this 8/2 cotton warp I am choosing colors from the plentiful selection I already have on my shelves.

Planning warp stripes with 8/2 cotton.
8/2 cotton left from previous projects fills the shelves. Each warp wrapping sparks ideas for more possible warps.

This warp will be woven as eight-shafttwill yardage, about 15 1/2 inches wide. The fabric will be cut and hemmed to make colorful arm and headrest covers for my mother-in-law’s comfy off-white recliner. I will increase the width of the stripes proportionately to fill the warp width. My mother-in-law will have the final say, but if you could help her decide, which set of warp stripes would you choose? Please let us know in the comments.

Planning warp stripes.
Planning warp stripes with 8/2 cotton.

What if our attitudes were made tangible? What would our thoughts look like if they were out in the open, wrapped like colored threads around our actions? With the love of Christ in us, forgiveness is the recurring thread. Forgiveness is for the undeserving. That is who we forgive. Because that is who we are when we are forgiven by God.

May the thread of forgiveness be woven in your life’s fabric.

With you,
Karen

Welcome to My Loom

The computer is a worthwhile instrument for creating designs to weave. I like the flexibility and repeatability it gives me for drawloom designs. I’m also using the computer to develop the cartoon for my next pictorial tapestry. The computer work takes time—usually more time than I think it should.

Cottolin bath towels on the loom.
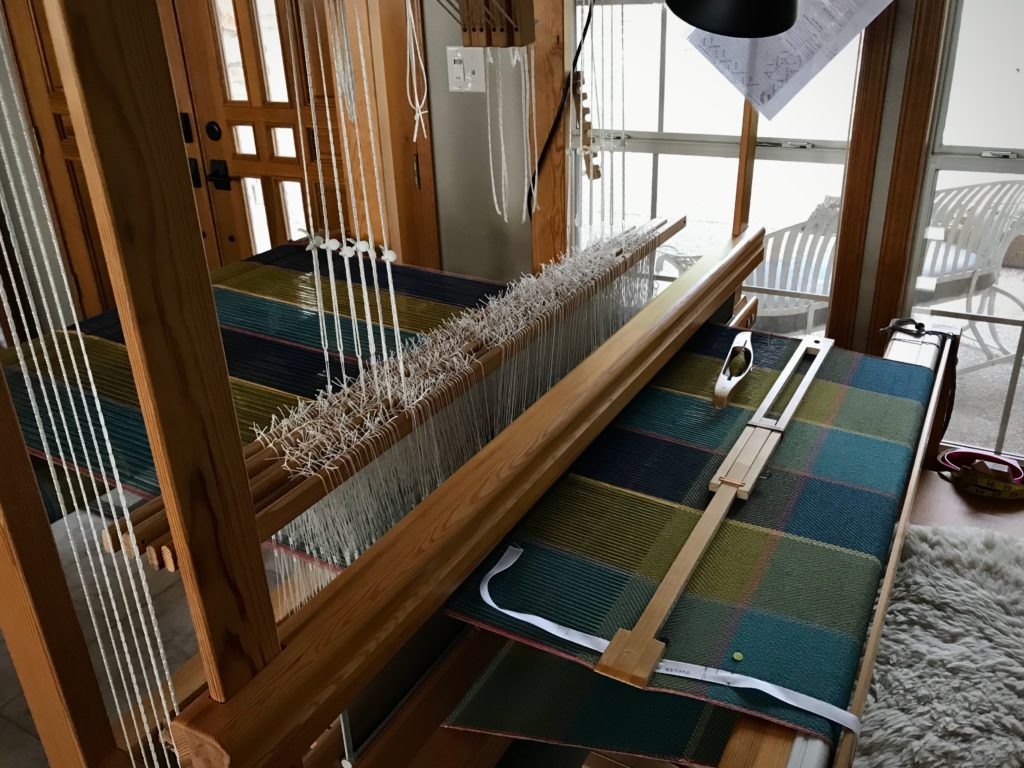
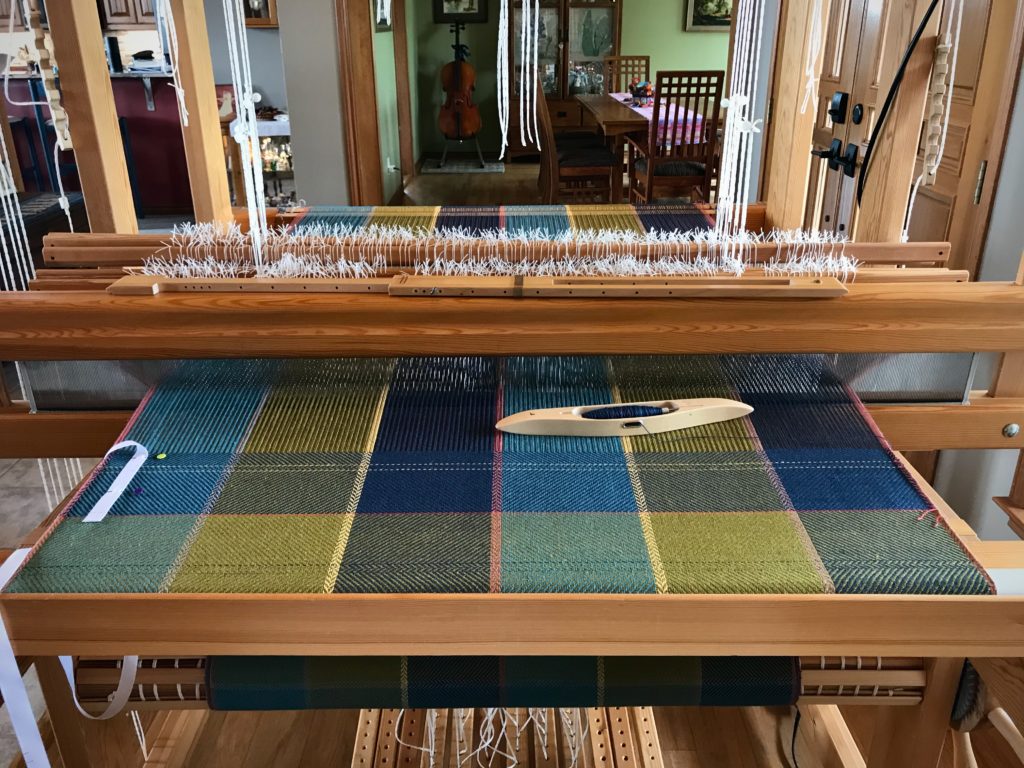
Come in our front door to see what is on the loom. Nearing the end of the first bath towel on this cottolin warp.

When I sit at the loom, though, time slips away unnoticed. This is where I’d rather be.

Cottolin bath towels on the loom.
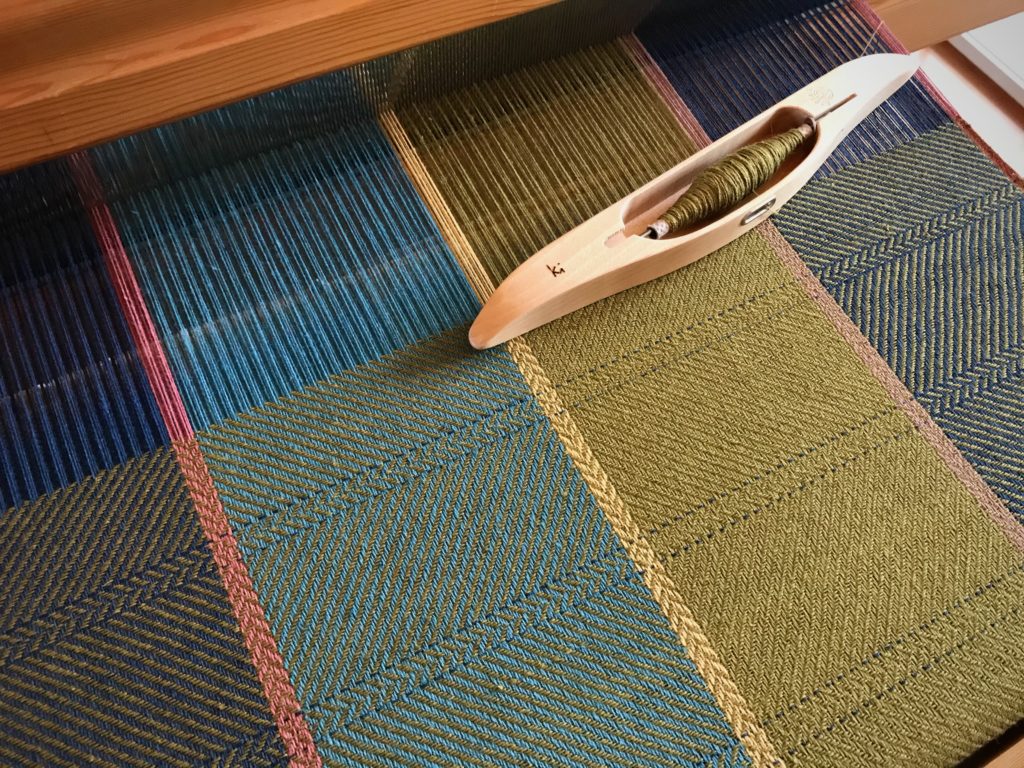
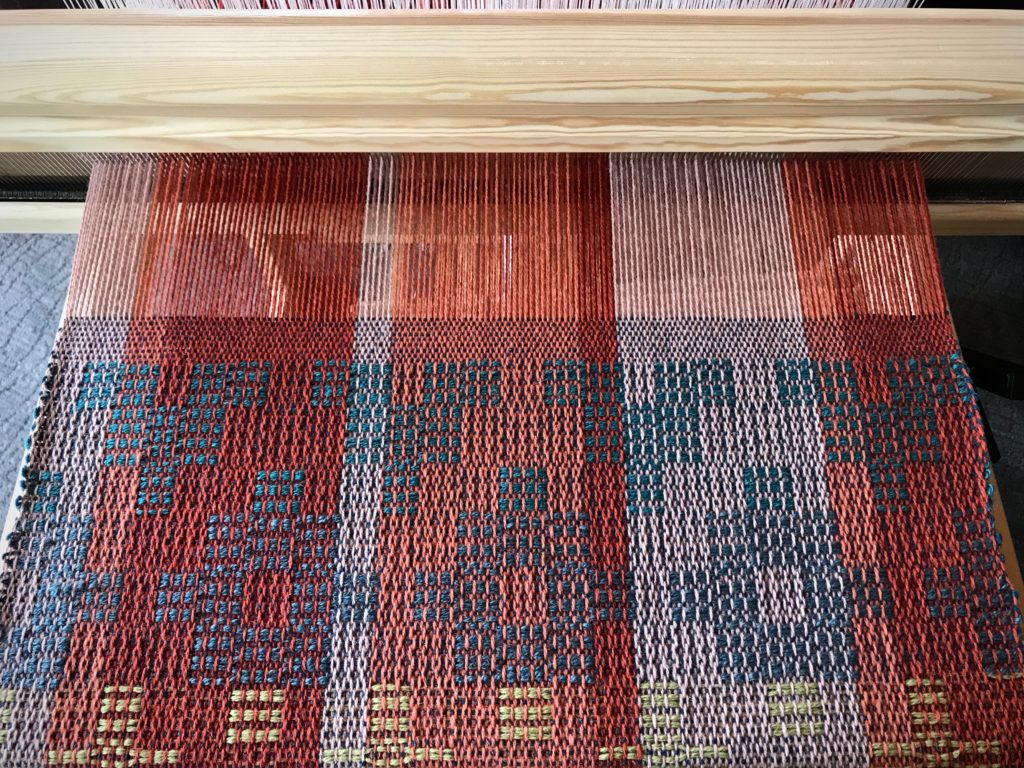
Deep borders on these towels have treadling changes and contrast-thread inlay for added interest.
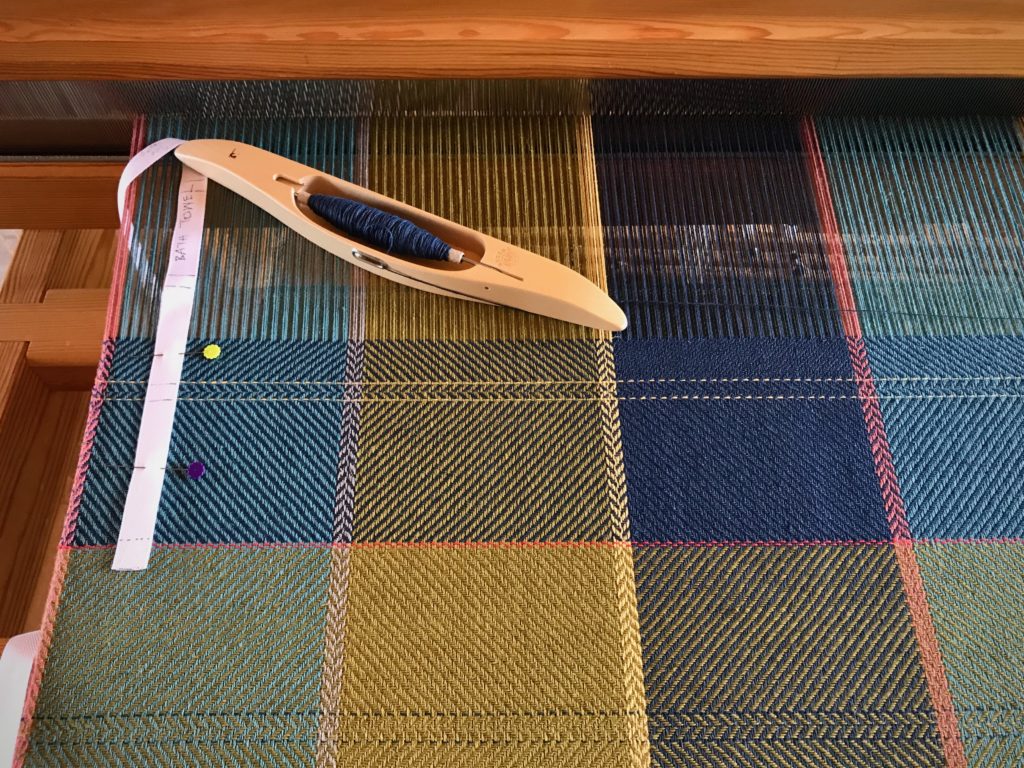
Start of the second cottolin bath towel on the loom.
Red cutting line is woven between the first and second towels.
Weaving bath towels on the Glimakra Standard loom.
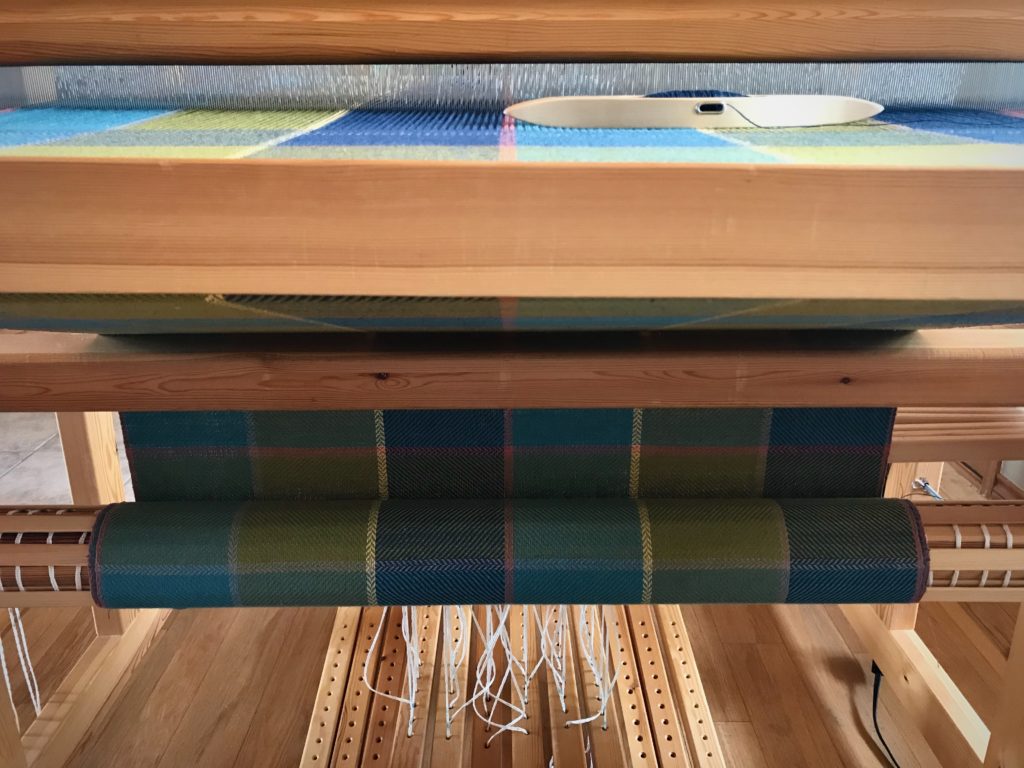
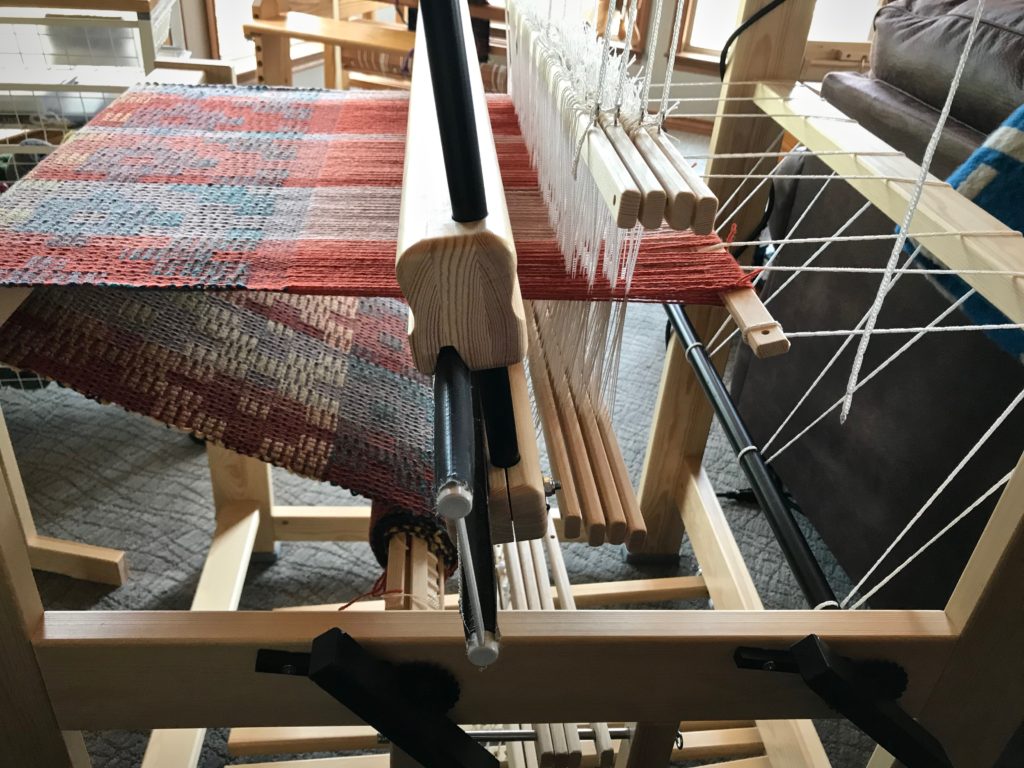
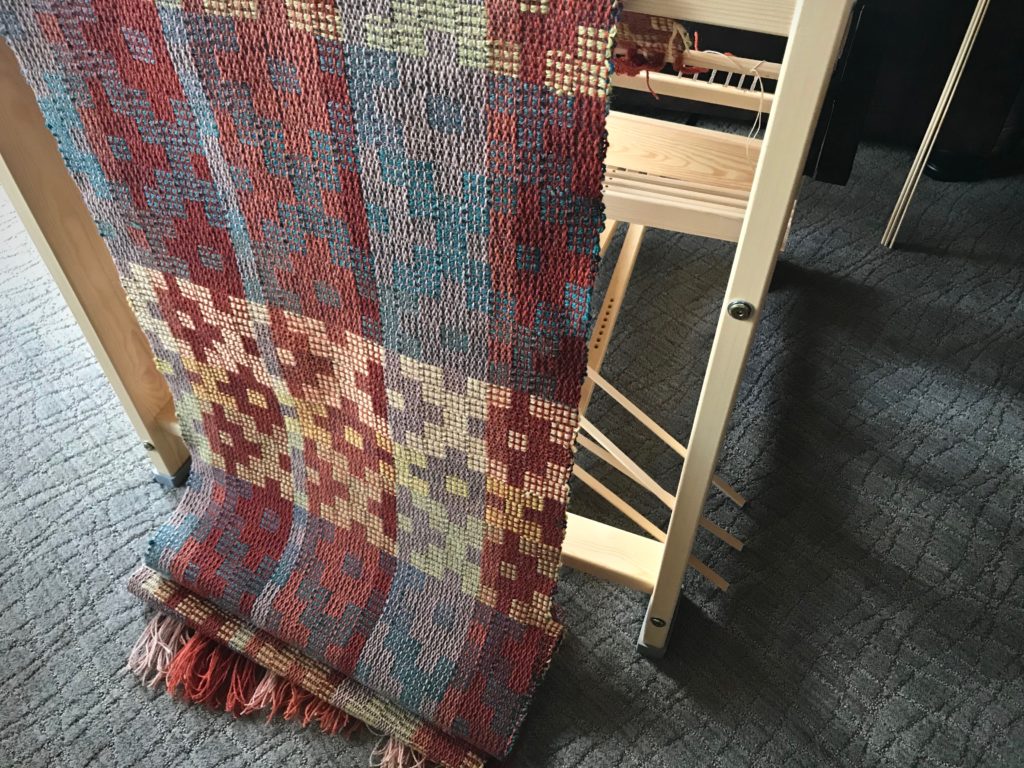
First bath towel begins to wrap around the cloth beam.

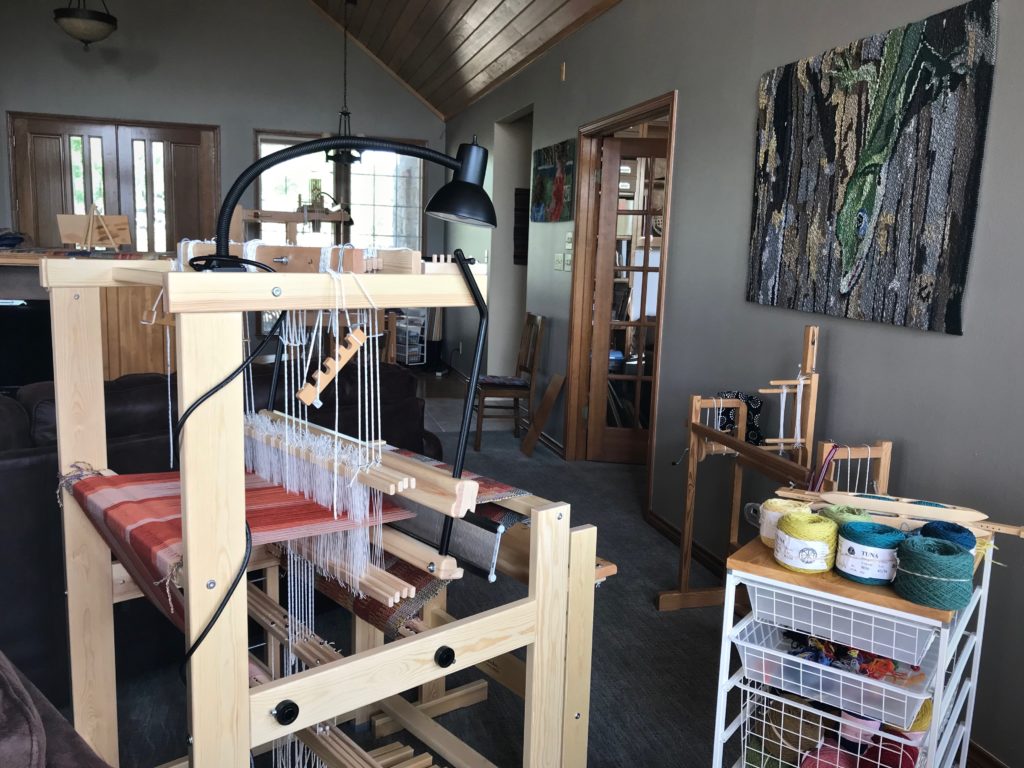
I’m starting the second of four bath towels on my Glimåkra Standard. The loom, with its colored threads and cloth, is the first thing to greet you as you come in our front door. Welcome. Let’s put the computer away for a while and simply enjoy ourselves. There’s no better time than now.

v
Previously woven hand towels that match these bath towels have not yet been used. They are presently folded and displayed in a pottery bowl on the dining room table in the next room.

May you make time for making.

Happy Planning and Weaving,
Karen

Process Review: Jämtlandsdräll with Julia

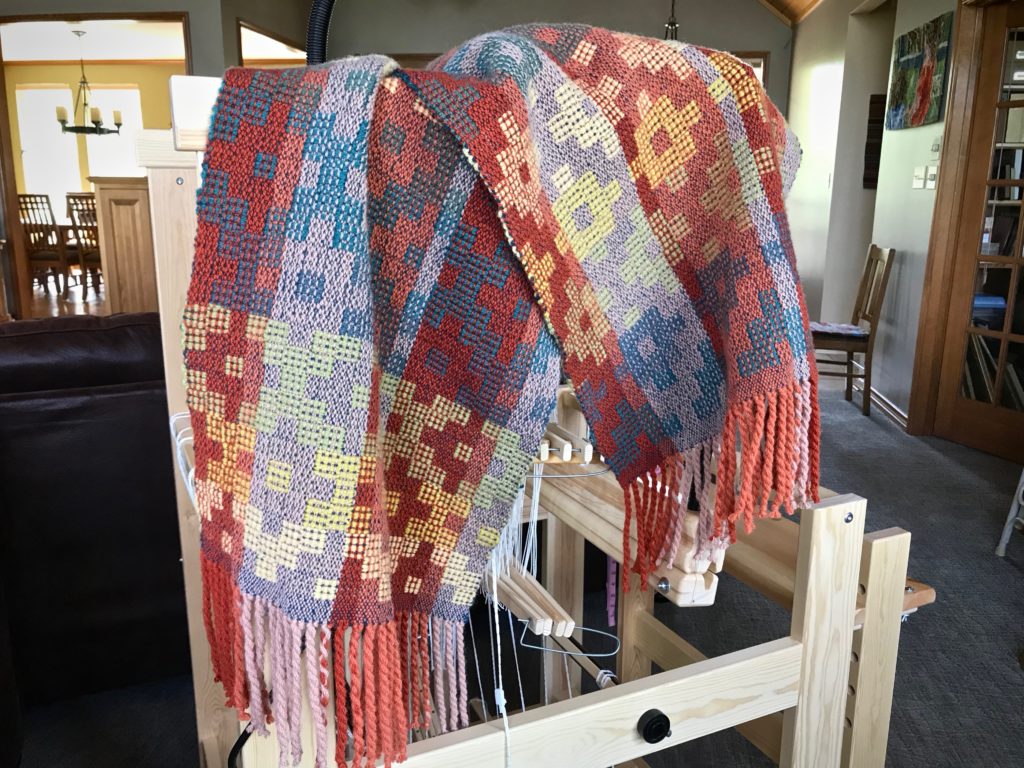
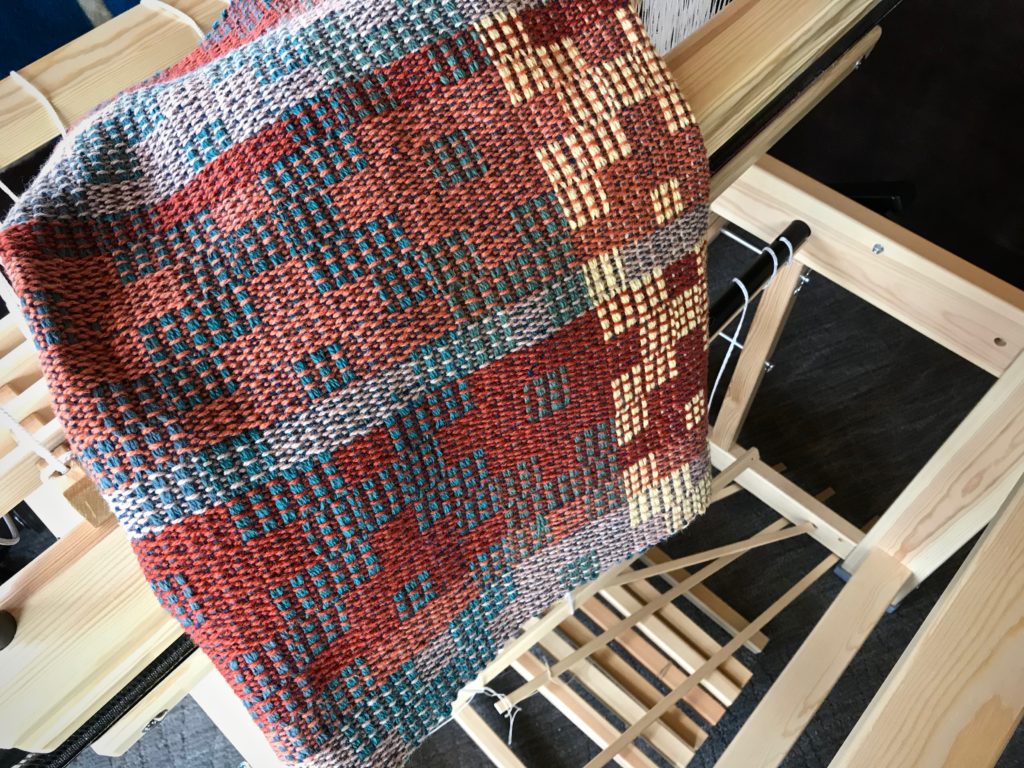
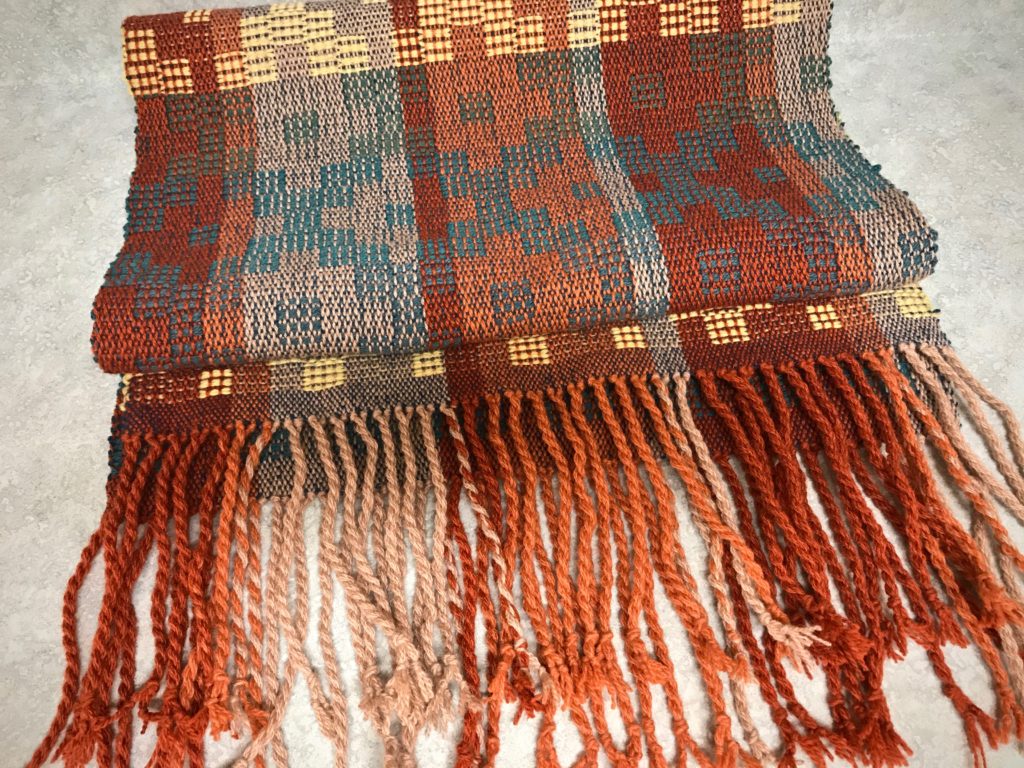
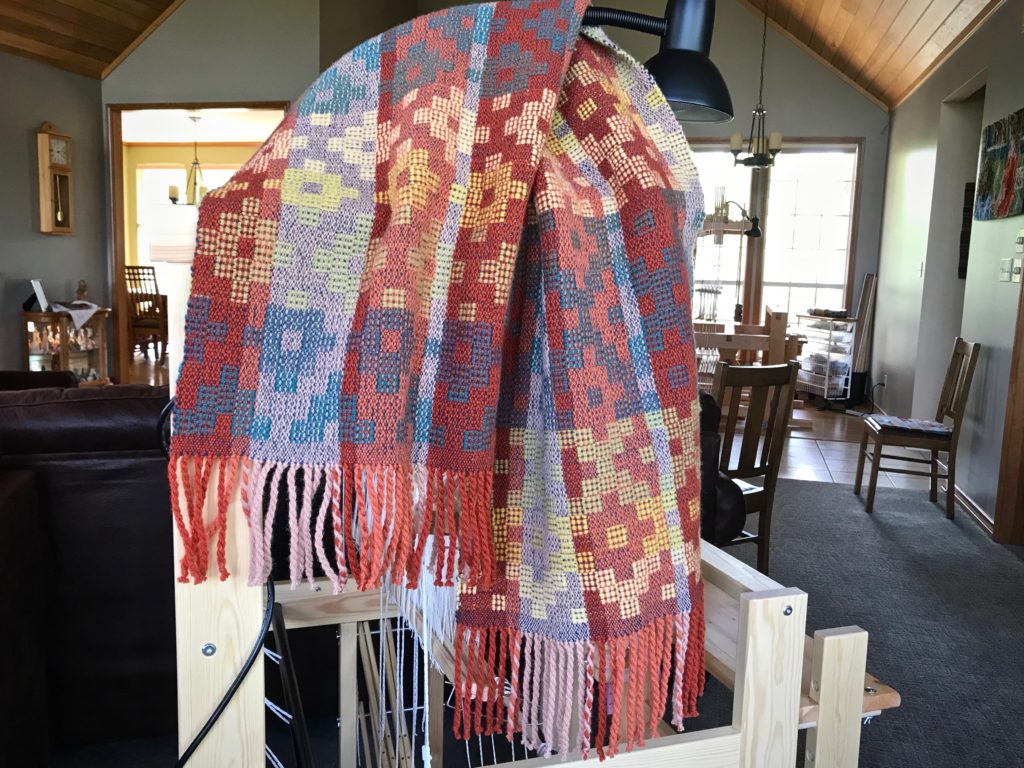
My intention is to weave fabric for a couple of cushy throw pillows. But after just one pattern repeat, I realize that this cloth on my brand new Glimåkra Julia is something I would like to wear! No pillows this time. Instead, here is my new autumn/winter shoulder wrap, embellished with frisky swinging fringes. Miss Julia has proven her worth on four-shaft Jämtlandsdräll (crackle) in 6/2 Tuna wool. Her next adventure will be something that explores all eight shafts. (See My New Glimåkra Julia Loom.)

Jämtlandsdräll Wool Wrap - woven on Glimåkra Julia.
Finished wrap. Ready for cool weather!

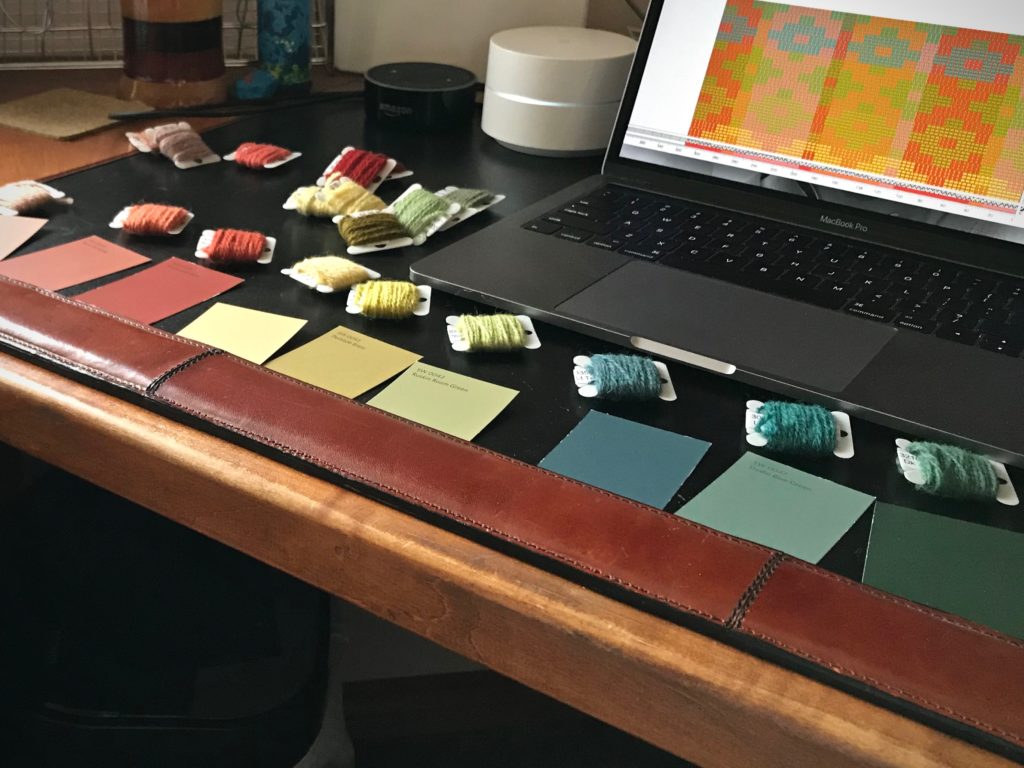
This project starts with the draft for the Jämtlandsdräll Blanket on p.59 of Simple Weaves, by Birgitta Bengtsson Björk and Tina Ignell. Tuna yarn samples, along with Fiberworks Silver for Mac, help me jazz up the color. I settle on three colors for the warp, with burnt orange as the anchor. Six different colors are used for the pattern weft, plus dark teal for the tabby.

Planning my next weaving project on Fiberworks.
Paint chips, Tuna yarn samples, and Fiberworks Silver for Mac aid my planning process.
Colors! Let's see how they work together on the loom.
Colors! Let’s see how they work together on the loom.
Beaming the warp on my new Julia.
Beaming the warp.
Weaving Jamtlandsdrall (Crackle) on my new Julia.
Daylight, plus colorful yarn. As summer is warming up outside, Julia is dressed warmly inside.
Weaving Jamtlandsdrall (crackle) on my new Julia.
There is something about weaving with a double-bobbin shuttle that I especially enjoy.
Color gradation in the pattern.
Some color gradation in the pattern.
My new Glimakra Julia!
Miss Julia, filling up her cloth beam.
Crackle (Jamtlandsdrall) in Tuna Wool.
Ending with a few picks of plain weave.
End of warp on my new Glimakra Julia.
Thrums at the end of the warp will serve as fringe.
Cutting off Jamtlandsdrall (crackle)!
Cutting off, giving a view of the back side of the cloth. Front and back have reverse images.
Jämtlandsdräll, just off the loom.
Twisting fringe on Jamtlandsdrall wrap.
Much to my pleasant surprise, after removing (unweaving) my short sample weaving at the beginning, and untying the front tie-on knots, I had the EXACT same length of fringe–to the centimeter–on both ends of the woven wrap.
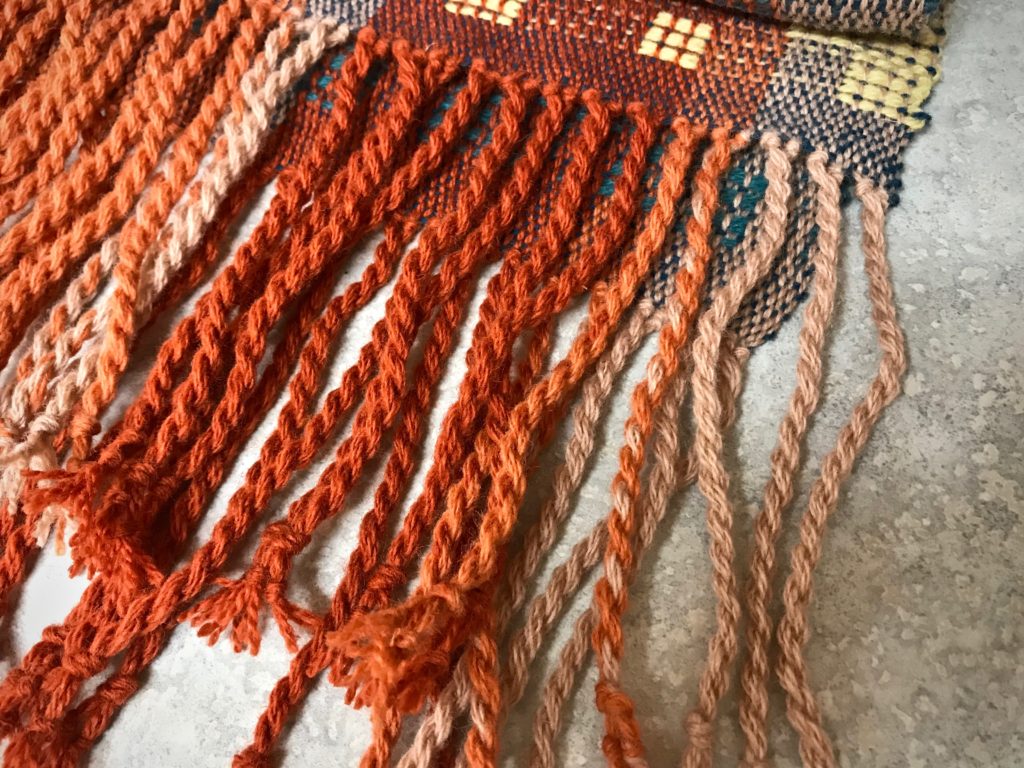
Chunky, frolicky fringe.
Overhand knots secure the weft. Two groups of four warp strands each form each chunky fringe. Now, this wrap is ready for wet-finishing.

This is one of those times when the weaving is so satisfying that I truly don’t want the warp to come to an end. (…except that I’m excited to start on Julia’s second adventure!)

Jämtlandsdräll Autumn/Winter Wrap

May your adventures never cease.

Happy Weaving,
Karen

Charted Territory on the Drawloom

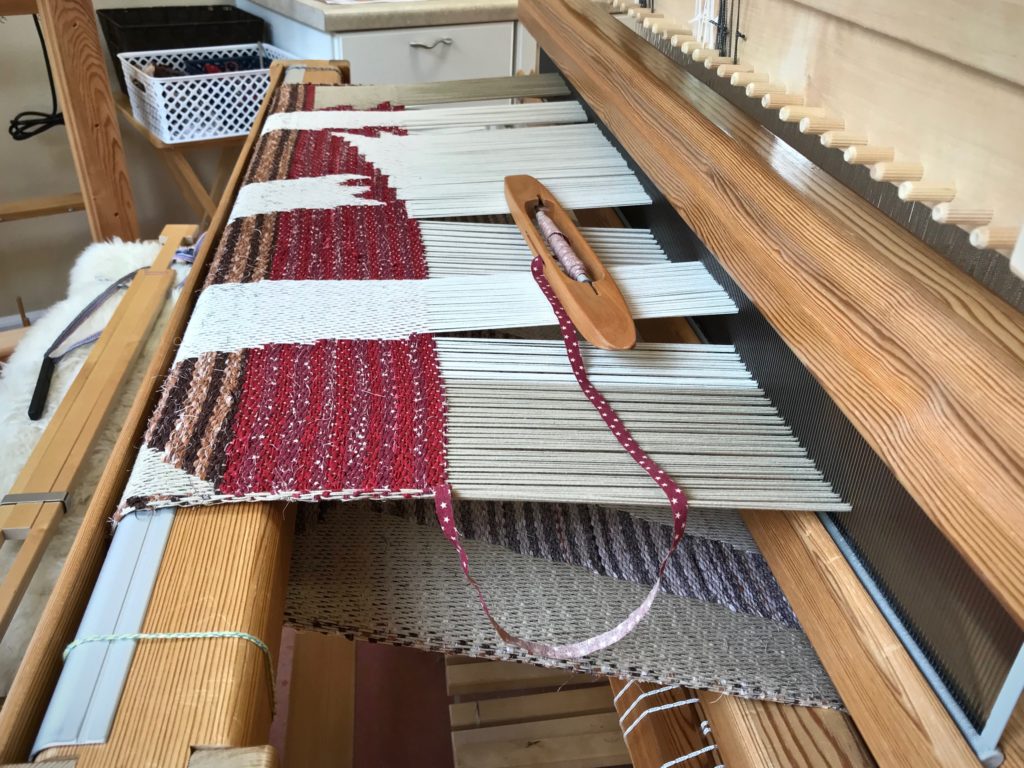
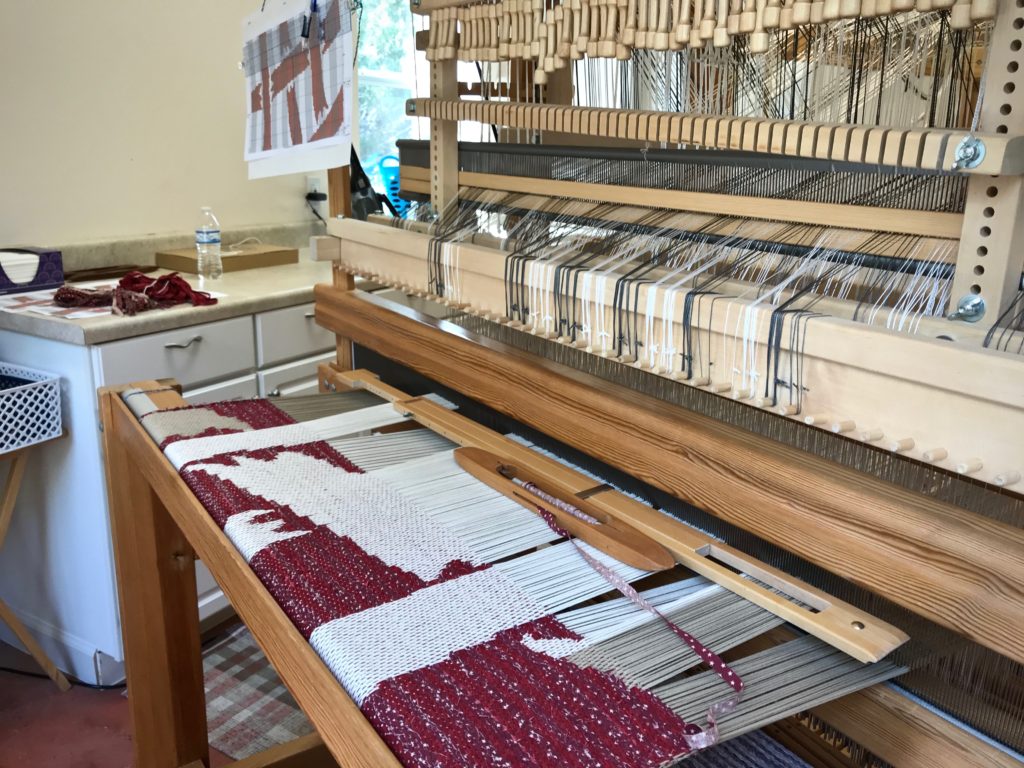
The chart that hangs at the left side of the beater gives a glimpse of the overall design of this rag rug. It’s the second page of a three-page chart. It’s not easy to make sense of the design on the loom, seeing only a small slice of the big picture. I am eager to see the whole project woven, to see how it aligns with the design I’ve imagined.

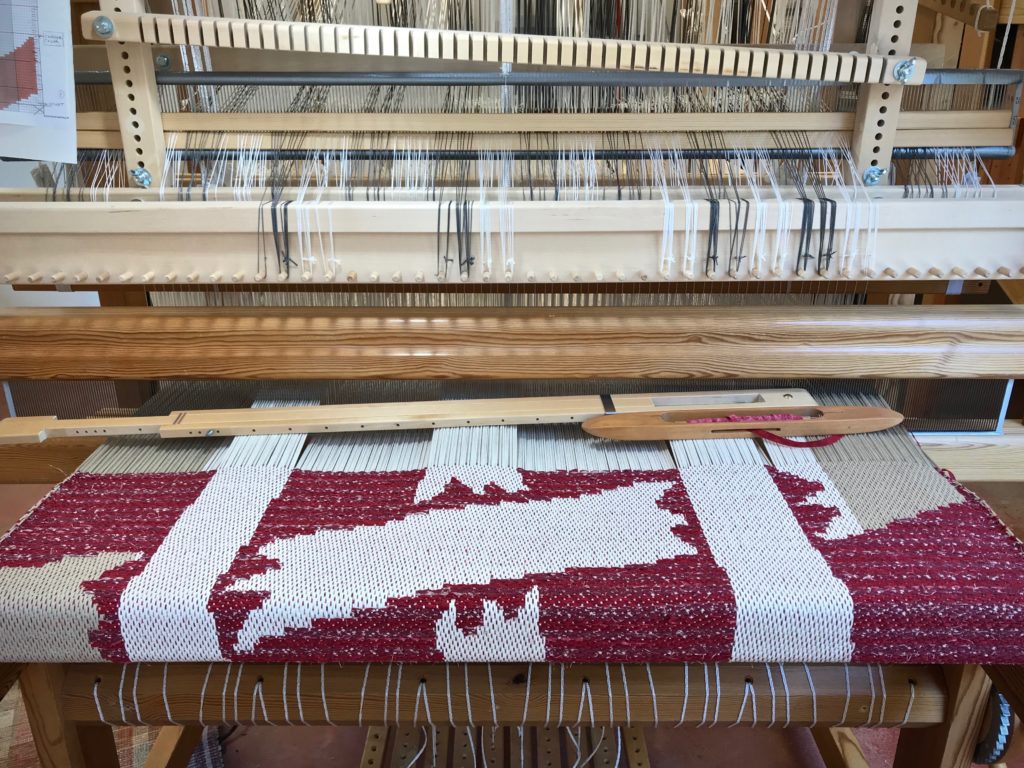
Drawloom rag rug on the loom.
First color block of the rug was brown. The second color block is red. Two different red fabrics alternate.
Following a chart for the single-unit drawloom.
Chart hangs at the left side of the loom. A transparent ruler is clipped to the chart. I move the ruler up, row by row, to keep my place on the chart. Single-unit draw cords that are pulled are held in place along the hook bar just above the beater.

I drew the design in MacStitch, a cross-stitch design program. Then, I imported the gridded image into Photo Affinity to add vertical shaded stripes to match the 10 white-/10 black-cord arrangement of single-unit draw cords on the loom. Lastly, I printed the enlarged chart to use as my guide at the loom.

Drawloom rag rug in the making.

How does our present slice of life fit into the overall plan? Only God knows. But one thing is certain. The Grand Weaver has a purpose for your life. It’s a purpose that he will fulfill. You and I are the work of his hands, work that he will not abandon. Yes, we make our plans. The truth is, our best plan is that which aligns with the design he has imagined.

May you get a glimpse of your life’s design.

On purpose,
Karen