Quiet Friday: Thirteen Cushions

There is always room for more cushions and pillows. What better way to use handwoven fabric? Making cushions puts the fabric to use where it can be seen and touched. The very first project on my first floor loom was fabric for a throw pillow, with a cottolin warp and 16/2 linen weft. Unsightly selvedges are nowhere to be seen!

Cotton and linen cushion. Handwoven fabric.
First project on the Glimåkra Standard floor loom.

From the all-linen blue and brown dice weave cushions to the wild and hairy pillows with rya knots, each one makes a statement. Each one says, in its own way, “Welcome to our home.”

All-linen handwoven dice weave cushions.
Linen Dice Weave Cushions

Thirteen cushions, all handwoven. Karen Isenhower


Enjoy this little slide show video I made for you.

May your handwoven fabric be put to good use.

Happy Weaving and Sewing,
Karen

Quiet Friday: Small Tapestry Bridge

The unfinished small tapestry went in my travel bag this week. Travel tapestry is perfect for those waiting times at the airport; and gives me something interesting to do in flight. Best of all, while visiting my mom, she and I sat side-by-side one afternoon “doing art.” Mom used Staedtler coloring pencils to color detailed flower designs in a fancy coloring book; and I used Fårö wool to weave colors in the tapestry. What a sweet setting in which to finish this tapestry bridge!

Planning small tapestry.

Under the cartoon of small tapestry.

Beginning of small tapestry.

Tapestry while traveling.

Bridge takes shape in small tapestry.

Small tapestry - weaving from the back.

Weaving from the back. Small Tapestry.

Progress on small tapestry Bridge scene.

Small tapestry - Bridge scene, nearing completion.

Building a bridge. Small tapestry.

Small tapestry - bridge nearing completion.

Small tapestry Bridge, finishing touches.

Bridge small tapestry.

May all your travels be pleasant.

Happy weaving,
Karen

Quiet Friday: Woven Baby Wrap

What do you weave into the fabric that will be cradling your future granddaughter? Love, and lots of it, of course. The baby wrap has been woven, and is cut from the loom! All that is left is the finishing work–examining for errors, washing and drying, and hemming. …And Melody learning how to wrap a baby wrap. Soon enough, baby Lucia will be wrapped in this love-made piece of cloth.

8/2 cotton for baby wrap.

Version 2

Afternoon sun gives shadow stripes.

Starting baby wrap. Sampling weft colors.

Broken twill stripe. Woven baby wrap.

Twill tape for measuring length on the loom.

Woven baby wrap on the loom. Karen Isenhower

Woven baby wrap on the loom. Karen Isenhower

Cloth beam with baby wrap.

Only 1/4 left to go! Woven baby wrap.

Twill tape for measuring on the loom. Almost at the end!

Woven baby wrap ready to be cut from the loom! Karen Isenhower

Woven baby wrap, just off the loom. Karen Isenhower

Woven baby wrap just off the loom!

May your loved ones enjoy your gifts of love.

Happy weaving,
Karen

Quiet Friday: Warping Back to Front with Confidence

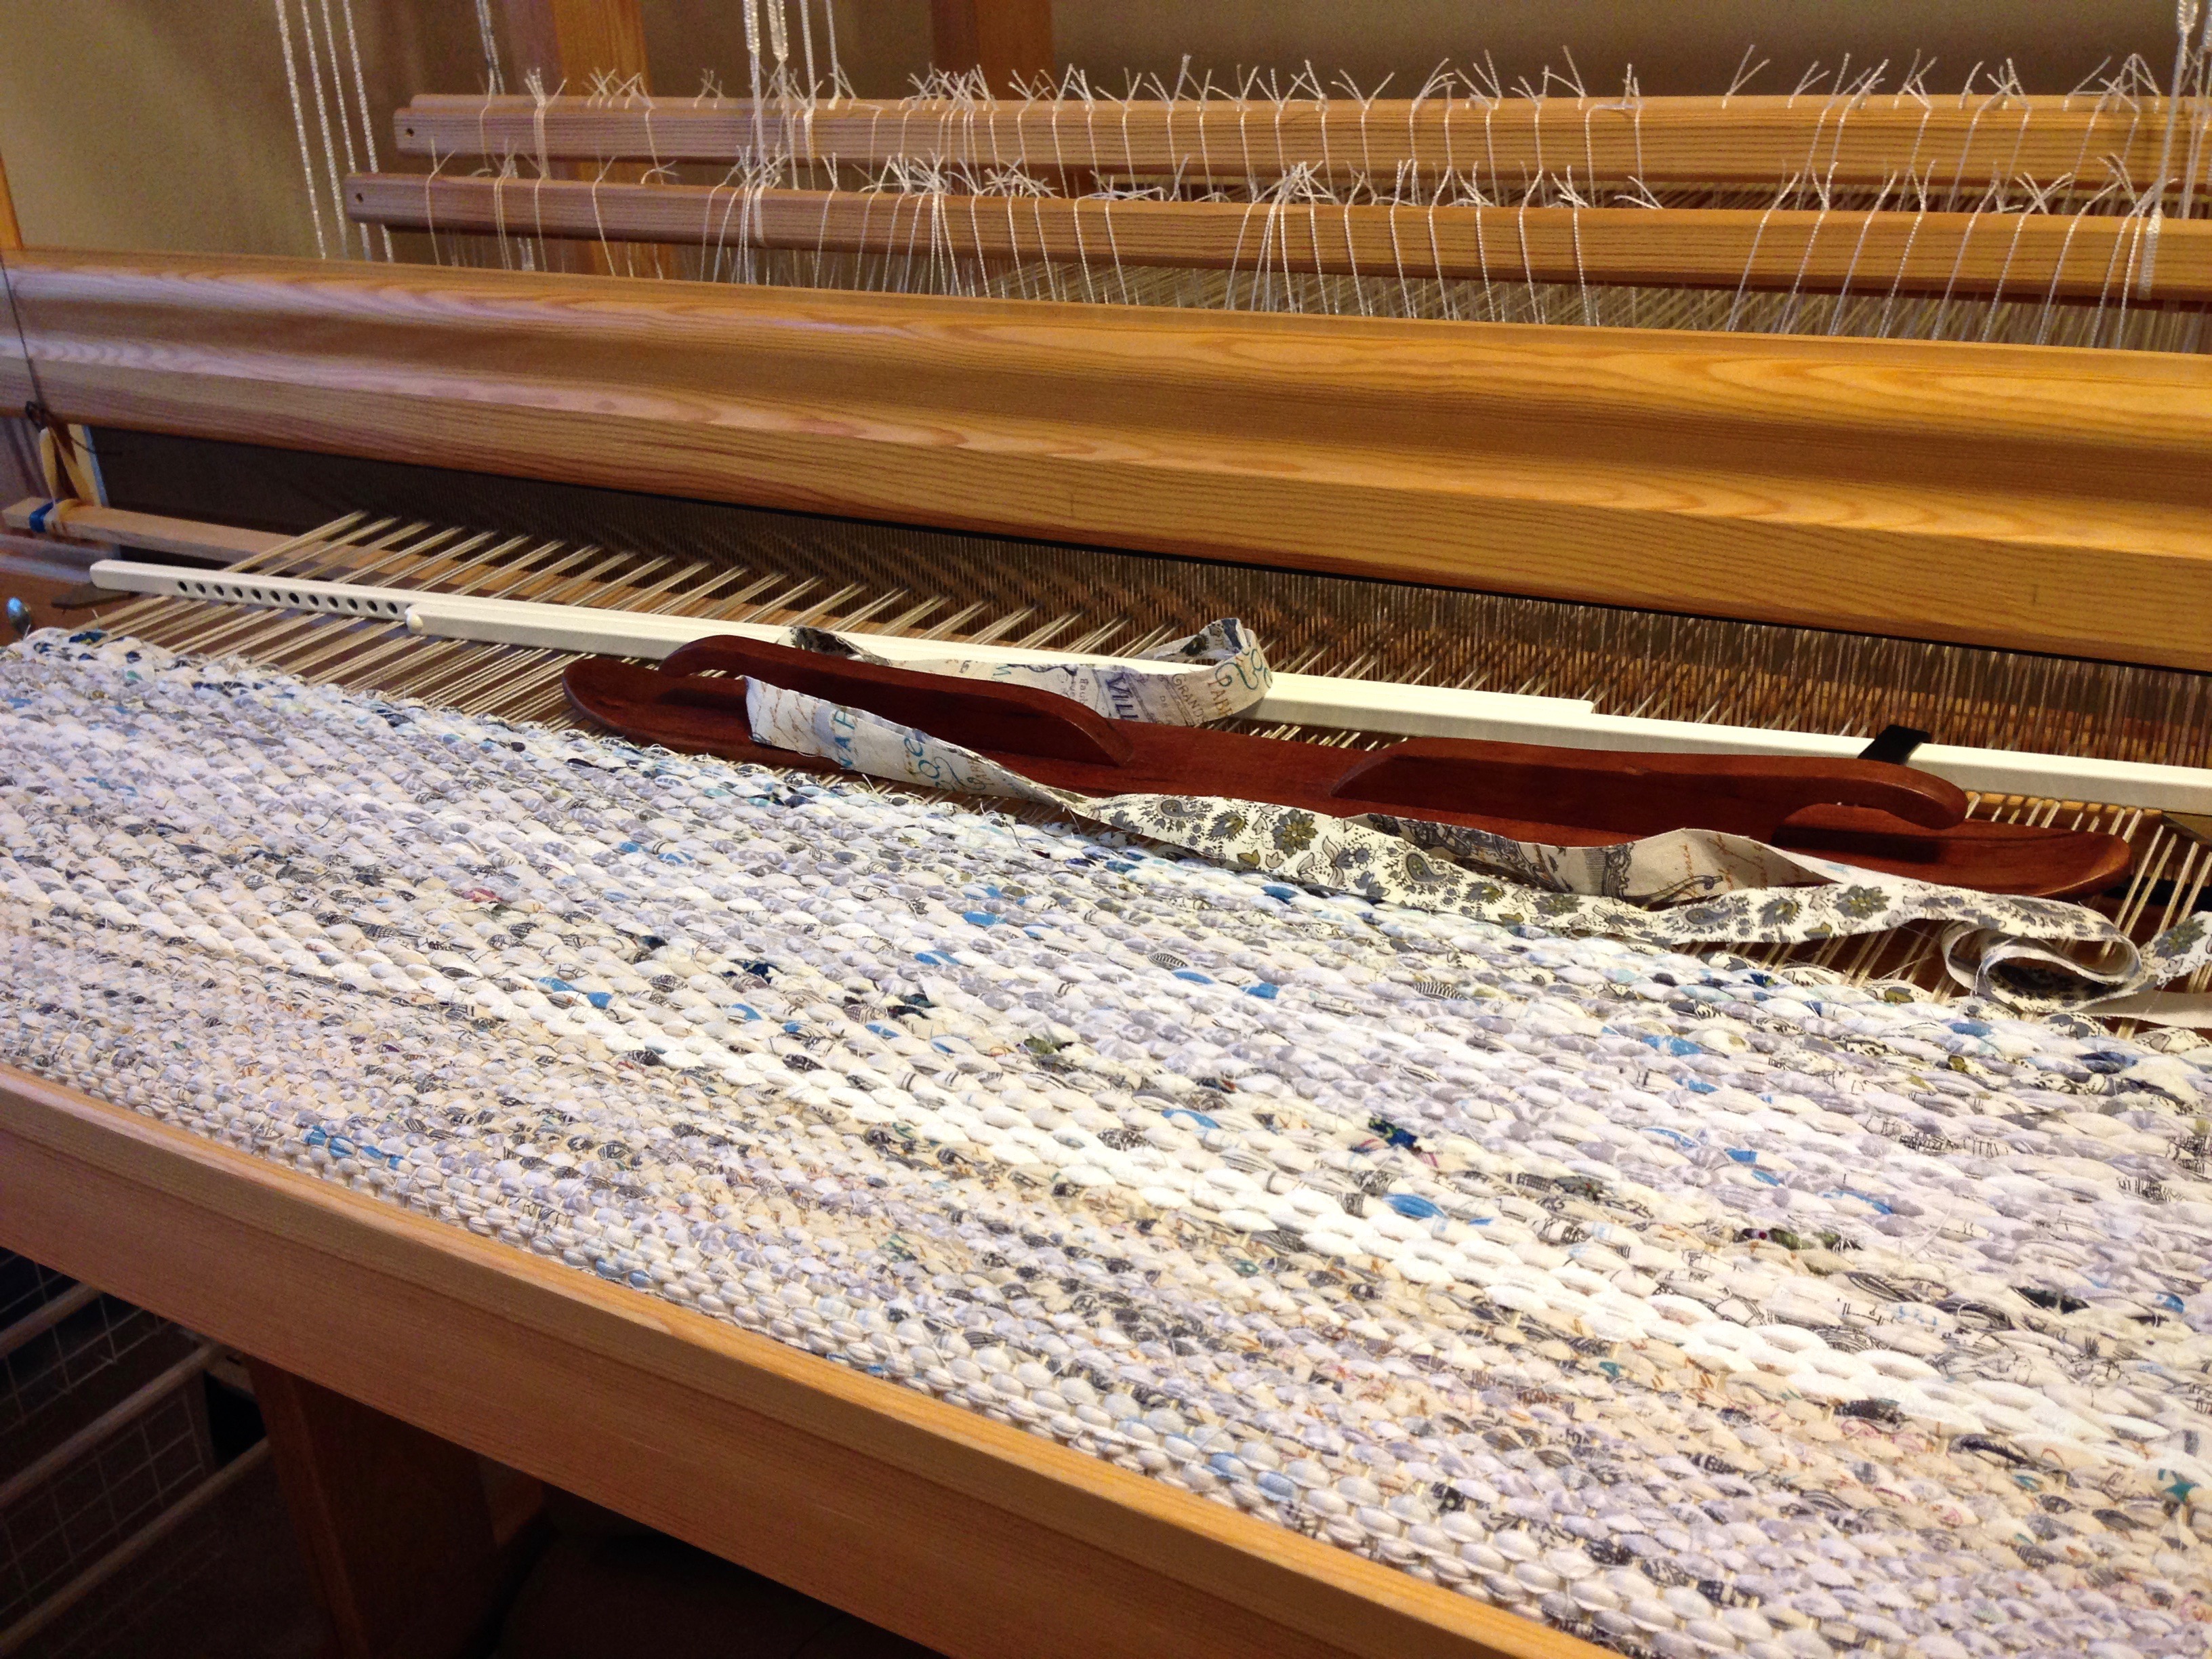
“Put on many short warps.” This was the best piece of advice I received as a new weaver! Repeated practice of the back-to-front warping steps accelerated my confidence at the loom. If I can get it on the loom, surely I can weave it, right? When you are comfortable dressing the loom, you start feeling like a “real” handweaver. And before you know it, you are planning, designing, and weaving. And having the time of your life!

Tips for Preparing the Warp for Beaming

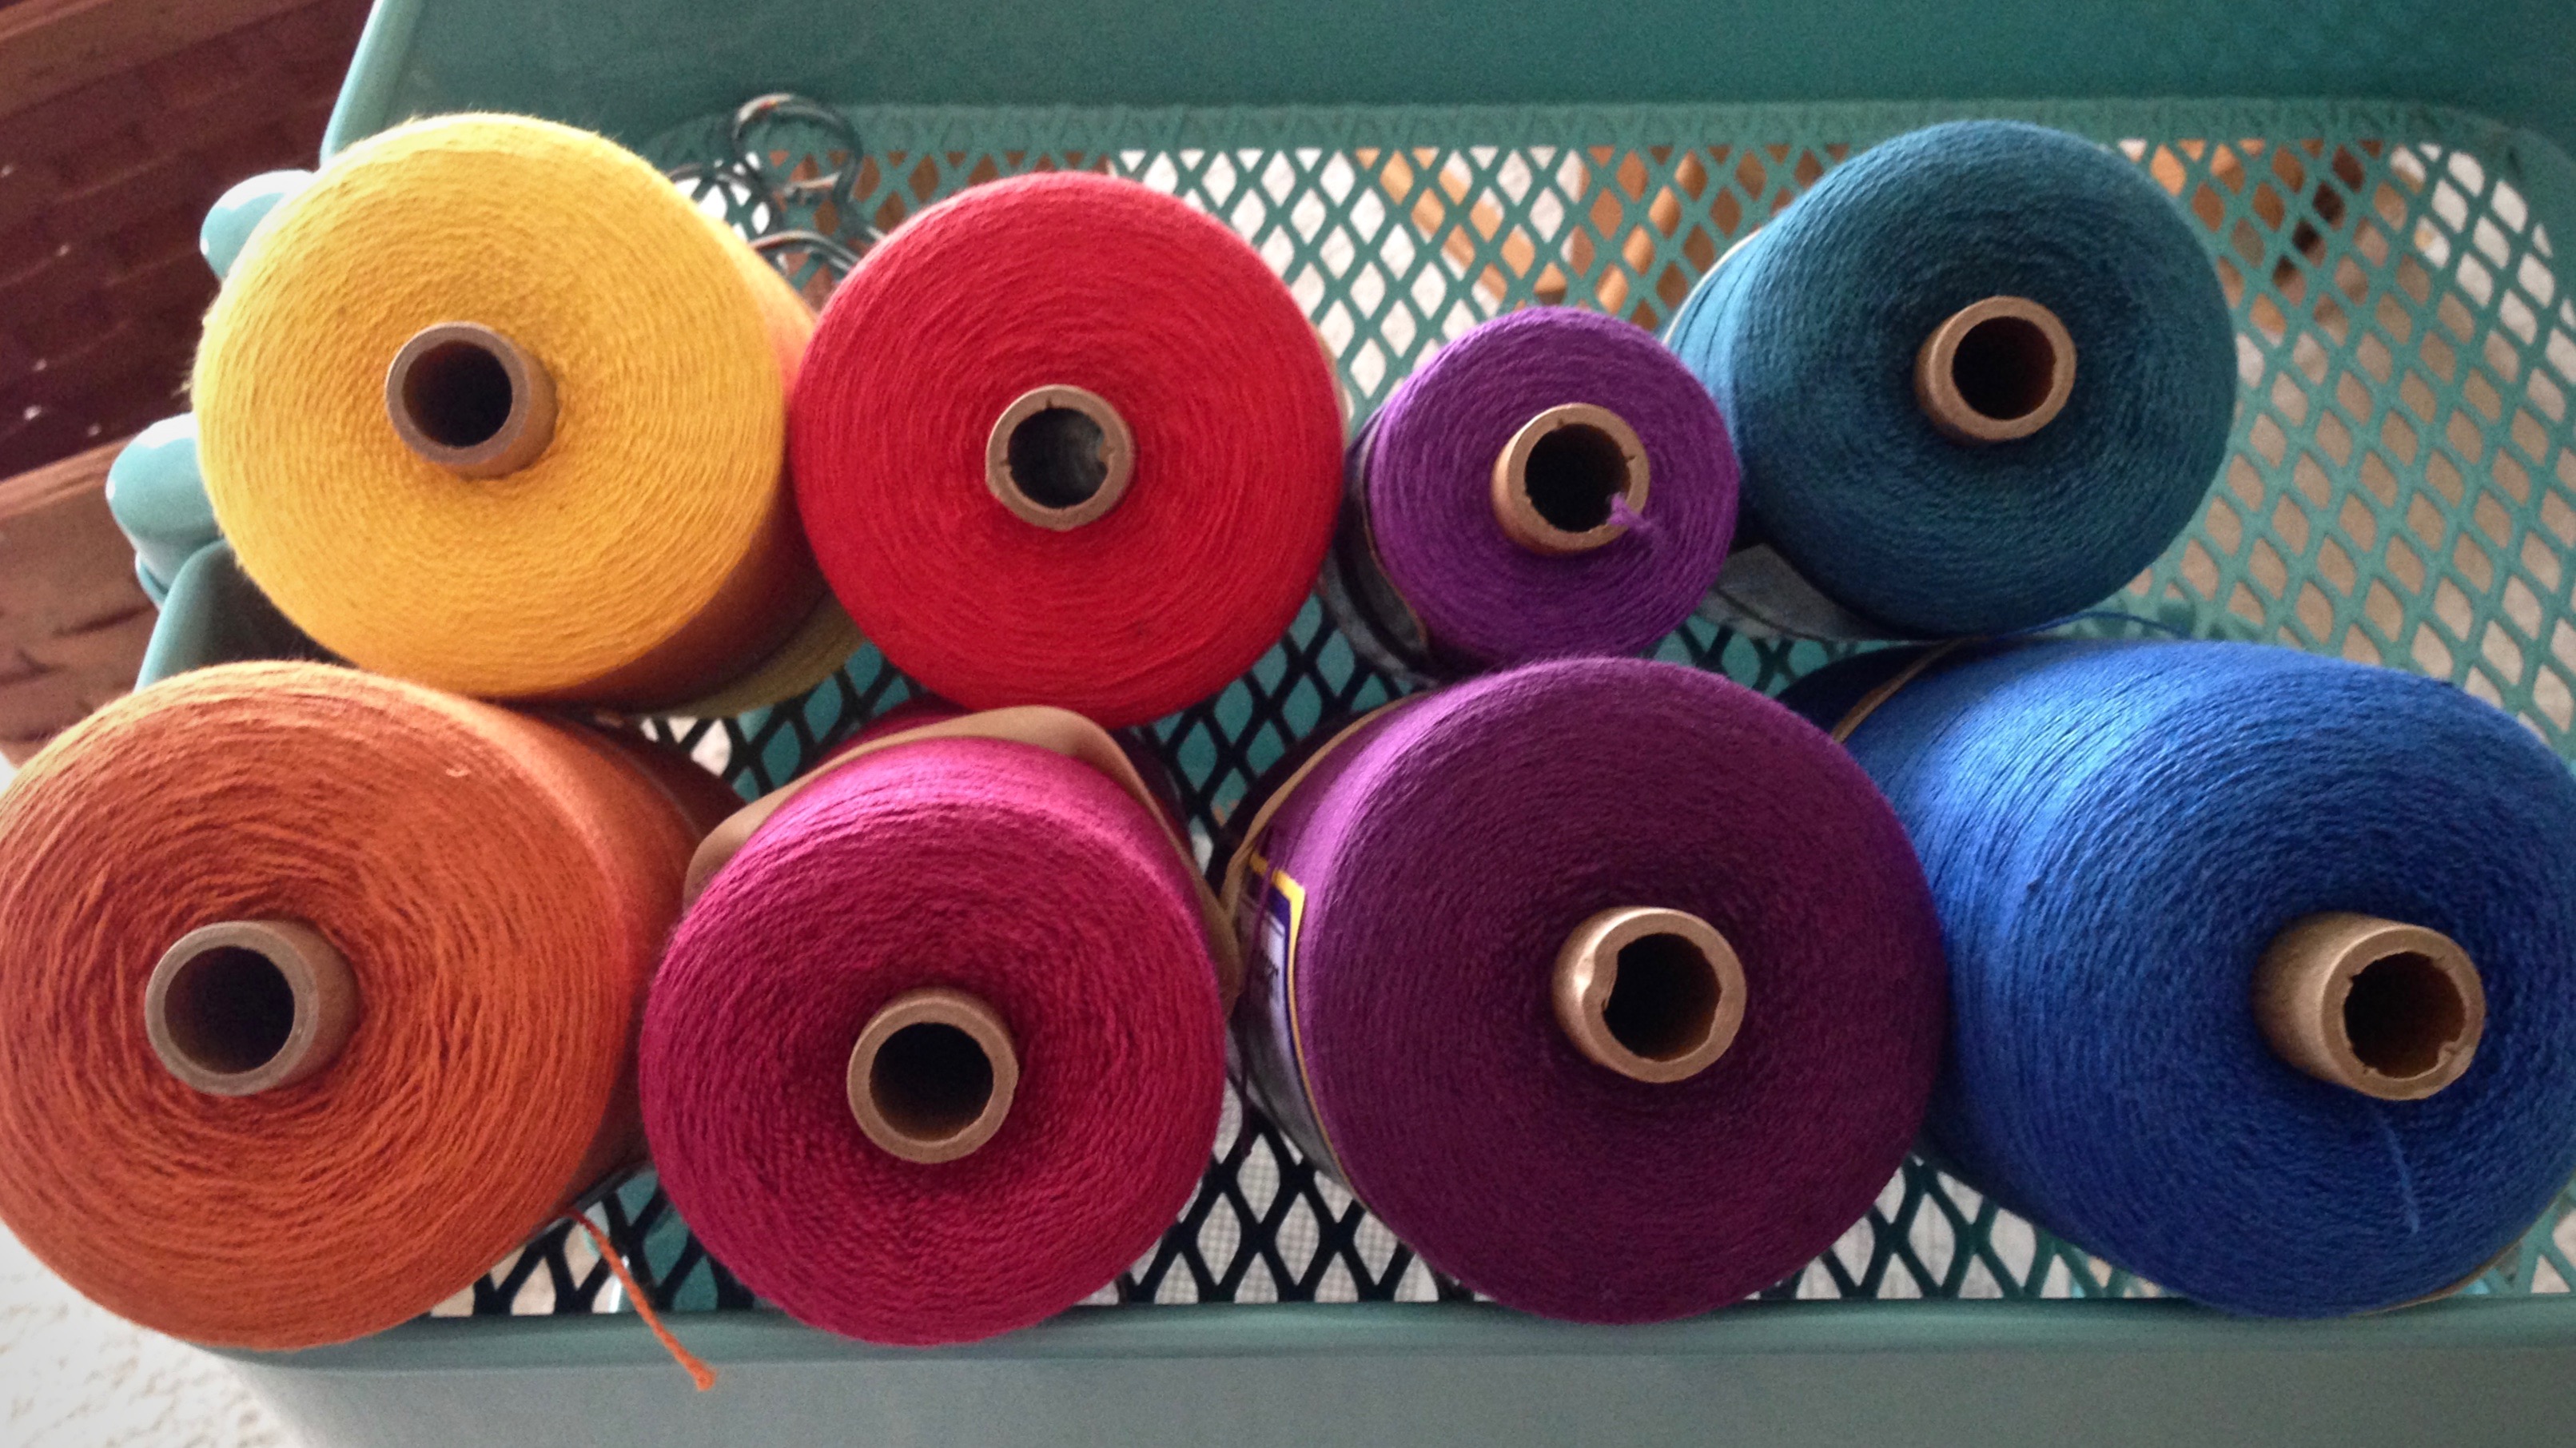
  • Wind the warp with two (or more) threads, separated by your fingers to keep them from twisting. This virtually eliminates tangles during the warping process.
  • Wind multiple bouts, when needed. The rule of thumb I use is to stay under 200 ends or 10 inches. Smaller bouts equalize the tension across the width of the warp.
  • Tie tight choke ties about every yard or meter along the warp before chaining it. This keeps the warp ends from shifting.
  • Keep the warp under constant, even tension. Threads can get into trouble if you let them relax.

Warping Back to Front

1 Lay warp chains across the breast beam, and through the beater, with the lease cross of each warp chain on the other side of the beater.

Warp chains ready for warping the loom back to front.

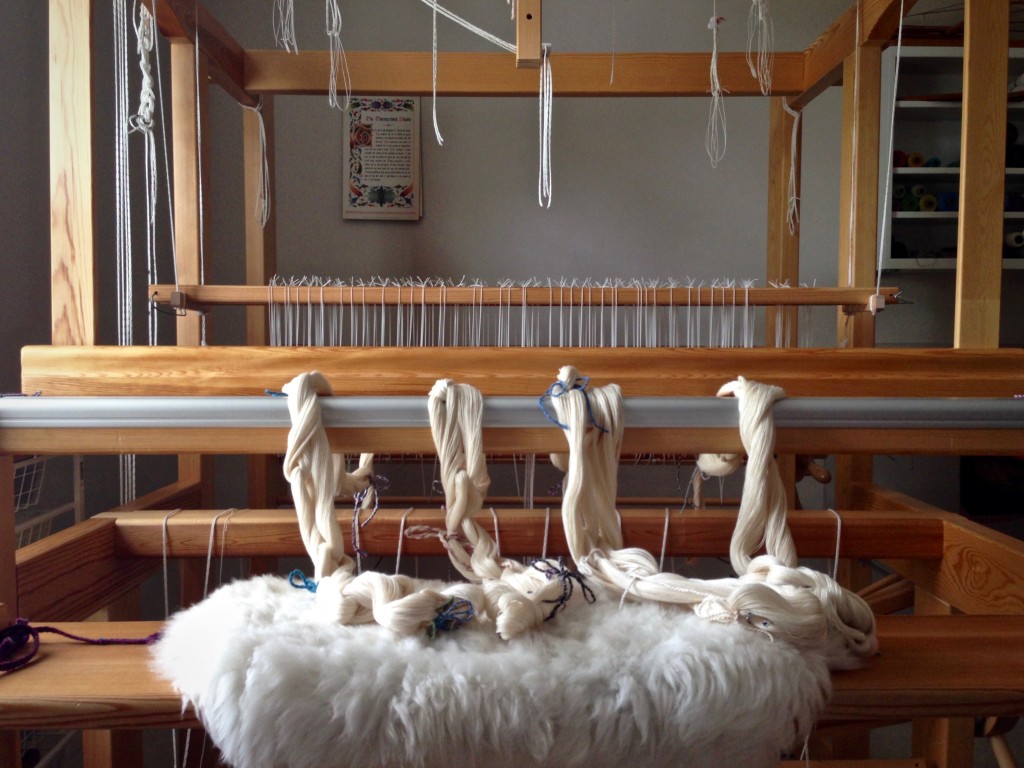
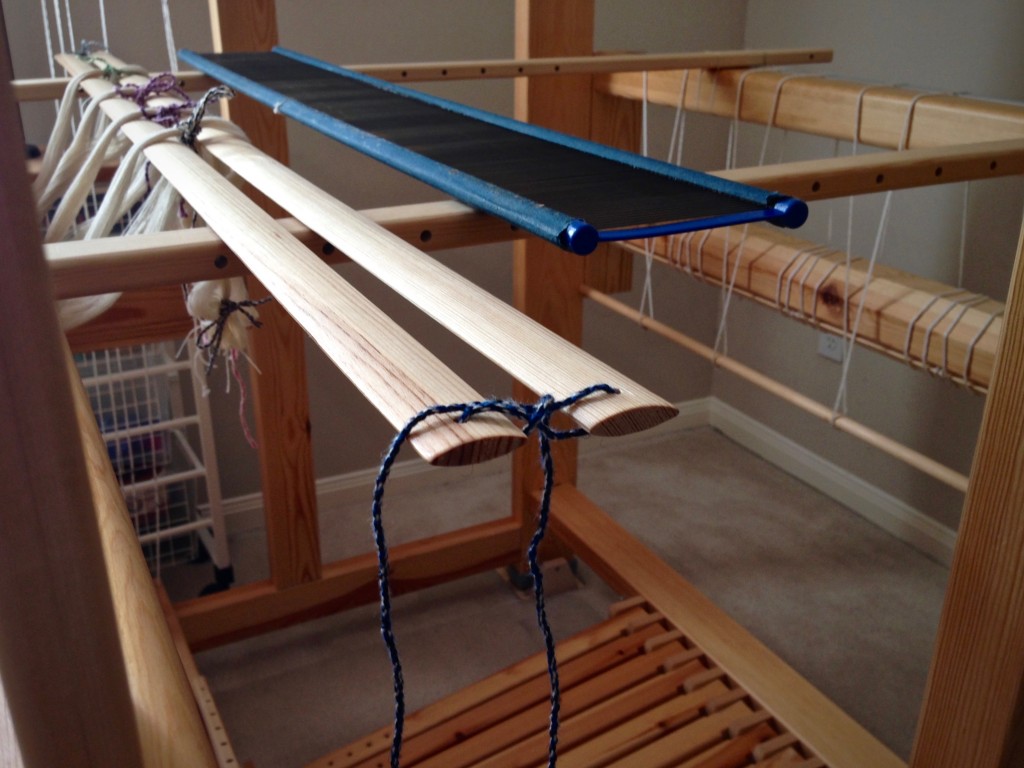
2 Raise the shafts out of the way, and place support sticks over the beater and the back beam to hold the lease sticks and the pre-sley reed. Thread the lease sticks through the cross of each chain. Lease sticks in the picture are being tied together.

Tying lease sticks during warping process. B2F warping explained.

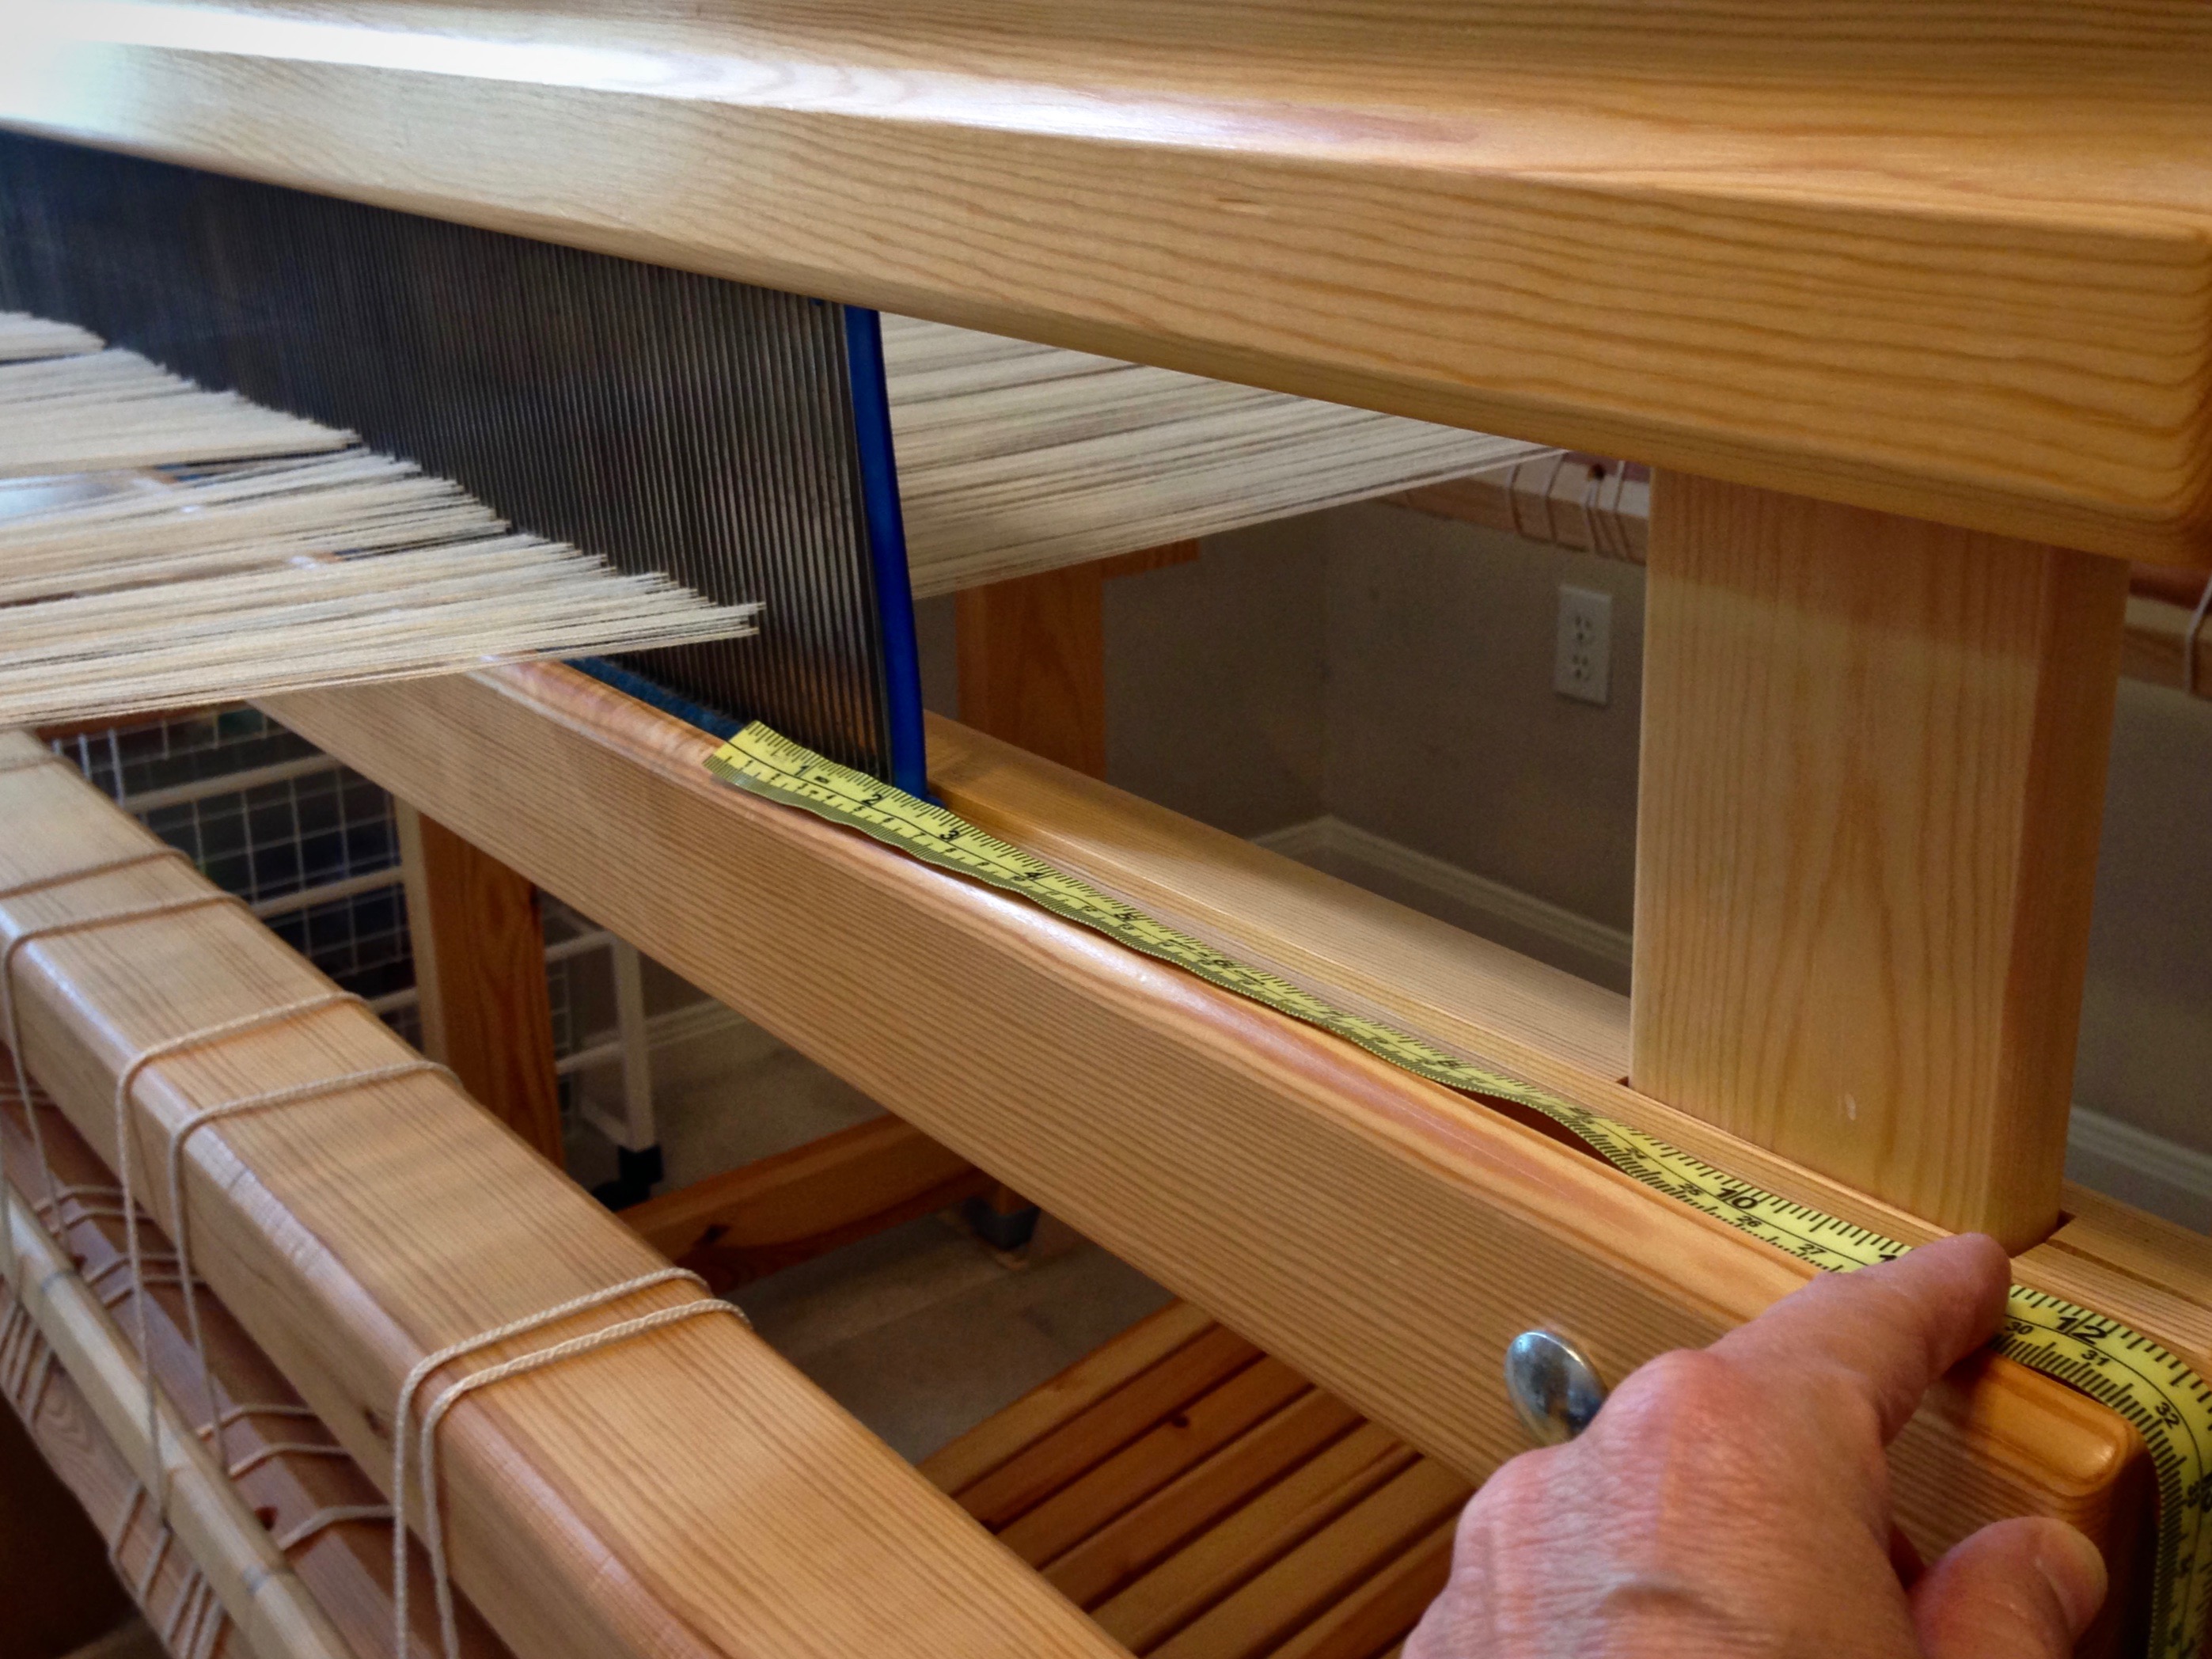
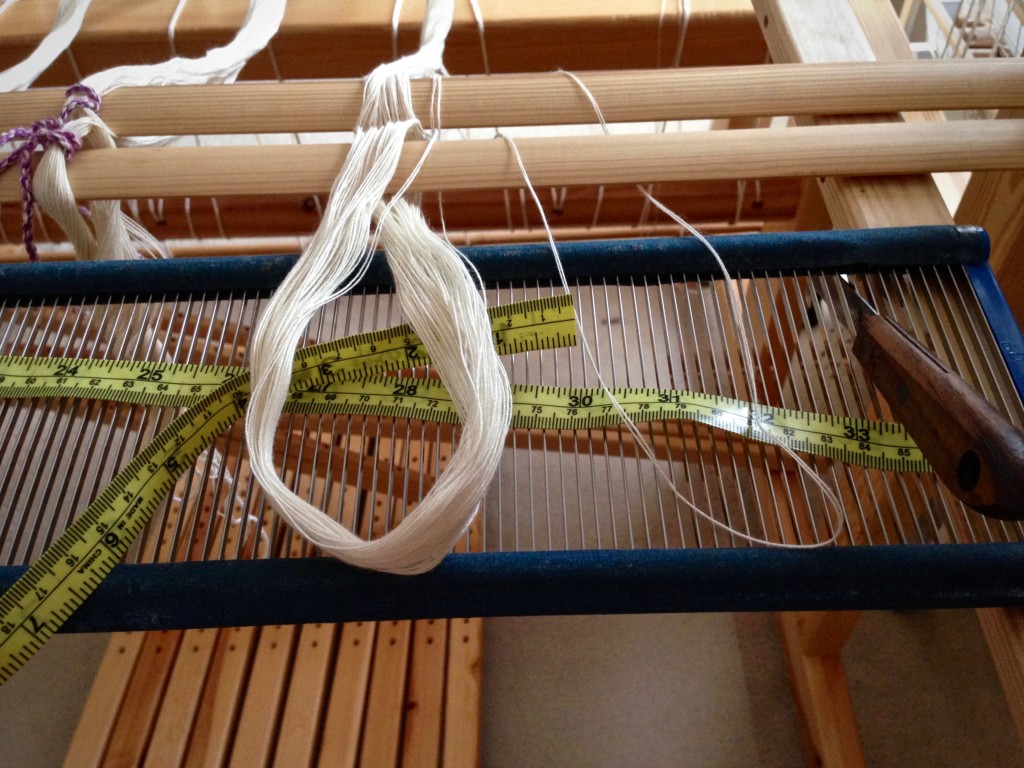
3 Use tape measure and reed hook to mark the starting dent for pre-sleying the reed.

Pre-sleying the reed in back to front warping.

4 Divide warp into sections corresponding to the cords on the back tie-on bar. Insert the tie-on bar through the loops that form at the end of the warp.

Insert tie-on bar while warping back to front.

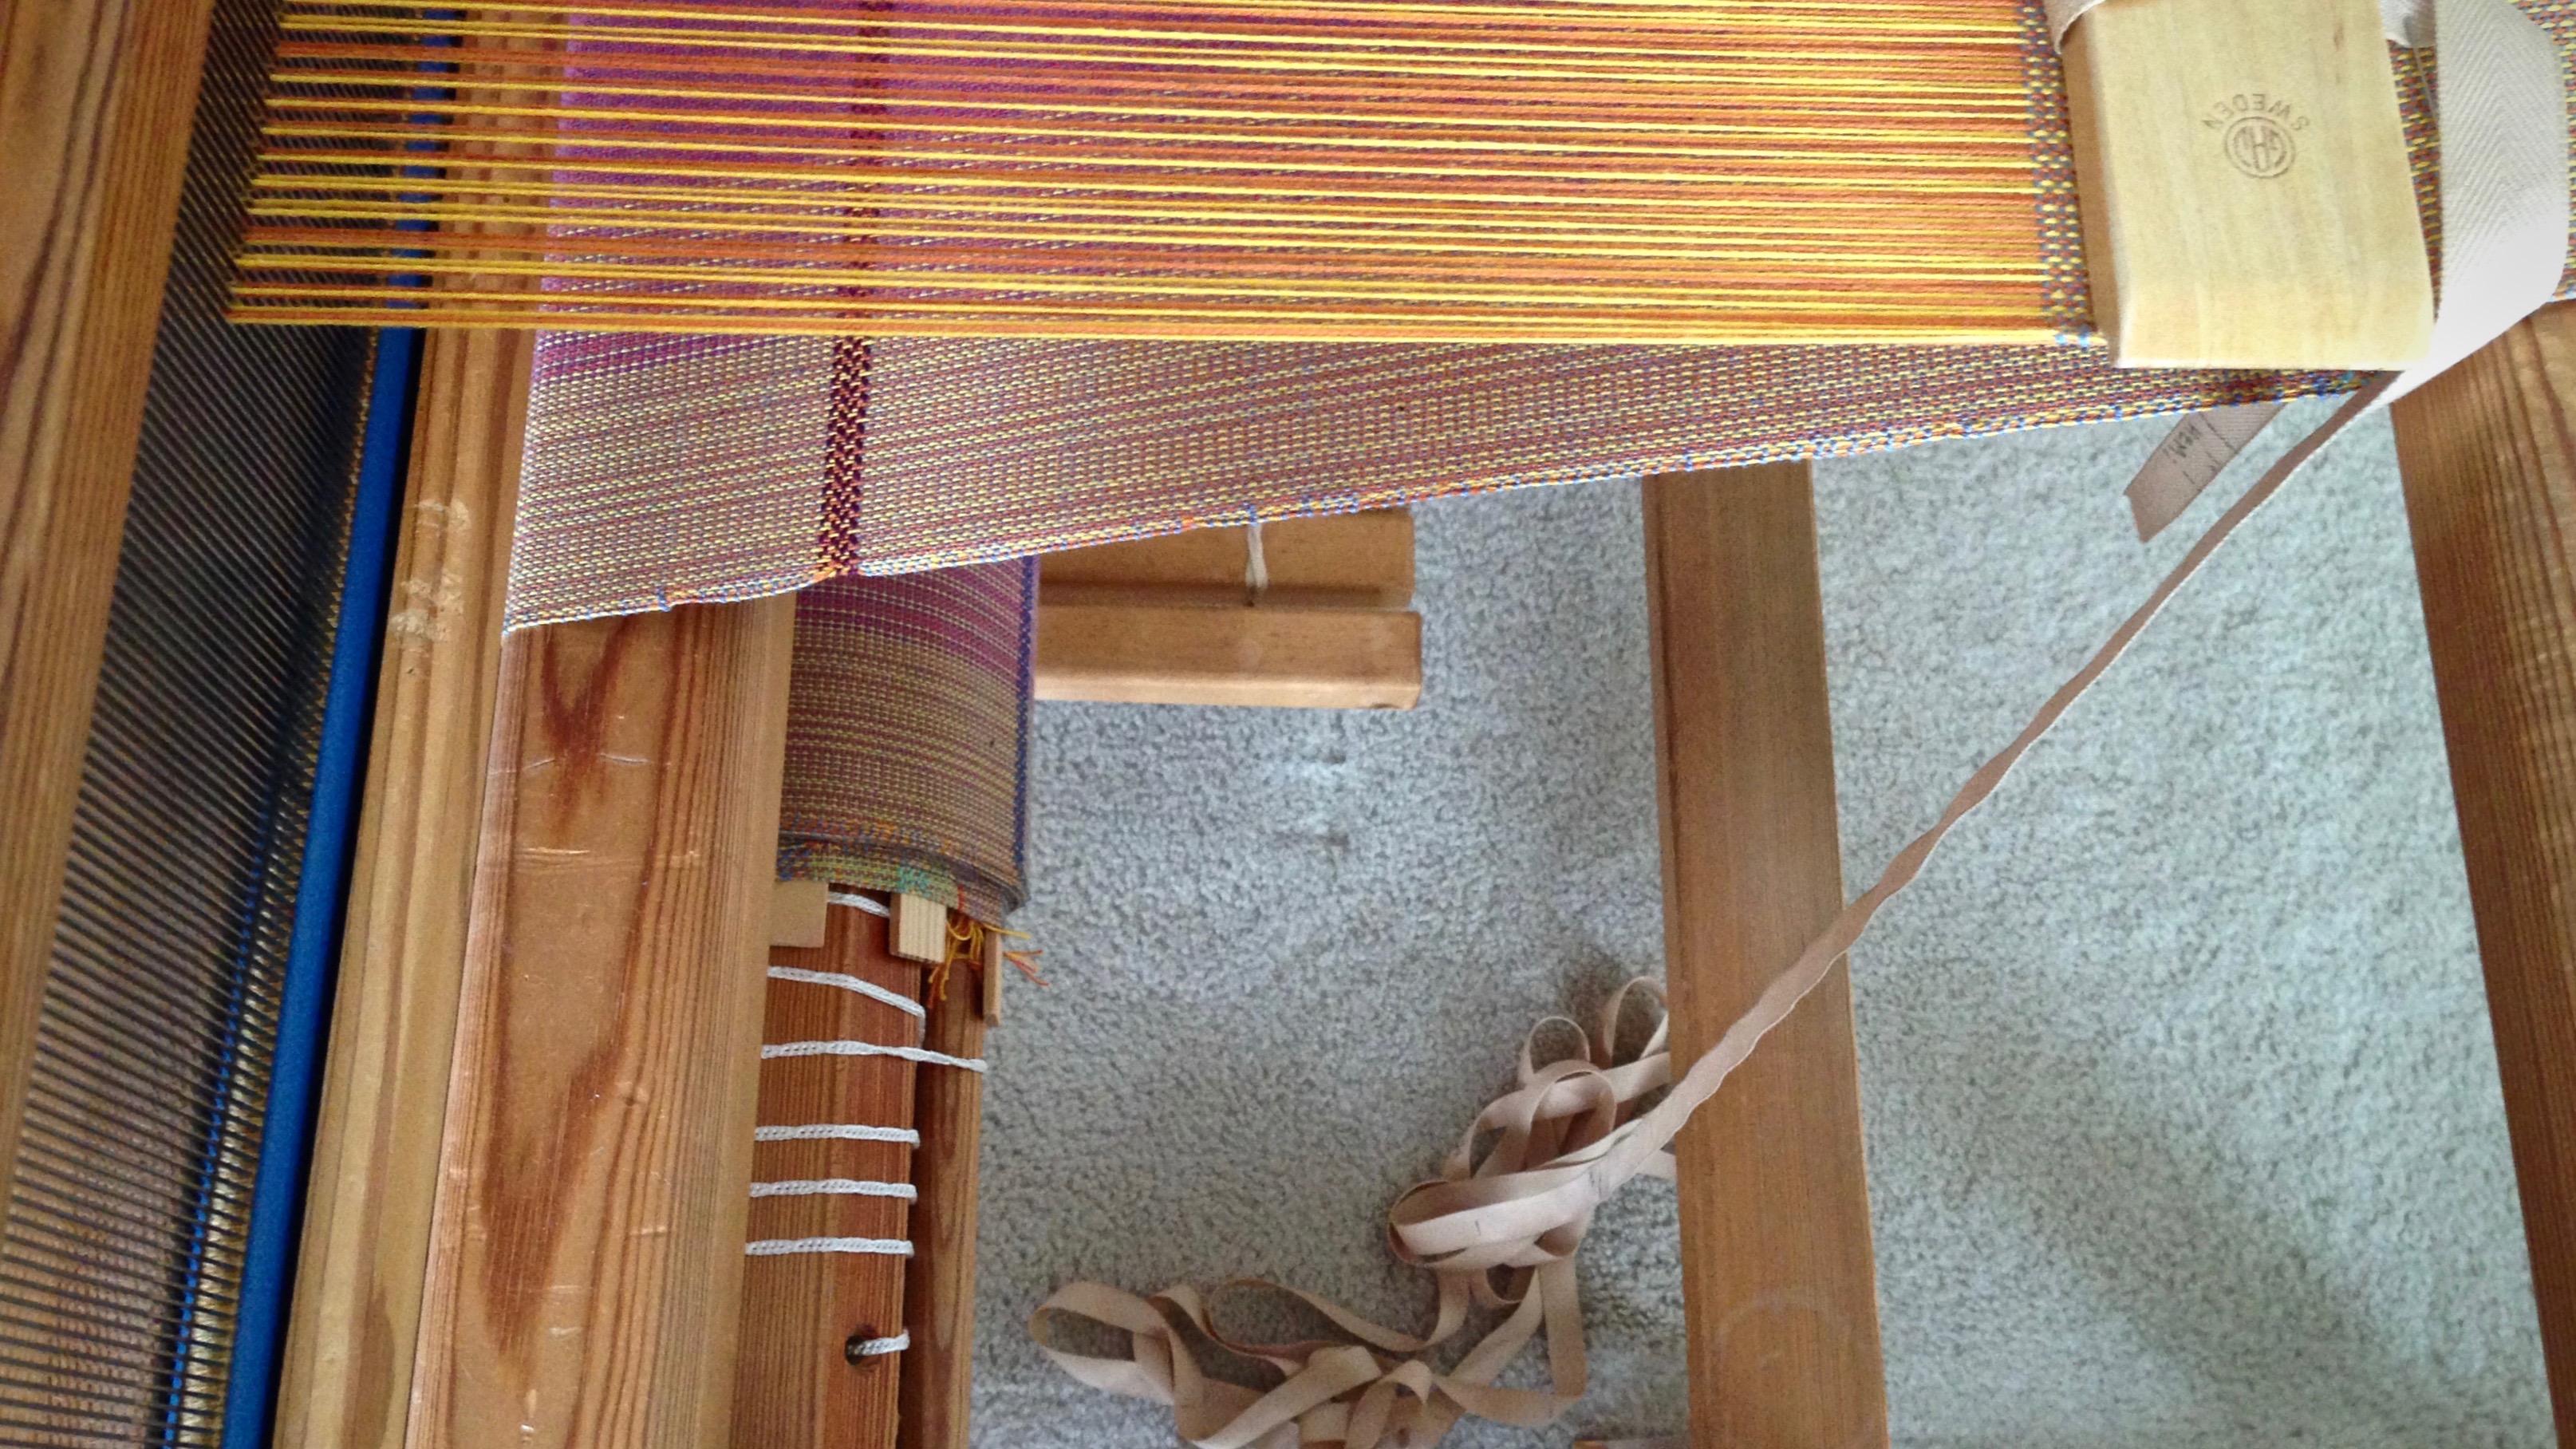
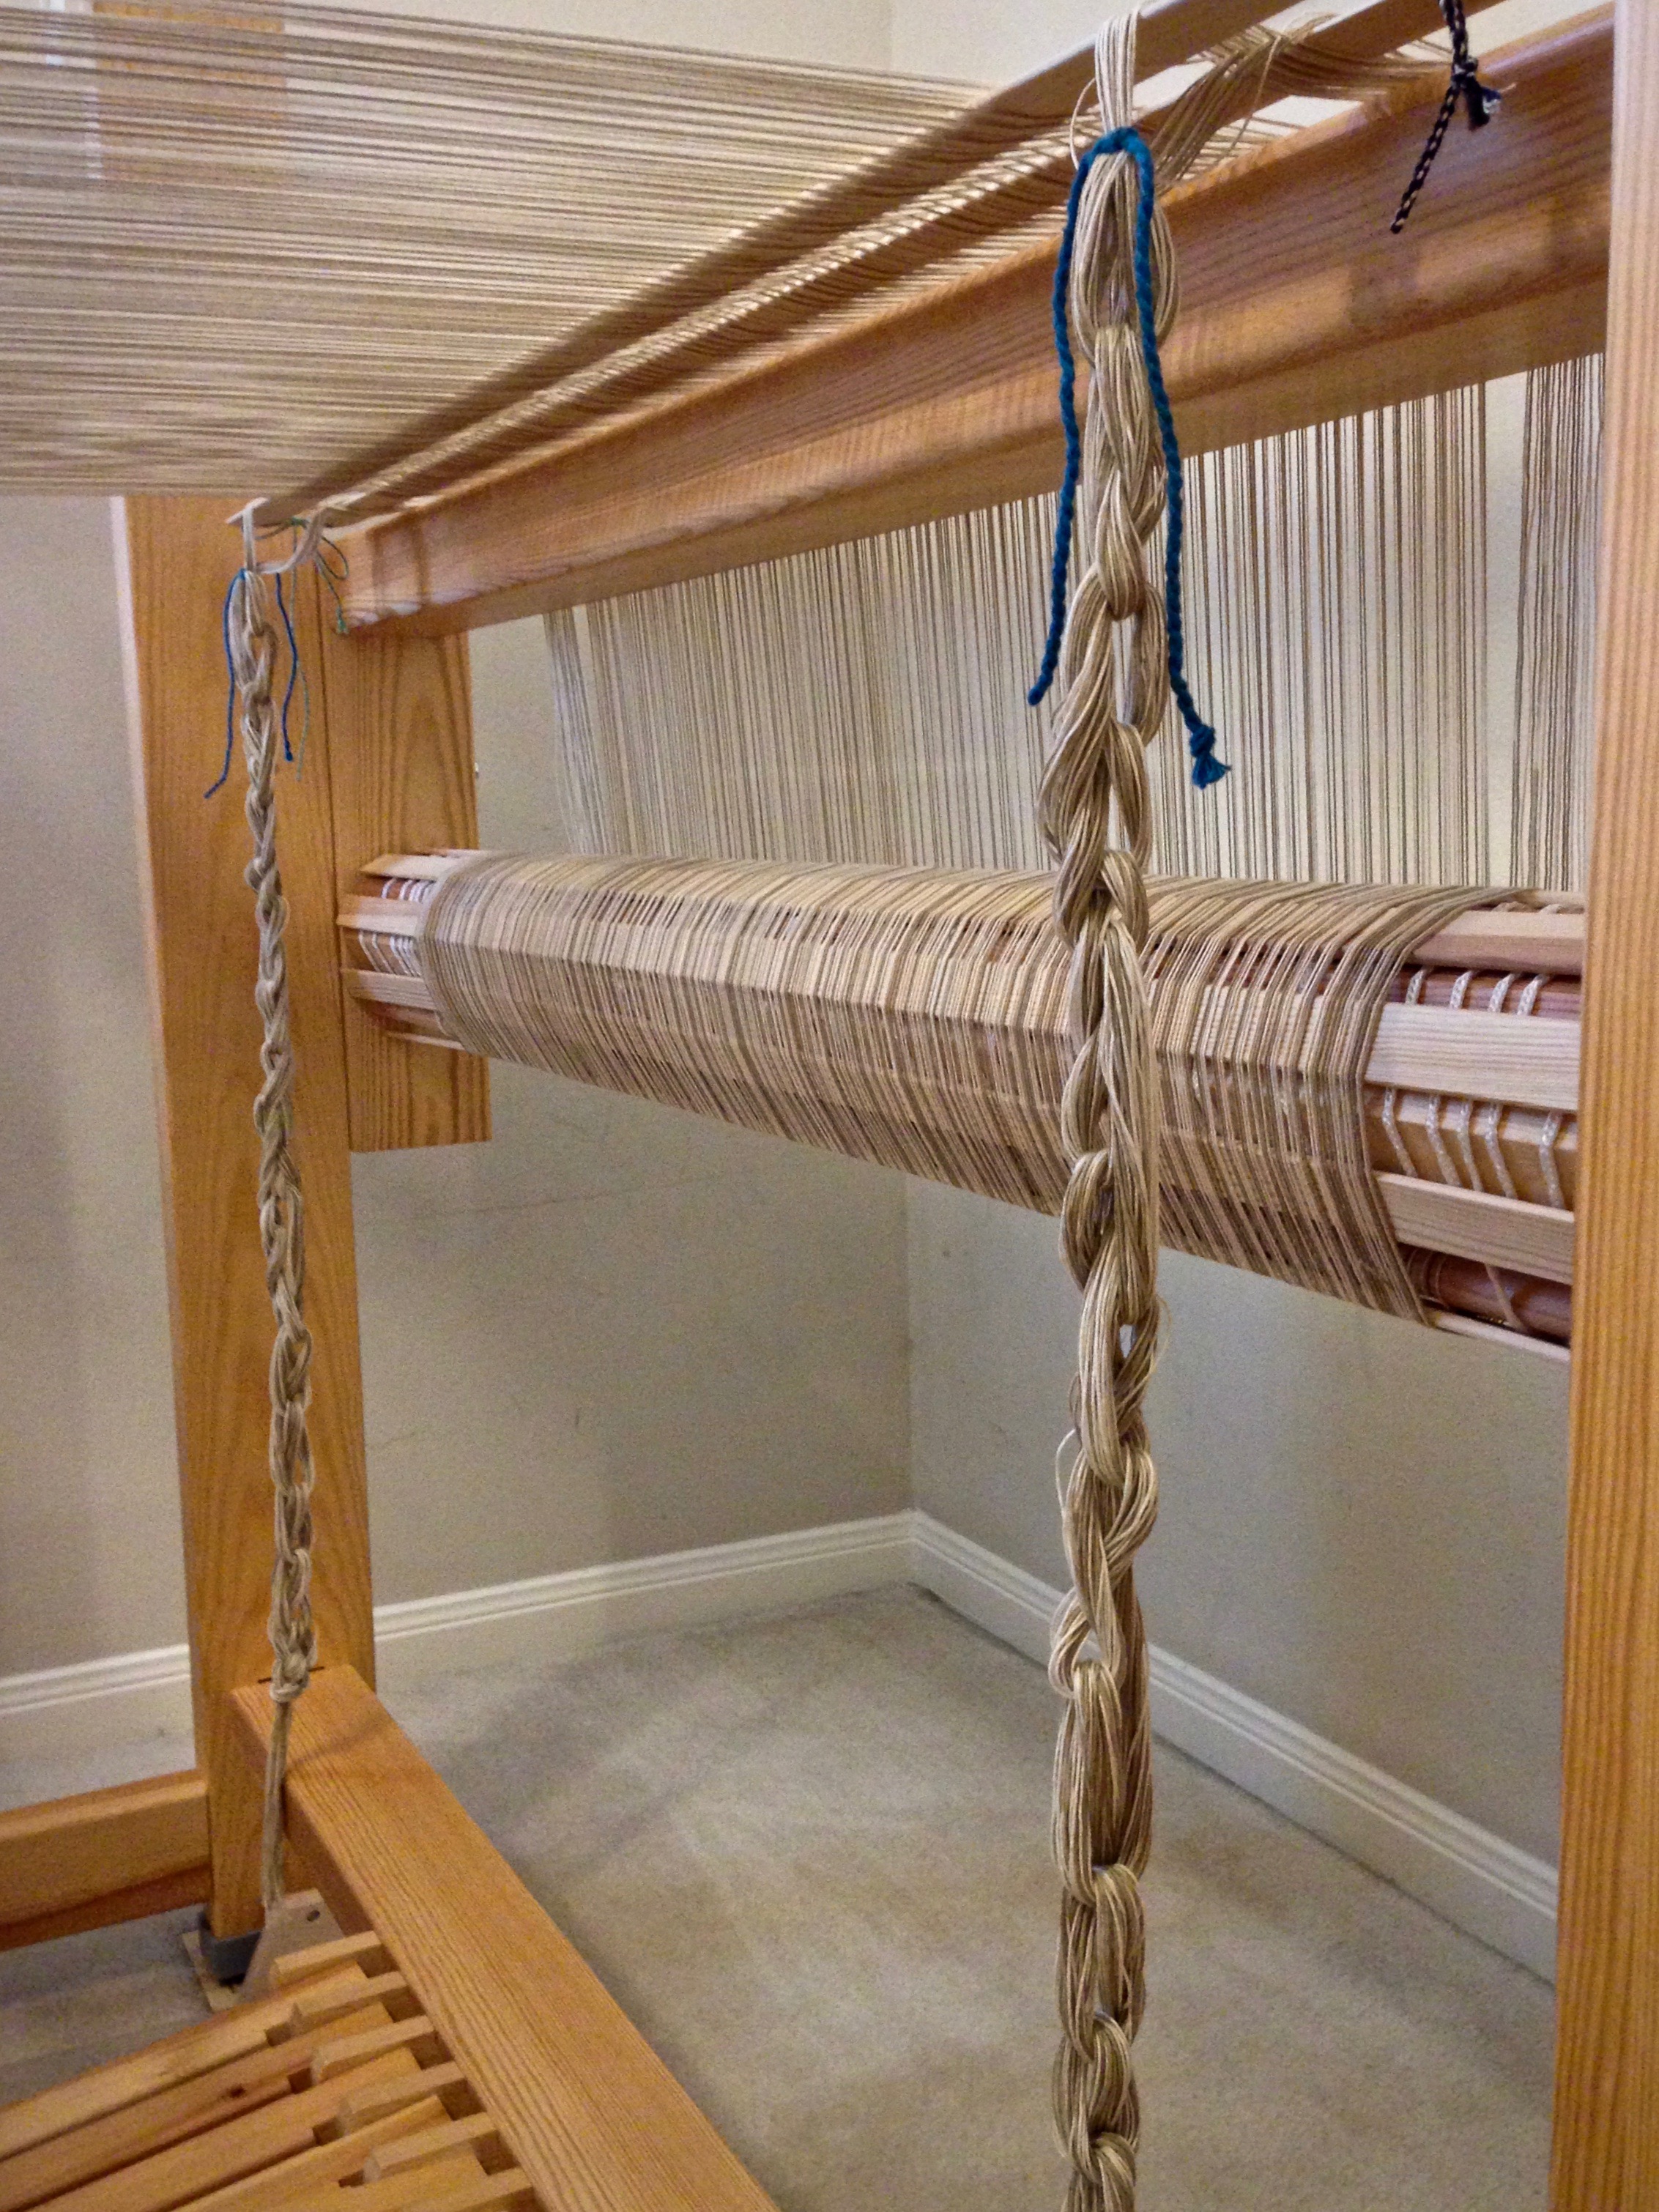
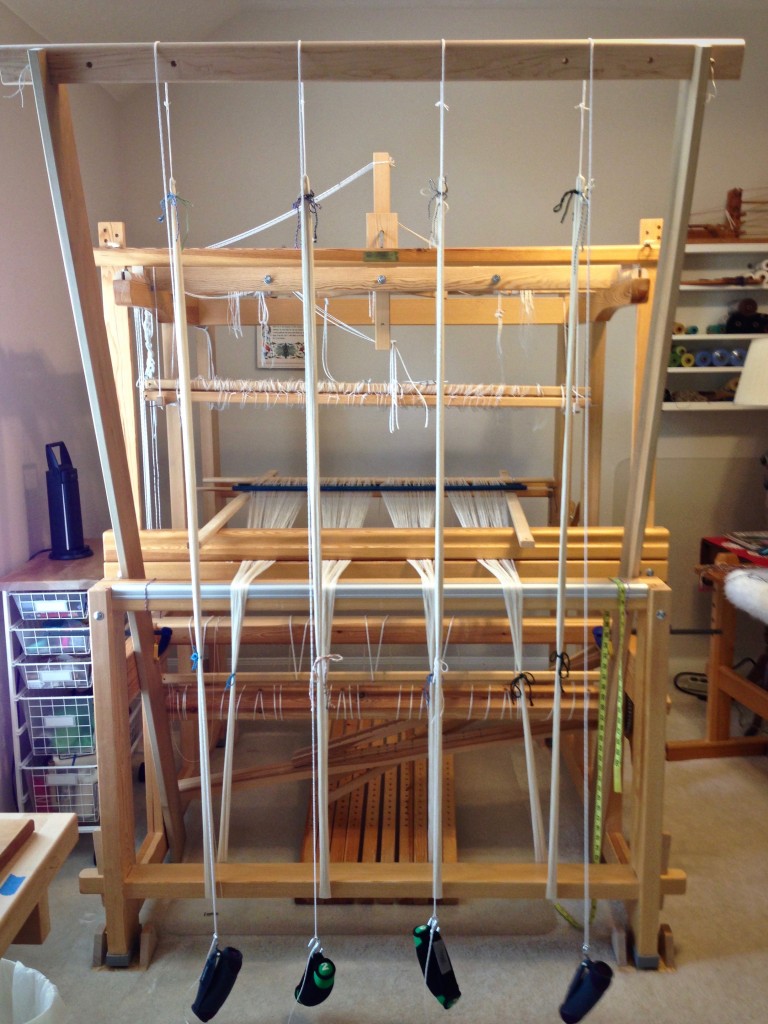
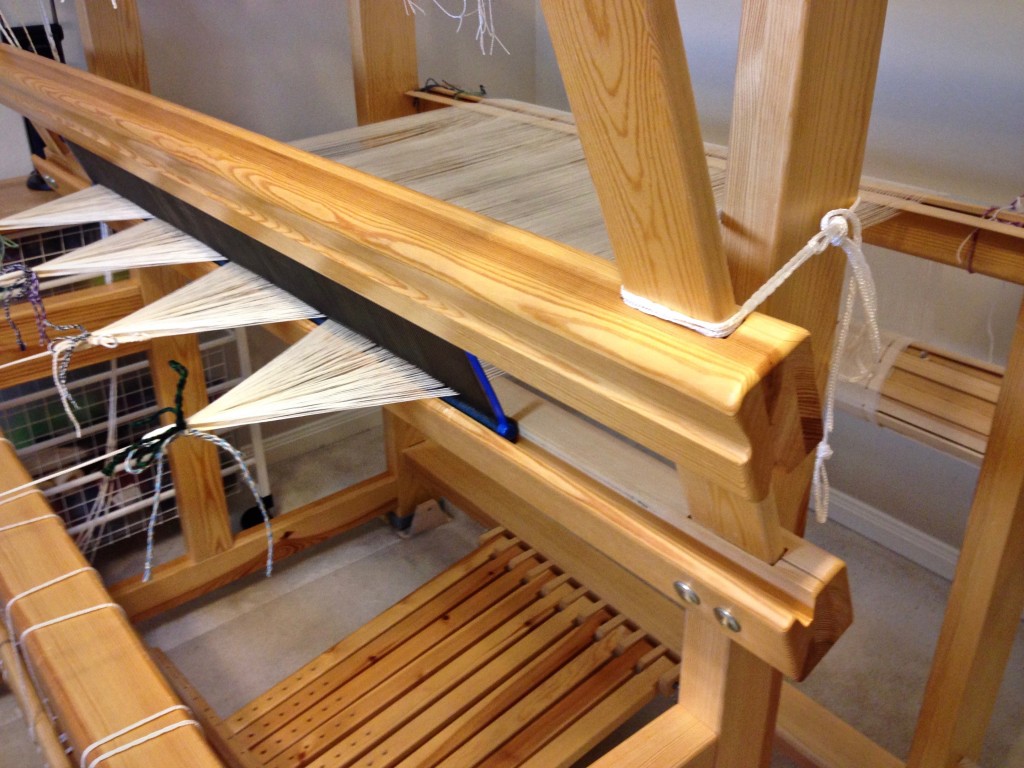
5 Install the warping trapeze at the front of the loom, or use another method to extend the warp and weight it. Texsolv cord is connected to the end of each warp chain to extend the length. (This is a 3.5 meter warp–not long enough to go over the trapeze cross bar.) Weights are suspended from the texsolv cords with S-hooks.

Adjusting the warp on the warping trapeze.

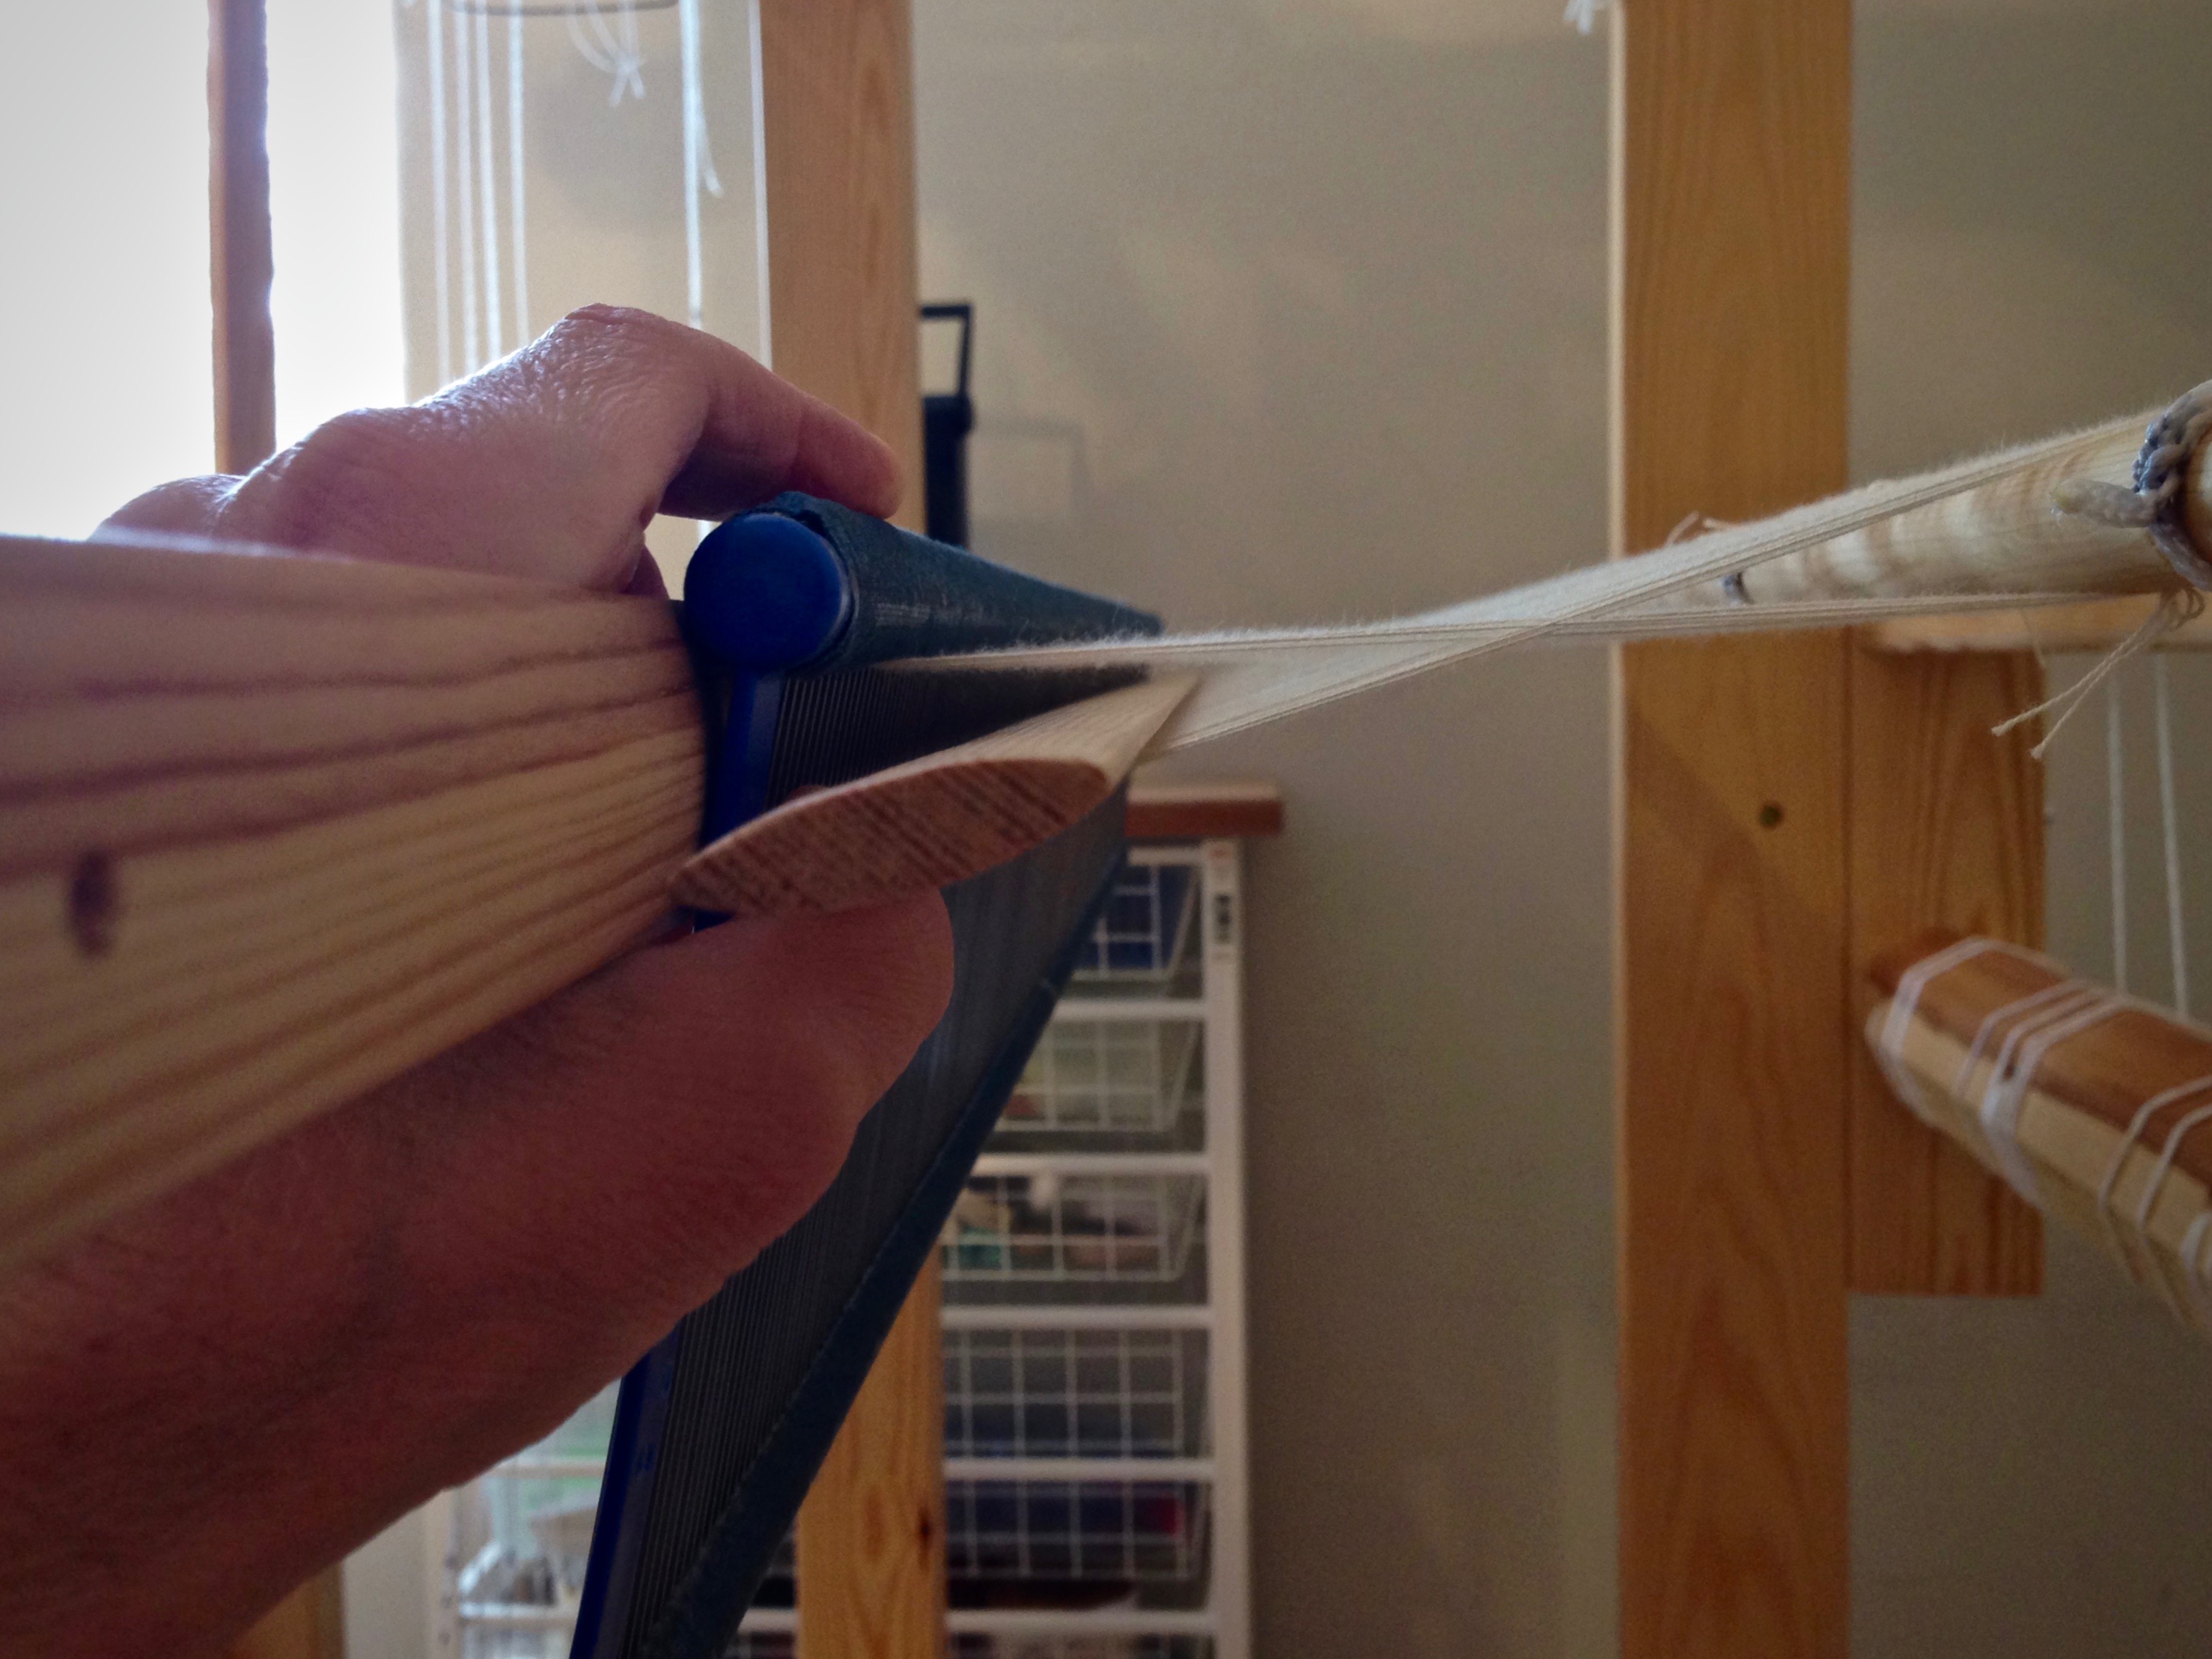
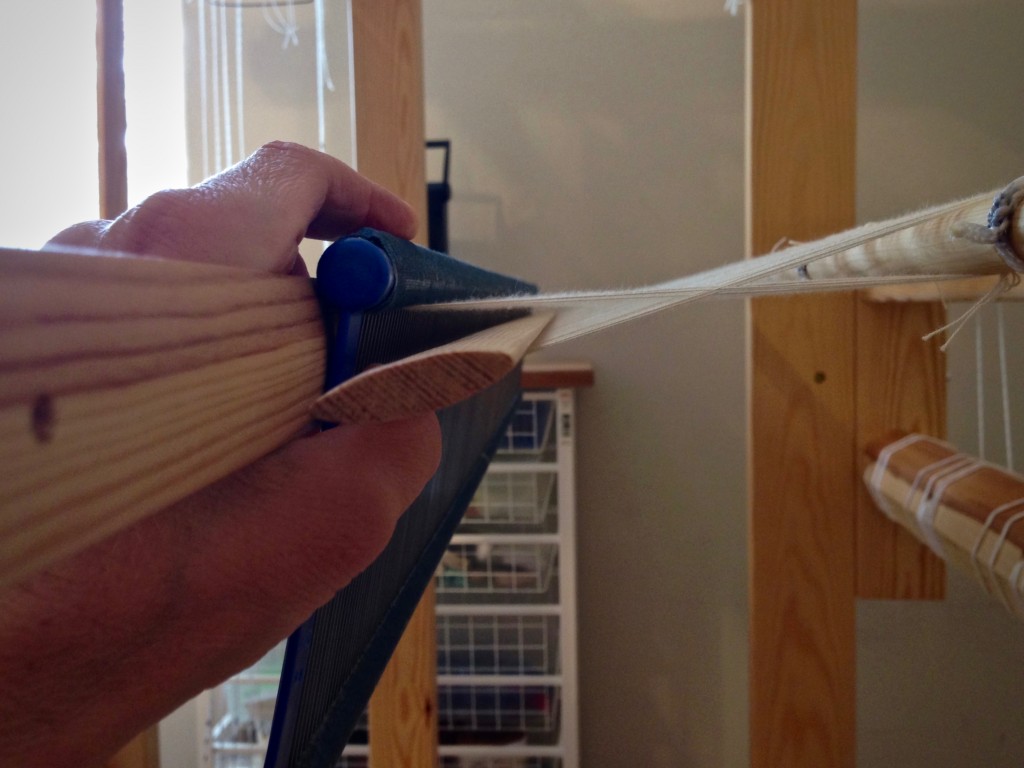
6 Transfer the lease sticks from in front of the reed to behind the reed. This is a gutsy way of transferring lease sticks. (Please don’t try this method unless you read about it first in Becky Ashenden’s book, noted below.)

Transferring lease sticks like this takes guts!

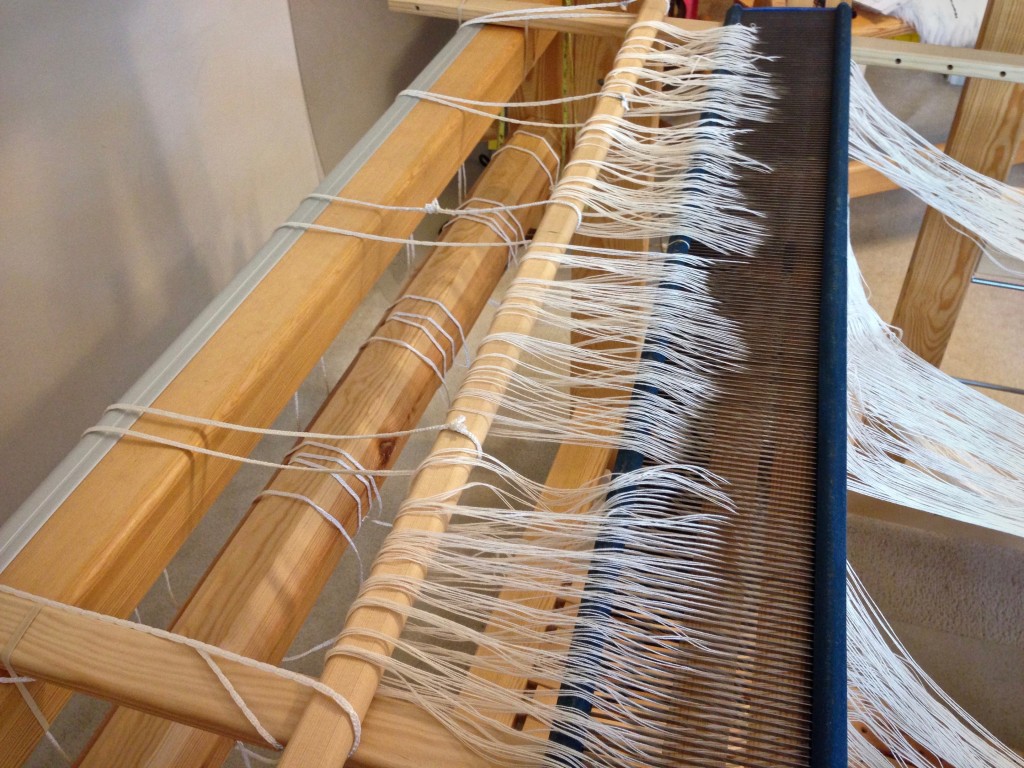
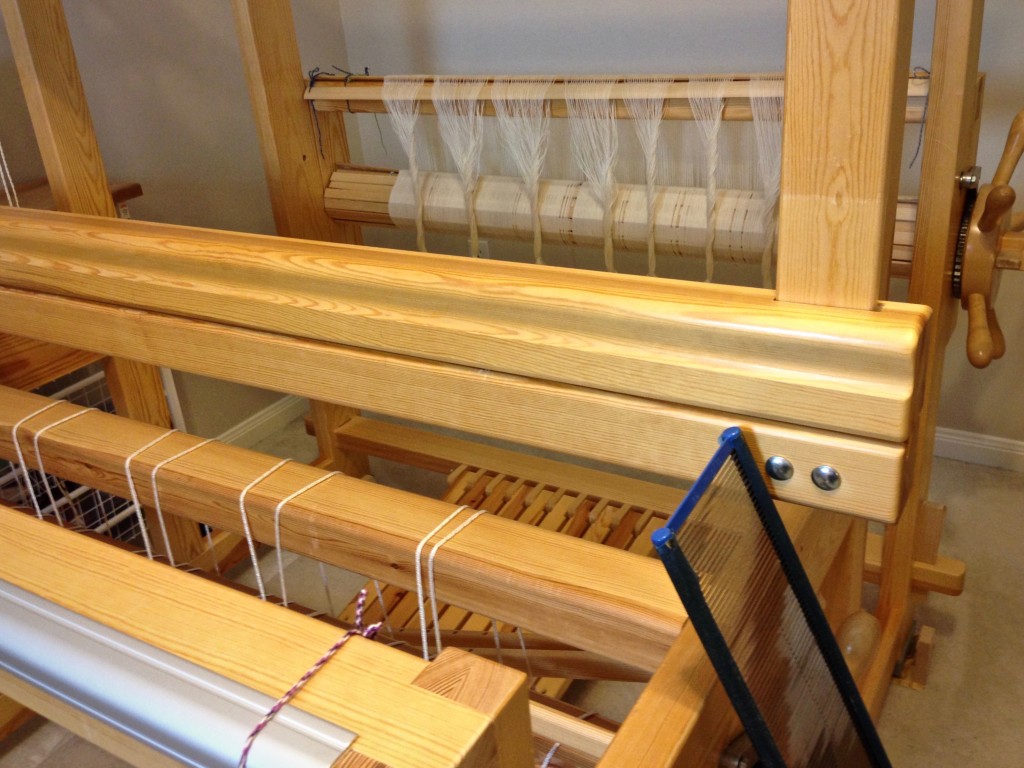
7 Straighten out each warp end from the reed to the back tie-on bar.

Winding on a new warp. Back to front warping pics.

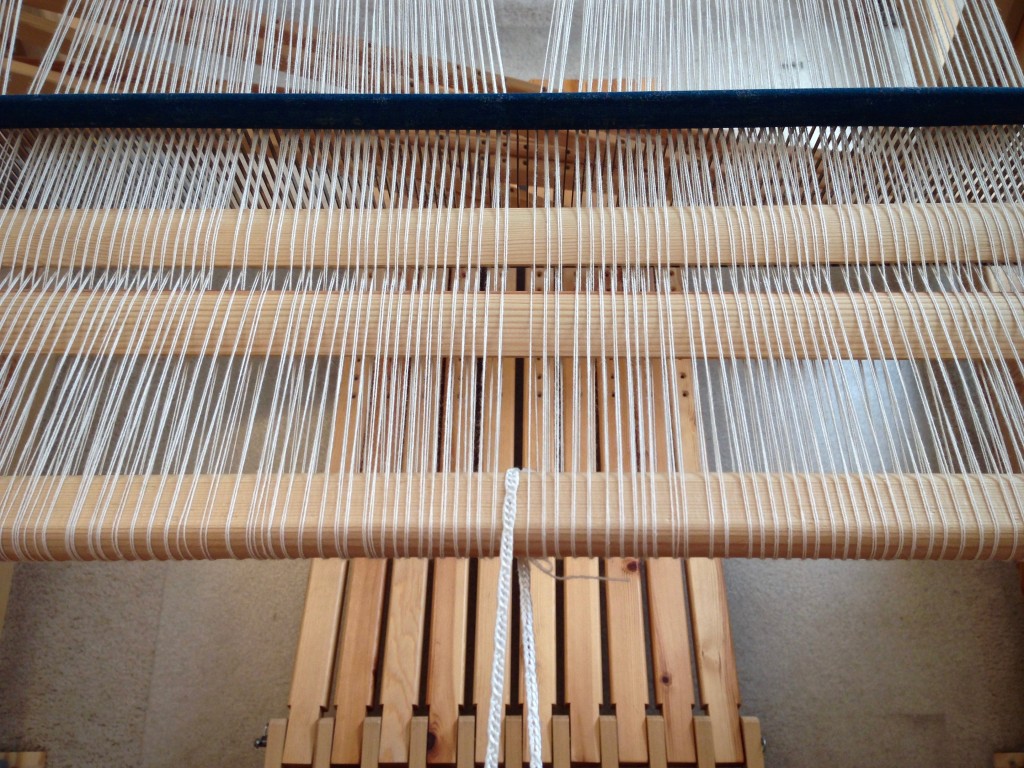
8 Place the reed in the beater. Center the reed in the beater.

Placing the reed in the beater.

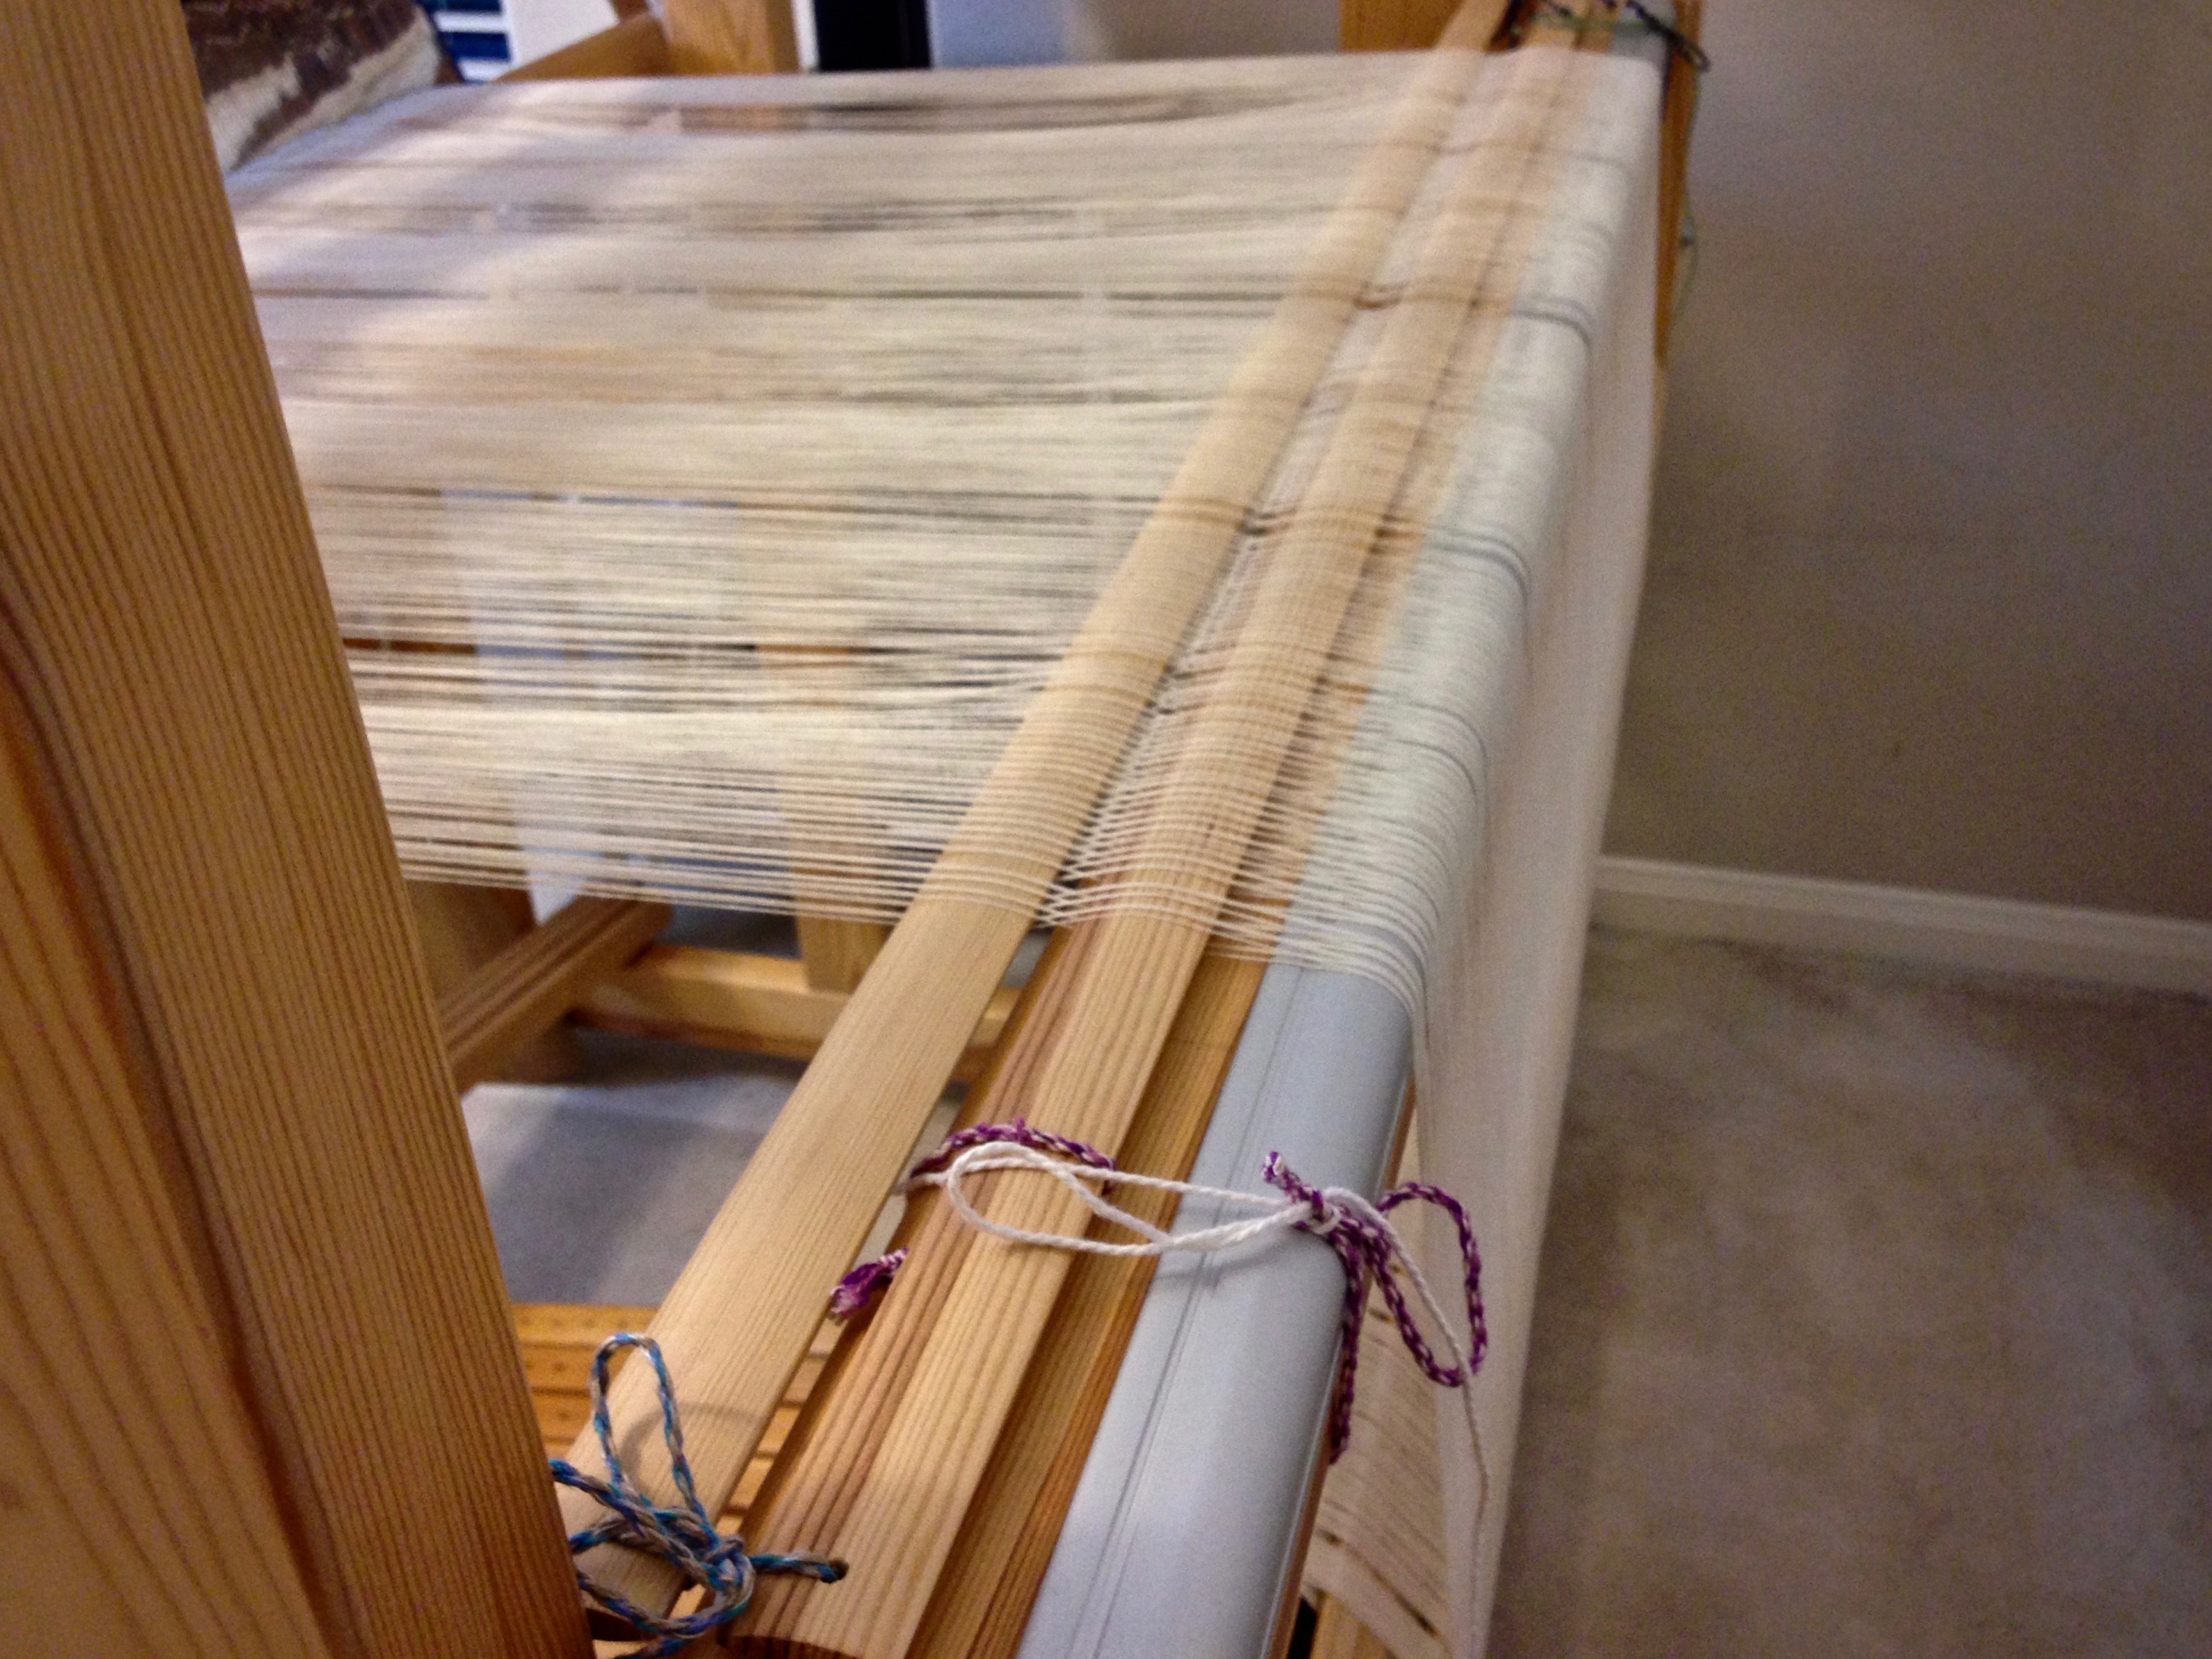
9 Remove choke ties between the beater and the trapeze cross bar, but do not remove choke ties from the very end of the warp. Starting at the reed, separate each warp bout in the middle.

Warping trapeze in use for warping Glimakra Standard.

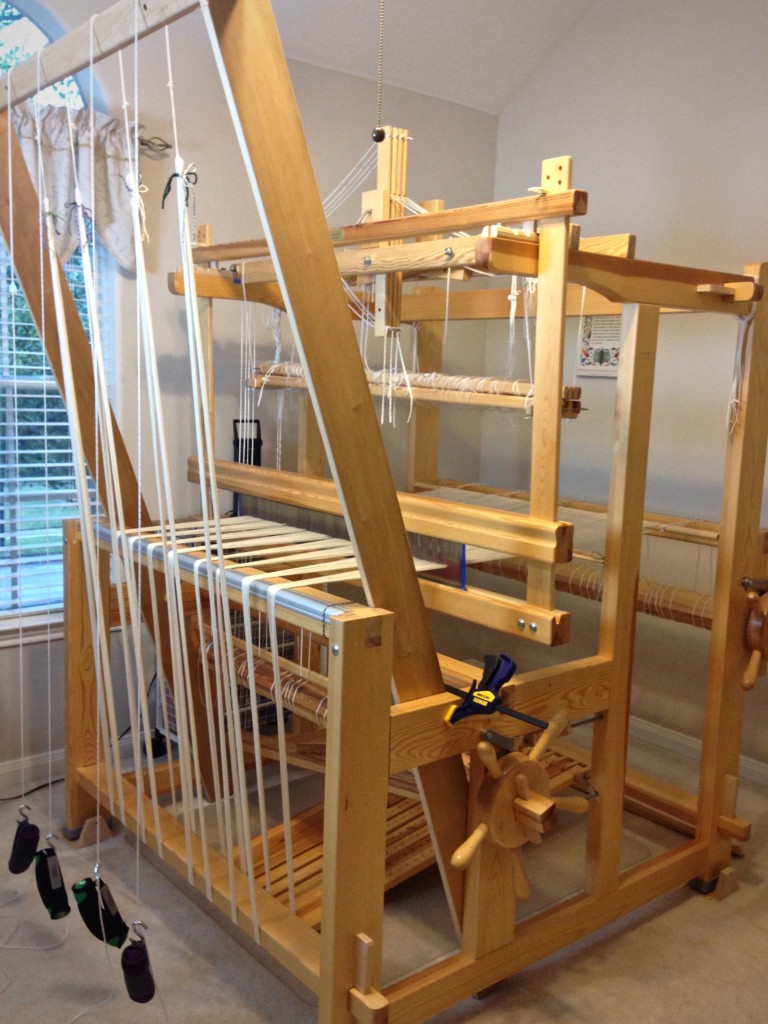
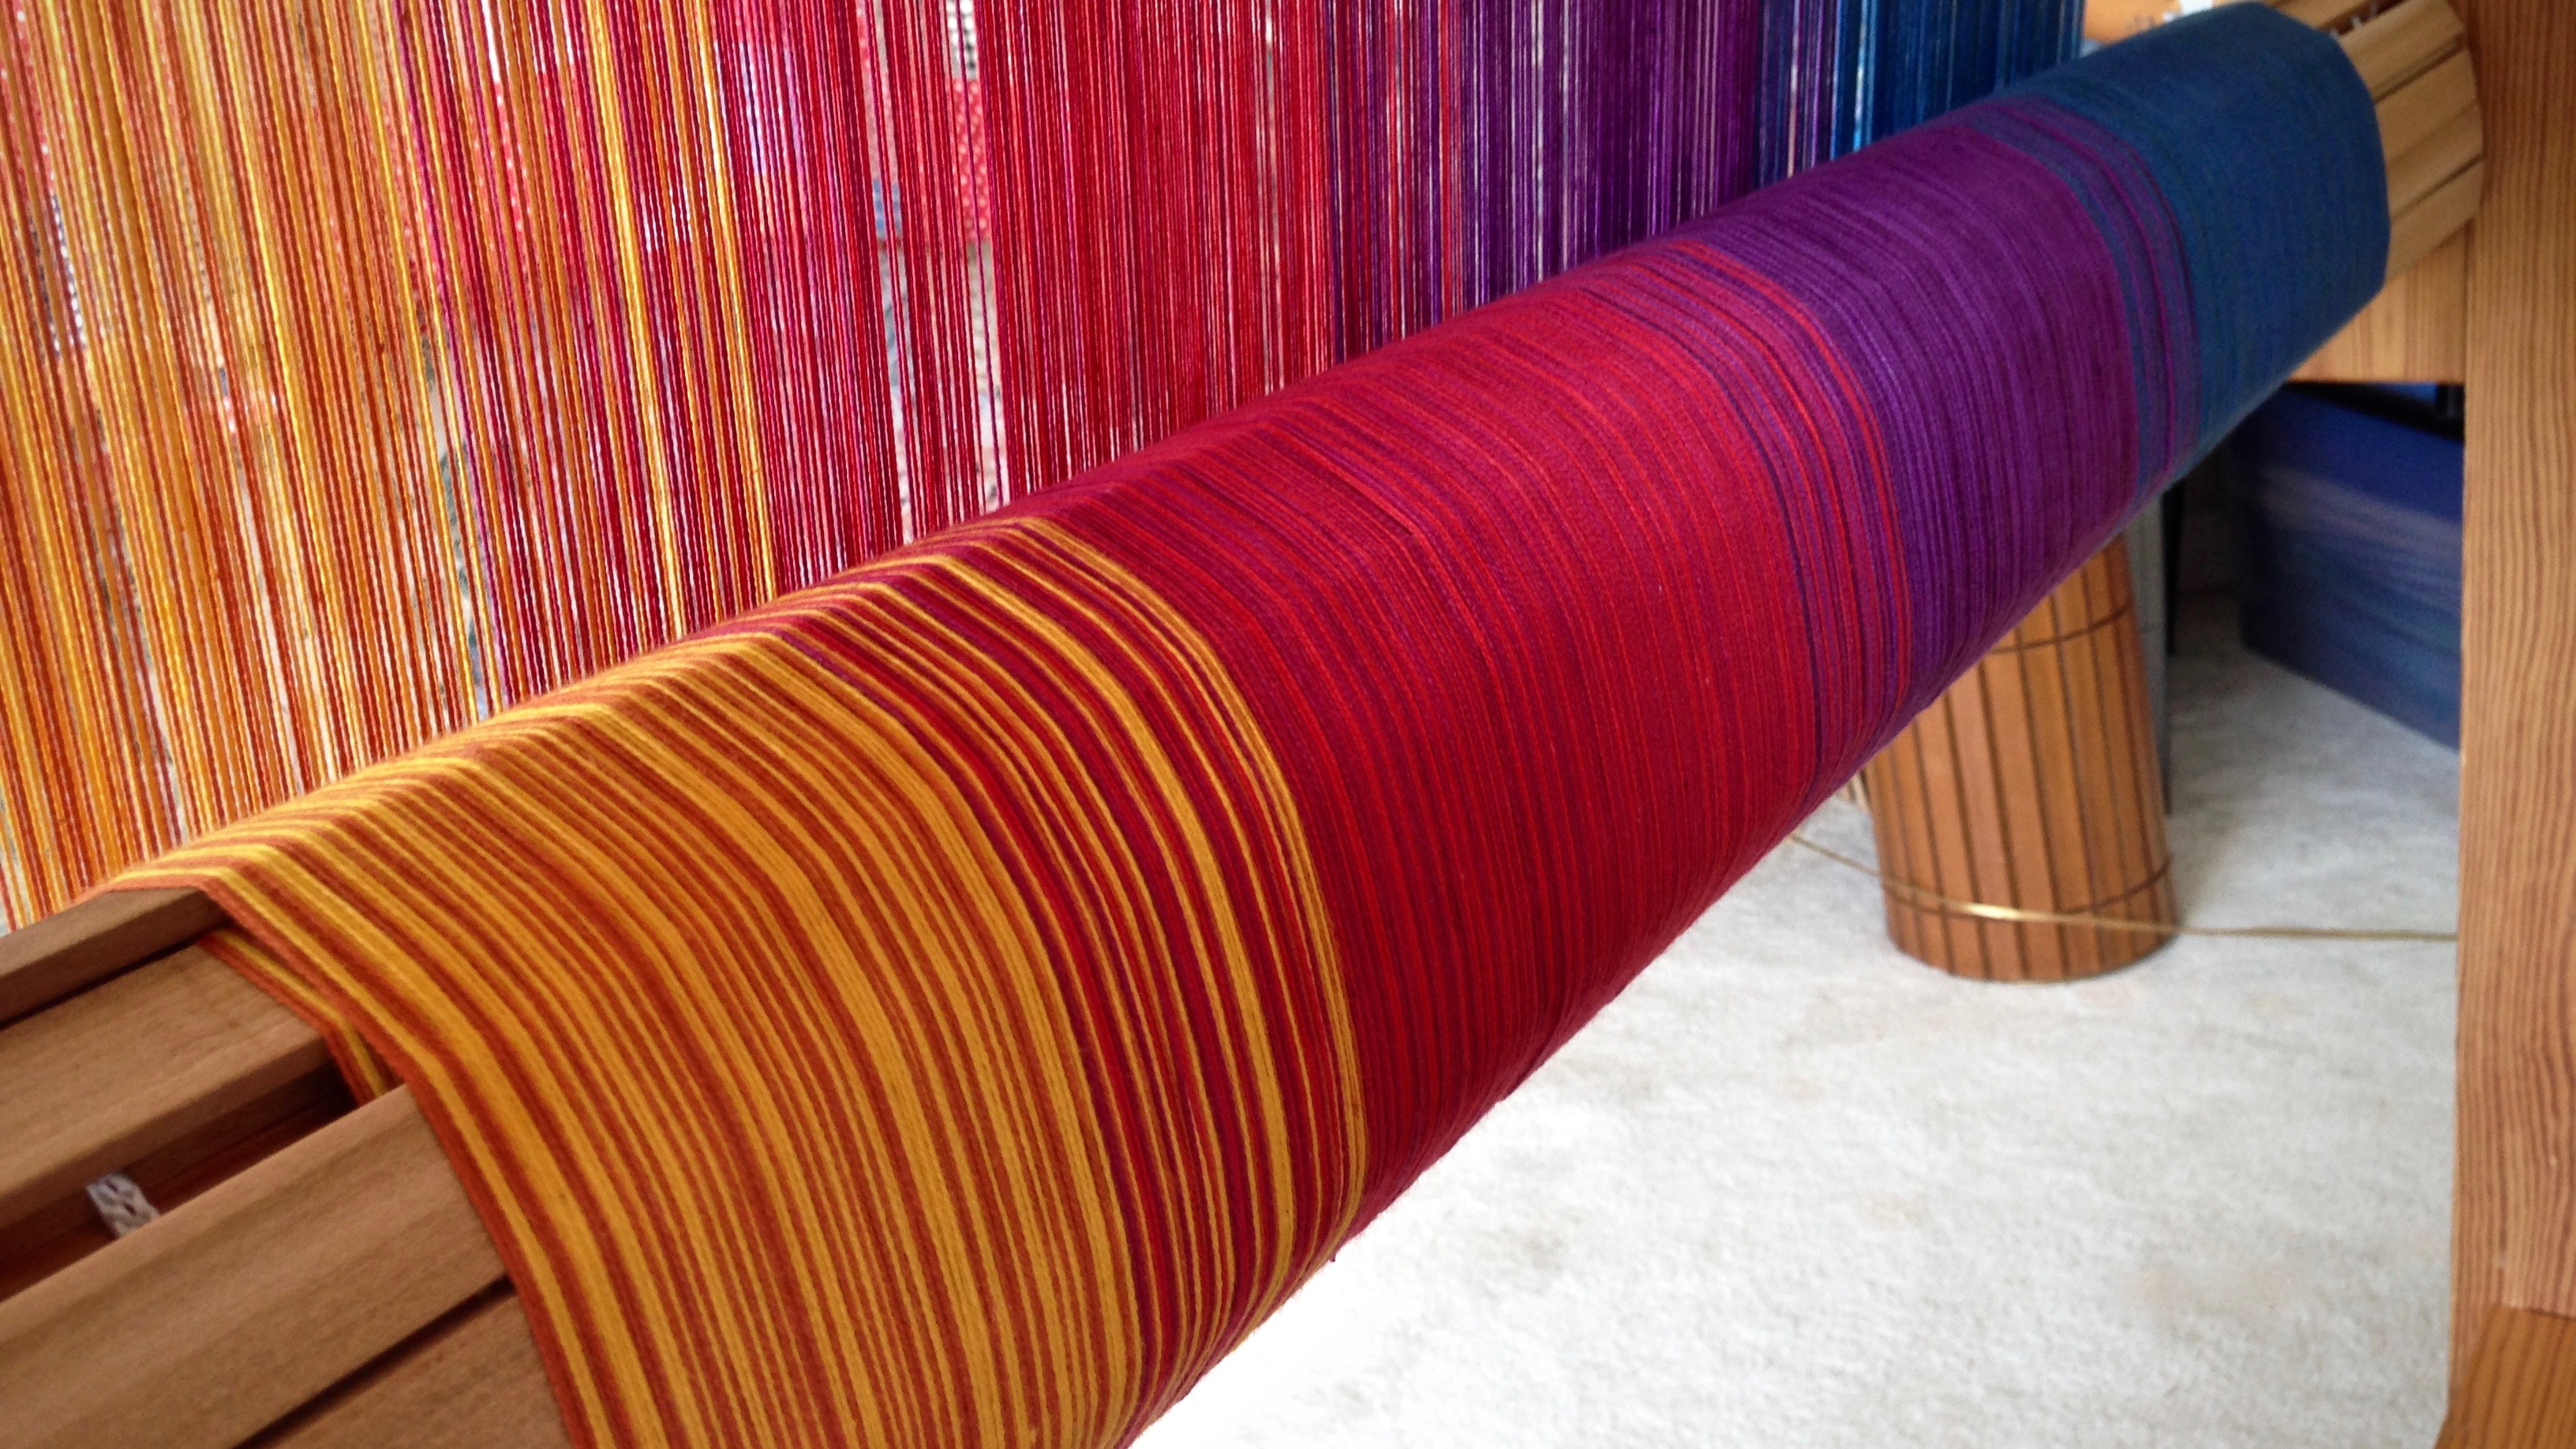
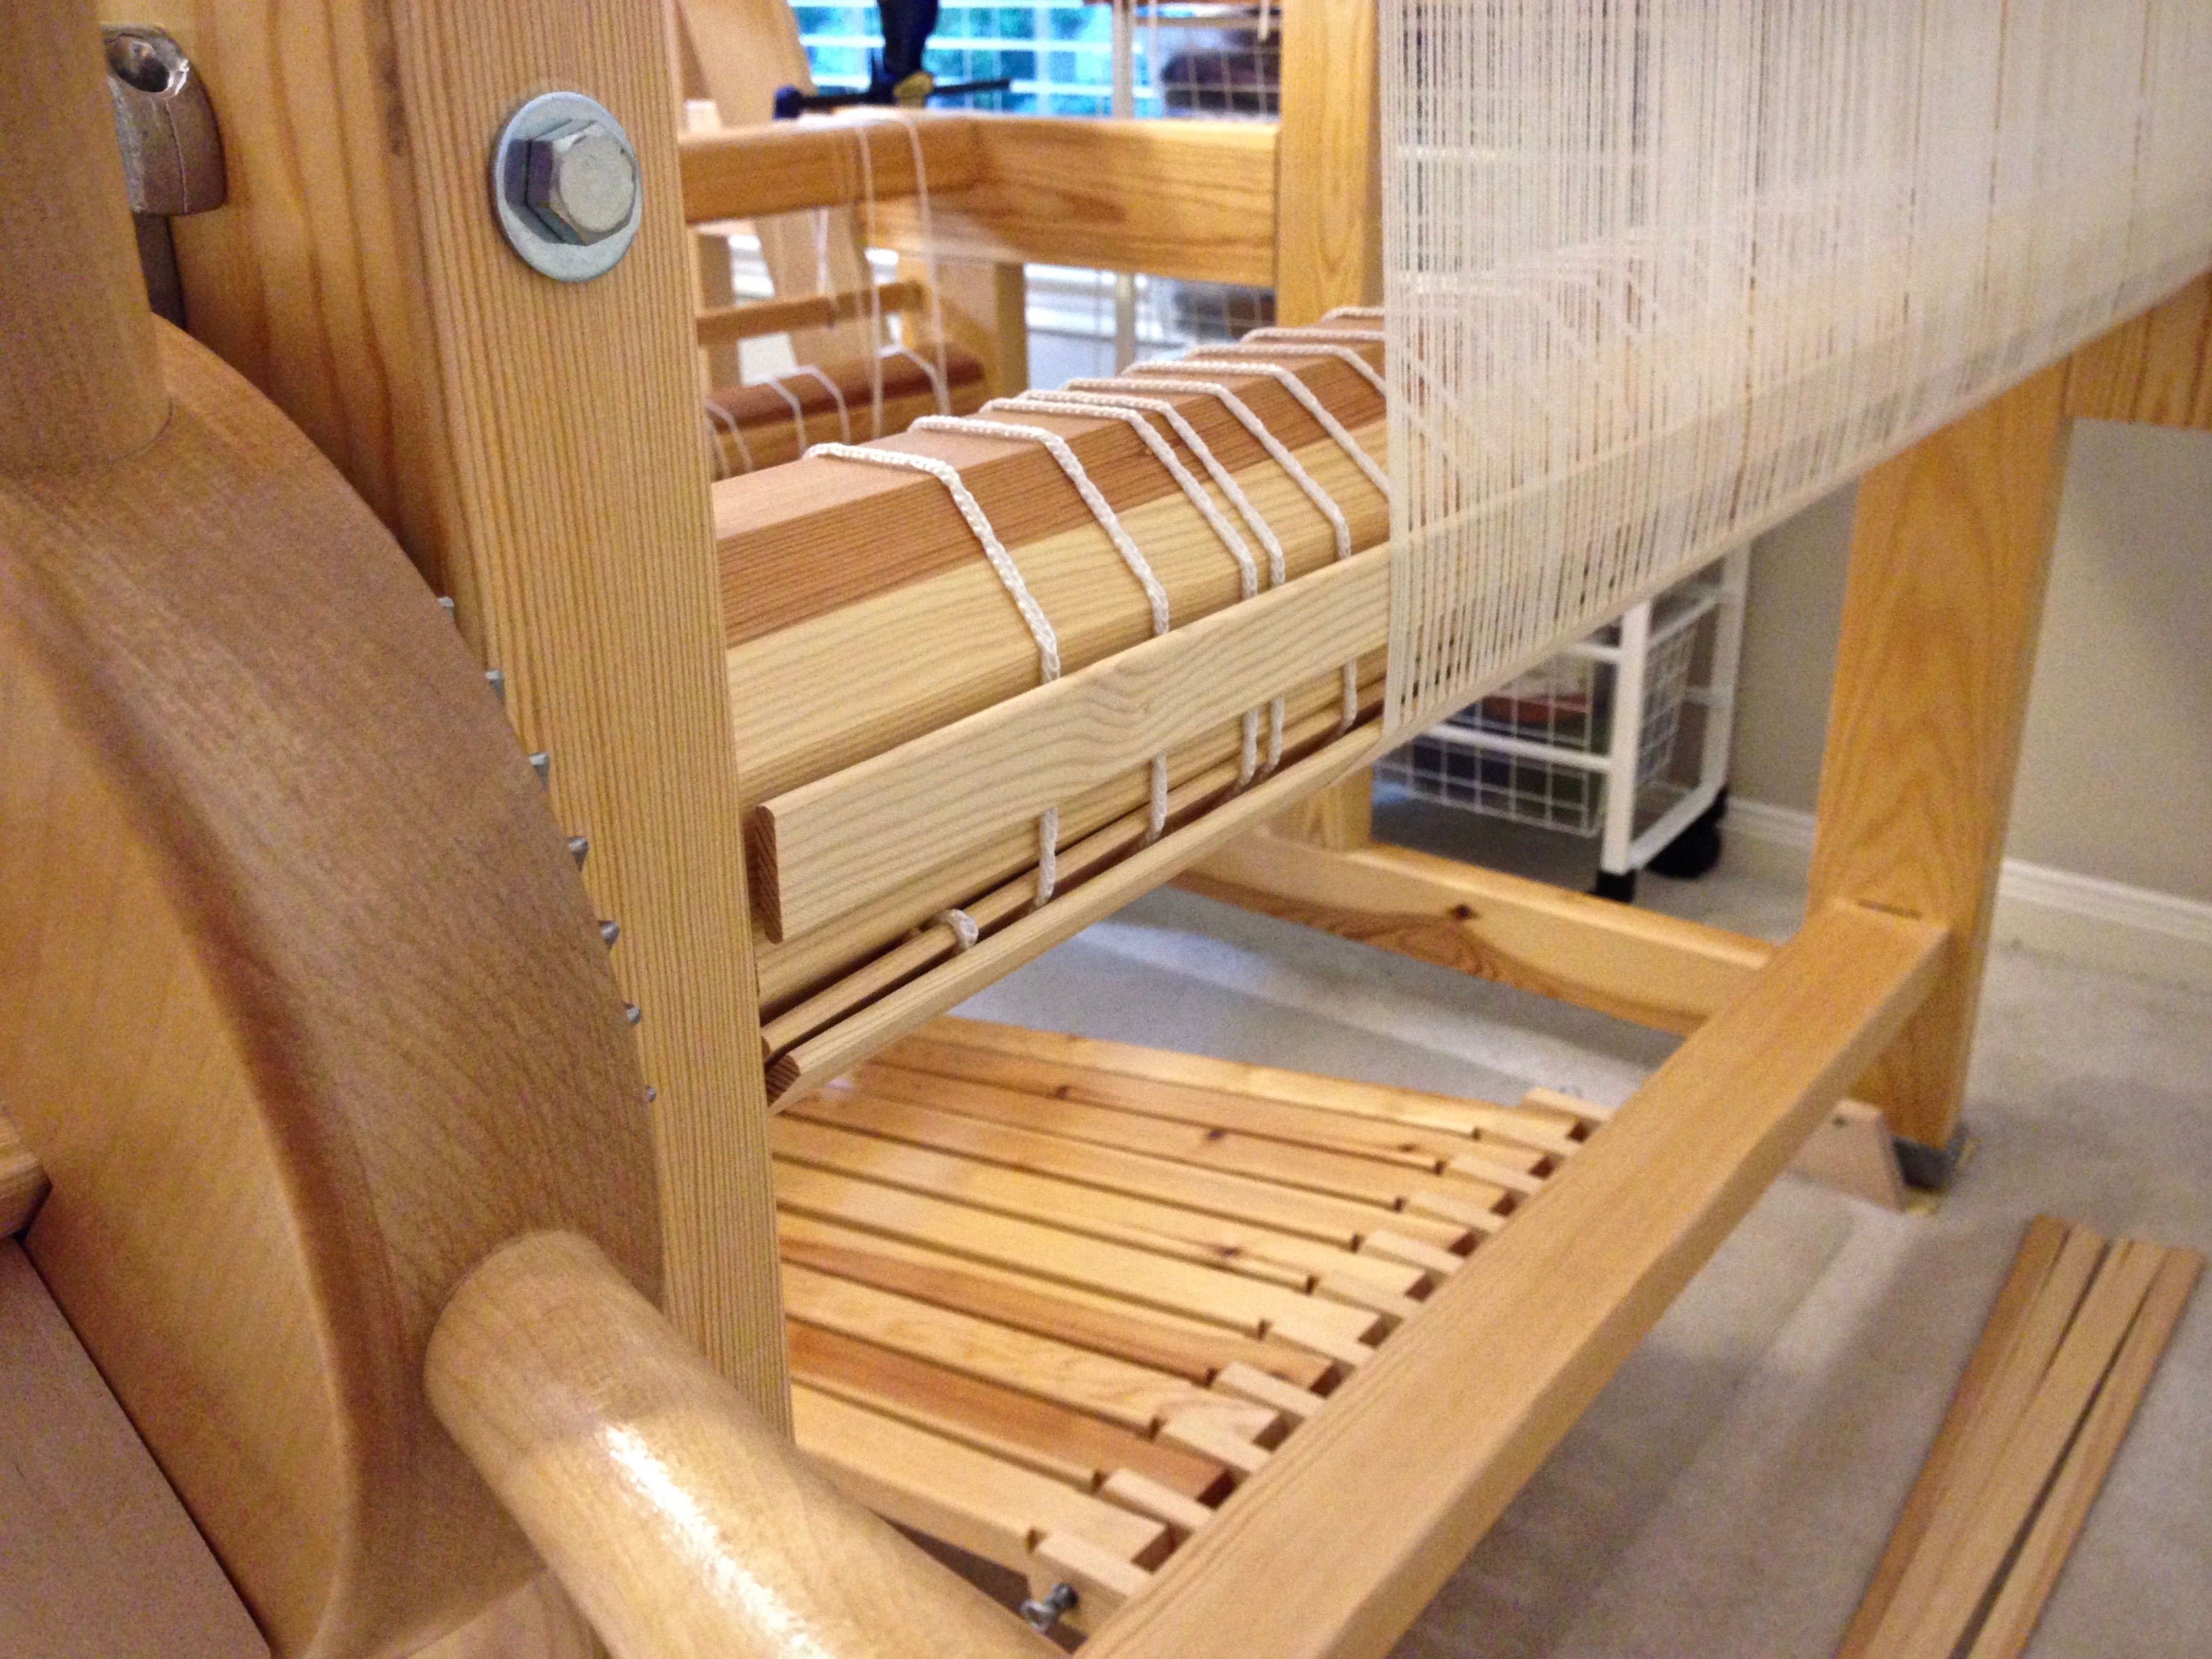
10 After sliding lease sticks toward the reed, wind the warp onto the beam. Place a warping slat on each flat side of the warp beam for one revolution. (Octagonal beam uses eight sticks.) Advance weight at the front of the loom as needed. After two additional revolutions of the beam, add warping slats for one revolution again. Continue this pattern as beaming progresses.

Warping slats during beaming. Beaming tutorial.

11 Tie beater back to allow a little more warp to be wound on.

Finishing up beaming the warp.

12 Tie lease sticks to the back beam. Do not forget this step!

Tie the lease sticks to the back beam before cutting the ends.

If you missed step 12, do it now, or you will be yelling for help as you try to hold the cut ends with one hand while trying to keep the lease sticks from slipping out with your other hand. I speak from experience.

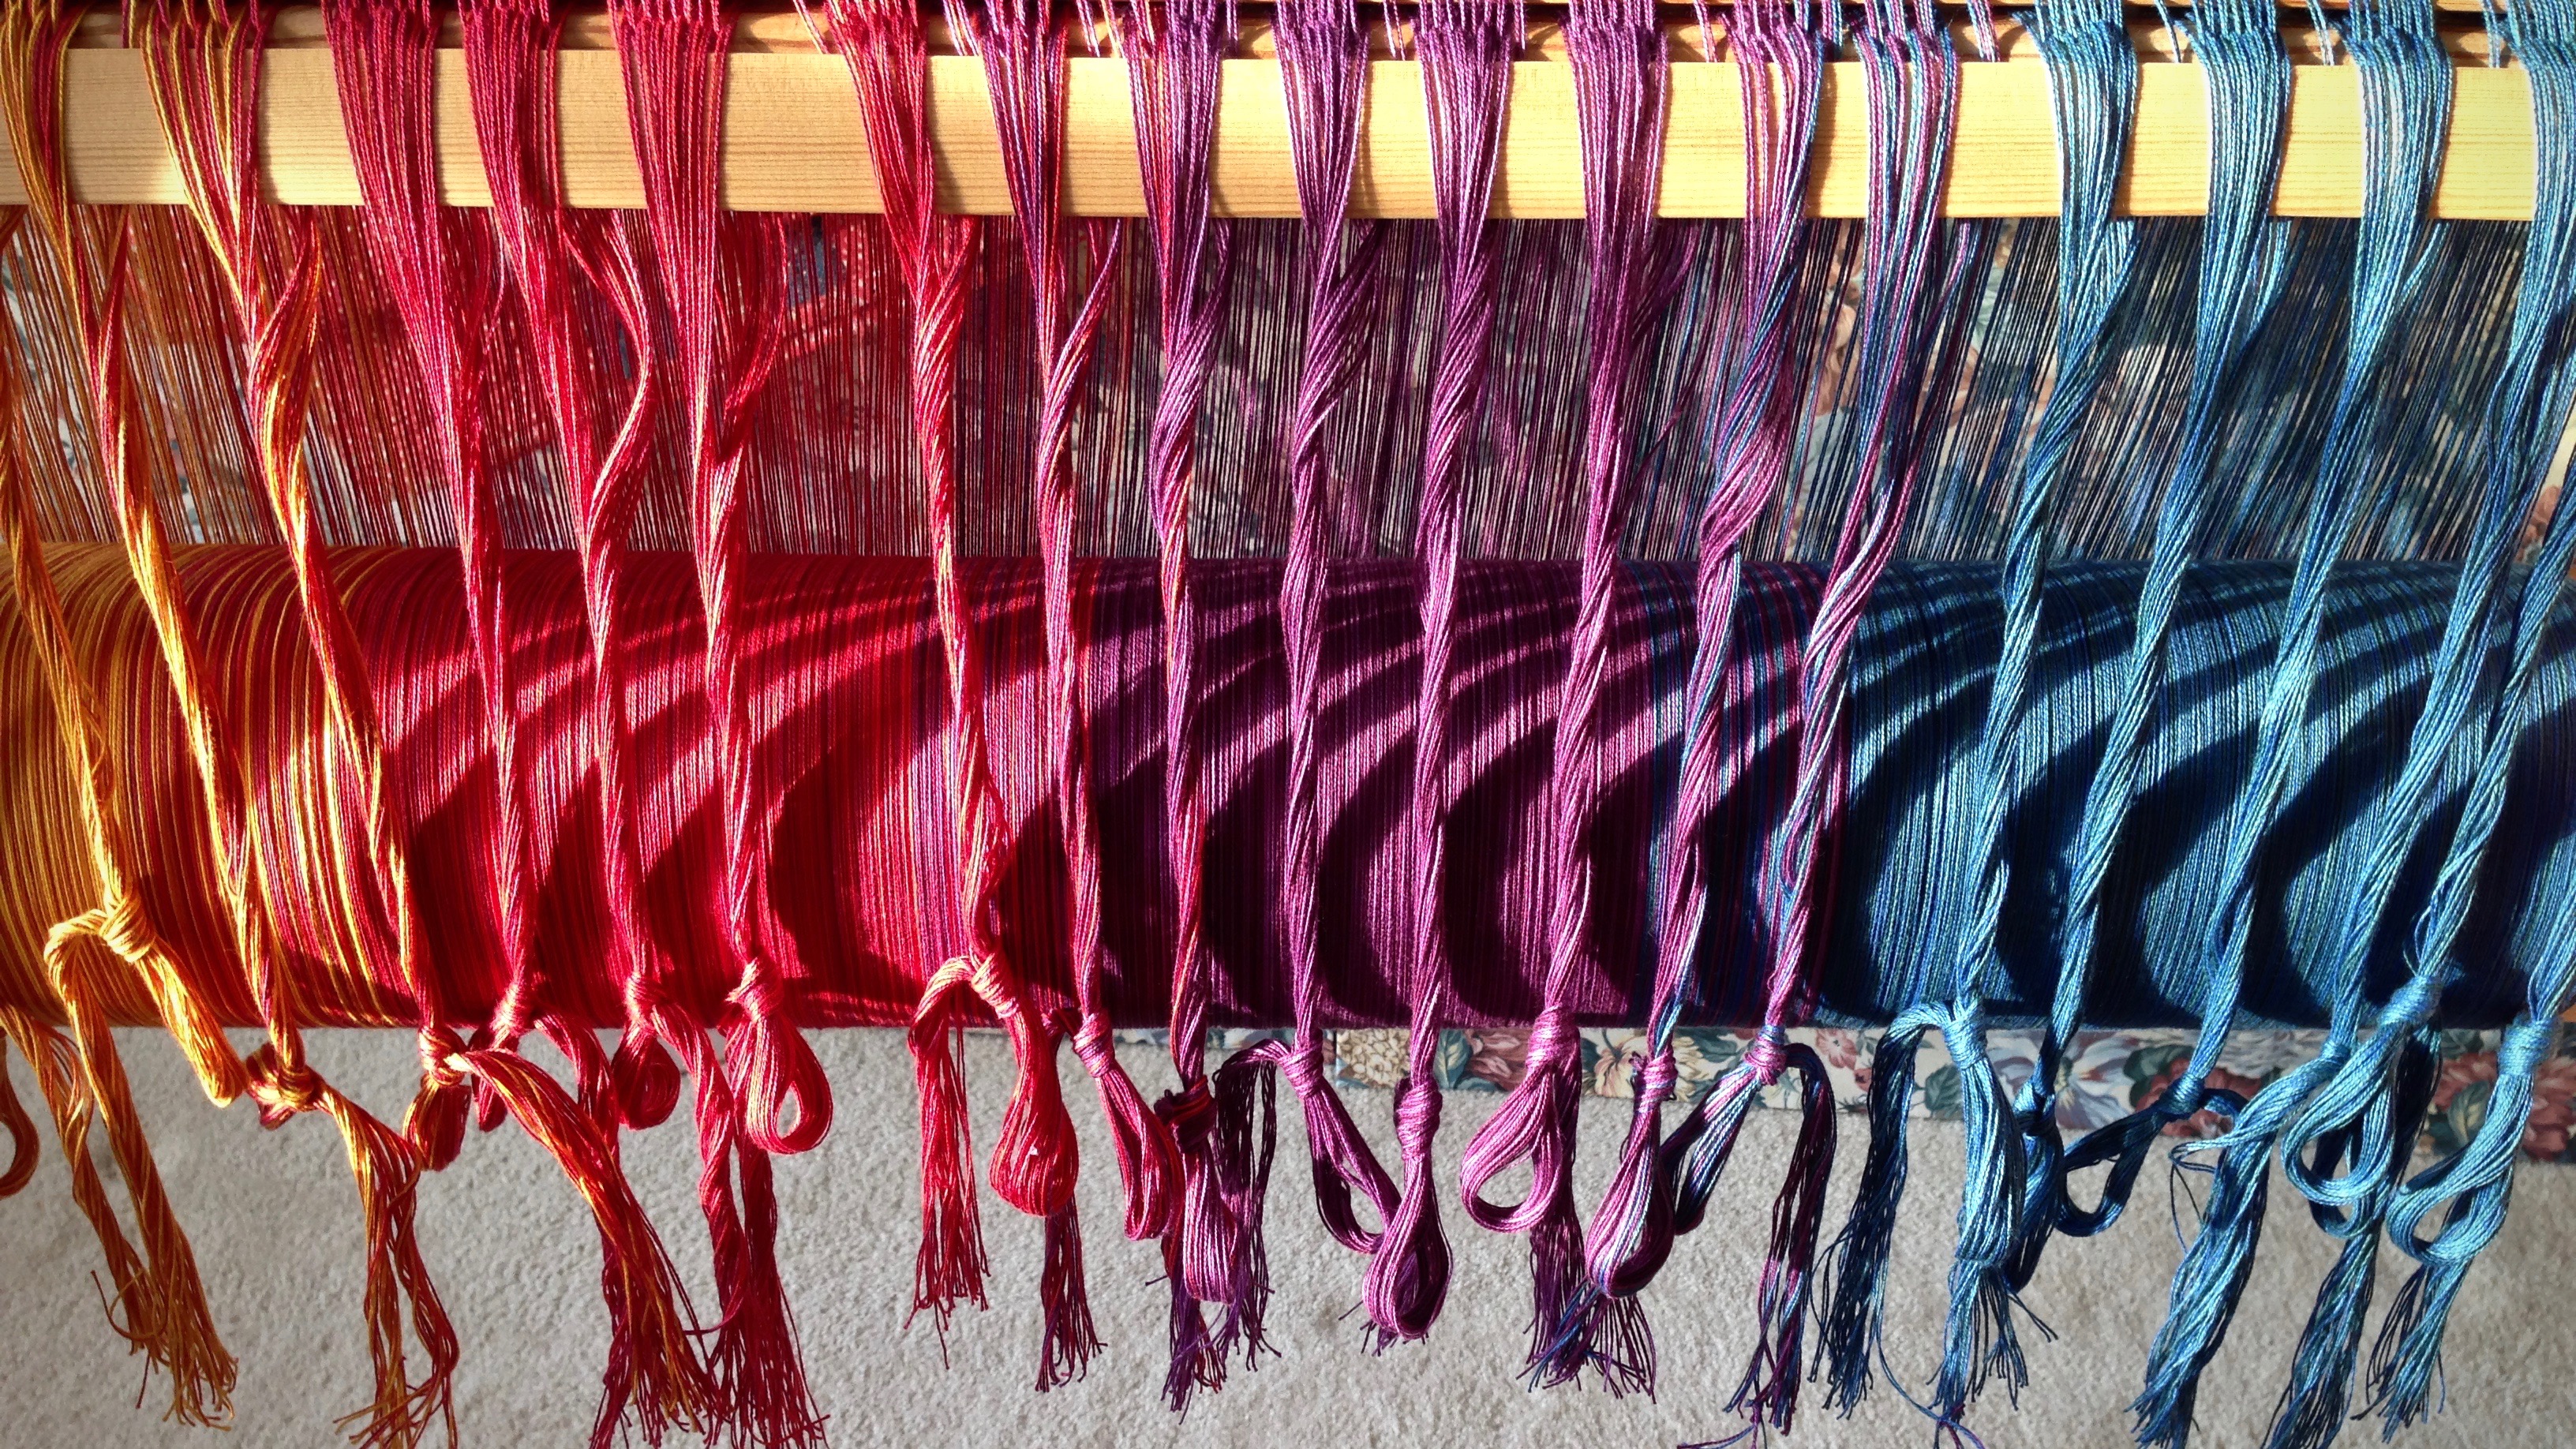
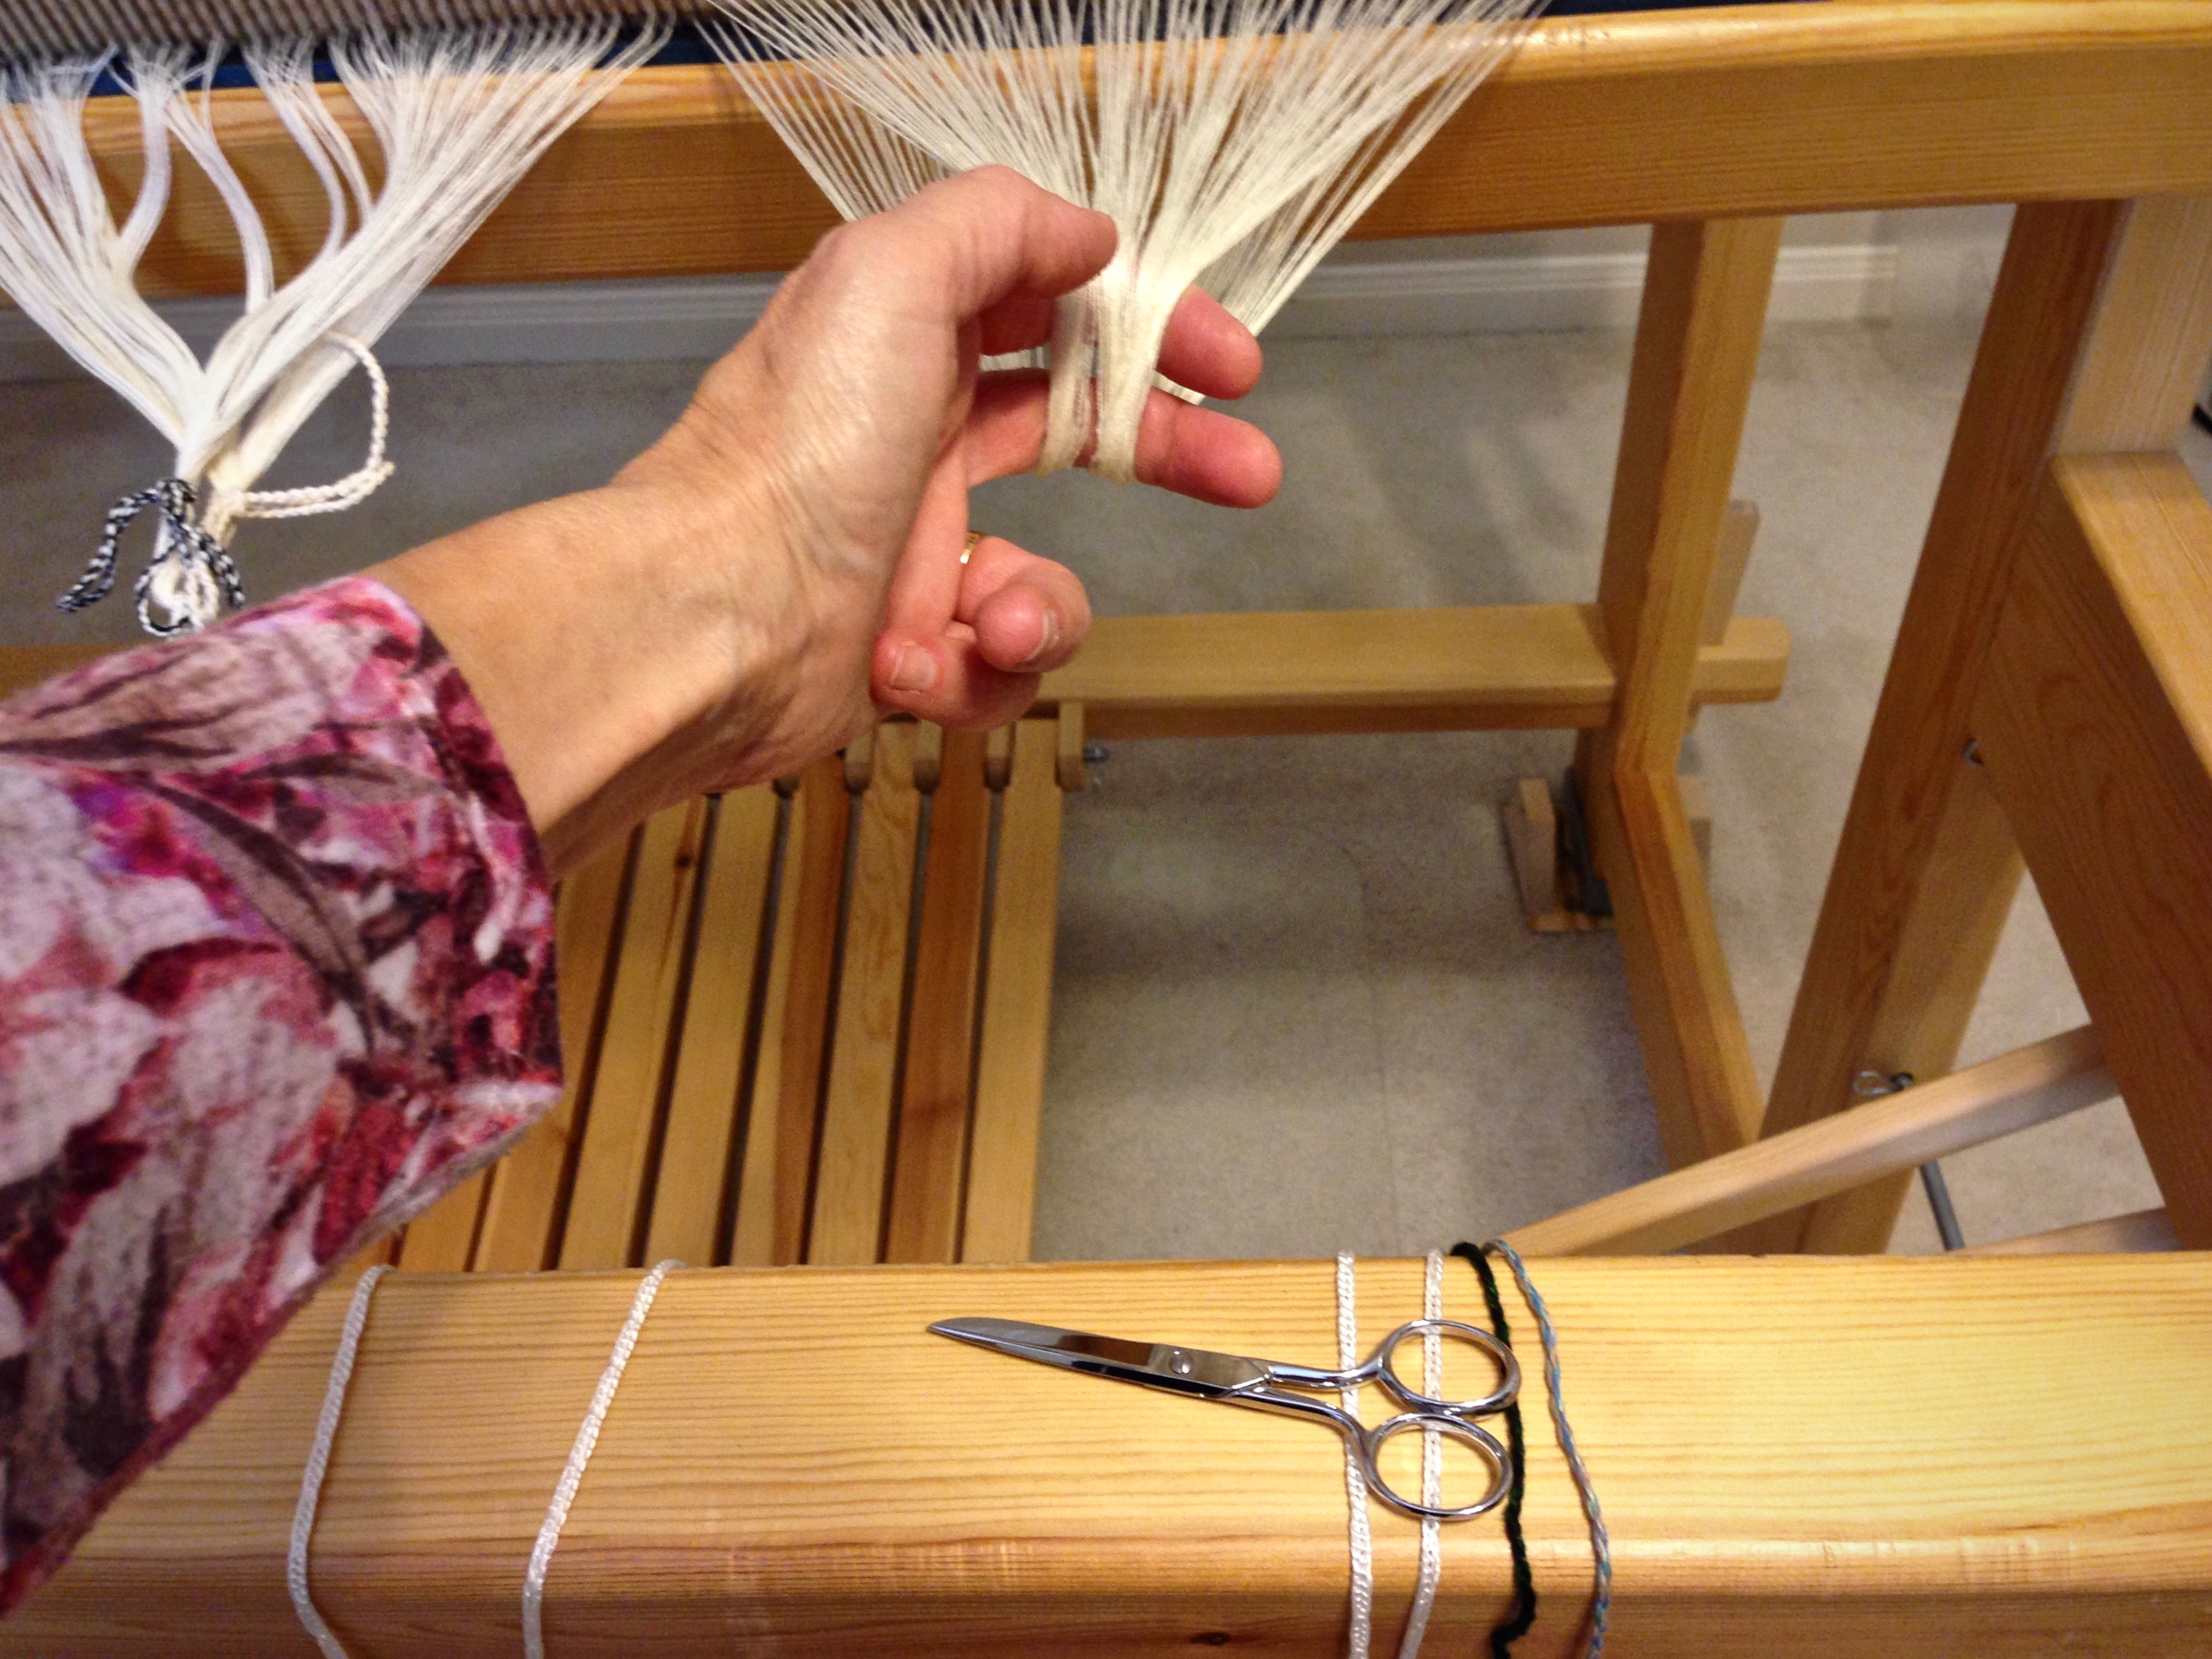
13 Loop the end of the warp chain around your hand, and then remove the remaining choke ties. Cut the loop.

Cutting ends after beaming the warp.

14 Remove a group of warp threads from the reed and tie in a loose slipknot. Continue across the warp. Remove the reed.

New warp of 16/2 cotton for monksbelt on weft rep.

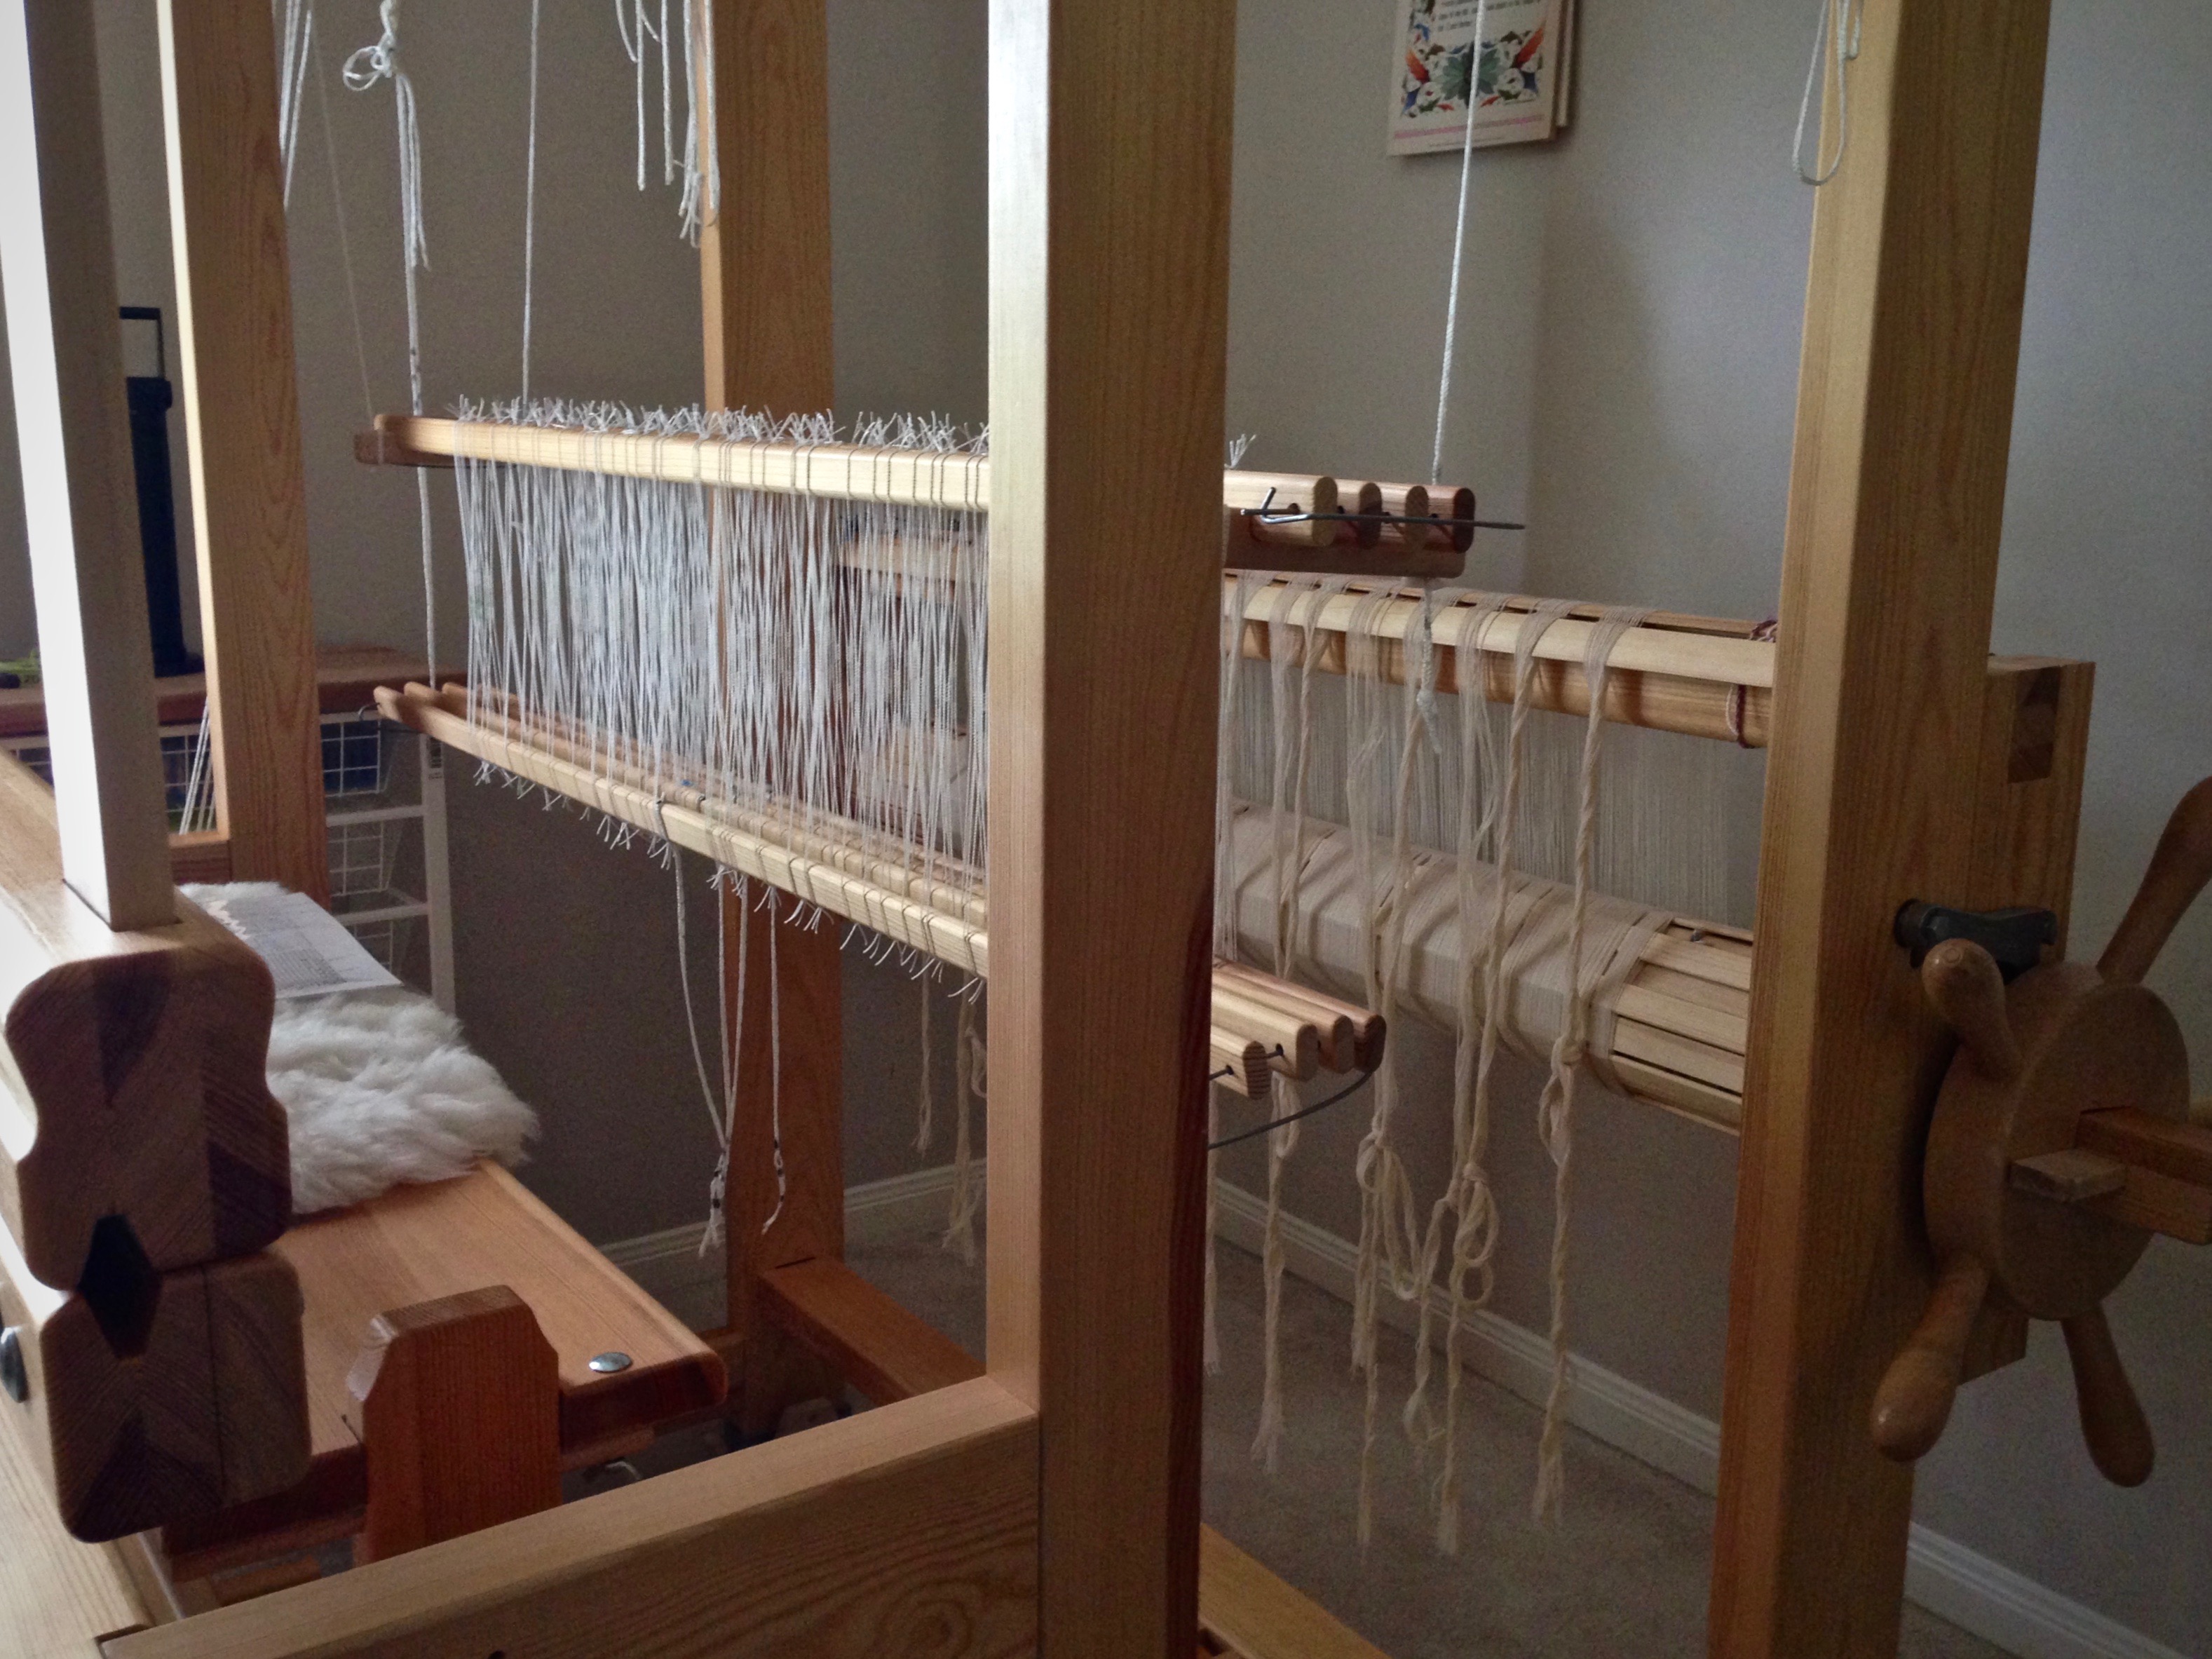
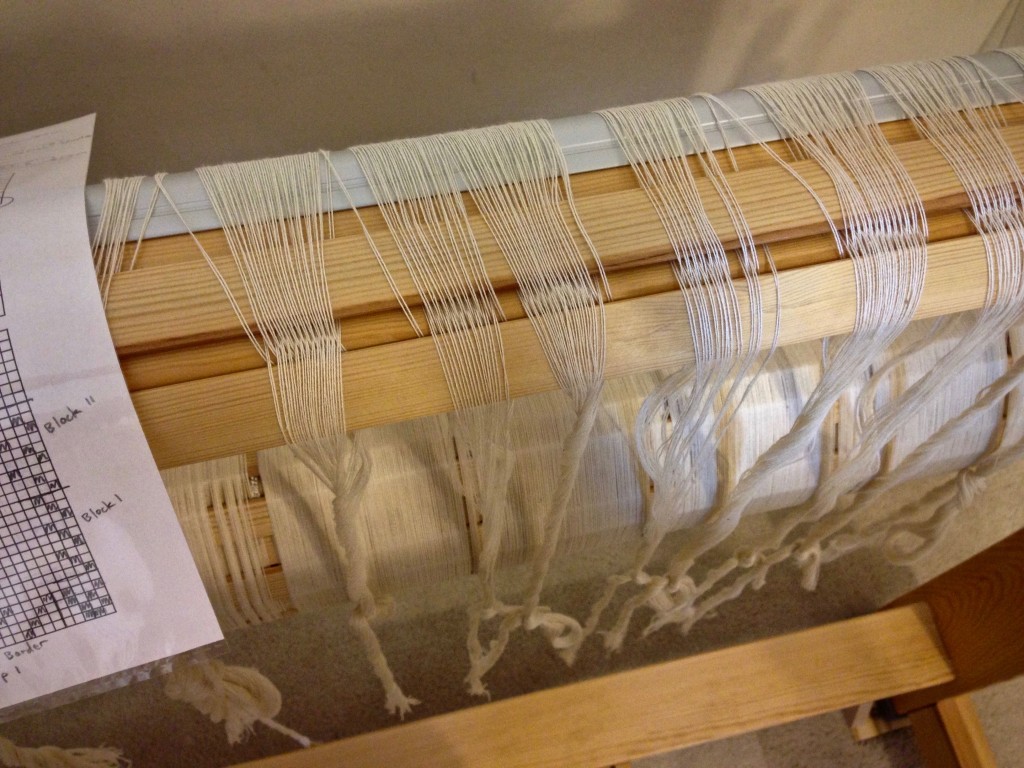
15 Use the threading draft to count the warp ends into threading groups, tying each grouping with a slipknot.

Grouping warp ends before threading.

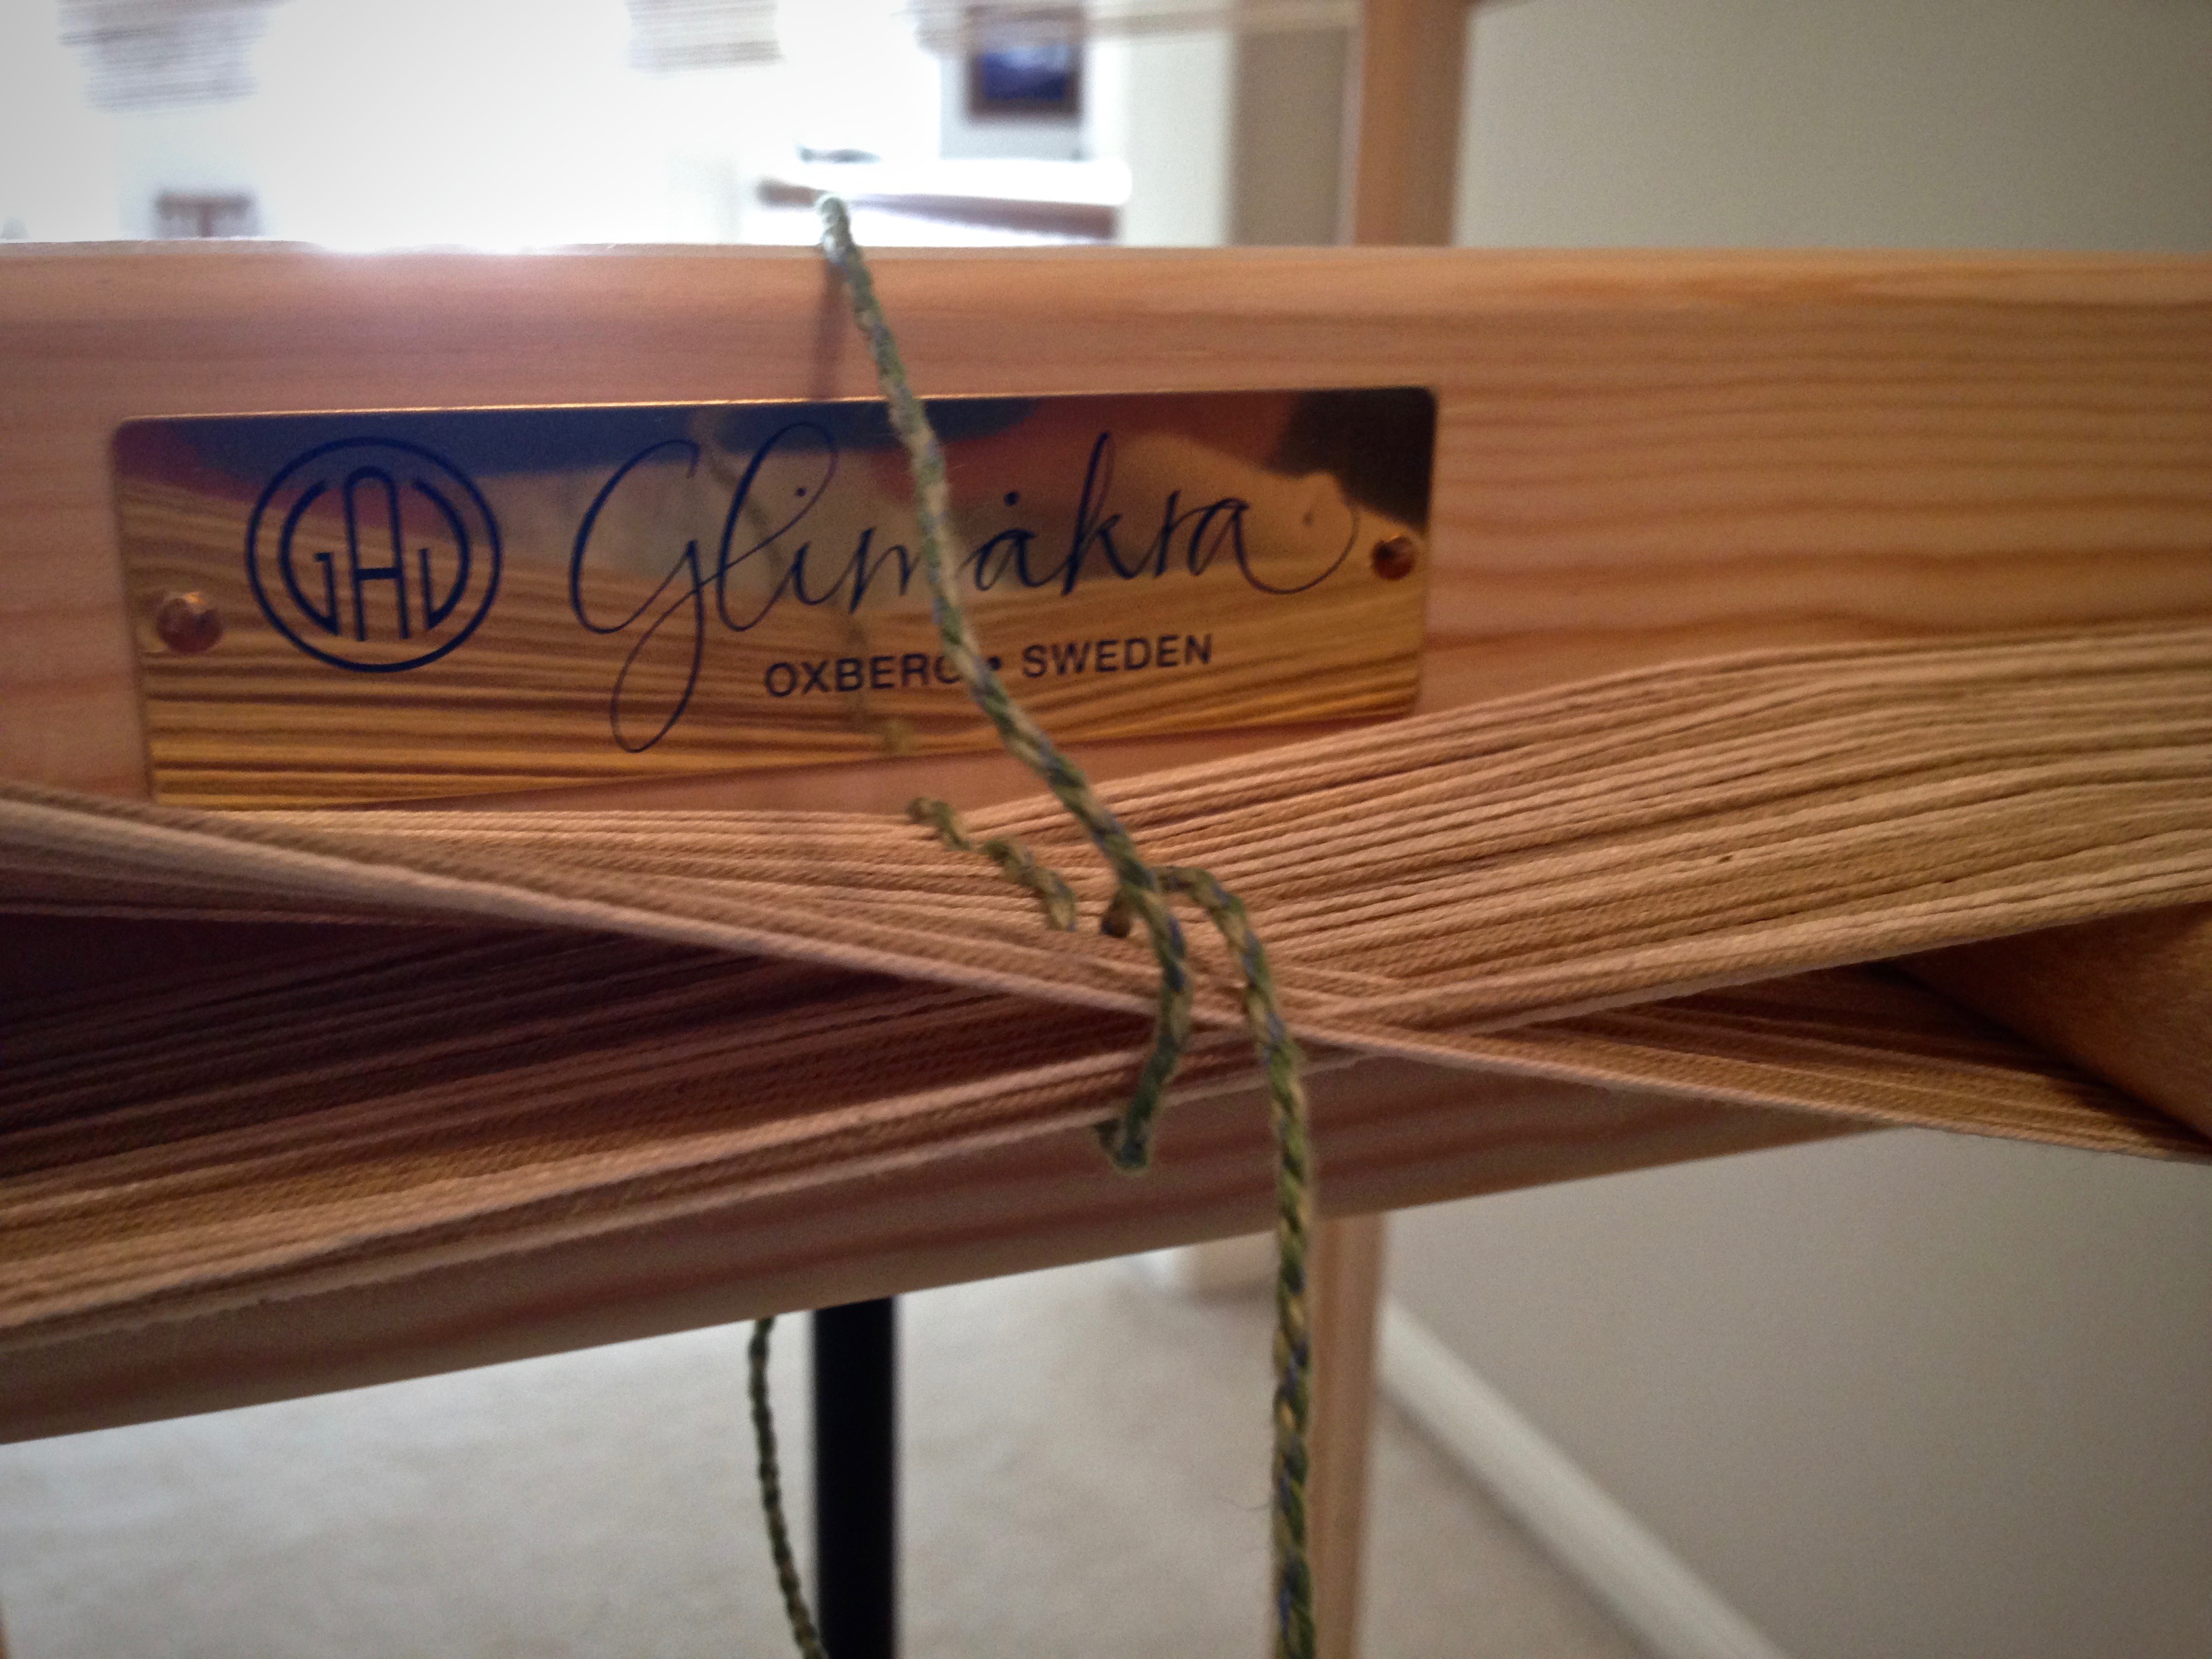
16 Adjust the loom for threading. For this Glimåkra Standard loom, I move the countermarch assembly to the back of the loom, put the bench in the “playhouse,” and lower the shafts for threading.

Bench "in" the loom for threading. Glimakra Standard.

For more thorough instructions about warping your loom, please consult these excellent resources:

  • Dress Your Loom The Vävstuga Way, A Bench-Side Photo Guide, by Becky Ashenden
  • Learning to Warp Your Loom, by Joanne Hall
  • The Big Book of Weaving, by Laila Lundell

May you find yourself beaming, inside and out.

Resurrection blessings,
Karen

Quiet Friday: Rya Rag Rug

I wasn’t happy with a simple “X” for the design area, but I struggled to come up with something better for this rug. And then, Steve and I went to the symphony. There, on the floor, in the long hallway, was the inspiration I needed for the pattern design on this rug!

Design inspiration for a rug.
Design inspiration is found on the floor on the way to the symphony.

Despite all that went wrong from the start, and how many things I had to undo and do over, I must tell you that I really did enjoy weaving this rug. The rya knots and loops made it fun and interesting. And this unique fluffy rug will always remind me of that sweet symphony date with my honey, when he patiently waited as I pulled out my iPhone to snap a few shots of the floor. Now that’s love.

Counting warp ends on the warping reel.
Dressing the loom starts with pre-sleying the reed.
Ski shuttle and temple for making large rag rug.
Ski shuttle holds doubled weft–fabric cut into 3/4″-wide strips.
Cutting fabric strips for rya knots.
Three different lengths of fabric strips are used for making the rya knots.
Placing rya knots in large rag rug.
Adding more rya knots.
Large rag rug with rya knots and loops.
Loops are made with the help of a wooden dowel.
Rag rug with inlay, using a brown paper cartoon under the warp.
Brown paper cartoon under the warp has the outline for the pattern. Lines on the cartoon, showing where to change the inlay technique, are inked onto the warp as a guide.
Making loops on a rag rug. Fun!
Making loops.
Extra warp width after re-sleying the reed.
After weaving a sample at the very beginning, I re-sleyed the reed, spreading the warp ends further apart. Excess warp ends, because of the increased width, are chained on both sides. Future band loom warps?
Another do-over.
Don’t ask. Almost finished weaving, and another do-over happened.
Cutting off!! Time to celebrate!!
Cutting off! Time to celebrate!!
Handwoven rag rug with rya knots and loops.
Sculpted inlay appearance is achieved by graduated lengths of the rya strips and heights of the loops.

Rag rug with rya and loops. Karen Isenhower

May your design inspiration come from unanticipated places.

Love,
Karen