Weaving Ideas – Year in Review Video

Everything starts with an idea. And some of those ideas become tangible expressions of dreams come true. Who knew that a simple idea in 2012 would lead to a seven-year exploration of weaving through The Big Book of Weaving? (See Weaving through The Big Book.) Who knew that weaving on a drawloom in 2016 at Homestead Fiber Crafts would plant the idea of weaving on a drawloom of my own? (see Quiet Friday: Day at the Drawloom.) And who knew that an idea in 2013 to write about my weaving journey, calling it Warped for Good, would bring friends like you to come and enjoy the journey with me? For these things and so much more, I am truly grateful.

Siblings Tapestry is 3 cm away from completion!
Siblings Tapestry is three centimeters away from completion.
Drawloom rag rug - single-unit.
Single-unit drawloom rag rug is ten centimeters into testing everything–draw cords, sheds, shuttles. After a few more adjustments the actual rag rug weaving will commence.

Your ideas are priceless. That’s because you are priceless. You were made in God’s image, with the ability to imagine wonderful intricacies through creative thinking. In fact, you began as God’s idea. As we walk with him, we become the tangible expression of his dream come true.

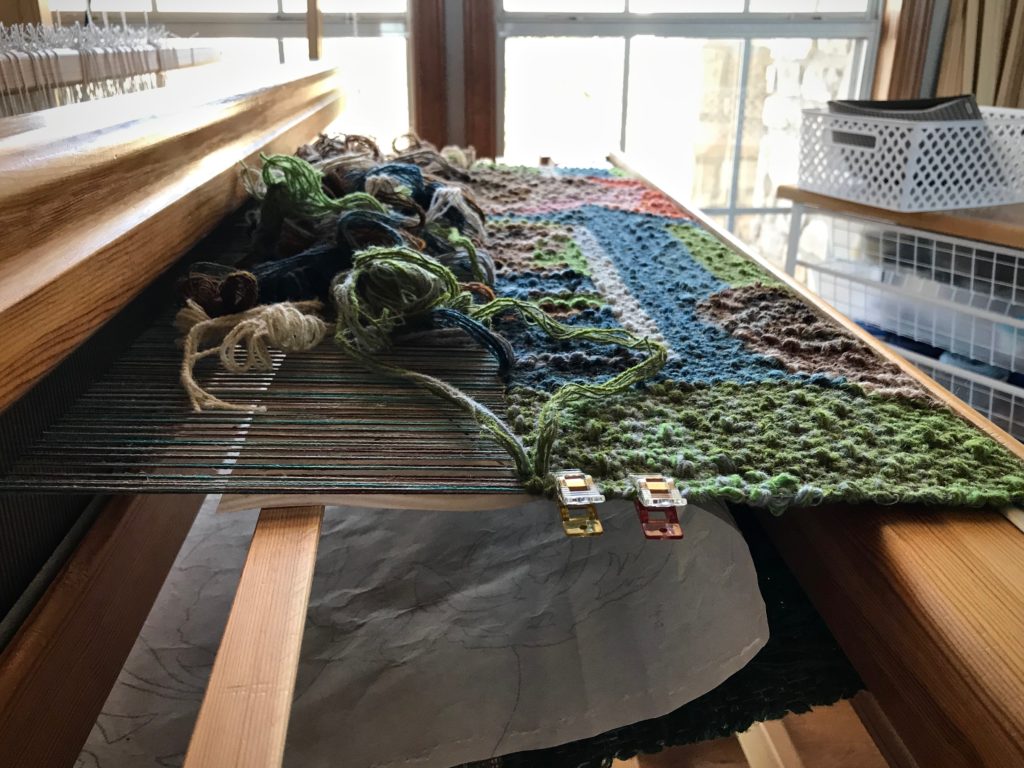
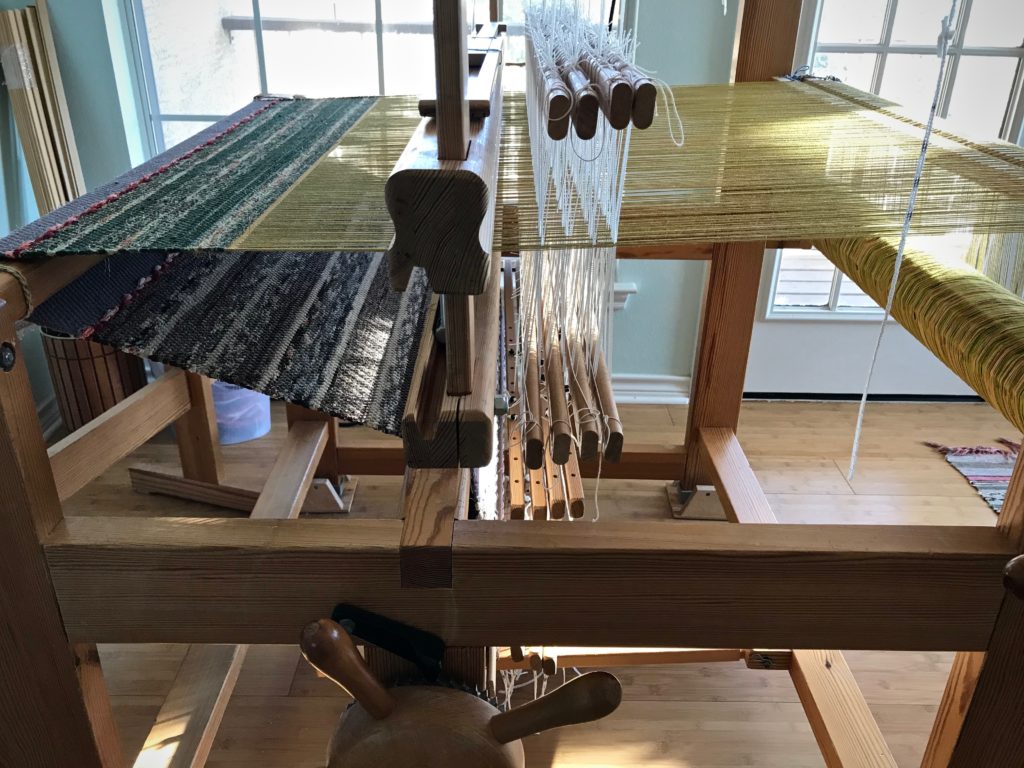
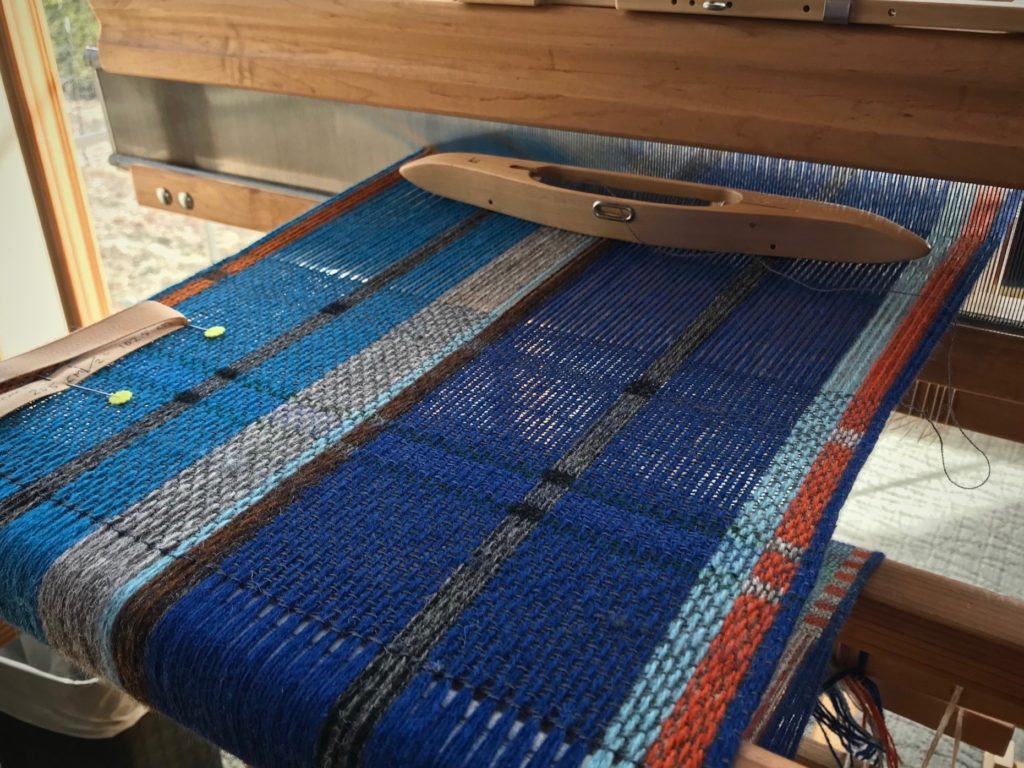
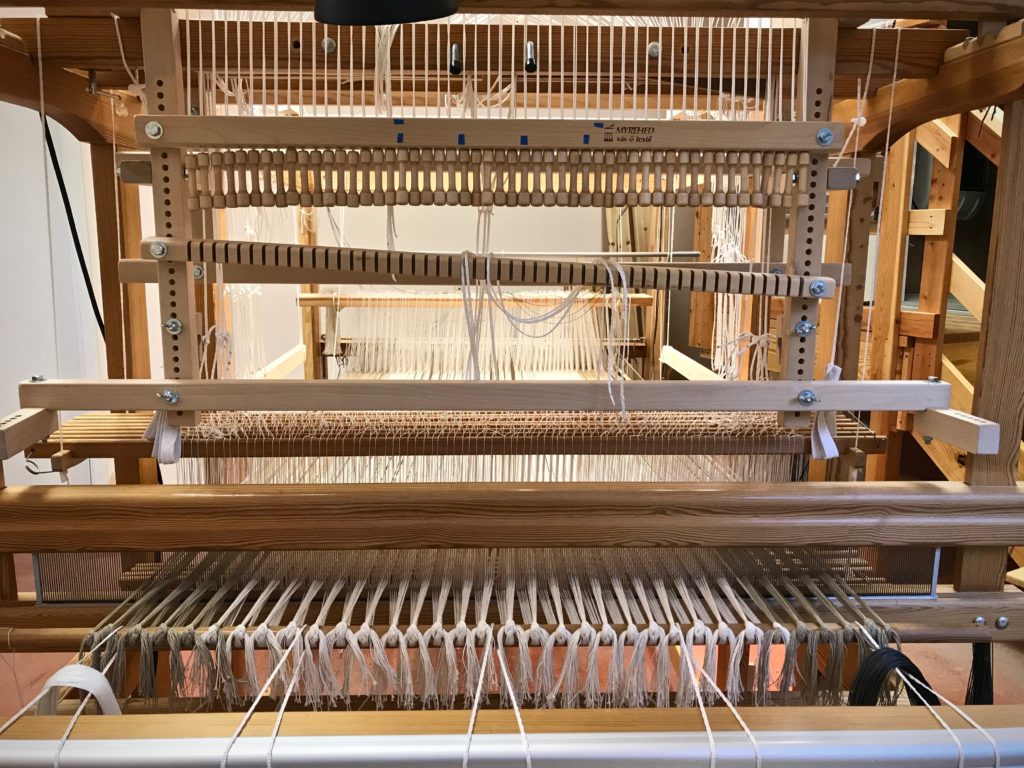
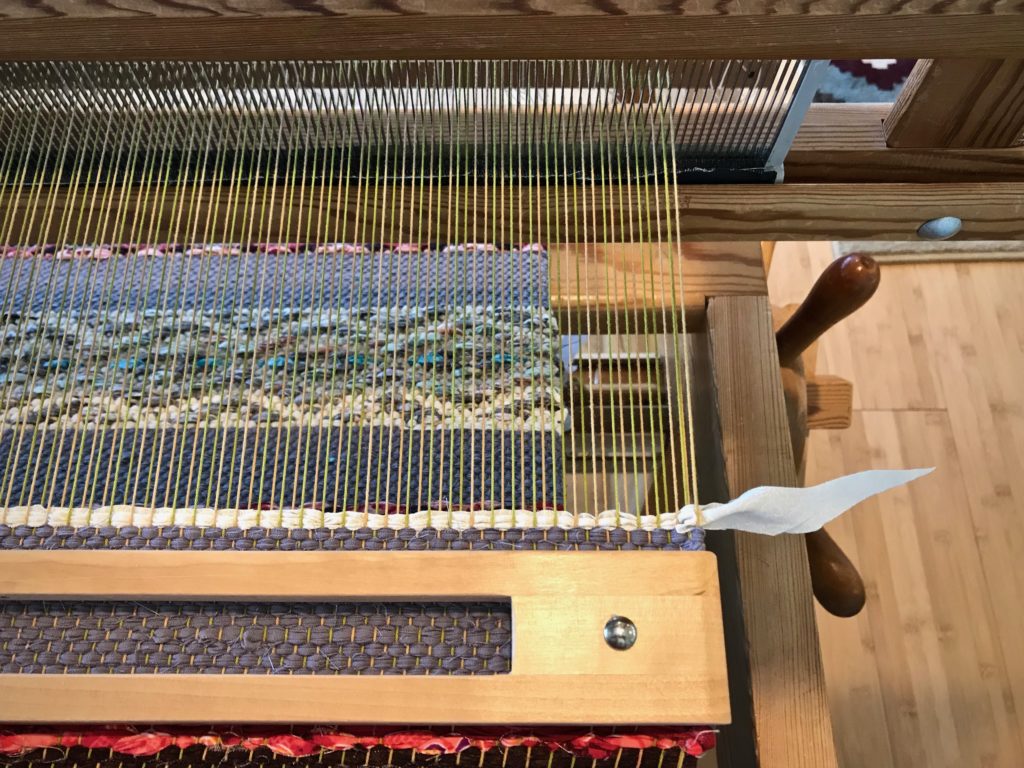
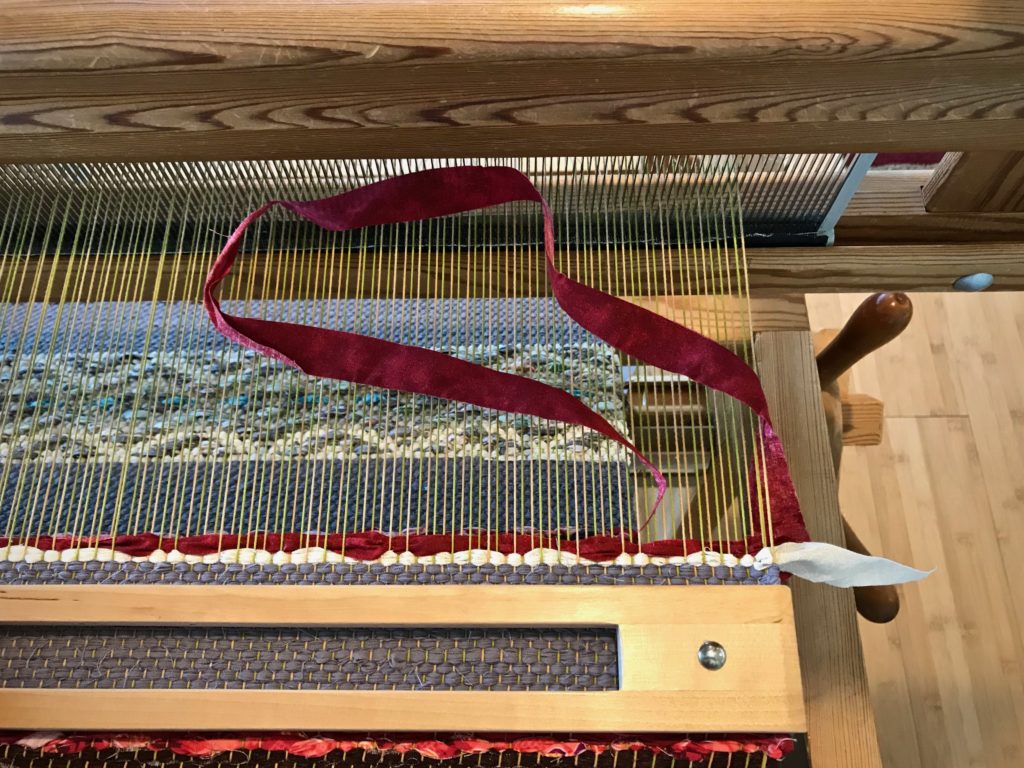
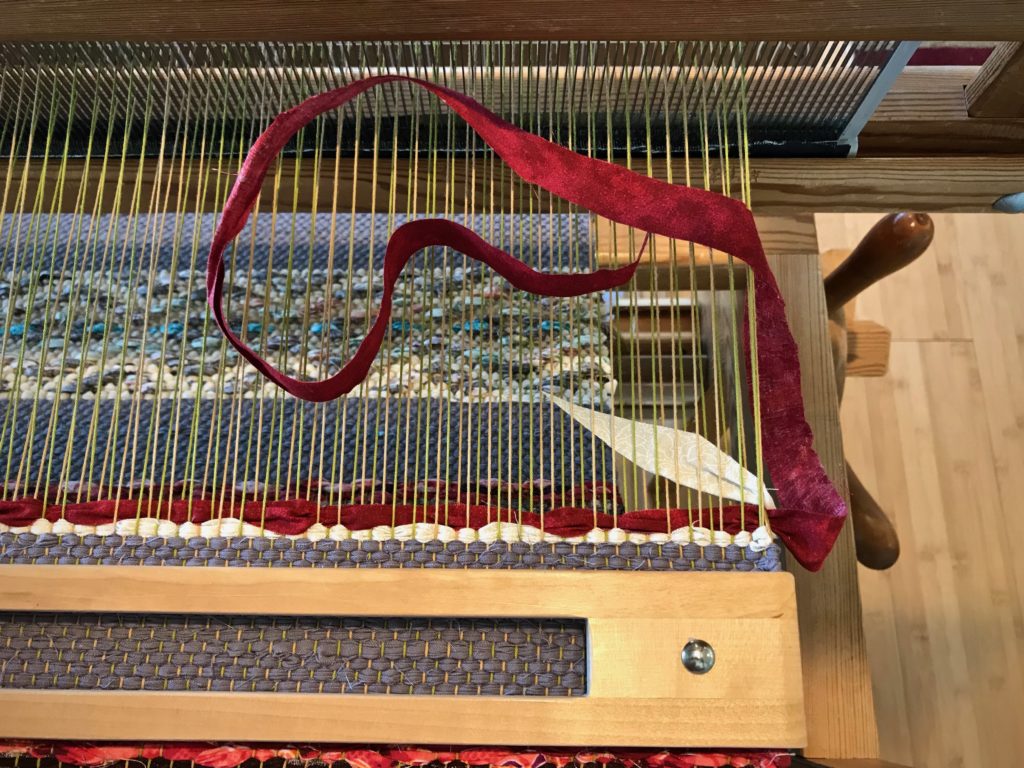
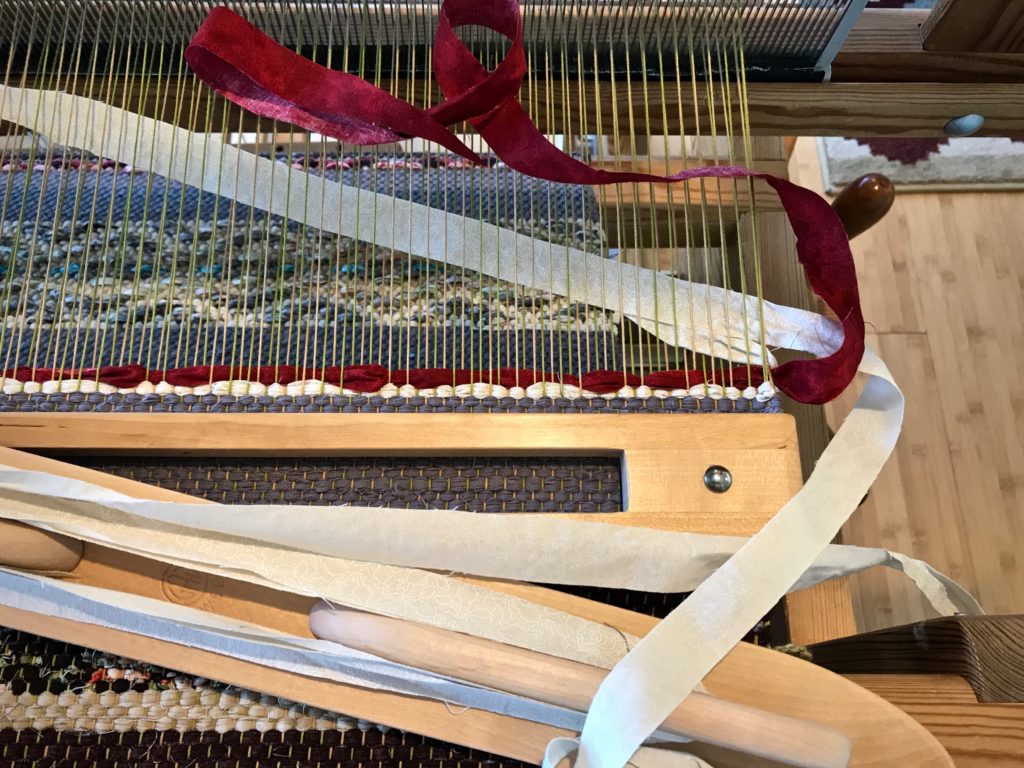
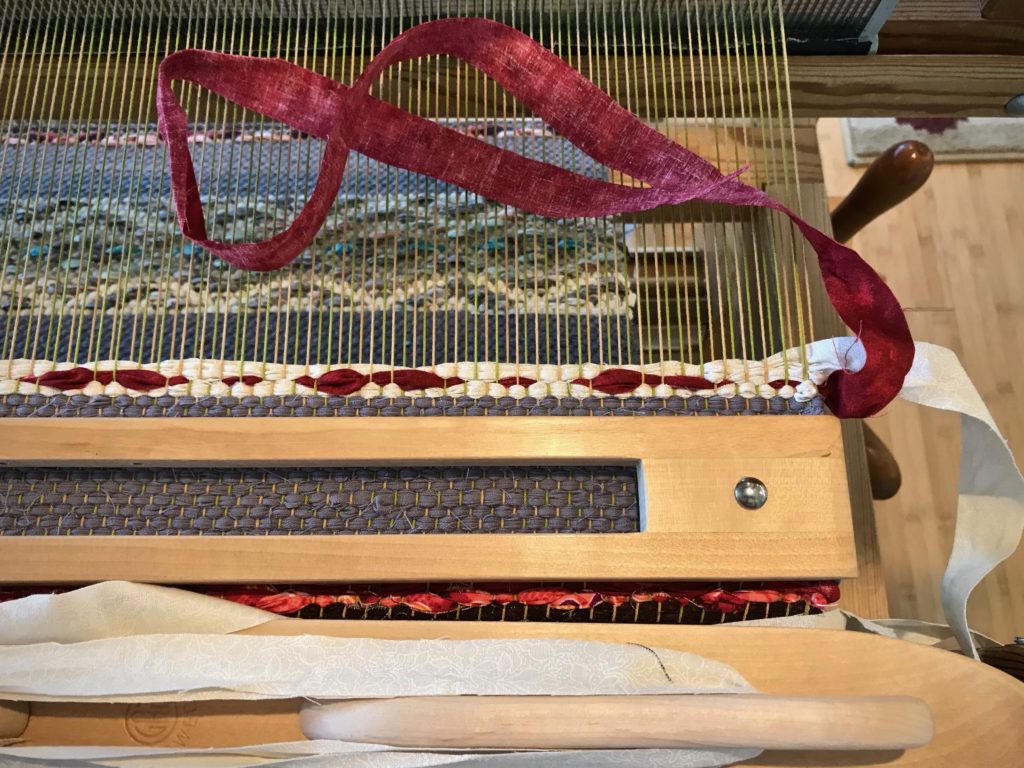
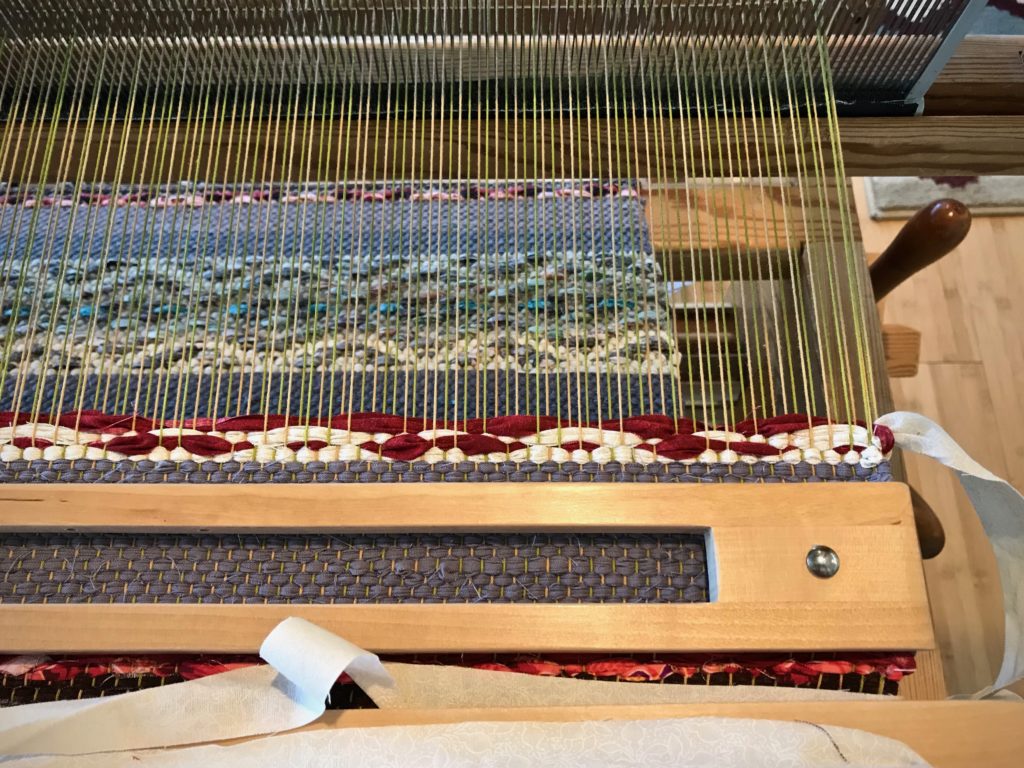
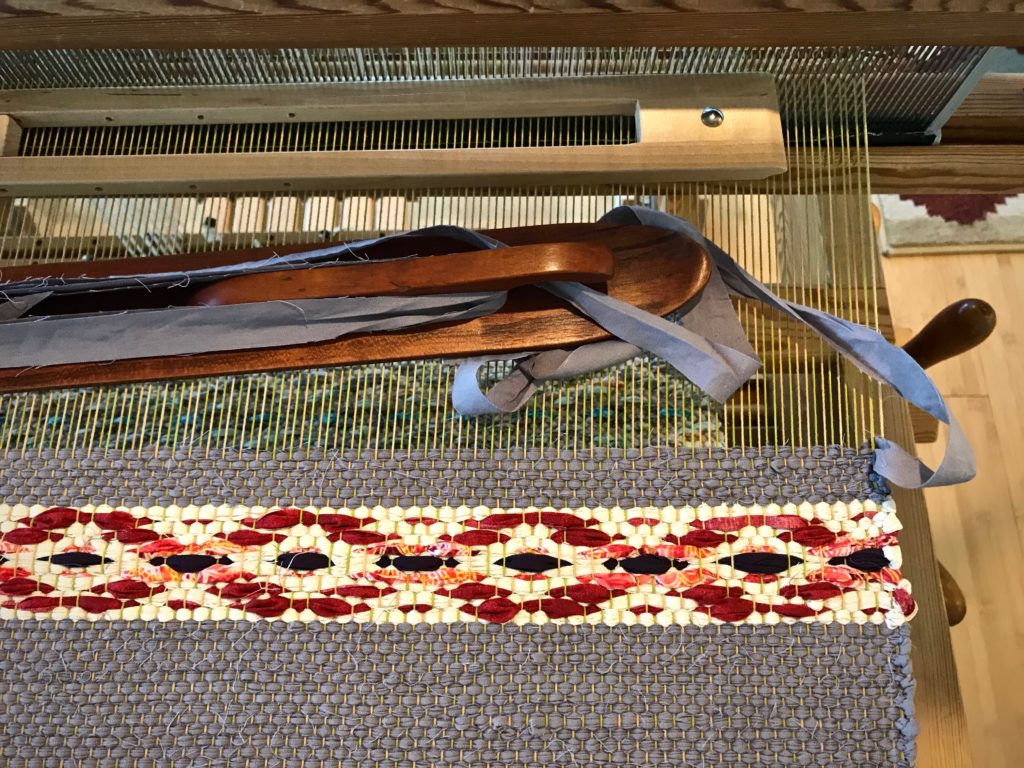
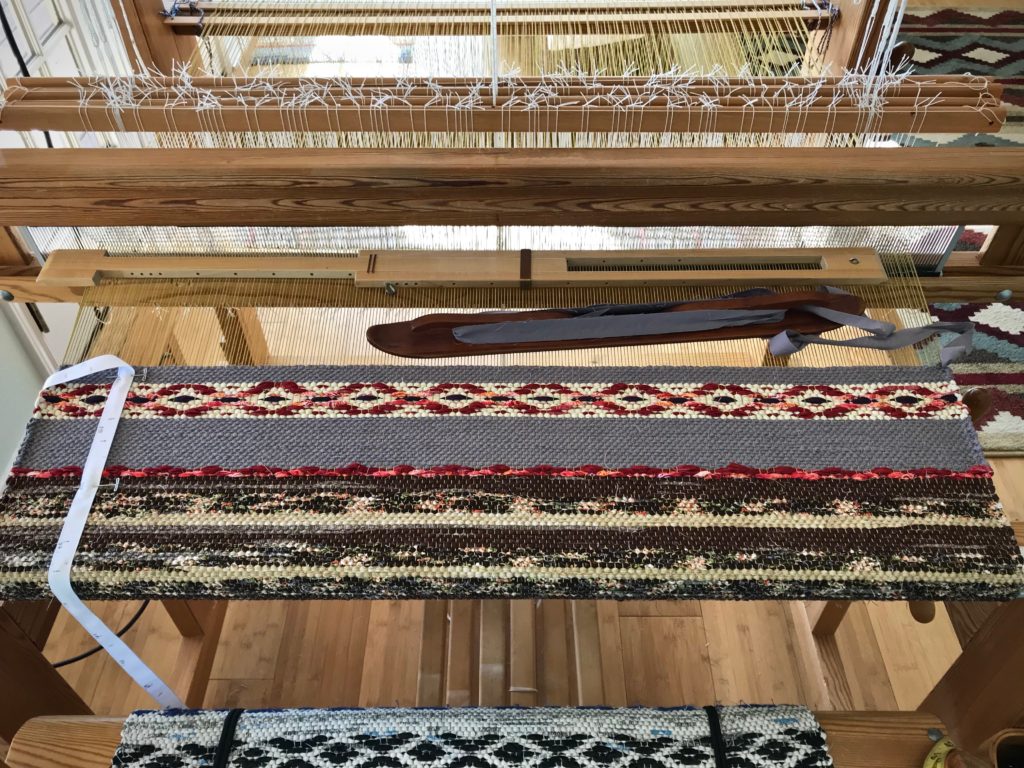
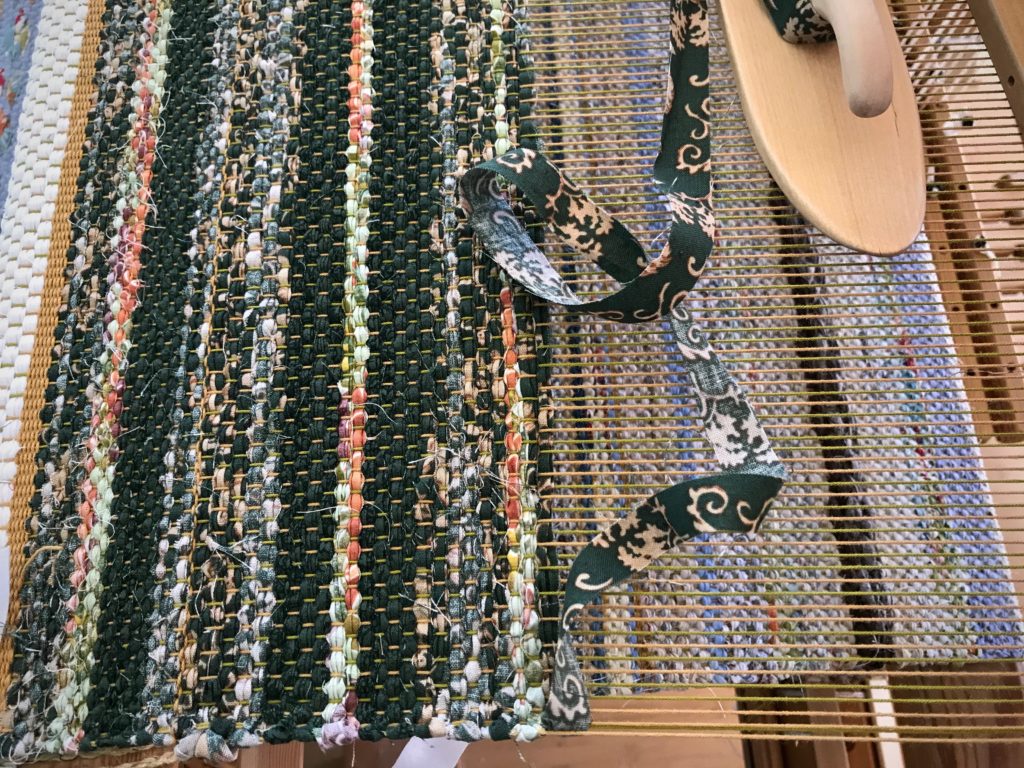
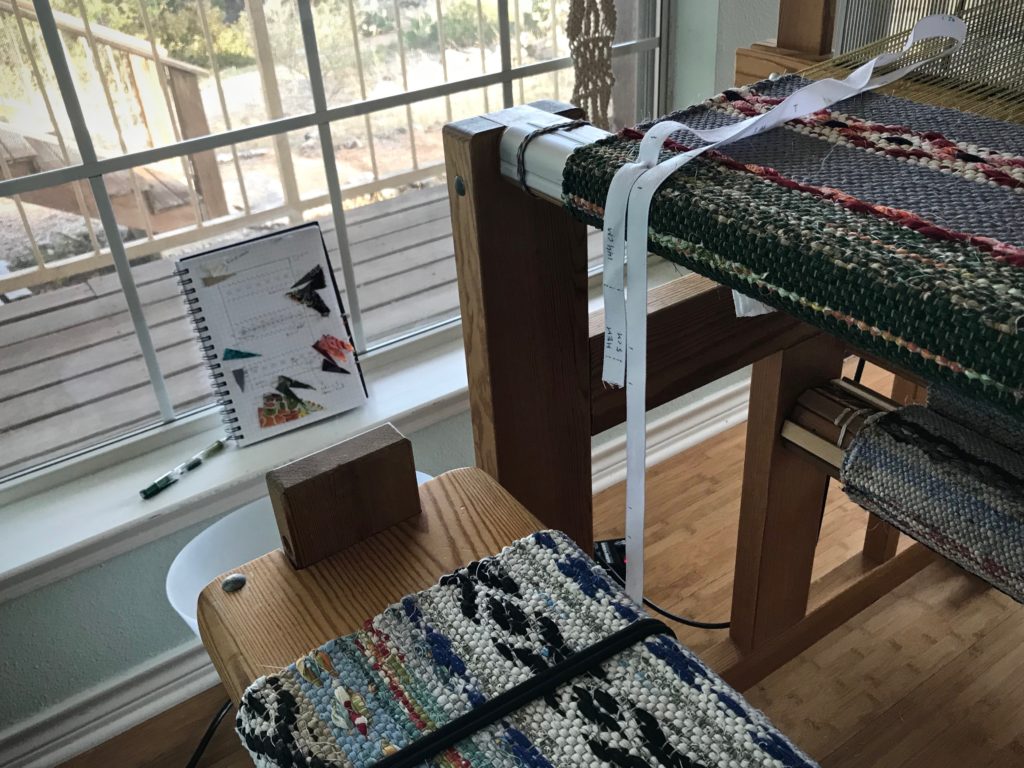
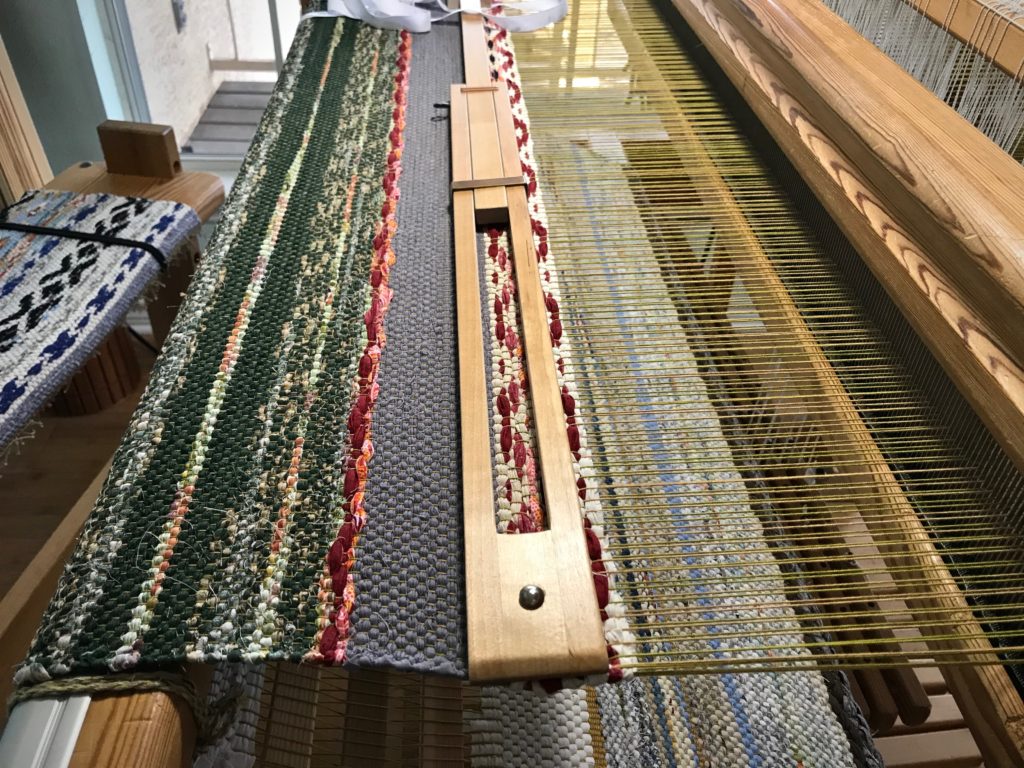
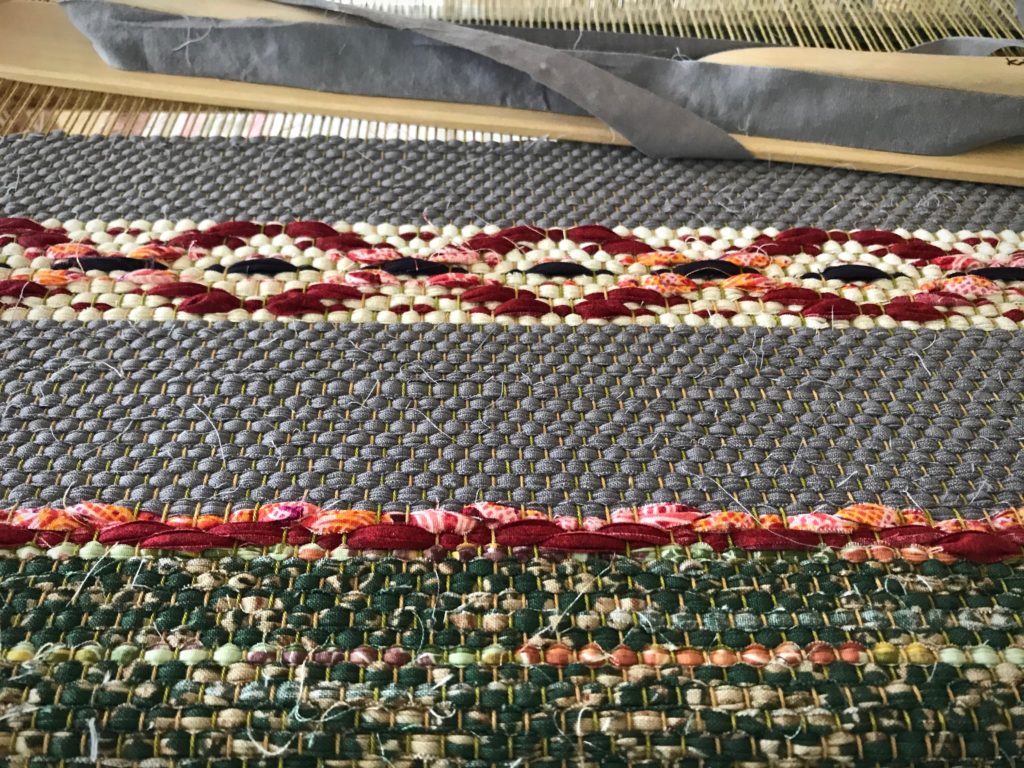
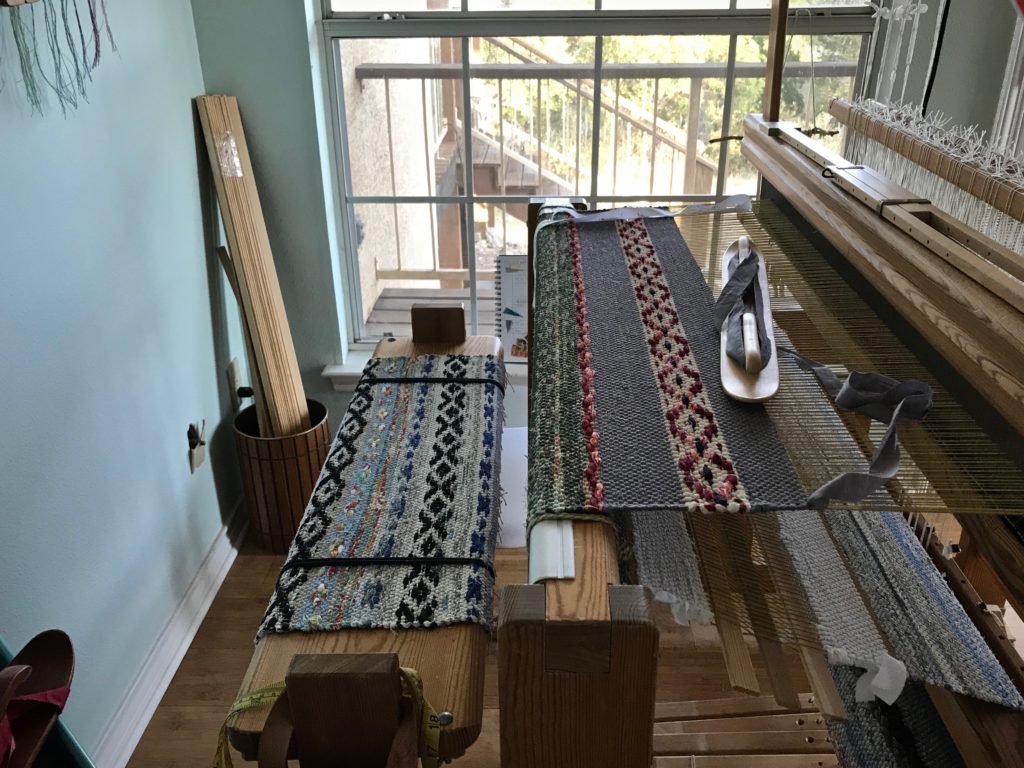
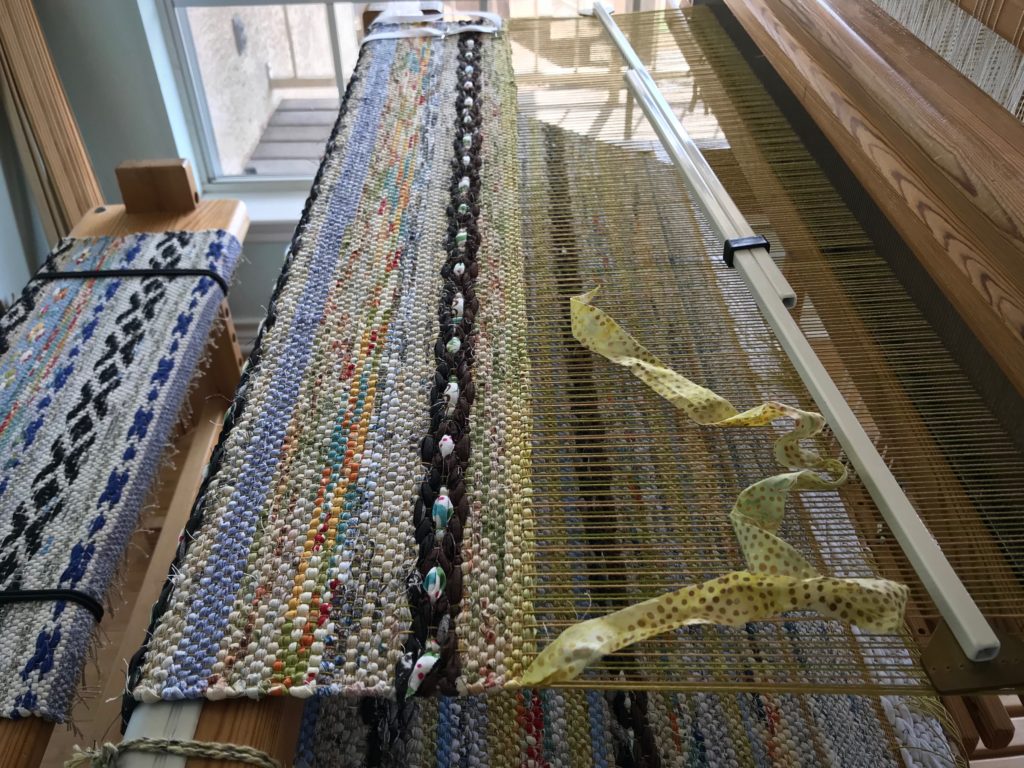
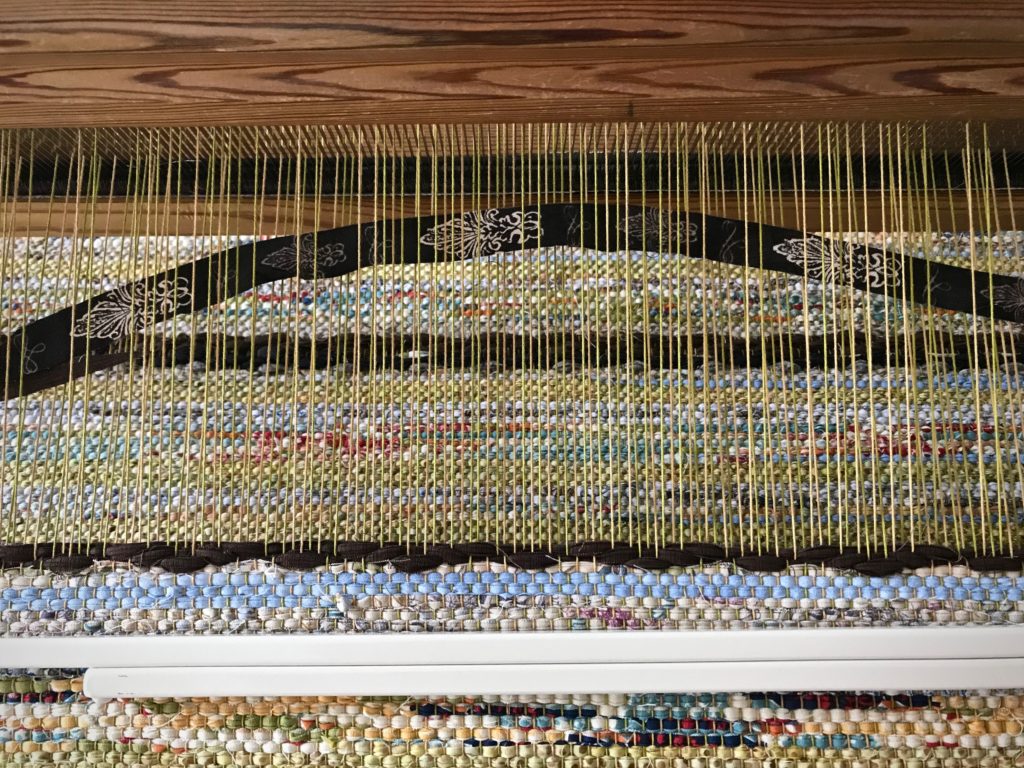
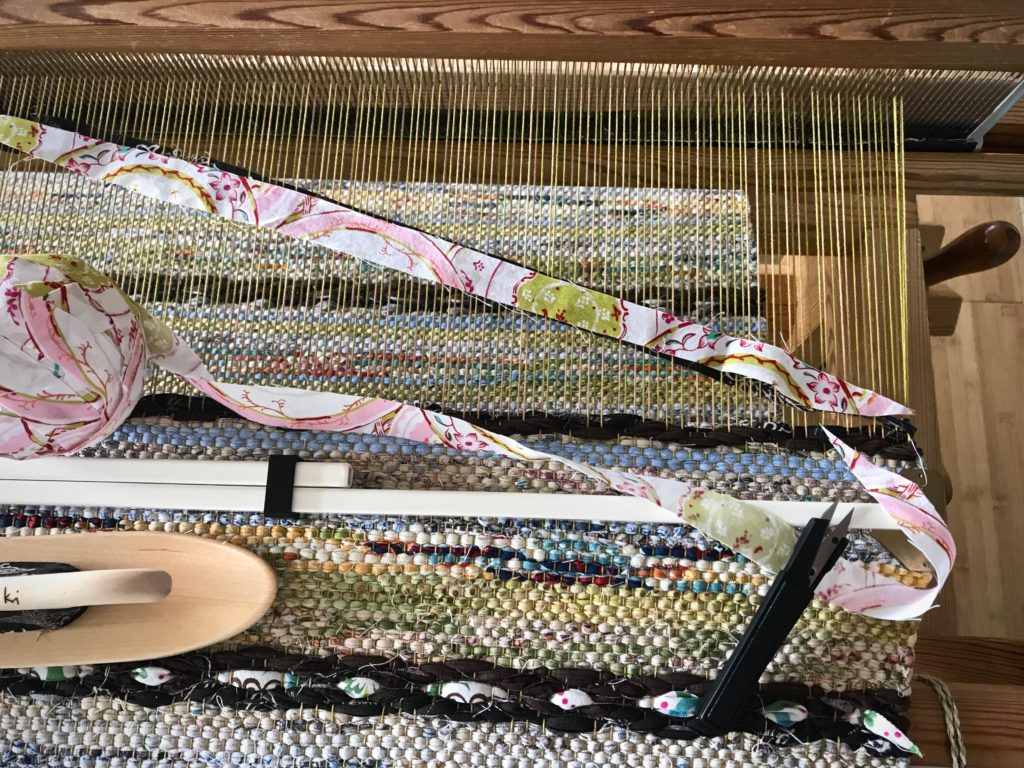
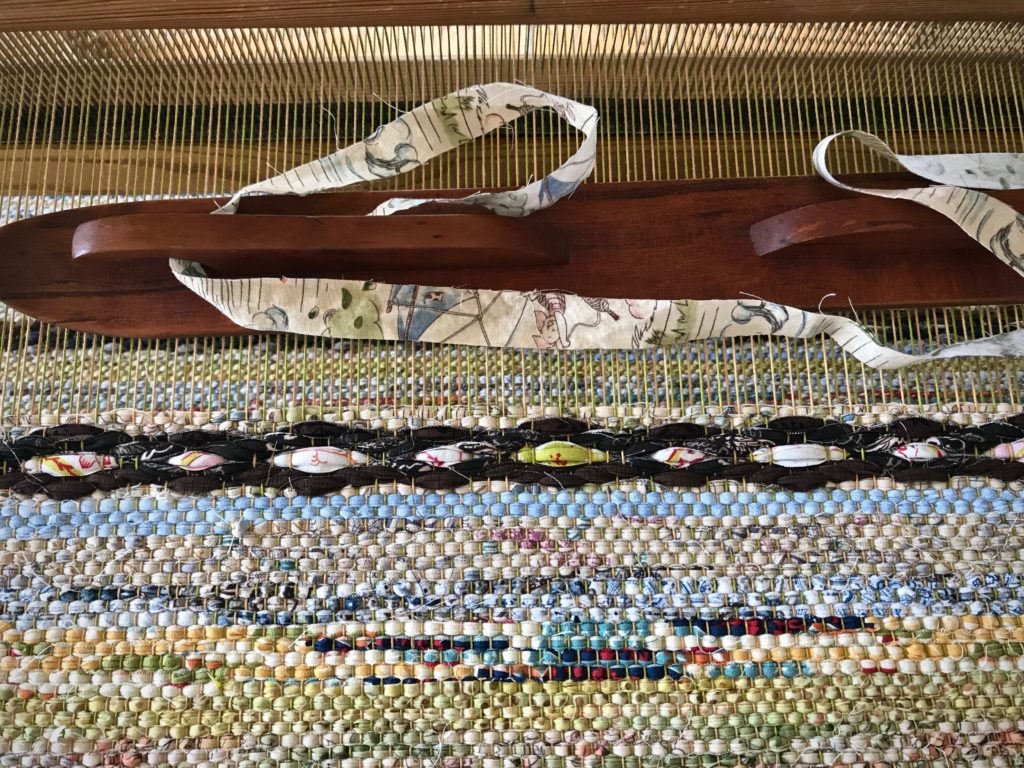
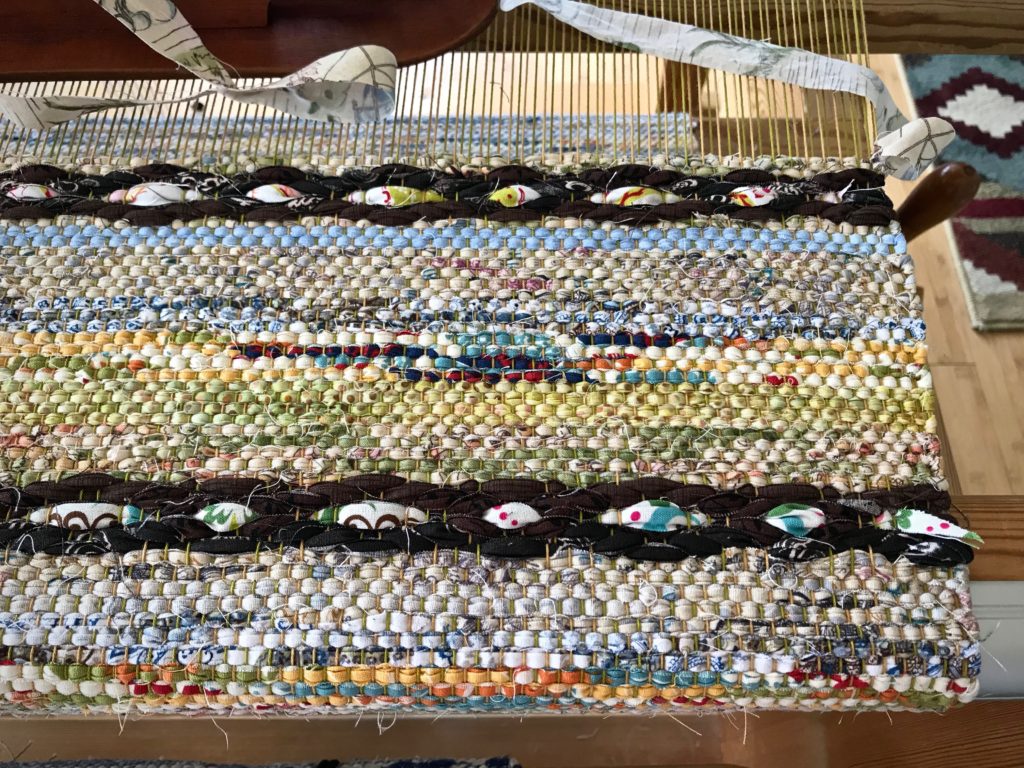
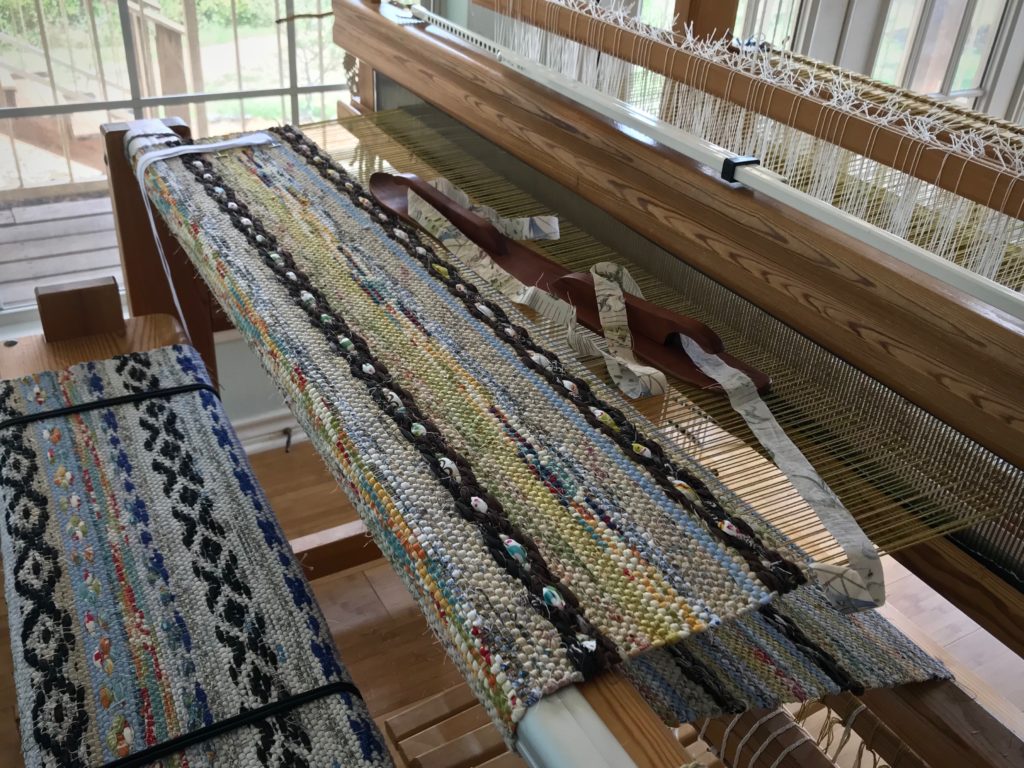
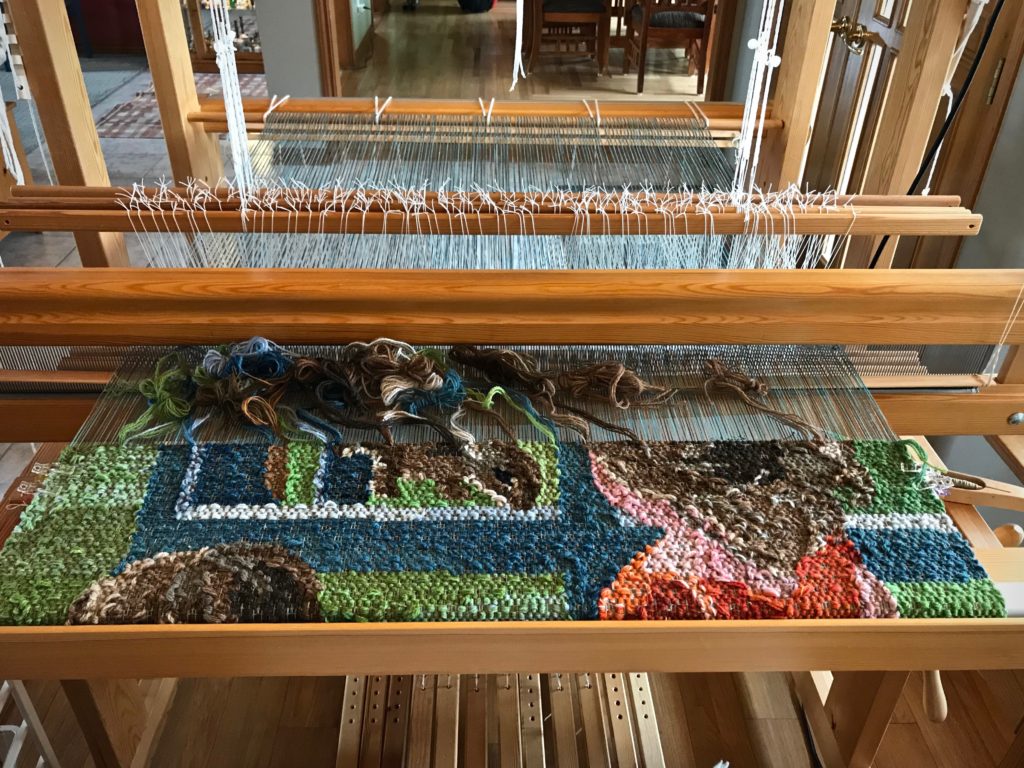
Grab a cup of coffee or tea and sit here with me to reminisce over the past weaving year.

May this year bring your best ideas ever.

For you,
Karen

Looms Quietly Waiting

Merry Christmas Eve to you. Looms are quietly waiting to resume their rhythm. Meanwhile, songs of joy and hope fill the air because the Savior of the world is born.

Pictorial tapestry on Glimakra Standard loom. Only 6 cm remaining.
1. The Standard
Pictorial tapestry, with only 6 centimeters of the cartoon remaining.
Rosepath rag rug completed on the Glimakra Ideal loom.
2. The Ideal
Second rosepath rag rug completed. Two short rugs yet to be woven on this warp.
Wool handwoven scarves.
3. The Little Loom
First of two scarves is started. I am using the Stardust draft by Mona Nielsen, published in Happy Weaving, from Vävmagasinet, but with yarn and colors of my choosing.
Drawloom getting set up for weaving rag rugs with single unit drawloom.
4. The Drawloom
Warp is threaded and tied-on. Single-unit draw cords have been prepared. Next step: Attaching draw cords to pattern units. And then, tie up treadles and start weaving!

May your night be silent and holy, calm and bright.

Happy Holy-days,
Karen

Tried and True: Outsmart the Rag Rug Weft Tails

What do you do with weft tails on a rag rug? Normally, you wrap the weft tail around the outer warp end and tuck it back into the shed. But what about color changes? If you have several color changes in a row, you can end up with extra bulk on one selvedge or another from those tucked-in tails.

3 Ways to Outsmart Rag Rug Weft Tails

  • TWO PICKS For a two-pick stripe, leave a tail of several inches on the first pick. For the second pick, lay the weft tail from the first pick in the shed. Lay in the second pick, and cut the fabric strip to overlap the weft tail in the shed. This eliminates any extra bulk at the selvedges. (All tails are cut at a steep angle.)
  • CARRY IT When feasible, carry the weft up the side. If a weft is out of play for only one or two rows, do not cut it. When another weft enters the shed, make sure it encircles the idle weft.
  • DISTRIBUTE Whenever possible, avoid tucking in weft tails two picks in a row. Wait, and tuck in the tail on a subsequent pick.

HERE IS AN EXAMPLE:

How to outsmart rag rug weft tails!
Gray weft ends with weft tail tucked in. White tabby weft tail is not tucked in.
How to outsmart rag rug weft tails!
Rosepath pattern weft for a two-pick stripe. Loooooong weft tail.
How to outsmart rag rug weft tails!
Tabby weft goes around the rosepath pattern weft, and is tucked in the shed.
How to outsmart rag rug weft tails!
Tabby weft comes through the shed and lays over the tucked-in tail.
How to outsmart rag rug weft tails!
Tabby weft is beaten in.
How to outsmart rag rug weft tails!
Pattern weft is laid in the shed, with tails overlapping near the center of the warp.
Tabby weft is beaten in, and weft tail is tucked in. In the middle of the rosepath medallion the orange print weft is carried up the side until it is used again. For the gray strip that follows the last white tabby pick, the weft tail is tucked in on the second gray pick.
How to outsmart rag rug weft tails!
Rosepath medallion with several color changes.

One more thing. Cut the weft tail extra long if you are tucking it in a row with weft floats, as in rosepath (Like the center pick in this medallion). This helps keep that weft tail from popping out of place. You don’t want those tails to start waving at you.

May you pay attention to the details.

Happy Weaving,
Karen

Rosepath Unlimited

This seems unreal, like pulling an item right out of my imagination and touching it with my hands. It is exhilarating to watch a concept sketch develop into a tangible rag rug on the loom. Even though I enjoy designing at the loom, I relish the challenge of preparing a design in advance. In order to make a workable sketch I must study, think, and explore. It’s in this process that I realize the design options are limitless for rosepath rag rugs. This compels me to keep pressing in to learn and explore even more.

Beginning a new rag rug.
Hem, woven with narrow strips, follows the gold warp thread header. First wide border of the rug uses an assortment of green fabric strips.

The concept sketch is a scaled-down map of the rosepath rag rug. Each square on the gridded paper represents 6 centimeters. The sketch shows me which fabrics to use where, and specifies the placement of each design element—borders, plain weave, rosepath diamonds, dashes and dots of specific colors, etc. I add notes to the page as I weave, like specific treadling sequences and measurements, so that I can mirror them on the second half of the rug.

Concept sketch by the loom is my roadmap for weaving the details.
Concept sketch sits at the windowsill by my loom. I use it as a roadmap for weaving the details.
Weaving rag rugs with a temple. Always!!
Stretched-out temple is a necessity when I weave rag rugs. The wooden Glimåkra temple is my favorite because I can place it near the fell without risk of damaging the beater. This makes it possible to move the temple frequently, adding to weaving consistency.
Designing a rosepath rag rug.
Deep purple “dots” at the center of the rosepath diamonds serve as accents among these colors for a Texas hill country home.

Nothing can measure the greatness of the Lord. His greatness is truly limitless. Greatness is compelling. We step closer to search the unsearchable, and know the unknowable. God reveals himself, sketch after sketch, until we finally realize that we need all eternity to fully know him.

Rosepath rag rug - My favorite thing to weave!
Satisfaction of watching a concept sketch become a tangible rag rug.

May your concepts become tangible.

Happy Weaving,
Karen

Tried and True: Rag Rug with Surprising Rosepath Inlay

The first rag rug on this 12/6 cotton warp is well underway. This rug is mostly plain weave, with one simple rosepath repeat every ten centimeters. I am weaving the rosepath motif without tabby between pattern picks. The treadling is 1, 2, 3, 4, 1, 4, 3, 2, 1. The dark brown motif contrasts with the surrounding light-colored plain weave. It almost looks as if a thick chain has been laid across the rug. I transform the otherwise dark rosepath “chains” with a simple bright inlay strip.

Rag rug with rosepath motif.
Rosepath motif stretches across the plain weave surface.

Rosepath with Inlay

  • Weave the first four picks of the rosepath pattern, treadling 1, 2, 3, 4 (or, if using a different treadling sequence, weave up to the center pick).
  • Lay in the center pick (treadle 1, in this example). Wait to beat it in.
How to do rosepath with inlay.
Center pick of the rosepath motif is arched in the shed.
  • Measure and cut the inlay strip to size, tapering the ends.
How to add an inlay strip to rosepath rag rug.
Inlay fabric strip is measured against the weft in the shed and cut to size.
  • Put the inlay strip in the shed, laying it directly on top of the fabric strip already there.
Making a rosepath rag rug with an inlay strip.
By pushing the beater back I can send the inlay fabric strip through the shed with a ski shuttle.
Rag rug with inlay.
Place the inlay fabric strip directly over the fabric strip of the center pick in the motif.
Inlay instructions.
  • Beat in the weft as usual.
One type of inlay on a rag rug.
Both weft layers are beaten in together. The inlay strip stays visible on top.
  • Continue weaving to complete the rosepath pattern, treadling 4, 3, 2, 1 (or, as needed, for a different sequence).
Rosepath with inlay.
Finished rosepath motif.

You can accomplish a similar effect by weaving in a separate fabric strip for the center pick. In that case, cut tapered ends that are long enough to twist and tuck back into the shed. And carry the weft strip from the previous pick up the side.

The inlay method eliminates the extra bulk at the selvedges, and adds a slight thickness to the center pick, helping to give it a raised look. I am leaving the inlay weft tails loose, but you could cut them a little longer and tuck the ends in, if you prefer.

Rag rug with special rosepath motif.
Weft tails are free at the sides, like little flags at the ends of the rosepath rows.
Glimakra Ideal loom--great tool for dreaming up rag rugs!
Glimåkra Ideal loom–great tool for dreaming up rag rugs!

May you experience the simple pleasure of doing something unexpected.

Happy Weaving,
Karen