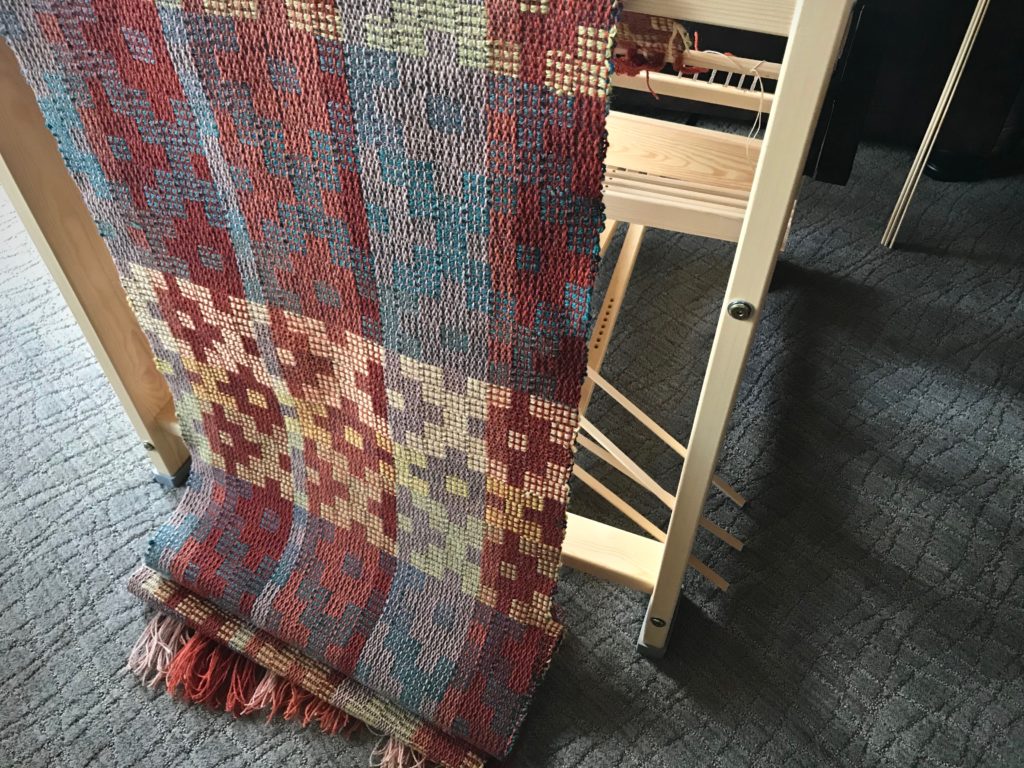
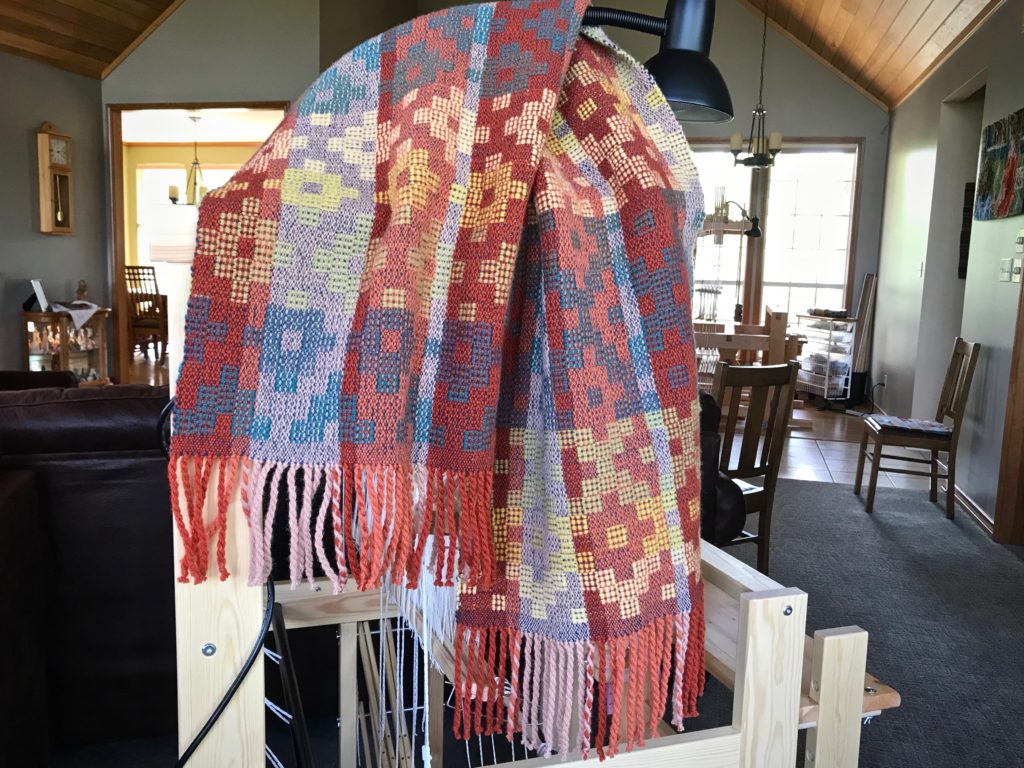
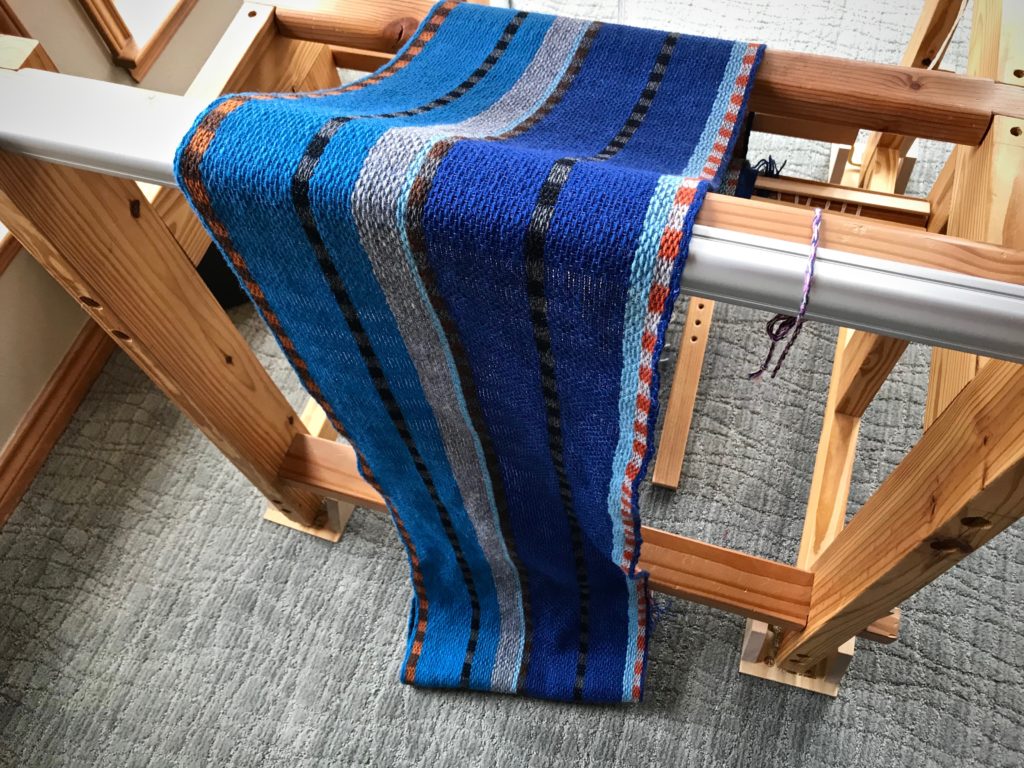
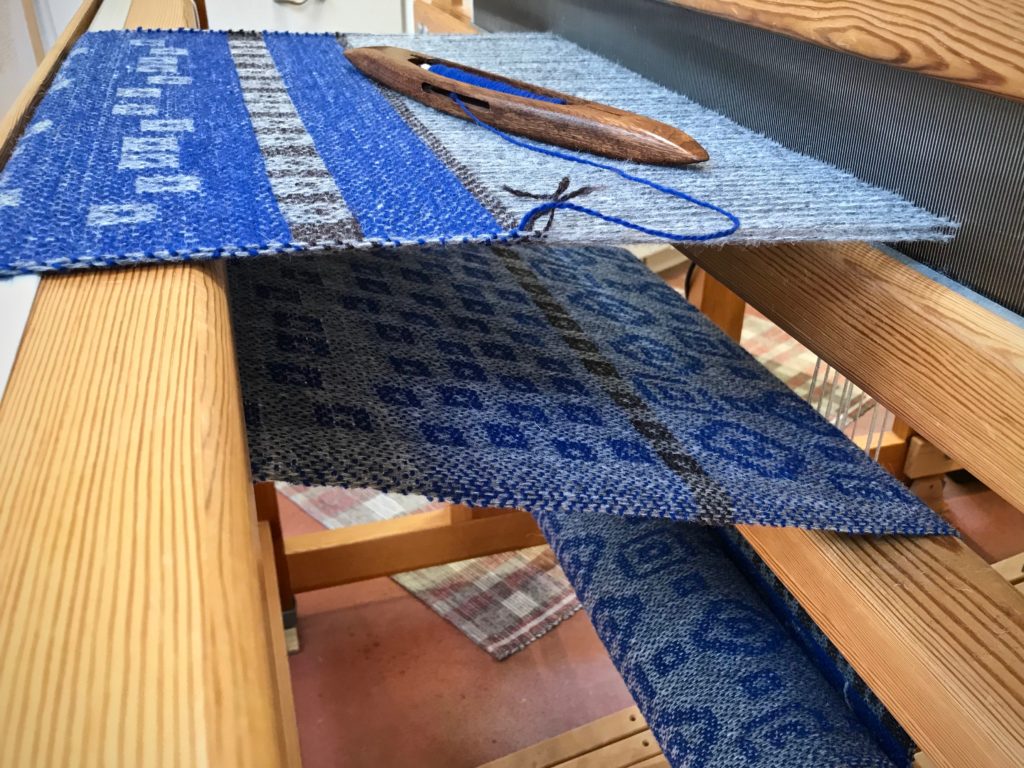
My intention is to weave fabric for a couple of cushy throw pillows. But after just one pattern repeat, I realize that this cloth on my brand new Glimåkra Julia is something I would like to wear! No pillows this time. Instead, here is my new autumn/winter shoulder wrap, embellished with frisky swinging fringes. Miss Julia has proven her worth on four-shaftJämtlandsdräll (crackle) in 6/2 Tuna wool. Her next adventure will be something that explores all eight shafts. (See My New Glimåkra Julia Loom.)
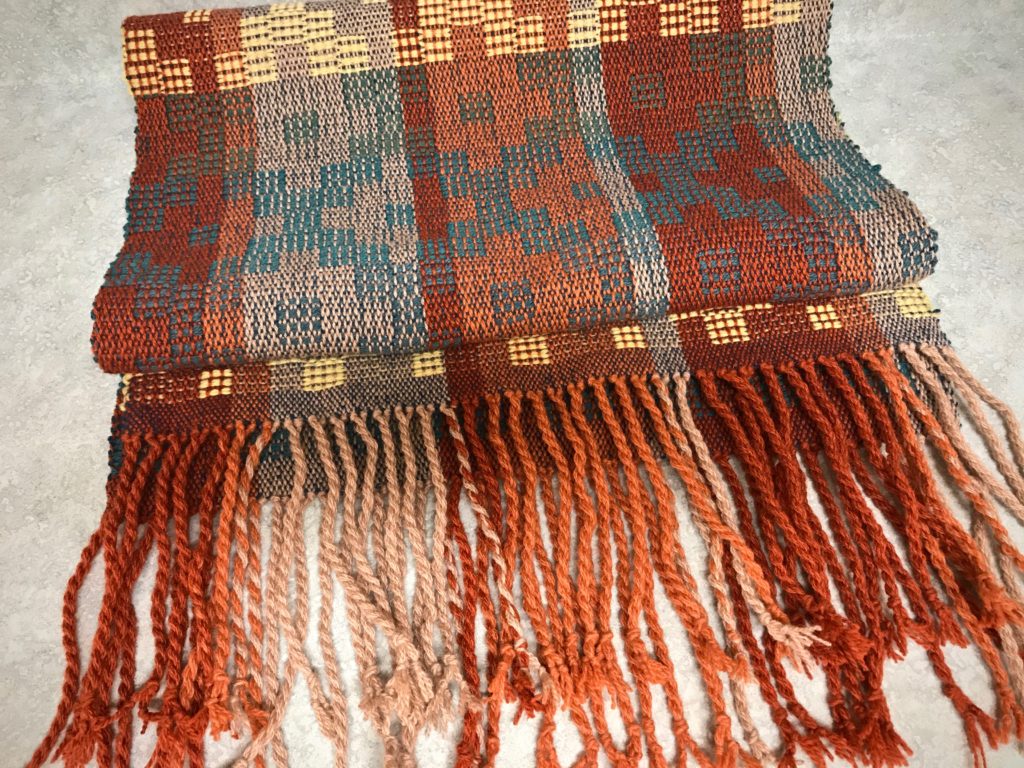
Finished wrap. Ready for cool weather!
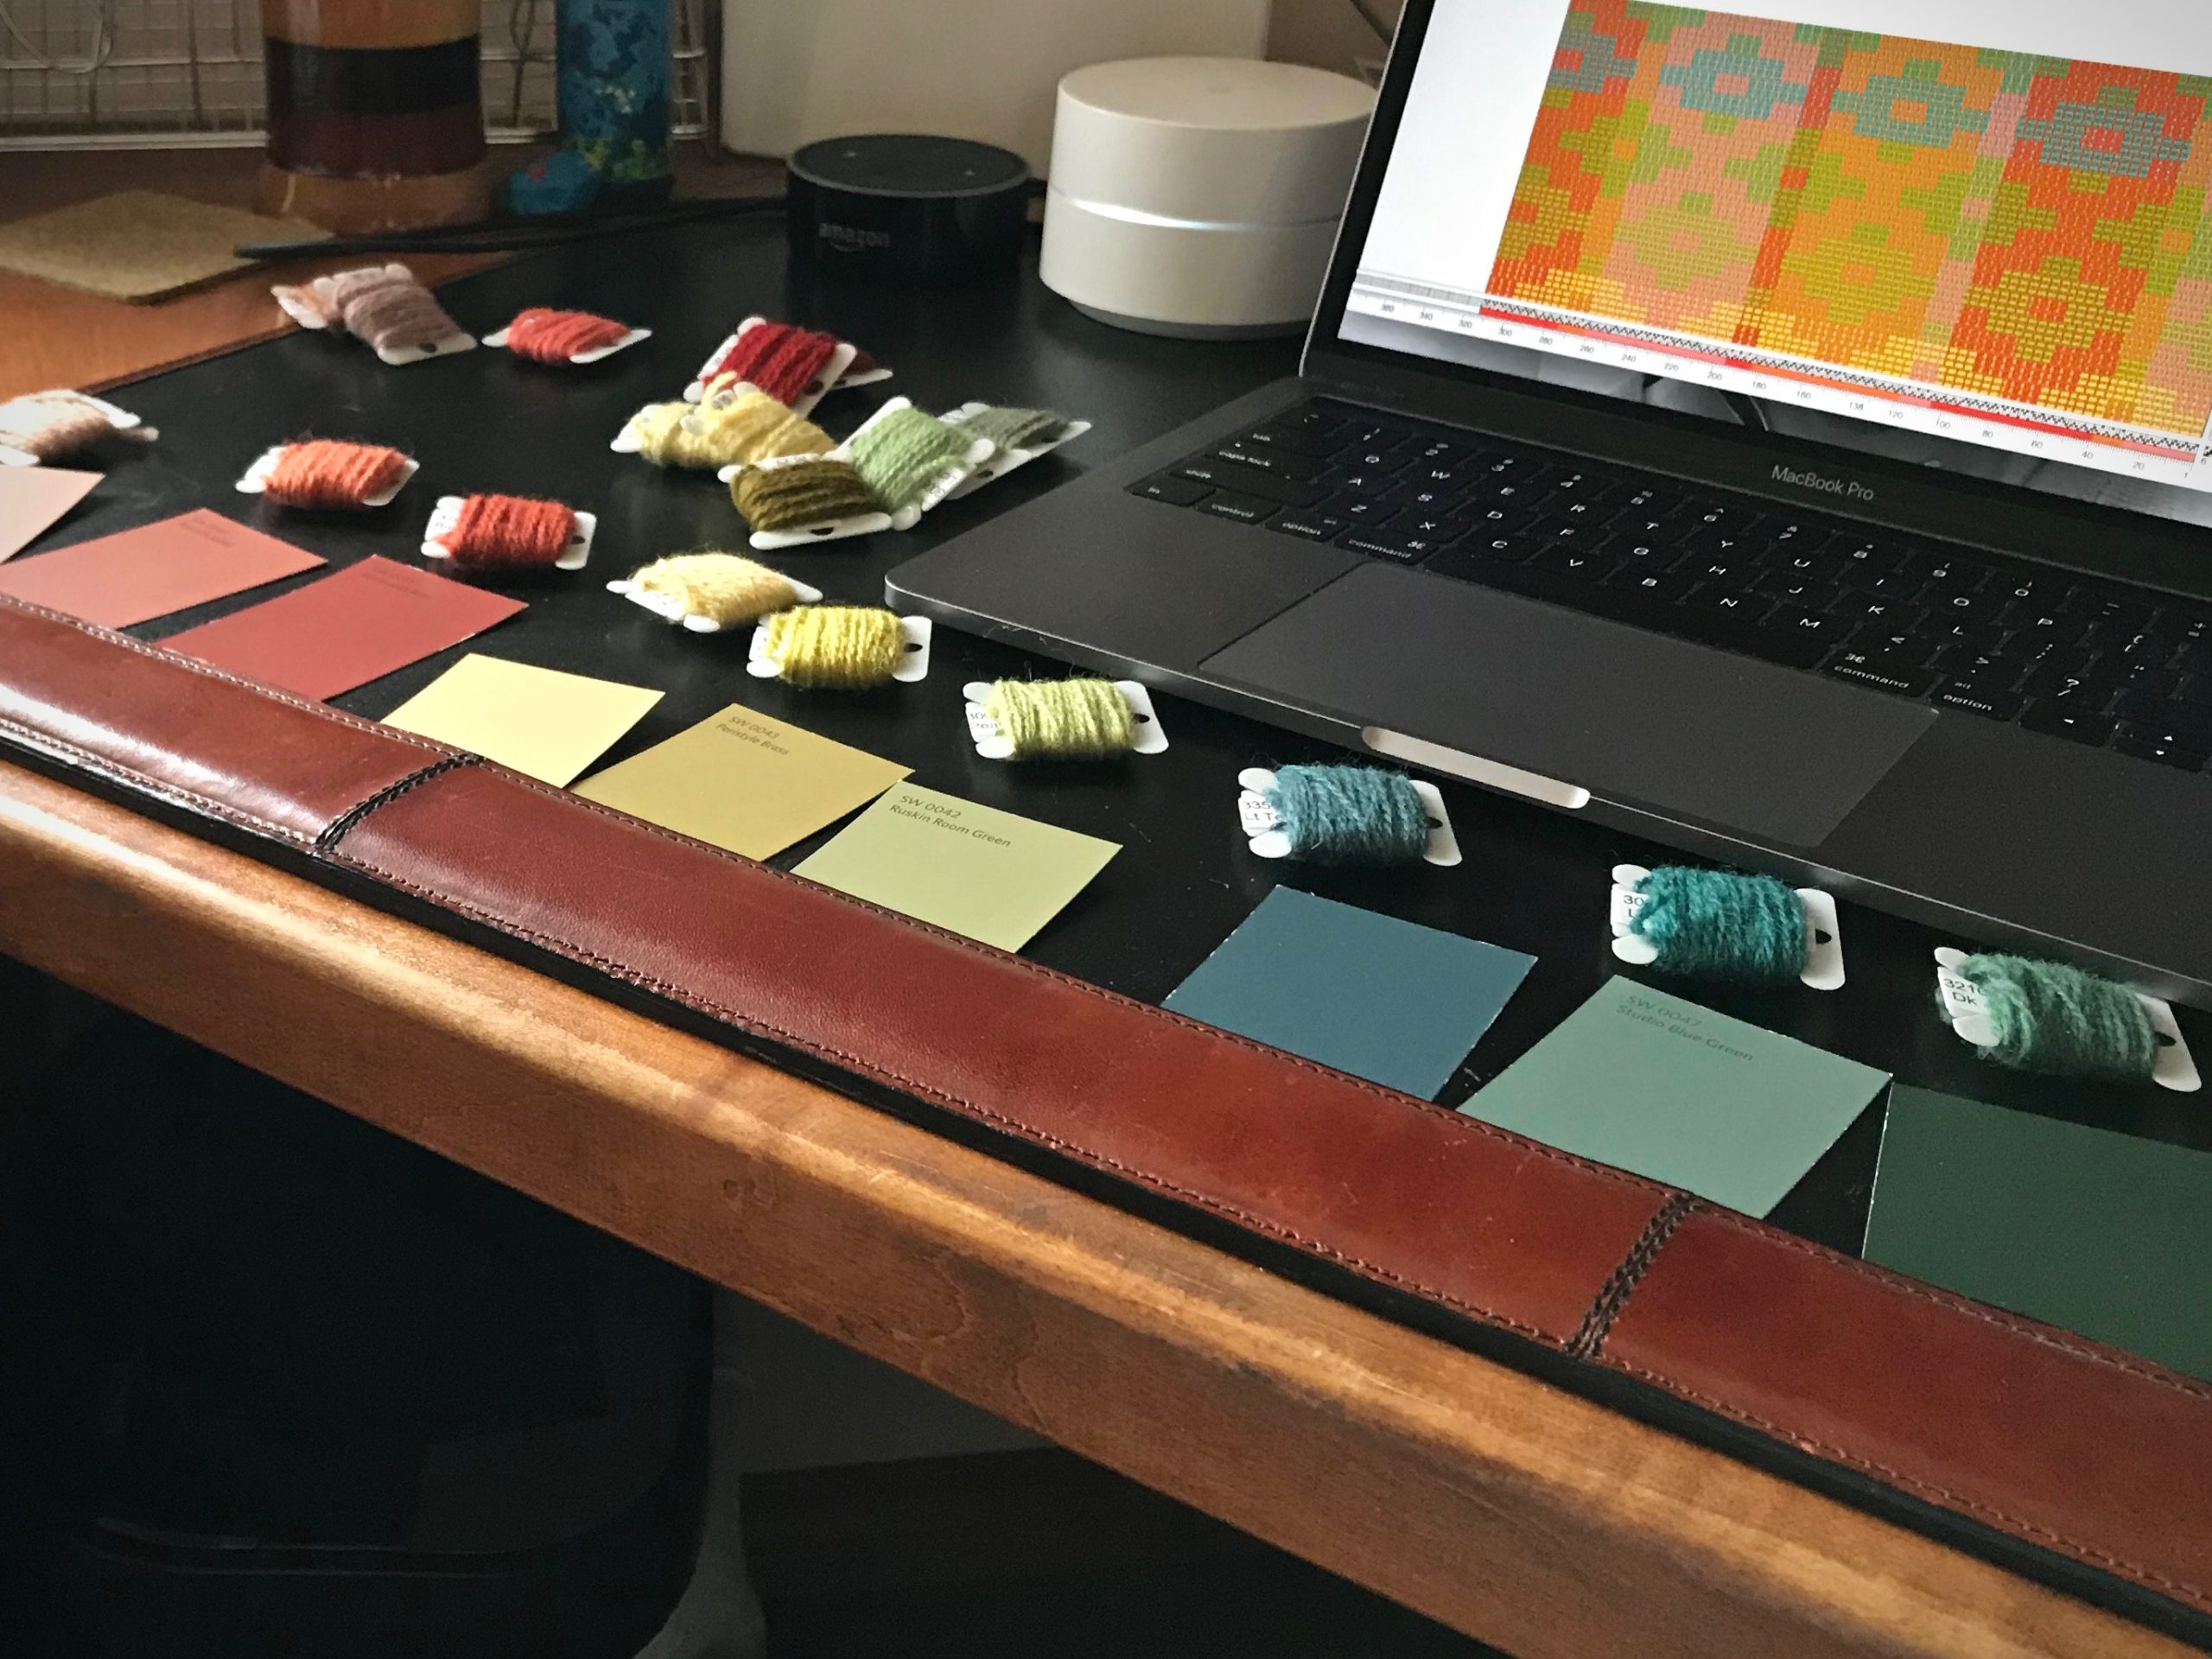
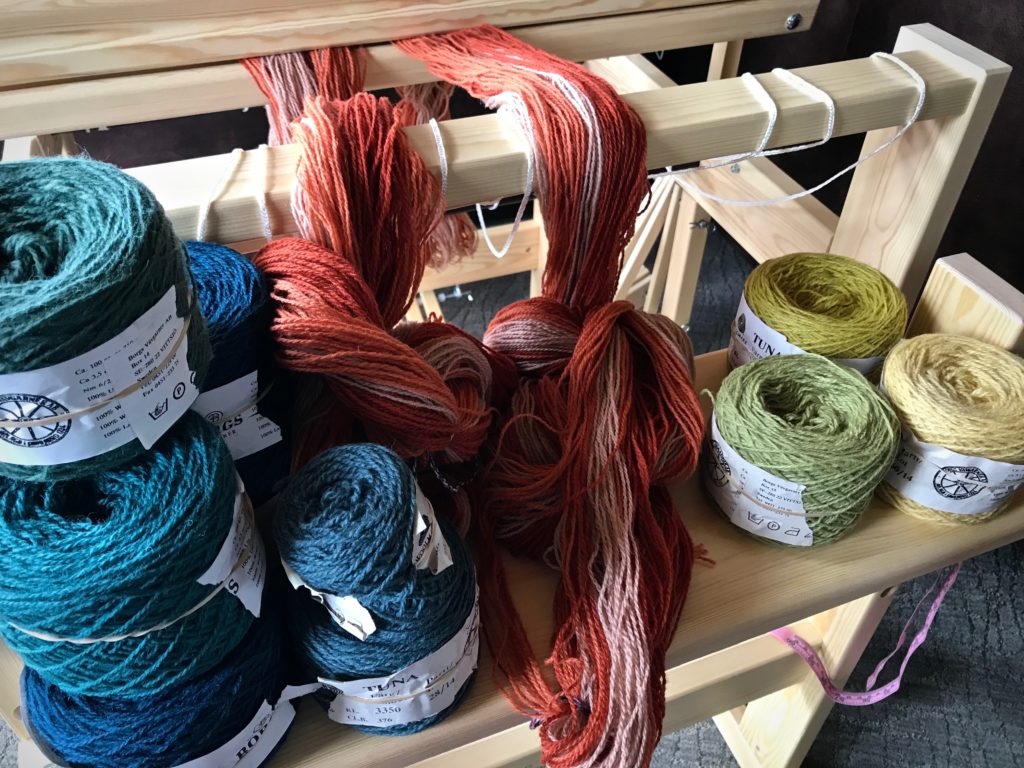
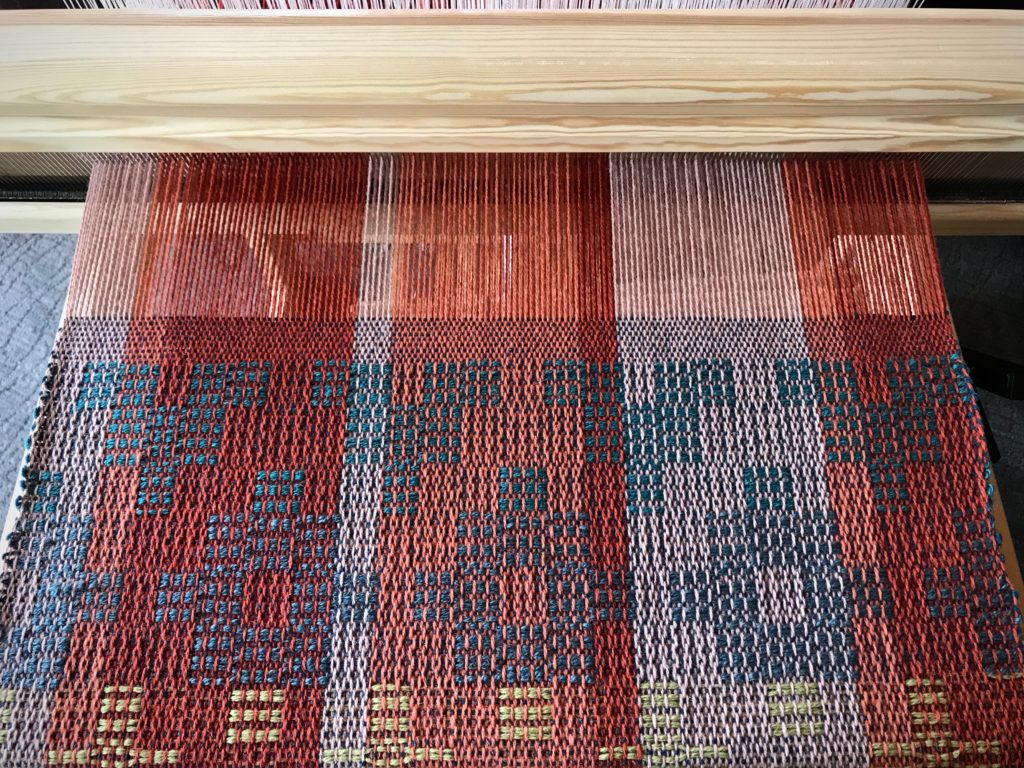
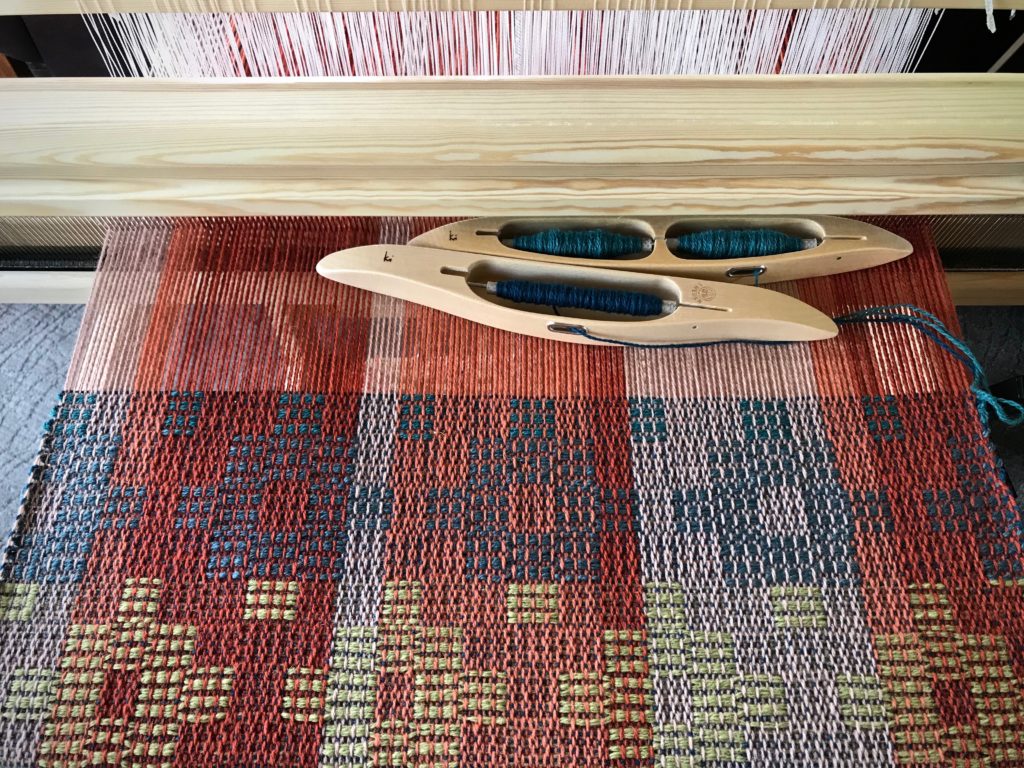
This project starts with the draft for the Jämtlandsdräll Blanket on p.59 of Simple Weaves, by Birgitta Bengtsson Björk and Tina Ignell. Tuna yarn samples, along with Fiberworks Silver for Mac, help me jazz up the color. I settle on three colors for the warp, with burnt orange as the anchor. Six different colors are used for the pattern weft, plus dark teal for the tabby.
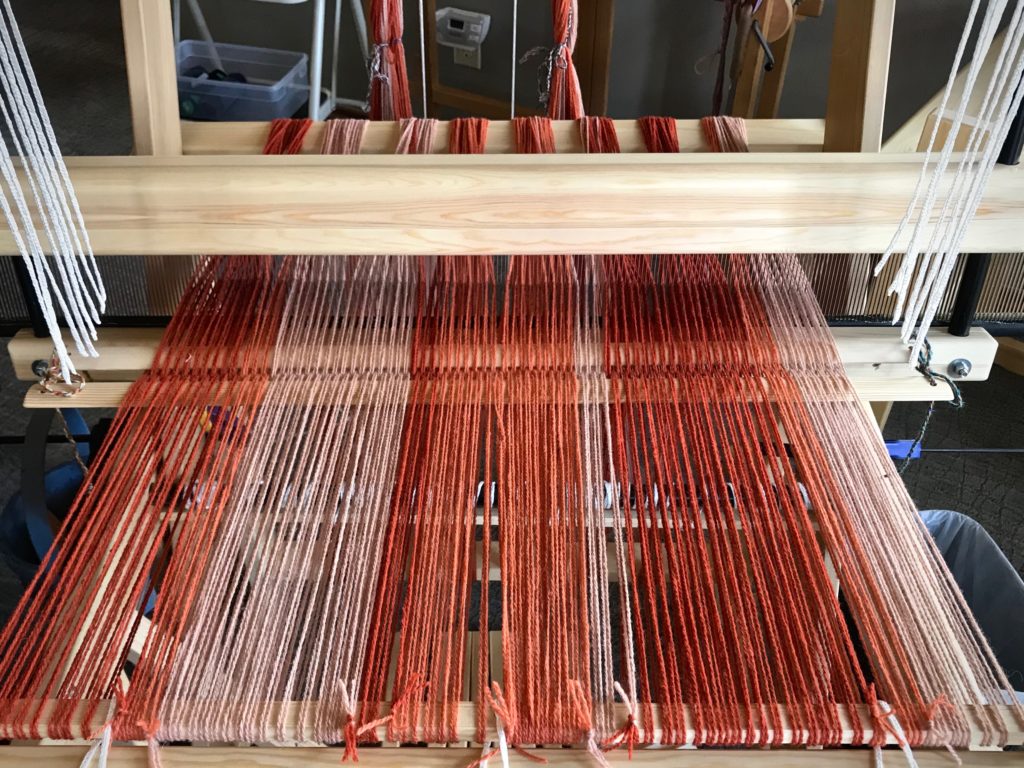
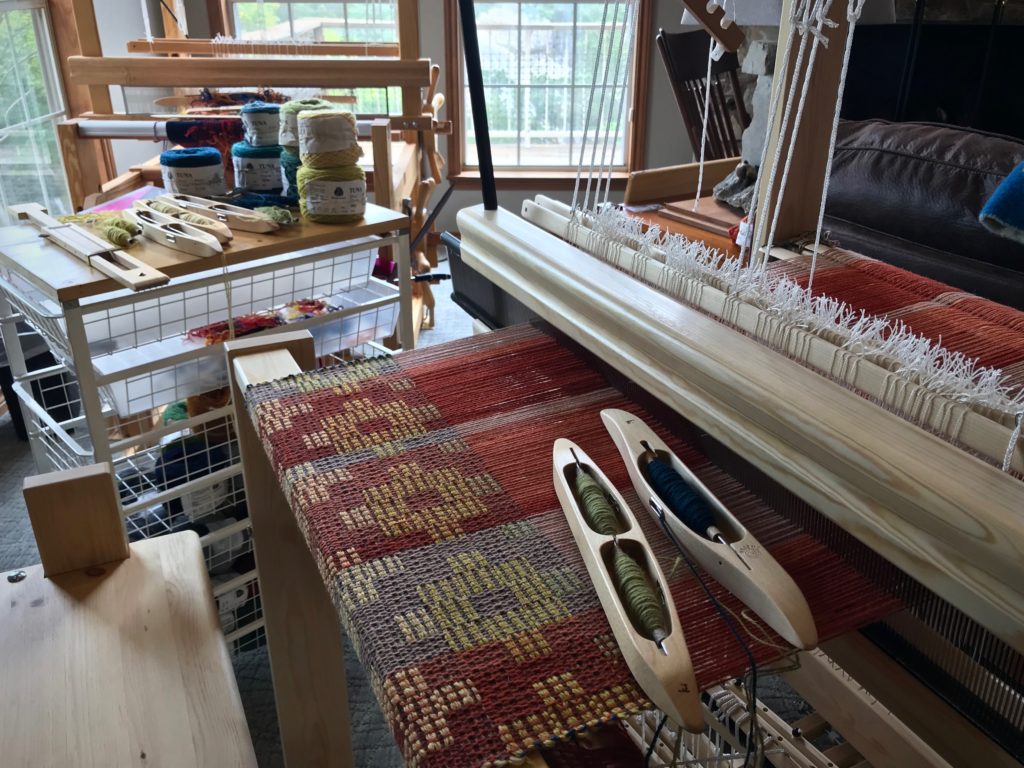
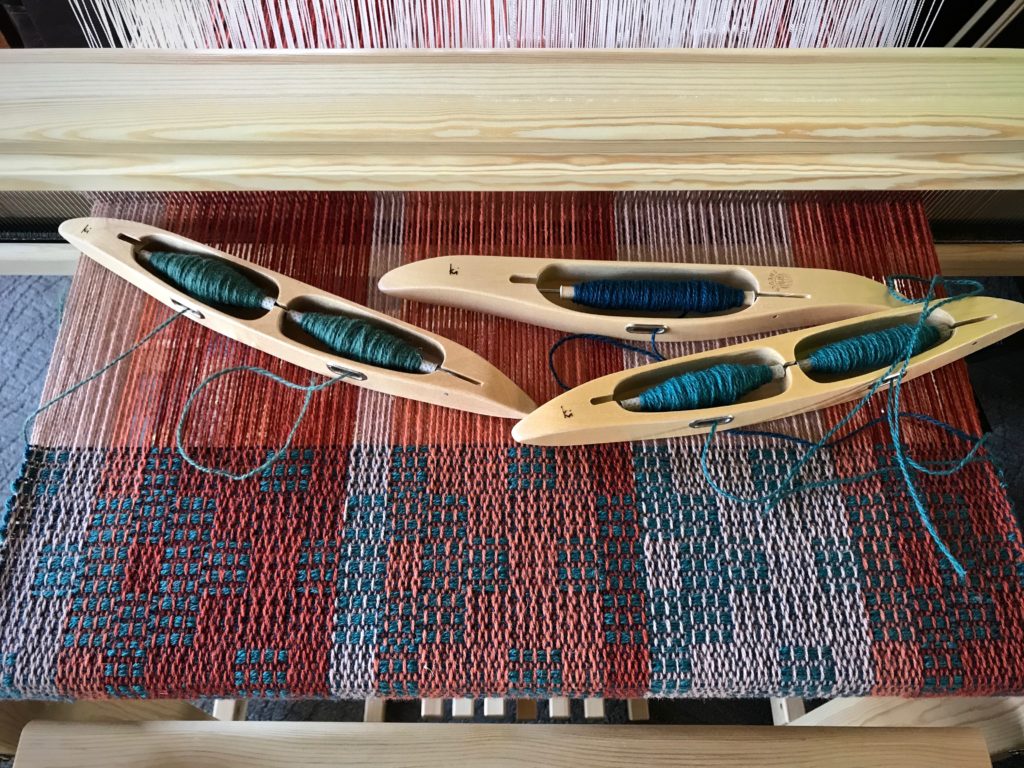
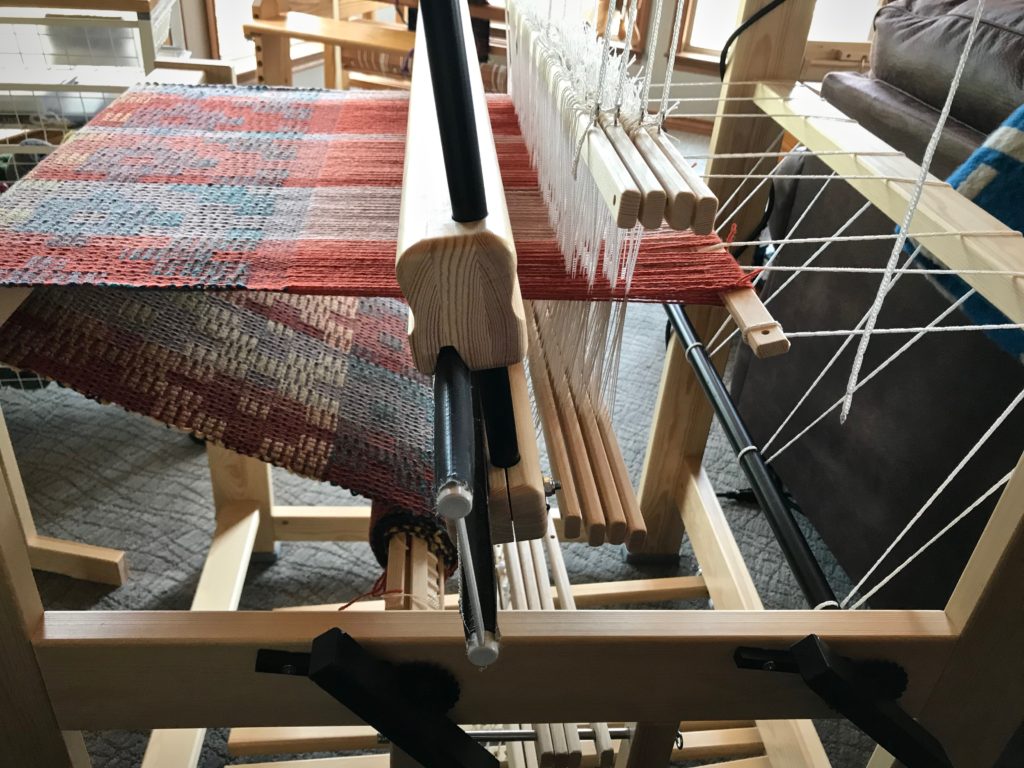
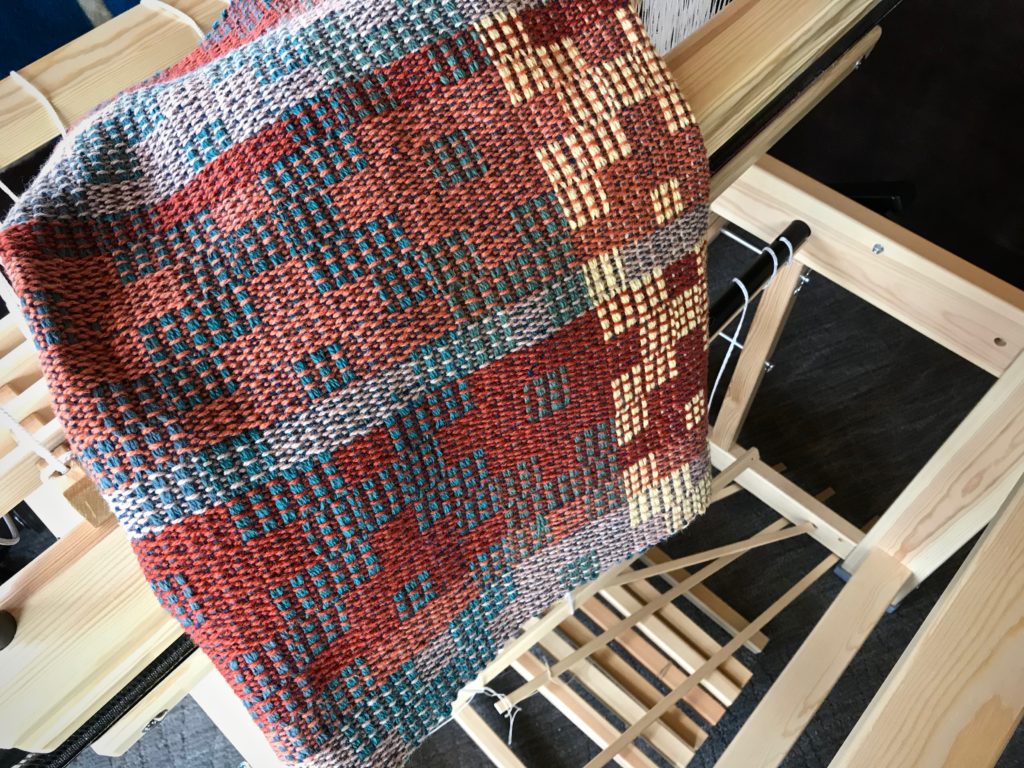
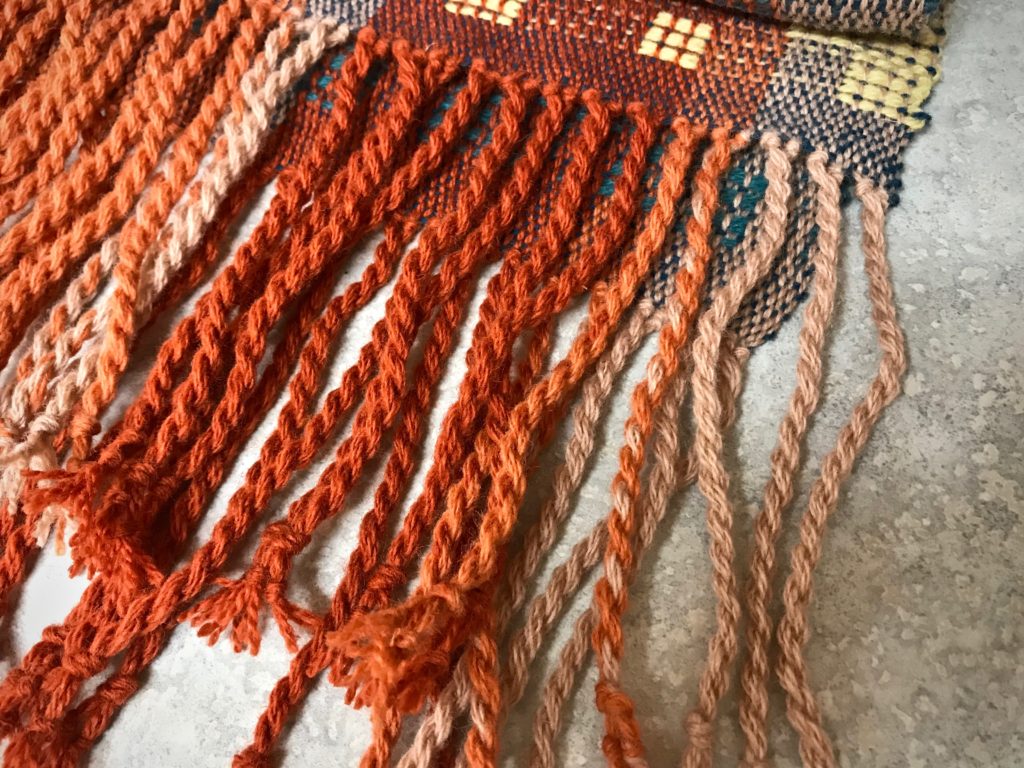
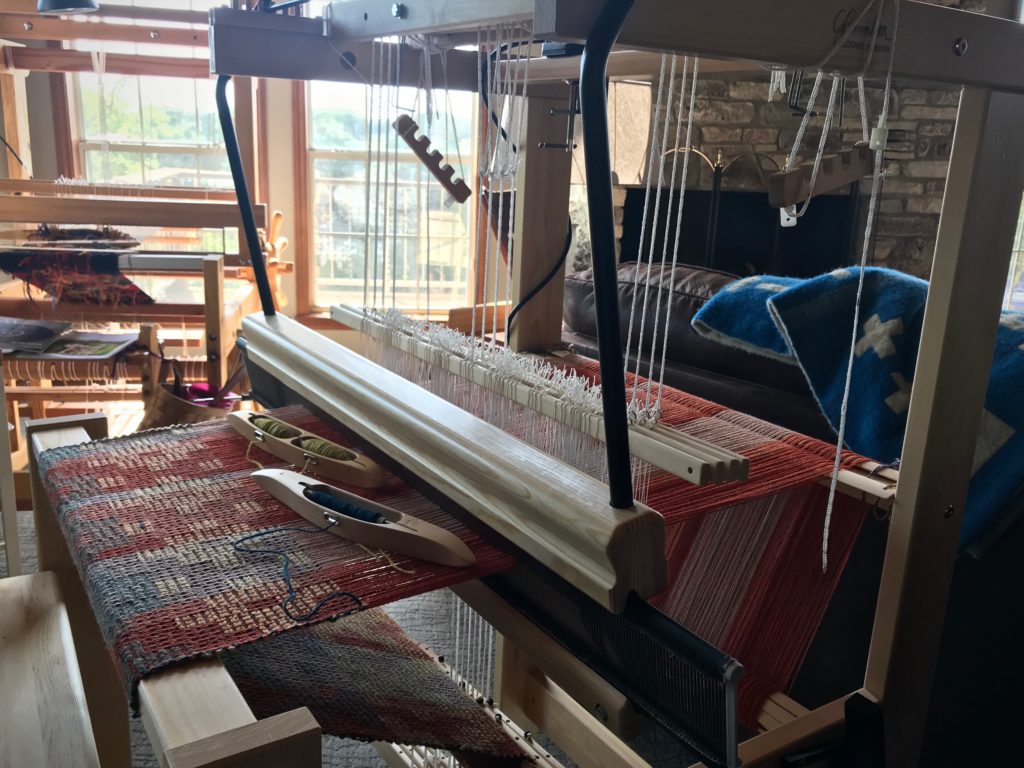
Paint chips, Tuna yarn samples, and Fiberworks Silver for Mac aid my planning process.Colors! Let’s see how they work together on the loom.Beaming the warp.Daylight, plus colorful yarn. As summer is warming up outside, Julia is dressed warmly inside.There is something about weaving with a double-bobbin shuttle that I especially enjoy.Some color gradation in the pattern.Miss Julia, filling up her cloth beam.Ending with a few picks of plain weave.Thrums at the end of the warp will serve as fringe.Cutting off, giving a view of the back side of the cloth. Front and back have reverse images.Jämtlandsdräll, just off the loom.Much to my pleasant surprise, after removing (unweaving) my short sample weaving at the beginning, and untying the front tie-on knots, I had the EXACT same length of fringe–to the centimeter–on both ends of the woven wrap. Overhand knots secure the weft. Two groups of four warp strands each form each chunky fringe. Now, this wrap is ready for wet-finishing.
This is one of those times when the weaving is so satisfying that I truly don’t want the warp to come to an end. (…except that I’m excited to start on Julia’s second adventure!)
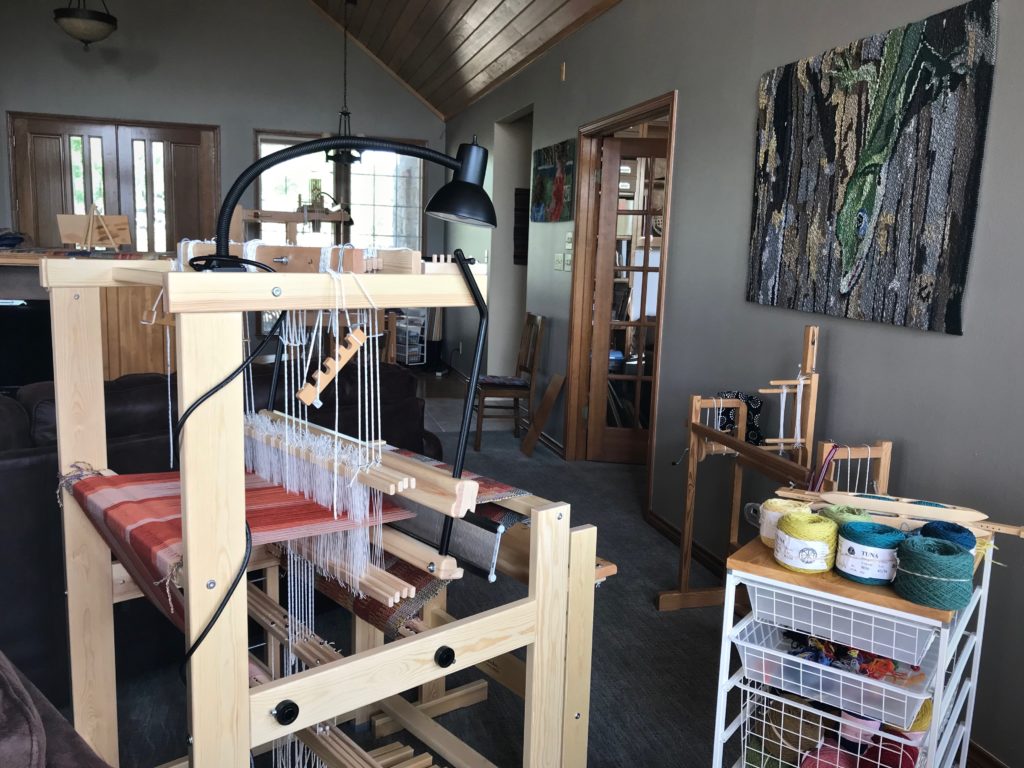
My family of looms just welcomed a new little sister—Julia! This 8-shaftcountermarch is Glimåkra’s smallest floor loom. I dressed the loom right away in 6/2 Tuna wool for 4-shaft Jämtlandsdräll to try out the loom. So far, so good. An 8-shaft project using 20/2 Mora wool is up next. Would you believe this is my new portable loom? Surprisingly, the Julia fits in the back of our vehicle, without disassembling. This is the loom you can expect to see with me at future workshops.
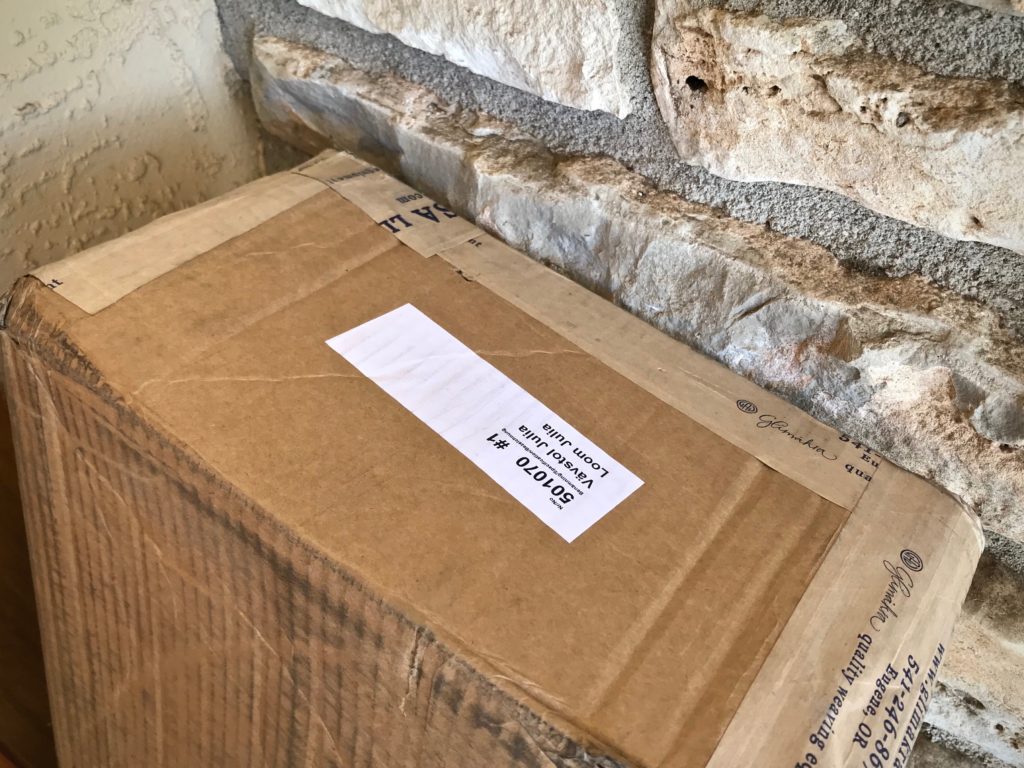
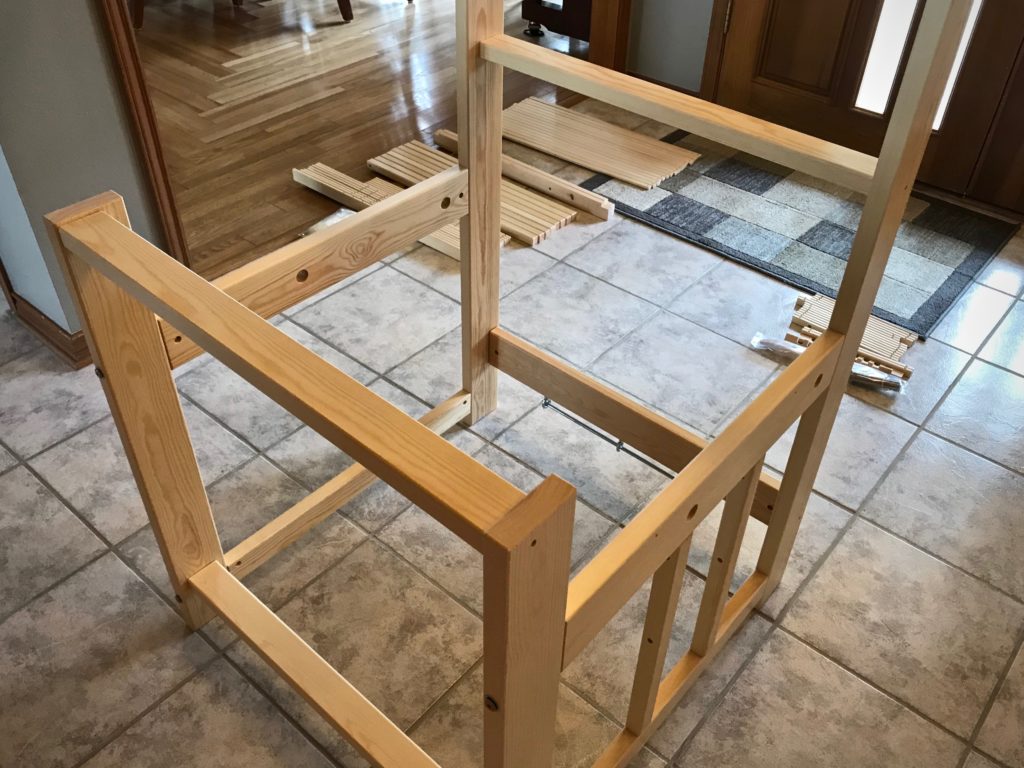
One of the boxes delivered to my front door.Loom assembly in our foyer.
My Julia Observations:
It goes together like you’d expect from a Glimåkra. Instructions are minimal, and quality is high. It’s a well-designed puzzle.
The assembled loom is easy to move around to gain space needed for warping, or simply to change location for any reason.
The breast beam is not removable like it is on my other Glimåkra looms, which makes it a stretch to thread the heddles from the front. However, by hanging the shaft bars from the beater cradle at the very front I can thread the heddles without back strain. (Or, if you are petite and don’t mind climbing over the side, you can put the bench in the loom for threading.)
Tying uplamms and treadles is not much different than it is for my Ideal. Everything is well within reach from the front. It helps to take the lamms off the loom to put in the treadle cords, and then put the lamms back on the loom. With one extra person available, it is entirely feasible to elevate the loom on paint cans, upside-down buckets, or a small table to make tie-ups easier, but I didn’t find it necessary to do that.
Loom that Steve built sits near the windows in our living room. Julia sits nearby. Sister looms.Glimåkra Standard sits by the windows at the front of the living room. Julia sits a few steps away. Loom sisters.
Weaving on the Julia is a delight, as it is with my other countermarch looms. Everything works. With four shafts, the sheds are impeccable.
The bench adjusts to the right height.
The hanging beater is well balanced, sturdy, and has a good solid feel. I can move the beater back several times before needing to advance the warp.
I thought the narrower treadles might prove annoying, but I’ve been able to adjust quickly. After weaving a short while, I forget about the treadle size.
Steve is the loom assembler in our family. I stand by and give a hand when needed. I hope you can feel our excitement as you watch this short video of us discovering what’s in the boxes and figuring out how it all goes together.
May you enjoy the puzzles that come to your doorstep.
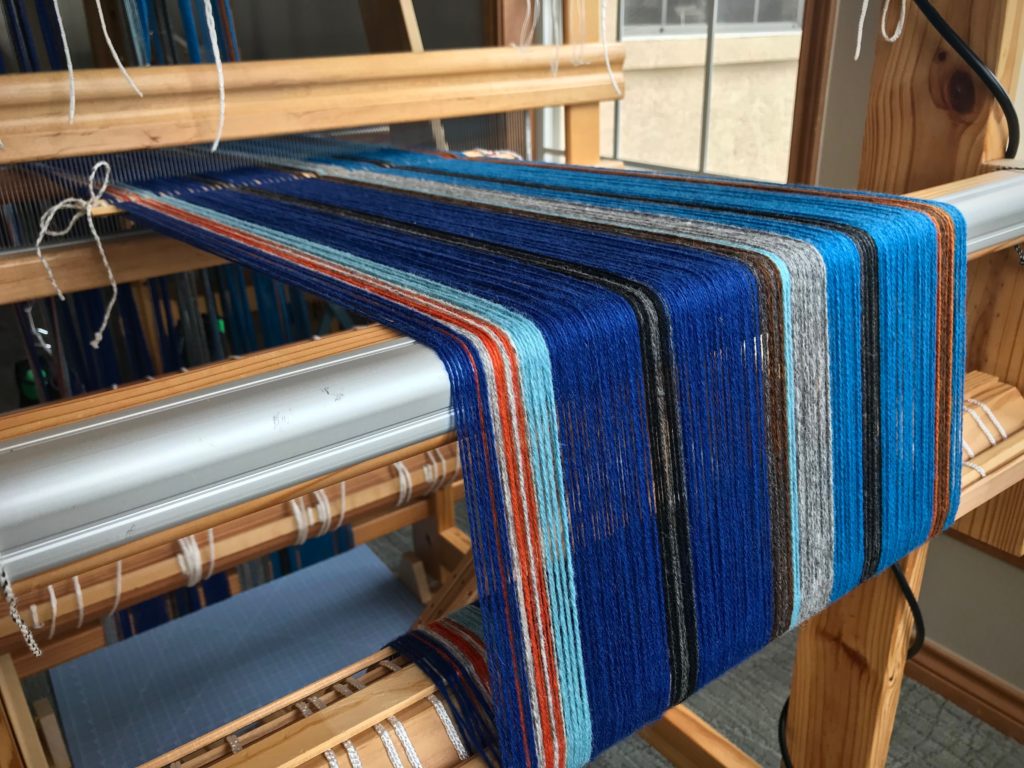
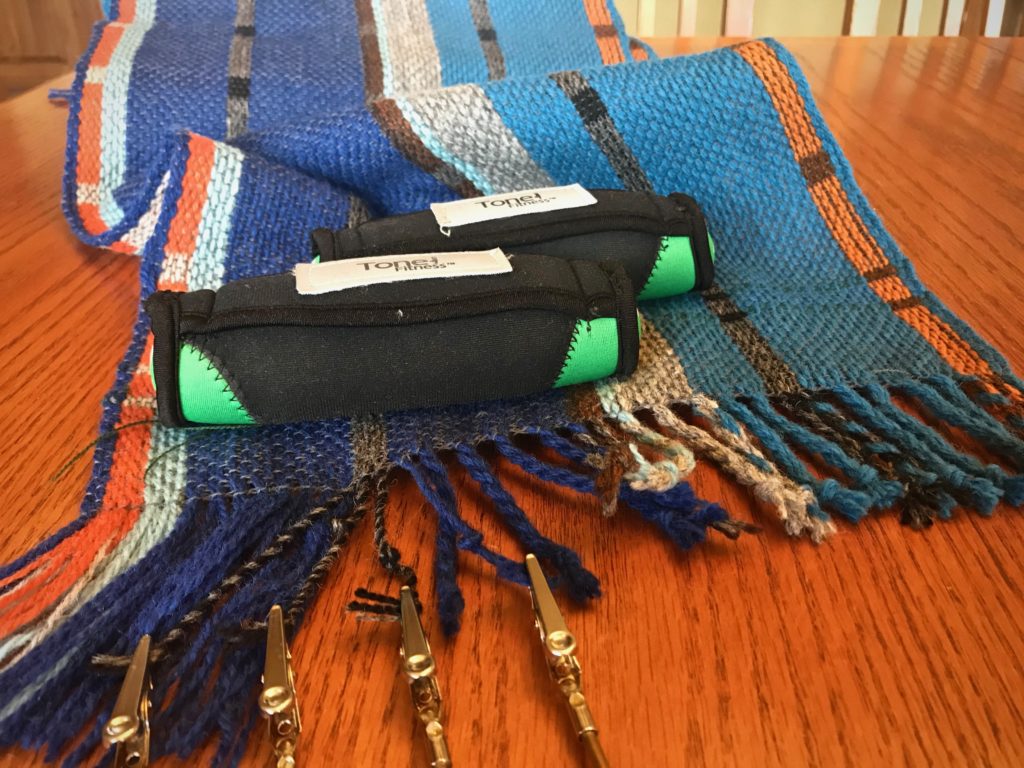
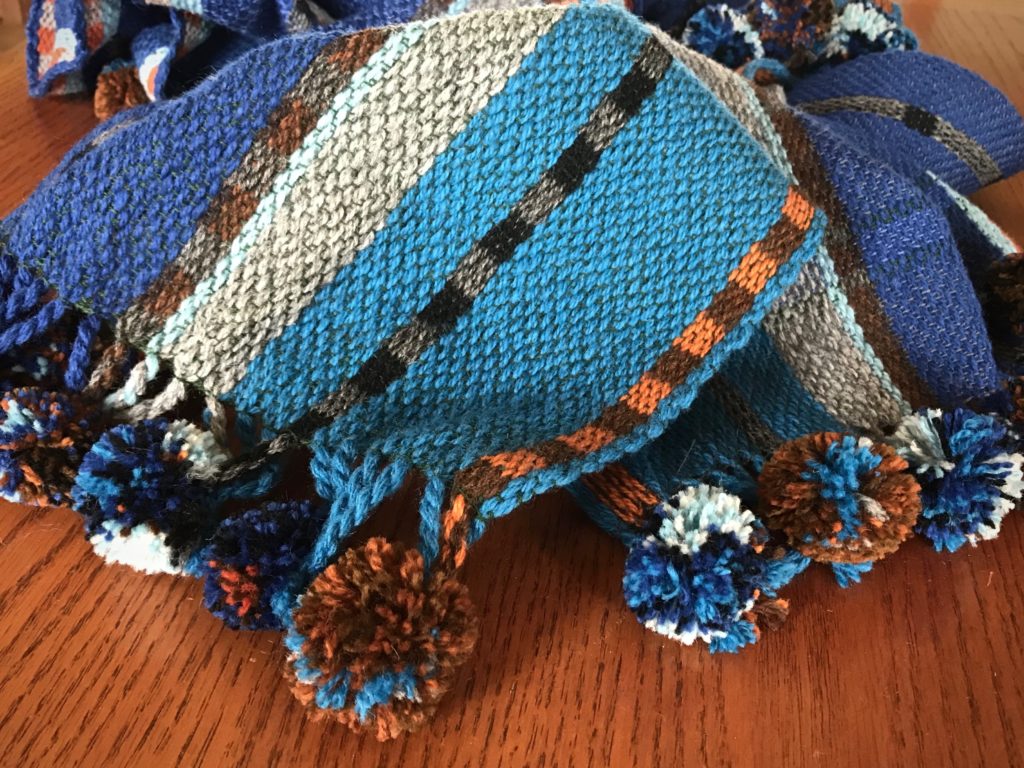
You could say I finished these scarves too late. Winter in Texas has come and gone. But I prefer to think of it as considerably early. When cool weather comes back around in a few months, I’ll be ready. I began with the draft for the lovely Stardust scarf, designed by Mona Nielsen, published in Happy Weaving, from VävMagasinet, p.74. I simply substituted the yarn and colors in the book with what I had on hand.
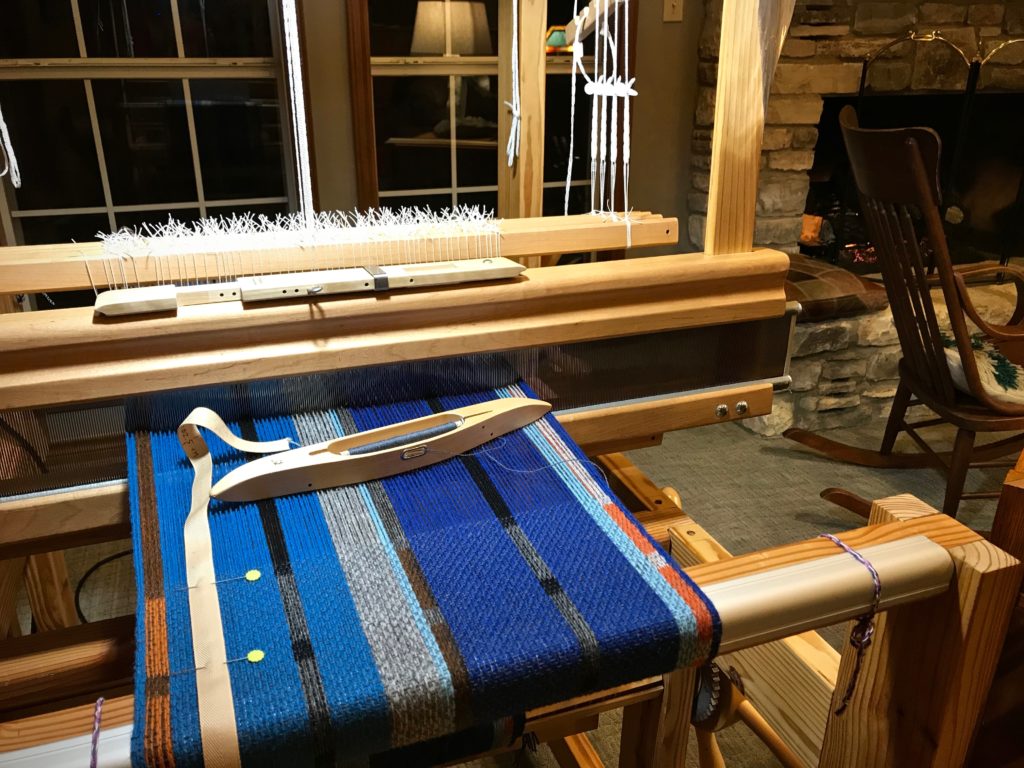
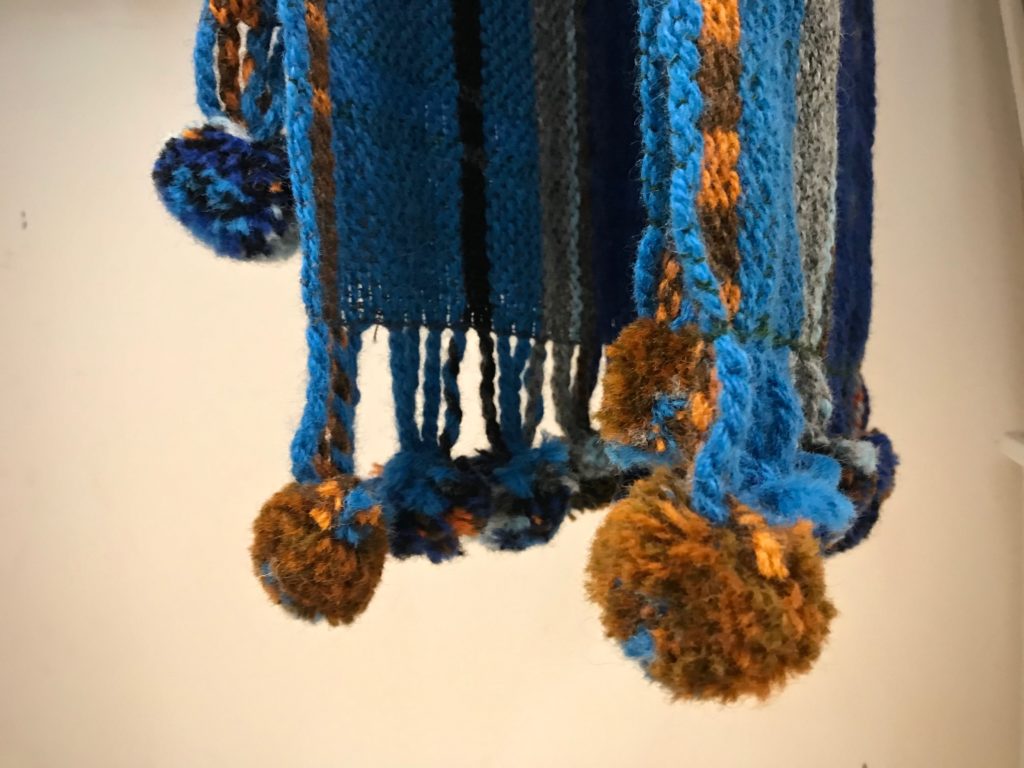
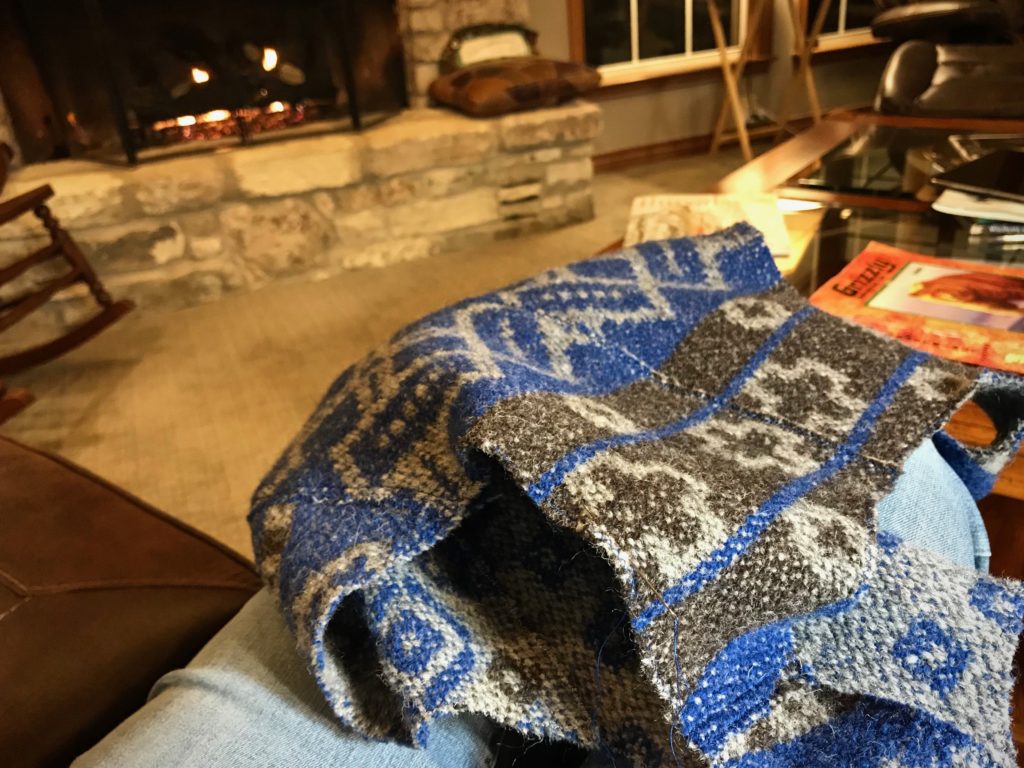
Warp is mostly 6/2 Tuna wool, with some 7.5/2 Brage wool included.Made with yarn on hand. This means that additional stripes have been added to the plan.Weaving by the fire in the middle of winter. Mora 20/2, a fine wool, is used for weft.Two scarves coming off the loom.Fringes are cut and twisted.
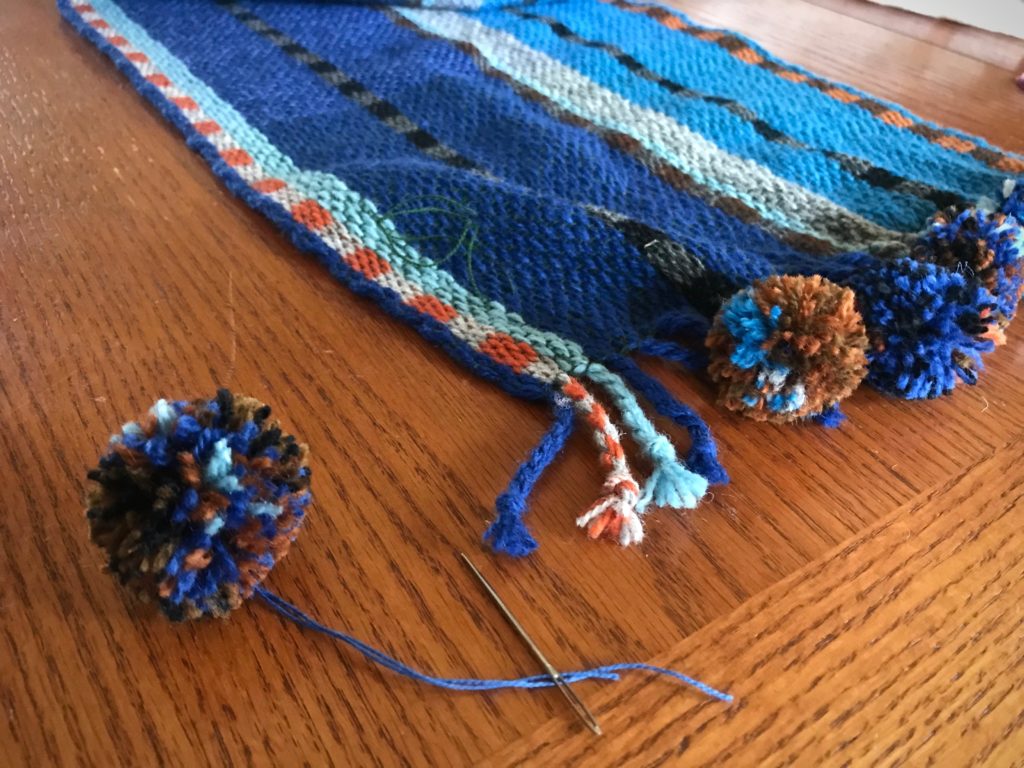
The scarves are delightful, but the icing on the cake is the addition of fluffy, furry pompoms, an embellishment with youthful flair. And that is exactly what I will put on at the first sign of autumn chill.
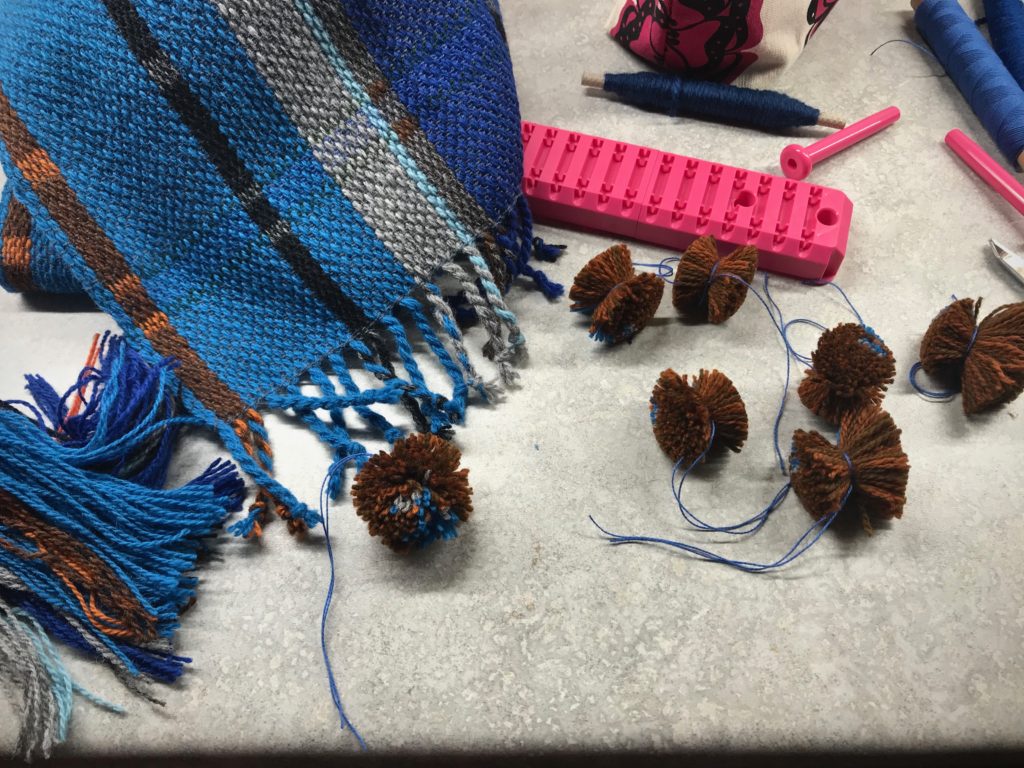
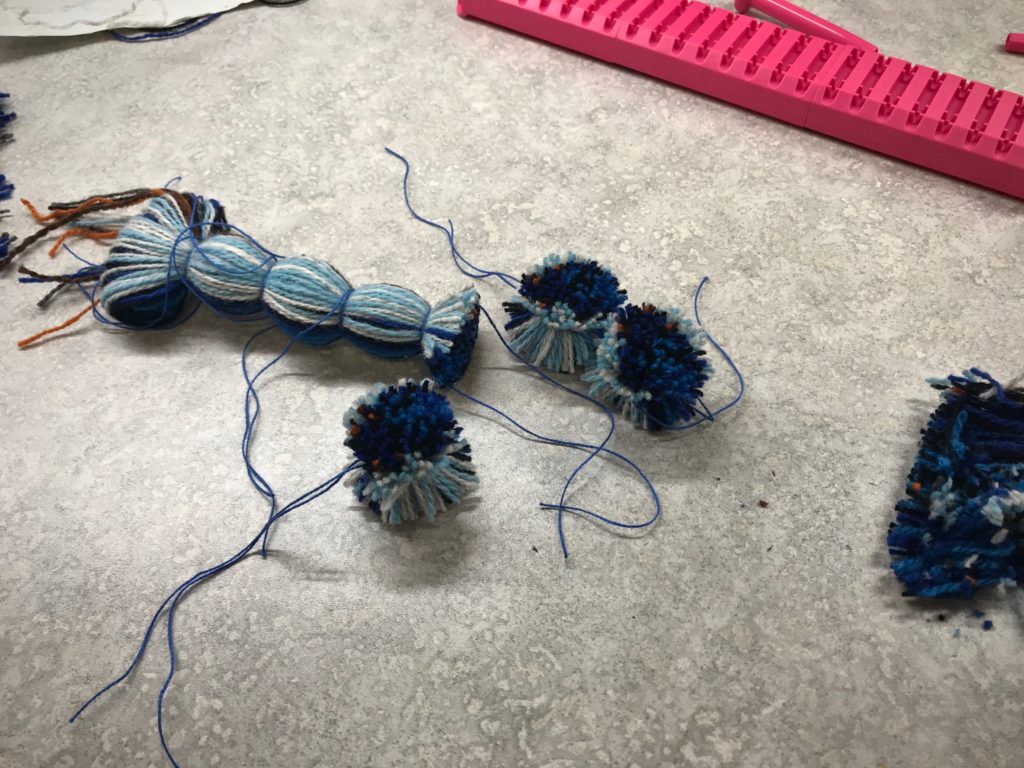
Some of the thrums are used in making pompoms.With the Pom and Tassel Maker by Red Heart I can make seven pompoms at a time. I wrapped the yarn around 100 times, making full and thick pompoms.Each furry ball is shaped and trimmed. I used 8/2 cotton for the 12″ tie around the center of the pompoms.Each pompom is stitched to 3 – 4 twisted fringes. Seven pompoms at each end of the scarf.Now, the scarves are ready for wet finishing. Notice how you can see the separate strands of yarn in the pompoms before they are washed.Scarves have been washed by hand in warm water in a large sink, with Eucalan delicate wash. I purposely gave them as much agitation as I could by hand. They are hanging to dry. Notice how the pompoms have slightly felted, making them even more soft and furry.Winter scarf amid spring bluebonnets in Texas hill country.
Some things are certain. The sun will rise tomorrow. The seasons will follow their schedule. The faithfulness of the Lord our God will never end.
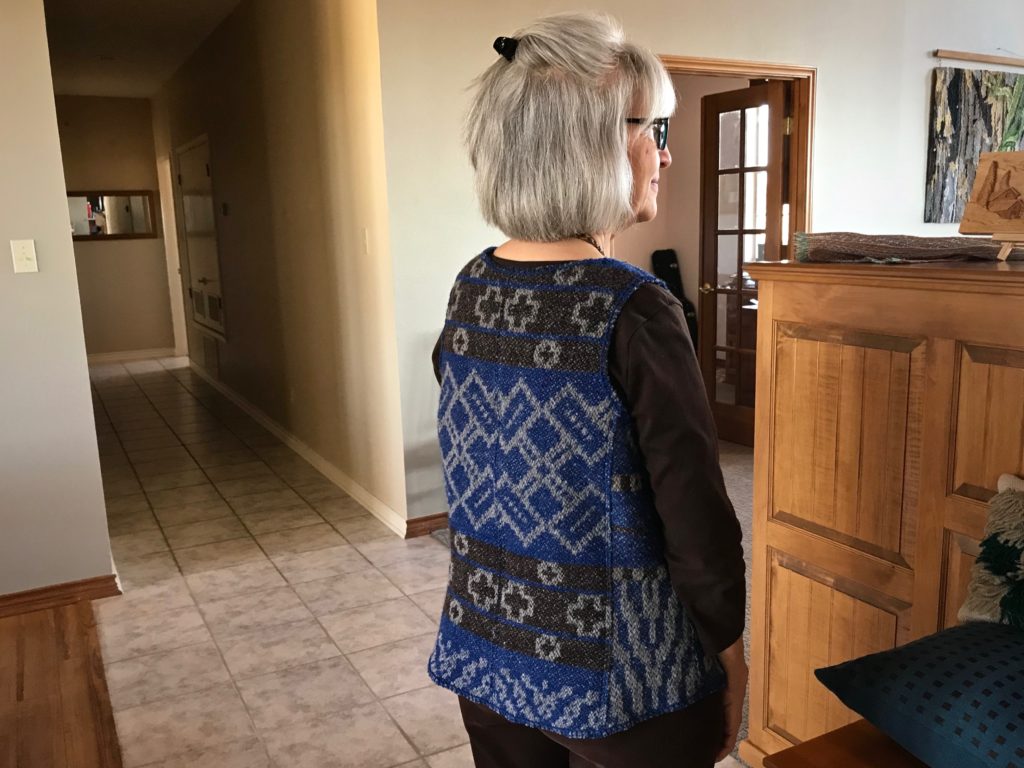
I warped the drawloom with gray 6/2 Tuna wool several months ago with the goal to make fabric for a reversible vest. The beautiful drawloom fabric turned into dreamy garment-worthy fabric after washing! (See Process Review: Drawloom Jewels)
And then I hit two huge hurdles.
Hurdle 1. Fit.
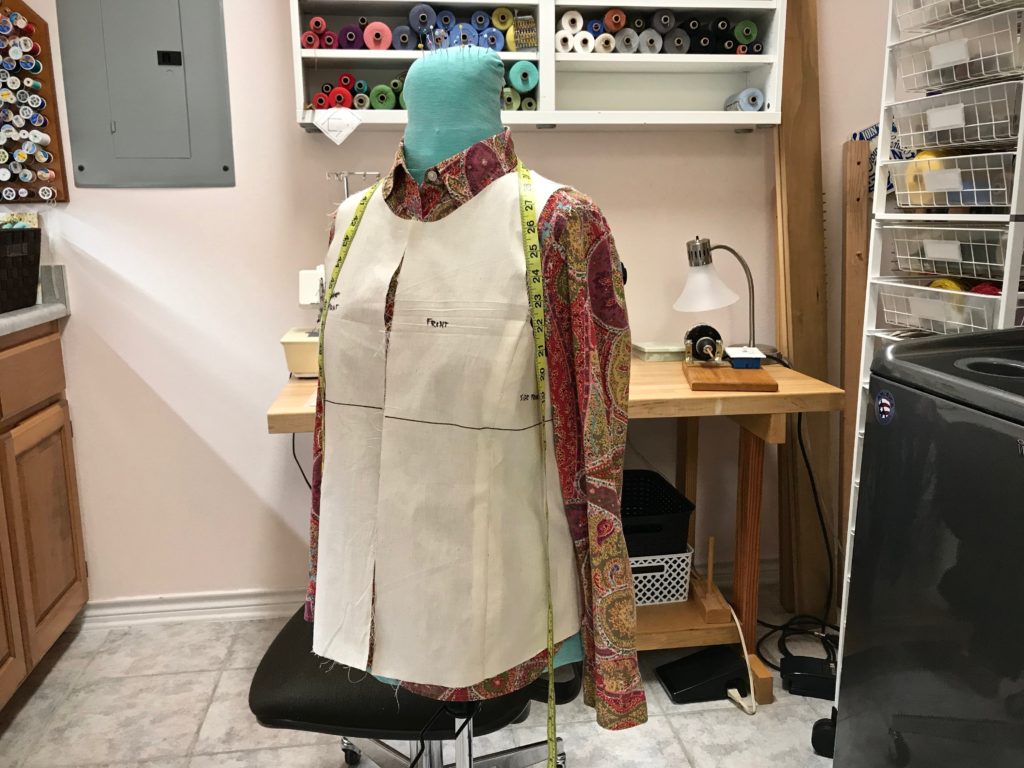
In order to cut into handwoven drawloom fabric, I need assurance that the end result will fit me. My sewing assistant helped me refine a commercial pattern.
Meet my sewing assistant, Miss Fit.
After umpteen muslins and two or three mock-ups, I finally got the fit I was after. Confidence to cut!
Hurdle 2. Garment Construction Uncertainties.
Do some detail studies, my dear friend Elisabeth said to me. Her advice got me over the insecurity hurdle. A detail study is making a small sample to test a hypothesis or answer a question. I made a list of everything I wanted to know about constructing a vest from this type of handwoven wool fabric. And then, using some of the extra fabric from the sampling at the beginning of the warp, I did a detail study for each point on the list. Twelve detail studies in all.
(If you are interested in seeing my complete list of 12 detail studies for this project, click HERE to send me an email and ask for my “Detail studies”.)
Here are a few examples of my findings:
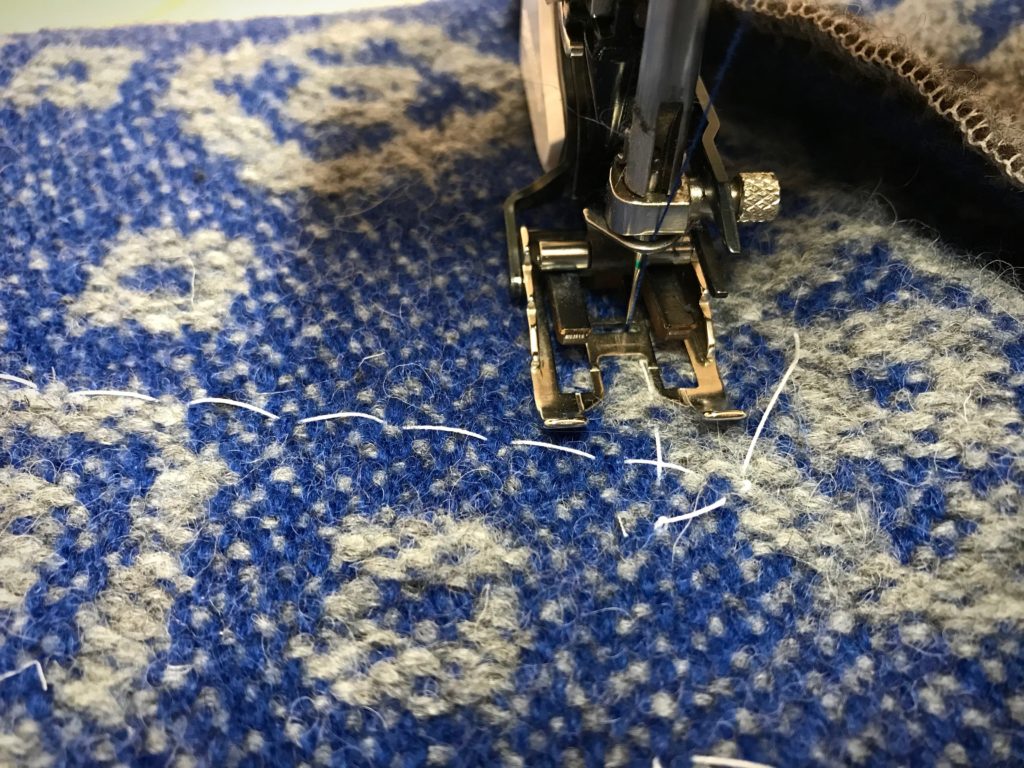
Zigzag before or after cutting? // Zigzag before cutting, stitch width 3, stitch length 2 1/2
Lapped seams? 3/8”, 1/2”, 5/8”? // Yes, lapped seams, overlap 1/2”, stitch basted line to guide placement
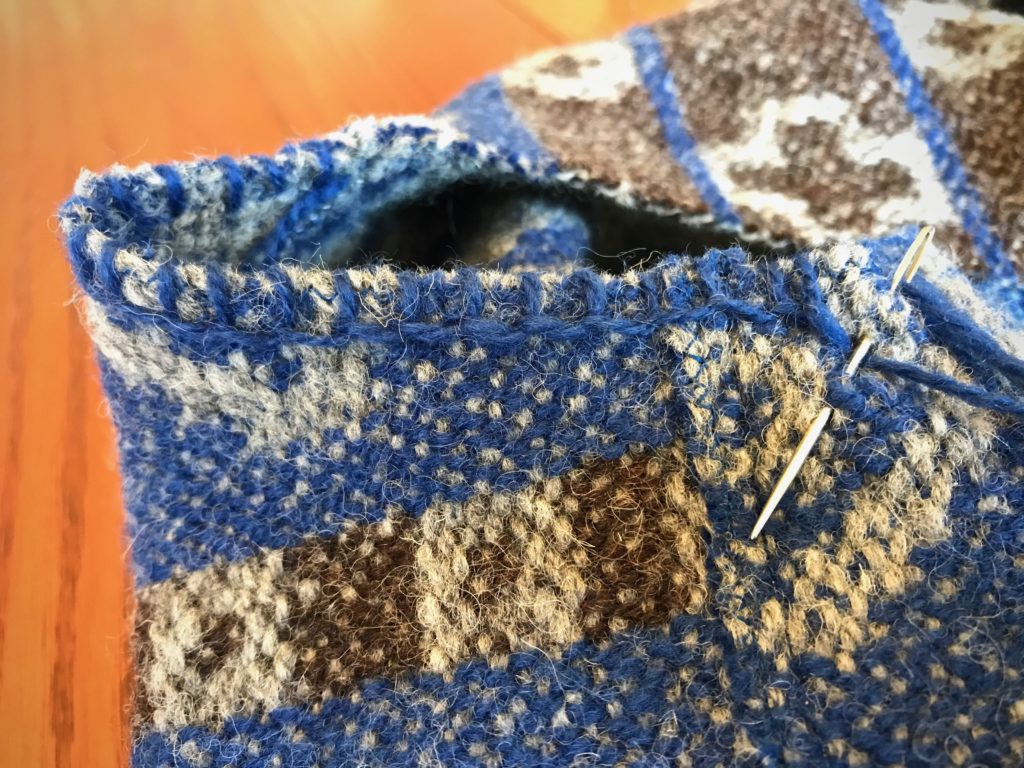
Neck and armhole curves – staystitch with hand running stitches or machine stitching? 1 row or 2? // Hand running stitches, 2 rows
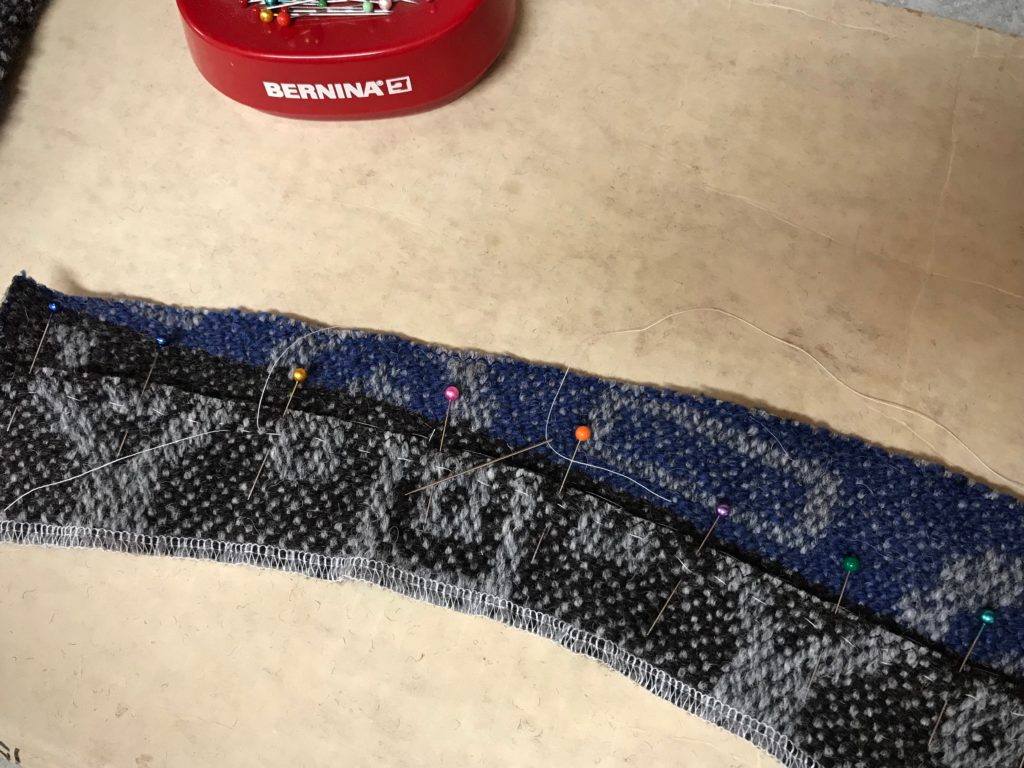
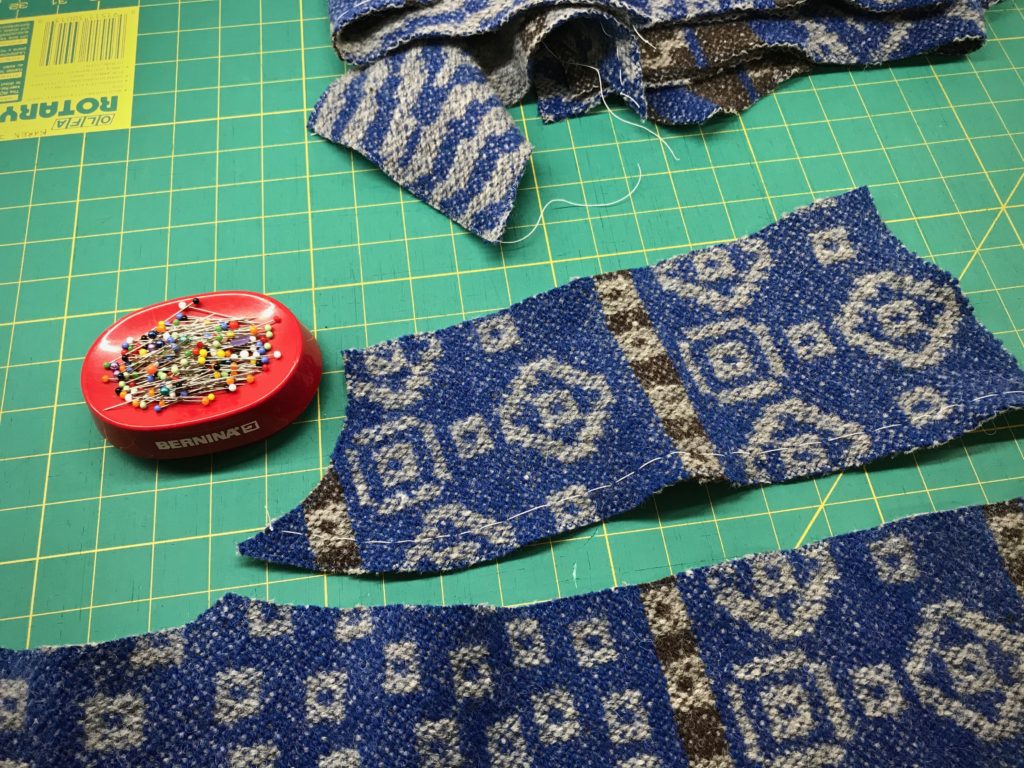
Detail study testing lapped seams.
From the results of the detail studies I was able to compile a step-by-step garment construction plan. Confidence to sew!
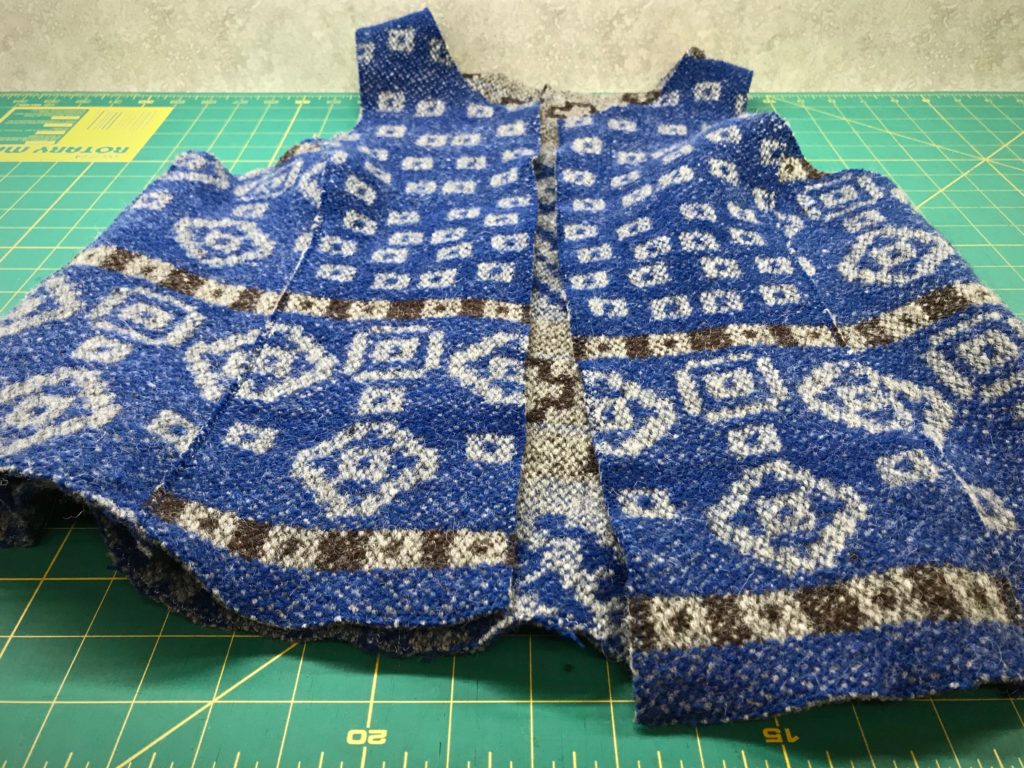
Follow my process pictures of the garment construction to see the results:
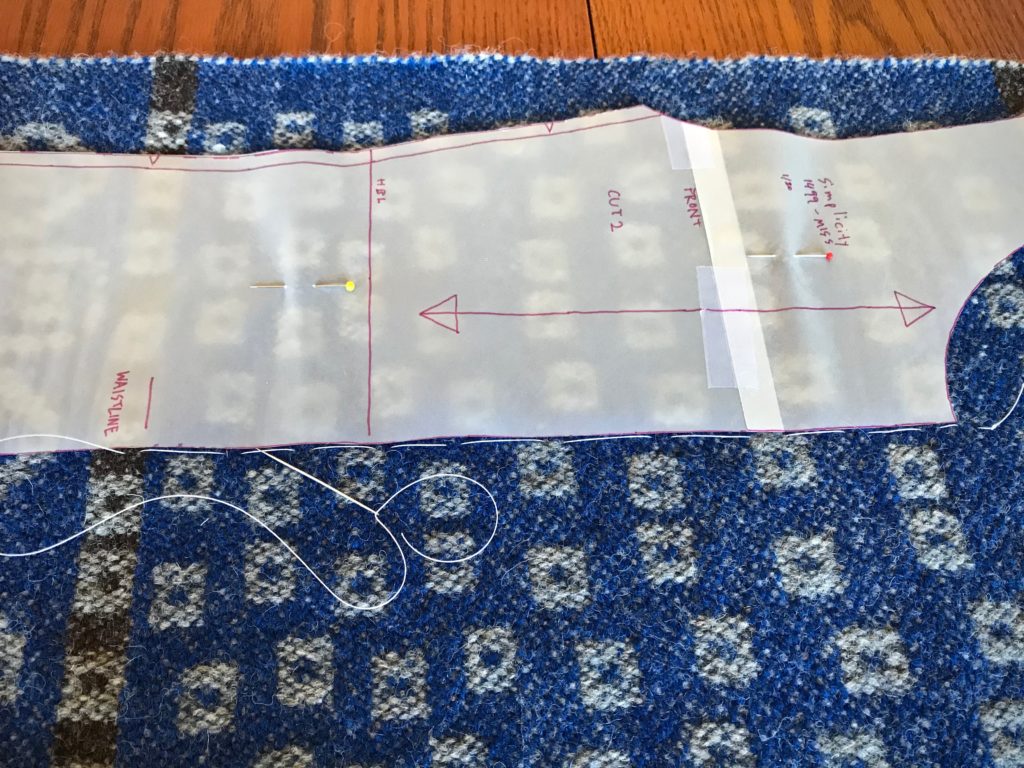
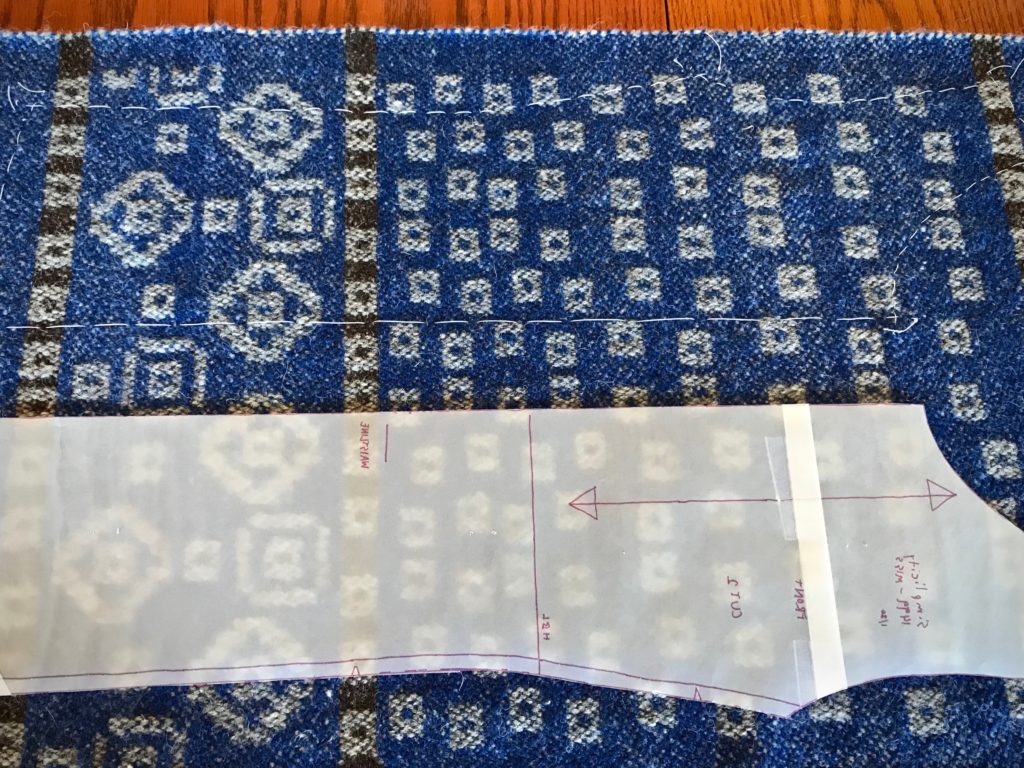
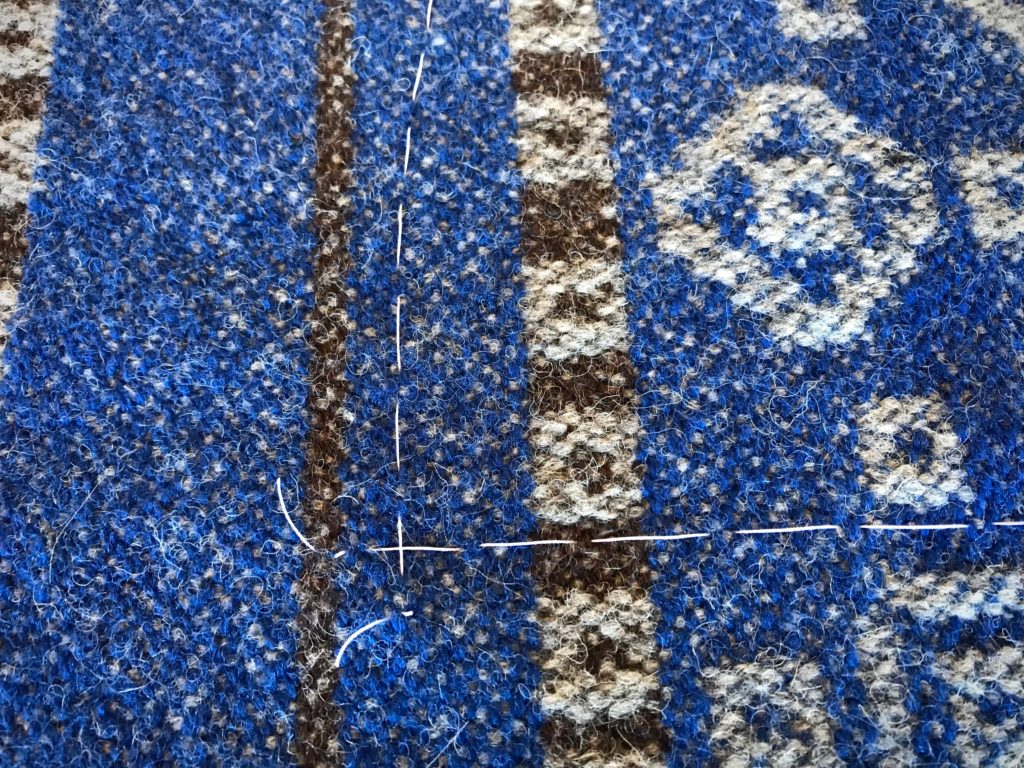
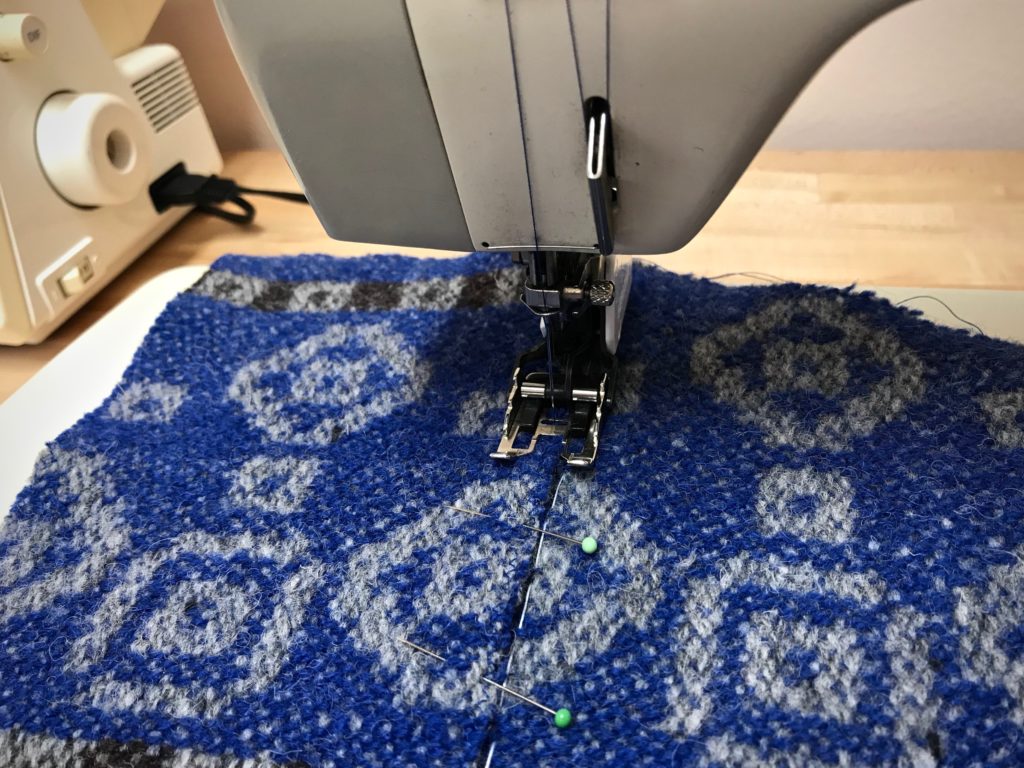
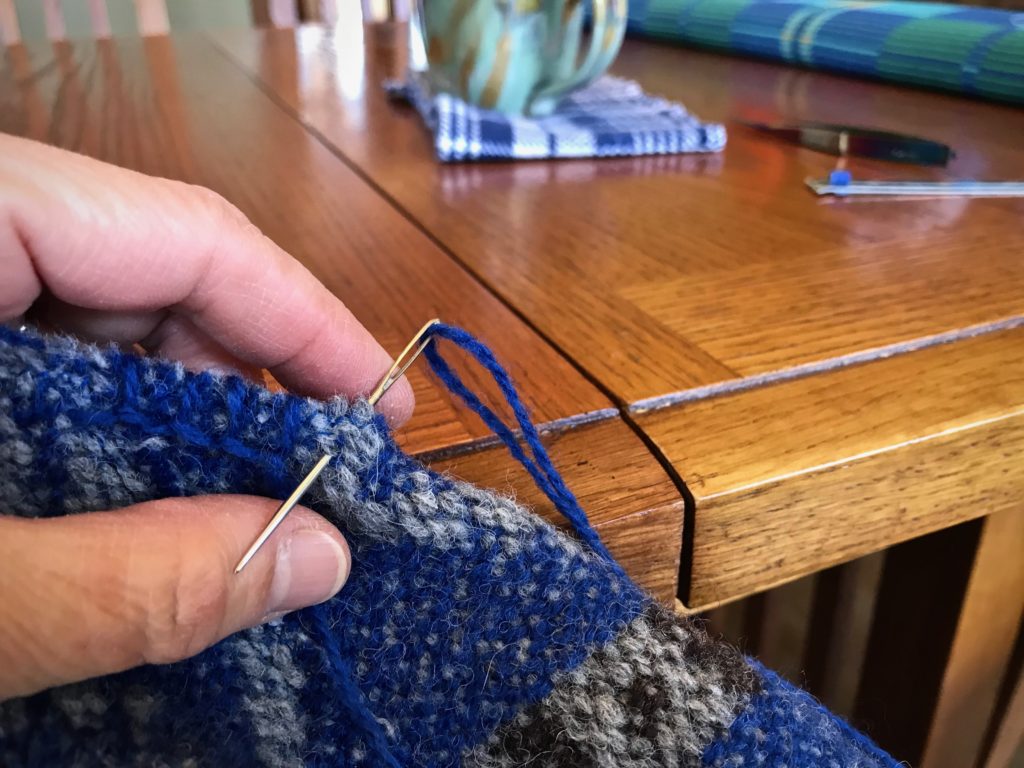
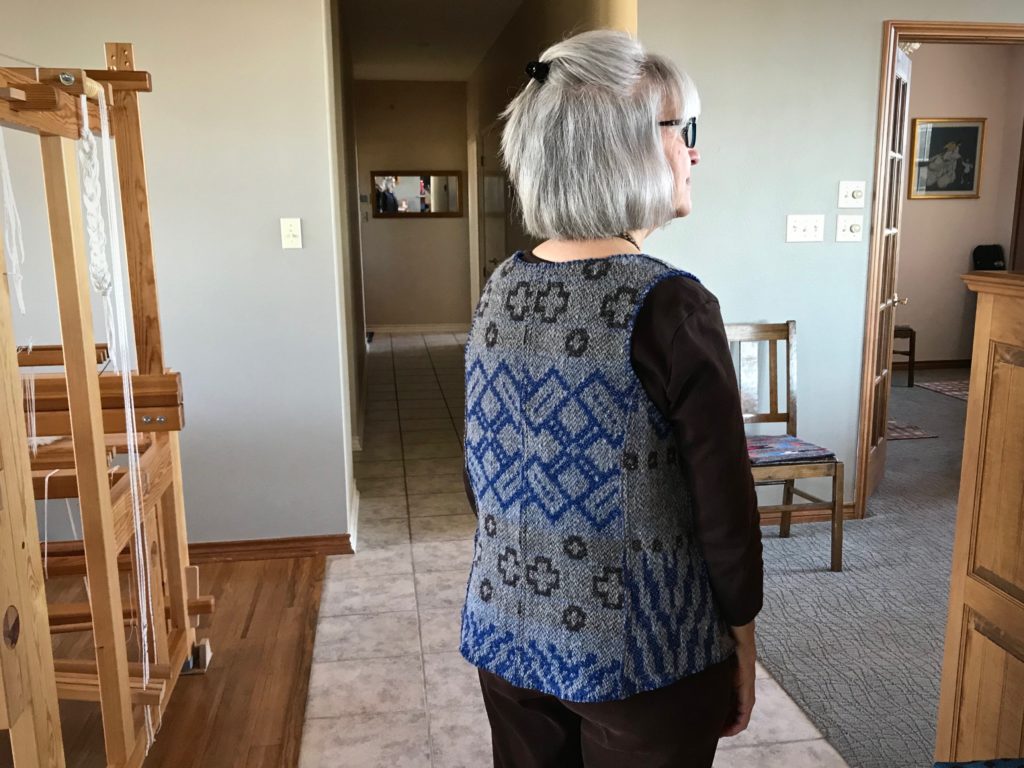
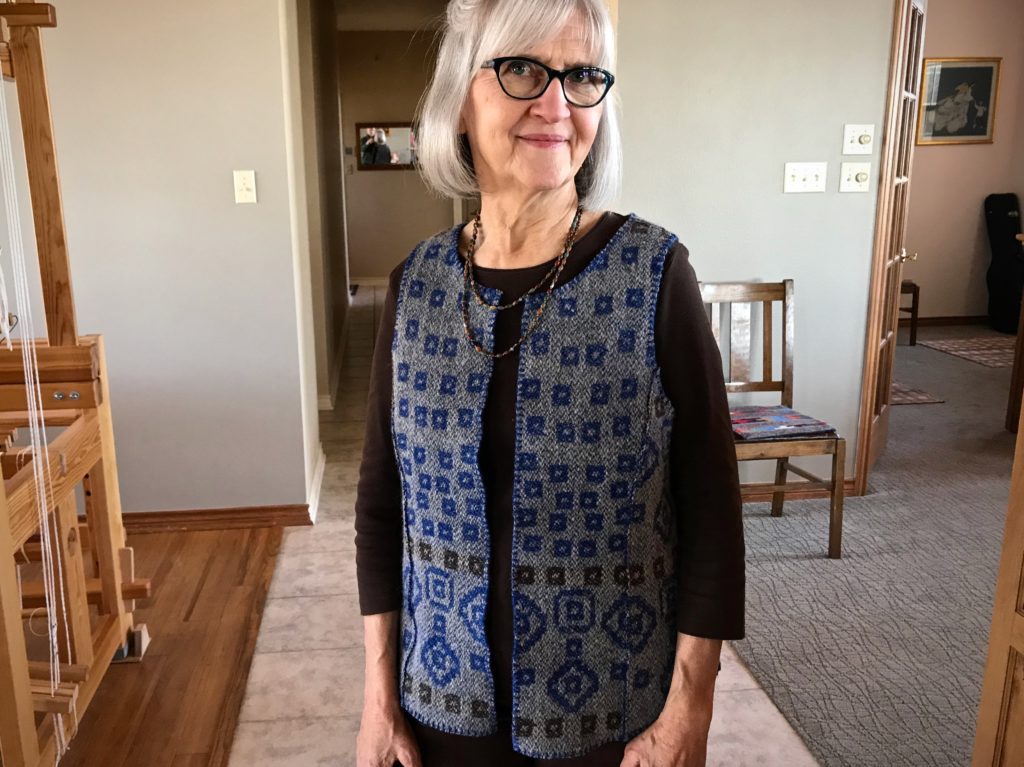
Cutting lines marked with basting stitches.Tracing paper is used for the pattern, which allows me to clearly see the placement of the pattern on the fabric.Making an X with the basting thread at the corners. This helps clarify exactly where to stitch and cut. (One of Elisabeth’s helpful tips.)Buttonhole twist thread is used for the basted lines. It makes an easy guide for the sewing machine needle to follow. The zigzag stitches are just inside the line.Basting stitch on the front side piece is a guide for positioning the lapped seam.Ready for hand work.Two rows of running stitches around the armholes and neck opening.Blanket stitch is used to embellish and strengthen the armholes, neck, front edges, and lower edge of the vest.Reverse side.
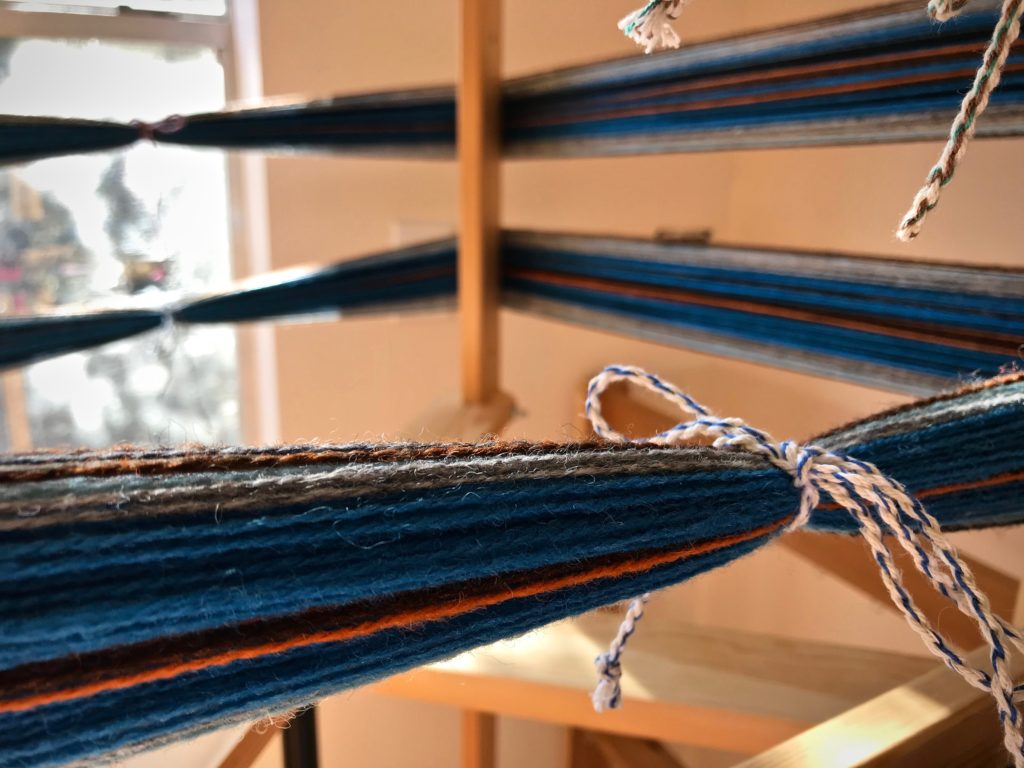
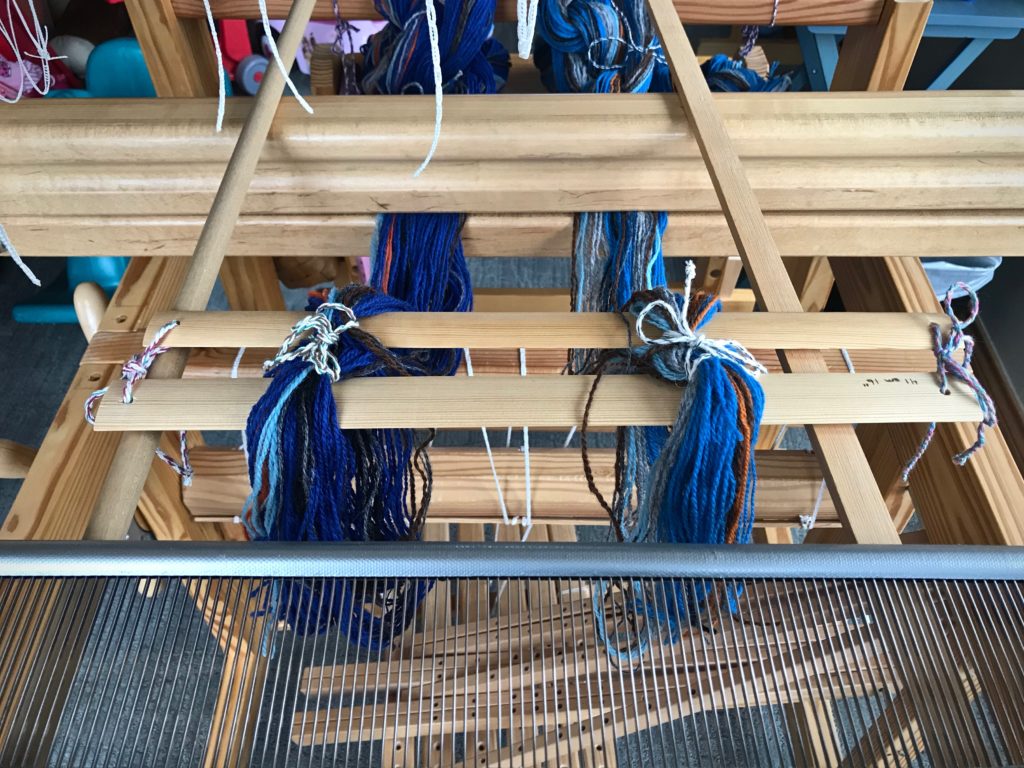
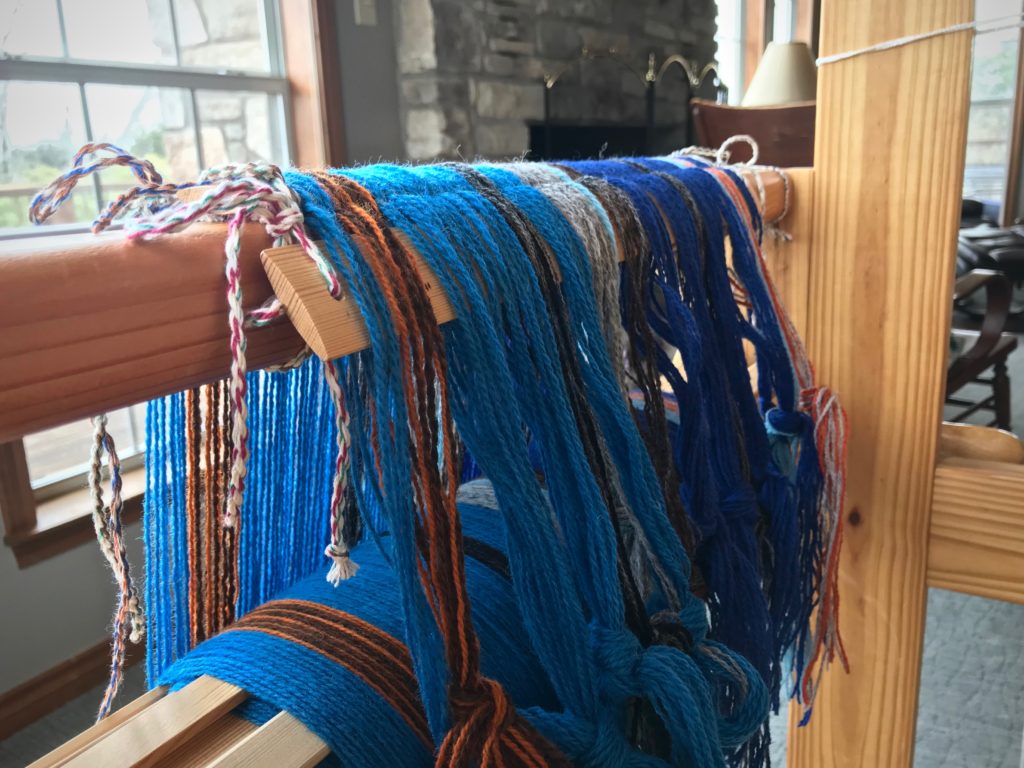
It’s not a good feeling when you discover that you did not tie the lease cross on one of the warpbouts. When you wind a warp, it’s the cross that keeps the ends in proper order. I carefully tie both sides of the cross before removing the bout from the warping reel. This time, though, I inadvertently tied only part of the cross, which is, essentially, not tying the cross at all.
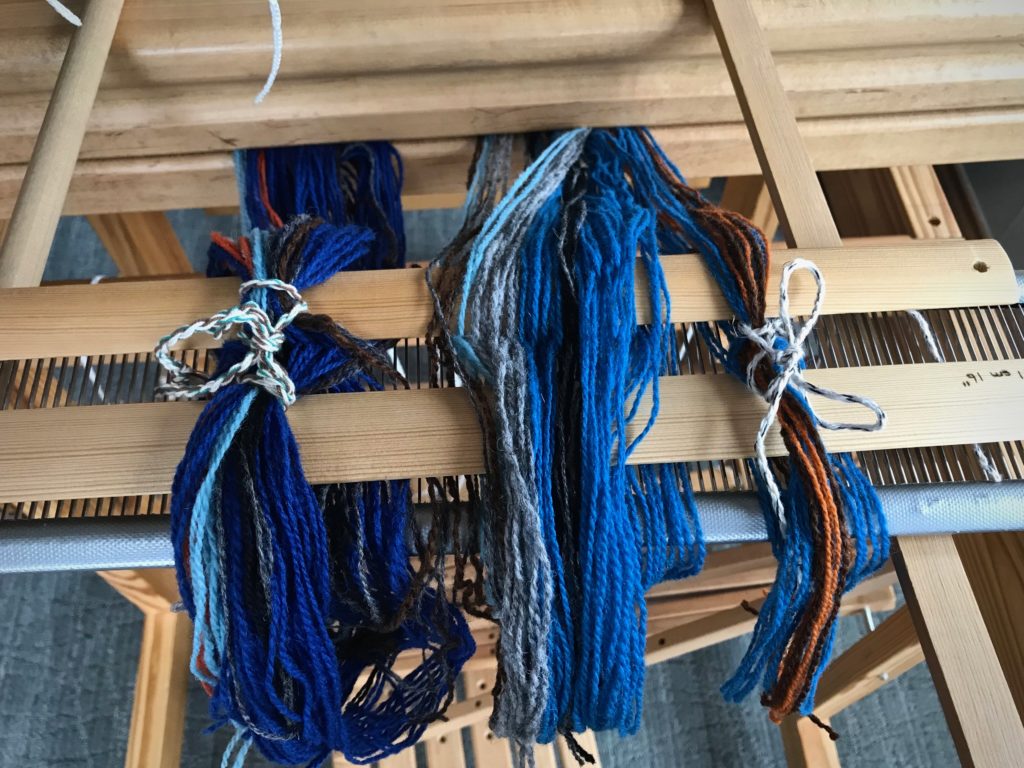
Working from right to left, I separate one pair of ends at a time to try to recreate the proper order of the warp ends. After every few strands, I insert the lease sticks and tie the cross. Fortunately, the bout on the left was tied properly before it left the warping reel.Ready to pre-sley the reed and beam the warp.
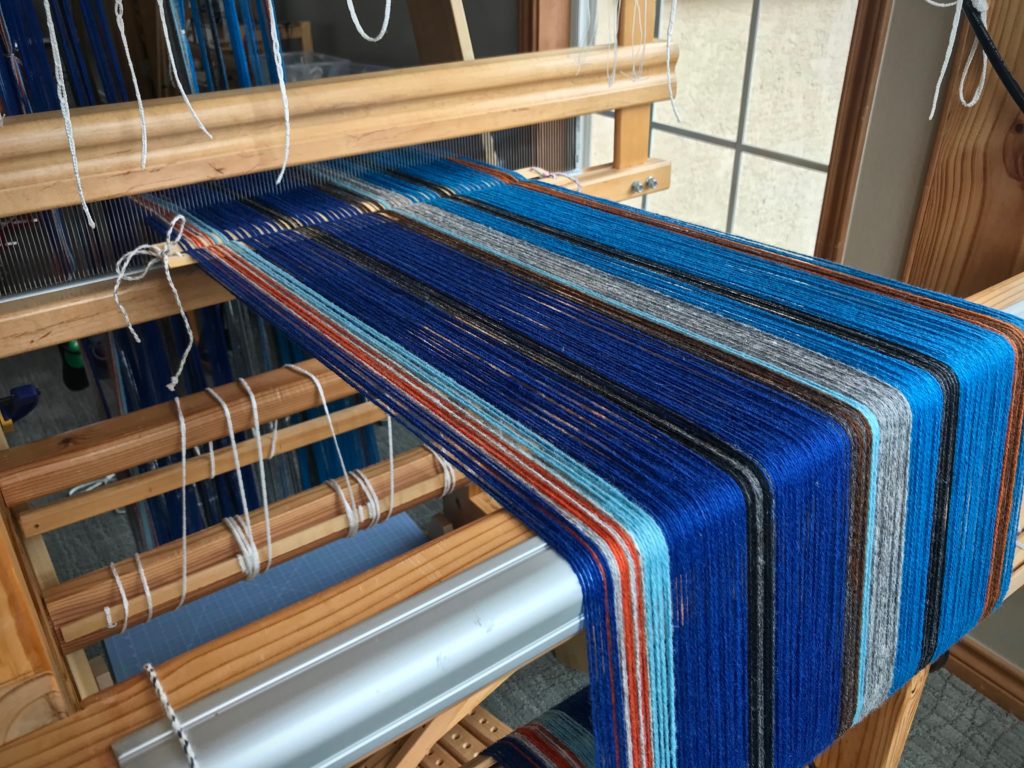
I make my best guess to recreate the thread order, inserting the lease sticks little by little. And as I beam the warp there are several twists that threaten the whole process, getting hung up at the reed. But I coax the warp through at a snail’s pace, not forcing anything.
I beam the warp and stop frequently to check the yarn for twists on the front side of the reed. No combing my fingers through the warp, which could lead to uneven warp tension. I lightly flick any twist-ups in front of the reed with my fingers to help keep them moving.
Eventually, the warp is successfully beamed. What a relief!
Now that the warp is beamed, there is no more concern about misaligned ends. The ends are now in the proper order as they appear on the lease sticks.
Things that matter become misaligned when we or those around us mess up. Some of the ensuing twists and conflicts spell disaster. It’s not a good feeling. We start to imagine that we’re alone and forgotten. You are not forgotten. Baby Jesus of the real Christmas story grew to manhood for a clear purpose. He came in pursuit of you and me, gently calling, never forcing, ever loving us, to put our threads back in order again through his cross. What a relief!