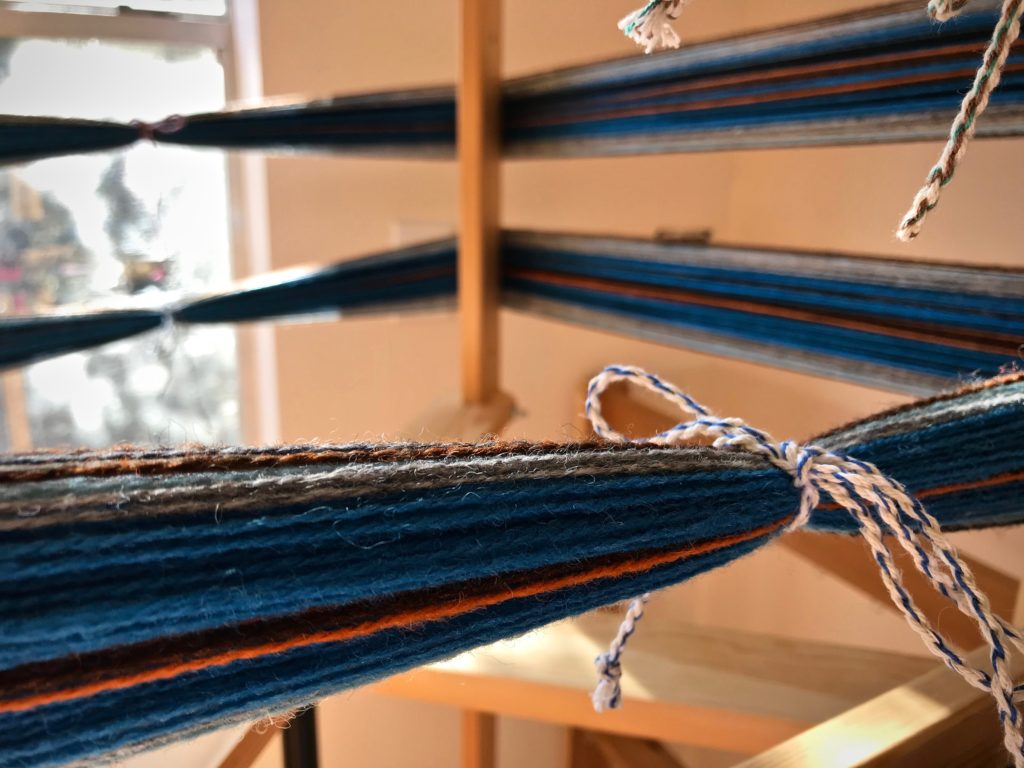
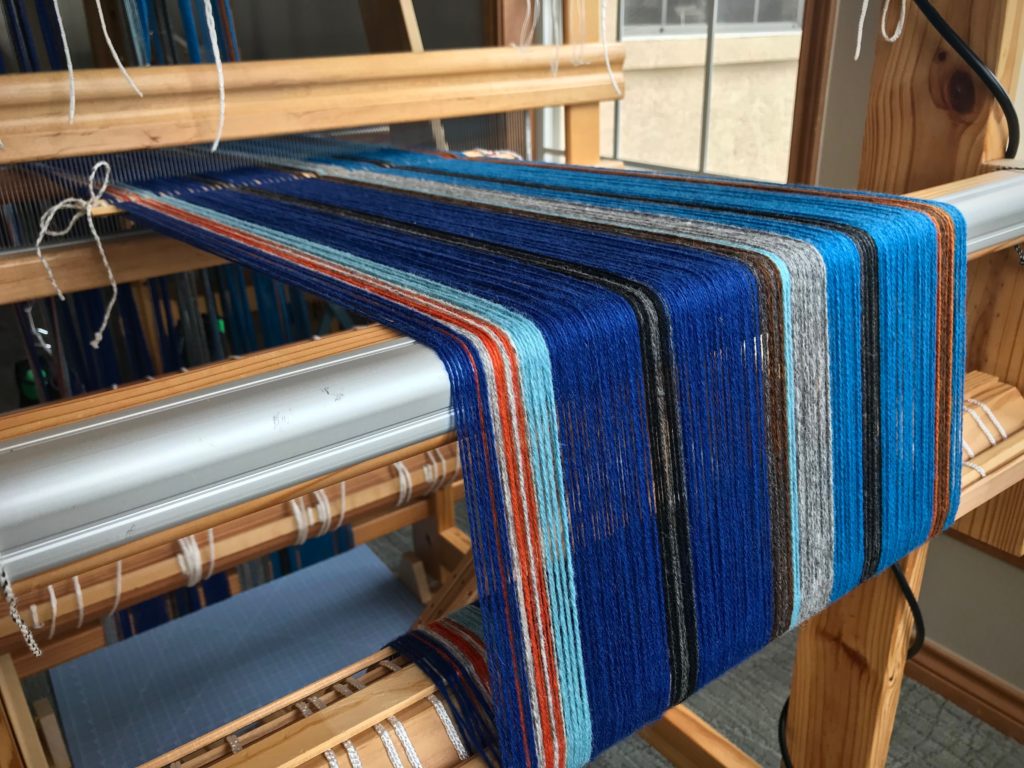
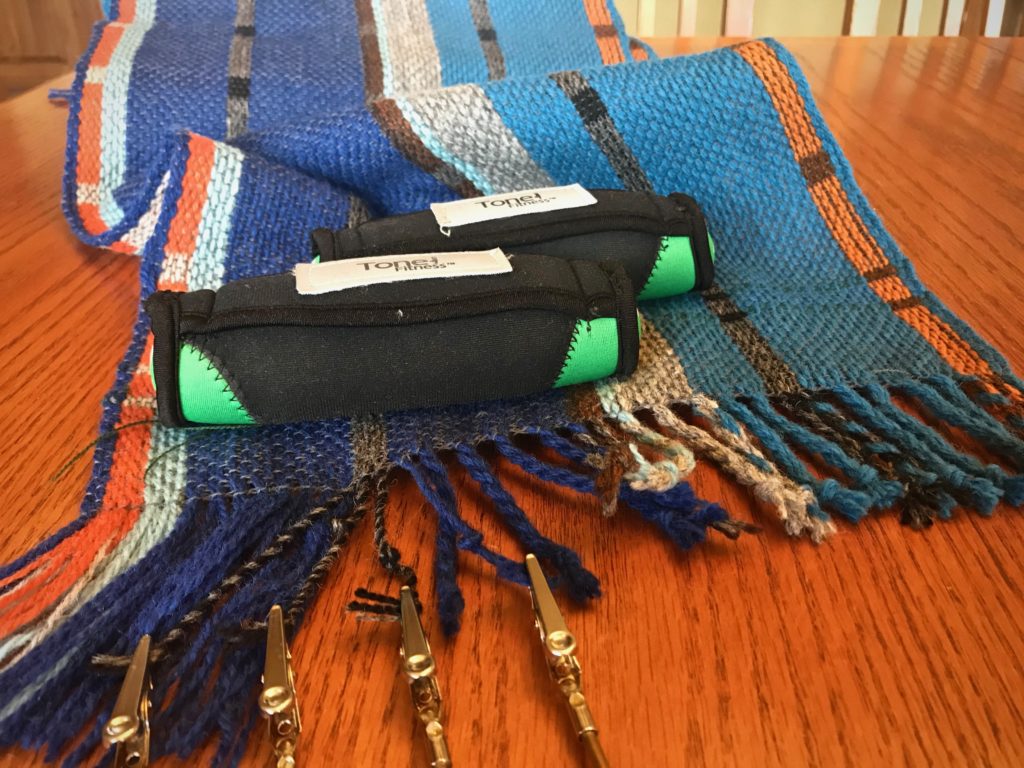
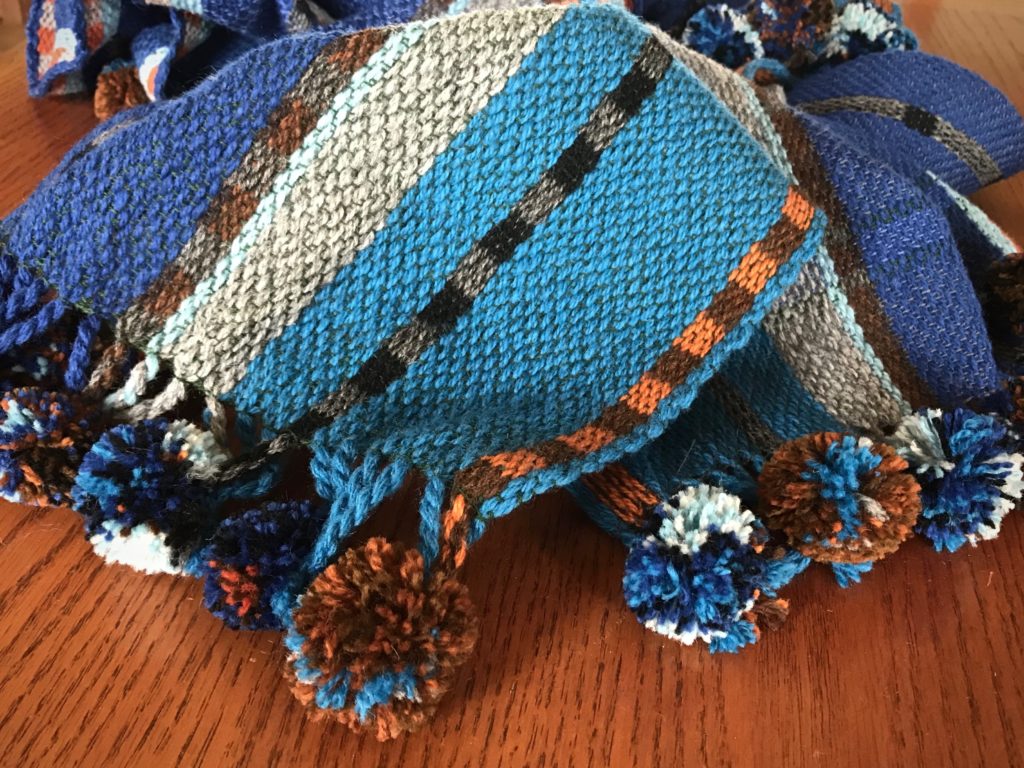
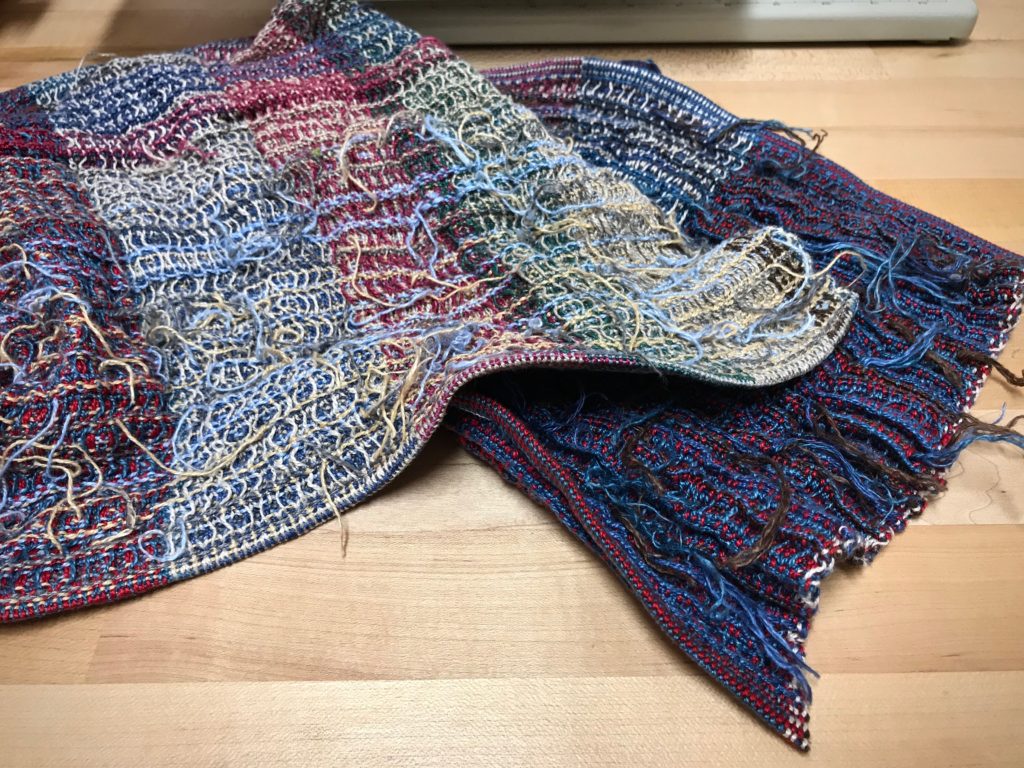
You could say I finished these scarves too late. Winter in Texas has come and gone. But I prefer to think of it as considerably early. When cool weather comes back around in a few months, I’ll be ready. I began with the draft for the lovely Stardust scarf, designed by Mona Nielsen, published in Happy Weaving, from VävMagasinet, p.74. I simply substituted the yarn and colors in the book with what I had on hand.
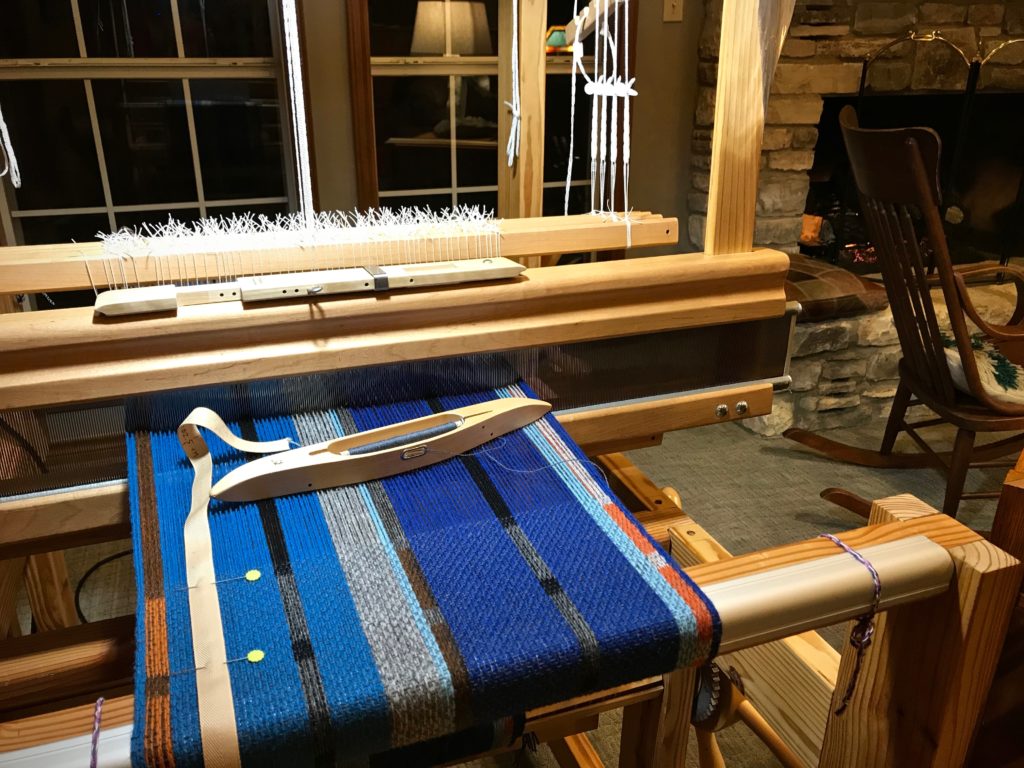
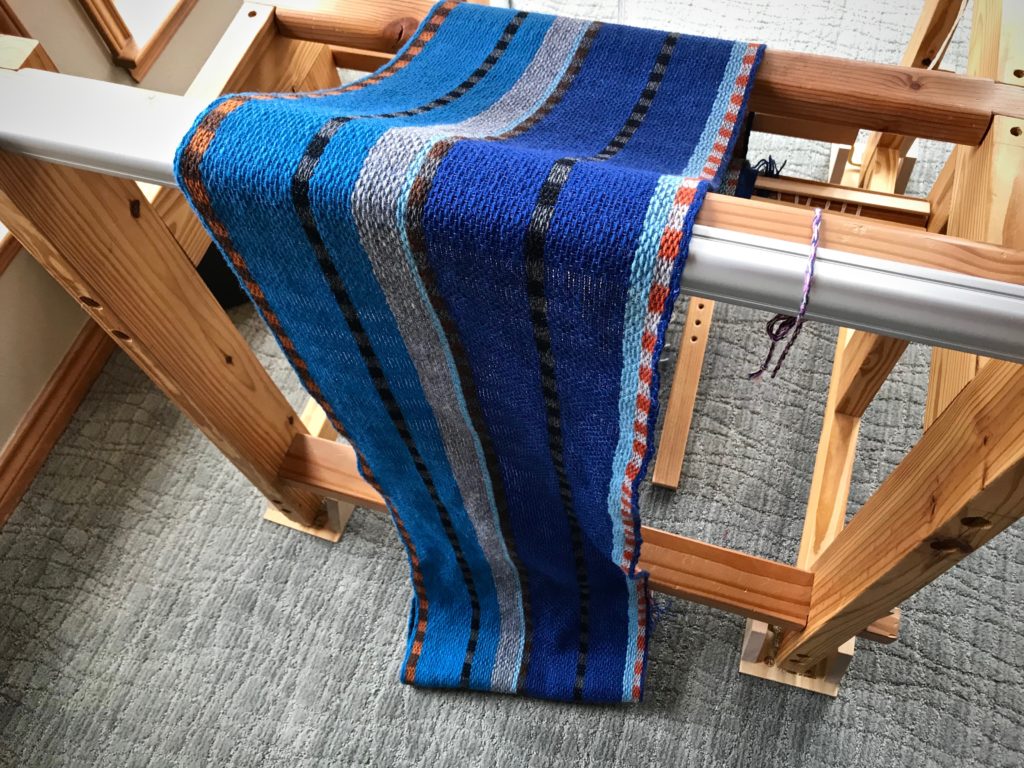
Warp is mostly 6/2 Tuna wool, with some 7.5/2 Brage wool included.Made with yarn on hand. This means that additional stripes have been added to the plan.Weaving by the fire in the middle of winter. Mora 20/2, a fine wool, is used for weft.Two scarves coming off the loom.Fringes are cut and twisted.
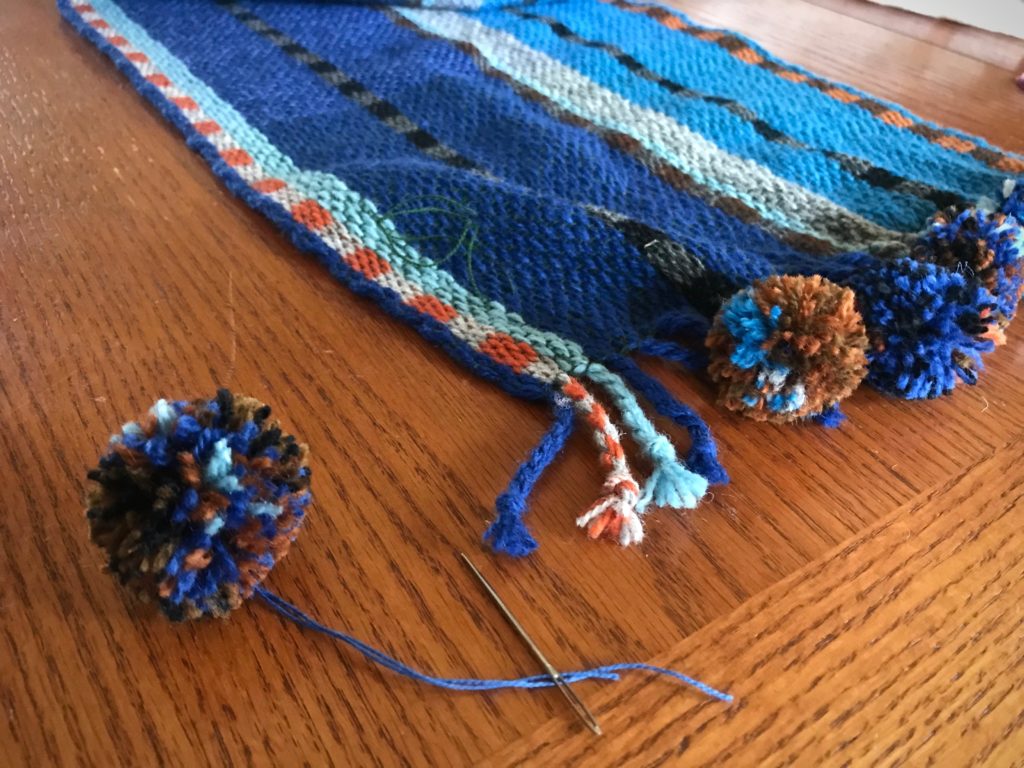
The scarves are delightful, but the icing on the cake is the addition of fluffy, furry pompoms, an embellishment with youthful flair. And that is exactly what I will put on at the first sign of autumn chill.
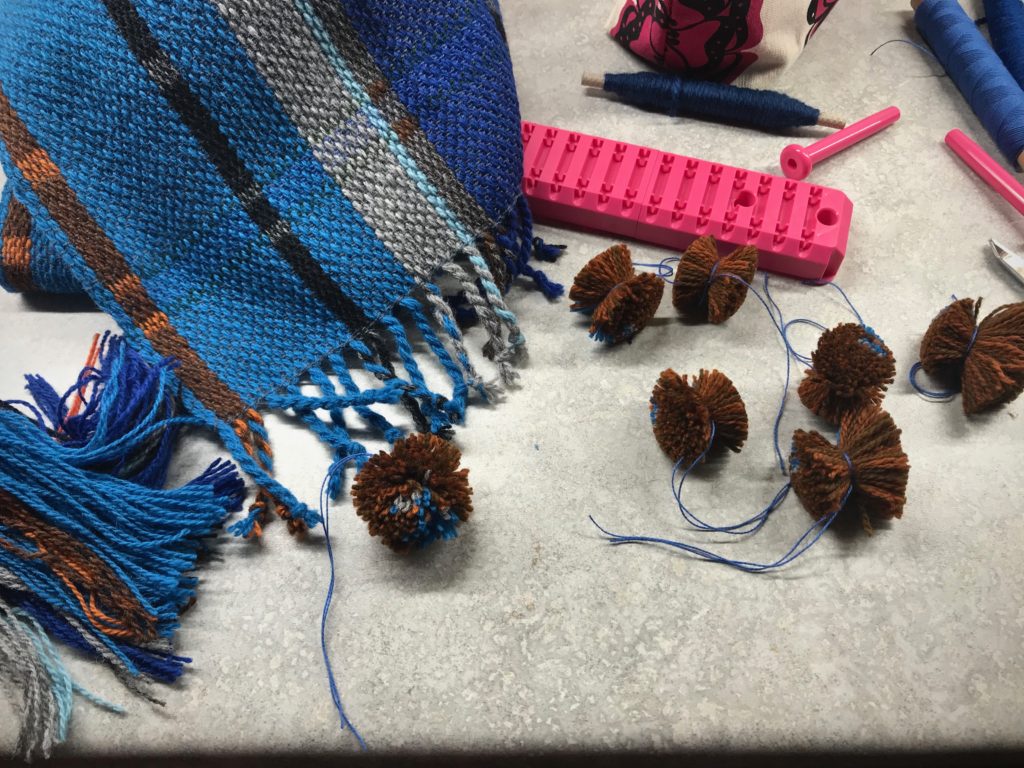
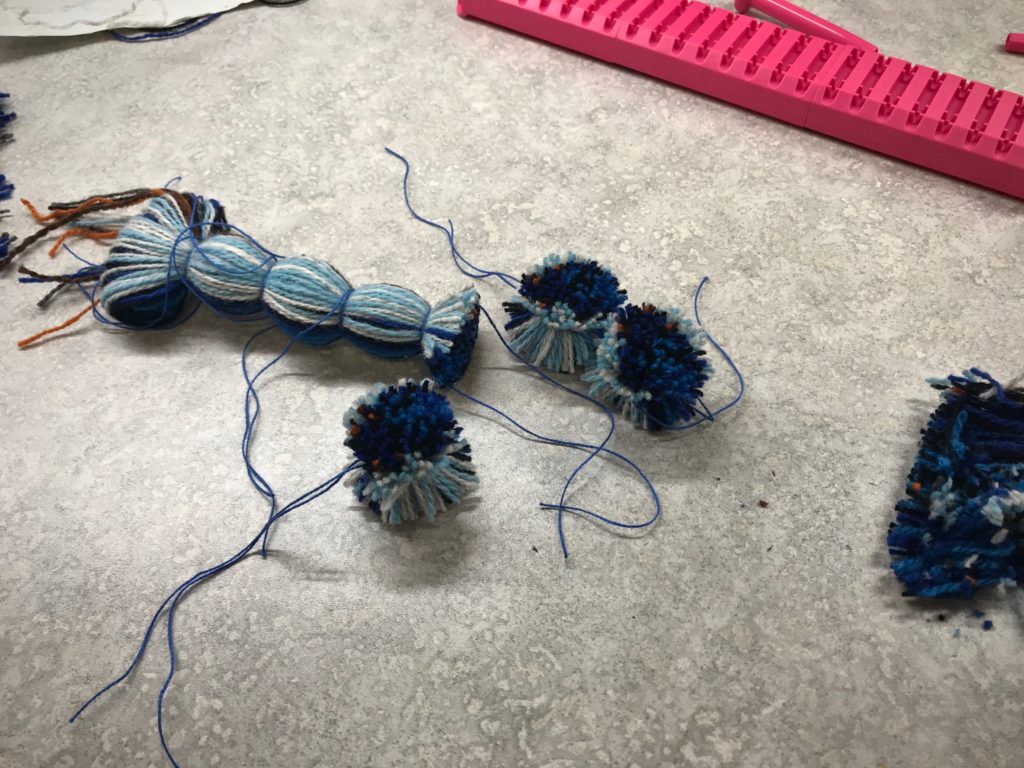
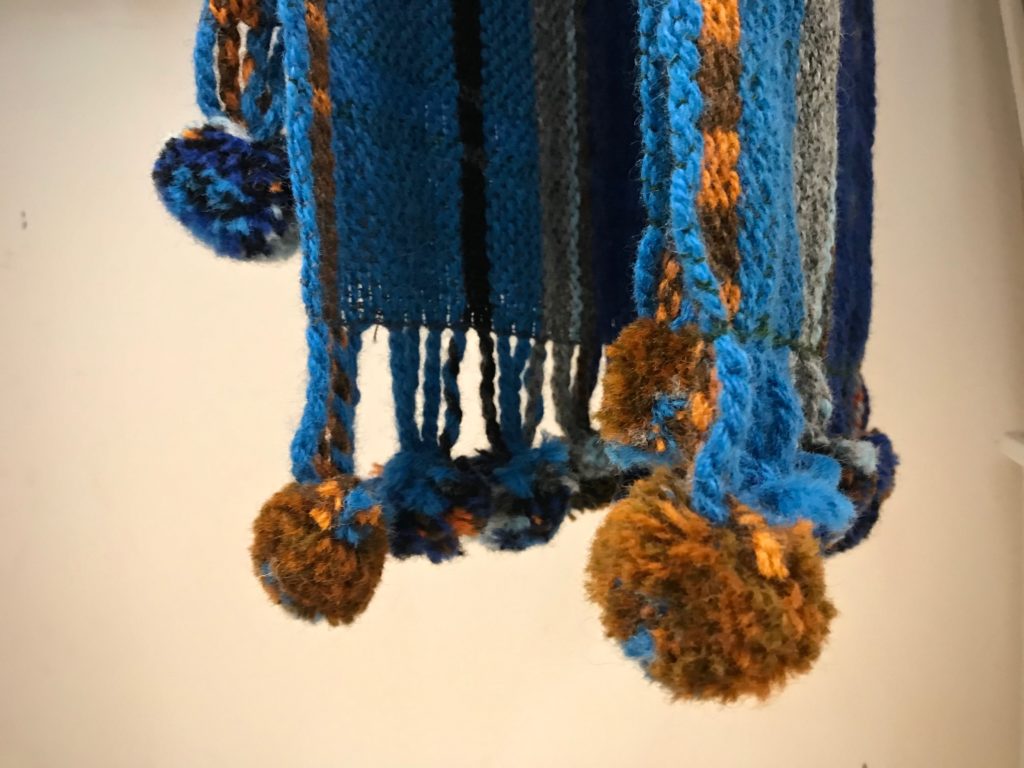
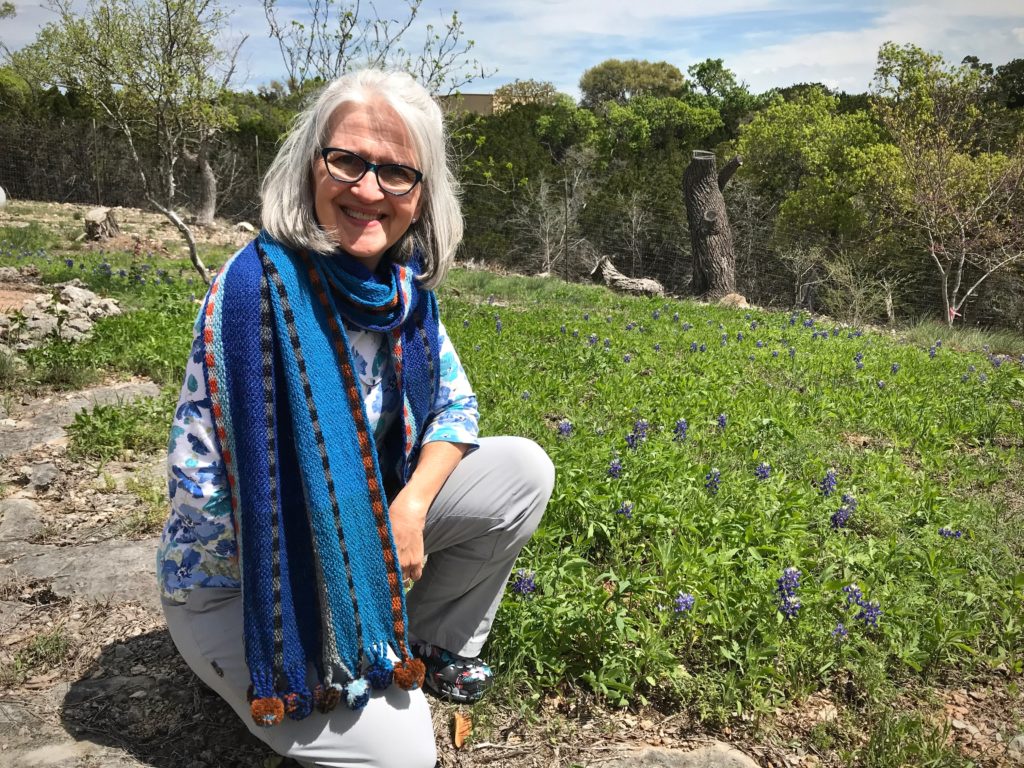
Some of the thrums are used in making pompoms.With the Pom and Tassel Maker by Red Heart I can make seven pompoms at a time. I wrapped the yarn around 100 times, making full and thick pompoms.Each furry ball is shaped and trimmed. I used 8/2 cotton for the 12″ tie around the center of the pompoms.Each pompom is stitched to 3 – 4 twisted fringes. Seven pompoms at each end of the scarf.Now, the scarves are ready for wet finishing. Notice how you can see the separate strands of yarn in the pompoms before they are washed.Scarves have been washed by hand in warm water in a large sink, with Eucalan delicate wash. I purposely gave them as much agitation as I could by hand. They are hanging to dry. Notice how the pompoms have slightly felted, making them even more soft and furry.Winter scarf amid spring bluebonnets in Texas hill country.
Some things are certain. The sun will rise tomorrow. The seasons will follow their schedule. The faithfulness of the Lord our God will never end.
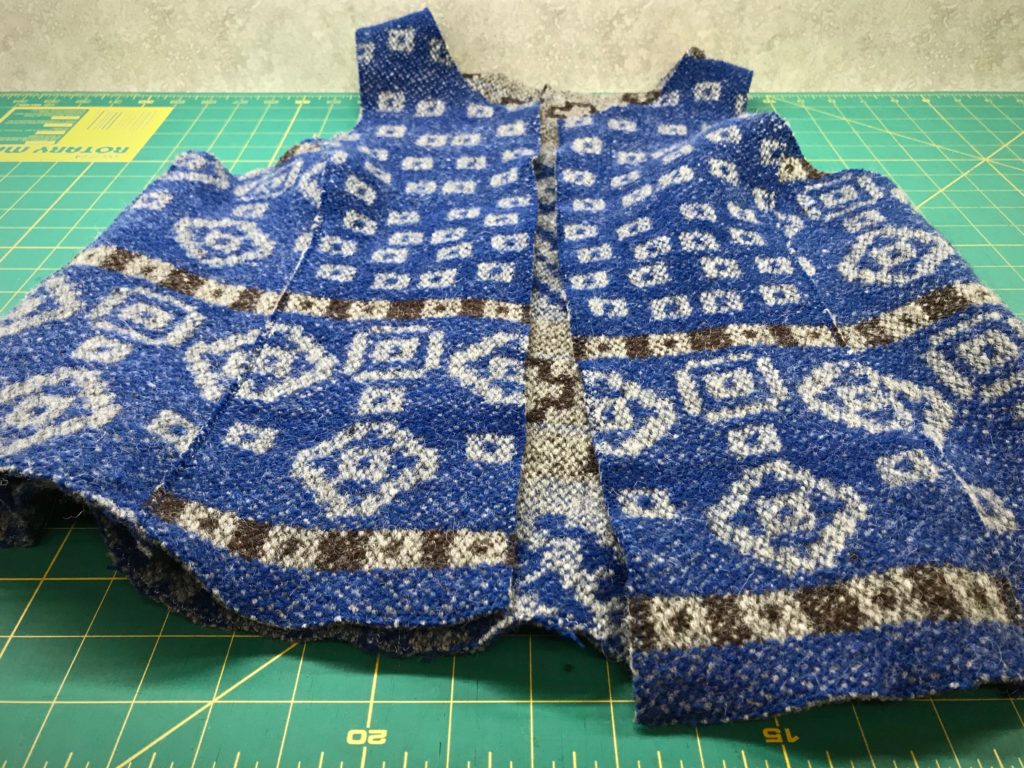
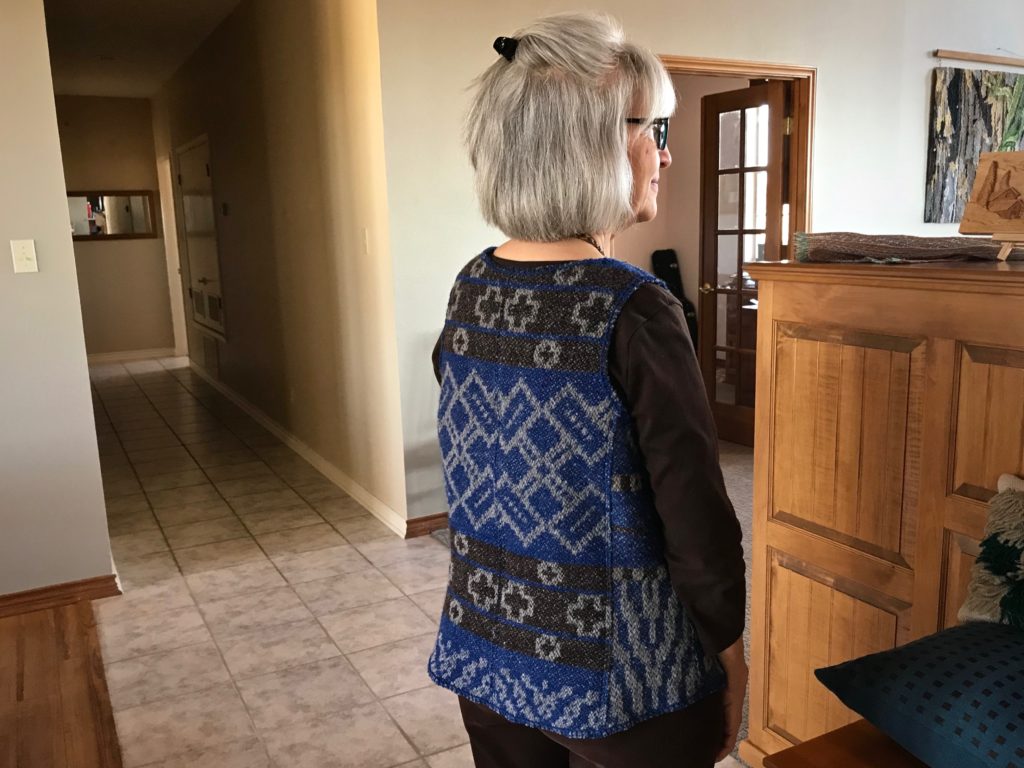
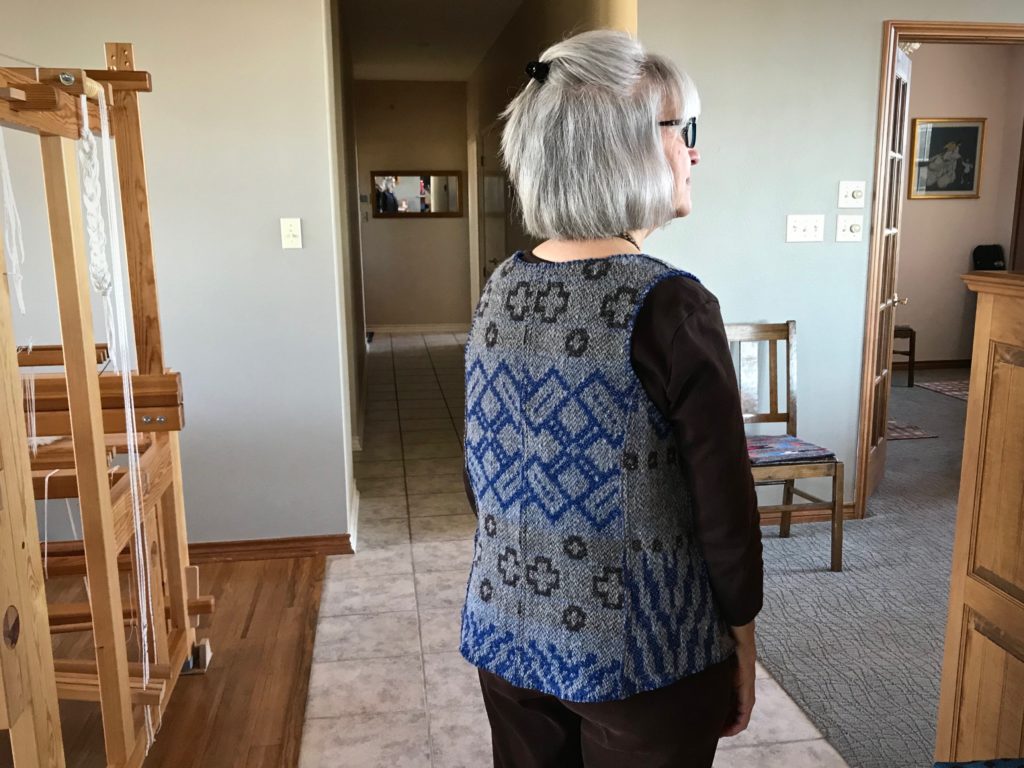
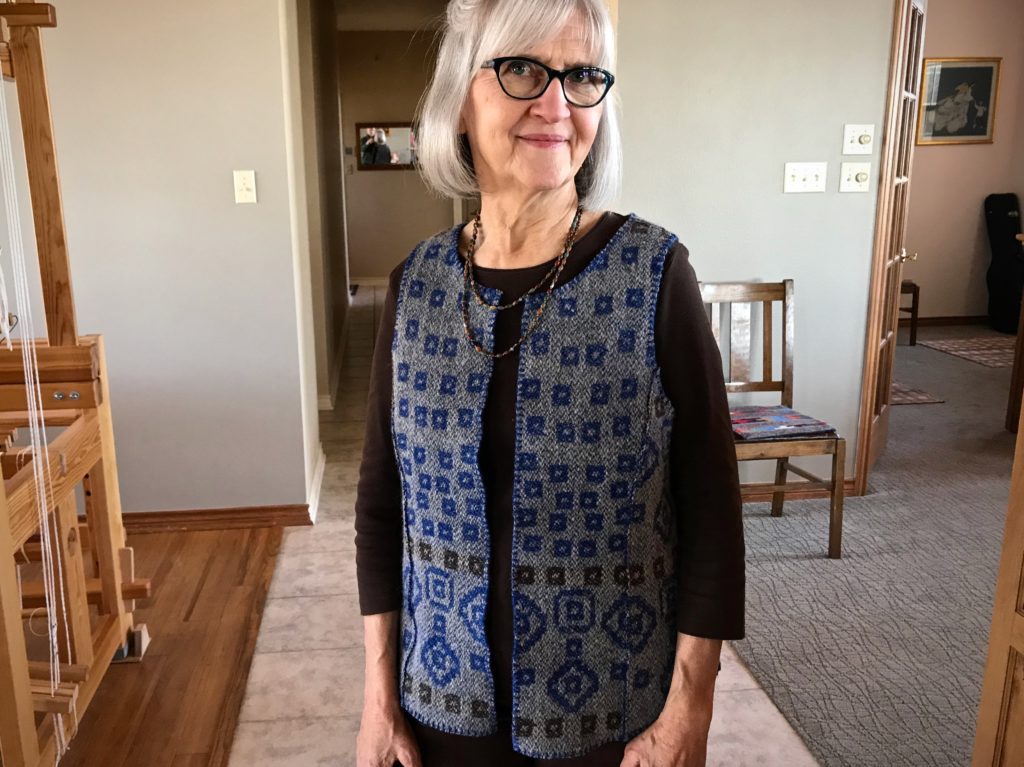
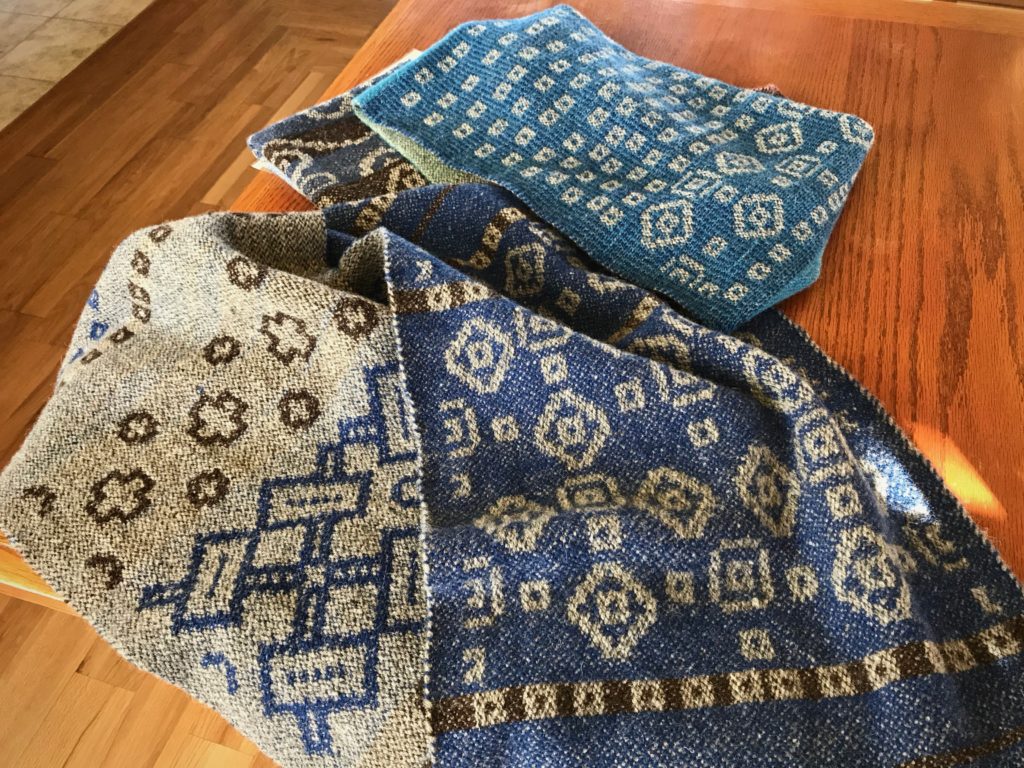
I warped the drawloom with gray 6/2 Tuna wool several months ago with the goal to make fabric for a reversible vest. The beautiful drawloom fabric turned into dreamy garment-worthy fabric after washing! (See Process Review: Drawloom Jewels)
And then I hit two huge hurdles.
Hurdle 1. Fit.
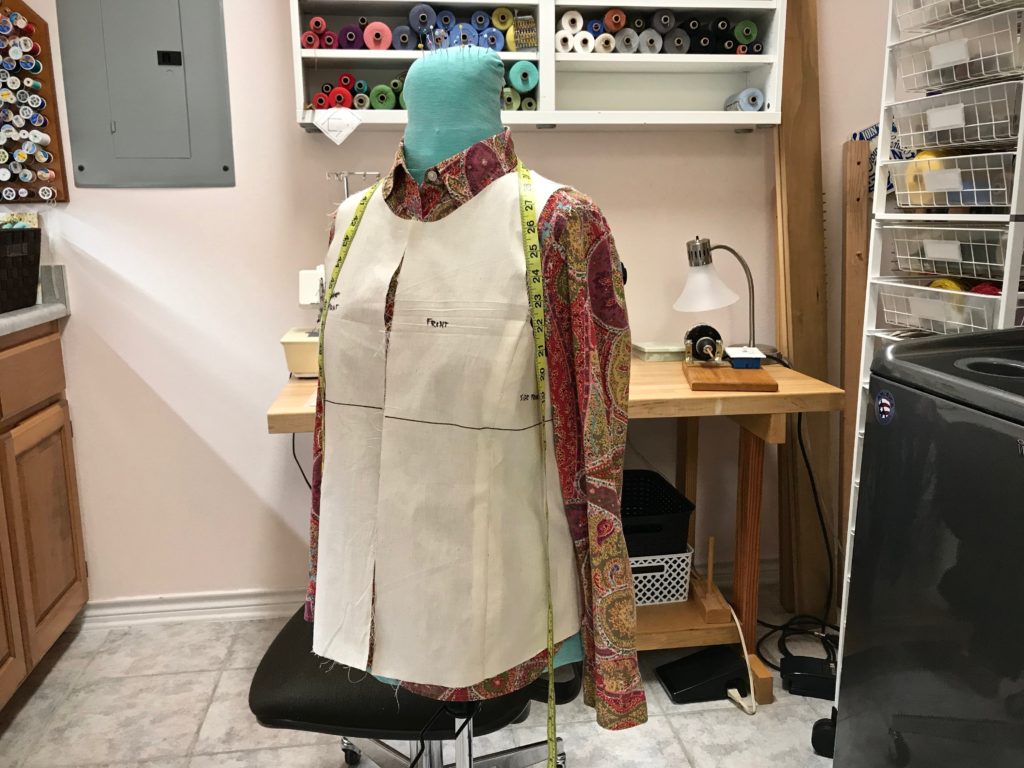
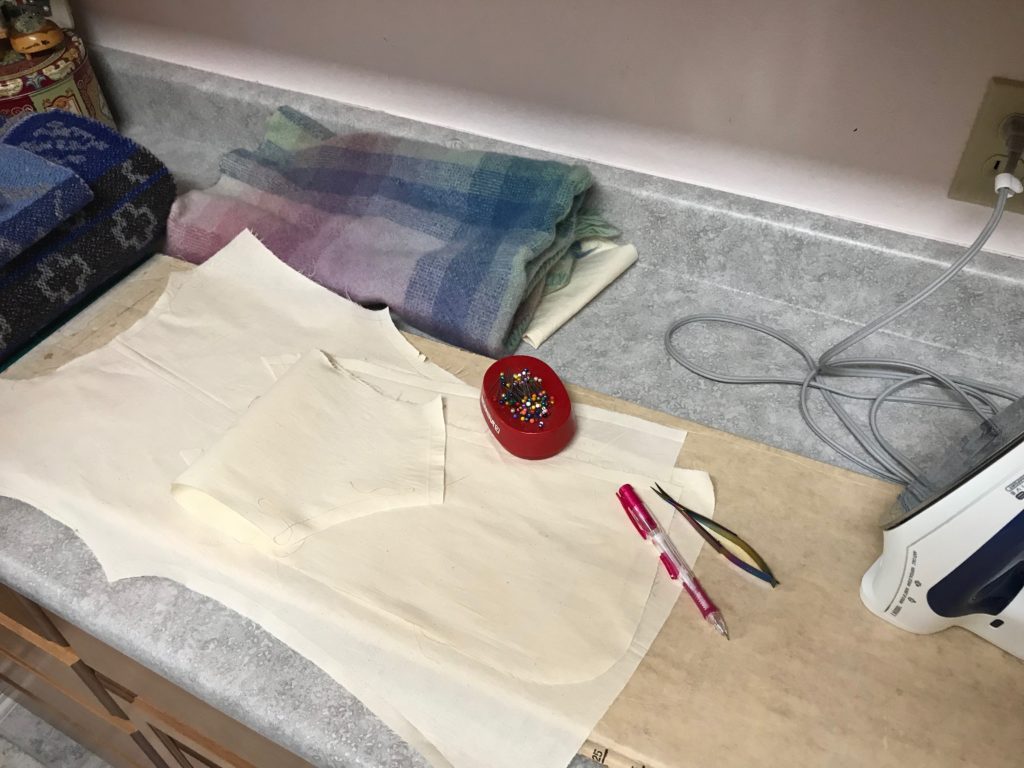
In order to cut into handwoven drawloom fabric, I need assurance that the end result will fit me. My sewing assistant helped me refine a commercial pattern.
Meet my sewing assistant, Miss Fit.
After umpteen muslins and two or three mock-ups, I finally got the fit I was after. Confidence to cut!
Hurdle 2. Garment Construction Uncertainties.
Do some detail studies, my dear friend Elisabeth said to me. Her advice got me over the insecurity hurdle. A detail study is making a small sample to test a hypothesis or answer a question. I made a list of everything I wanted to know about constructing a vest from this type of handwoven wool fabric. And then, using some of the extra fabric from the sampling at the beginning of the warp, I did a detail study for each point on the list. Twelve detail studies in all.
(If you are interested in seeing my complete list of 12 detail studies for this project, click HERE to send me an email and ask for my “Detail studies”.)
Here are a few examples of my findings:
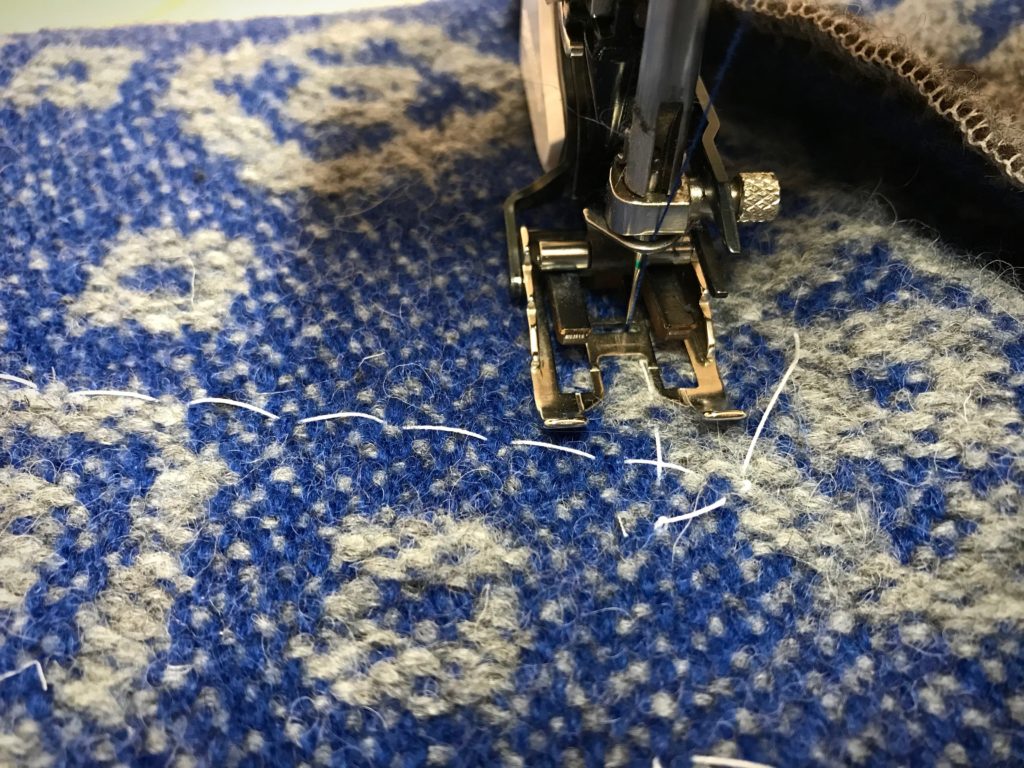
Zigzag before or after cutting? // Zigzag before cutting, stitch width 3, stitch length 2 1/2
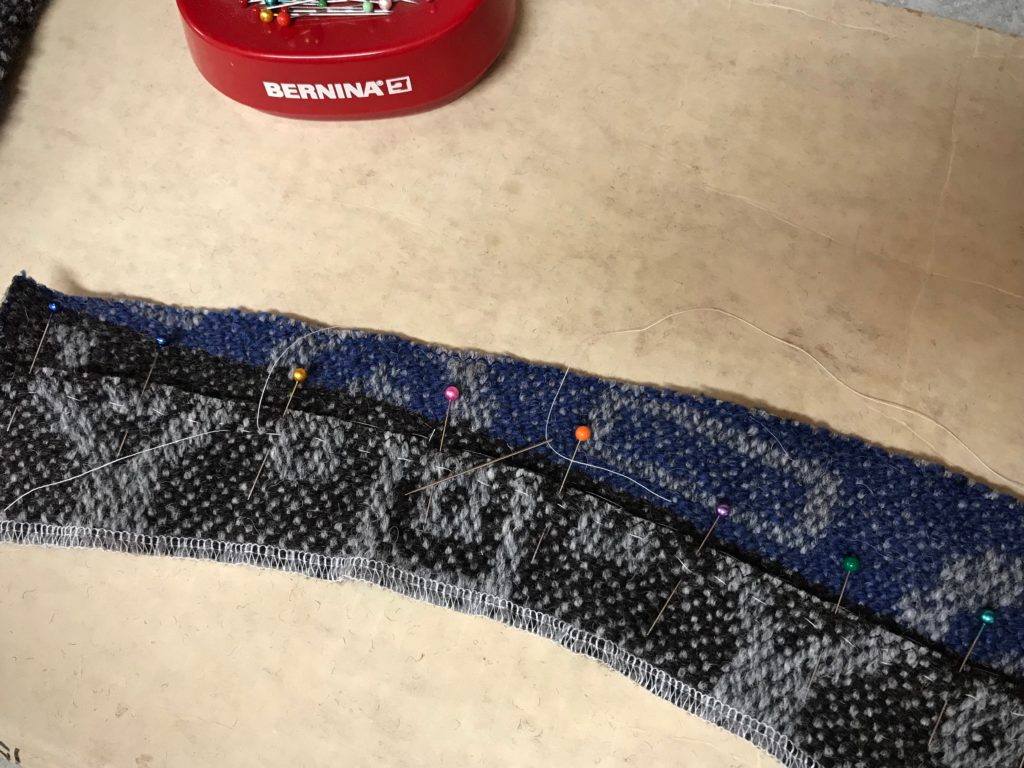
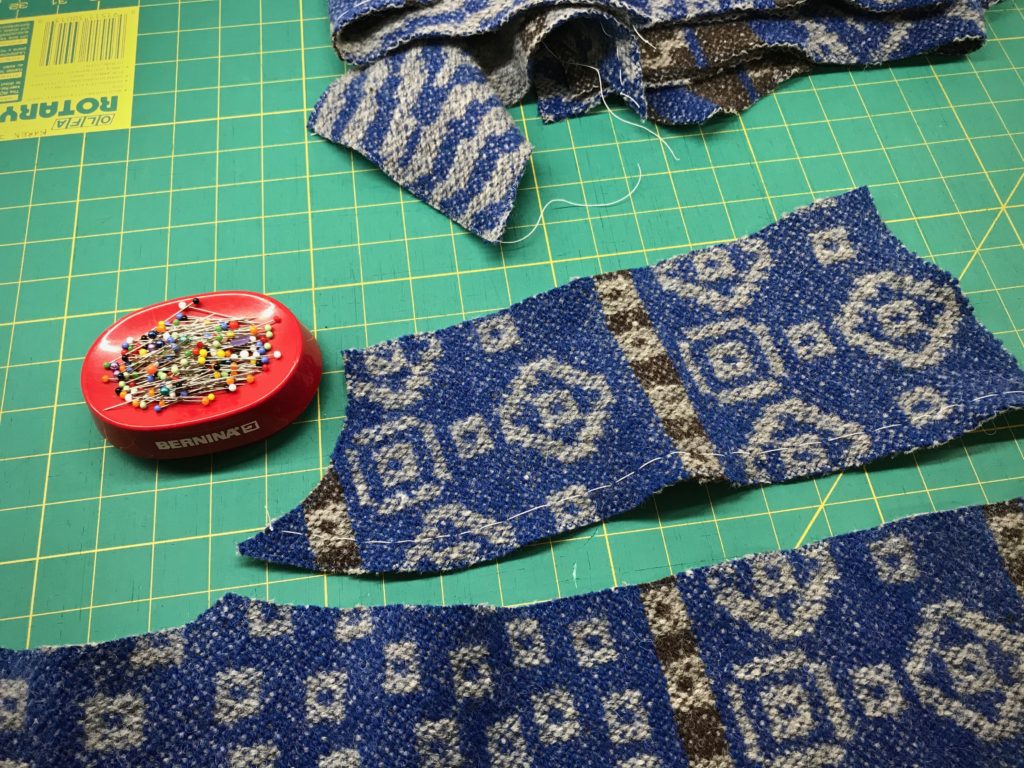
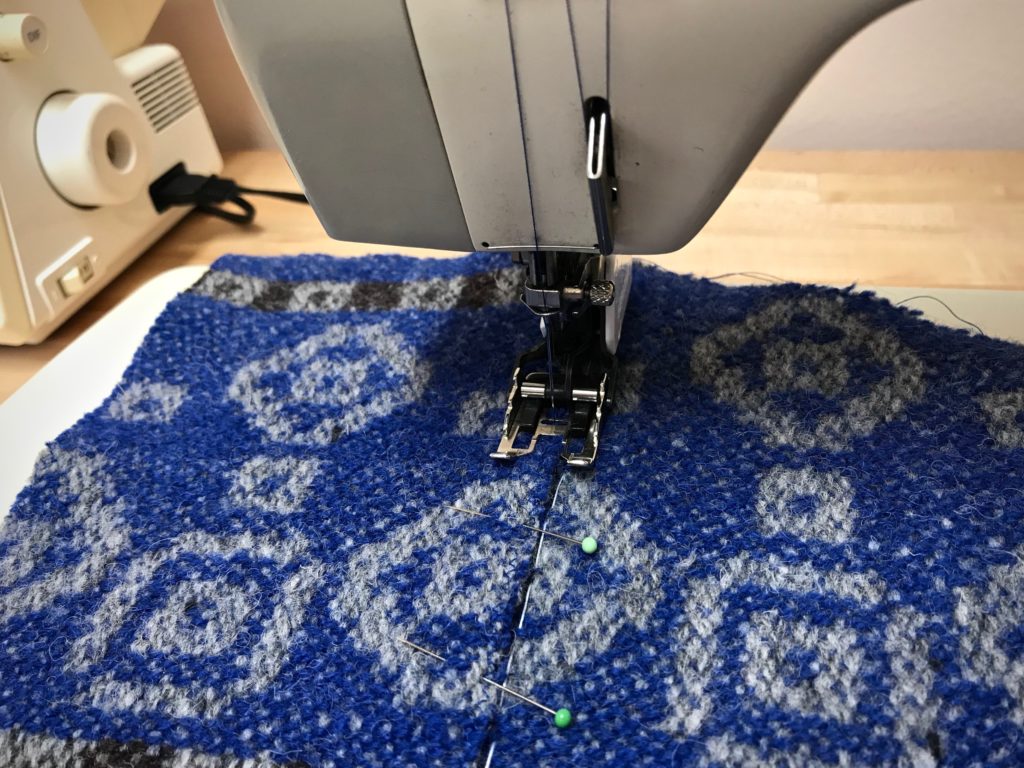
Lapped seams? 3/8”, 1/2”, 5/8”? // Yes, lapped seams, overlap 1/2”, stitch basted line to guide placement
Neck and armhole curves – staystitch with hand running stitches or machine stitching? 1 row or 2? // Hand running stitches, 2 rows
Detail study testing lapped seams.
From the results of the detail studies I was able to compile a step-by-step garment construction plan. Confidence to sew!
Follow my process pictures of the garment construction to see the results:
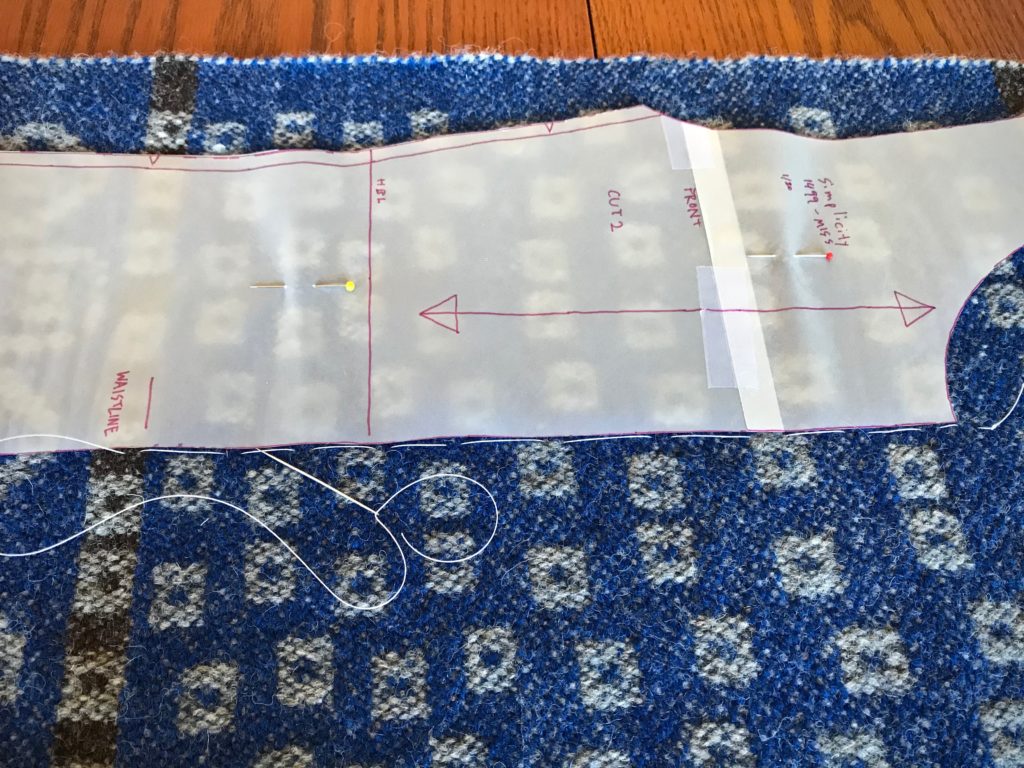
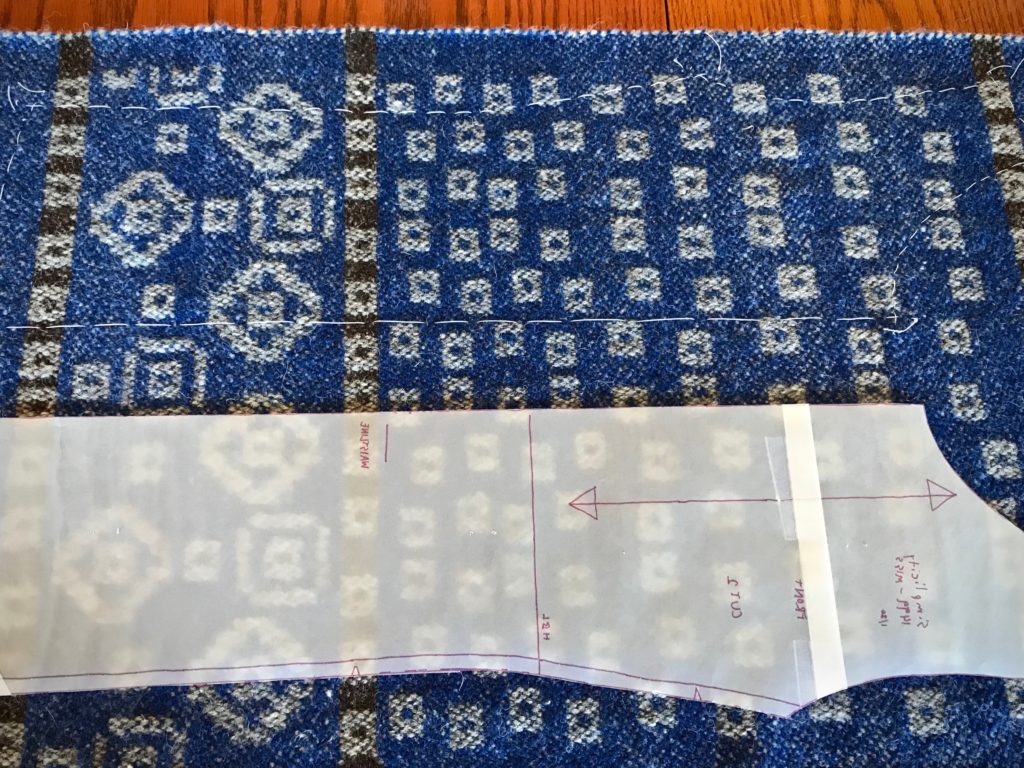
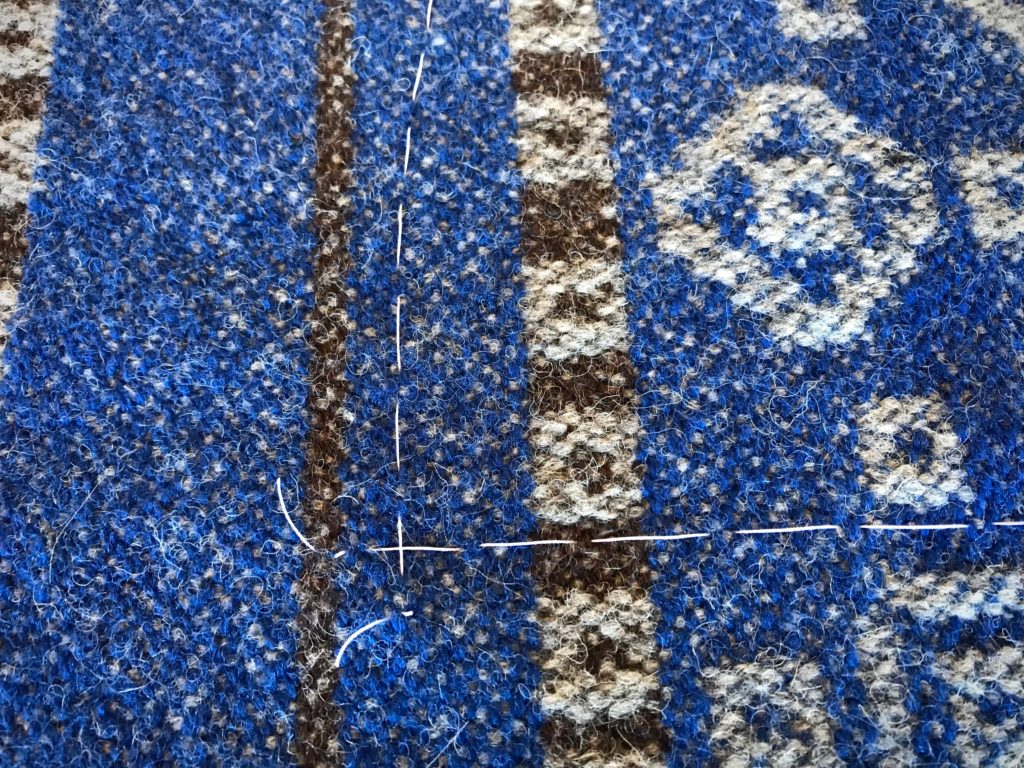
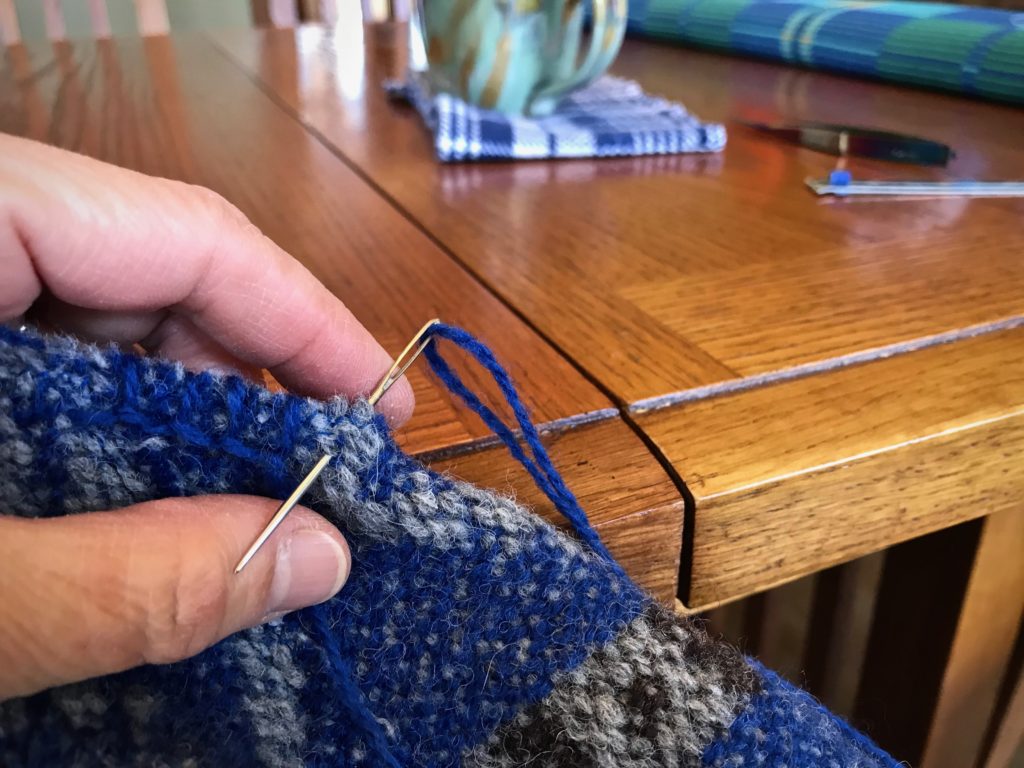
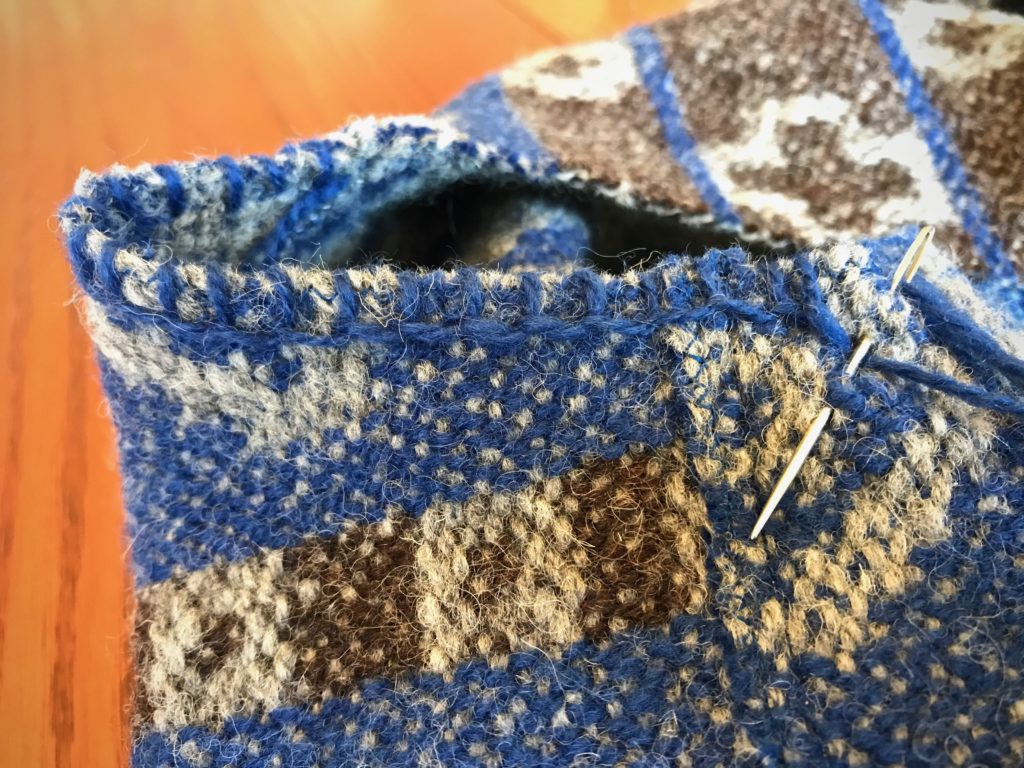
Cutting lines marked with basting stitches.Tracing paper is used for the pattern, which allows me to clearly see the placement of the pattern on the fabric.Making an X with the basting thread at the corners. This helps clarify exactly where to stitch and cut. (One of Elisabeth’s helpful tips.)Buttonhole twist thread is used for the basted lines. It makes an easy guide for the sewing machine needle to follow. The zigzag stitches are just inside the line.Basting stitch on the front side piece is a guide for positioning the lapped seam.Ready for hand work.Two rows of running stitches around the armholes and neck opening.Blanket stitch is used to embellish and strengthen the armholes, neck, front edges, and lower edge of the vest.Reverse side.
This is the kind of weaving results that makes me giggle like a child. Waffle weave is one of those things I have been intrigued about for some time, and have wanted to give it a try. Will it really buckle up into waffled wrinkles? Will linen do that? Will it be even better than I expect? Yes, yes, and YES. Talk about transformation!
Taken from thrums, each length of thread is added with a square knot, which makes for slow quill winding. And slow weaving, as I untie each knot that comes along, and overlap weft tails in the shed.Shaggy thick blue linen weft tails cover the surface.
Everything in these waffle weave washcloths is linen that has been leftover from previous projects. The tail end of linen tubes, quills that didn’t quite get used up, thrums, and threading missteps that gave me skinny warp chains of several meters. The warp is 16/2 linen, but the weft is everything from fine linen threads, to bundles of threads, to coarse linen rug warp. I discovered, as you will see, that the thicker the weft, the more pronounced the wrinkles. The thickest wefts have given me delightful accordion pleats.
Wet-finished linen waffle weave has a surprisingly soft hand. After hemming, I am trimming the weft tails to 1/4″, leaving a hint that this is made of leftovers.
Please enjoy this process video of the making of leftover linen waffle weave washcloths! Watch to the end to see the squishiness of this unusual cloth.
Don’t think that this is the end of waffle weave. I am already thinking of all the interesting possibilities…
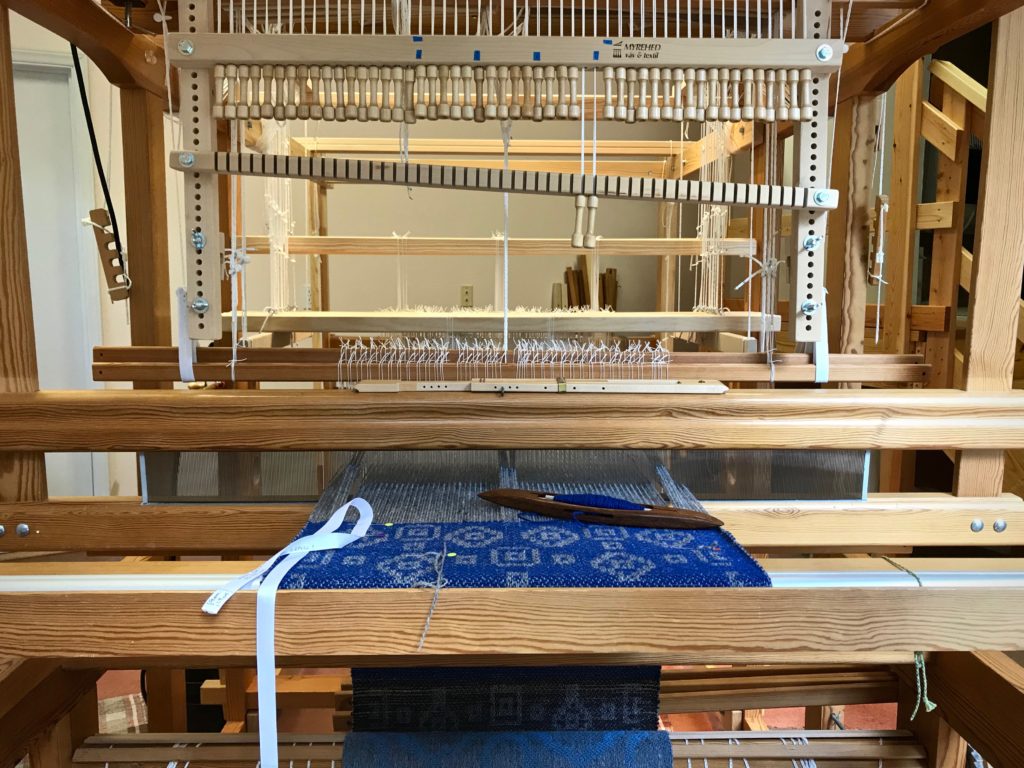
It is exciting when Maverick walks by. Although he never comes in my drawloom studio, he does stop for a moment to look my way. You’ll see him in the slideshow video below. But what happens inside the studio is even more exciting, especially when it’s time for cutting off!
Drawloom, set up with sixteen pattern shafts. I graph out the designs in Excel on my computer. Then, I print out the gridded pattern to use at the loom. I keep my place in the pattern with a magnet and magnet board made for cross-stitch embroidery.
This is Tuna wool, so I expect some shrinkage, but how much? I take careful measurements before and after wet finishing. Besides the main piece of fabric that I’m using for a garment, I have two sample pieces. I can experiment with the samples before wet finishing my garment fabric.
Here are my findings: Sample 1. Hand wash and air dry.
10% shrinkage in width; 13% shrinkage in length.
Sample 2. Machine wash (3 minutes agitation on a gentle cycle, with a short spin) and machine dry (low setting) till damp, finish with air drying.
13% shrinkage in width; 14% shrinkage in length.
~How to do the shrinkage calculations~ First measurement (on the loom) minus the second measurement (after washing and drying) equals the difference. The difference divided by the first measurement equals the percentage difference. For example, 50 cm – 43.5 cm = 6.5; 6.5 / 50 = 0.13; 13% shrinkage.
The first sample fabric is softer than the unwashed fabric, but not as soft as I’d like. The second sample fabric is beautifully soft, like a nice warm sweater. So, with confidence, I wet finish the garment fabric—with great results. It’s perfect for the fall/winter vest that I’ll soon be wearing, made from this fabric!
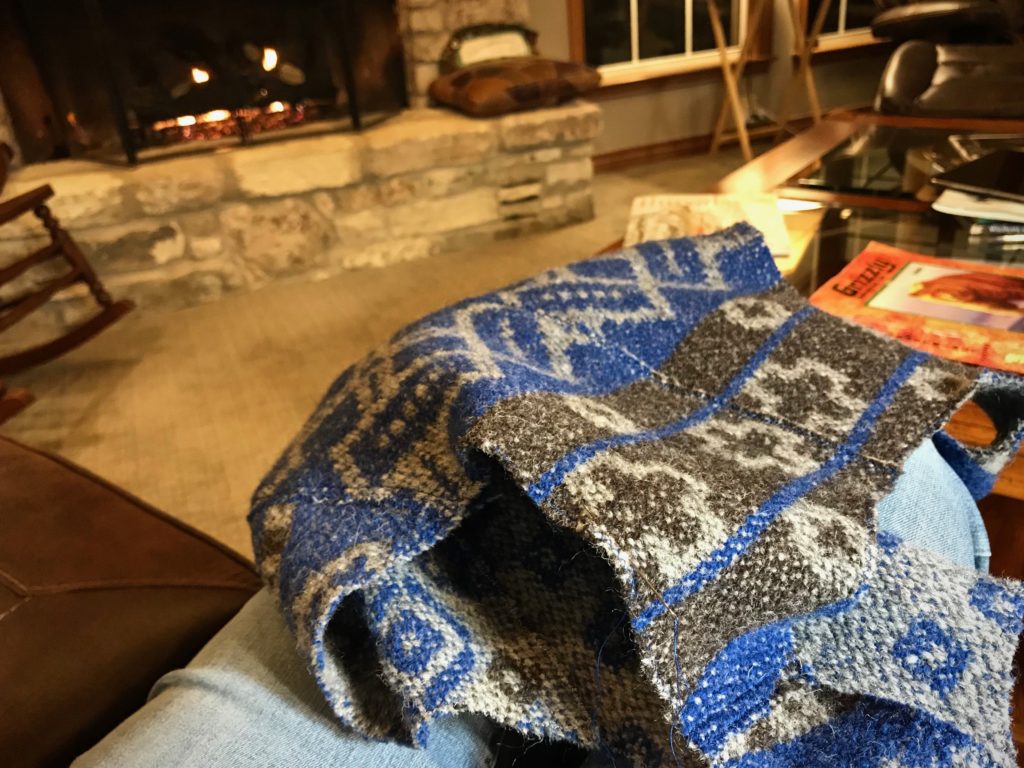
Like a sweater, this soft fabric will be comfortable to wear.Muslin pattern for a simple vest. First, I’ll make a vest out of a wool throw, woven on my rigid heddle loom ages ago. Then, I will cut into the new drawloom fabric, with confidence about the fit.
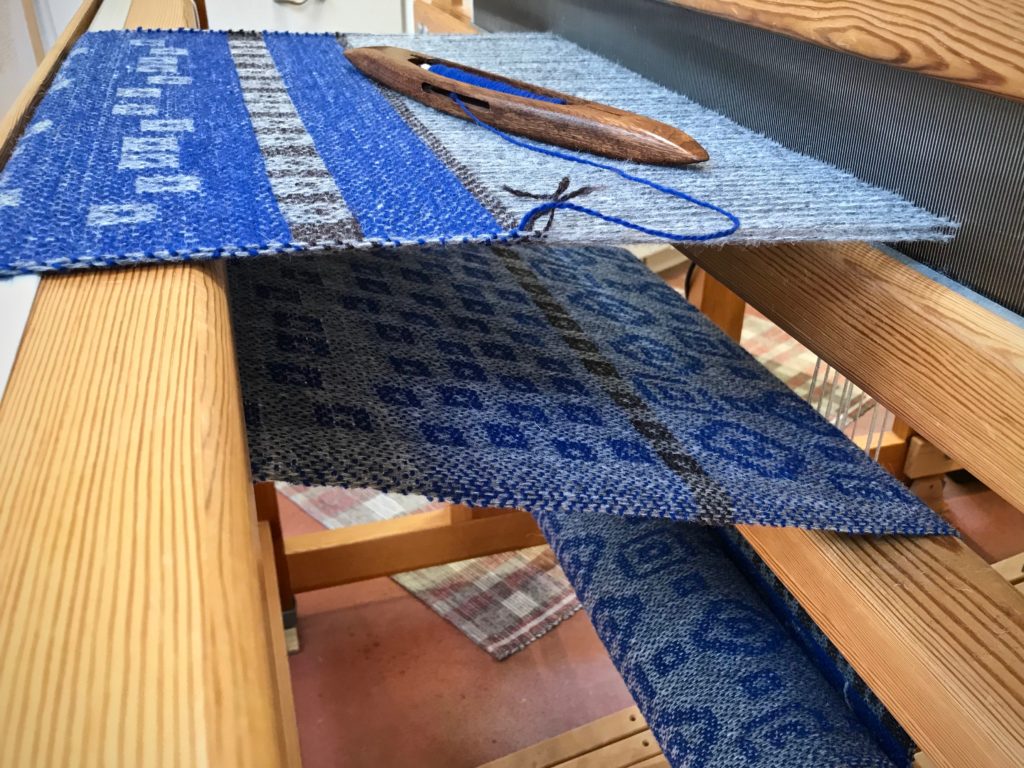
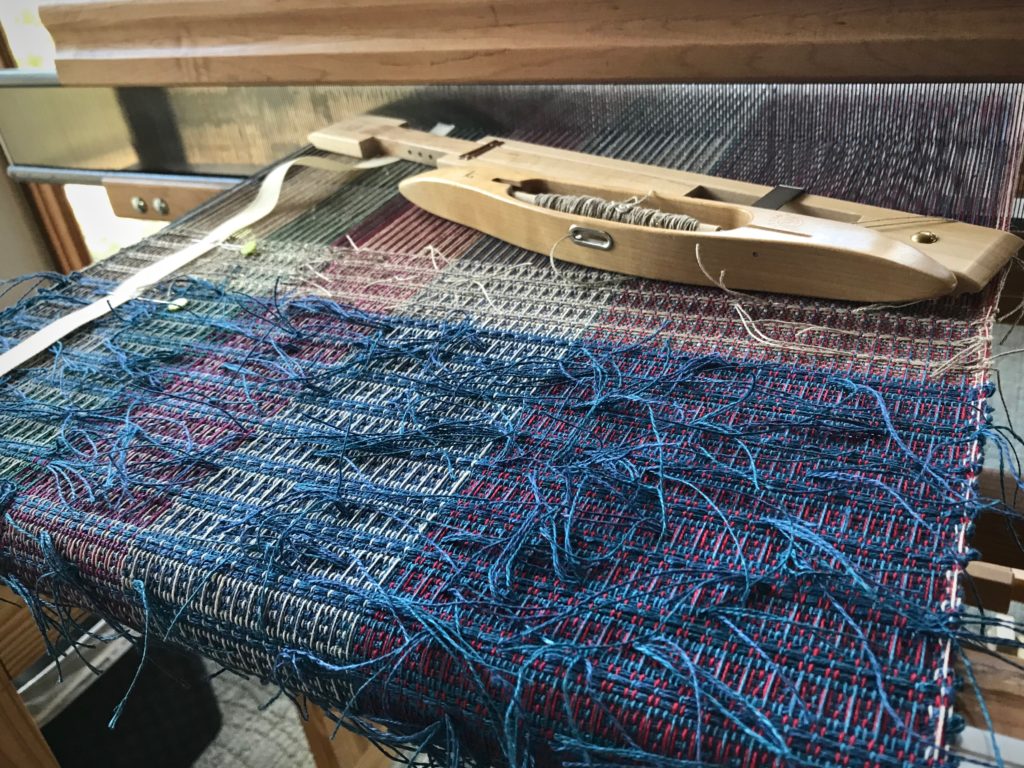
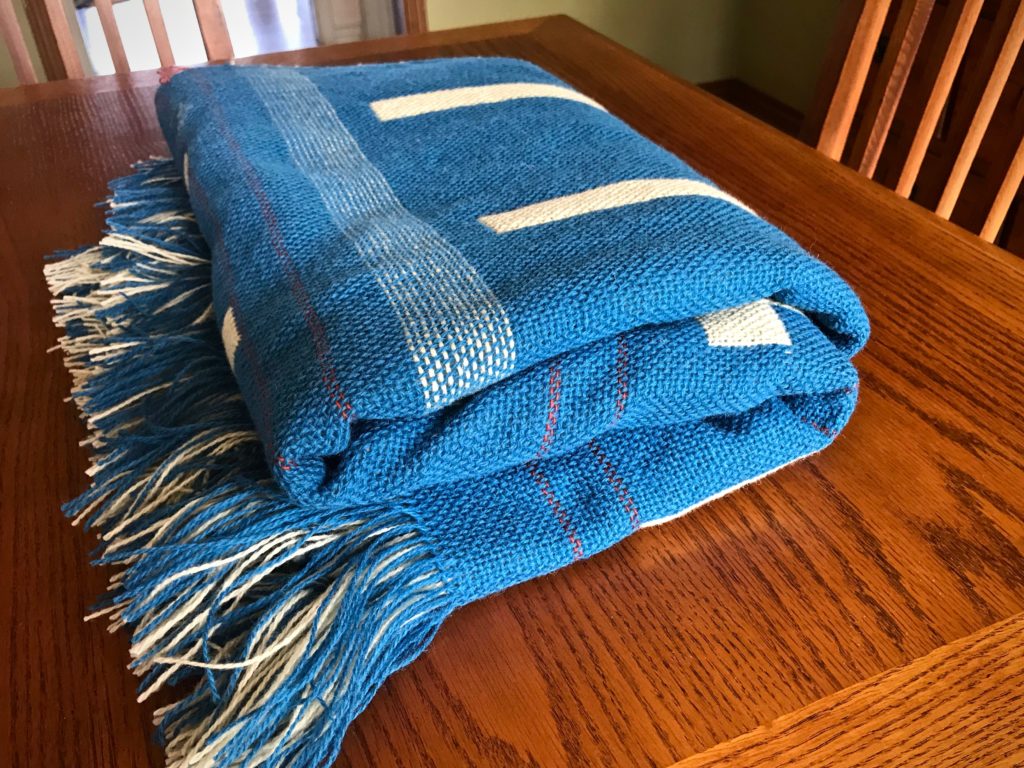
It took me seven years of study, practice, and mistakes to complete this rigorous Swedish weaving curriculum! You have been with me through much of it right here. I’m talking about The Big Book of Weaving, by Laila Lundell. I made it through the book, sequentially, page by page, warp by warp. 43 warps in all! Remember the blue 12-shaftdouble-weave blanket I had on the loom in June? That is the final project in the book.
Double-weave wool fabric is ready for wet finishing, where it will be transformed into a soft, cozy blanket.
In the short video below, each completed project is presented in order in our Texas hill country home. Watch to the end to see the blue blanket in all its finished glory.
For nitty-gritty details, check out The Big Book of Weaving tab at the top of the page.
Getting lost and absorbed in the whole process of weaving.
V. Favorite project: Old-Fashioned Weaving / Monksbelt (at 4:46 in the video)
Are we determined students of heavenly things? Oh, to know God’s will! Study what’s written, don’t lose heart, eyes on the prize, no option besides completion through Jesus Christ. One life dedicated to know him. Day by day, warp by warp, the Grand Weaver teaches us. We can know God’s will.