All the Looms

The plan to keep every loom dressed is easy when there is only one loom. Now that I have four floor looms, it’s a tough plan to follow. The drawloomcheck. The Glimåkra Standard, dressed in Tuna wool—check. The two smaller looms are threaded, and just need tying on and tying up. So, I’m well on my way! The end of the first warp on the drawloom is in view, however. That means the drawloom will soon be back in the queue. And so it goes.
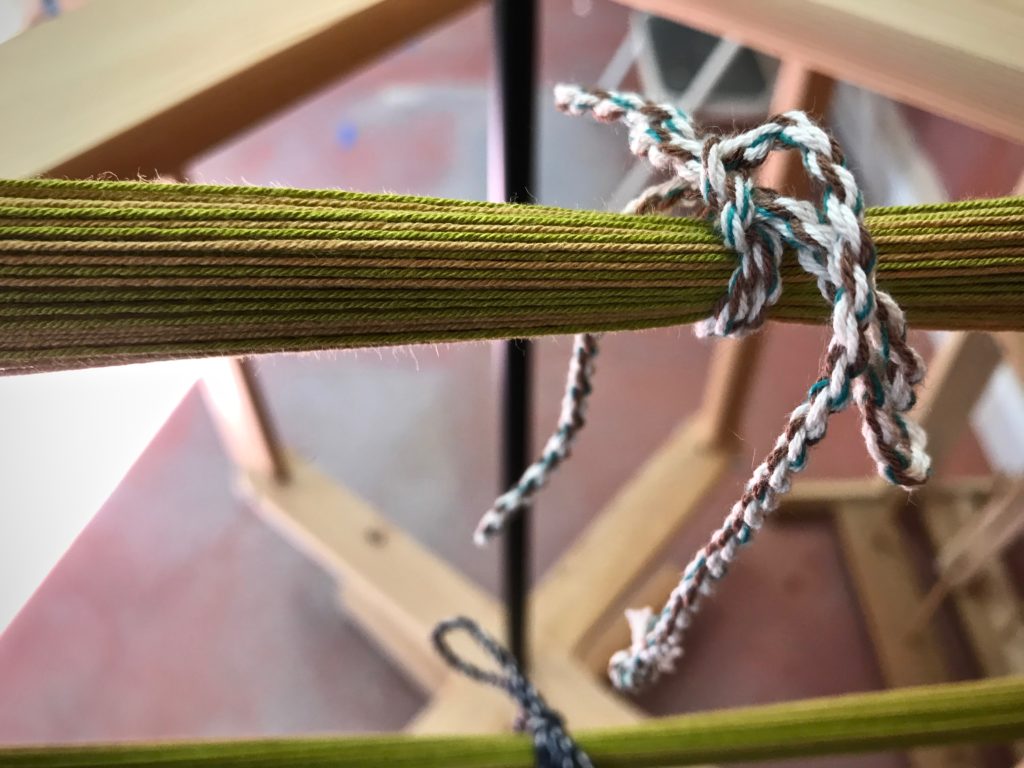
Winding a warp for rosepath rag rugs. 12/6 cotton. Spring colors.
Warp for cottolin towels.
Warp for cottolin towels is threaded on the little hand-built loom.
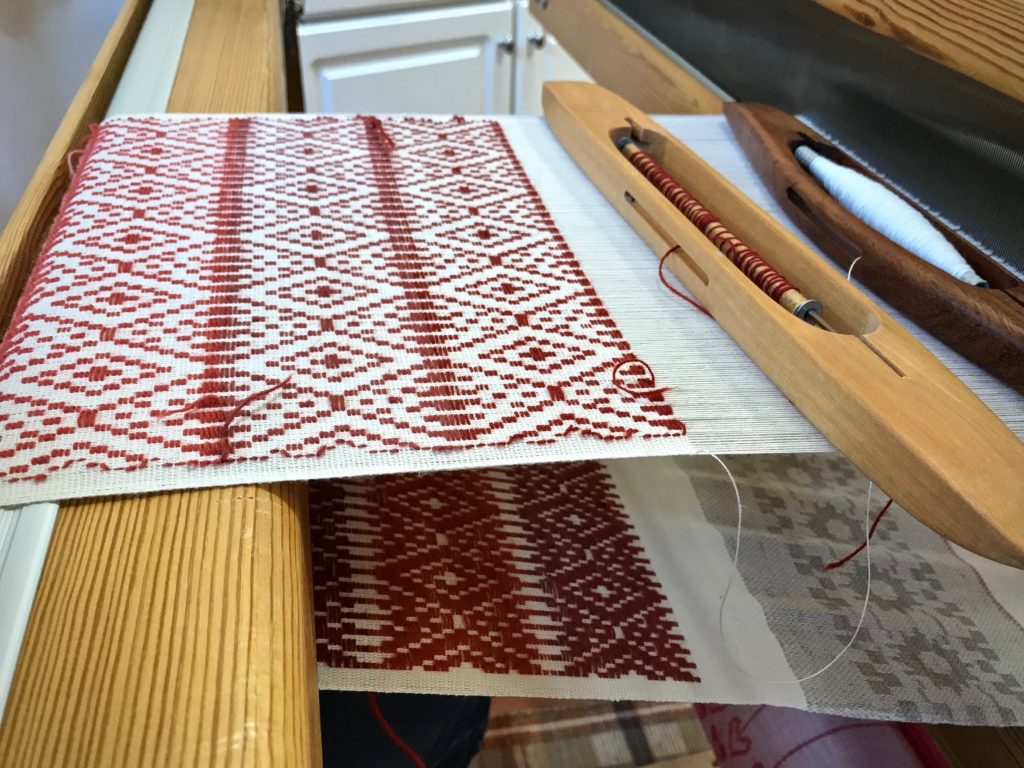
Opphämta on the drawloom.
Opphämta on the drawloom. Pattern weft is 6/1 Fårö wool. The right side of the fabric is seen underneath, as it comes around the breast beam.
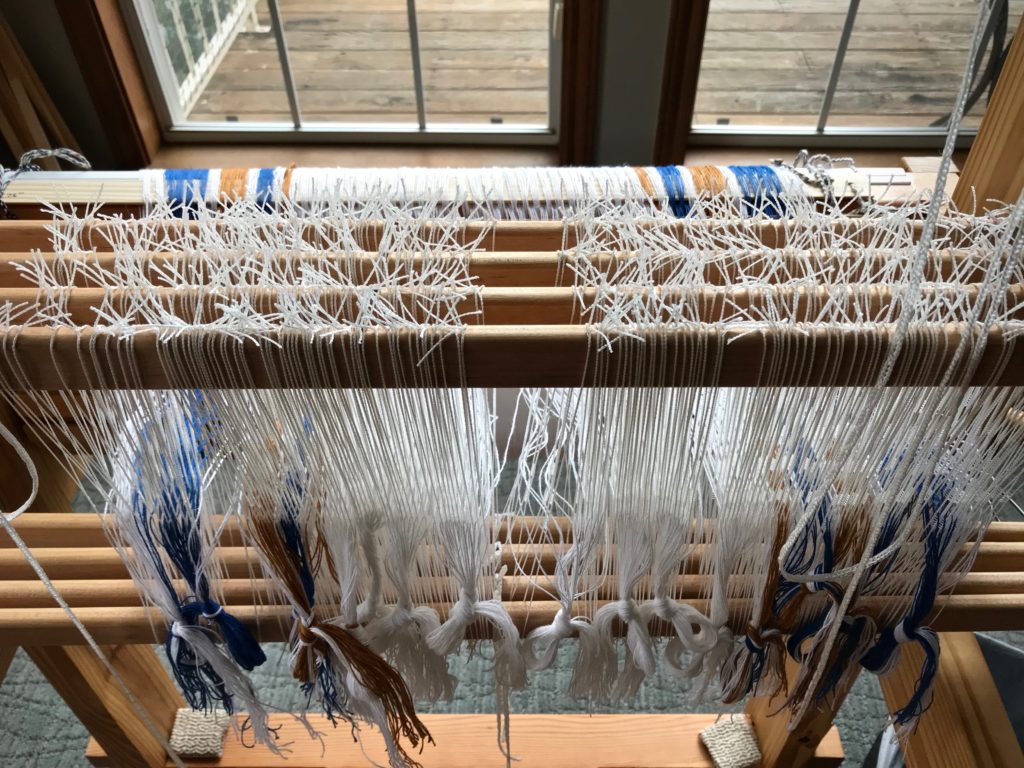
Threading heddles on the Glimåkra Ideal.
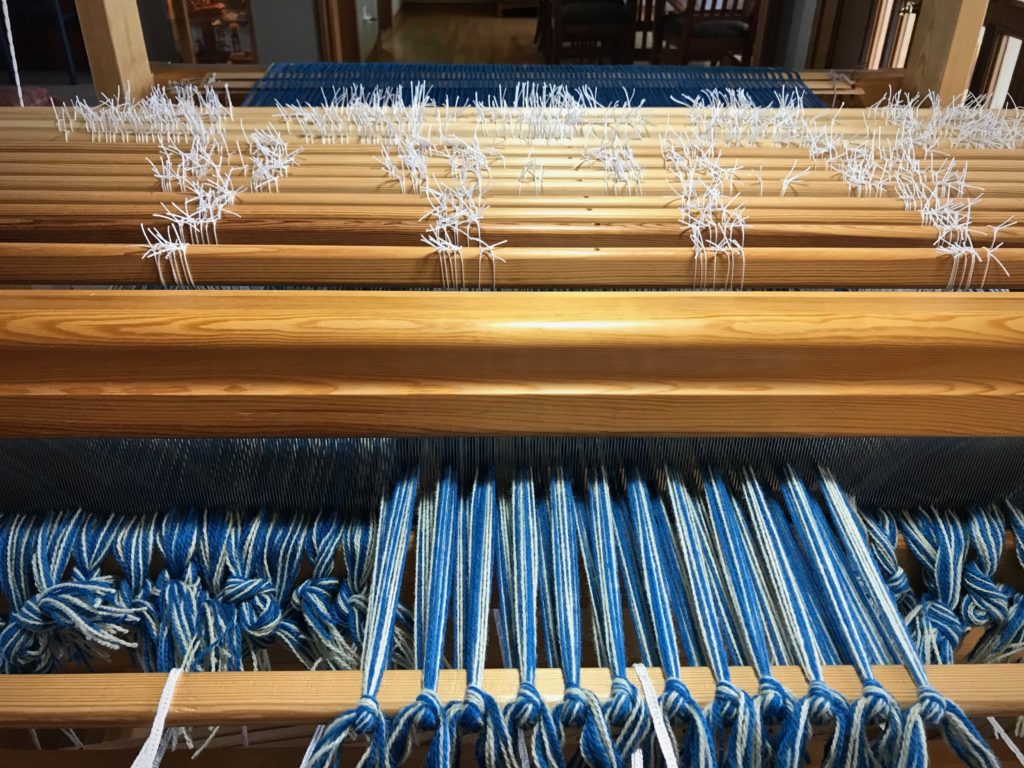
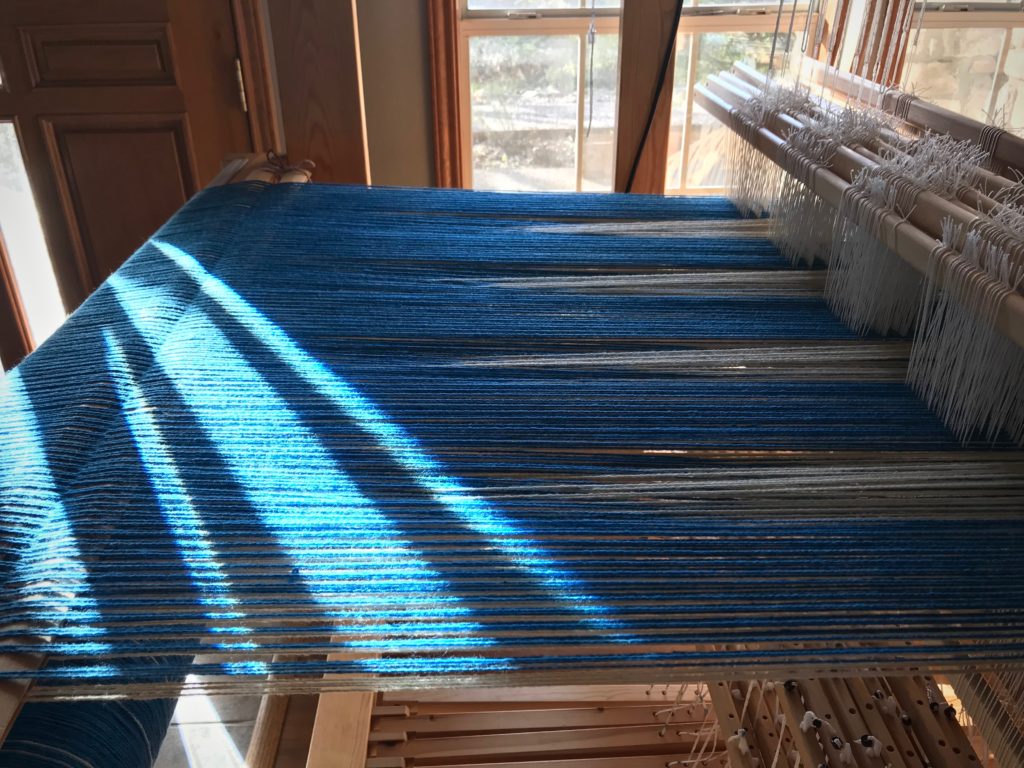
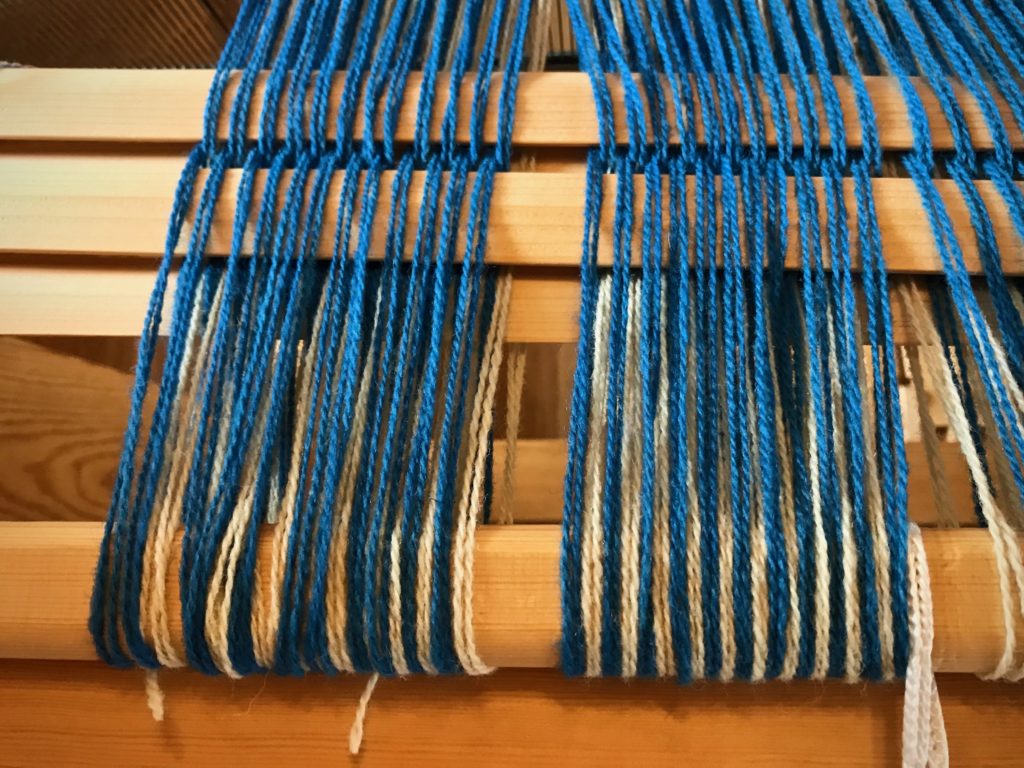
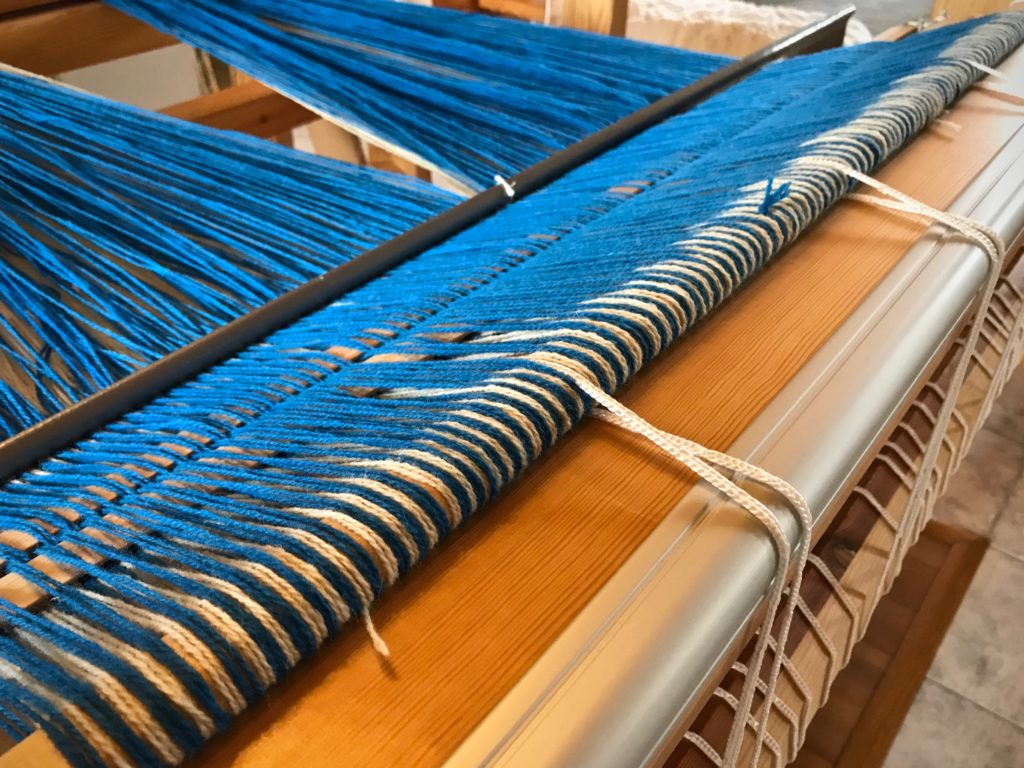
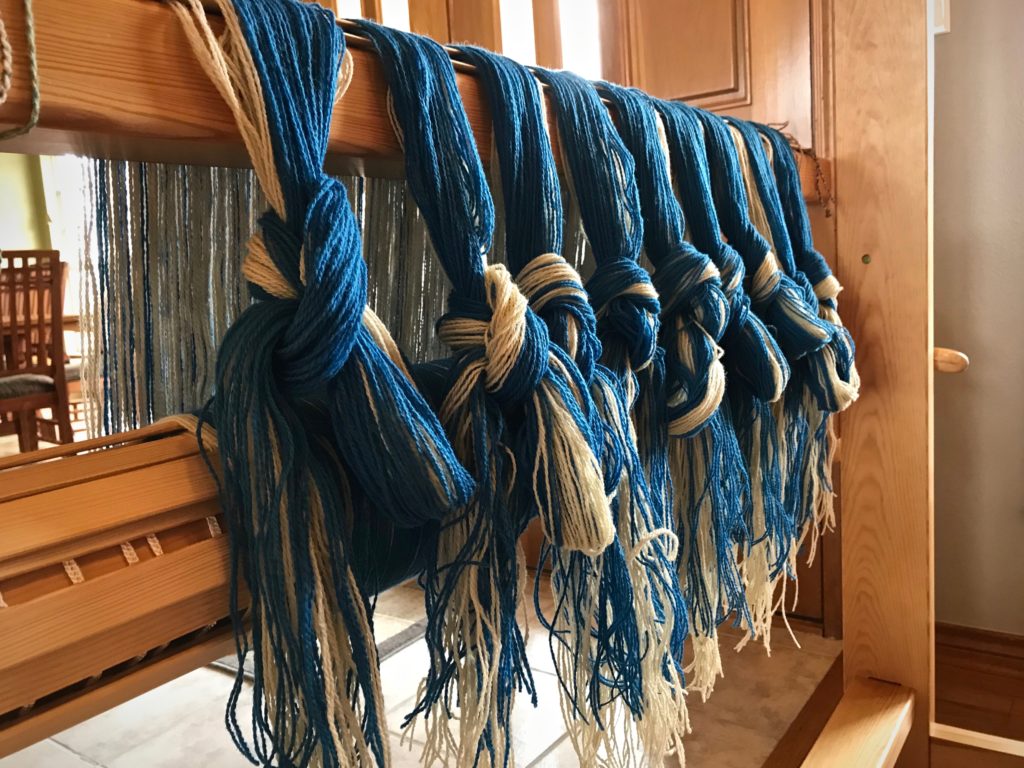
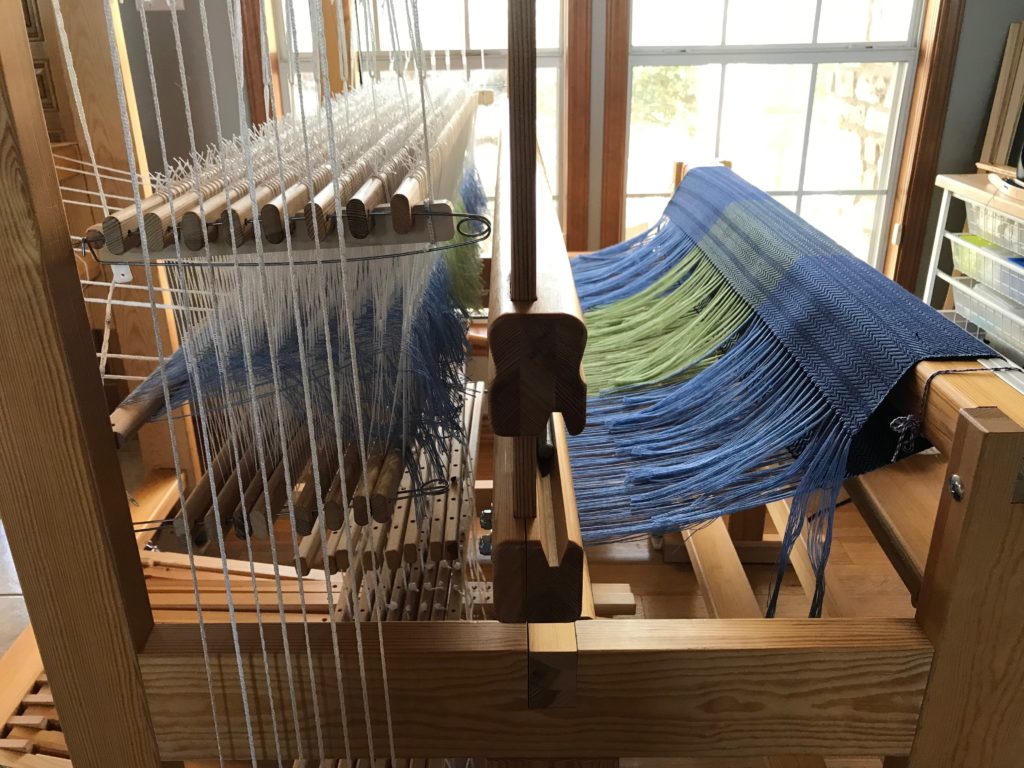
Blue and Almond Tuna wool warp.
Blue and Almond Tuna wool warp is tied on in 1″ sections.

I like to stay a step ahead of my looms. I’m ready to wind a new warp as soon as I finish cutting off. It’s the cycle of weaving. But I have trouble staying ahead.
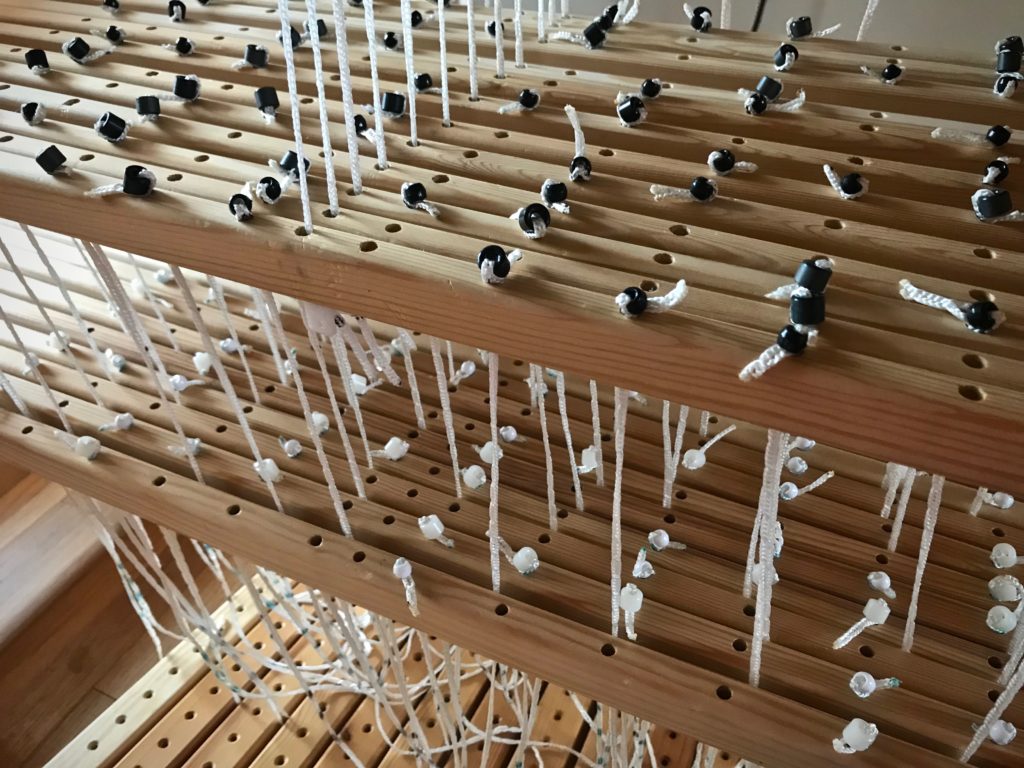
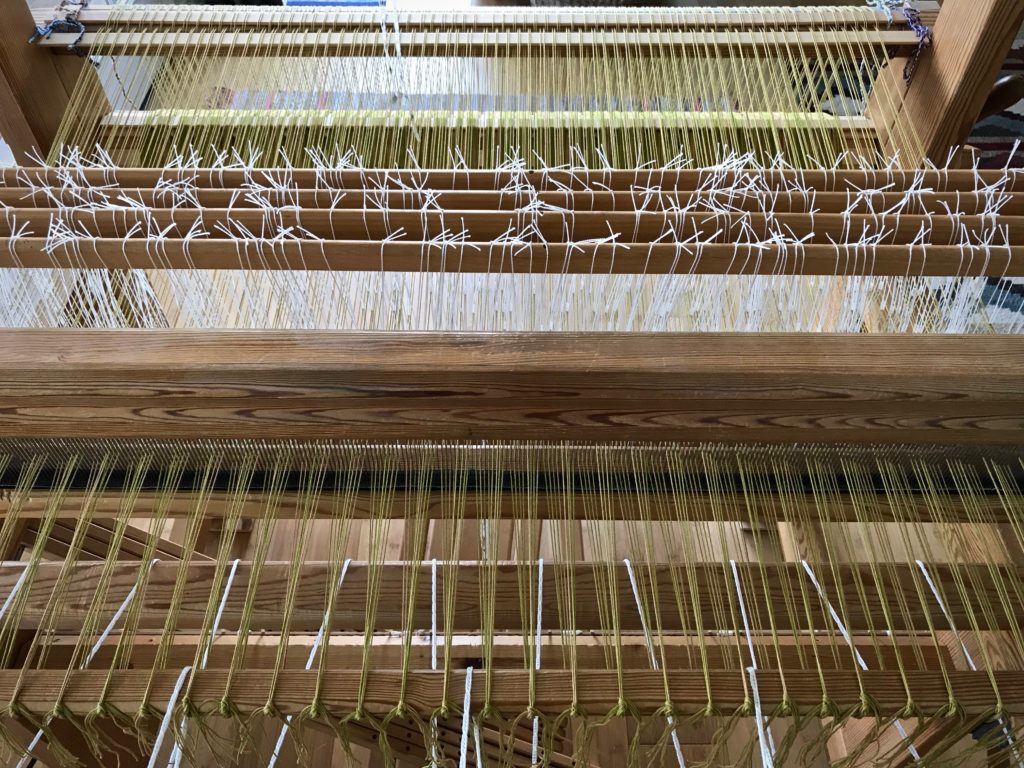
Tying up treadles on the Glimakra countermarch.
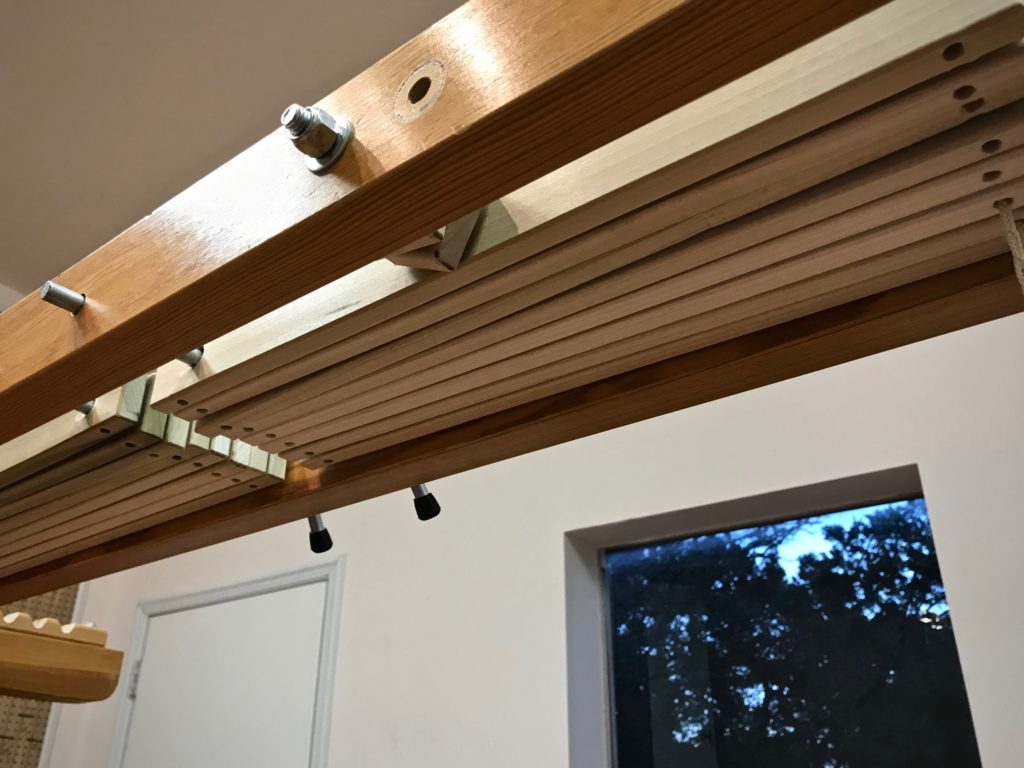
Twelve shafts. Twelve upper lamms. Twelve lower lamms. Twelve treadles. This is an amazing system.
Warp is tied on. Ready for rag rugs!
Warp is tied on. Ready to add the leveling string.
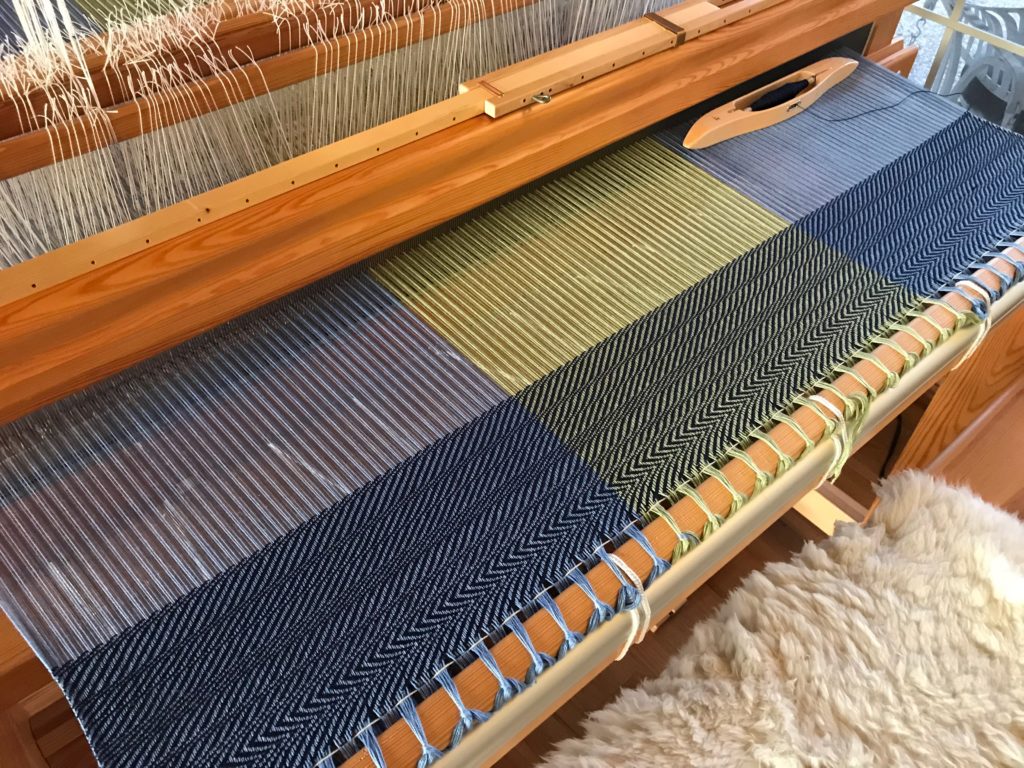
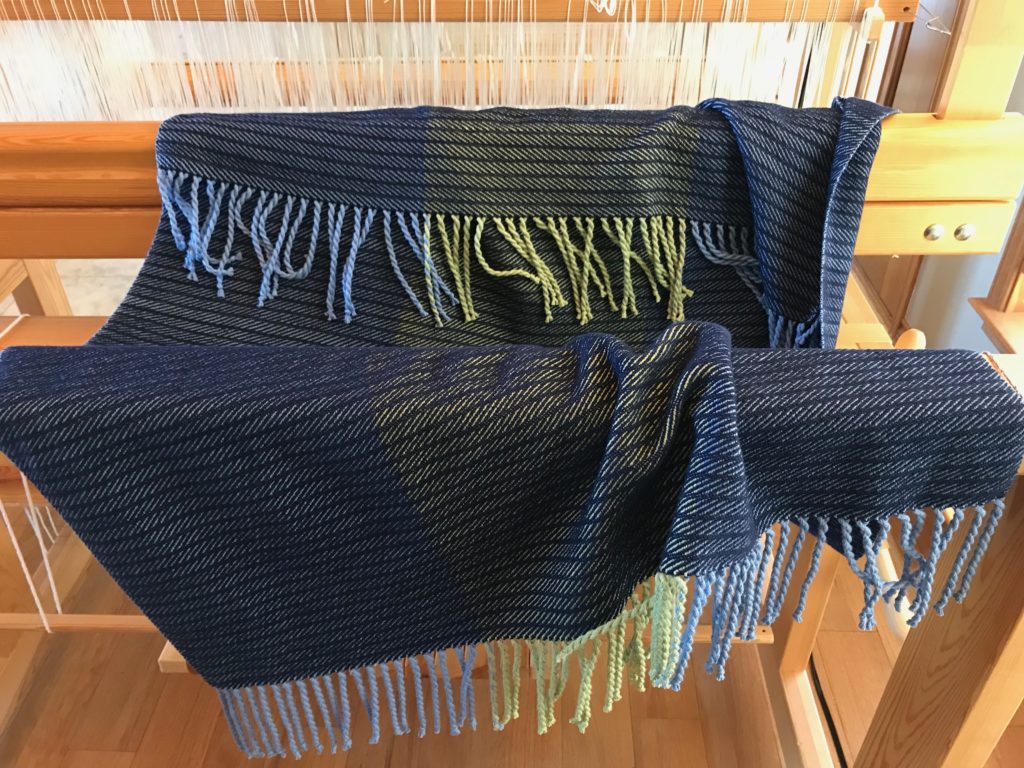
Loom is dressed for small wool double weave blanket.
Loom is dressed. Treadle cords are adjusted. Ready for weaving!
End of warp on the drawloom.
End of warp comes near the pattern heddles. This is my first drawloom warp, so I’m waiting to see how far I can weave until I lose a good shed. So far, so good.
My first drawloom warp.
Closing chapter of my first drawloom warp. I’ll keep “turning pages” until the shed disappears.

We have good plans for our lives. But often, it’s tough to follow those plans. Too many things happen at once, and we don’t know how to stay ahead of it all. The thing to remember is that our plans stem from our inner commitments. When we commit our ways to the Lord, trusting him, he leads us through our days. Trust turns plans into achievements. And those are the plans worth pursuing.

May your best plans succeed.

Happy Weaving,
Karen

Tried and True: Center the Reed

Eleven hours and thirty-six minutes into this project, the starting line for weaving is just around the corner. Wind the warp, and beam it. Thread the heddles. Sley the reed. Unlock the back beam ratchet. Move the countermarch to the front of the loom. … Pause when you think about moving the twelve shafts and the reed forward with the countermarch. Reach. Wiggle. Pull. Wiggle. Pull some more. Got it. Now, put the reed in the beater. Relax? Almost, but not yet.

Time to move the whole shebang forward.
Reed is sleyed, so reed support cords have been removed. Time to move the whole shebang forward.
Ready to insert the reed into the beater.
Plastic-coated wire is threaded through the ends of the shaft bars because I don’t have shaft pins long enough for twelve shafts. After coaxing and wiggling the mass of shafts forward, with the countermarch above them, I am ready to insert the reed into the beater.
Basics: How to center the reed.
As I put the reed in the beater I make sure all of the ends are free, and not trapped in the beater’s grip.

We must not forget to center the reed. I center the reed just as soon as the reed is in the beater.

How to Center the Reed

(We are actually centering the warp that is in the reed.)

Supplies needed: Tape measure (or string)

1. Using the tape measure, measure from the right edge of the warp in the reed to the outer edge of the beater on the right-hand side. Hold the tape measure with your fingers marking the measurement.

Center the reed.


2. Holding that measurement, place the tape measure at the left edge of the warp in the reed stretching out toward the outer edge of the beater on the left-hand side.

How to center the reed.


3. Note the difference in measurement between the right side and left side. Move the reed in the beater to center.


4. Repeat the first two steps until the measurements are the same on both sides.

Centering the reed.
Tips for centering the reed in the beater.
Reed is centered.

Now you can relax. Enjoy the moment, because you are that much closer to seeing fabric take shape!

May you enjoy the process you’re in.

Patiently,
Karen

Beaming Double Weave

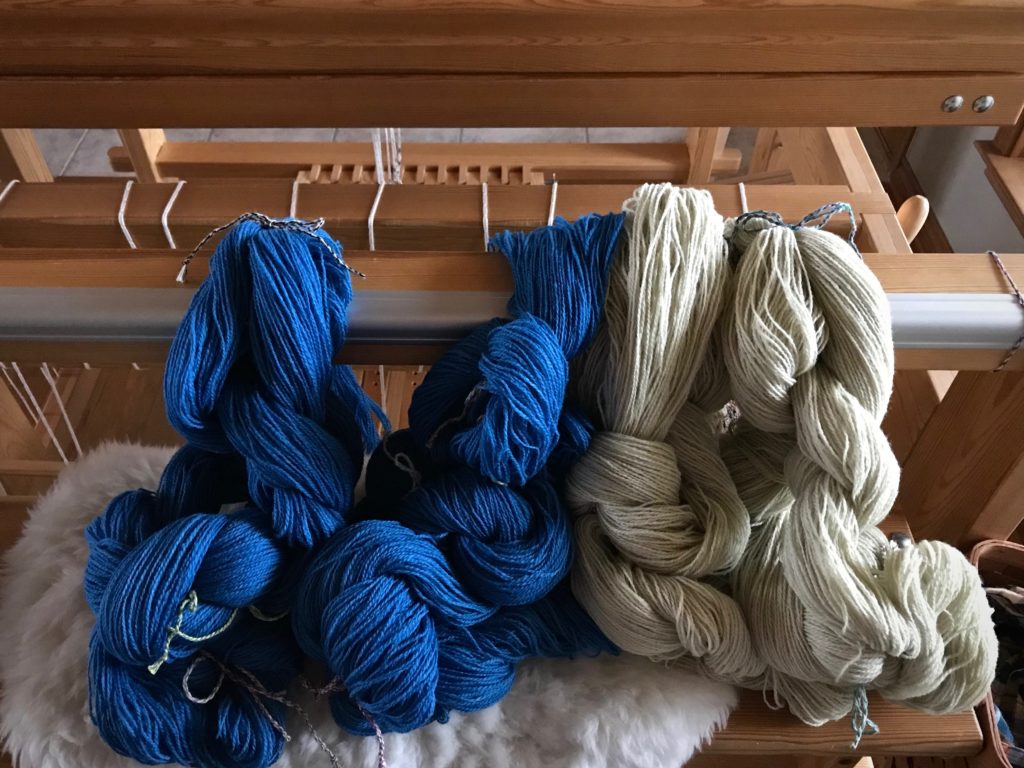
This is double weave on twelve shafts. One layer is the gorgeous lapis lazuli blue. The other layer is neutral almond for contrast. I am spreading and beaming this 6/2 Tuna wool warp with two sets of lease sticks—one set for each layer/color.

Big fat warp chains. Tuna wool for double weave.
Big fat warp chains. Double weave on twelve shafts, with 6/2 Tuna wool for warp and weft.

When you have two sets of lease sticks, though, it is a serious challenge to get the two colors to alternate correctly as you move the end loops to a separate stick. The ends on the stick are then transferred to the back tie-on bar. I did breathe a sigh of relief when everything was finally lined up and in order.

Double weave. Ready to beam the wool warp.
Two sets of lease sticks carries the challenge of having clear visibility of the lease cross in both warp layers. After one or two do-overs, all the yarn is successfully moved to the back tie-on bar. Moving from right to left, I separate and straighten each warp end on the tie-on bar. Only a few more left to straighten.
Ready to beam this wool double weave warp.
Back tie-on bar all in order. Now ready to move the pre-sley reed to the beater and begin beaming the warp.

And I’m reminded again how beautiful a beamed warp is. It’s worth the challenges.

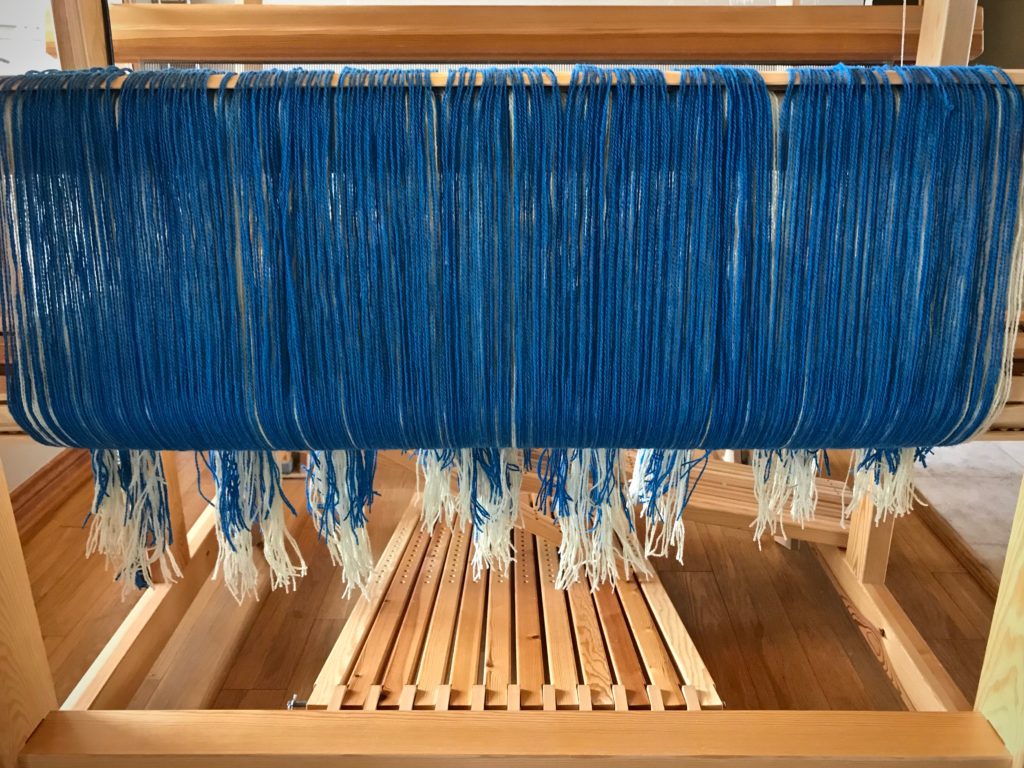
Tuna wool warp on Glimakra Standard.
Warp beam and back beam show the beamed warp.
Wool warp separated into threading groups.
Separated into threading groups for the next phase of dressing the loom.

That beautifully ordered wool on the back tie-on bar, now hidden from view, is an essential element for quality handwoven cloth. Kindness is that way. It’s a core trait deep in one’s character that is revealed in interactions with others. Kindness makes you beautiful. It’s not something you try to be. It’s something we wear. It’s our inner being dressed in the character of Christ.

May you be dressed in kindness.

Affectionately yours,
Karen

Weaving Rhythm Awakening

All the looms are bare right now. Four empty, quiet looms. But they won’t be quiet for long. I have thread/yarn and plans ready for each loom. I hear a rumbling as the looms begin to wake up. Before long, the weaving rhythm will be fully awakened in this place!

12/6 cotton rug warp in Pear and Brass for rag rugs.
Glimakra 100cm Ideal countermarch loom has moved into the spot vacated by my recently-acquired Glimakra Standard 120cm countermarch loom that we have moved to a new location.
12/6 cotton rug warp in Pear and Brass for Rosepath rag rugs.
6/2 Tuna wool for a 12-shaft double weave blanket.
Glimakra 120cm Standard countermarch loom in its favored position in our home. This loom has not been moved.
6/2 Tuna wool in Lapis Lazuli and Almond for a 12-shaft double weave blanket.
Vavstuga pre-wound warp for towel kit.
Handbuilt little 70cm countermarch loom in its perfect little corner by the windows. Pre-wound warp from Vavstuga (Mary’s Towel Kit) that my dear friend Elisabeth is letting me weave.
22/2 Cottolin in Sapphire and Yellow Ochre for towels.
Moving the Glimakra Standard loom to its new studio space.
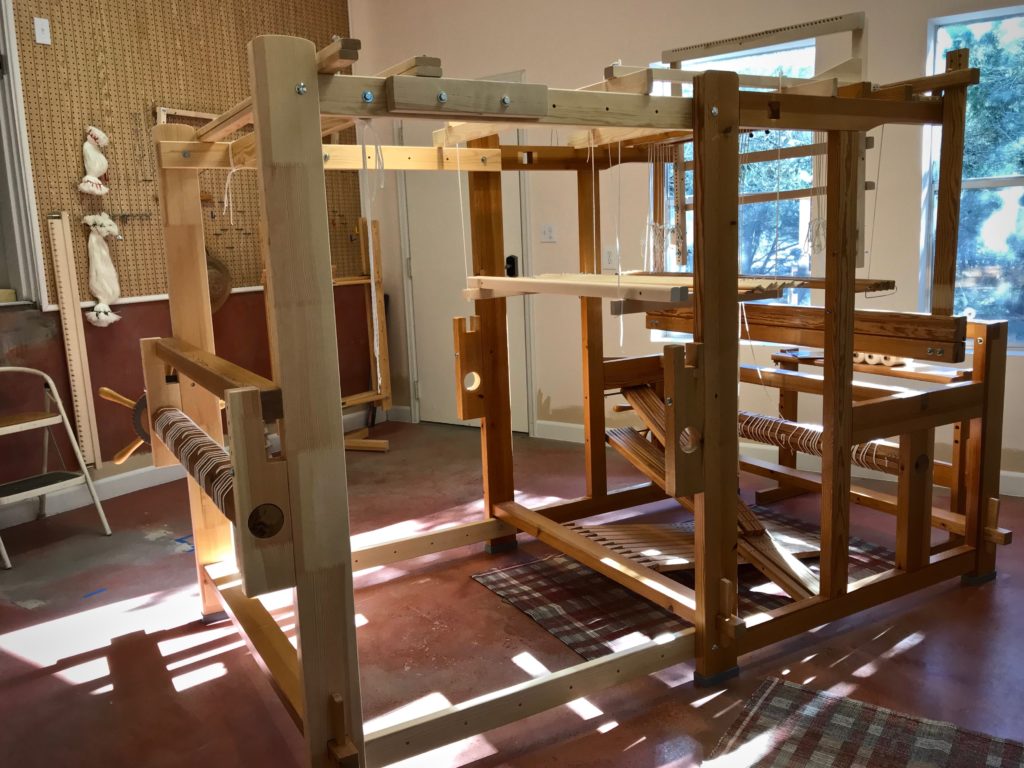
Glimakra 120cm Standard countermarch loom…in pieces. We are moving the newest loom in the family to a room that is next to Steve’s carving workshop.
Starting to put together the new drawloom.
Glimakra Standard horizontal countermarch loom is being reassembled in its new Drawloom Studio! The drawloom boxes have been opened and parts sorted and organized. Let the fun begin!
The room is undergoing some renovations, too.
New jacks for th horizontal countermarch to fit with the drawloom attachment.
Draw attachment frame obstructs the jacks in the horizontal countermarch on the 120cm Standard loom. So Steve made all new horizontal jacks for the countermarch.
New drawloom!
Loom has an extension added at the back. We put it at its fully extended length to make sure it fits in this room. It does!
New drawloom! Just about ready to start!
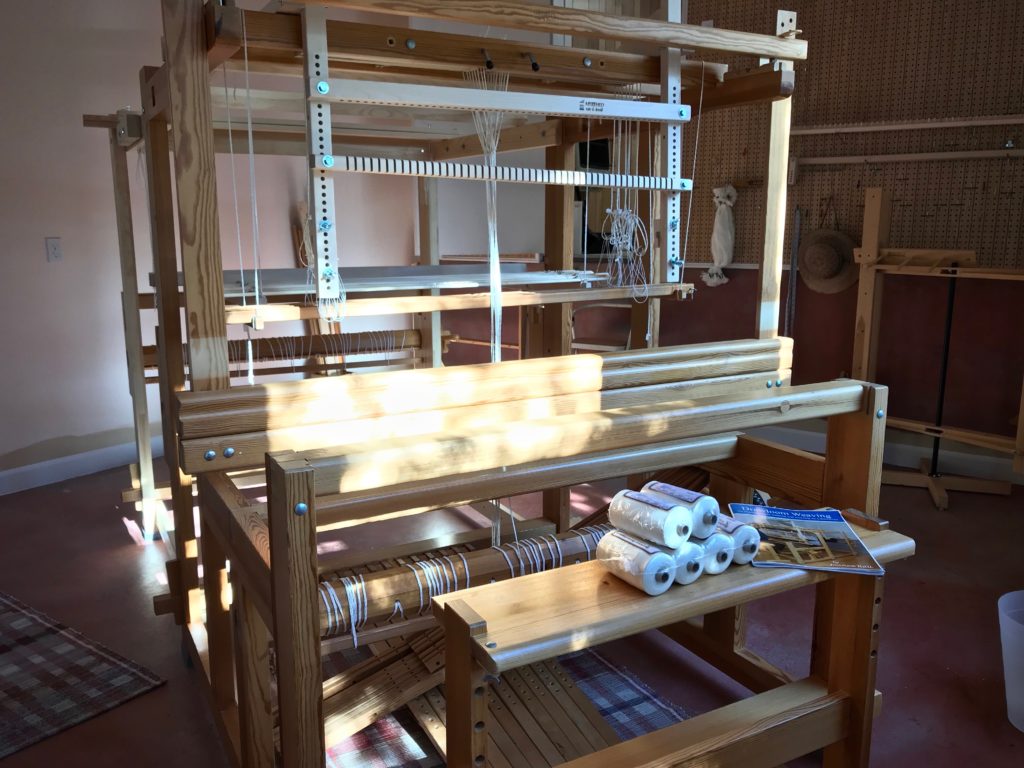
Glimakra Standard with Myrehed Combination Drawloom–Shaft draw system and single unit draw system.
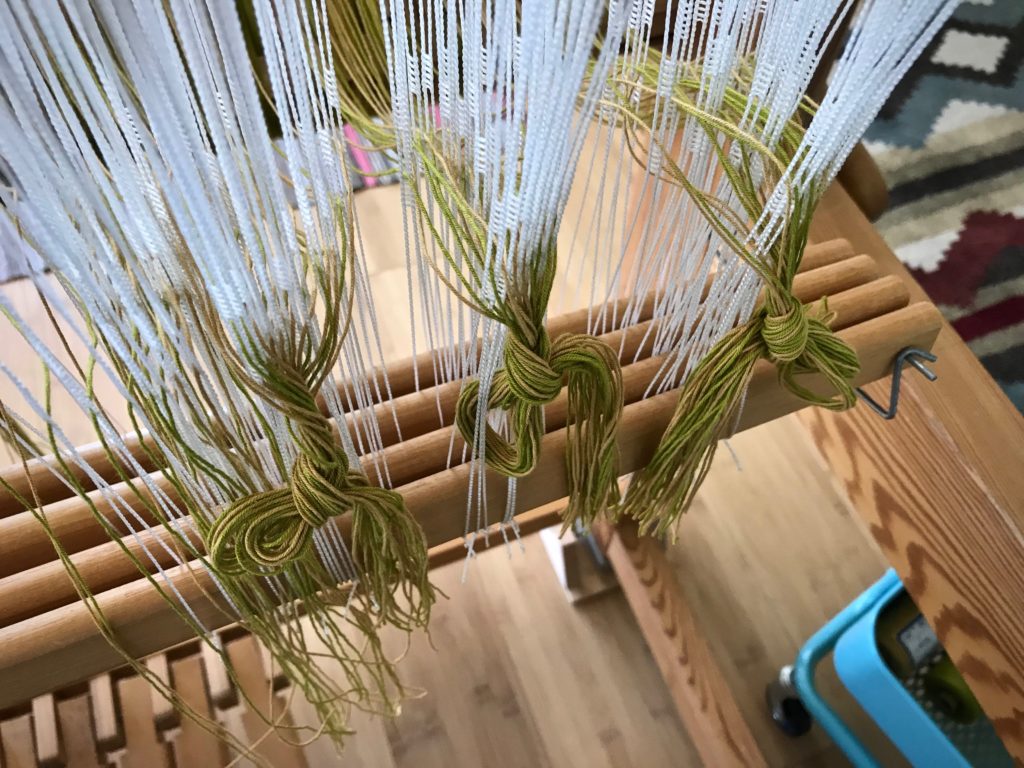
Unbleached 16/2 cotton for I-don’t-know-what-yet. But I will soon!
Book pictured is Drawloom Weaving, An introduction to warping and weaving on a drawloom by Joanne Hall.

May you see your best dreams unfold.

Happy, Happy Weaving,
Karen

Process Review: Comfy Throw With Fringe

This throw has fringe. It seems appropriate for a homestyle cotton wrap. Fringe says comfortable, casual, and playful. I do not mind the time it takes to twist the threads to make this tactile edging. It’s a satifying close to a worthwhile project. After all, who can resist running their fingers through soft twisted fringes?

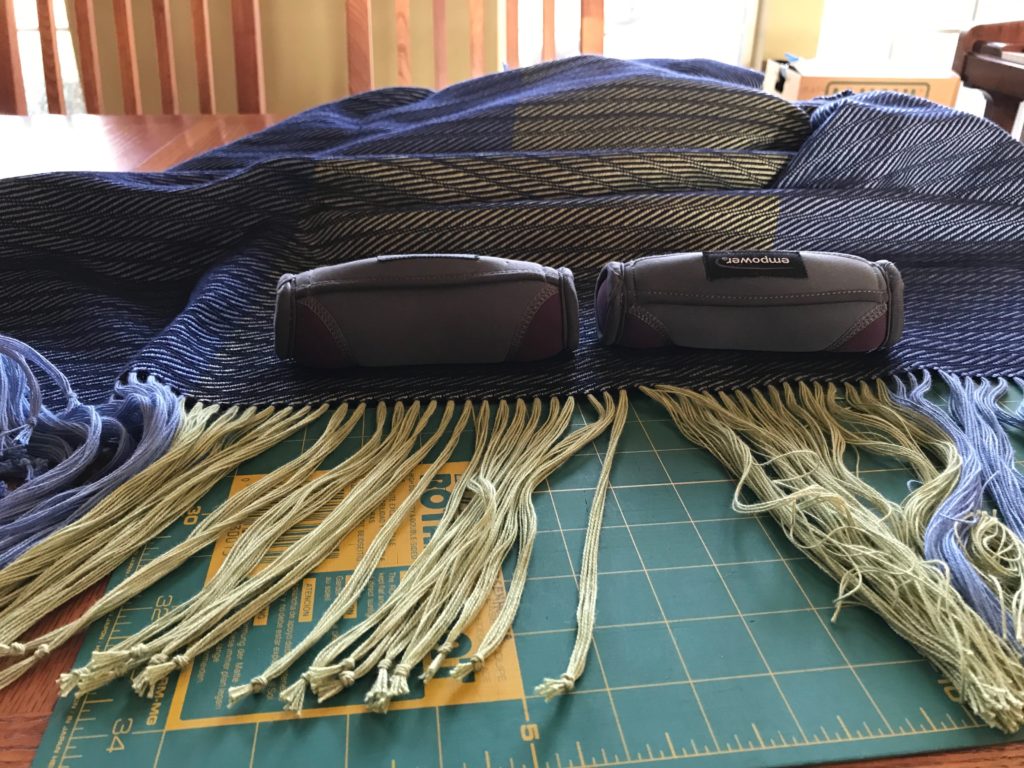
Finished handwoven cotton throw.
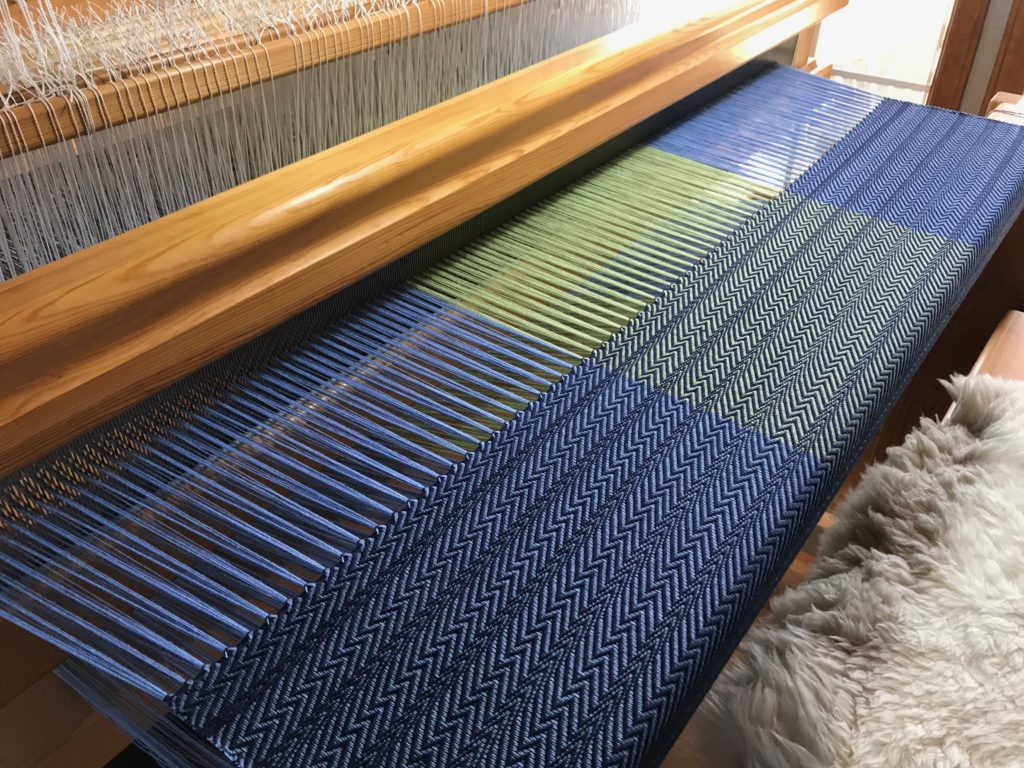
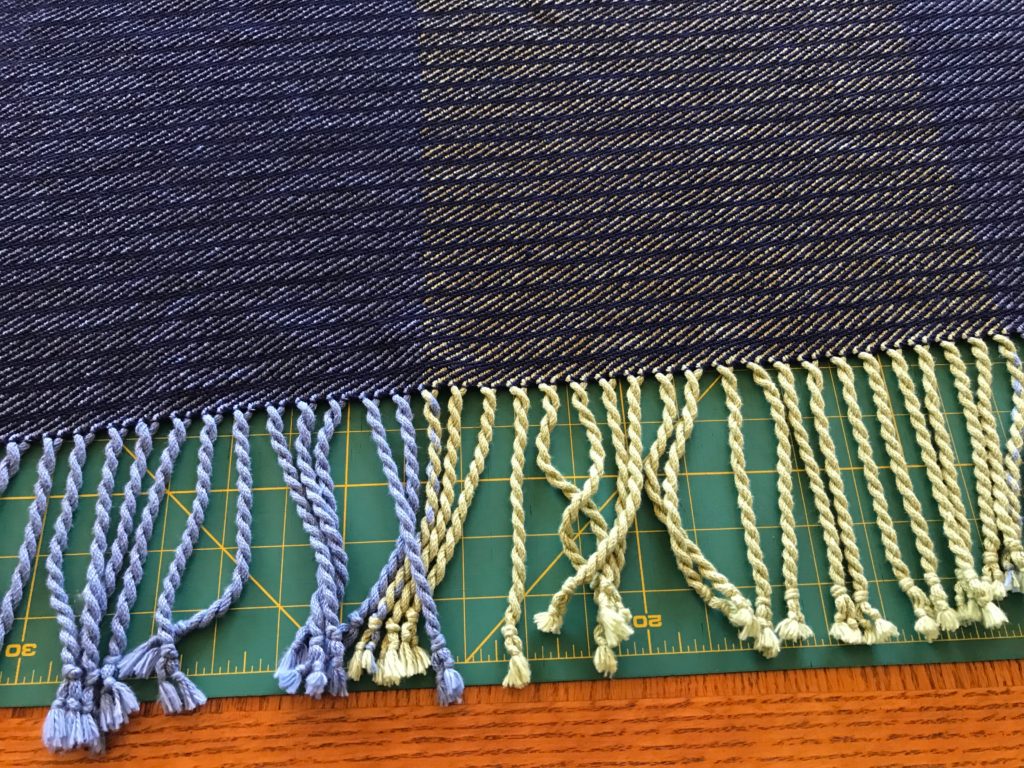
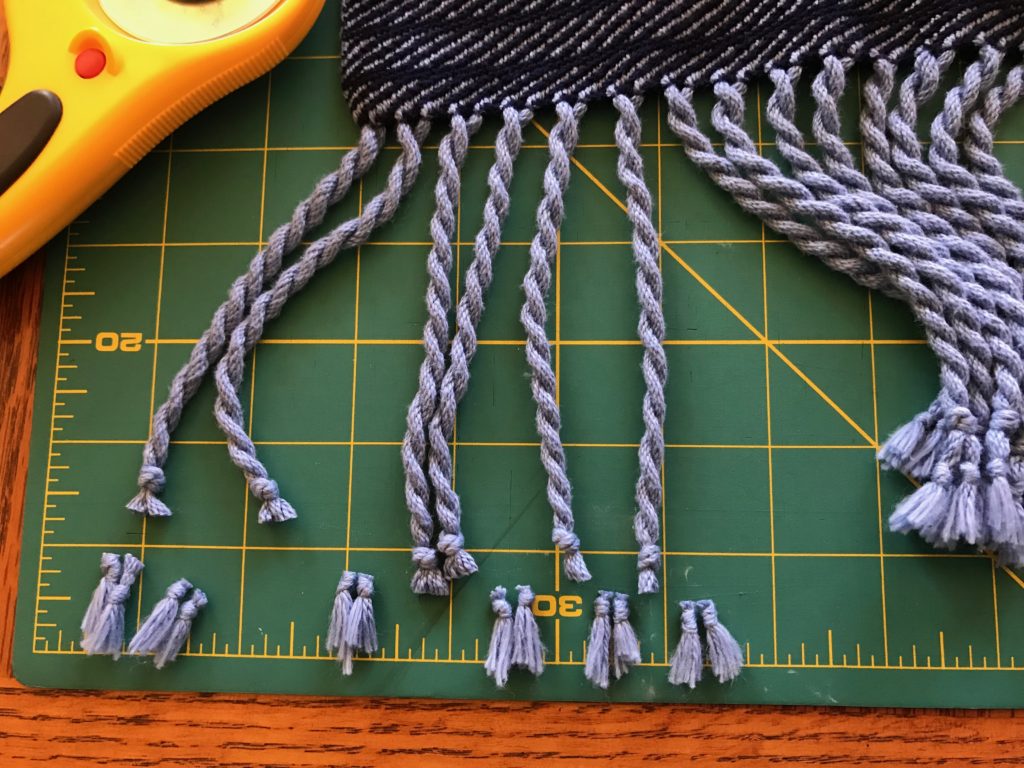
Knots on the ends of the fringes are trimmed off after washing and drying the throw.

Reminisce with me through the start-to-finish process of making this eight-shaft undulating twill throw for my lovely daughter-in-law Lindsay.

Beaming the warp.
Dressing the Great Room loom.
Heddles are threaded.
Sleying the reed on Glimakra Standard.
Ready to tie on.
Eight shafts.
All tied on.
Testing, testing...
Eight-shaft undulating twill in 8/2 cotton.
Cloth beam is filling!
Weave to the end mark.
Hemstitching at the end of the cotton throw.
Playing with pattern. 8-shaft twill.
End of warp is near.
8-shaft twill. Fun with patterns.
Cutting off!
Getting ready to twist fringe.
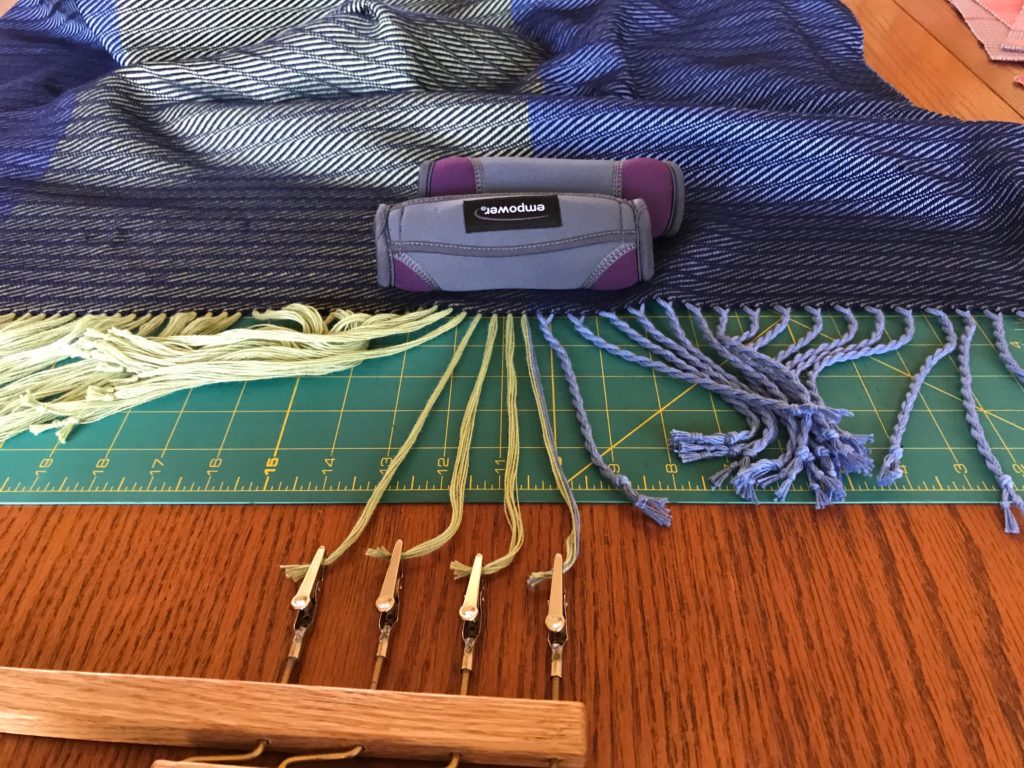
Twisting fringe on cotton throw.
Before wet finishing.
After wet-finishing.
Trimming off the knots at the end of fringes.
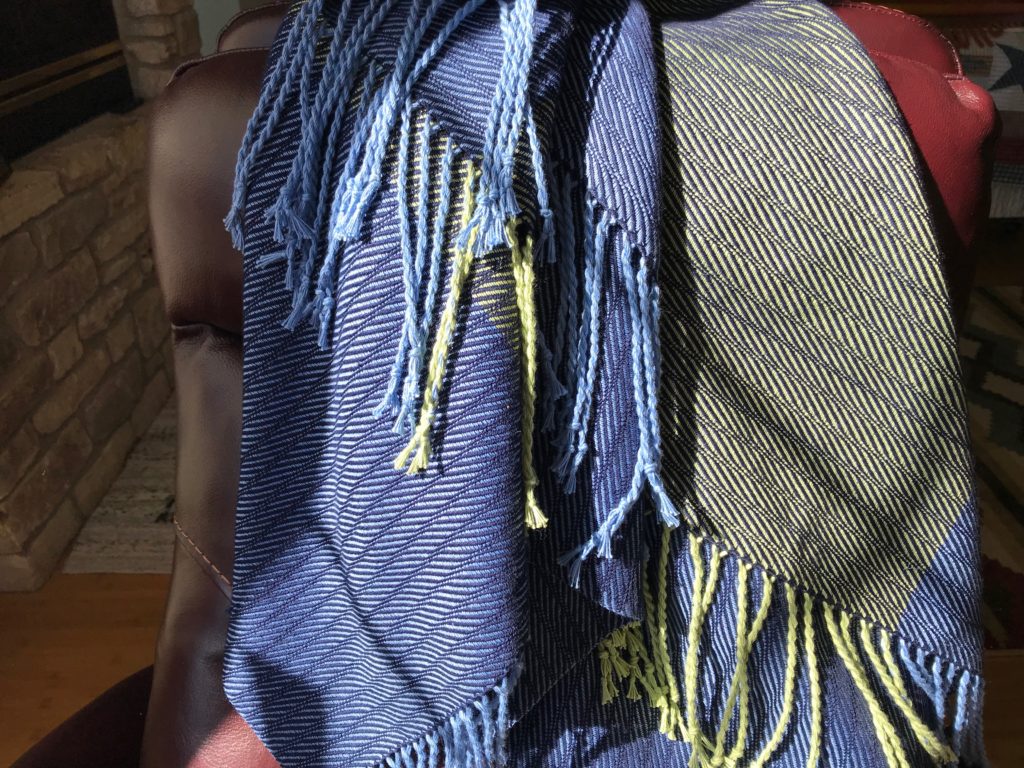
Finished 8-shaft twill cotton throw. With fringe!

May you have plenty of fringe benefits.

Happy Weaving,
Karen