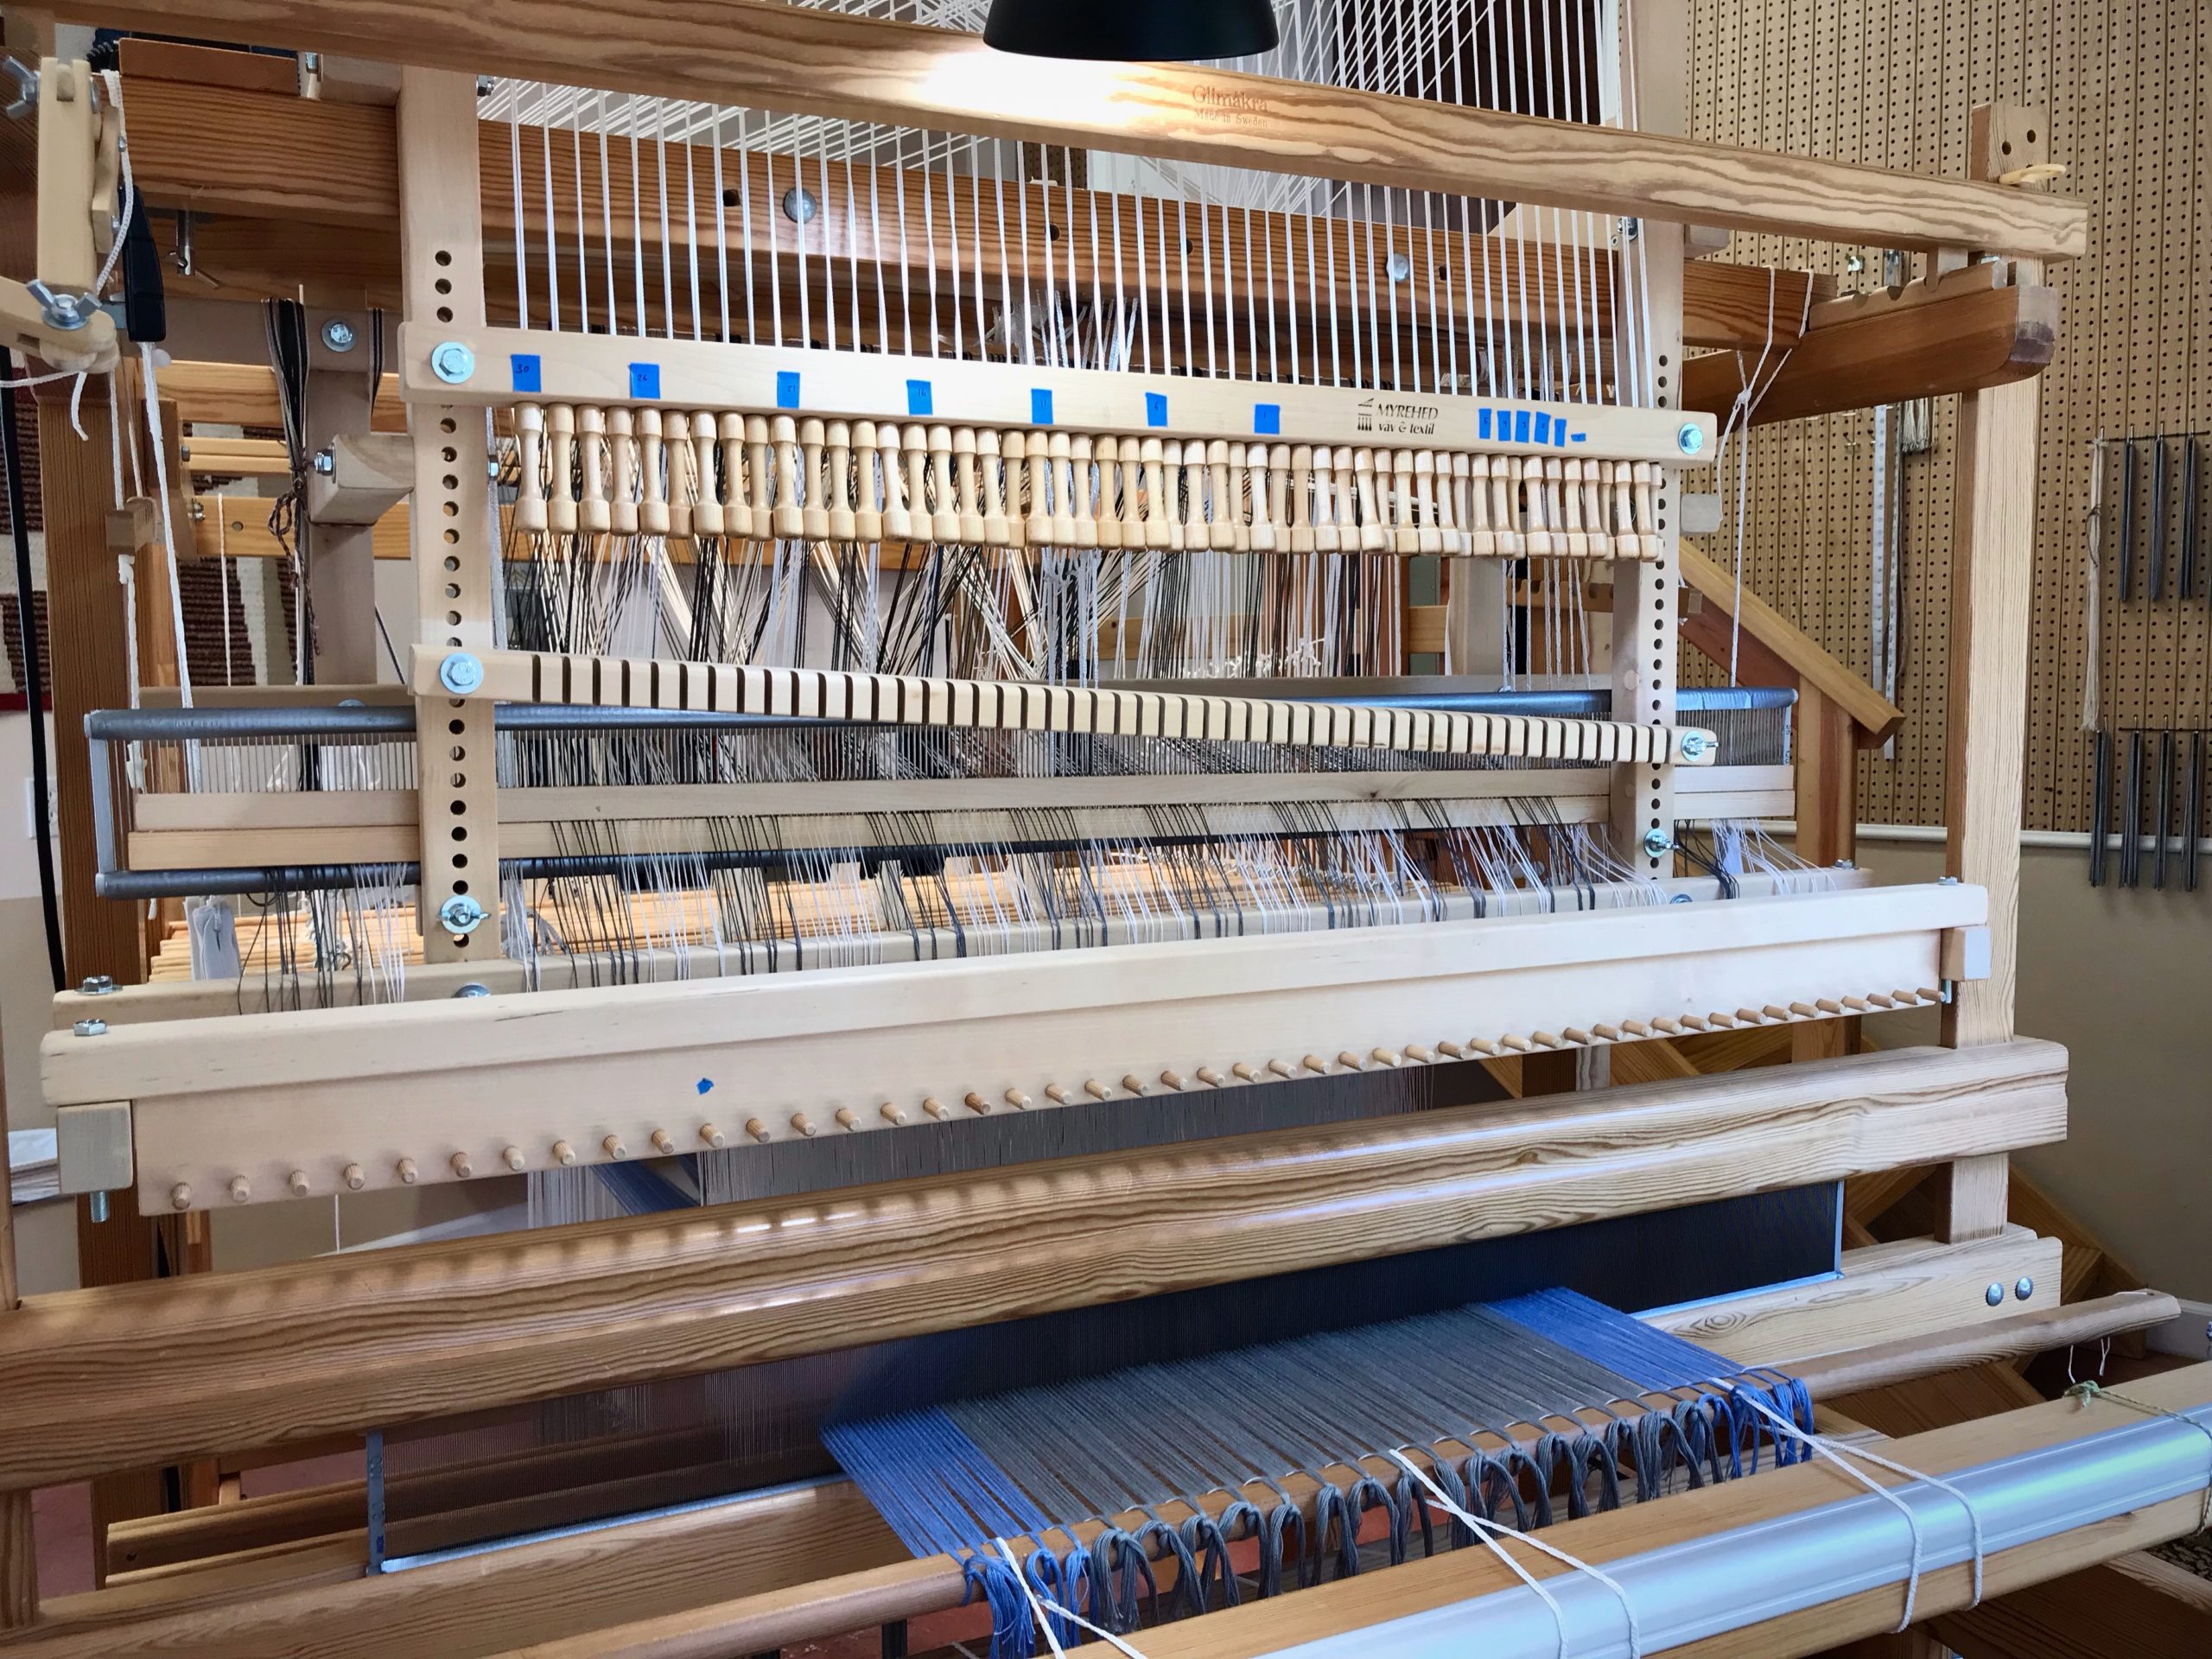
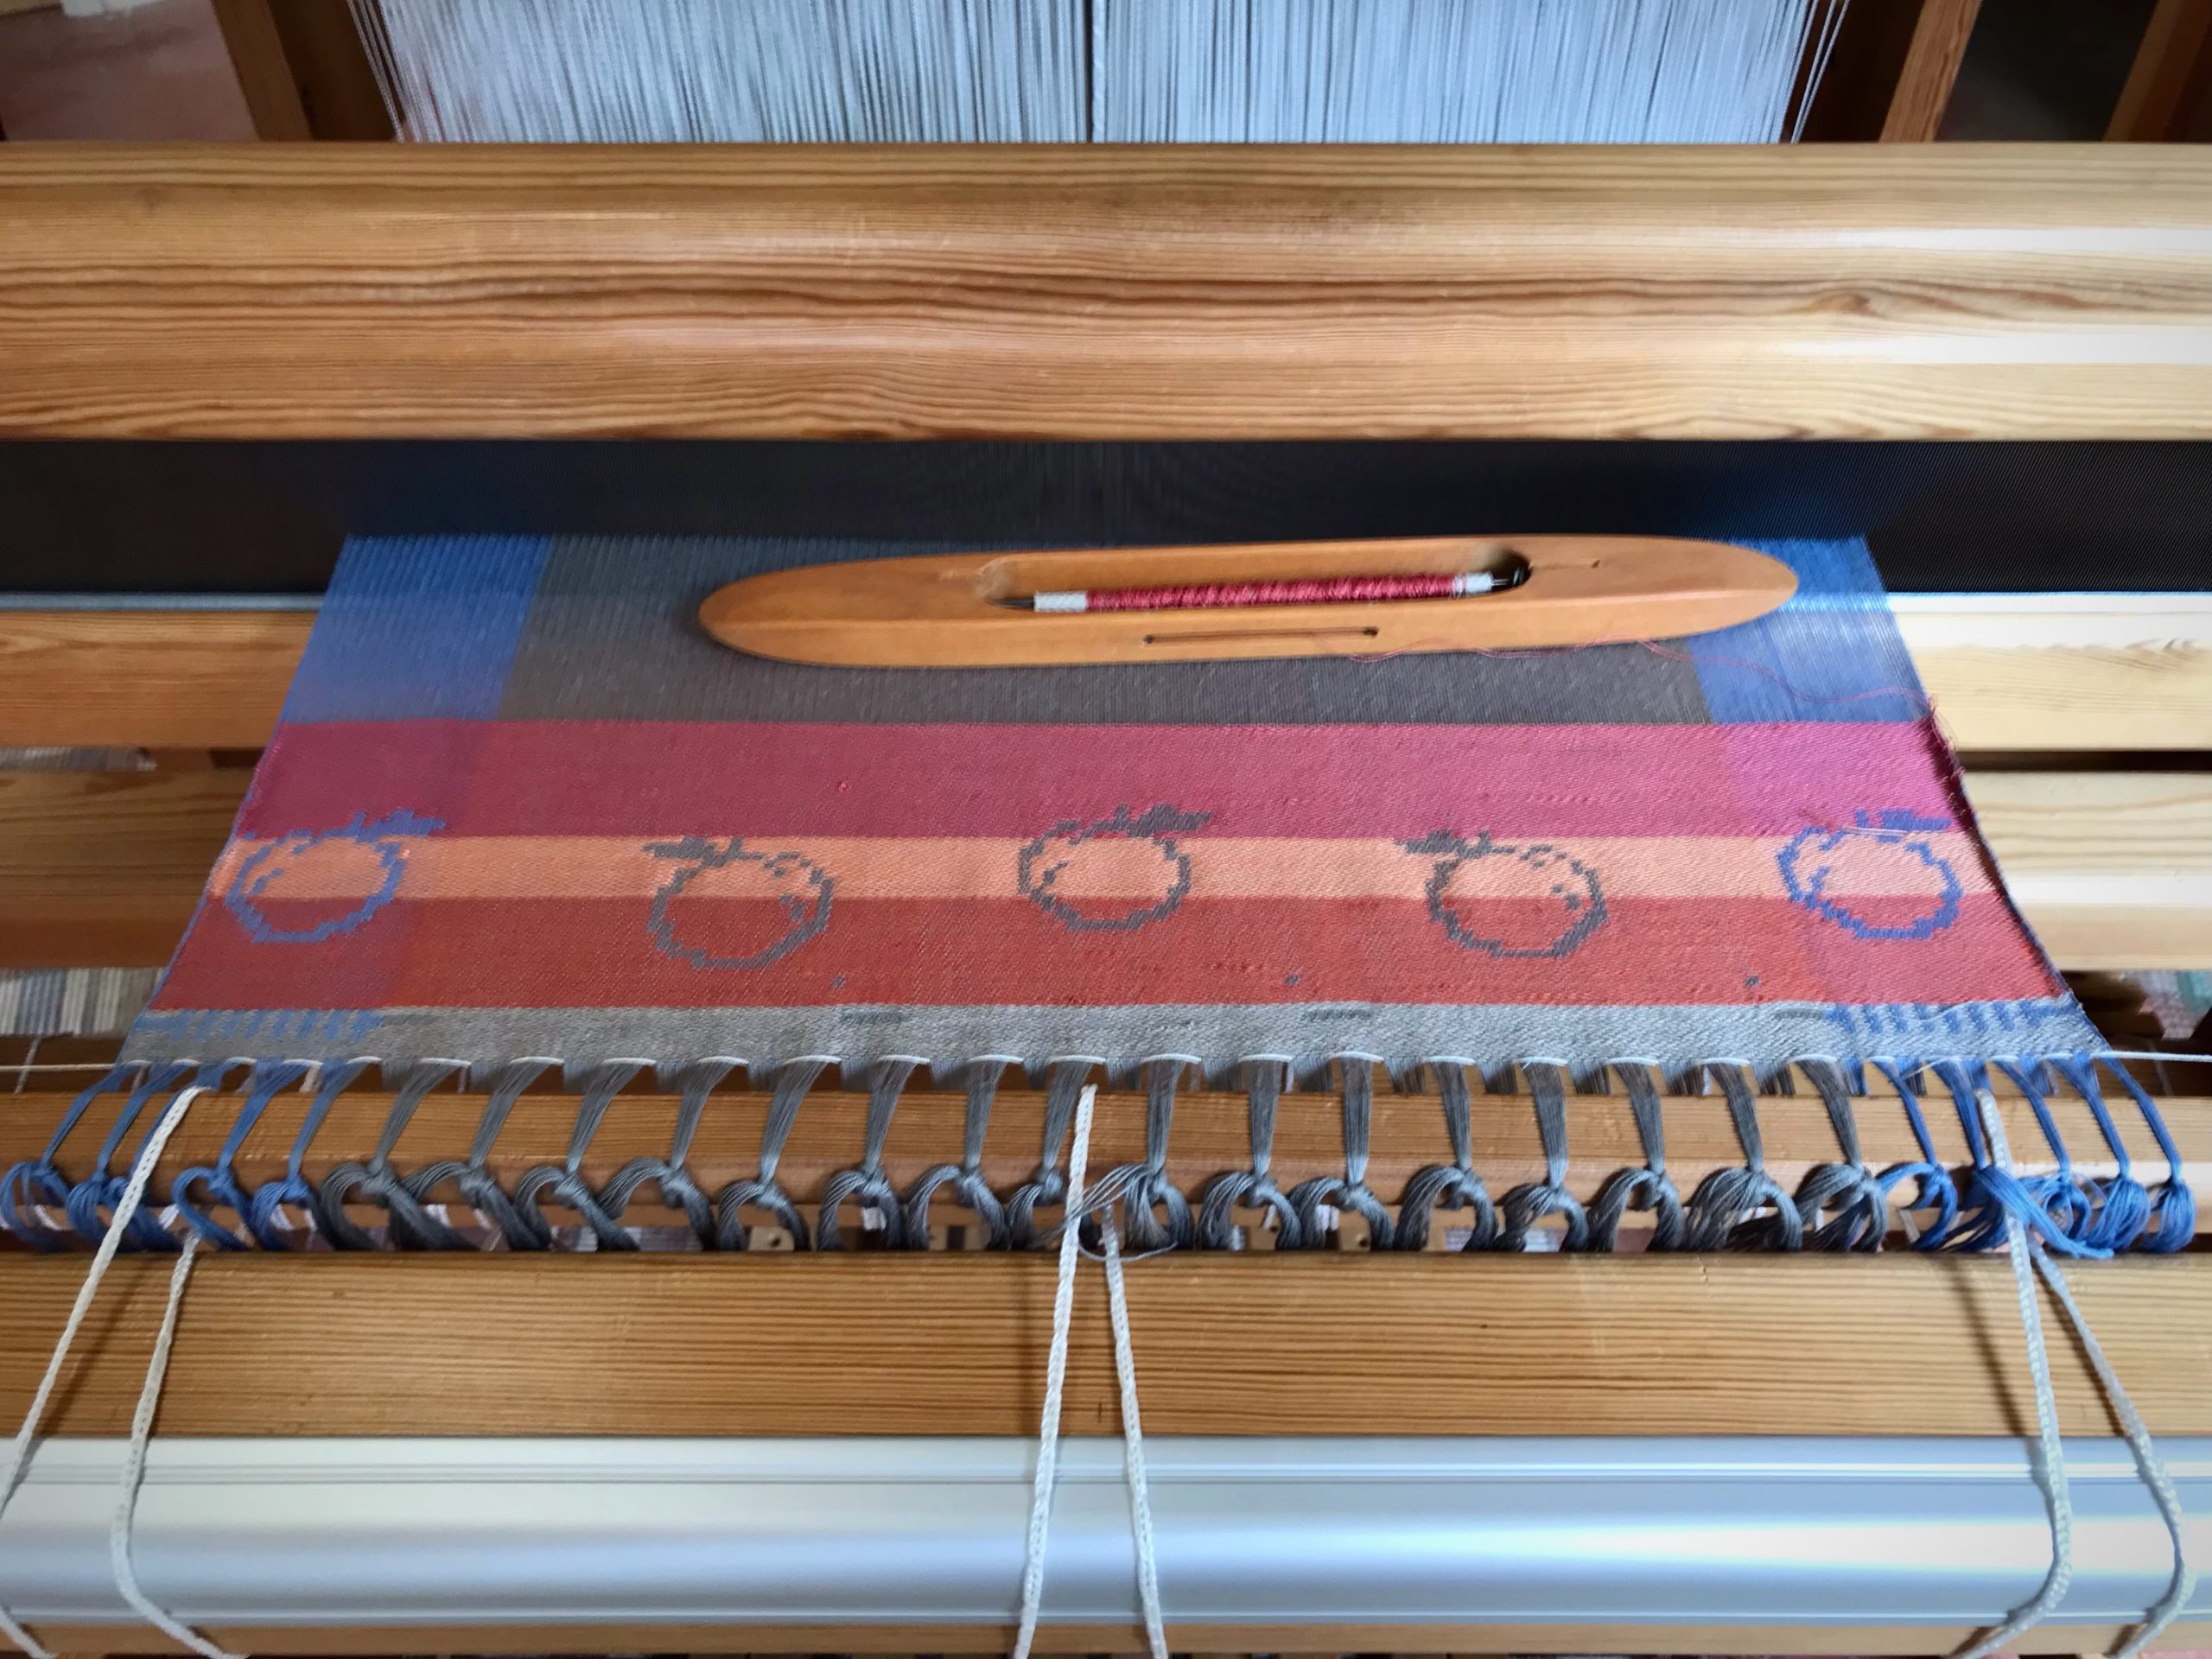
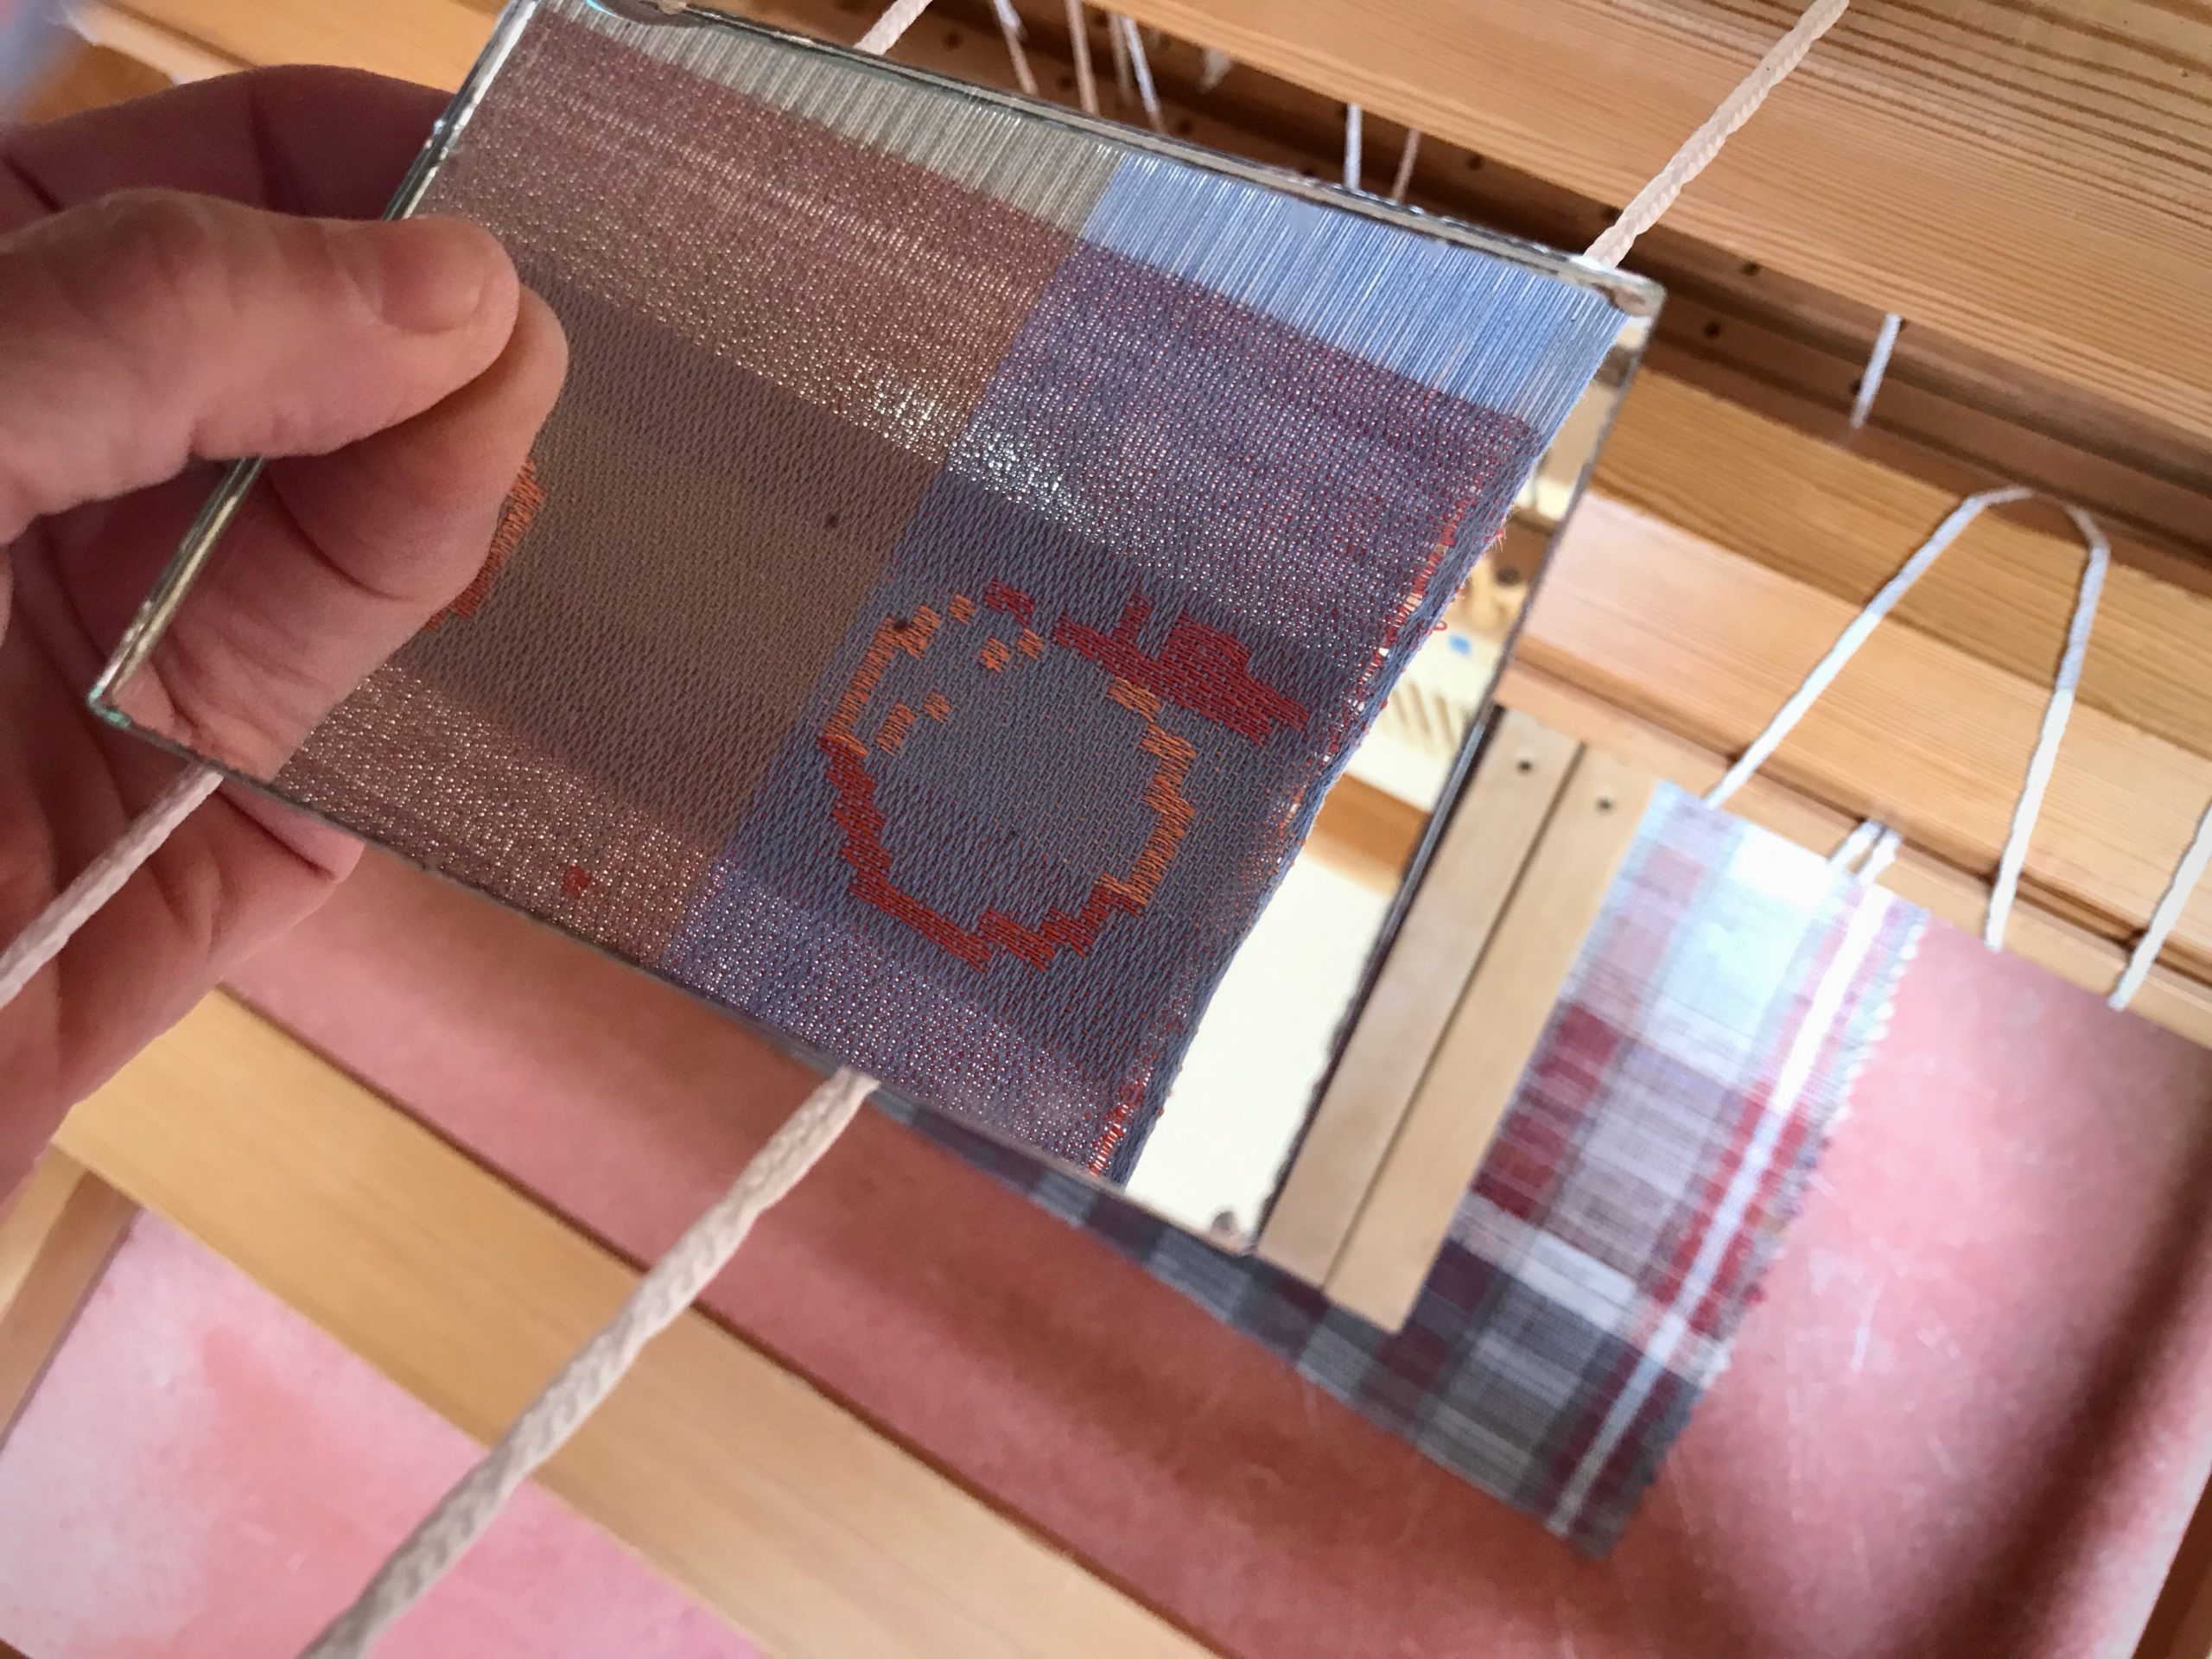
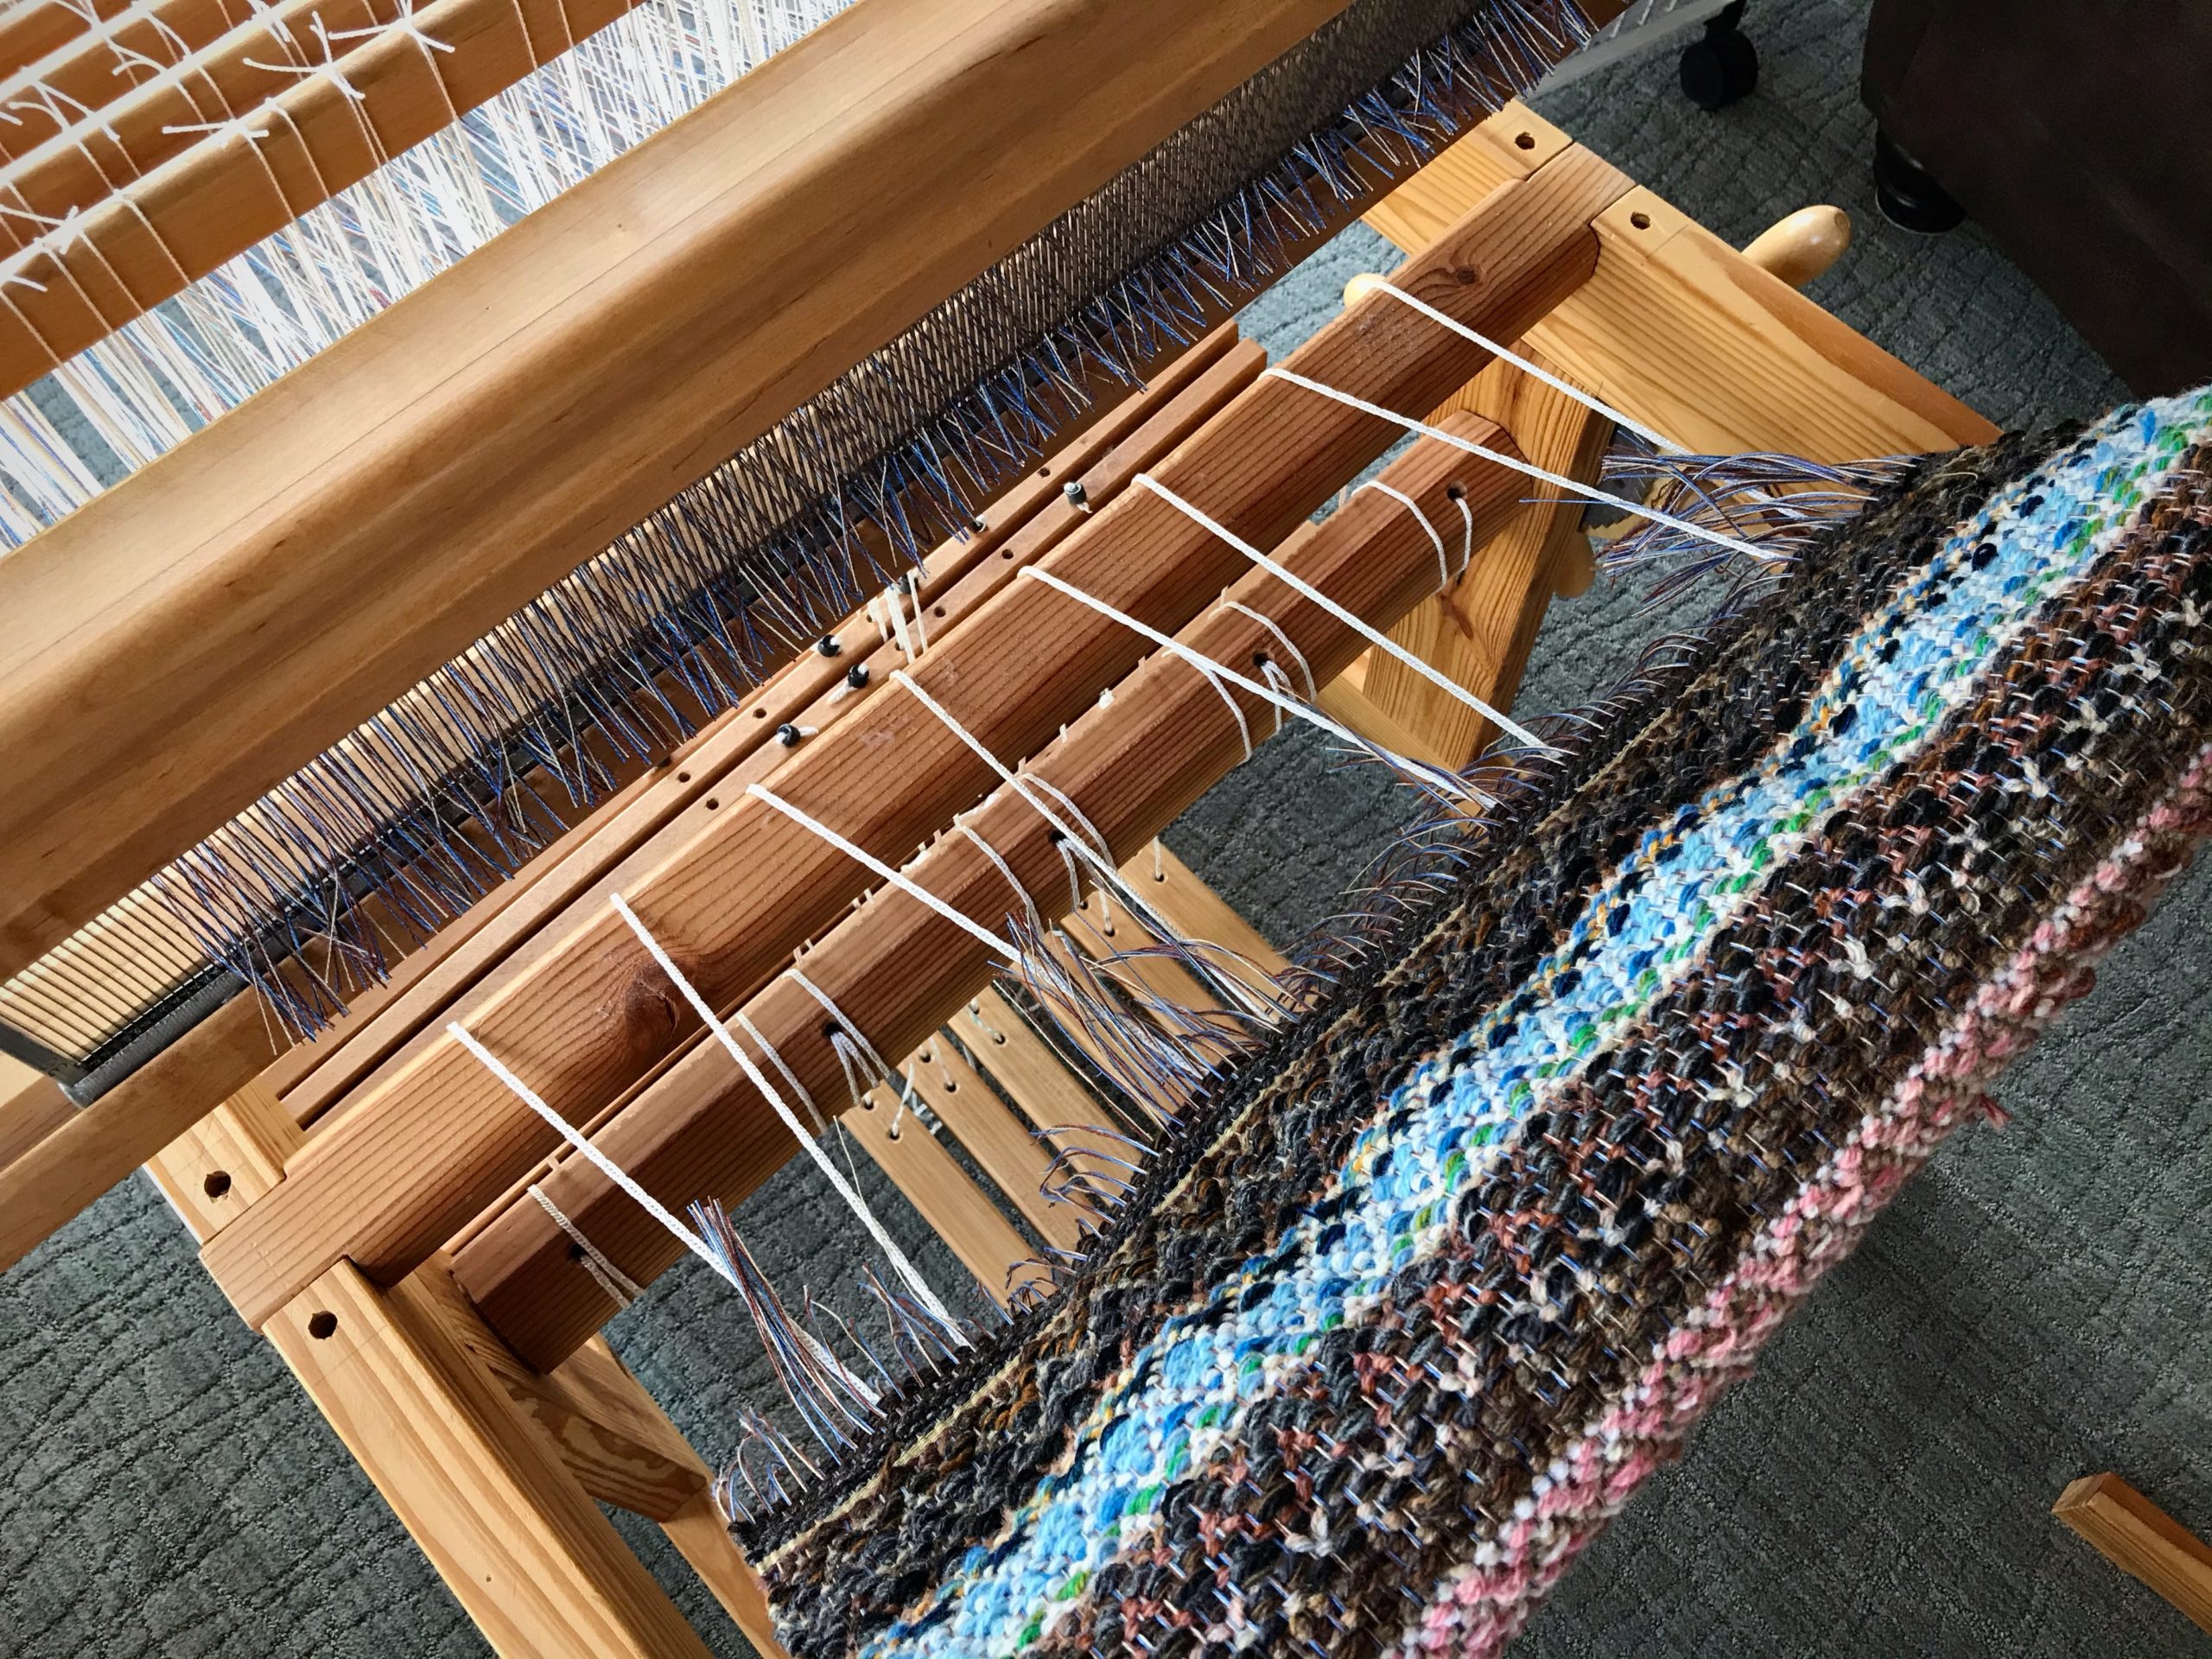
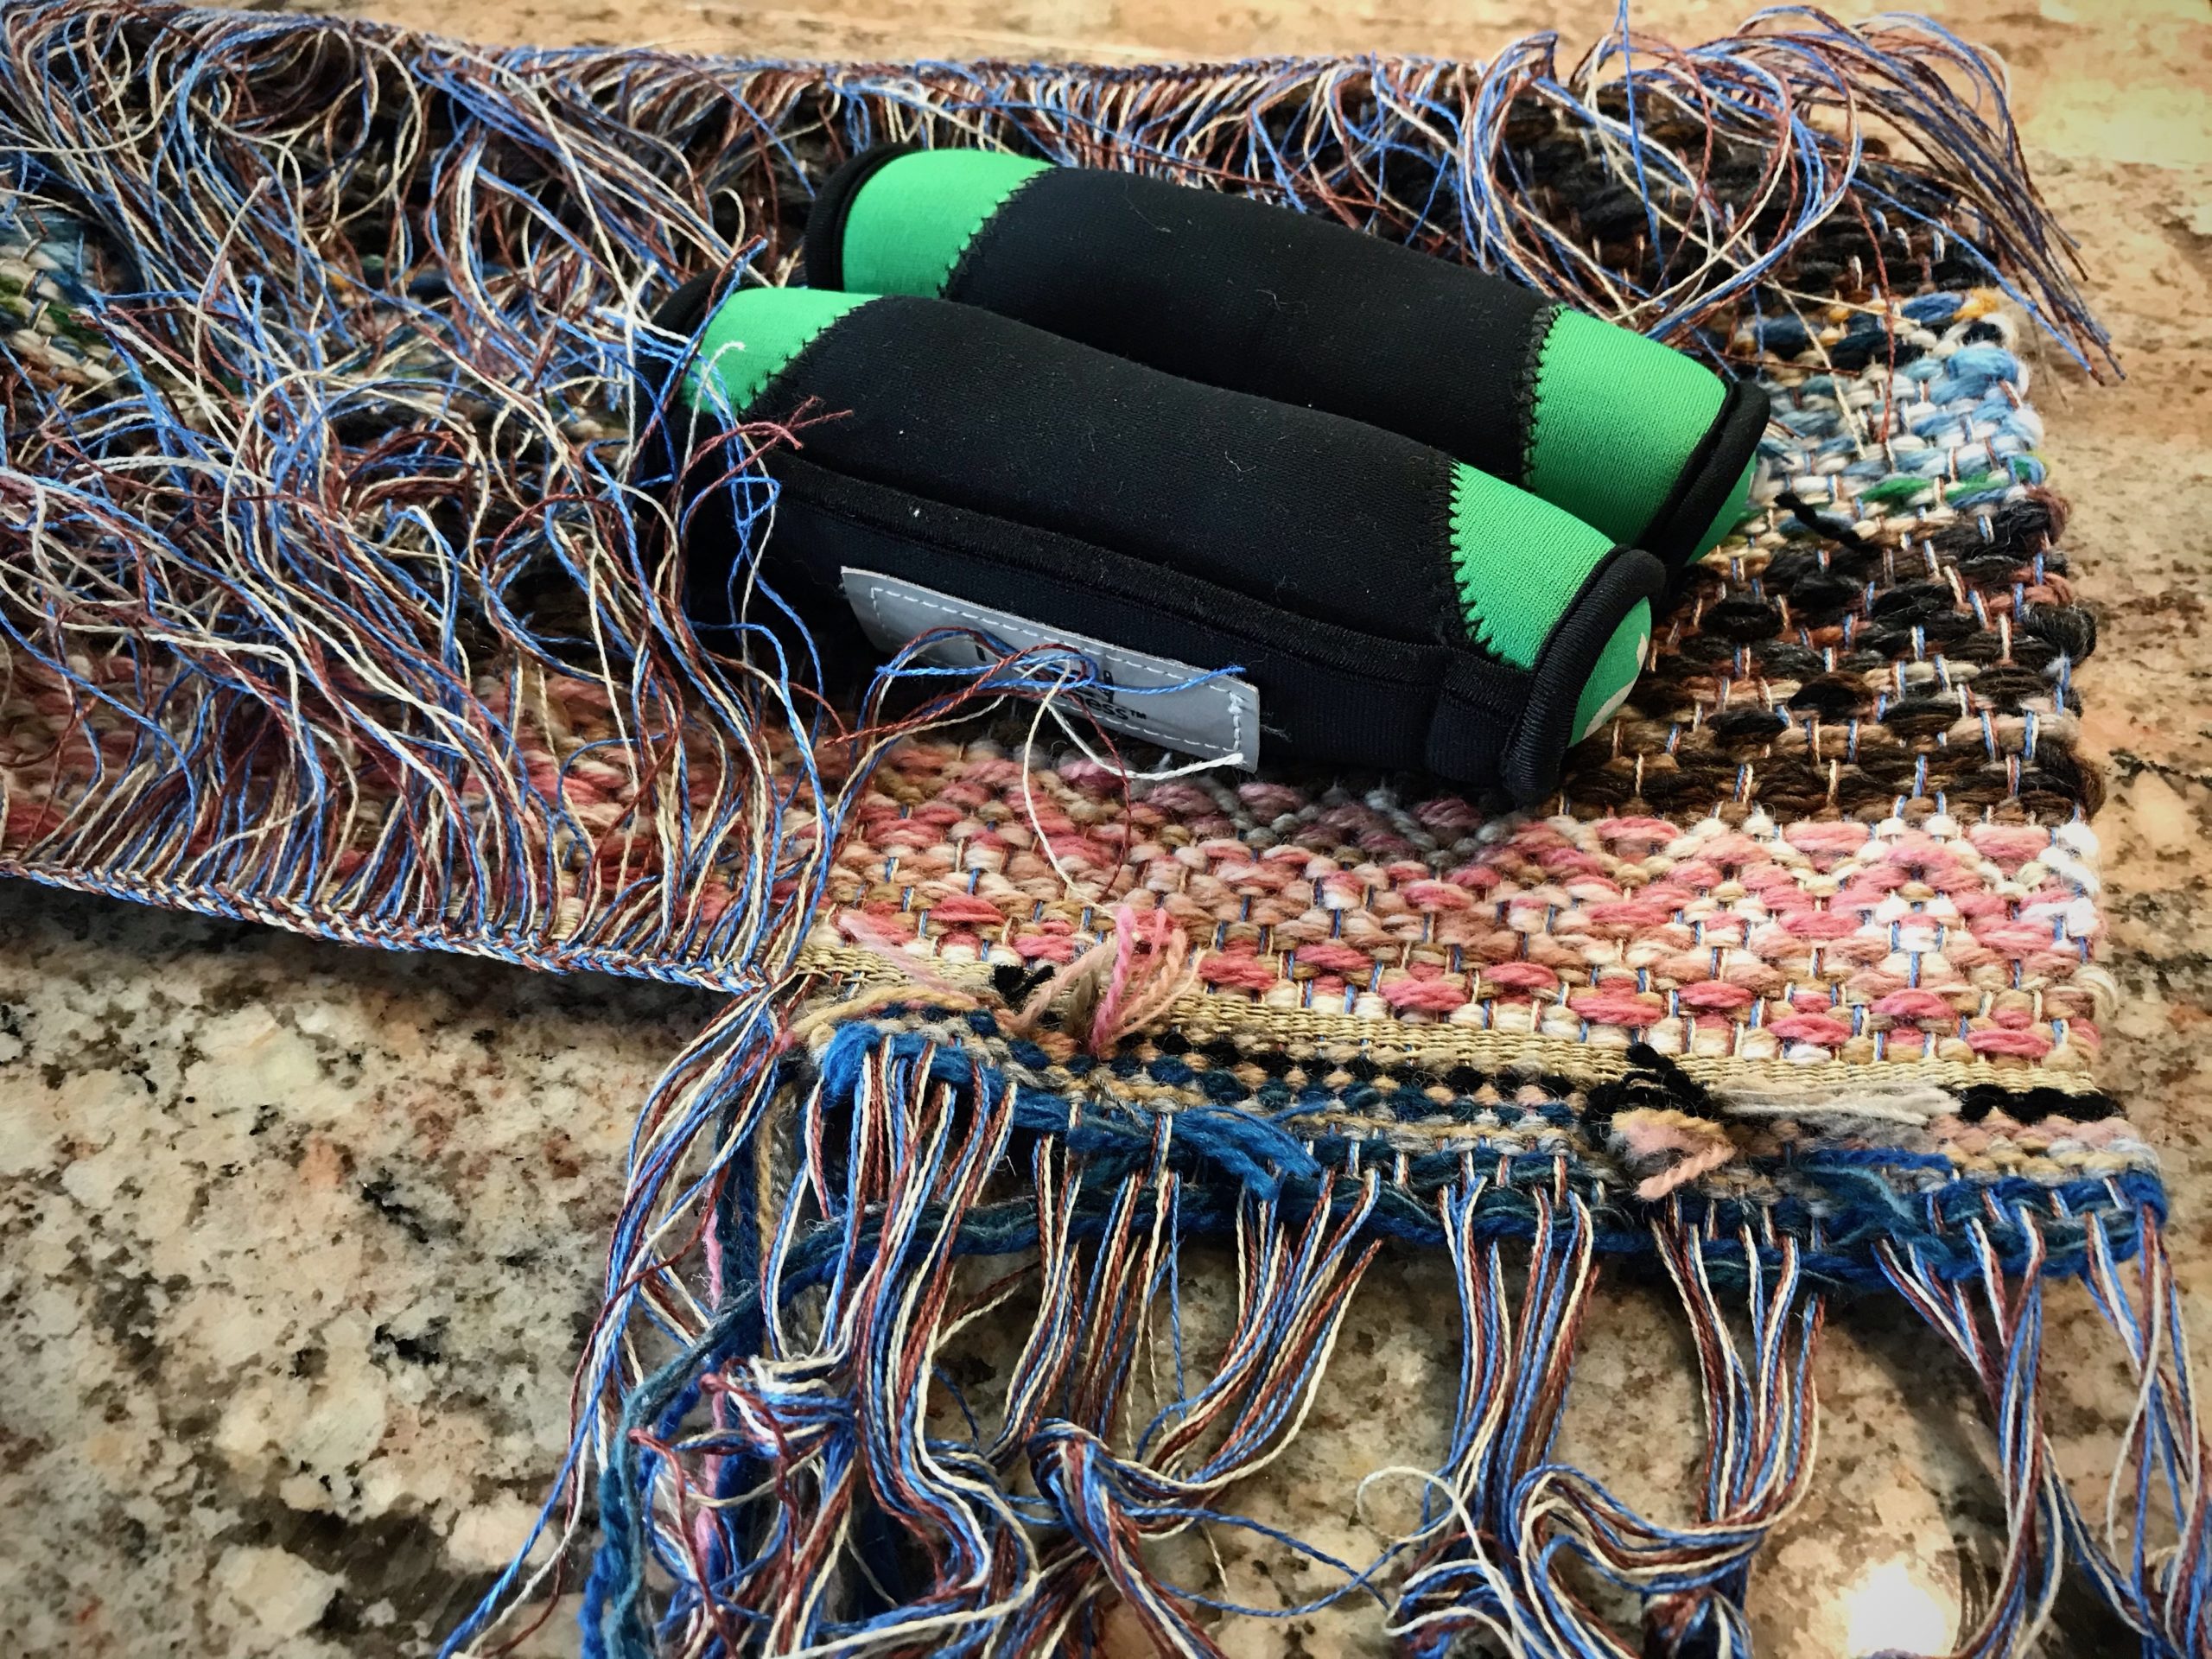
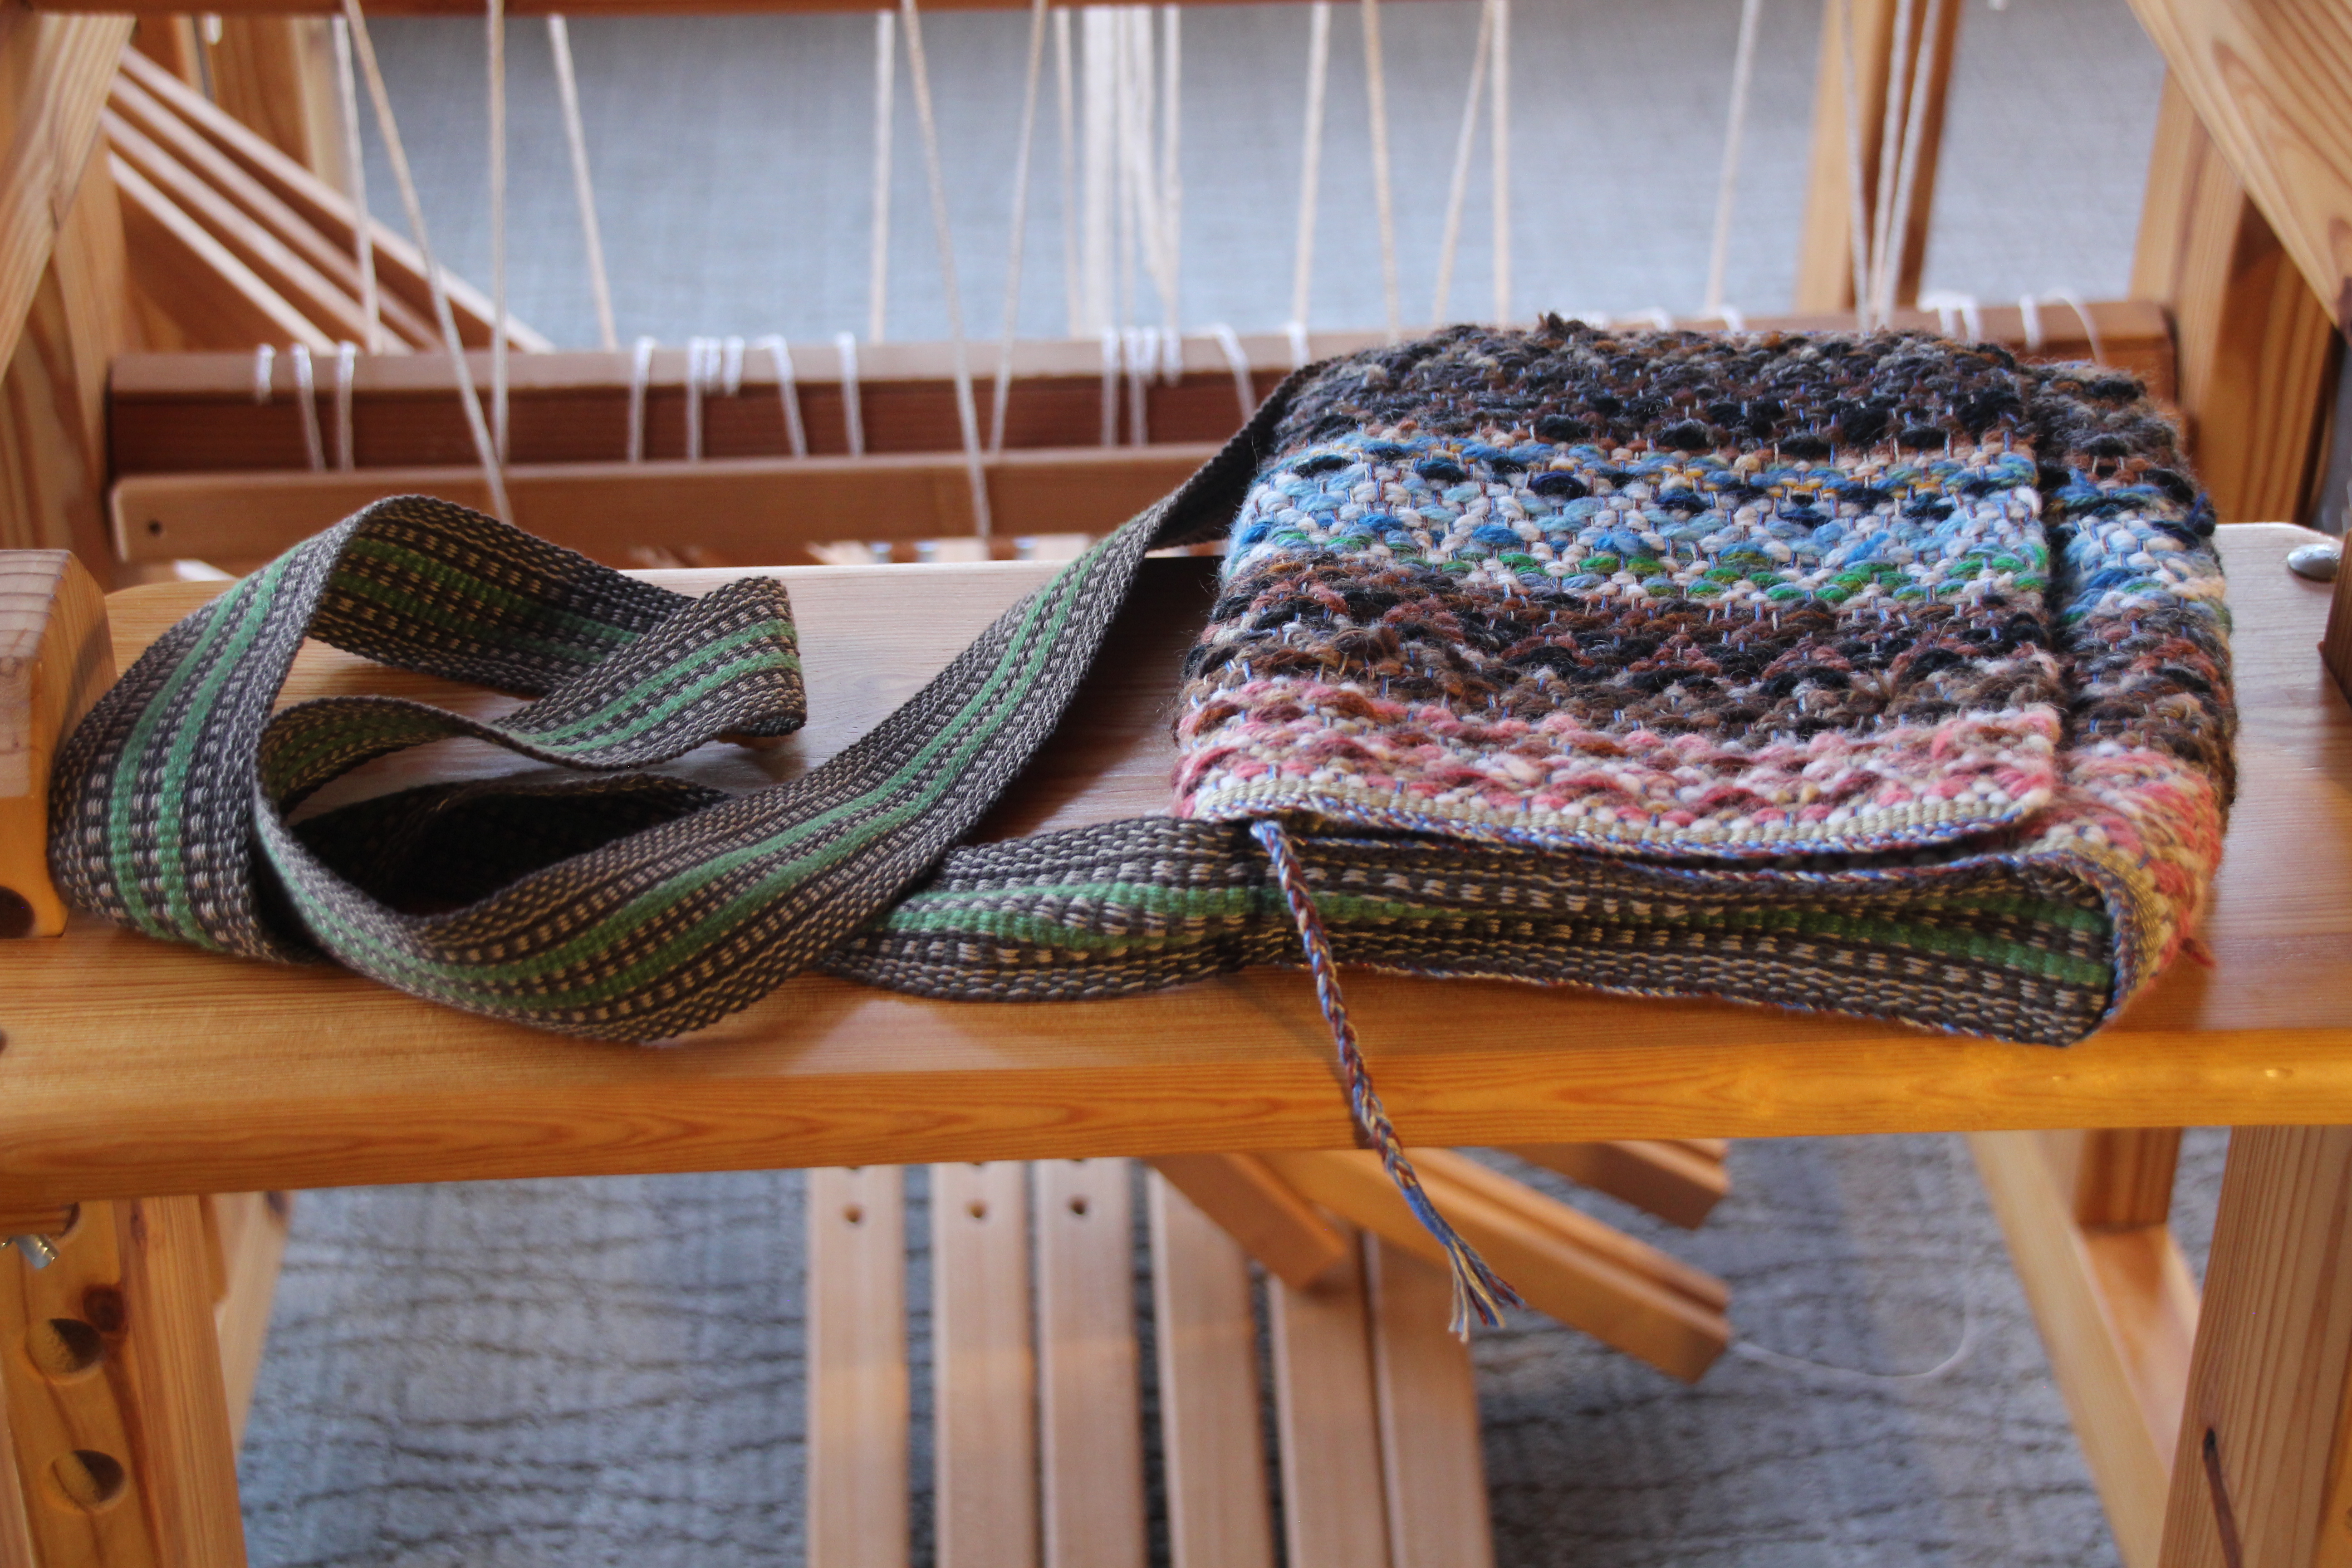
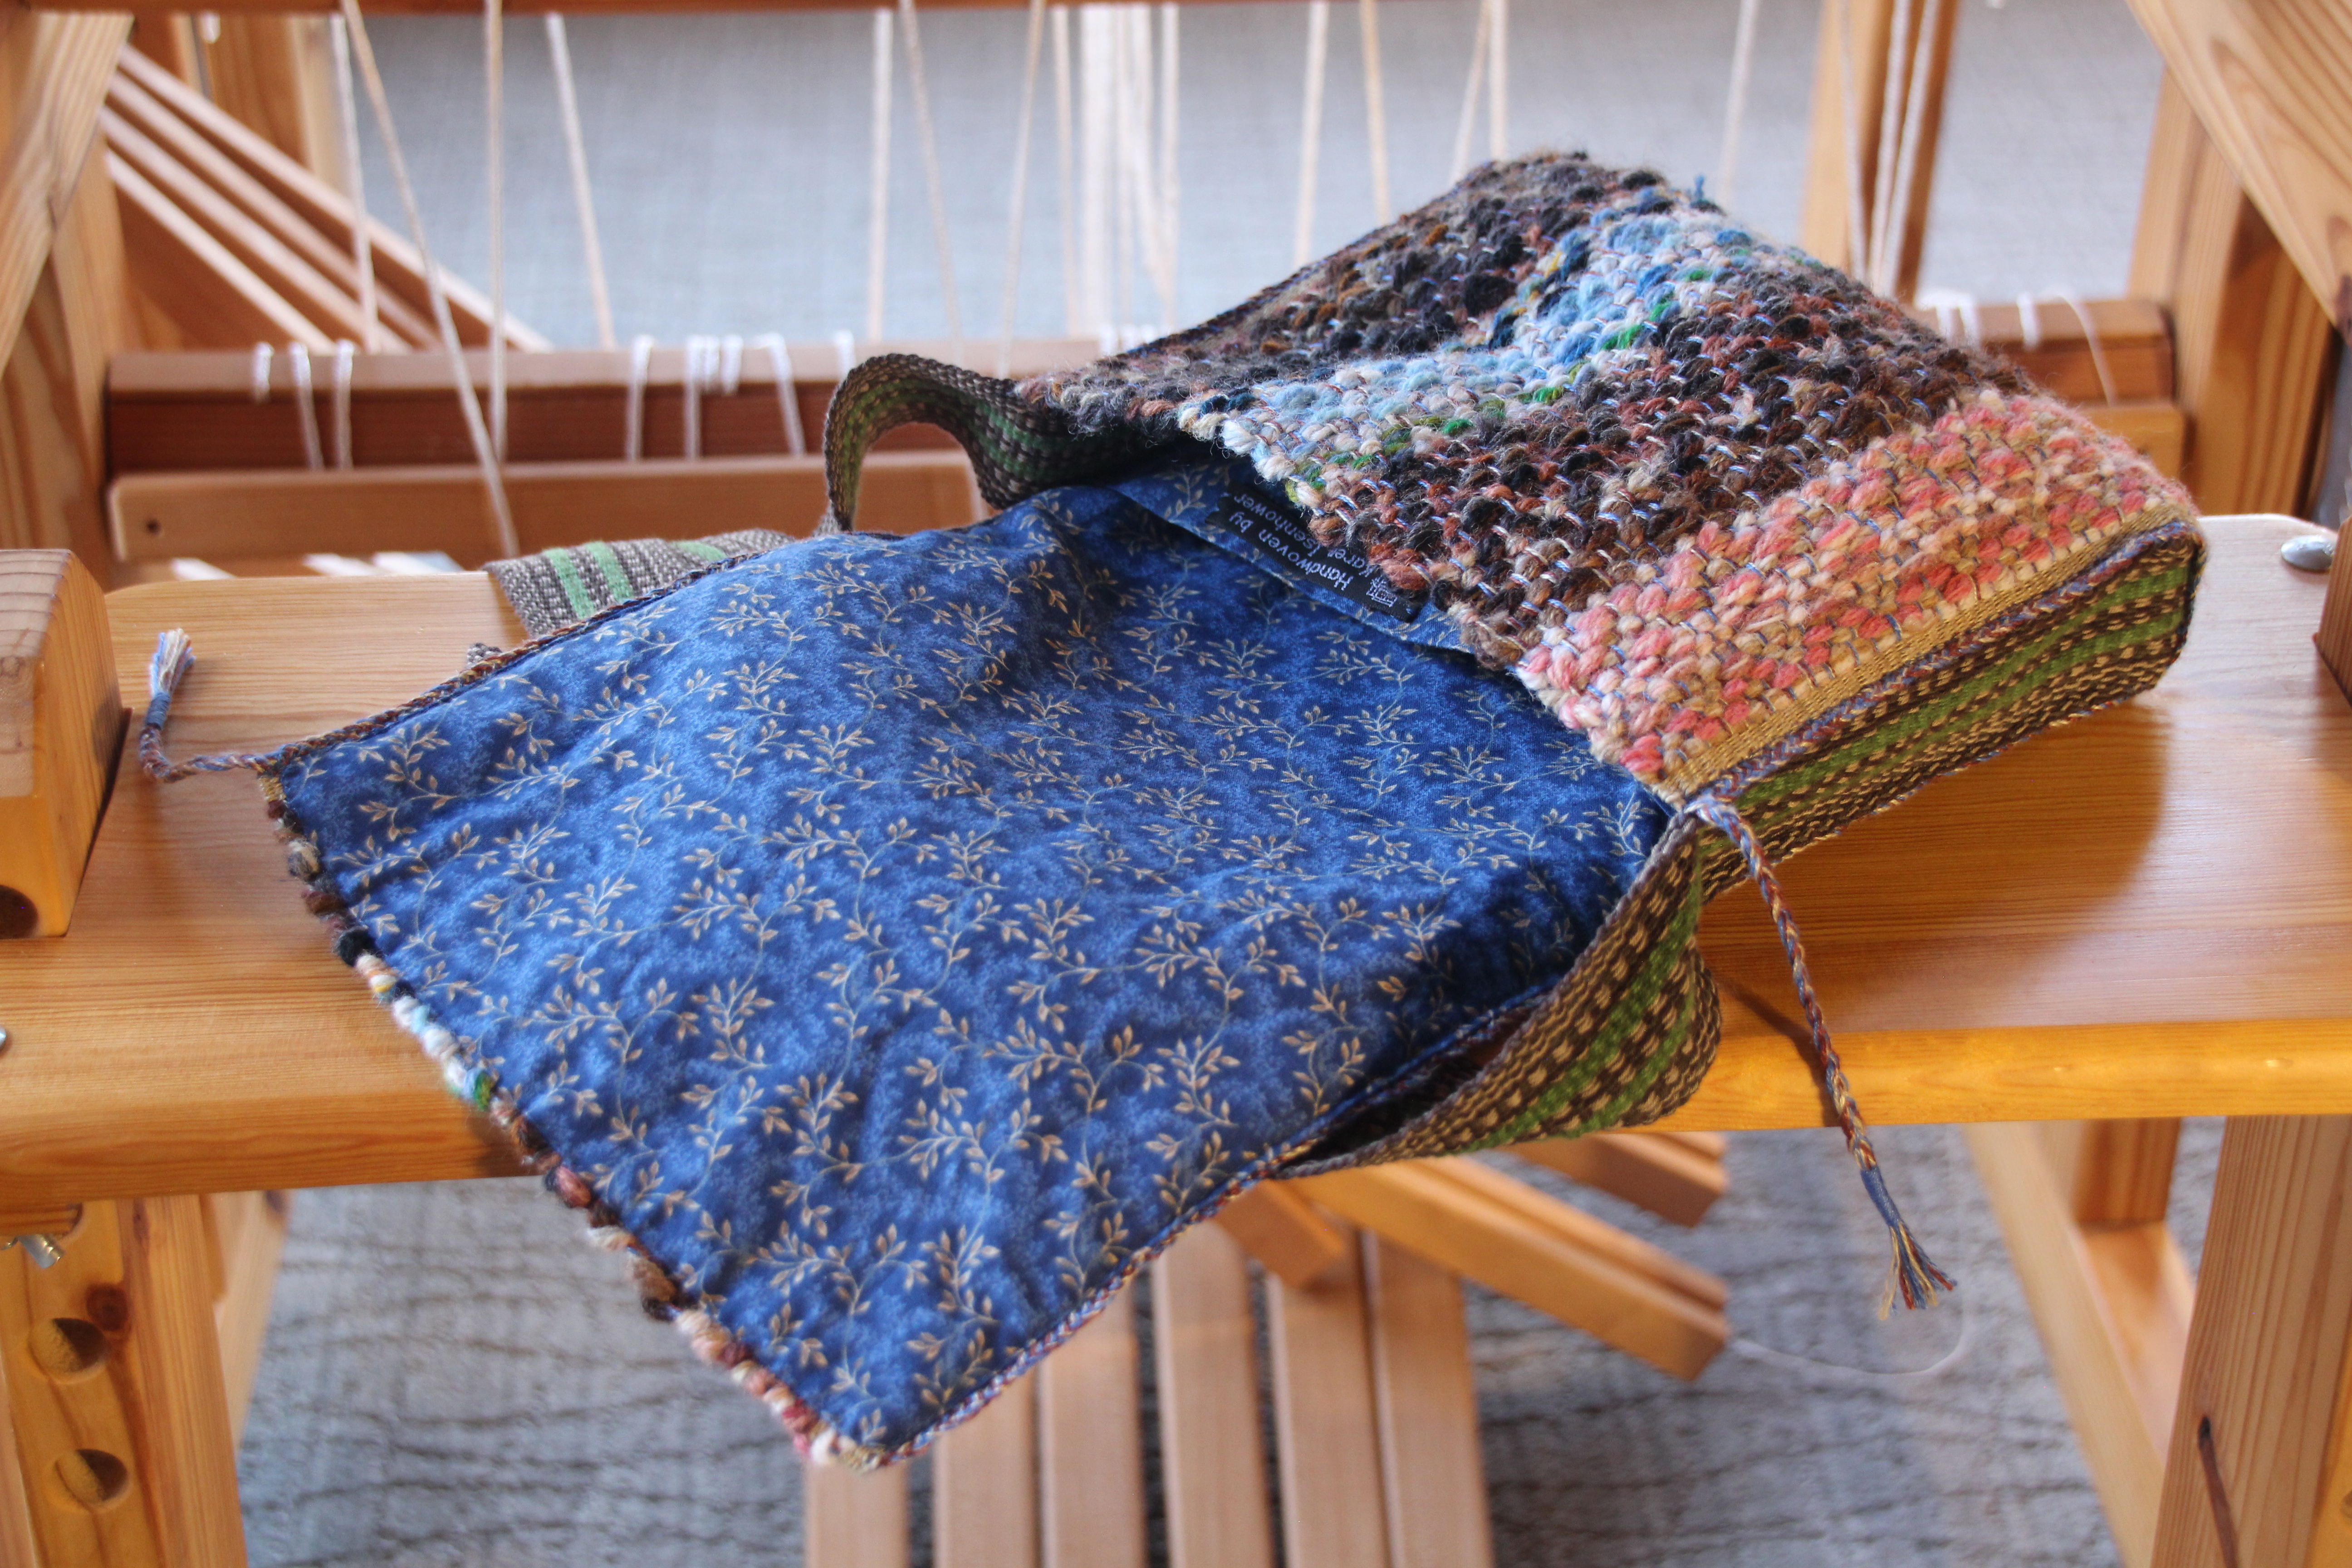
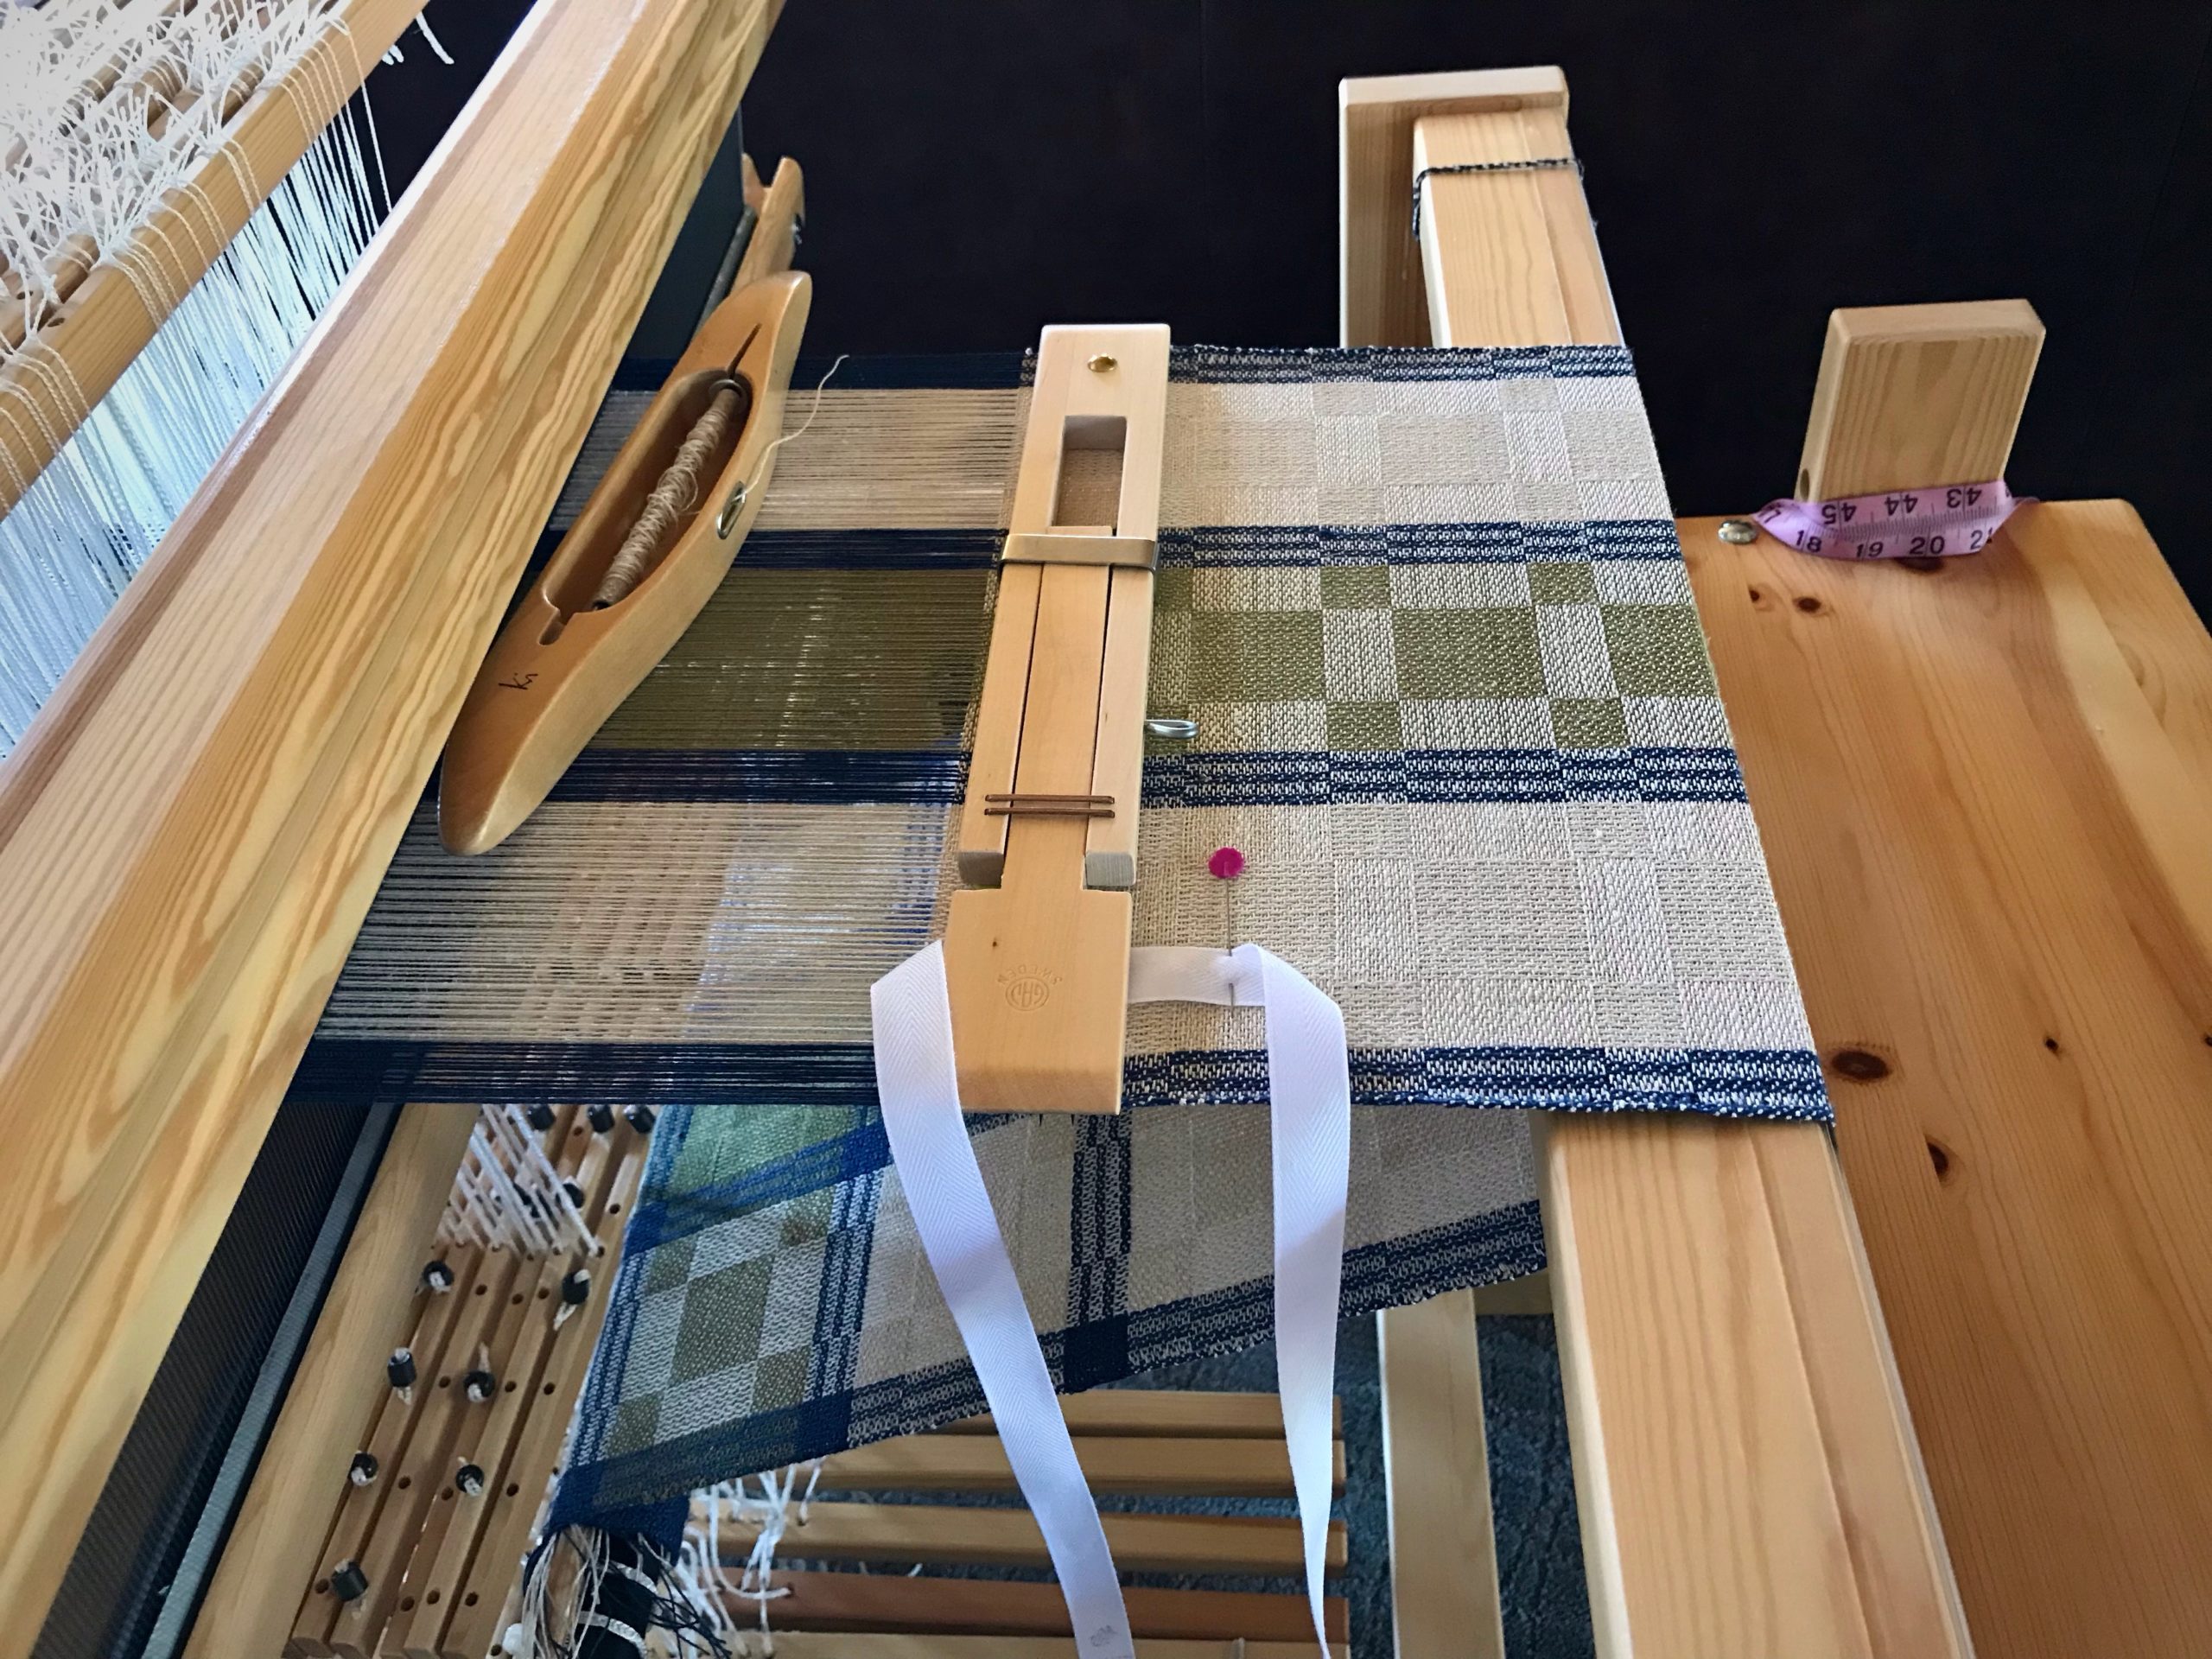
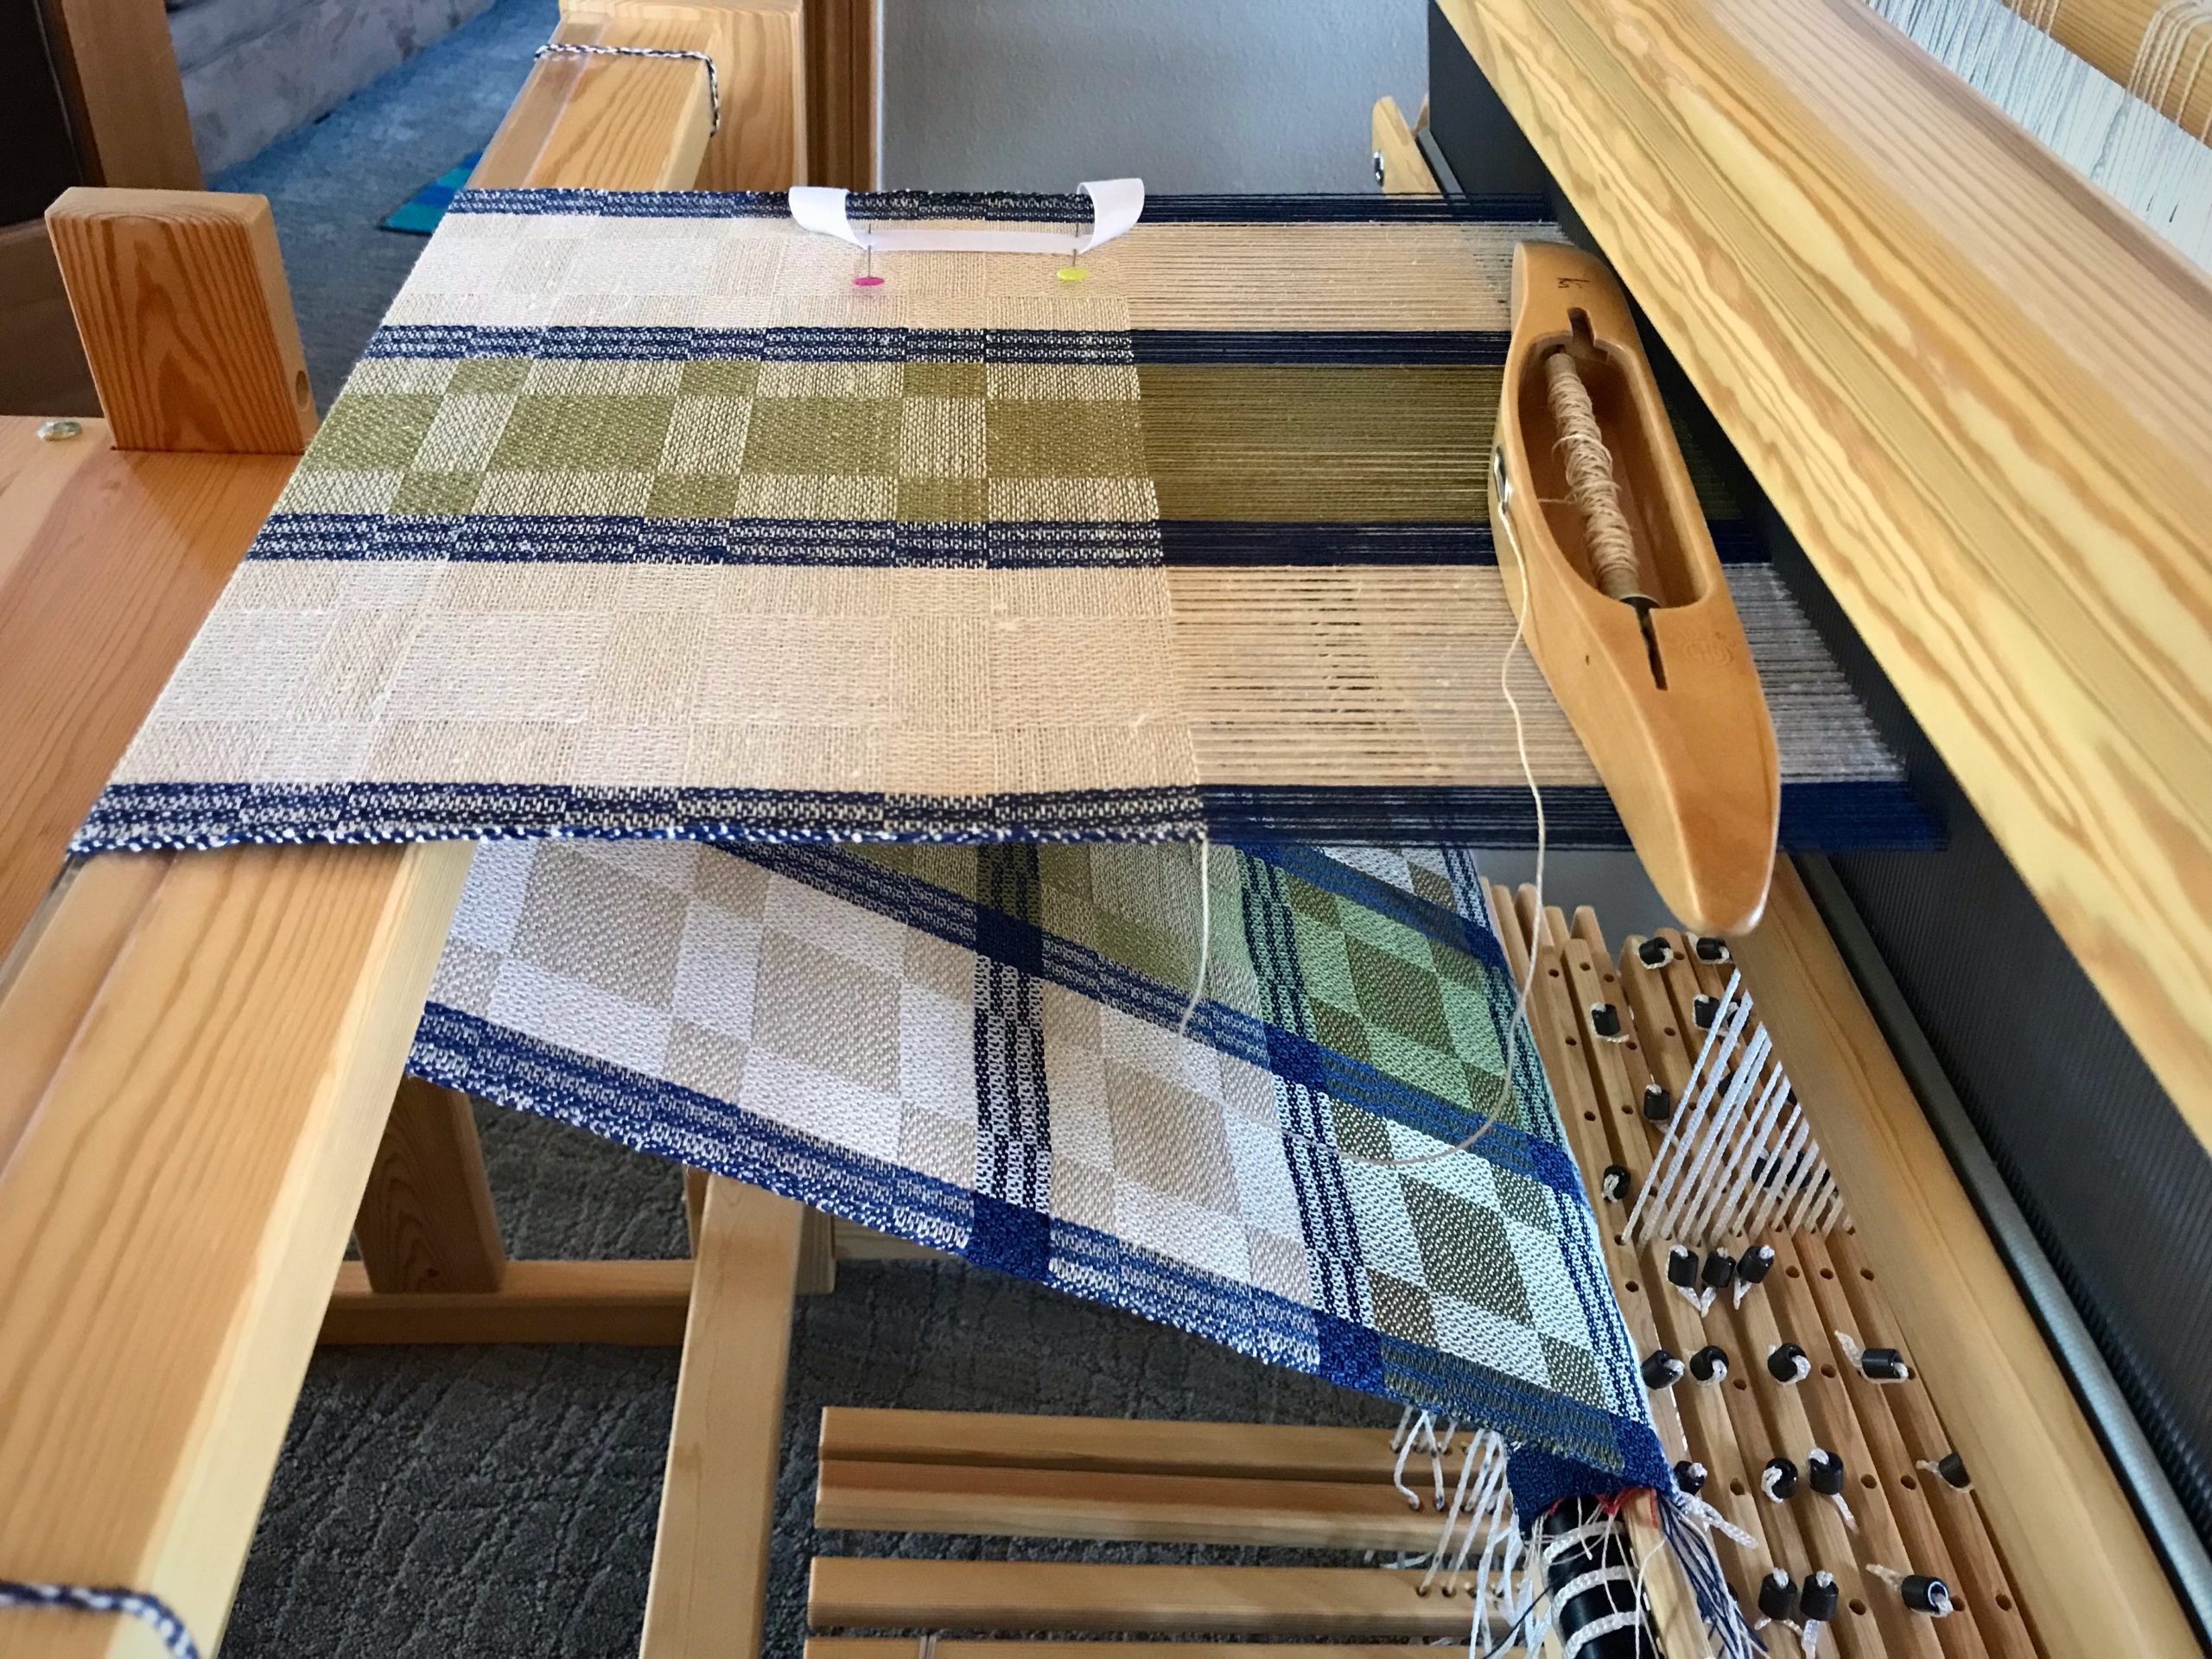
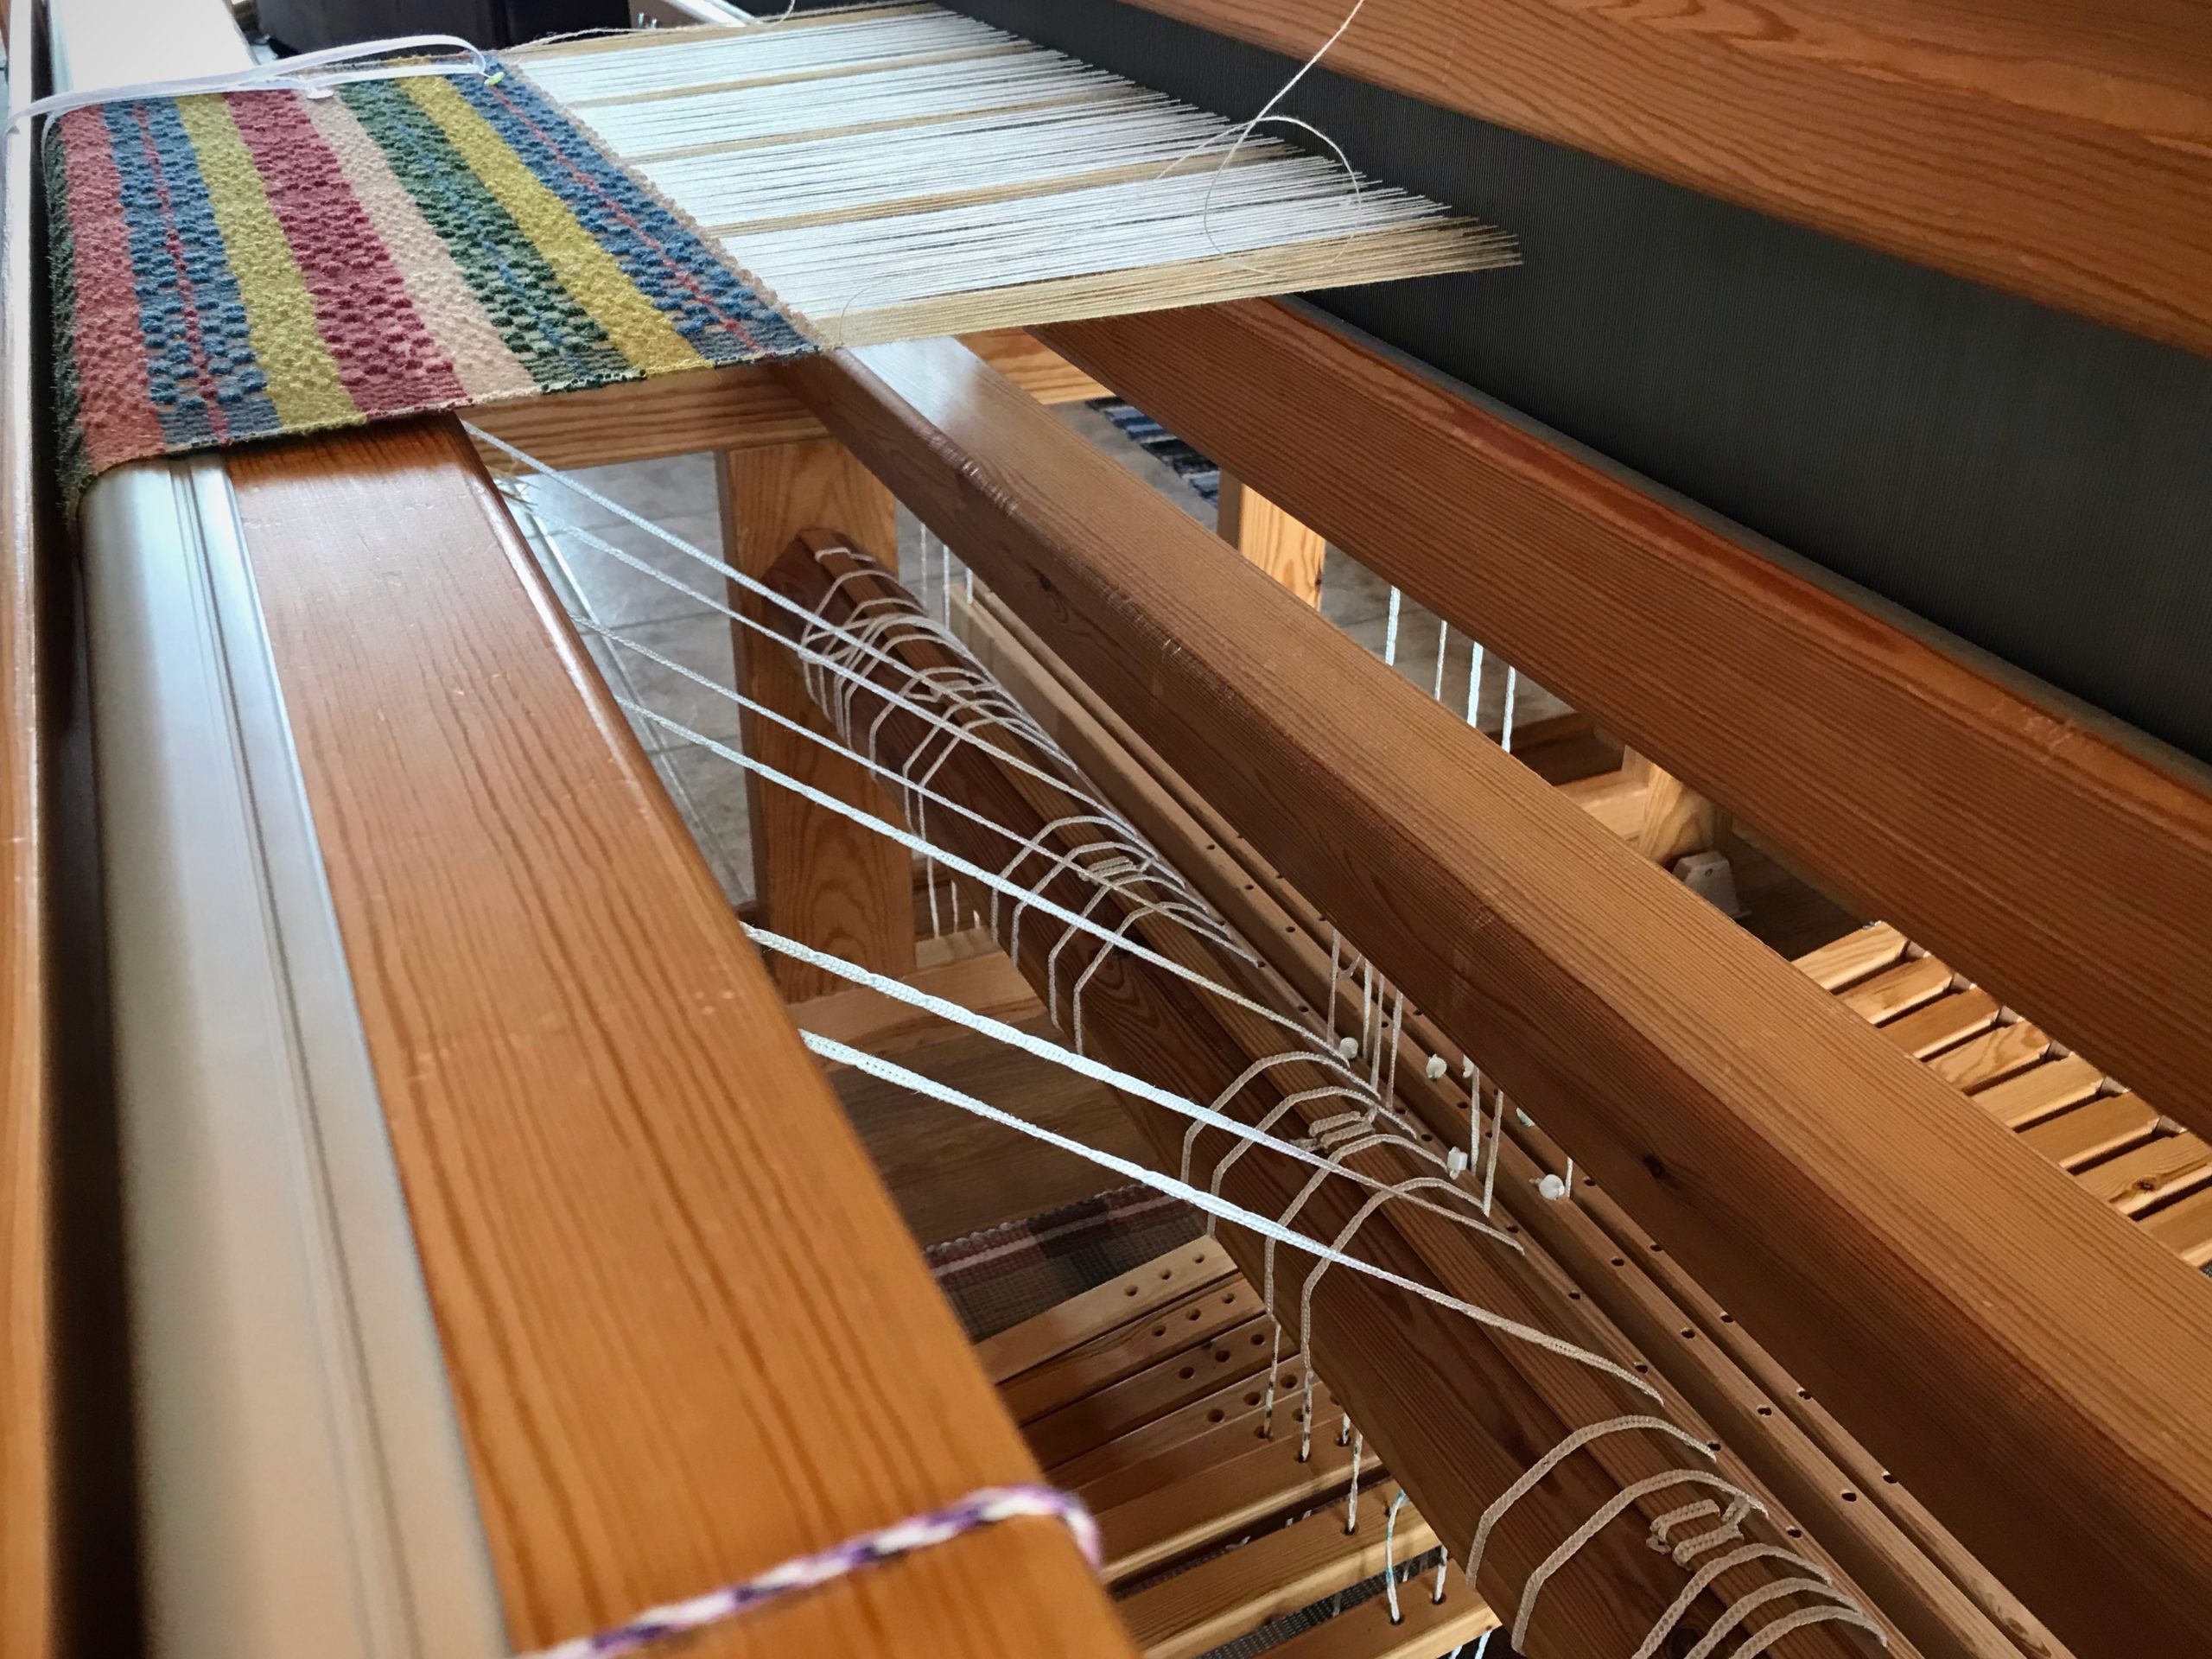
I first noticed that something was amiss right after advancing the warp. Something brushed my knees when I sat down. Aha! Beam cords, attached to the tie-on bar. I see that the tie-on bar is going straight from the cloth beam to the breast beam. I had forgotten to bring the tie-on bar over the knee beam. Really? Nearly everyone does this at least once when they are starting out. But it has been a few years since I made this mistake. Apparently, I still need my checklist.
Fortunately, forgetting the knee beam is one of the easiest blunders to remedy.
Re-Set the Knee Beam
1. Remove the knee beam. Rest the beam on the loom frame.
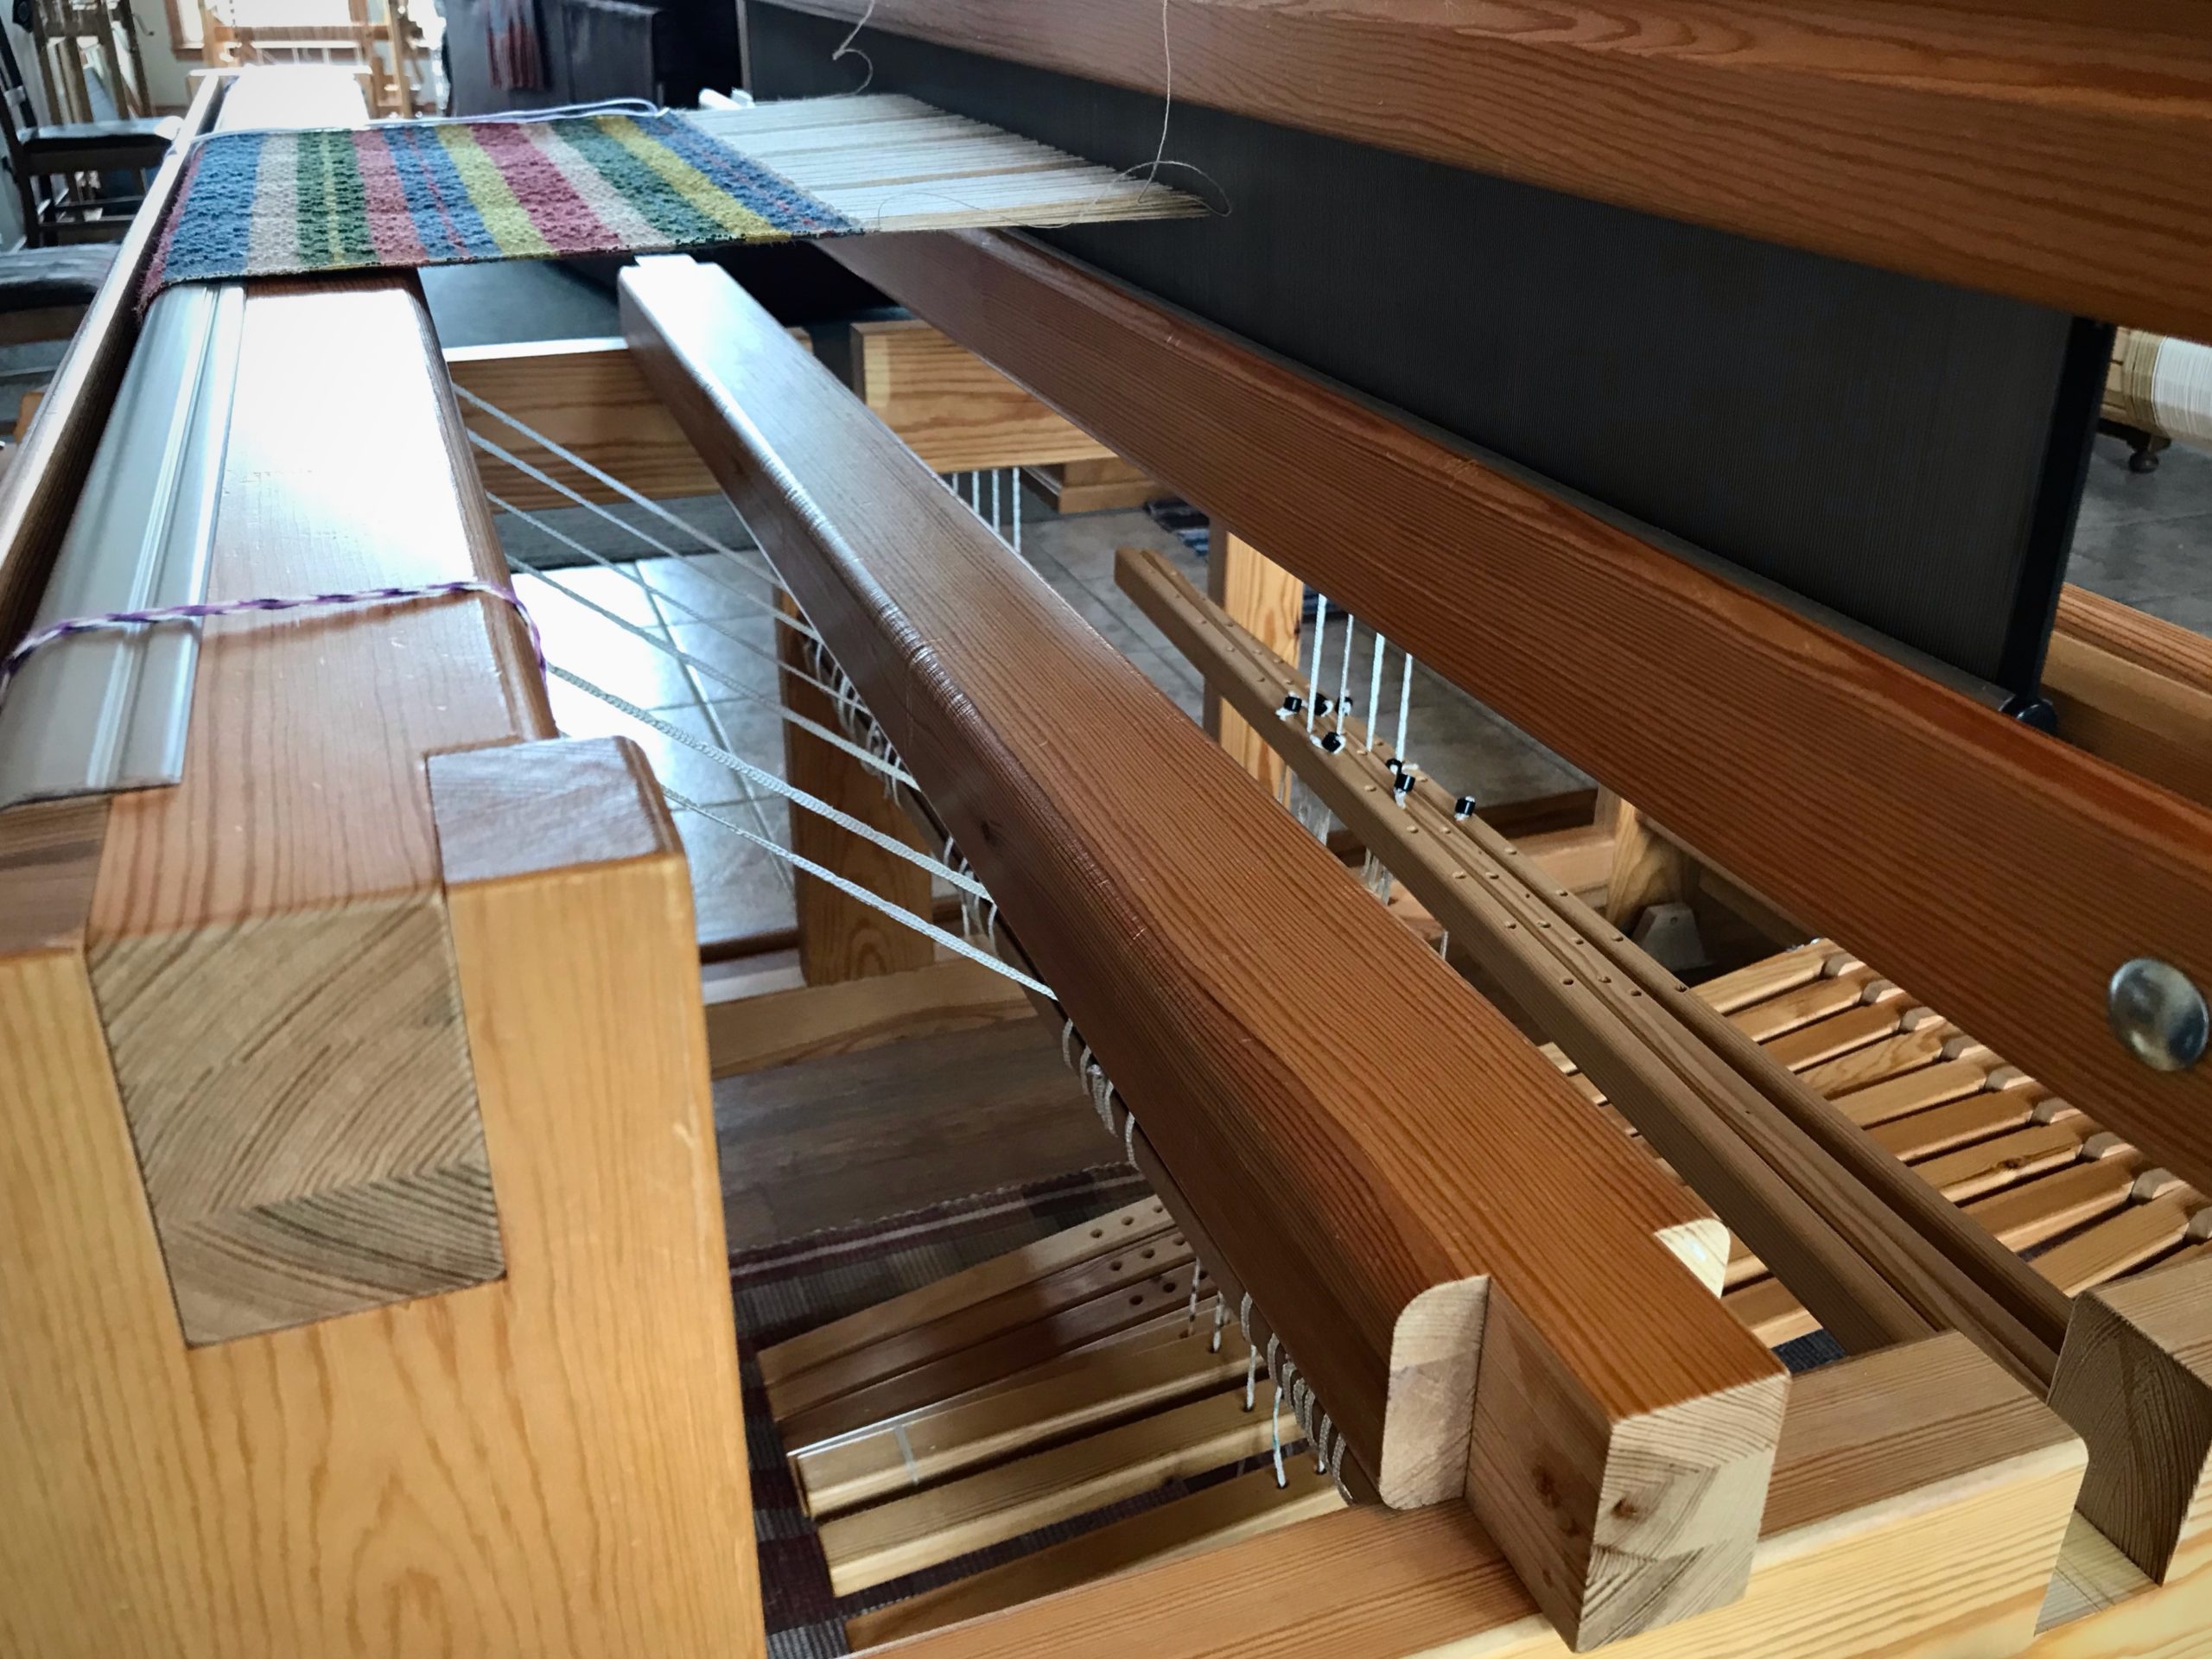
2. Unlatch the front ratchet to release warp tension.
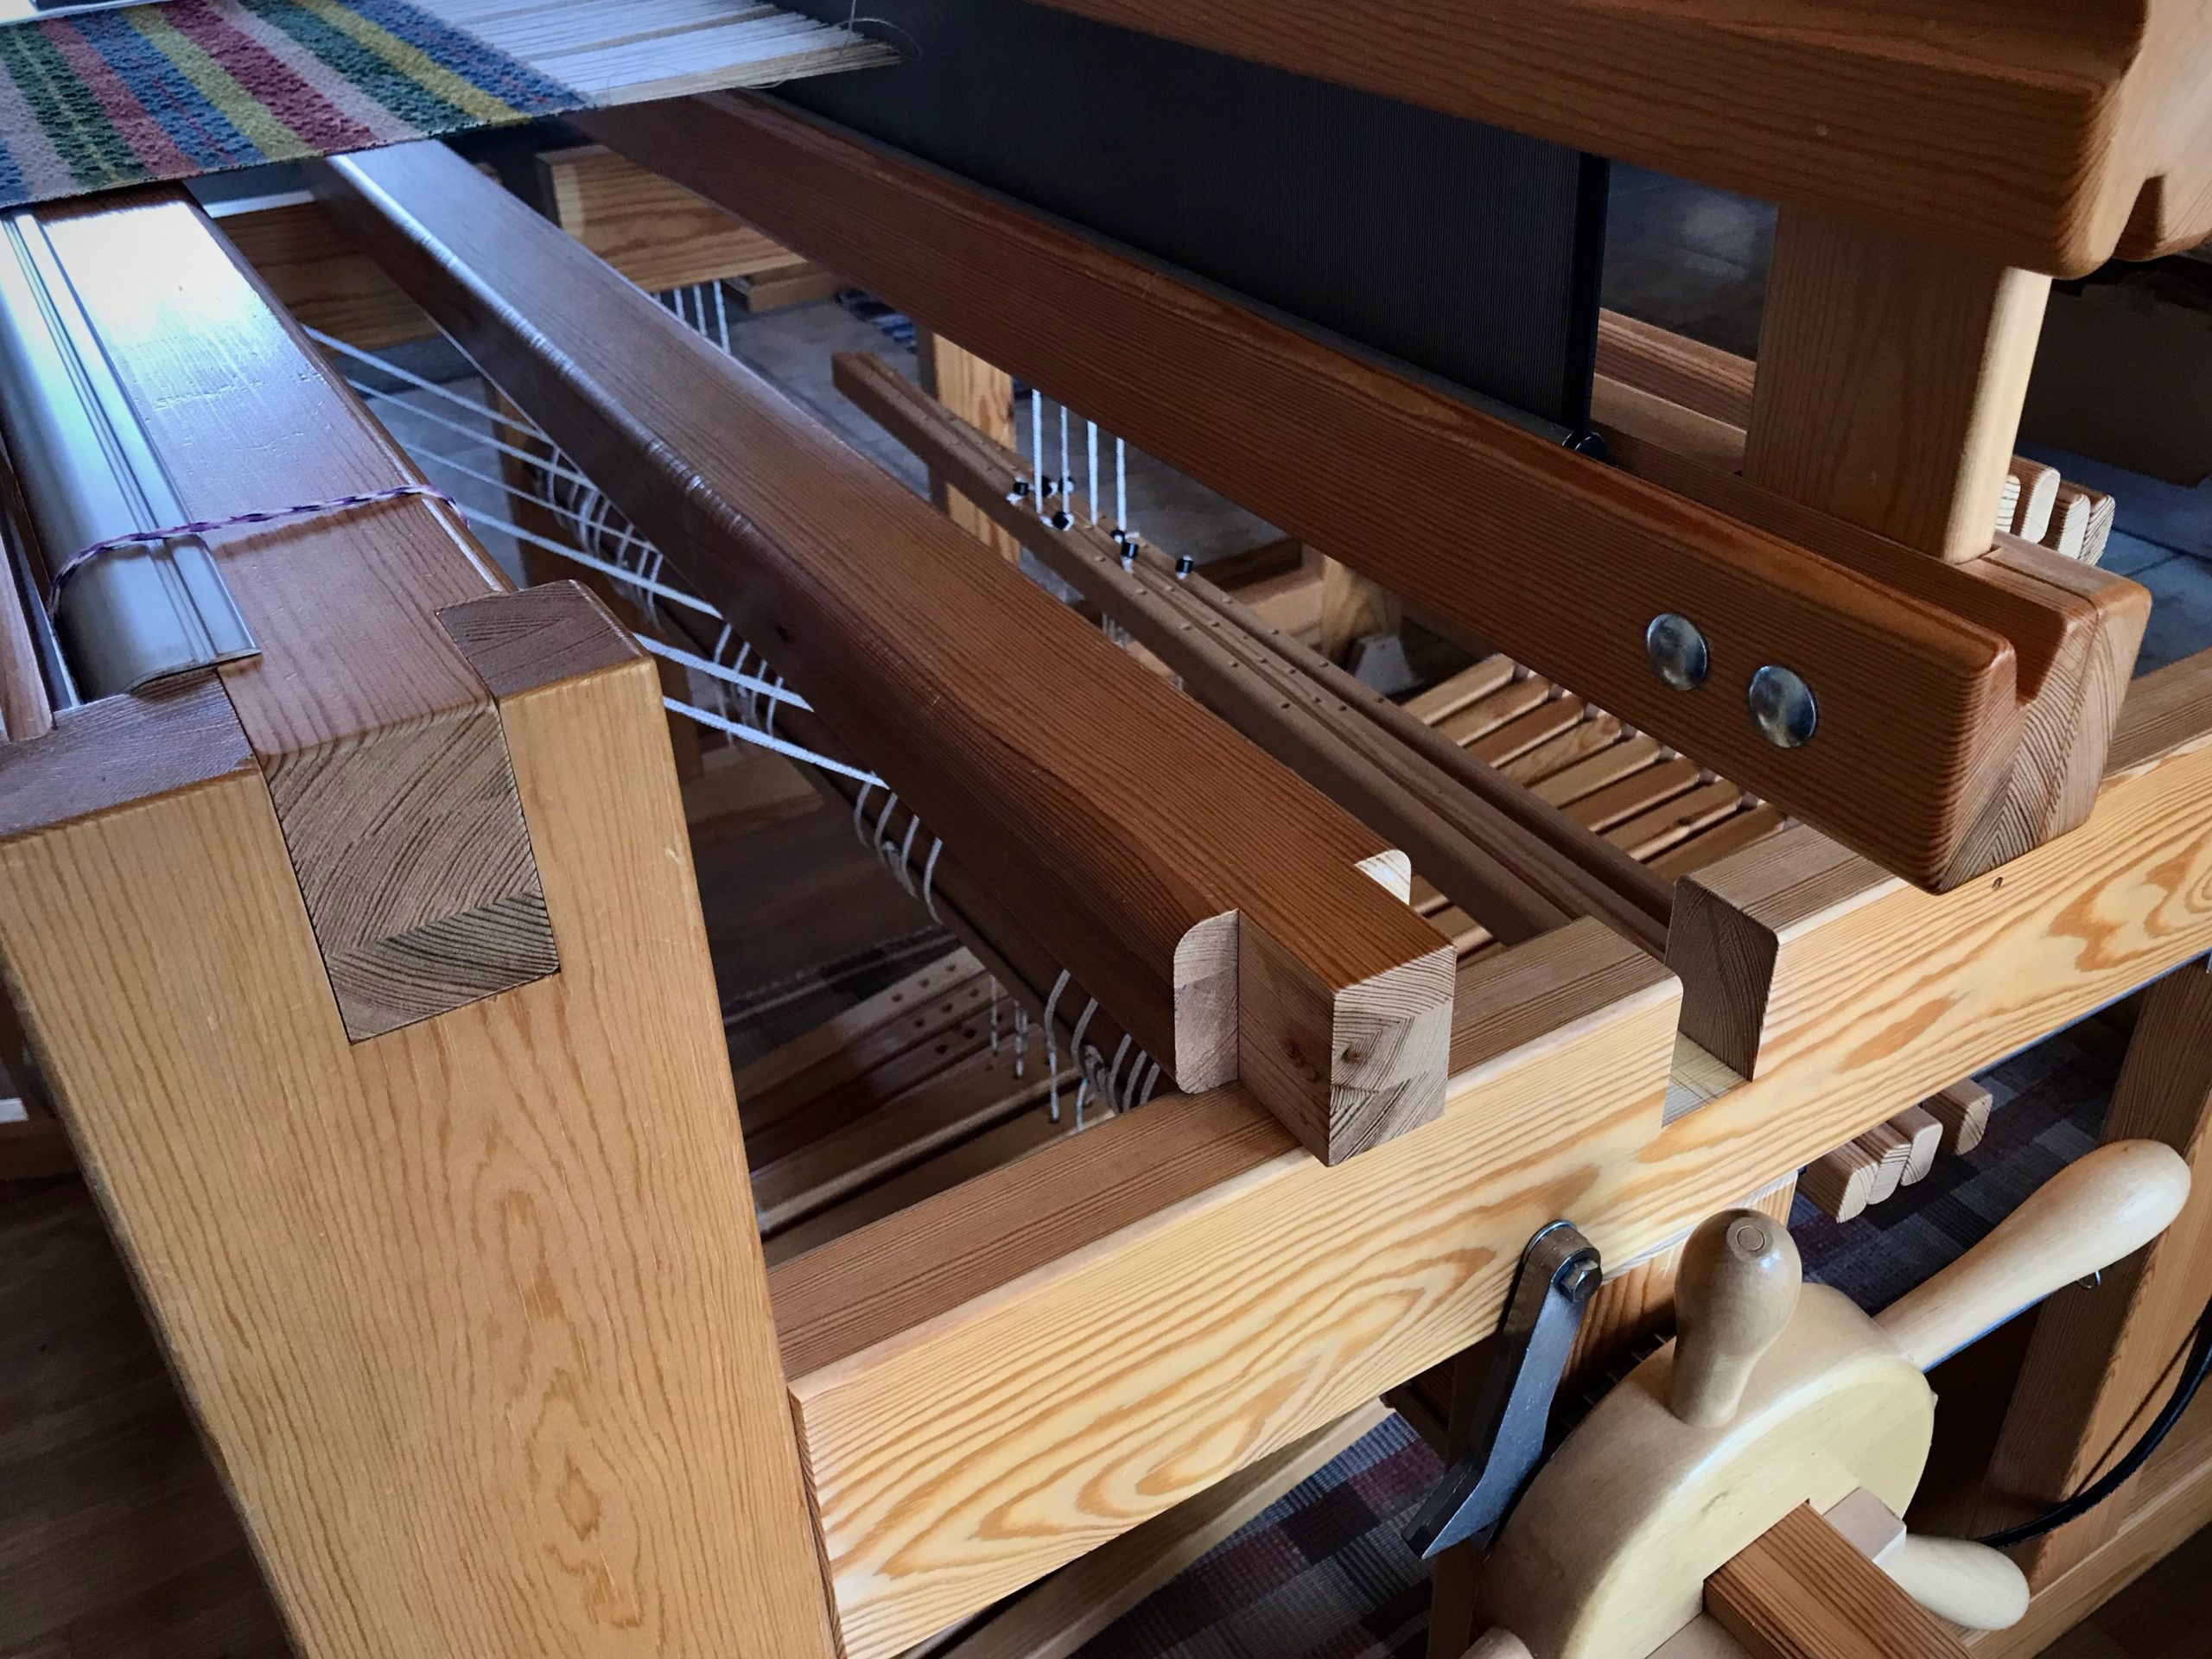
3. Pull the knee beam all the way out. Put it back across, underneath the beam cords. Rest the beam on the loom frame.
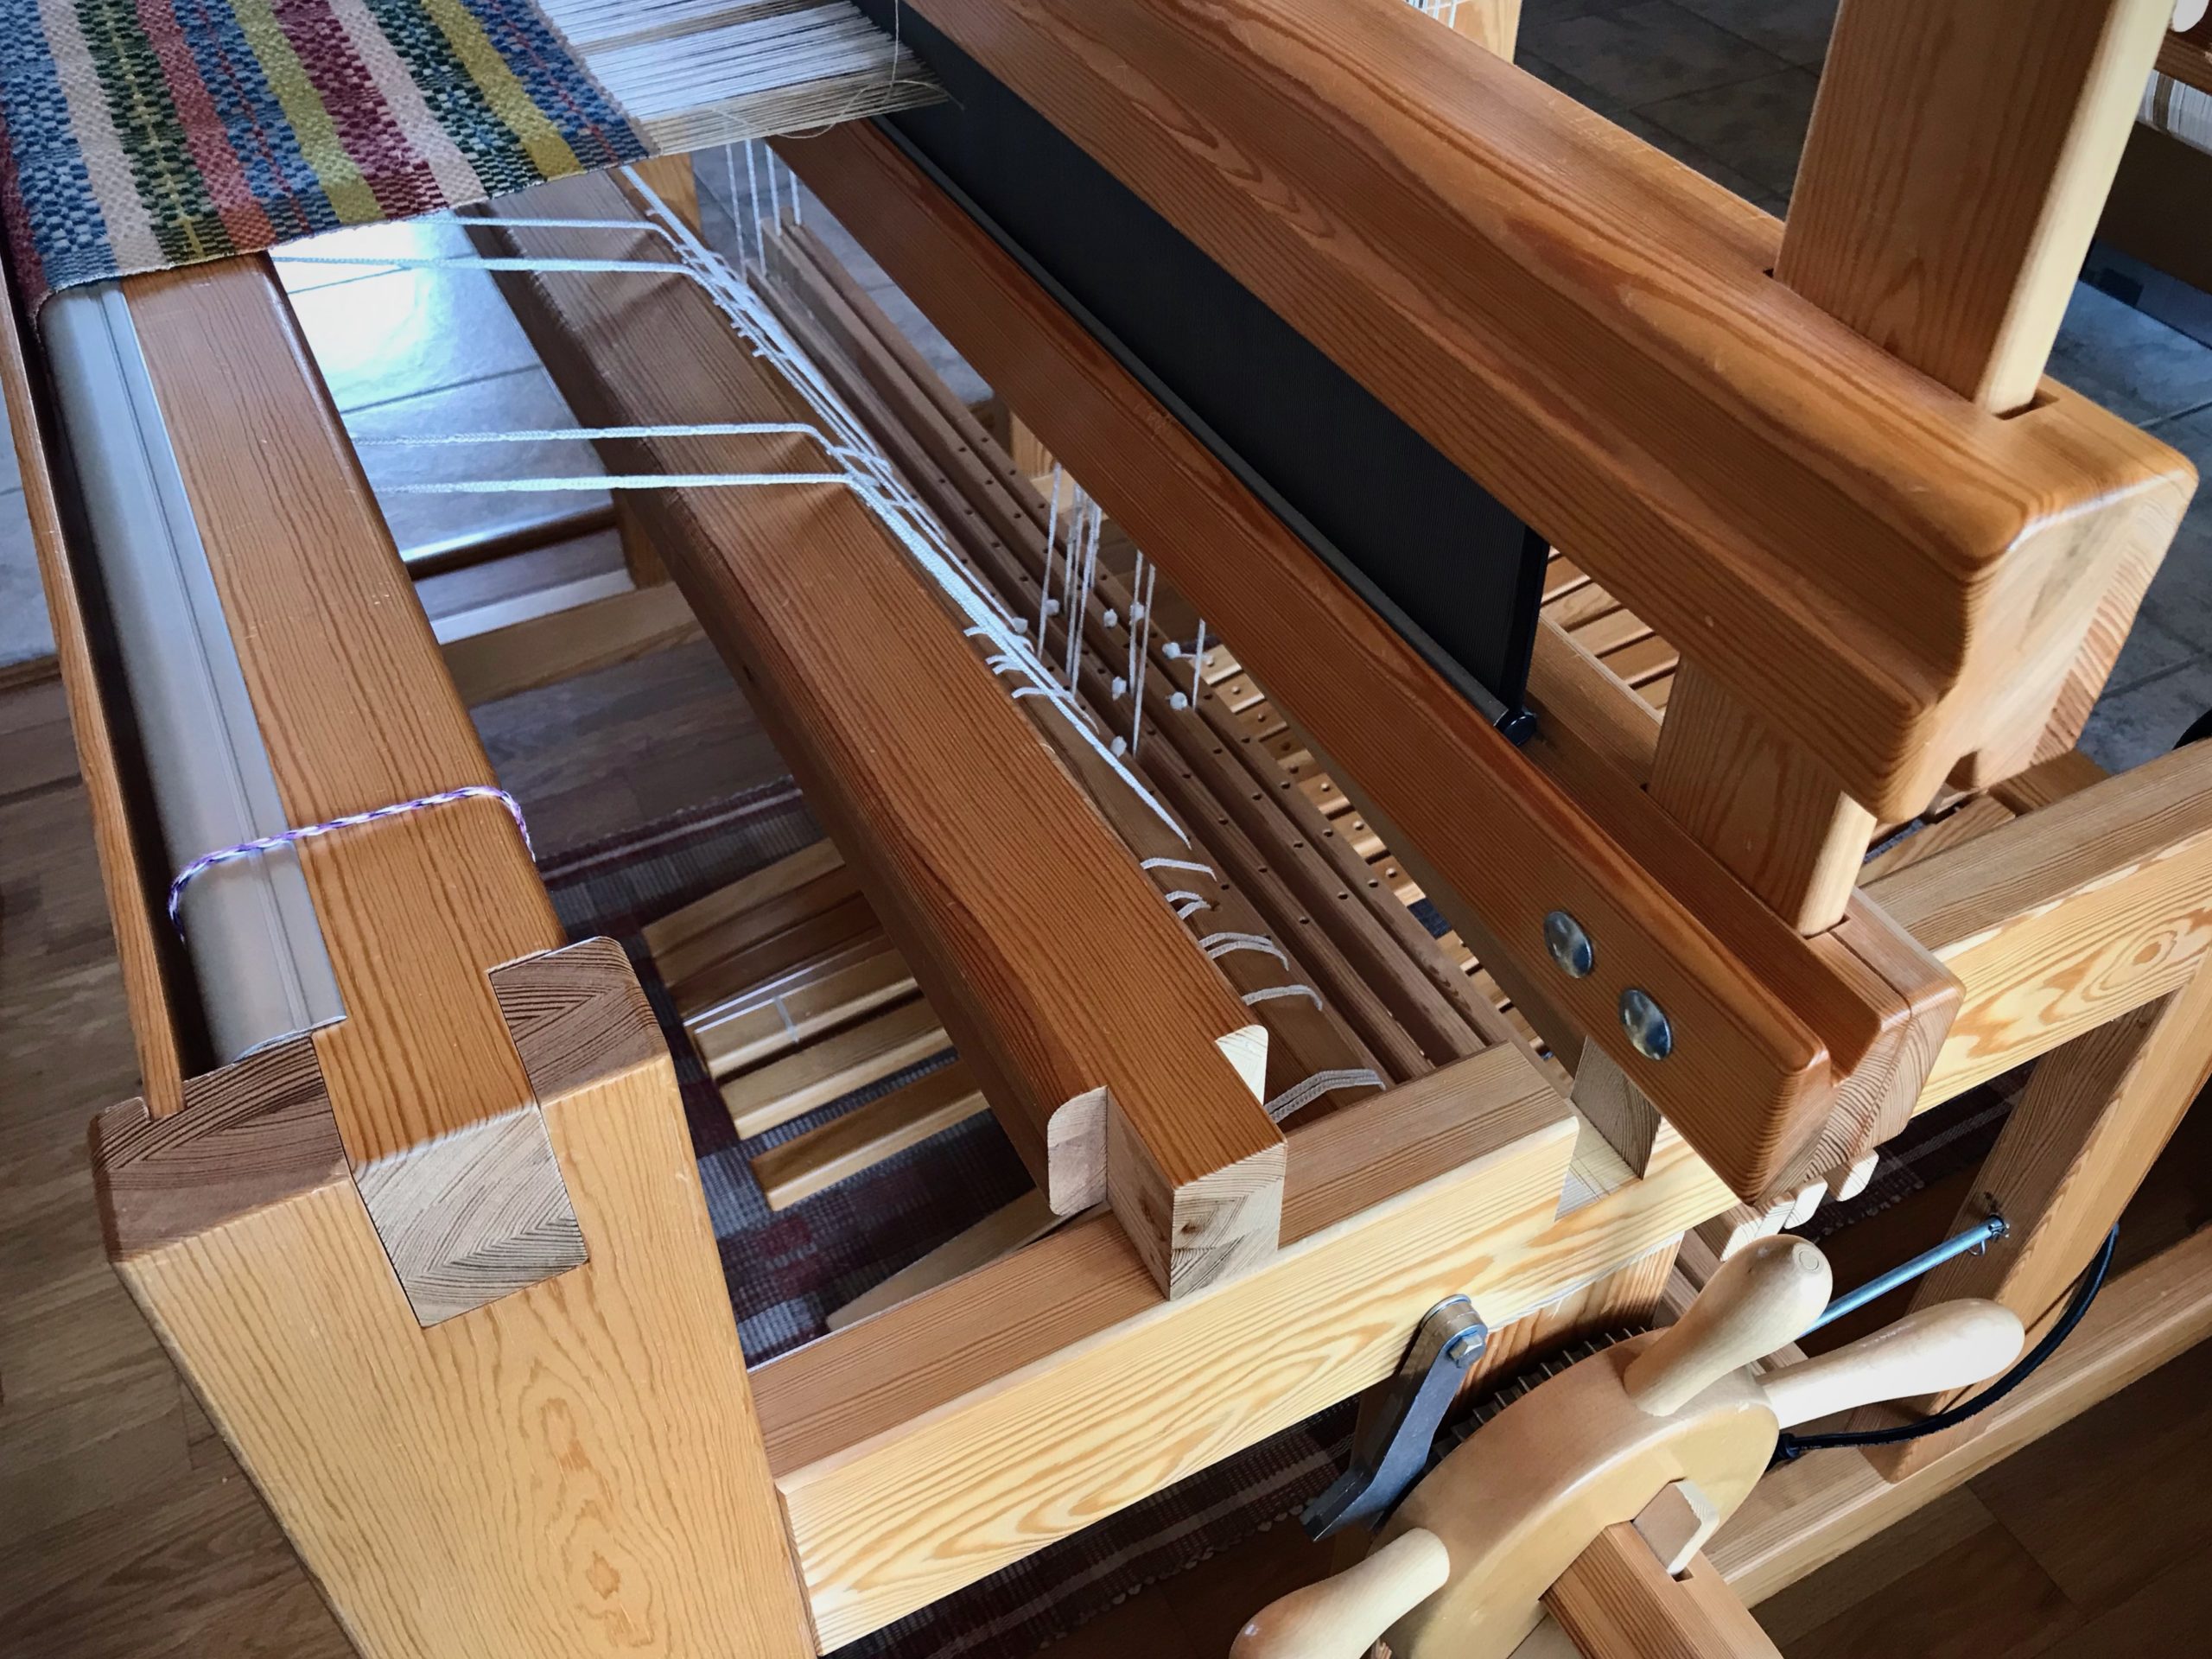
4. Reseat the knee beam gently, positioning the beam cords along with the beam.
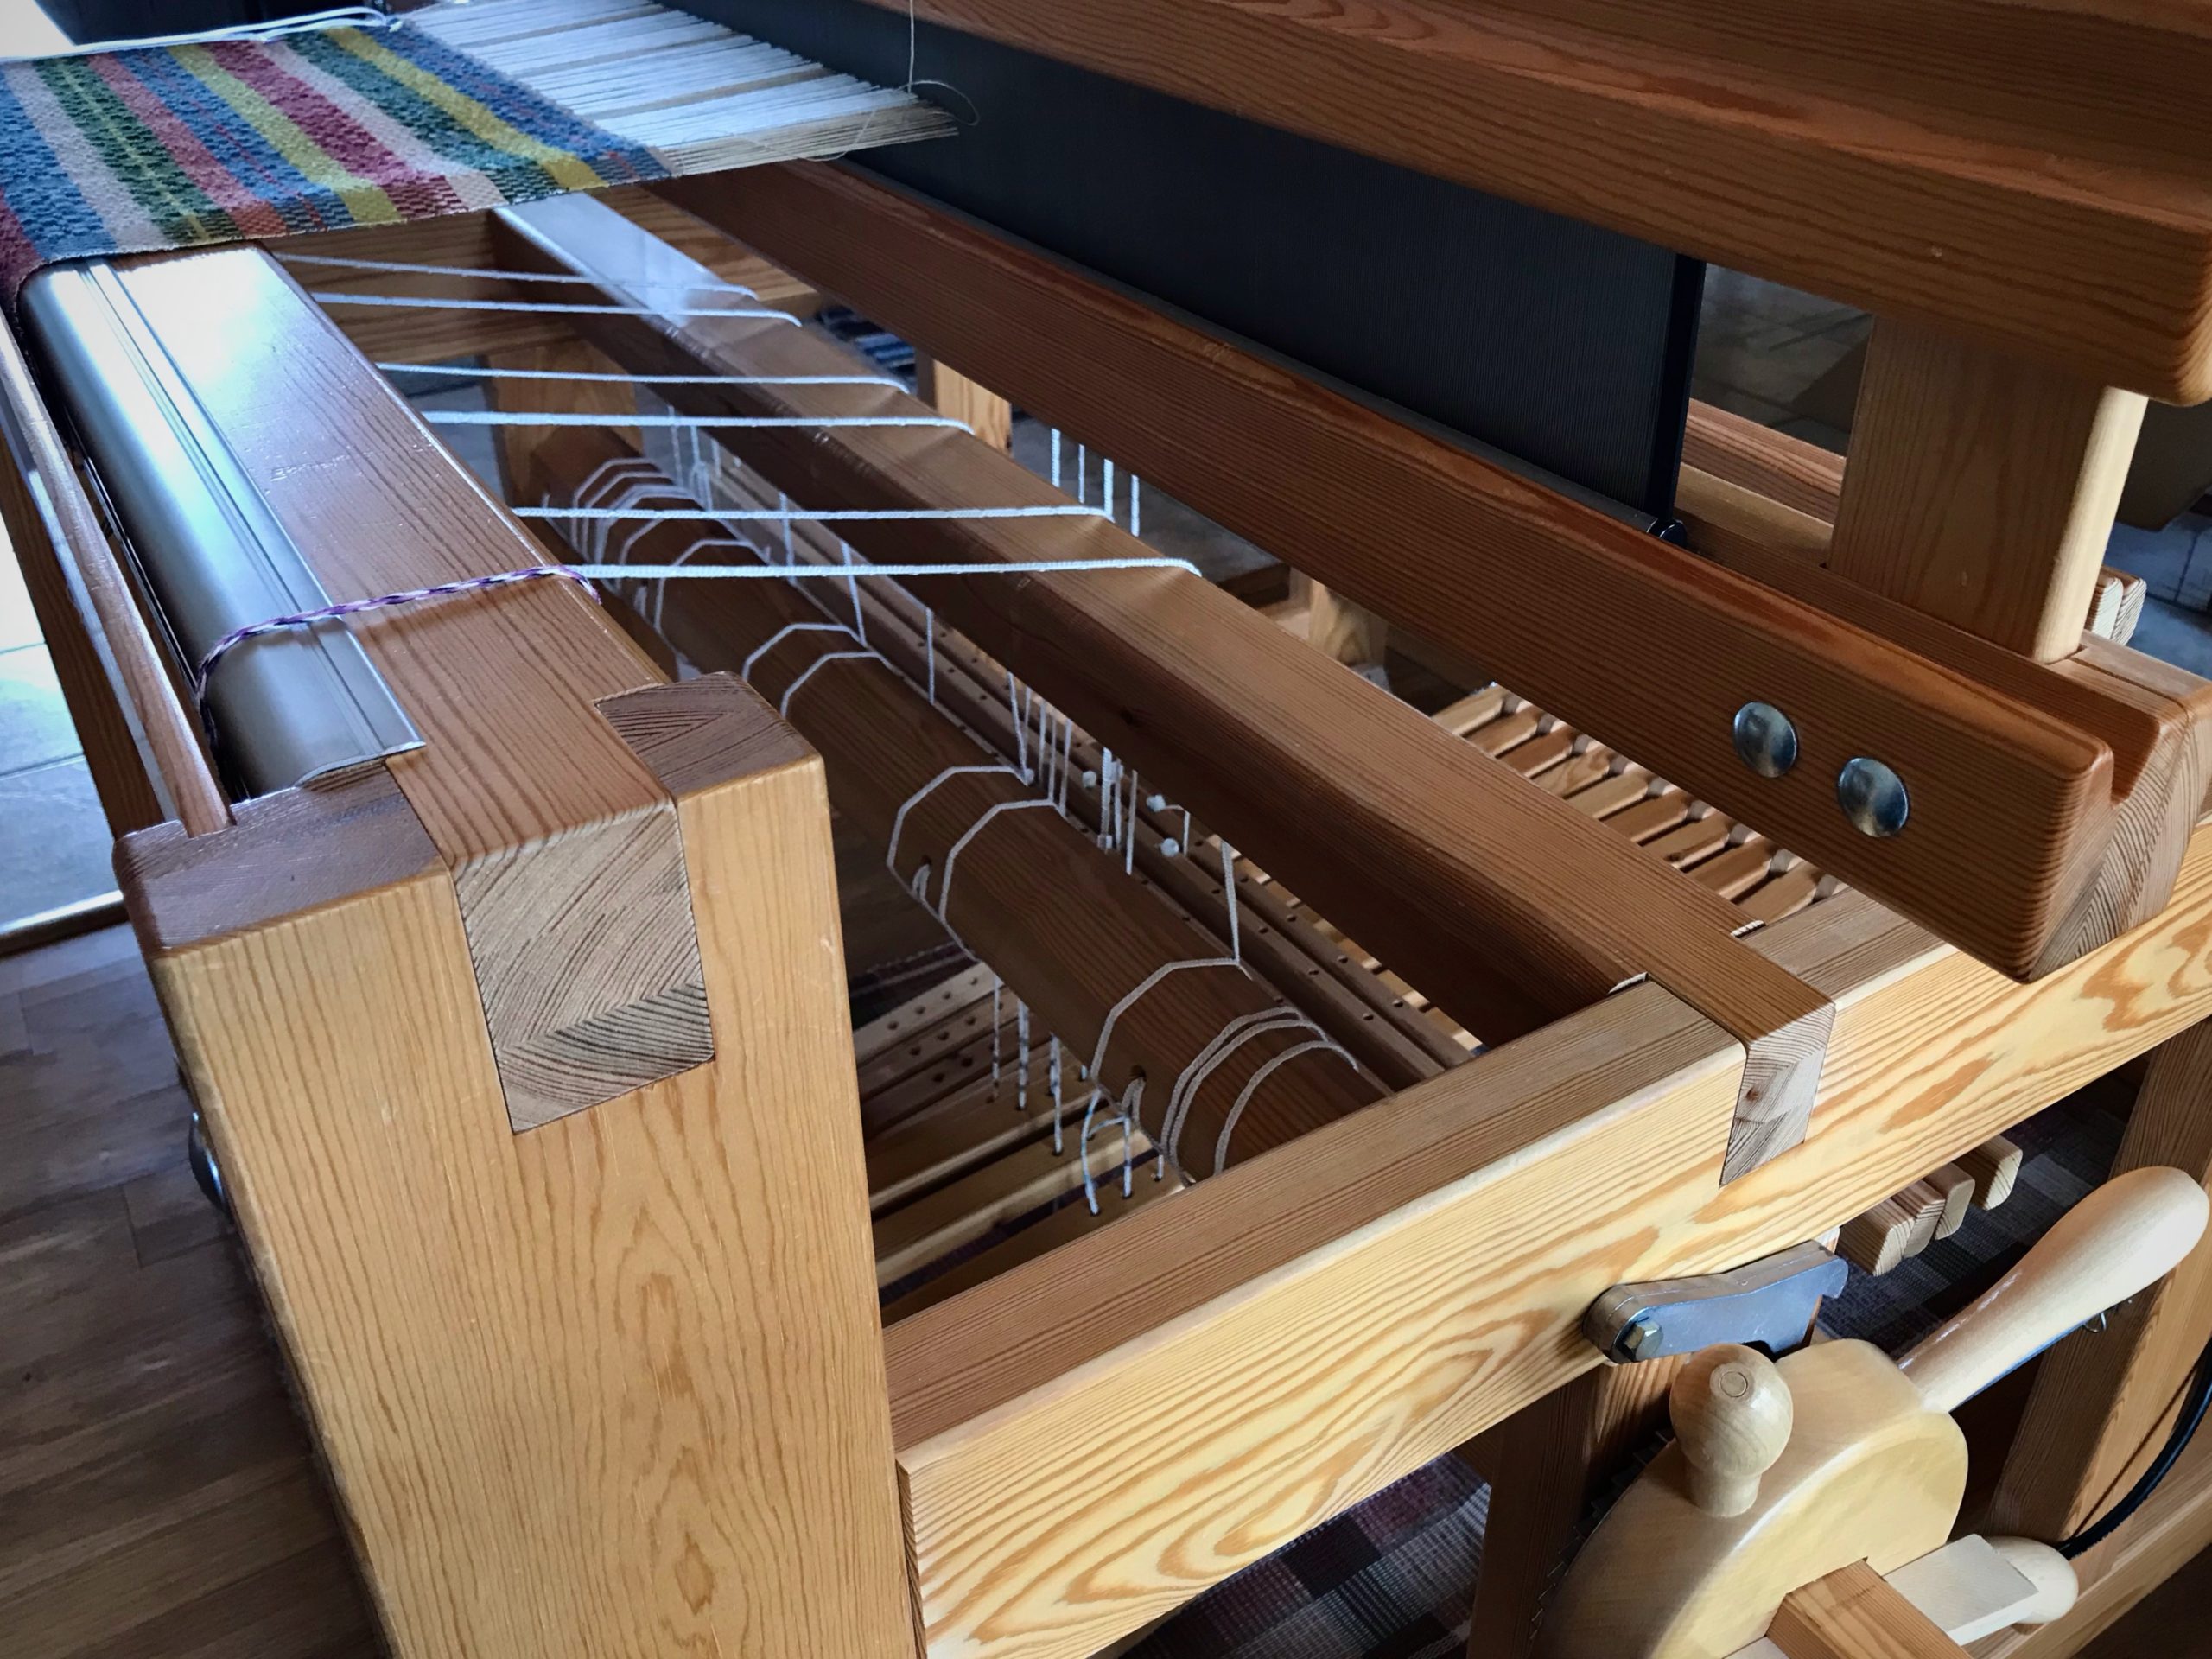
5. Tension the warp. Resume weaving.

May your trouble be inconsequential and short lived.
Happy Weaving,
Karen