Biggest Challenge of Weaving a Pictorial Tapestry

Lucia grasps Ari’s plump wrist as they bravely inch a step closer to the rabbit hutch. For them, it’s a step of faith. Sugar Pie, the bunny, is wide-eyed at their approach. You’ll see the bunny later in the weaving of this pictorial tapestry.

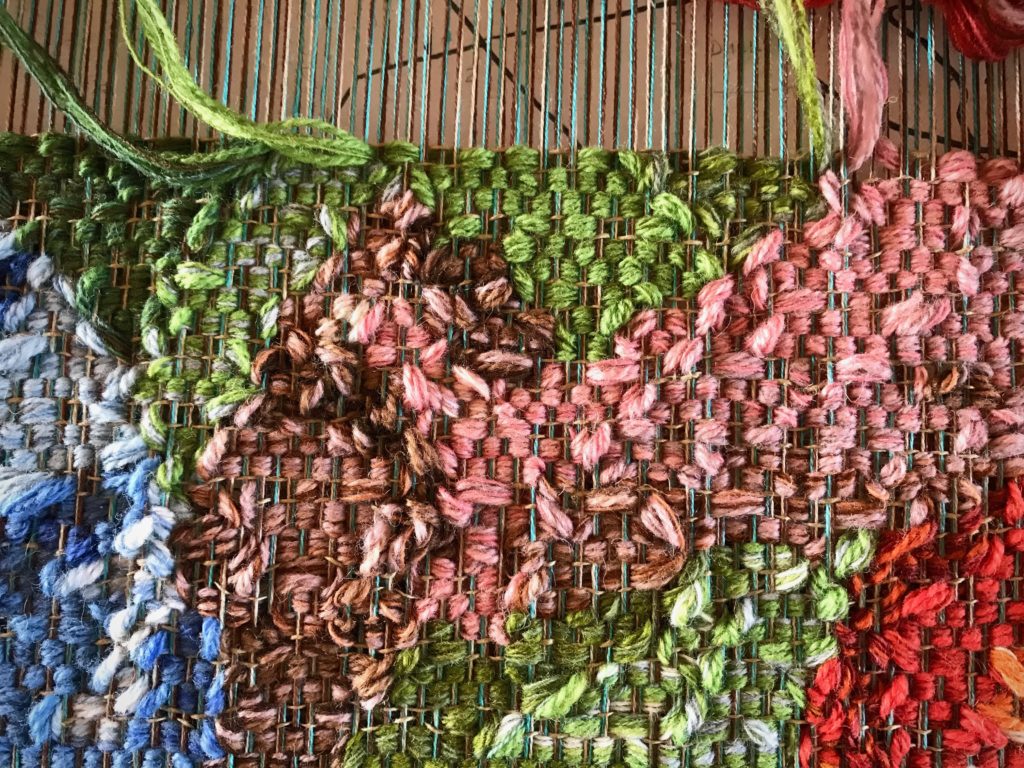
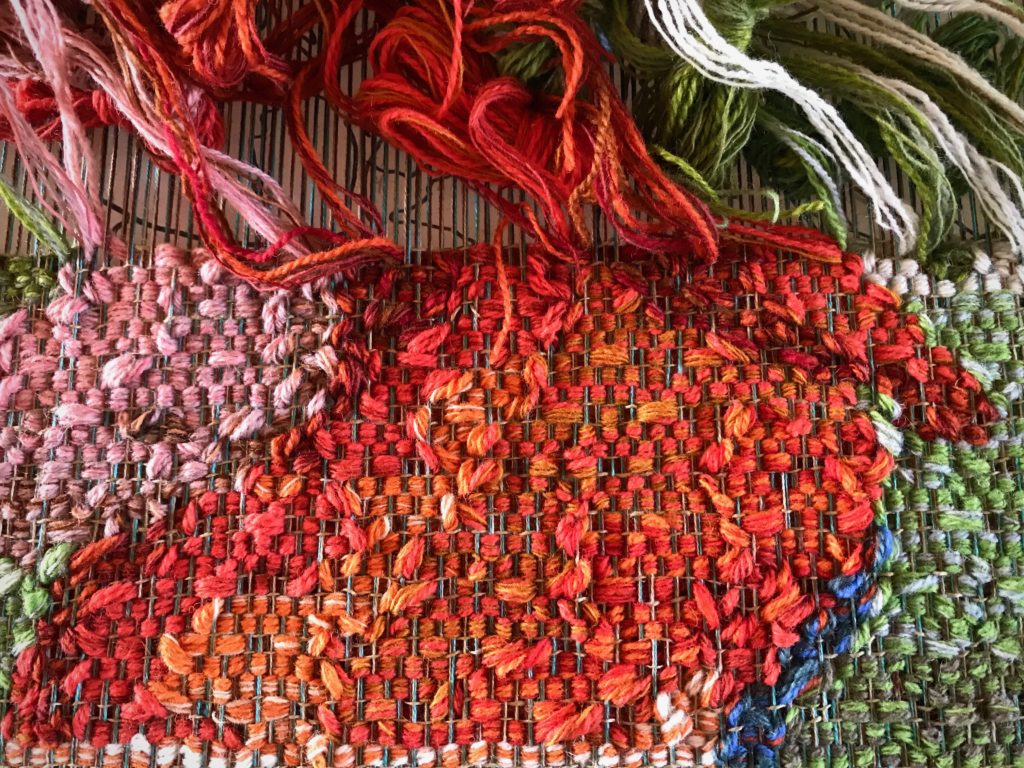
Detail of a pictorial tapestry in progress.
Lucia’s tiny thumbnail is on top of Ari’s hand. Contrast in skin color is exaggerated to make the two arms distinct from each other.
Color gradation in a new large tapestry.
Five shades of orange/red butterflies are used to make the fabric of Lucia’s orange shirt.

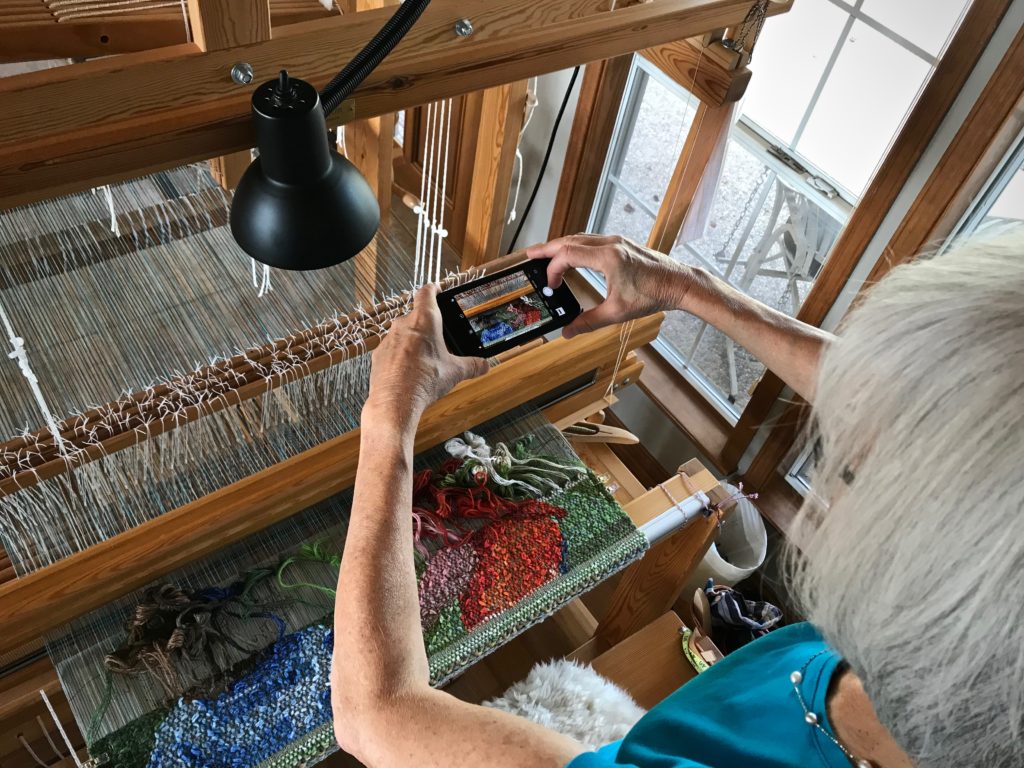
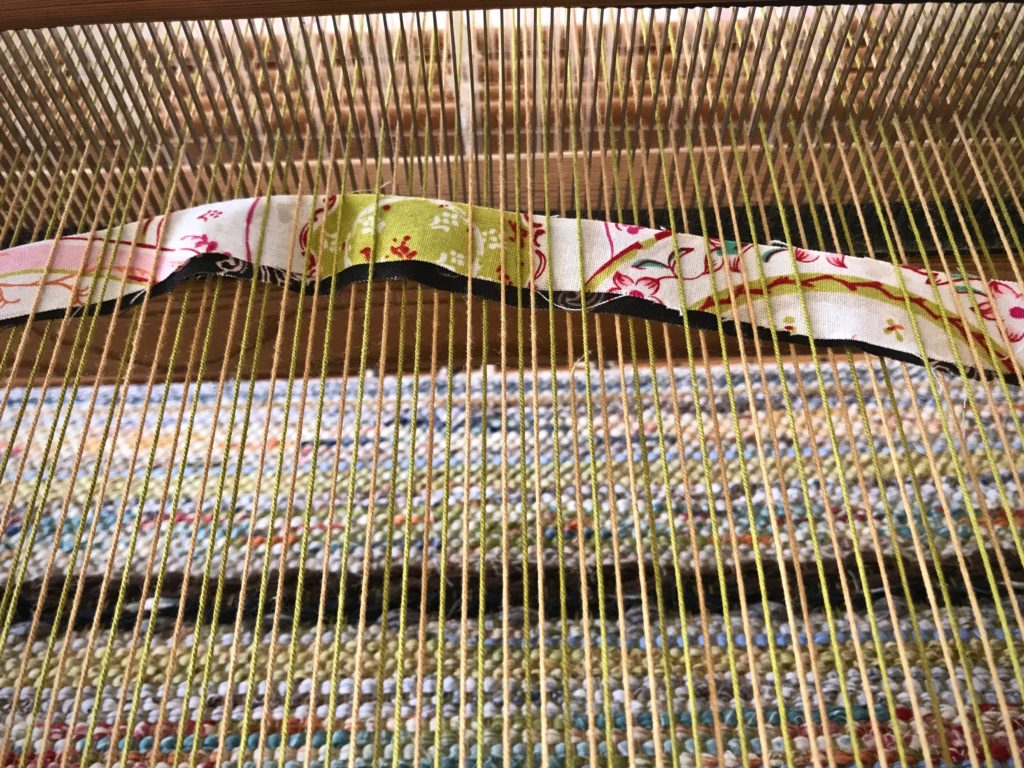
It is a huge challenge to work on one element, like the hands, while not being able to see it in the context of the whole picture. The row-by-row weaving is an act of faith. I peer through the wrong end of the binoculars, and stand on a chair to take pictures. And I’m reassured about the outcome. It’s not blind faith. It’s a series of carefully reasoned and thought-out steps.

Gaining a higher perspective.
Gaining a higher perspective by standing on a chair.

We see only a small slice of life at a time. Where do my day-to-day threads fit in the context of the big picture of a lifetime? Grace is amazing! Grace is unearned good favor. Grace is a final tapestry that makes sense of all the wanderings. Grace is good favor extended by God to all who trust Jesus. So, with God’s grace we walk by faith, with carefully reasoned and thought-out steps. And we extend grace at every opportunity, holding the wrist of our fellow adventurer to walk by faith together.

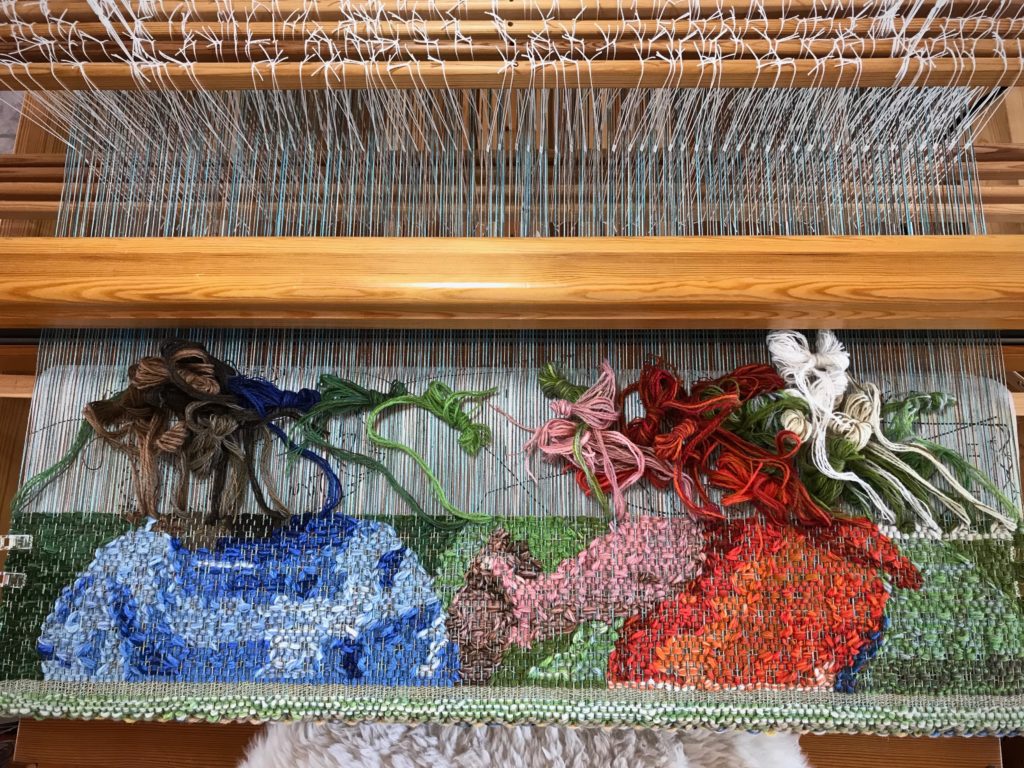
"Siblings" tapestry.
Siblings tapestry, work in progress.

Grace is amazing.

May your life make a difference.

Grace,
Karen

Tried and True: Rag Rug with Surprising Rosepath Inlay

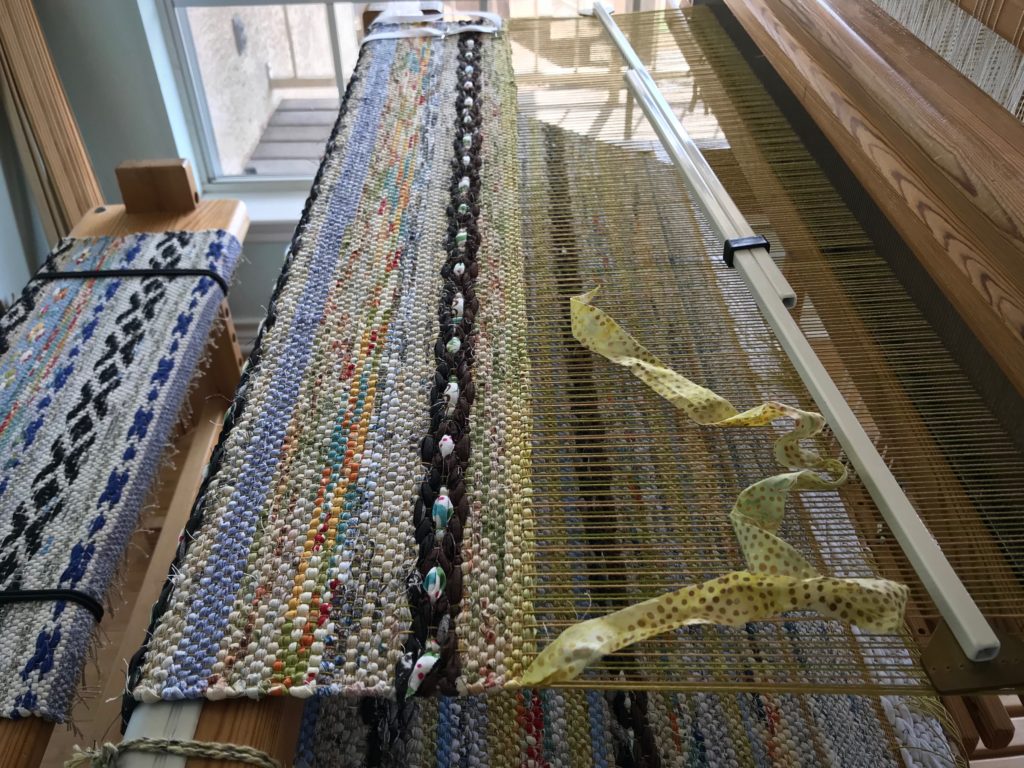
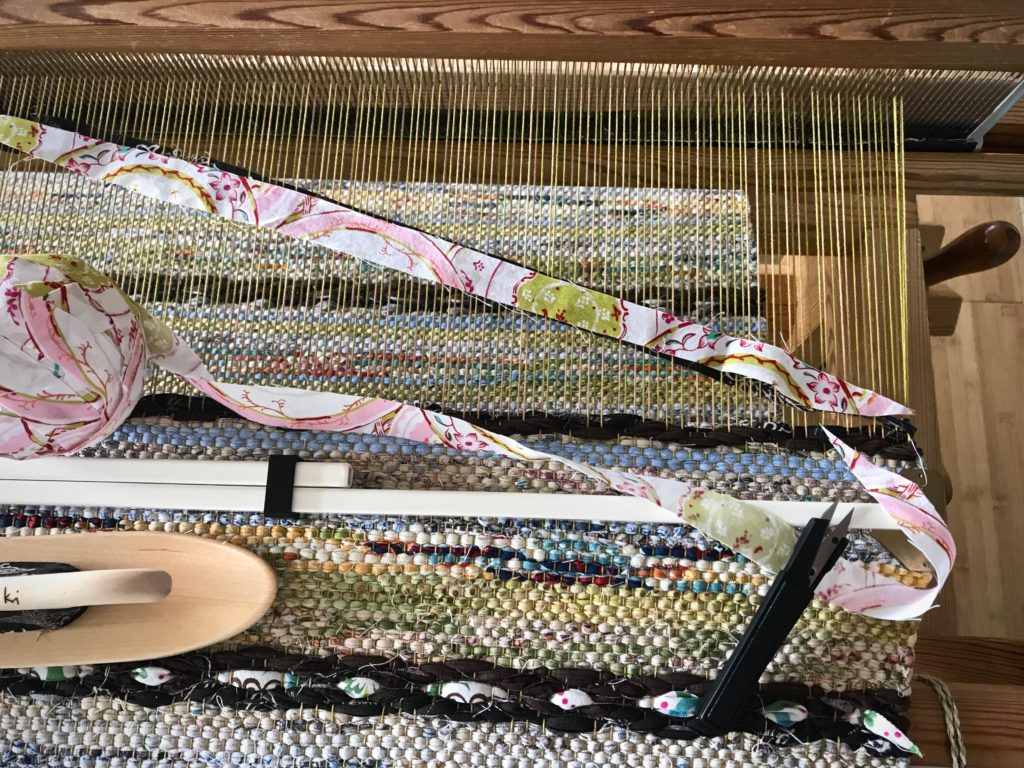
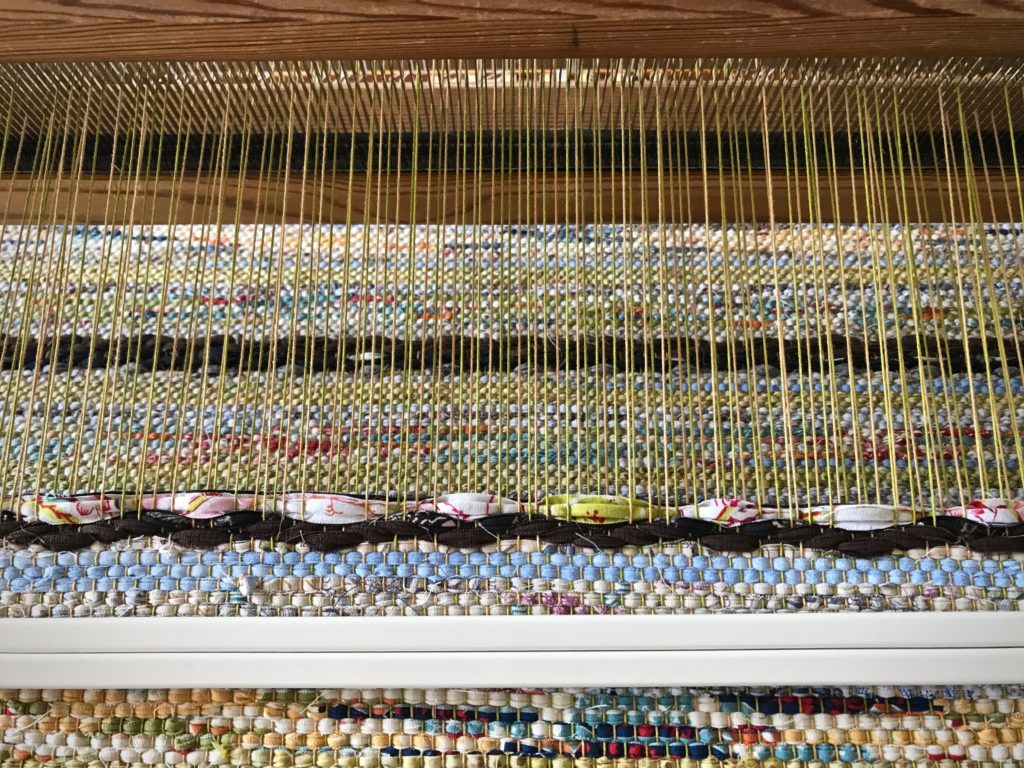
The first rag rug on this 12/6 cotton warp is well underway. This rug is mostly plain weave, with one simple rosepath repeat every ten centimeters. I am weaving the rosepath motif without tabby between pattern picks. The treadling is 1, 2, 3, 4, 1, 4, 3, 2, 1. The dark brown motif contrasts with the surrounding light-colored plain weave. It almost looks as if a thick chain has been laid across the rug. I transform the otherwise dark rosepath “chains” with a simple bright inlay strip.

Rag rug with rosepath motif.
Rosepath motif stretches across the plain weave surface.

Rosepath with Inlay

  • Weave the first four picks of the rosepath pattern, treadling 1, 2, 3, 4 (or, if using a different treadling sequence, weave up to the center pick).
  • Lay in the center pick (treadle 1, in this example). Wait to beat it in.
How to do rosepath with inlay.
Center pick of the rosepath motif is arched in the shed.
  • Measure and cut the inlay strip to size, tapering the ends.
How to add an inlay strip to rosepath rag rug.
Inlay fabric strip is measured against the weft in the shed and cut to size.
  • Put the inlay strip in the shed, laying it directly on top of the fabric strip already there.
Making a rosepath rag rug with an inlay strip.
By pushing the beater back I can send the inlay fabric strip through the shed with a ski shuttle.
Rag rug with inlay.
Place the inlay fabric strip directly over the fabric strip of the center pick in the motif.
Inlay instructions.
  • Beat in the weft as usual.
One type of inlay on a rag rug.
Both weft layers are beaten in together. The inlay strip stays visible on top.
  • Continue weaving to complete the rosepath pattern, treadling 4, 3, 2, 1 (or, as needed, for a different sequence).
Rosepath with inlay.
Finished rosepath motif.

You can accomplish a similar effect by weaving in a separate fabric strip for the center pick. In that case, cut tapered ends that are long enough to twist and tuck back into the shed. And carry the weft strip from the previous pick up the side.

The inlay method eliminates the extra bulk at the selvedges, and adds a slight thickness to the center pick, helping to give it a raised look. I am leaving the inlay weft tails loose, but you could cut them a little longer and tuck the ends in, if you prefer.

Rag rug with special rosepath motif.
Weft tails are free at the sides, like little flags at the ends of the rosepath rows.
Glimakra Ideal loom--great tool for dreaming up rag rugs!
Glimåkra Ideal loom–great tool for dreaming up rag rugs!

May you experience the simple pleasure of doing something unexpected.

Happy Weaving,
Karen

What to Do with Linen Leftovers

These waffle-weave washcloths are made out of my linen leftovers. For years, I’ve been saving linen scraps: the small amount left on the tube, quills that weren’t used up, thrums that I couldn’t bear to discard, and skinny warp chains from the times I accidentally wound a few extra warp ends.

Using linen leftovers for a new warp.
To make this warp, I finished off about a dozen tubes that had small amounts of 16/2 linen.
Winding a linen warp.
Putting leftover threads together.

The warp is 16/2 linen. I alternated two colors at a time in the warp, so there are interesting color-and-weave effects that outline the “waffles” in the weave.

New linen warp.
Heddles are threaded in point twill for waffle weave, alternating two colors at a time.
Afternoon sun on a new warp.
Afternoon sun is a pleasant sight on a new warp.

The linen for the weft is everything from fine 16/1 line linen to coarse 8/1 tow linen. I am purposely leaving weft tails exposed. I expect significant shrinkage, so I will trim the tails shorter after wet finishing.

How to use linen leftovers.
Linen “weft-overs” include thrums, end of tubes, and accidental warp chains.

Ideas for this project originated with Clean with Linen, by Sanna Ignell in Väv 2016 No.2, p.6, and Handtowels made of linen, by Elisabet Jansson in Happy Weaving from Vävmagasinet, p.31.

Linen waffle weave.
Linen waffle weave.

Do you have precious leftovers you’ve saved from your journey through life? Memories we don’t want to lose. And memories we wish we could forget. All these leftover threads serve as reminders that we are meant for more than what we can produce on our own. Here’s the good news. Love invites us to hand over our collection of scraps. Listen to Love. His name is Jesus. He takes our linen discards, and, with nothing wasted, weaves his beautiful story of redemption in us.

May your leftovers be given new life.

Love,
Karen

Tapestry Butterflies and Video Tutorial

Wool butterflies are my crayons. I use them to color the spaces of my color-by-number cartoon that’s under the warp. I am using Borgs 6/2 Tuna wool and Borgs 6/1 Fårö wool in this tapestry, combining strands of various colors to get just the right hue, value, and intensity. Getting that right is the hard part. Winding butterflies is the easy part. Especially if you learned it from Joanne Hall, as I did.

Pictorial tapestry beginning.
Start of new tapestry. Butterflies are composed of specific colors to achieve desired results for contrast, shading, and depth.

It is essential to know how to make a good butterfly when you want to weave a tapestry on a big floor loom like this. A good butterfly is compact enough to easily pass through warp ends. And secure enough to stay intact through all those passes. It also needs to have a tail that is simple to extend. A good butterfly never ends up in a knot or a jumble of threads, but instead, gives your hands pure delight as it flows through your fingers to color your tapestry.

Colorful tapestry butterflies.
Detail of colorful tapestry butterflies.
New butterfly is ready to fly in.
New butterfly is ready to find its place in the mix.

This video shows how I make my tapestry butterflies.

May your days be colored with delight.

From the crayon box,
Karen

Weaving a Personal Logo

This logo goes back to at least 1982. It is on the underside of a bowl I made that year in my one-and-only pottery class. kmi for Karen Marie Isenhower. This personal logo will be woven into my upcoming pictorial tapestry. I know how I want the image to look, but it’s not easy to weave it successfully. I am practicing on a sample warp.

Woven logo in a tapestry.
Lizard tapestry, woven from the side. This was my first attempt to weave my personal logo into a tapestry.

I am starting with the little cartoon that I used when I wove the Lizard tapestry last year (see Quiet Friday: Lizard Tapestry), thinking I can improve in the weaving of it.

Sample warp.

Nope. It’s not any better. I am redrawing the cartoon to spread the letters out further.

Practicing weaving my personal logo.

Nope. Now, the letters are too spread out.

Finally, I reach a happy medium.

Woven personal logo.
kmi

Yes. This attempt is successful. Now I am ready to weave my personal stamp into the new tapestry project.

Warp is almost ready for the next tapestry.
Linen warp is beamed for the next tapestry.
Ready to weave!
Ready to start the new tapestry!
Final cartoon.
Cartoon of the logo is traced onto the big cartoon that will be used for the pictorial tapestry.

You were made on purpose for a purpose. When the Grand Weaver created you He started a masterpiece with your initials on it. He develops the cartoon and lays out the colorful butterflies of yarn, with your personal logo in mind. Finish what He started. It takes a lifetime. In the end, my personal logo, never quite perfect, will diminish. And His royal insignia, embroidered in threads of gold, becomes the label on my life’s tapestry.

May you see your great value.

With you,
Karen