Weaving a Personal Logo

This logo goes back to at least 1982. It is on the underside of a bowl I made that year in my one-and-only pottery class. kmi for Karen Marie Isenhower. This personal logo will be woven into my upcoming pictorial tapestry. I know how I want the image to look, but it’s not easy to weave it successfully. I am practicing on a sample warp.

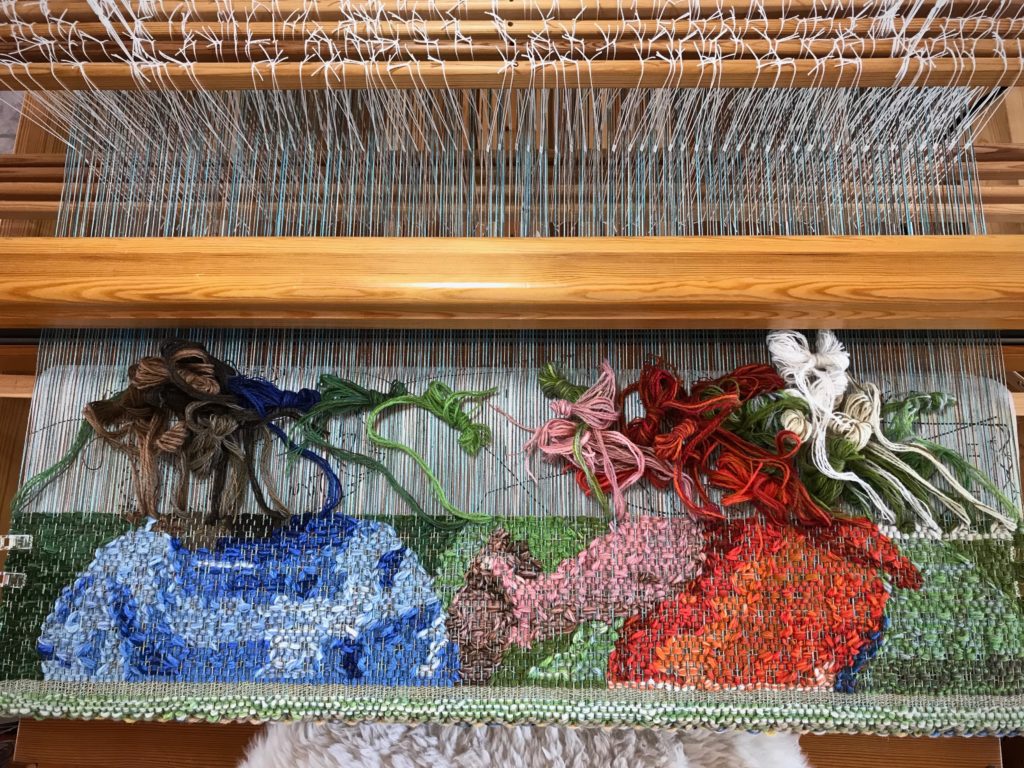
Woven logo in a tapestry.
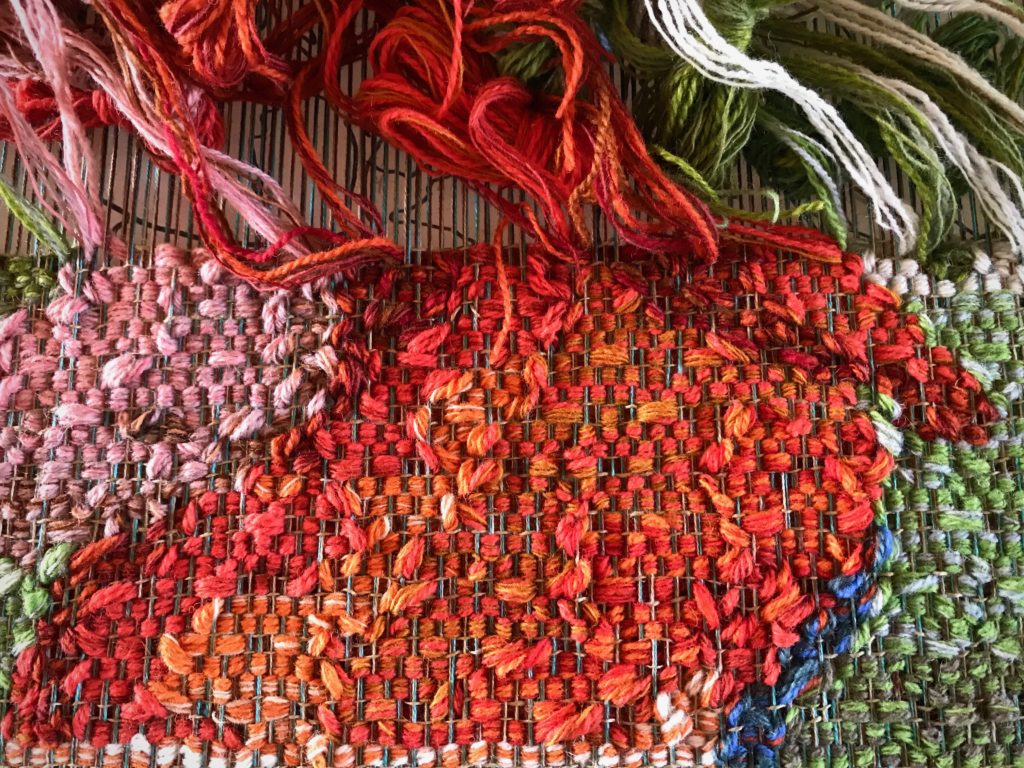
Lizard tapestry, woven from the side. This was my first attempt to weave my personal logo into a tapestry.

I am starting with the little cartoon that I used when I wove the Lizard tapestry last year (see Quiet Friday: Lizard Tapestry), thinking I can improve in the weaving of it.

Sample warp.

Nope. It’s not any better. I am redrawing the cartoon to spread the letters out further.

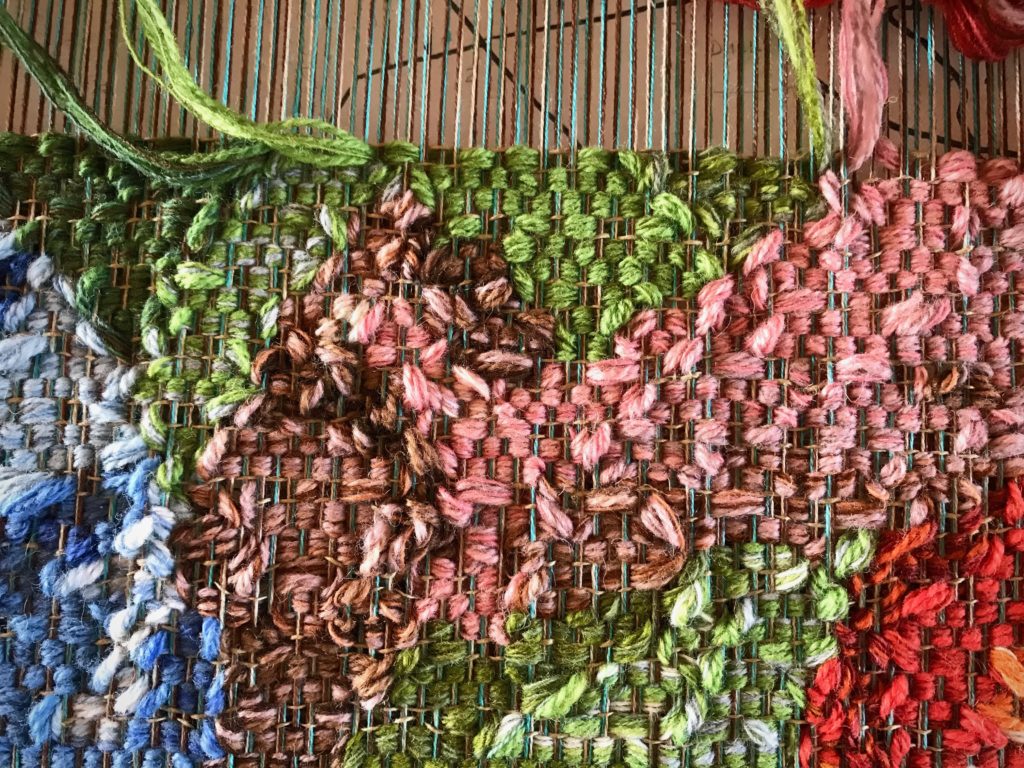
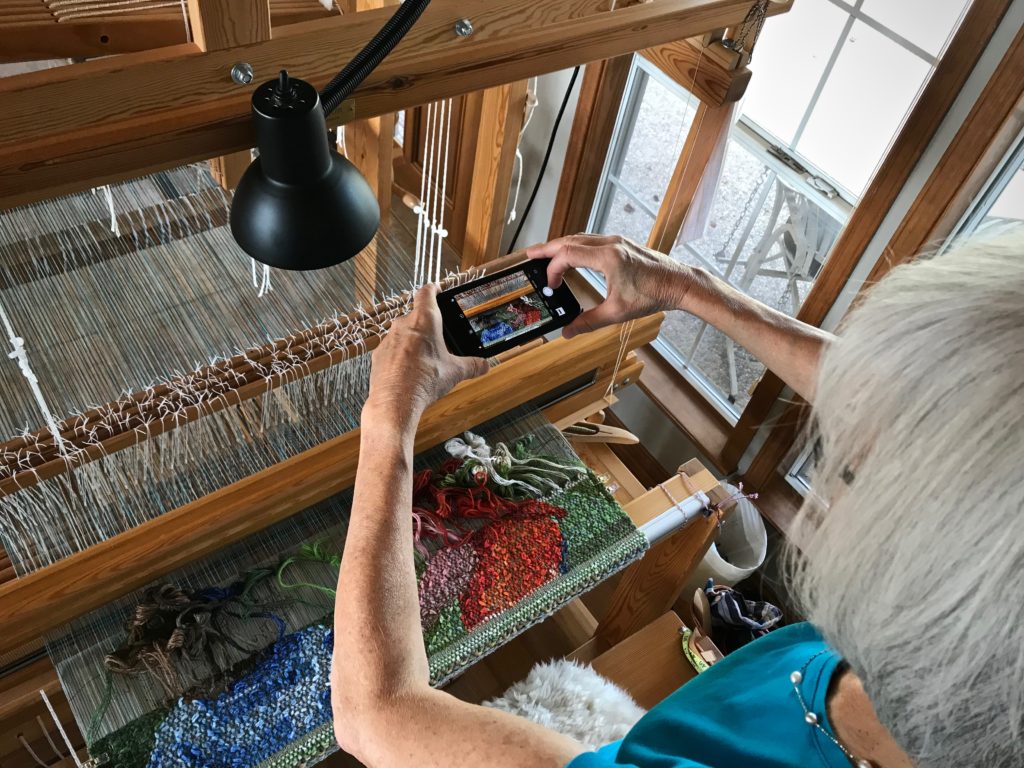
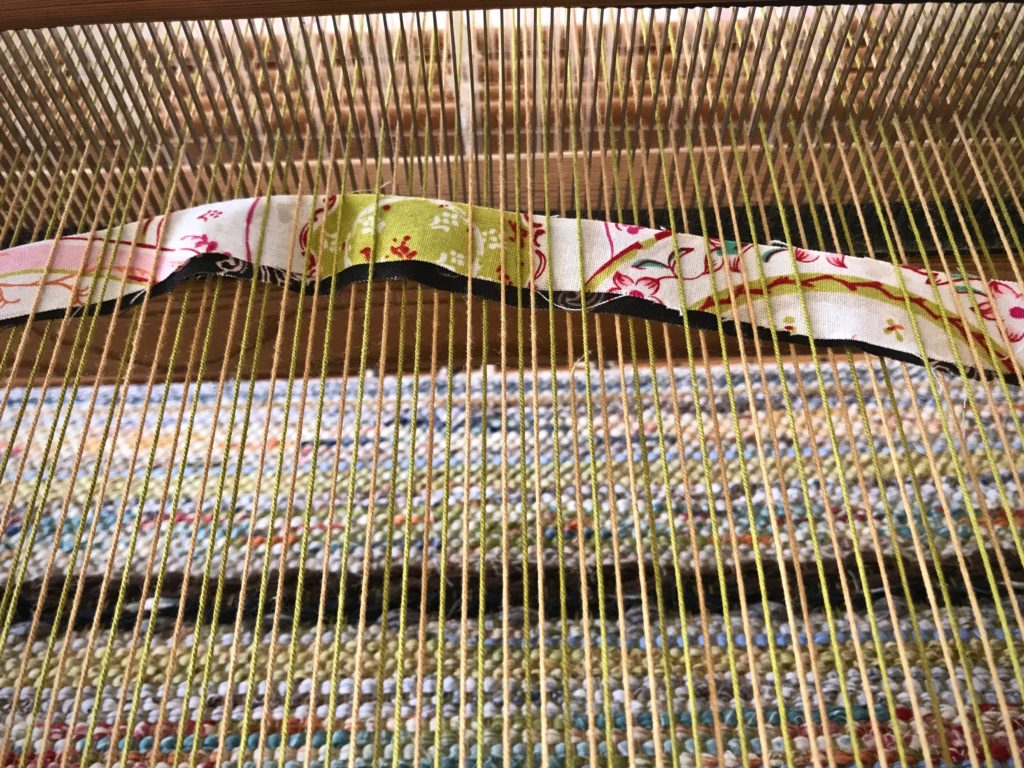
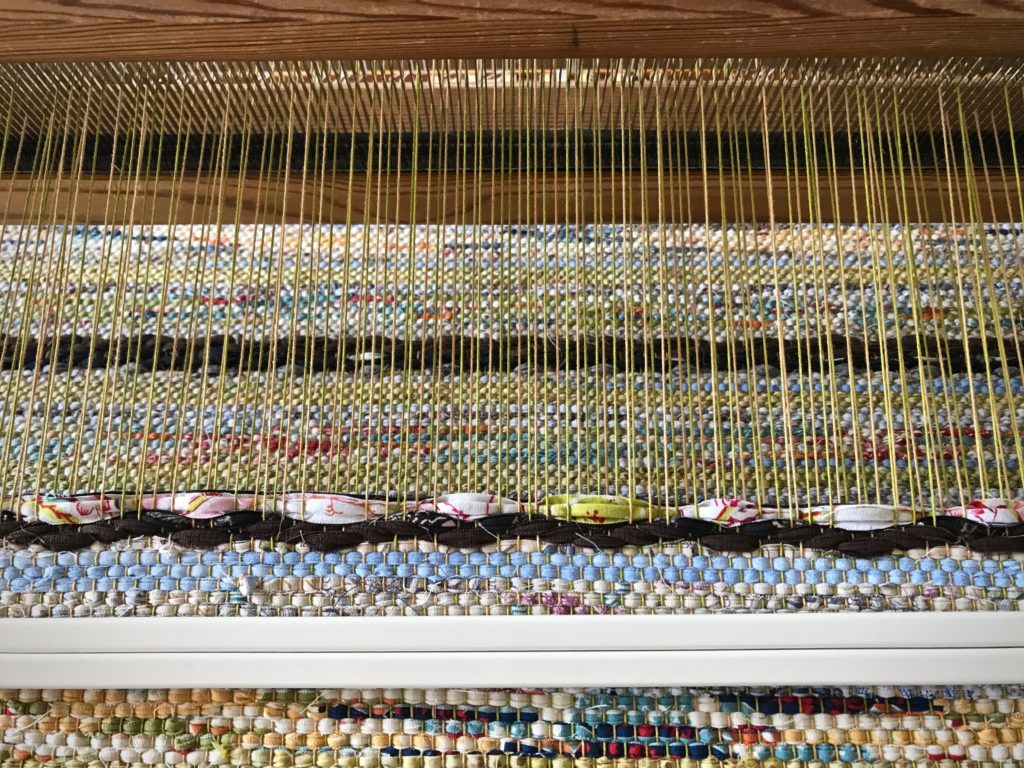
Practicing weaving my personal logo.

Nope. Now, the letters are too spread out.

Finally, I reach a happy medium.

Woven personal logo.
kmi

Yes. This attempt is successful. Now I am ready to weave my personal stamp into the new tapestry project.

Warp is almost ready for the next tapestry.
Linen warp is beamed for the next tapestry.
Ready to weave!
Ready to start the new tapestry!
Final cartoon.
Cartoon of the logo is traced onto the big cartoon that will be used for the pictorial tapestry.

You were made on purpose for a purpose. When the Grand Weaver created you He started a masterpiece with your initials on it. He develops the cartoon and lays out the colorful butterflies of yarn, with your personal logo in mind. Finish what He started. It takes a lifetime. In the end, my personal logo, never quite perfect, will diminish. And His royal insignia, embroidered in threads of gold, becomes the label on my life’s tapestry.

May you see your great value.

With you,
Karen

Tried and True: Five Reasons Sampling Makes Sense

Why sample? It means using more warp and weft. And it means waiting longer to start to the “real” project. What do I gain from it, anyway? Is it a waste of resources and time?

I can’t imagine putting on a warp that didn’t have room up front for sampling. There’s more than one reason to put on sufficient warp to weave a sample. It makes perfect sense, especially if there is anything new or unfamiliar about your planned project.

Five Reasons to Add Extra Warp for Sampling

Drawloom
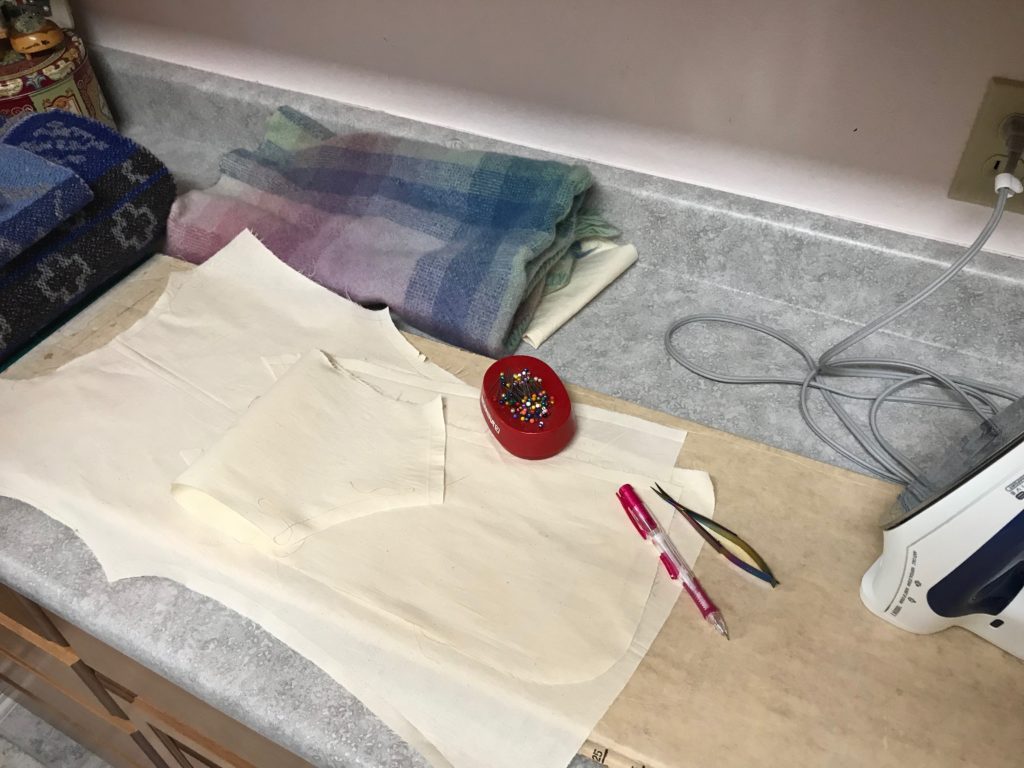
Sampling to test patterns, weft colors, and beat consistency, before starting on fabric for a garment.


1 Space to play. I want plenty of room to play, and to practice techniques that are new to me.
2 Room to try out designs. By weaving a portion of my designs, I am able to determine what works, and what adjustments need to be made.
3 Warp for testing weft colors. Only when woven can I see the full effect of each potential weft color.
4 Time to gain a consistent beat. When I start the main project, I want to have woven enough to be able to “feel” how firmly or softly I need to move the beater.
5 The best reason of all! It’s always good to have enough warp on the loom that you can invite friends and family to enjoy some weaving time. …Before your main project is in progress.

Drawloom
My weaving friend Betsy came over to see what it is like to weave on a drawloom.
Drawloom
My daughter Melody came for a visit and wanted to see what it was like to weave on a drawloom.
Drawloom, making garment fabric.
Garment fabric. This is to be used for two side panels of a vest I plan to make for myself.
Drawloom, making garment fabric.
This is to be the back panel of the vest.
Drawloom, making garment fabric.
This is the beginning of the front panels for the vest.

May you give yourself room to play.

Yours truly,
Karen

Weaving through The Big Book

It took me seven years of study, practice, and mistakes to complete this rigorous Swedish weaving curriculum! You have been with me through much of it right here. I’m talking about The Big Book of Weaving, by Laila Lundell. I made it through the book, sequentially, page by page, warp by warp. 43 warps in all! Remember the blue 12-shaft double-weave blanket I had on the loom in June? That is the final project in the book.

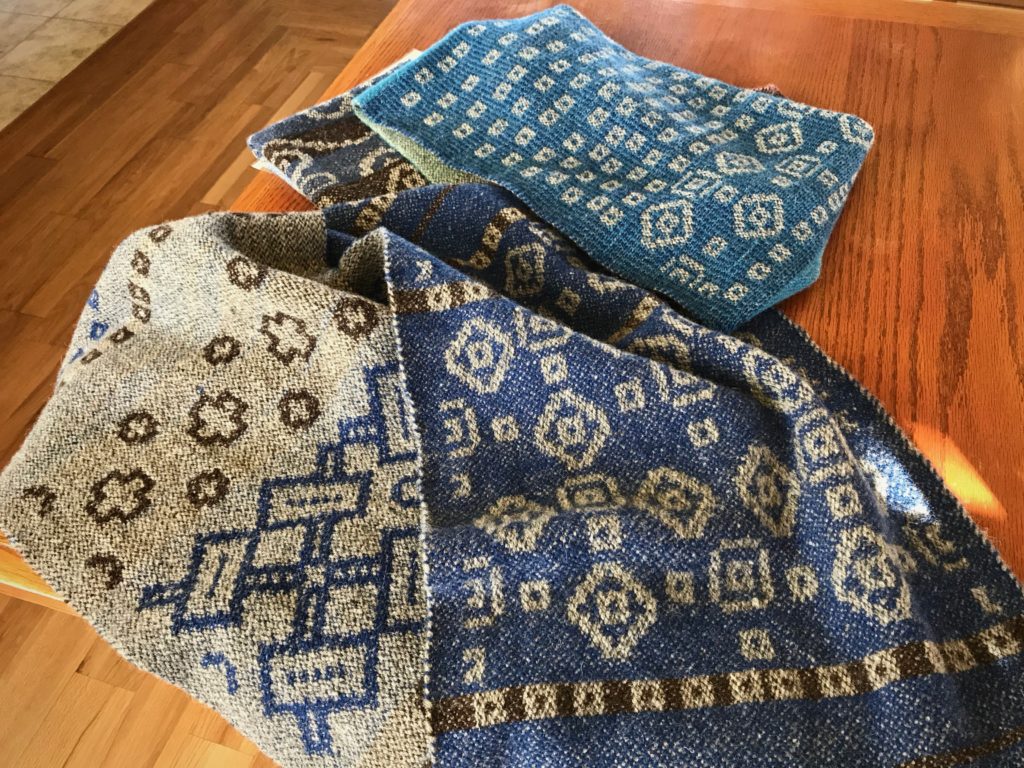
Handwoven double weave blanket. 12 shafts.
Double-weave wool fabric is ready for wet finishing, where it will be transformed into a soft, cozy blanket.

In the short video below, each completed project is presented in order in our Texas hill country home. Watch to the end to see the blue blanket in all its finished glory.

For nitty-gritty details, check out The Big Book of Weaving tab at the top of the page.

I. Secrets to success:

  • mindset of a student
  • determination
  • eyes on the goal
  • no option other than completion

One loom dedicated to the book.


II. Lessons learned:

  • technique
  • processes
  • planning
  • drafting
  • Swedish practices

Any mistake can be remedied.


III. Treasures gained:

  • patience
  • humility
  • endurance
  • focused attention
  • problem solving
  • creative freedom

Confidence.


IV. Prized perspectives:

  • new experiences
  • delight of dressing the loom
  • wonder of cloth-making
  • fresh ideas
  • joy of discovery
  • knowledge and understanding of the loom

Getting lost and absorbed in the whole process of weaving.

V. Favorite project: Old-Fashioned Weaving / Monksbelt (at 4:46 in the video)

Are we determined students of heavenly things? Oh, to know God’s will! Study what’s written, don’t lose heart, eyes on the prize, no option besides completion through Jesus Christ. One life dedicated to know him. Day by day, warp by warp, the Grand Weaver teaches us. We can know God’s will.

May you be a lifelong learner.

Happy Weaving to you,
Karen

Process Review: Dressing the Drawloom the Second Time

Dressing the drawloom the second time is easier than the first time. No slip ups or confusion. Just smoothly moving from one step to the next. (Read to the end to see what to expect for July.)

Winding skeins of wool yarn into balls.

With my first drawloom warp the most challenging part was distributing the pattern shafts. (See Q and A with Joanne Hall and Drawloom Dressing.) This time something clicked and the light bulb turned on. Instead of blindly following steps, I now understand what I am doing, and why. And I am having fun in the process!

Winding warp on the warping reel.
Winding the warp on the warping reel, making two bouts.
Big fat wool warp chains.
Warp chains of 6/2 Tuna wool, ready to dress the loom.
Ready to thread pattern heddles.
After beaming the warp, the loom bench is moved to the back of the loom for threading heddles. Pattern heddles first, and then, ground heddles.
Sleying the reed on the drawloom.
With the reed sleyed, it’s time to return the ground shafts to the front of the loom and put the reed in the beater.
Leveling string is doing its job!
Warp is tied on, and the leveling string is doing its job.
Distributing pattern shafts on the drawloom.
Inkle band serves to separate pattern heddles as I distribute the pattern shafts.
Adding pattern shafts to the drawloom.
Pattern shafts are resting nicely on the pattern shaft holders. Their little hooks grab the Texsolv that connects them to the draw cords and handles.
Dressing the drawloom!
Pointed threading can be seen in the arrangement of the heddles on the pattern shafts.
Dressing the drawloom!
Drawloom setup is complete except for tying up the treadles. Treadle tie-ups on a drawloom are refreshingly simple.
Testing pattern sheds on the drawloom.
Testing pattern sheds by pulling some of the draw handles. After a few small adjustments, she’s ready to weave!
Wool on the drawloom.
First sample. 6/2 Tuna wool warp and weft, 4-shaft broken twill on the ground shafts, sett is 5.5 ends per cm, 16 pattern shafts with 1 extra shaft for the edges.

Friends, It’s that time again, when Warped for Good is put on pause for the month of July.

Thank you for sharing in this journey with me!

What’s on my looms: I am near the end of the blue double weave blanket on the Standard, and I am planning a new pictorial tapestry for that loom. The drawloom is dressed and in motion. And the Ideal loom is still sitting ready for rosepath rag rugs. Also, Steve and I have a Casita trip planned that will include some leisurely backstrap band weaving.

What’s on your loom right now? Share with us in the comments.

See you the first Tuesday of August! (In the meantime catch me over on Instagram @celloweaver.)

May your second times be better than your first times.

Keep on Weaving,
Karen

Drawloom Cords and Handles

My first drawloom warp used ten pattern shafts, which was plenty. I have now installed the cords and draw handles for all fifty pattern shafts, so the sky’s the limit! (See Process Review: First Drawloom Warp)

Adding draw cords to the drawloom.
Adding draw cords. I stand on the foot beam to reach up to the top of the draw frame to pull cords through the holes.
Draw cords are added in order.

Adding all these draw cords and handles is a big job. It involves a cord threader and scissors and time—reaching, going back and forth, measuring, cutting, tying. Over and over. It’s not hard, but it seems endless. Yet for some strange reason this job is entirely enjoyable. I feel like an architect and builder, a dreamer and investor. It’s incredible to step back and see the structure that this effort has produced. And this is merely the set up. Can you imagine the weaving prospects?!

This is how we build good structures in our lives. Intentional, persistent, focused. Listen well. Over and over. The way we speak makes a difference in the way we listen. When we speak with grace, seasoned for the hearer, we ready ourselves to listen. Our cord threader is our unselfish attentiveness to pull someone else’s thoughts and questions toward our understanding. With this beautiful structure we are ready for anything. Accomplished through the grace of God, the sky’s the limit!

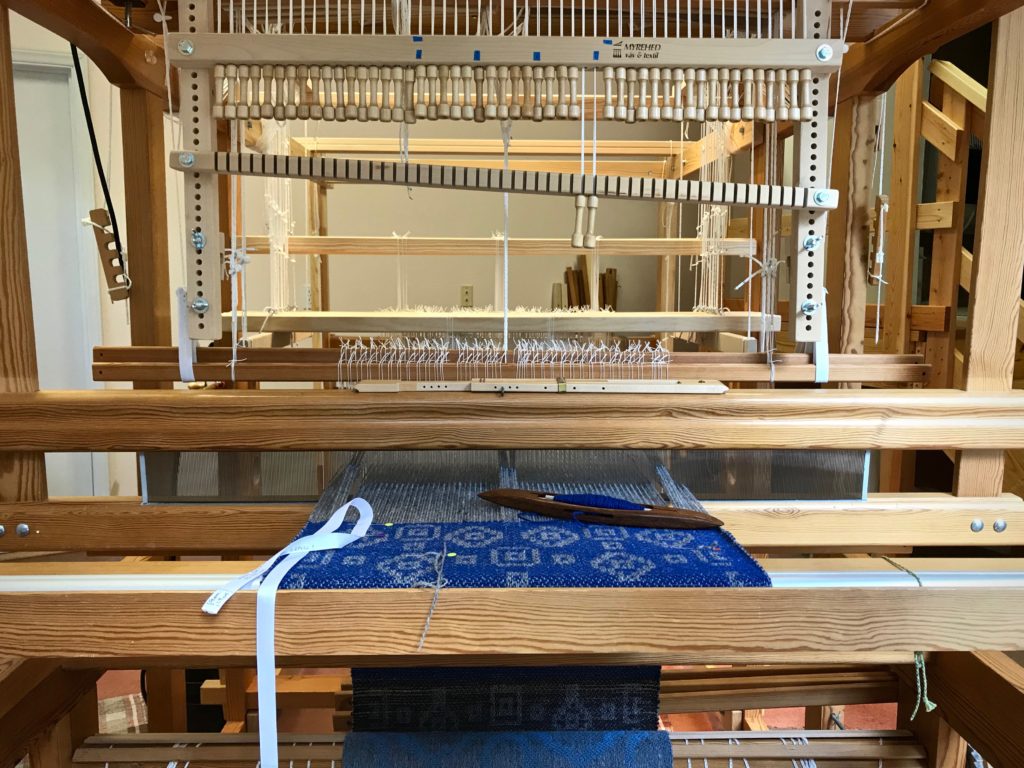
Drawloom ready for weaving!
Drawloom with fifty draw handles, a sight to behold.

May your words be seasoned with grace.

Getting ready,
Karen