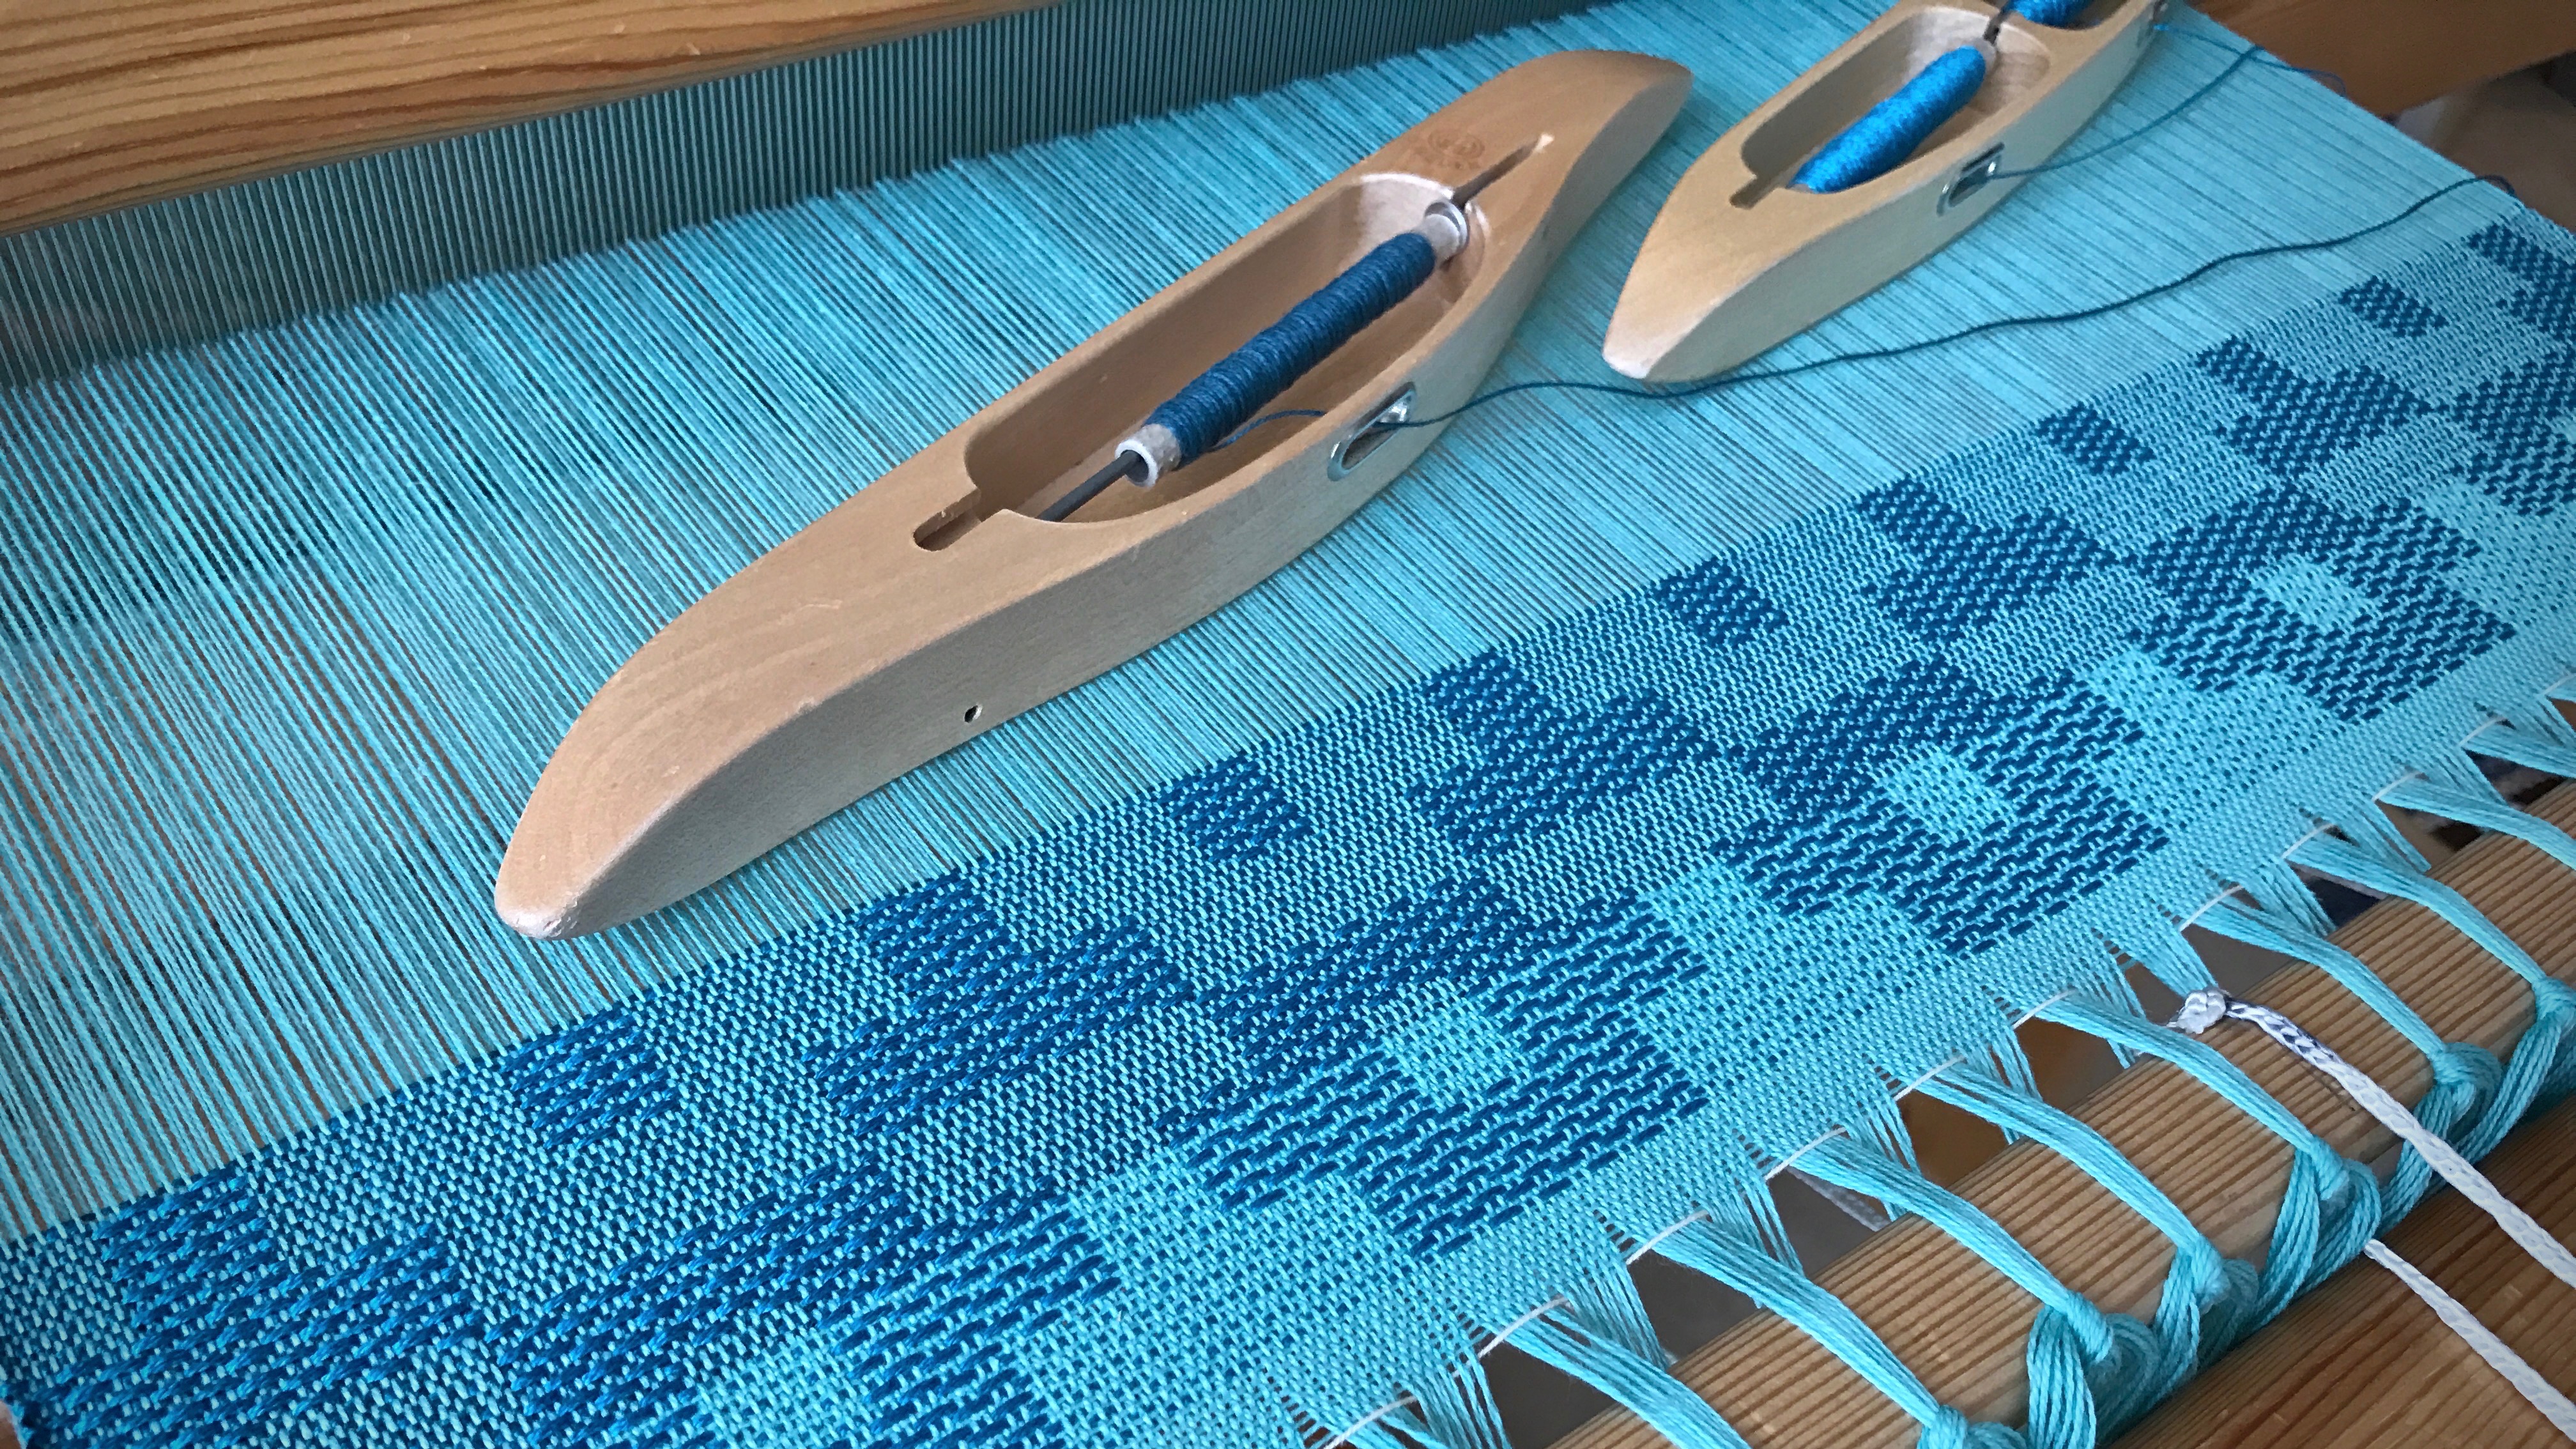
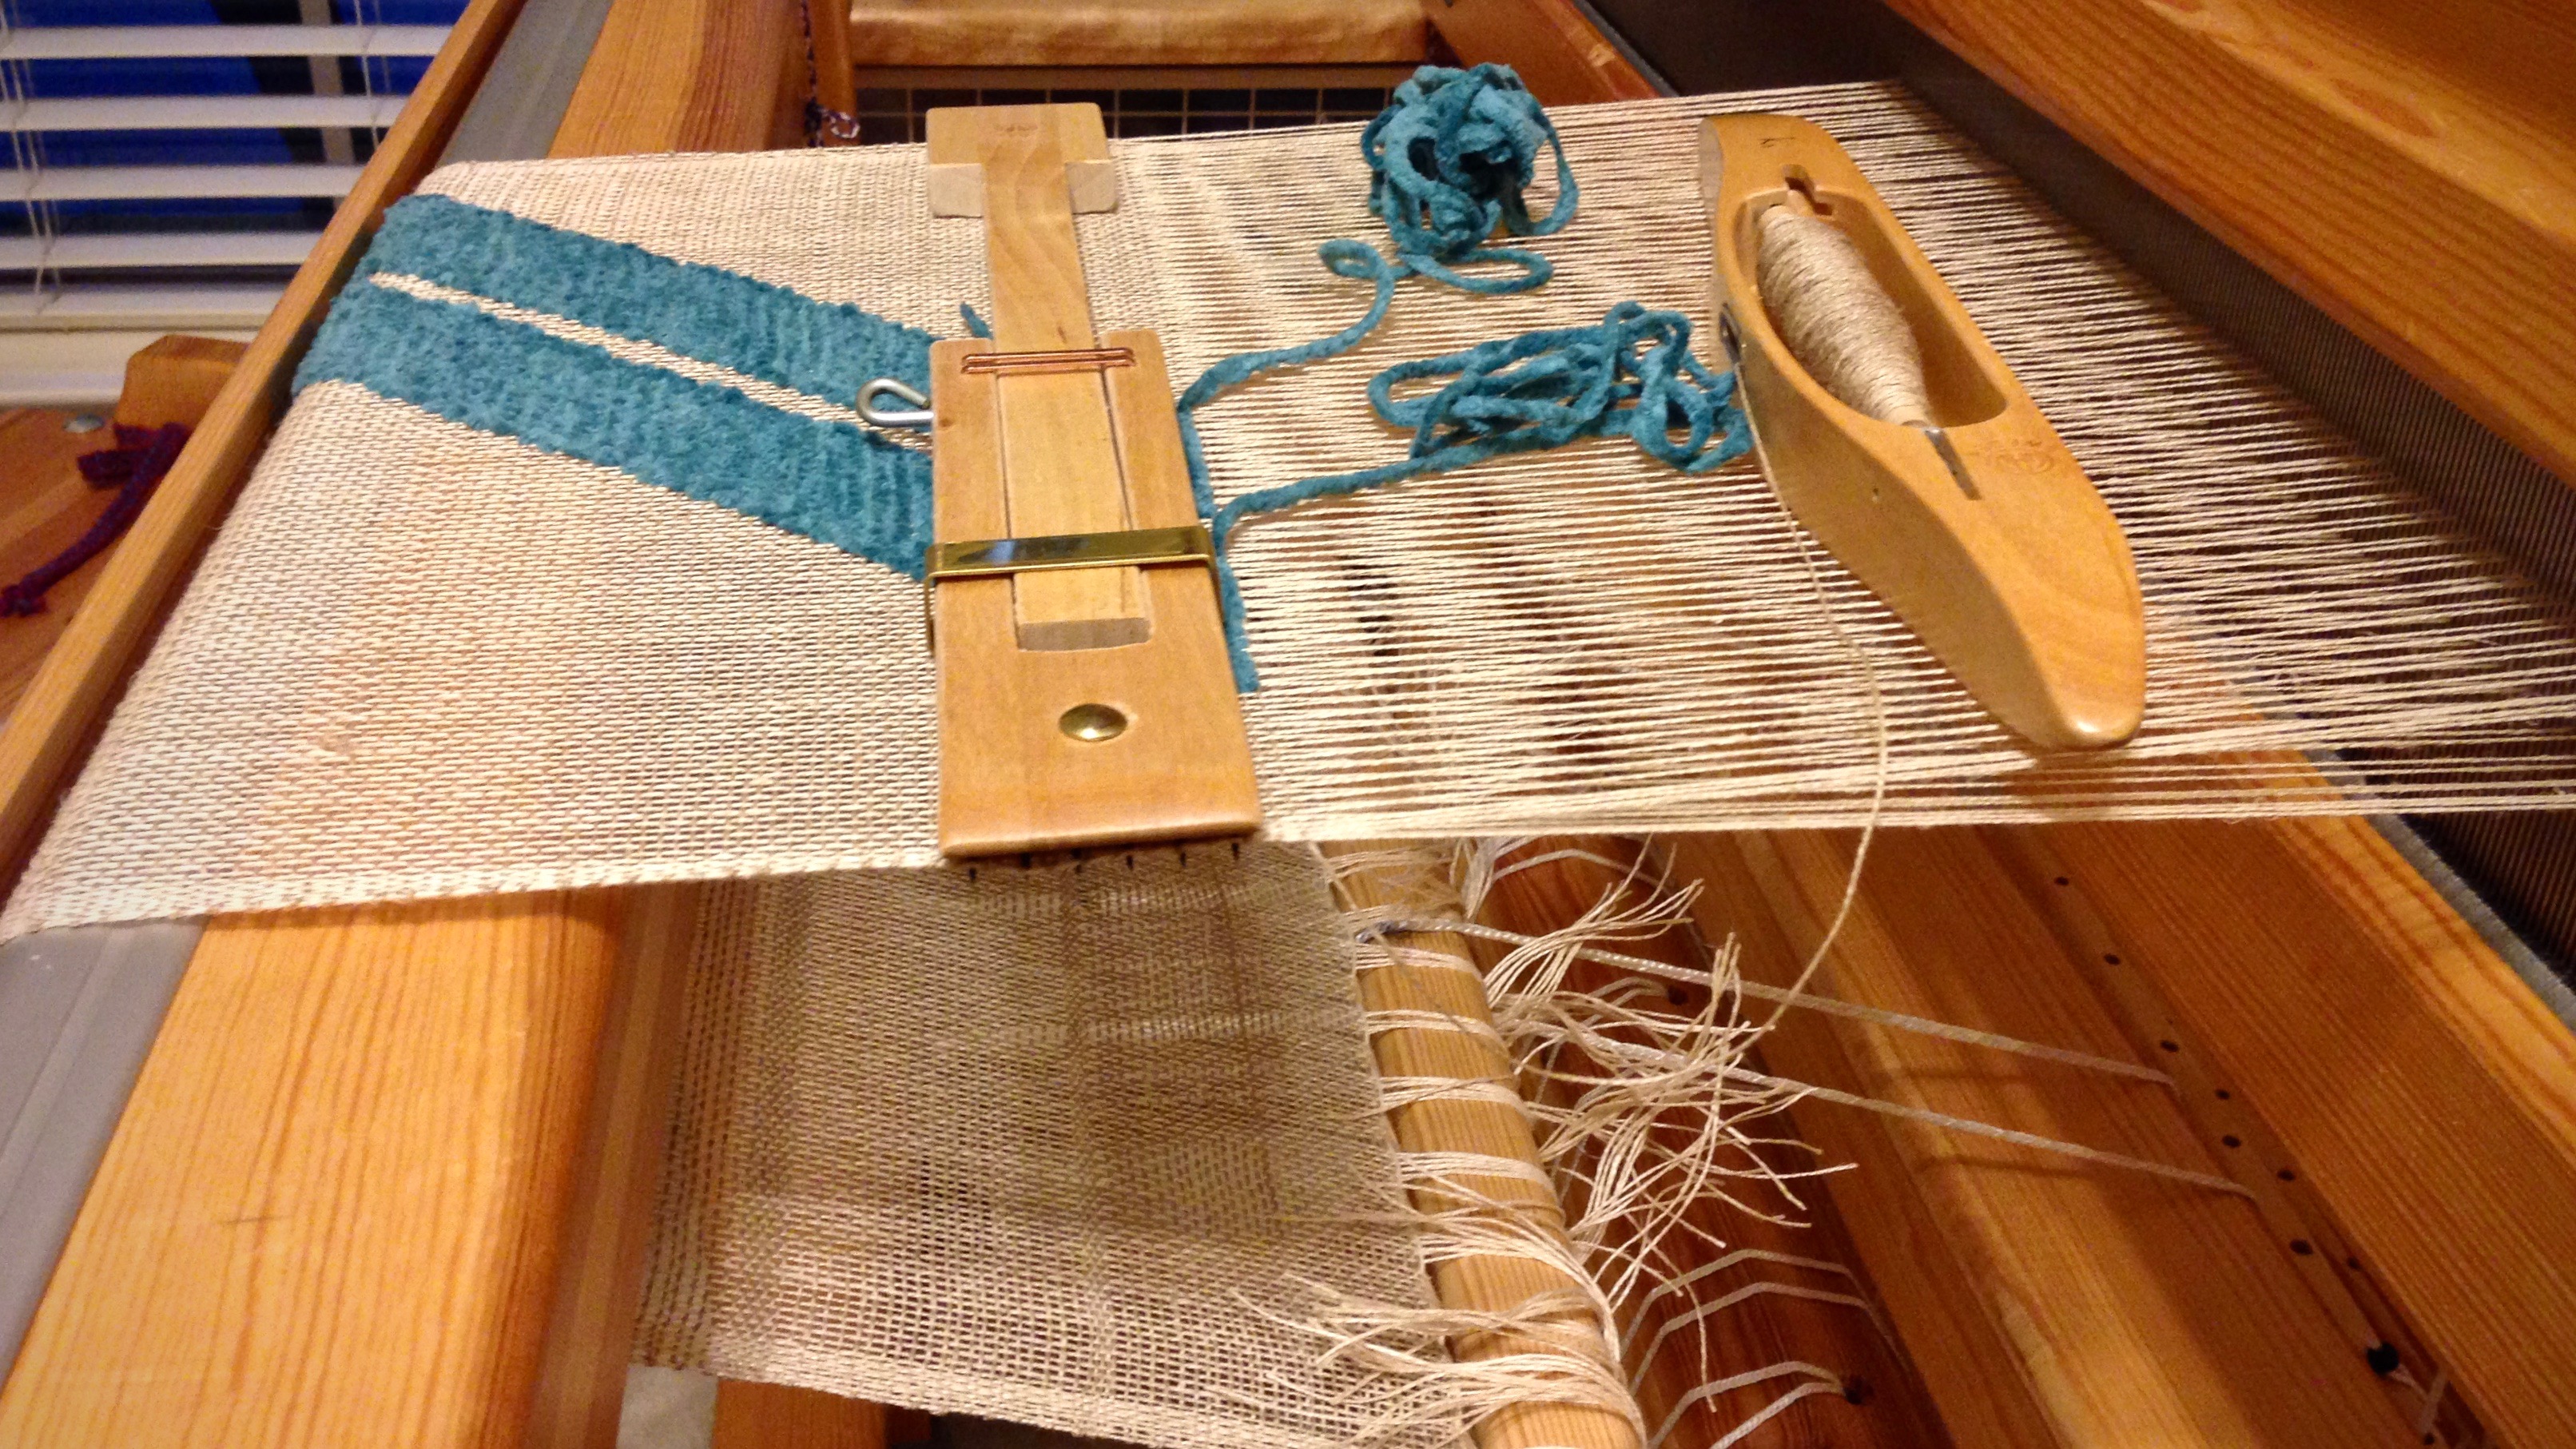
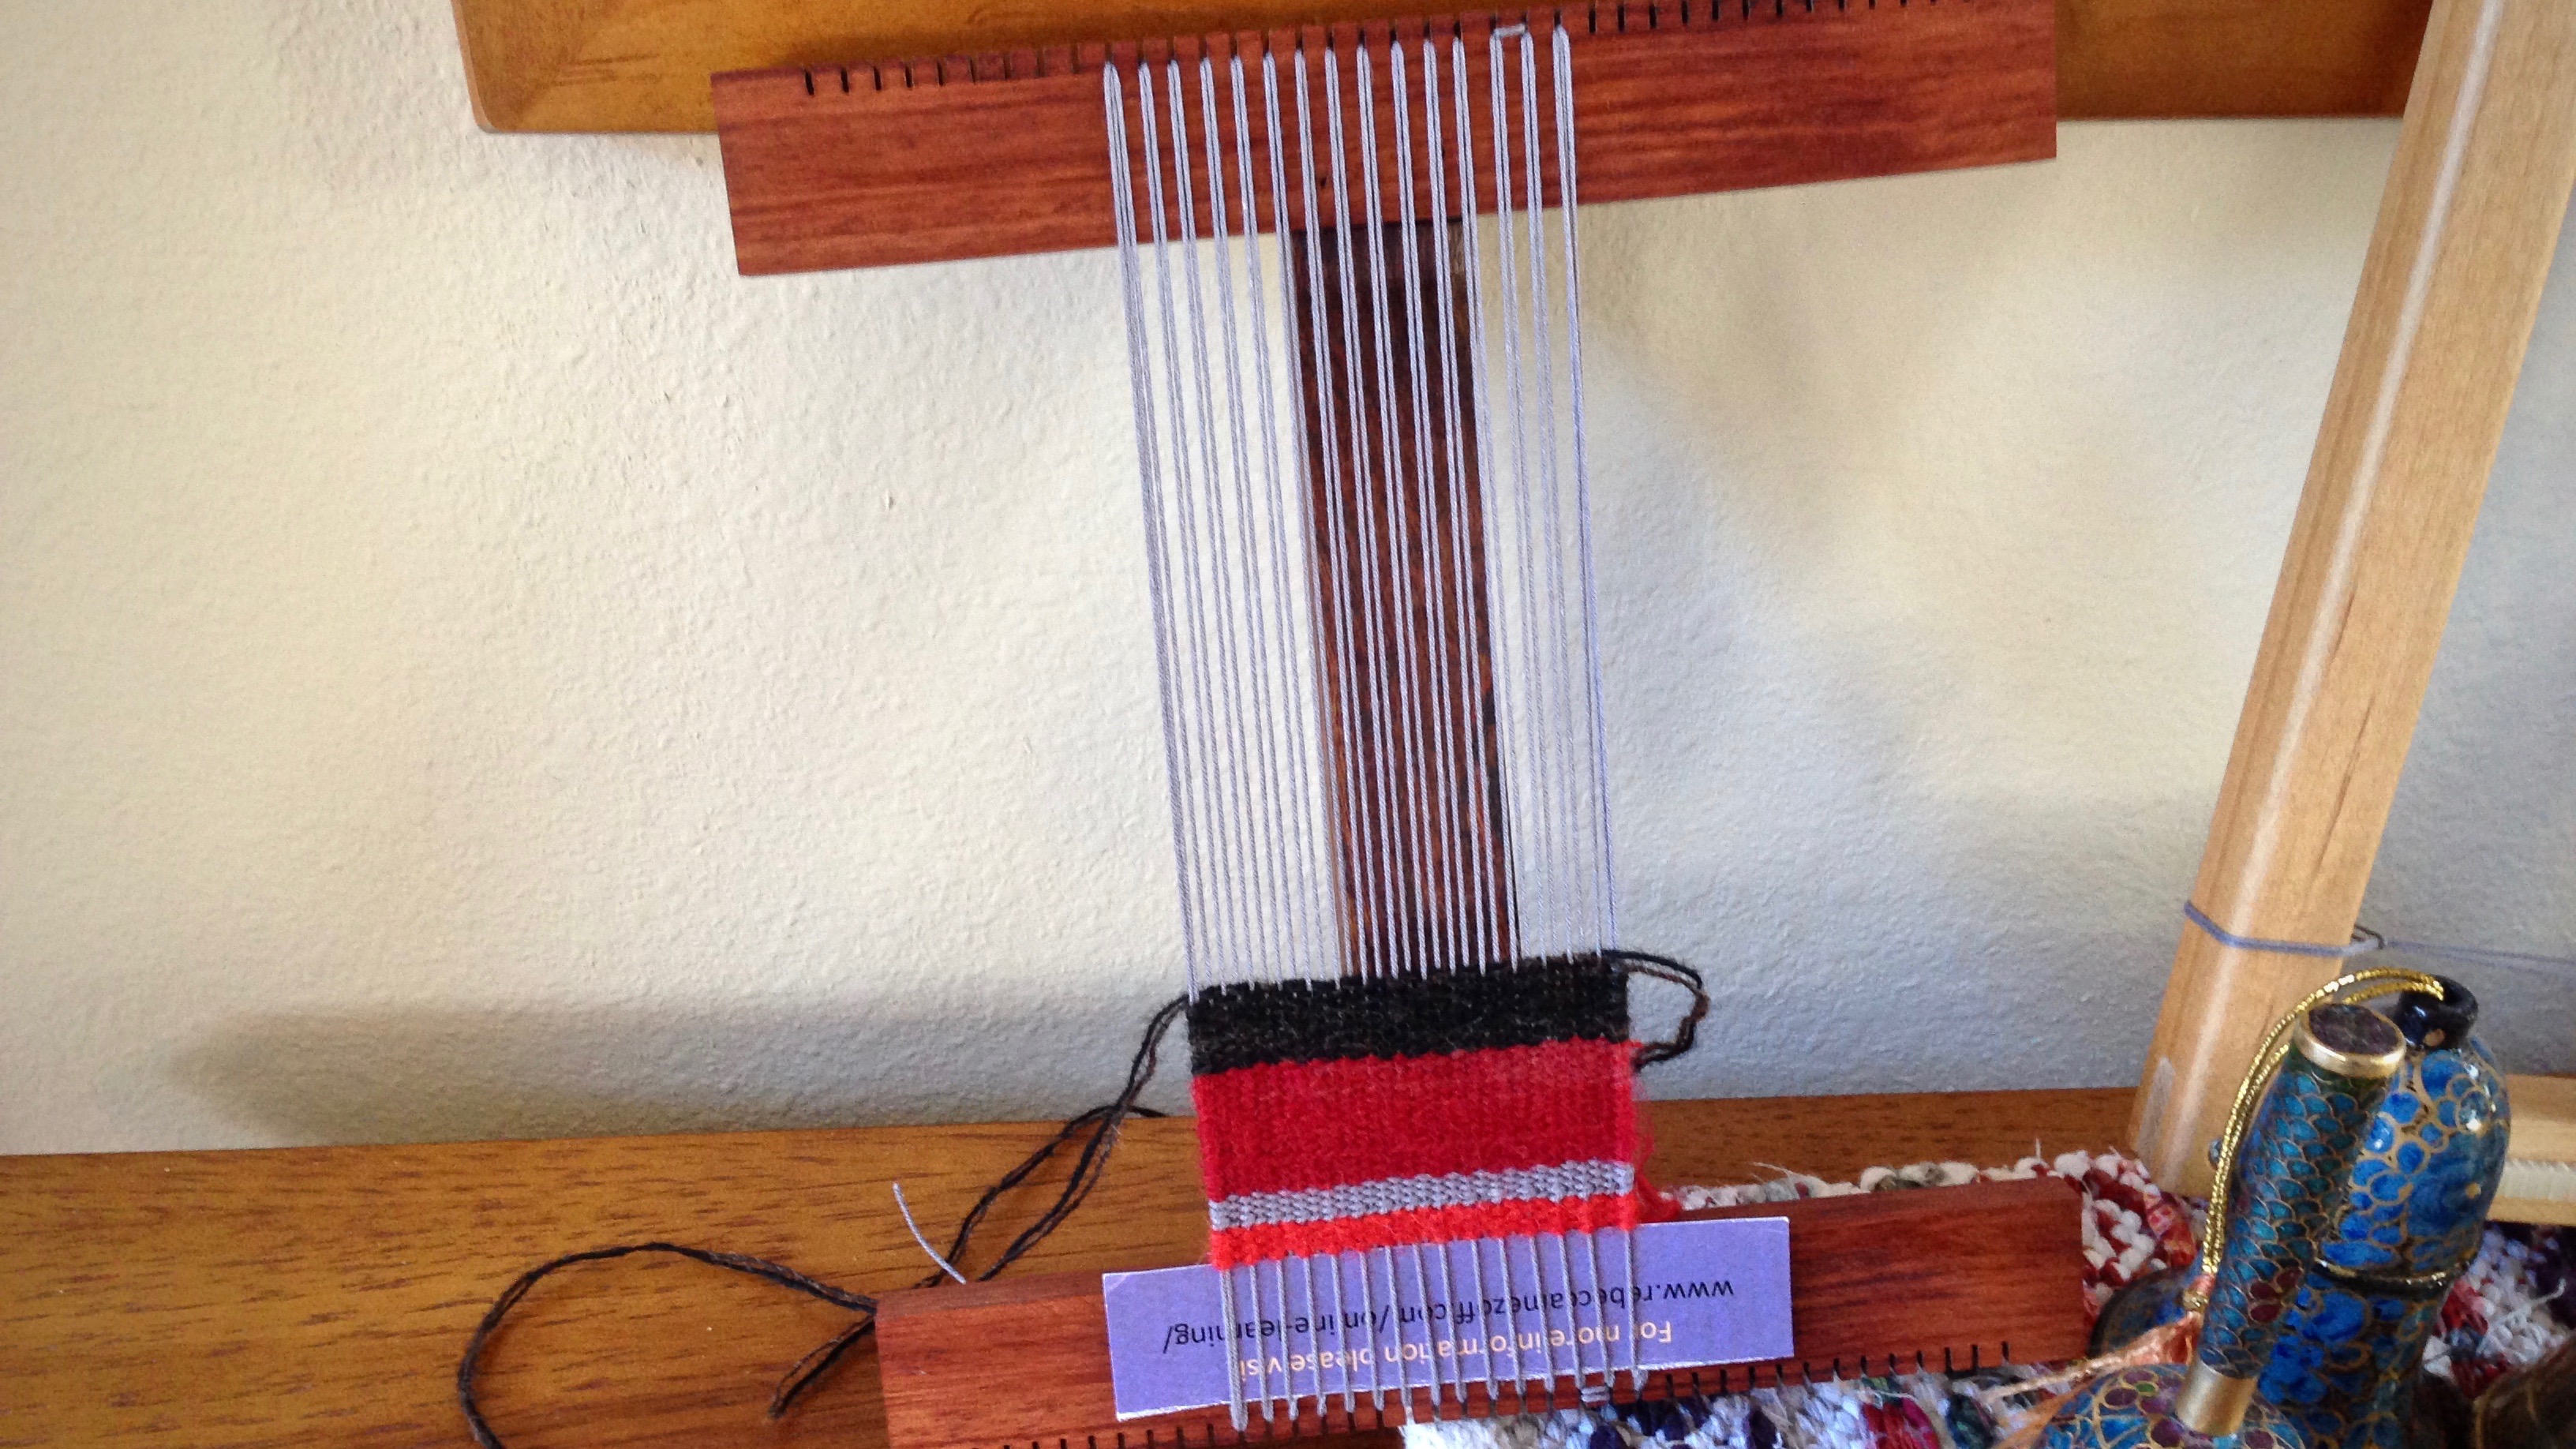
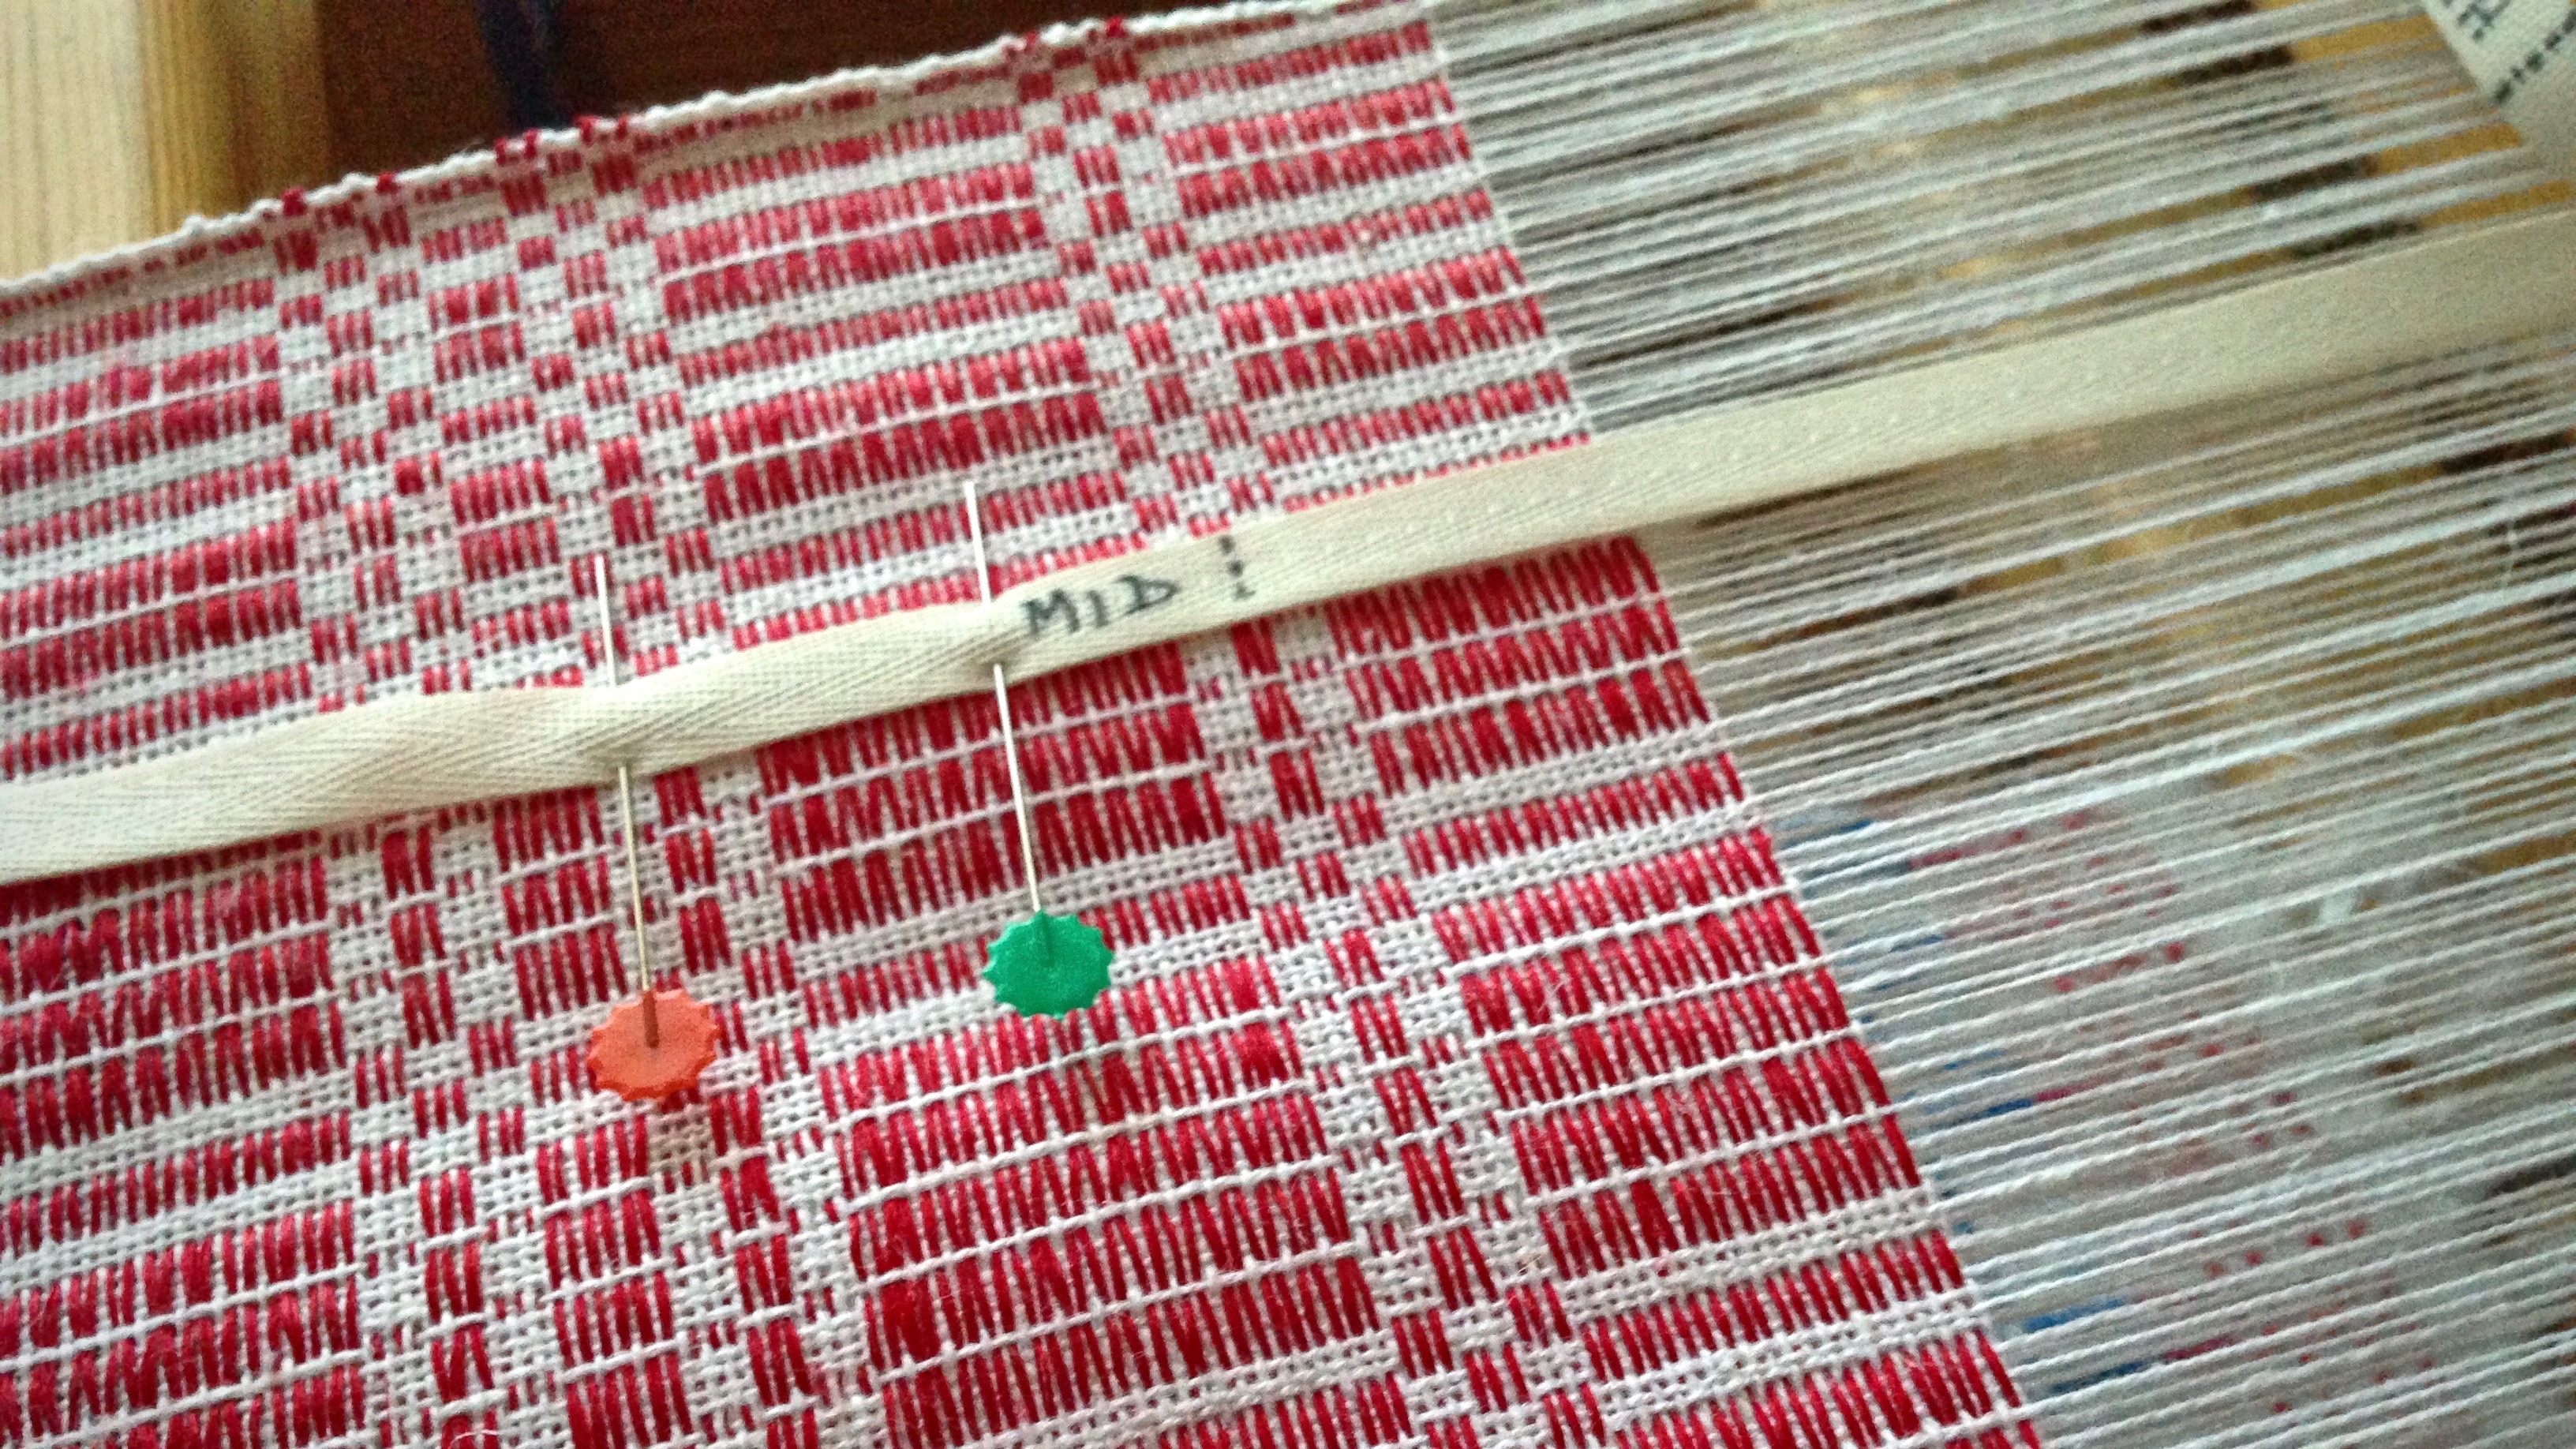
No matter how much thread is on the quill, if you keep weaving, you will eventually come to a bare quill. Three at once, this time. Two with tencel in the double-bobbin shuttle and one with 8/2 cotton. A quill is a small item with an essential role. This mostly-hidden cardboard cylinder holds the threads that weave.
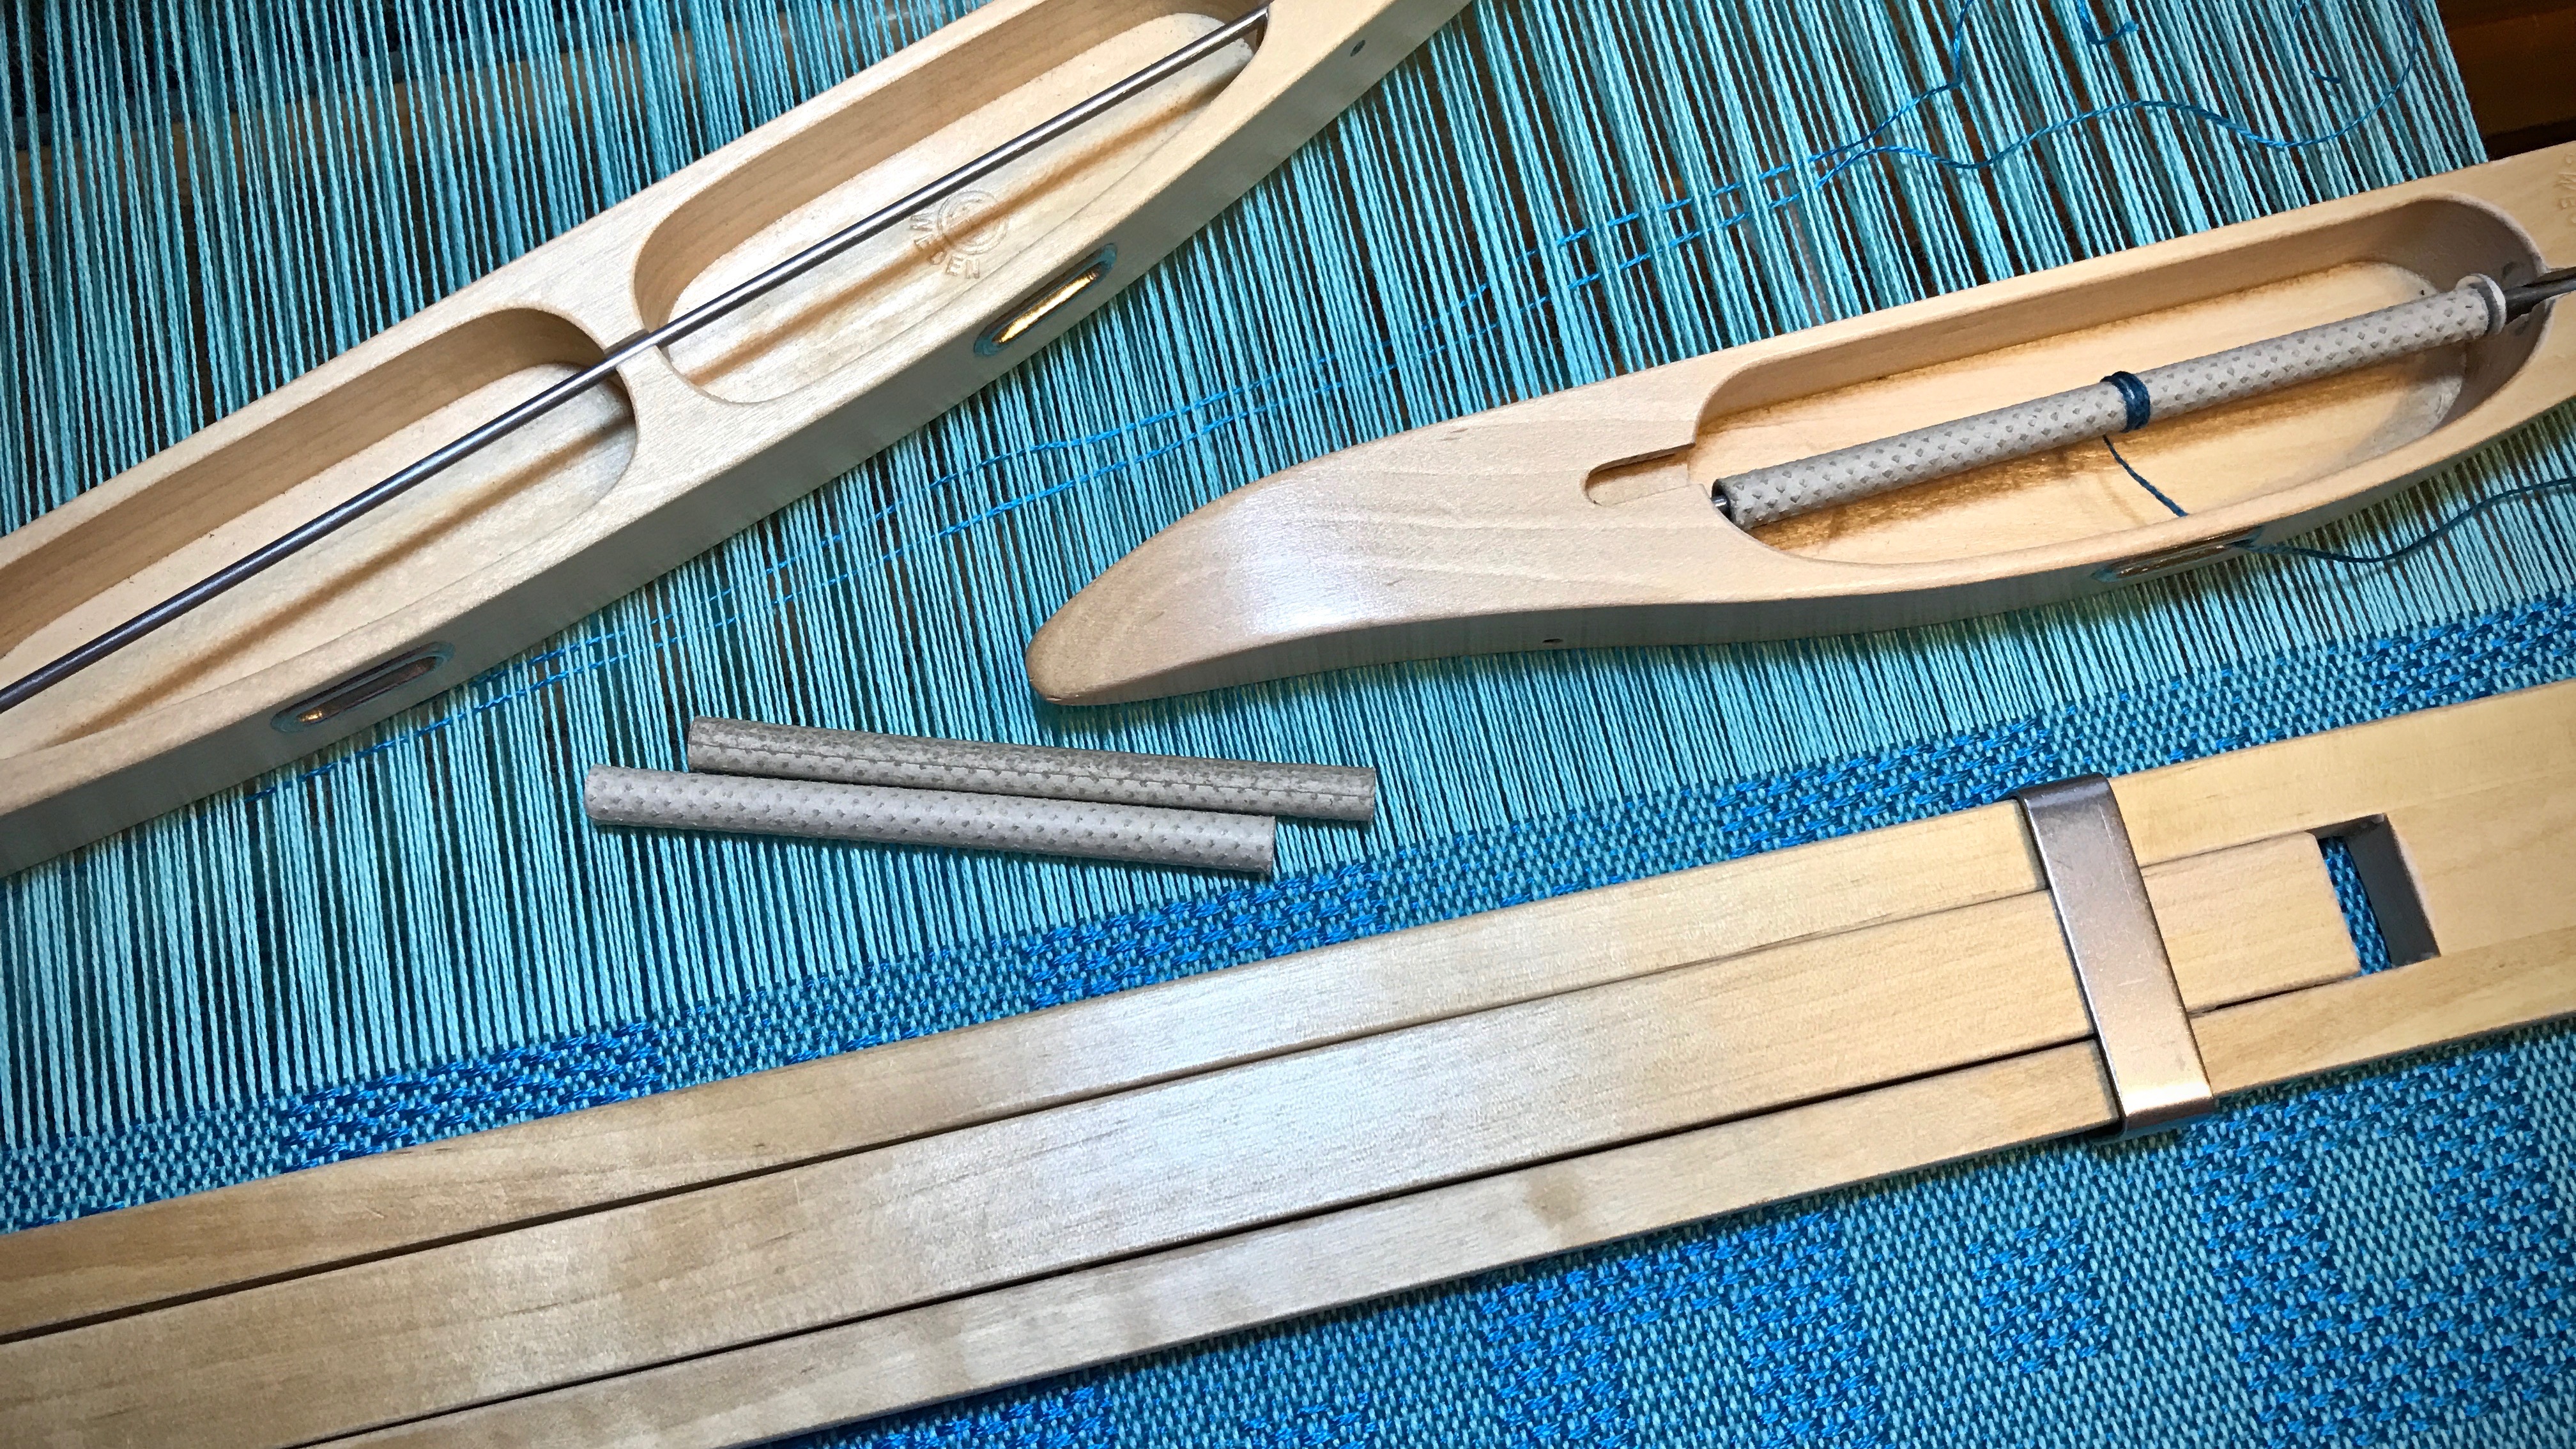
An empty quill is a stopping place. You have to stop. Wind another quill, or three, before you weave some more. Or, use quills from your loom bench basket that you had already wound. It’s the cycle of weaving. Weave. Stop. New quill. Weave. Stop. And so on.
The quill is mostly hidden until the thread runs out. Likewise, truth seems like a secret until it comes to light. And then you realize it holds the fibers of life. Truth is worth searching for. It is central to understanding our existence. Examine a thread of reality, keep pulling that thread, and unroll it. It always ends up at truth. Truth is that core, that weaver’s quill, around which reality is wound. For our Grand Weaver, truth always holds the threads that weave.
May truth be at your core.
Yours,
Karen