Big Squishy Warp Chains for Christmas

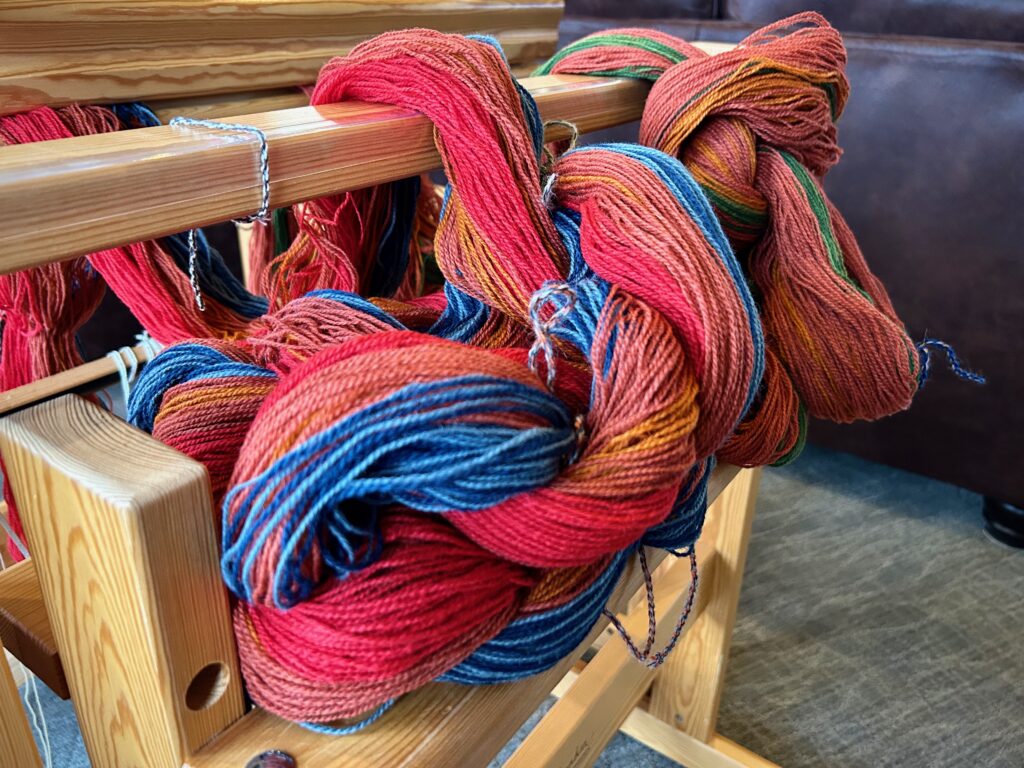
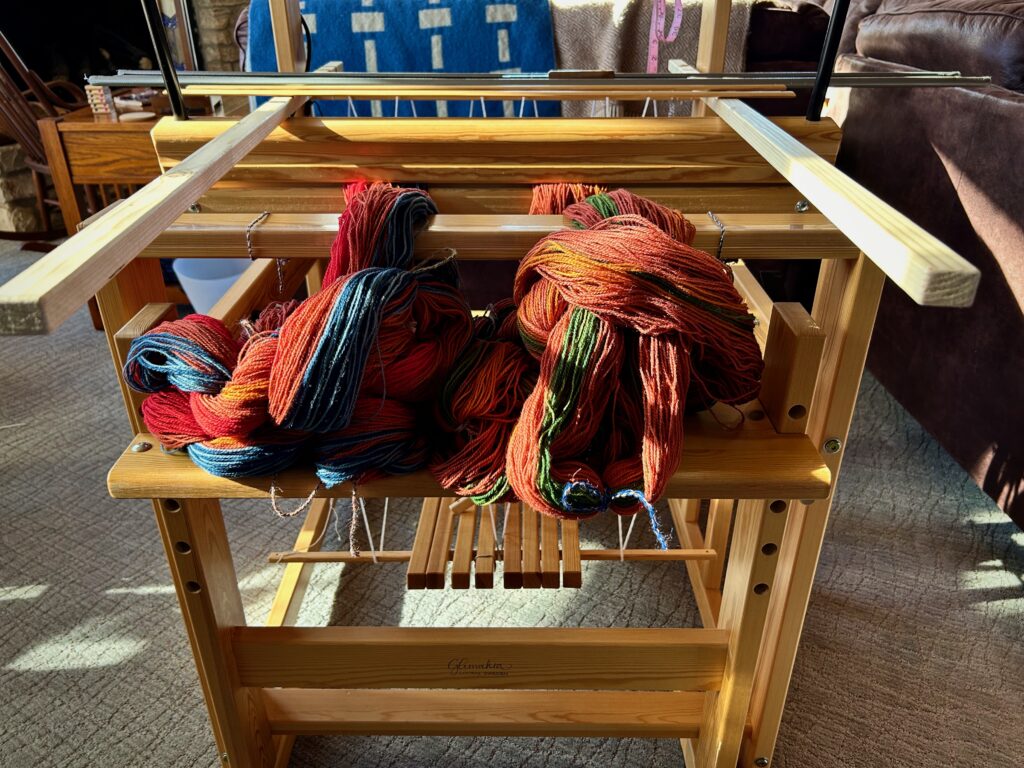
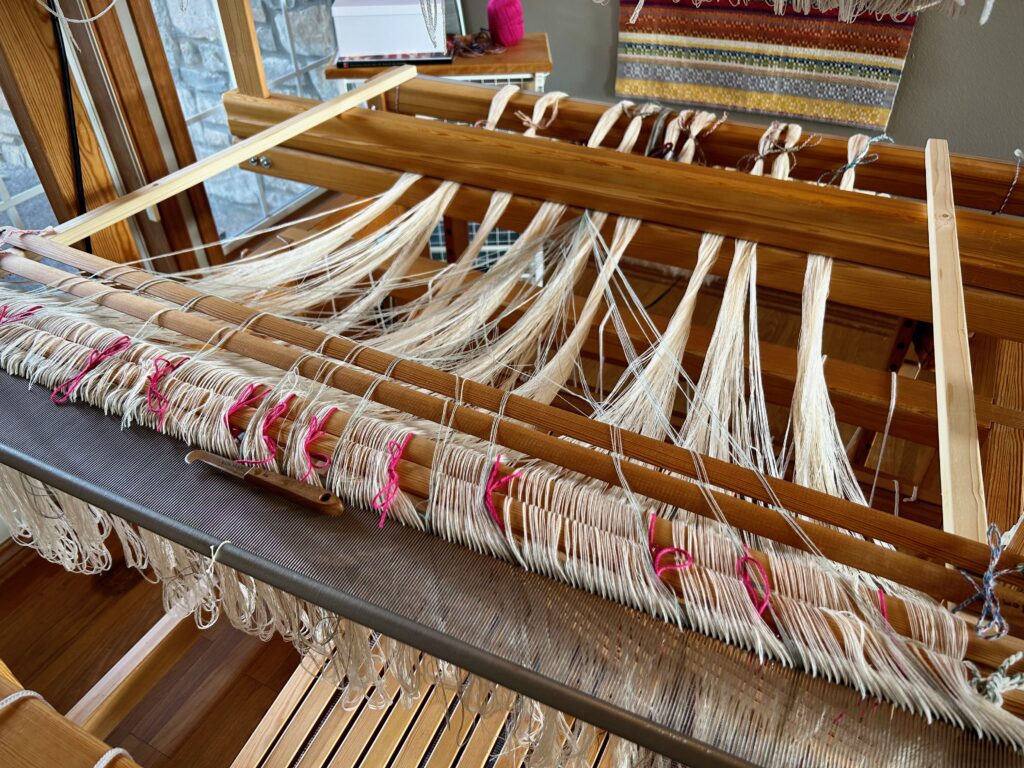
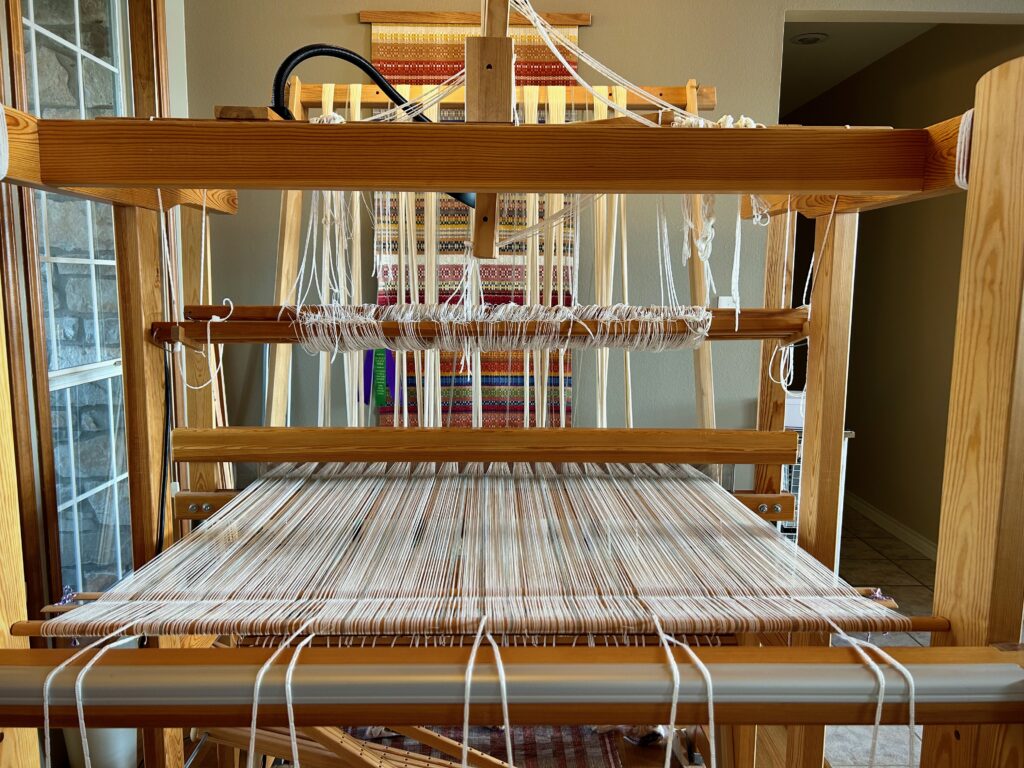
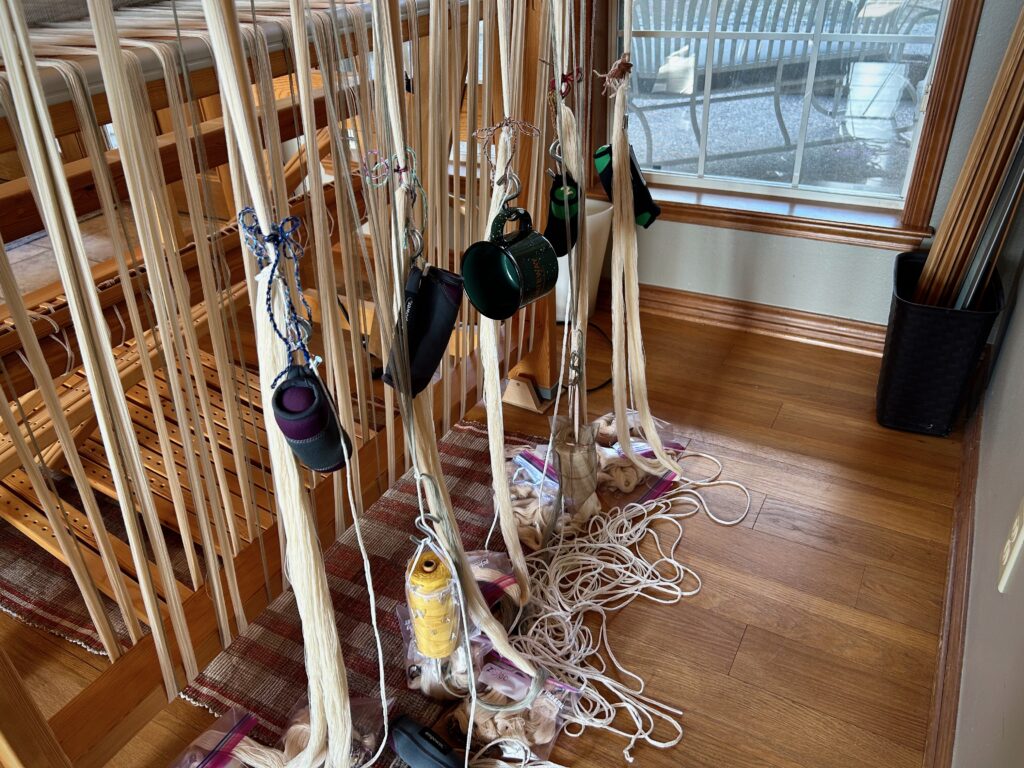
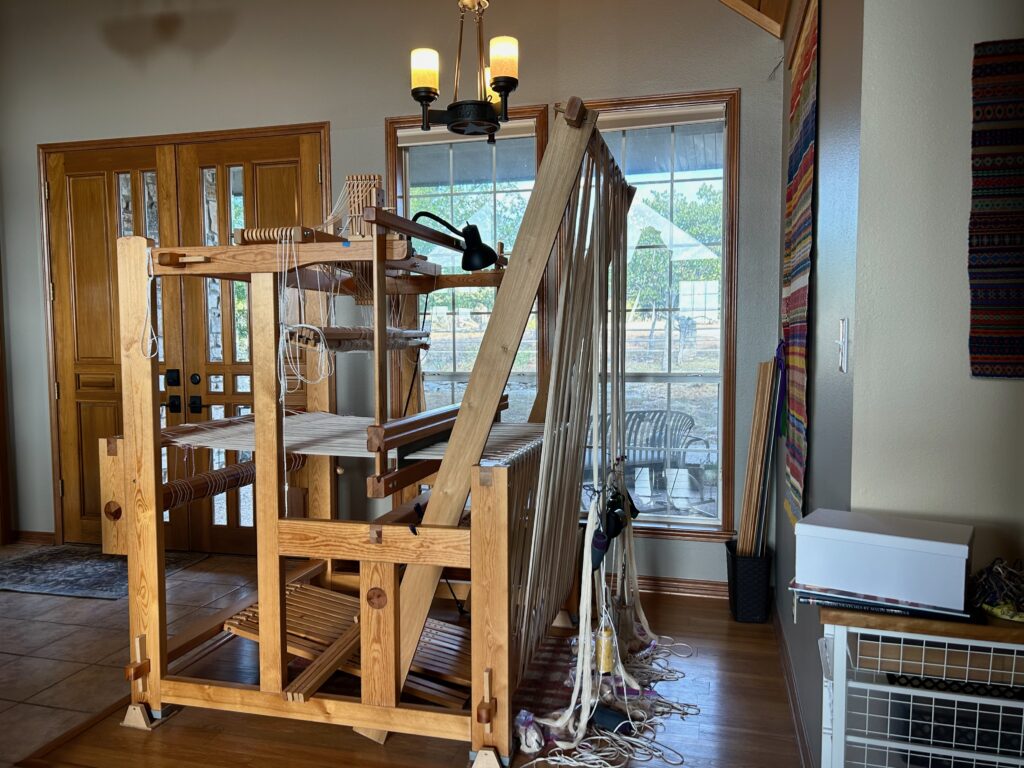
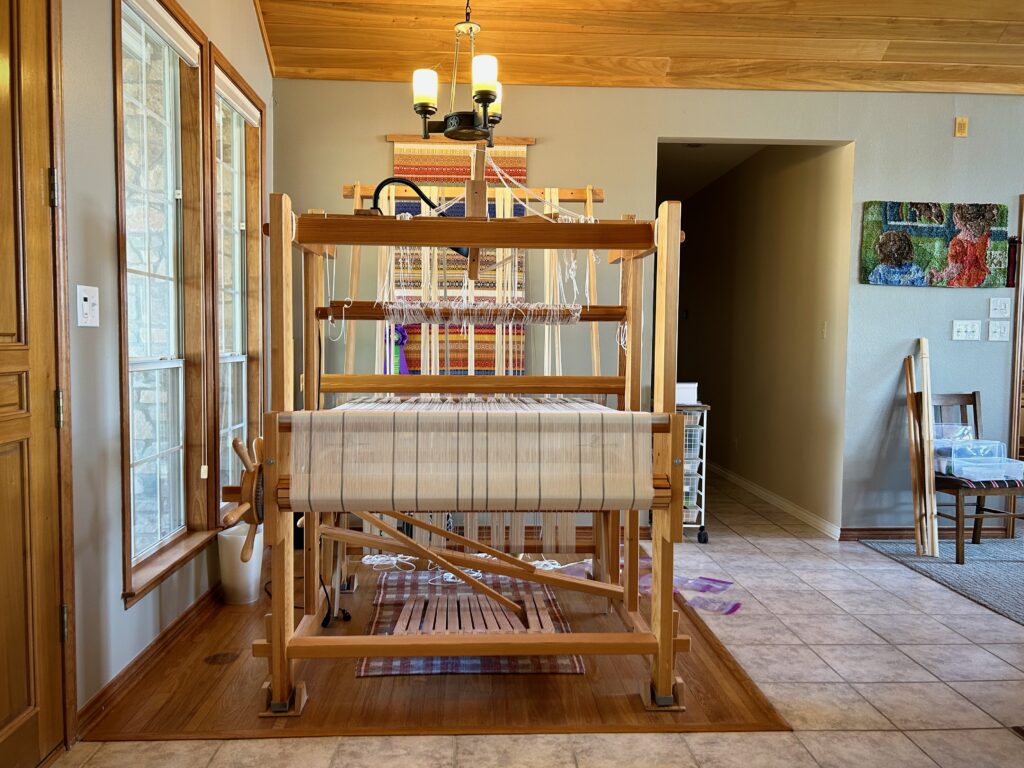
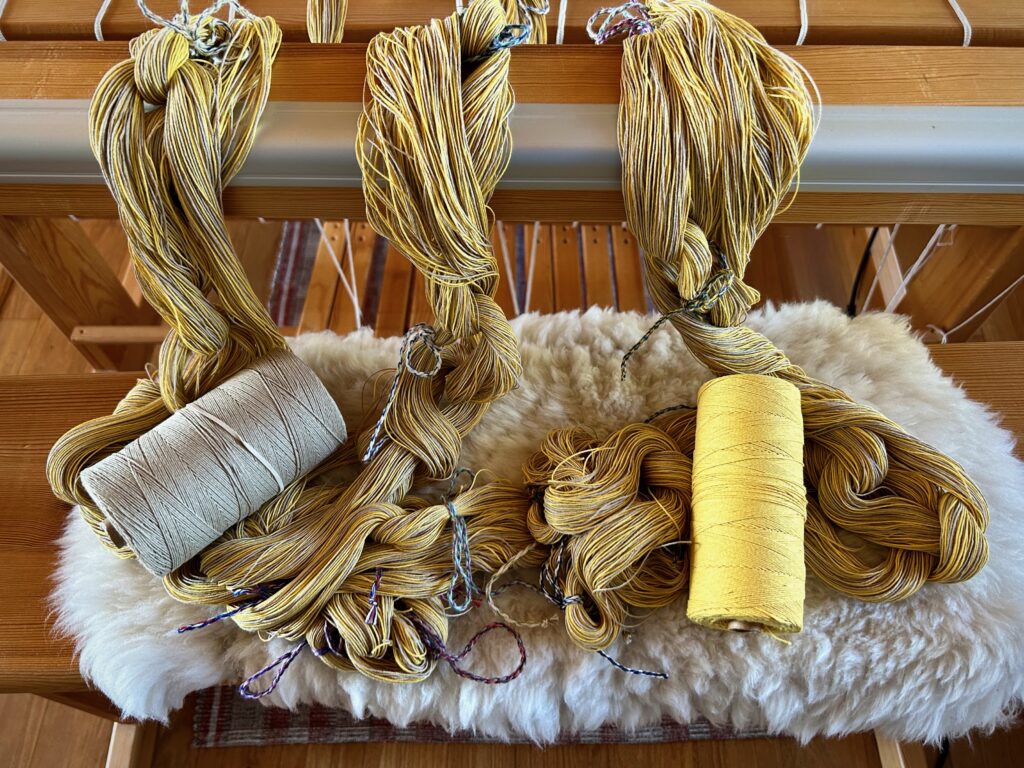
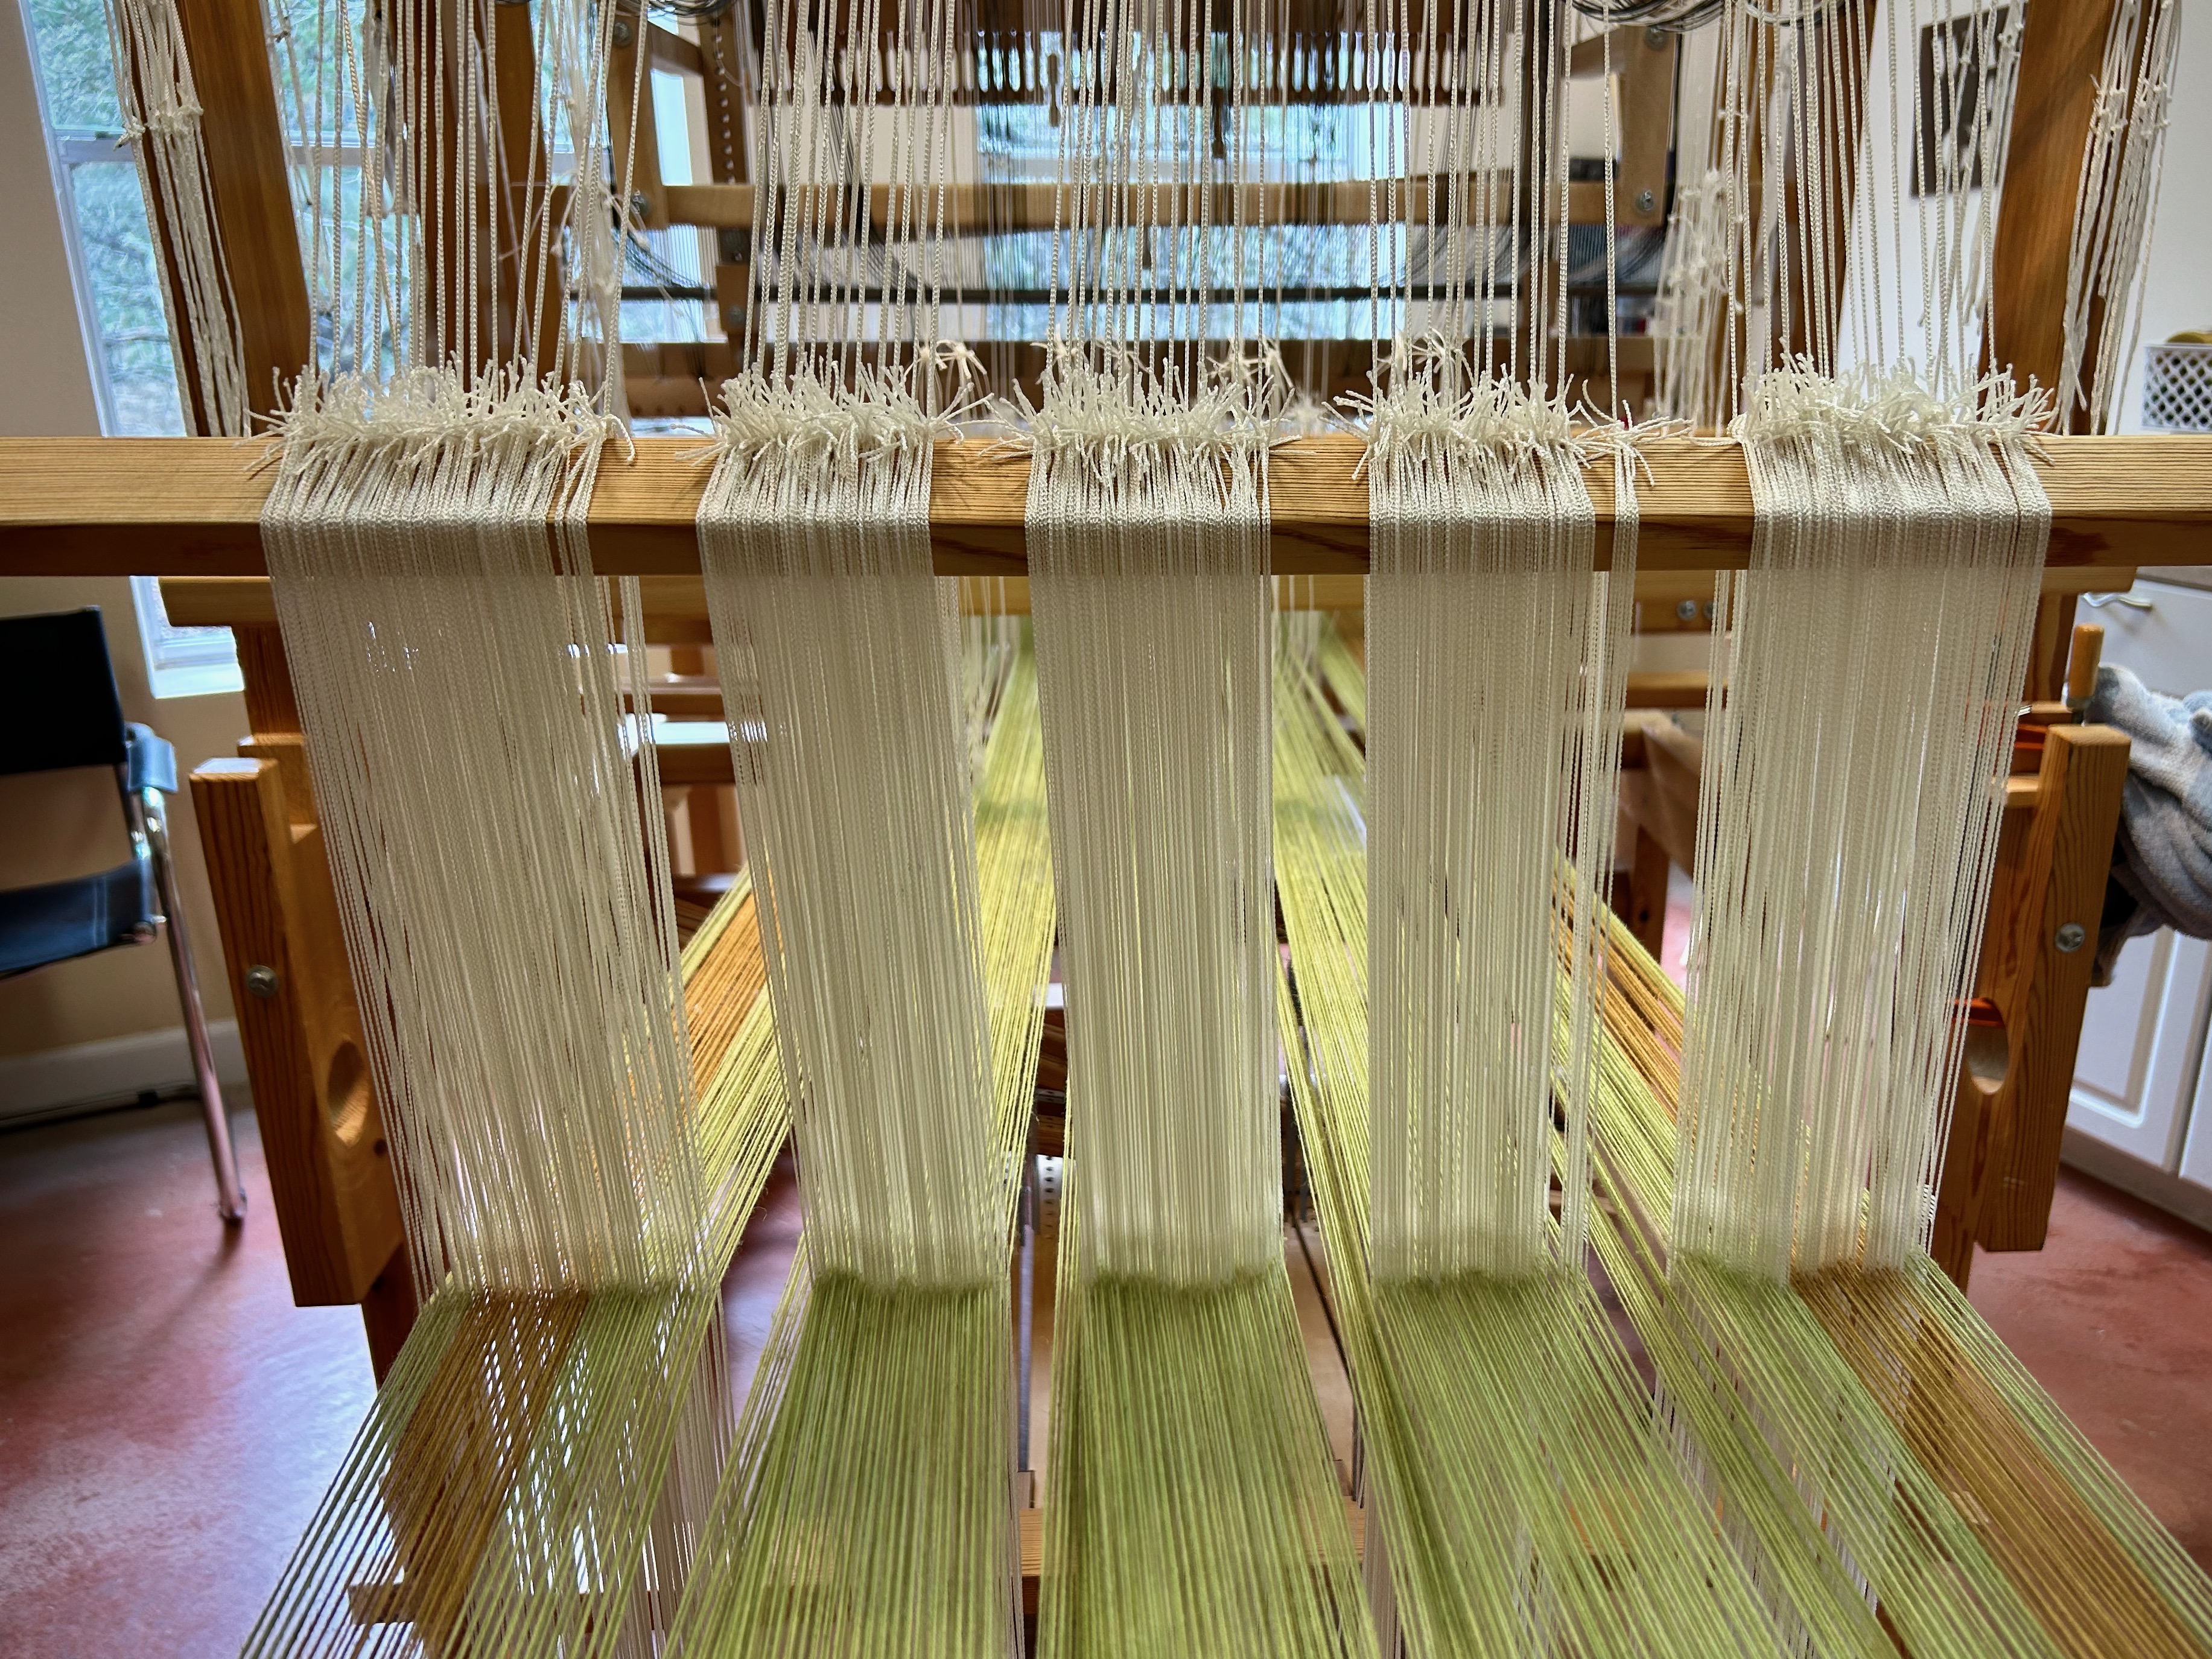
Merry Christmas! Julia is getting dressed with 7/2 Brage wool for a lovely goose-eye twill. Warp chains like this are big and squishy, just begging to be hugged.
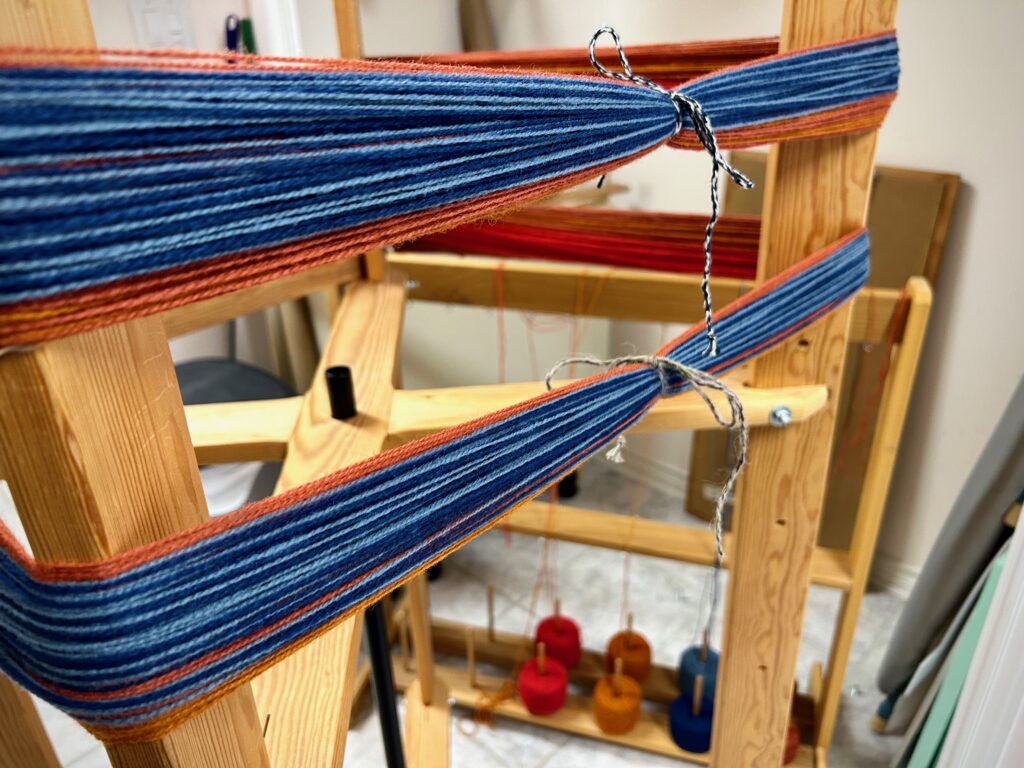
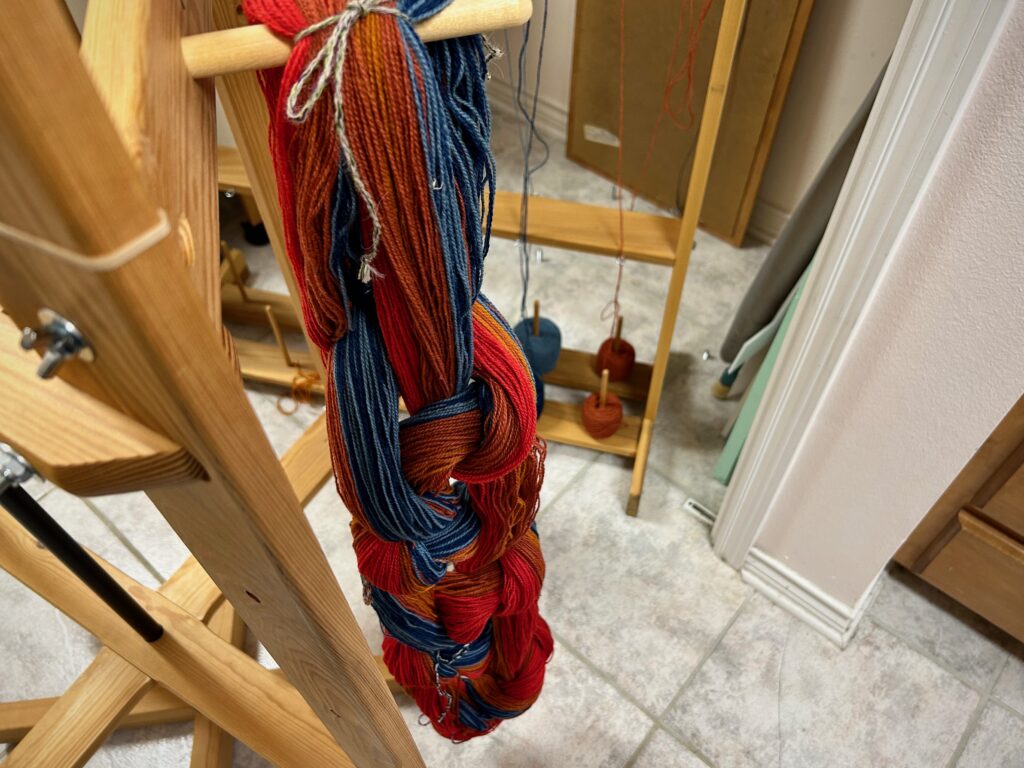
Winding the first of two warp bouts.
Thick and fluffy warp chain of 7/2 Brage wool.
Getting ready to beam the warp. Wool in five colors for goose-eye twill.
Getting things ready to spread the warp and then beam it on.

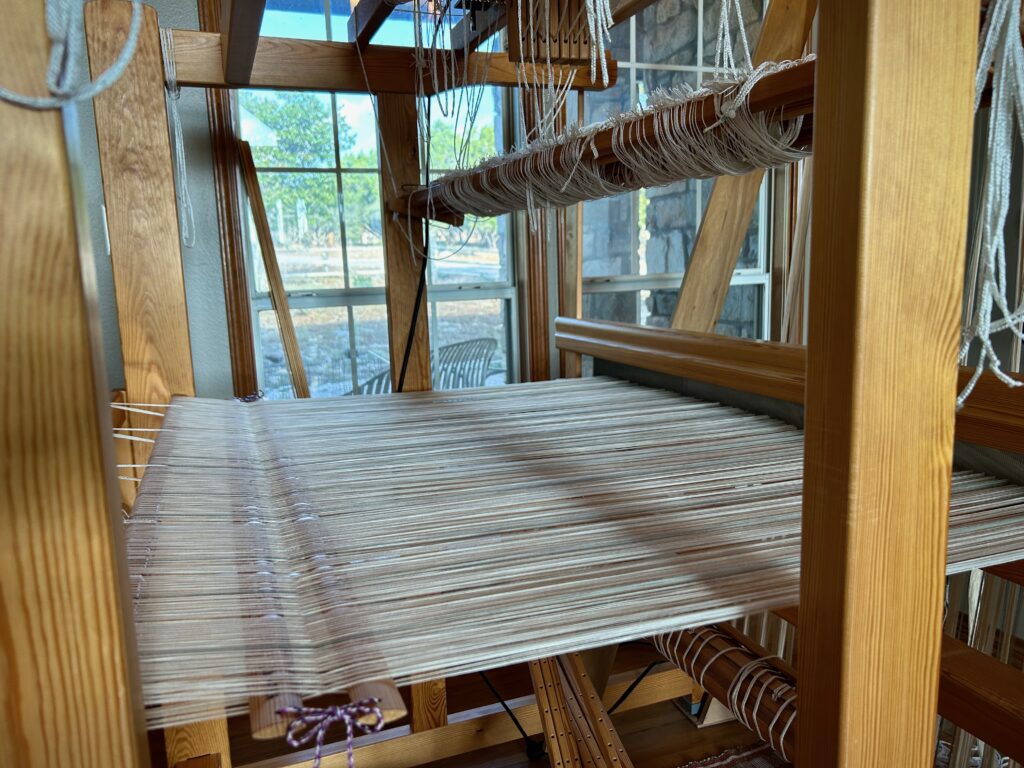
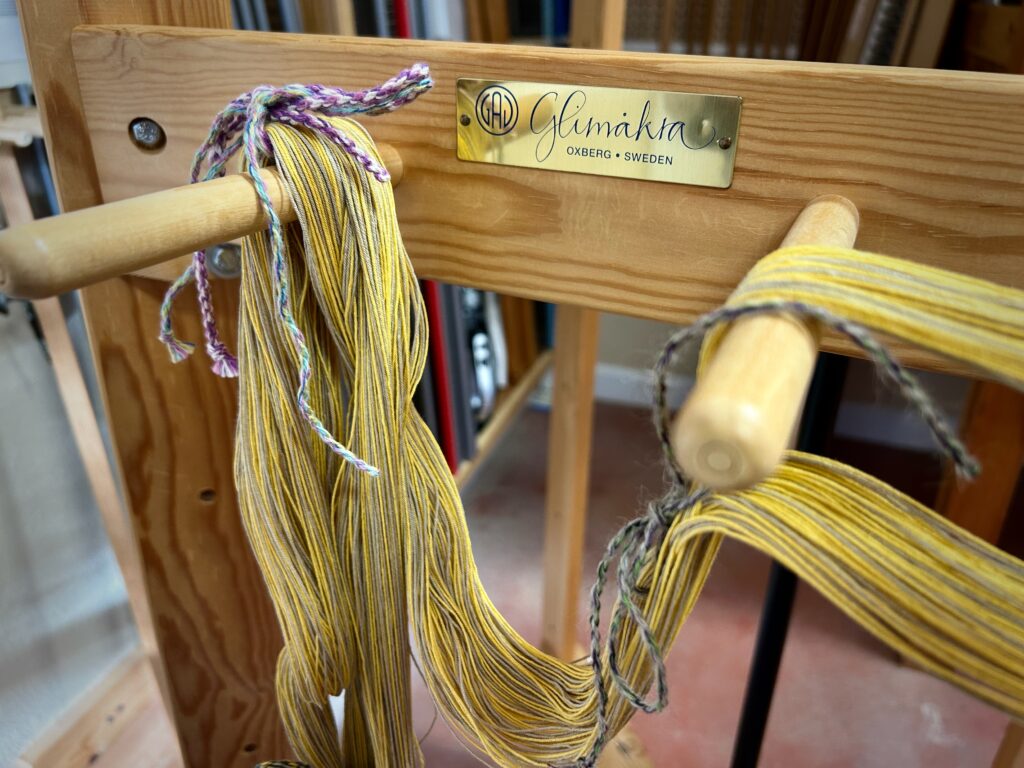
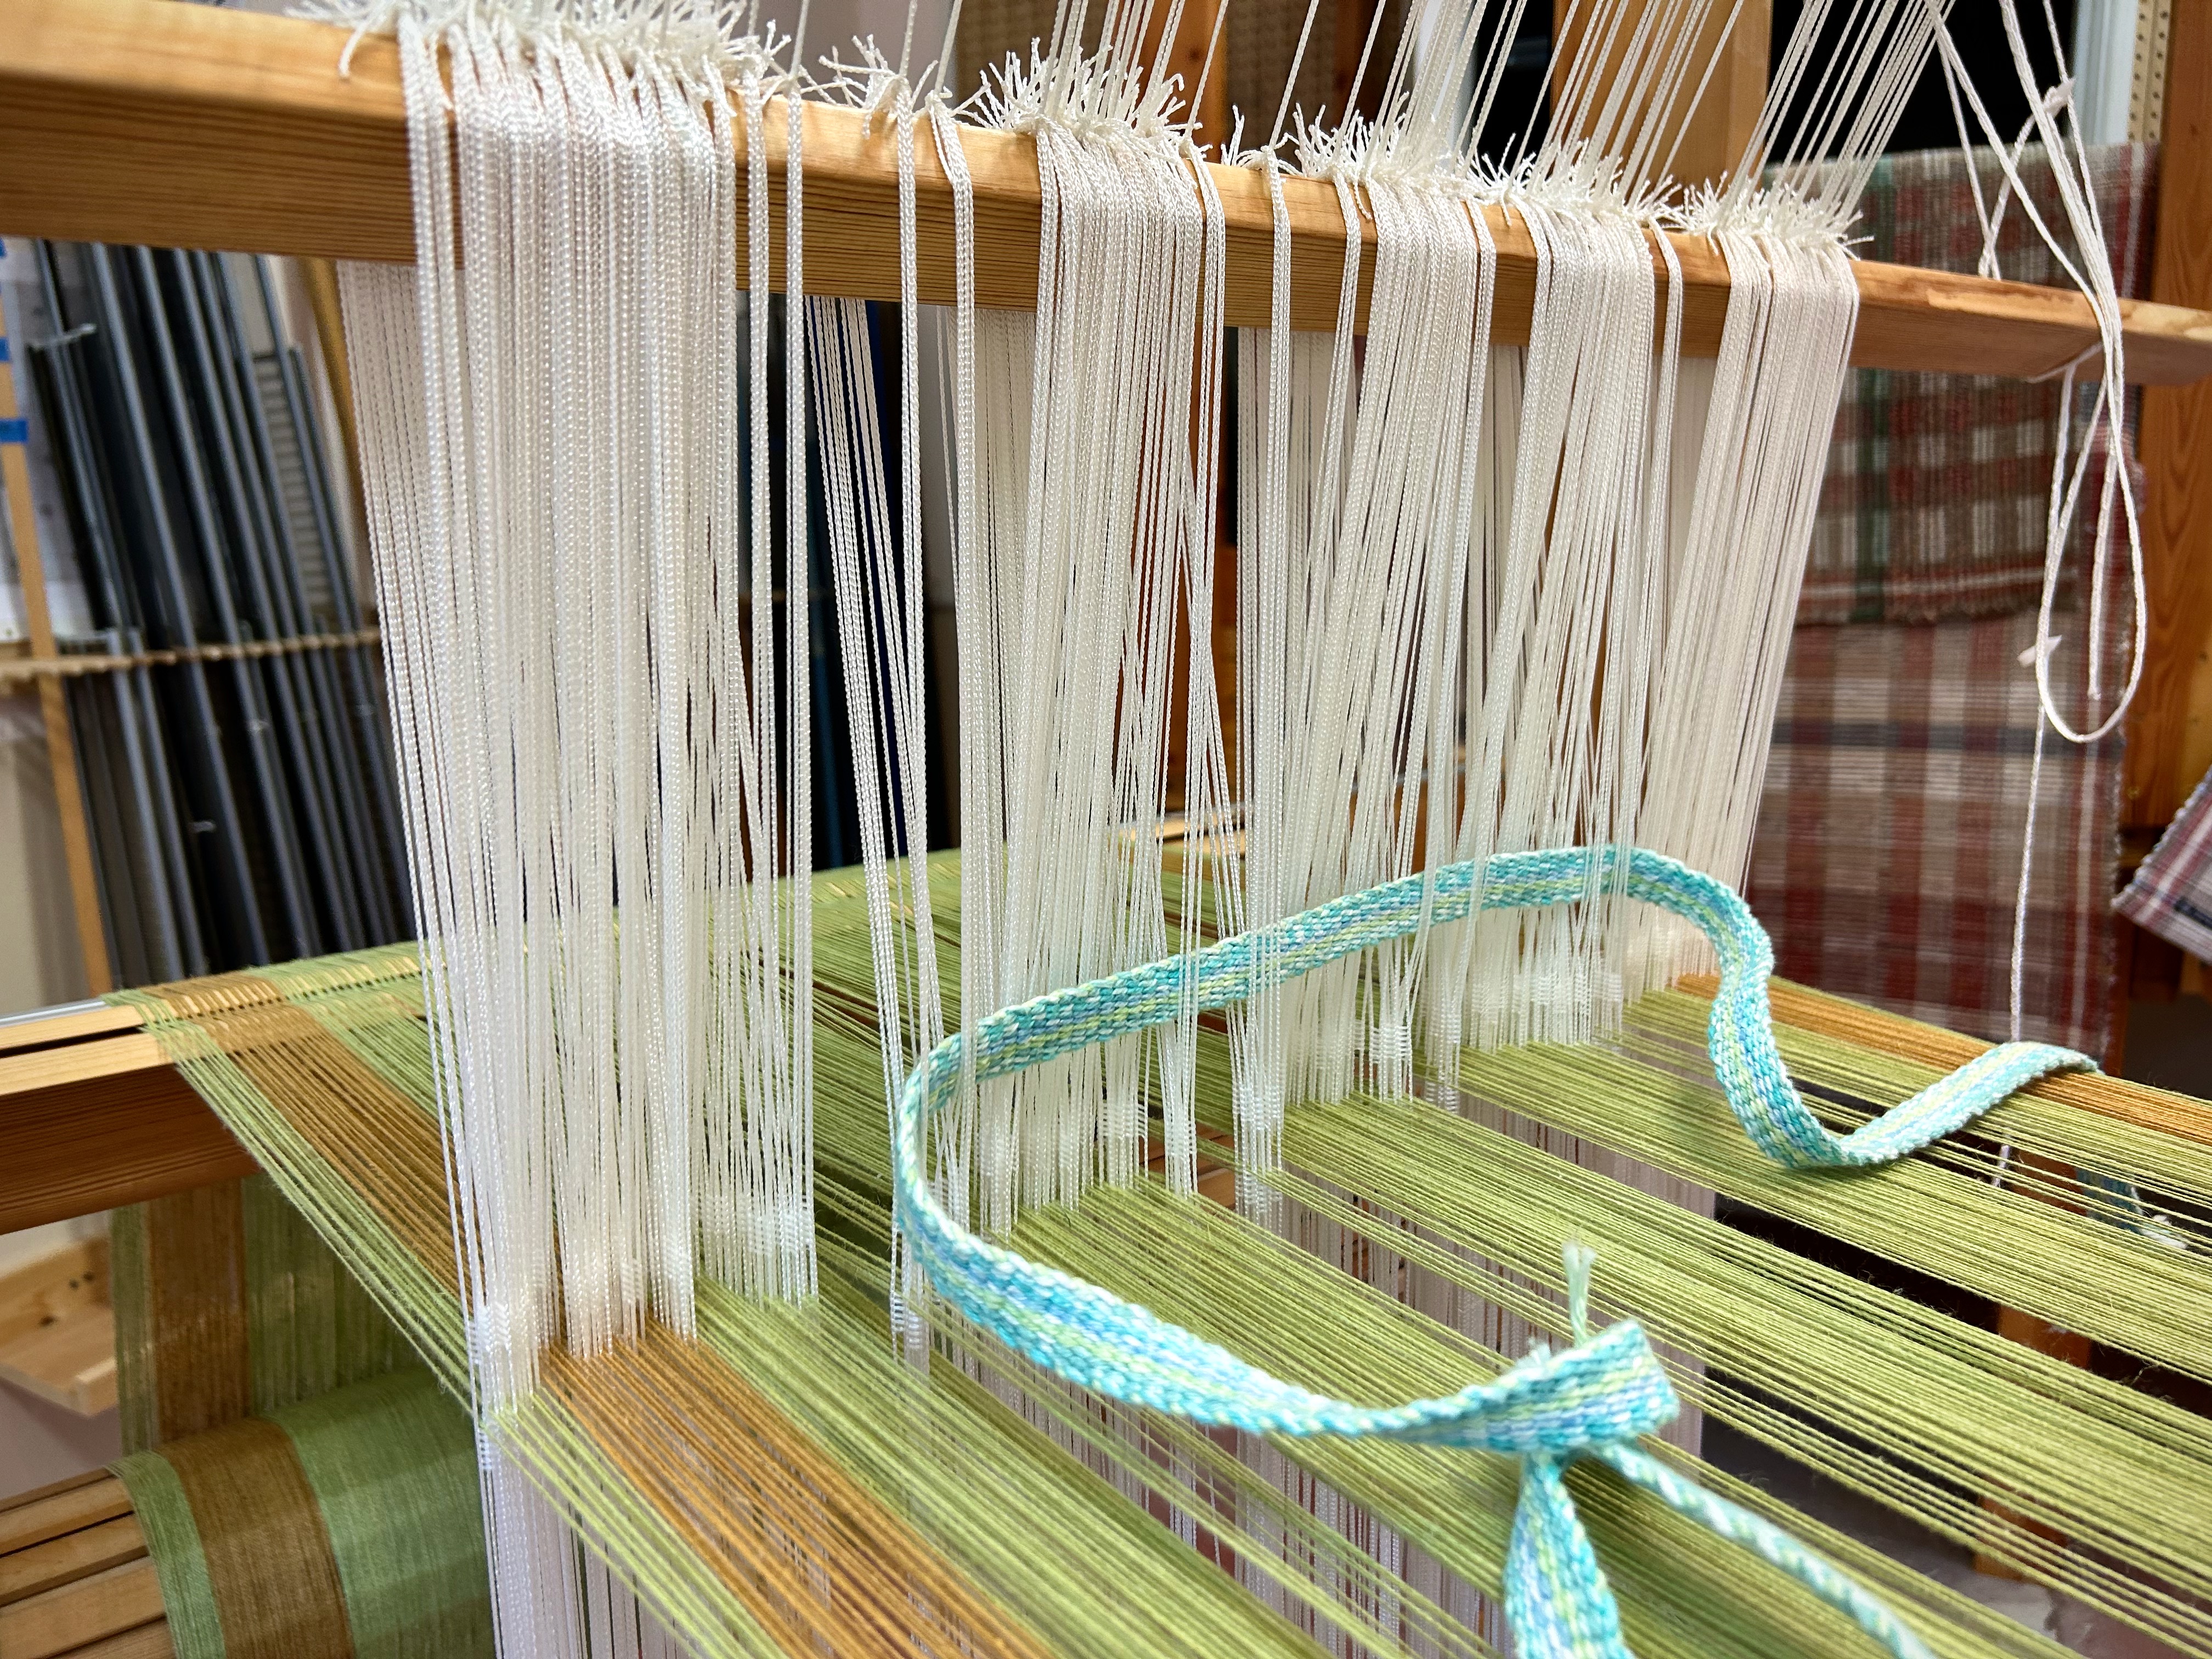
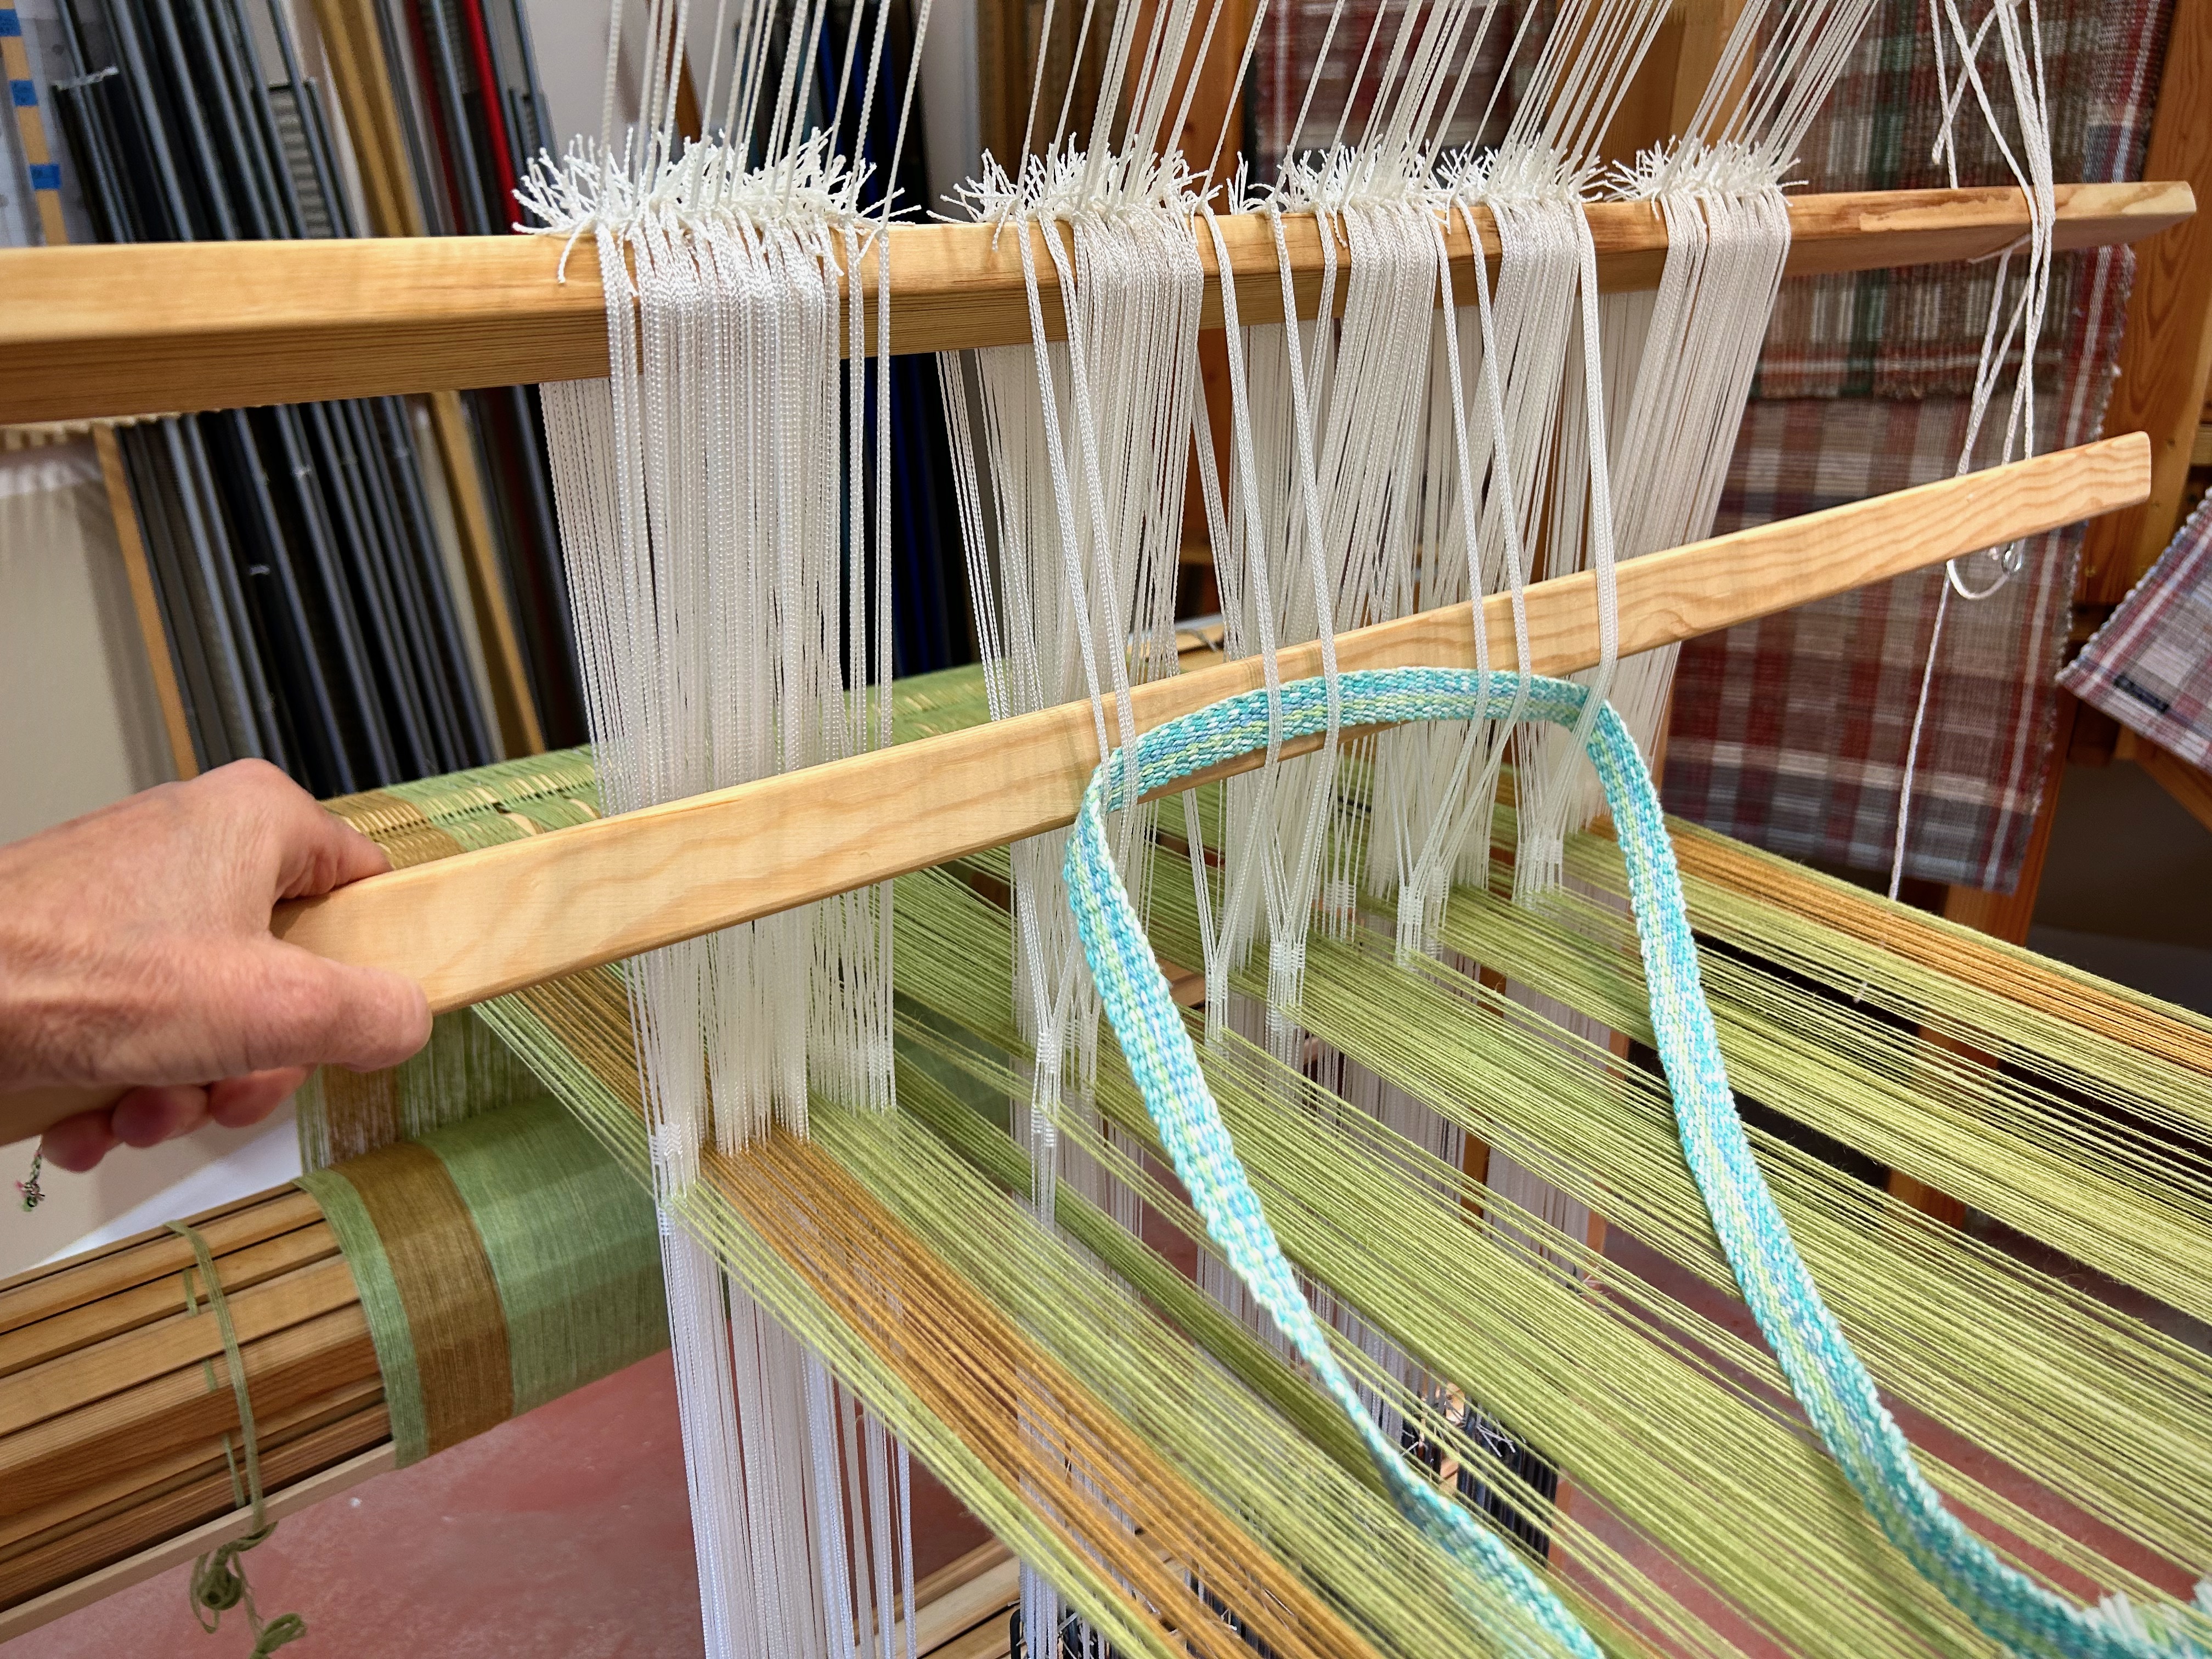
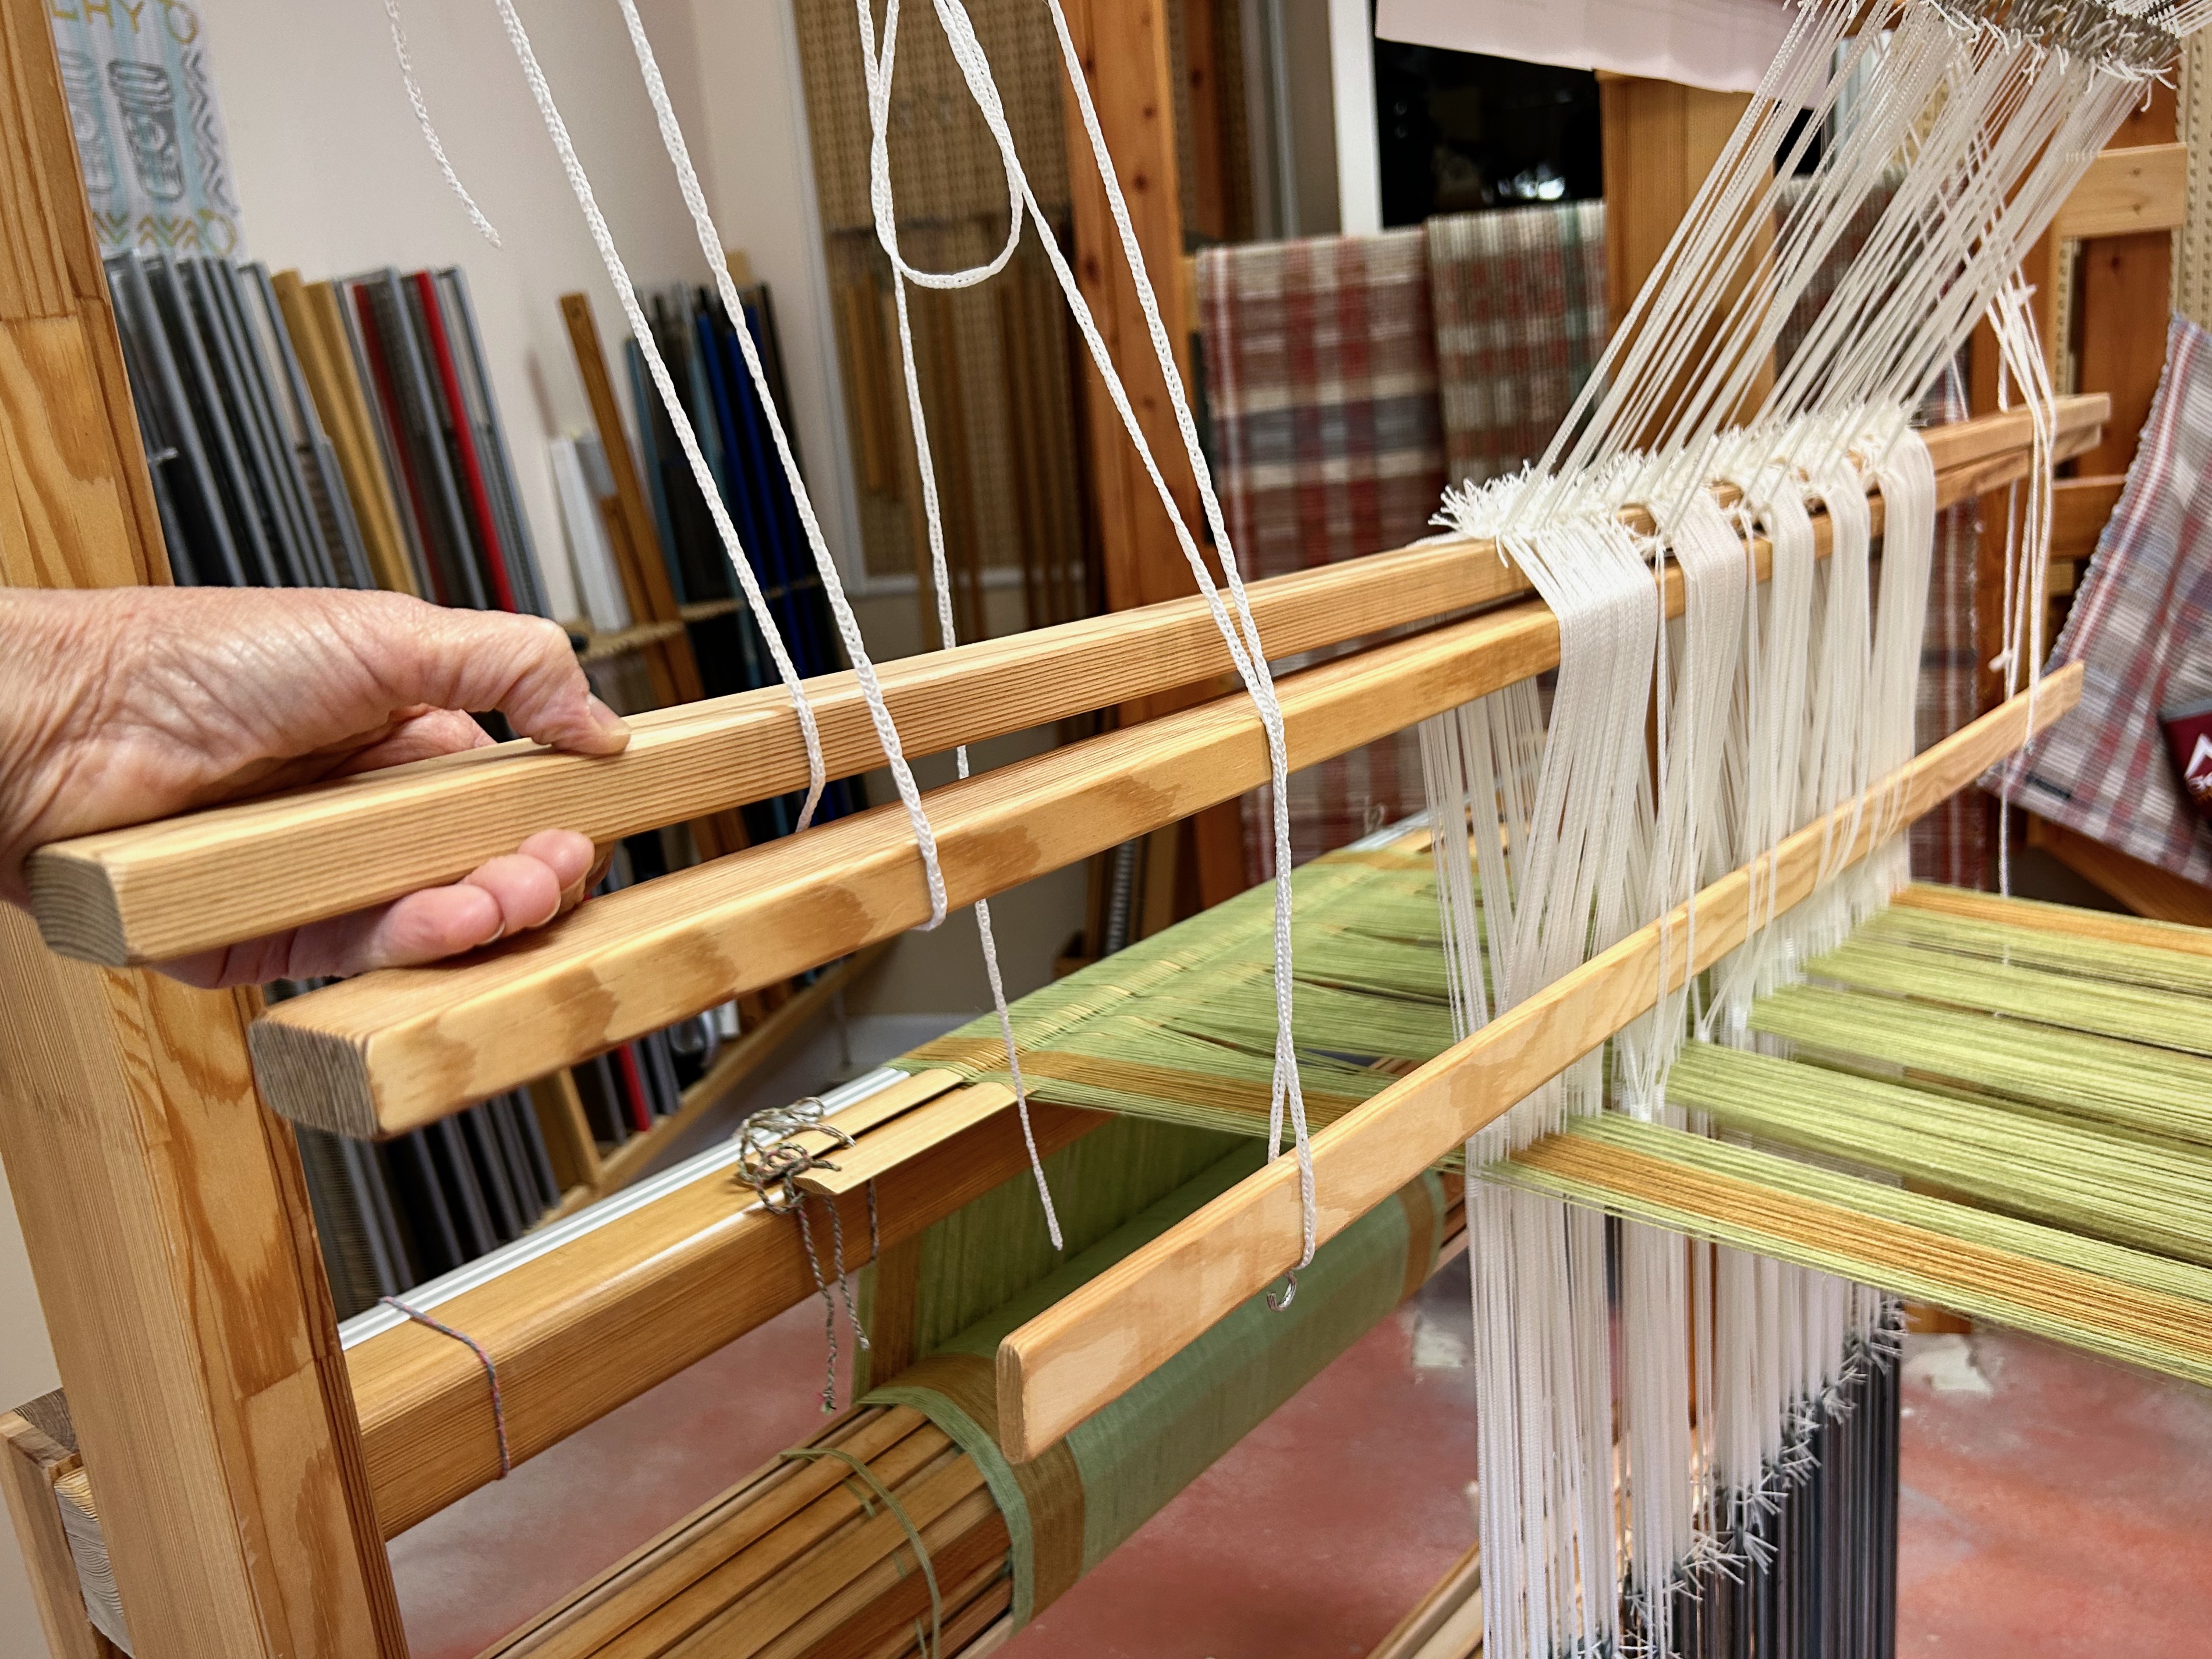
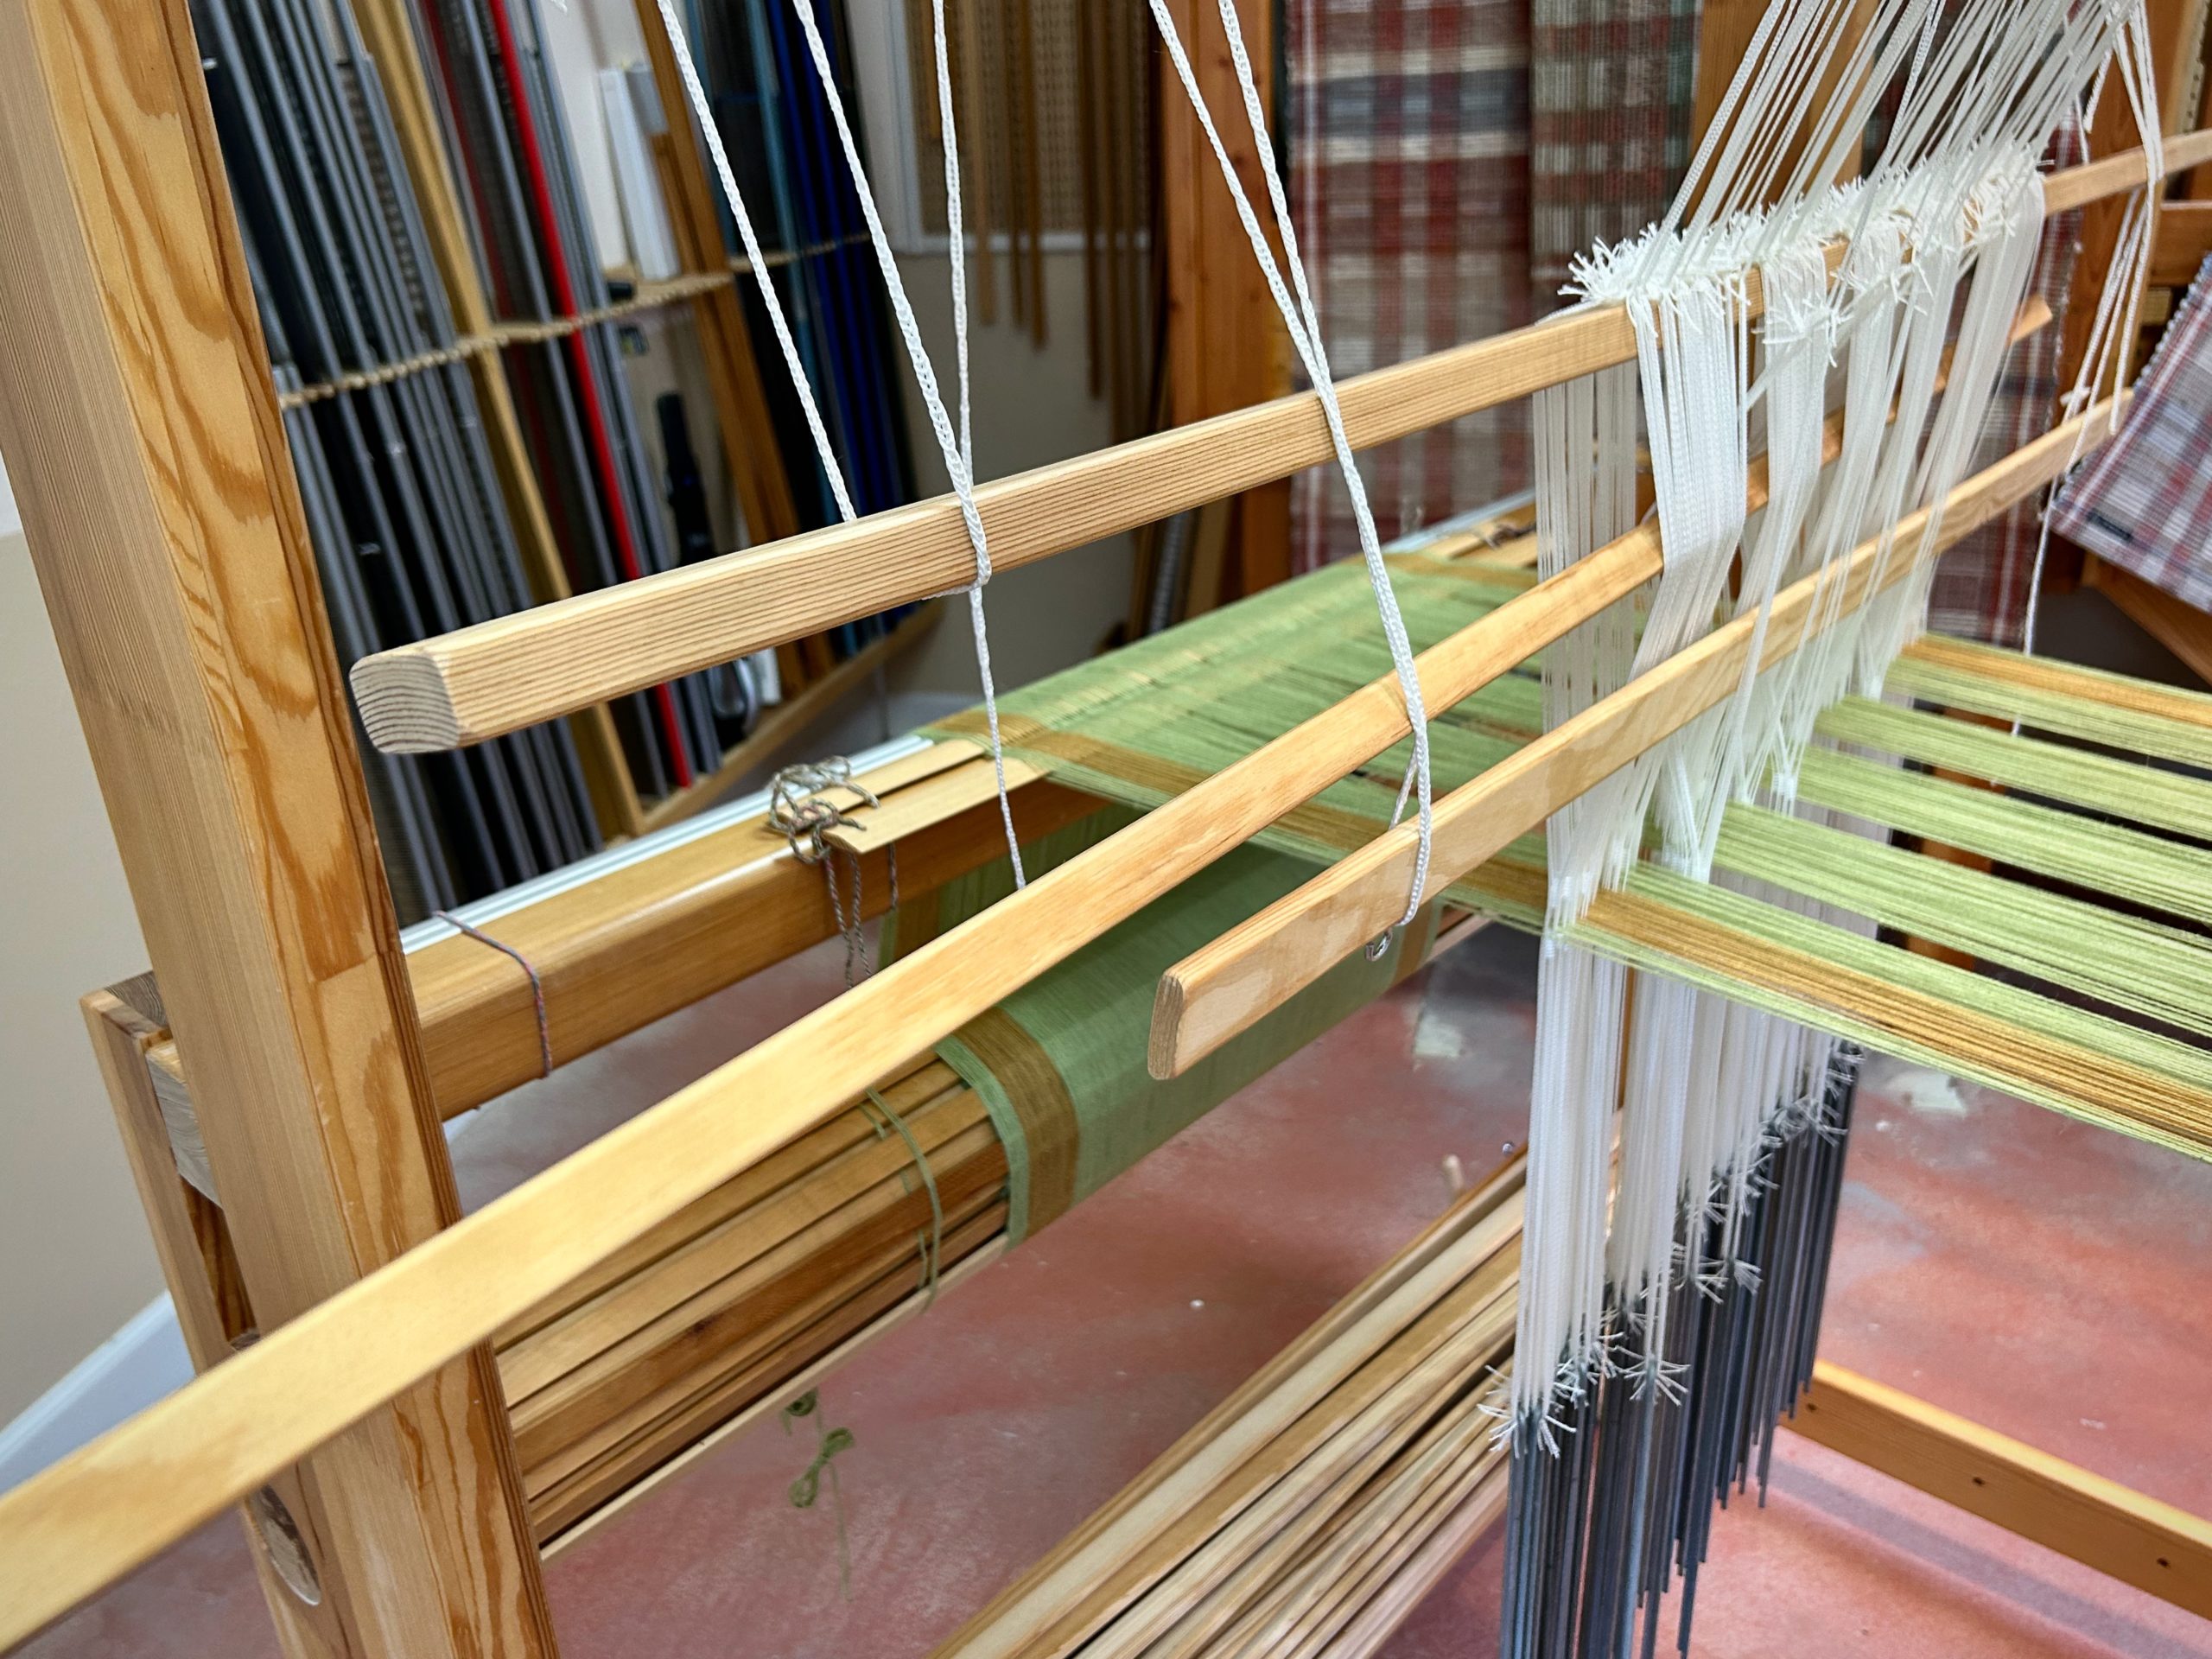
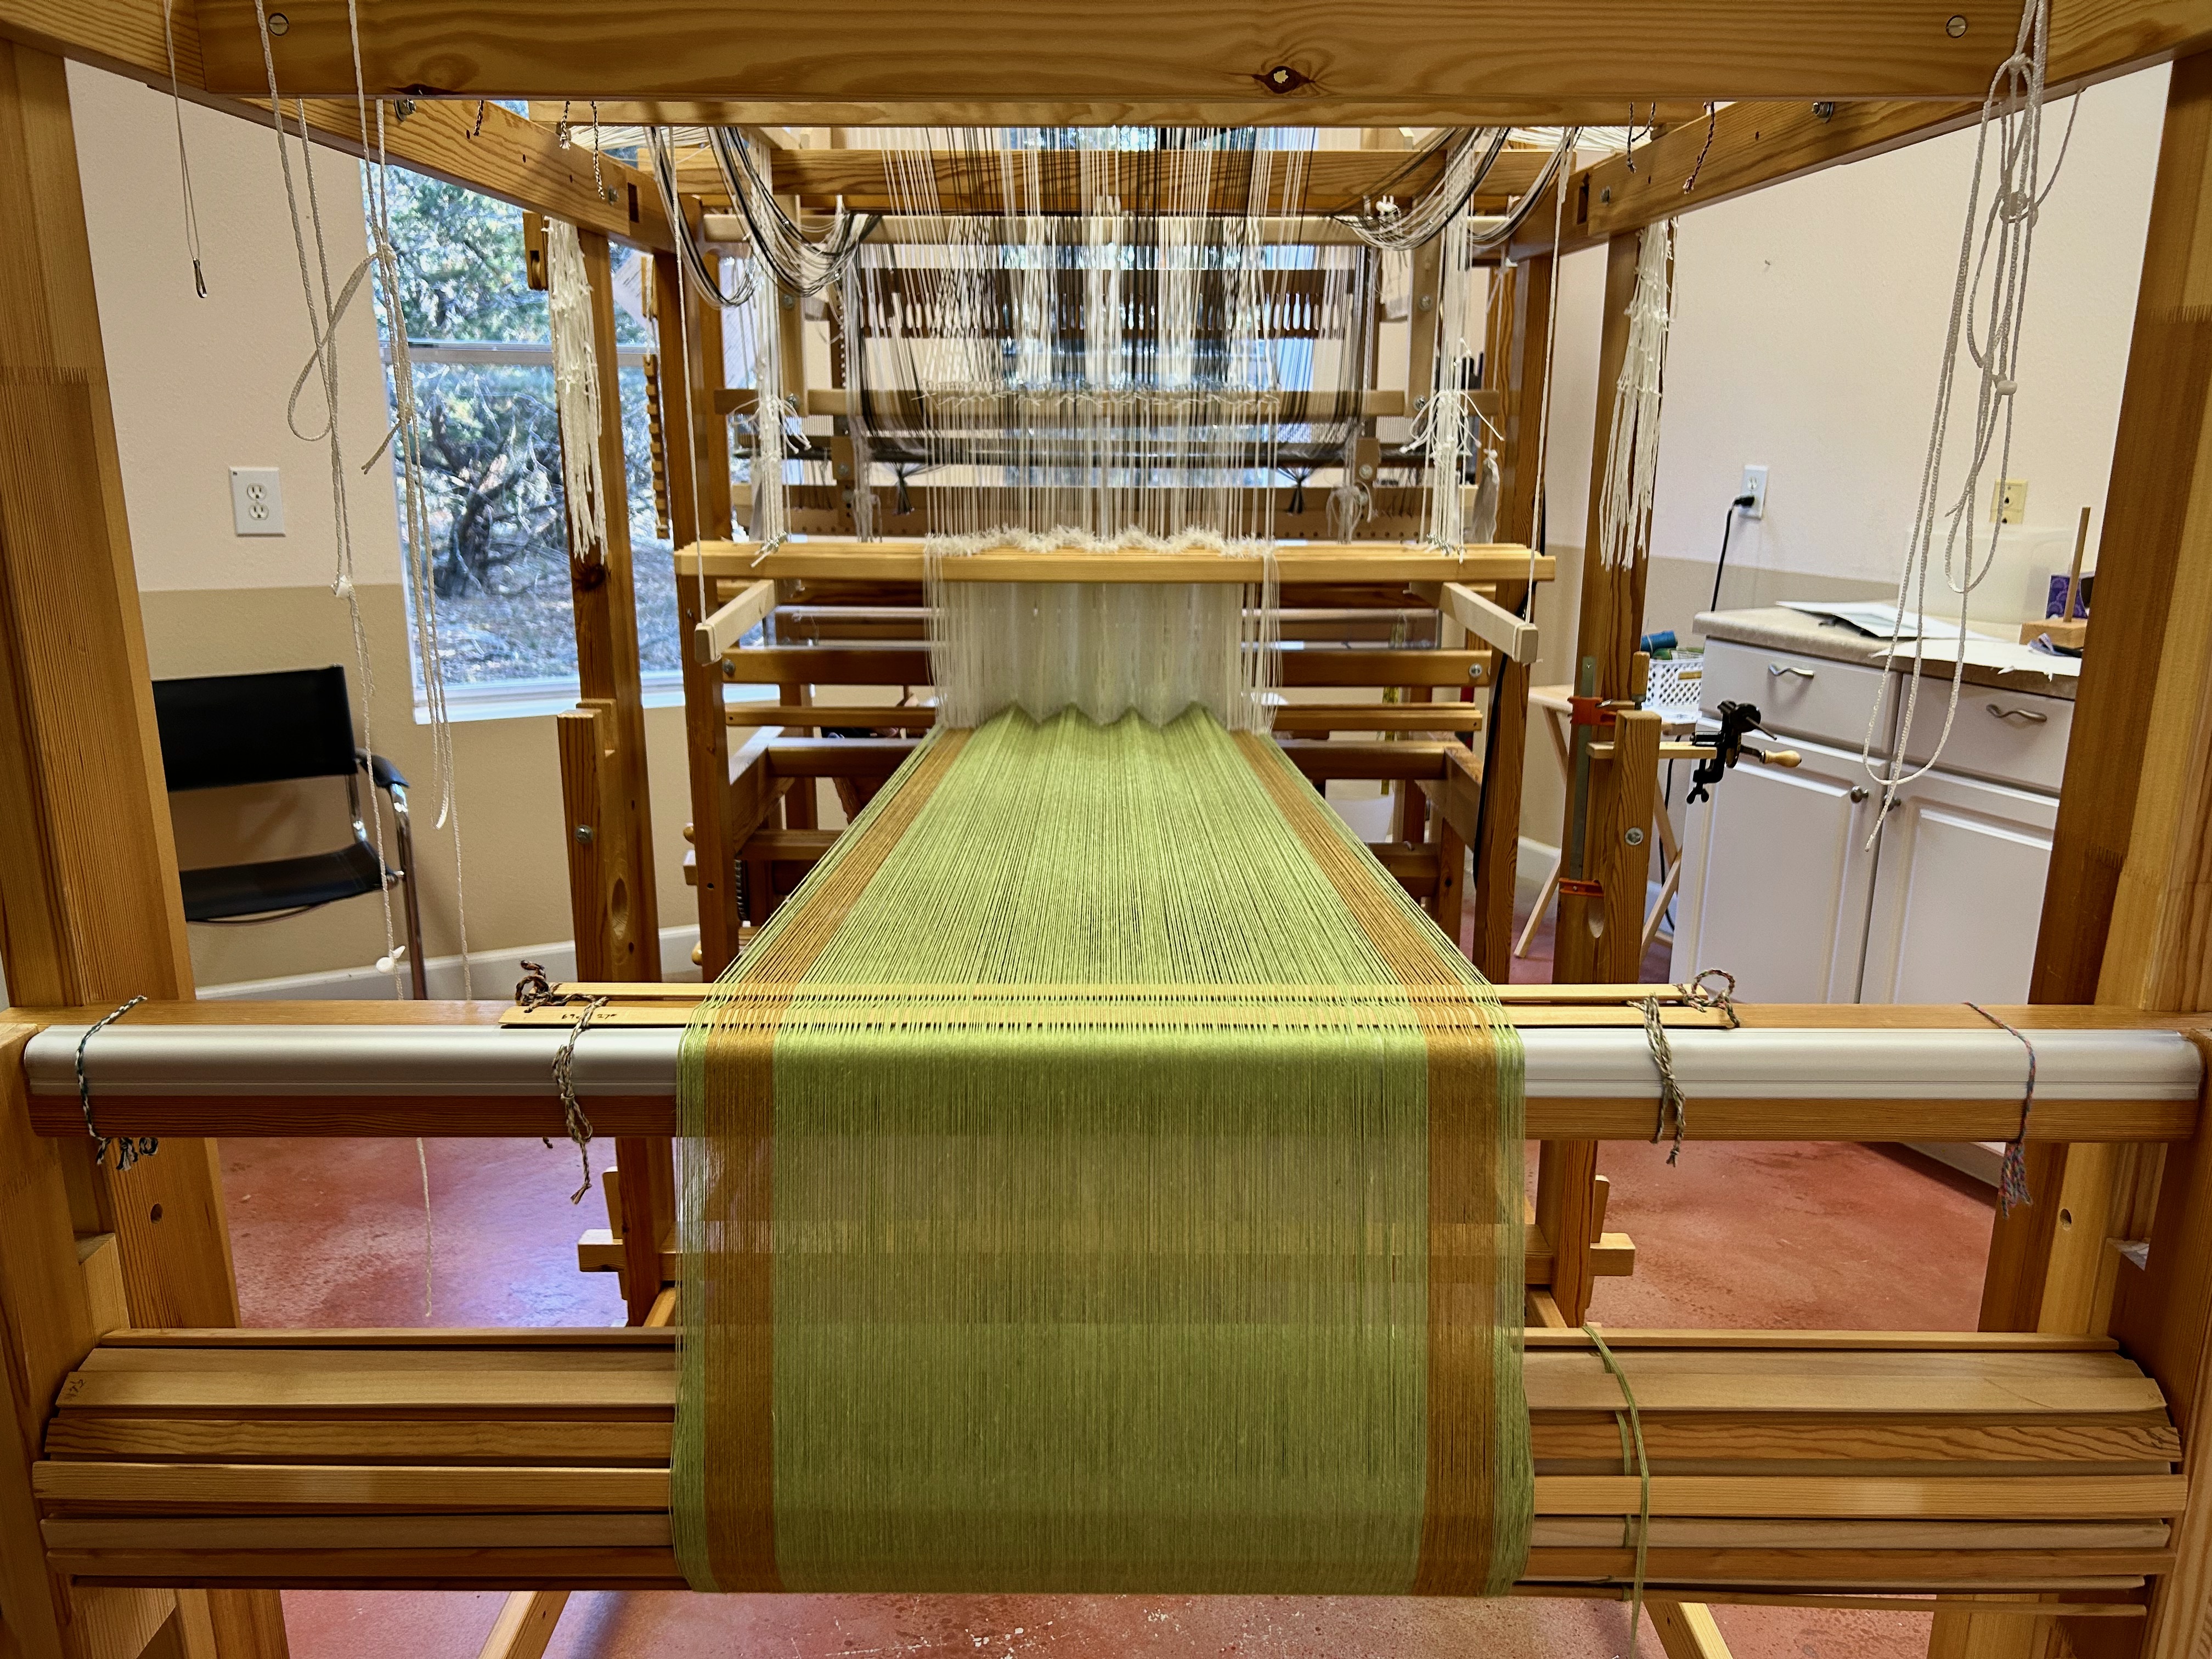
This project is going nearly full width on this 70 cm Glimåkra Julia countermarch loom. My warping slats are exactly 67 cm. (I should have measured the warping slats before I started.) At 65.7 cm weaving width I’m asking for trouble. You can see the problem, right? Those ends can slip right off the edge of the warping slats on the warp beam. I got ‘er beamed, though, with the help of a friend. Hallelujah! The warp ends all ended up in the right place at the right time.
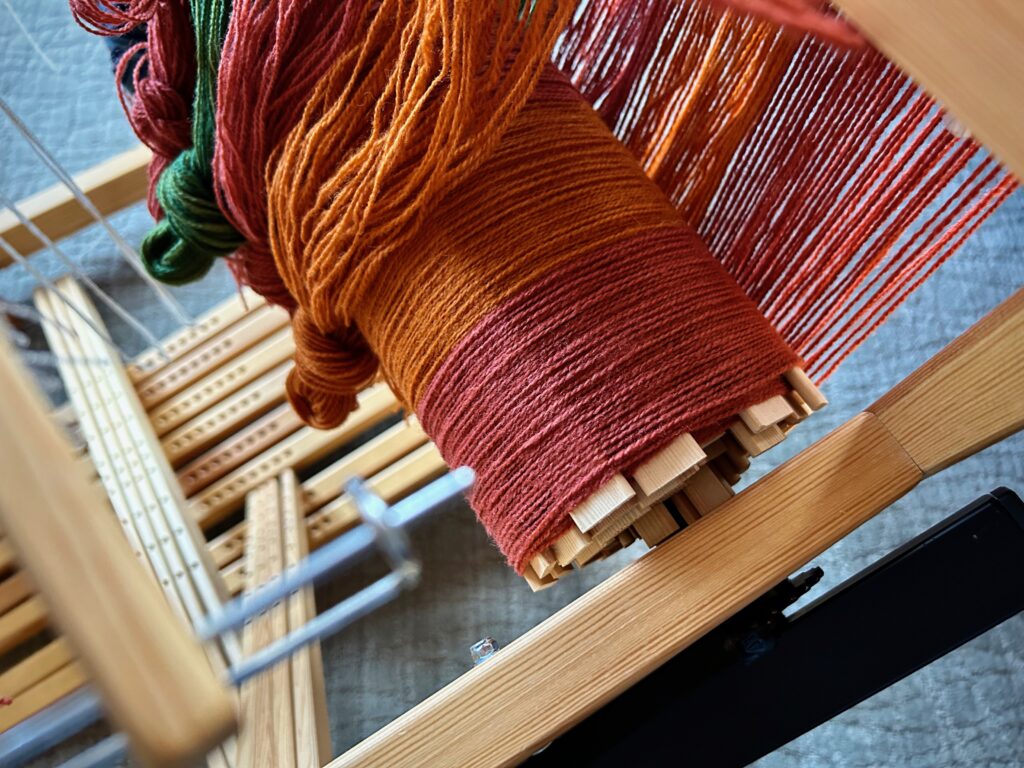
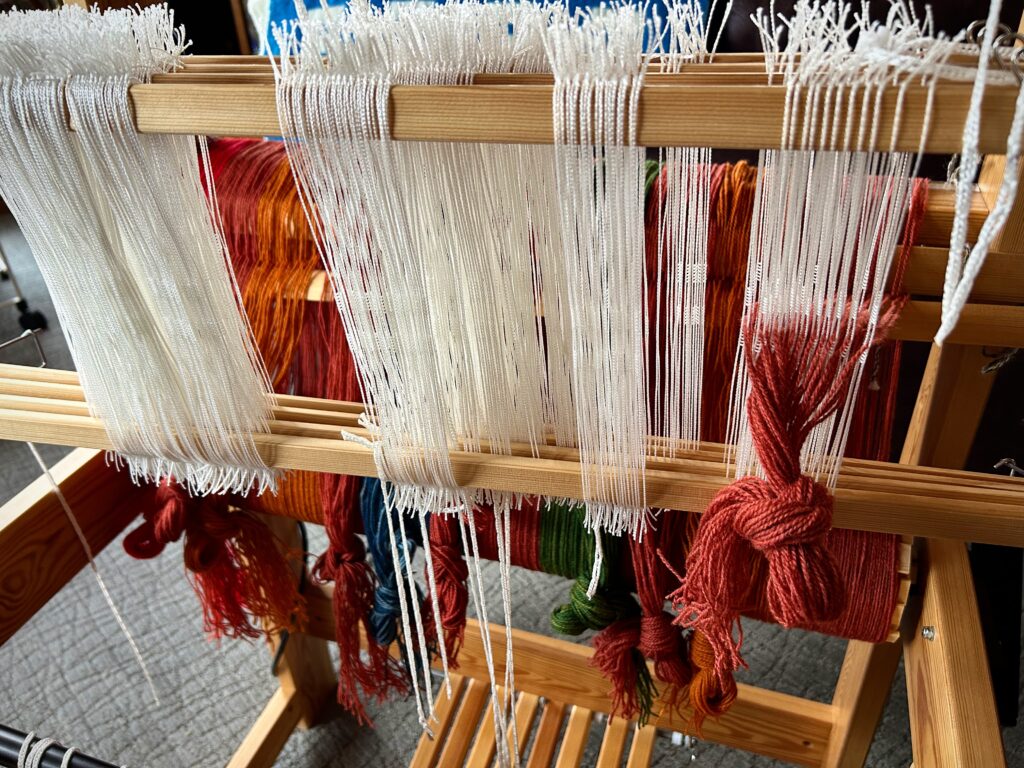
Successfully beamed, with less than a centimeter to spare on each end of the warping slats.
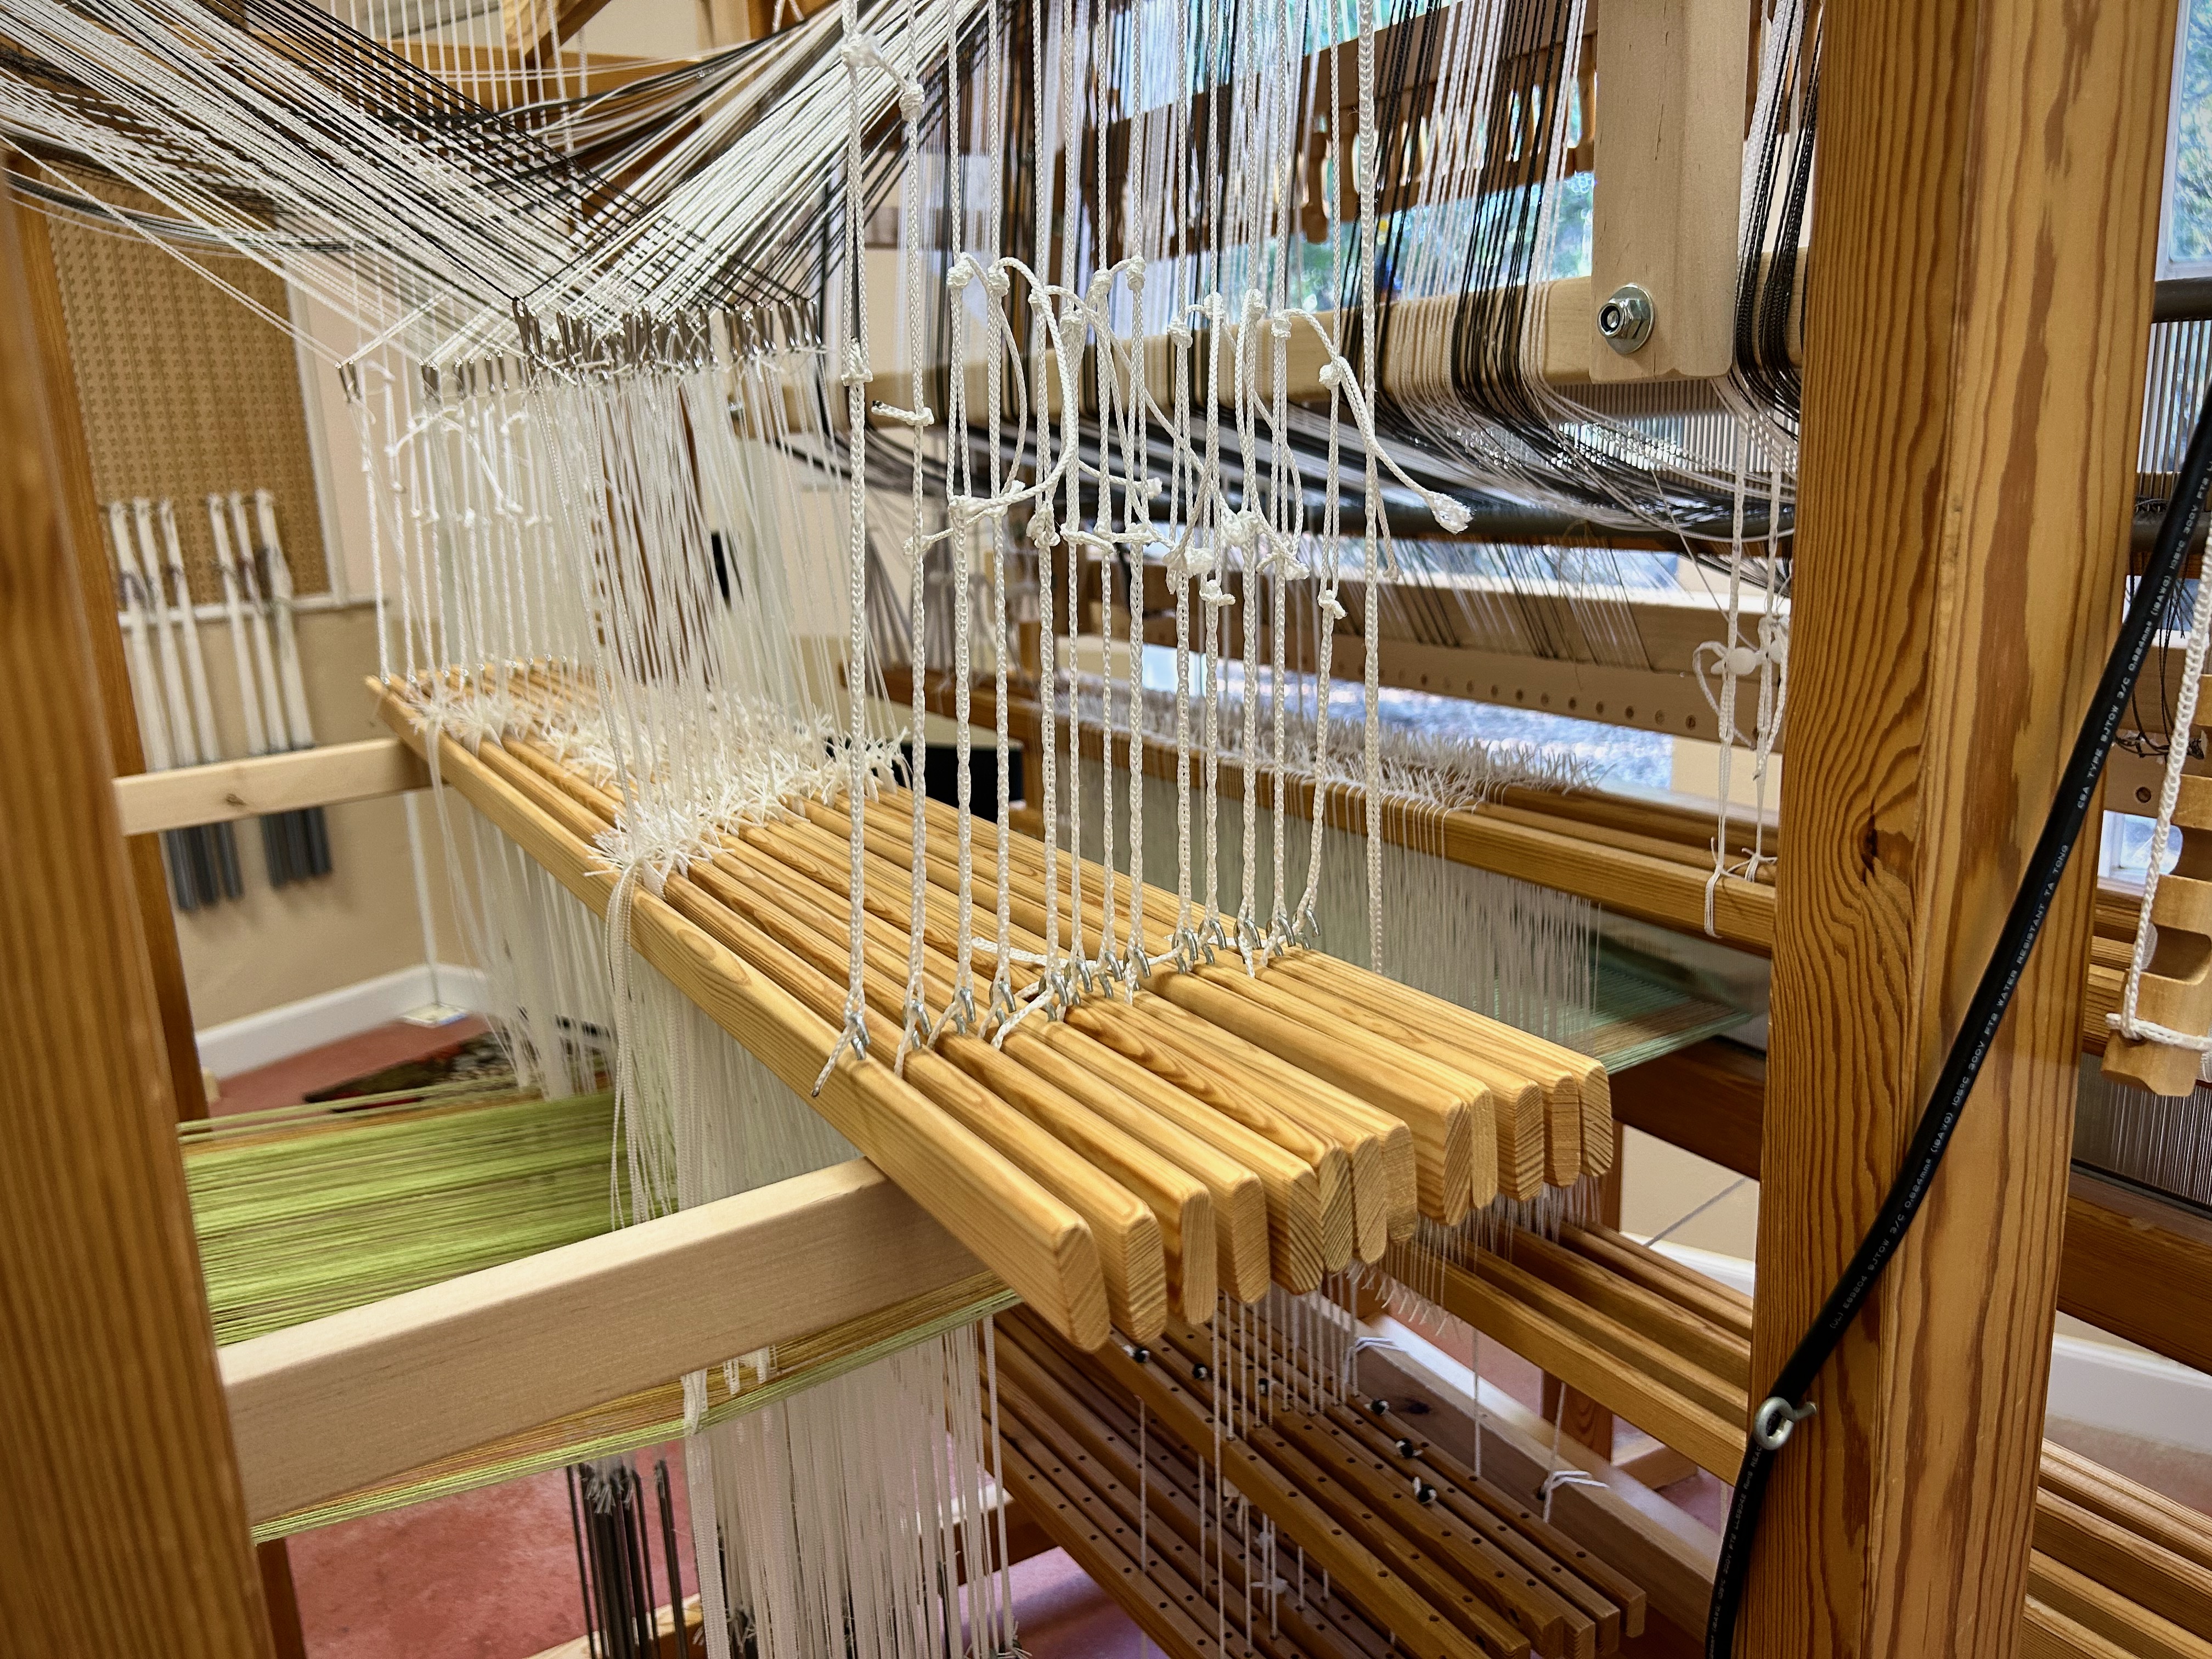
Threading the heddles is a restful, enjoyable part of dressing the loom, especially with wool this soft and squishy.

If we mortals celebrate such earthly victories, imagine the hallelujah’s that all heaven expressed when the Son of God came down to us in the right place at precisely the right time as baby Jesus. That manger in a stable in Bethlehem was not a centimeter nor a millisecond off. This was God’s plan from the beginning to come in person to bring back to himself all who would receive his offer of lasting grace. Hallelujah! The angel chorus rings out, “Glory to God in highest heaven, and peace on earth to those with whom God is pleased.”

May you see the Christmas story in a meaningful way.

Have a truly blessed Christmas,
Karen

Weaving Is Stretching Me

This warp is a triple challenge! 1. Full width (110 cm), 2. Fine threads (24/2 cotton), and 3. Unevenly-spaced narrow stripes. Three hours to wind the warp. Three hours to pre-sley and beam the warp. Seventeen hours to thread heddles, sley the reed, tie on the warp, and tie up the treadles. Why invest this much time and embrace this much difficulty?

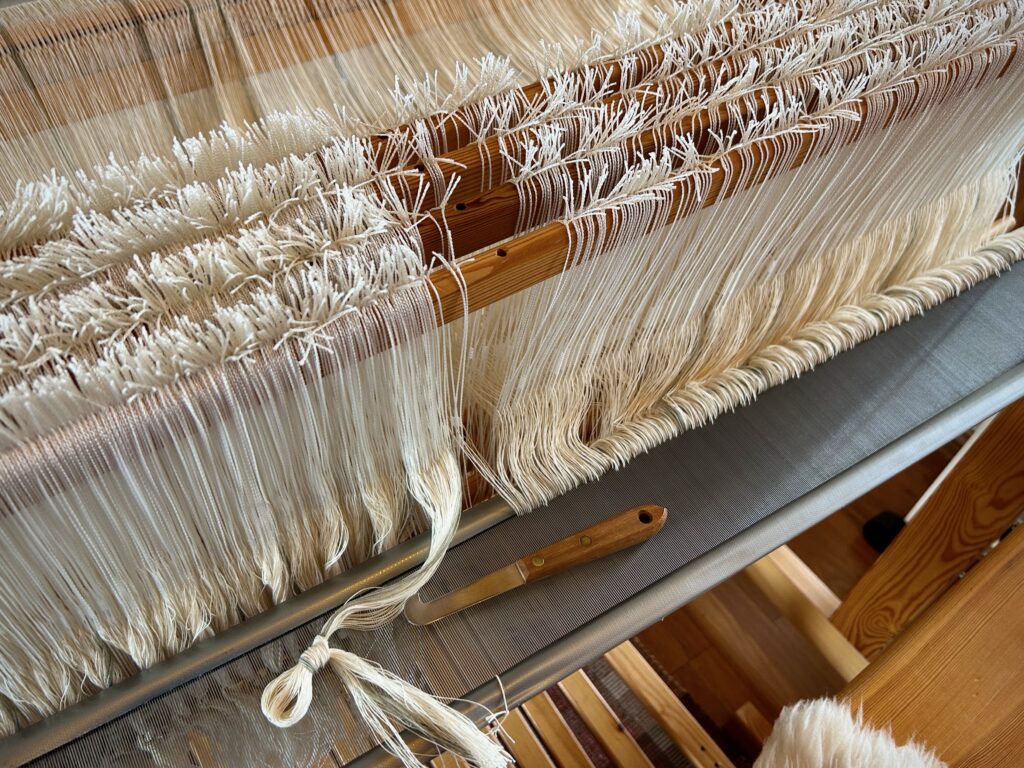
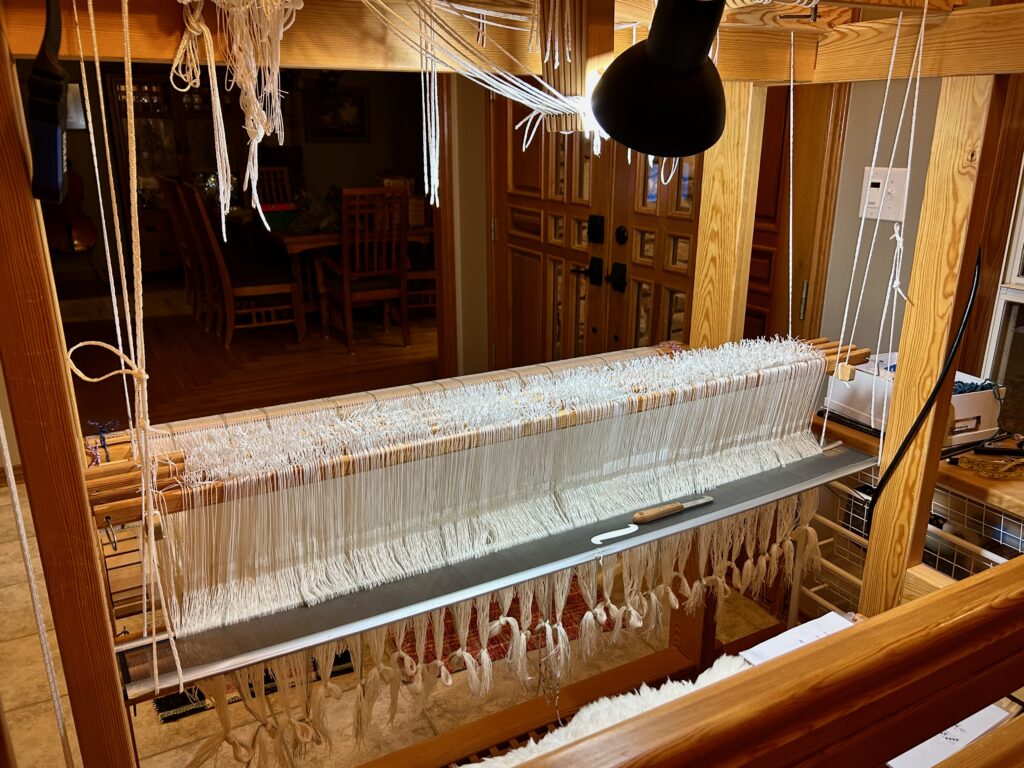
1,984 ends have been threaded in heddles, and now are being sleyed through the 90/10 reed. Careful checking and re-checking all through the processes helps prevent errors.
It is a good feeling when all the ends are finally in their places.

Why embrace this challenge? Because I see what no one else sees. I see the curtains that are specially designed for our remodeled bathroom. I understand the draft, the threads, the stripes, and everything that works together in a certain way. I see it. Though not yet visible, I could see it before I started. And so, all the challenges become part of the story, and I’m determined to keep going. I aim to finish strong.

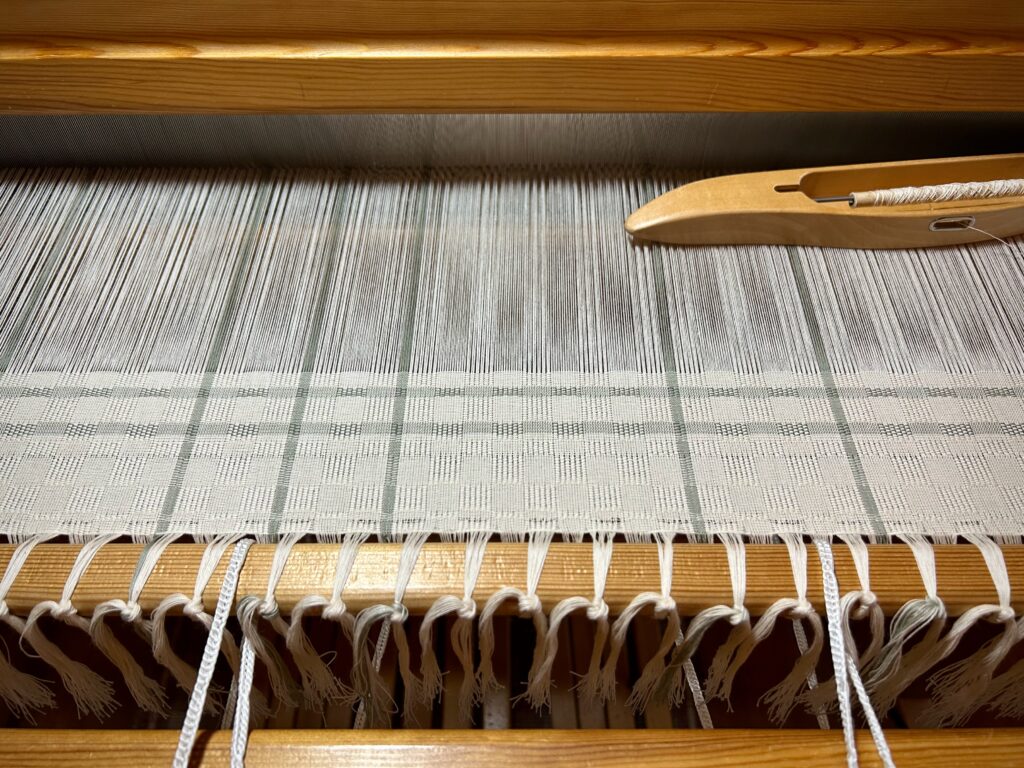
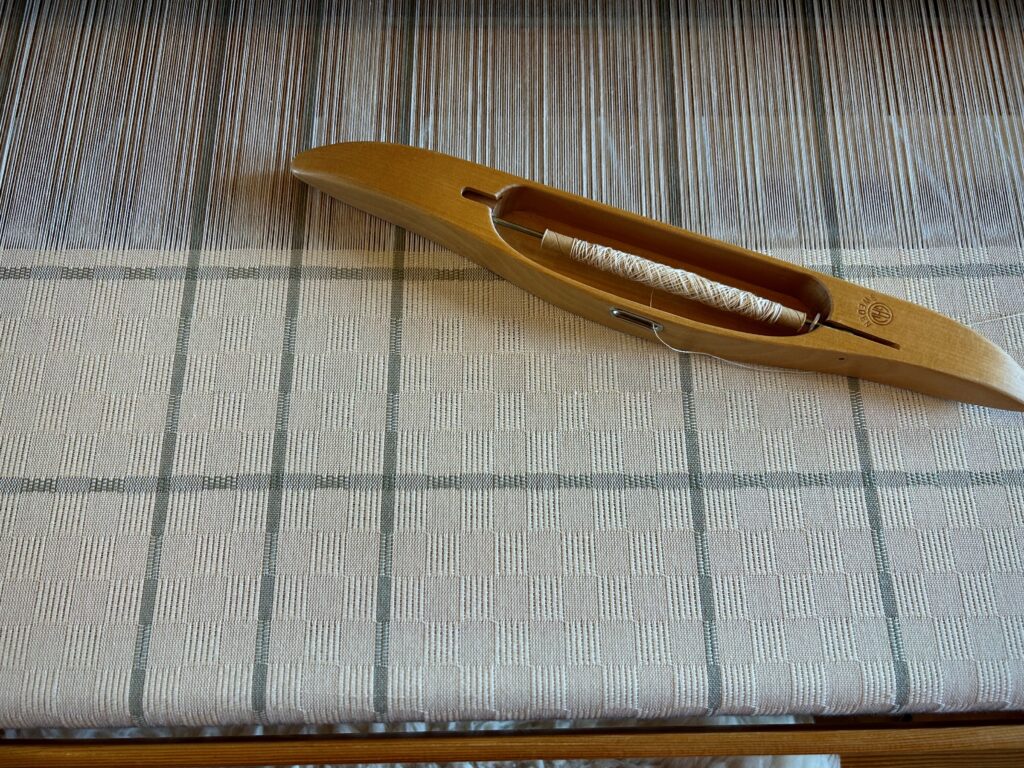
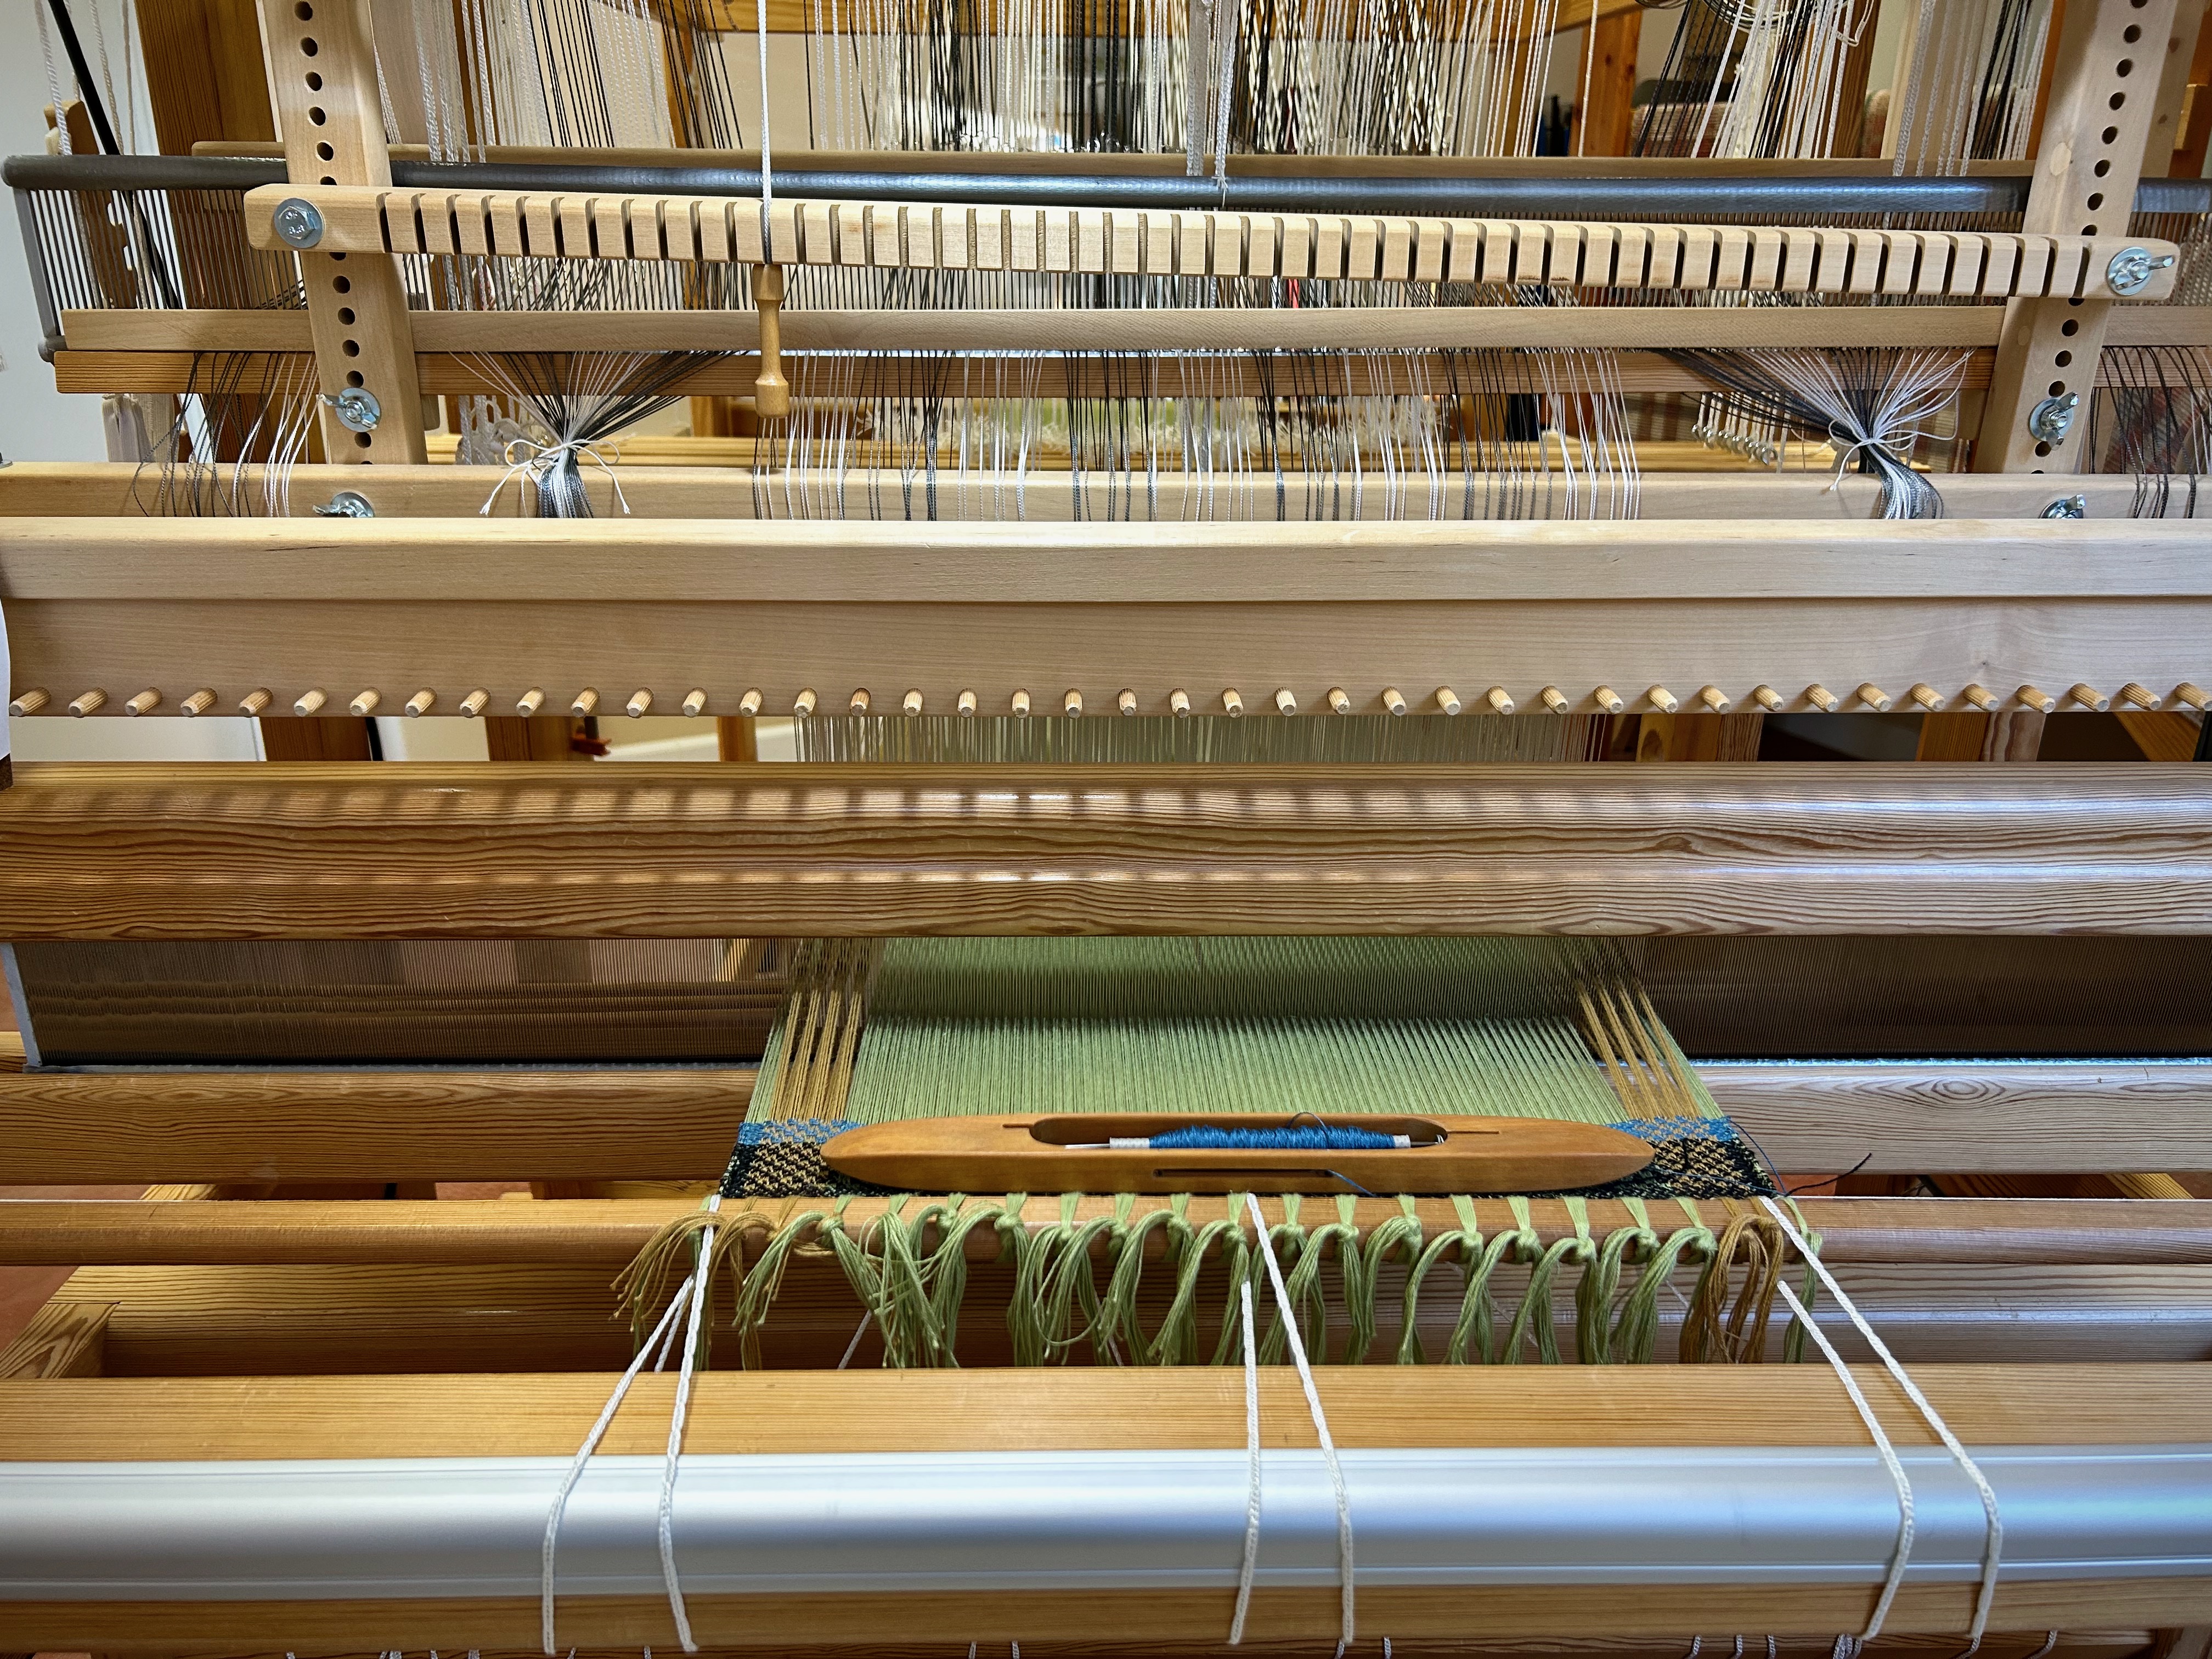
After all is set up, the first testing I do is with shuttles. Which shuttle is best for sending all the way across this wide warp? The medium Glimåkra boat shuttle that holds 11 cm quills is the winner, not the longest, largest, and heaviest shuttles.
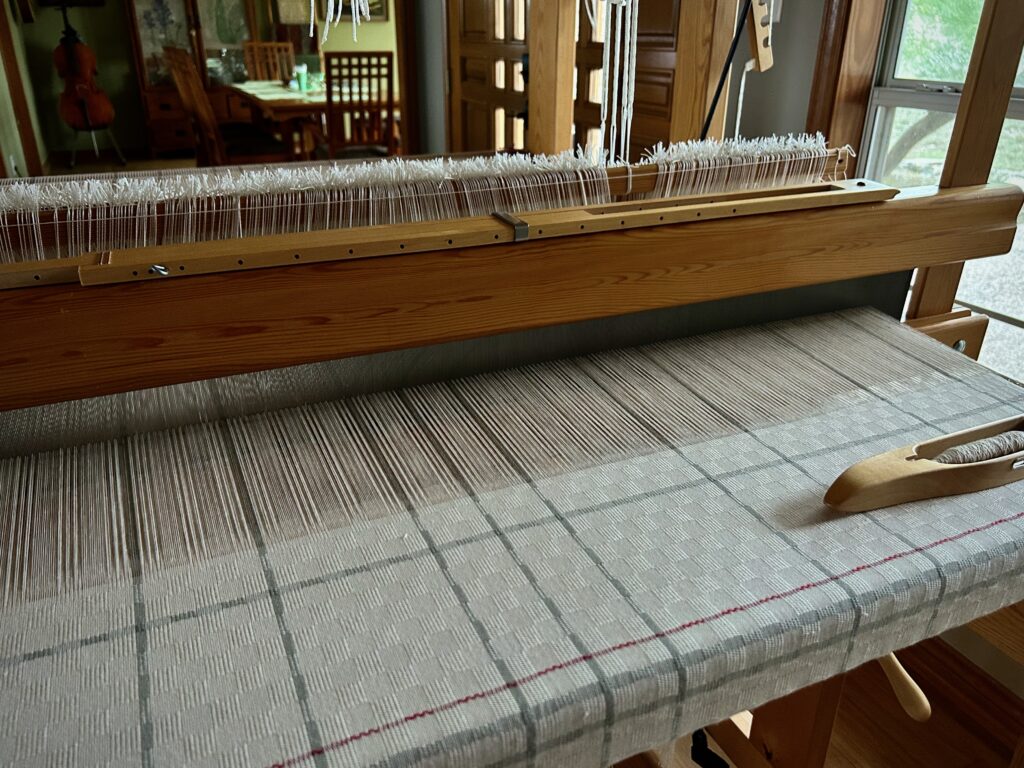
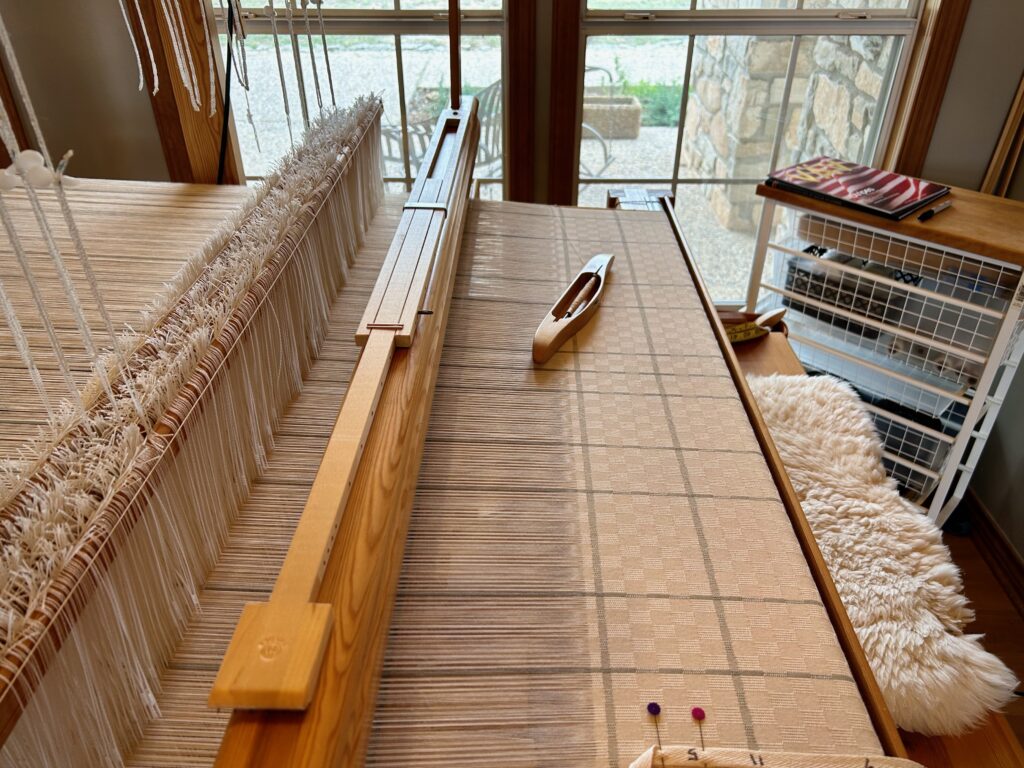
Seeing the beauty of this cloth solidifies the hope of seeing special curtains gracing our bathroom windows.
What begins as an M’s and O’s draft for kitchen towels in Väv Magazine, and expands with pictures in a Malin Selander book, and grows with my imagination, is now visible on the loom!
The two biggest challenges that remain: 1. Filling quills. It takes a while to fill a quill with this fine thread. It doesn’t take long at all to empty the quill as I weave. 2. This wide warp stretches my arms to my full arm-length reach. It’s good to be stretched! 🙂

This is a picture of faith. Faith acts on things not seen by others. Faith sees what is not yet visible. With faith in Jesus Christ, all the challenges become part of the story. We go the duration because we have a view of the finished work.

May your challenges stretch your faith in a good way.

Giving Thanks,
Karen

Dressing the Standard Looks Like a Mess

It is my husband’s idea for me to make handwoven curtains for the windows in our newly renovated master bathroom. Now that I have had time to think about it, I think it’s a great idea. Fortunately, the yellow rug warp on the Glimåkra Standard is still sitting on the loom bench, so I am putting it aside temporarily in order to put this bathroom-curtains warp on the loom.

Winding a warp of 24/2 unbleached cotton.
Looks like a mess. Pre-sley the reed to spread the warp. Two sets of lease sticks. Narrow gray stripes of 16/2 cotton are inserted between the unbleached ends. Somehow, it all works out…
All the end loops are on the back tie-on bar, and ends from two lease sticks have been transferred to one set of lease sticks. Ready to beam the warp!
Just about set to beam.
My usual two-pound weights are just right for most of the warp bouts, but I need a one-pound weight (large coffee mug) for one smaller bout, and two 1/2-pound weights (tube of thread in a small bag) for the small bouts of gray warp ends. Whew! Is it all going to work??
Now…everything is ready!
It’s working. Just look at that beautiful warp!

I have 1,984 ends to thread and sley. Then, I will be weaving almost full width! It’s exciting!

May you gain order out of a mess.

Happy Weaving,

Karen

Bright Yellow Rug Warp?

Finally, one bright yellow tube of rug warp is coming off the shelf! Bright yellow is subdued by pairing it with tan, making a creamy neutral warp for my next set of rag rugs. I bought the tube of yellow 12/6 cotton for half price on a clearance sale a few years ago. What was I thinking? I haven’t used yellow in a rug warp before, but it looks like this is going to work.

Winding a warp on the warping reel is my kind of fun. This warp chain is ready to take to the loom.
Warp is brought to the loom in three bouts. This series of rag rugs will be an exploration of Jamtlandsdräll.

Keep an ongoing conversation with the Lord. Sometimes it takes a while for us to understand the direction he has for us. It’s like looking at that yellow tube of thread, until finally you gain the courage to take it off the shelf. Right then, you notice the tan thread. The answer has been there all along.

May you enjoy a good long conversation.

With you,
Karen

Check for Accuracy Now or Backtrack Later

It pays to check your work. I have reached a new level of experience in distributing patterns shafts. I know how to do it backwards and forwards now. Literally. Unfortunately, I moved almost all of the pattern shafts before noticing that the spacing between units is not quite right. Uh oh! So, one by one, I reversed the distribution of pattern shafts to get back to the point of error—the very beginning. The reverse move was …more complicated.

Distribution of pattern shafts is part of the setup for the drawloom. It is a multi-step process that moves the pattern shafts, one at a time, from the heddle bar at the back of the loom to the pattern shaft holders just behind the ground shafts at the front of the loom. Sound complicated? It’s not that hard, and is fun to do after you’ve done it a few times.

Lesson learned: Check my work. I am off by only one unit of threads. That small miss, however, is enough to sabotage the whole project if not corrected. The sooner I check my work against the master plan the better. Fortunately, everything at the loom is fixable. It’s never too late to start again.

First, I use an old inkle band to slip between heddles that I am separating to transfer to a pattern shaft. Because I am using a combination of pattern shafts AND single units, I separate the heddles on the “front” side. If I were usining only pattern shafts and no single units, I could separate the heddles from the back while standing behind the loom.
I insert a pattern shaft through the separated pattern heddles. Then I remove the inkle band and hang it around my neck, ready for the next transfer.
I slip the waiting heddle bar through the pattern shafts that have not been separated…
…and remove the first heddle bar. This releases the separated pattern heddles onto the pattern shaft, which is hanging in a pair of holding cords. From here, the pattern shaft is moved forward to the pattern shaft holders. (I also adjust the clip overhead that connects the thread unit to a single unit draw cord.)
After backtracking and starting over, I now diligently check the number and spacing of units on the heddle bar after every pattern shaft is moved into position. Success!
Twelve pattern shafts, plus one X shaft. This project uses pattern shafts for the borders only – top, bottom, and sides. The rest of the pattern areas will use single-unit designs.

The sooner I check my life against God’s master plan the better. Fortunately, everything is forgivable. It’s never too late to start again.

All set and ready to go! Everything works. After a bit more testing of weft colors and patterns, it’s critter time. Watch for Mr. Armadillo first!

May you check for accuracy sooner than later.

Be blessed,
Karen