Process Review: Priceless Monksbelt and Video

Talk about exciting! When something has been on the loom this long it is indeed exciting when the back tie-on bar comes over the back beam. I finish weaving the final “bonus” towel. And then, I use up all the quills to make a little piece of scrap fabric (because scrap fabric is always better than leftover quills). And then! Then, I start my cutting-off checklist.

After all this time, the moment we’ve been waiting for is here!
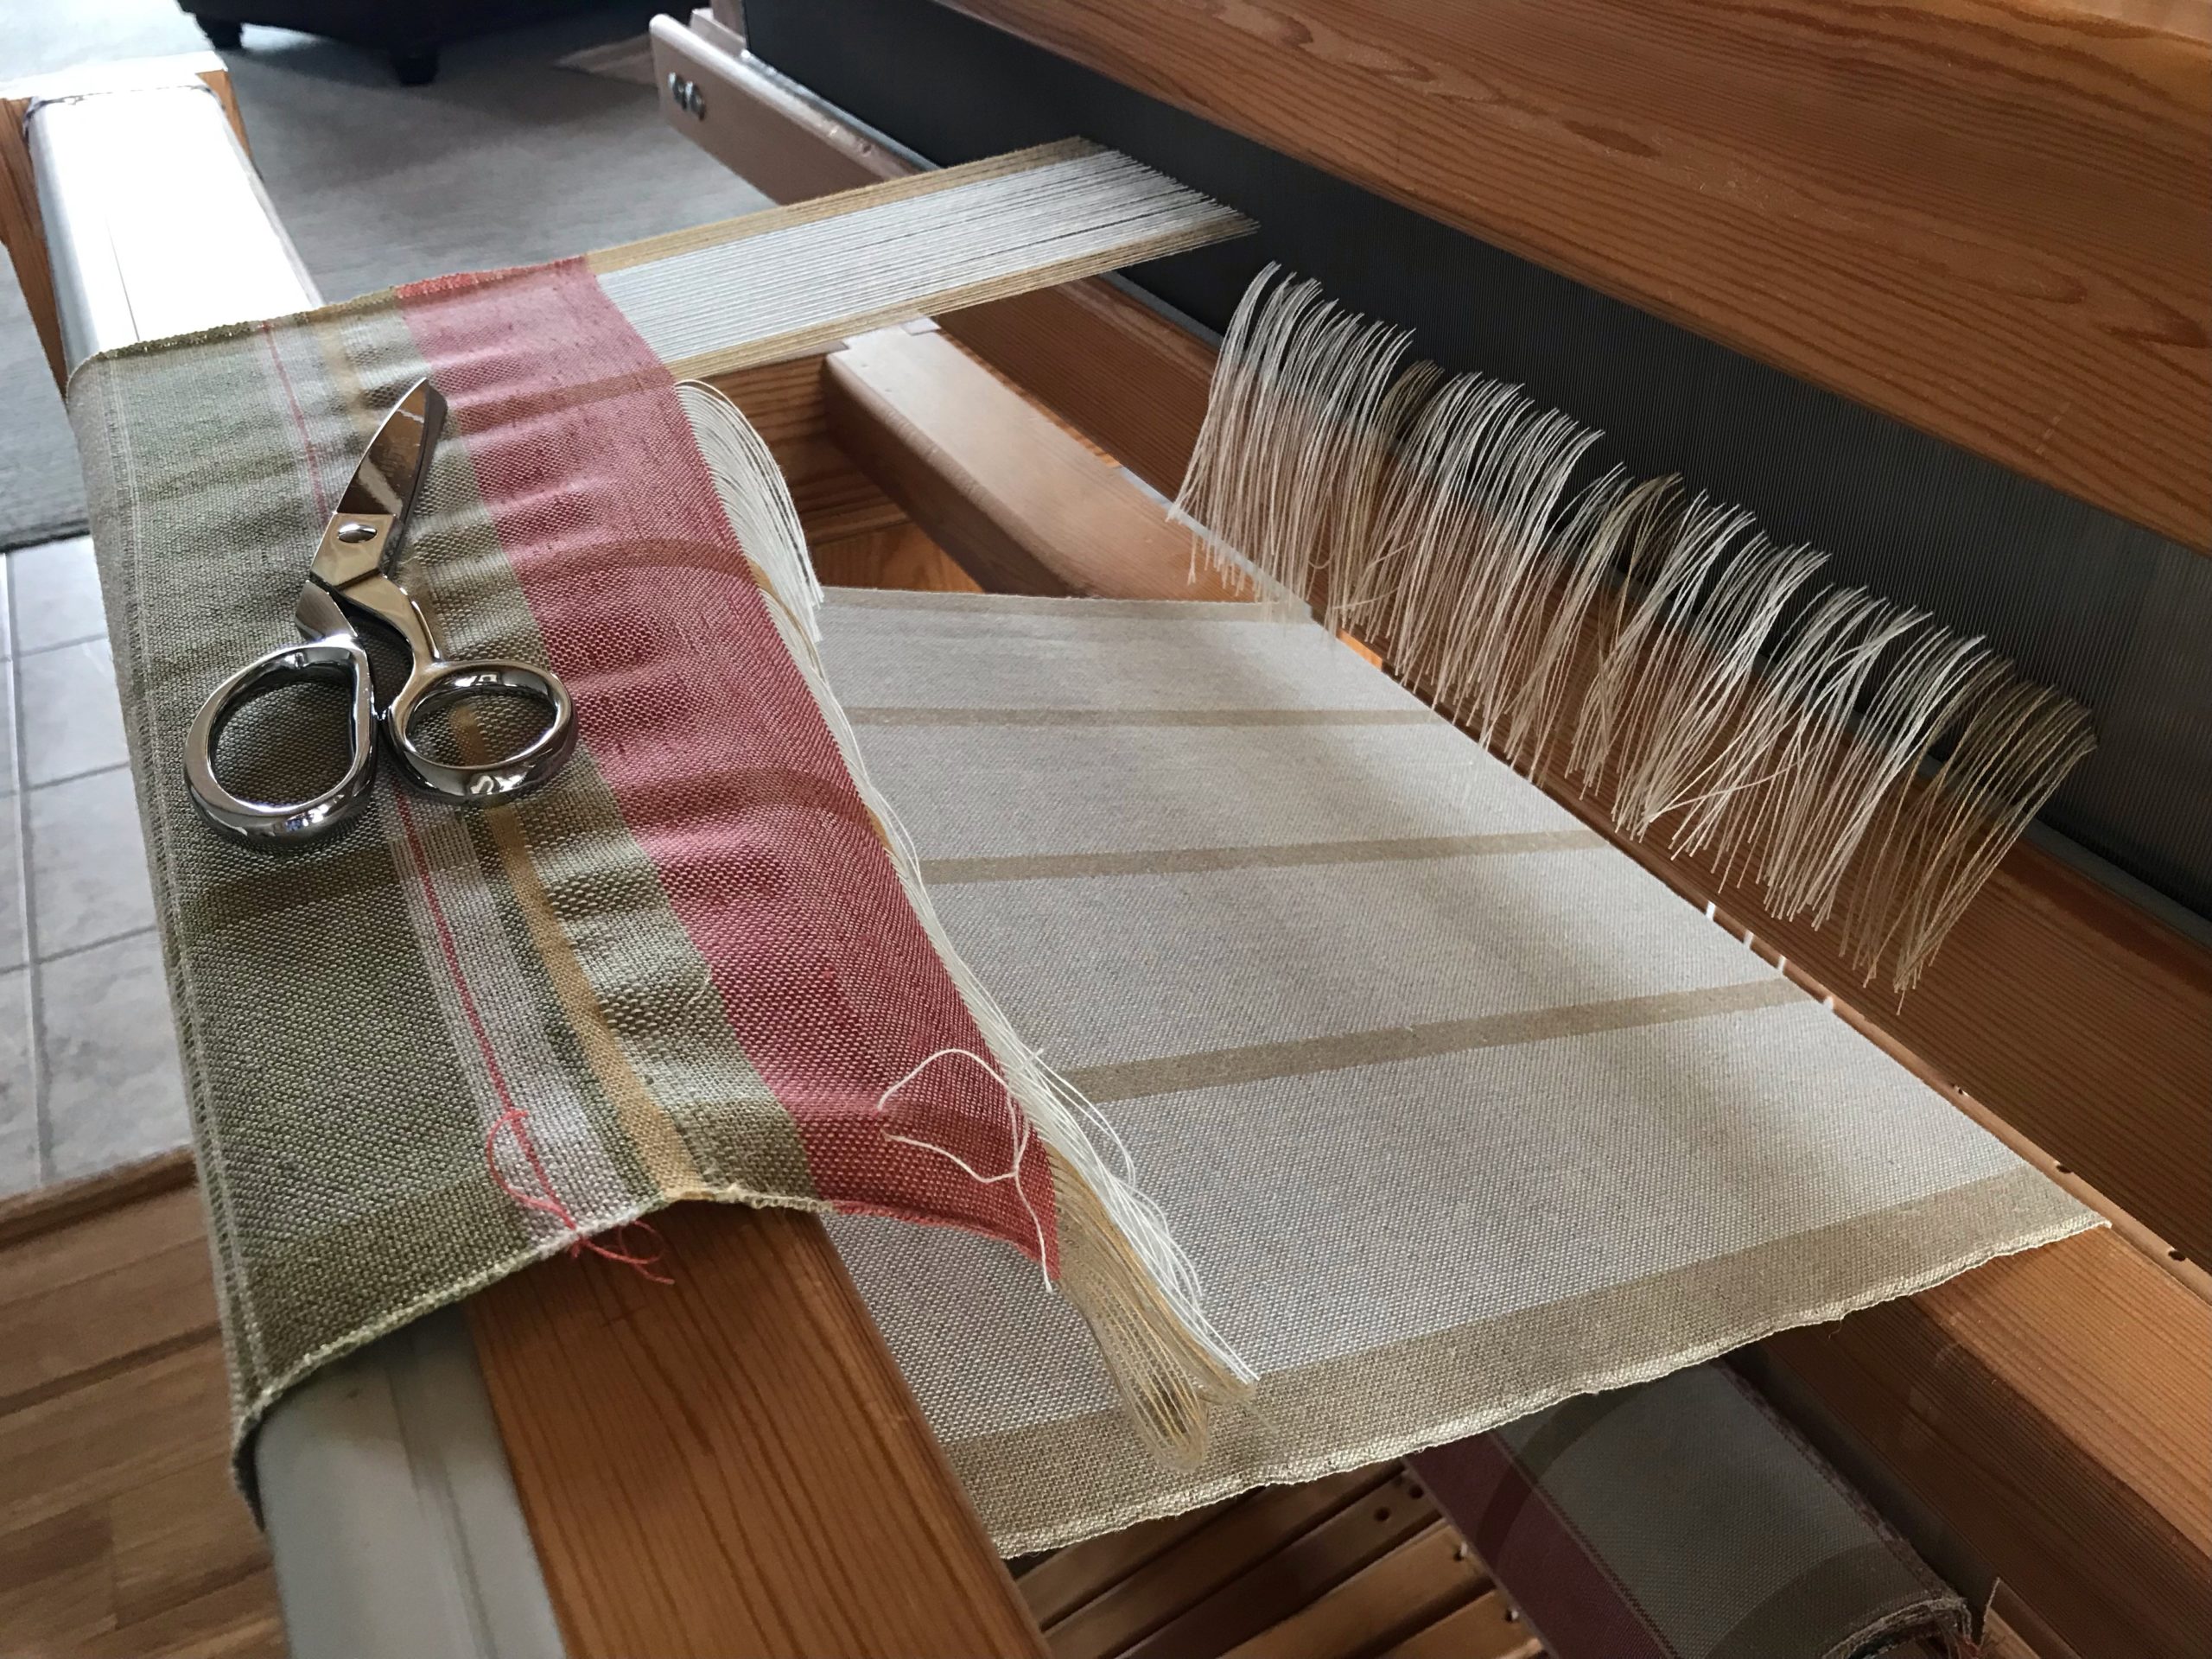
After weaving a short scrap fabric with thread left on quills, it is time for cutting off the long monksbelt runner and two bonus towels.

I cut off the warp. And as I unroll the cloth, I am mesmerized by the tactile intricacy that passes through my fingers–Fårö wool for the pattern weft, and 16/2 cotton for slow-as-molasses weft rep ground cloth. Finishing proves to be the easiest and quickest part of this project. I like the crisp pristine state of the monksbelt runner, so I am not going to wet finish this article. I examine for errors (none found!), wet finish the two towels, hem the table runner and towels, and press. The Priceless Monksbelt Runner now graces our dining room table.
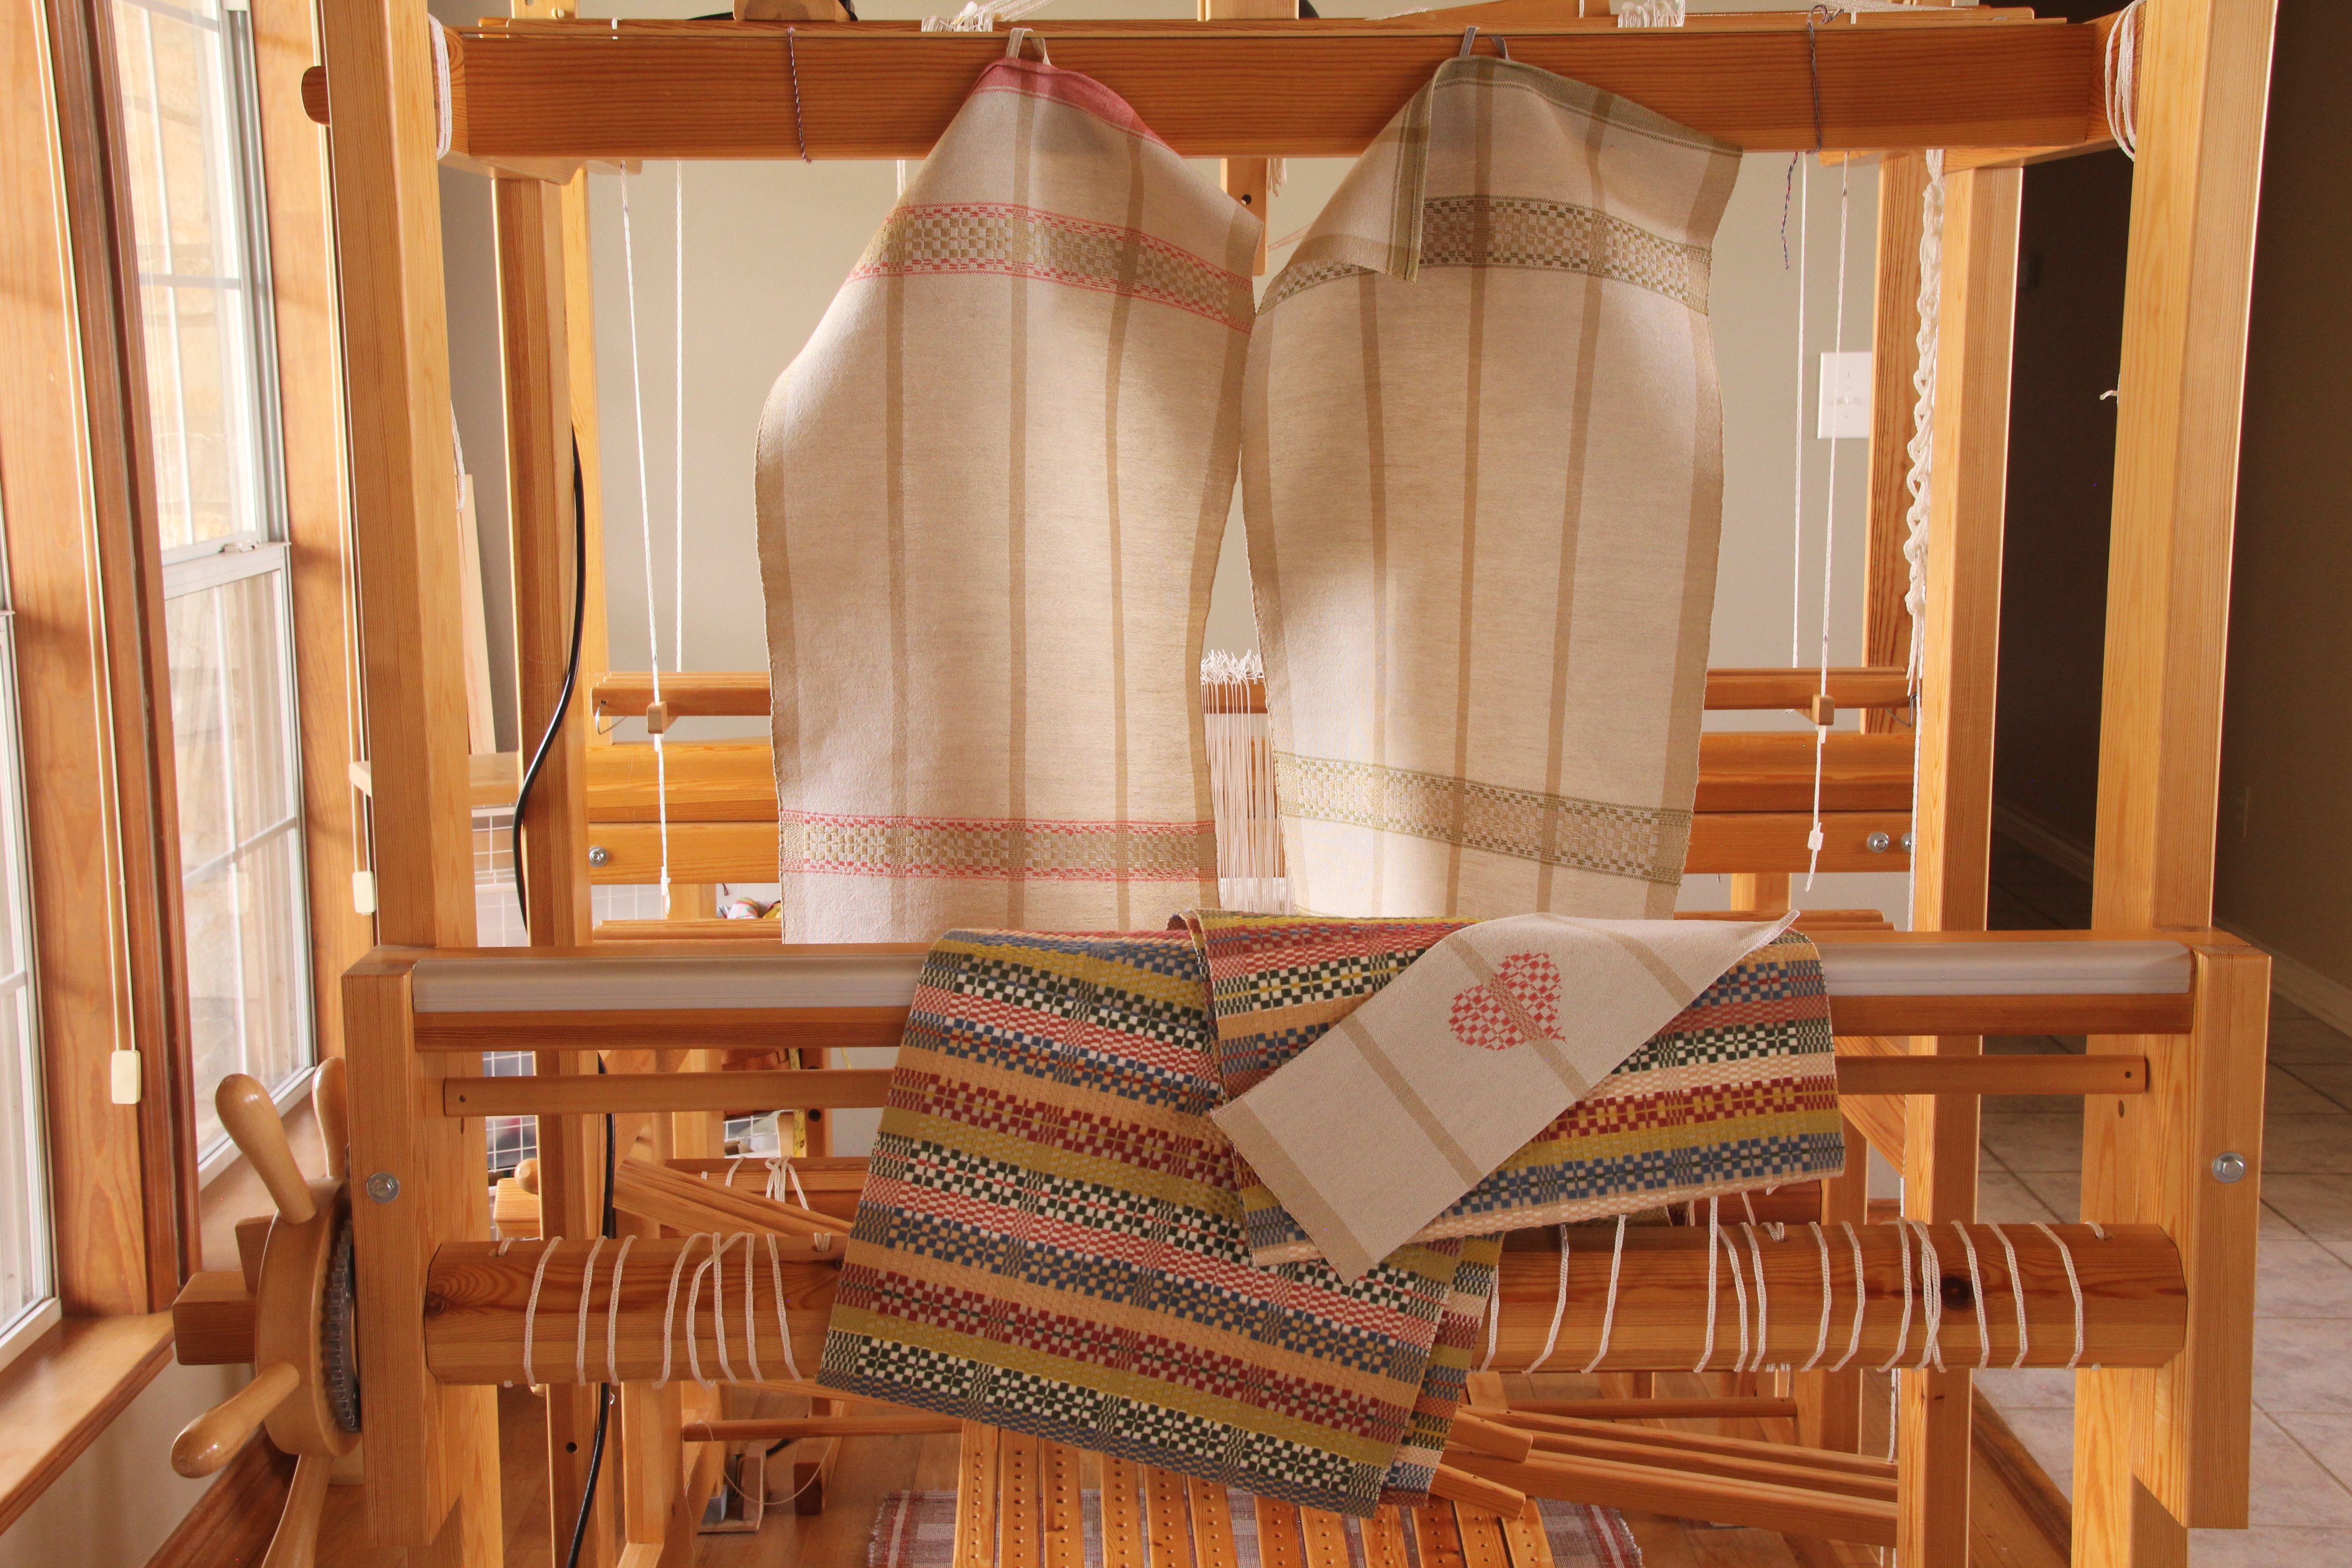
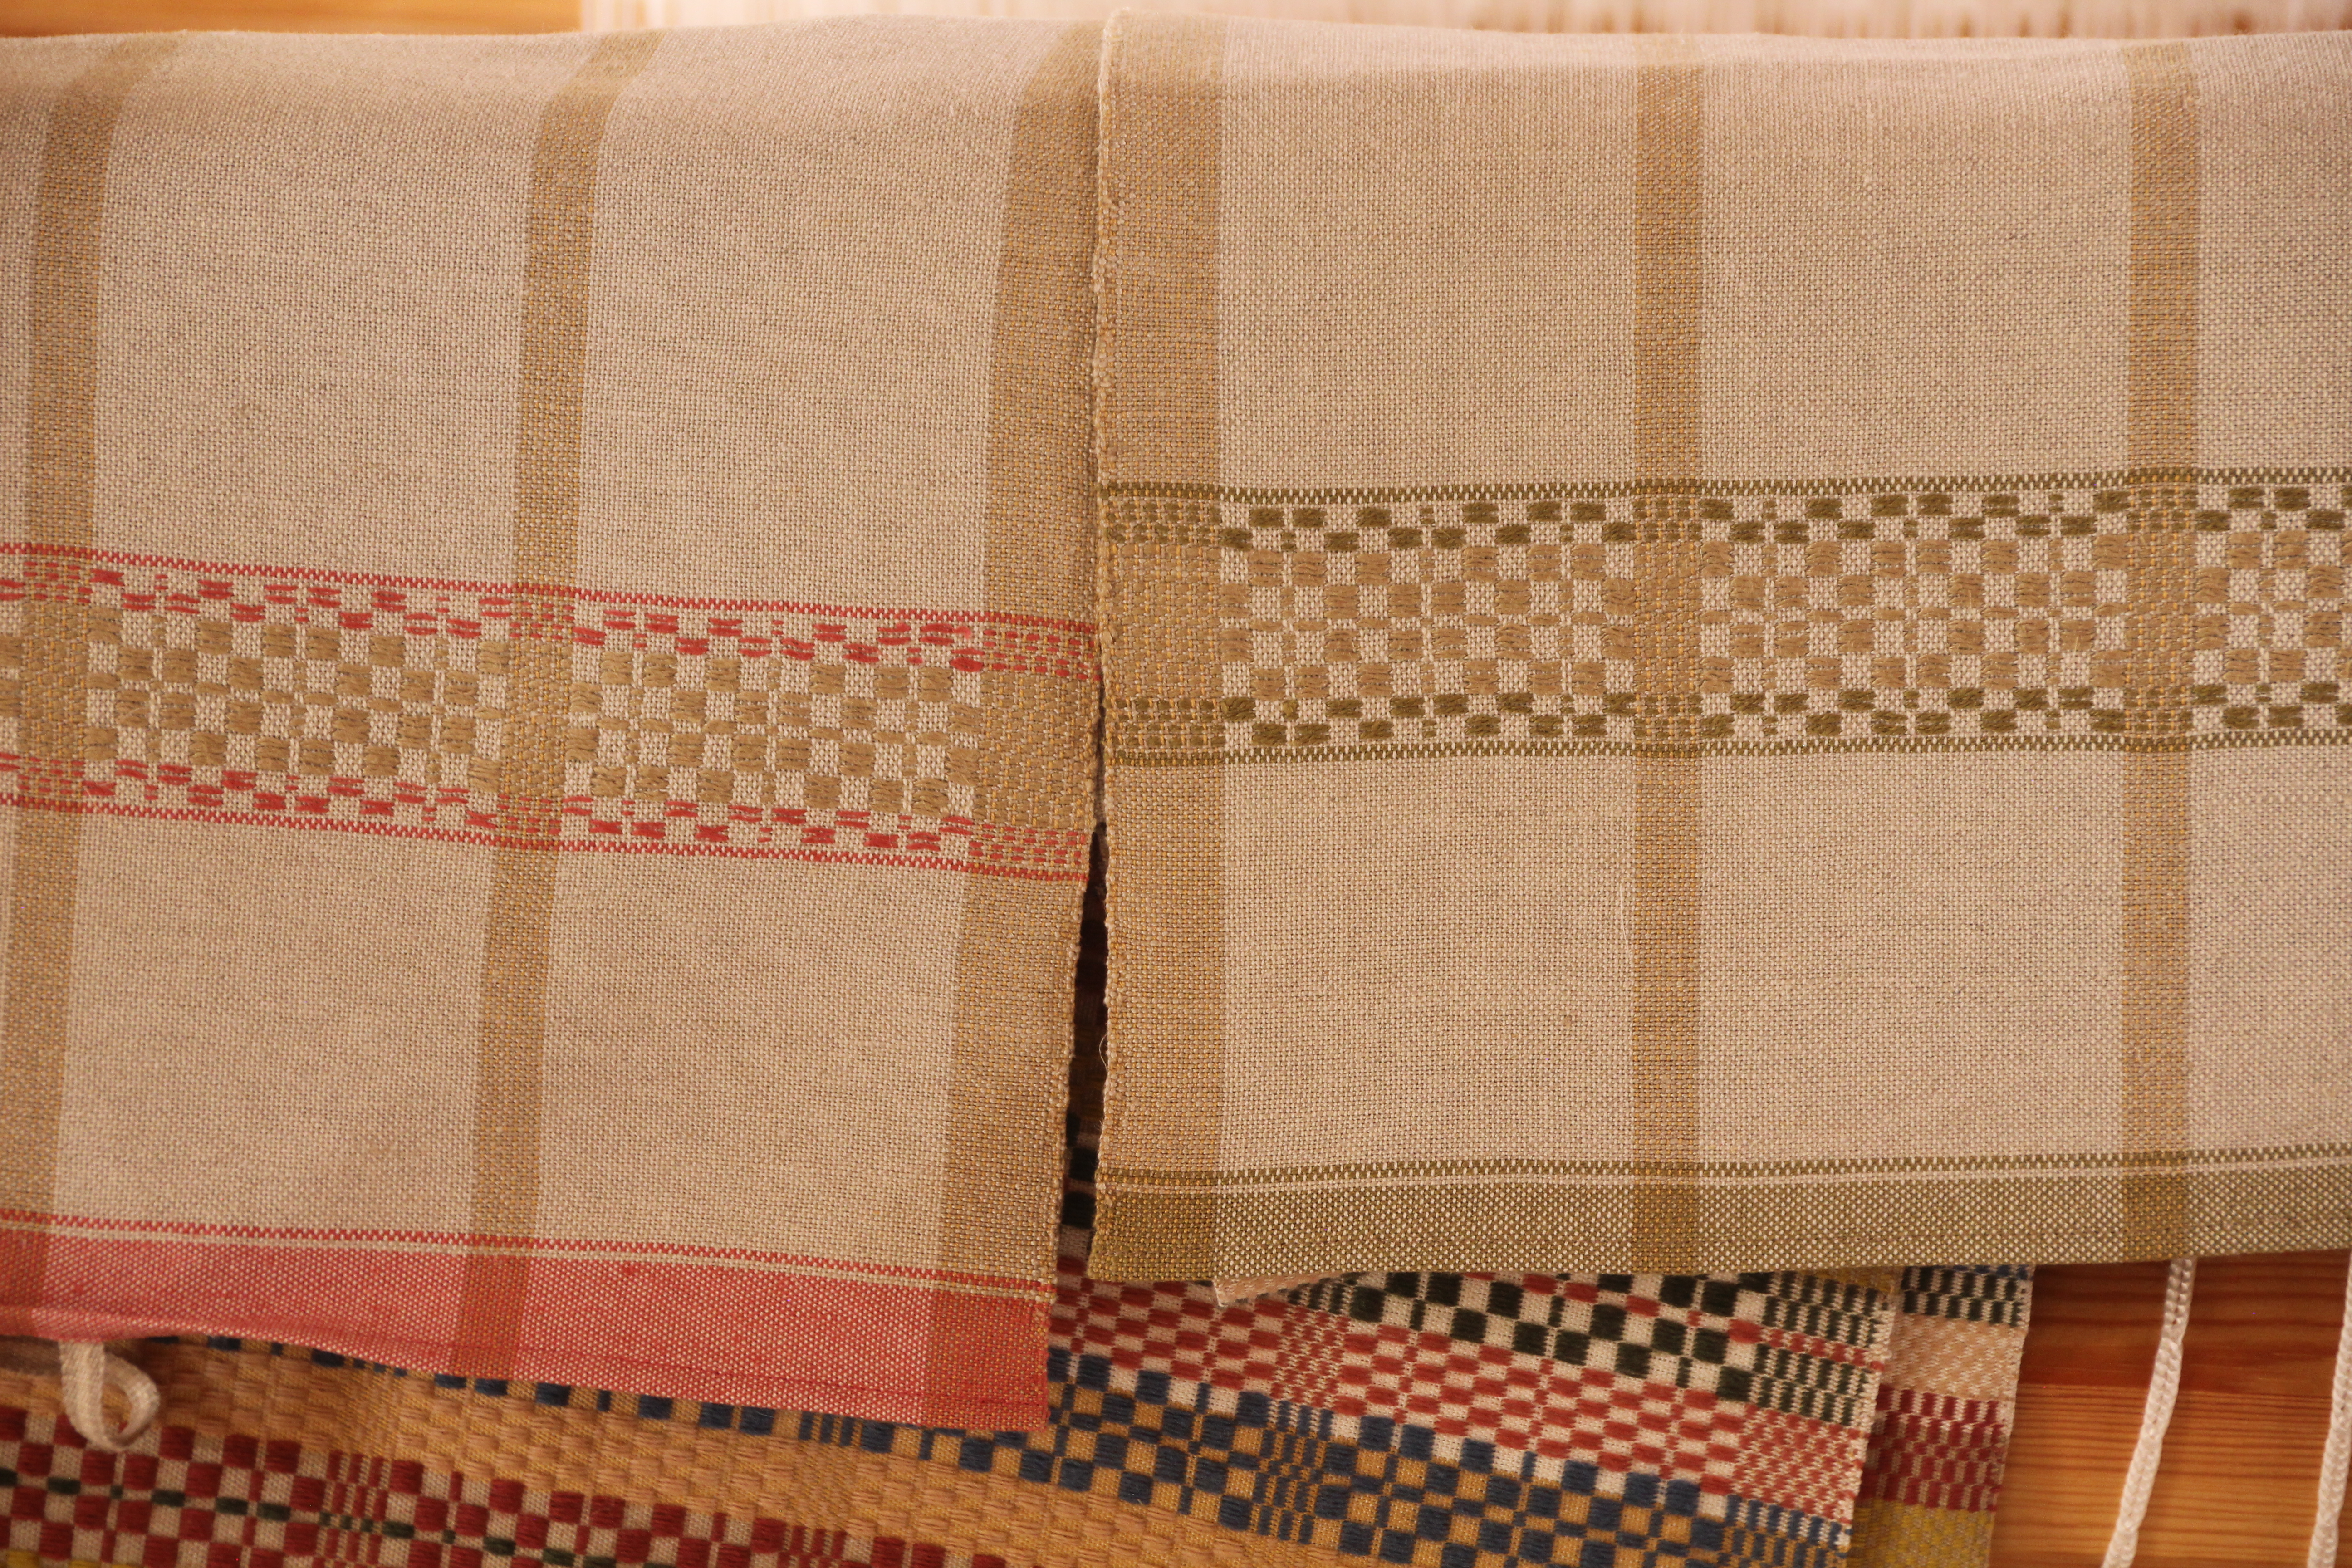
After the Priceless Monksbelt Runner I had enough warp to weave two bonus towels with monksbelt borders. In between the towels I did a small heart-shaped inlay just for play.
Two simple plain weave towels, with monksbelt borders. The tabby weft is 16/2 golden bleached linen. The coral pattern weft and green pattern weft is doubled 16/1 linen. The ecru center pattern weft is doubled 6/1 tow linen. Warp is 16/2 cotton. With only one washing so far, the towels still have a wonderful crisp linen hand.

The exceptional value of handwoven textiles makes your home a welcoming place. Time is one of our most valuable assets. That makes the textiles we create priceless!
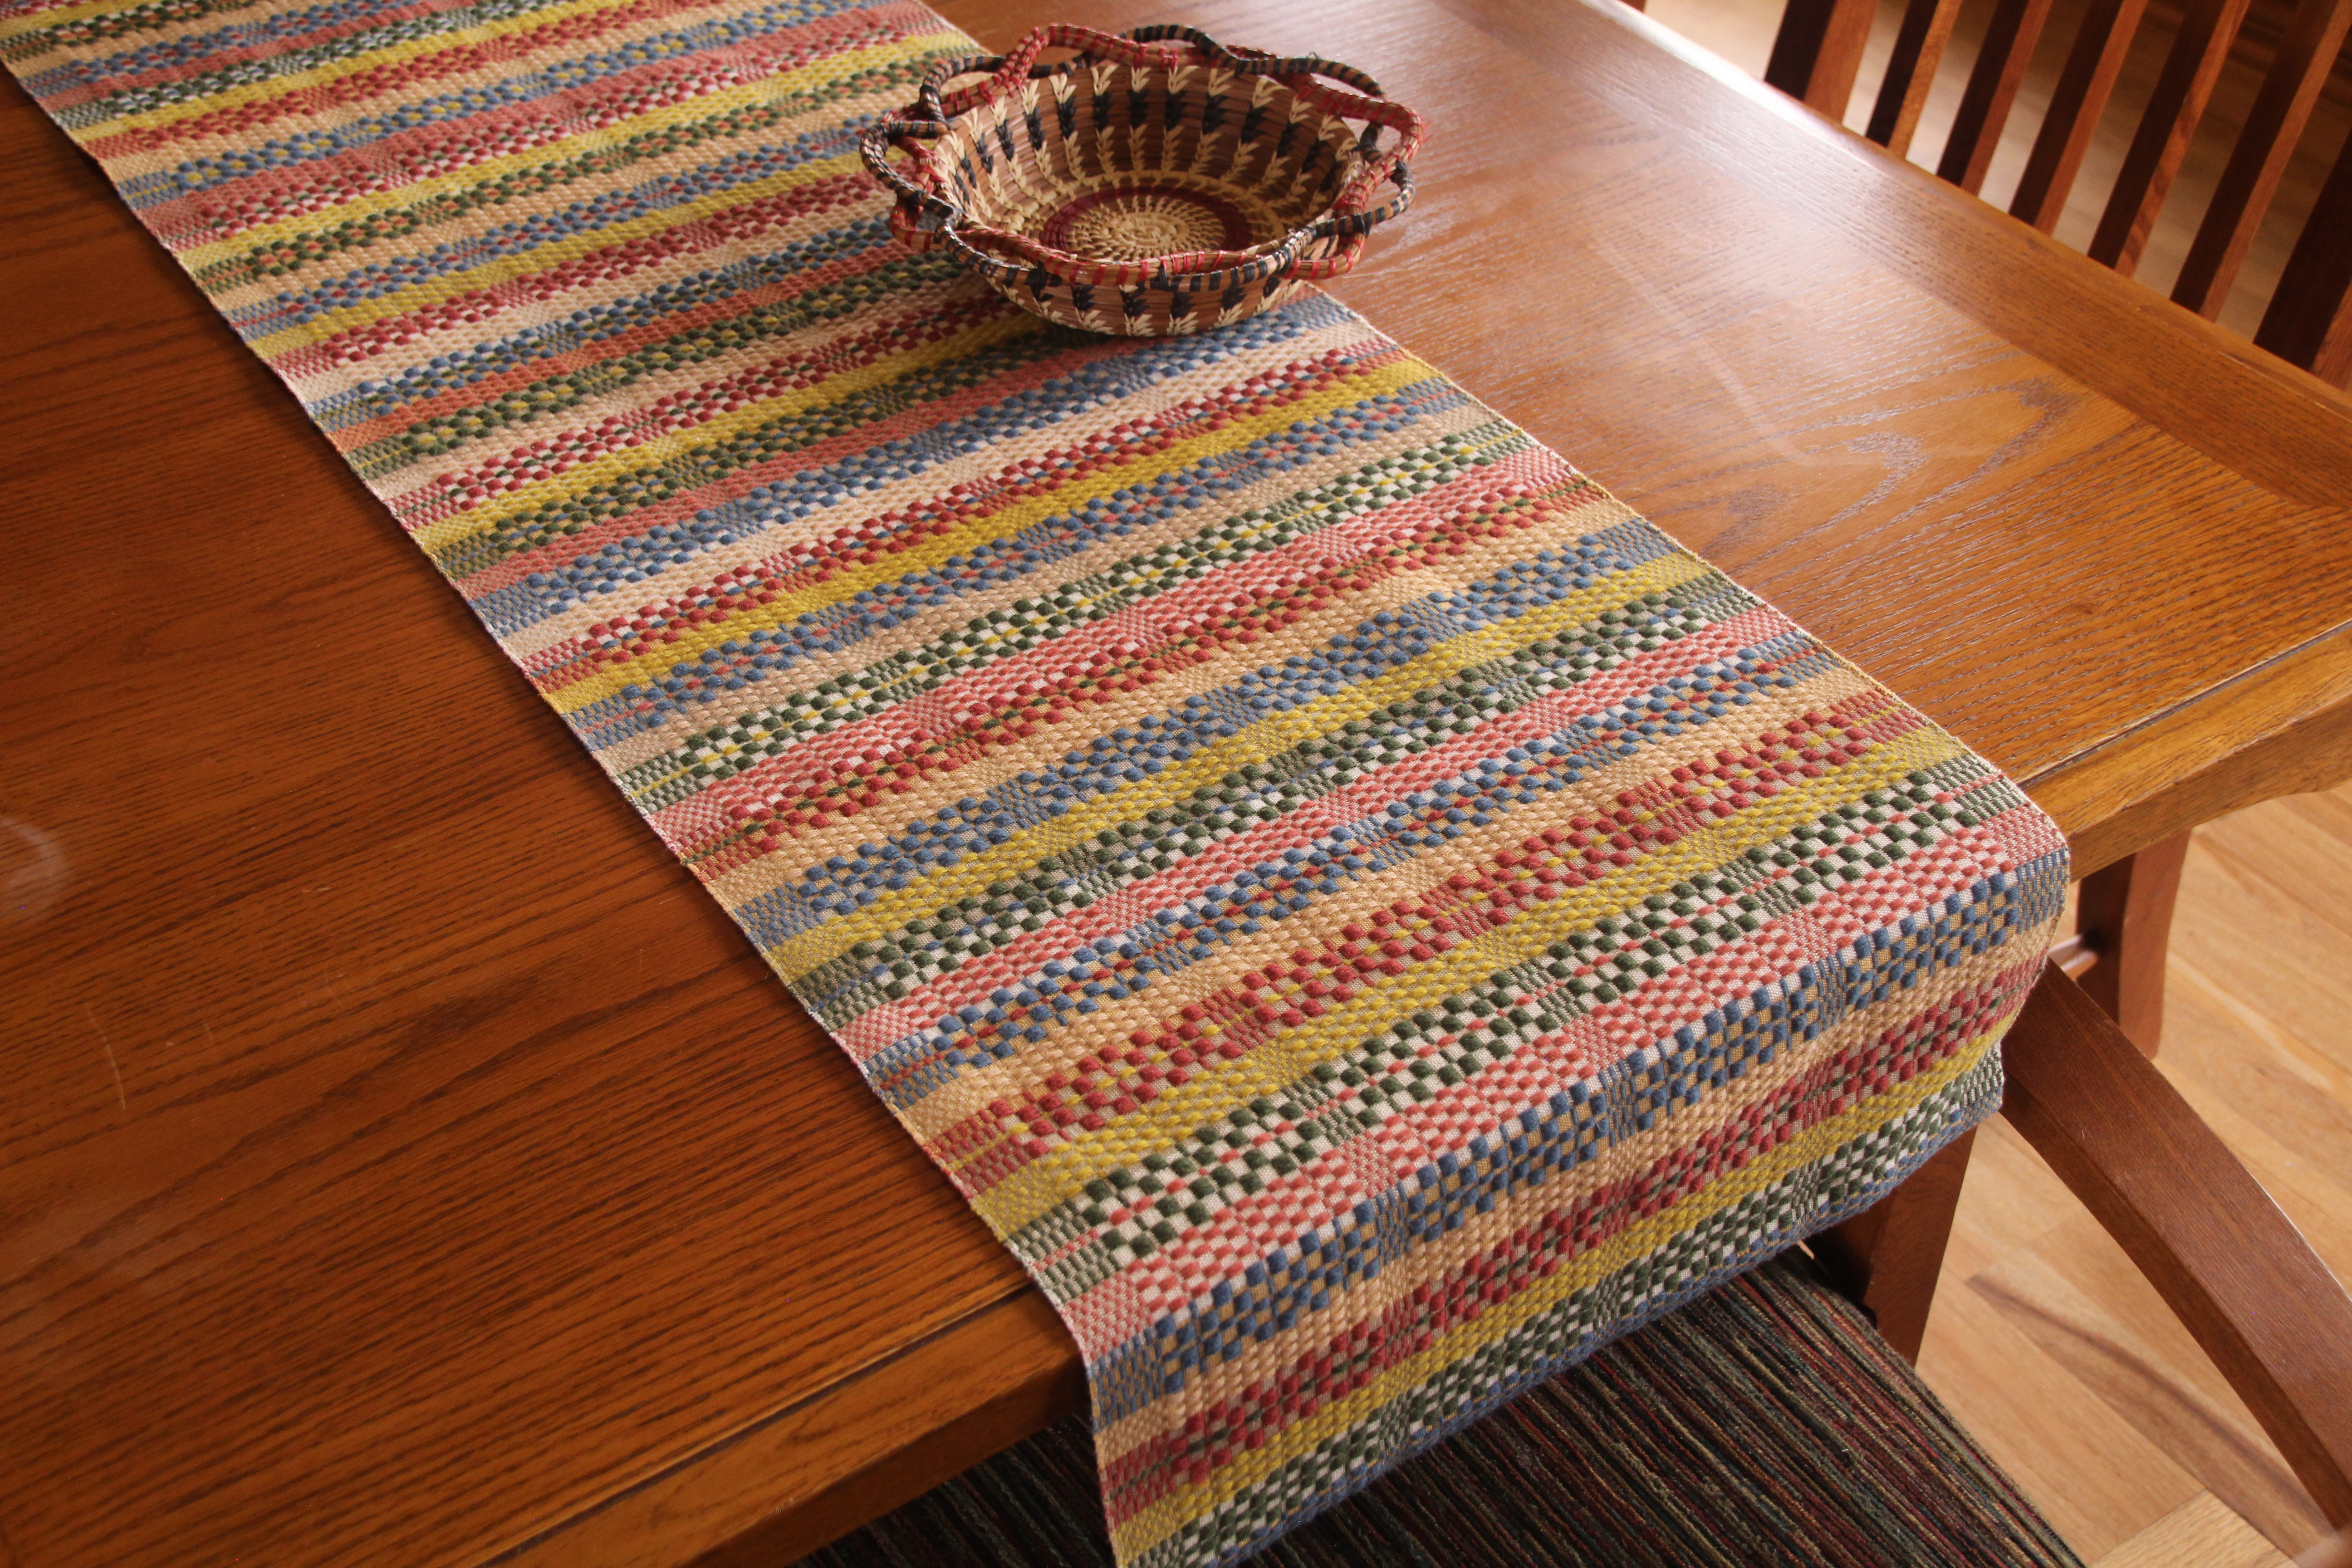
Our dining table is just to the right as you walk through the front door of our home. May all who enter know they are welcome here!

Please enjoy this video review of weaving the Priceless Monksbelt Runner.

May the works of your hands bring exceptional value to your home.

Happy Weaving,
Karen

Tried and True: Cutting Off for a Fresh Start

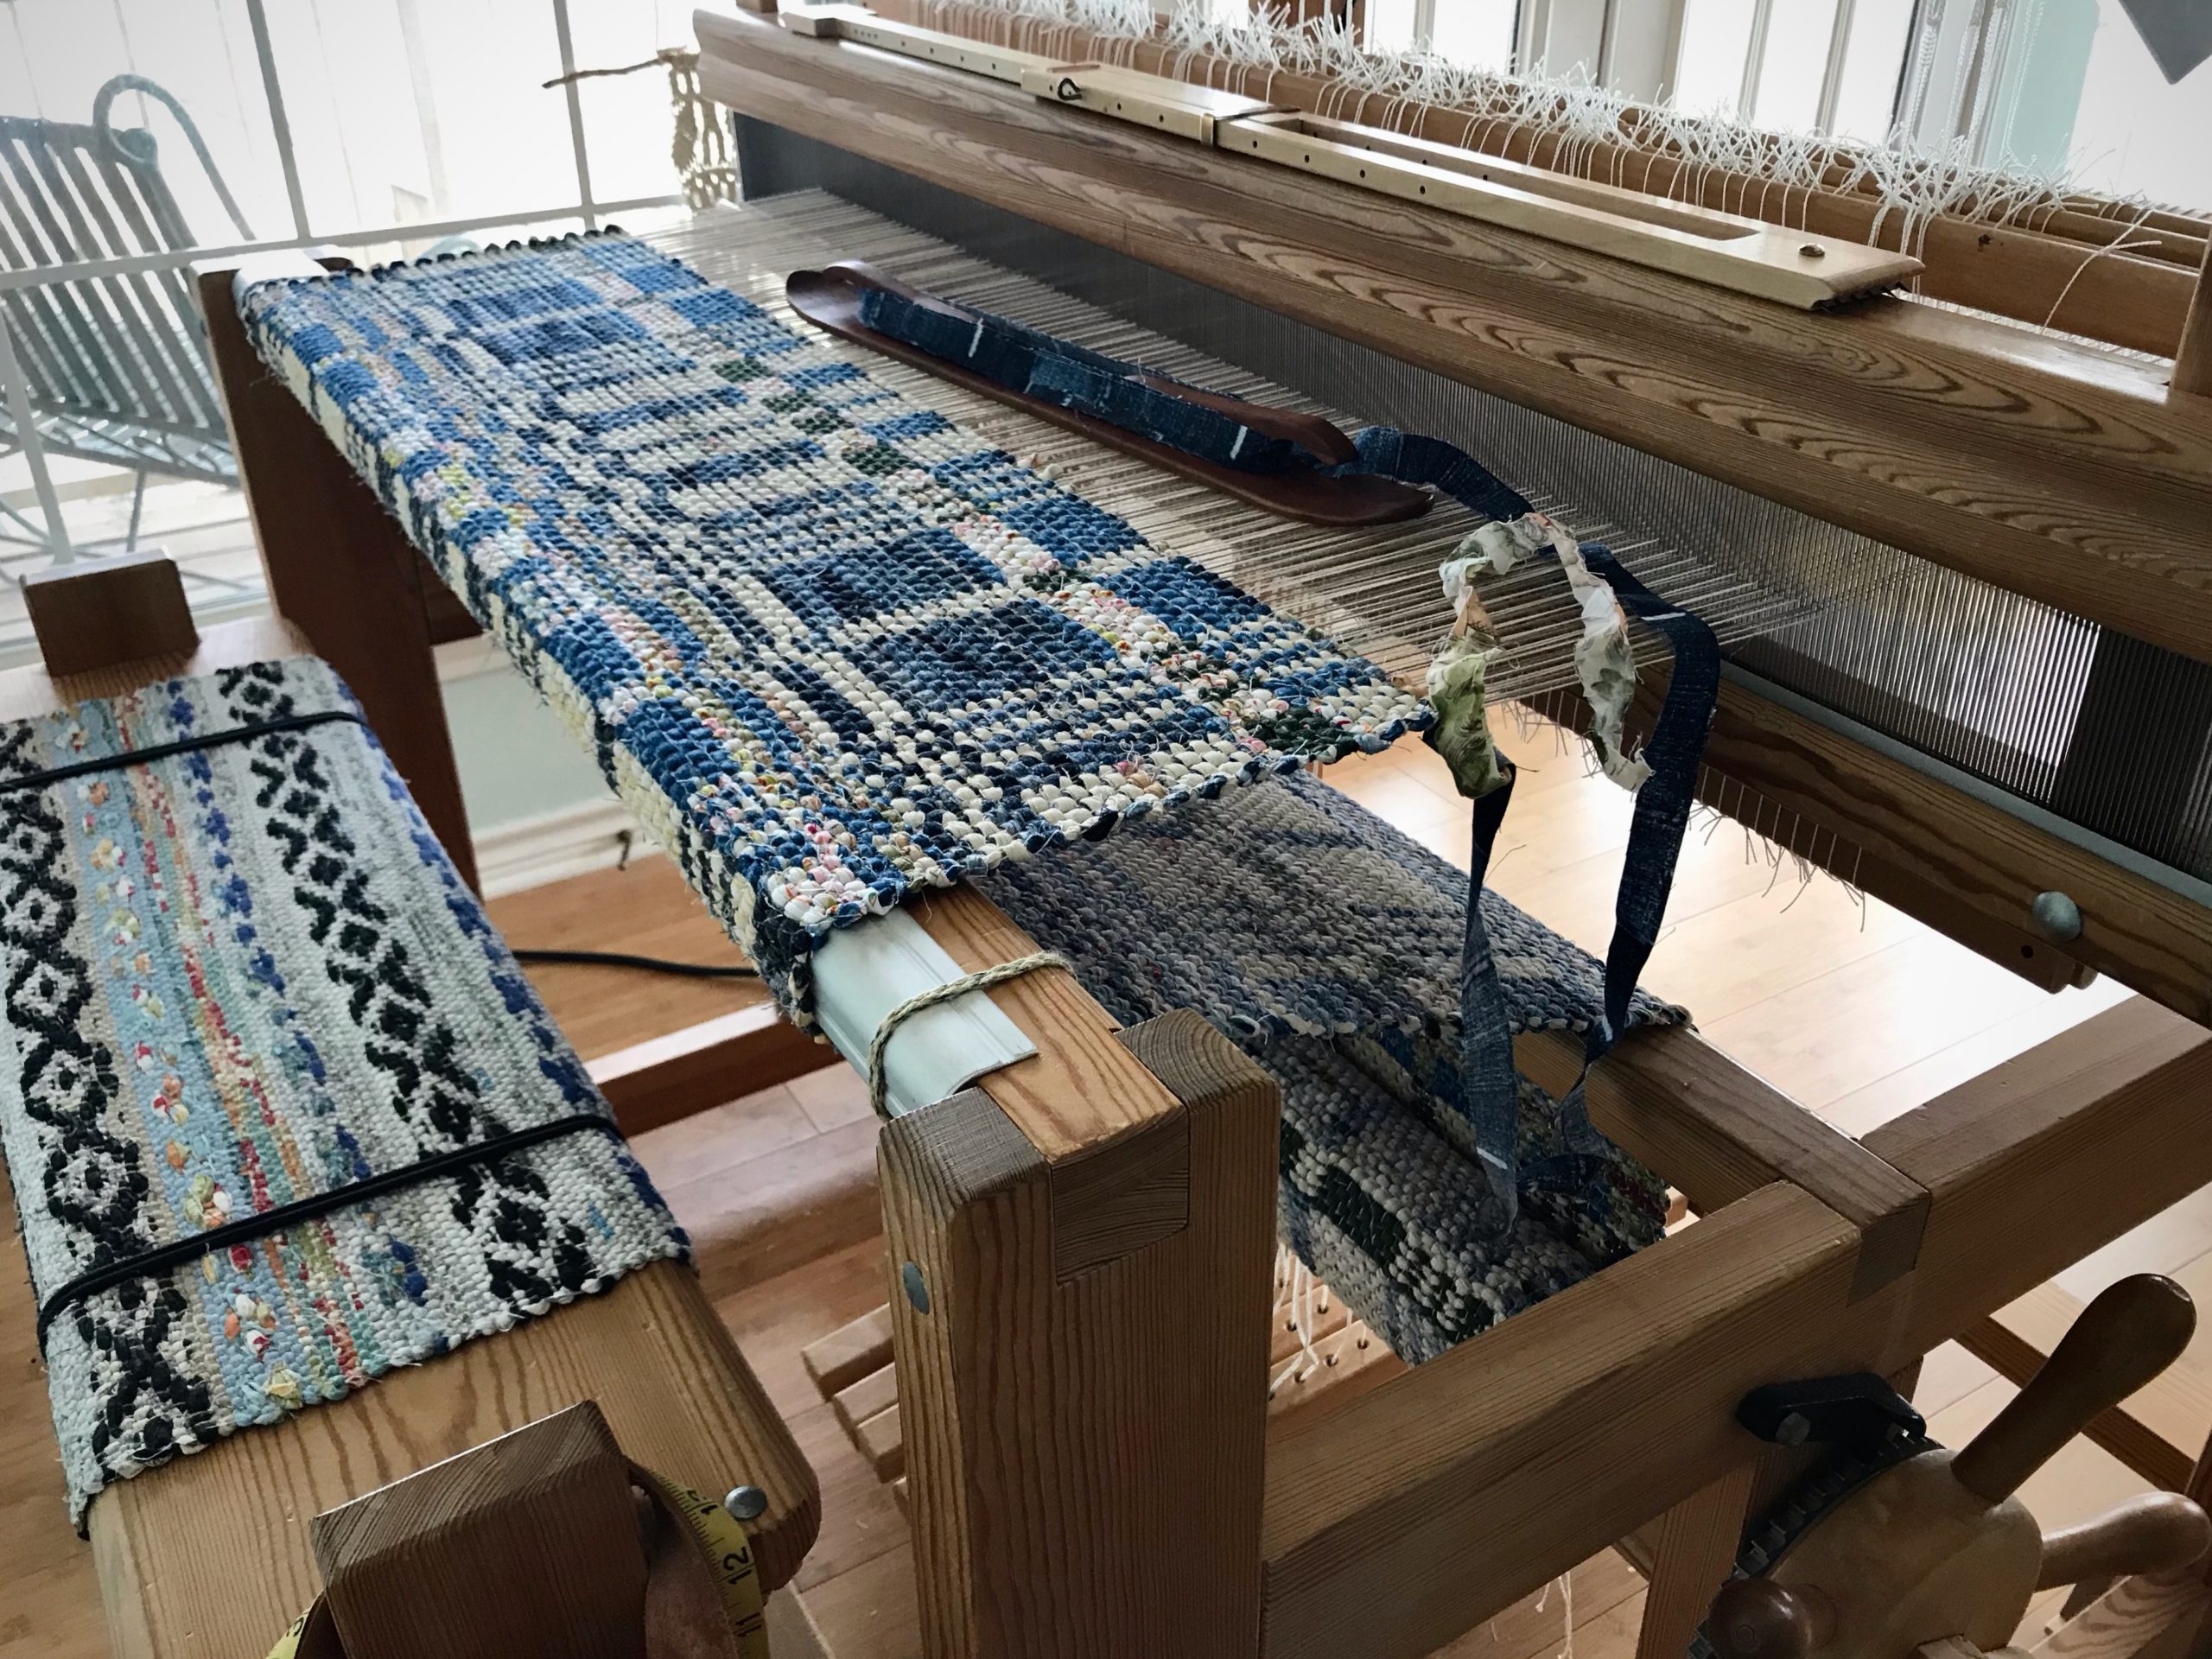
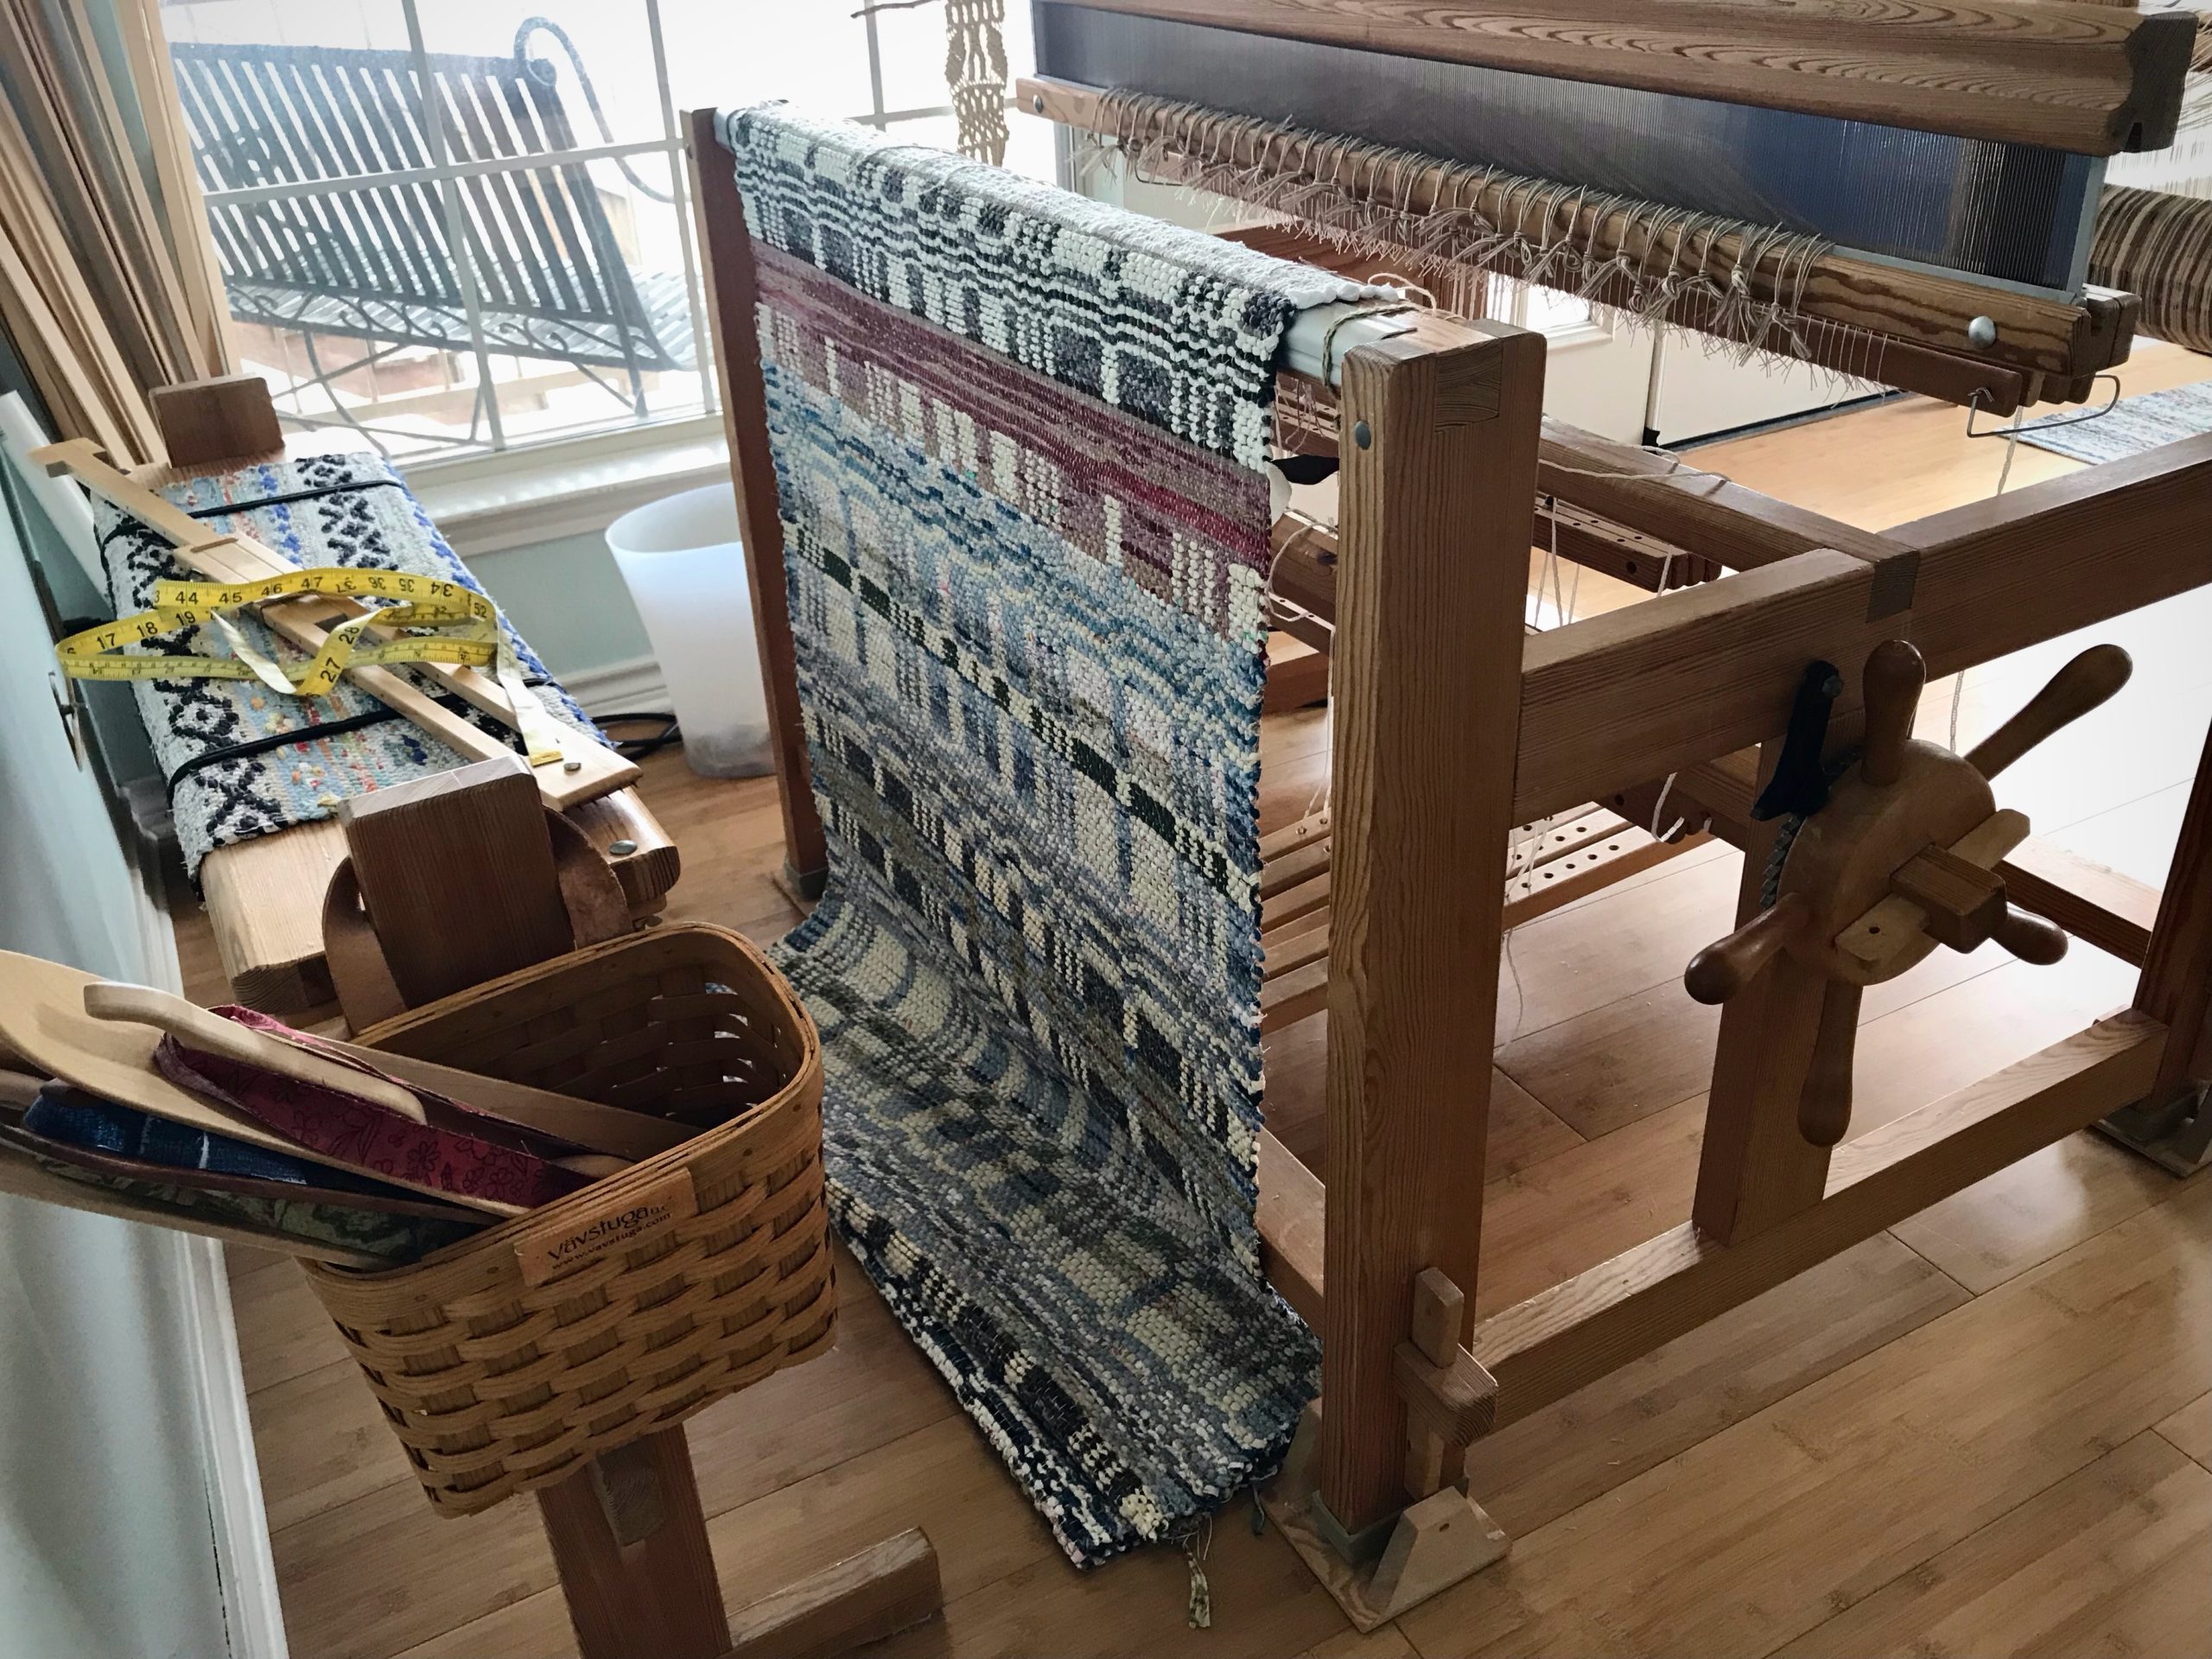
I have good reasons for cutting off this first double-binding rag rug before proceeding with the rest of the warp. This pause and reset ensures happy weaving to the end. Cutting off gives me a fresh start for the next rug.

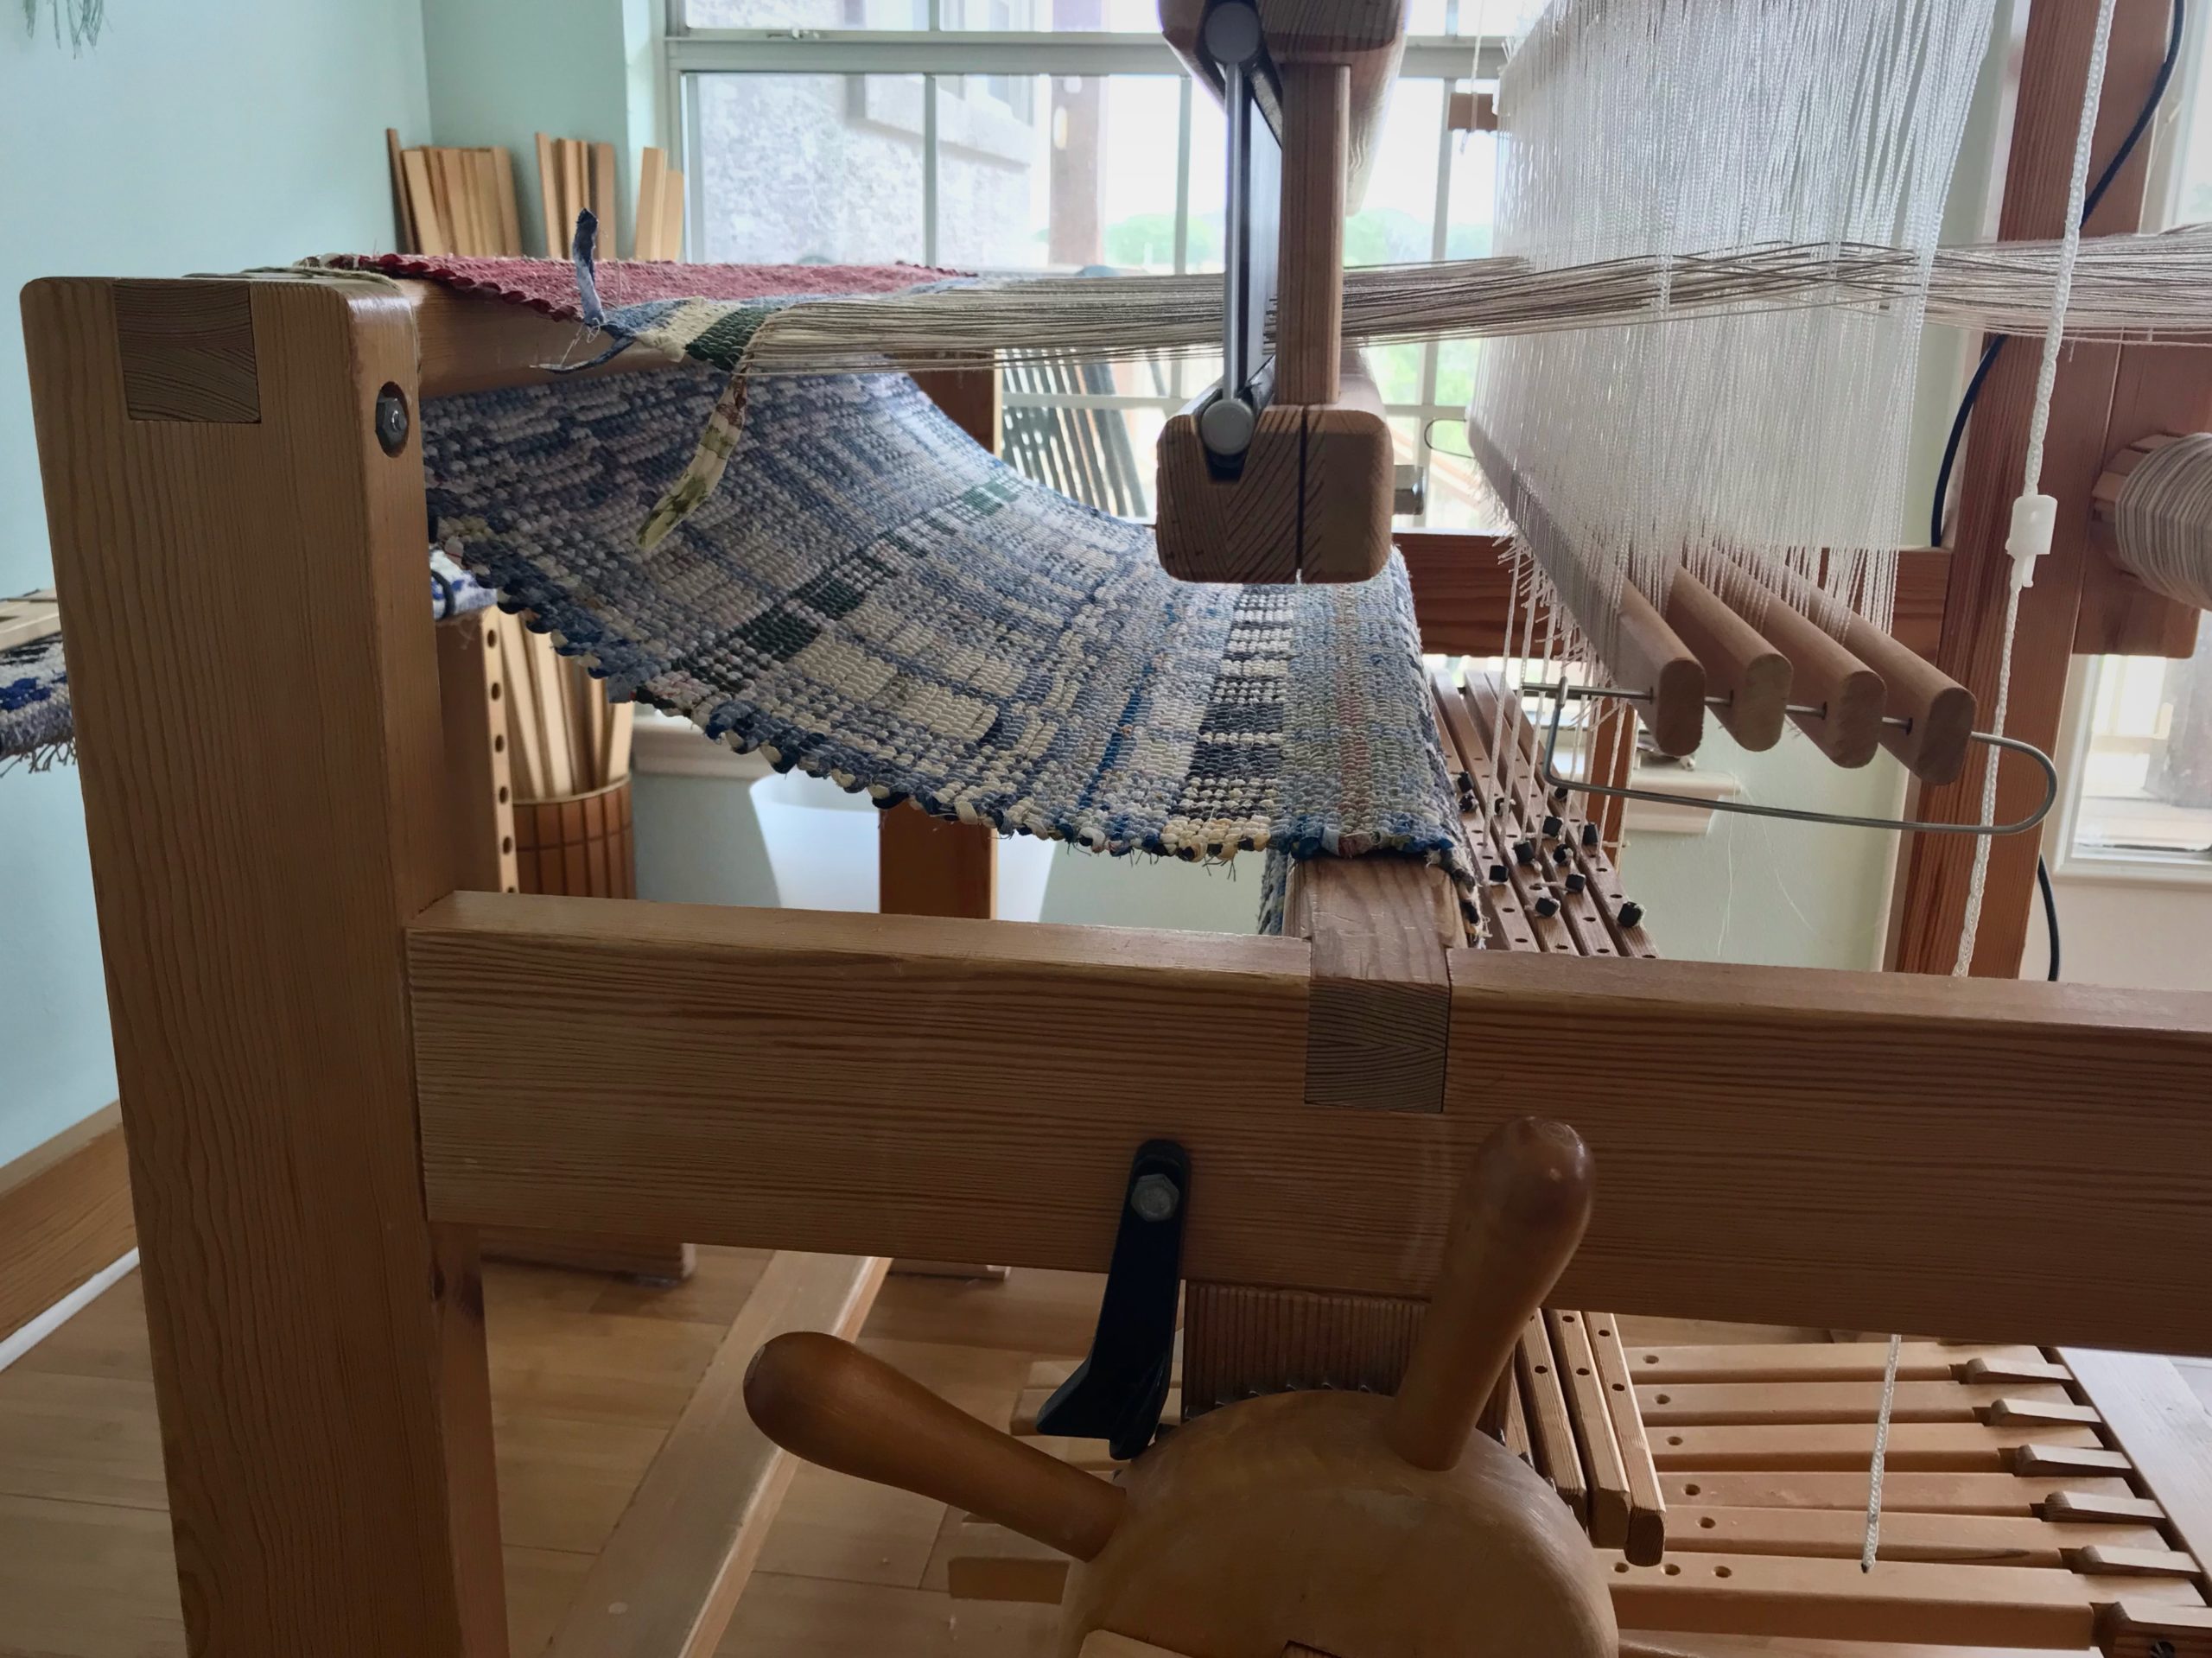
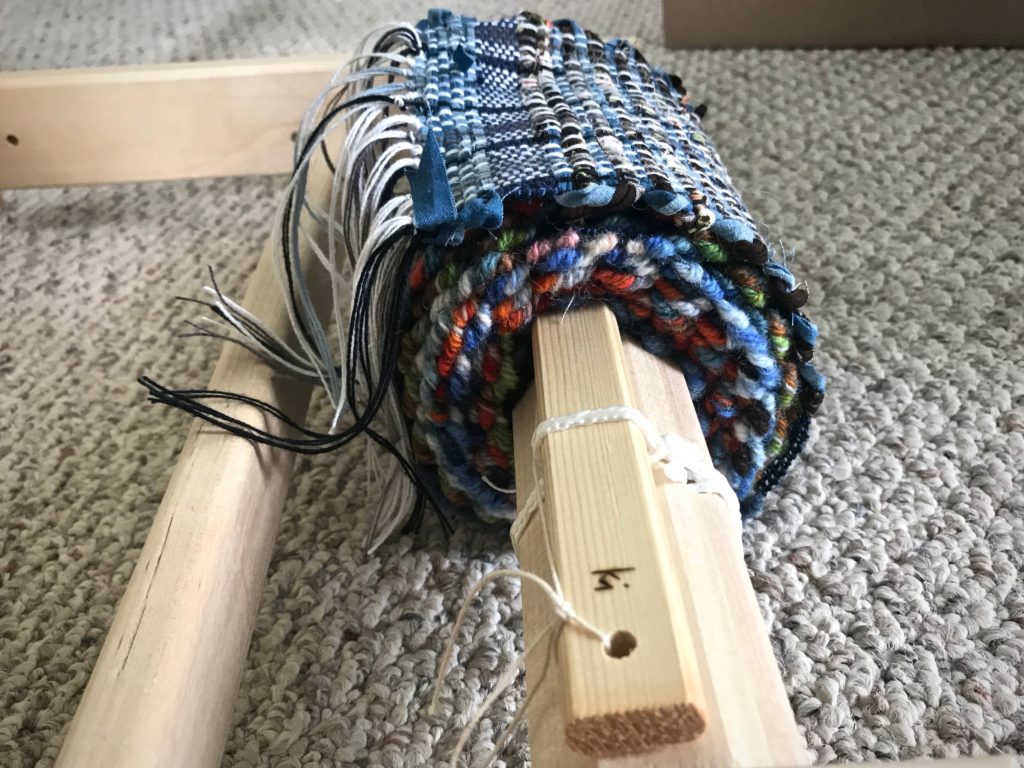
Rug is wrapping around the cloth beam.

Reasons for cutting off rag rug before end of warp

  1. Uneven warp tension. I can improve the warp by tying back on.
  2. Large rag rag. I can get a tighter warp tension by removing the rug’s bulk from the cloth beam.
  3. New design. It helps me to see the completed rug before starting the next one, since this is a brand-new design.
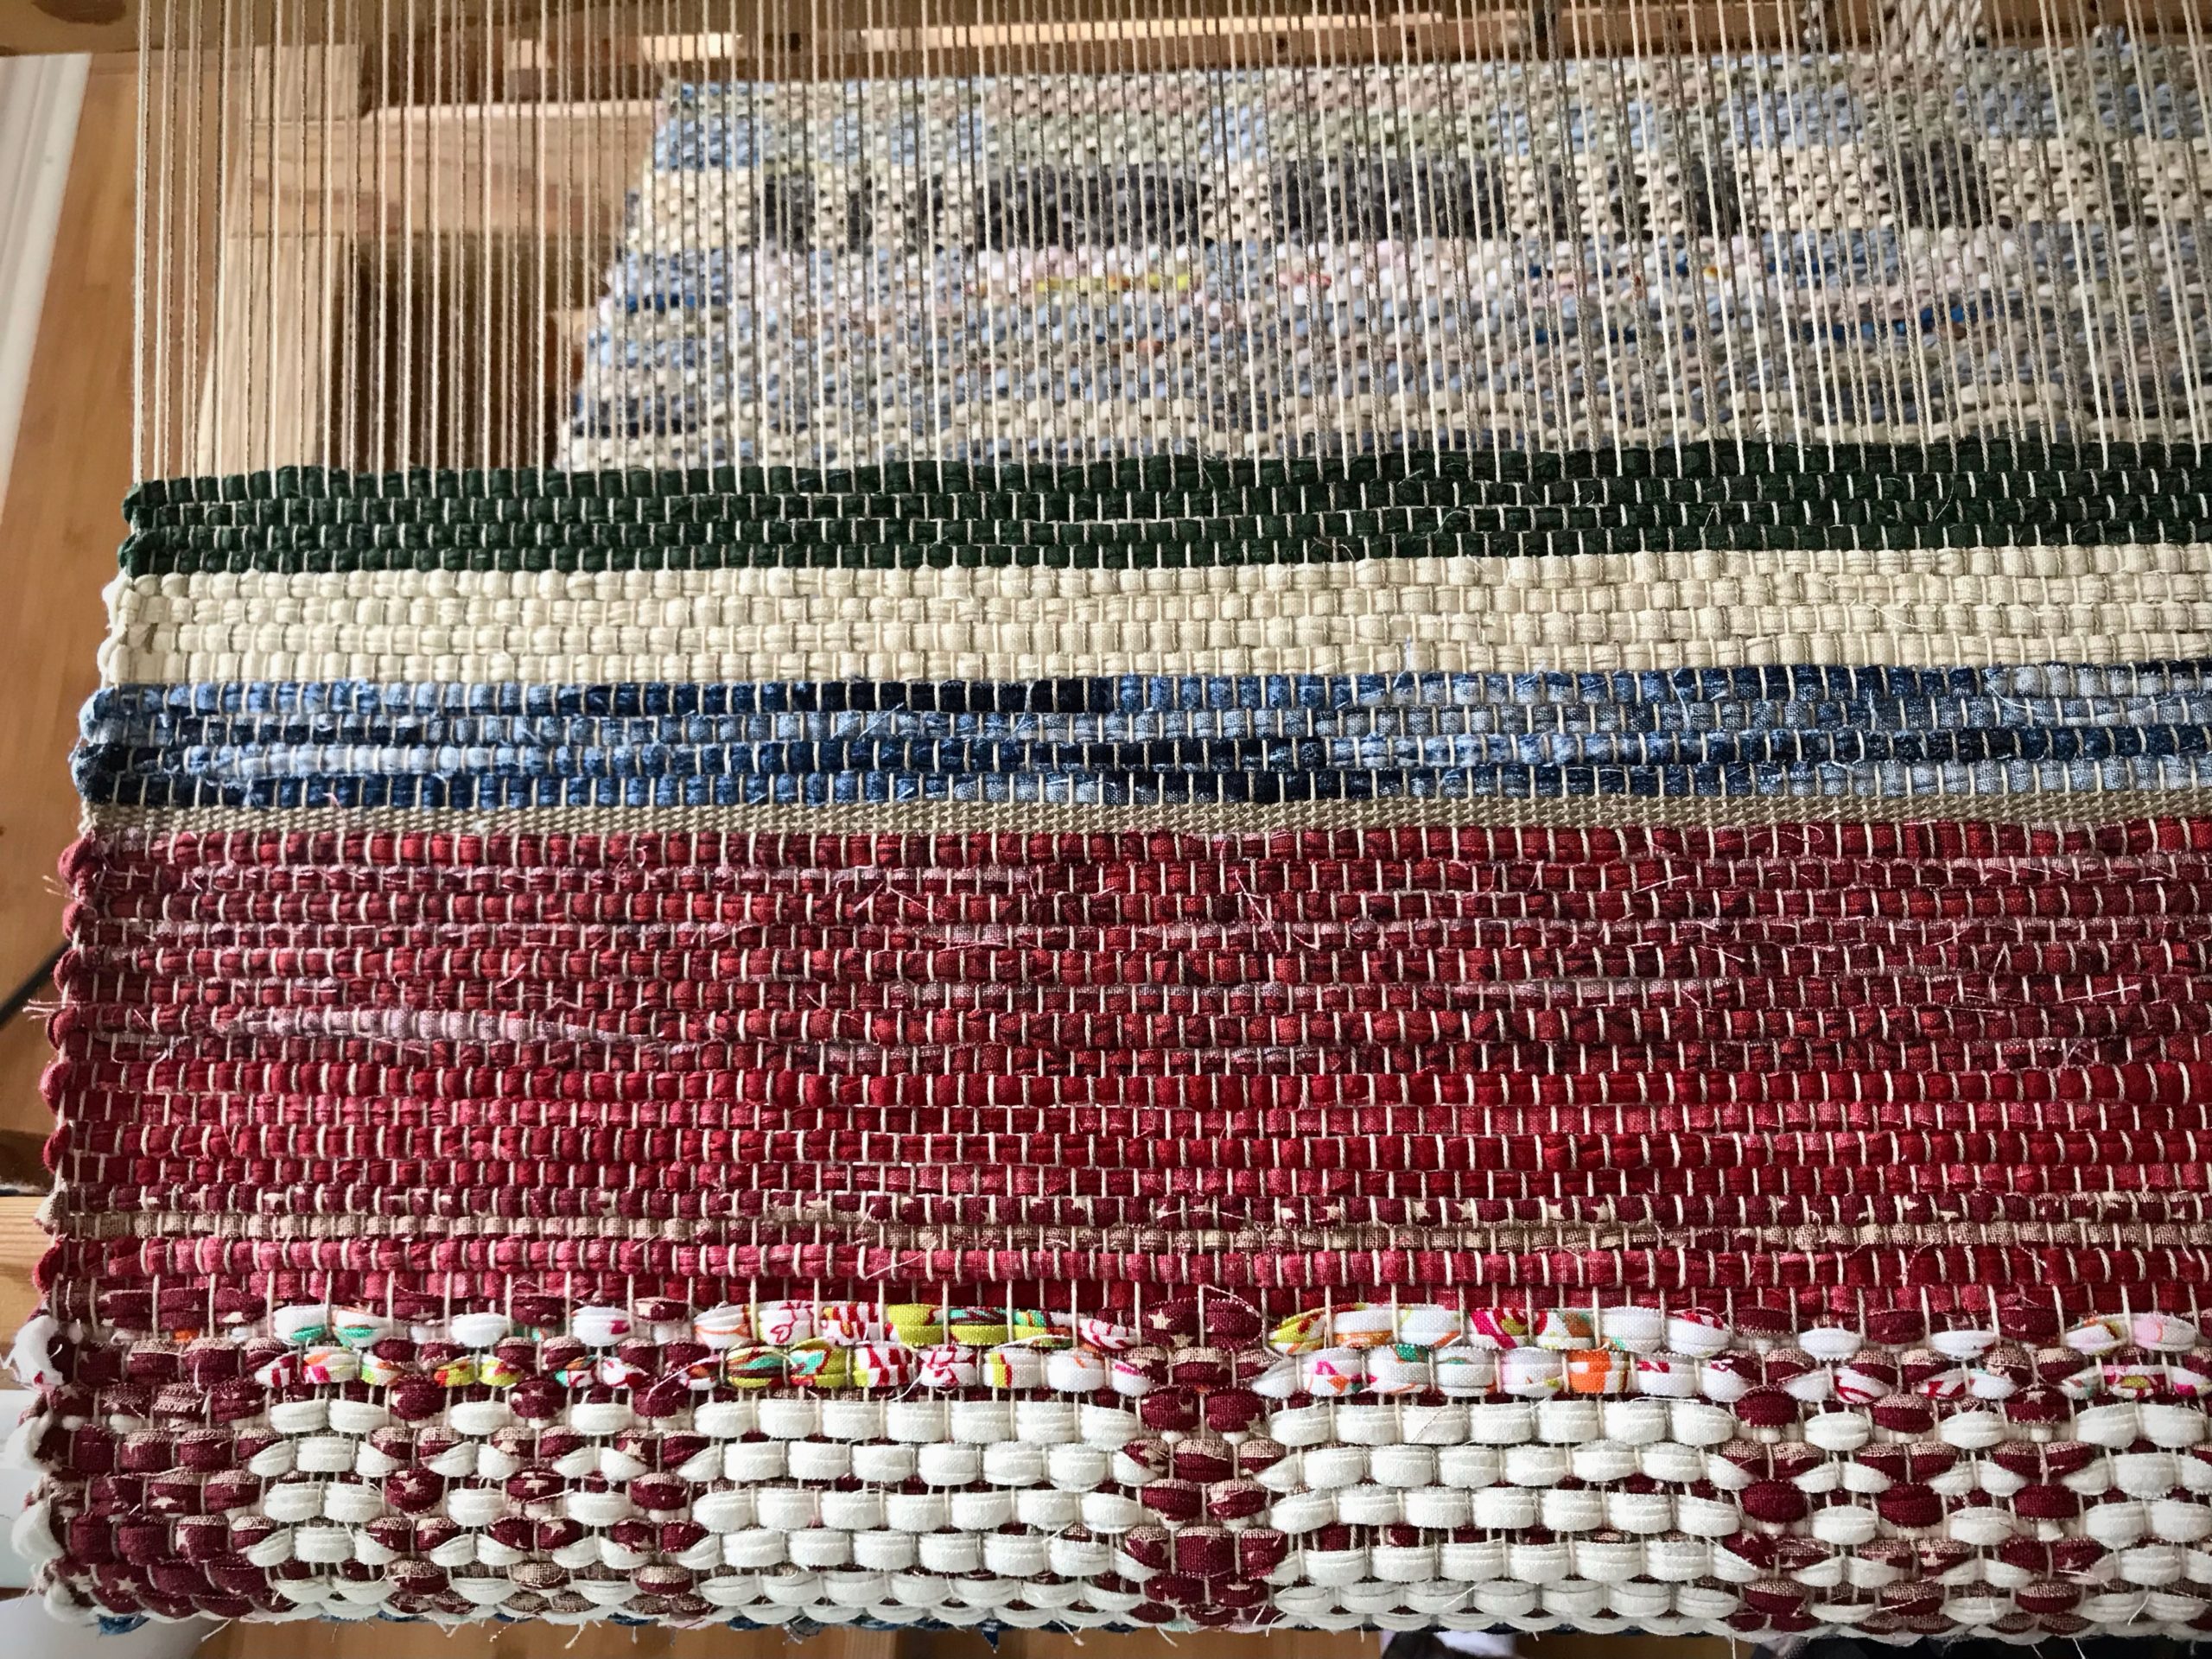
Rug comes to an end with a red border/hem. A warp-thread header follows, and then a few rows of scrap header to help secure the weft until finishing knots are tied.

Steps for cutting off rag rug before end of warp (countermarch loom)

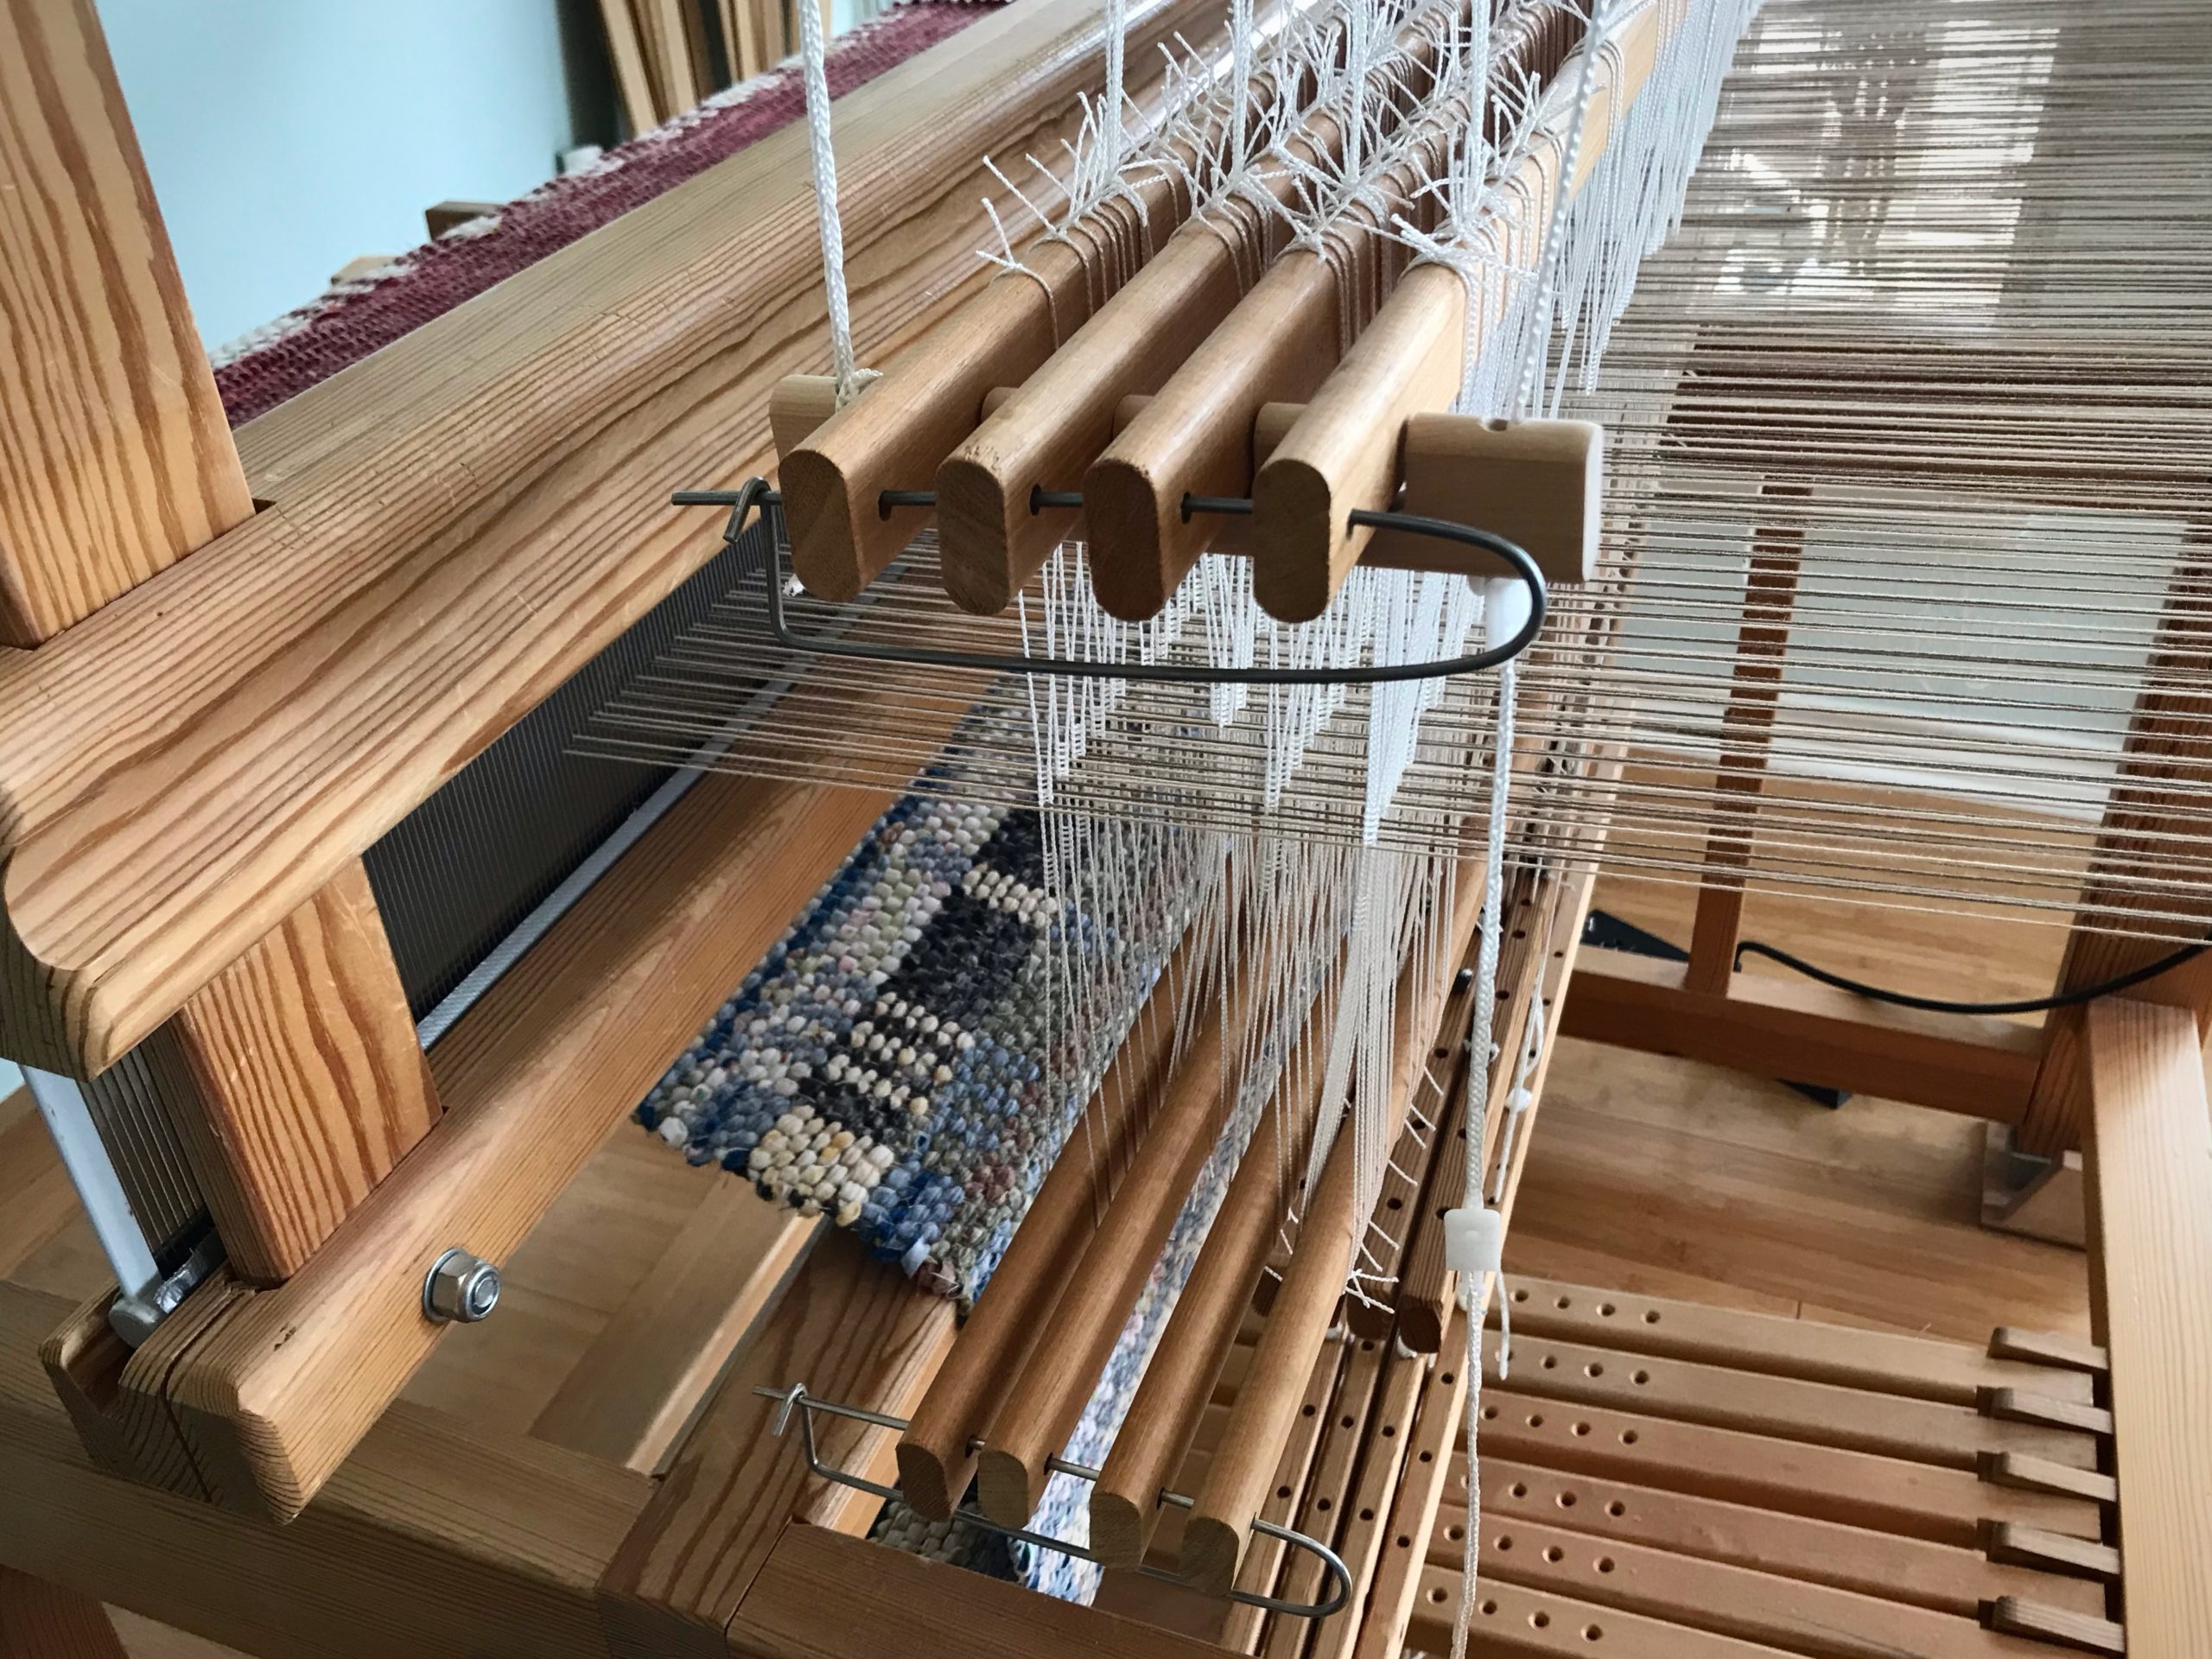
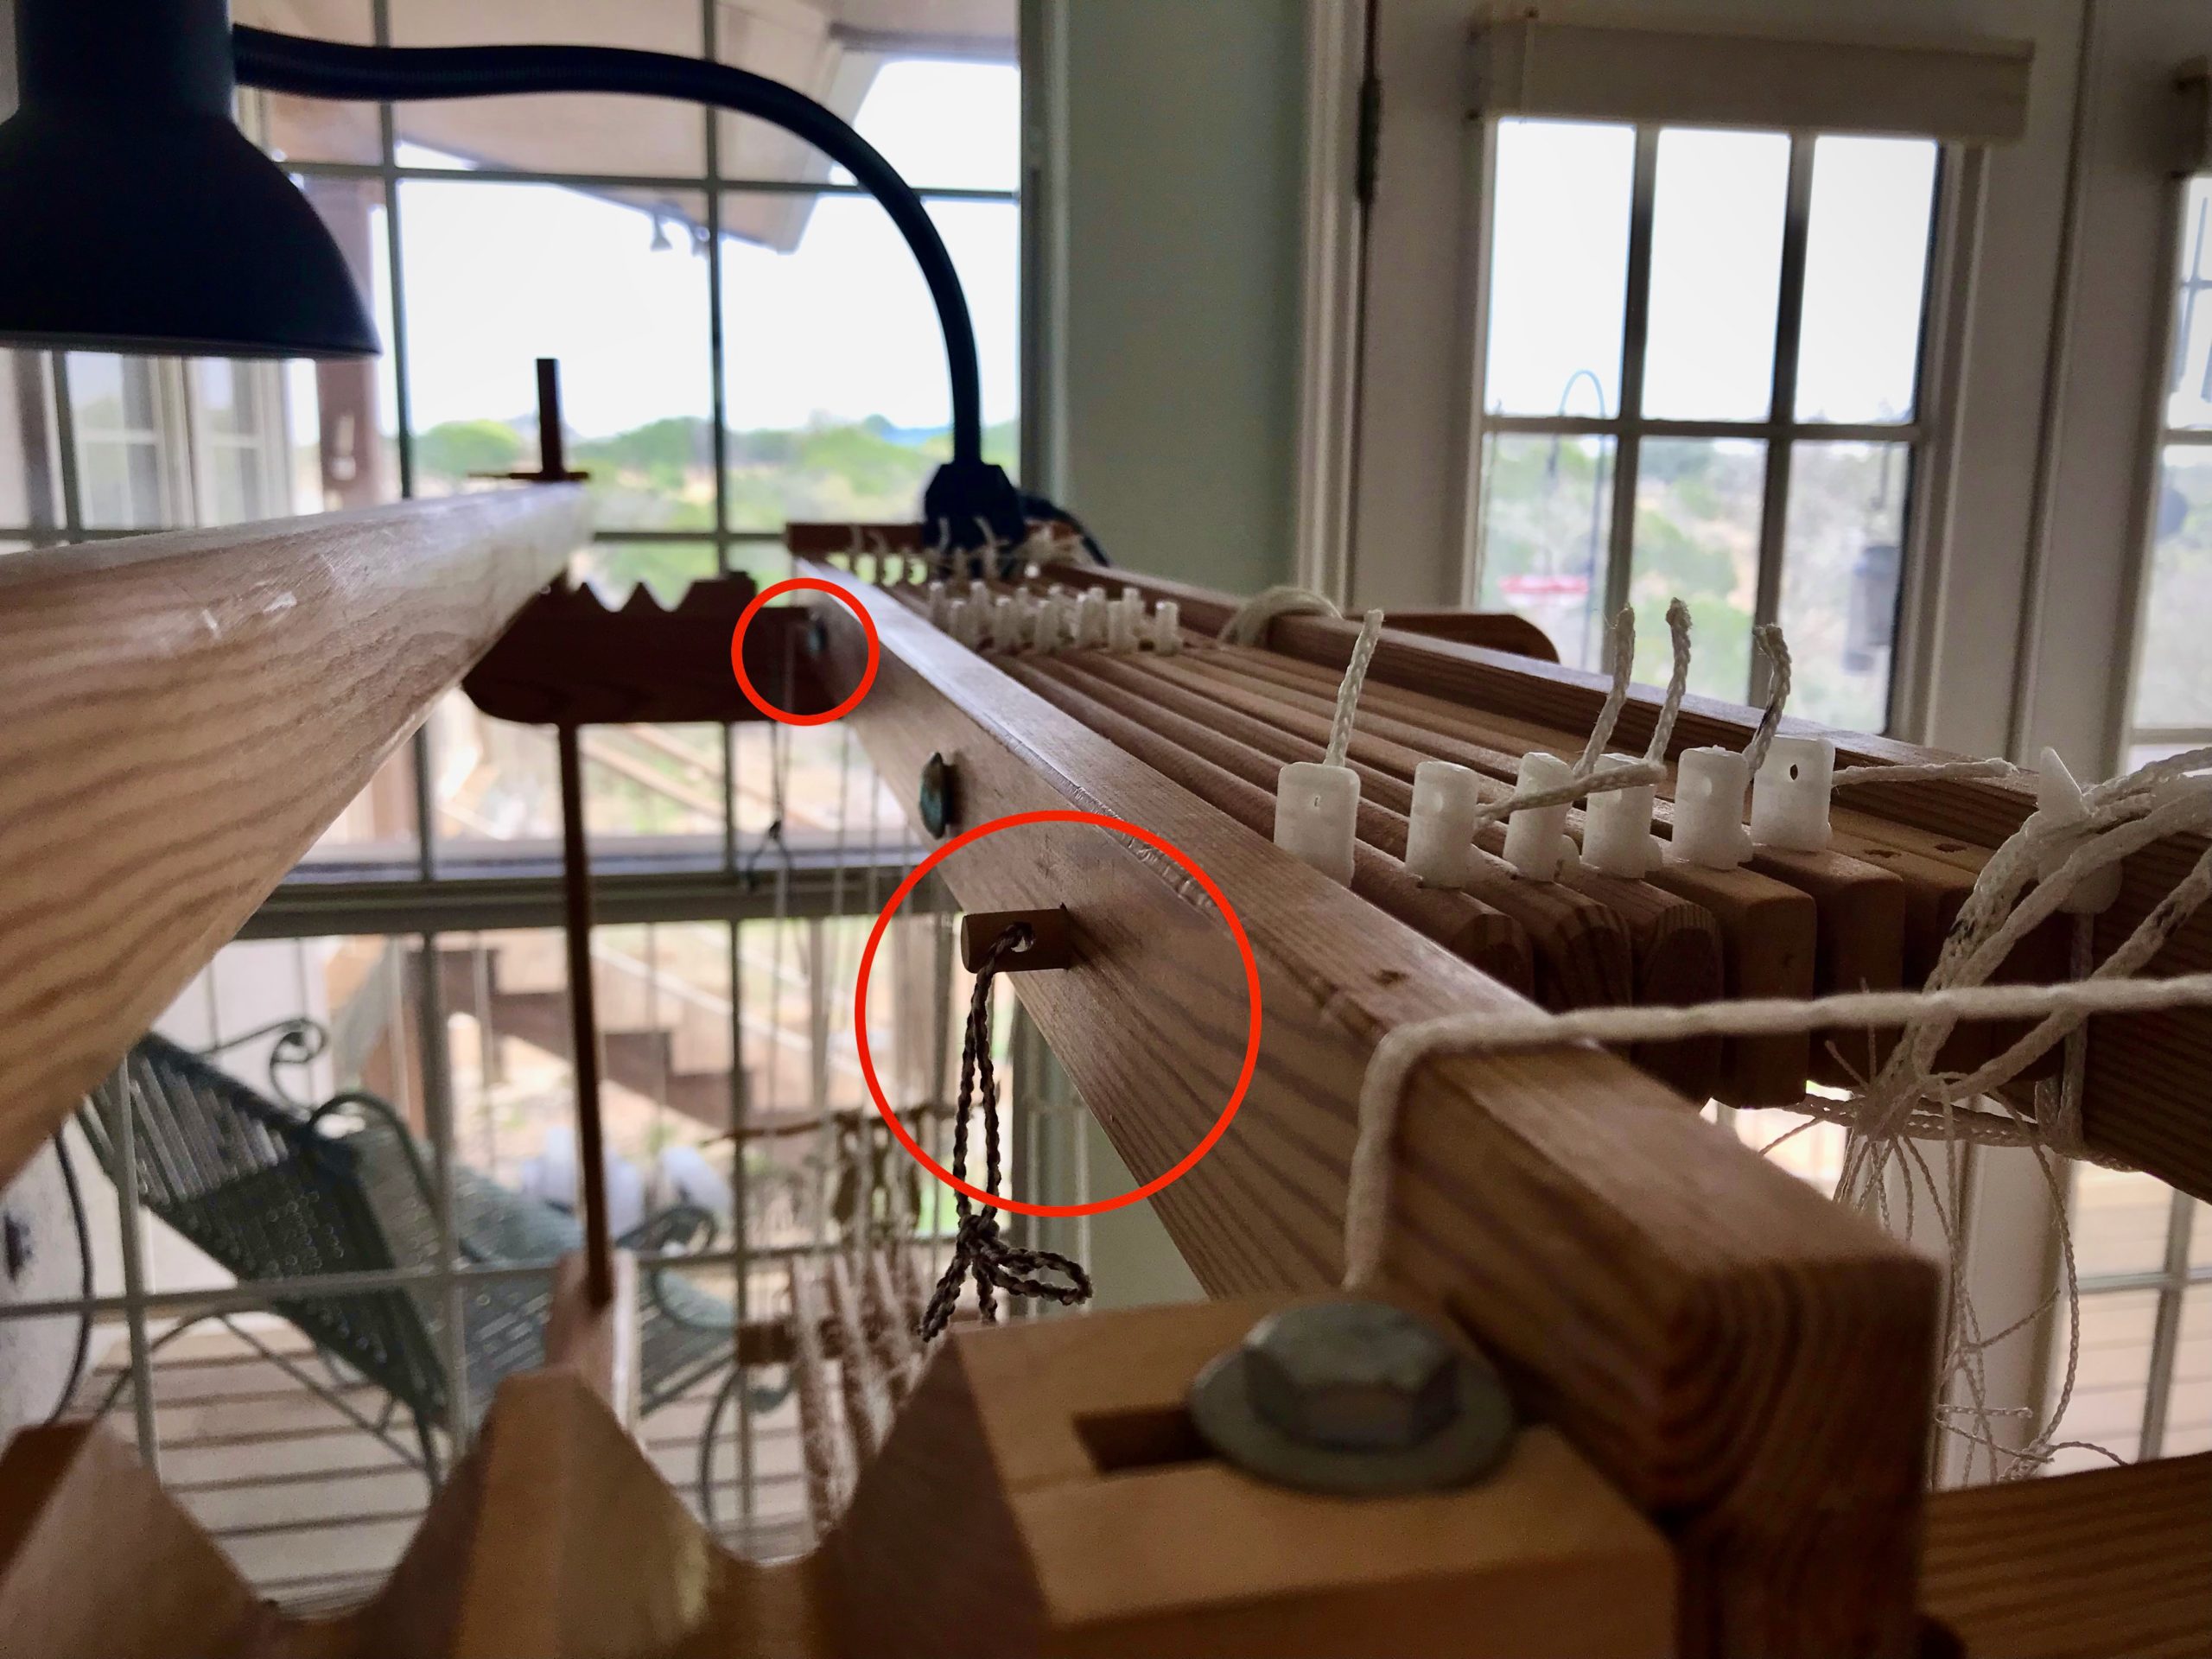
Secure everything before cutting off. Shaft bars are in shaft holders and shaft pins are put back in place.
Countermarch locking pins on this Glimåkra Ideal are wooden dowels that go through the all the holes in the countermarch jacks.
Tension on the warp is released at the back ratchet and front ratchet.
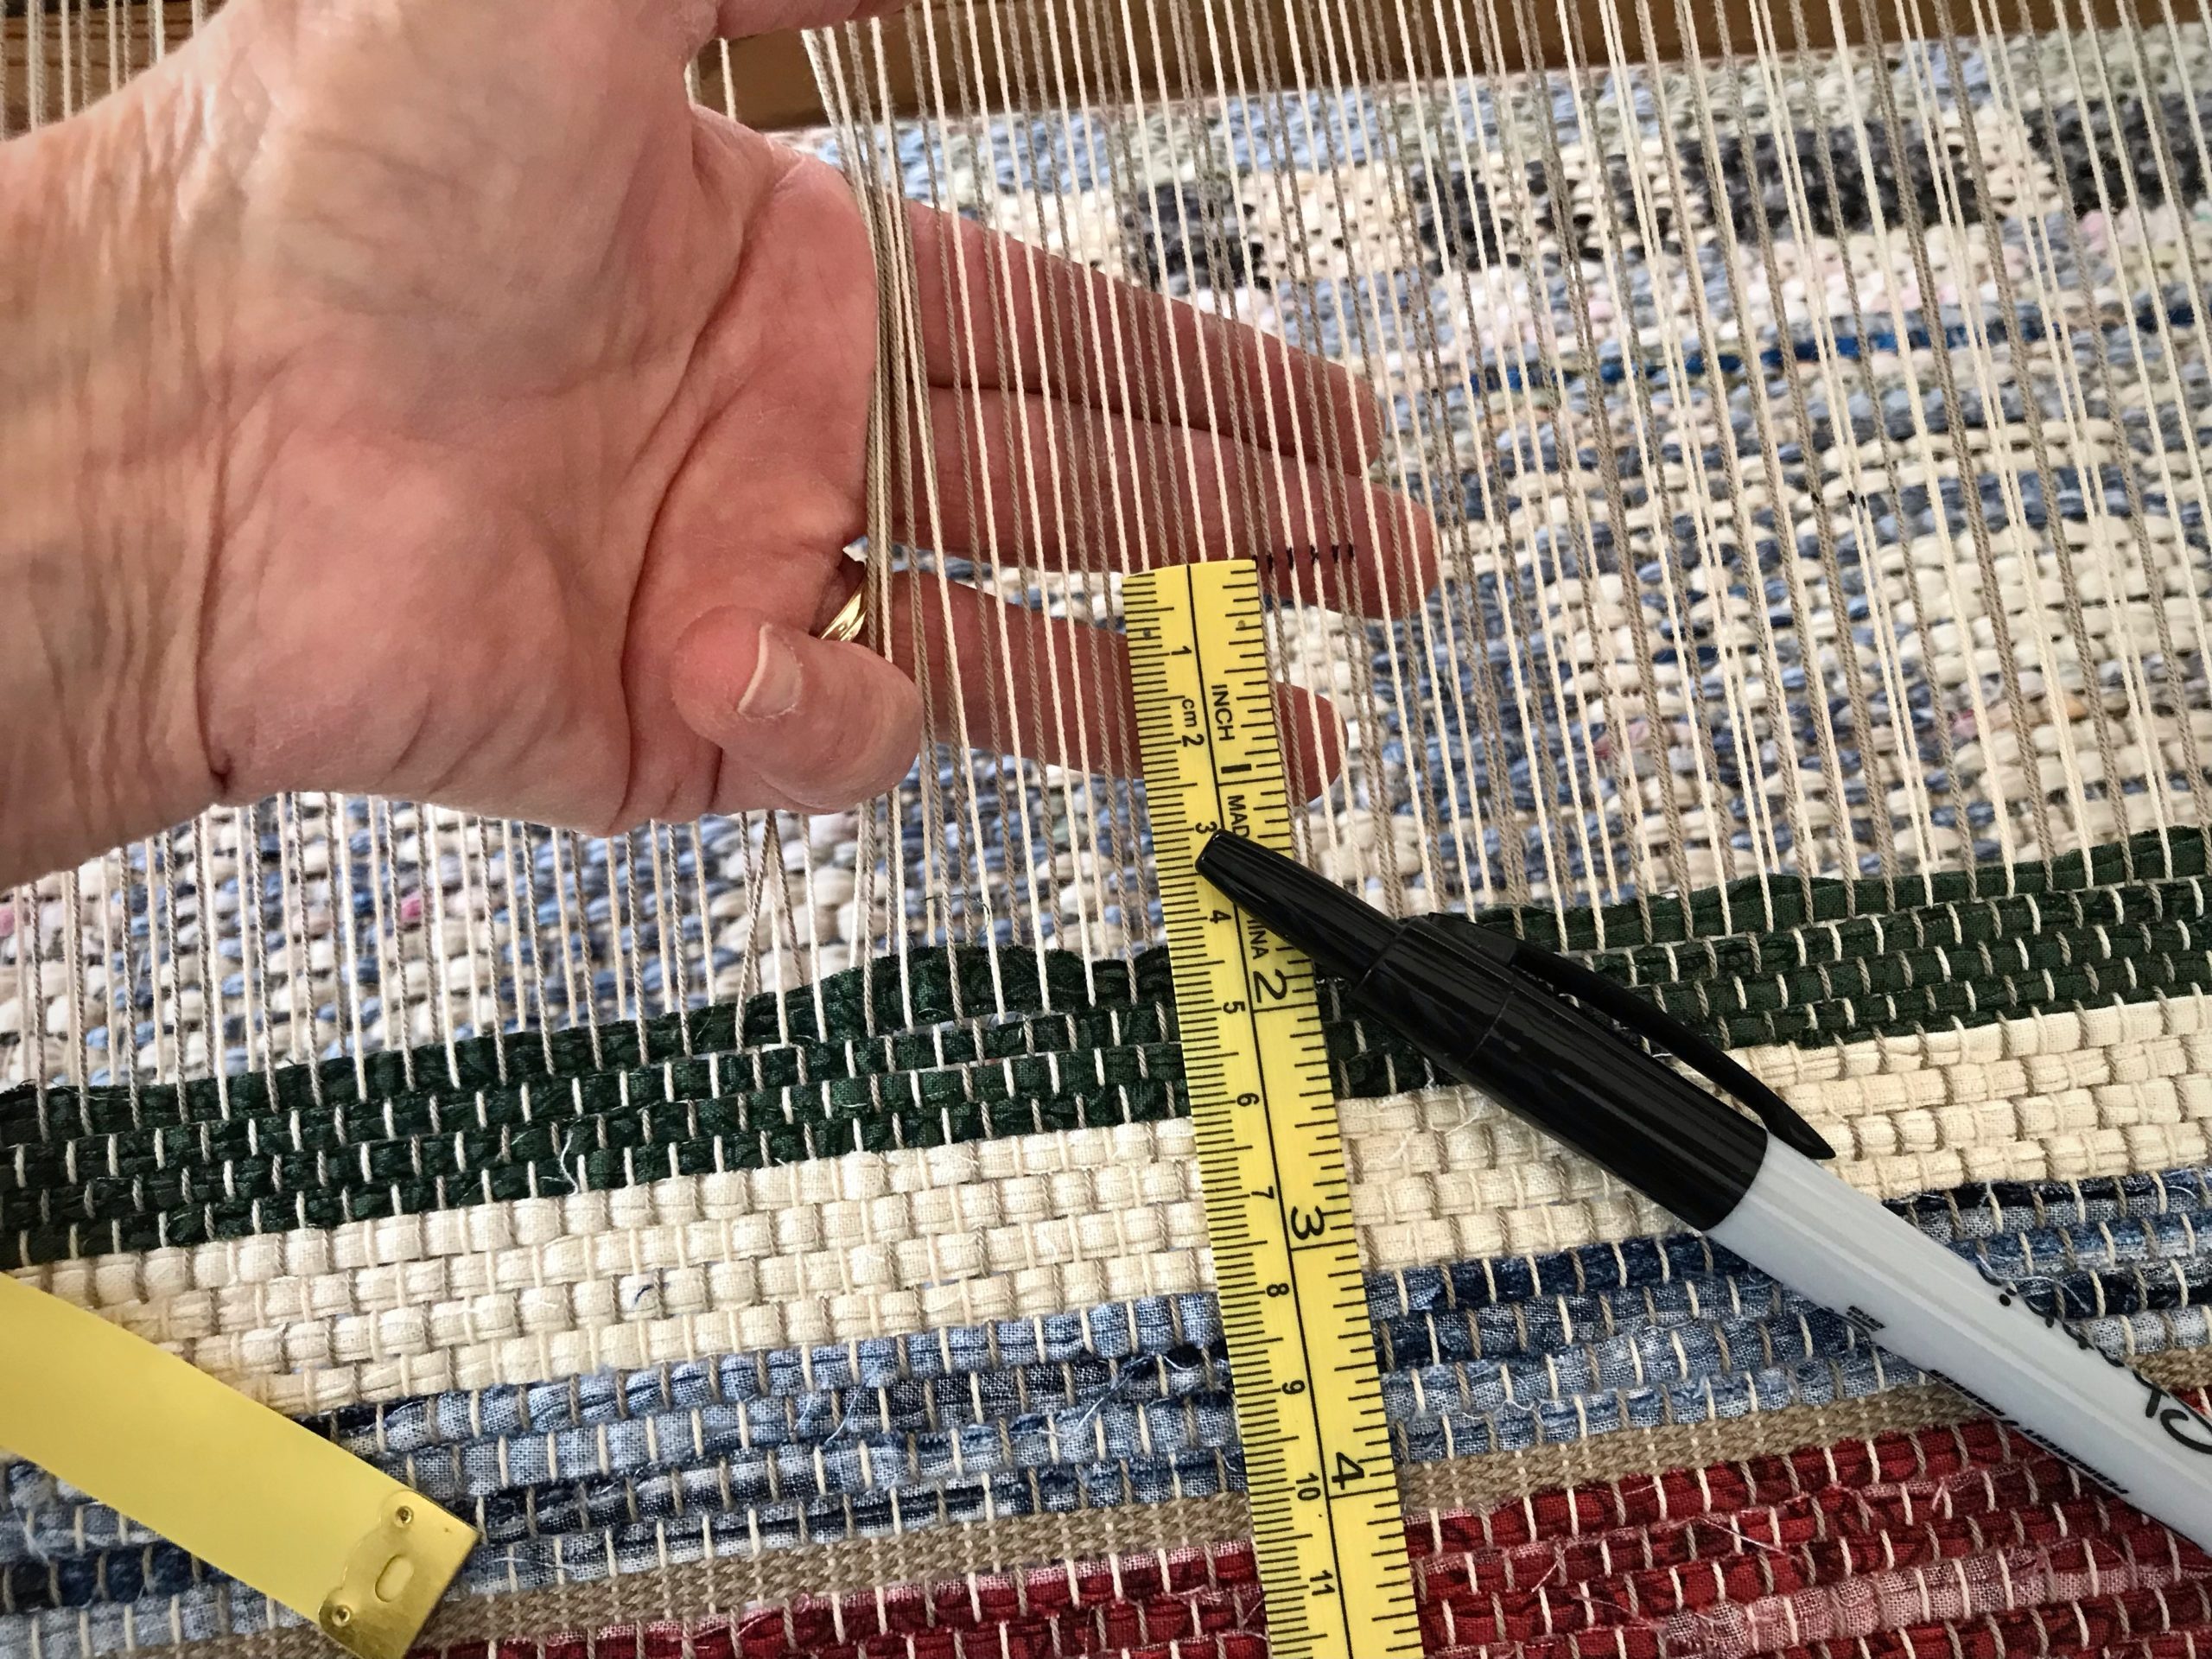
  • Mark a cutting line across the warp with a black marker. Allow at least 10 centimeters (4 inches) beyond the rug’s warp-thread header for tying knots later that will secure the weft.
Mark a cutting line across the warp. Leave enough warp at the end of the rug to tie overhand knots to secure the weft.
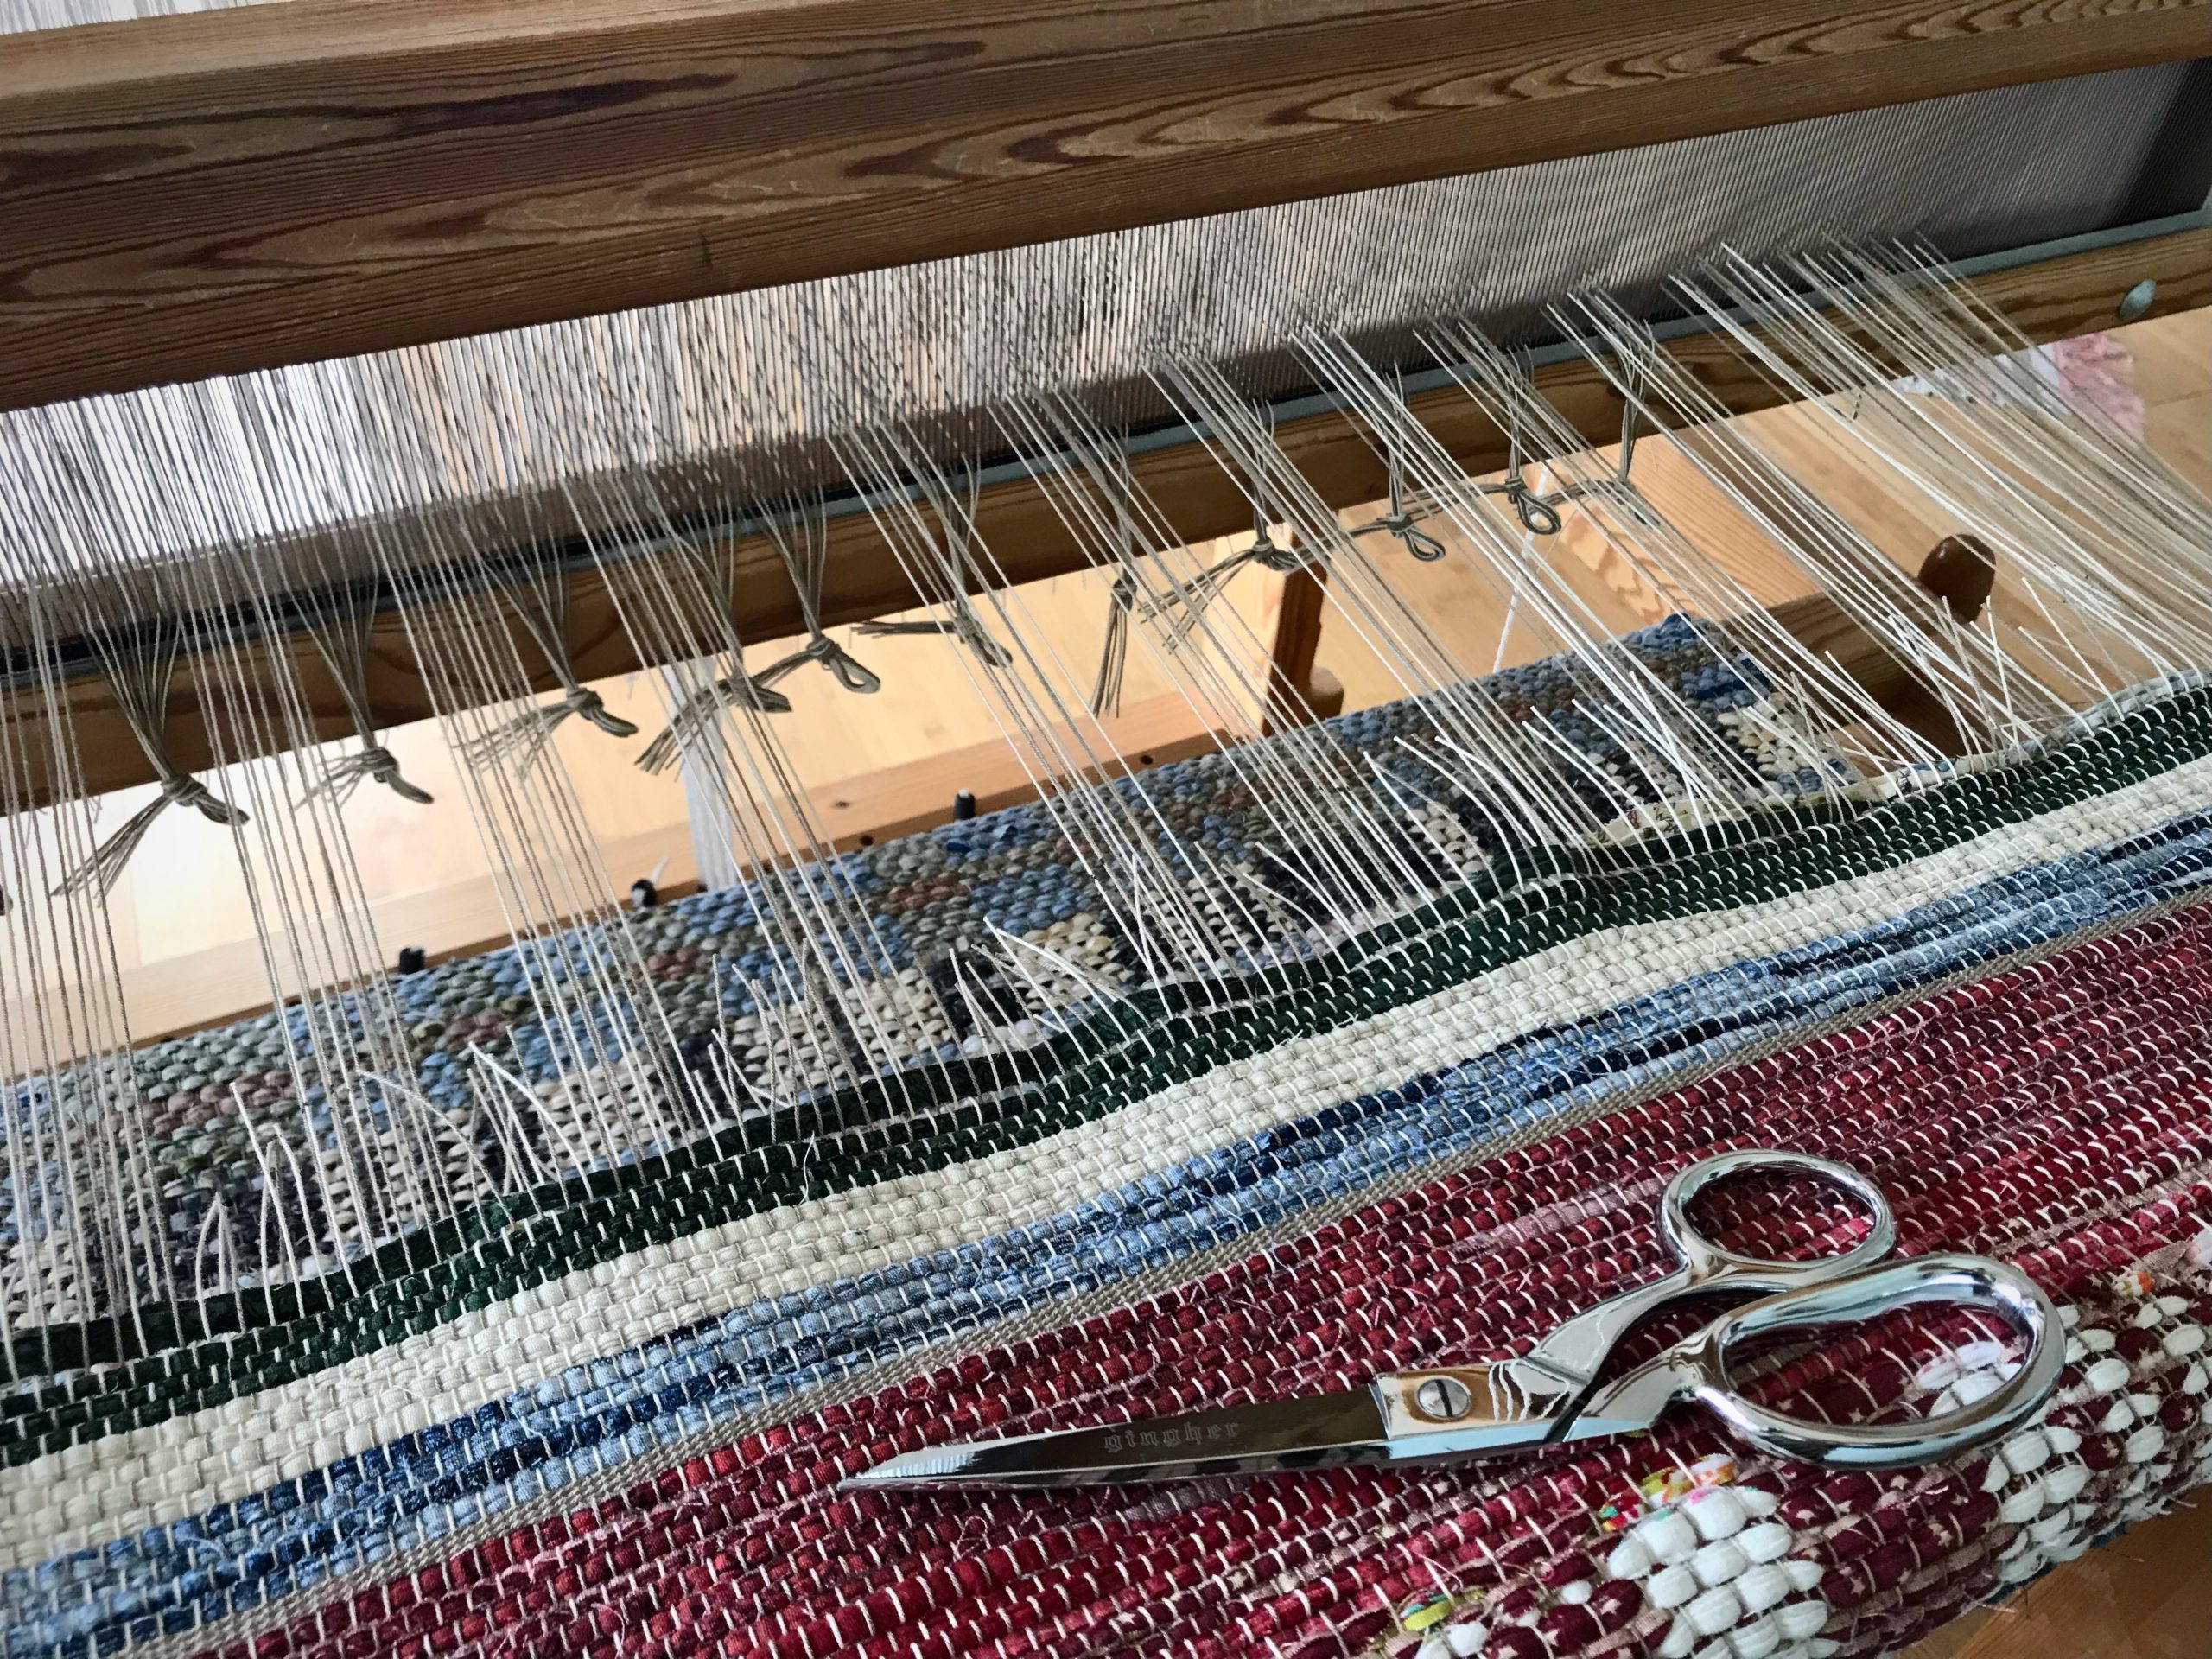
  • With tying back on in mind, cut one group of ends and skip the next group of ends. Continue across the warp, alternating cut and uncut groups of ends. Tie groups of cut ends in slipknots as you go.
By spacing out the cut ends, the weight of the rug is evenly distributed. There is less pulling and distortion while cutting off. At the same time I am preparing groups of ends for tying back on.
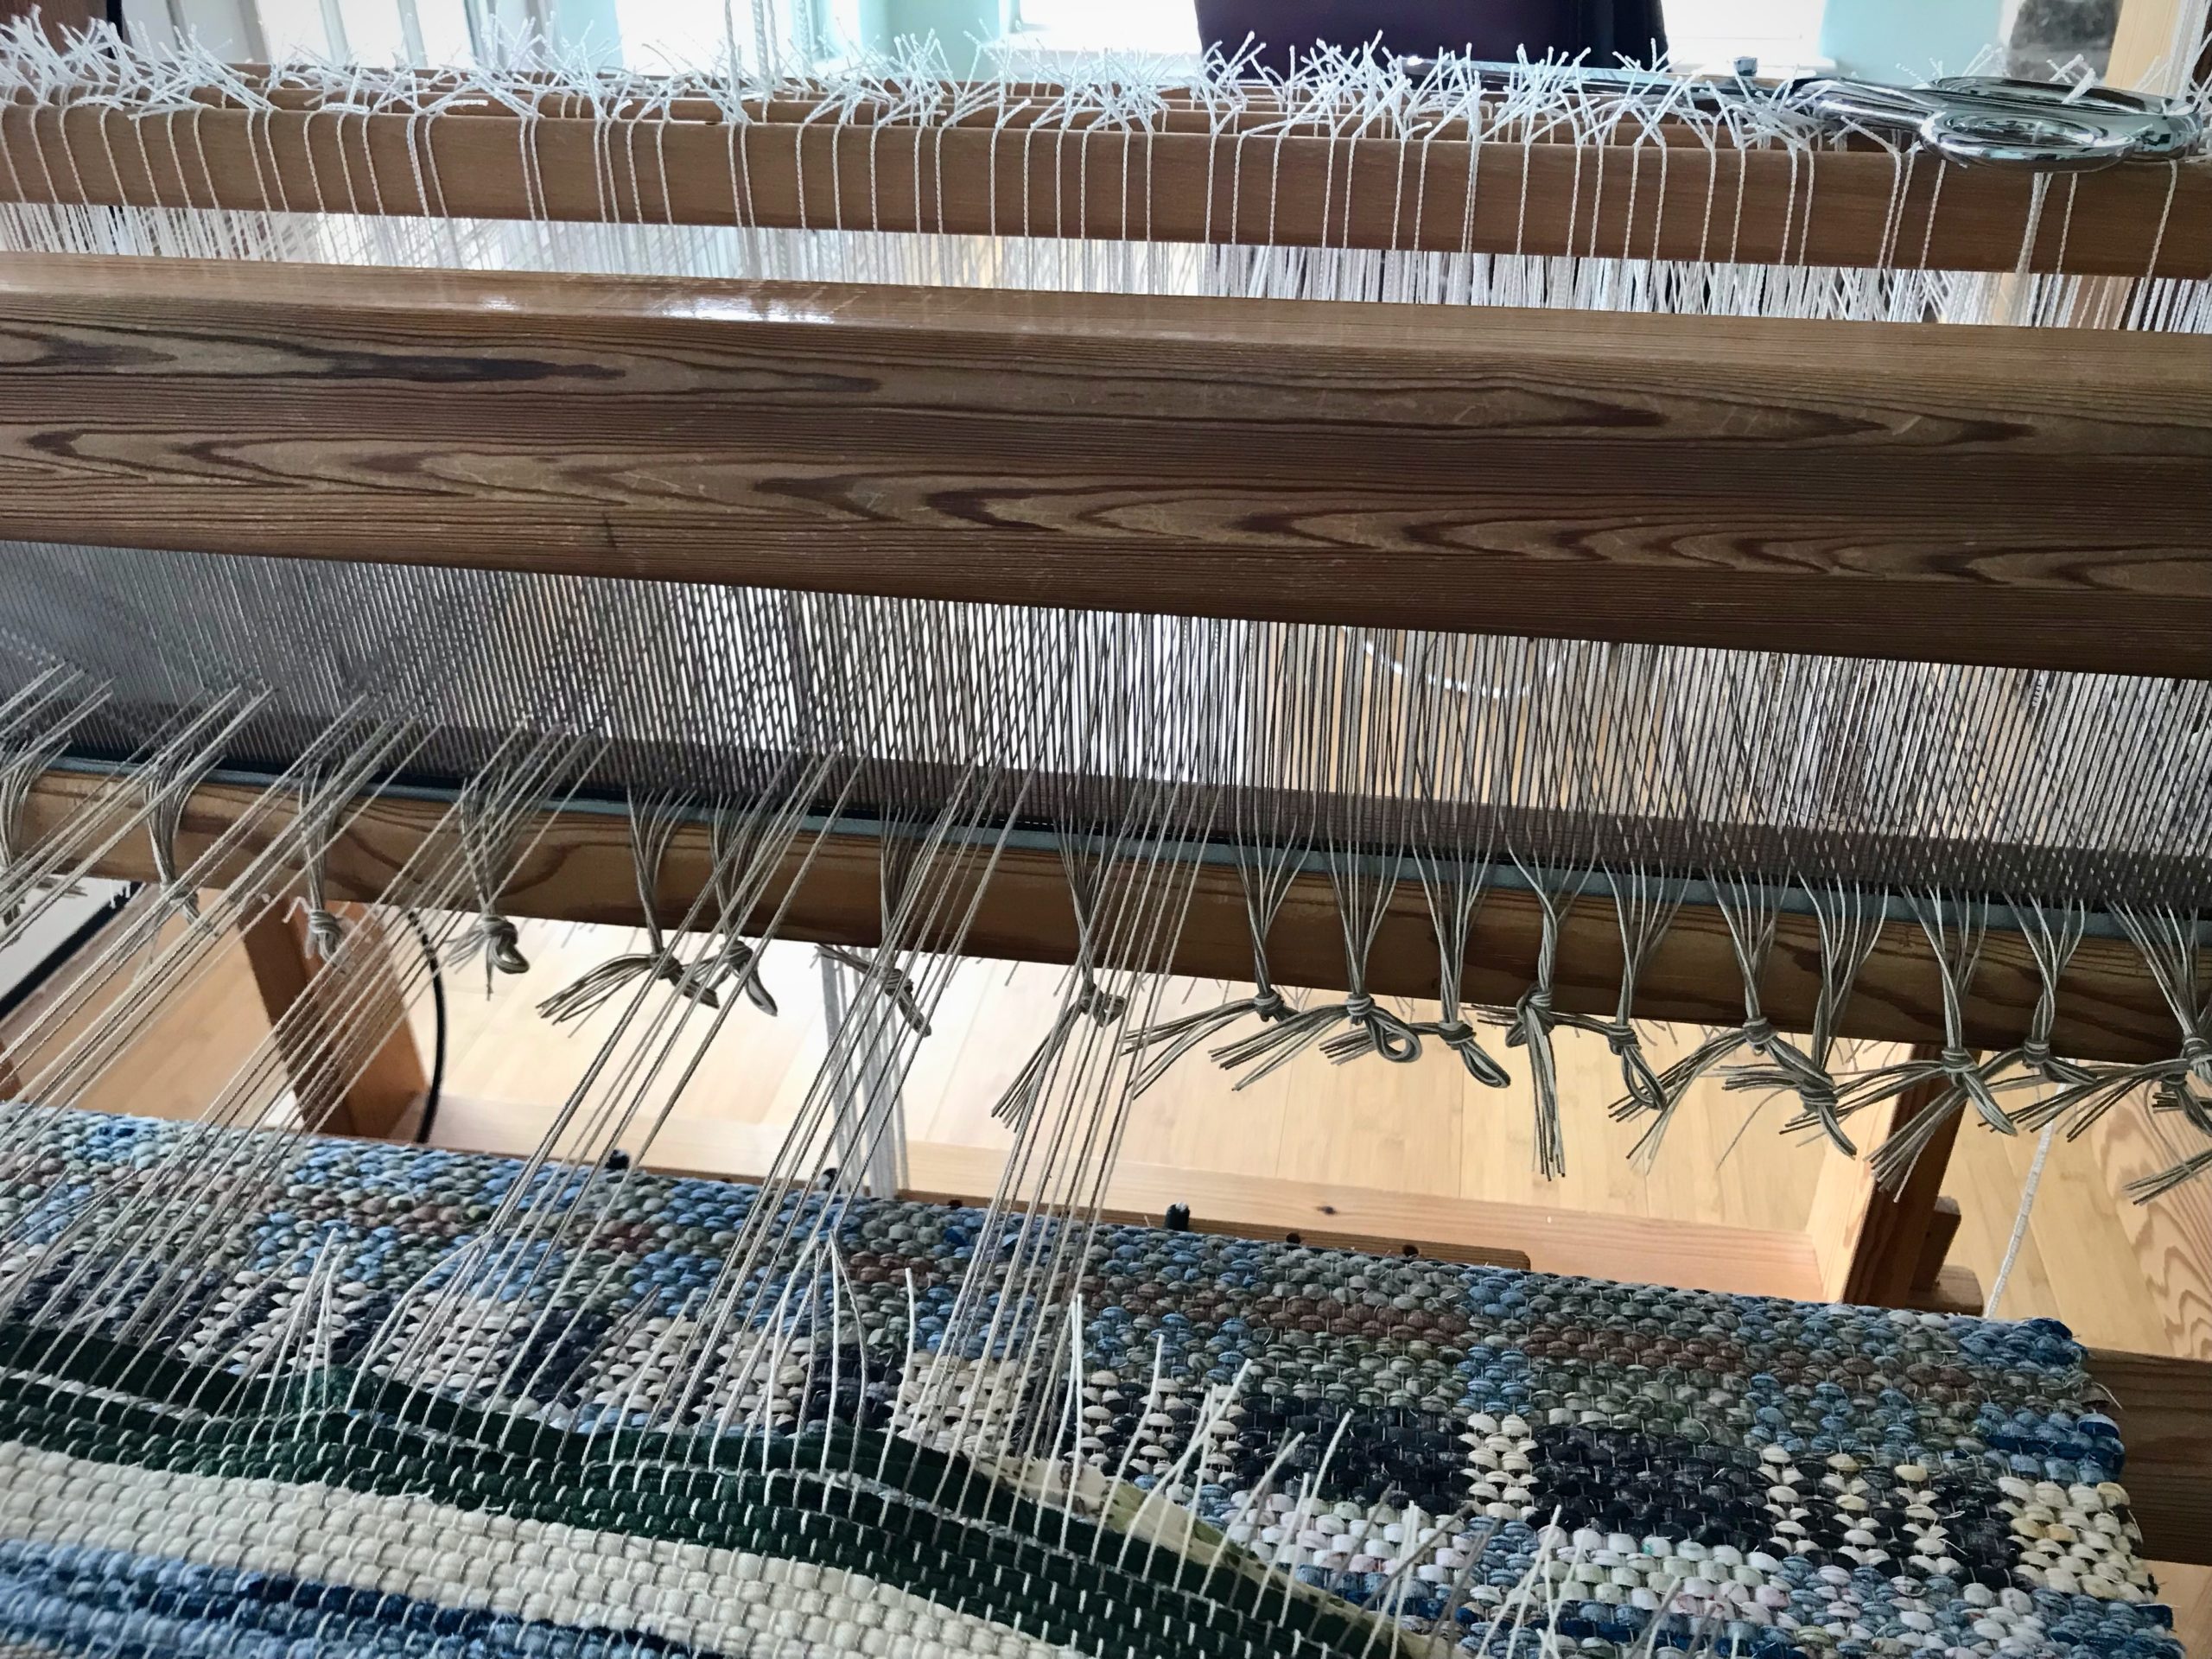
  • Make a second pass, cutting the remaining groups of ends, and tying them in slipknots.
Continue cutting off groups of ends.
  • Unroll the rug from the cloth beam. Take a photograph.
First look at the back of the rug.
  • Lay the rug out on the floor. Ooh and aah.
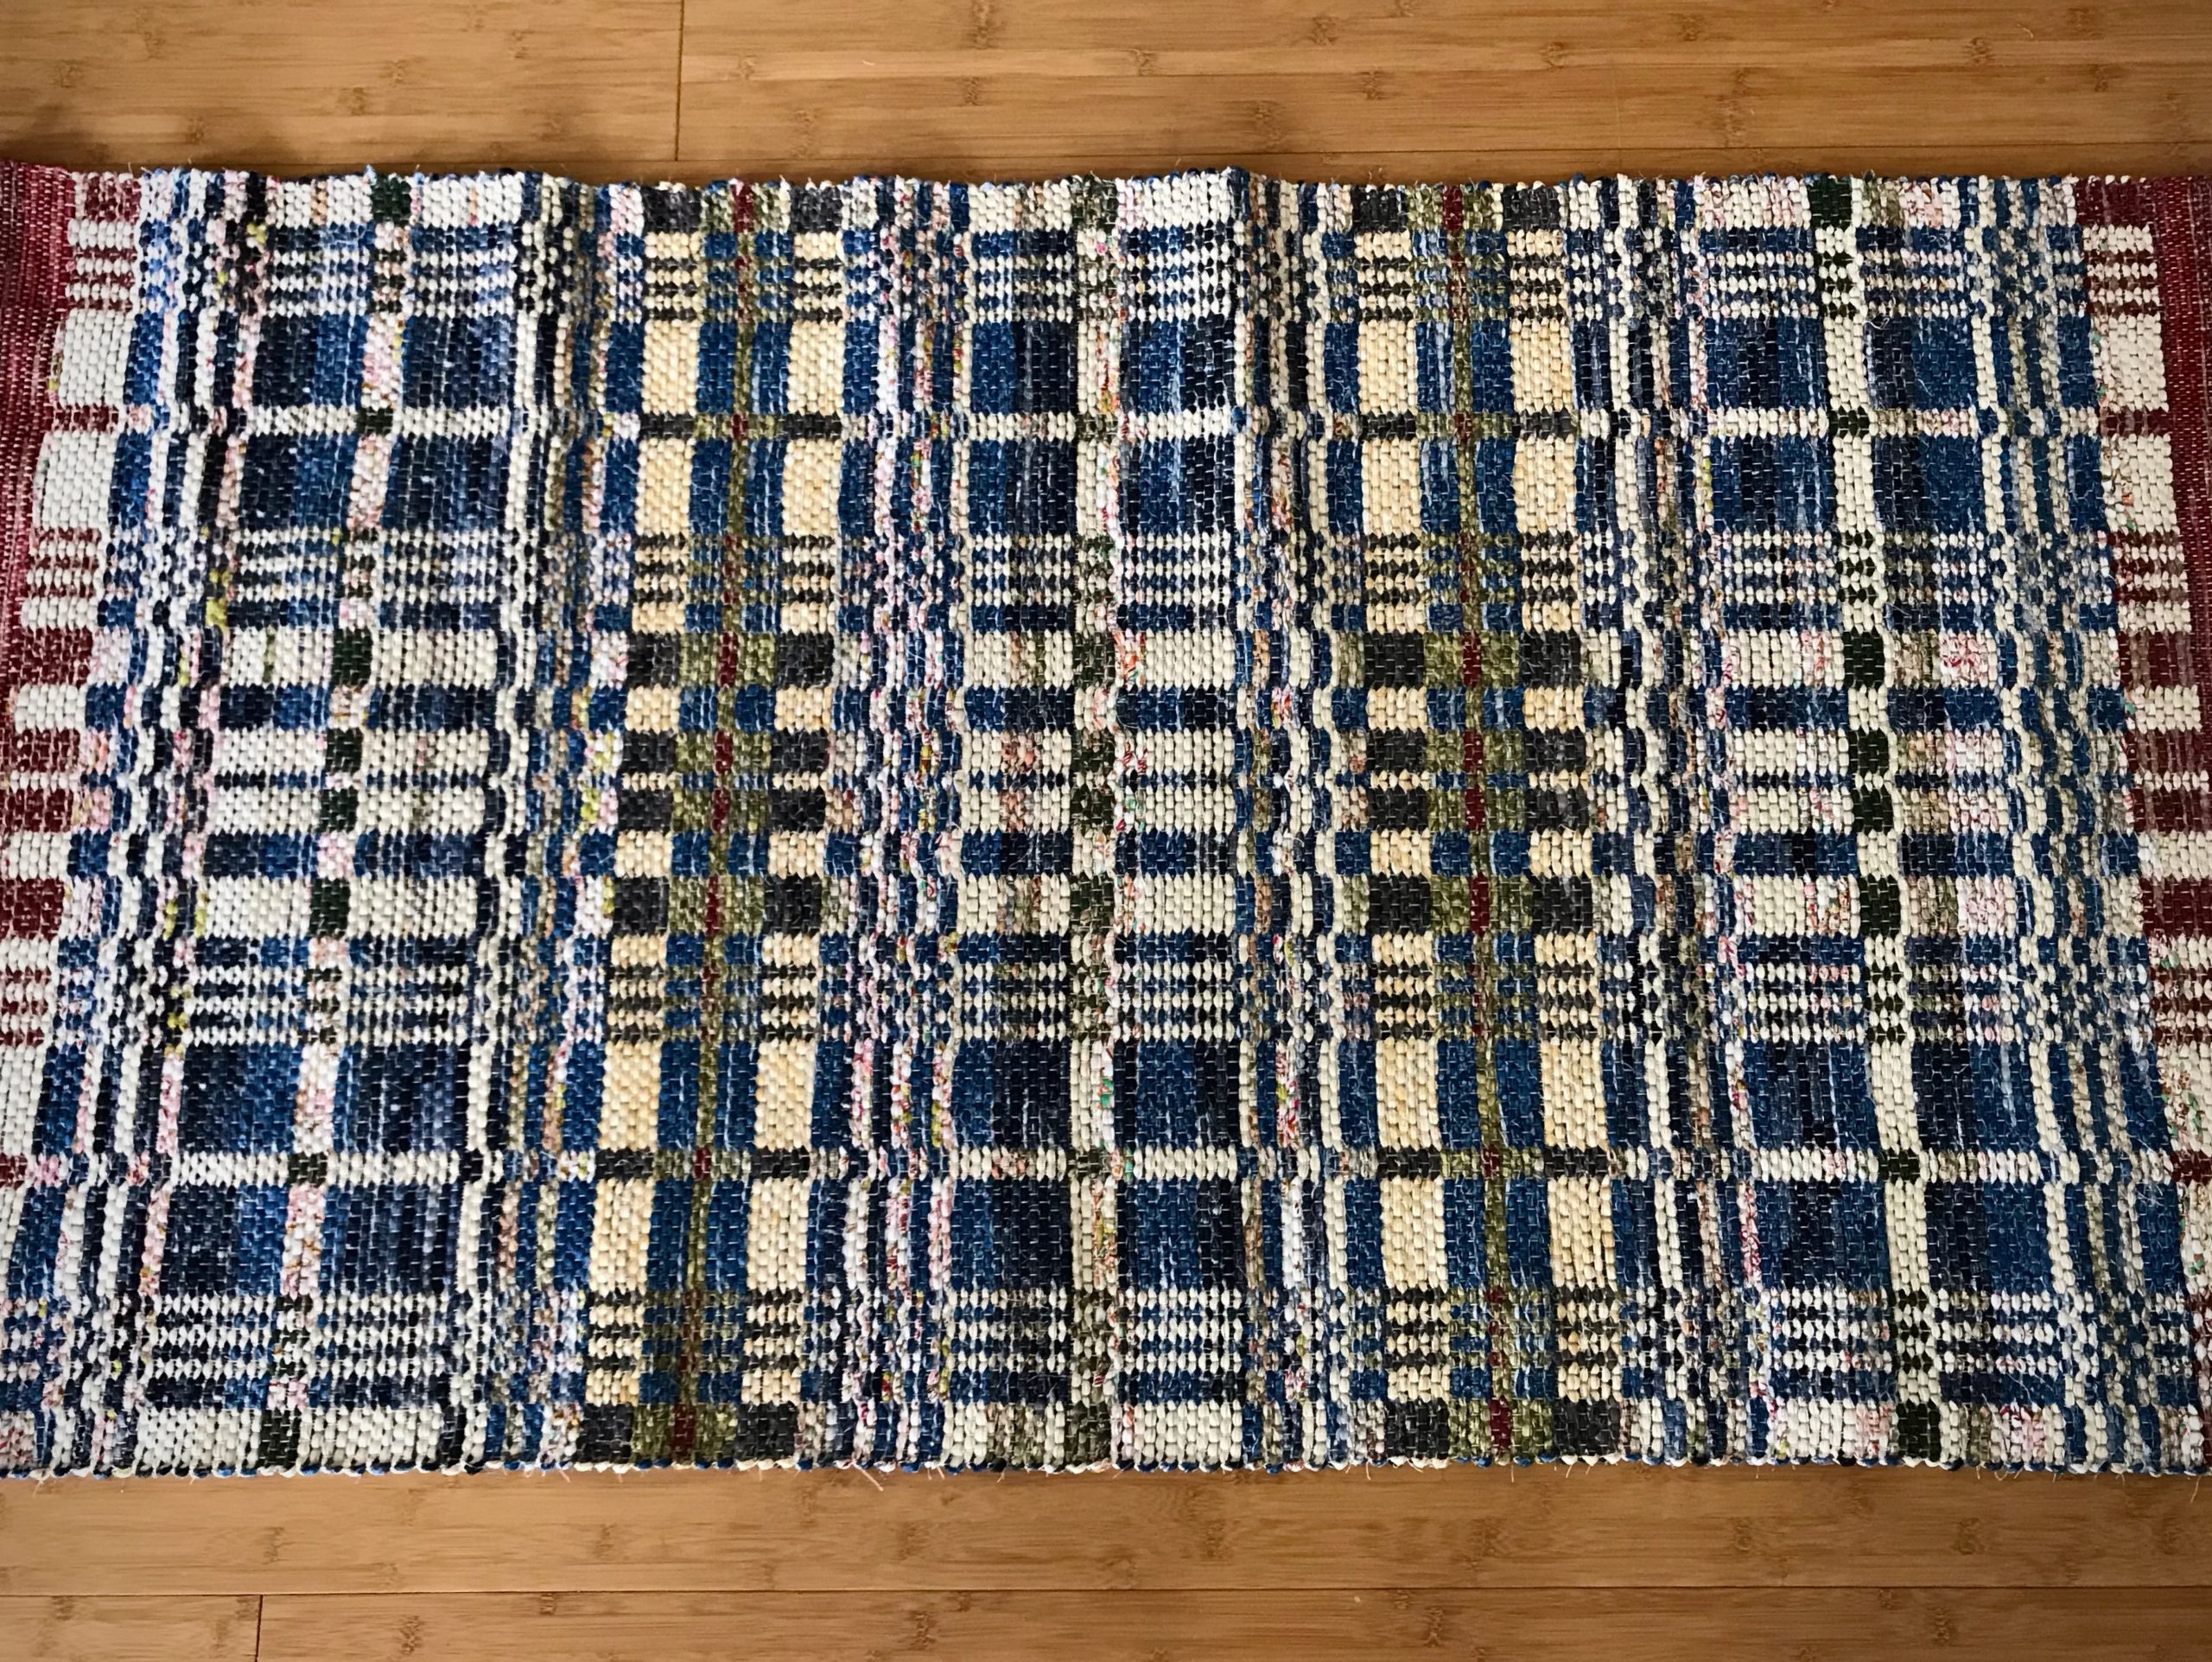
Double-binding rag rug, ready for finishing and hemming! I let the rug rest on the floor for a couple days to let the warp and weft relax. Next step is to tie ends into overhand knots.

May you get a fresh start whenever you need it.

Happy Weaving,
Karen

Tried and True: Rag Rug Block Party!

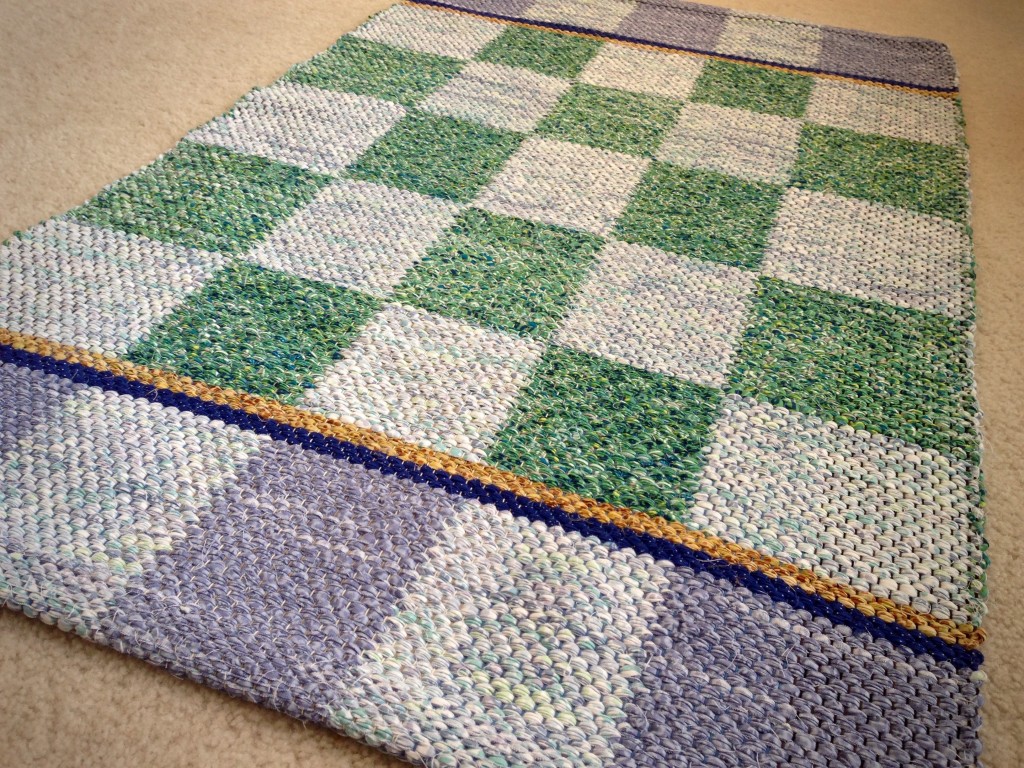
I am happy to say that with only four shafts we have exactly what we need for a checkerboard rag rug. Thank you to Megan for asking about it. ”I am searching for a 4-shaft draft for a checkboard pattern. I am limited to only 4 shafts.” Double binding opens up a world of opportunity!

Checkered rag rug. Karen Isenhower

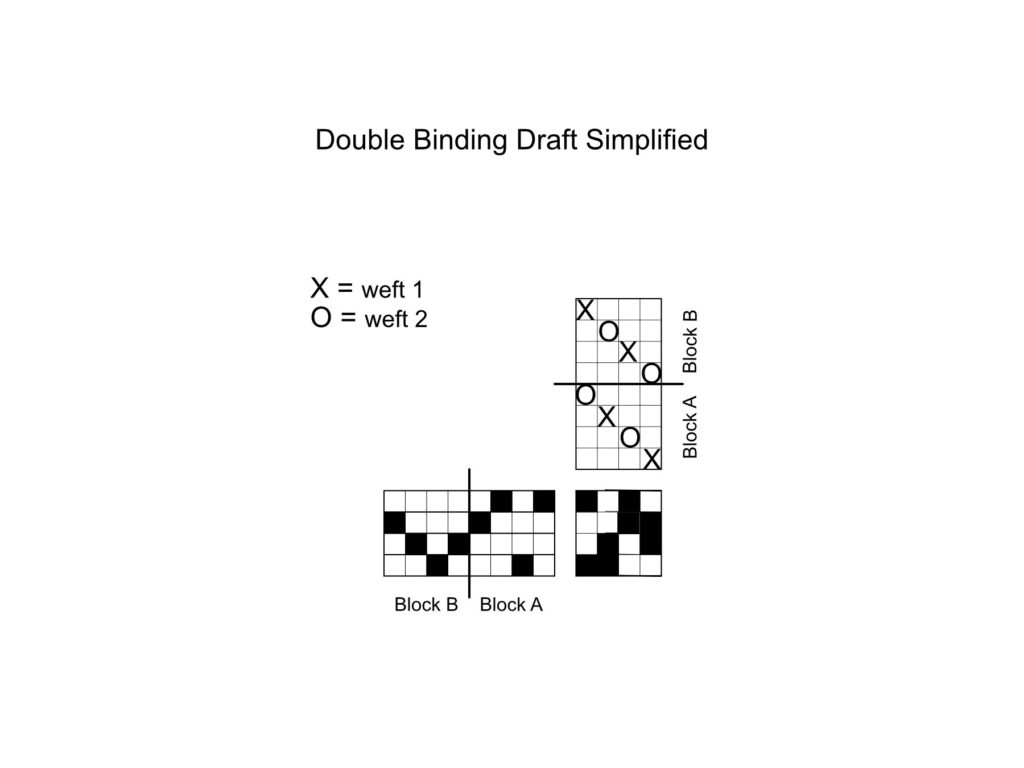
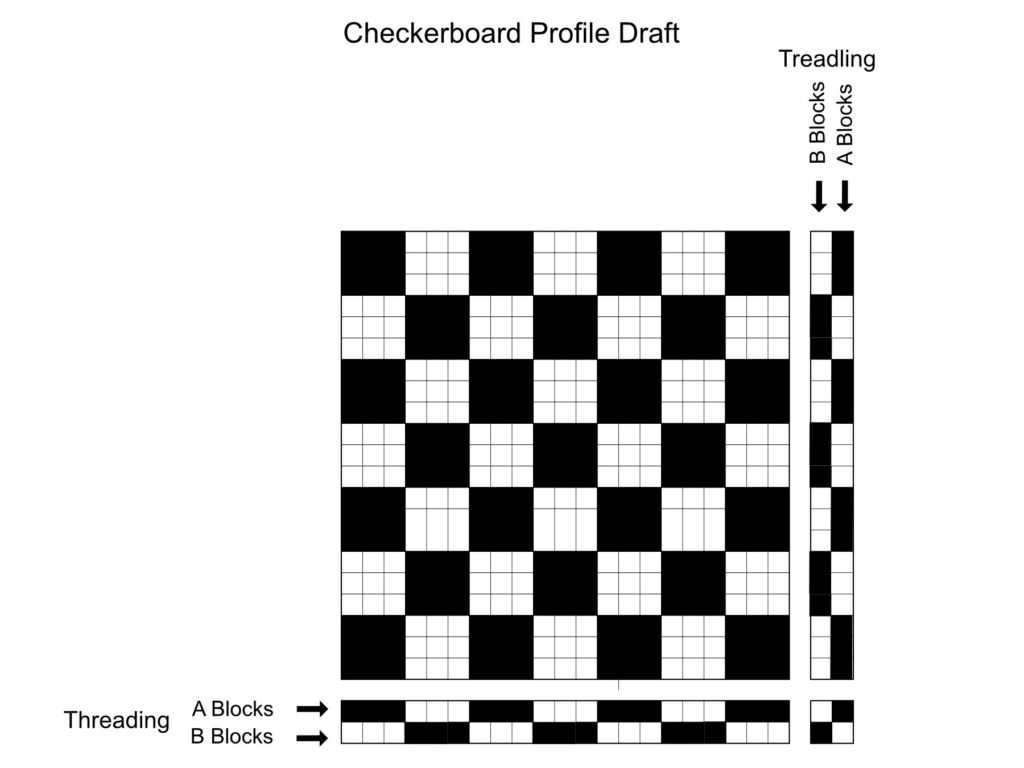
Let’s talk about blocks. A block is a specific sequence of warp ends or weft picks. Double binding on four shafts has two blocks for the warp and two blocks for the weft.

One of several possible threading and tie-up plans for double binding. Add two plain weave treadles if you want to weave plain weave hems.
Plain weave hem starts a new double-binding rag rug.

Have a Block Party!

→ Use graph paper to plan the configuration of your blocks.

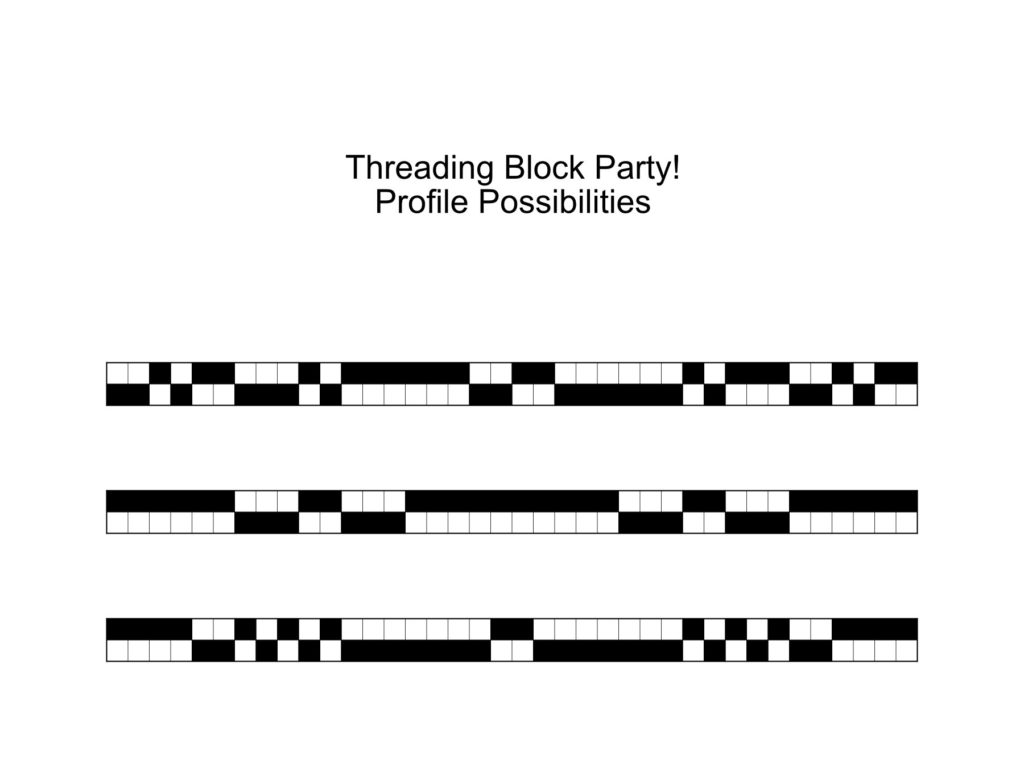
For the threading blocks, use two rows of squares. One row is for Block A and one row is for Block B. Each square on the paper represents one threading unit. You can make a checkerboard pattern by uniformly alternating the A blocks and B blocks. Or, you can make a wildly different geometric pattern by varying the size of alternating blocks. Your two-row graph becomes a profile draft to use as your threading key.

For the weft blocks, use the same arrangement of blocks as for the threading, and turn them vertically for the treadling draft. Or, use your creativity to make a unique configuration of weft blocks. The sky is the limit!

Three possible block configurations for the threading. The bottom example is a part of the sequence for the rug currently on my loom.
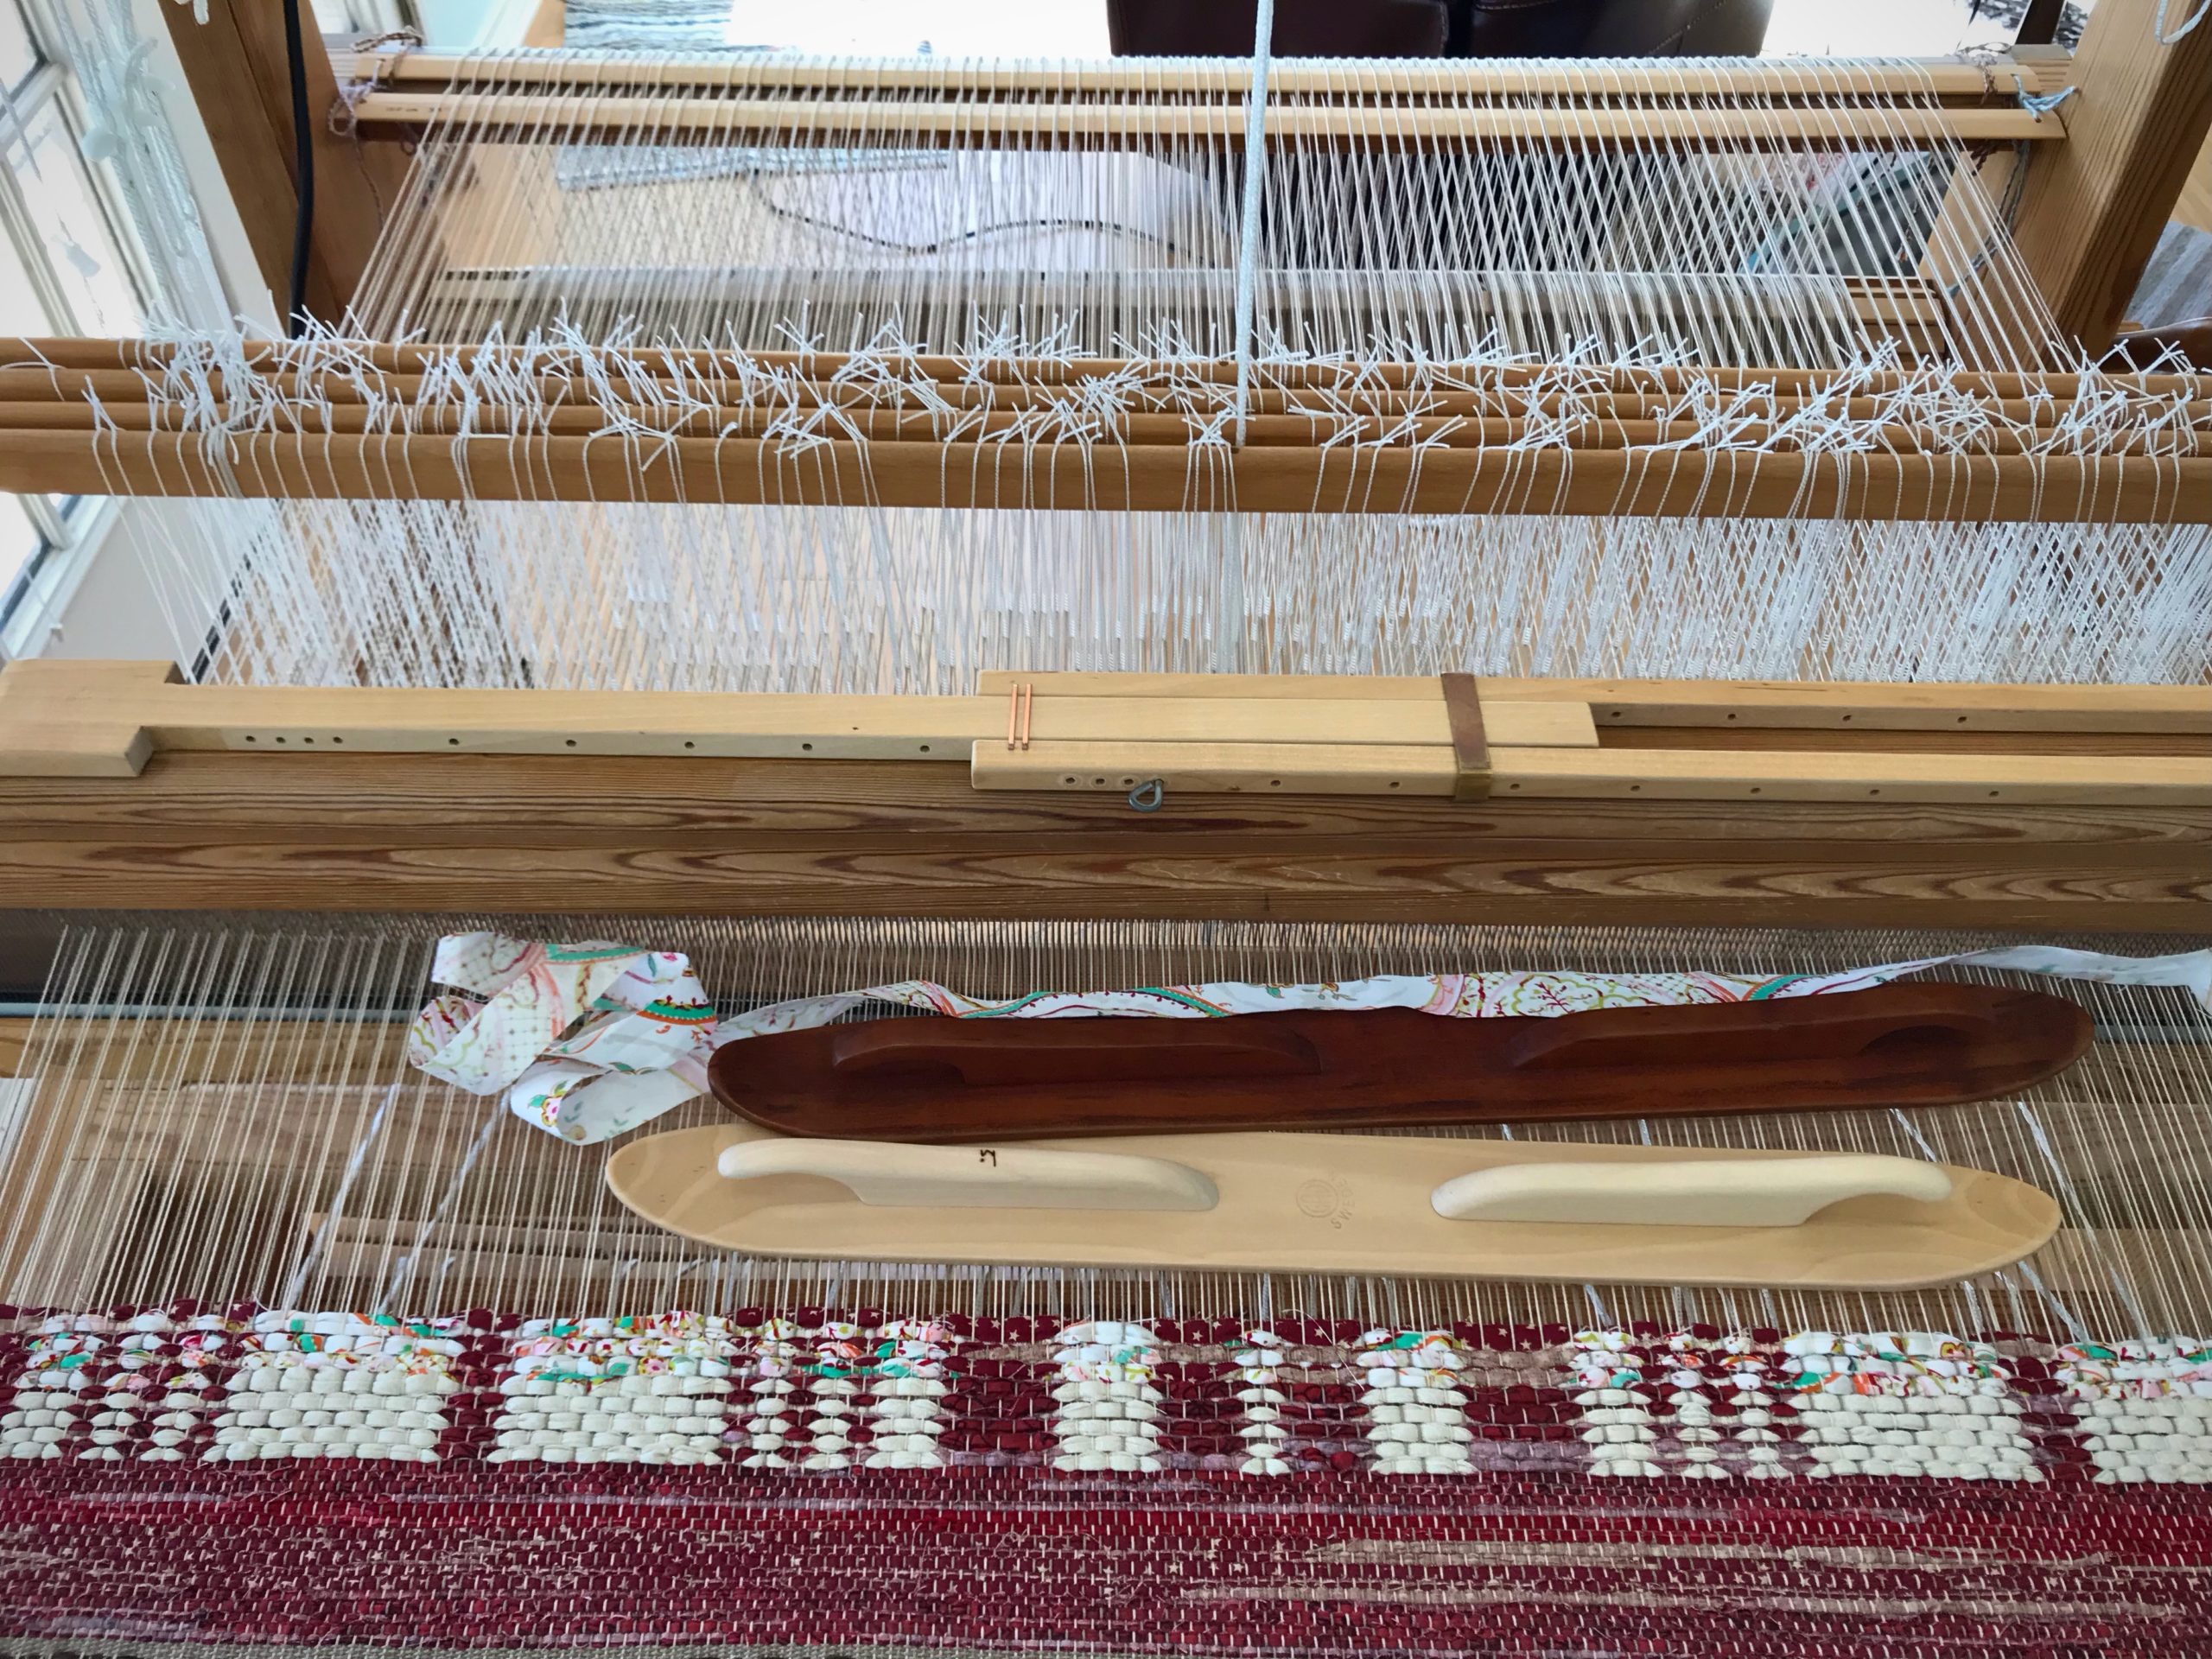
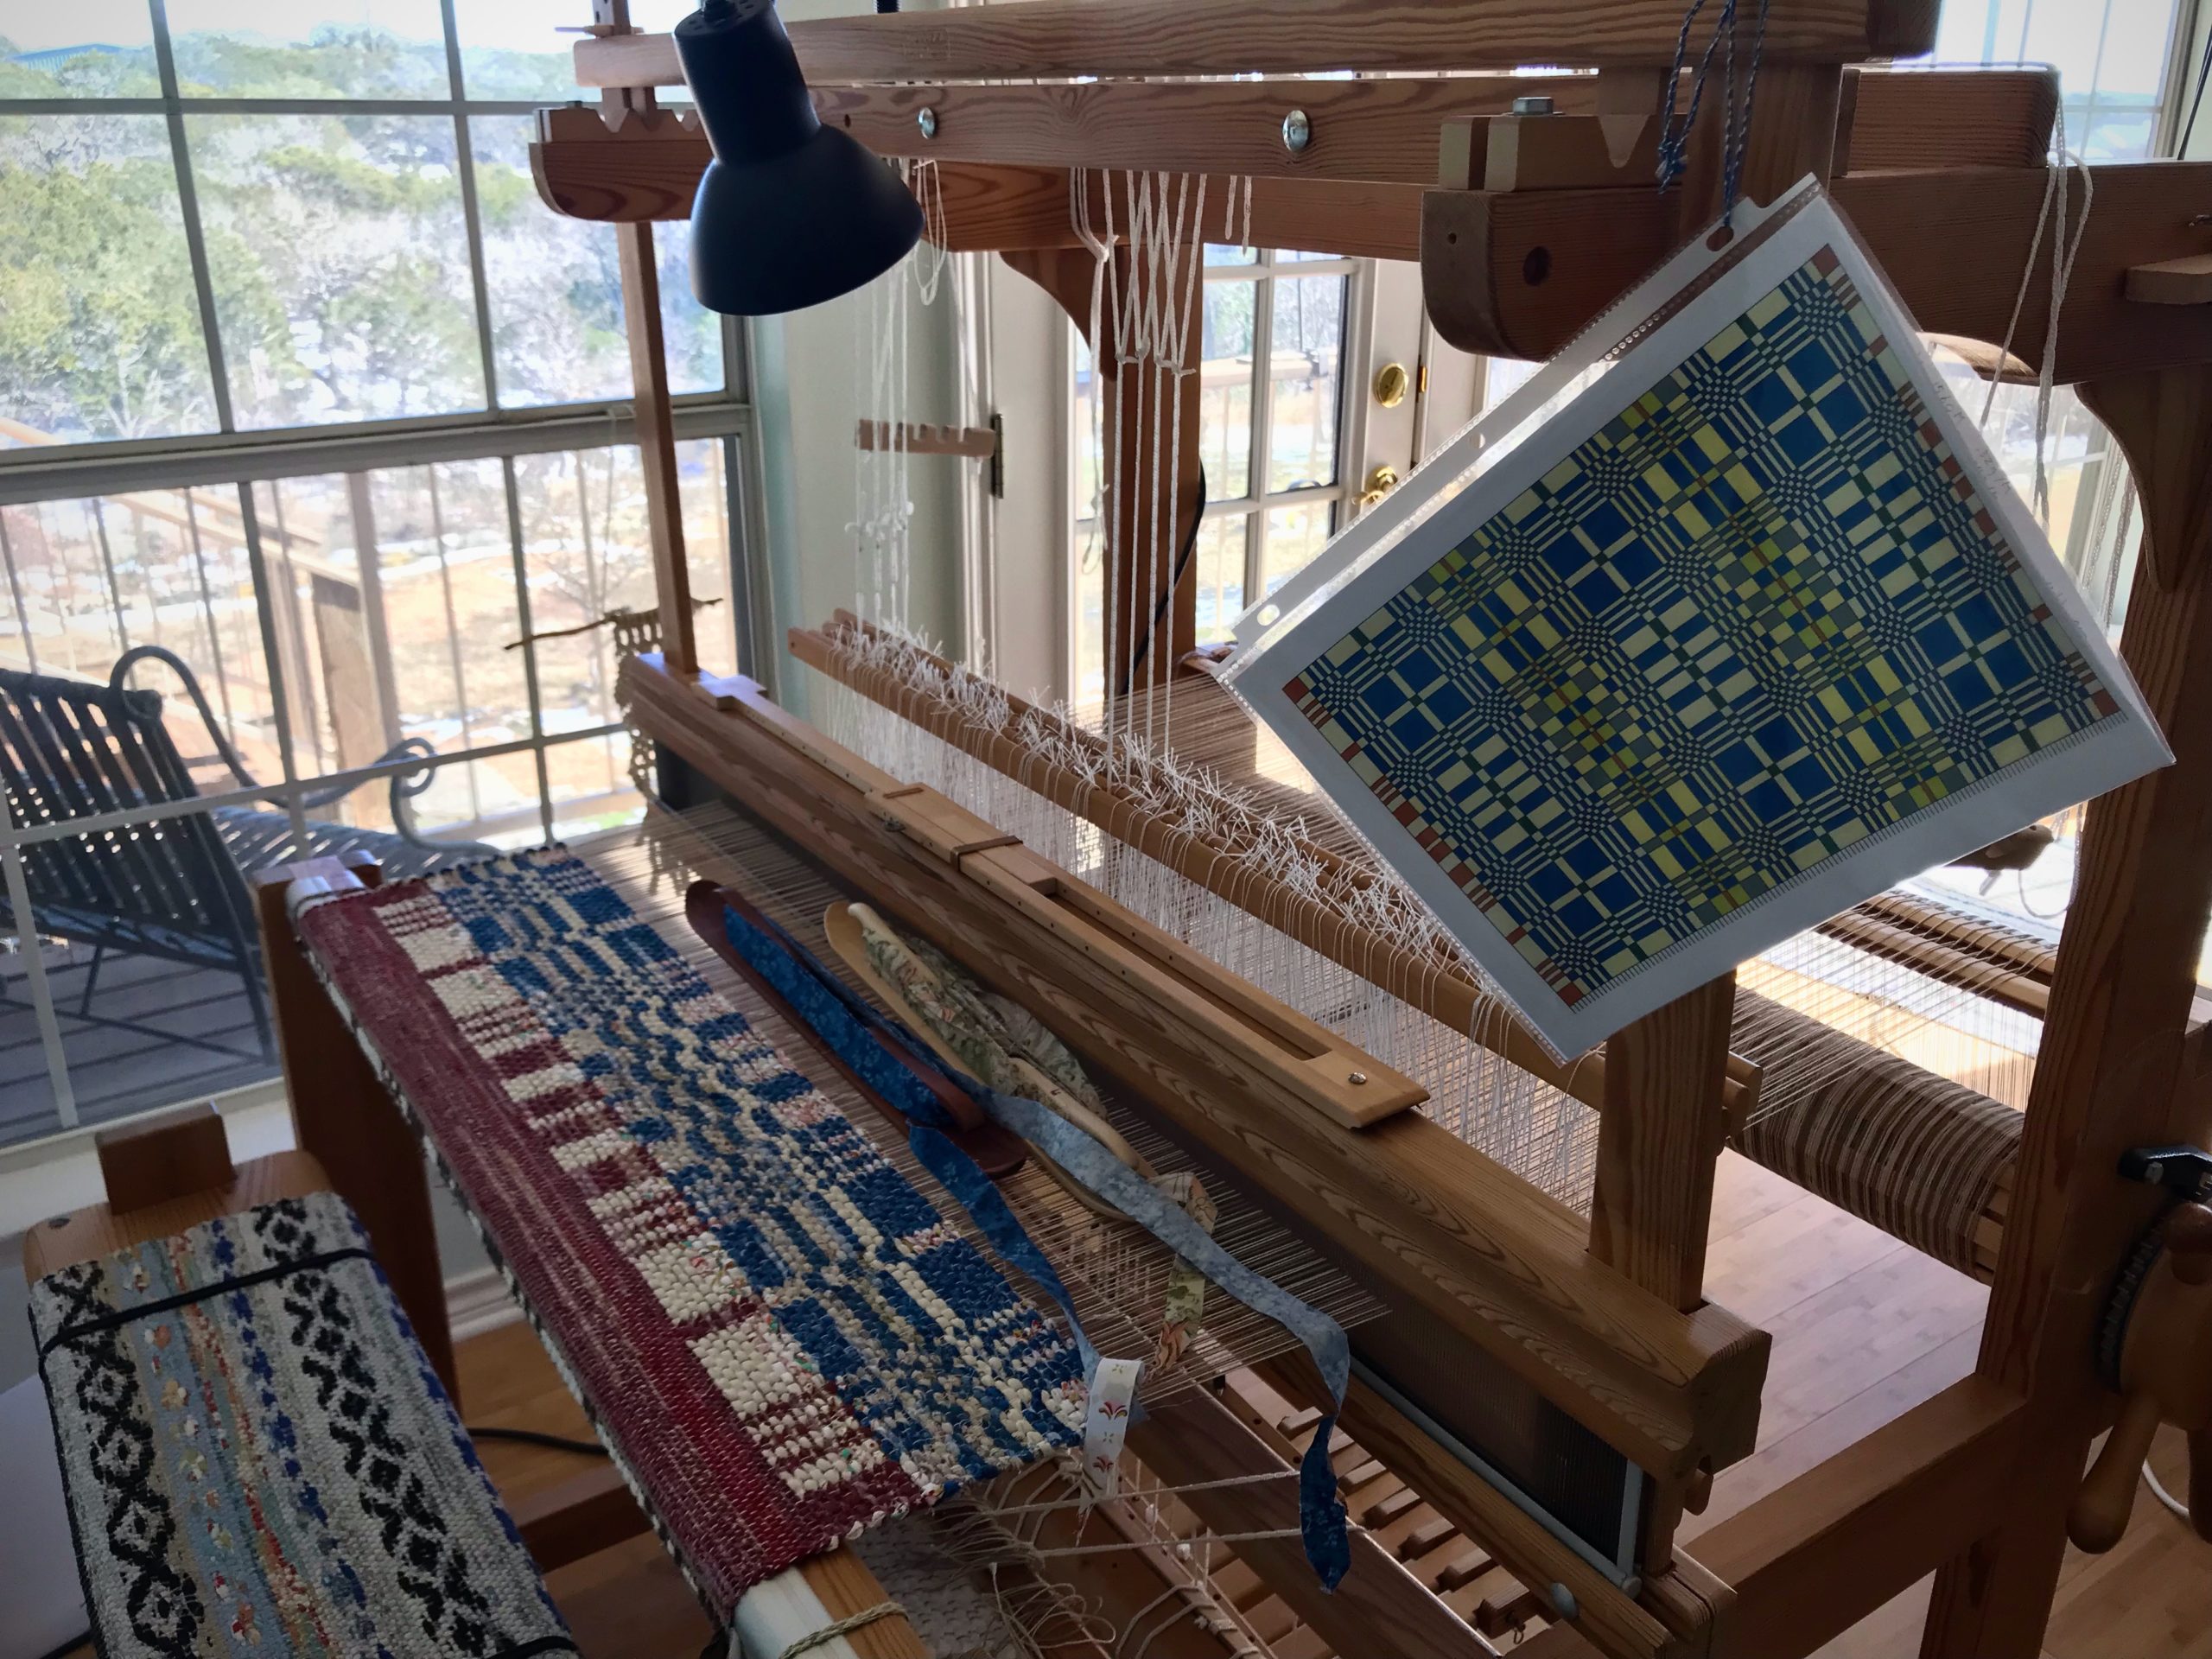
Weaving with two ski shuttles. Glimåkra Ideal. 4 shafts, 6 treadles.
Printout shows me where the blocks change in the weft.

Check out these resources for more double-binding rag rug ideas: Alla Tiders Trasmattor, by Monica Hallén and Ann-Kristin Hallgren; Så Fint med Trasmattor, by Monica Hallén and Ann-Kristin Hallgren; Älskade Trasmattor att väva som för, by Monica Hallén and Ann-Kristin Hallgren; Swedish Rag Rugs 35 New Designs, by VävMagasinet; Happy Weaving, from VävMagasinet.

May you discover a world of opportunity.

Happy Weaving,
Karen

Mug Rugs to Remember

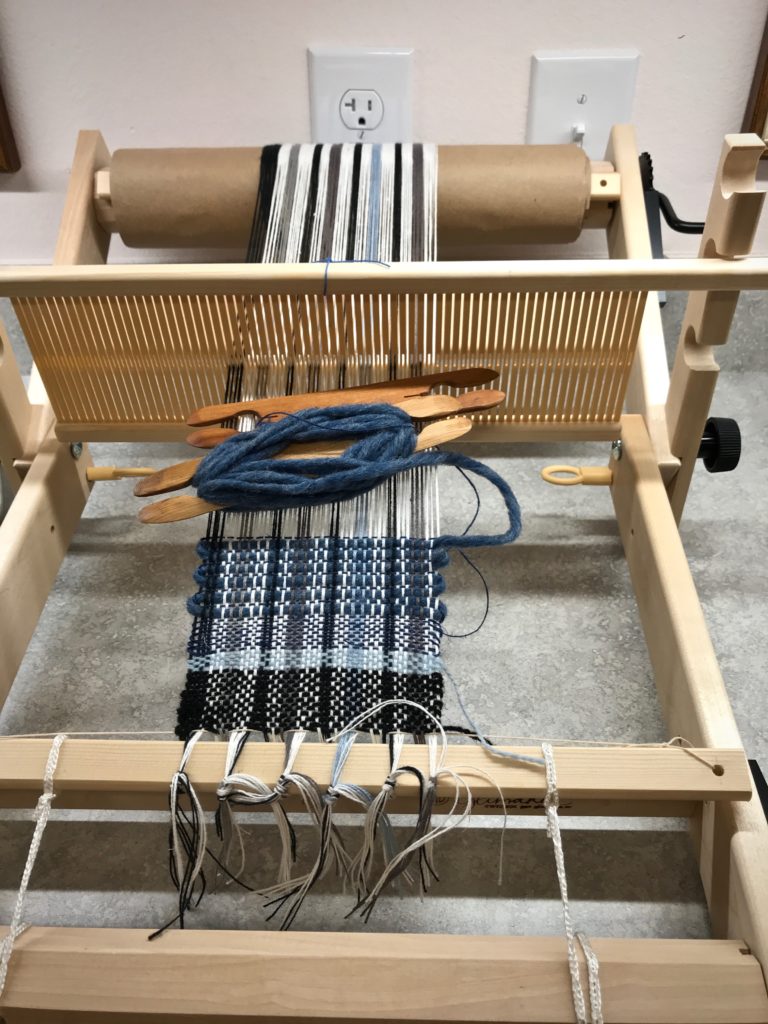
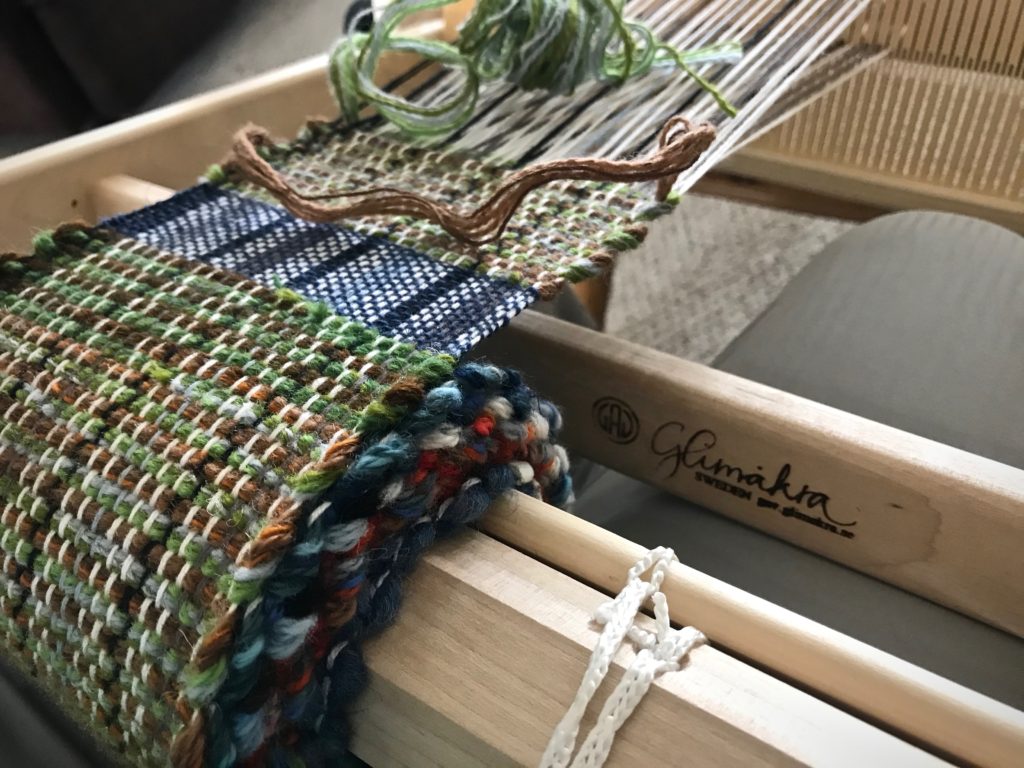
Knowing I would be away from my floor looms for a while, I put a narrow cottolin warp on my little Emilia rigid heddle loom to take with me. Mug rugs—perfect for travel weaving, to use bits of time here and there. I had some bulky wool yarn and a few rag rug fabric strips to take for weft. In a burst of hopeful inspiration, I grabbed a bag of Tuna/Fårö wool butterflies, leftover from my Lizard tapestry (see Quiet Friday: Lizard Tapestry) a couple years ago, and tossed it in my travel bag as we were going out the door.

Mug rugs on Glimåkra Emilia rigid heddle loom.
Glimåkra Emilia 35cm (13.5″) rigid heddle loom. Narrow cottolin warp is from a previous warp-winding error that I had chained off and saved.
Mug rugs on my Glimakra Emilia rigid heddle loom.
Blue bulky wool yarn left from a long-ago project makes a good thick weft for mug rugs. Picks of navy blue tow linen are woven between picks of thick weft on some of the mug rugs.
Weaving mug rugs on my Glimakra Emilia rigid heddle loom.
Wool butterflies for the weft are made of several strands of Tuna and Fårö yarn.

Those colorful wool butterflies turned out to be my favorite element! They not only gave me colors to play with, they also provided variety, the spice of weaving. The forgotten Lizard butterflies will now be remembered as useful and pretty textiles.

30 mug rugs on the rigid heddle loom.
The end of the warp.
Mug rugs just off the rigid heddle loom.
Rag rugs for mugs!
Rag rug fabric strips are used for a few of the mug rugs. Rag rugs for mugs!
Mug rugs ready to be hemmed.
Mug rugs are cut apart to prepare for hemming.
Making handwoven mug rugs.
Hems have been folded and pressed under. Choosing bobbin colors to sew the hems.
Wool handwoven coasters.
Wool butterflies provided many different colors.
Handwoven wool coasters woven on a rigid heddle loom.
Alternating two different colors of wool butterflies was my favorite way to play with color.
Mug rugs for gifts.
Completed mug rugs, ready to be sent out as gifts.

How do you want to be remembered? Like my tapestry-specific butterflies put away on a shelf, our carefully-crafted words will soon be forgotten. Actions speak longer than words. Our deeds of faithful love will outlive us. Our actions that reveal the kindness of our Savior will stand the test of time. And that is a good way to be remembered.

Coffee or tea, anyone? Handwoven mug rug.
Coffee or tea, anyone?

May you be remembered for your deeds of faithful love.

Happy Weaving,
Karen
Stony Creek Drawloom Rag Rug

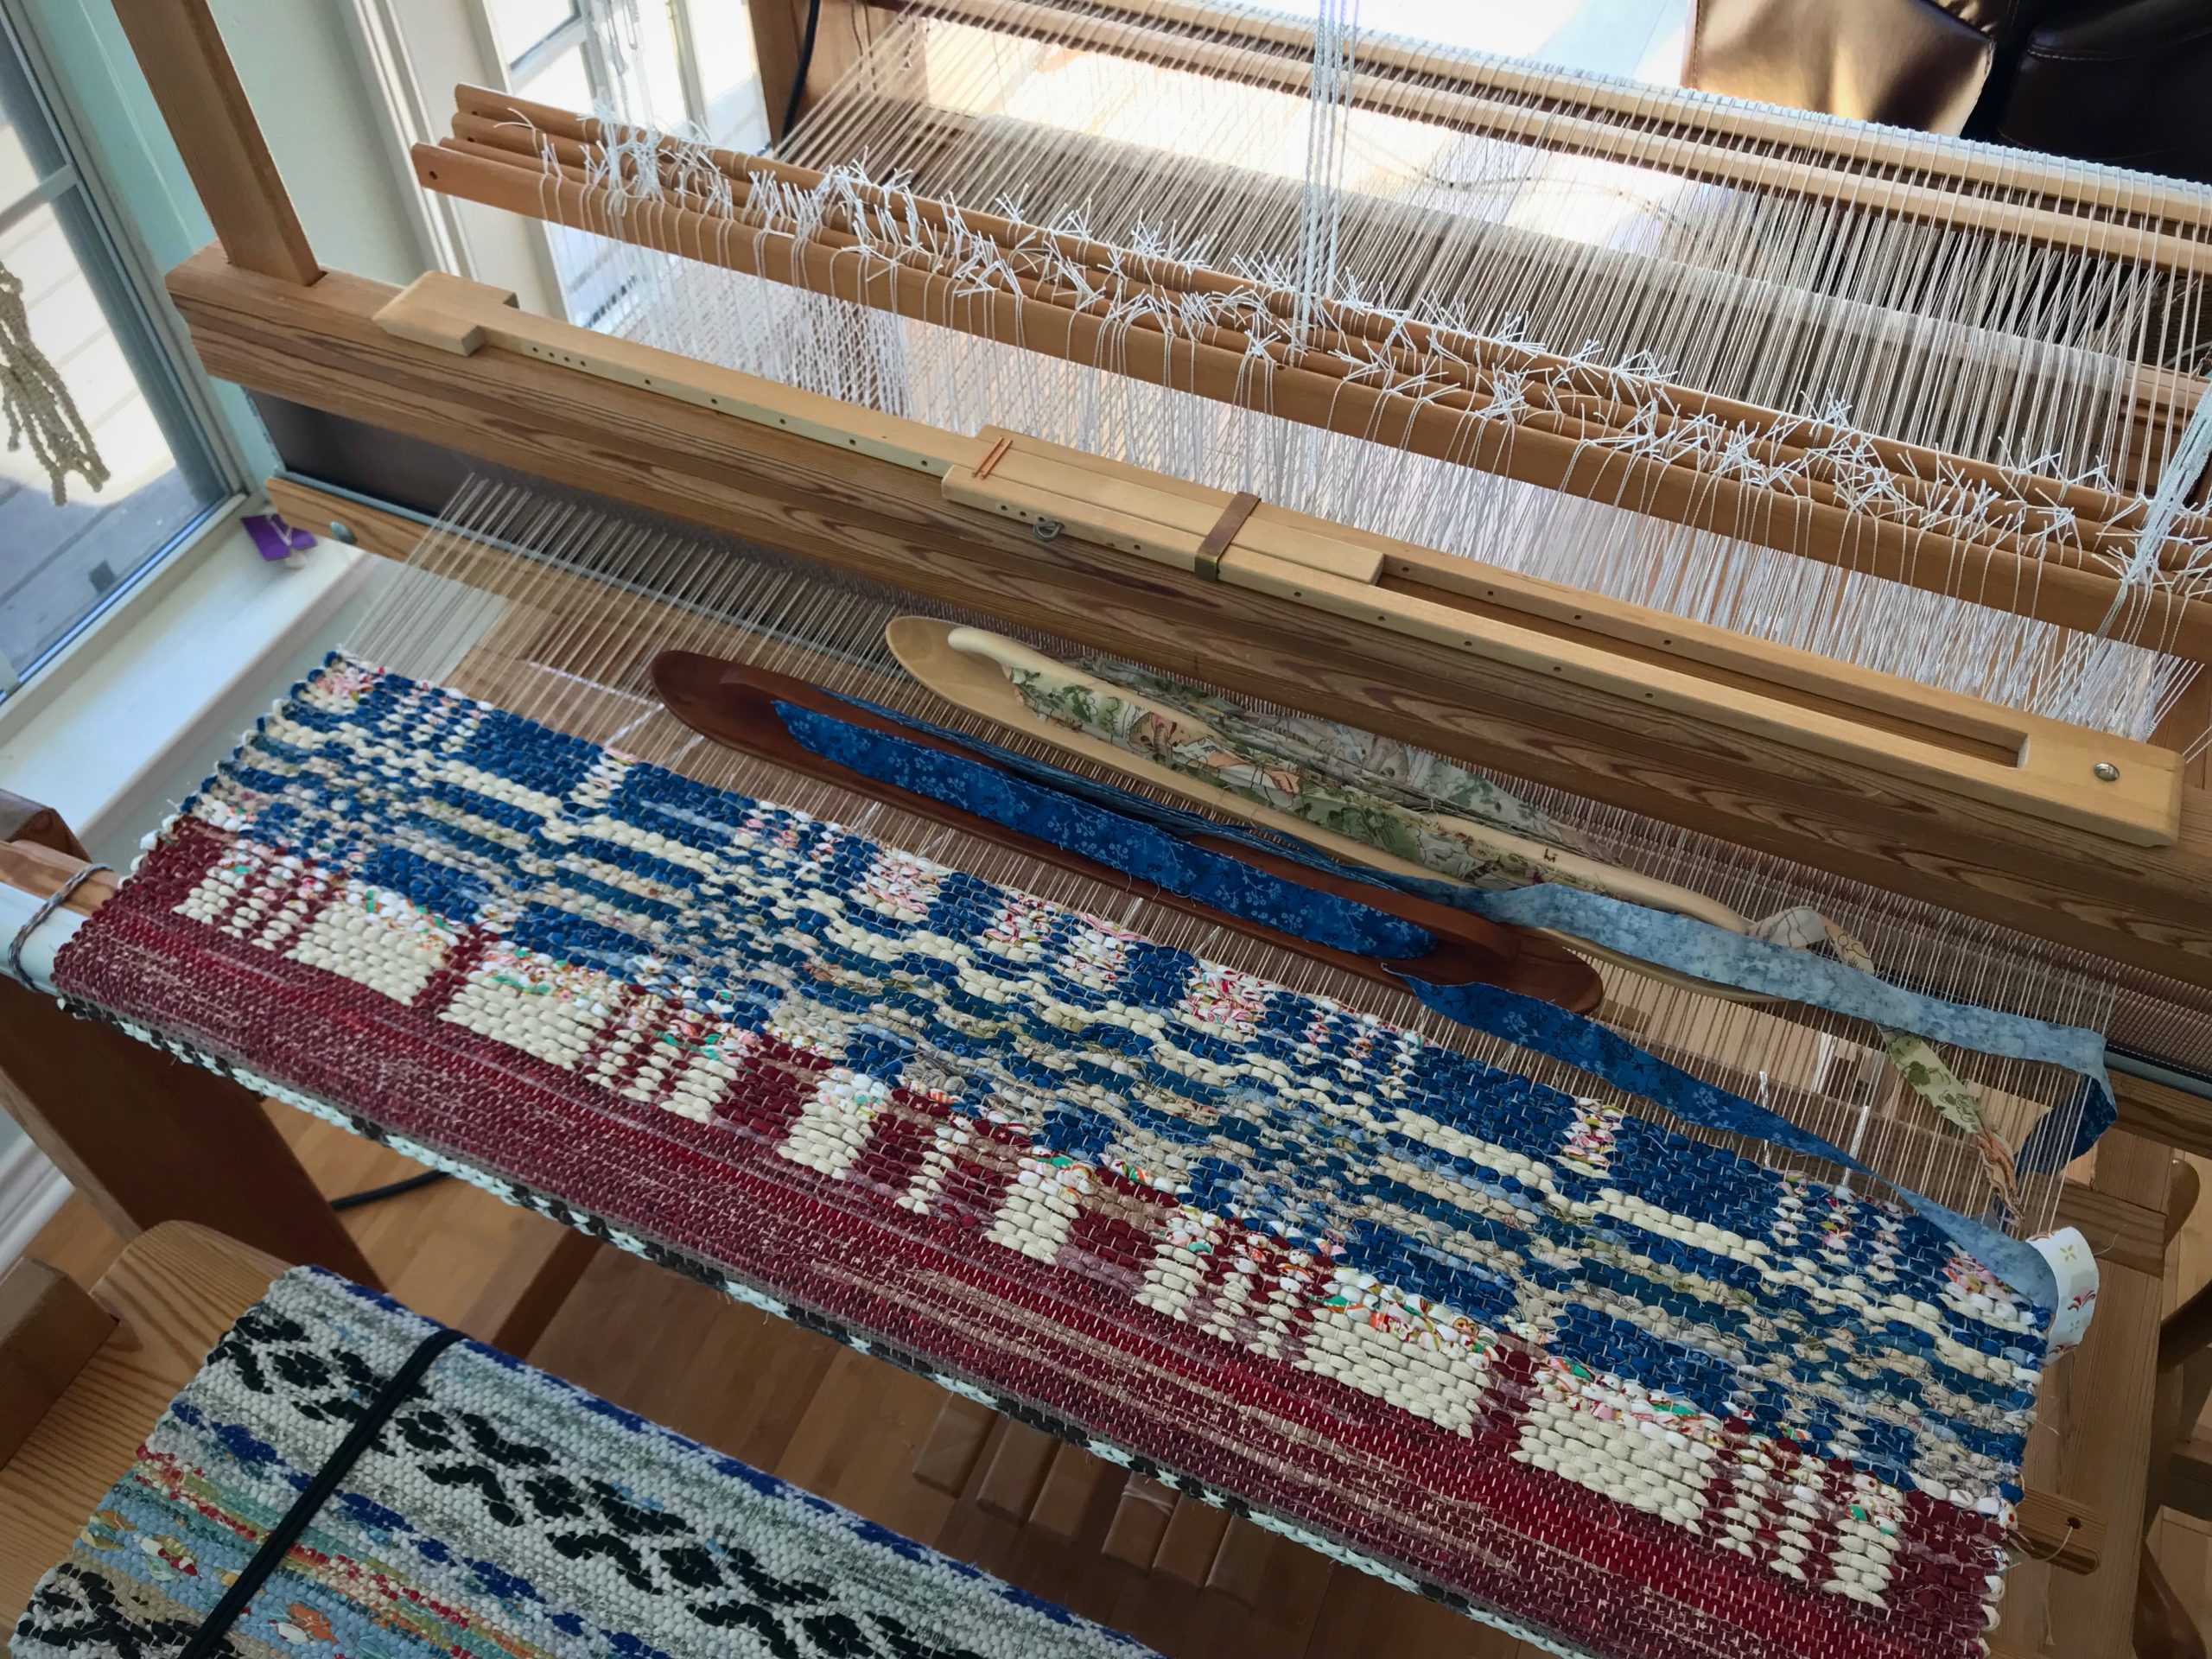
I have woven umpteen rag rugs. But never one like this! Eight-shaft satin on the single-unit drawloom brings its own challenges, from managing draw cords to getting a decent shed. Add rag weaving to the mix and we have a whole new experience!

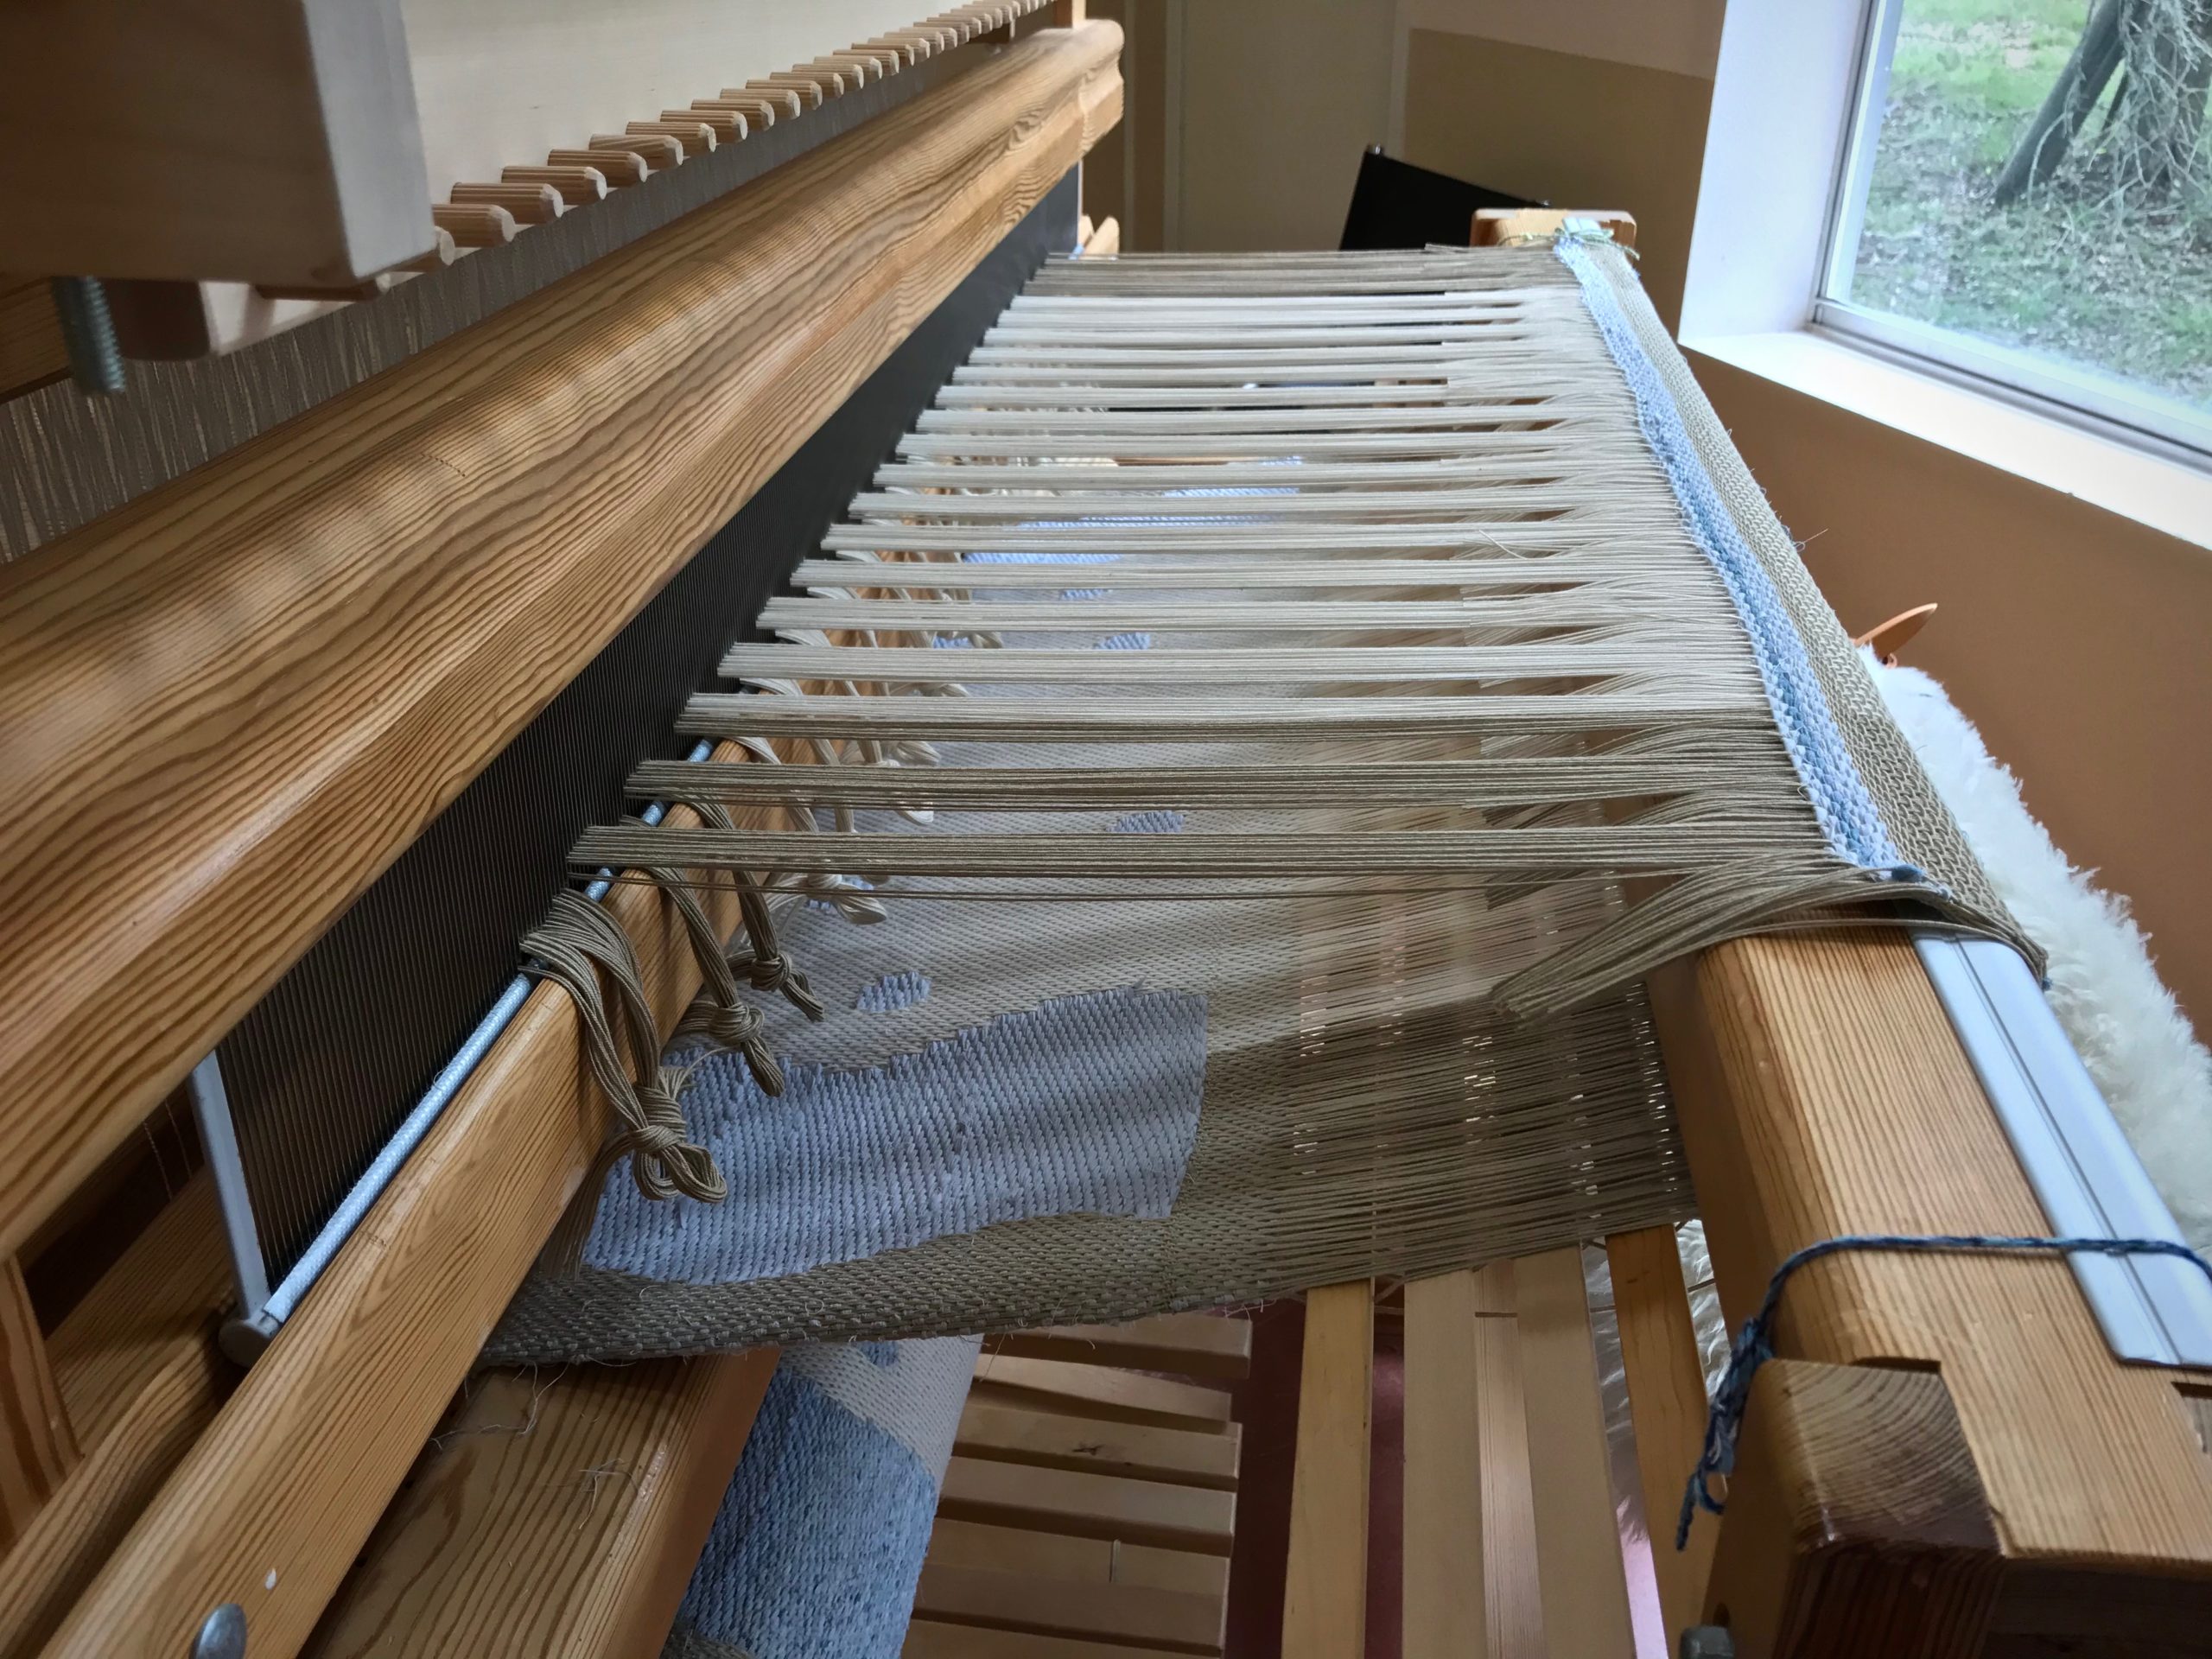
Cutting off drawloom rag rug.
Cutting off in 1-inch sections to make it easy to tie back on for the second rug on the warp.

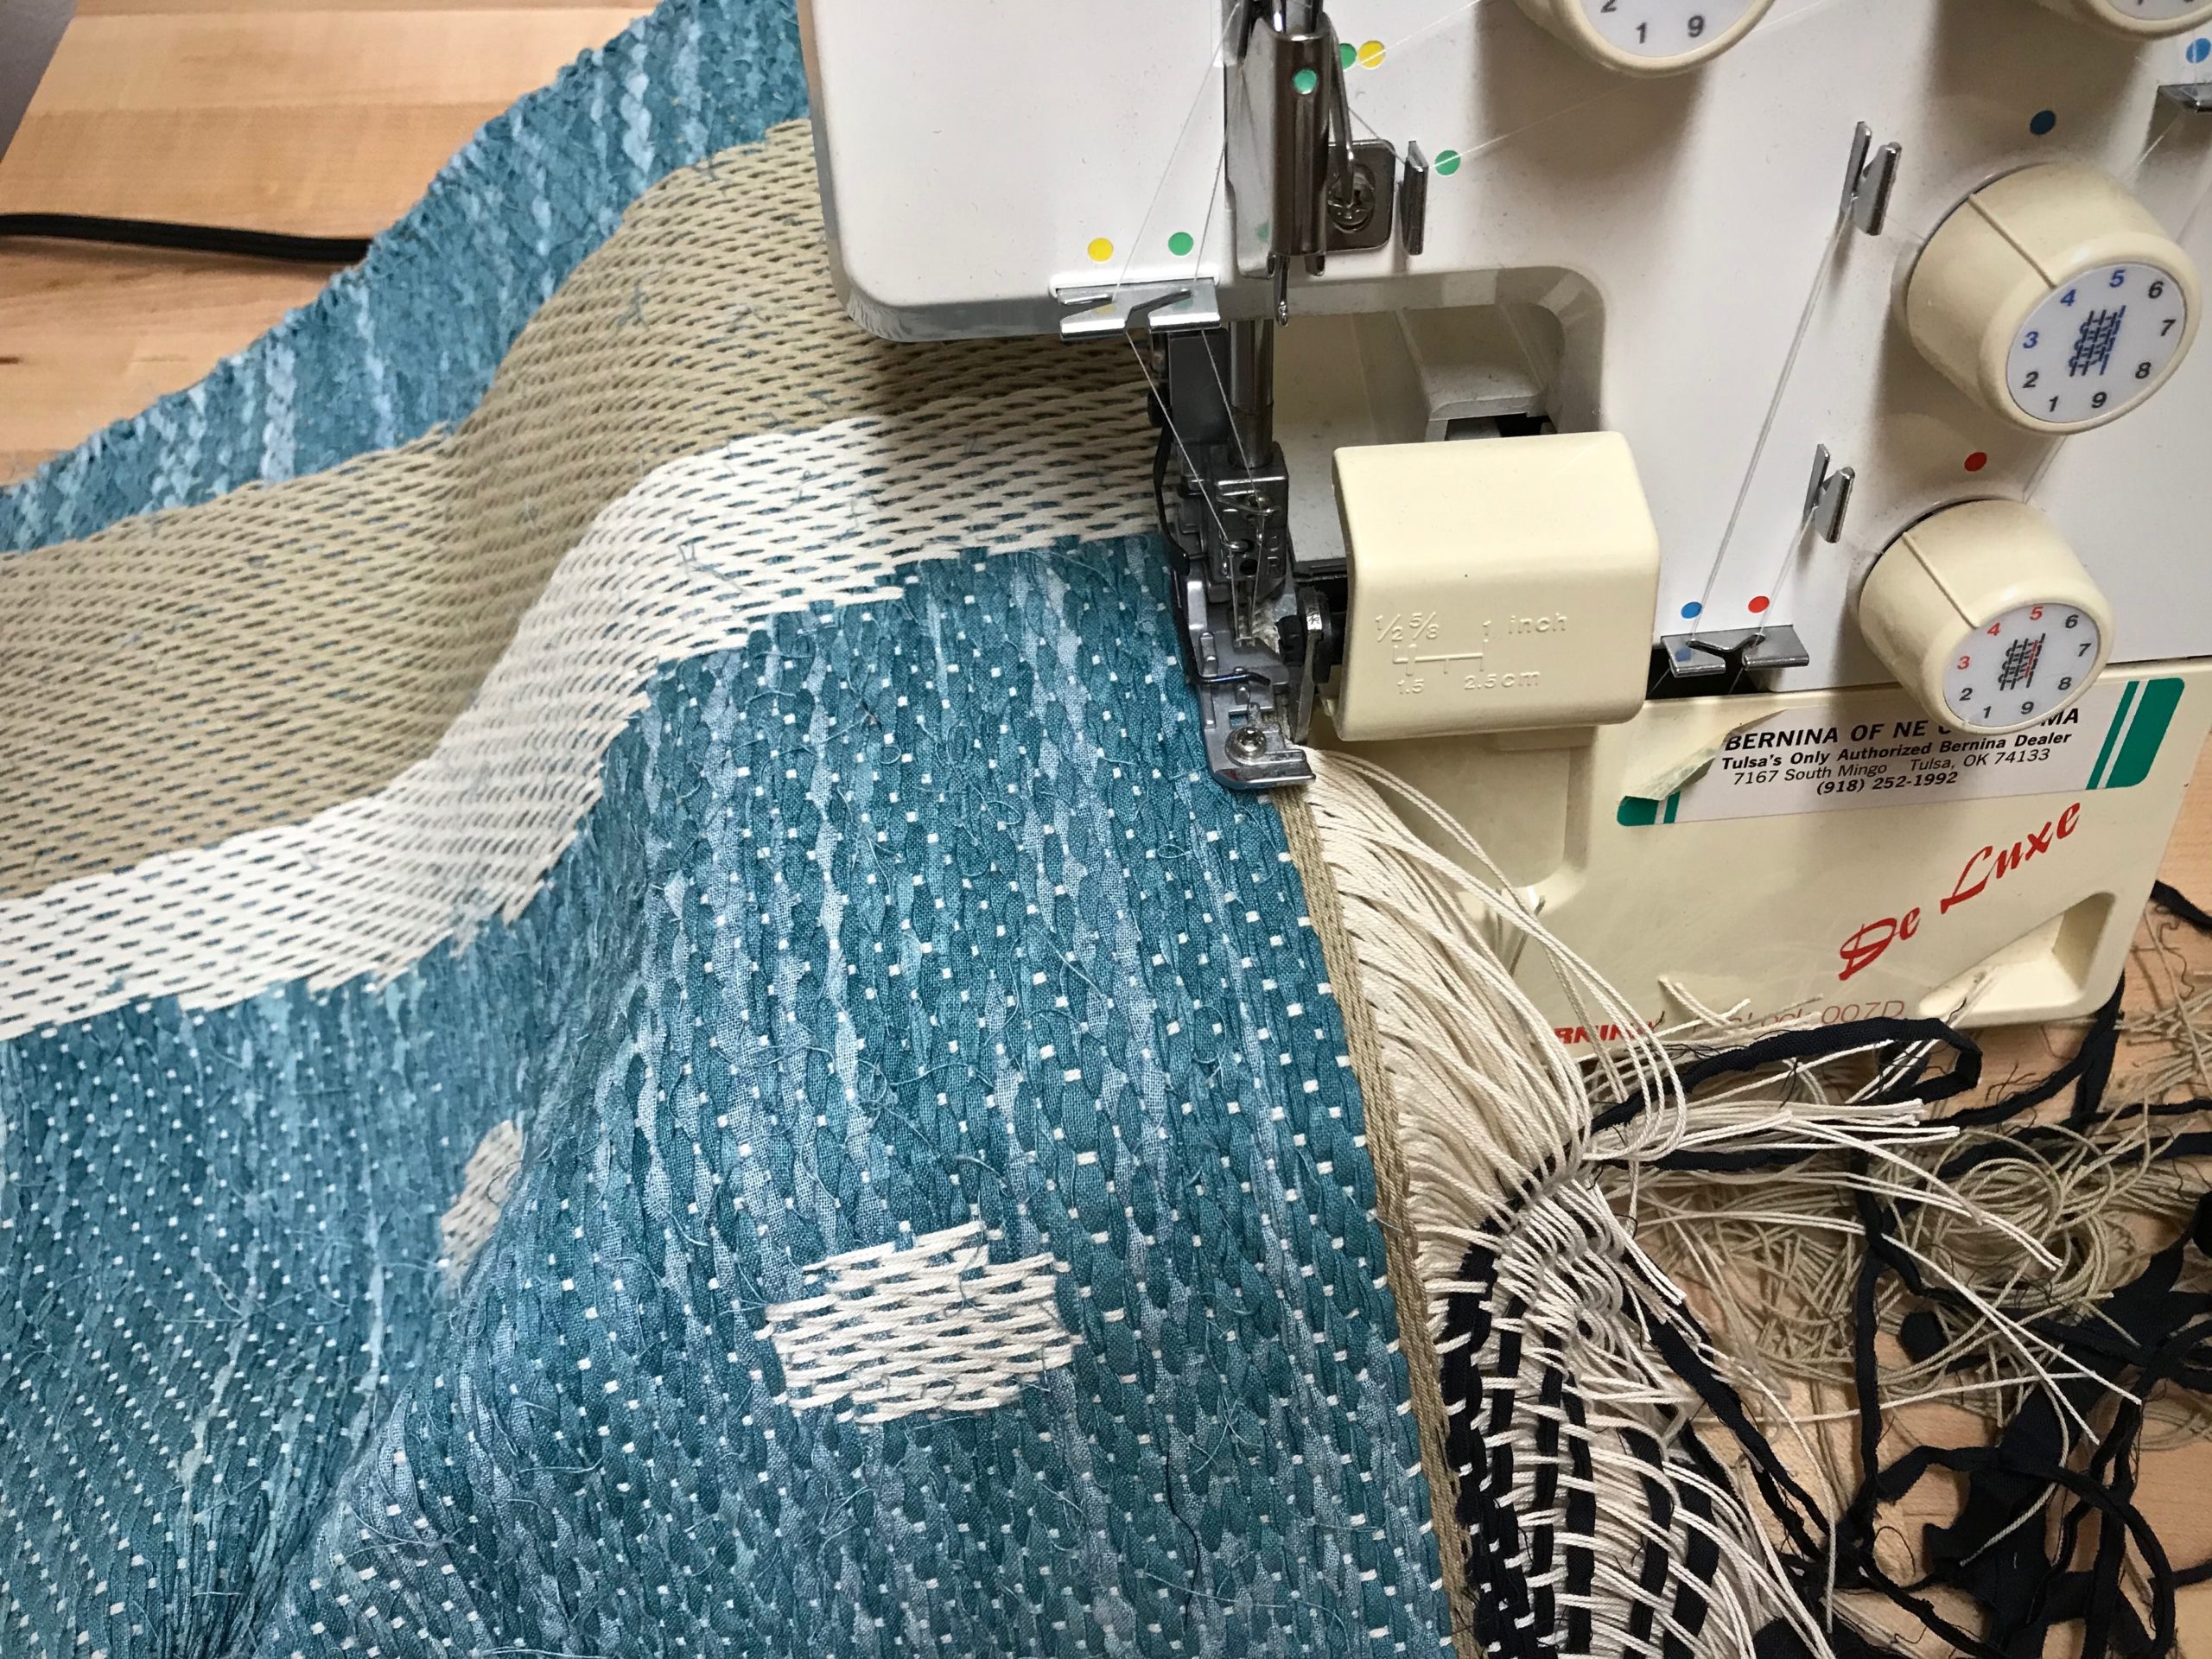
Finishing has its own set of new challenges. My go-to method of tying knots to secure warp ends is unwieldy in this instance because the threads are extremely dense. By quietly doing some detail studies on a sample, I find a way to finish this unusual rug: Secure the ends with the serger. Then, sew two rows of straight stitches on the sewing machine for added security. Sew a narrow bound hem using some of the fabric that was used as weft in the rug. Steam press to finish.

Drawloom rag rug finishing details.
Serger cuts off the ends as it overlocks the edge. I pull out the scrap header little by little just ahead of the serger needles and blade.
Finishing drawloom rag rug - steps.
Two rows of straight stitching.
Bound hem on a drawloom rag rug.
Lightweight woven fusible interfacing backs the fabric used for the narrow bound hem.
My Grandma's thimble.
My Grandma’s thimble helps me hand stitch the back side of the bound hems.
Drawloom rag rug finished!
Finished and pressed.
Stony Creek Rag Rug woven on single-unit drawloom! (Design by Kerstin Åsling-Sundberg)
Dream come true! Stony Creek Rag Rug (Design by Kerstin Åsling-Sundberg)

I have another rag rug to weave on this warp. It will still be a challenge. With what I’ve learned, though, I’m anticipating a satisfying weaving and finishing experience.

We know what to do in normal circumstances. It’s in unusual times that we fall into dismay. Private time with Jesus turns confidential fears to confident faith. He treats our challenges like personal detail studies, showing us the way forward. His grace enables us to conquer the next challenge with confident faith.

May your confidence grow.

With faith,
Karen