My Favorite Handwovens on Display

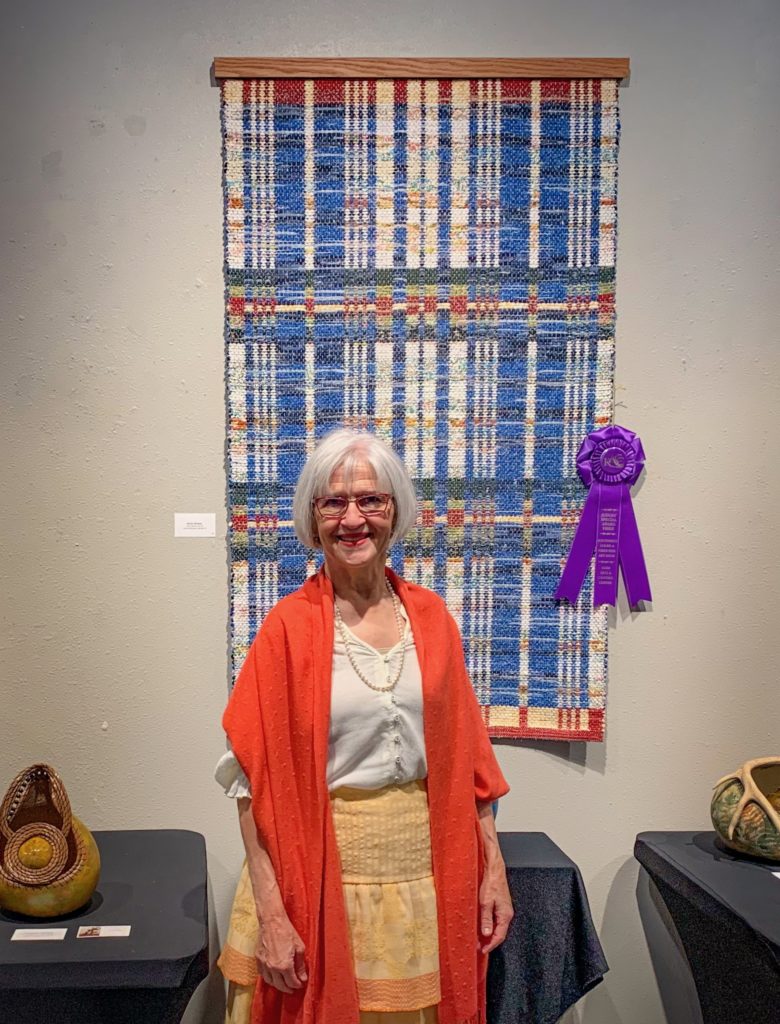
Five of my favorite handwoven works are on display in a local exhibit. The Southwest Gourd and Fiber Fine Art Show is the current exhibit (through July 1) at the Kerr Arts and Cultural Center in Kerrville, Texas. This is a competitive show featuring artists from across the US. Steve made beautiful wooden hanging and mounting devices for my pieces. Winter Window is a double-binding rag rug that is displayed as a wall hanging. I thoroughly enjoyed the design process for this rag rug, so I am happy that Winter Window received a Judge’s Special Award.
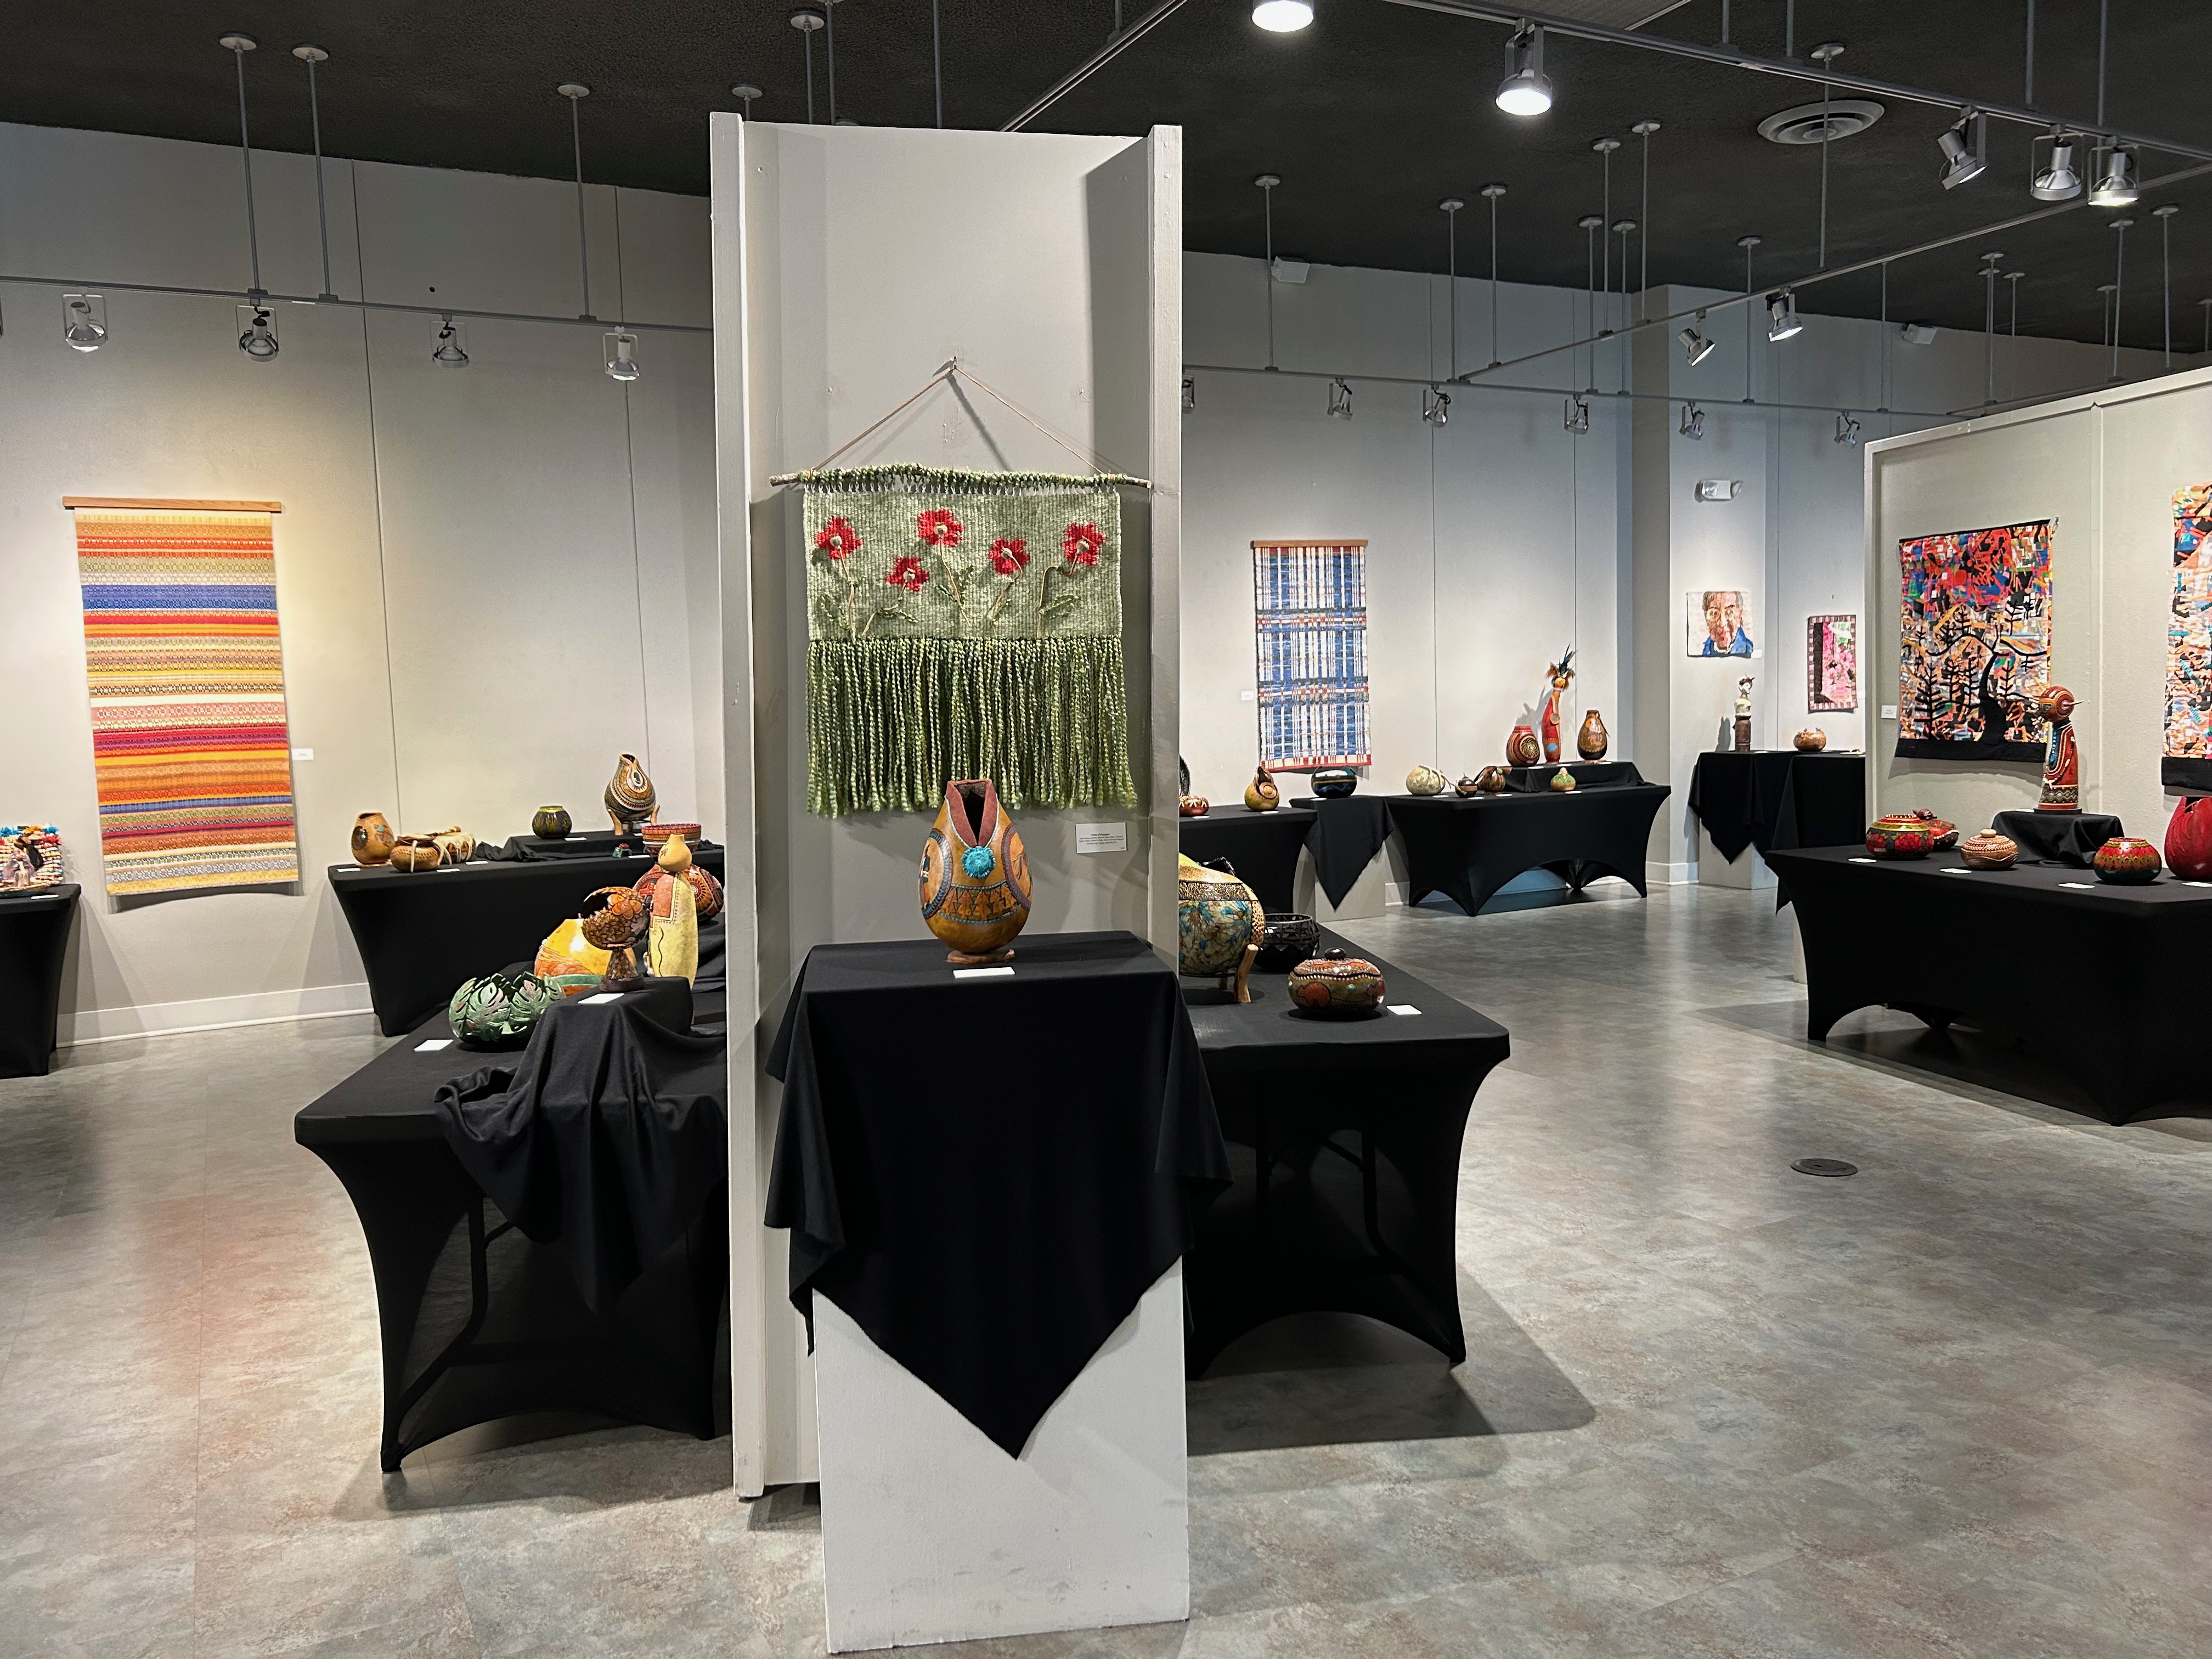
Southwest Gourd and Fiber Fine Art Show at Kerr Arts and Cultural Center in Kerrville, Texas.
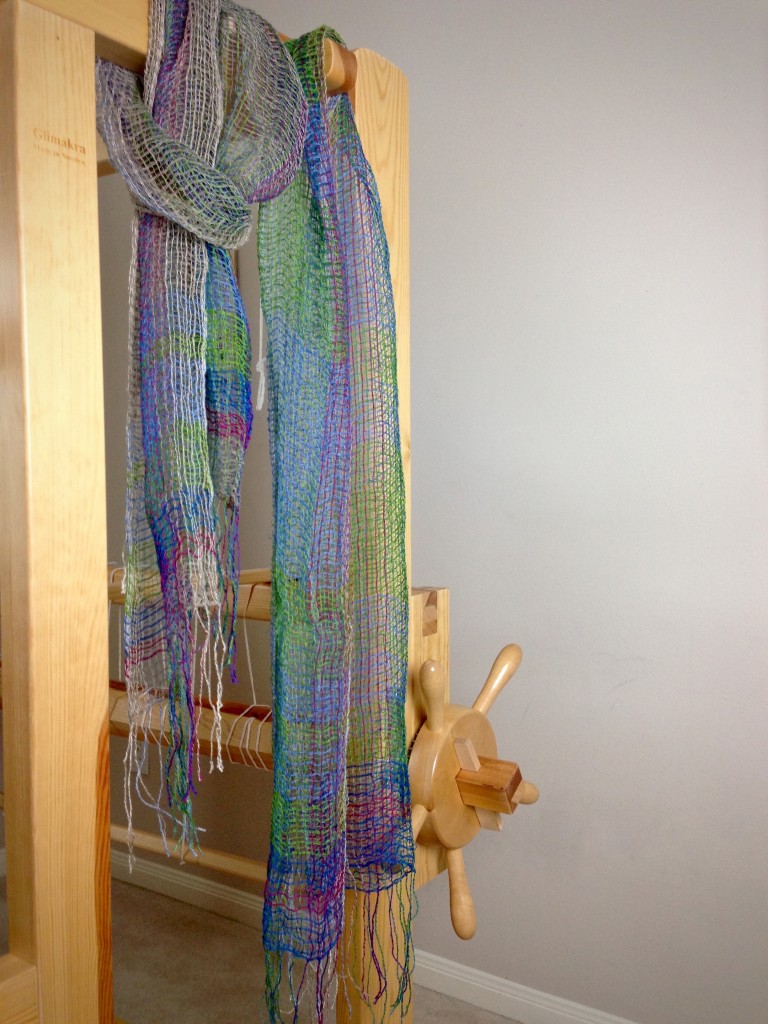
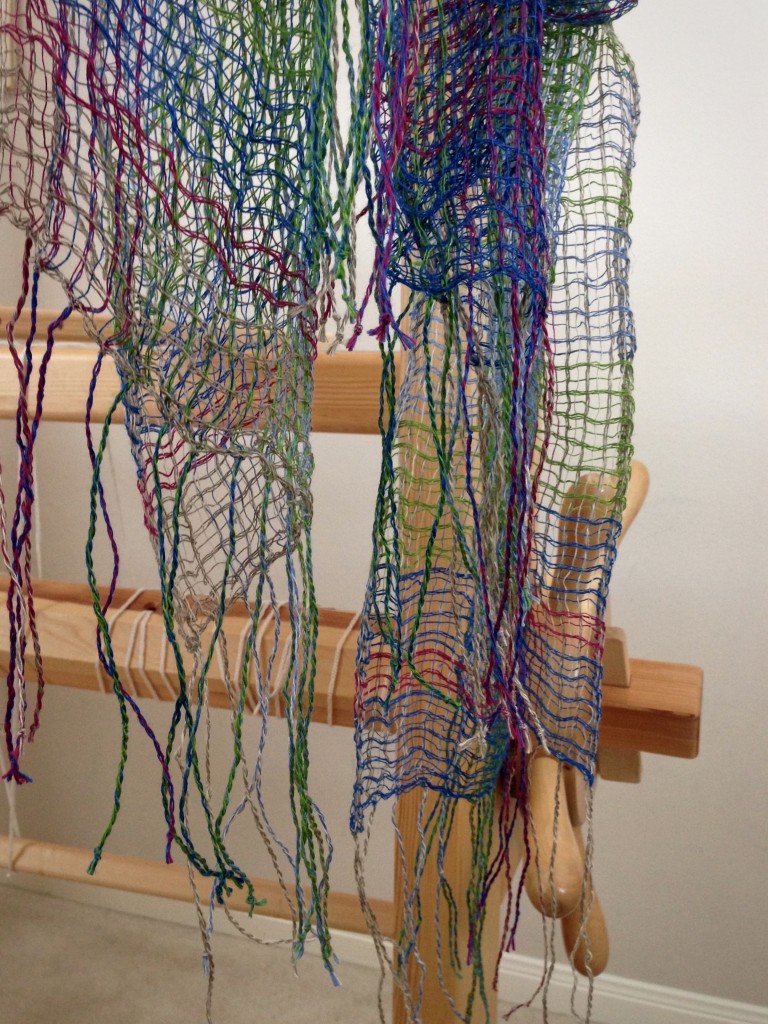
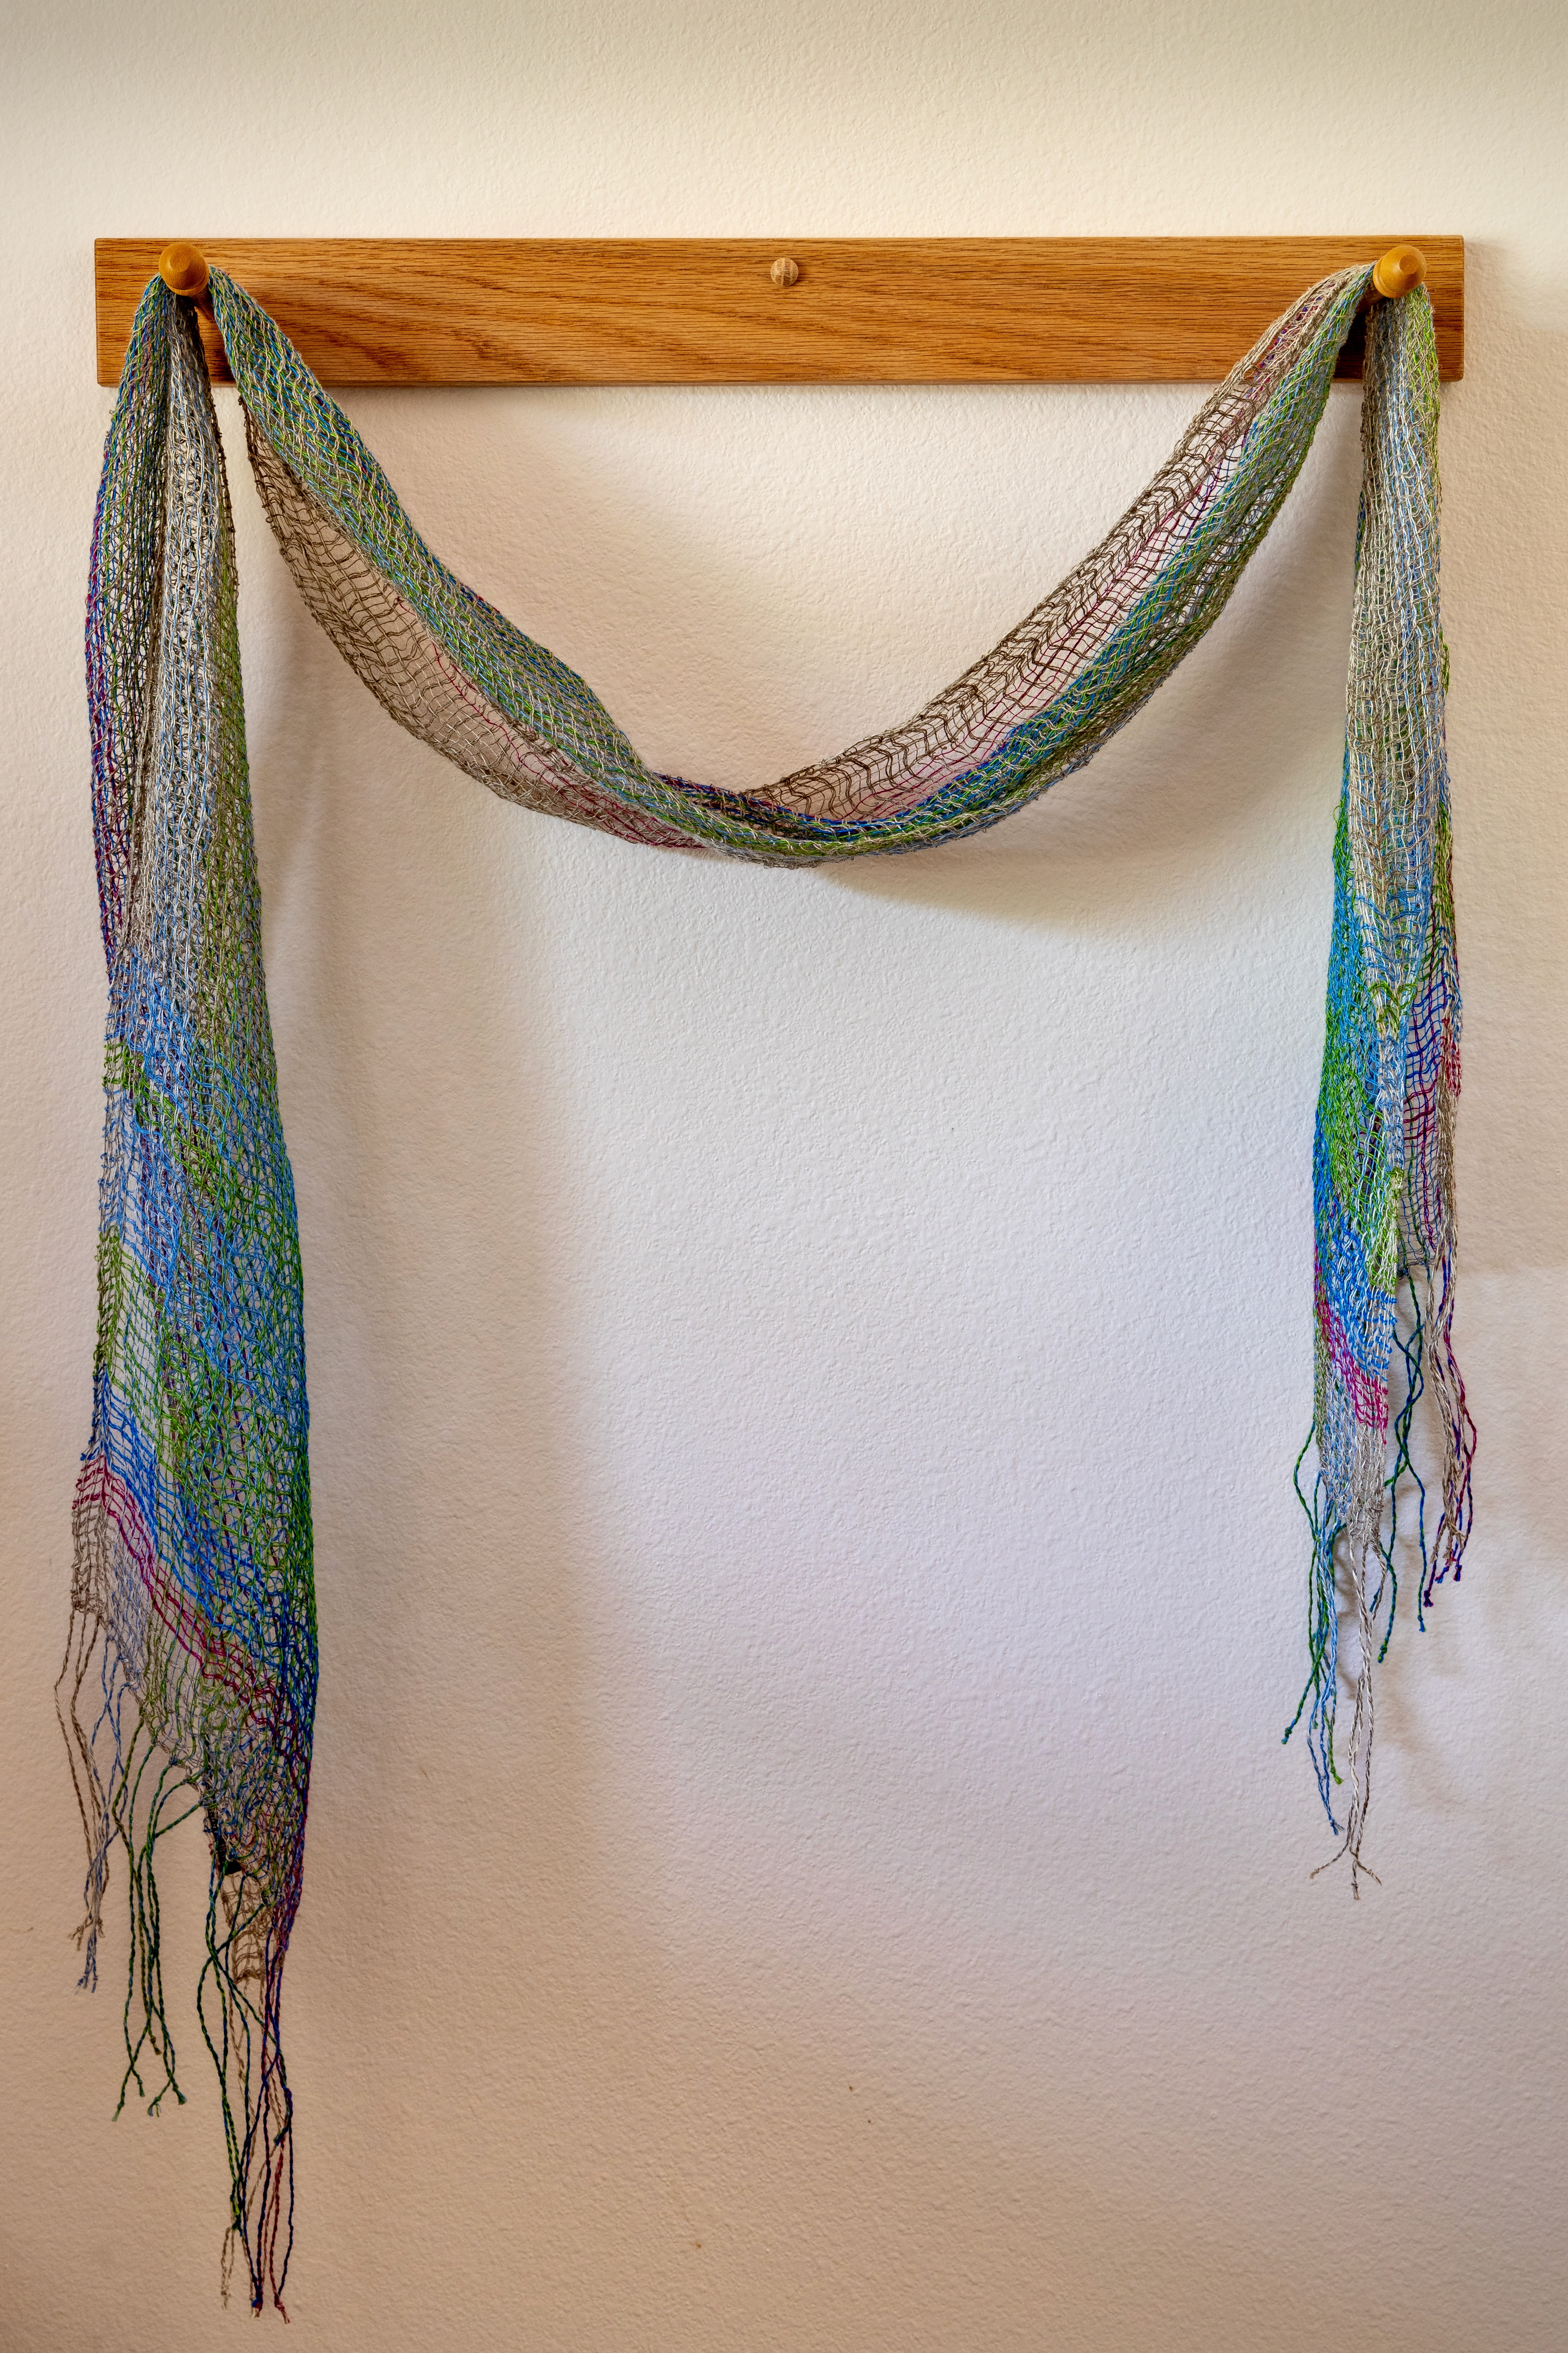
Light as Air Lace
Draped Lace in Three-Shaft Lace Weave
Warp: Linen
Weft: Linen
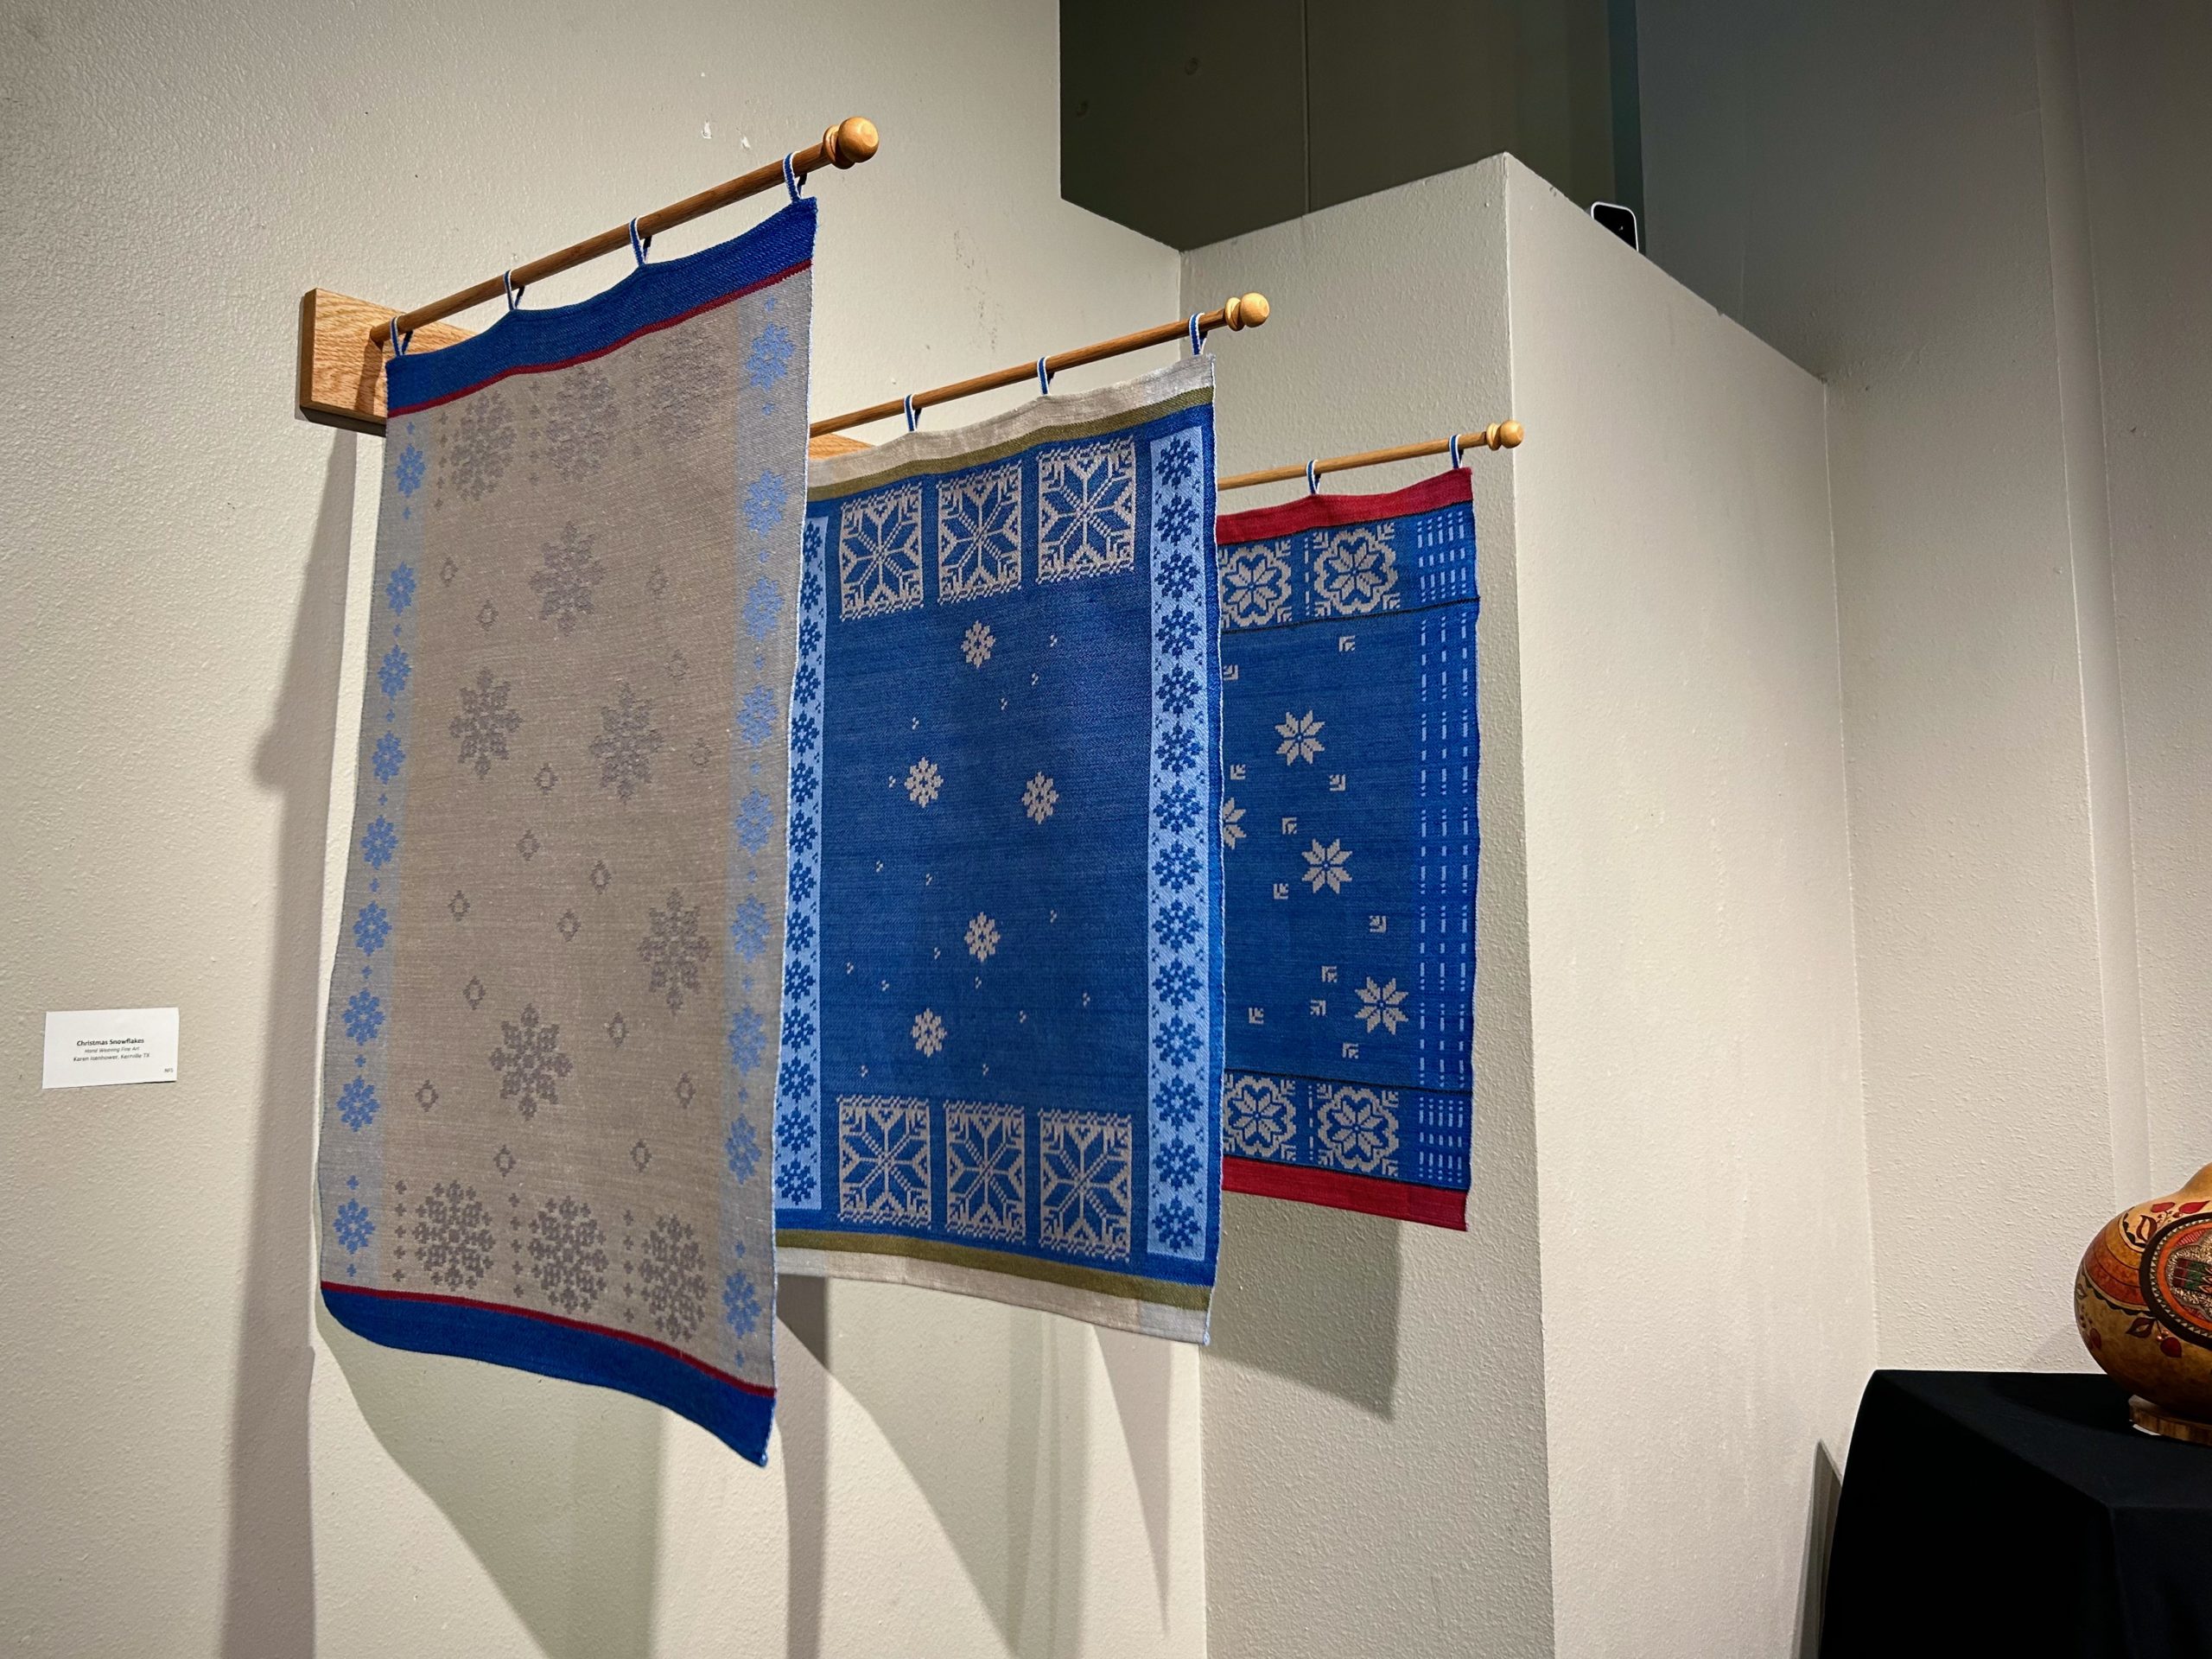
Christmas Snowflakes Triptych
Banners in Six-Shaft Irregular Satin, Drawloom 30 pattern shafts, 148 single units
Warp: Linen/Cotton blend
Weft: Linen
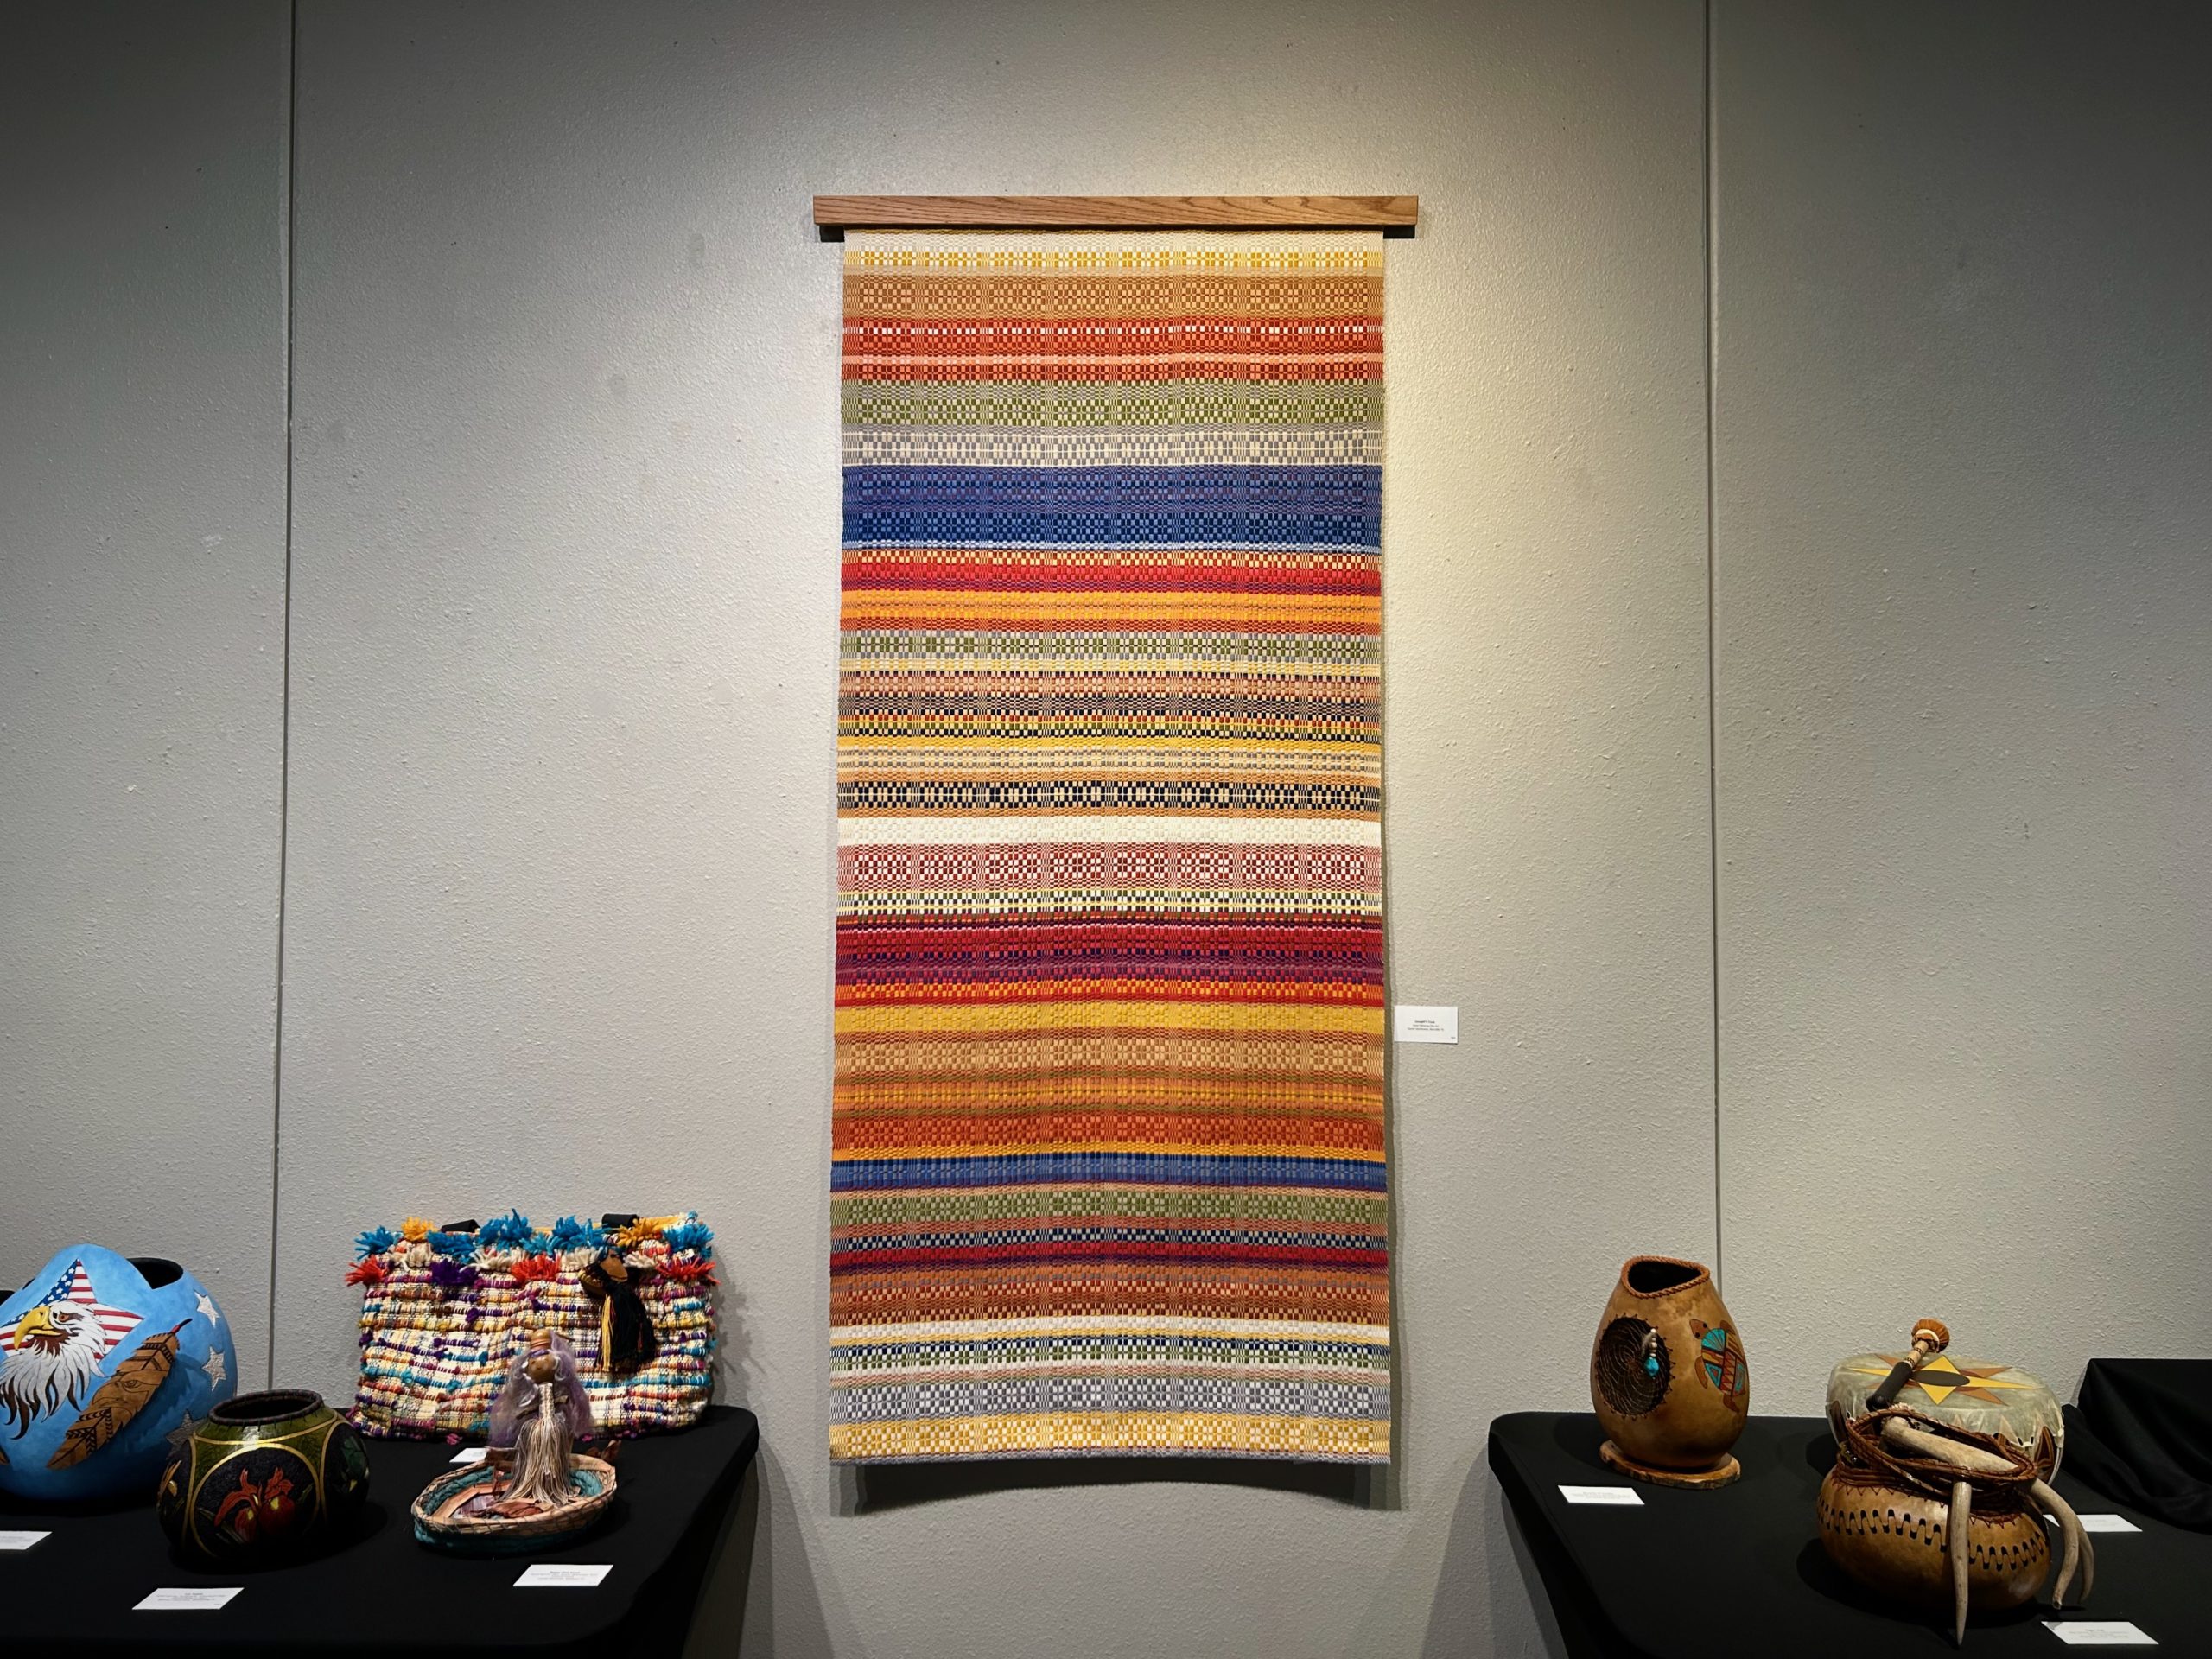
Joseph’s Coat
Wall Hanging in Four-Shaft Swedish Monksbelt
Warp: Cotton
Weft: Wool and Cotton
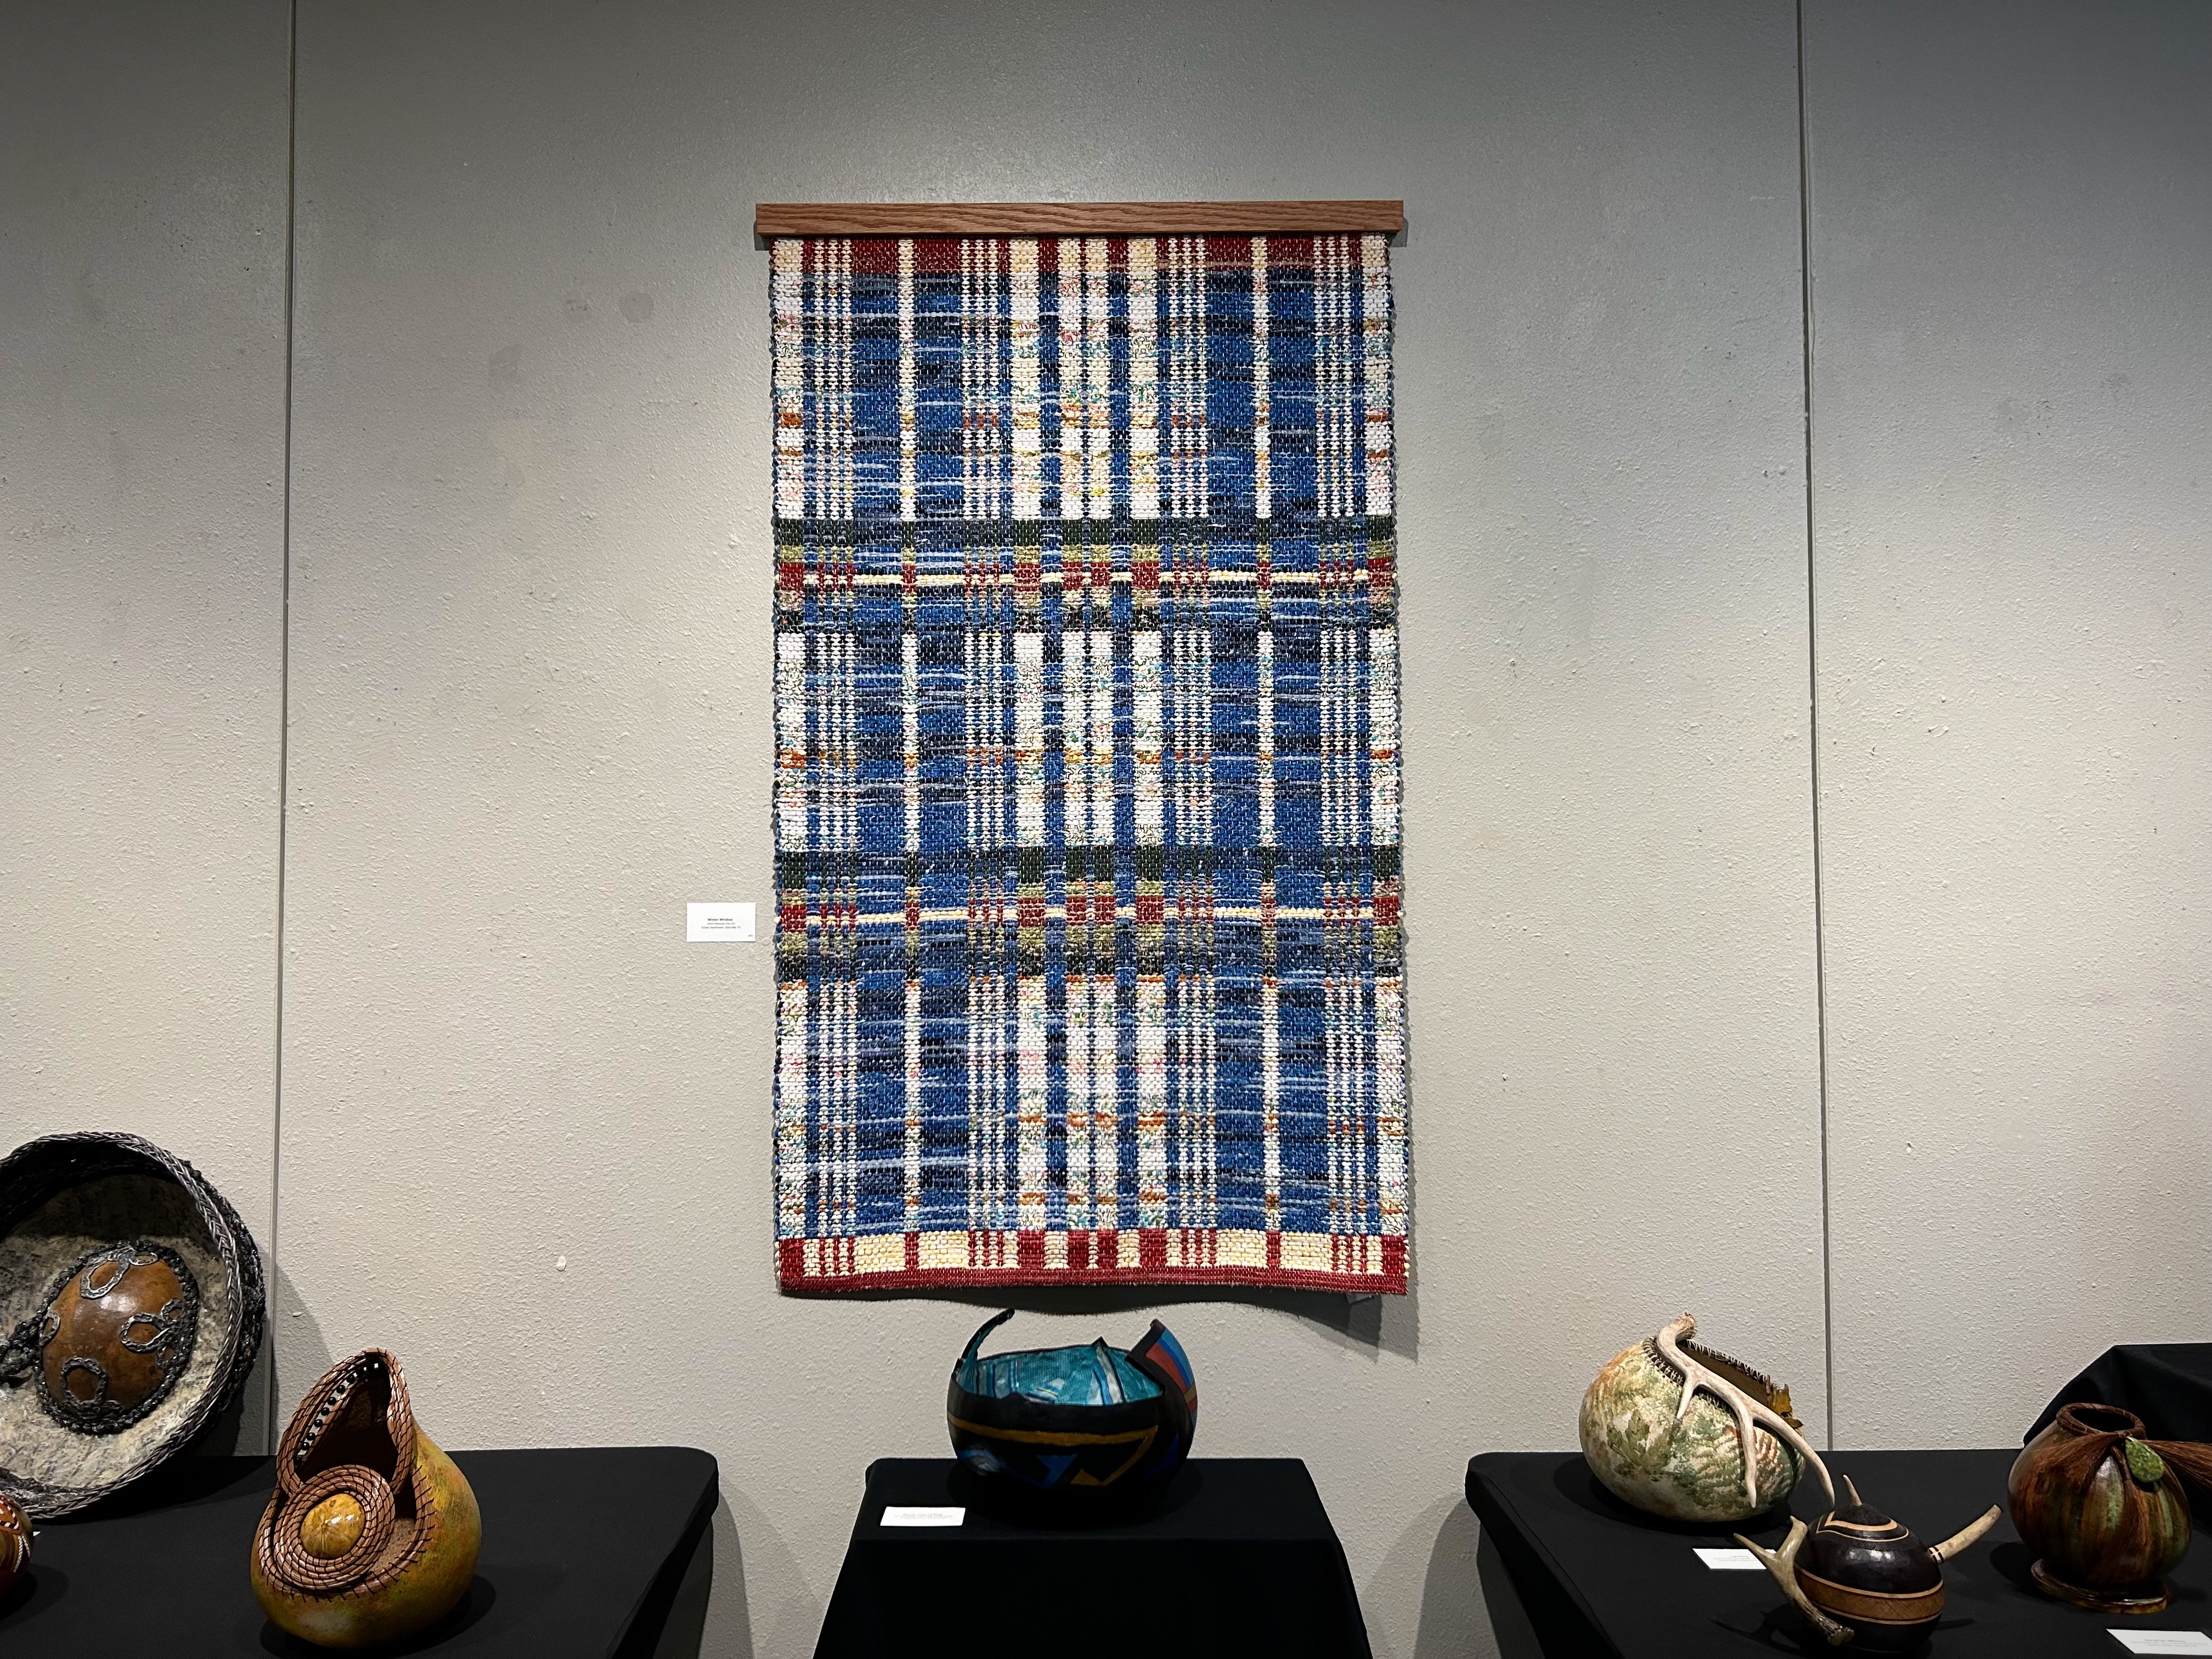
Winter Window
Rag Rug in Four-Shaft Double Binding
Warp: Cotton
Weft: Cotton fabric strips
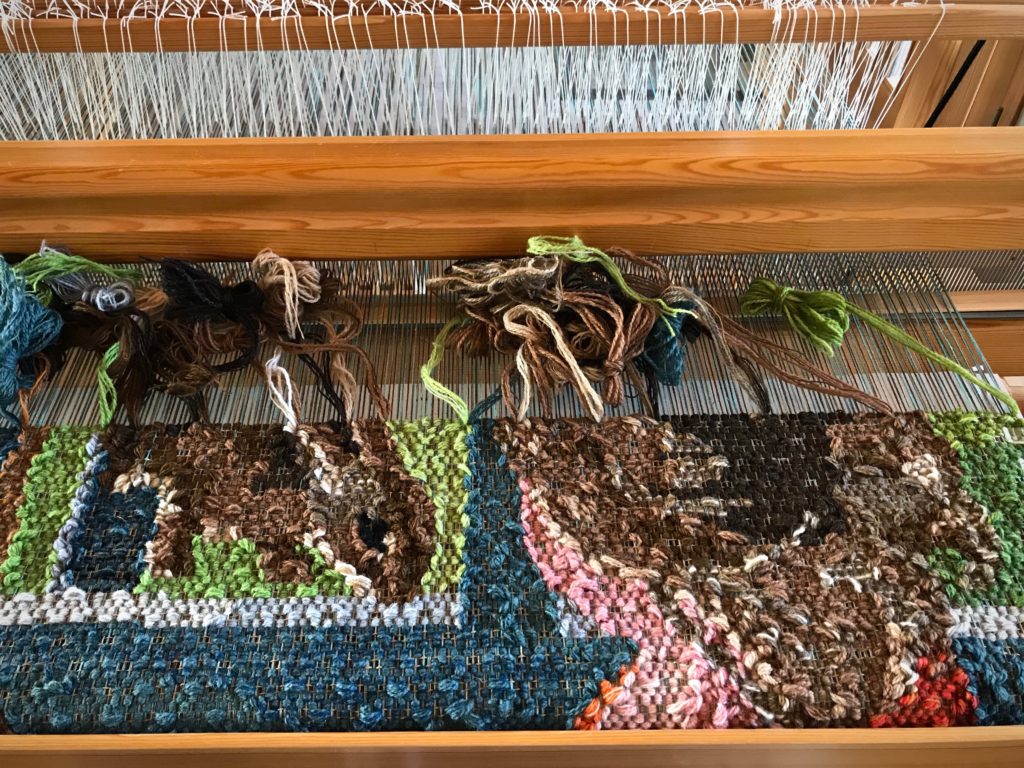
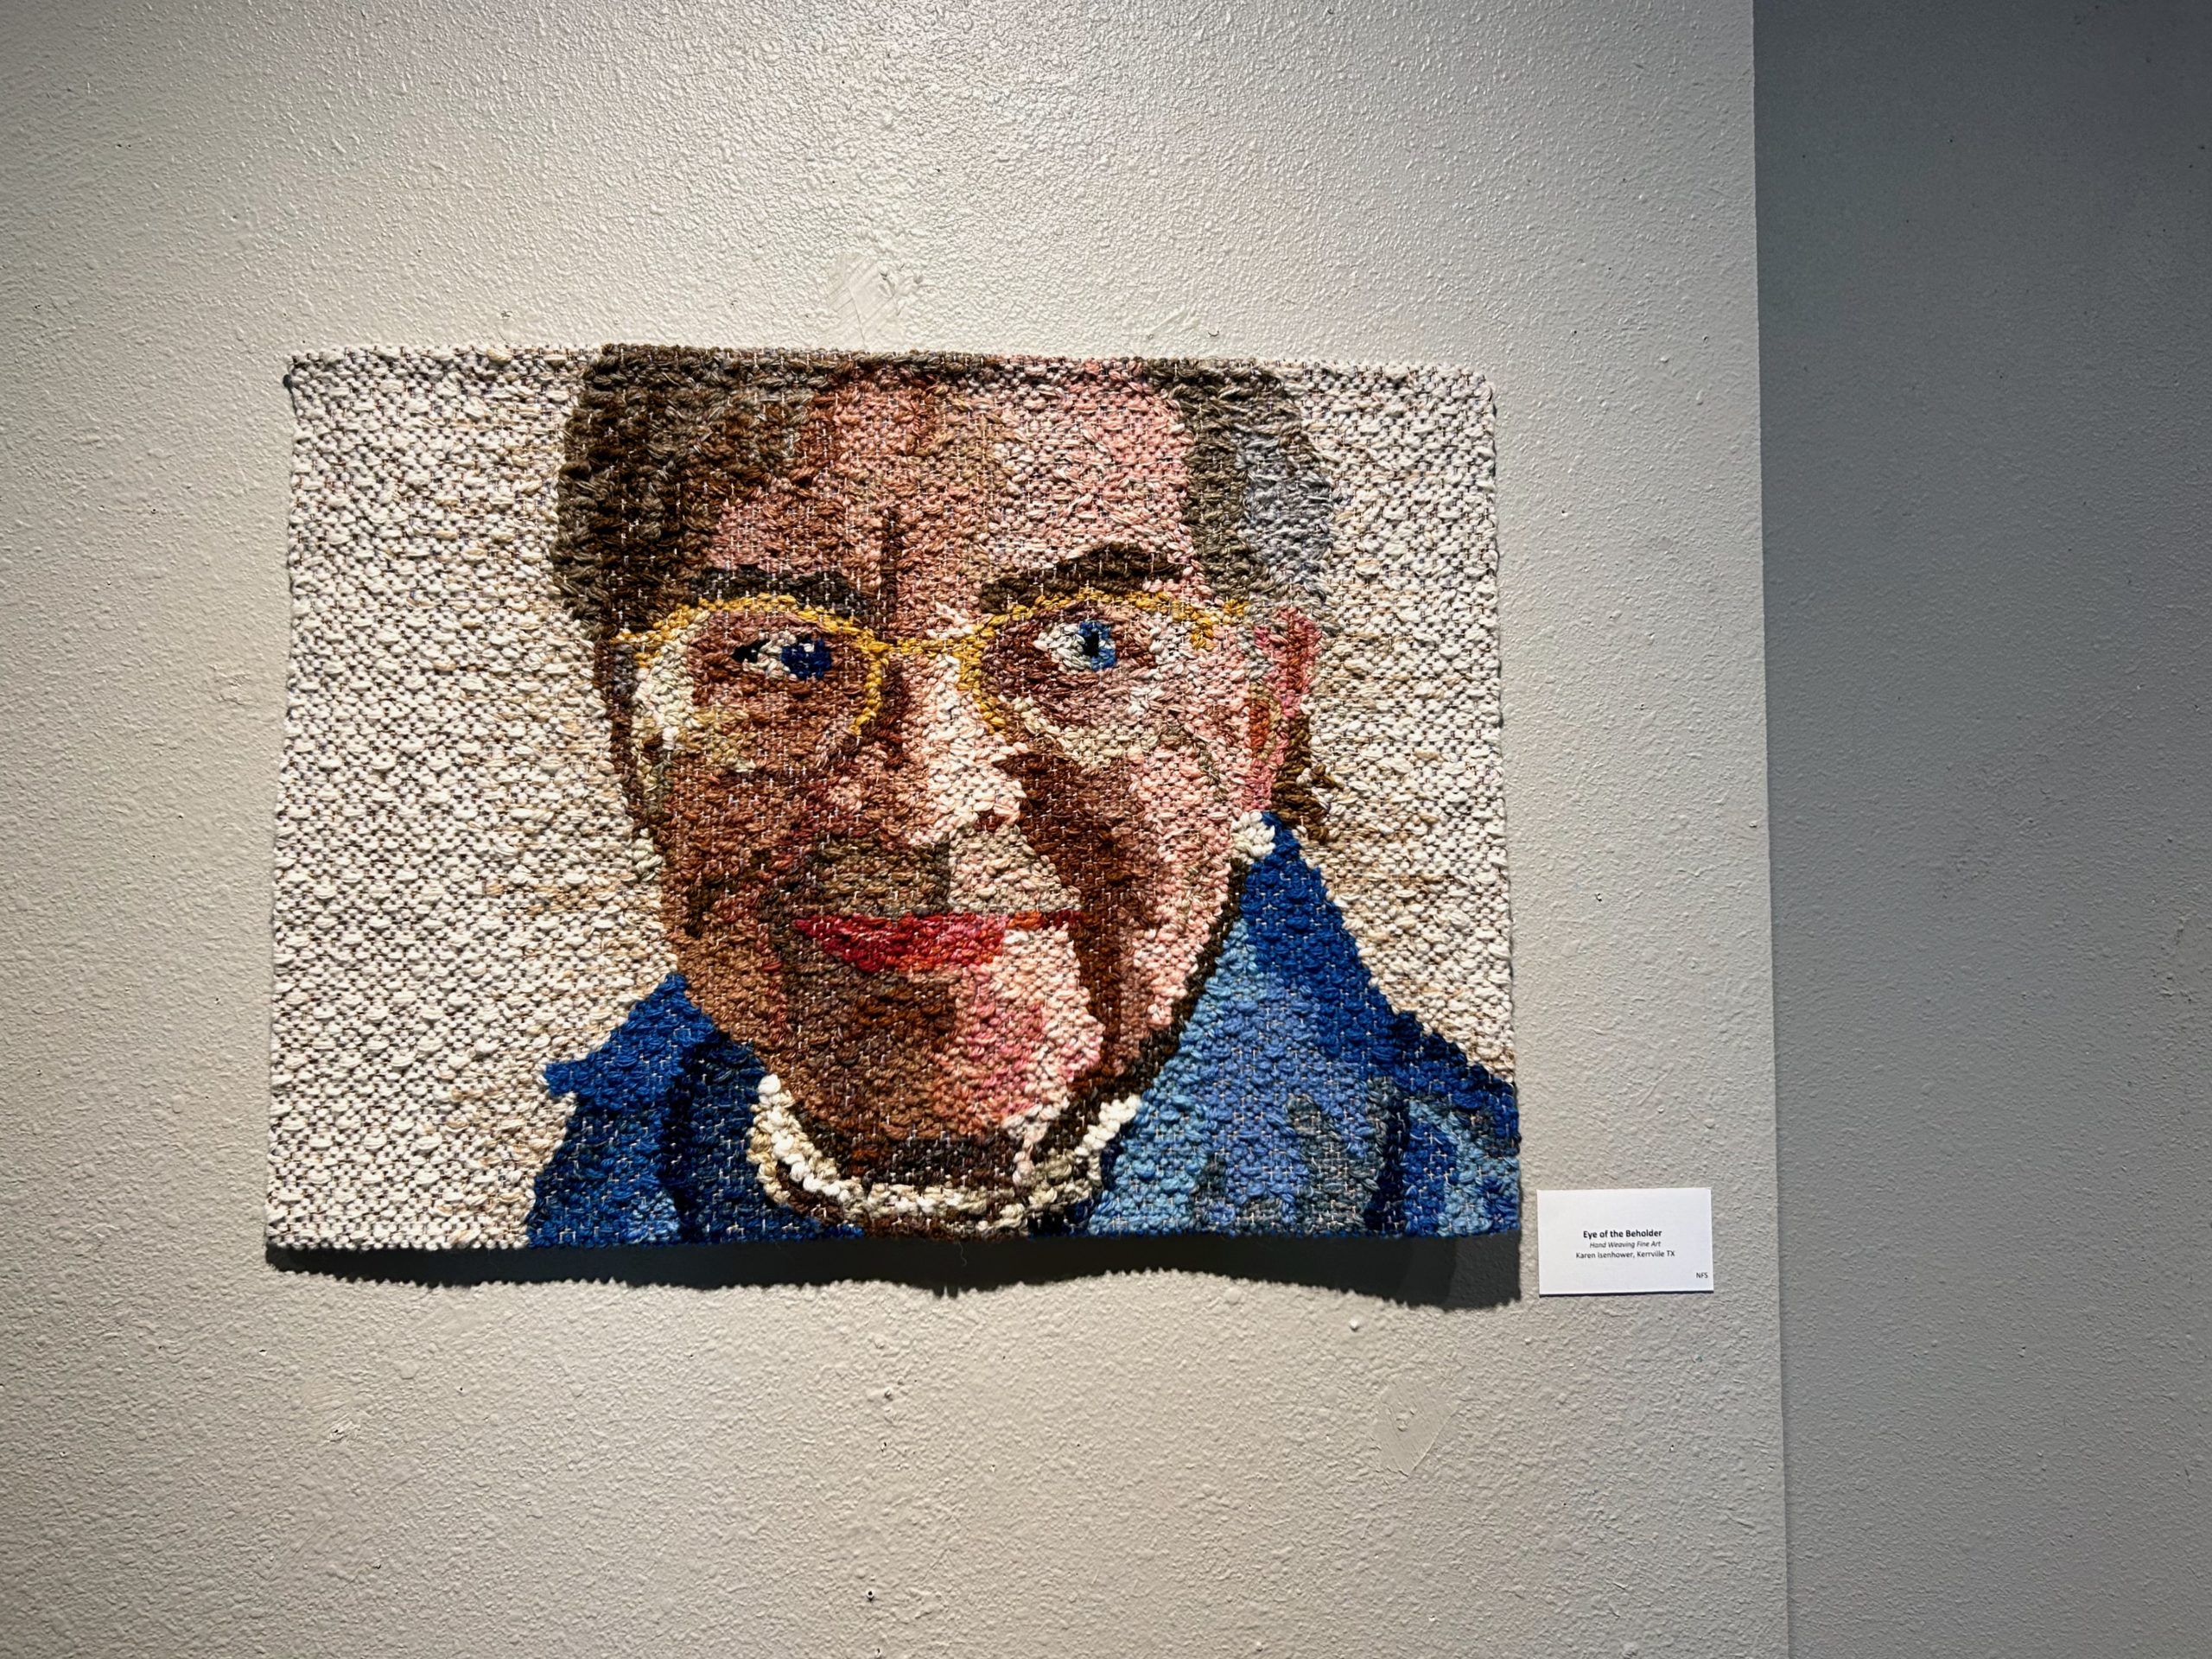
Eye of the Beholder
Pictorial Tapestry in Four-Shaft Rosepath
Warp: Linen
Weft: Wool and Linen
Artist Reception and Awards evening. Winter Window receives a Judge’s Special Award.

If you hang a rag rug on the wall it becomes fine art. And I’m ok with that.

May others enjoy seeing what you enjoy making.

Happy Weaving,
Karen

Waiting to Cut Off the Tapestry

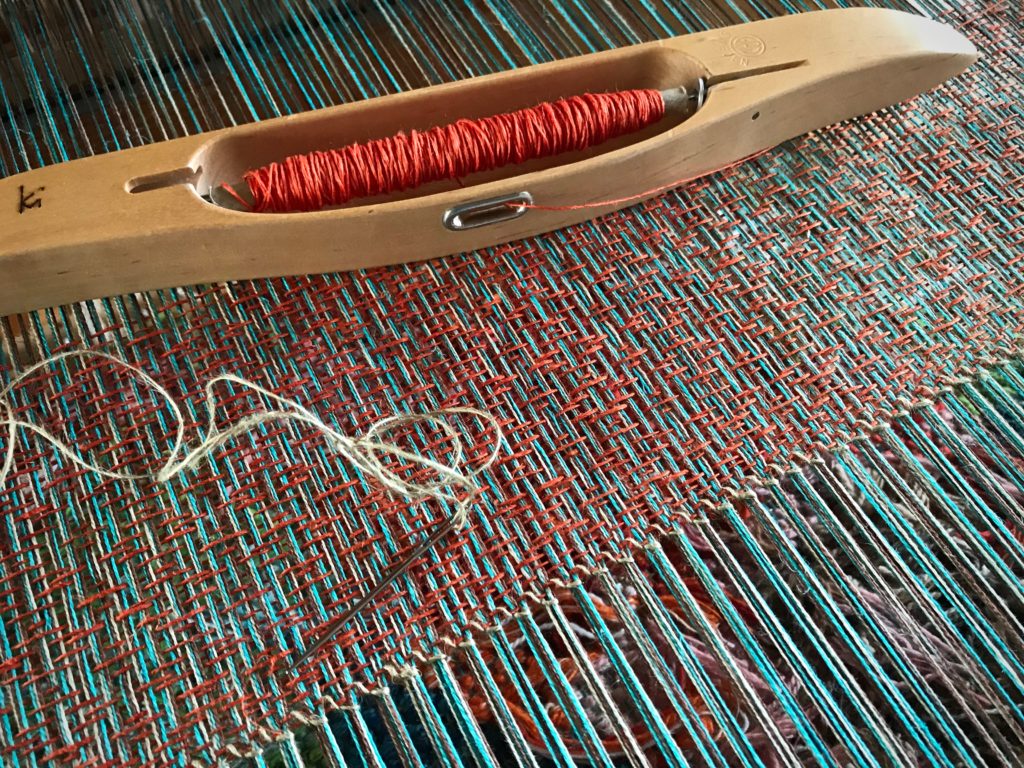
I desperately want to unroll this tapestry so we can see the whole thing. The tapestry and its linen header are finished. But it’s not quite time to cut it off. First, I am weaving the rest of this beautiful linen warp. Not another tapestry, just a lacey rosepath weave using a tomato orange 6/1 tow linen weft.

One more row of weft for this Siblings tapestry!
With one more row of wool weft this tapestry is completed. Ten picks of linen in a plain-weave header follow. After that, a few rows of wool weft (leftover butterflies) are woven to secure the weft.
Linen on linen, with linen hemstitching.
Hemstitching secures the weft for this lacey weave.

It won’t take much time to weave this off, especially compared to the slower process of weaving the tapestry. Hemstitching, which does take time, will help keep this loosely-woven piece from unraveling when the warp is finally cut off. Soon enough, we will enjoy the full view of the completed Siblings tapestry.

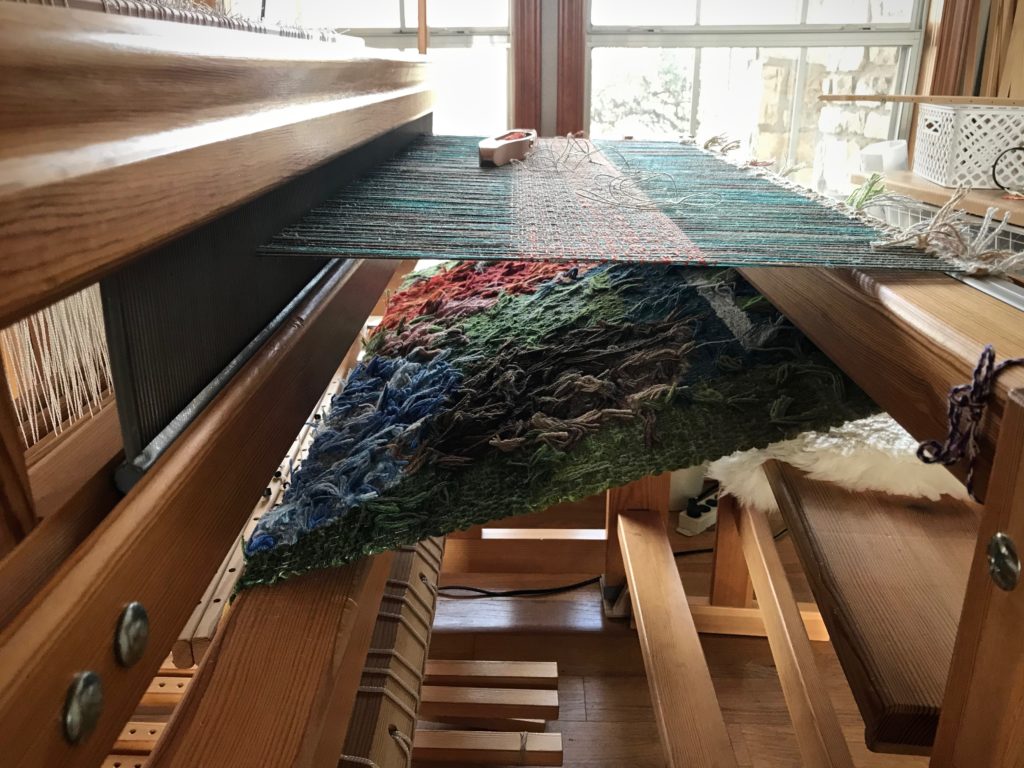
View of the messy underside of the tapestry.
Only a short distance remains on this beautiful linen warp.

Time. We all have it. And yet none of us knows how much of it we have. How many days have we been given? We don’t know. Time is temporary. Imagine a place where time isn’t measured. That’s heaven. Our short time here is but a pilgrimage to another destination. Our trust in Jesus opens heaven’s doors. In the meantime, the Grand Weaver’s warp will be woven, and not wasted, to the very end.

May you complete your pilgrimage in the time you’ve been given.

Blessings on your journey,
Karen

Stay Ahead of Empty Quills

What a delight to weave with just one shuttle for a change! It is relaxing to weave this Swedish lace wrap. Even moving the temple and getting up to advance the warp becomes part of the natural rhythm of weaving.

Exchanging empty quill for a filled one.
Empty quill is replaced with a filled quill from the loom bench basket. Smooth operation. My foot needn’t even leave the treadle.

There is one thing that breaks my stride. An empty quill. If I have to stop in the middle of a sequence to wind more quills, I lose momentum and sometimes I even lose my place. Solution? Stop ahead of time at a sensible place in the sequence and wind quills to put in my loom basket. Then, while weaving, it’s a seamless motion to change quills and keep going. It’s a pause instead of a dead stop.

Hemstitching at the end of this wrap.
Hemstitching at the end brings the weaving stage of this piece to a close.

We need to prepare for those times when people seem harder to love. It helps to think ahead, and fill our heart basket with the thoughts of kindness and humility that are essential to keep going. We have a good reason to love each other. We have been loved first. God so loved us that he gave his son. This is the Christmas news. God sent his son to be born here on this earth to be with us hard-to-love people and to save us. That’s good news worth celebrating!

May your heart basket be filled with love.

Christmas Blessings,
Karen

Tools Day: Measured Weaving

How far will you travel? How will you know when you have arrived? Do you wish you could know when you are halfway there? Applied to weaving, I like to have the answers to these questions before I begin the “journey.” A pre-measured tape gives me consistency, especially important for multiple pieces in a set. The tape also acts as my “trip odometer.” I can see how far I’ve gone, and exactly how much is left to weave. It satisfies my insatiable need to know how close I am to the end. Are you like that, too?

How to Make and Use a Pre-Measured Tape

Supplies

  • Roll of 3/4″ or wider twill tape (or any cloth tape or ribbon that does not stretch, and that pins easily)
  • Tape measure with inches and/or centimeters
  • Fine tip permanent marker
  • Flat head pins
  1. Use the permanent marker to place markings on the twill tape, as measured with the tape measure. Mark the start line 1/2″ from the end of the twill tape, so that the tape can be pinned in front of the mark.
  2. After drawing a line for the starting point and ending point, draw a line at the midway point, labeled MID.
  3. Include dotted lines for hem measurements, if applicable. Write the hem measurement on the twill tape; i.,e., 3/4″ or 2 cm.
  4. Write the weaving length measurement on the twill tape. Include calculation for takeup, if desired; i.,e., 25″ + 3″.
  5. Write the project or item description on the twill tape, if desired, for ease of repeat use; i.e., handtowel.
  6. Add other lines or marks, as needed, for borders, placement of weft colors, or other design elements.
  7. 1/2″ after the final marking, cut pre-measured twill tape from the roll of tape.

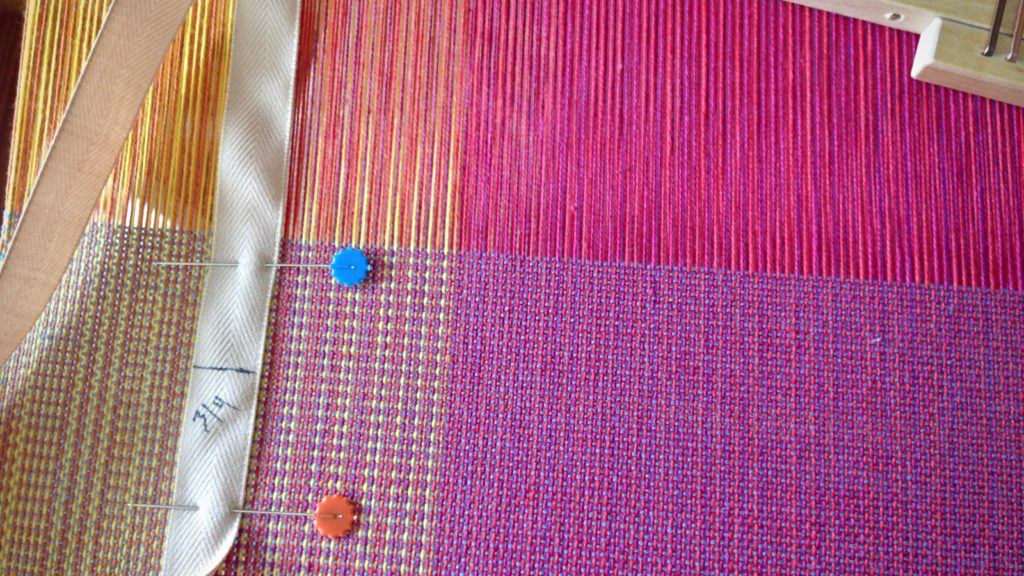
With the warp under tension, pin the pre-measured twill tape near the right or left selvedge with two flat-head pins. Match the start line of the tape with the beginning of the weaving.
Before each advancement of the warp, move the pin closest to the breast beam to a point near the fell line. In this way, have the pins leapfrog each other, moving only one pin each time. Always keep the warp under tension when moving the pins.

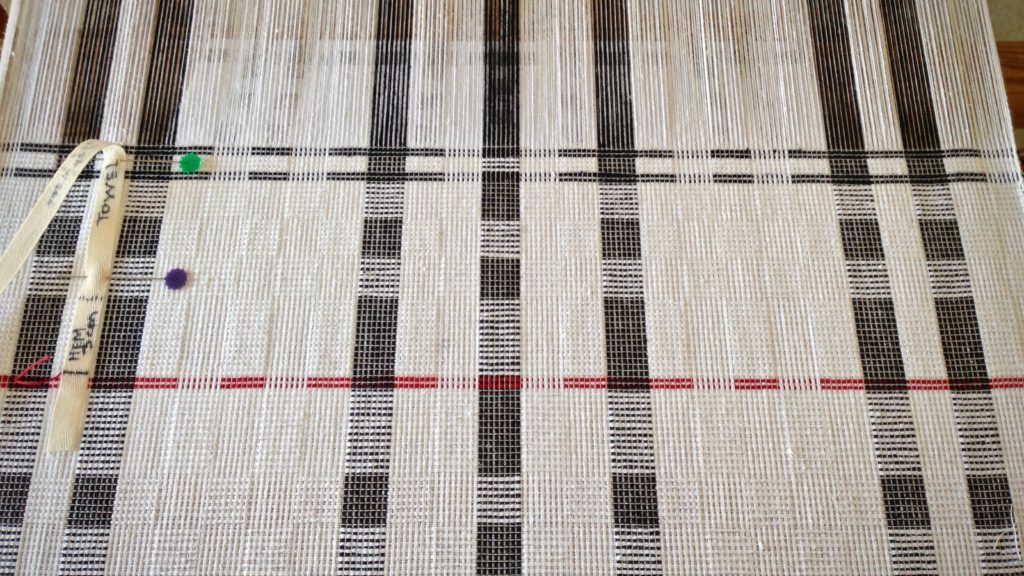
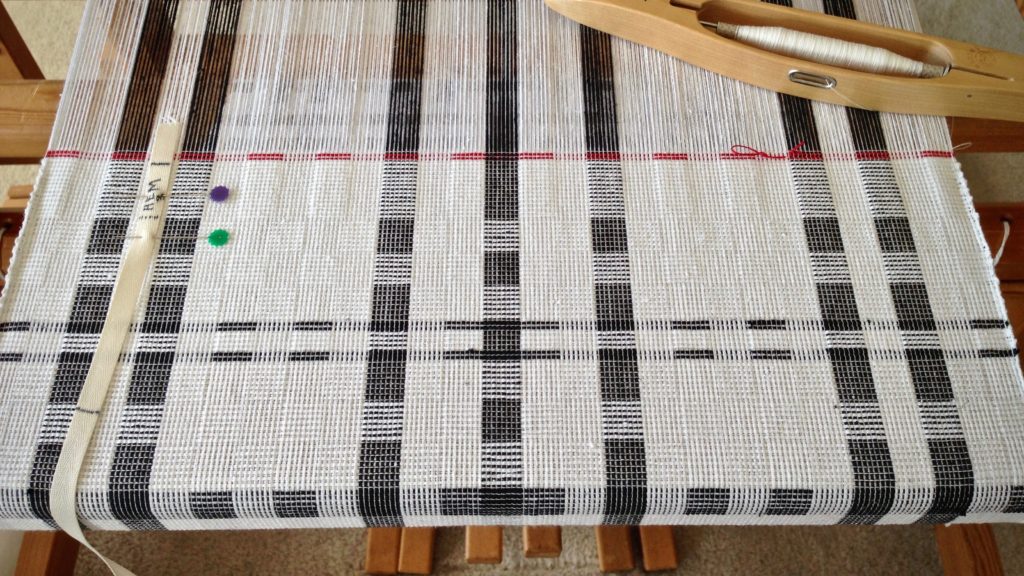
Red cutting lines between black and white towels.
Beginning hem, after red cutting lines between towels.

Ending hem is followed by two red picks that will become the cutting line between towels.

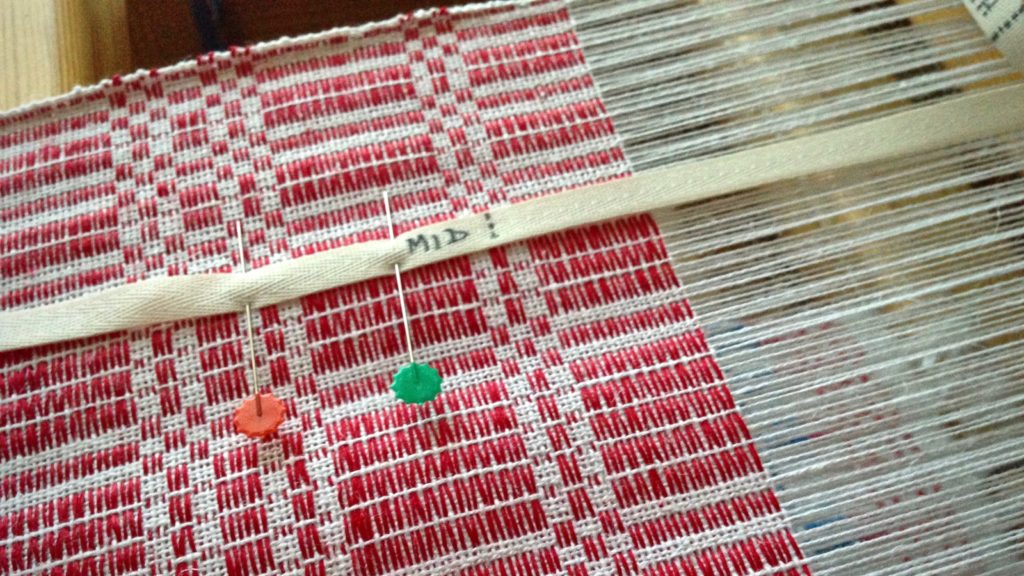
When the "MID" point hits right where it should!
When the “MID” point hits right where it should! Mid point marking helps to confirm that the halvdräll pattern is centered and balanced in its length.

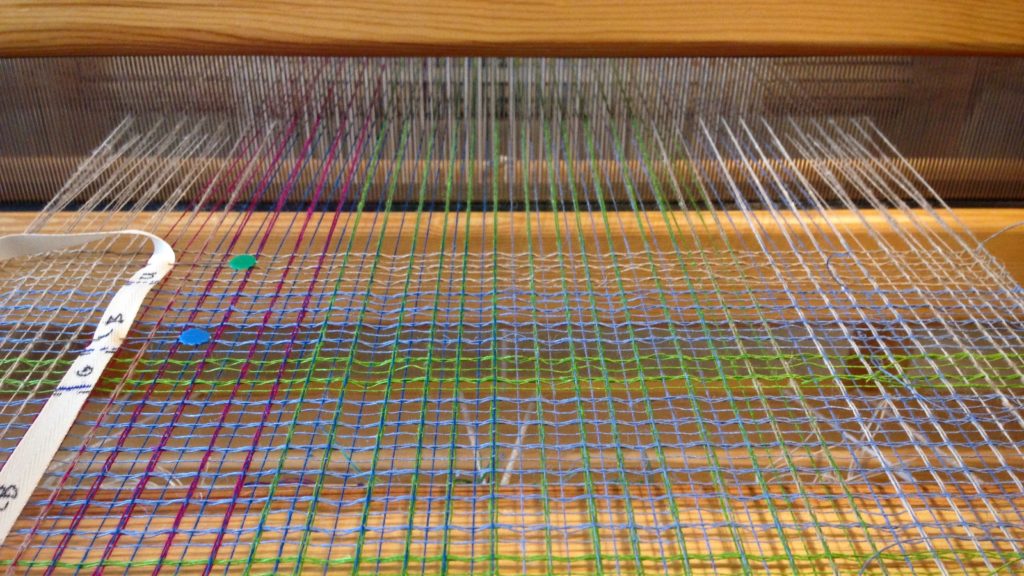
Pre-measured twill tape marks weft color placement on linen scarves.
Weft color placement is marked on the twill tape for these linen lace scarves.

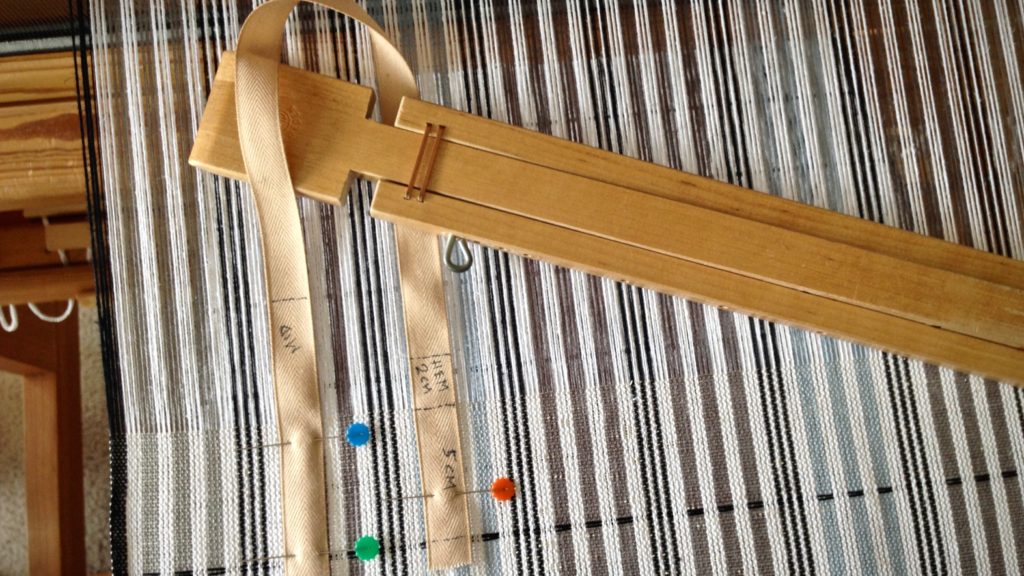
Tricks with pre-measured tape for weaving.
Five centimeters, marked at the end of the twill tape, is a handy reference for spacing the weft pattern floats in these plattväv towels.

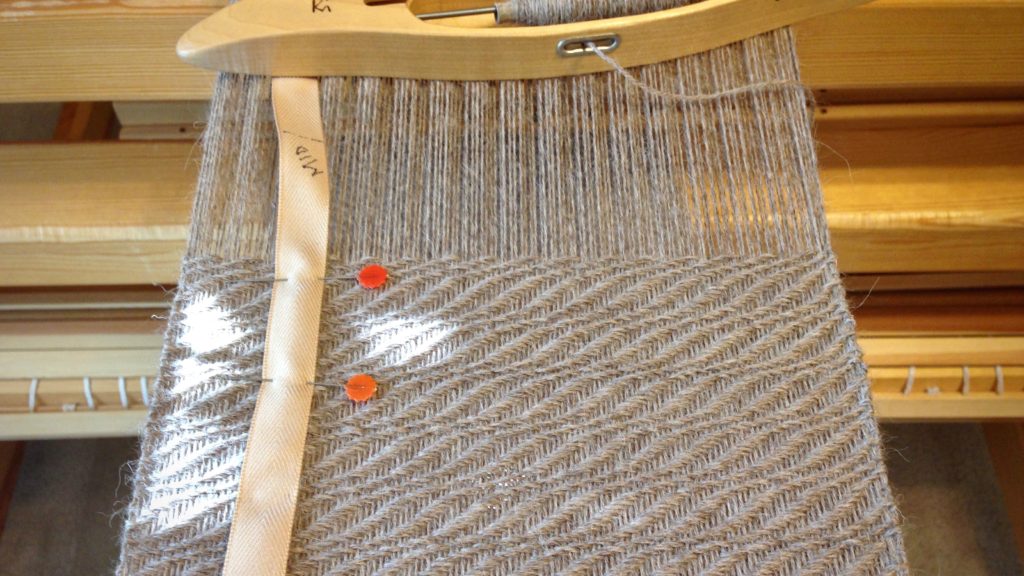
Alpaca scarf in an interesting 8-shaft twill.
I love seeing the “MID” point on a long piece, such as this 8-shaft twill alpaca scarf.

Pre-measured twill tape helps set the pace for the weaving project.
Breaking up the length into quarters helps to set a pace for the weaving project. This baby wrap was on a time crunch, so it was helpful to know when I was getting close to the end.

May you accurately measure your ways.

Truly yours,
Karen

Linen Air Scarves

This linen scarf is for embellishment, not for warmth. Wear it as a summer shawl, and it will make you feel pretty without adding any weight to your shoulders. Making this scarf was like weaving air, and wearing it is like wearing air.

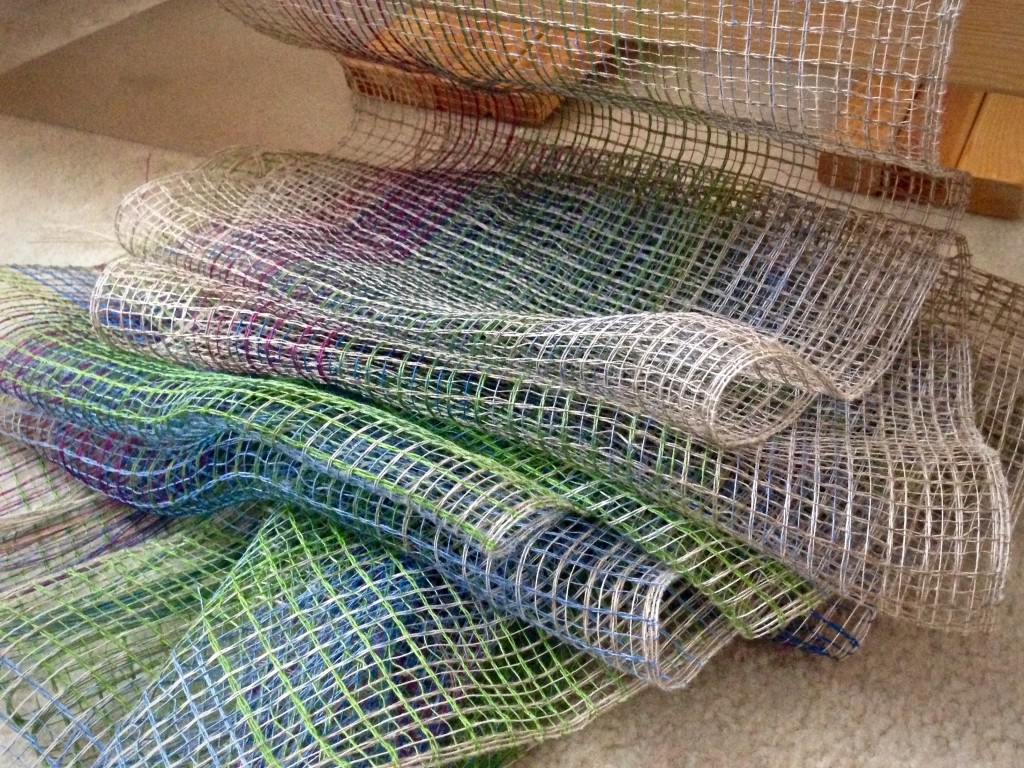
Linen lace weave scarves just off the loom.
Lace weave scarves, woven with 16/1 linen, just off the loom.

Twisting fringe on linen scarves.
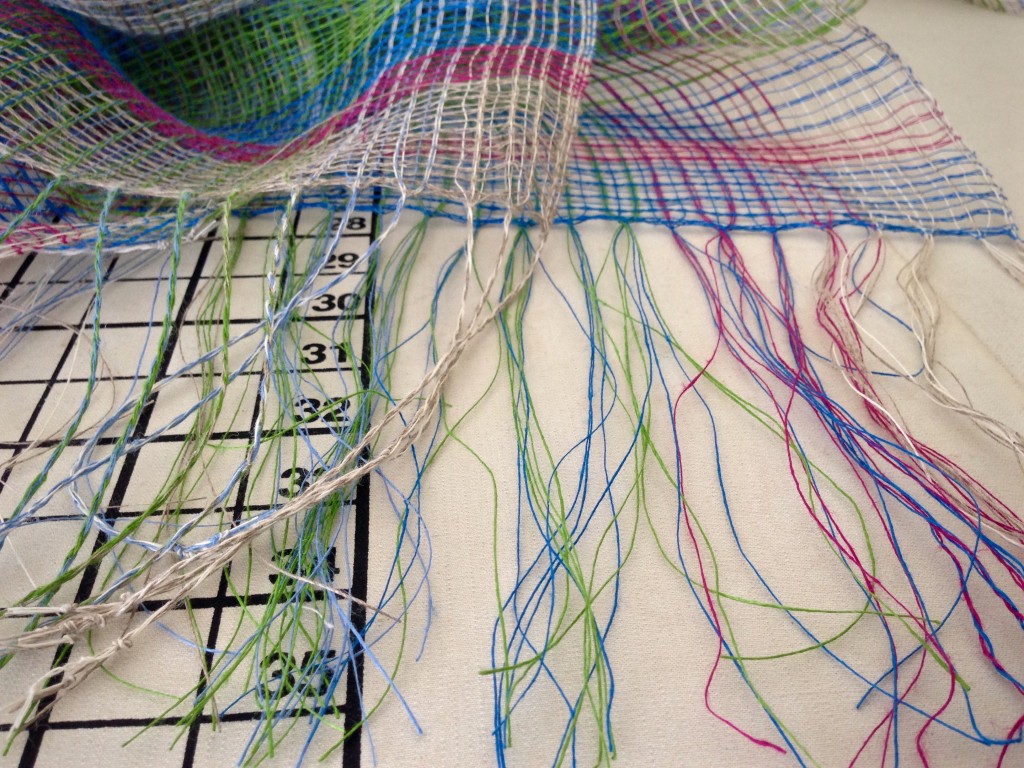
Fringe is trimmed, knotted, twisted, and knotted again. Then, after washing by hand in hot water with mild soap, the scarves are hung to dry.

The wrinkly nature of linen gives character to this netting-like lace weave. In The Big Book of Weaving, this draft is written for a project using paper yarn to make room dividers. I didn’t know if it would work to substitute linen for paper yarn… Or, if the fabric off the loom would work as scarves… Result? Two fabulously light linen scarves, wearable even in Houston.

Linen lace weave scarves. Karen Isenhower
Long and lightweight, the airy fabric is suitable to serve as a scarf, shawl, or even a long sash. Being linen, it embellishes a nice dress, or adds style to comfortable blue jeans.

Fringe detail on linen scarves.
Long fringe, twisted in small sections, accentuates the linen character of the scarves.

Concerns that turn into burdens are like scarves that are too heavy for the present season. We keep wearing the scarf, even though it makes us miserable. Our Heavenly Father is a burden lifter who knows our concerns. He bears our burdens. Though he is great and glorious, he lifts the burdens that are on our shoulders and carries them for us. In place of the burdens, we get to wear peace instead. Light and airy, and wearable with everything… peace.

May your burdens become light as air.

With grace,
Karen