Quiet Friday: Linen Satin Dräll

This is one of those weaving projects that puts you on top of the world. Everything about it. Linen, ten shafts, five-shaft satin weave, ten treadles, gorgeous Moberg damask shuttle, single-shuttle rhythm, full-body weaving, magical fabric. I did have more than my share of knots in the warp, and a few skipped threads and selvedge loops. But you will see no evidence of those glitches now. All you will see is the natural beauty of linen, with its characteristic unevenness. And the reflective satin dräll weave, with its light-catching trickery.

The warp is Bockens unbleached 16/2 line linen. Two of the towels use 16/1 golden bleached linen for the weft. At my husband’s request, the remaining three towels have 16/2 linen weft, in ecru. The thicker weft helps make these into robust absorbent handtowels. A table square finishes off the set.

Enjoy the process with me as I reminisce over the start-to-finish pleasure of weaving these towels.

Winding a linen warp.

Linen warp chains.

Tying on the linen warp.

Tying up 10 treadles on a countermarch!

Sampling weft colors on a linen warp.

Sunlit linen damask weaving.

Hidden patterns in the 5-shaft satin.

Linen 5-shaft satin dräll!

Beautiful Moberg damask shuttle.

Spliced warp ends.

Linen satin dräll on the loom.

End of the warp is near. So many warp end repairs!

Cutting off! Linen 5-shaft satin dräll.

Just off the loom--linen 5-shaft satin.

Glimakra band loom. Hanging tabs for towels.

Ready to sew handwoven hanging tabs on new linen towels.

Just off the loom--linen 5-shaft satin handtowels.

Handwoven linen towel with handwoven hanging tab.

Handwoven set of linen satin dräll towels. Karen Isenhower

May you find pleasure in what you do.

Happy Weaving,
Karen

What to Do about Weaving Errors

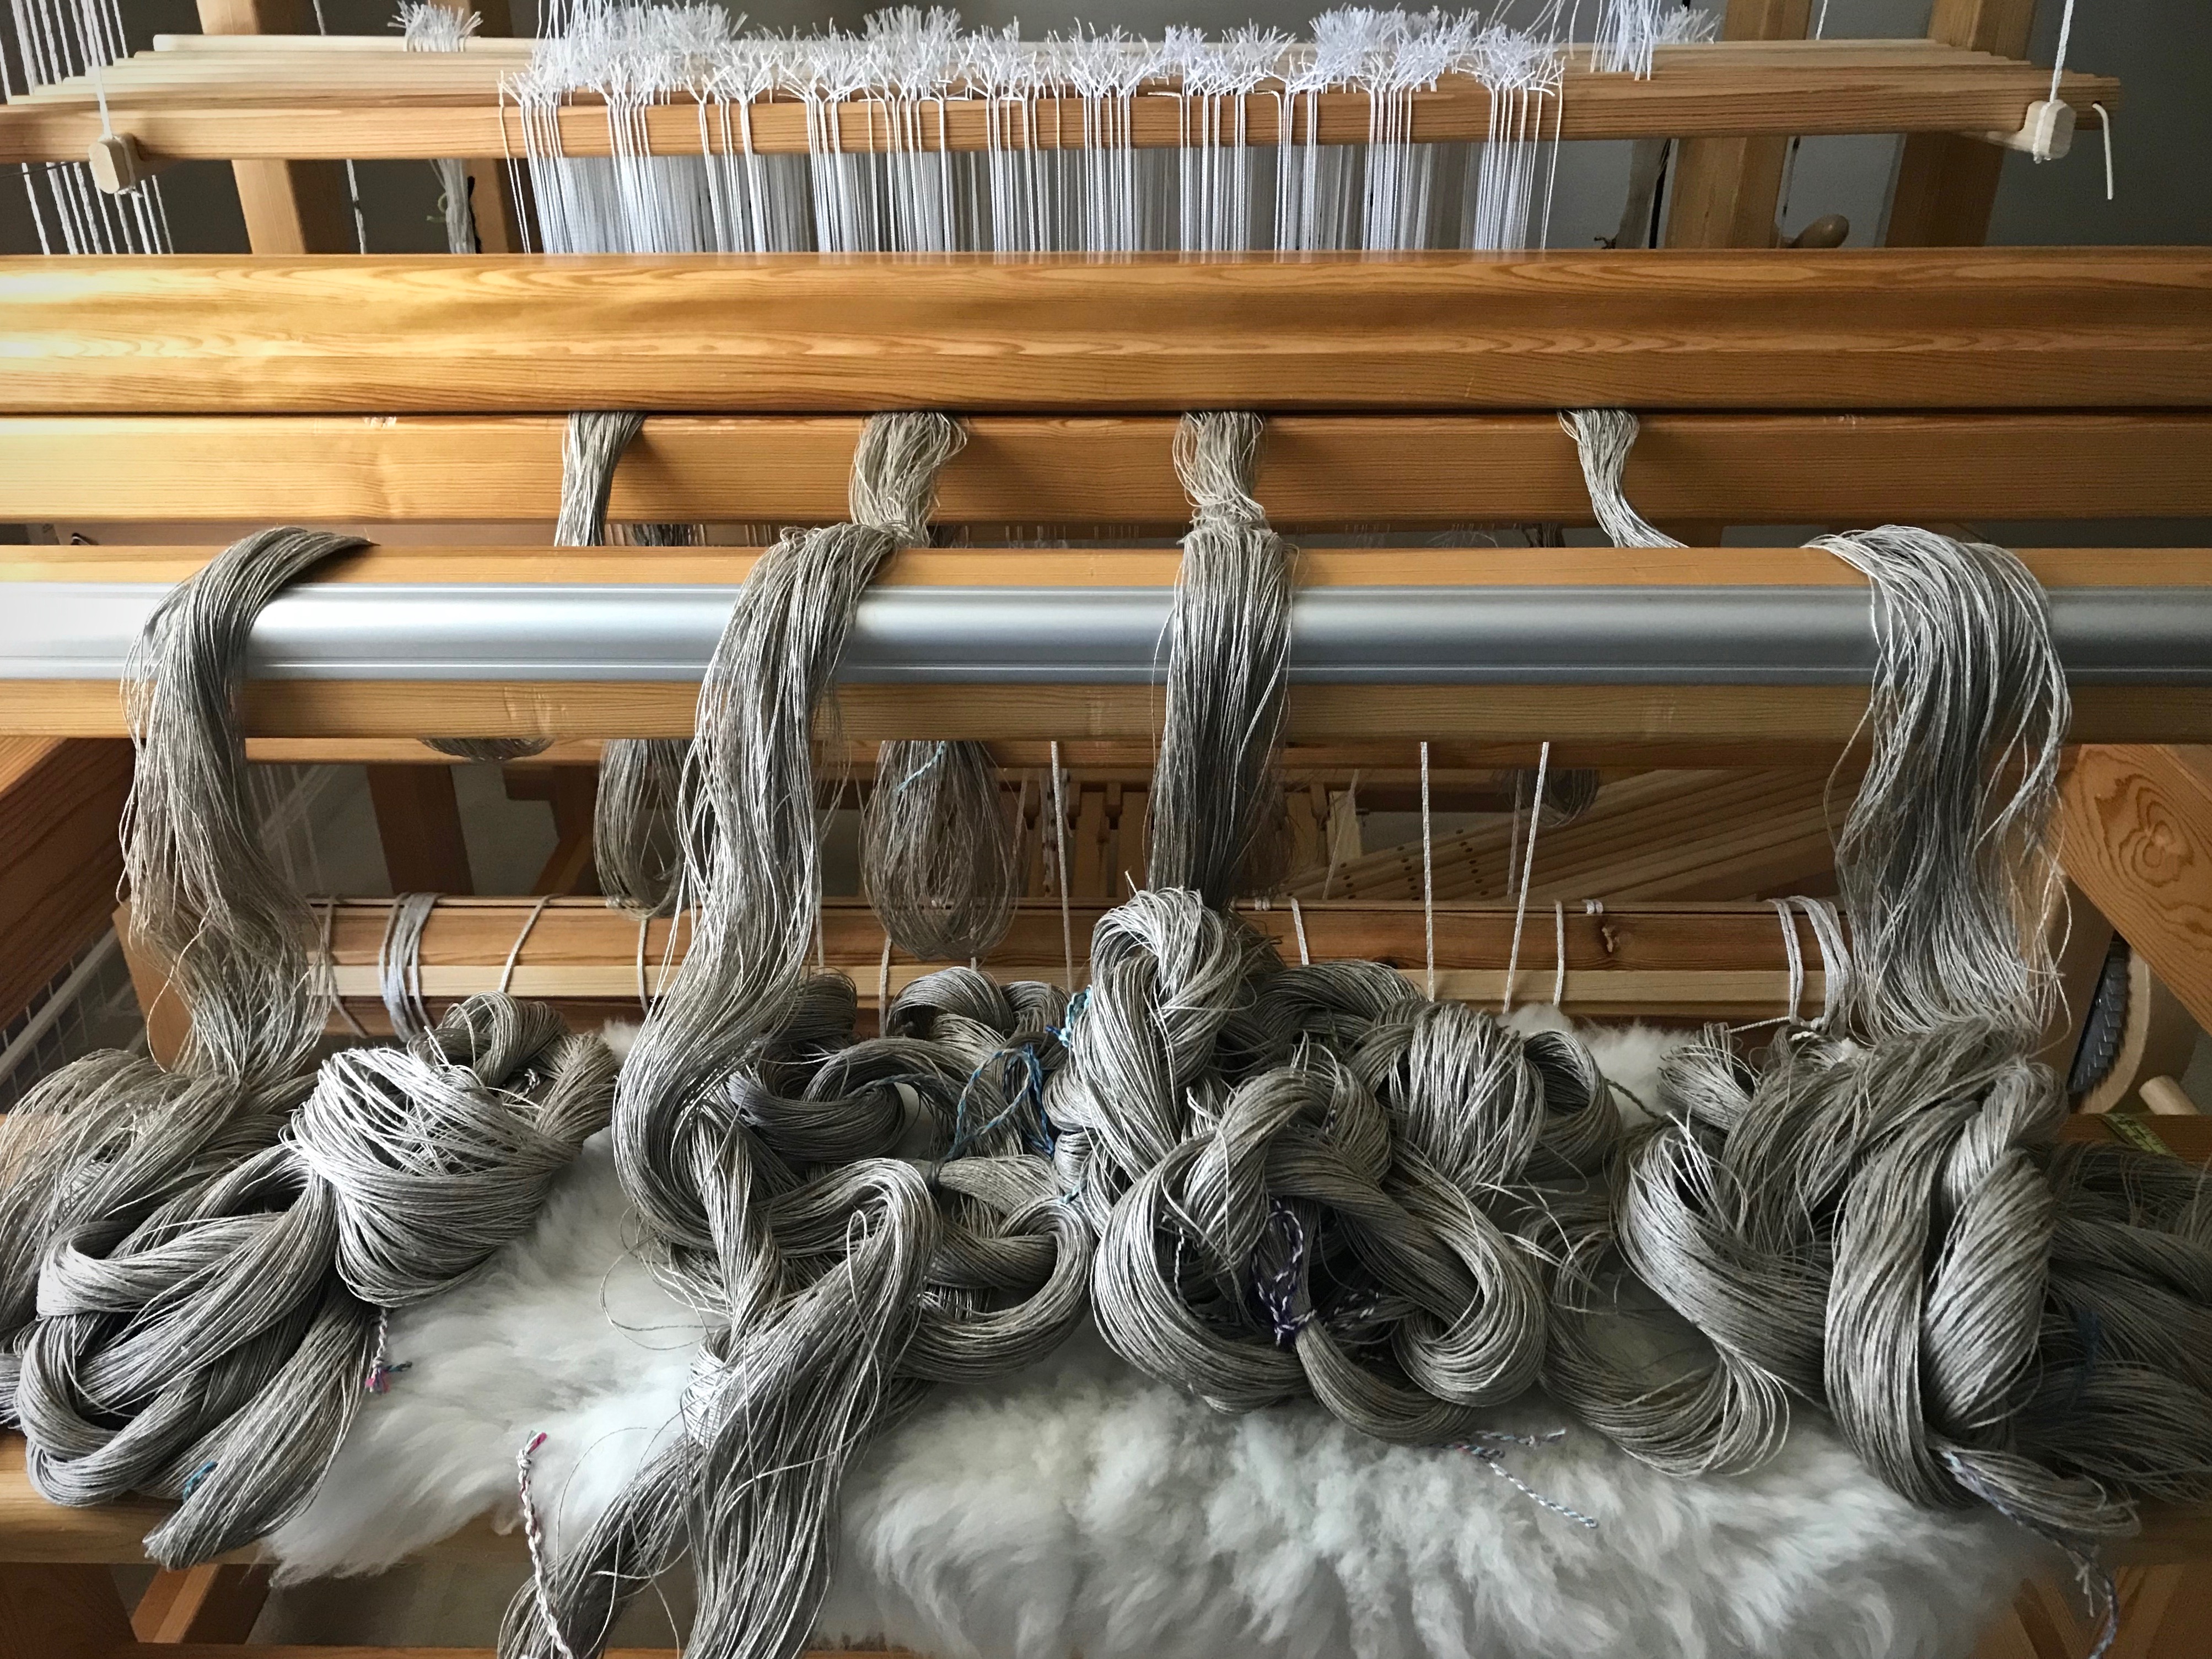
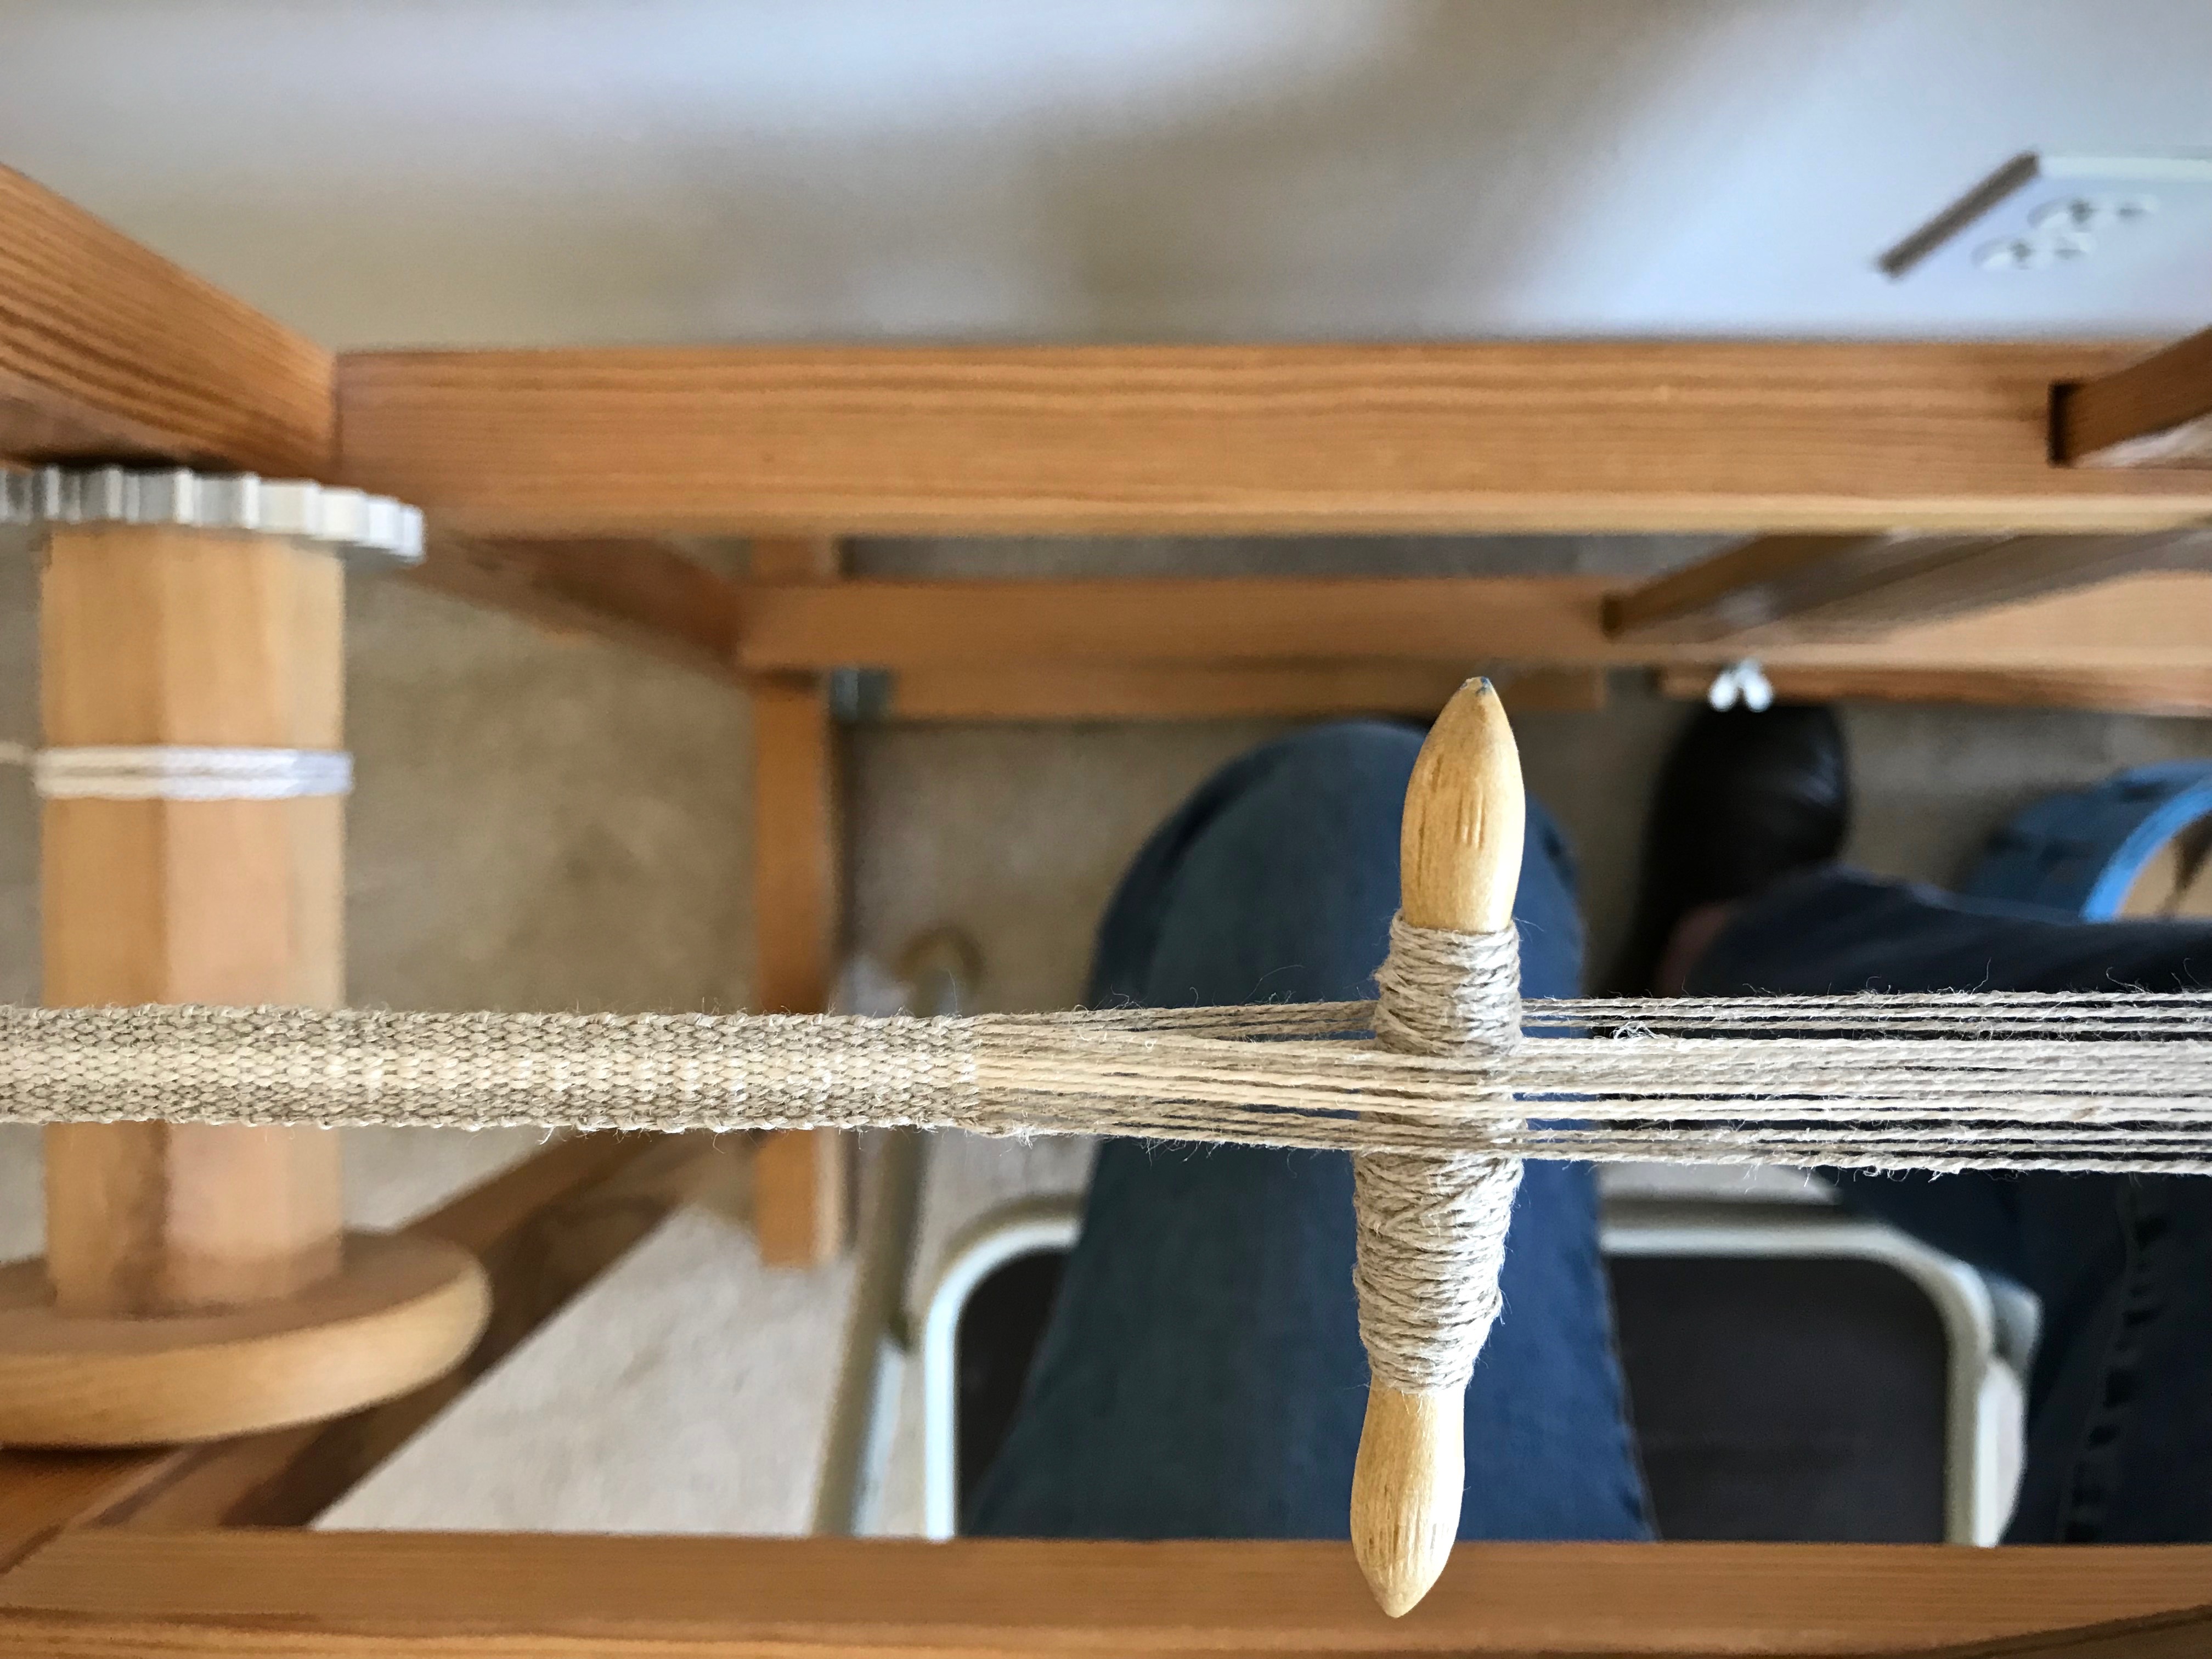
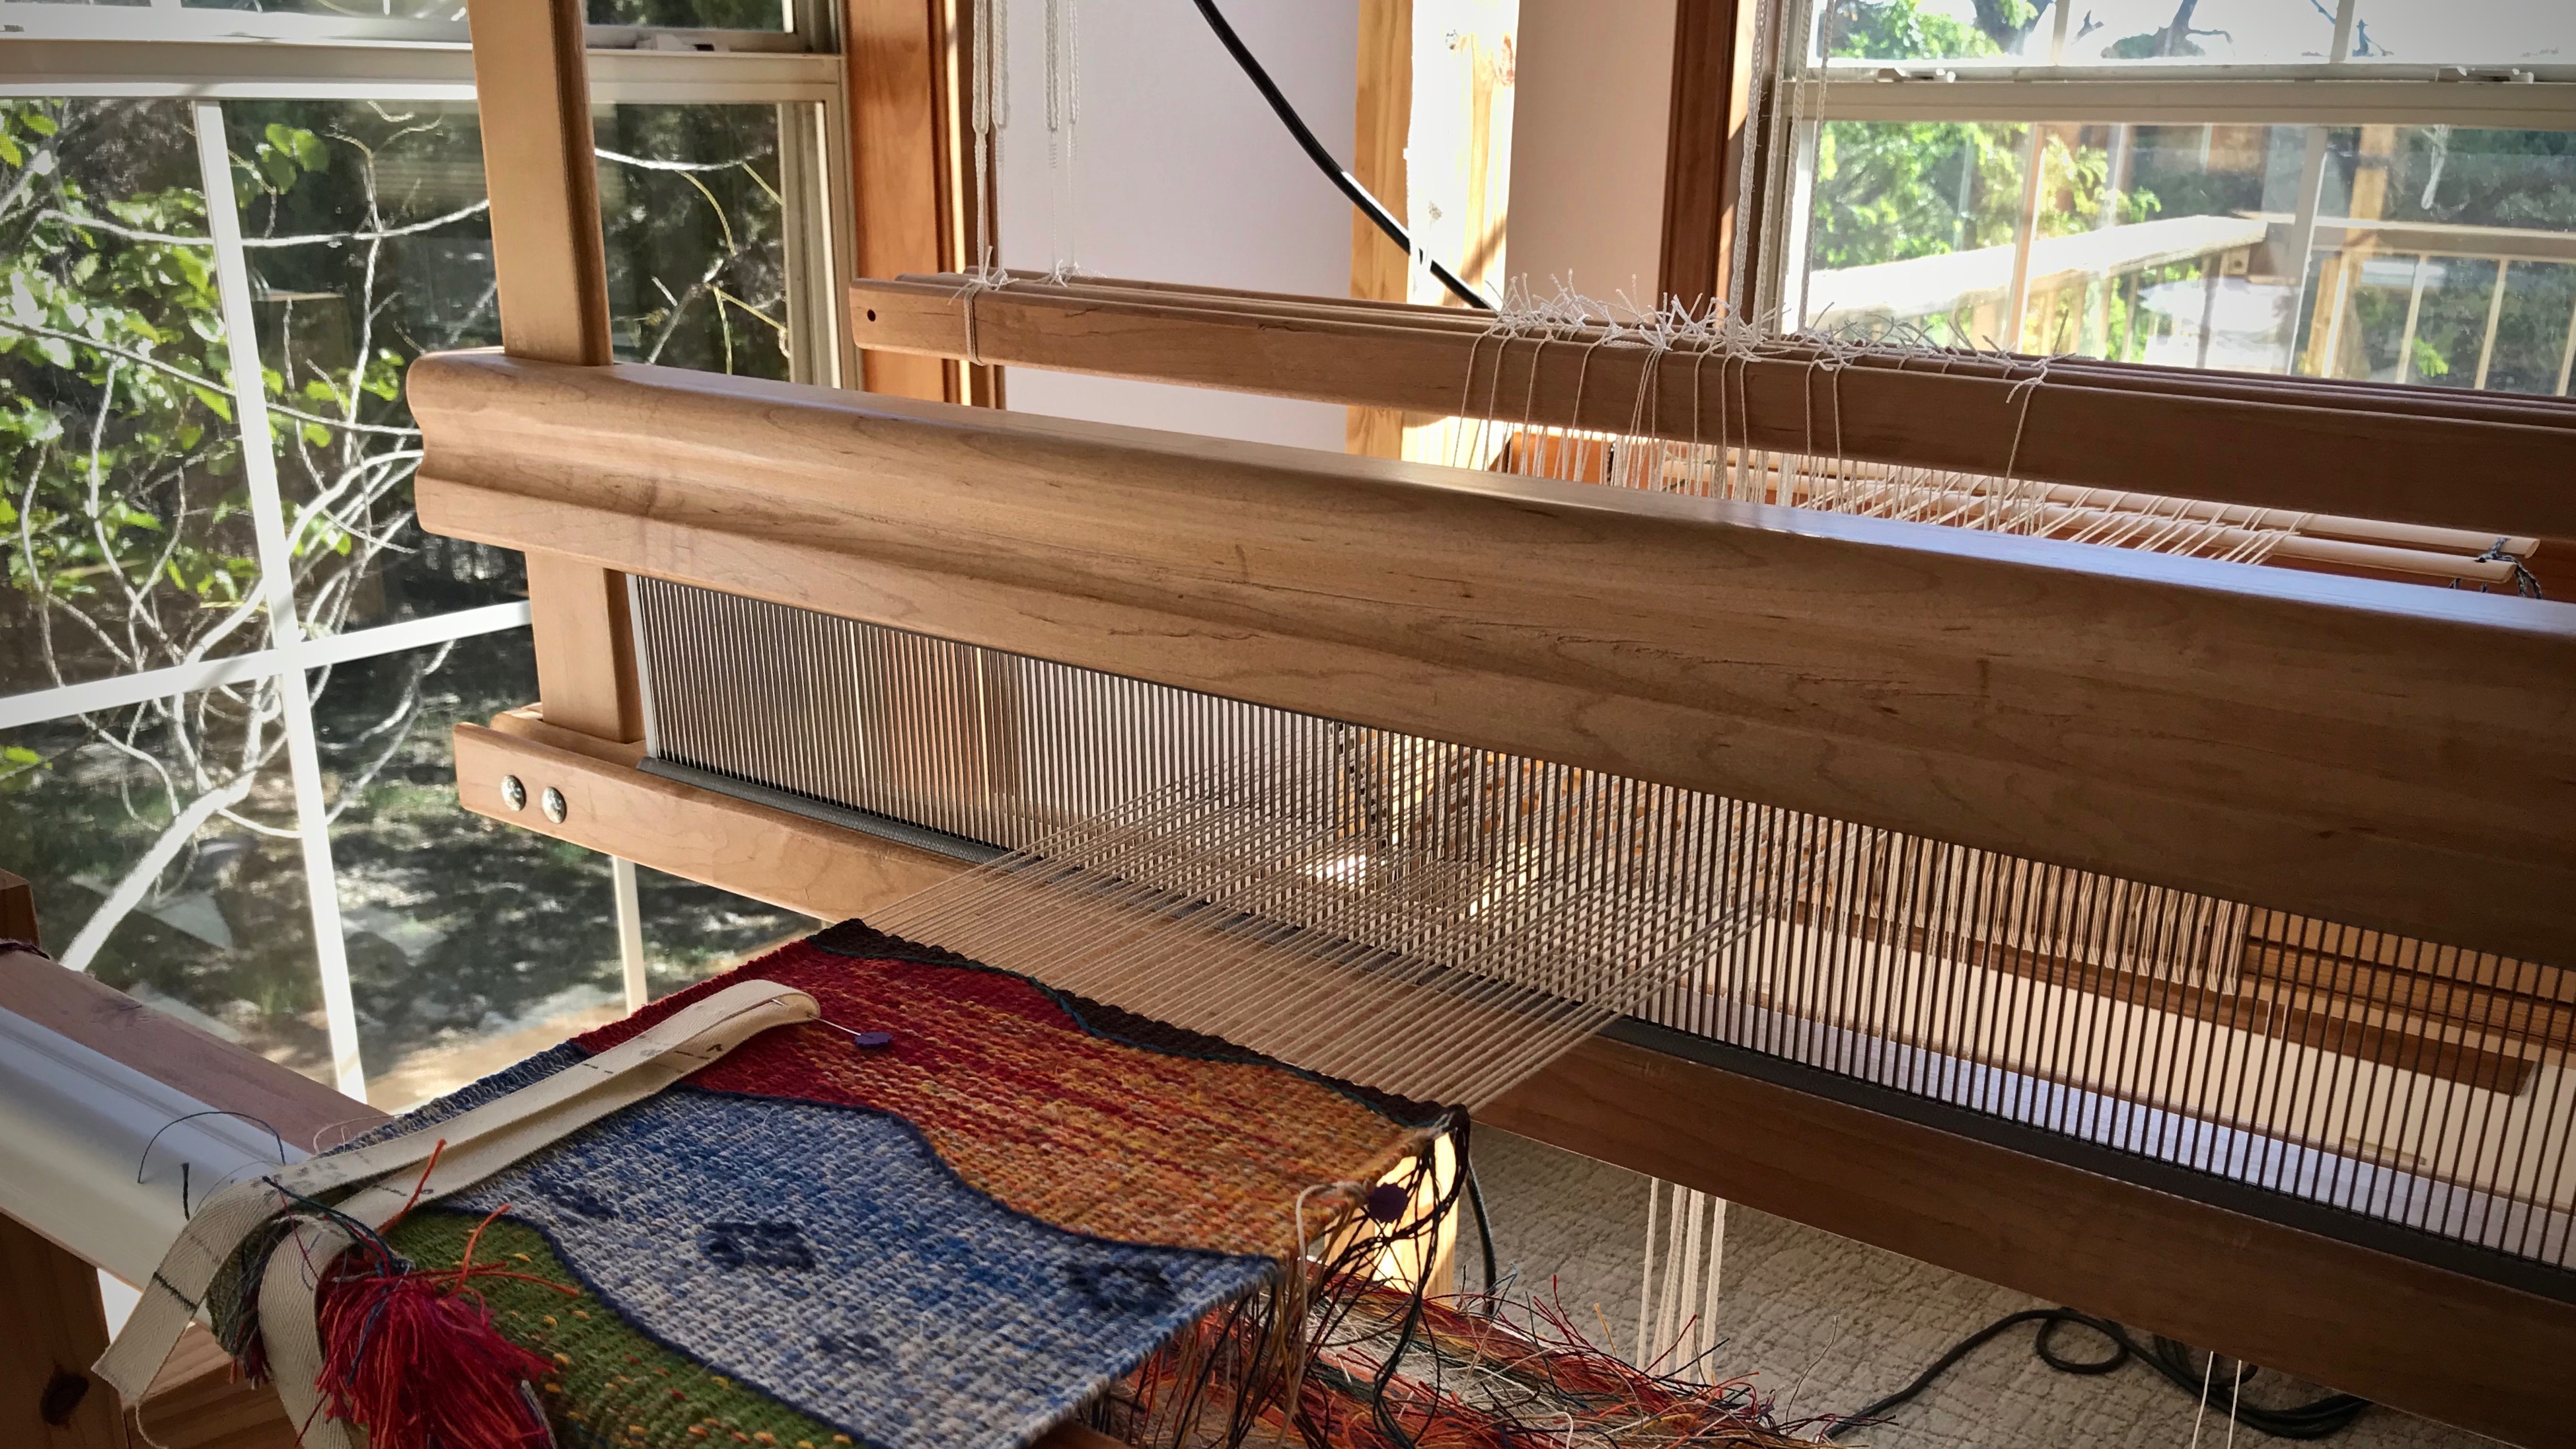
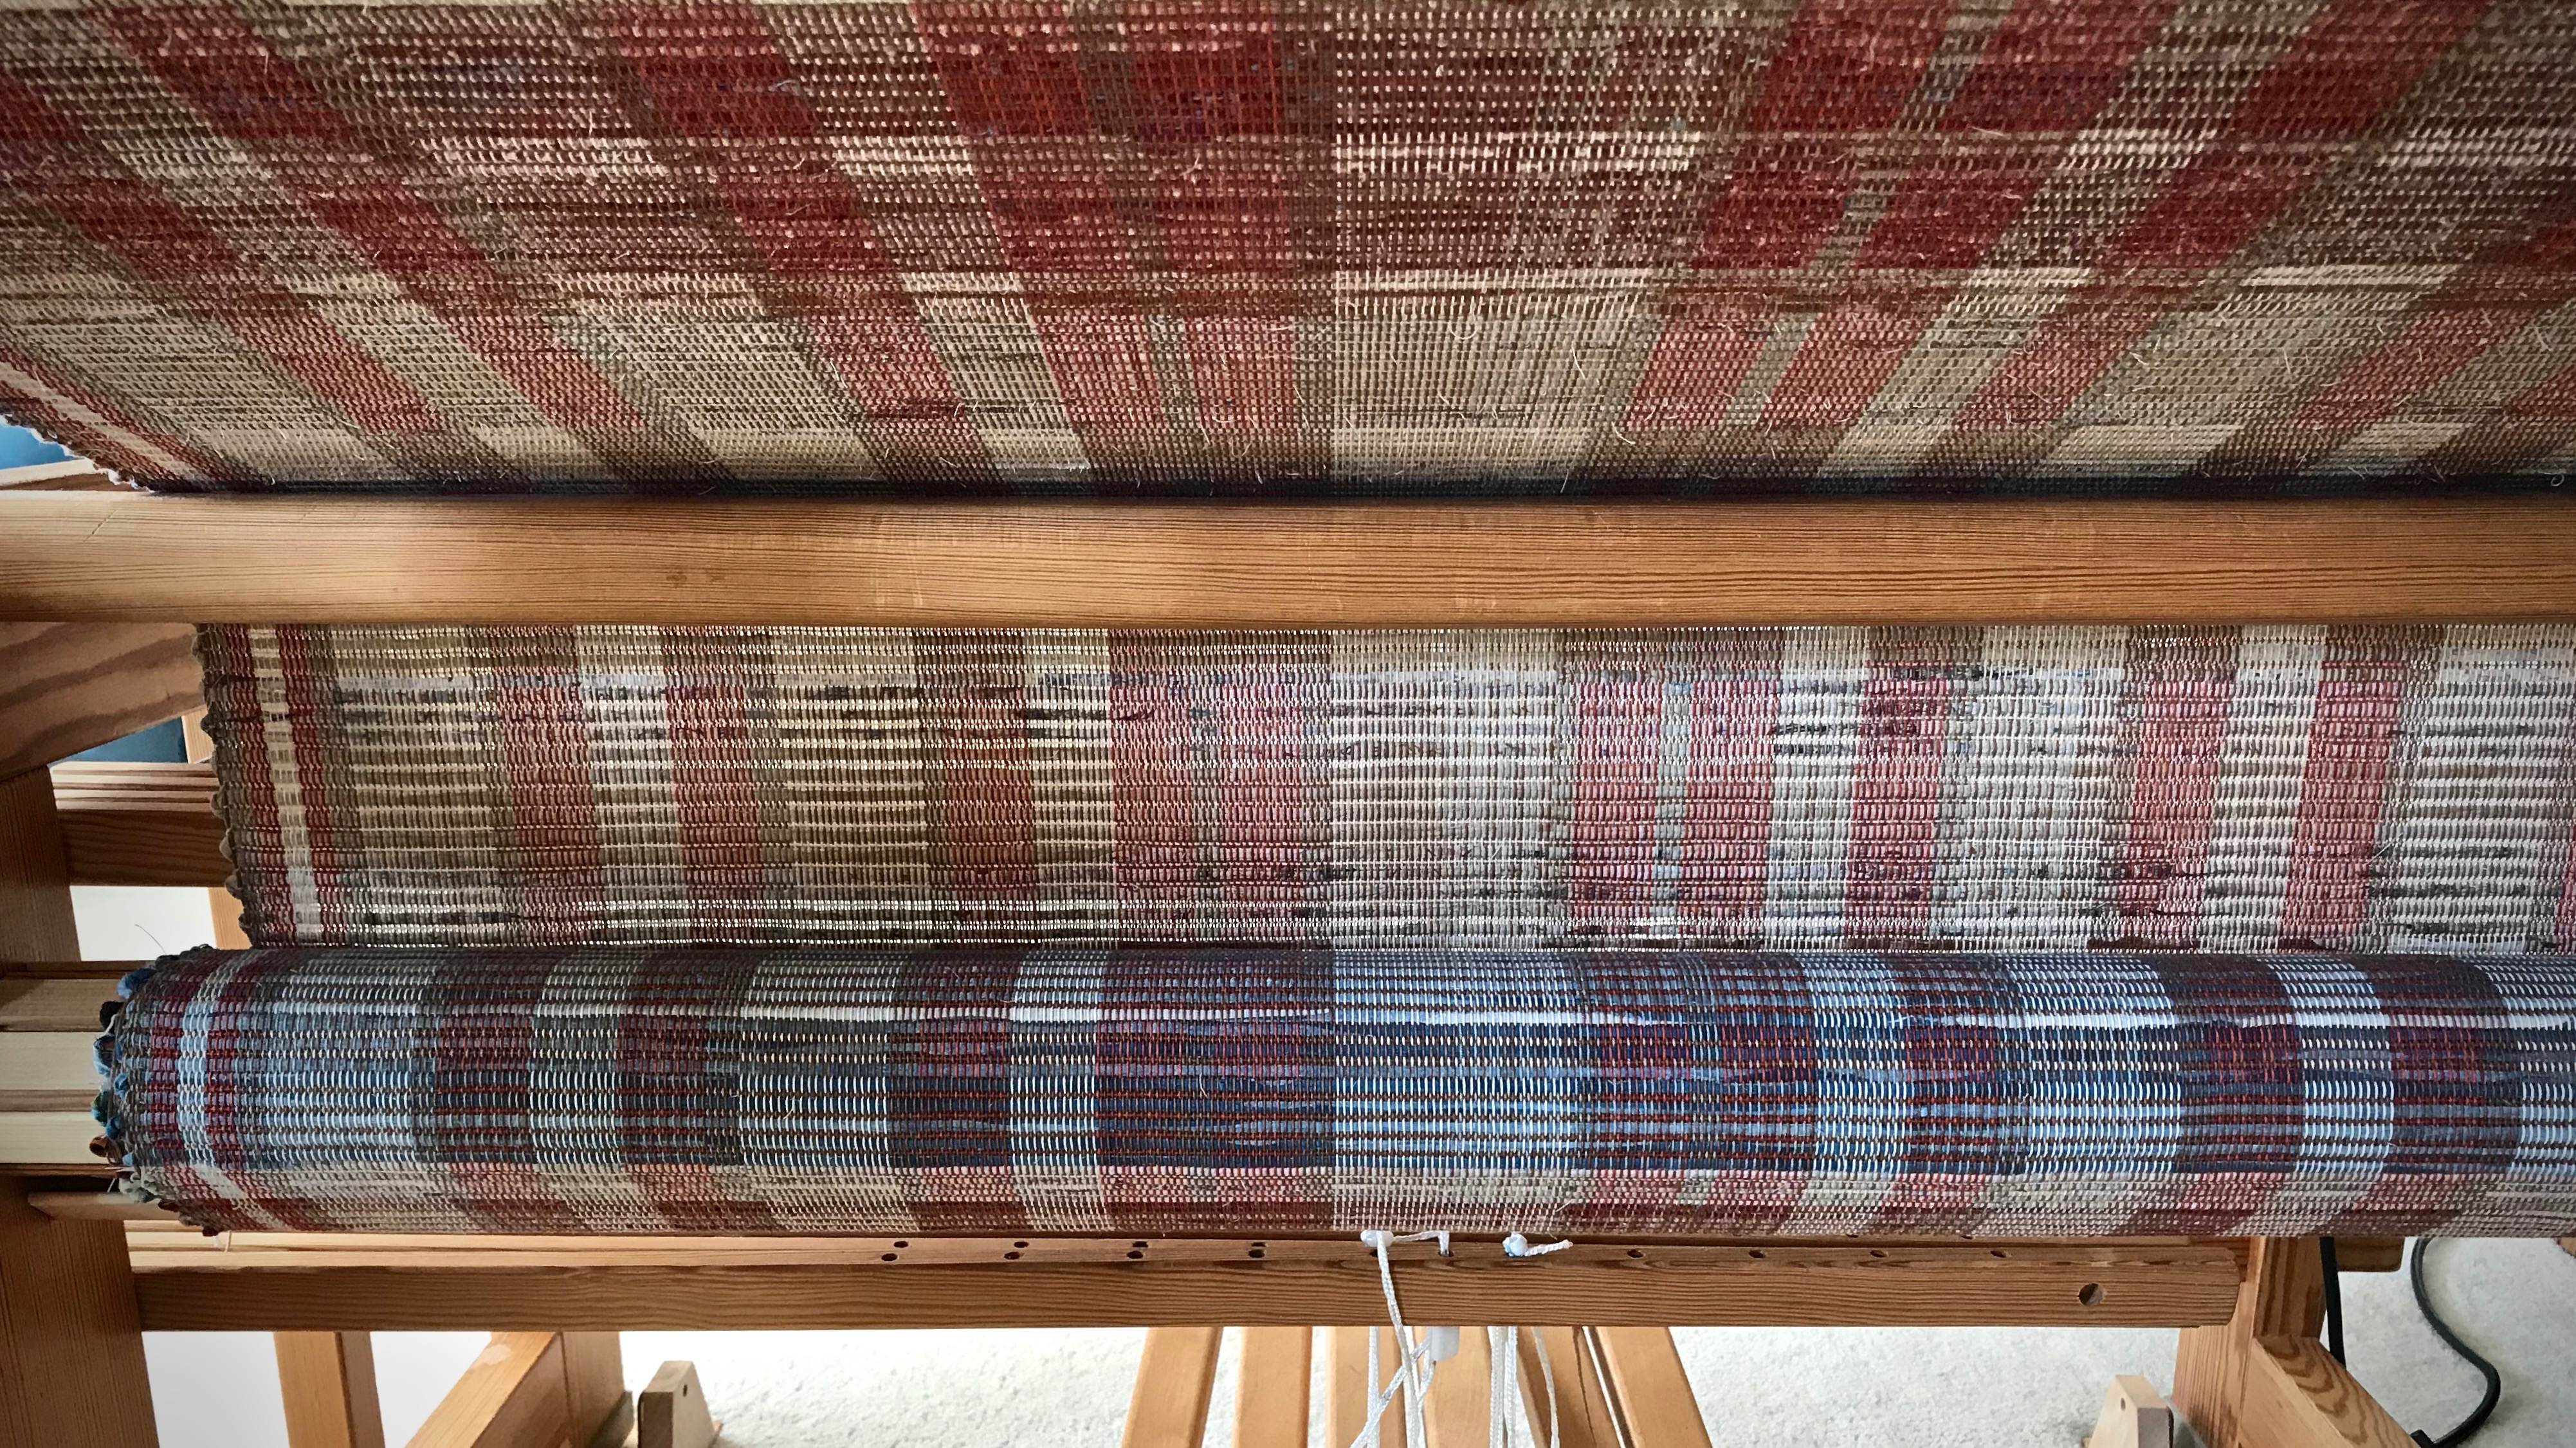
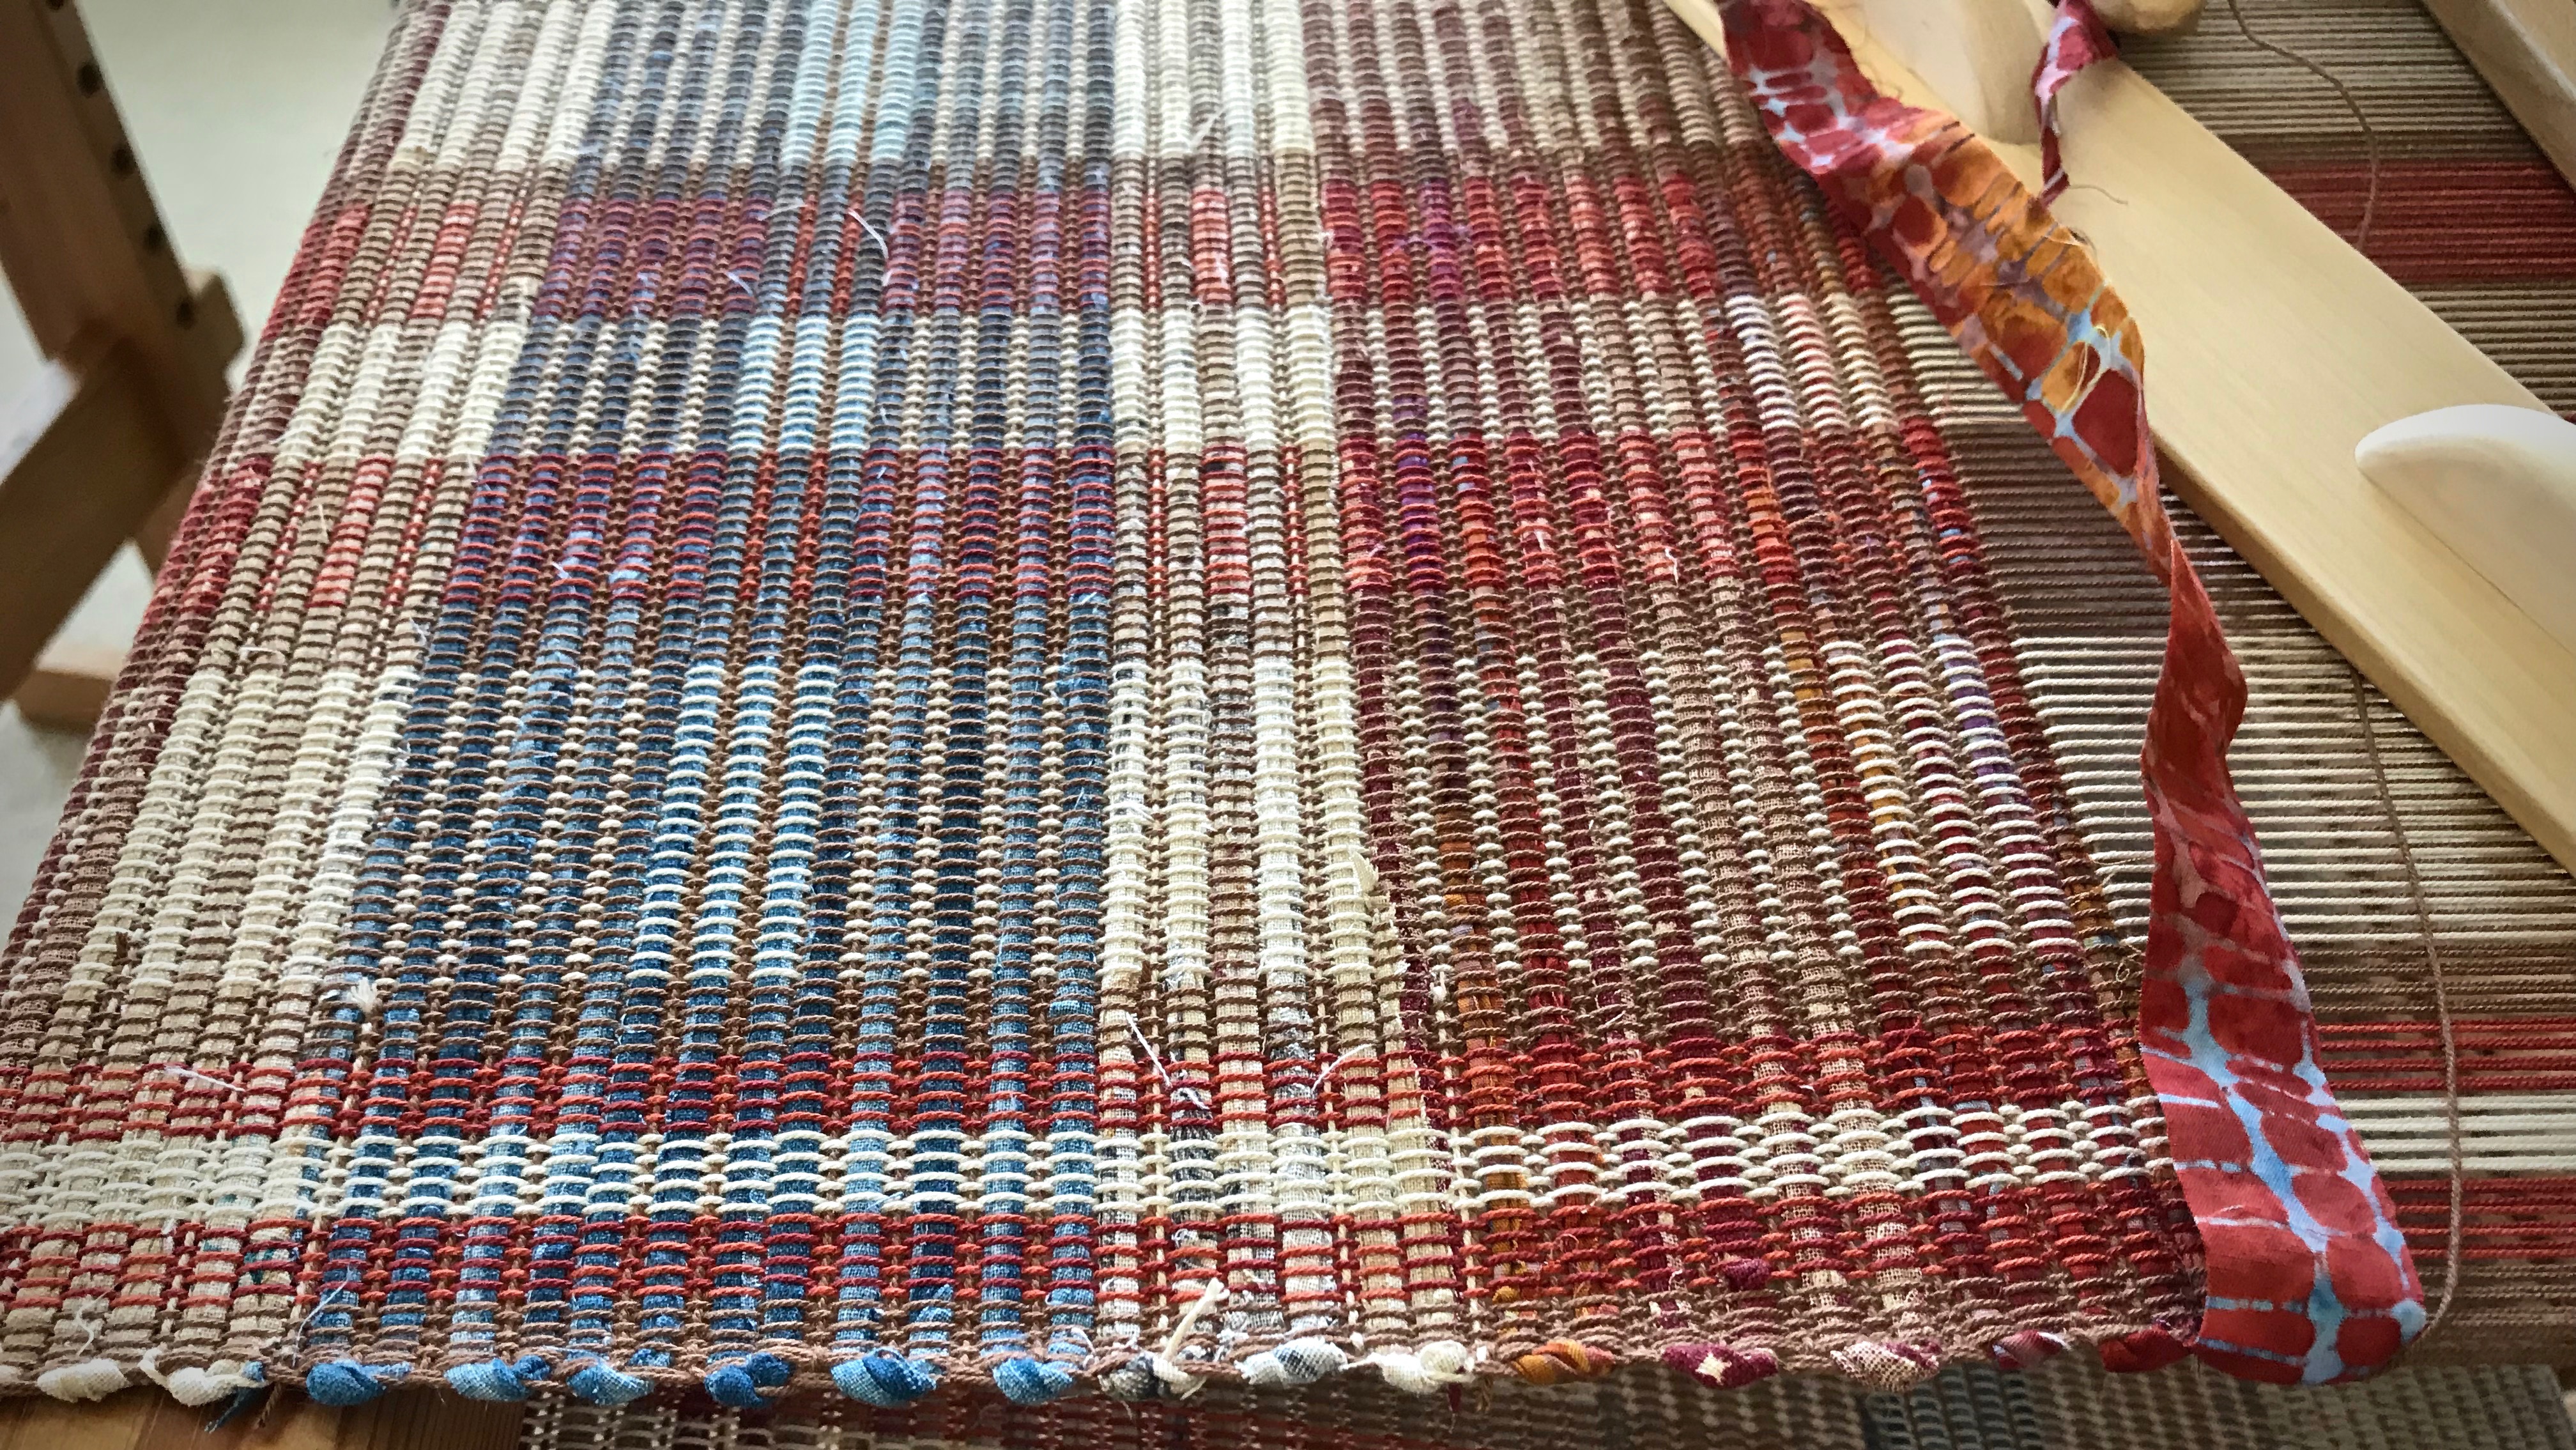
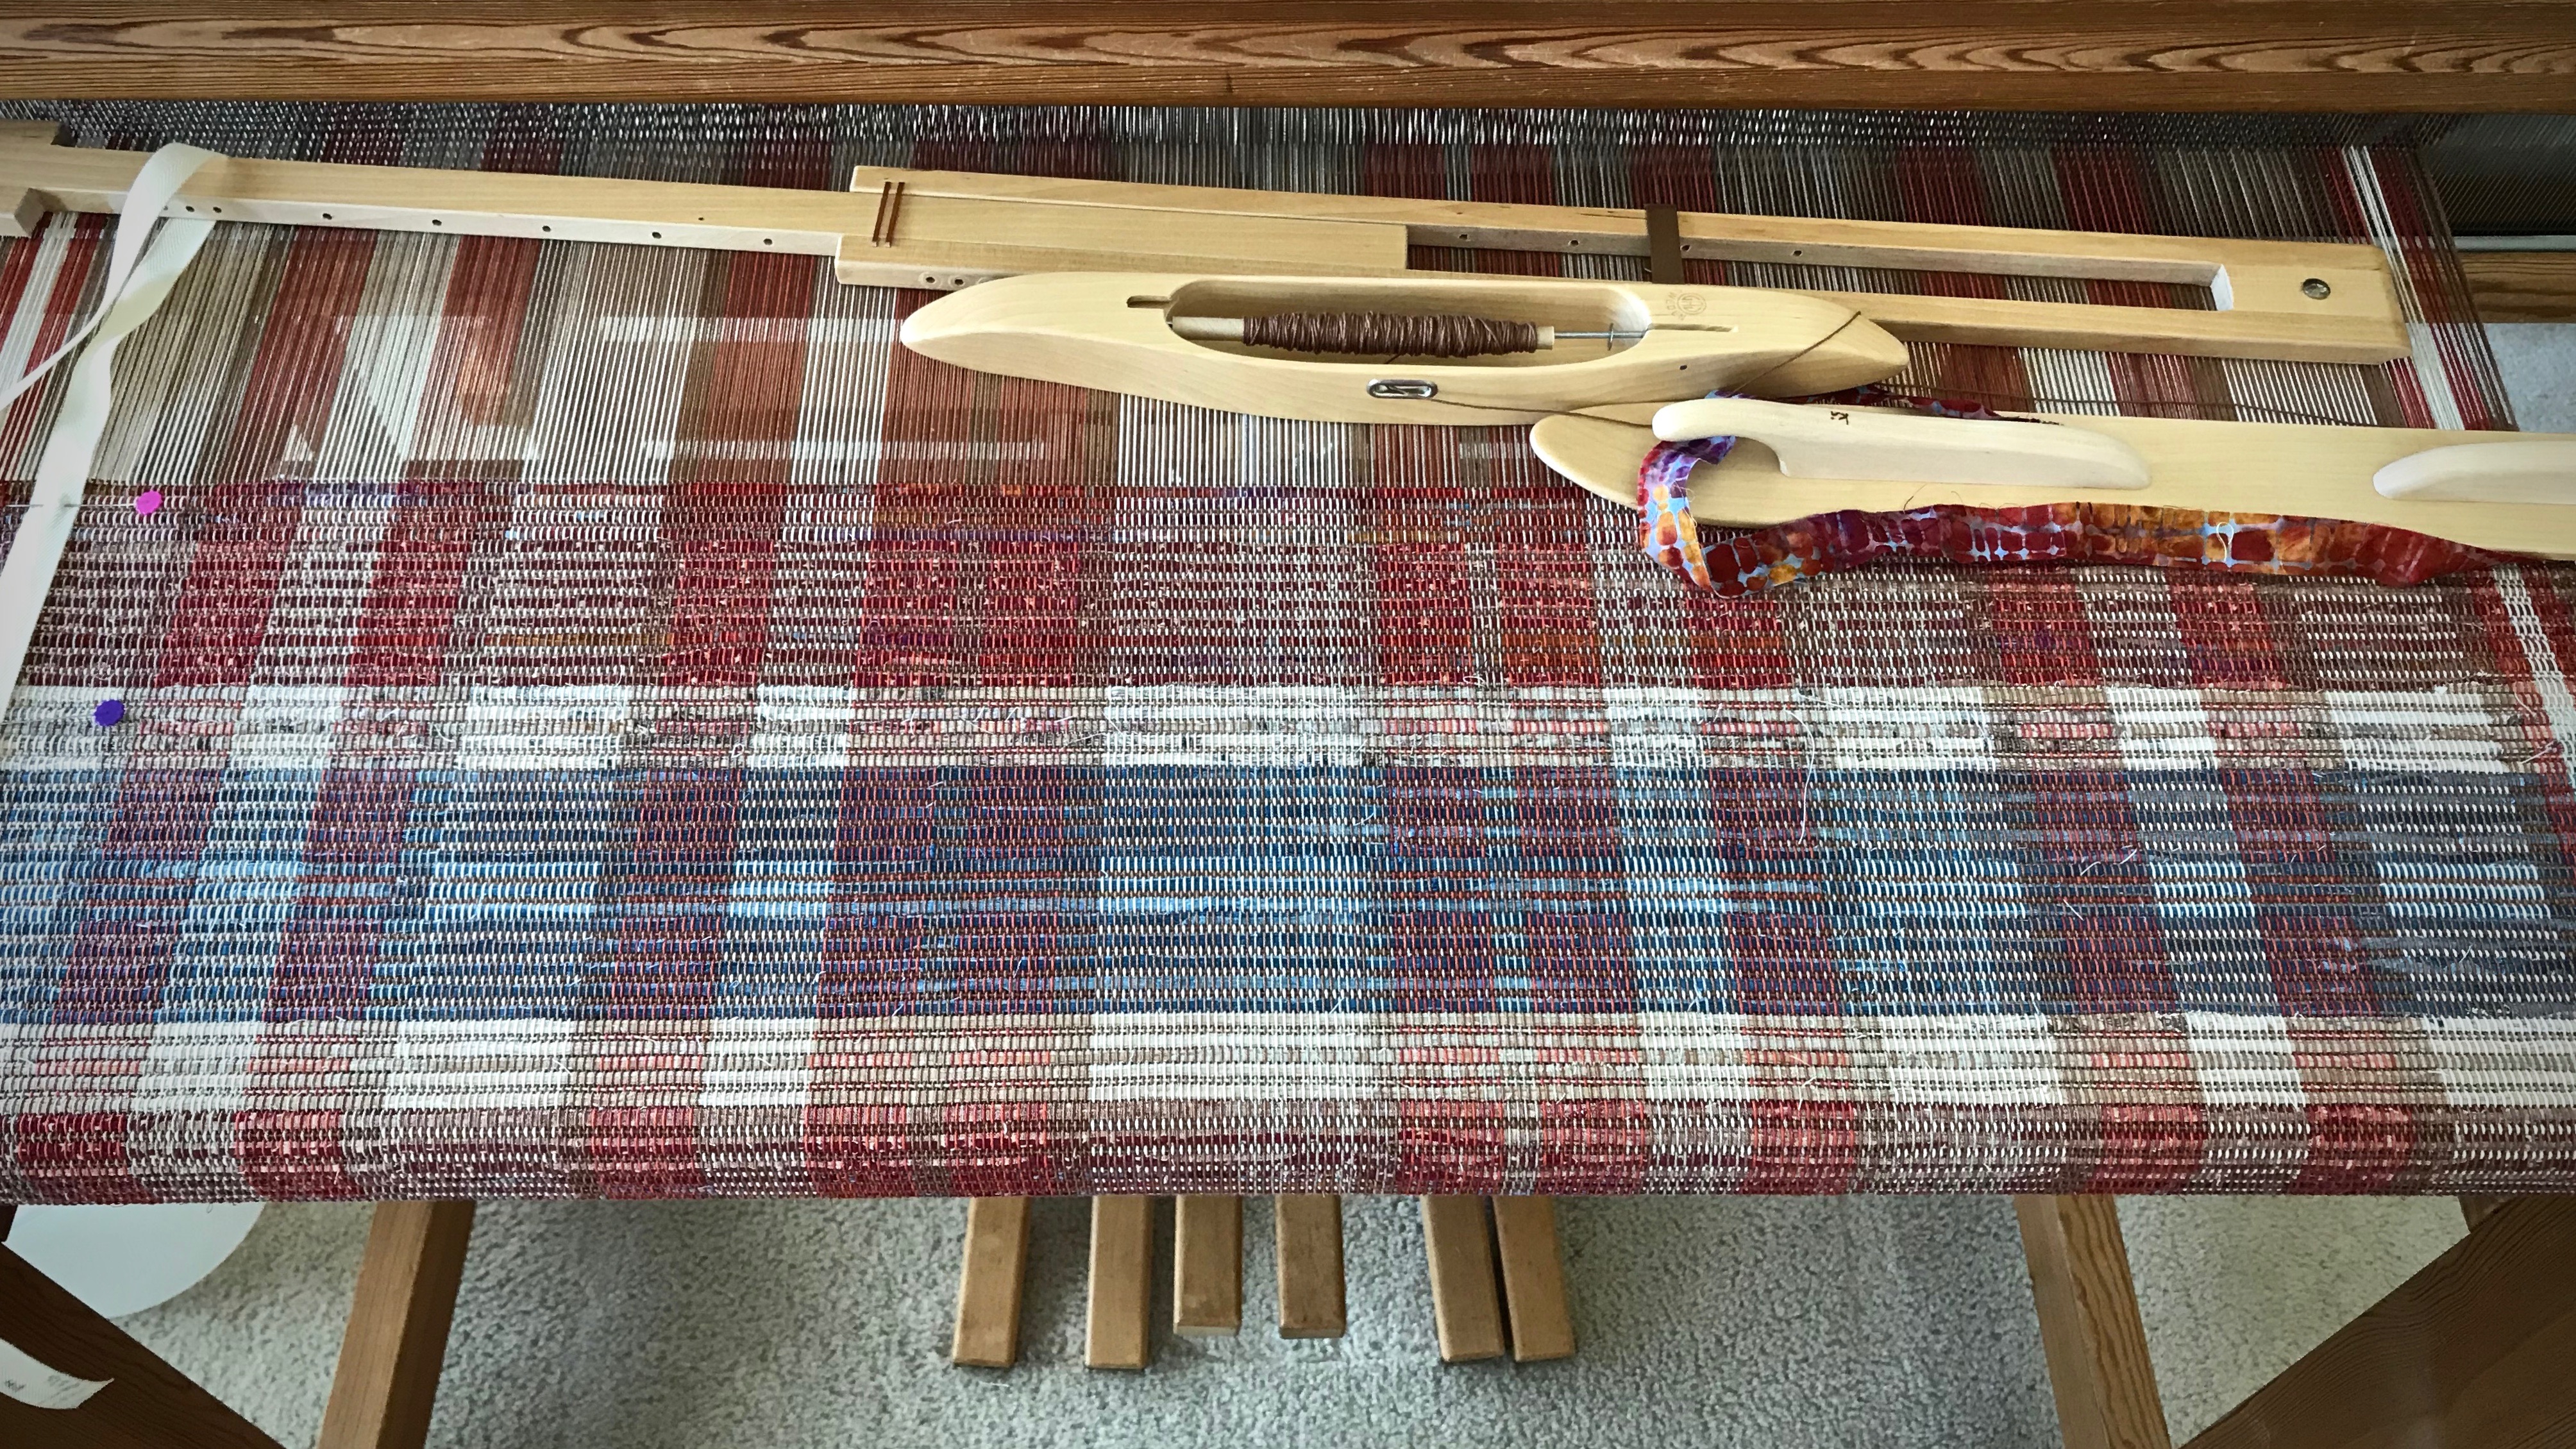
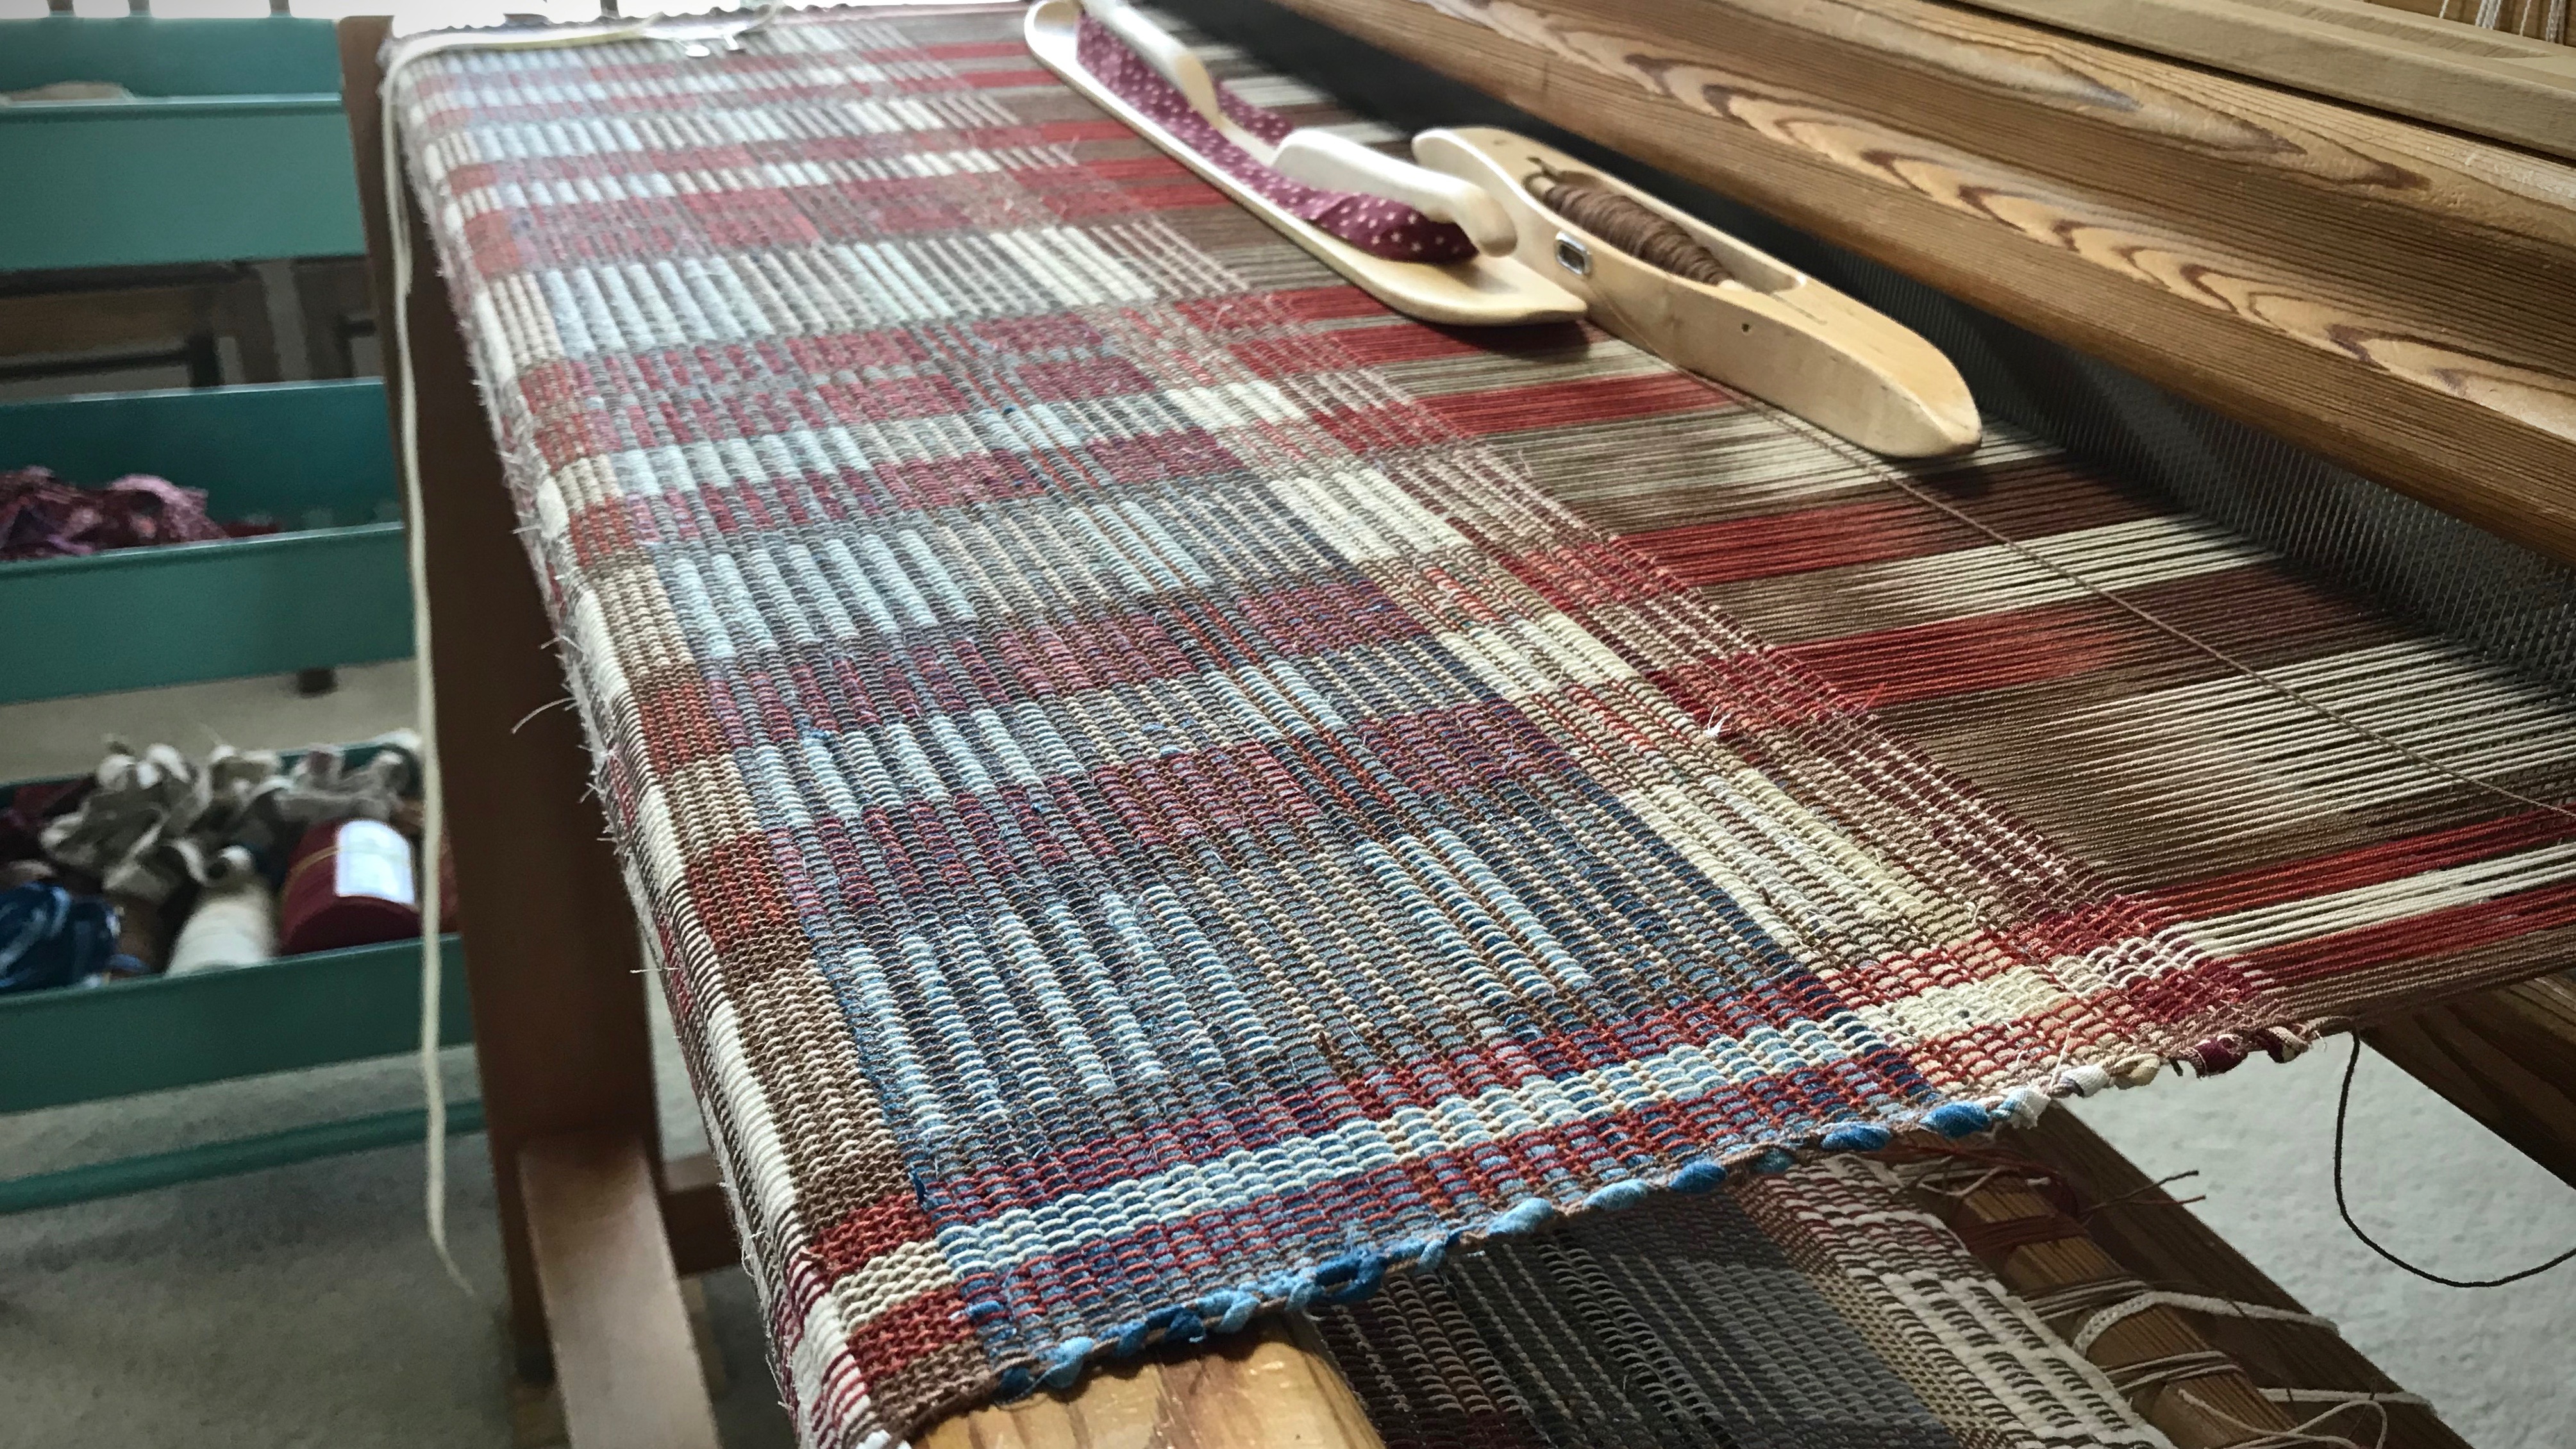
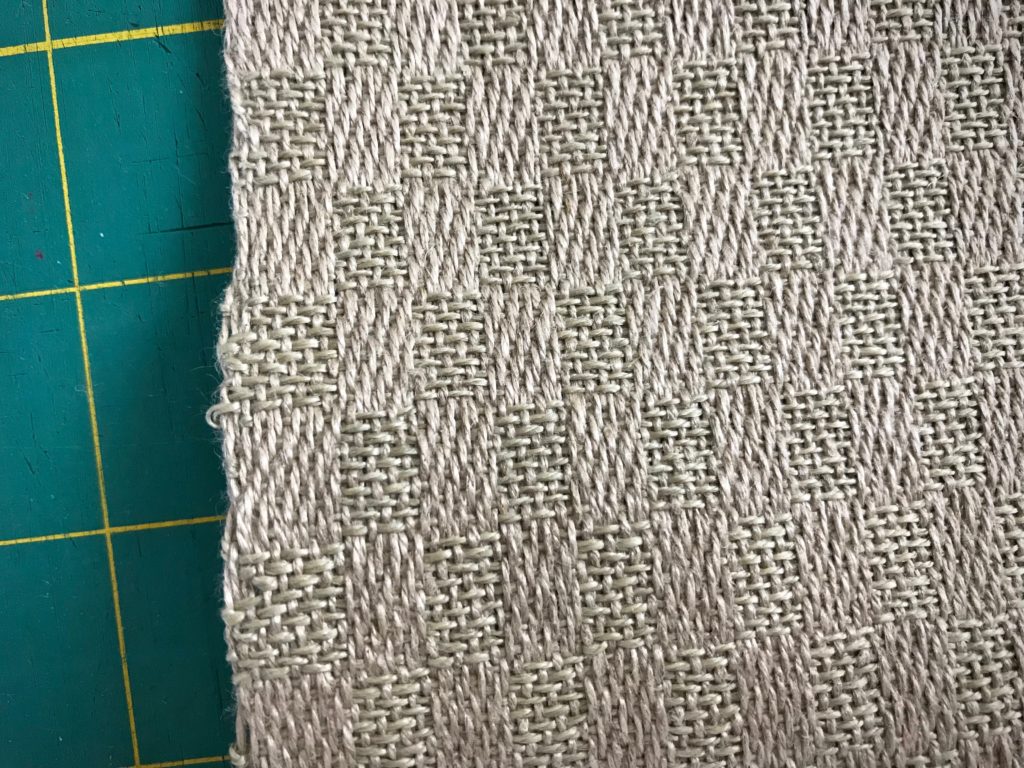
I’ve been waiting for a bright sunshiny day to thoroughly examine this tightly-woven linen satin dräll fabric. Today is perfect. Fixing errors must be done before the fabric is washed, when the weave will become even tighter. I am looking for unwanted floats where the shuttle skipped threads, and for loops at the selvedges.

In my examination I did find an errant float and a few small selvedge loops. Let’s get started.
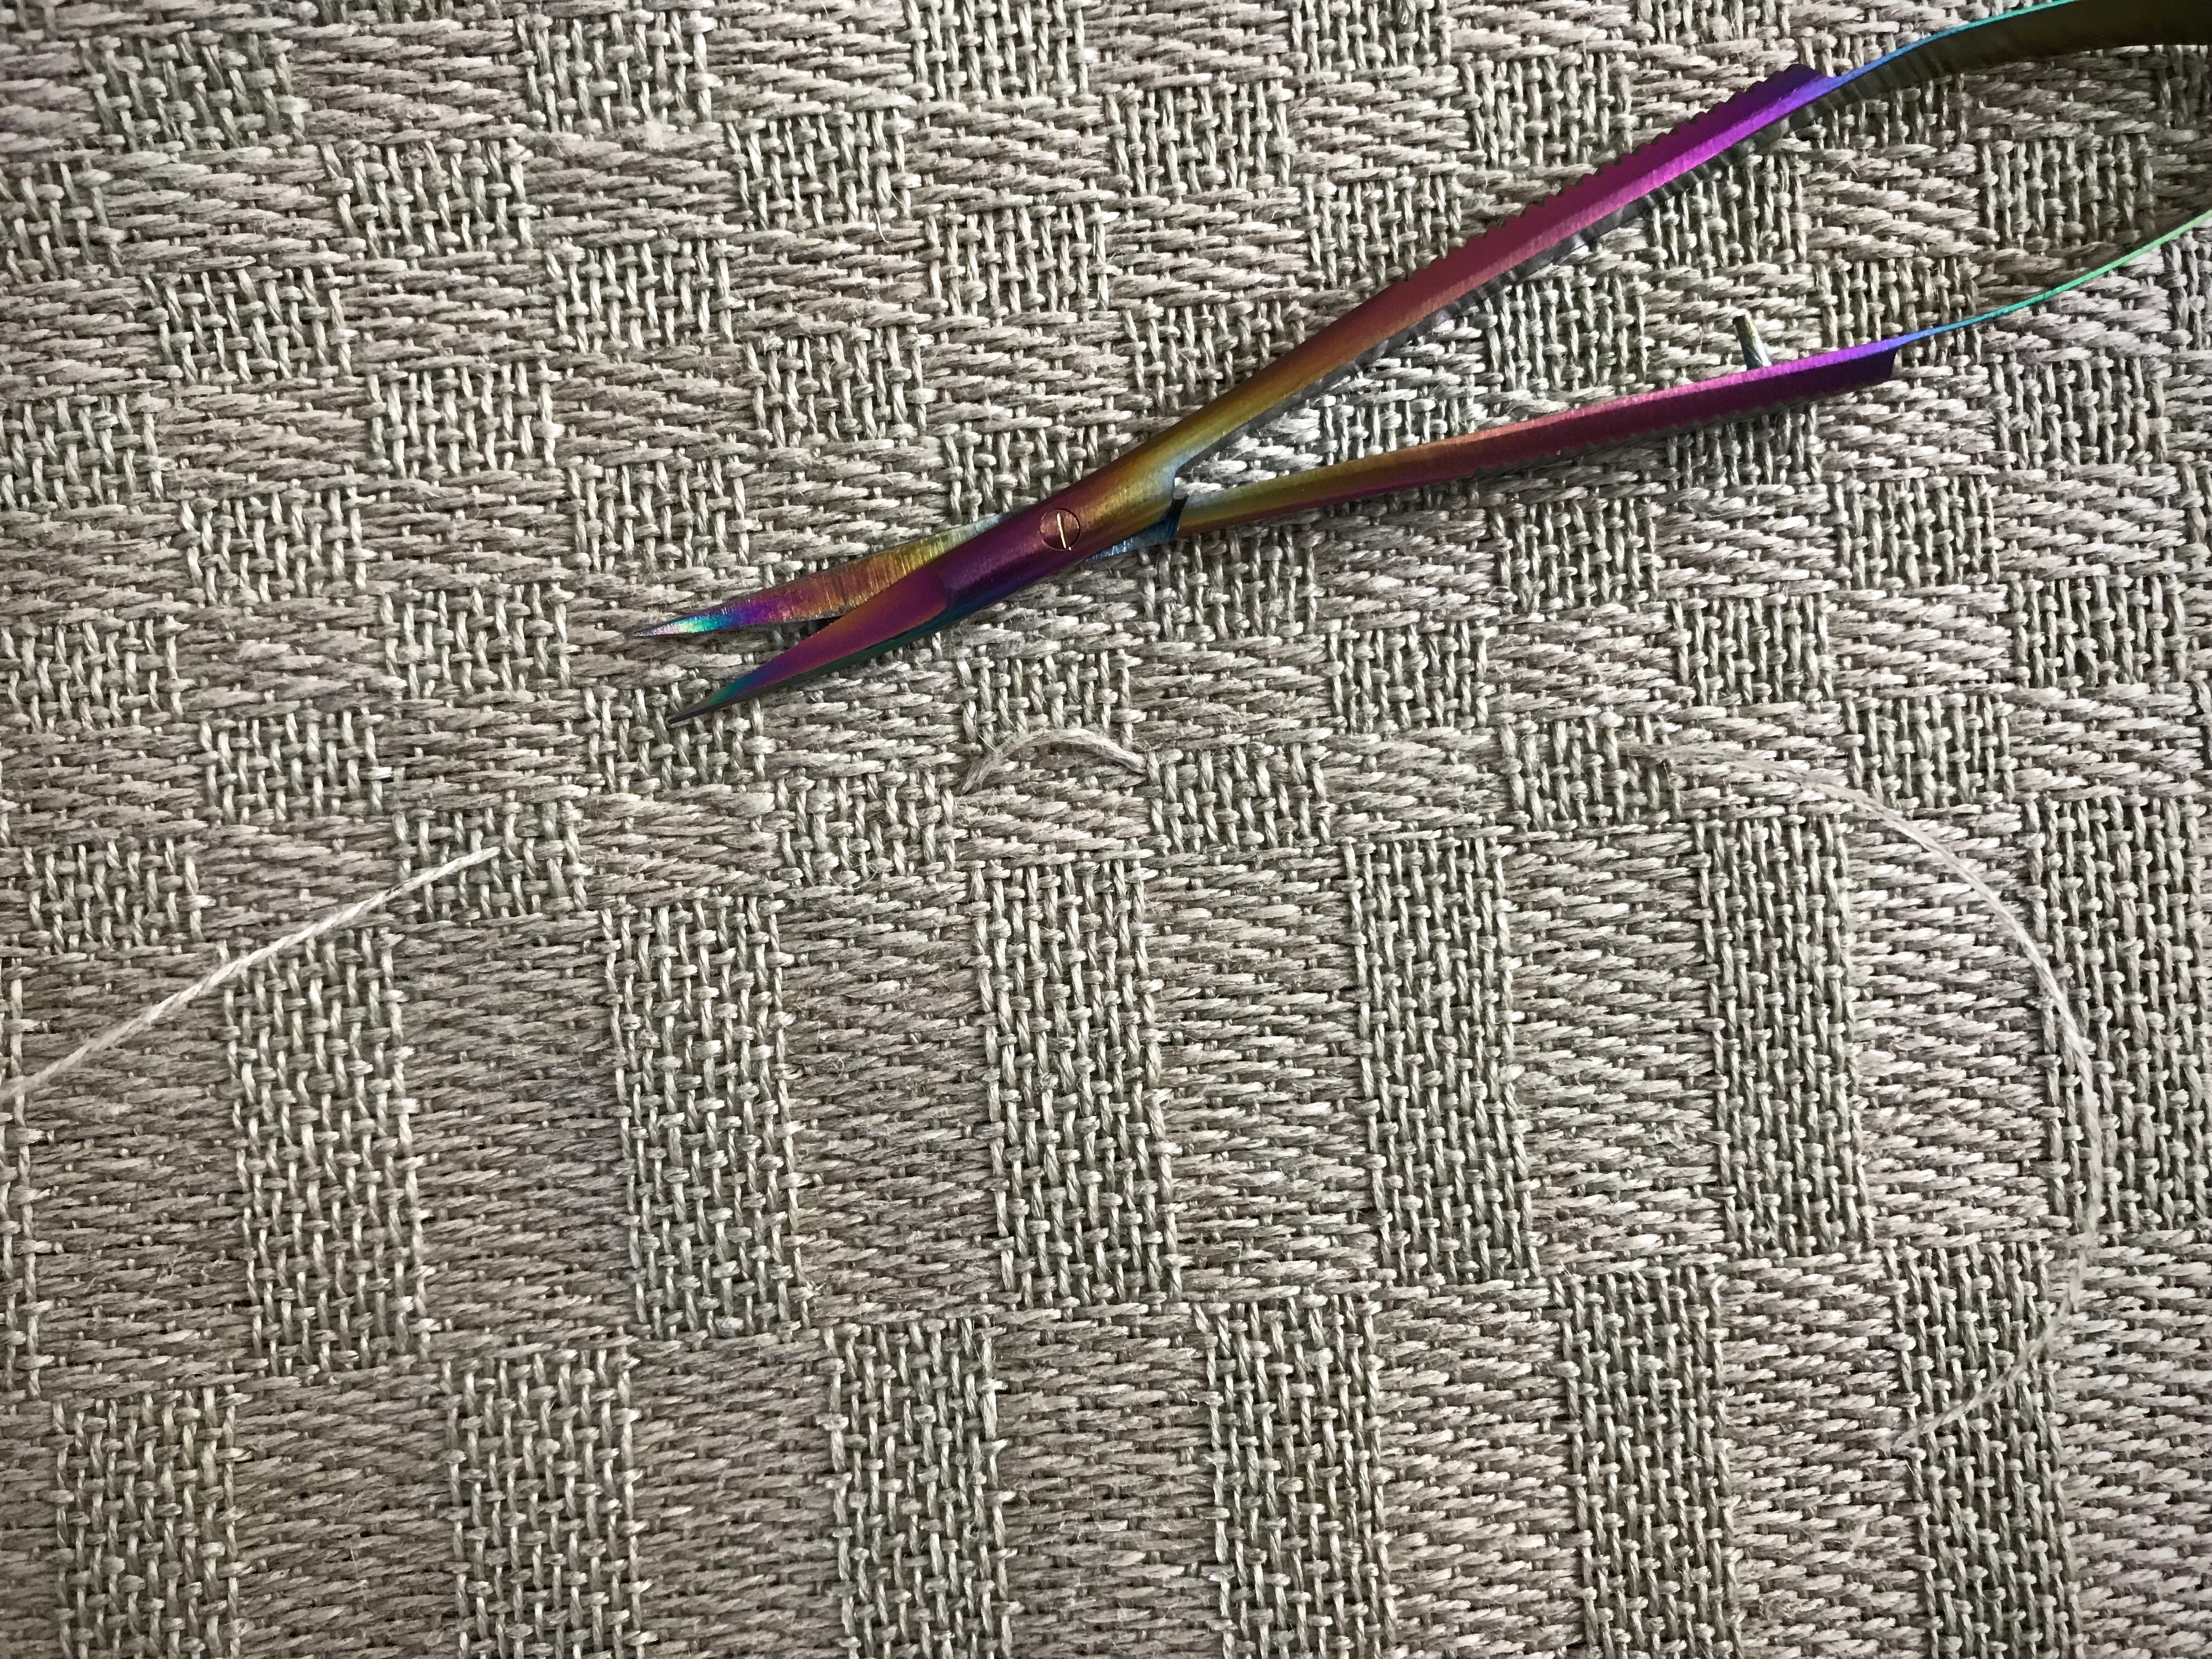
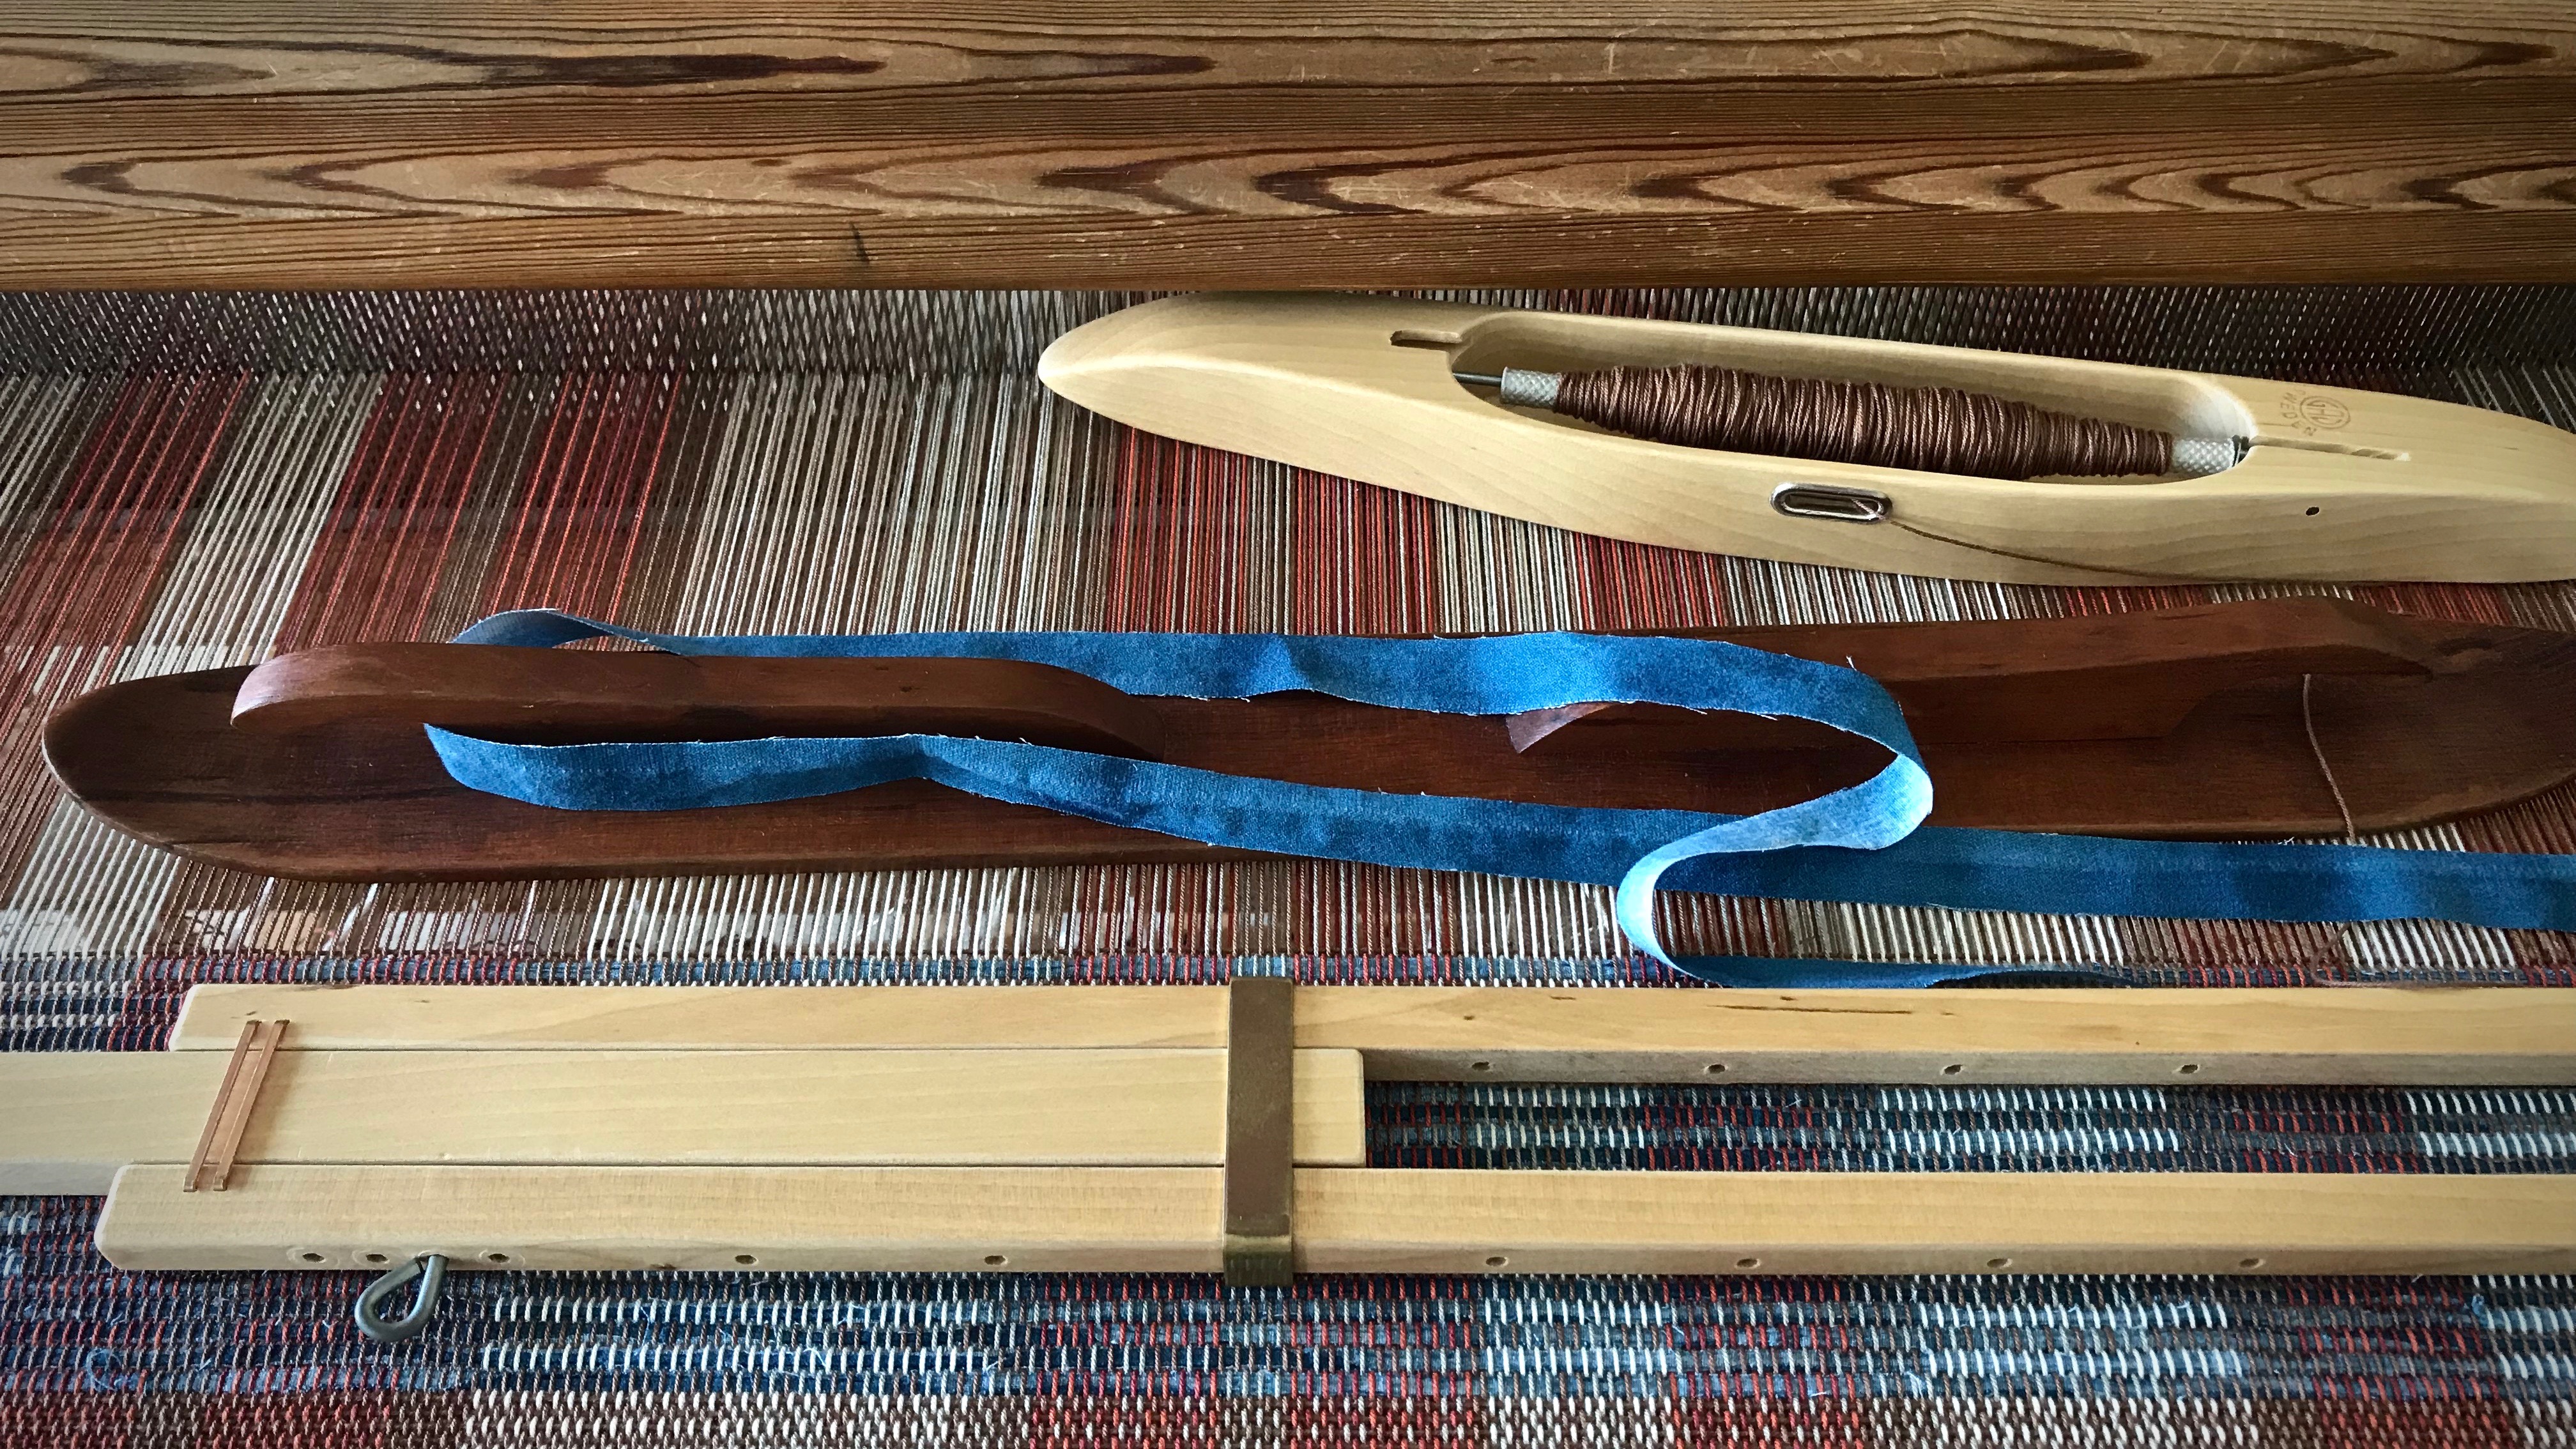
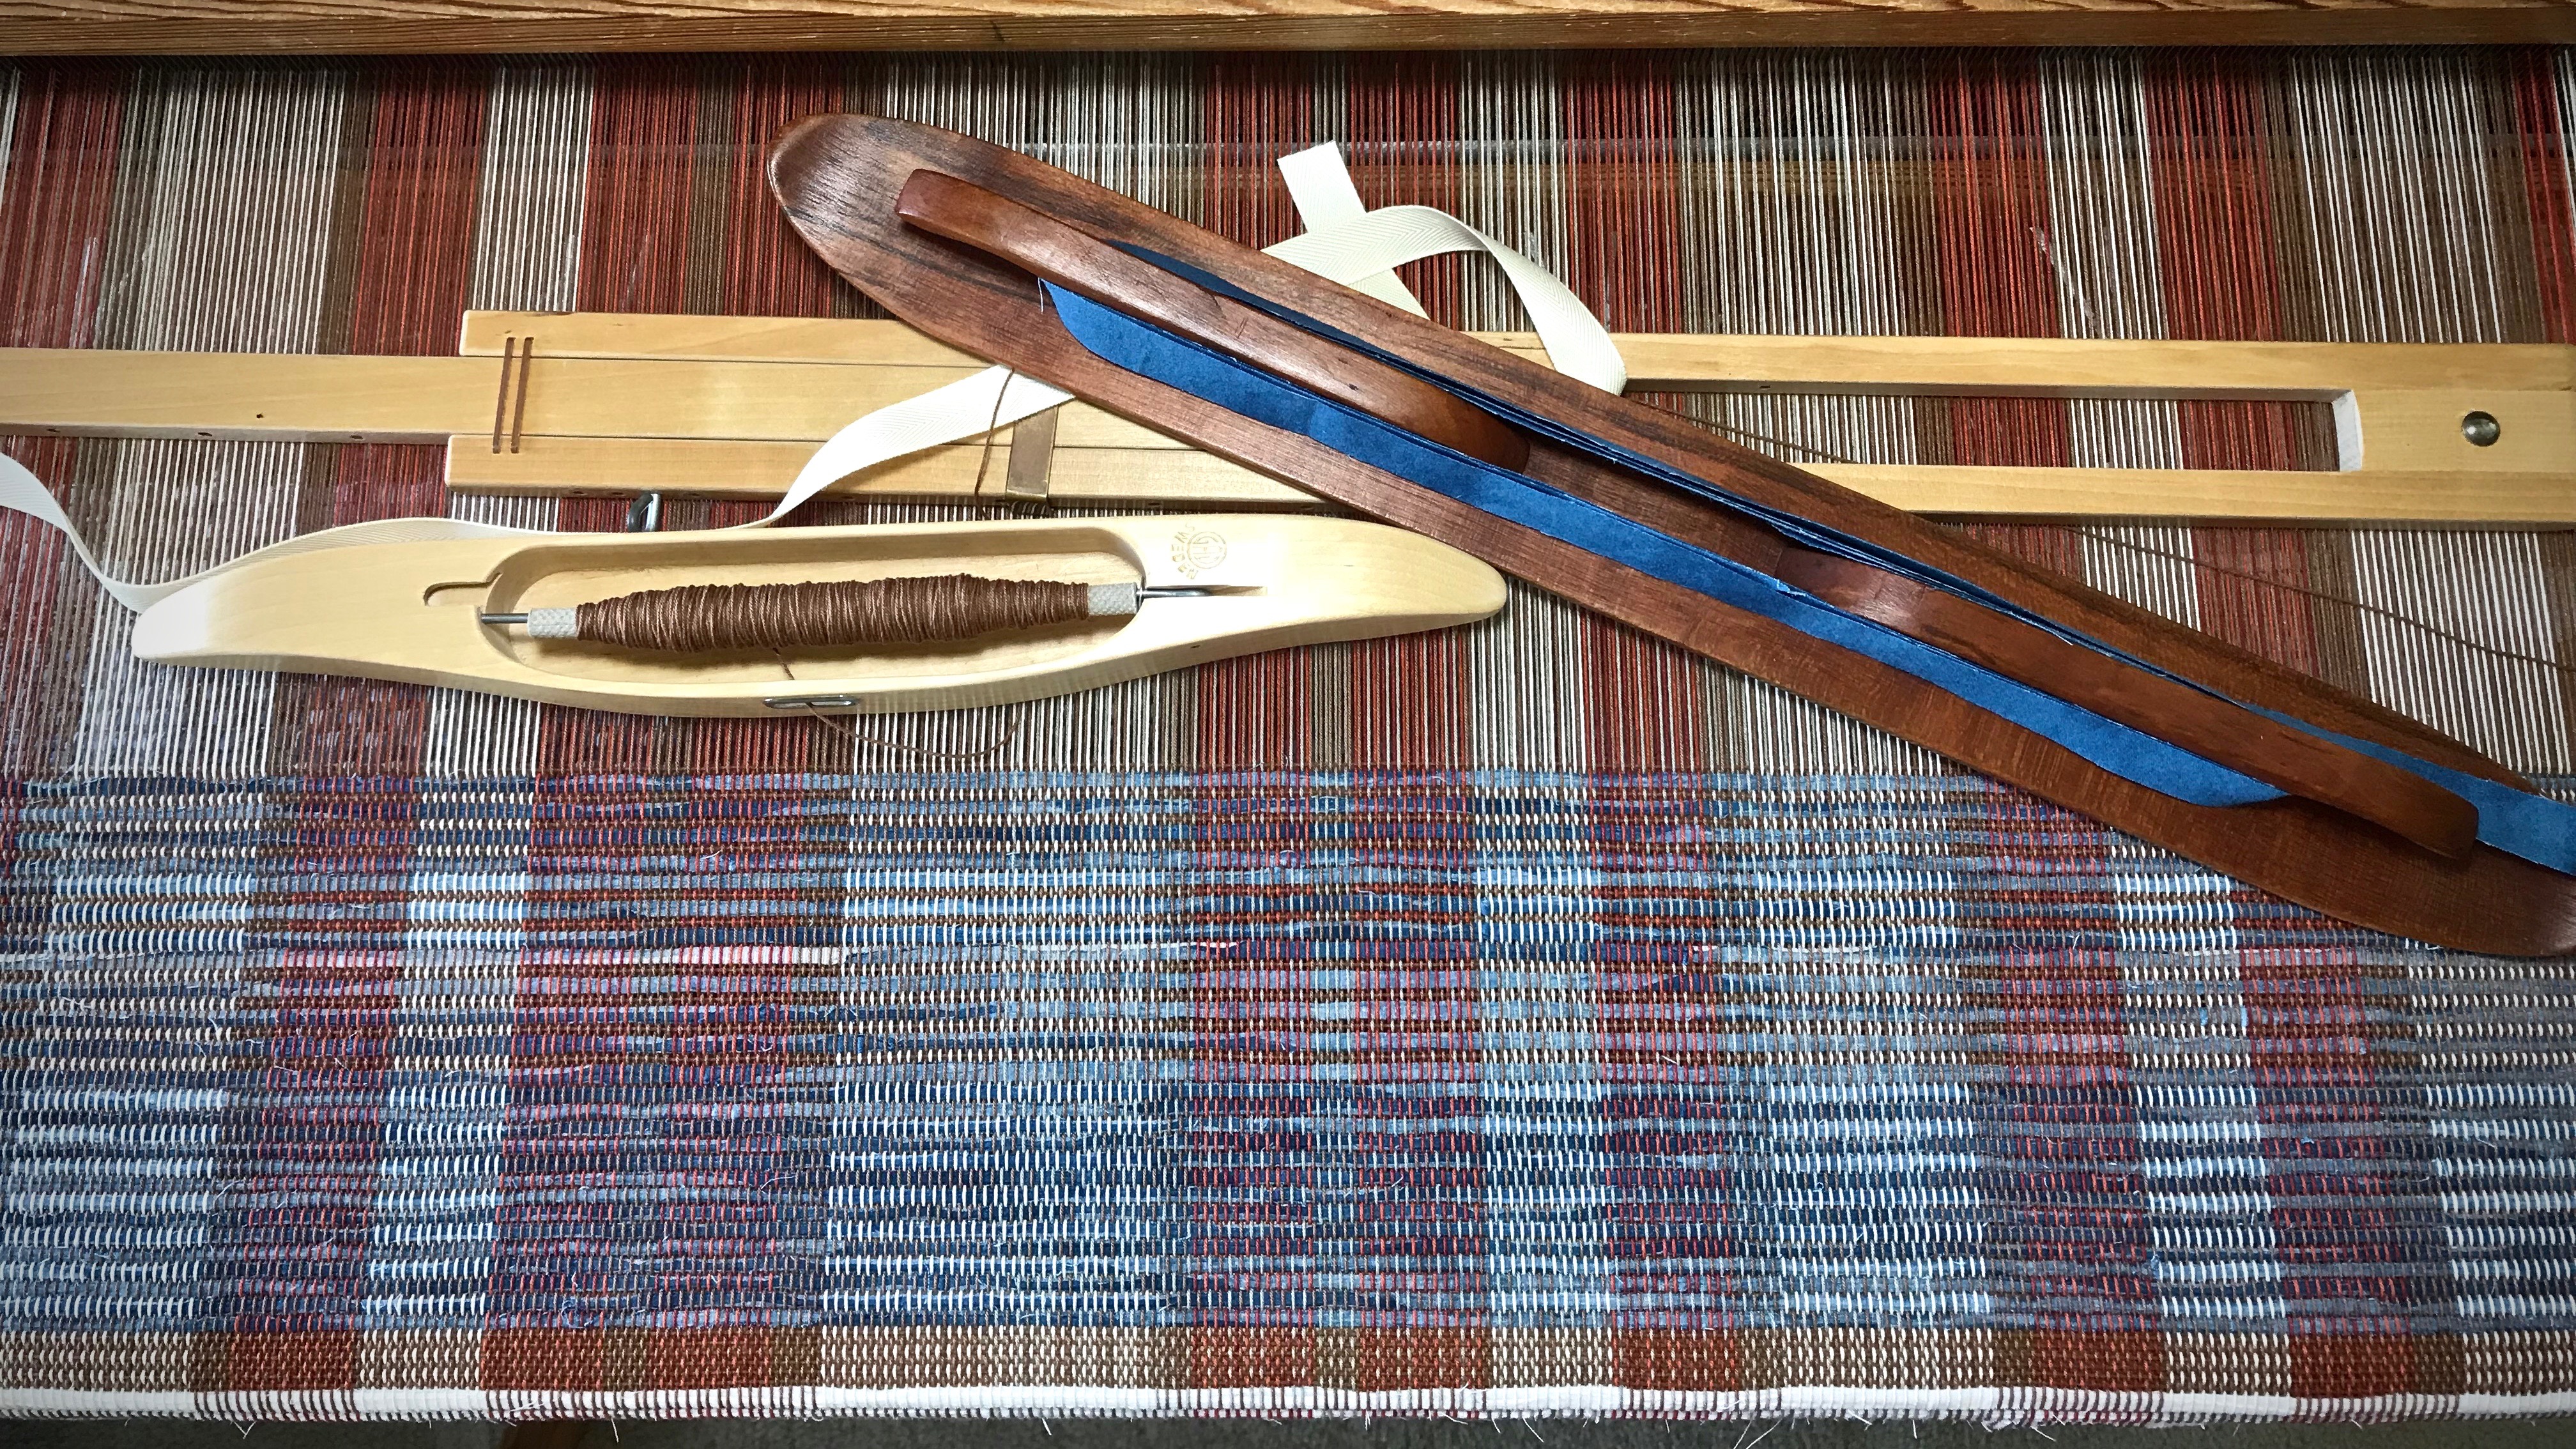
Tools:

  • Blunt-tip needle. Sharp needle tip has been sanded to a rounded tip.

Blunt needle for fixing weaving errors.

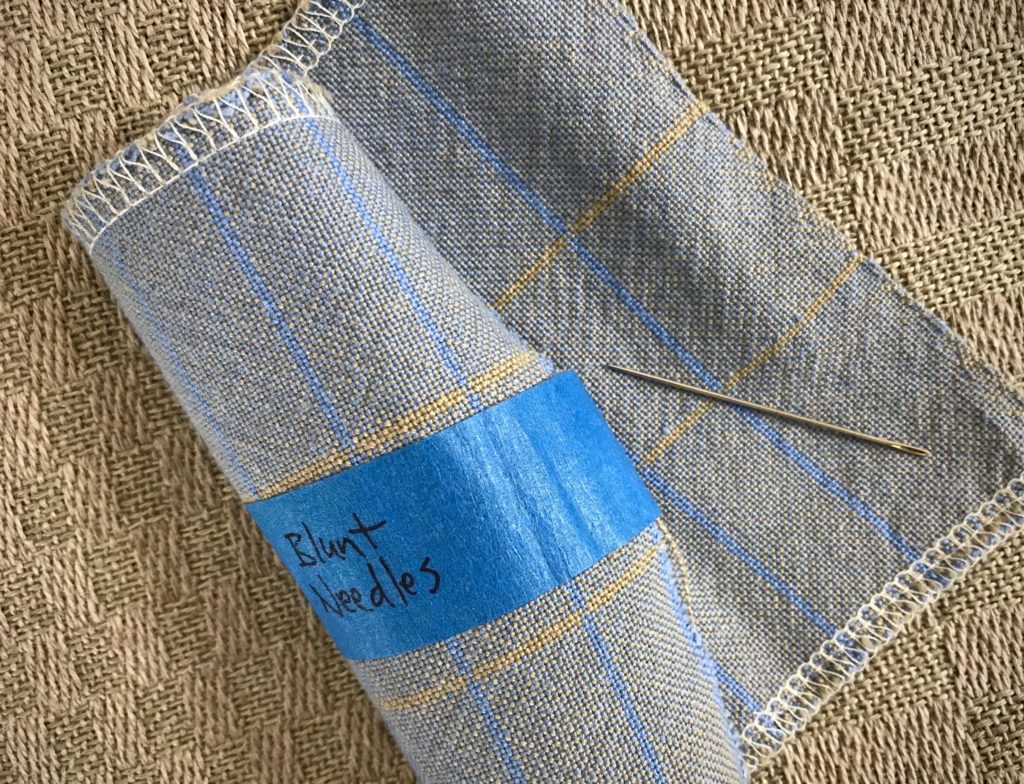
  • Thread. Use the same weft or warp thread that is in the area needing repair.
  • Good lighting. If the fabric has a complex structure, good lighting is essential.
  • Magnification. I take a photo on my iPhone, and then zoom in to see the minute details.

Zoom in on iPhone photo to magnify details.


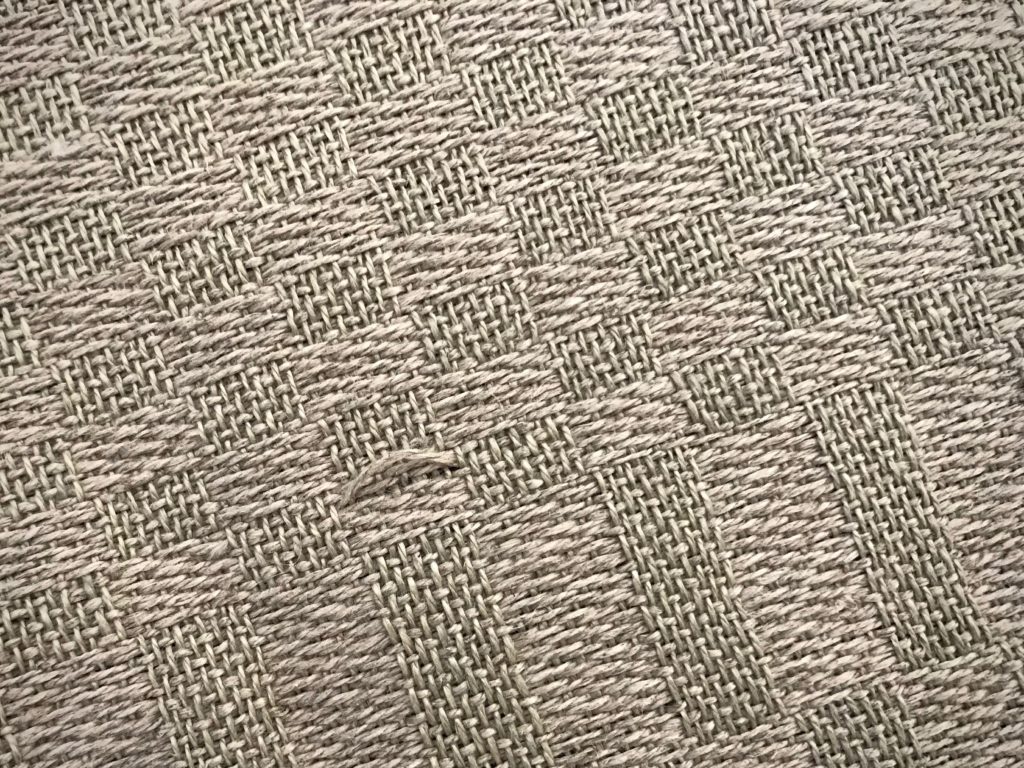
How to Mend Skipped Threads:

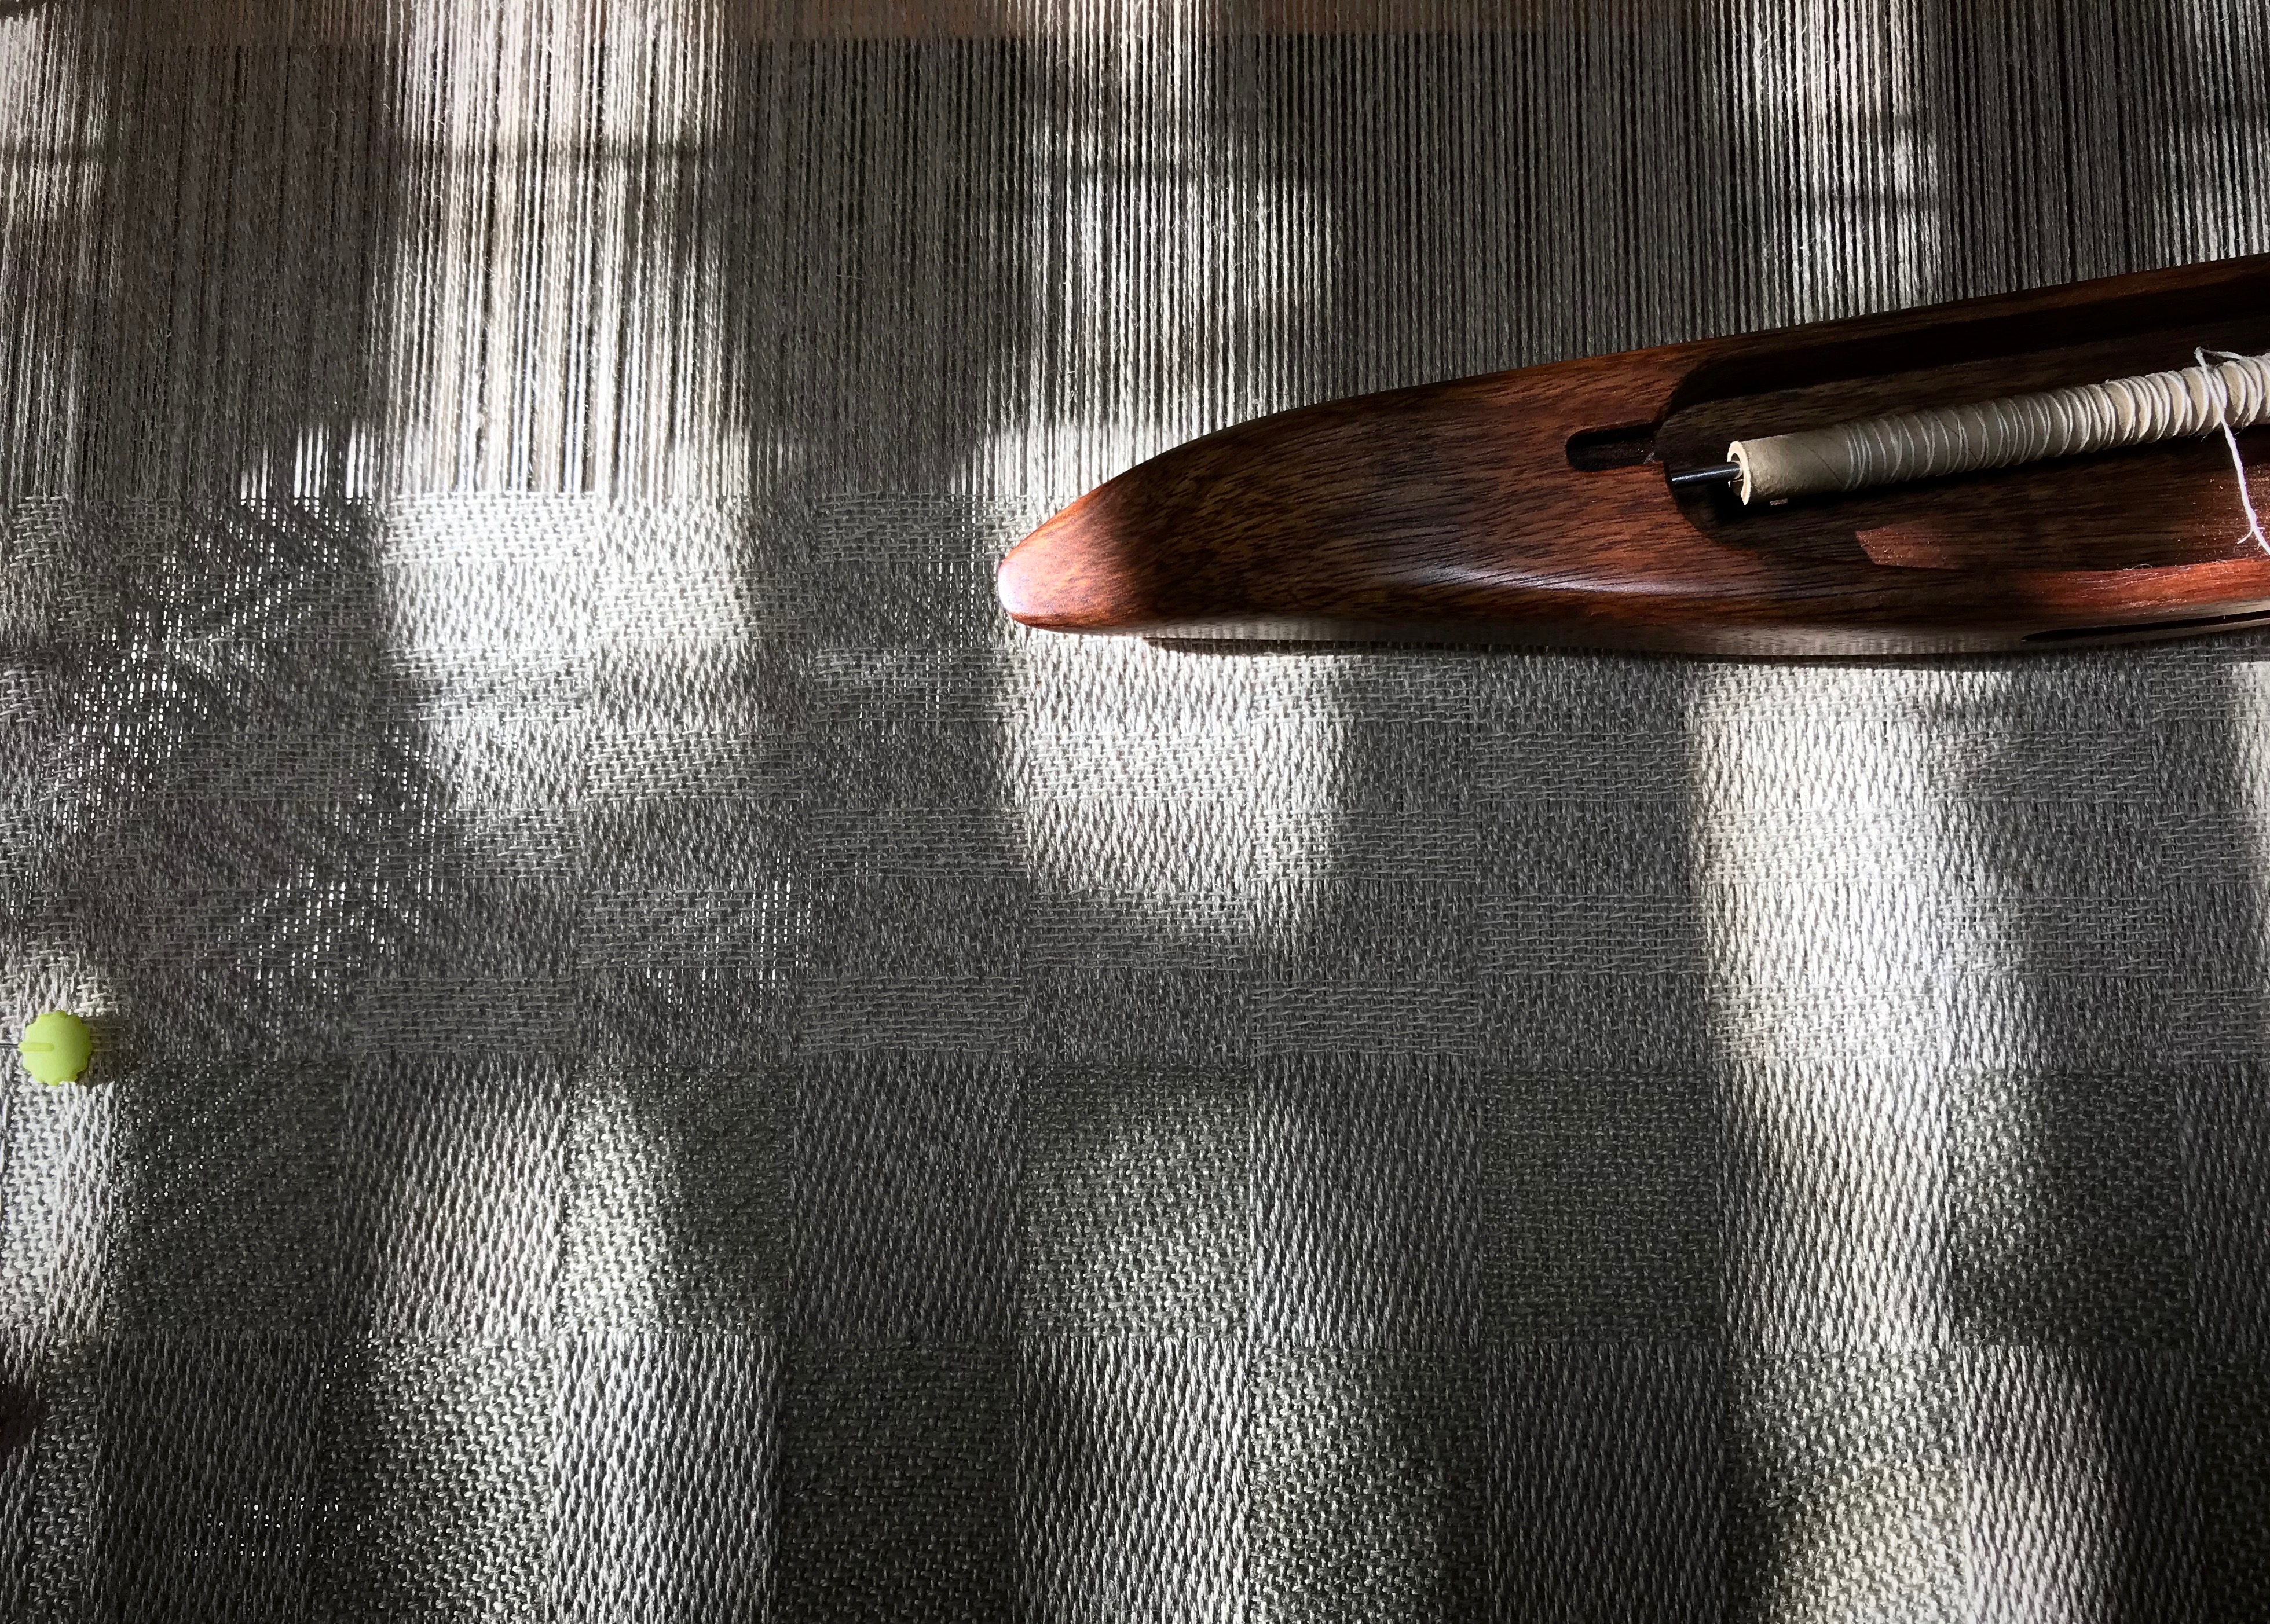
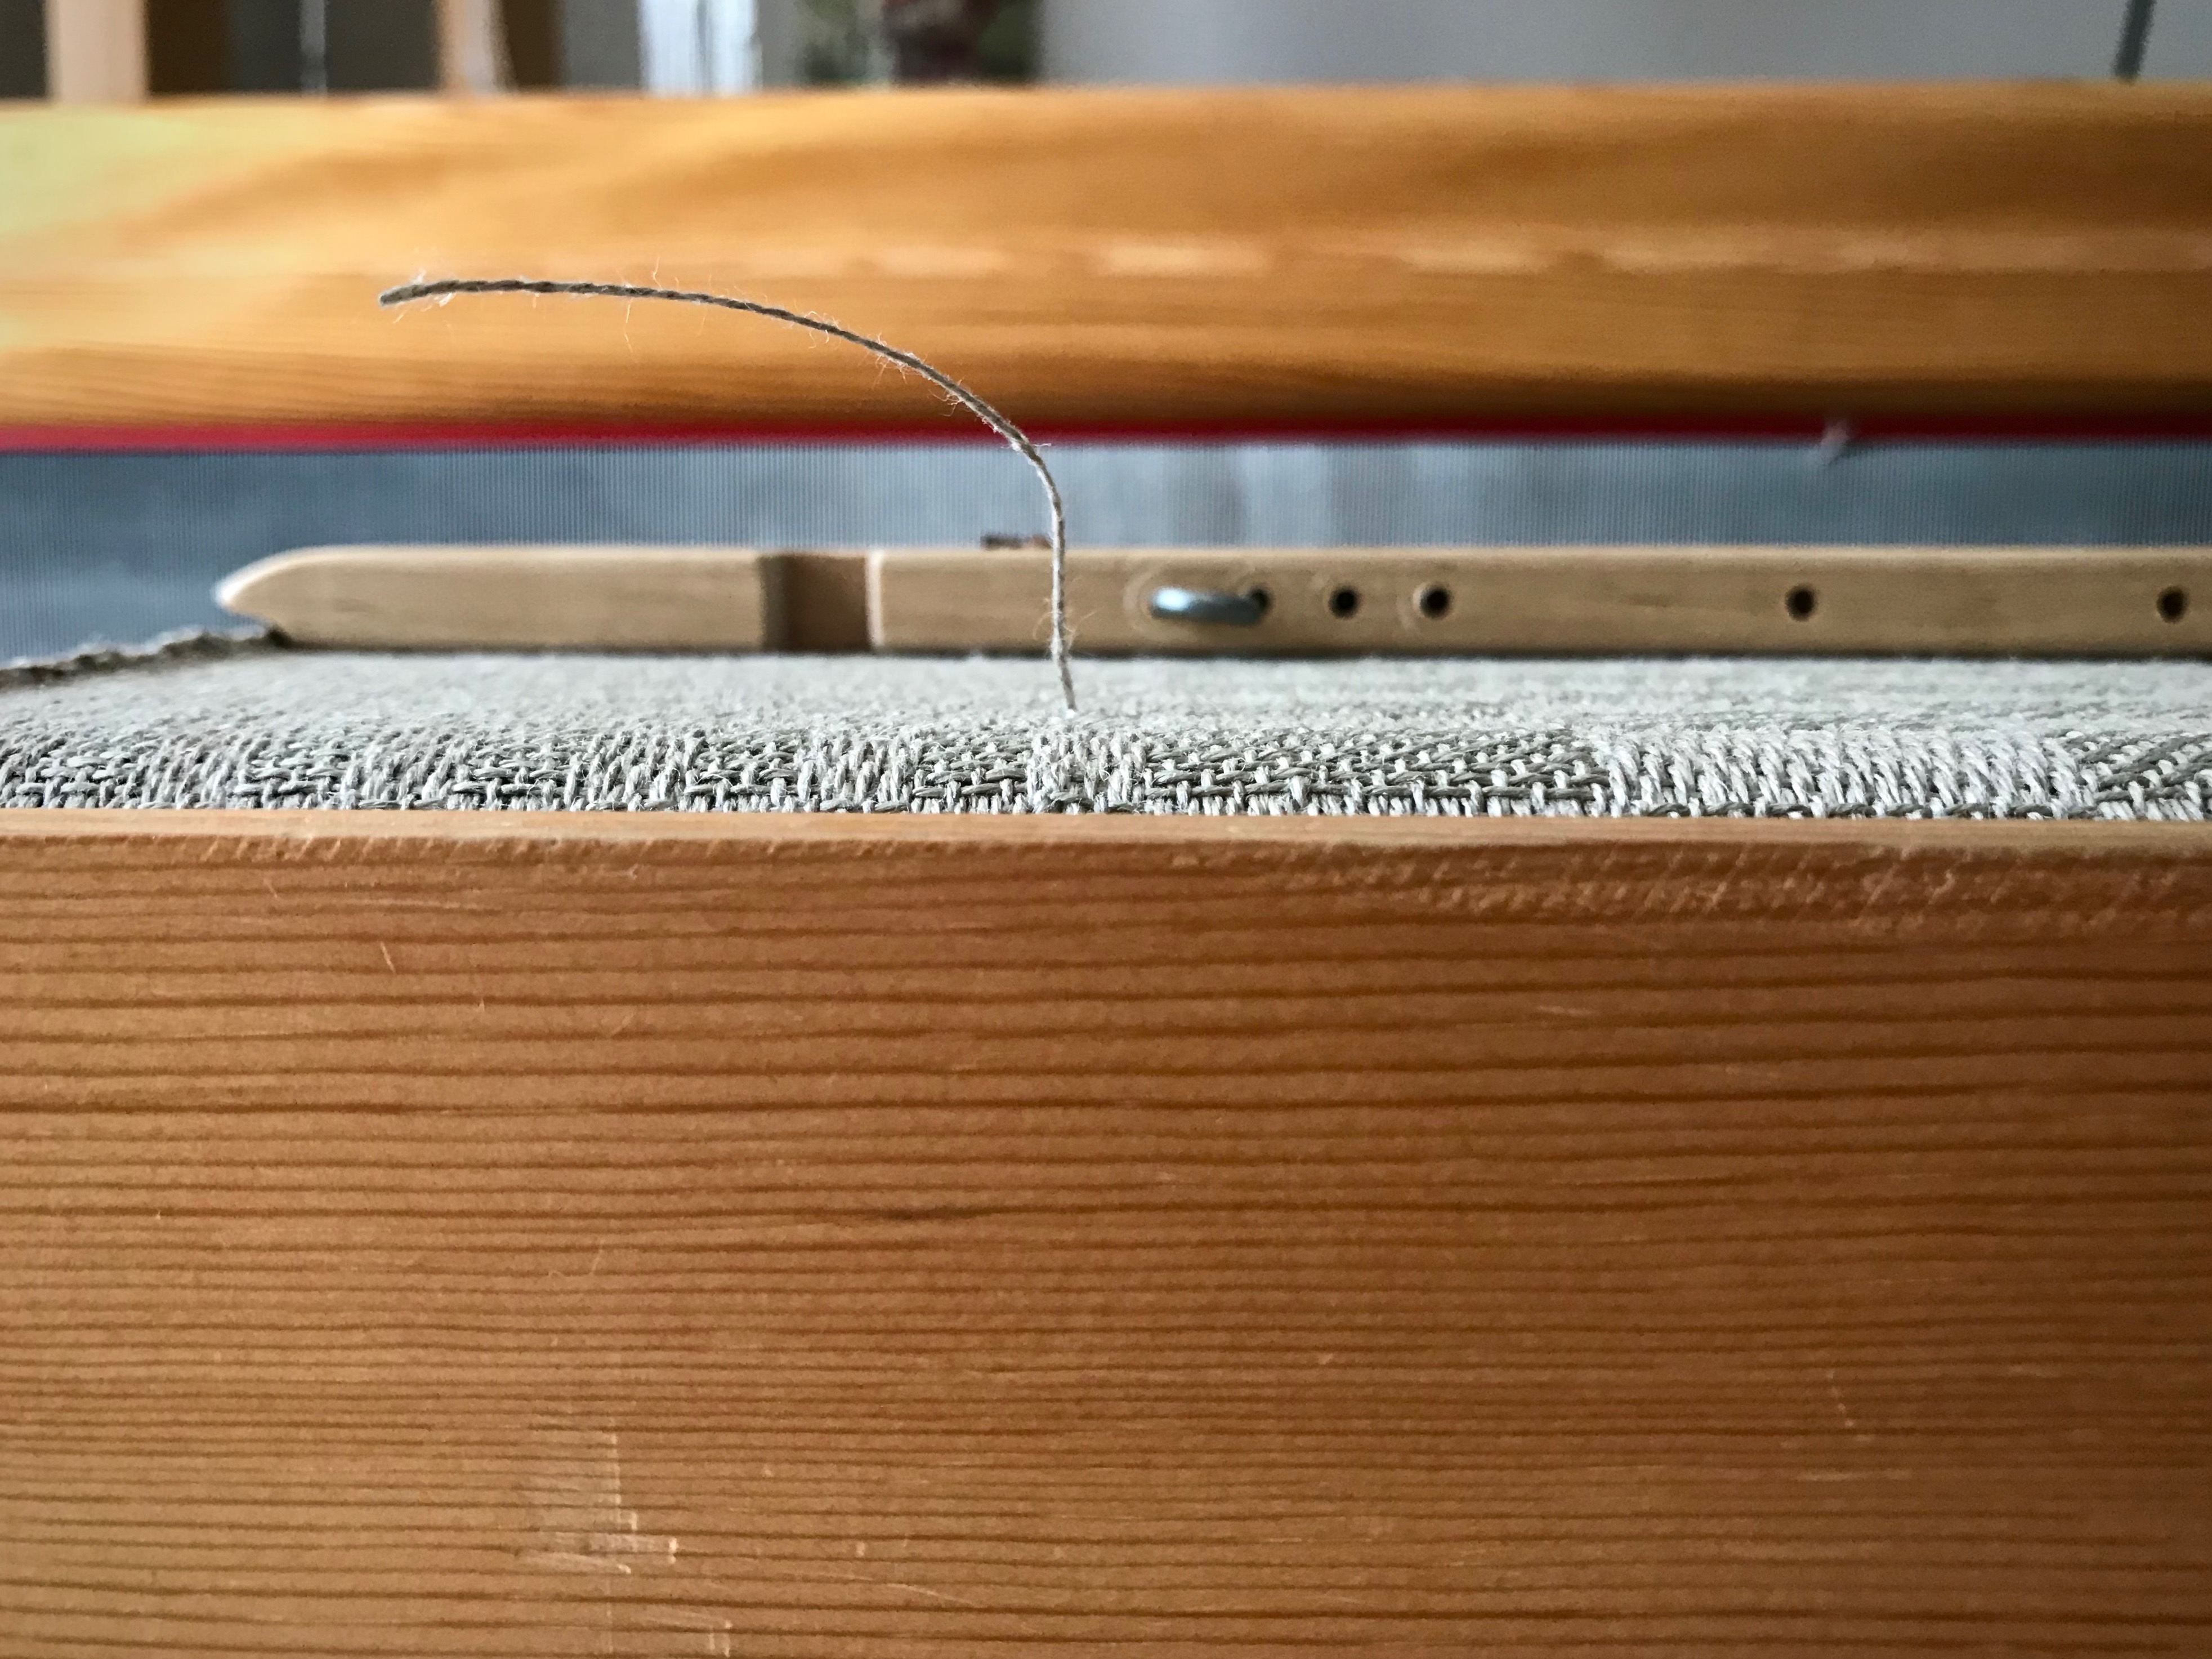
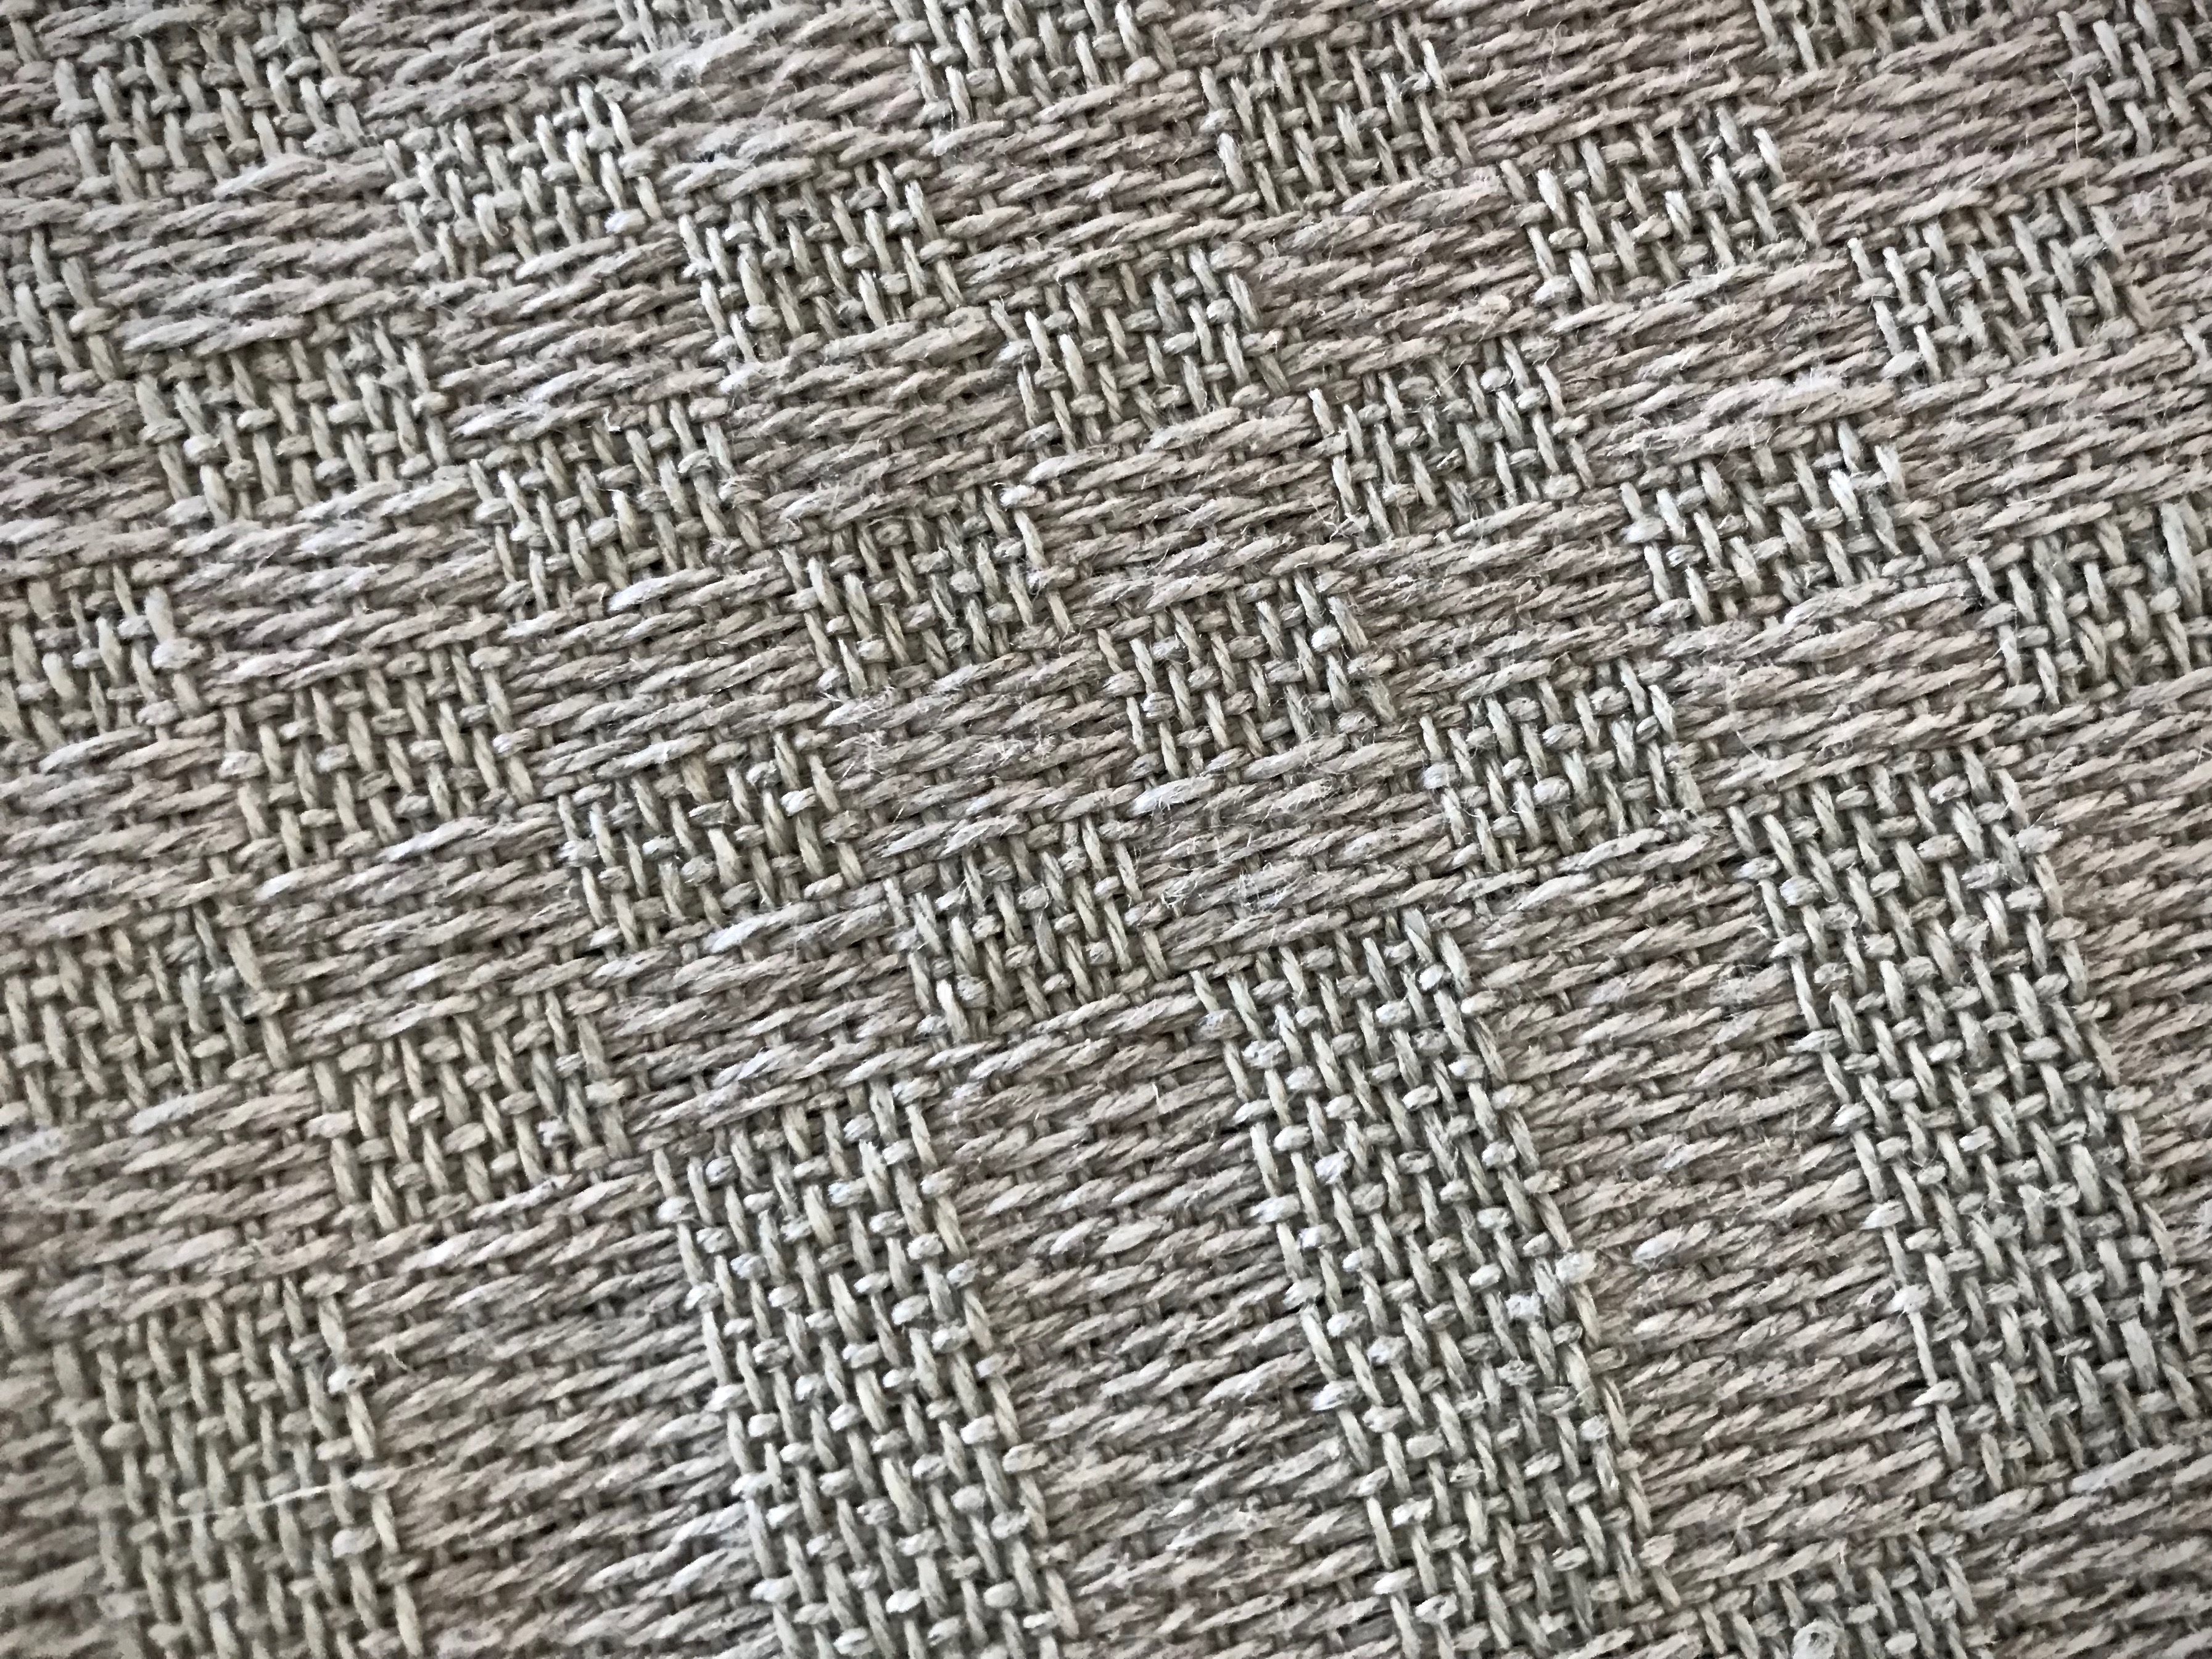
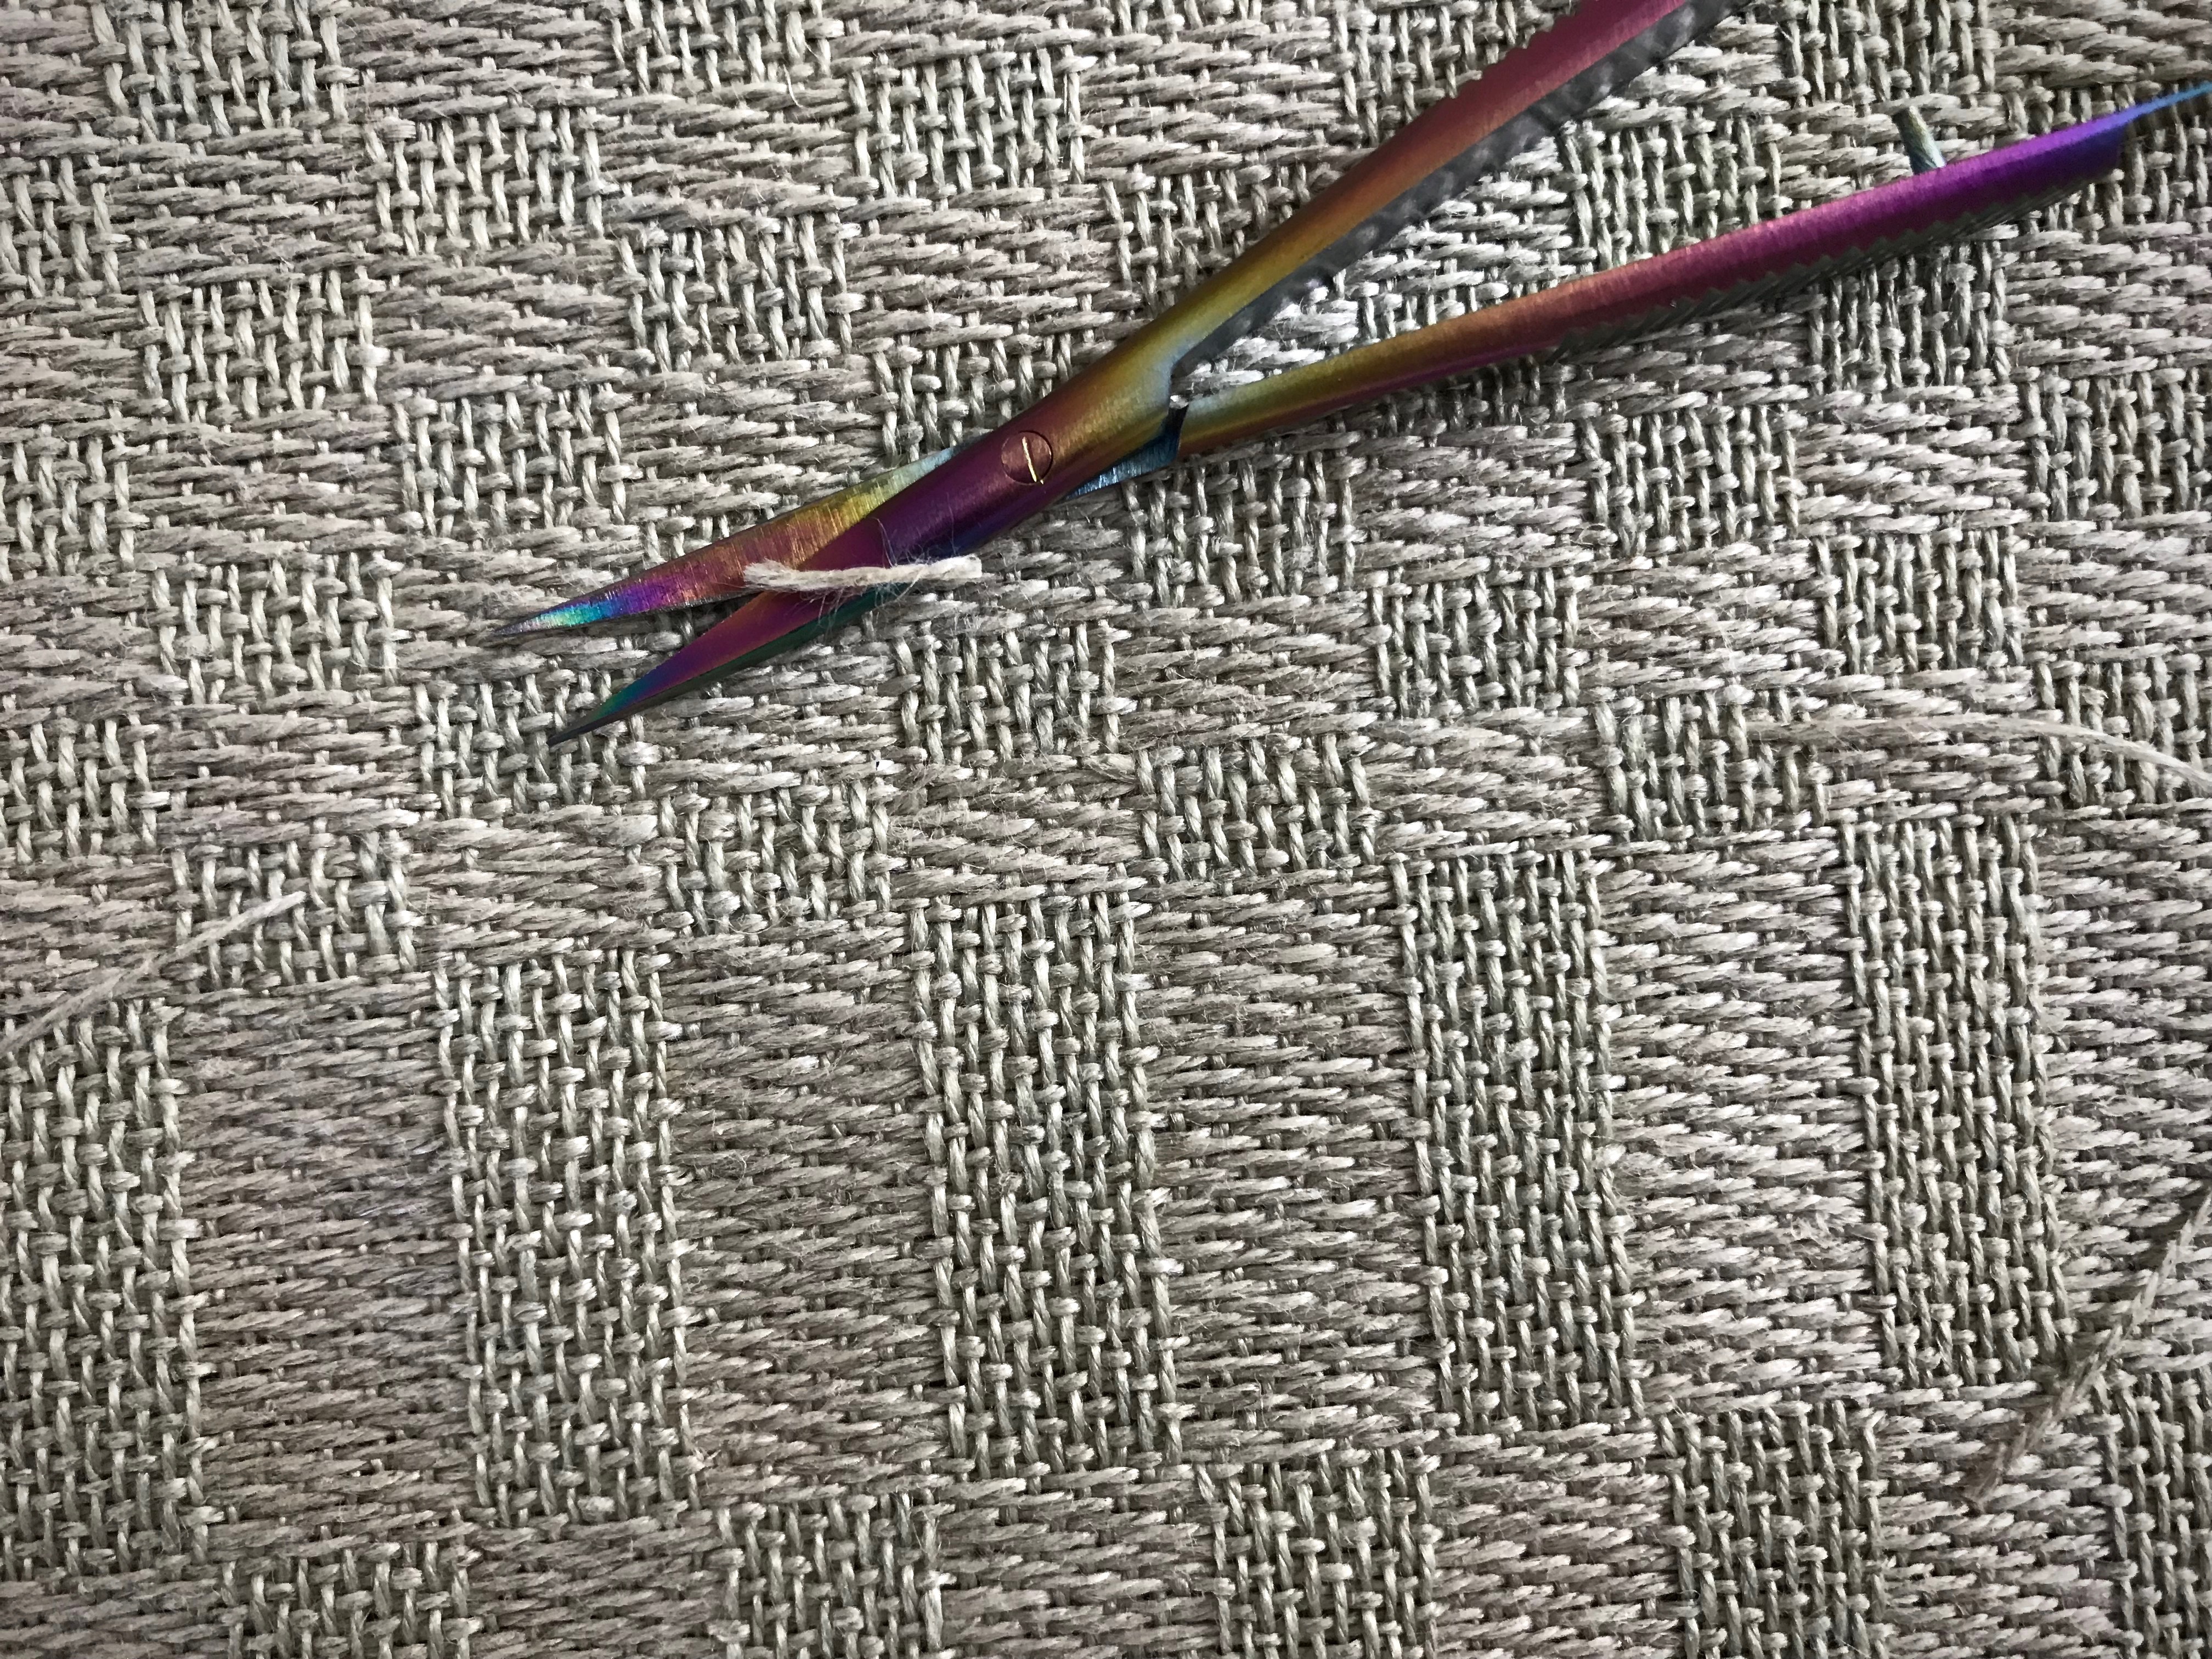
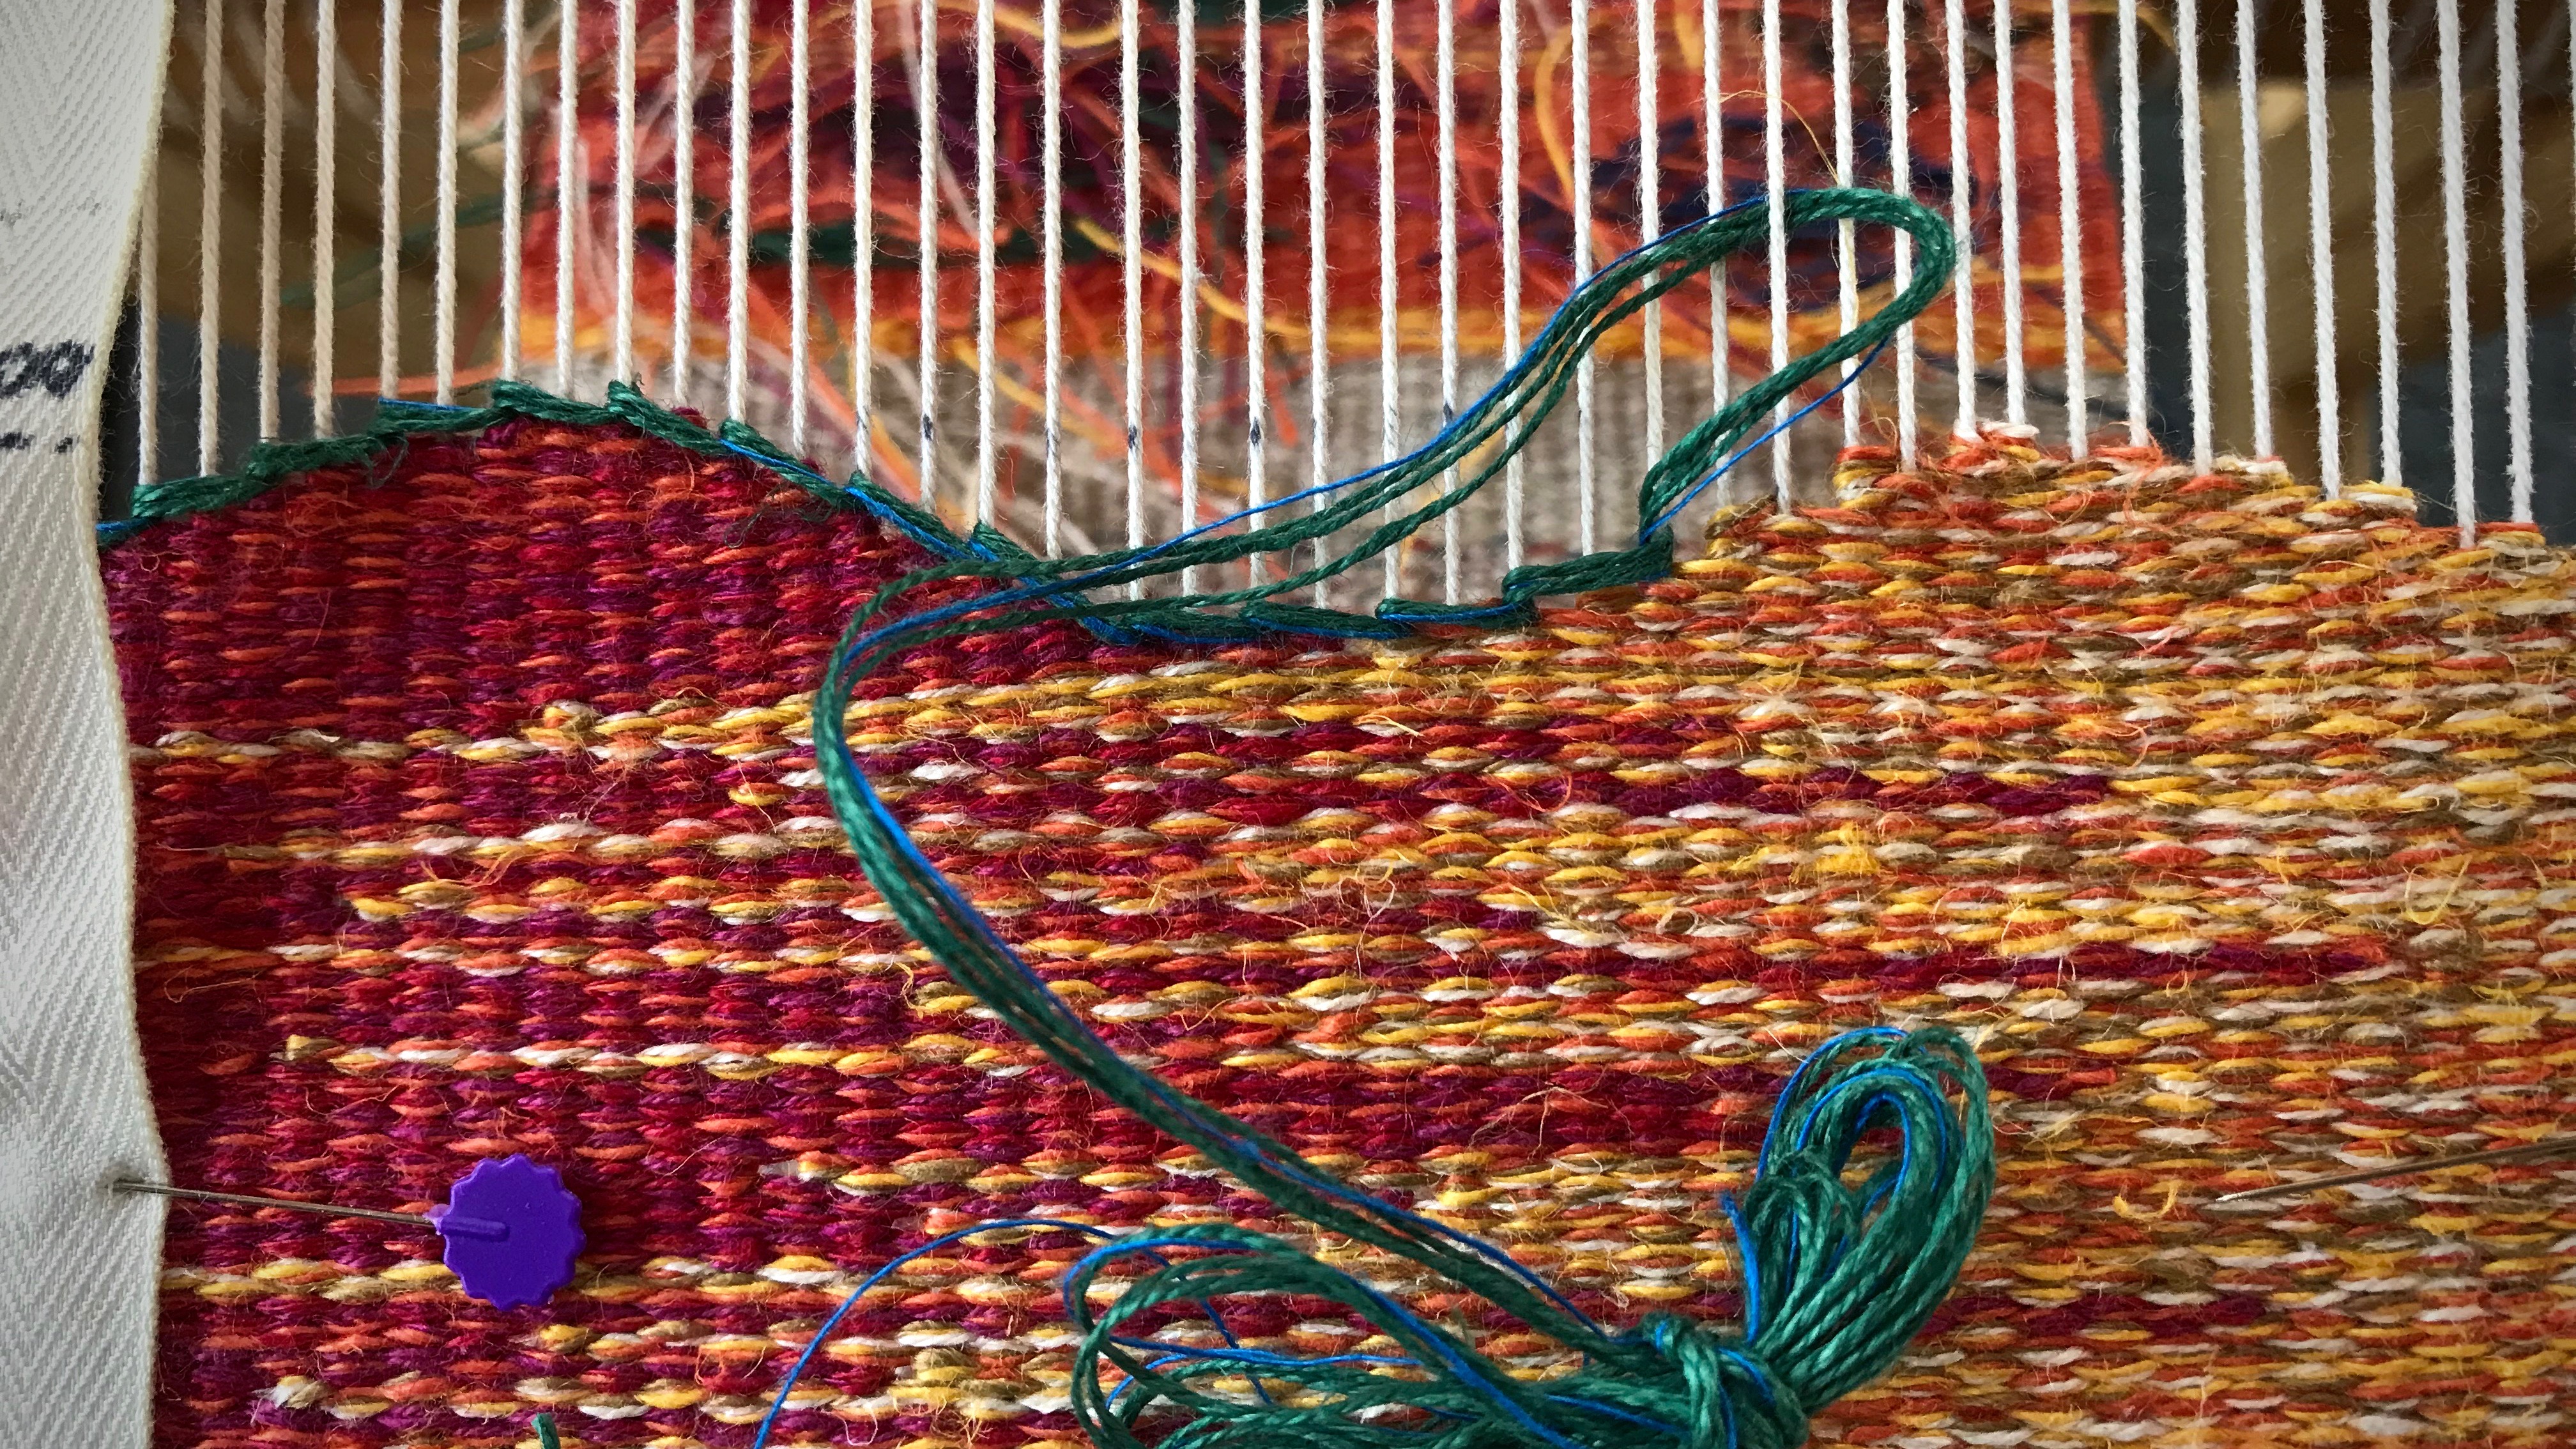
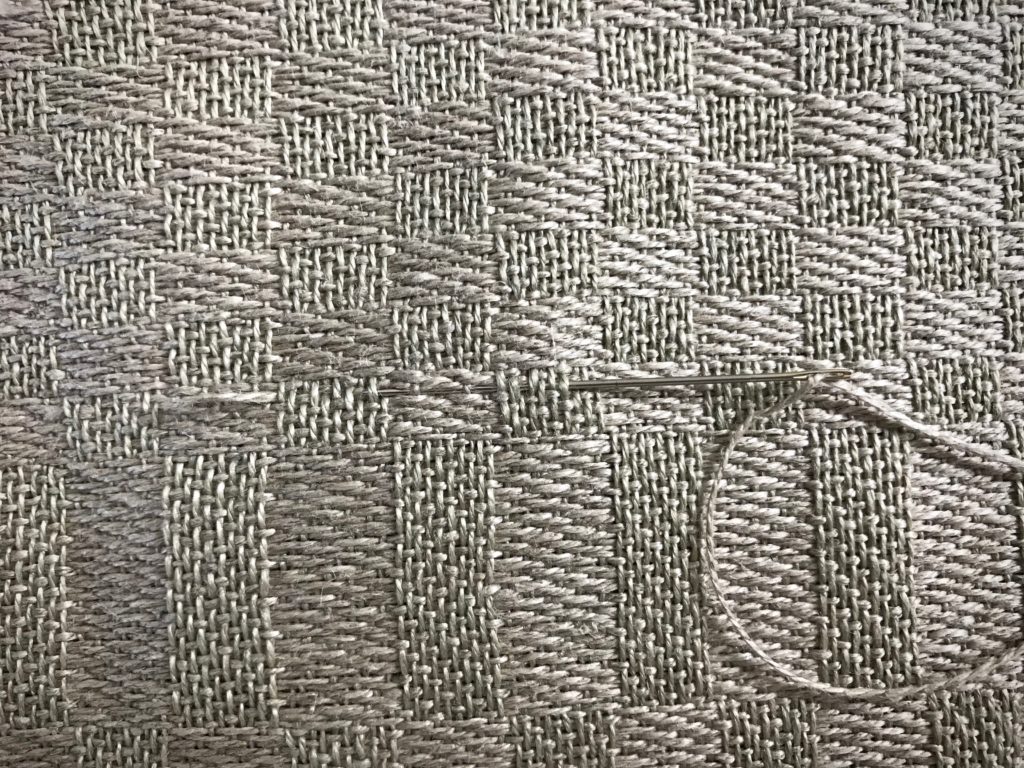
1 Locate the error. Here is a long weft float.

What to do with skipped threads. Tutorial.

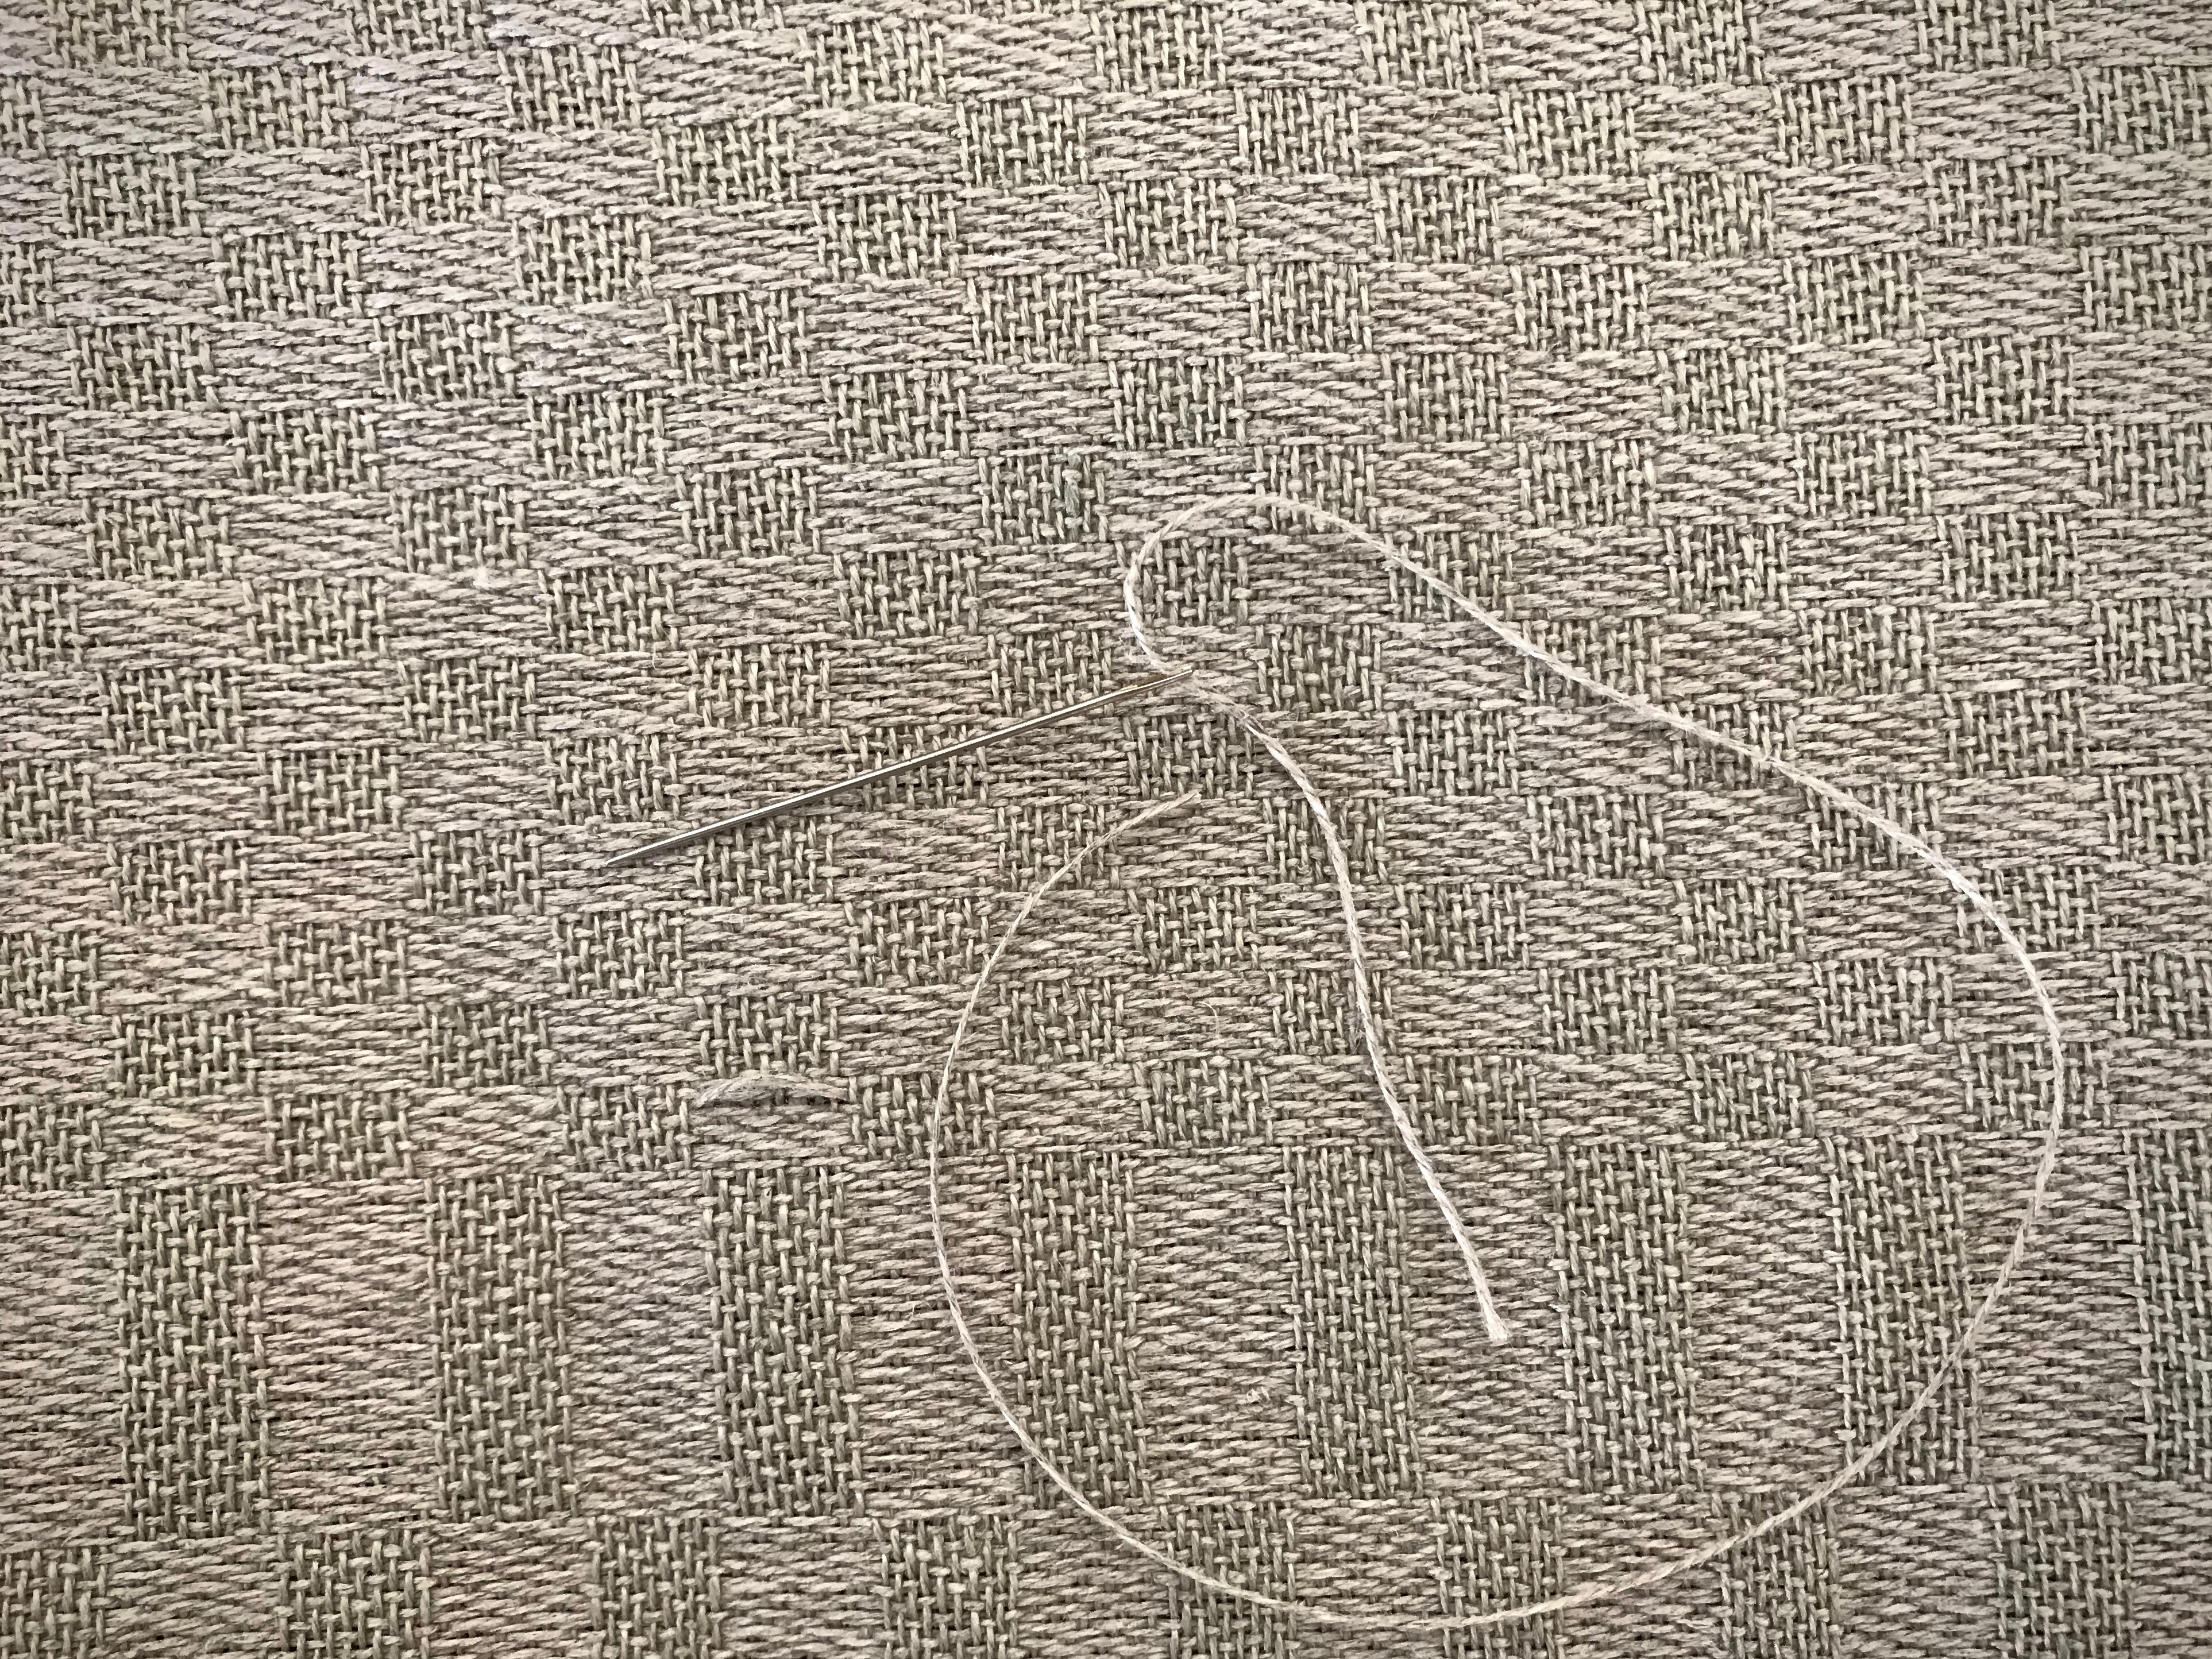
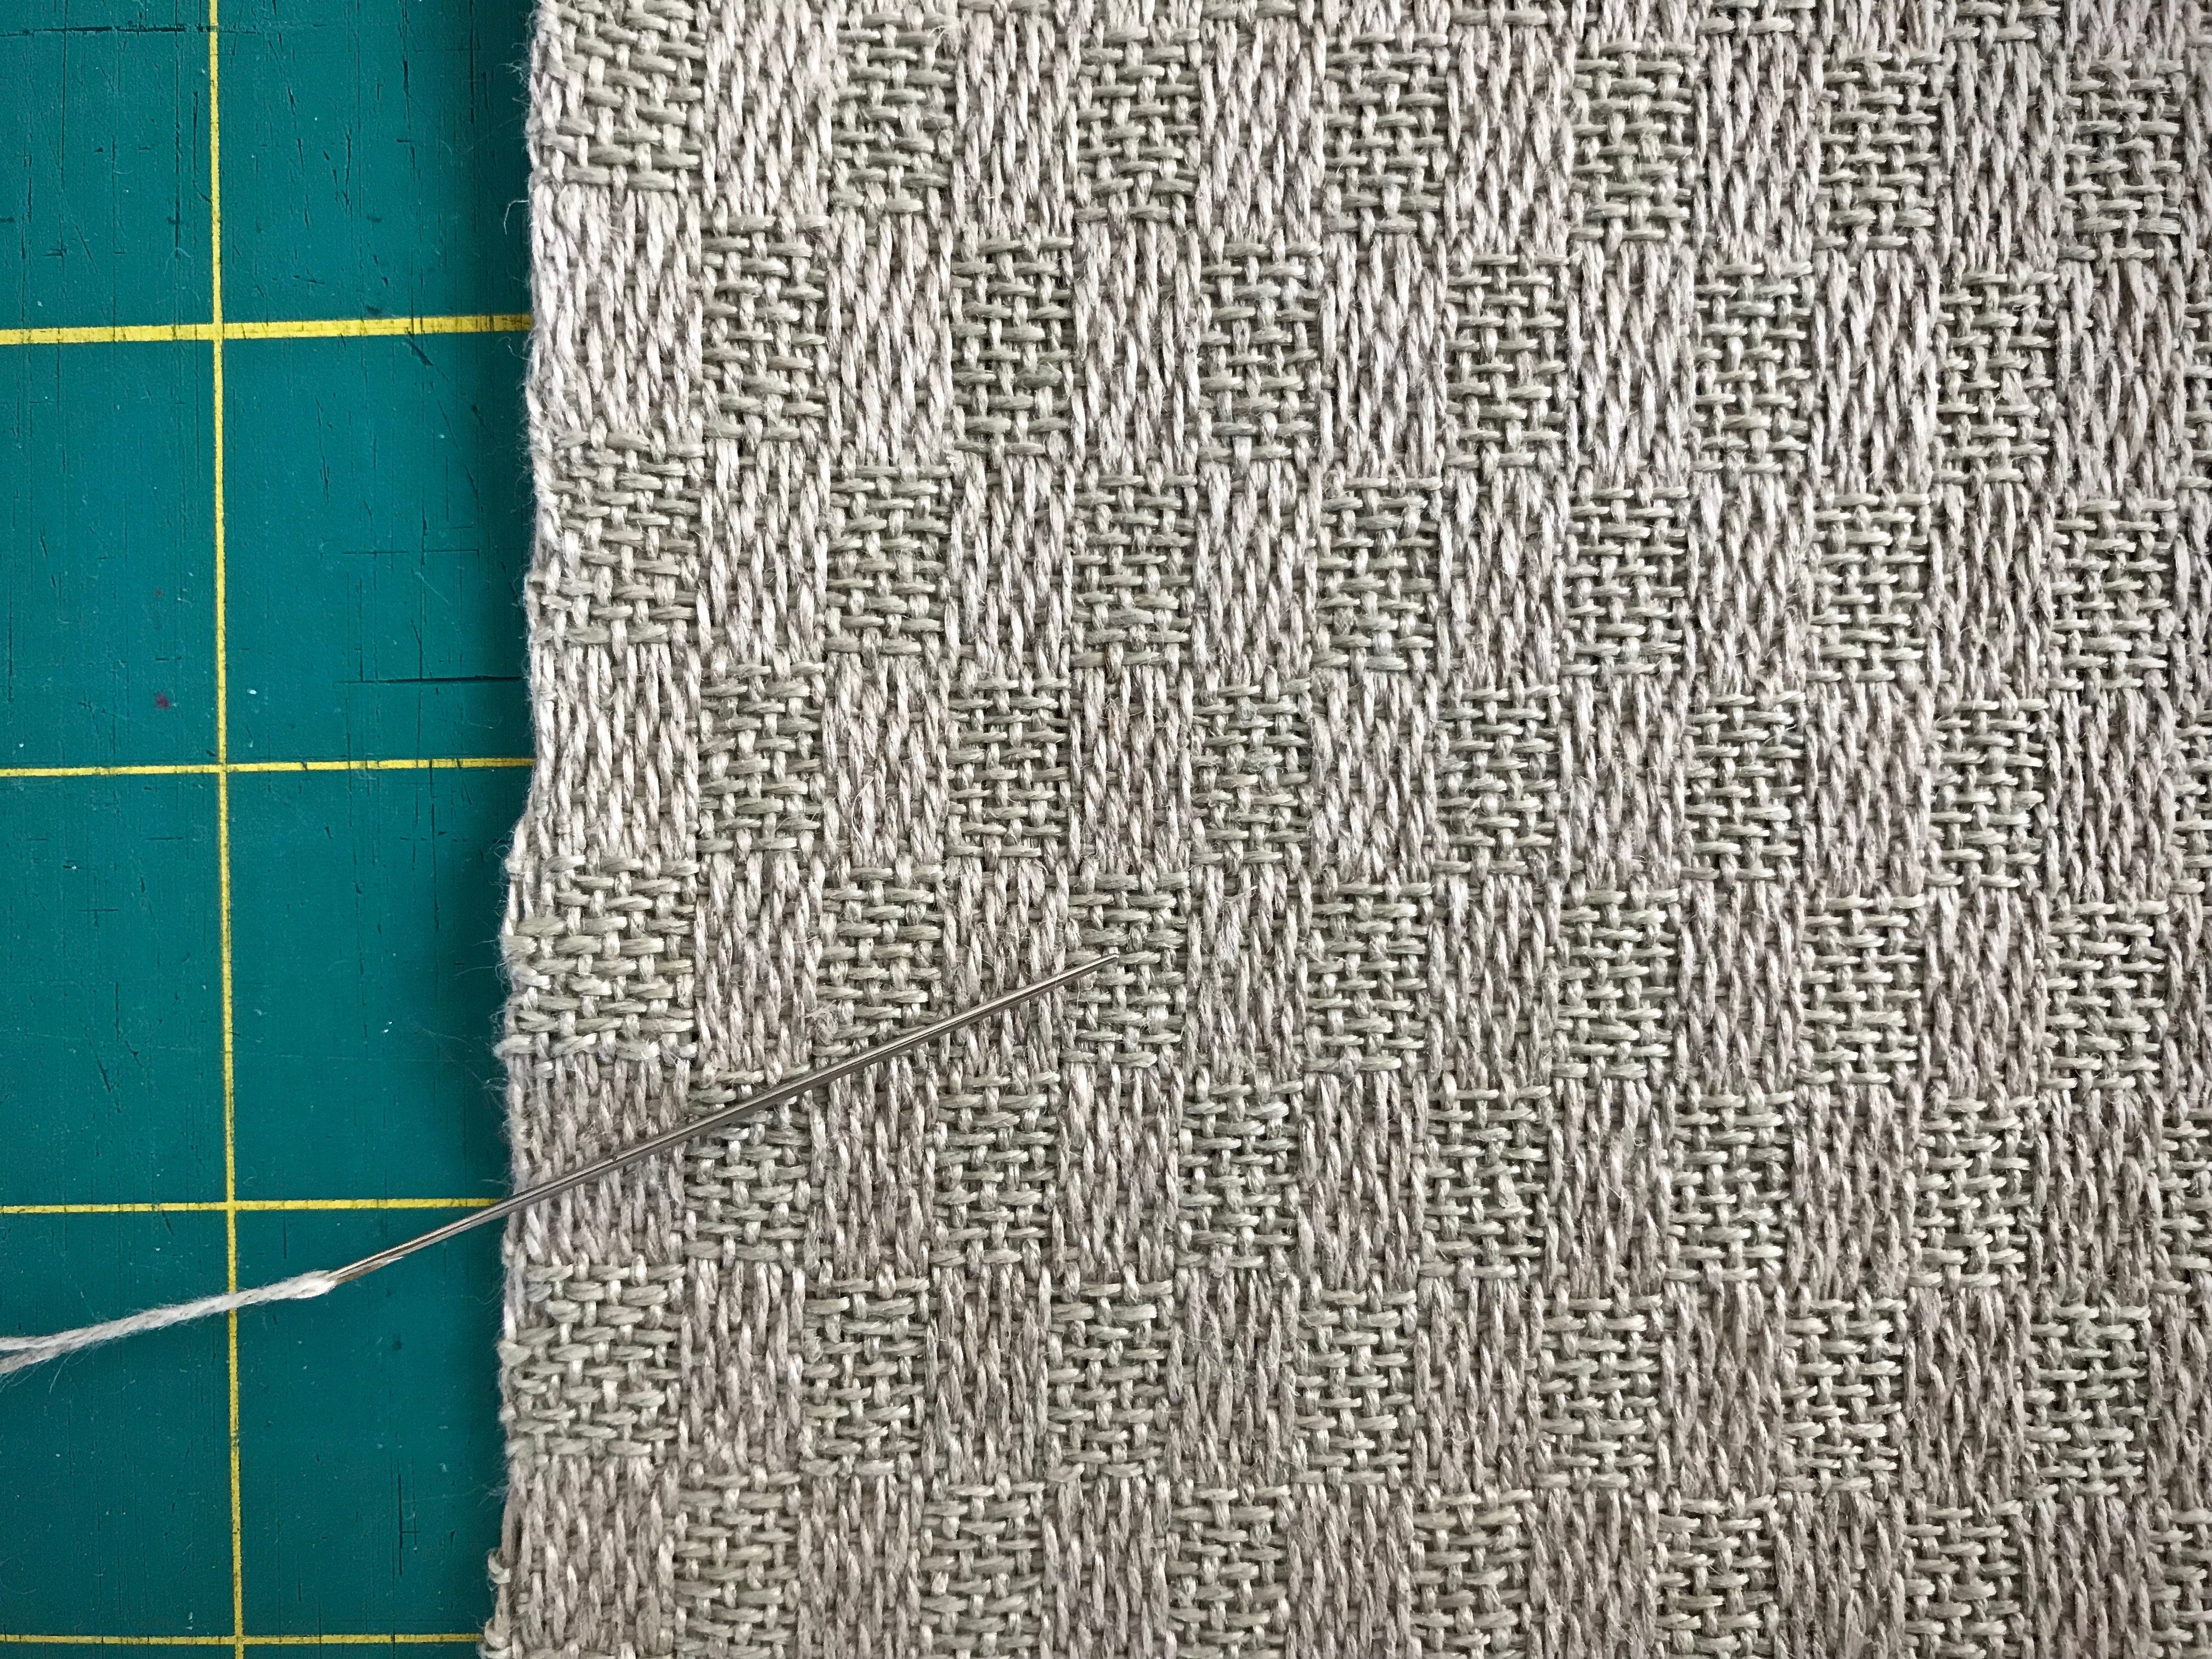
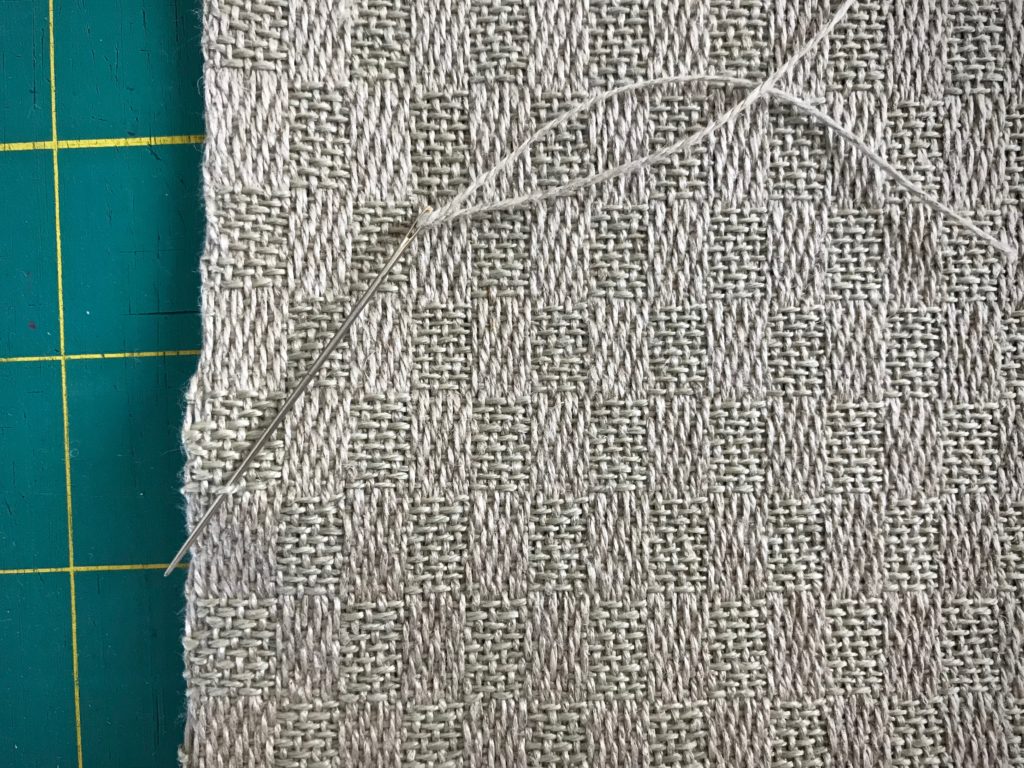
2 Thread the blunt-tip needle with a length of the same thread as the float.

Tutorial on fixing weaving errors.

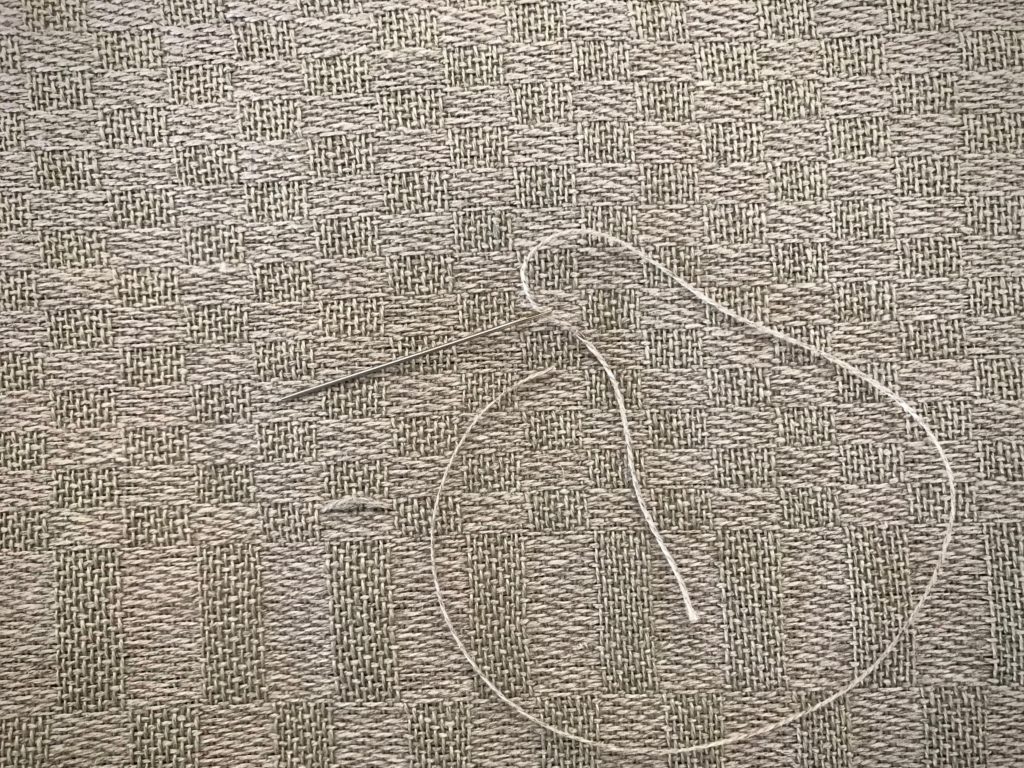
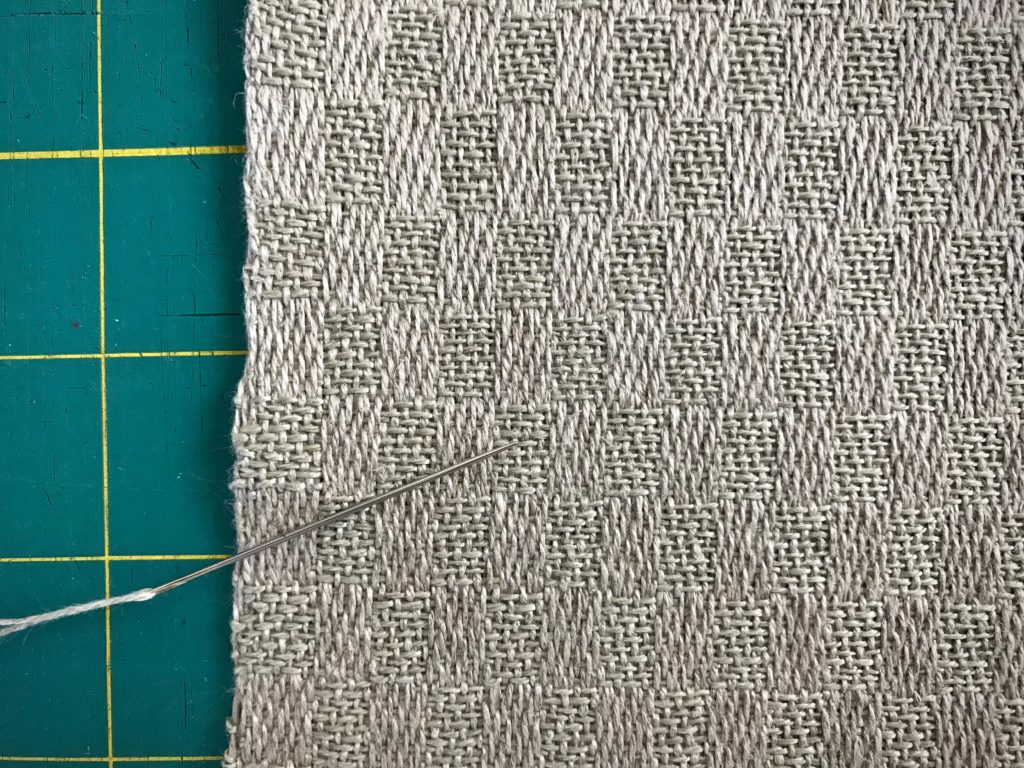
3 Following the exact under-over pattern of the weave, start one inch before the float and needle-weave toward the float. I lay my iPhone nearby, with the magnified iPhone photo clearly showing the weave pattern.

Needle weaving to mend a weaving error. How to.

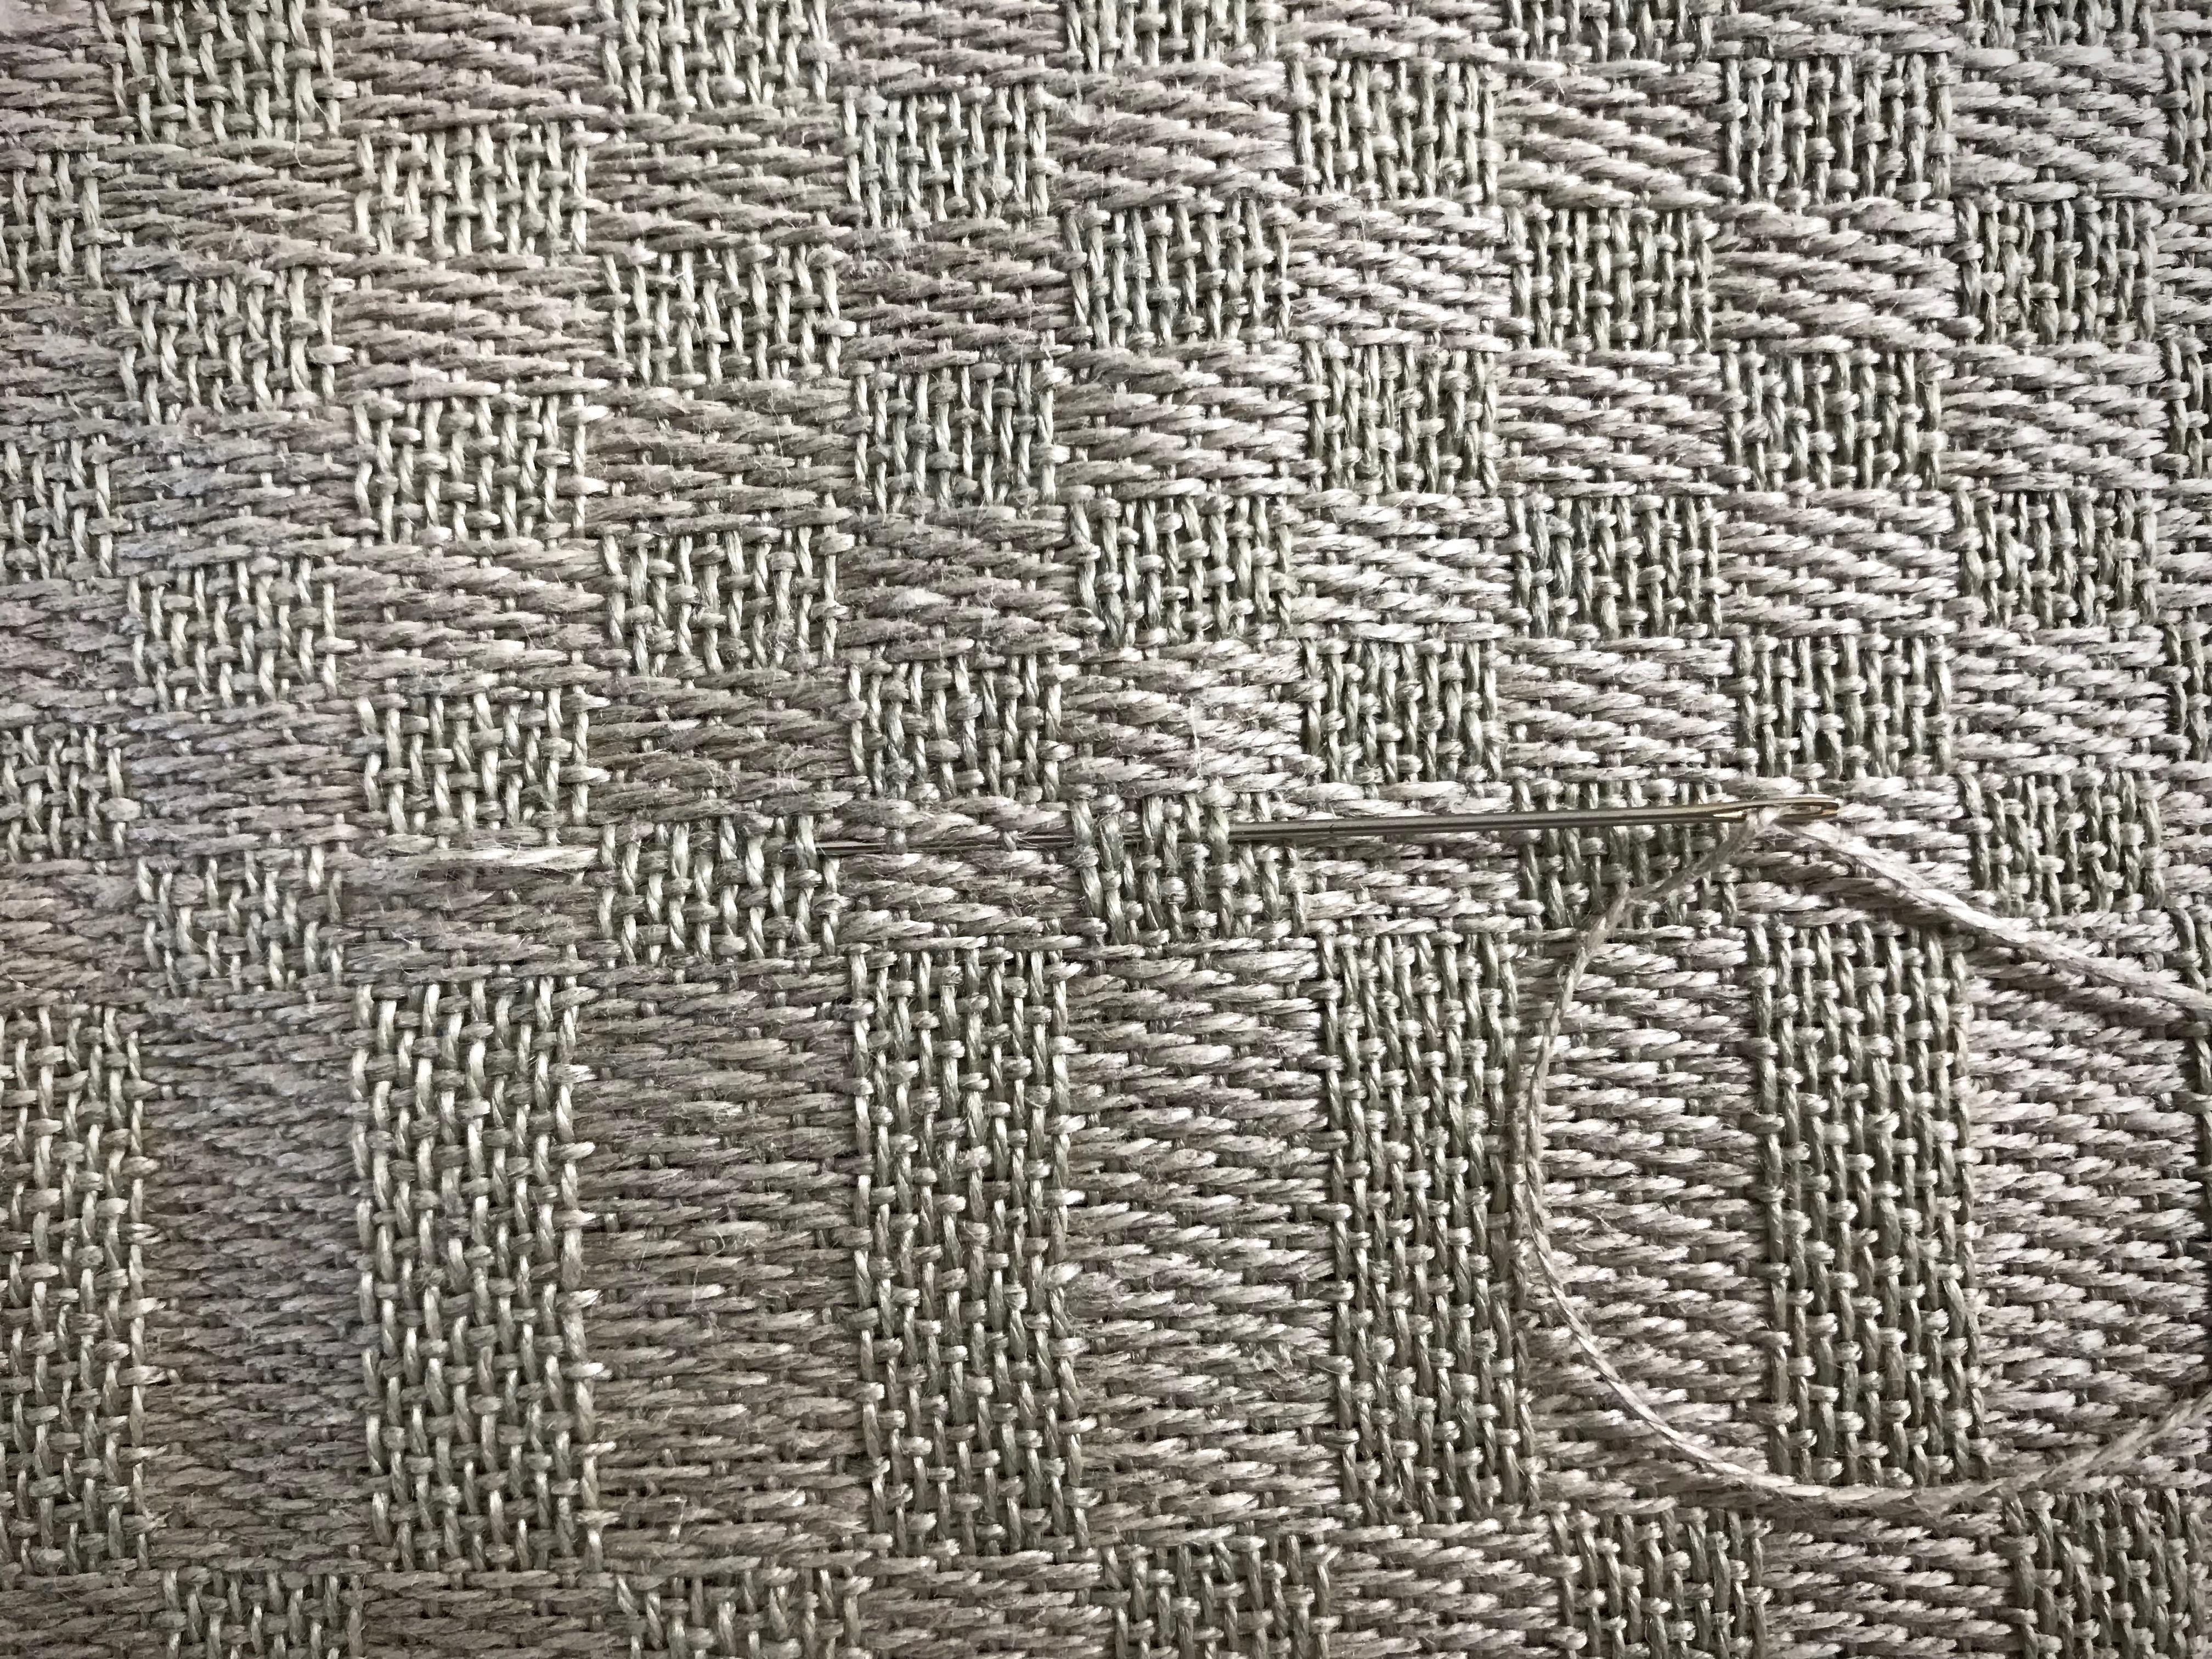
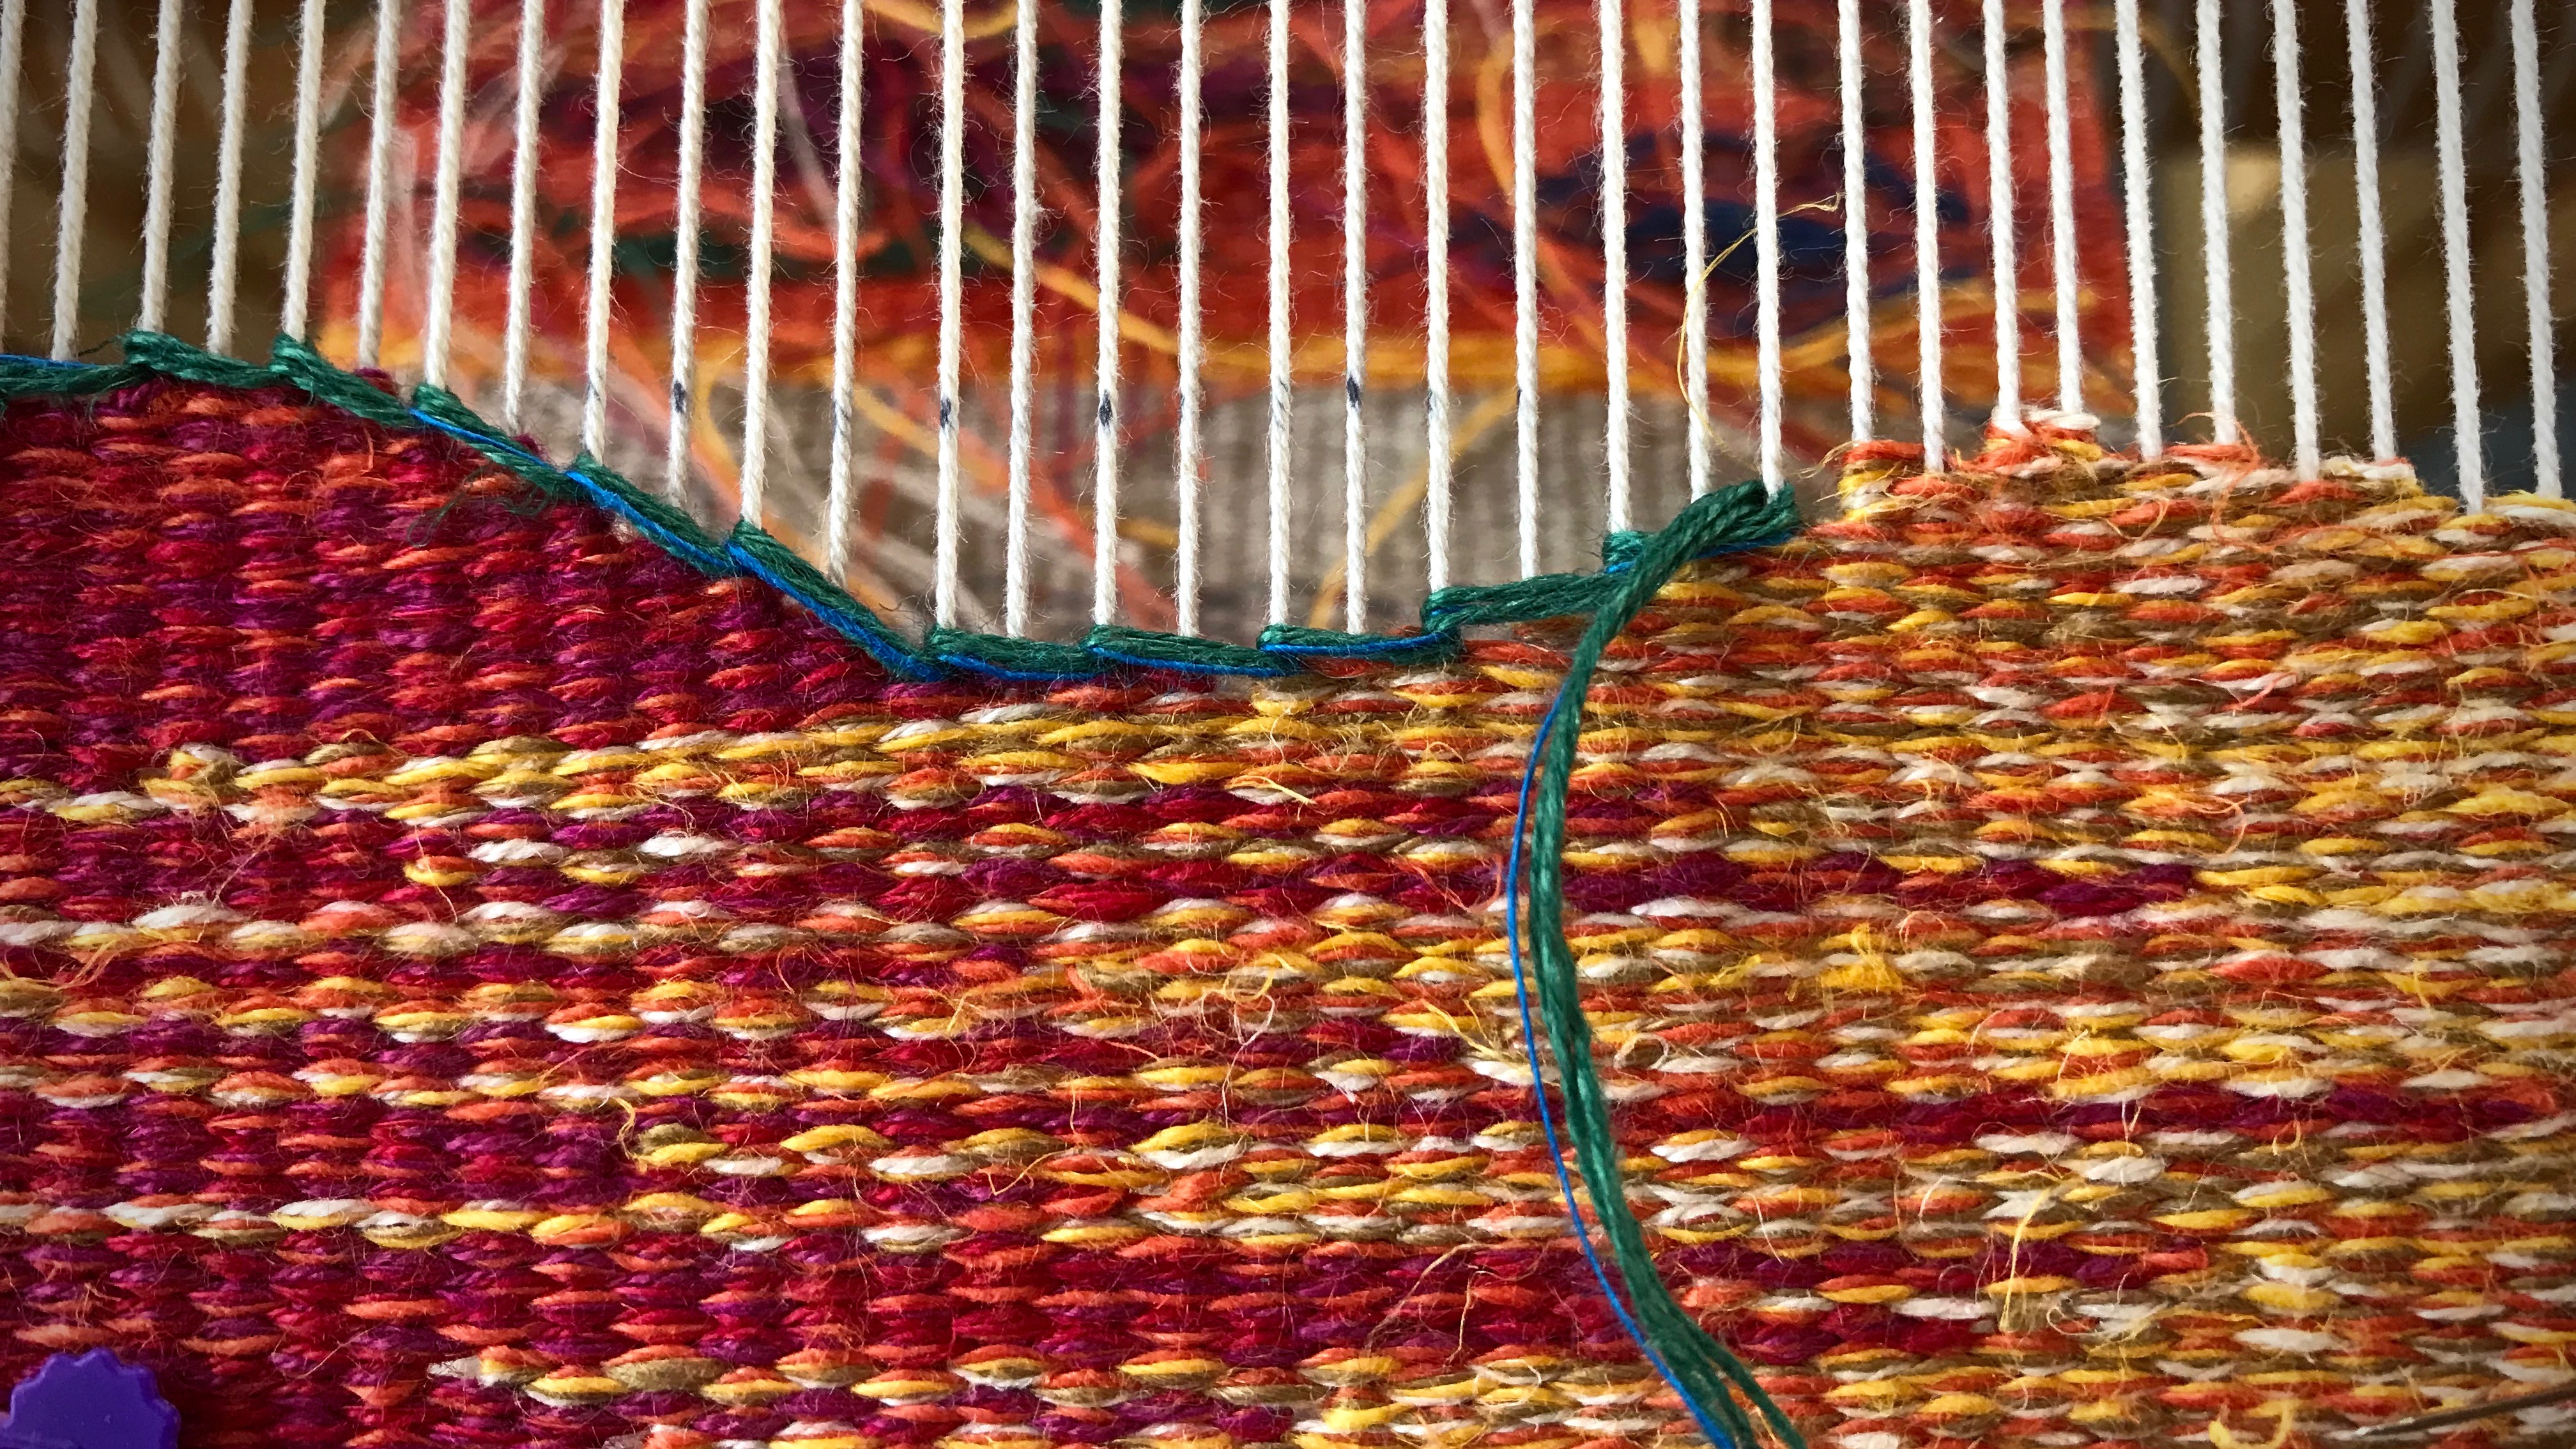
4 Needle-weave the correct path of the thread through the float area. Continue needle-weaving along the same thread pathway, going one inch beyond the float.

How to fix skipped threads in weaving.

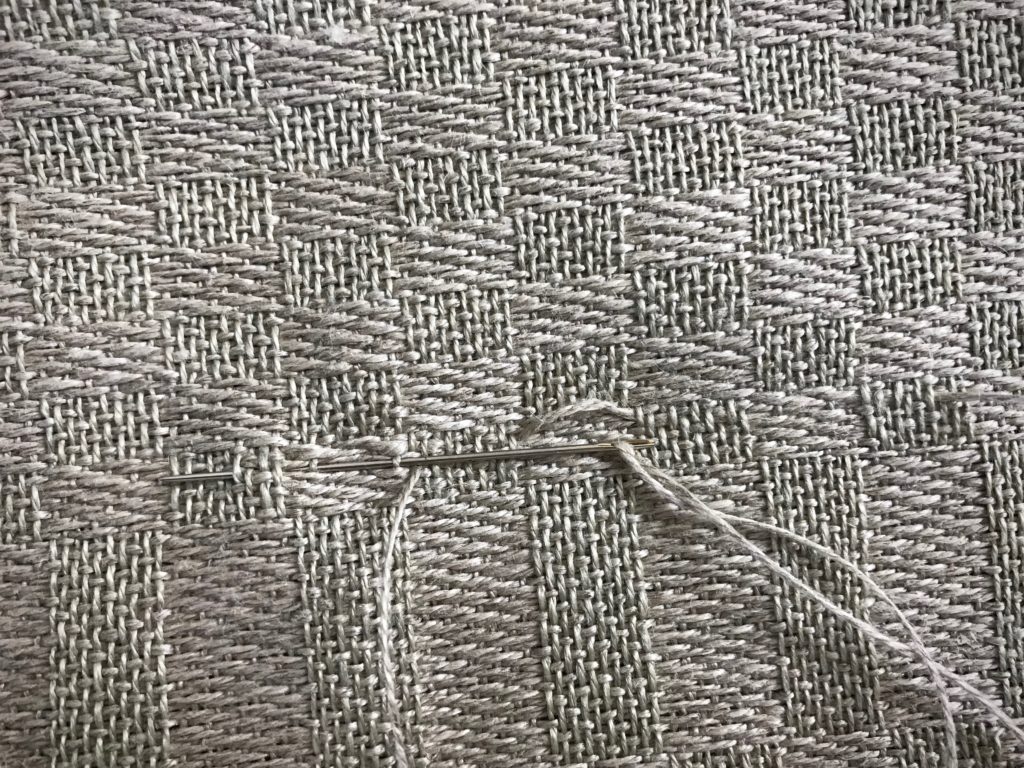
5 Check the front and back of the fabric to see if your stitches match the correct pattern of the weave.

Skipped threads in weaving. Fixed!

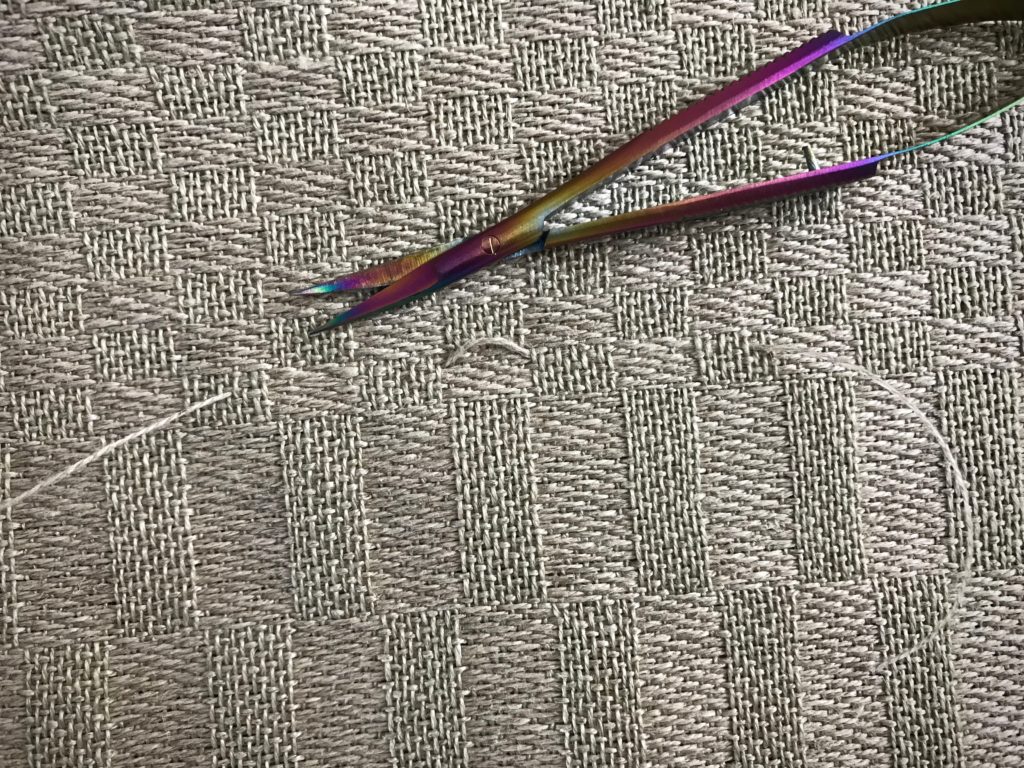
6 When you are certain that the float thread has been accurately replaced, clip the float and remove it (or, leave it and trim it after washing). Leave two-inch tails on the replacement thread, and trim after wet finishing. (I leave the replacement tails so I can find and check the repair after it is washed. This also allows for shrinkage before trimming.)

Clip off the float AFTER repair thread is in place.


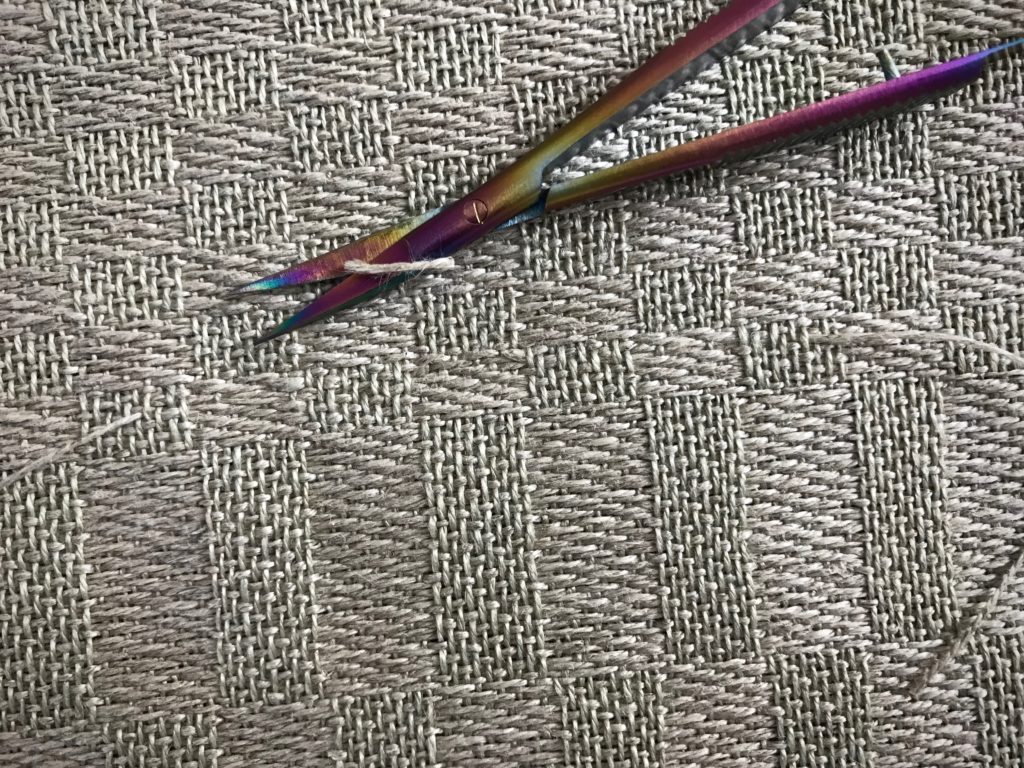
How to Fix a Small Selvedge Loop

1 Locate the loop.

How to fix a loop in the selvedge.

2 Using the blunt-tip needle, gently ease the excess thread to spread over four or five stitches inside the selvedge.

Easing in a loop at the selvedge. Short how-to.

3 The thread that has been eased in (just above the needle) will completely smooth out in wet finishing.

Eliminate an errant loop at the selvedge.

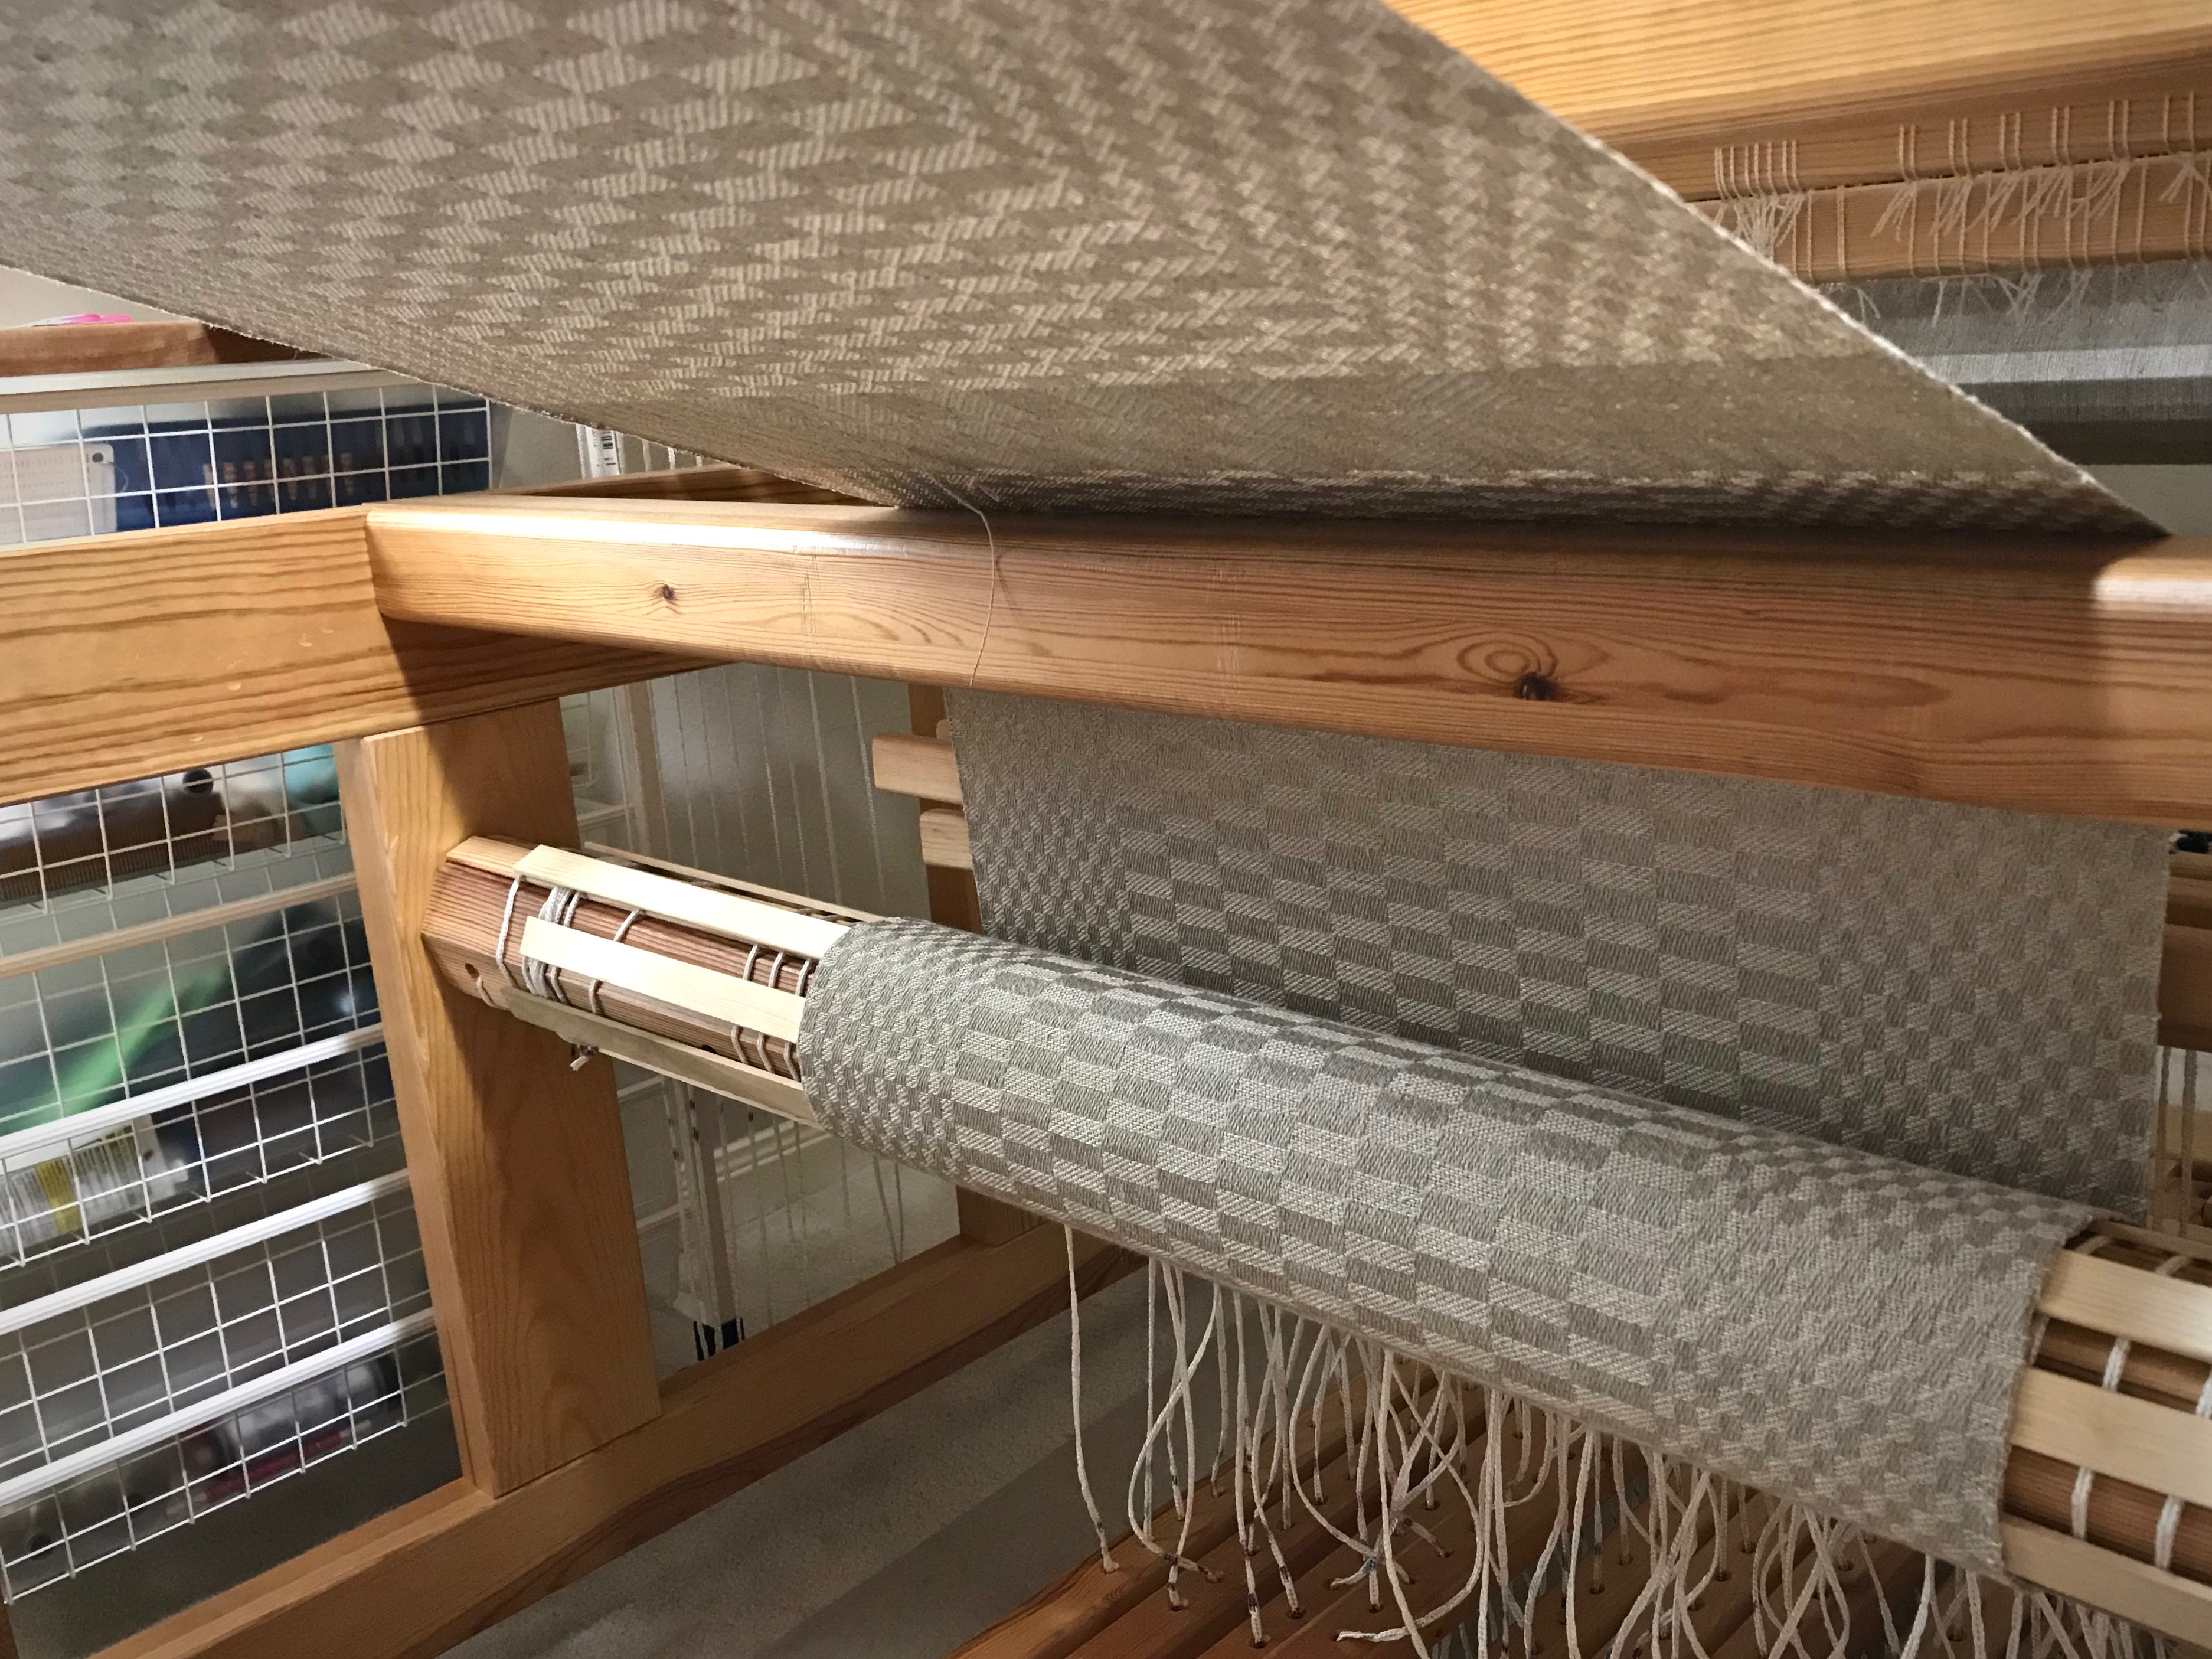
What skipped threads and loops would be found if I were examined this closely? Would I leave them and hope no one notices? Or, would I allow re-weaving and cutting away? A negative attitude is replaced with a thread of thankfulness. A loop of complaining is eased back in. The result is joy. A thankful heart knows joy. When the fabric is washed, the errant floats and loops are gone. What remains is the woven fabric with lustrous threads of joy.

May you have a bright sunshiny day.

With you,
Karen

Keep Advancing the Warp

This is a series of learning experiences—some easy, and some quite challenging. I am near the end of the first panel of the tapestry/inlay sampler. All along the way, I encounter obstacles. Like a broken warp end. Again. That broken warp end is discouraging. Surely, I should be able to keep that from happening by now.

Tapestry/inlay sampler. All linen weft.
Broken warp end on the right selvedge required taking out several rows of weaving so I could splice the warp.

Meanwhile, a simple line of soumak makes a pleasing border for this curve. It defines the shape with a slightly raised line. Over three, around one…all the way across. This part is nice and easy.

Soumak border on tapestry sampler.
Soumak technique, Step 1.
Soumak border line on tapestry sampler.
Soumak technique, Step 2.
Peaceful setting for the weaving loom!
Despite another broken warp end, the warp is advanced and the weaving continues. It helps to weave in a peaceful setting.

Daily life is not always easy. Put your eyes on God, not on the obstacles you face. And don’t worry about your own inability to navigate the circumstances. Trust God to carry you. He has carried you this far, and will continue to show himself strong on your behalf. Those broken warp ends are spliced, and the weaving continues. The selvedge may show some evidence of having had trouble, but the soumak outlines and other woven features will draw the eye. There is victory in advancing the warp to continue the sampler to the end.

May you advance through the obstacles you face.

With you,
Karen

Tighter-than-Tight Warp

This Glimåkra Ideal is a super sturdy little loom. I call it the “Baby Loom,” but it’s not a baby in strength. She can handle anything I put on her. The warp is so tight on this rag rug that I have to release the front ratchet and loosen the warp a bit before I can even budge the ratchet on the back beam to release it.

Rag rug reaches the cloth beam.
Spaced rep rag rug reaches the cloth beam.

I like having a super-tight warp for rag rugs. It means I can get firm selvedges. And, I can put the momentum of the hanging beater to its best advantage, thoroughly packing in the weft. Best of all, I know this tight warp gives me a foundation for good strong rugs.

Tight selvedges on this rag rug.
Tight warp makes it possible to keep tight selvedges. At the selvedge, fabric strip is turned twice, and then pulled to snugly wrap around the outer warp ends.
Spaced rep rag rugs. Designing on the loom is fun!
Designing on the loom is fun with the thick (fabric) and thin (warp thread) wefts. I make notes on paper so I can repeat the designs across the length of the rug.

I want my trust in the Lord to be so tight that nothing can move it out of place. To be that certain, that focused. The Lord looks for people who trust him completely. He searches high and low for those whose hearts are completely his. He gives them his strong support—unwavering strength of support. Ratchet up the warp. We can trust the Grand Weaver and his loom.

May your warp be tighter than tight.

Happy weaving,
Karen

Tools Day: How to Set a Temple and Video

The temple is one of my favorite tools. I have a collection of them. I happily use a temple for almost everything I weave. And I certainly wouldn’t dream of weaving a rag rug without one!

Temple instructions and video.
Temple in place.

Rag rugs are especially susceptible to draw-in, and a temple helps reduce that by maintaining the proper width of the rug. Draw-in distorts the shape of a rug, contributes to uneven warp tension, and can make selvedge threads break. A temple also aids in getting tight selvedges, and enables the firmest beat possible. (My favorite temples to use, even for rugs, are the wooden ones made by Glimåkra.)

How and why to use a temple for rag rugs.
Spaced rep rag rug, using fabric strips and warp thread for weft.

Temple Tips:

  • Set the temple to the proper width. (The video below shows how I do it.)
  • You can set the temple into the cloth as soon as there is is enough woven for two or three teeth to sink into. Then, move the temple up when you have woven enough to set all the teeth into the cloth.
  • Even with a temple, place adequate weft through the shed. The tool works best in conjunction with careful weaving practices.
  • Watch out for the sharp points! I get pricked when I forget and reach around the selvedge to straighten something out.
  • Make sure the temple is far enough back from the fell line that it won’t scrape the edge of your beater. I have a scar on my beater because it was hitting the temple. Unfortunately, I didn’t notice until the damage was done.
  • Move the temple frequently. For consistency at the selvedges on a rag rug, I move the temple at least every inch.
  • Remove the temple by moving the slider with one hand, while holding the center part down with the other hand. Keep the pin in place and the temple will draw up in the center. Then, disengage the teeth from the cloth on both sides.
Spaced rep rag rugs on the loom. Tutorial for using a temple.
Width in the reed for this rag rug is 90 cm on this 100 cm loom. I keep a supply of temples so that I have what I need for any weaving width.


May your tools serve you well.

Happy weaving,
Karen