Rag Rug in Spaced Rep Splendor

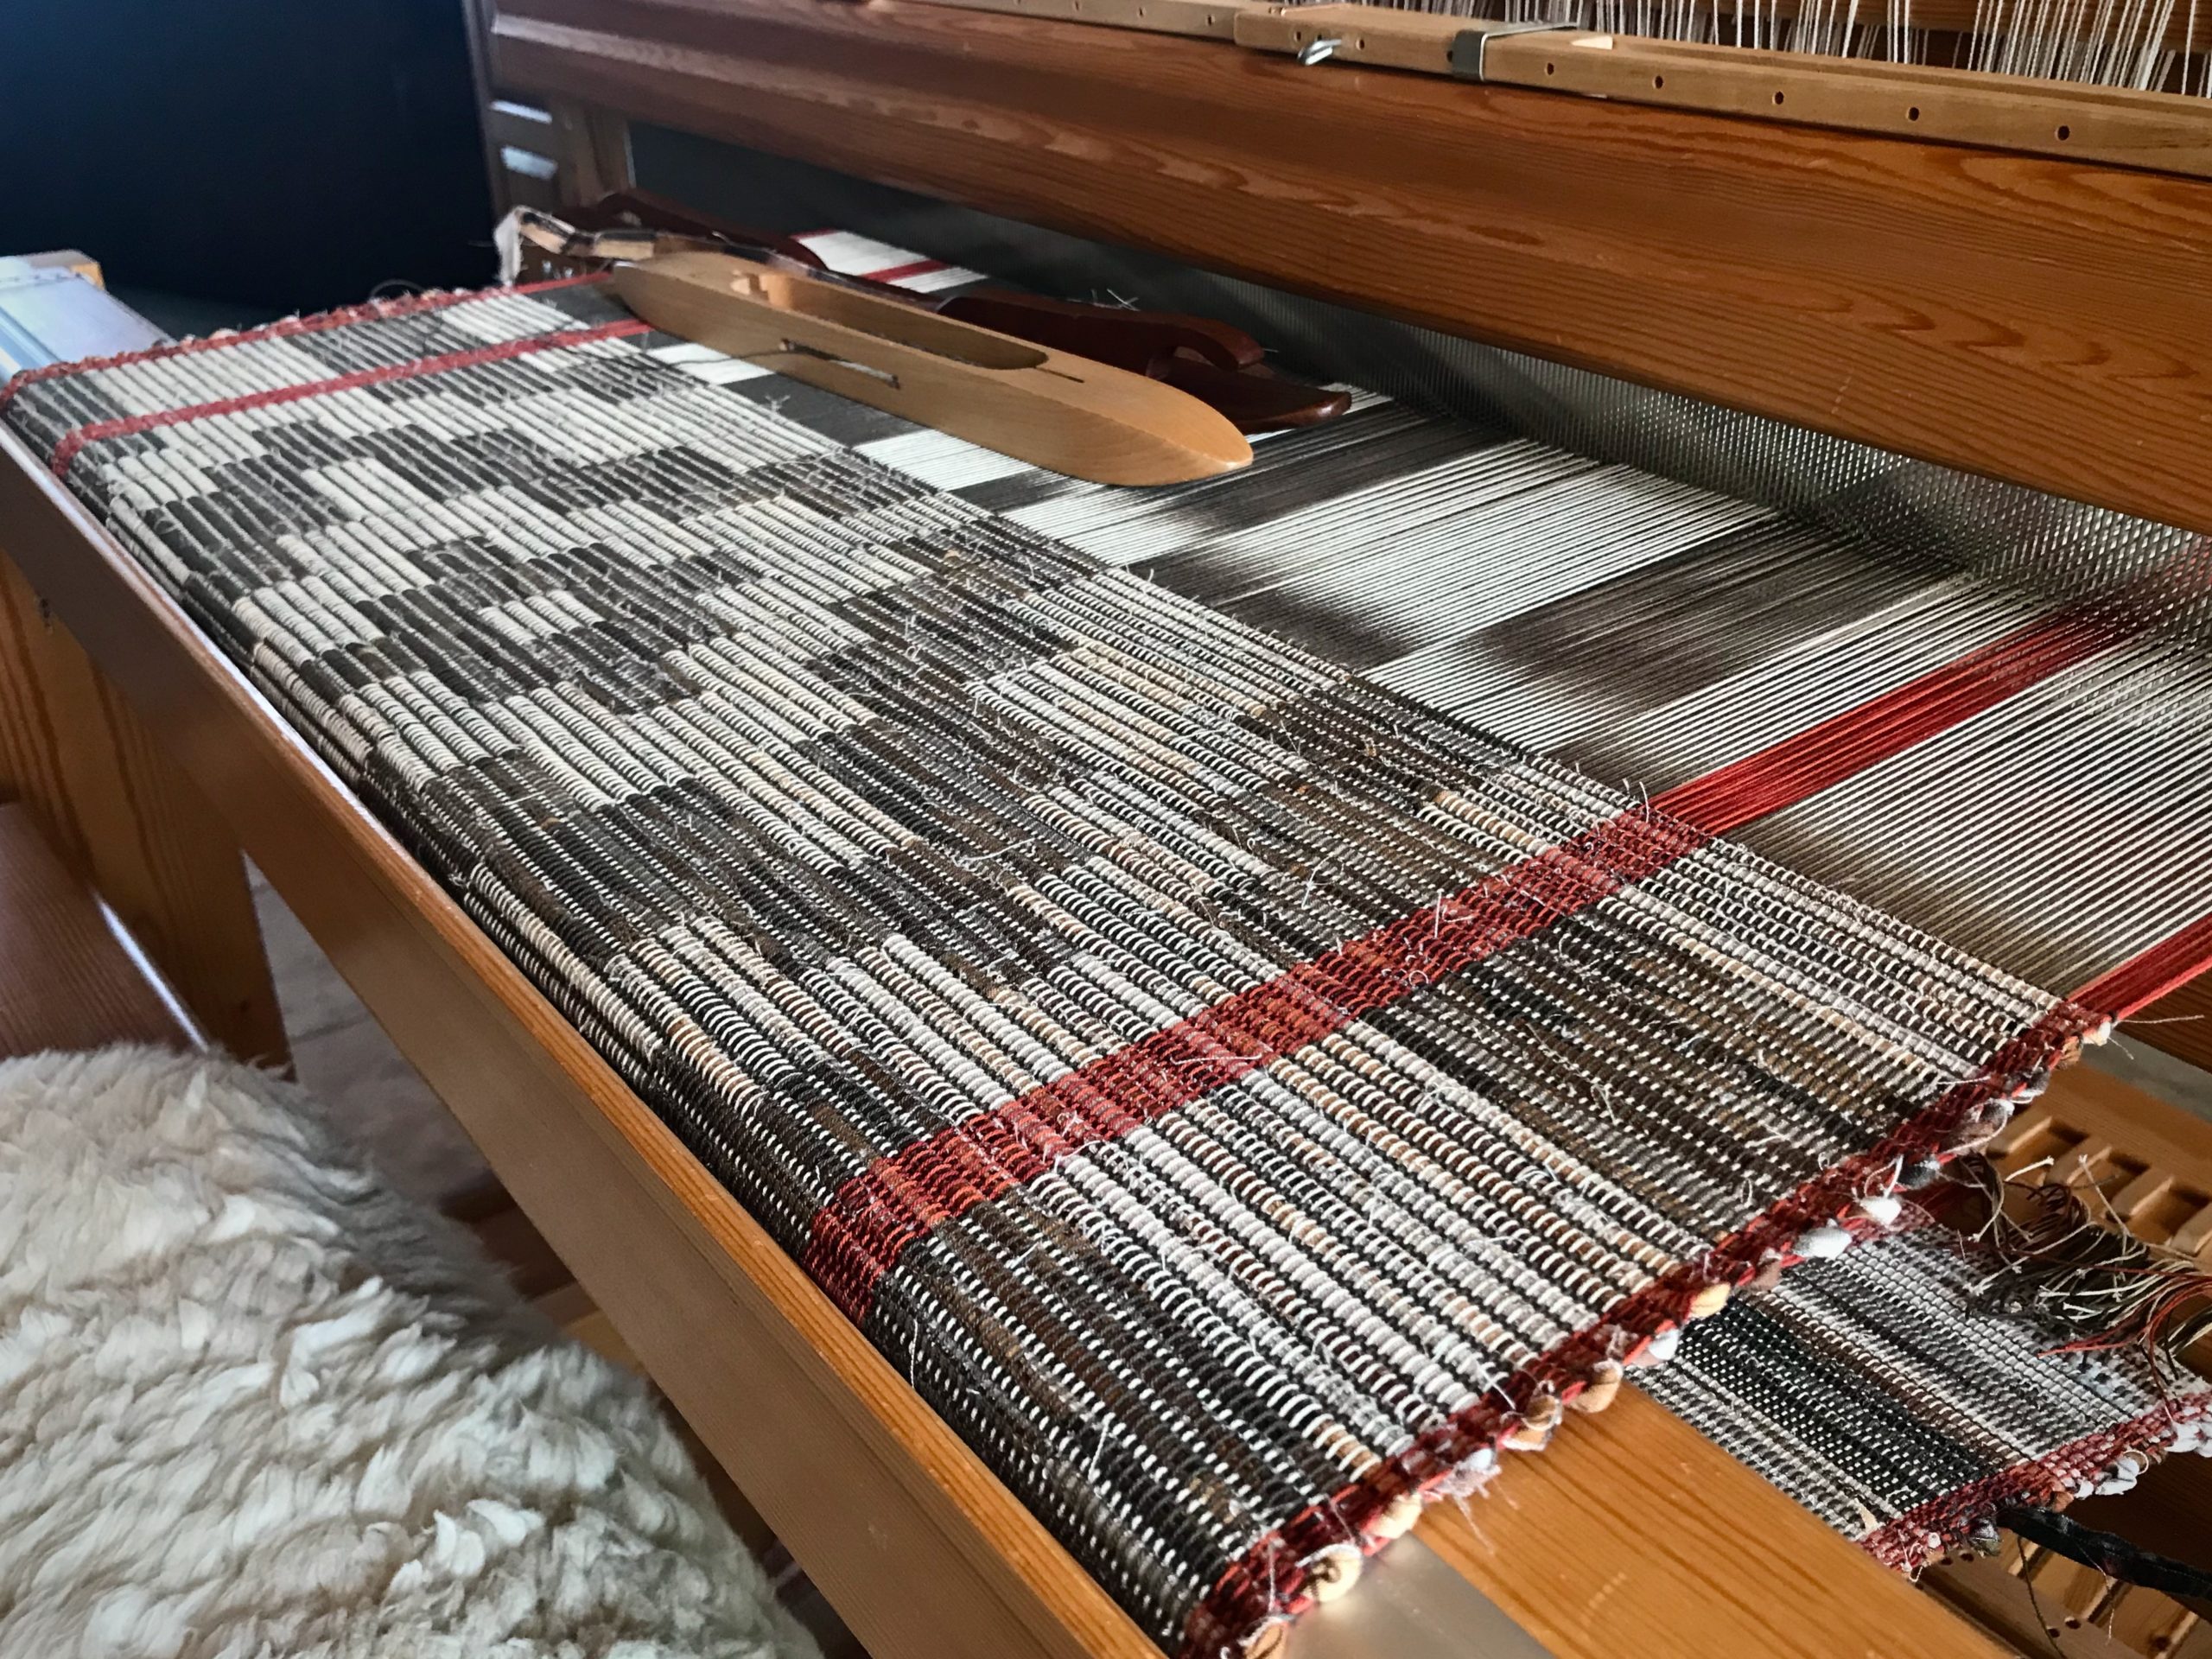
Spaced rep rag rugs have a graphic vibrancy that grabs my attention. Like regular rep weave, spaced rep is warp dominant. Unlike regular rep weave, the warp in spaced rep doesn’t completely cover the weft. That’s where rag weaving comes in, because the fabric-strip weft shows between the warps. The rag weft provides just enough color variation to satisfy a rag rug weaver like me.
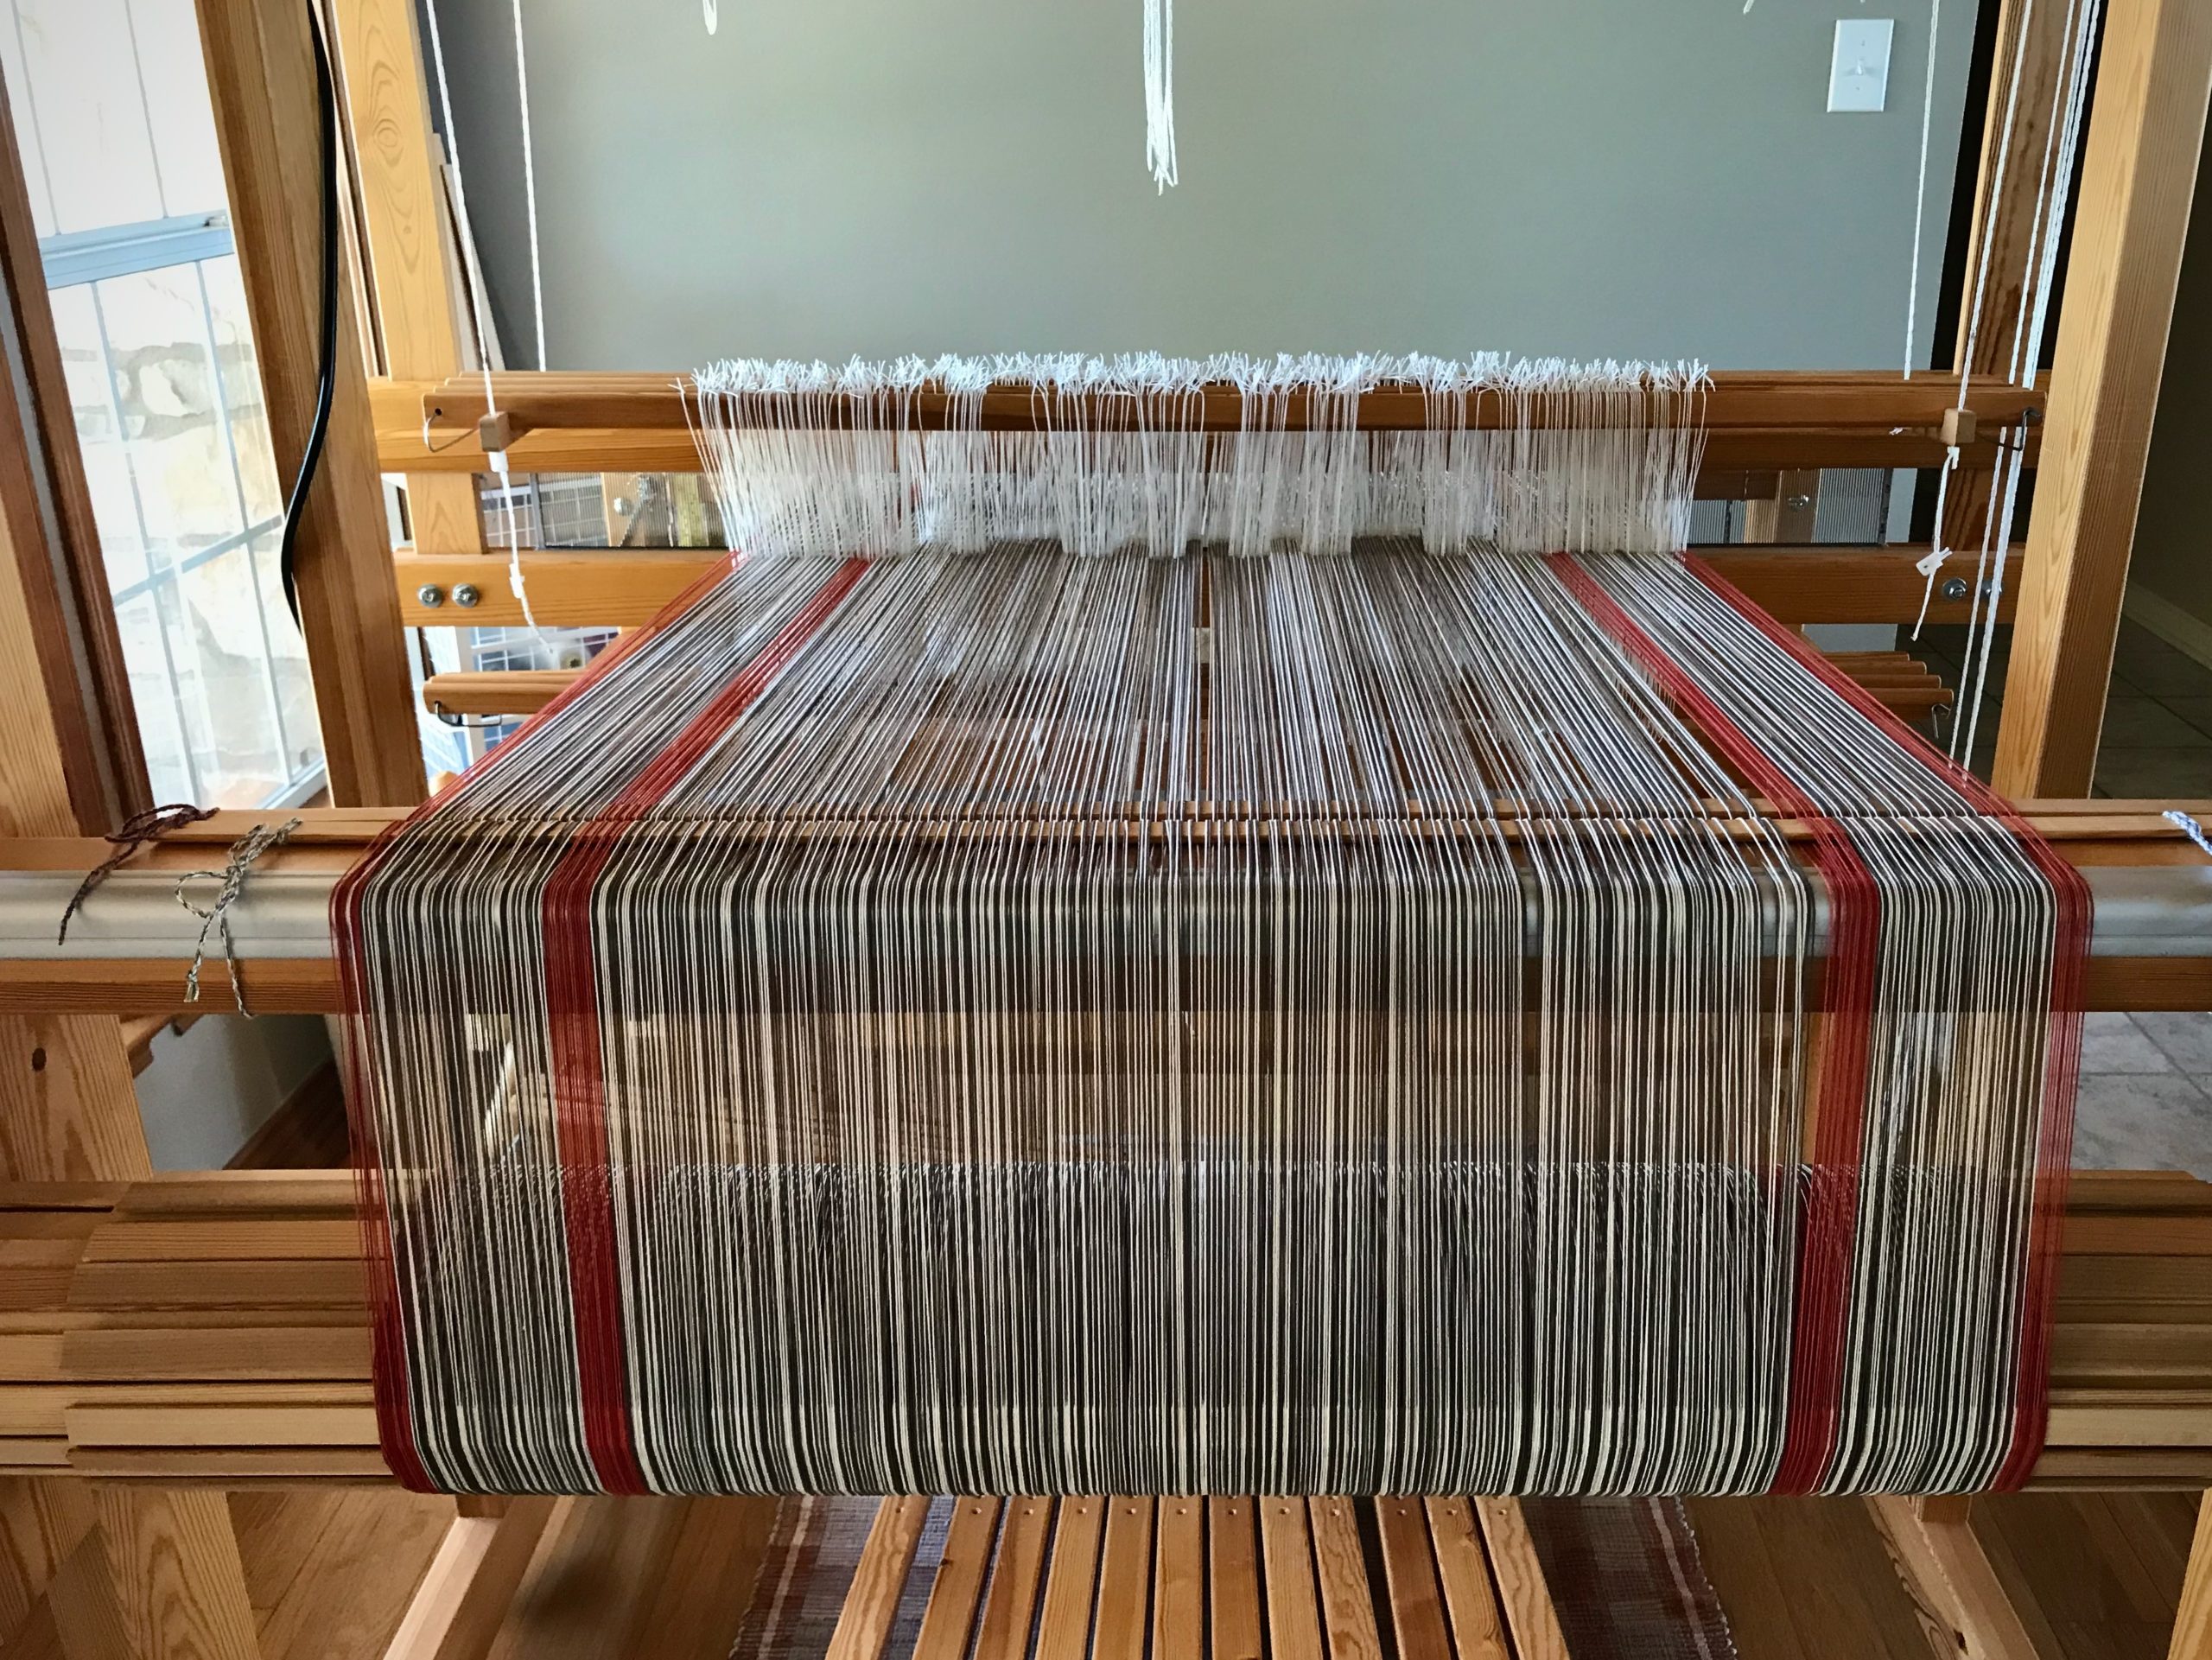
Warp (12/6 cotton) is beamed and threaded. Ready to tie on.
Oh, the exhilaration of a new warp on the loom!

The pattern for this rug comes from Älskade Trasmattor, by Hallgren and Hallén, p. 87. The threading has dark and light ends that alternate, with four distinct blocks (five, if you count the plain weave block). And thick weft (fabric strips) alternates with thin weft (12/6 cotton rug warp), with four different treadling sequences. All of these factors work together to make the geometric pattern in the rug. It sounds complicated. Truly, though, it is merely a collection of simple systems that all work together. And the possibilities are endless.

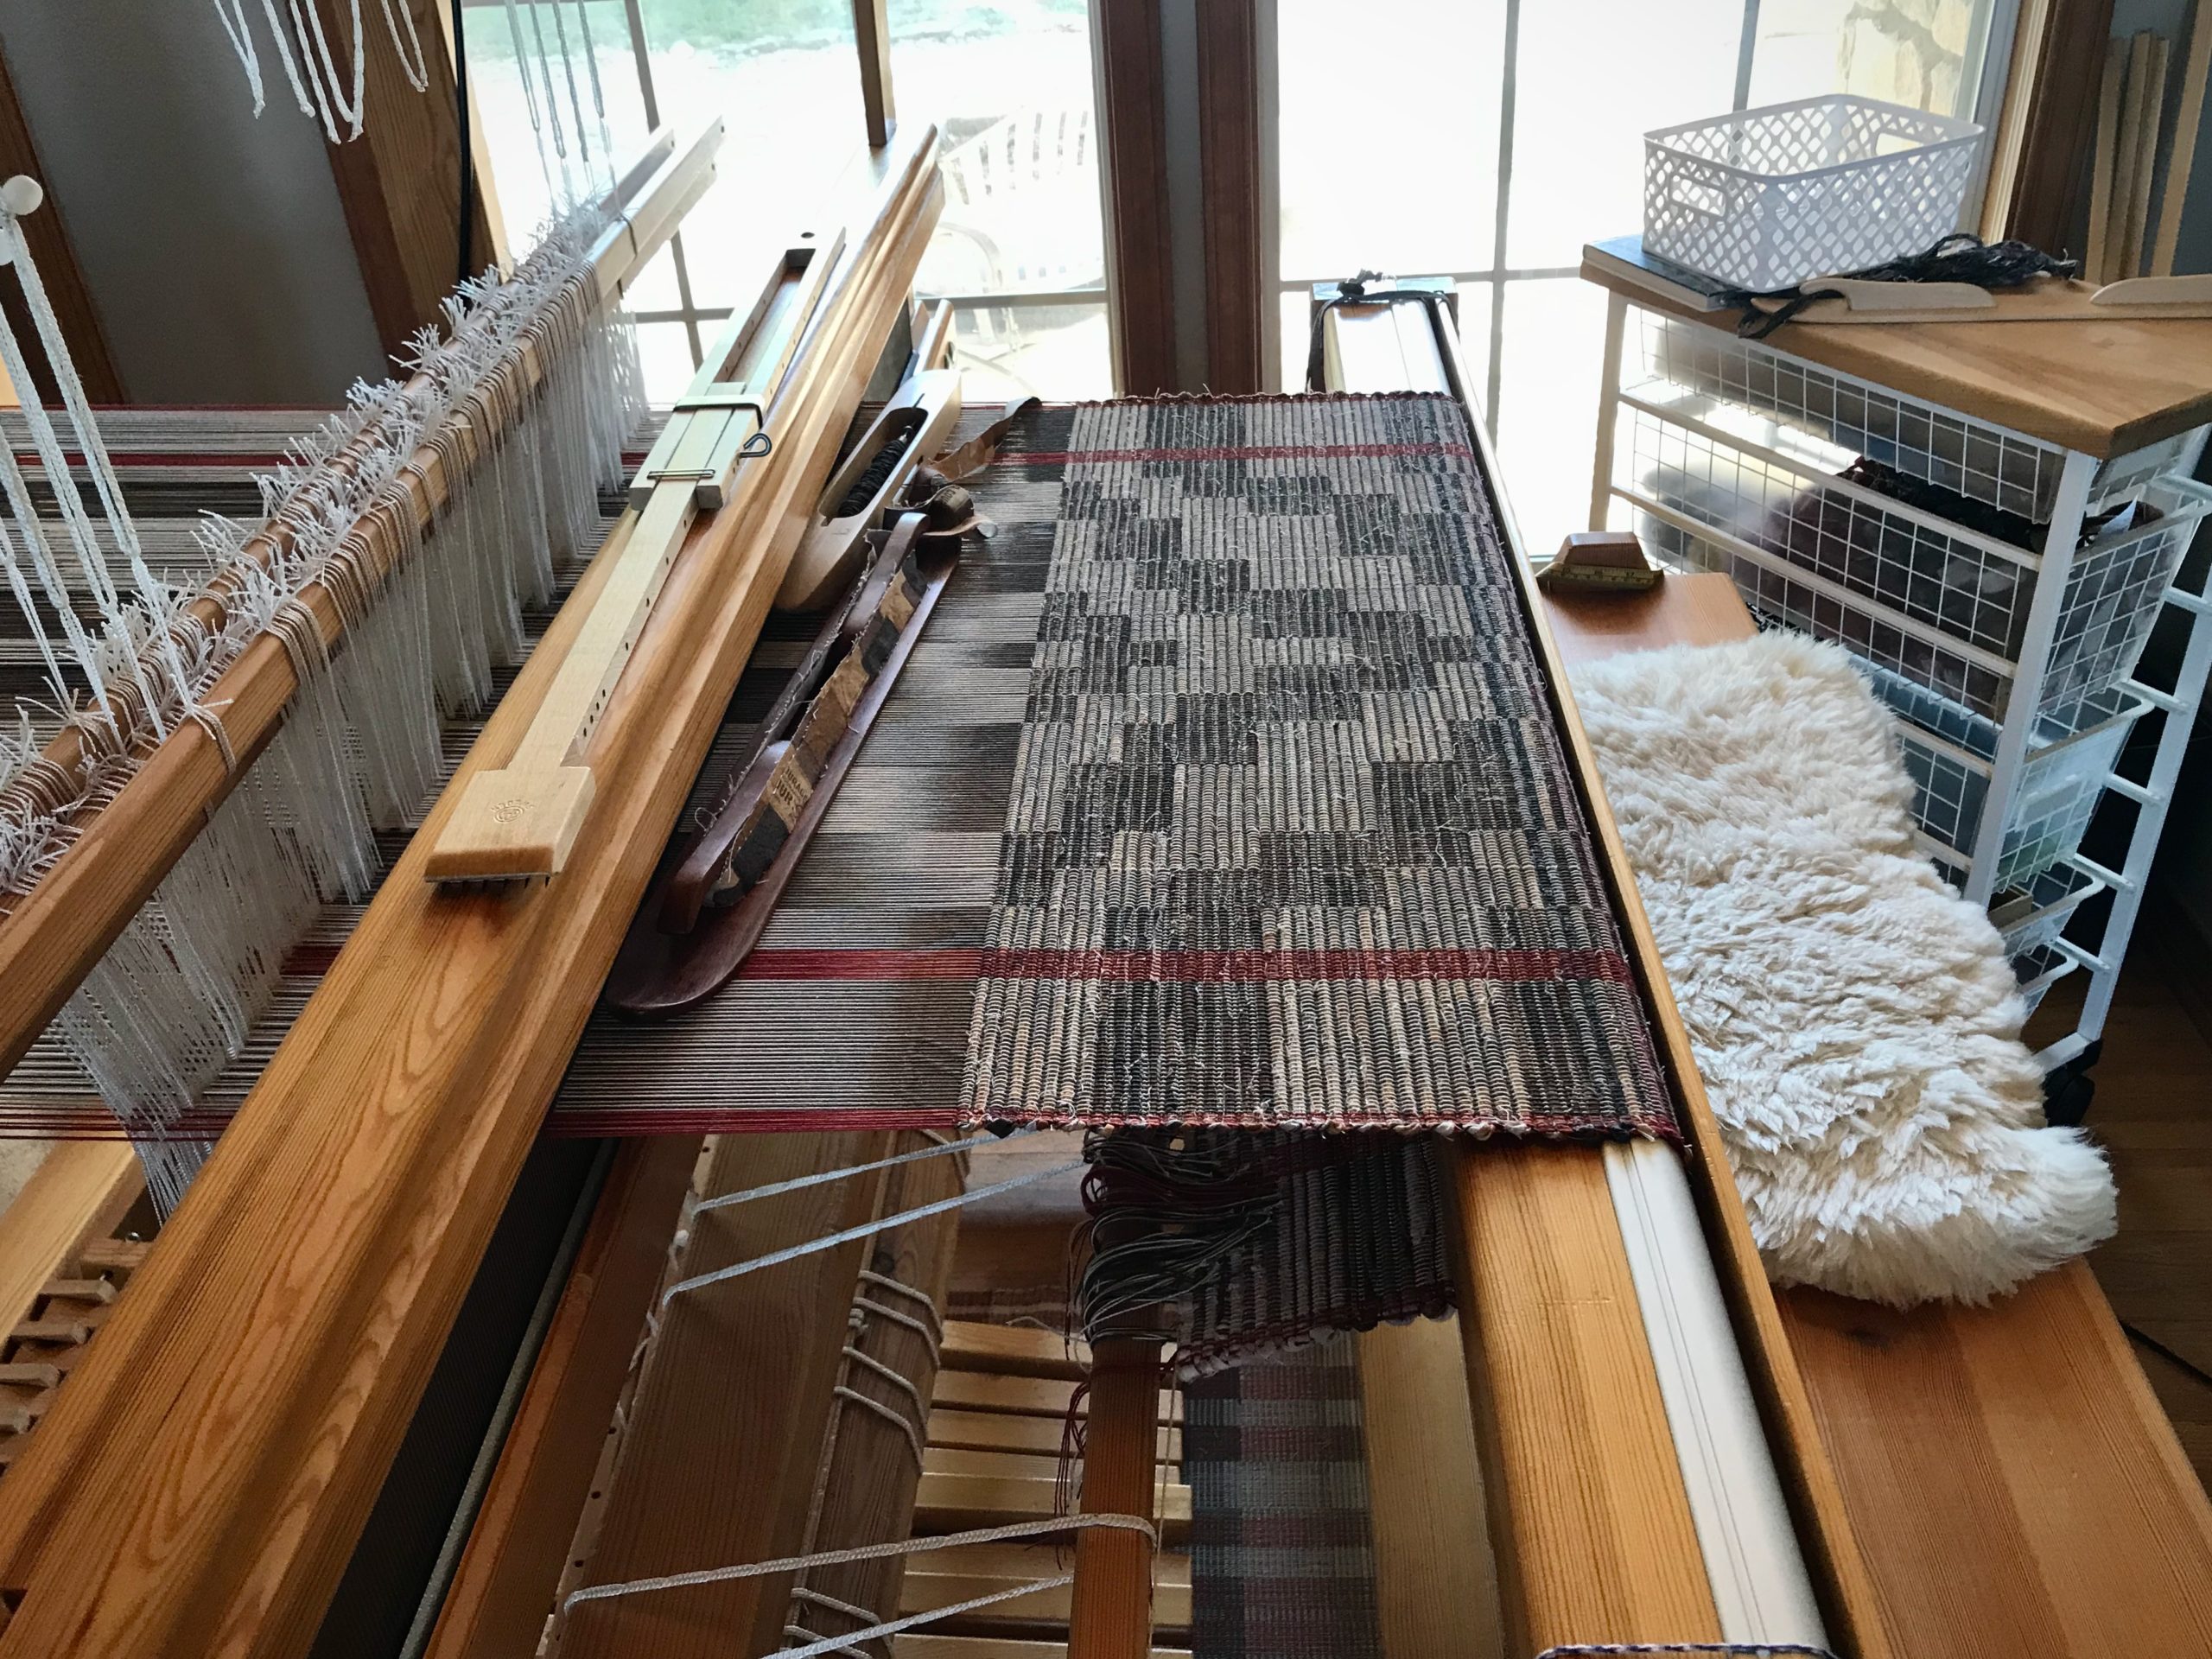
Spaced rep rag rug. Pattern from Älskade Trasmattor, by Hallgren and Hallén, is modified for the floor space I have in mind.
Geometric pattern is primarily seen in the warp threads. The dark fabric strips for weft highlight the pattern even more.
Cherry wood ski shuttle by Steve for the fabric weft, and an open-bottom boat shuttle for the warp thread weft.

You are intricately and wonderfully made. To people who know you, no doubt, you look complicated. Your maker, however, knows your simple systems that all work together. The Lord knows you by name. His plan for you follows a masterful design. In the grand weaver’s hands, the possibilities are endless!

May the pattern of your life set you apart.

Happy Weaving, and welcome back to my studio,
Karen

Tried and True: Organized Reeds

My weaving history includes very fine threads all the way to heavy-duty rug warps. As a result, I have acquired a wide selection of reeds over time. All five of my looms have beaters that will accommodate any length or height of reed. When I plan a project, one of the first things I consider is whether I have the size reed that is needed. To keep my reeds organized, I need two things. One, a simple method to manage the reeds I have, tracking the reeds as they go in and out of use. Two, a place to store all the reeds, arranged in order by dents per cm and dents per inch.

Reed Organization

  • Reed Inventory

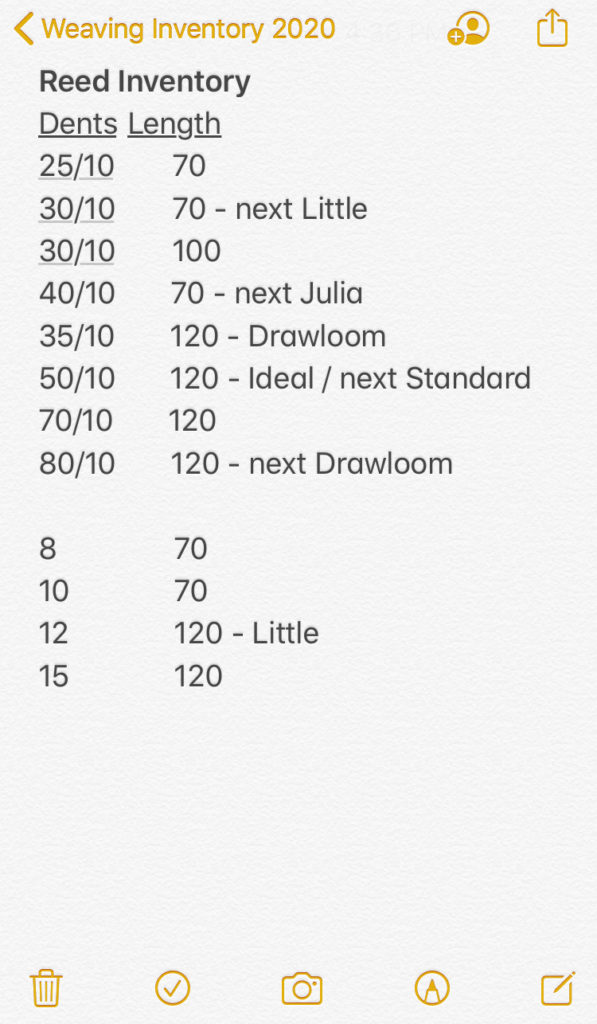
I keep a list in my Notes app on my phone with the sizes and lengths of reeds that I have. If a reed is in use, I note which loom. If a reed will be needed for a planned project, I also note that. As soon as I remove a reed from the beater at the end of a project, I put the reed away and update my Reed Inventory list.

Simple system for tracking reeds in and out of use.
Sample Reed Inventory note. When I am planning, I look at the note on my phone to see what reeds I have that are available. “Next” reserves the reed for the loom that needs it next.
  • Reed Holder

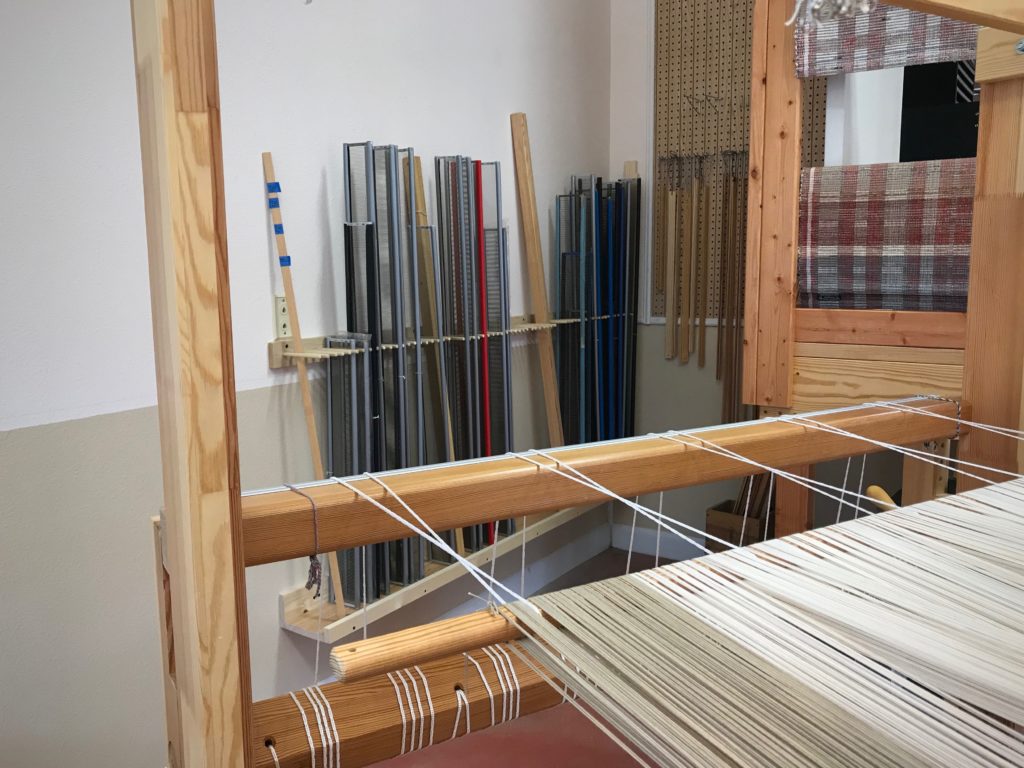
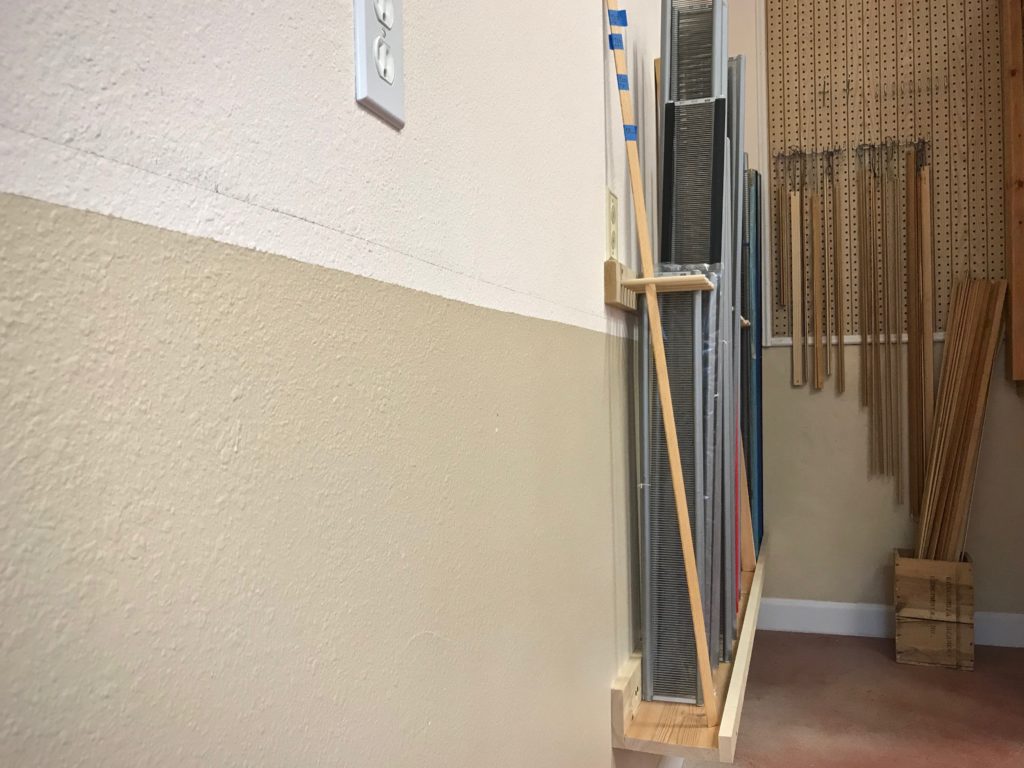
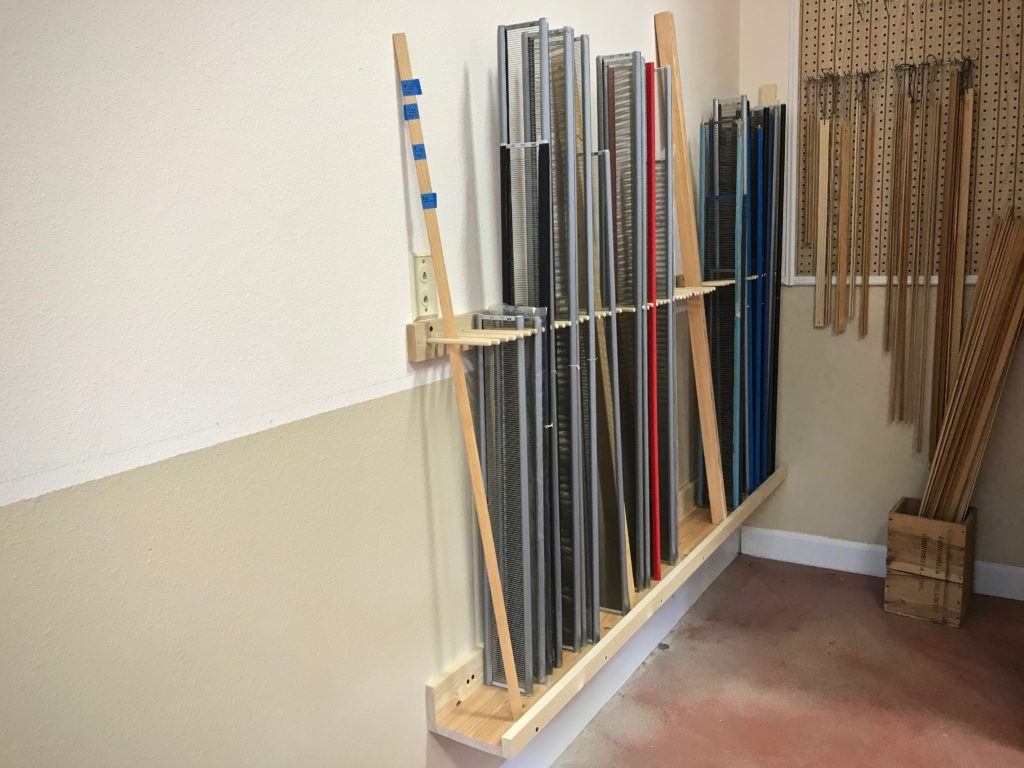
Steve created a storage solution for my reeds. The holder goes along the back wall of my drawloom studio for about six feet. Here are the details, using nominal board sizes. The reeds sit on a 1” x 6” board at the base, which is supported against the wall by a 1” x 4” board. The base, with a 1” x 2” lip, sits about 12” off the ground. The reed dividers are 3/8” x 5 3/4” dowels that are sunk into a 1” x 3” board that is attached to the wall, which sets the dowels about 27” above the base.

DIY Reed Holder behind my drawloom.
Reed holder is fastened to the wall behind the drawloom. (Notice that the drawloom rag rug warp has come over the back beam…)
Organized reeds!
The dowels are placed at a height that will hold even my shortest reeds.
Reed holder stores weaving loom reeds. DIY
Reeds are in order by dent size. Metric reeds are separate from those with dents per inch.

If you would like a PDF copy of Steve’s diagram that shows all the dimensions, click HERE to send me an email request.

May you have a place for everything, and everything in it’s place.

Yours,
Karen

Tied On and Tied Up

Our transition to Texas hill country is finalized this week! The looms and I will be residing in the same house again. Let the weaving resume! One loom is dressed and waiting for me. Tied on above, and tied up below. Ready to weave!

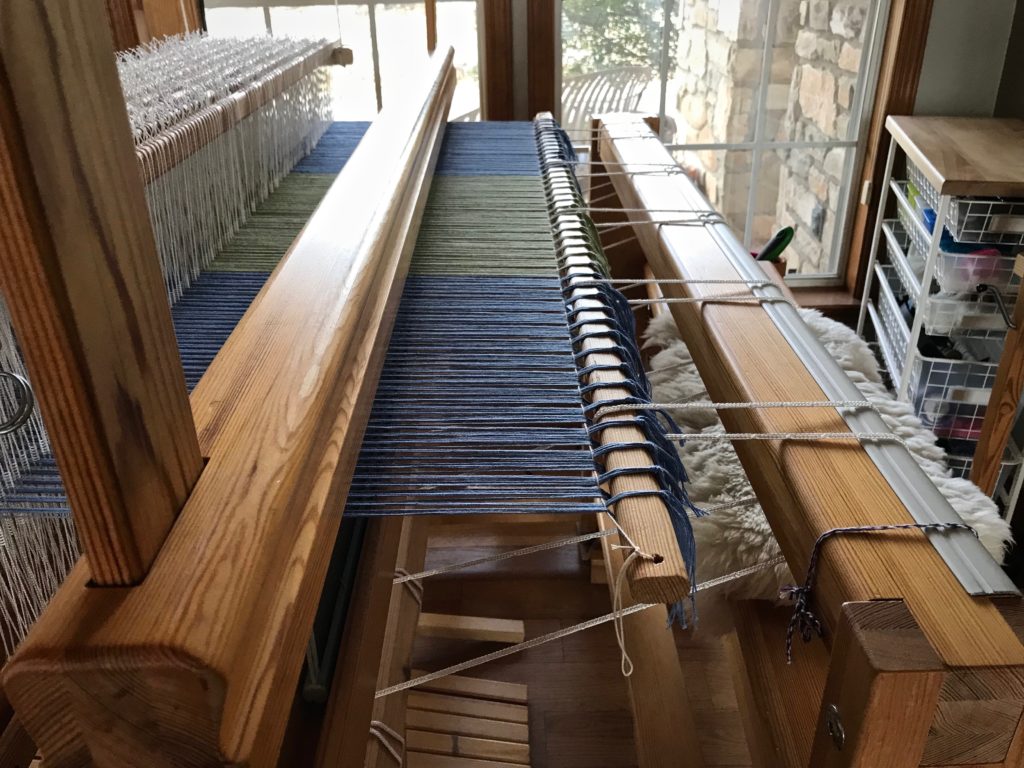
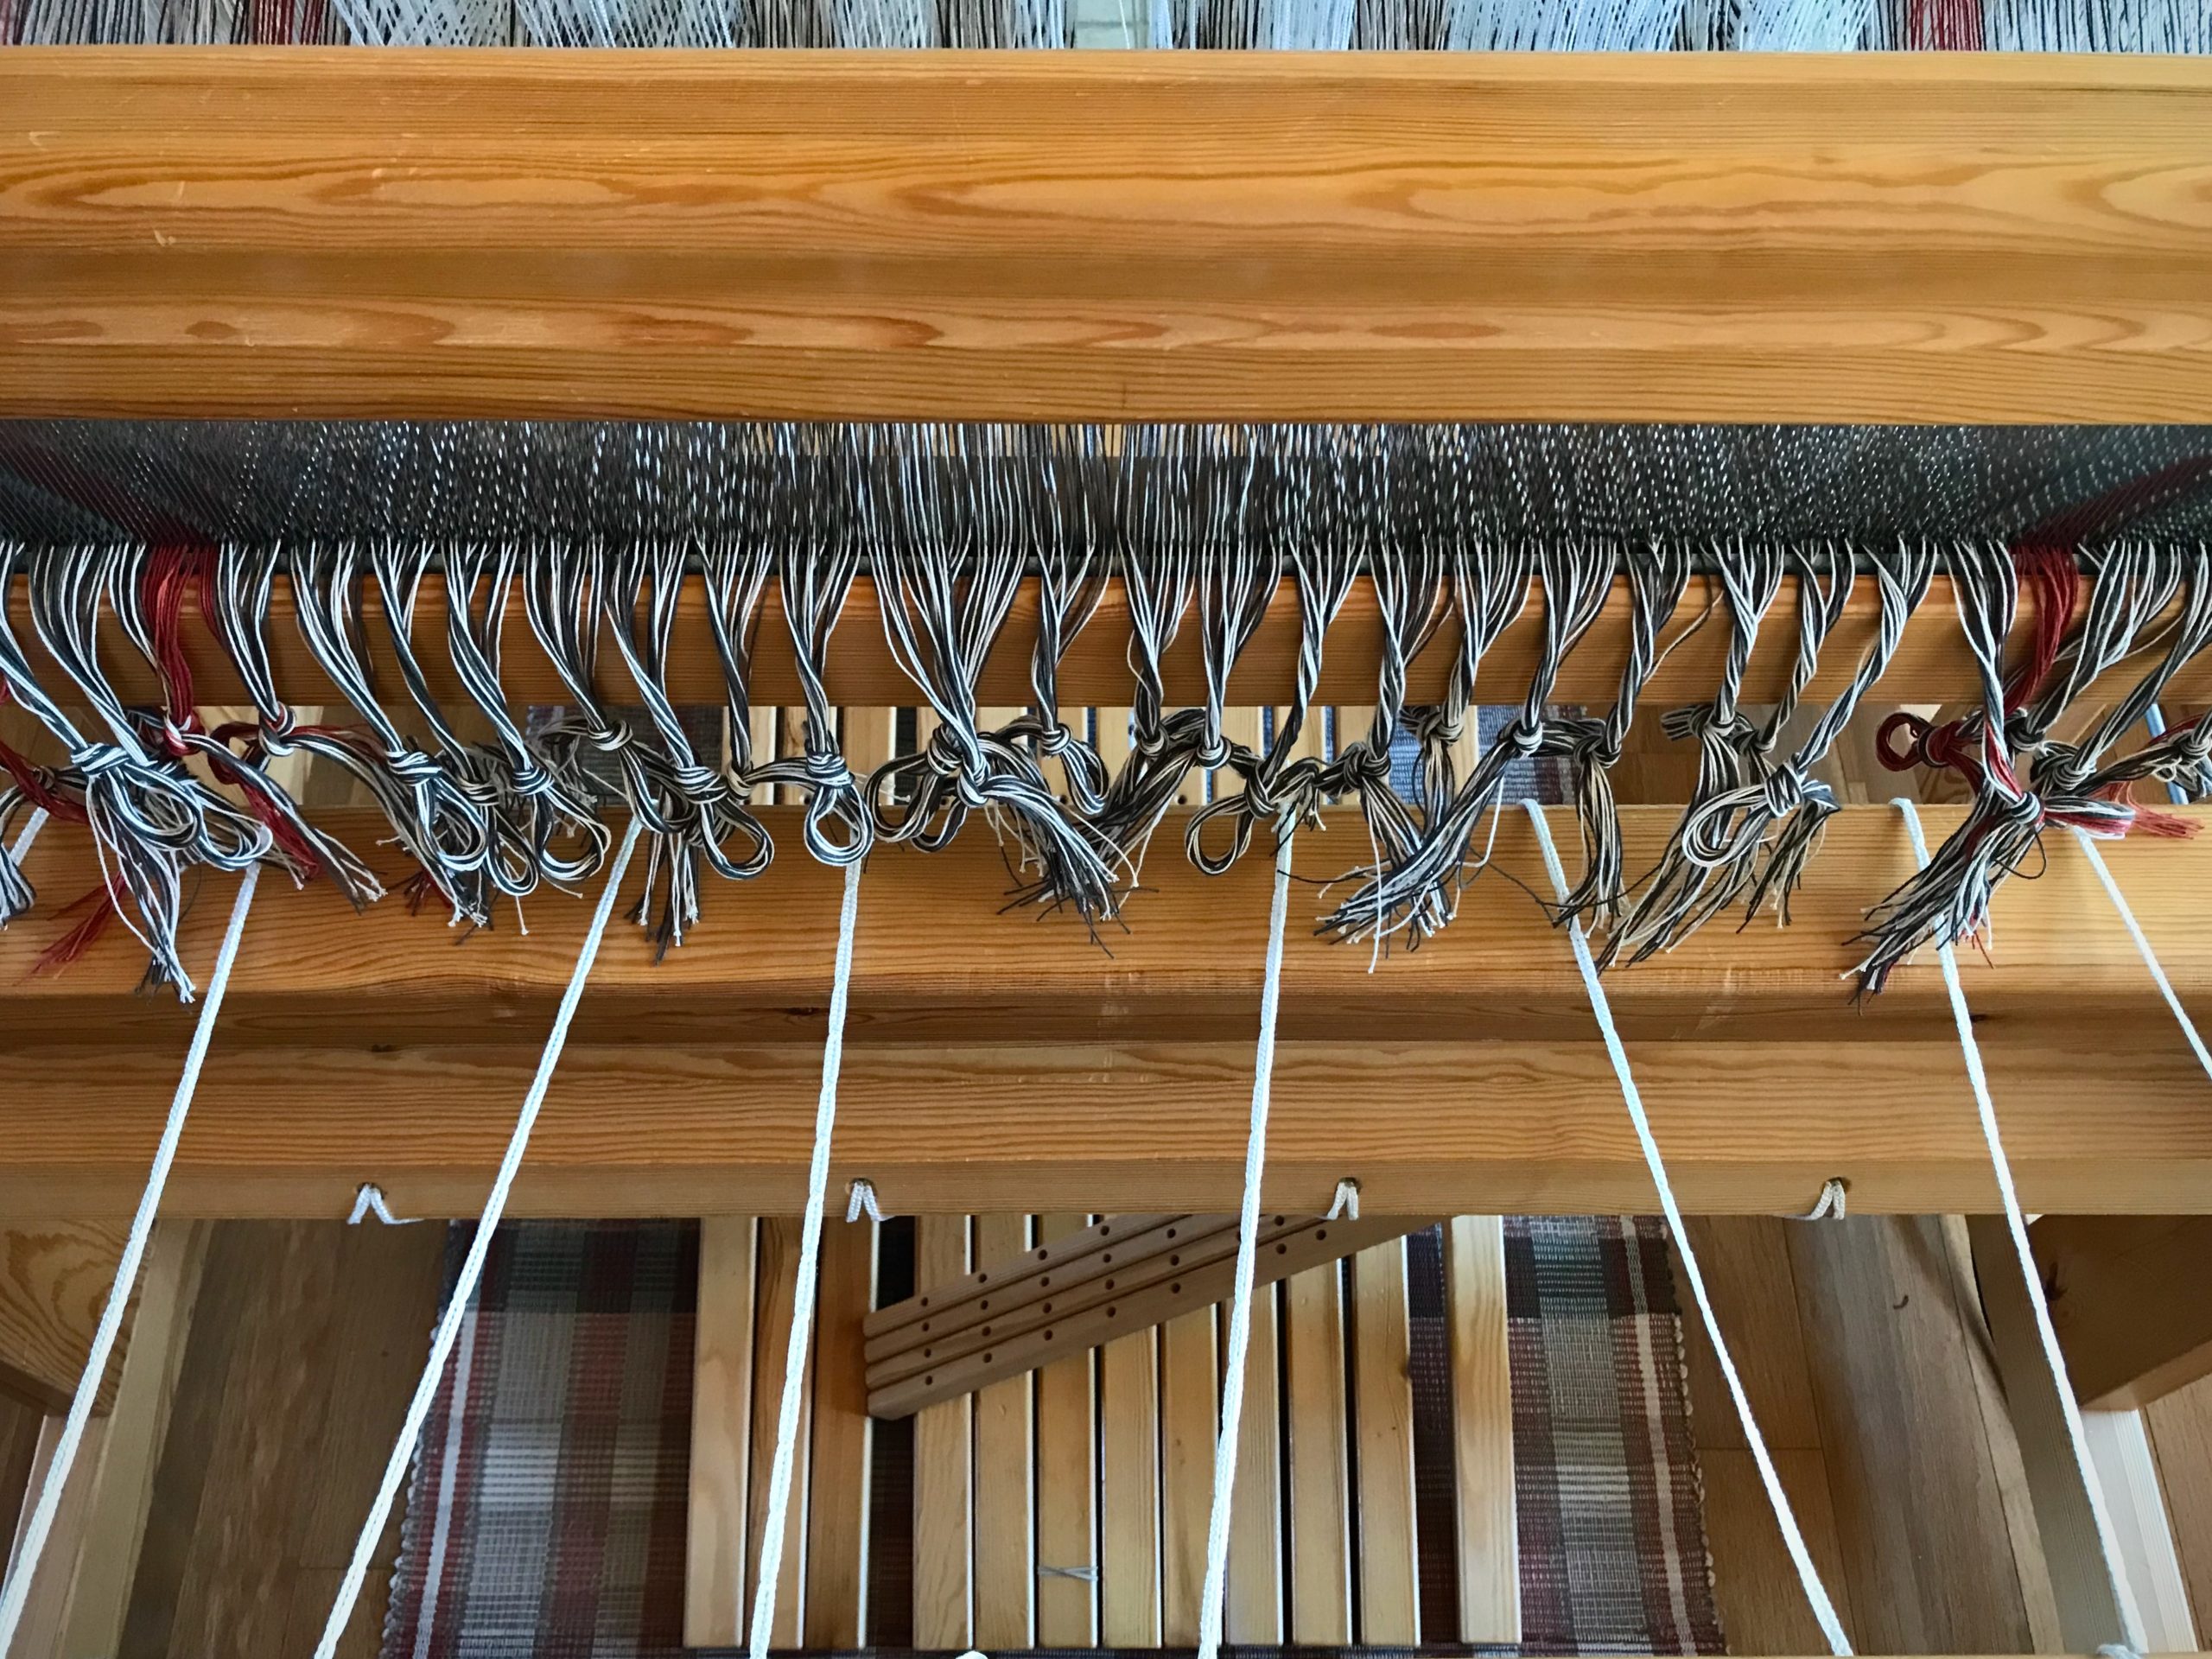
The warp is tied on to the front tie-on bar in 1-inch bundles, with 1/2-inch bundles at the selvedges. And then, I add the leveling string which makes it look neat and tidy and READY.

Leveling string flattens and evens out the warp for no-waste weaving.
Warp is tied on to the front tie-on bar. Leveling string flattens and evens out the warp for no-waste weaving.

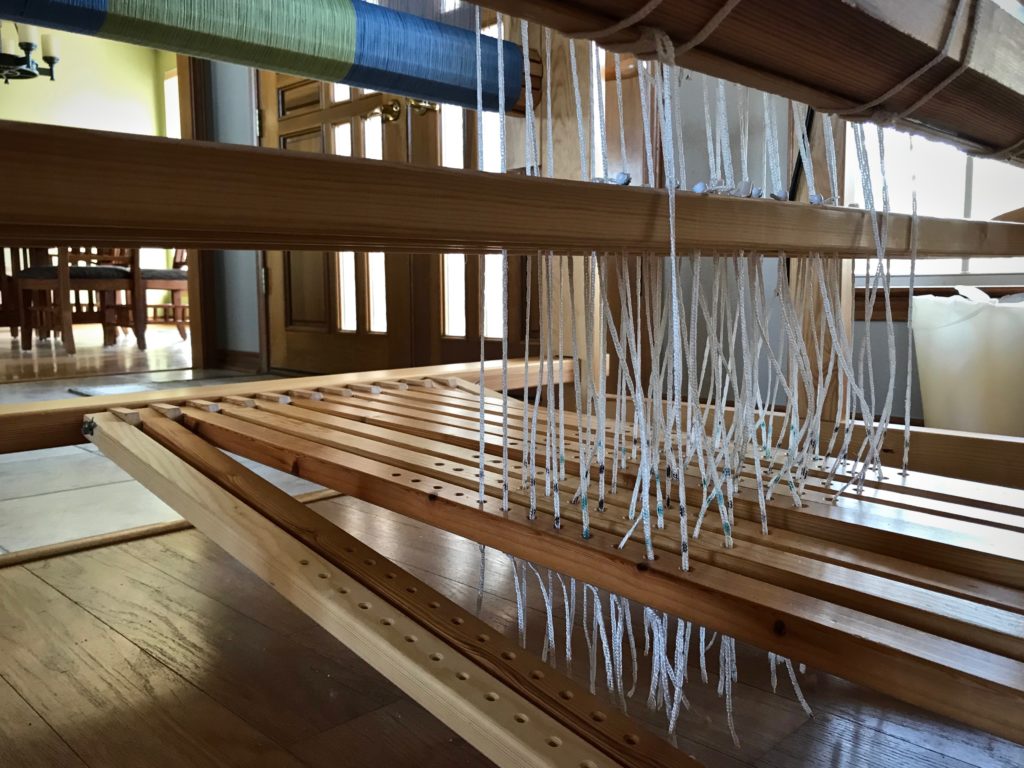
The upper and lower lamms are positioned, and the treadle cords are added and secured. It’s fascinating how simple and basic the whole system is. And how something this simple and basic can be the framework for boundless creative expression.

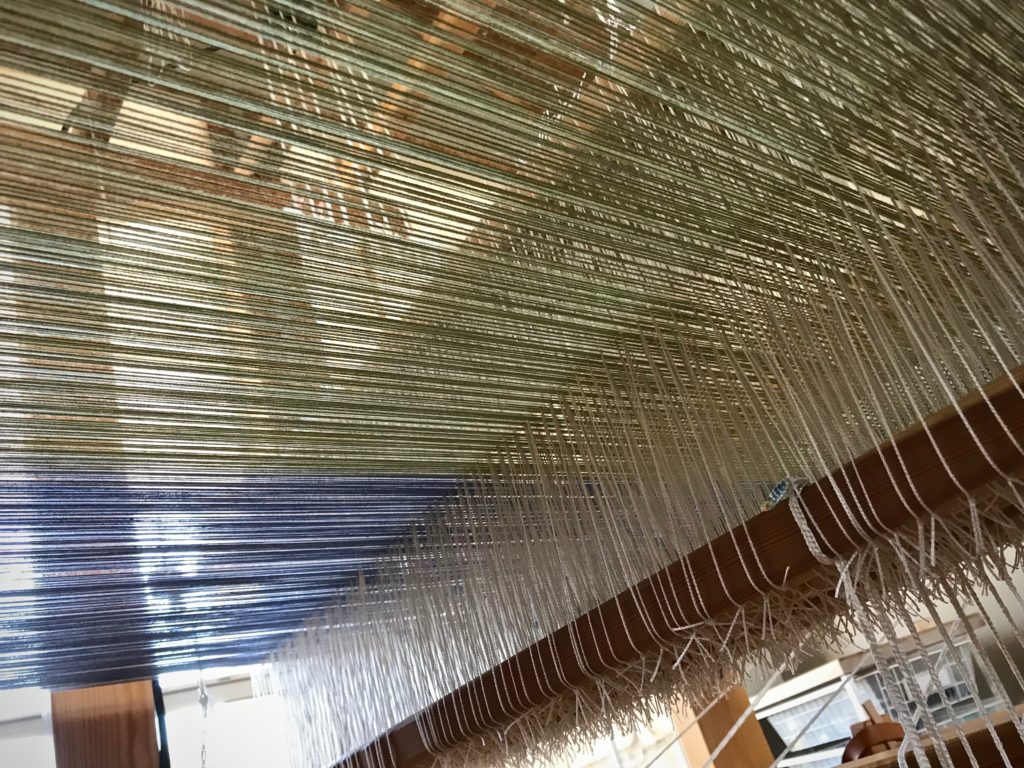
Under the warp. Intriguing view.
I sit on the treadle beam when I position the lamms, and then place the treadle cords in their holes. I’m always intrigued by the view of the warp and heddles from this vantage point.

Treadle cords on eight shafts.
Treadle tie-ups don’t frighten me. It all makes sense, and is part of the loom-dressing process that I enjoy.

If we think of prayer as something that gets us out of a crisis, or words to say in order to get what we want from God, we miss the whole point of prayer. And we face disappointment. Prayer always works. The work is not our clever words, nor the checking off of our wish list. Prayer is the framework of deep trust that stands ready for the Lord’s boundless creative expression. We pray because we trust him. Christmas—the birth of Christ—shows us that God always steps in at the right time.

May your framework be sure.

Advent greetings,
Karen

Kuvikas and Taqueté

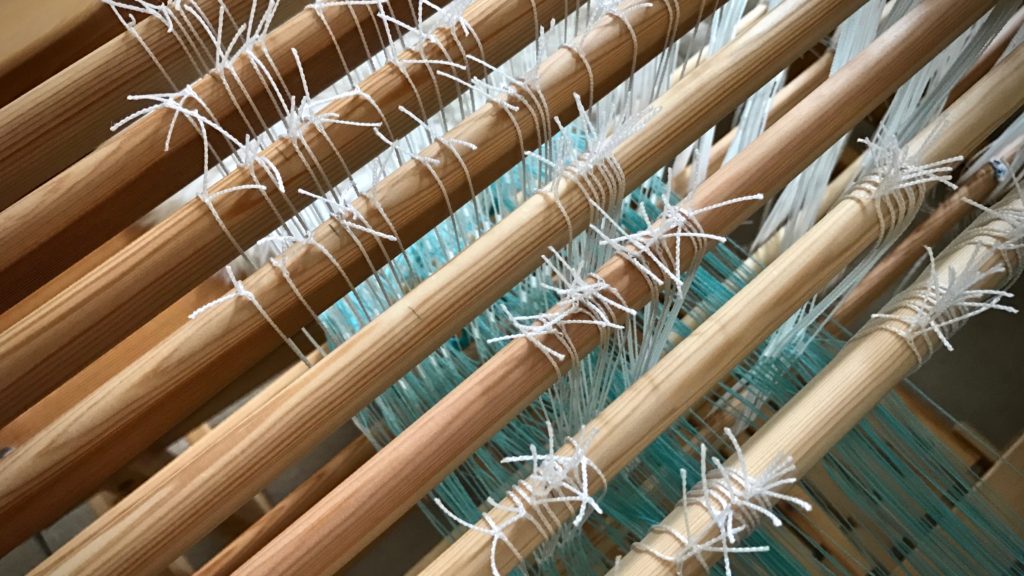
Kuvikas and taqueté. There are always new things to try. I’m back to eight shafts. This Glimåkra loom is highly adaptable. It is no problem to set up the loom for a new project. You may have guessed that I like to switch it up. Four shafts or eight shafts, two treadles or ten. And, change the tie-up, too. I don’t mind. With this project, I am going to change the treadle tie-up again at the midway point, switching from kuvikas to taqueté.

Threading eight shafts on my Glimakra Standard loom.
Threading eight shafts. Four pairs of shaft bars have been added to switch from a four-shaft project to an eight-shaft project. Four additional upper lamms and lower lamms have also been added to the loom.

If you know and practice the basics, it’s not frightening to try new weave structures. Every new experience builds on what I’ve learned before. I can trust the system of weaving that I’ve been taught, and that I practice with every project. It makes sense.

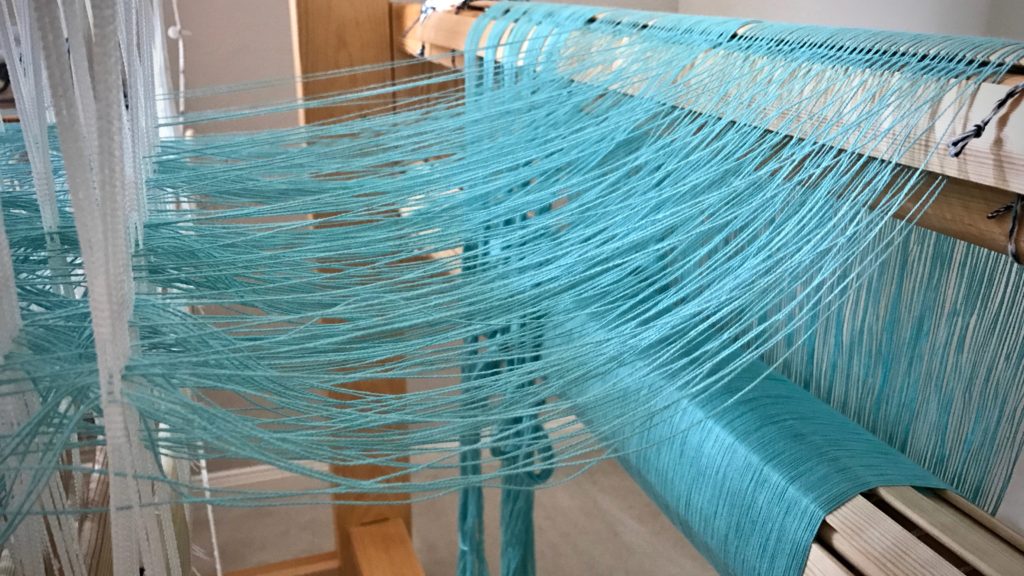
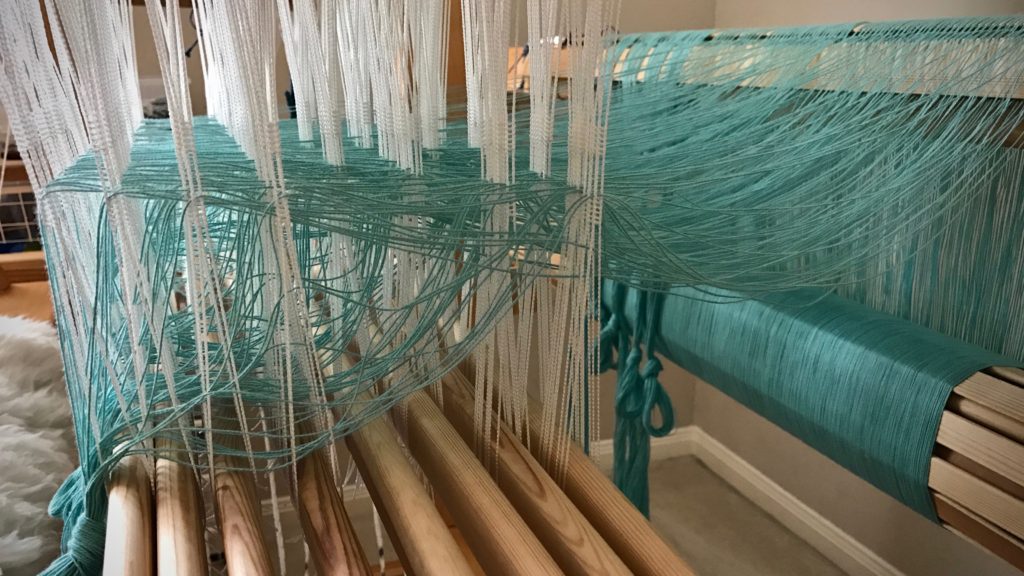
Aquamarine cotton. Threading my Glimakra Standard loom.
After the warp is beamed, the warp ends are tied with an overhand knot into groups, according to the threading pattern. In this case, 48 ends are in each group. Counting the ends into groups helps eliminate, or at least reduce, threading errors.

Threading eight shafts for kuvikas and taqueté.
Complex, but not complicated. Warp ends are inserted into specific heddles to set up the loom for a particular type of cloth. Very systematic.

Don’t be afraid. The Lord not only teaches us his ways–his system, but offers us his strength while we learn. I can trust him for that. Trust replaces fear. I don’t have to find my own way, or guess. The system works. It makes sense. I learn to weave, and live, one step at a time, with freedom to enjoy the process.

May you rise above your fears.

All the best,
Karen