Process Review: Eye of the Beholder Tapestry and Video

I started planning this tapestry portrait of my mother one year ago. As I was concluding her portrait on my loom, it became evident that her real-life tapestry was also coming to a conclusion. I arrived at Mom’s bedside with the portrait in hand, warp ends dangling. Her smile in that cherished moment is one I will never forget. In the days that followed, she quietly slept. I silently braided the warp-end edging, trimmed the tails on the back, stabilized the tapestry through the lining, and stitched the lining in place. I carefully secured the last stitch. In the wee hours of the next morning, while she was asleep, the Lord Jesus called my mother home. Tapestry complete. Beautiful.
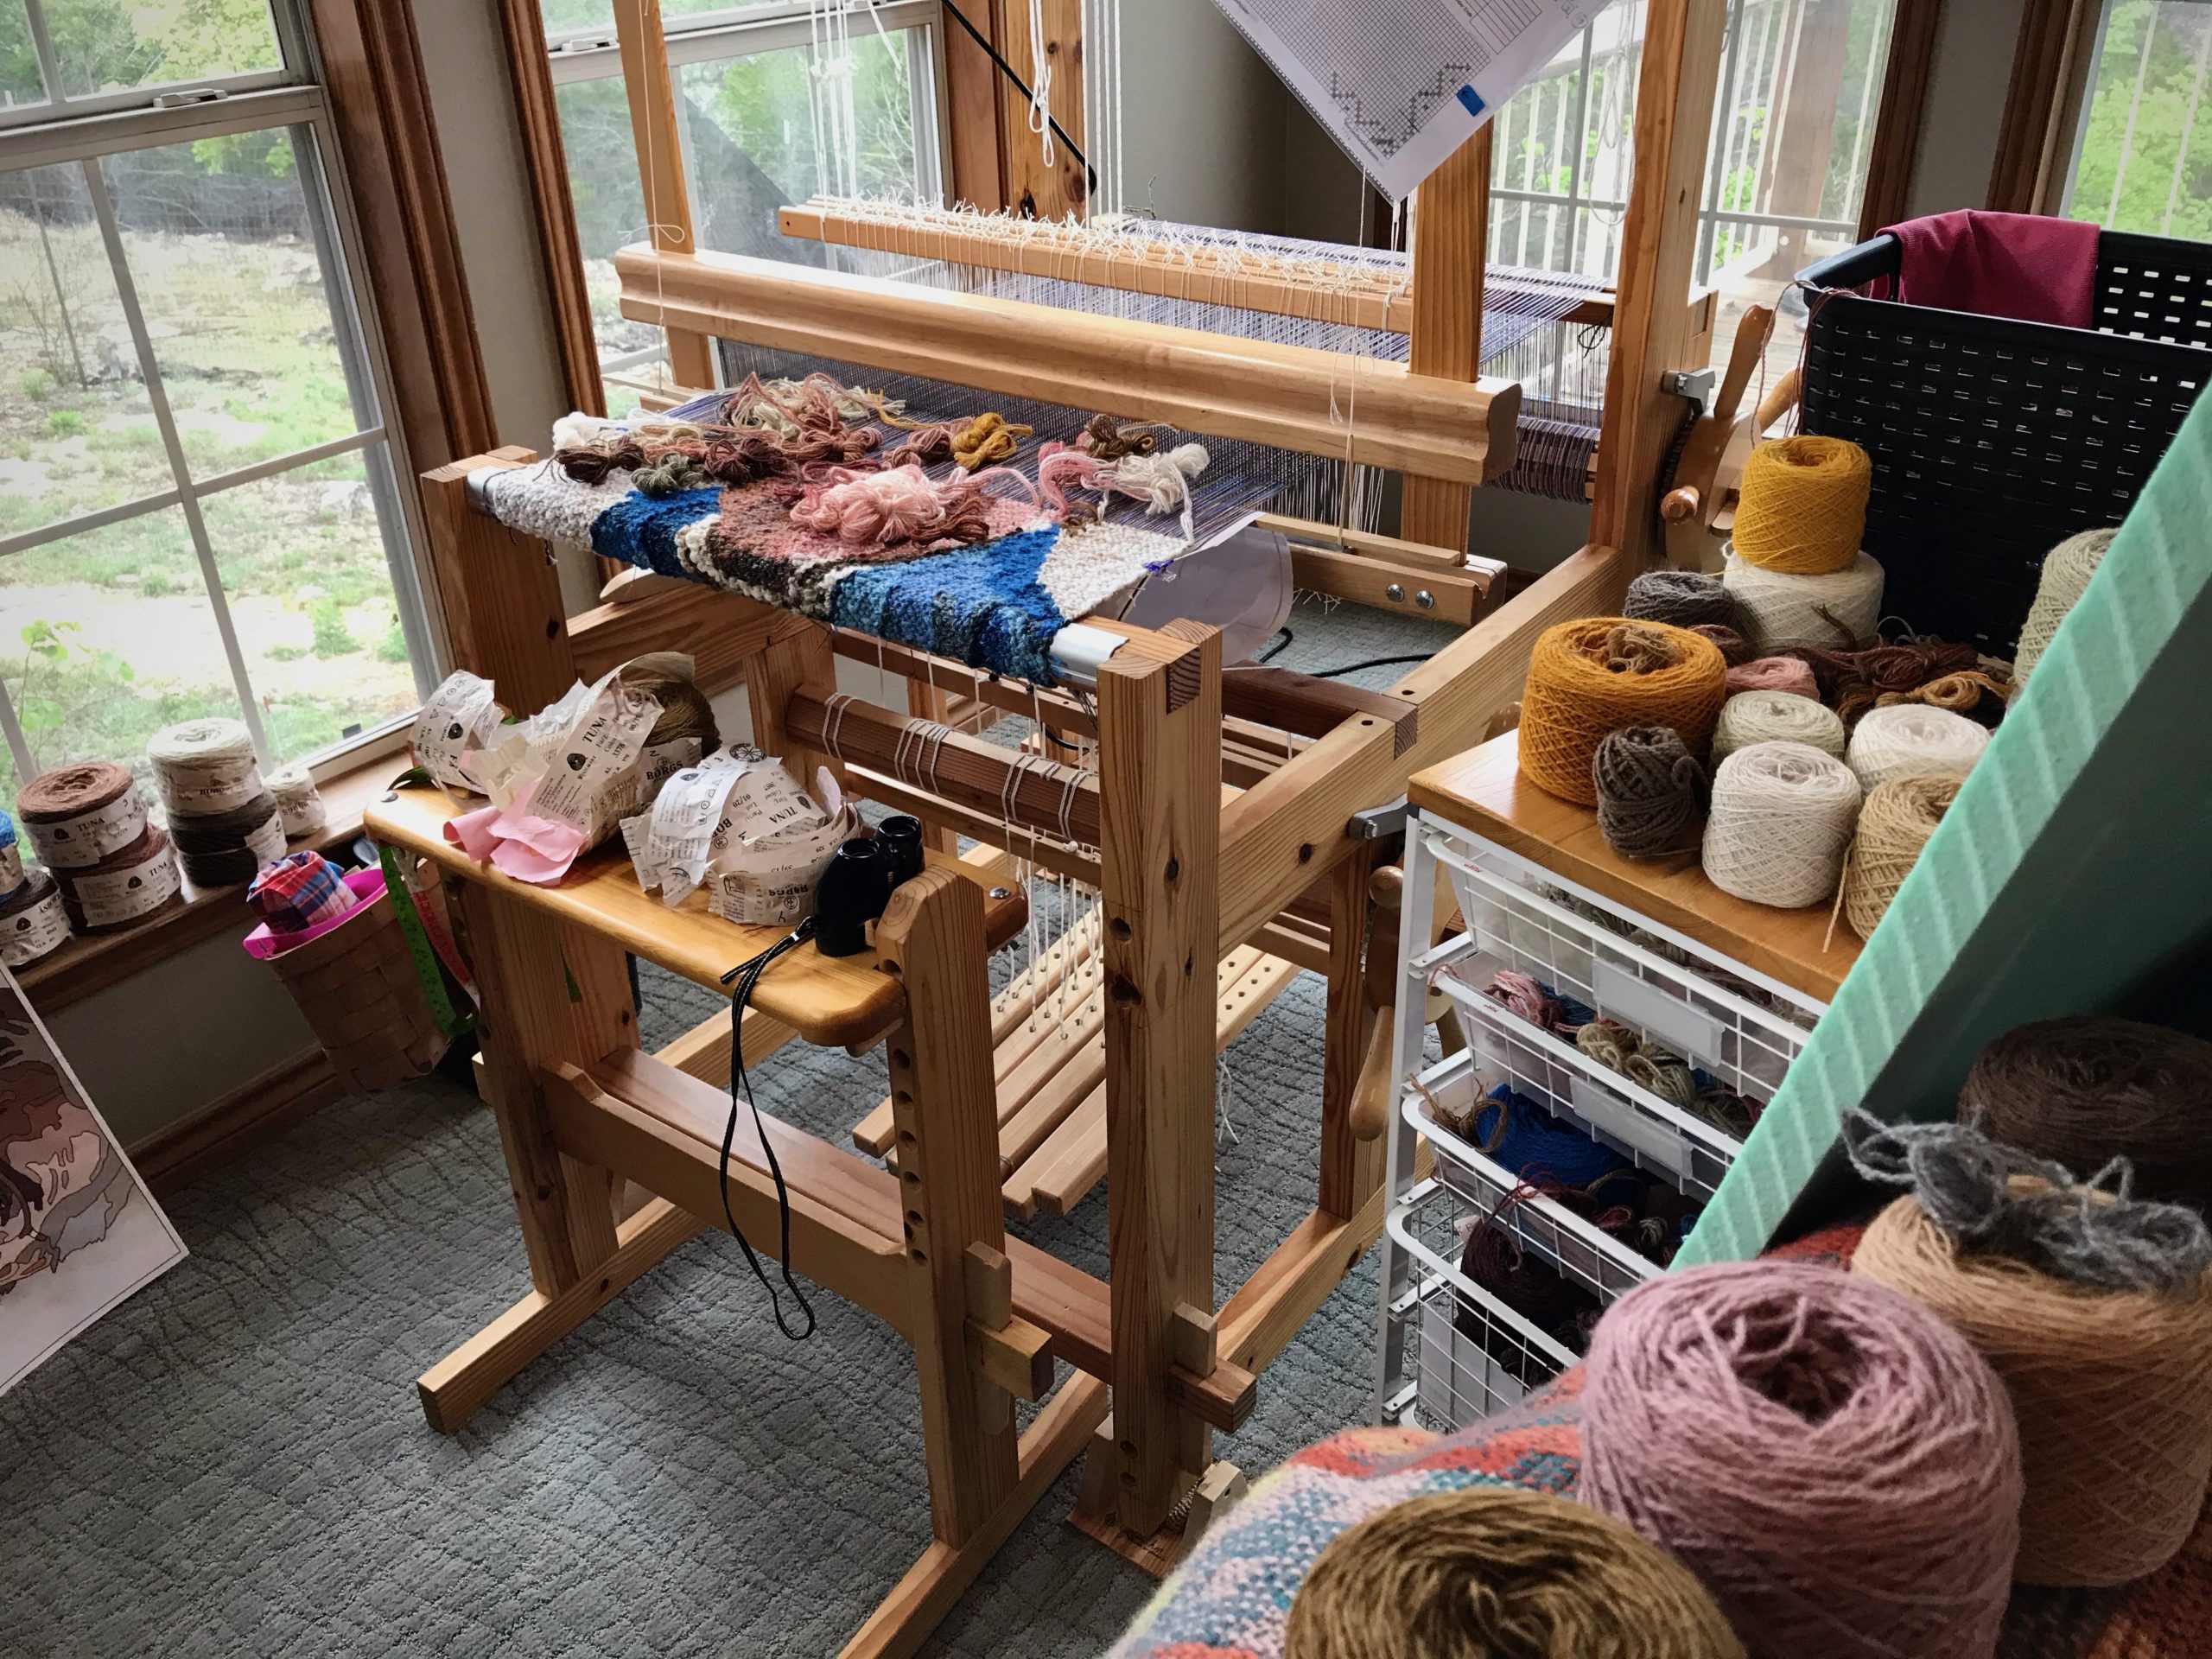
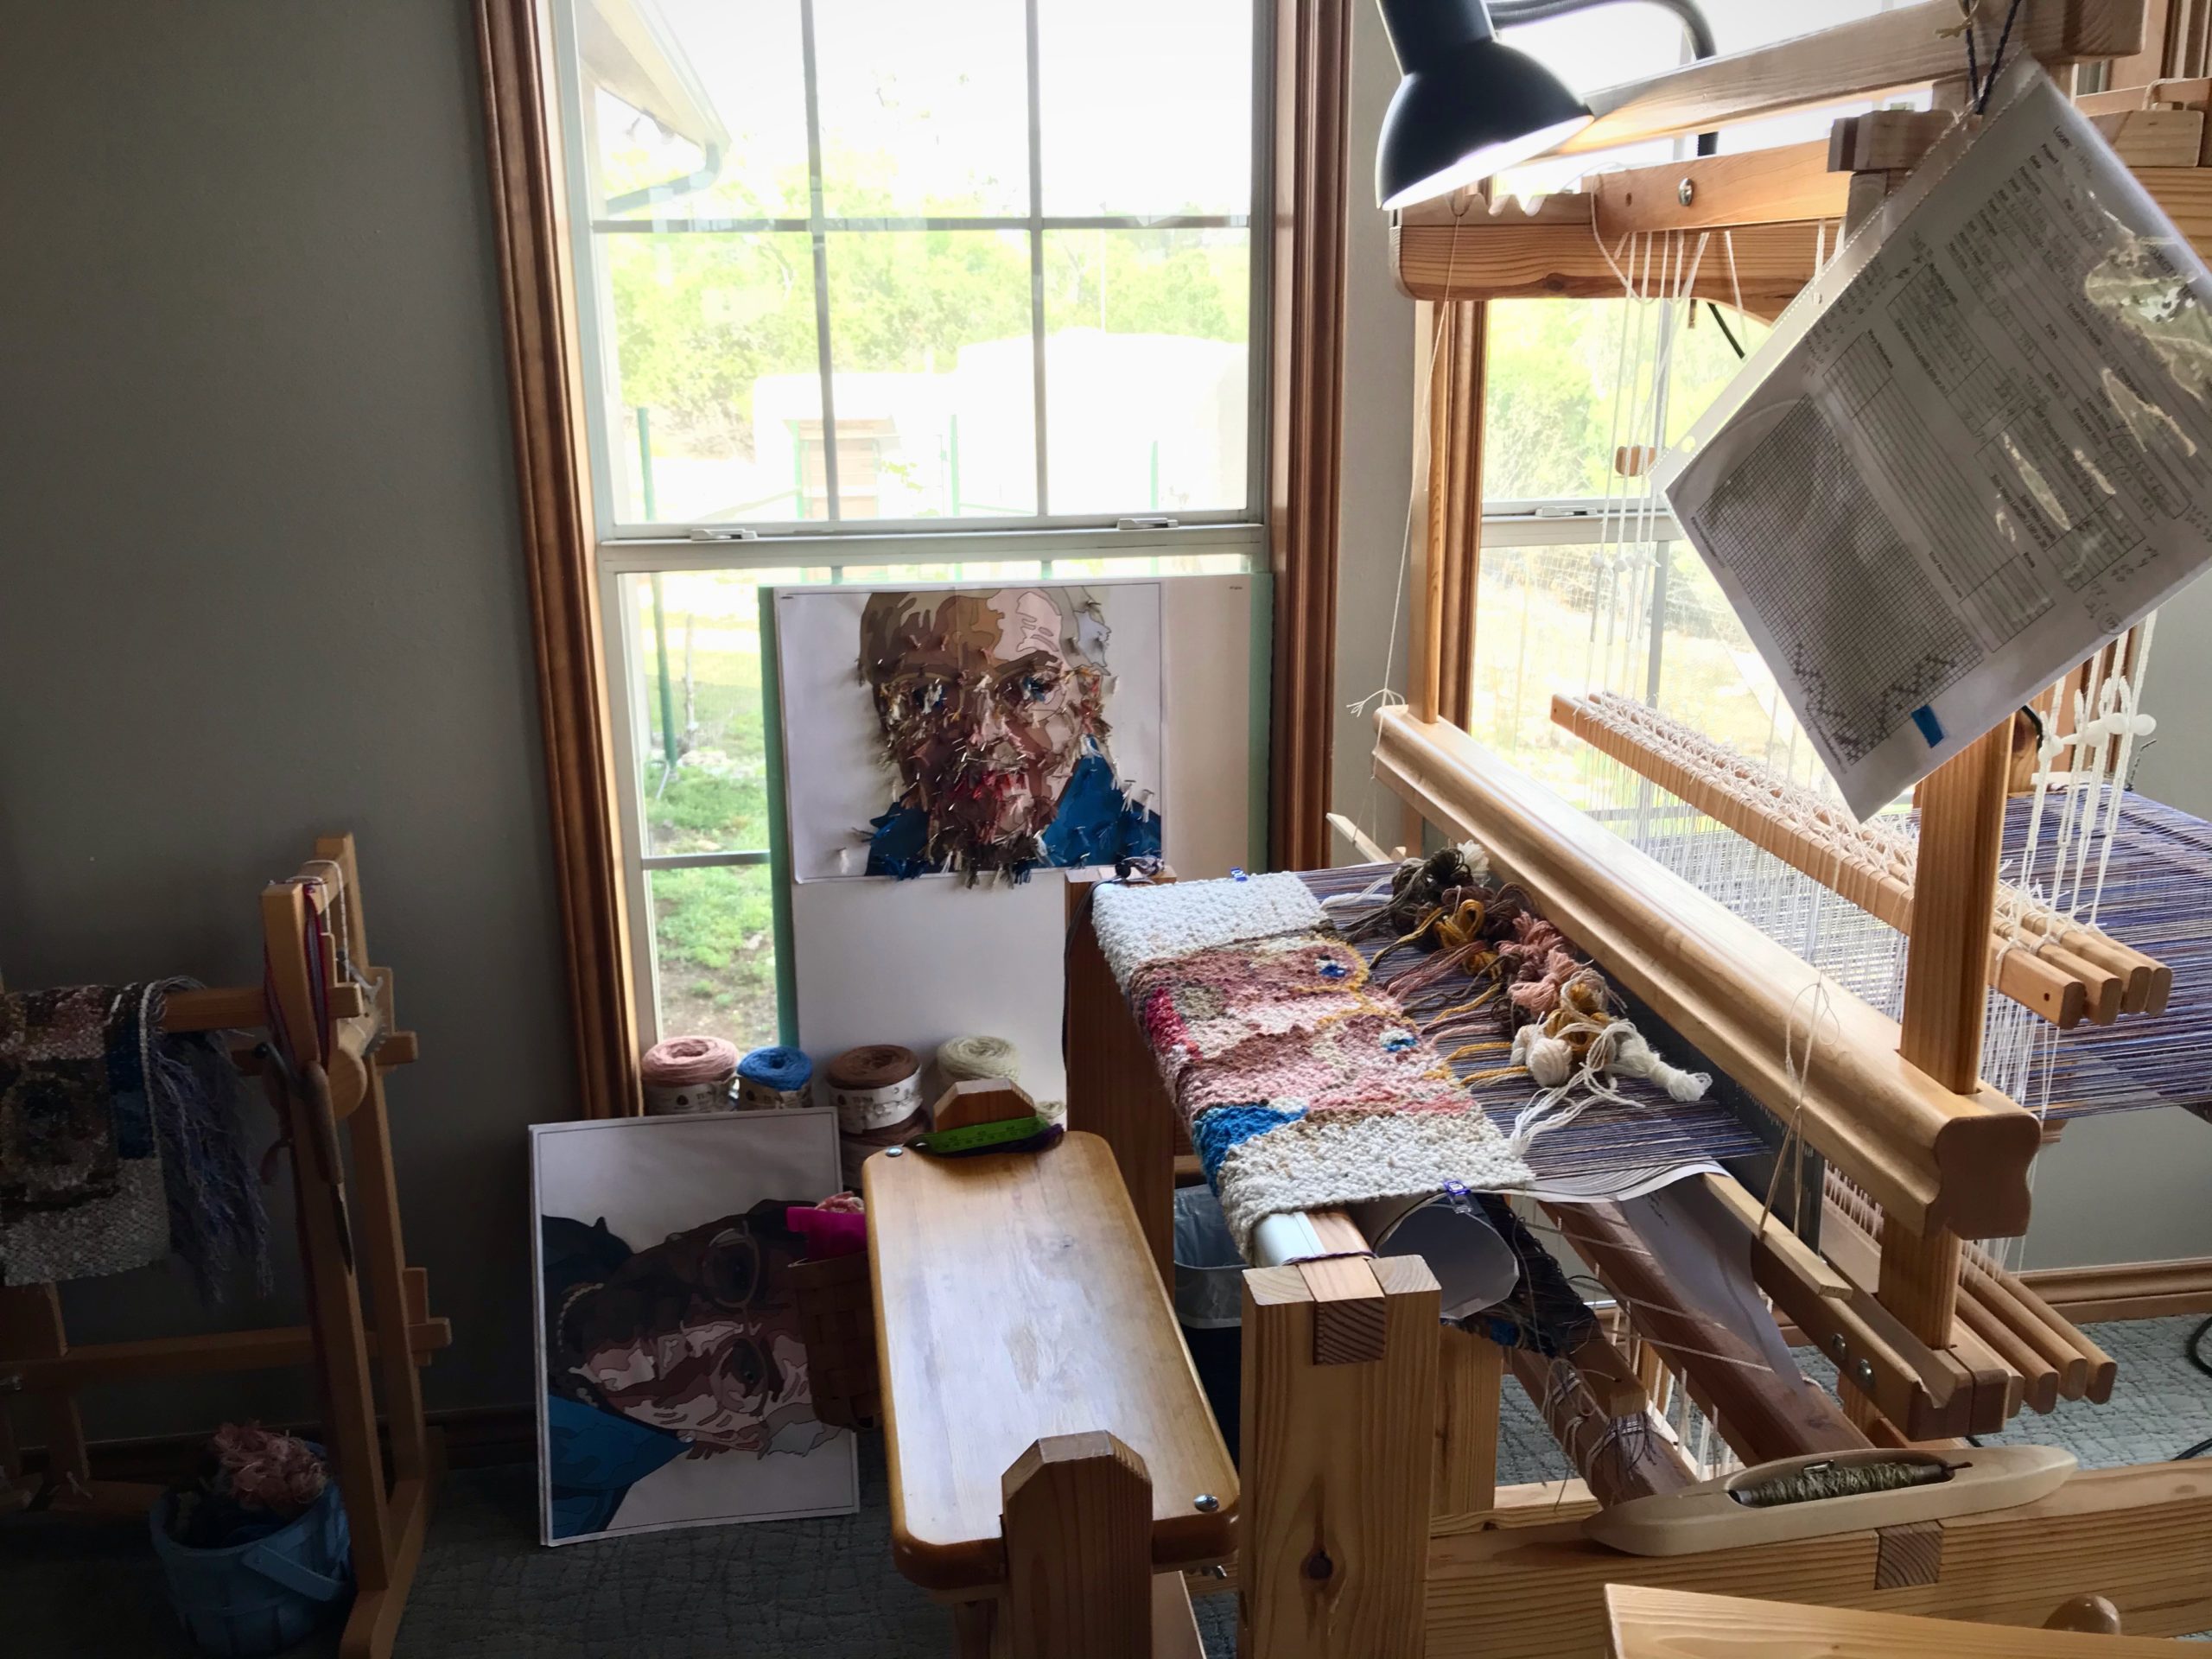
Weaving a pictorial tapestry. Making butterflies.
Making butterflies gets messy. Balls of yarn are everywhere as I combine strands of wool to get just the right blends of color. And then I rubber band every label back on its yarn, and every ball of yarn goes back in its proper bin.
Tapestry portrait. Eye of the Beholder.
I was overjoyed when I was able to see her eyes in the tapestry.

Eye of the Beholder is about my mother who taught me to appreciate beauty. This is a portrait of a woman with an eye for beauty, with beauty in her eyes.

I humbly share my process of weaving Eye of the Beholder in this video:

May you seek beauty that never ends.

Her daughter,
Karen

Process Review: Happy Blues

Cutting off is like reading the ending of a good short story. Even though you are eager to get to the end, when you reach the final paragraph it seems to soon for the story to be over. Fortunately, even though I am cutting off these happy blues, I still get to enjoy the fabric a while longer as I bring it through the finishing process.

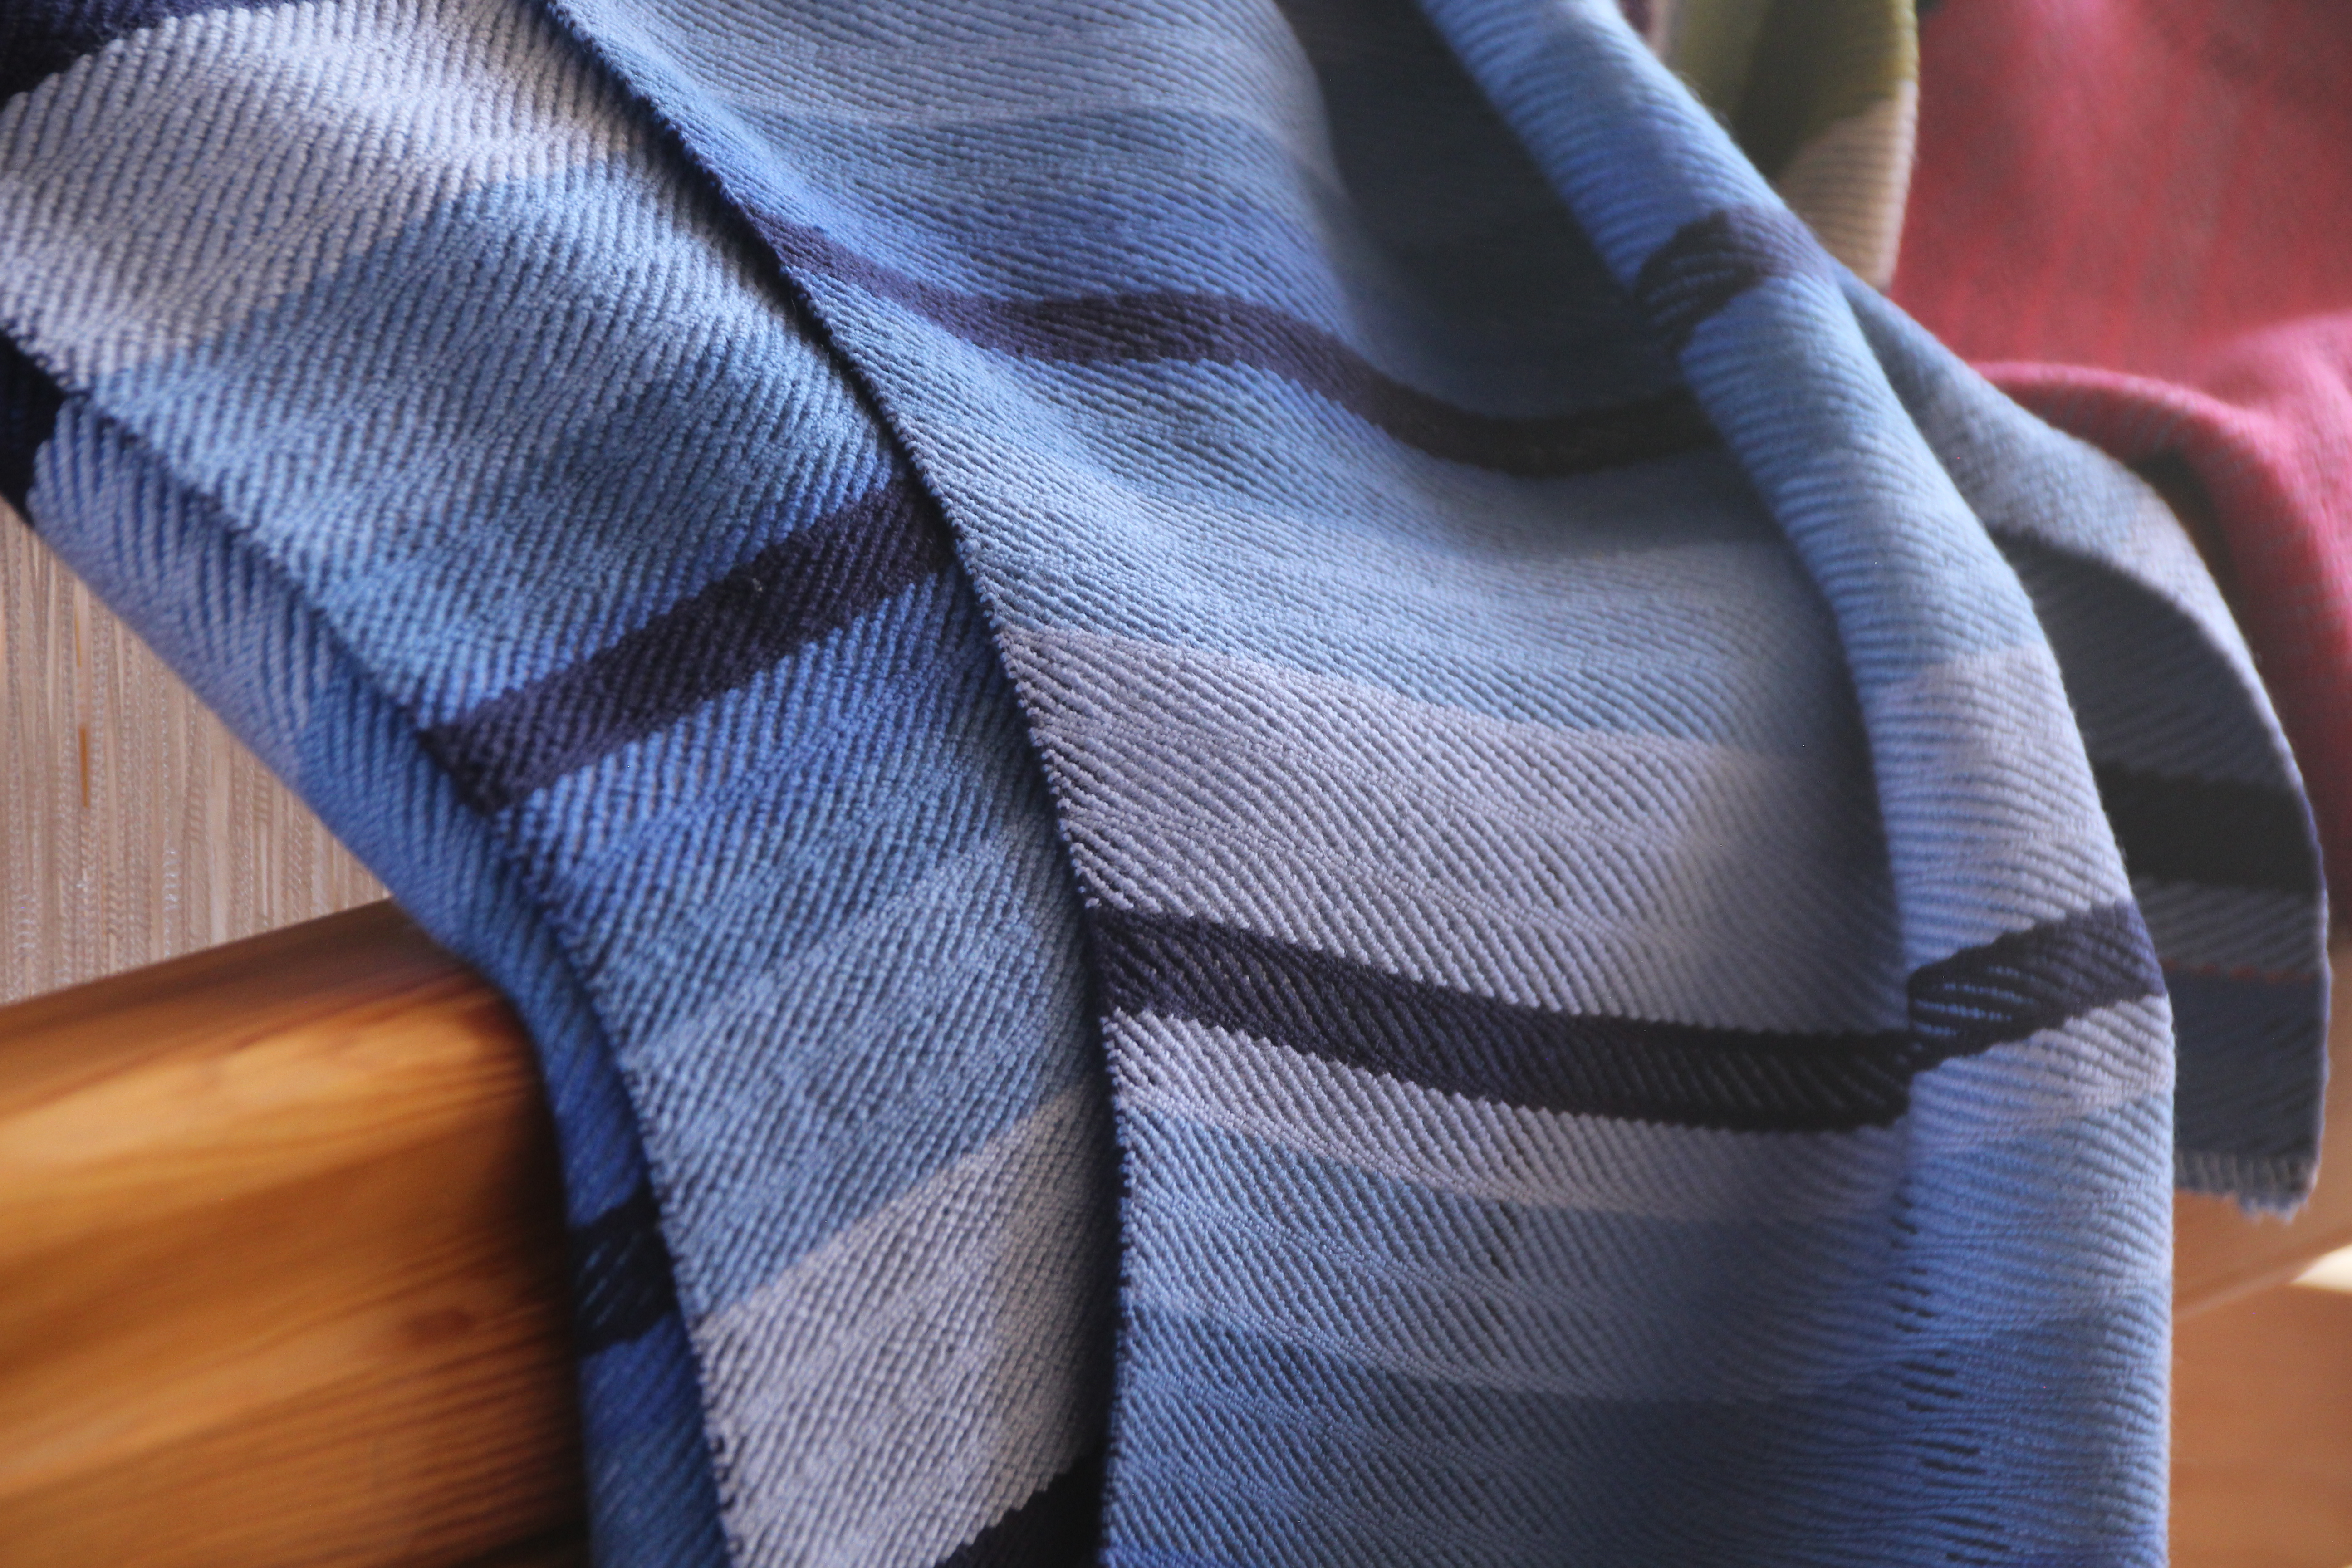
Handwoven cotton fabric. Happy Blues.
All blue. 8/2 cotton in eight-shaft twill. Soft and cushiony.

The 8/2 cotton fabric is woven, washed and dried (multiple times), and ready for its final step. I will cut and hem individual pieces to be used as covers for the arm rests and the headrest for my mother-in-law’s recliner. I can’t think of a better place for this story to end up.

Enjoy this little video slideshow of the making of this cloth:

May you keep starting and finishing good stories.

Love,
Karen

Process Review: Combination Drawloom as a Playground

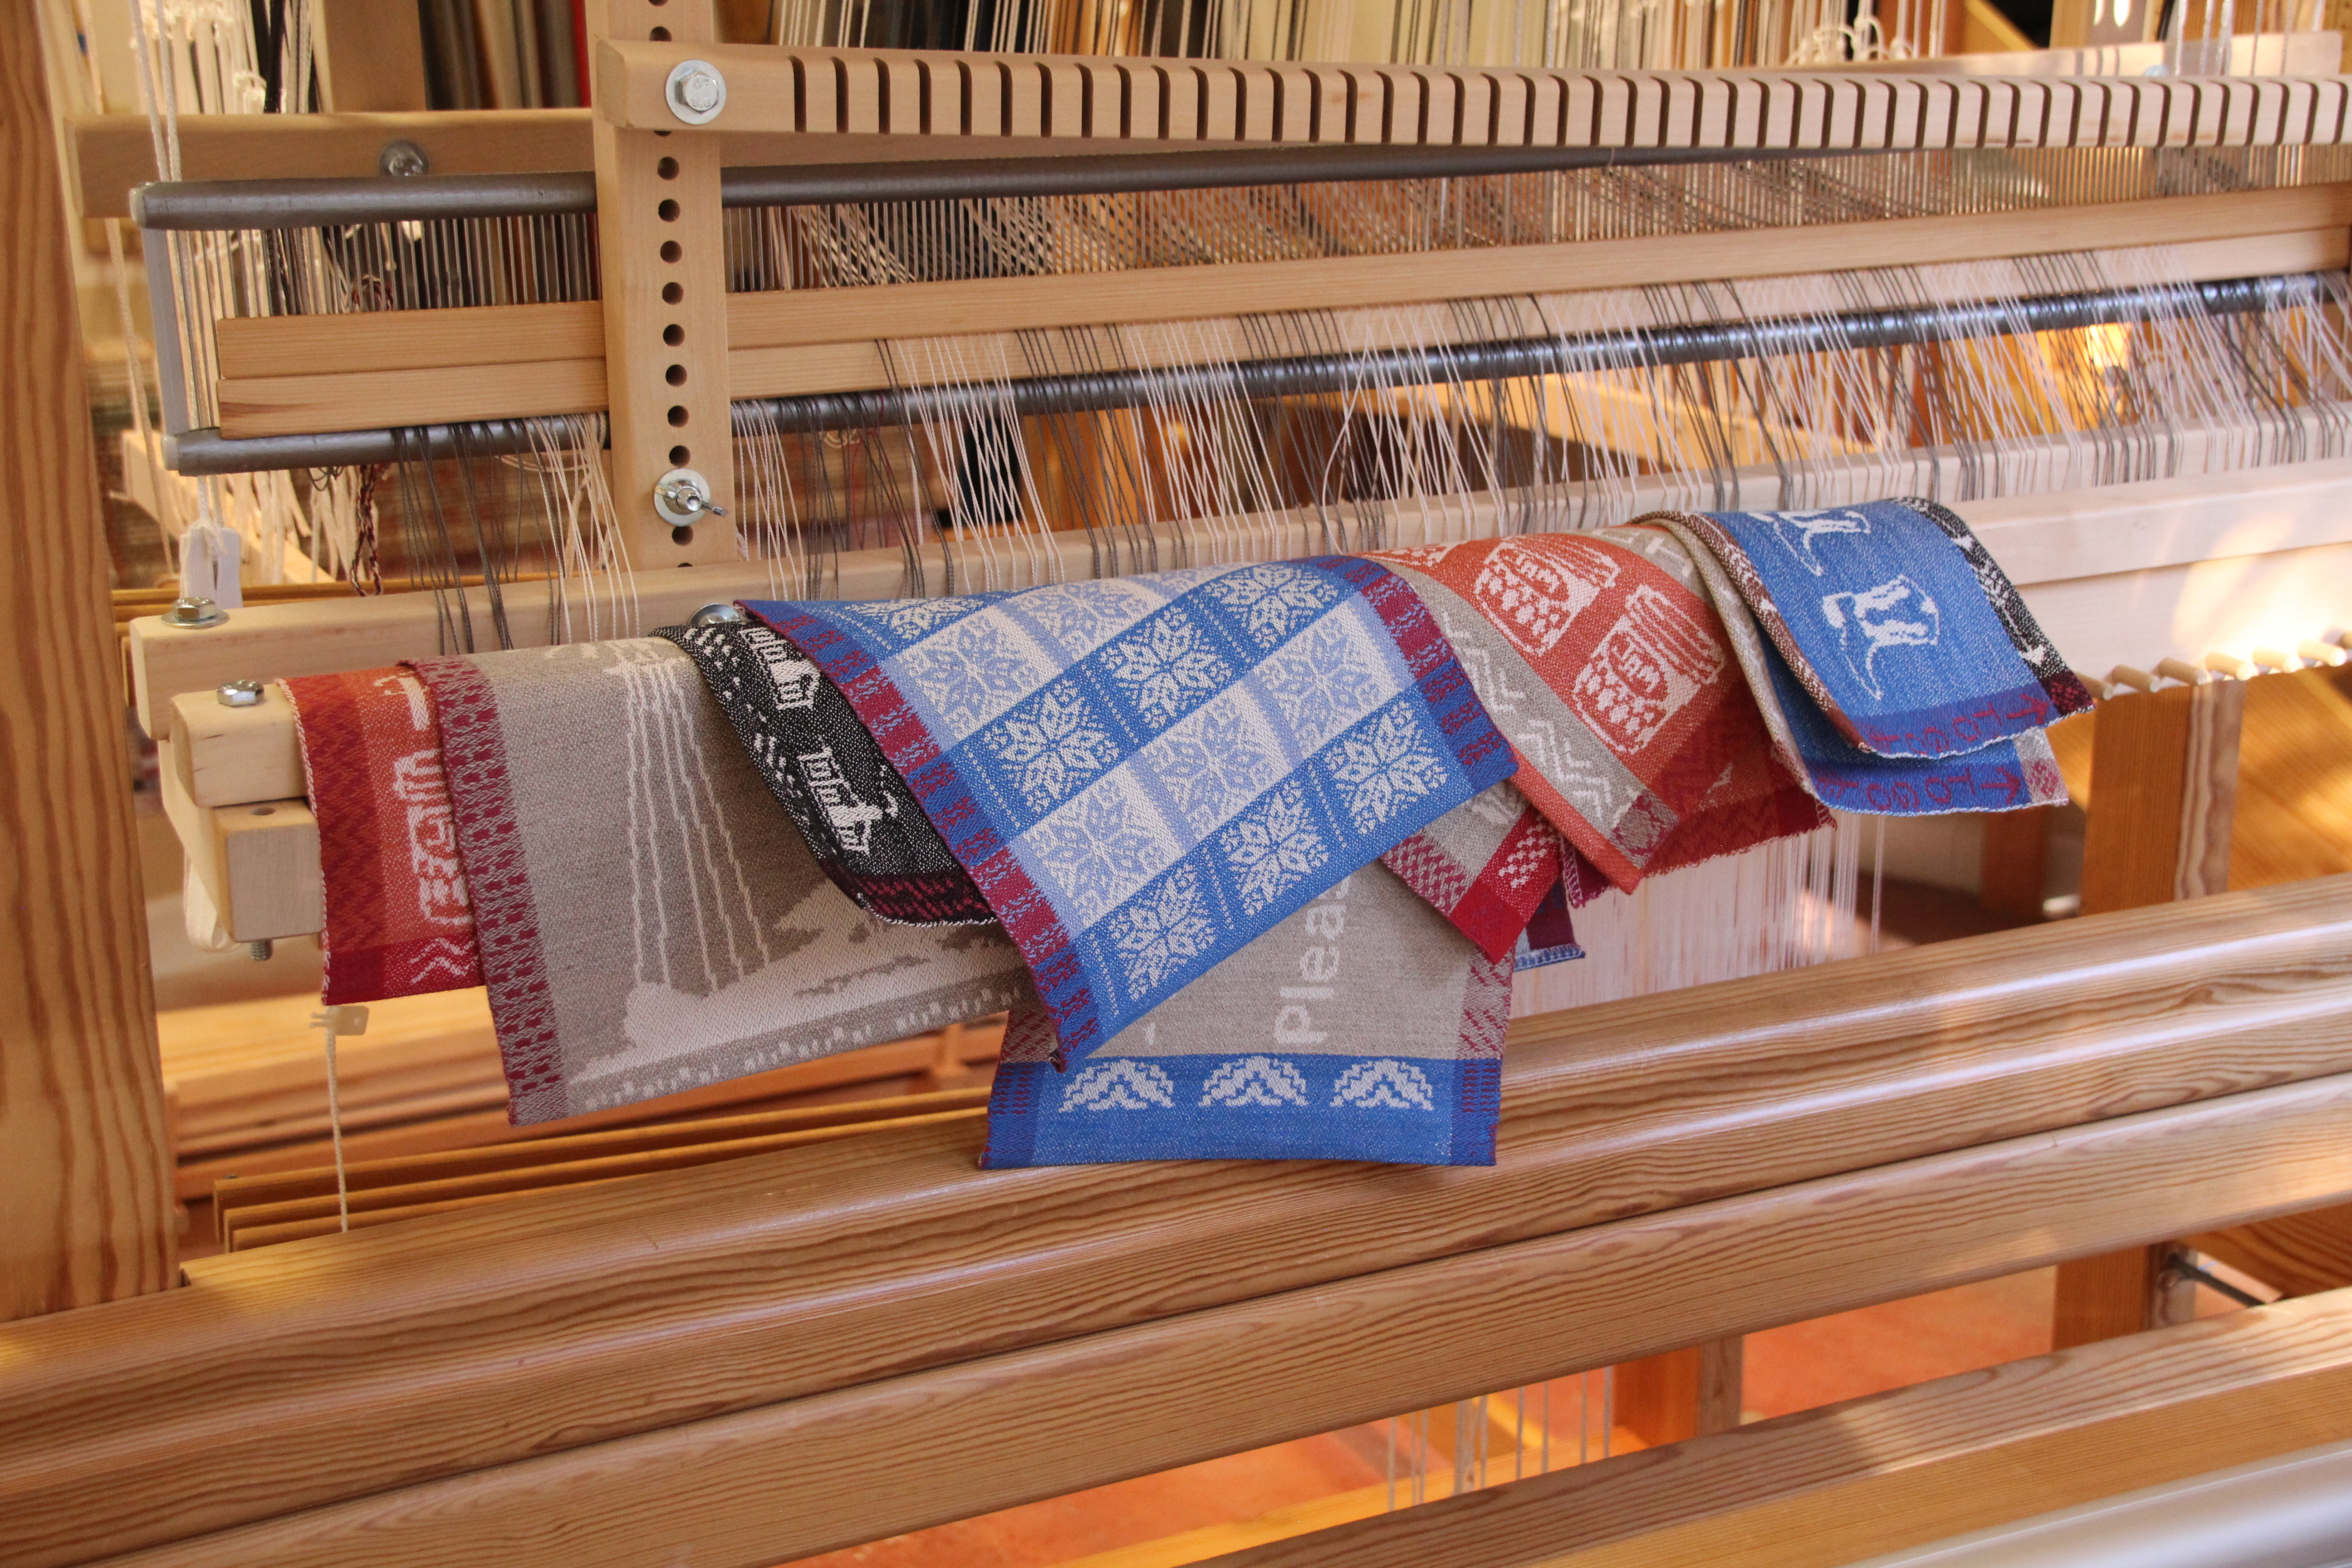
Aside from the two taildragger banners, the sign for our guest powder room, and the Christmas snowflake hanging, these are test pieces and samples. The combination drawloom is a playground for design ideas. Test pieces and samples are not meant for display. I do want them to be seen on occasion, however. (See Time Lapse: Windmill and Taildragger on the Drawloom.)

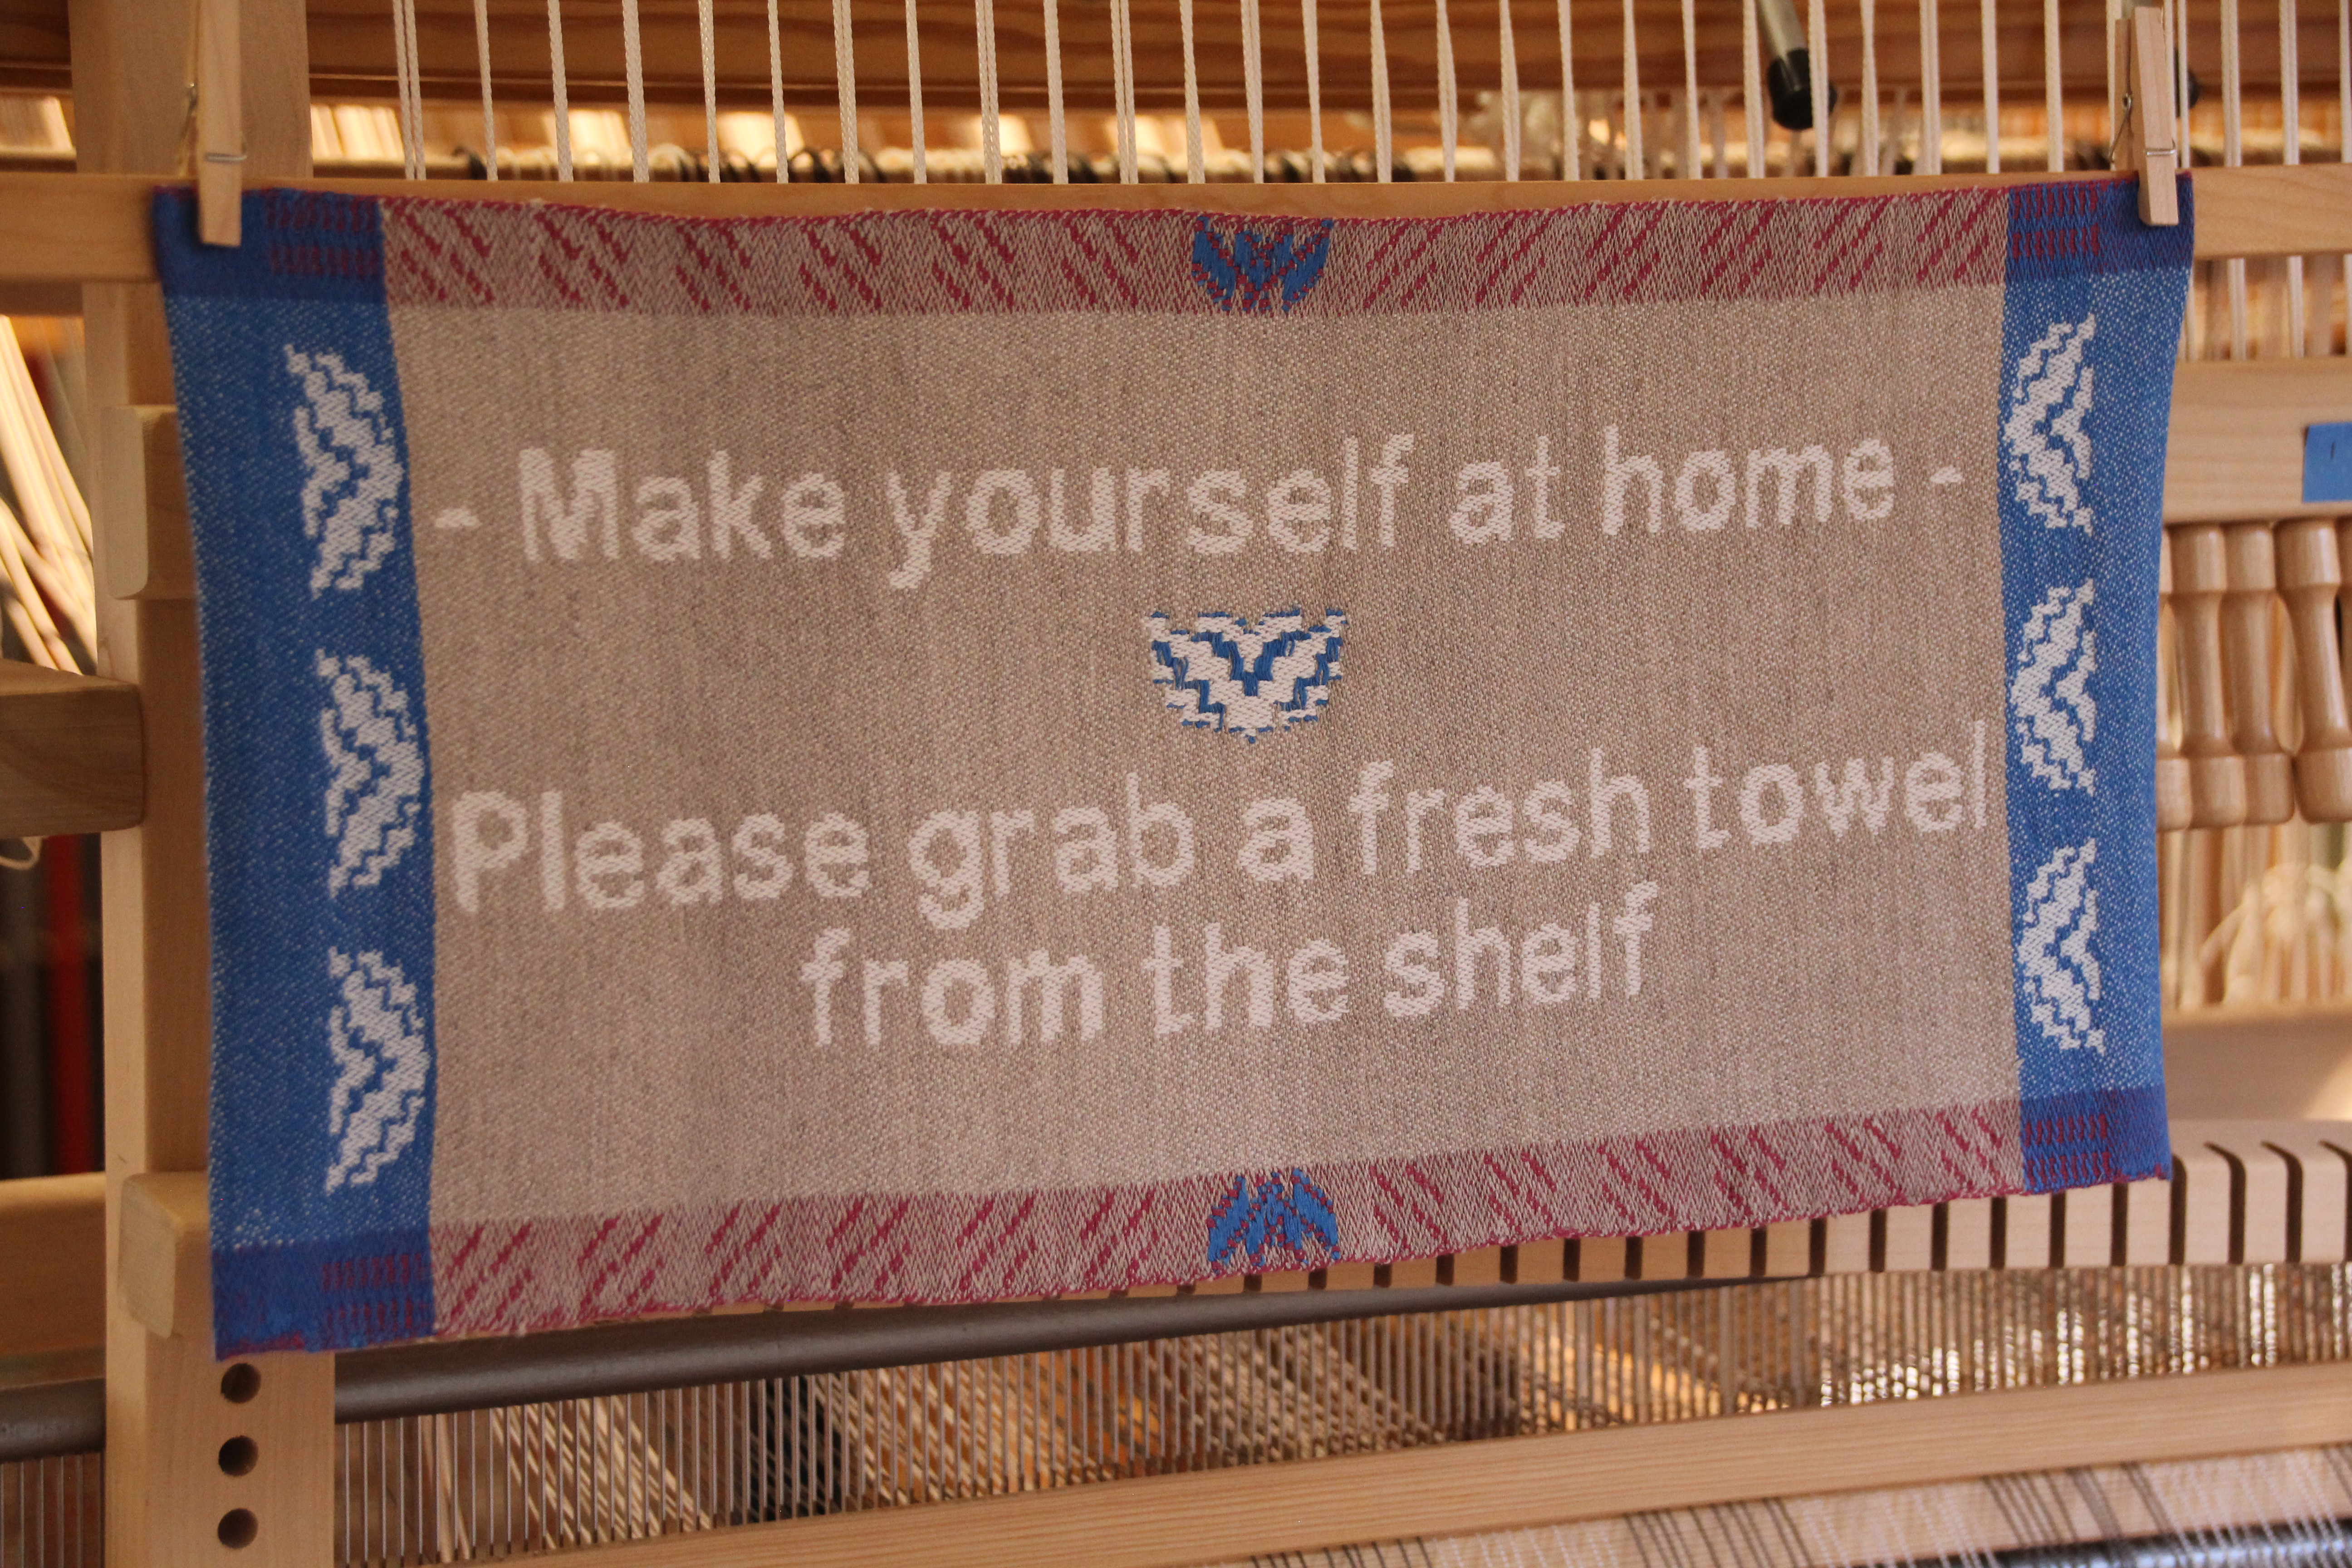
Drawloom sign for the powder room.
This is a sign to hang in our guest powder room near a stack of handwoven hand towels.
Shaft drawloom snowflakes/stars.
Snowflakes on the drawloom.

In the September, 2004 issue of Complex Weavers Journal, Jette Vandermeiden wrote about weaving small serviettes to place between her good dishes so they don’t scratch each other. That sparked the idea for me to use my learning experience with the Myrehed combination drawloom attachment to make these small pieces of cloth. The various designs will bring delight as they are uncovered, one by one, when we set the table in our home with the good dishes.

Fun with the Myrehed combo drawloom.
Drawloom playground results using the Myrehed combination attachment.

Enjoy this review of the process of setting up and weaving on this playground.

May you have not-so-hidden treasures in your home.

Cheerful Weaving,
Karen

Tried and True: Linen

Take a short stroll through our home and you will see and touch linen in all its superb versatility. Linen warp and weft speaks of elegance. Yet, this natural fiber is right at home with ordinary daily living. Linen, oh, how it sings!

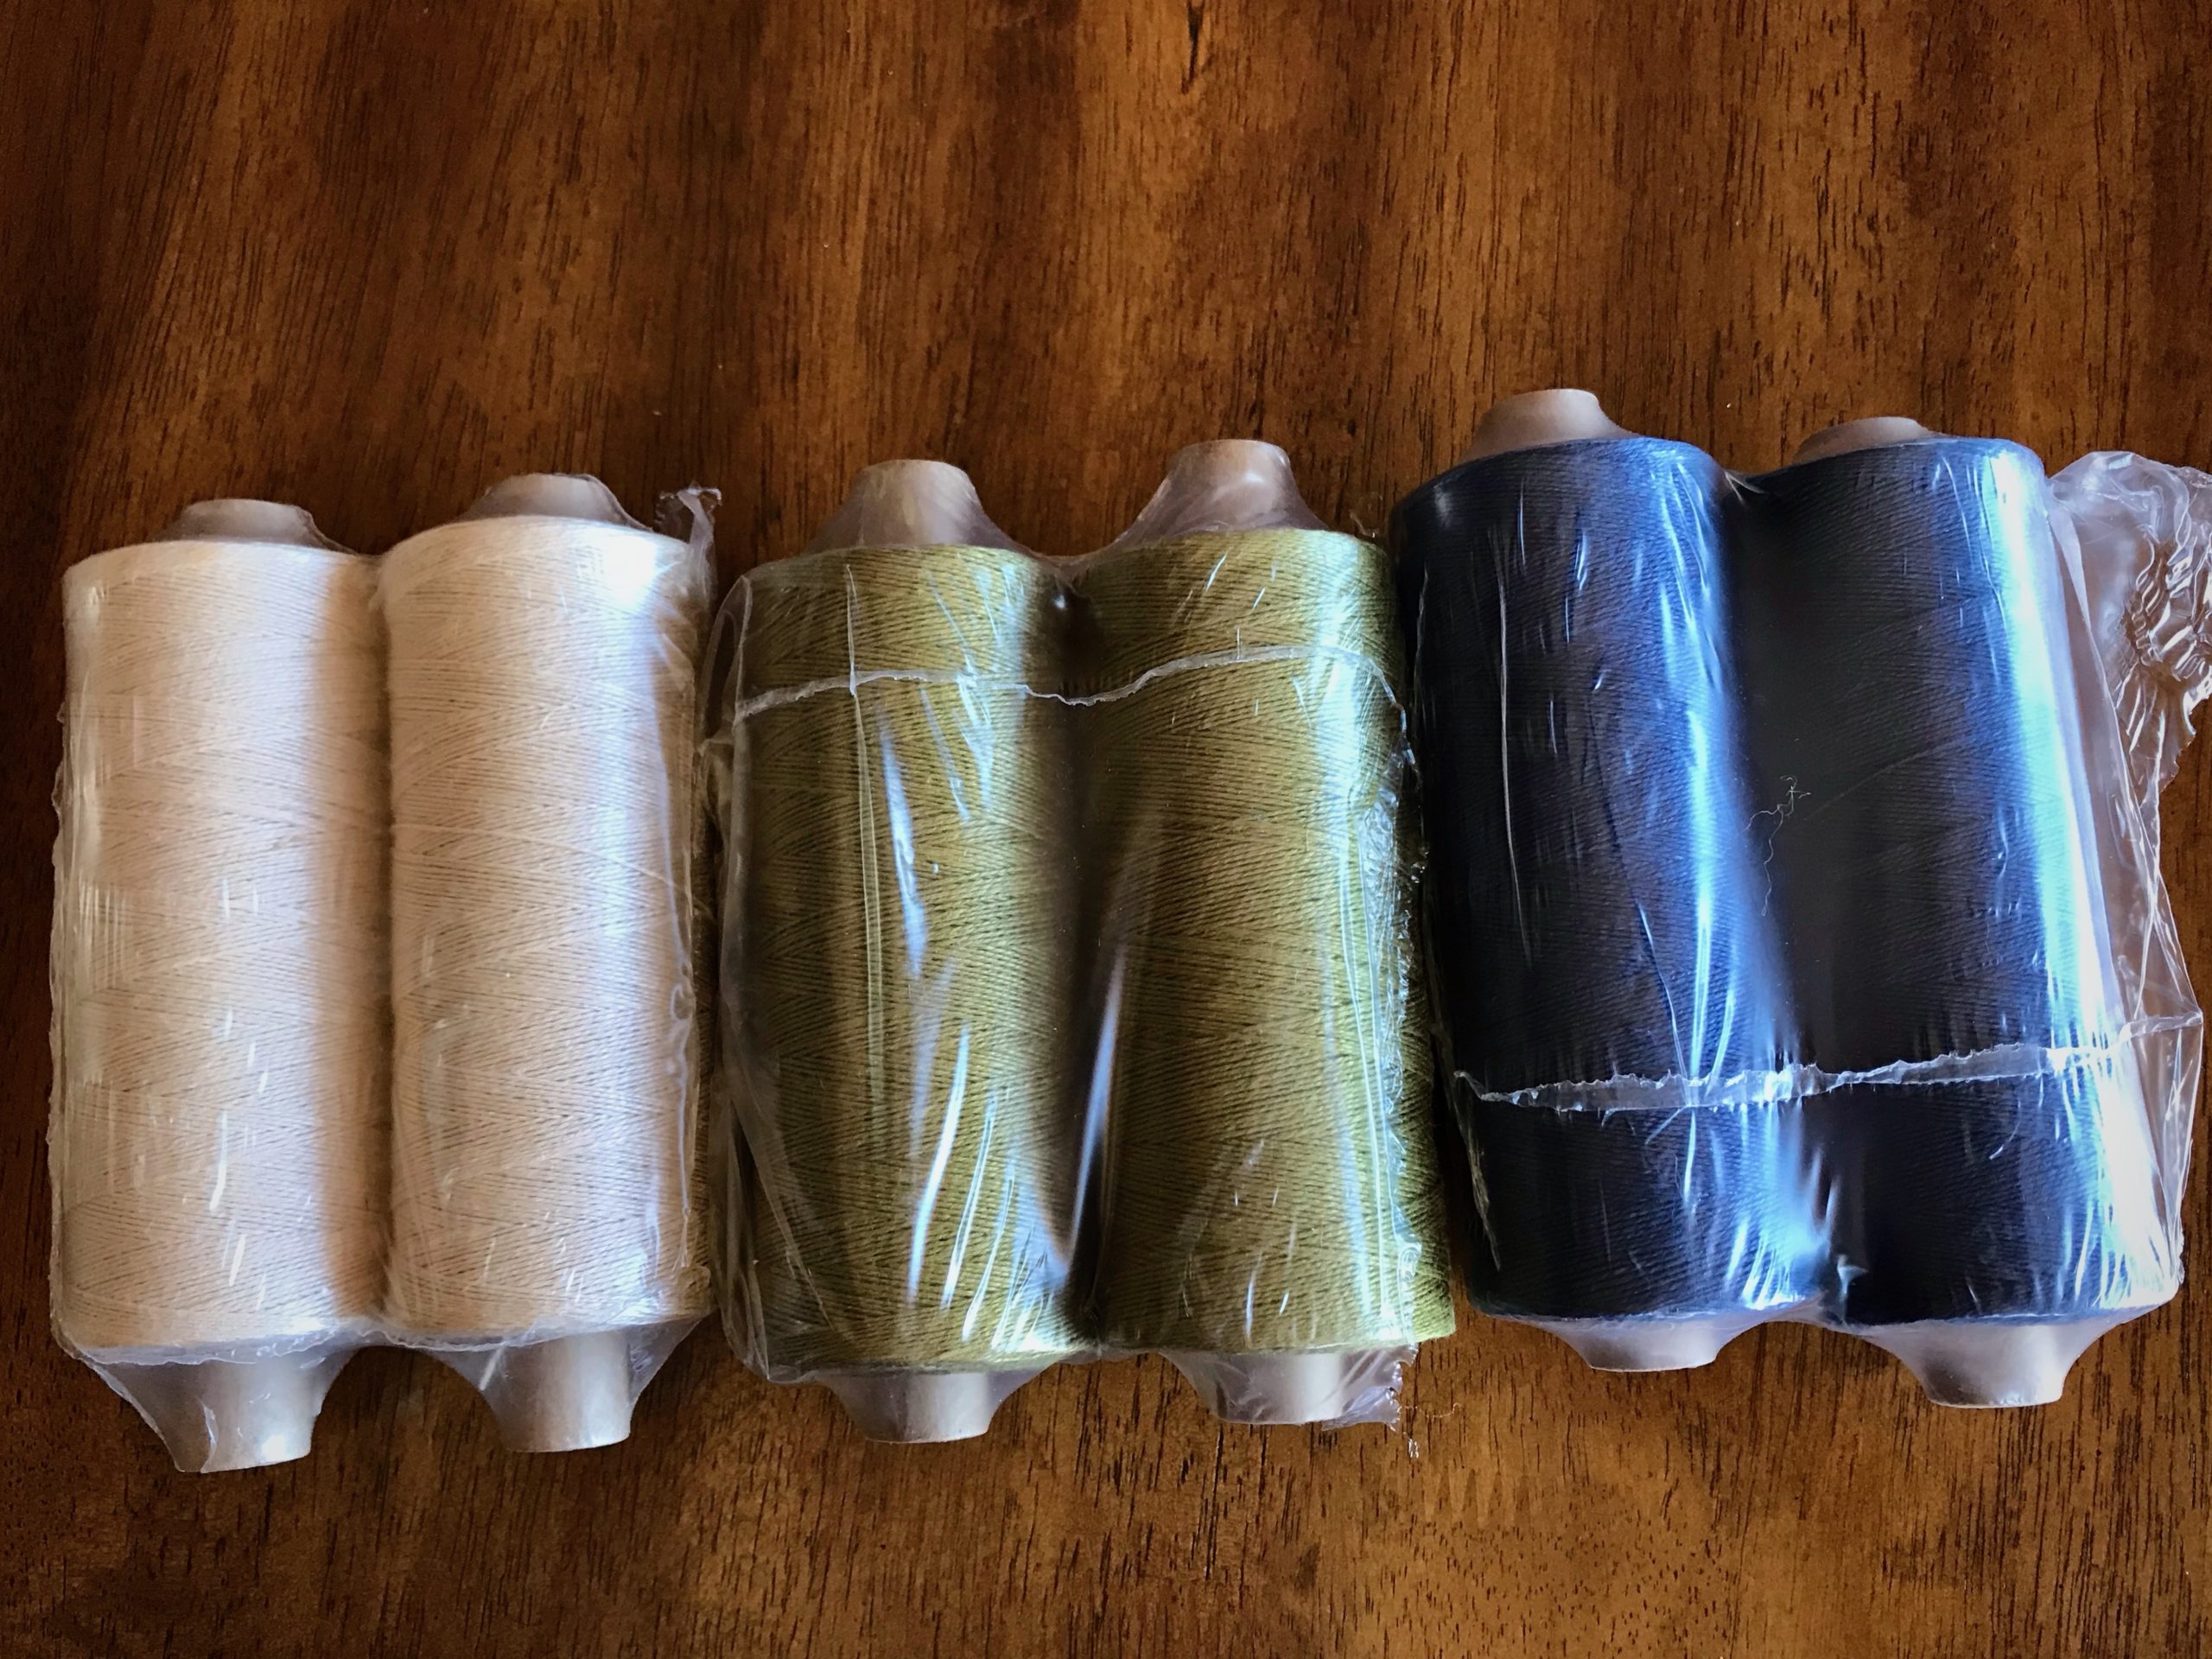
I am thrilled to be dressing the Julia now with 16/2 linen on eight shafts. We will have another linen highlight to grace our home—a table runner for our dining room table.

Bockens 16/2 line linen for a handwoven runner.
It is a happy day when new tubes of Bockens 16/2 line linen arrive at the door.
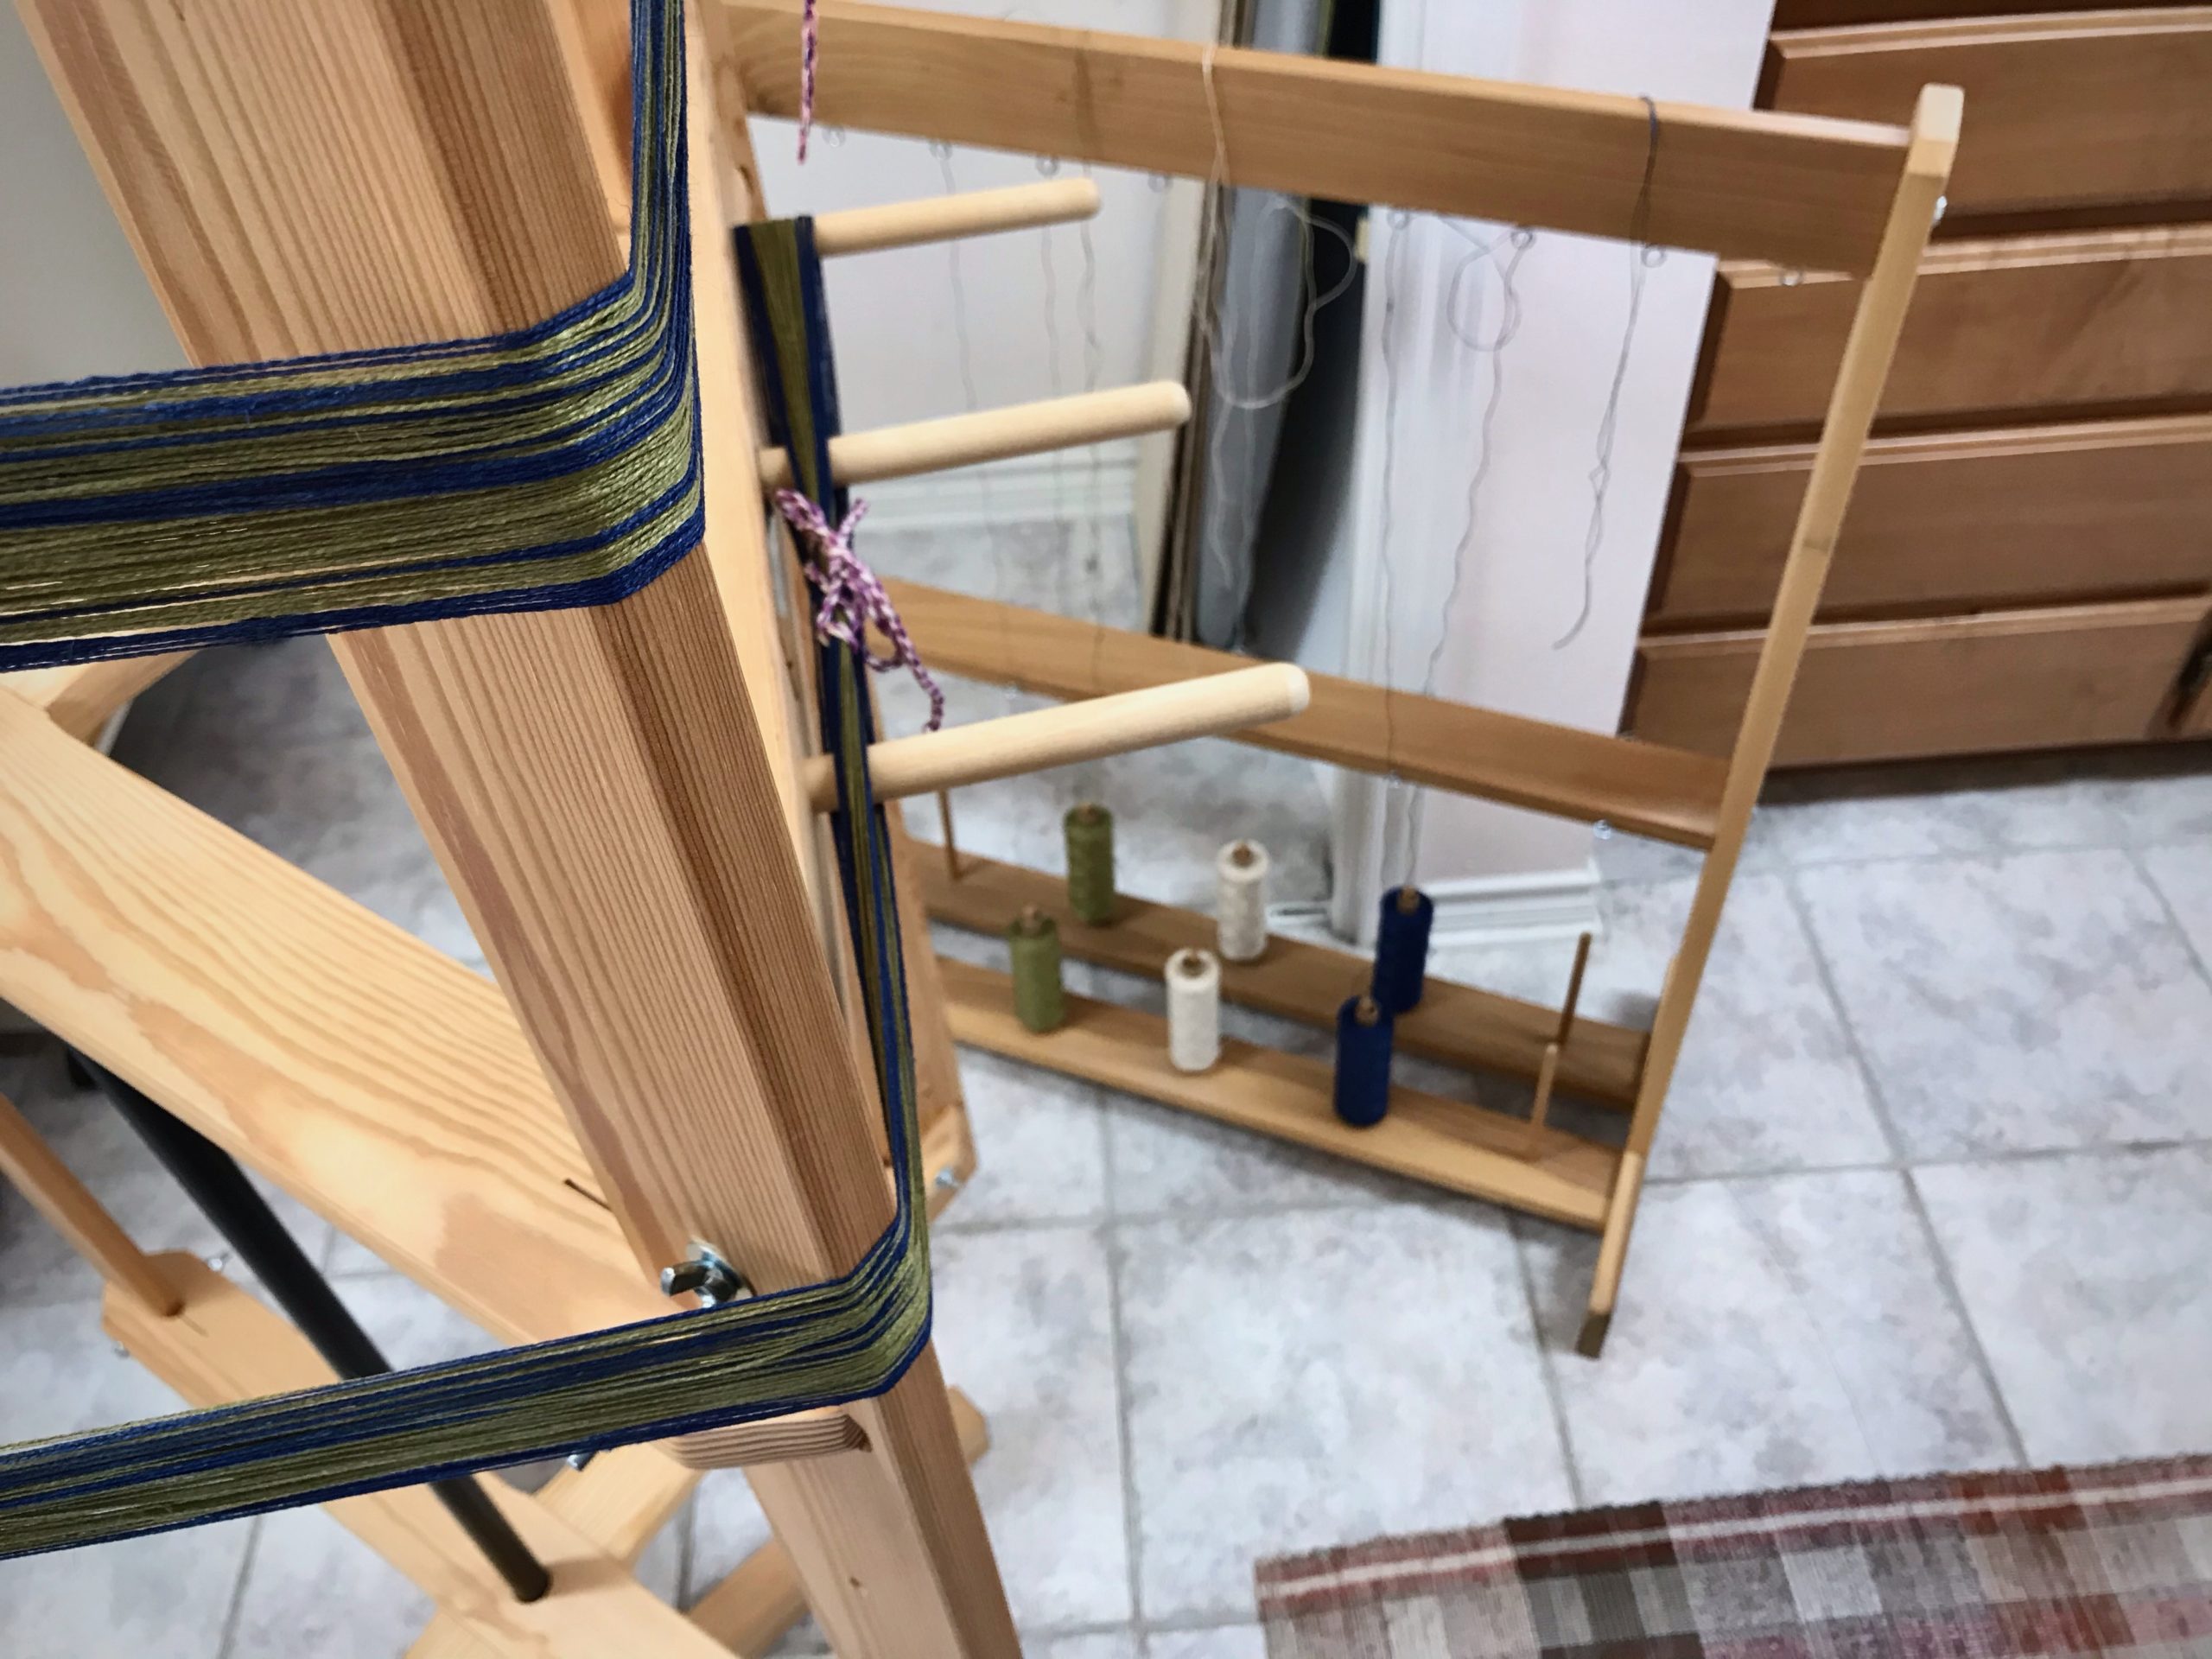
Making a linen warp.
Winding two threads together at a time on the warping reel.
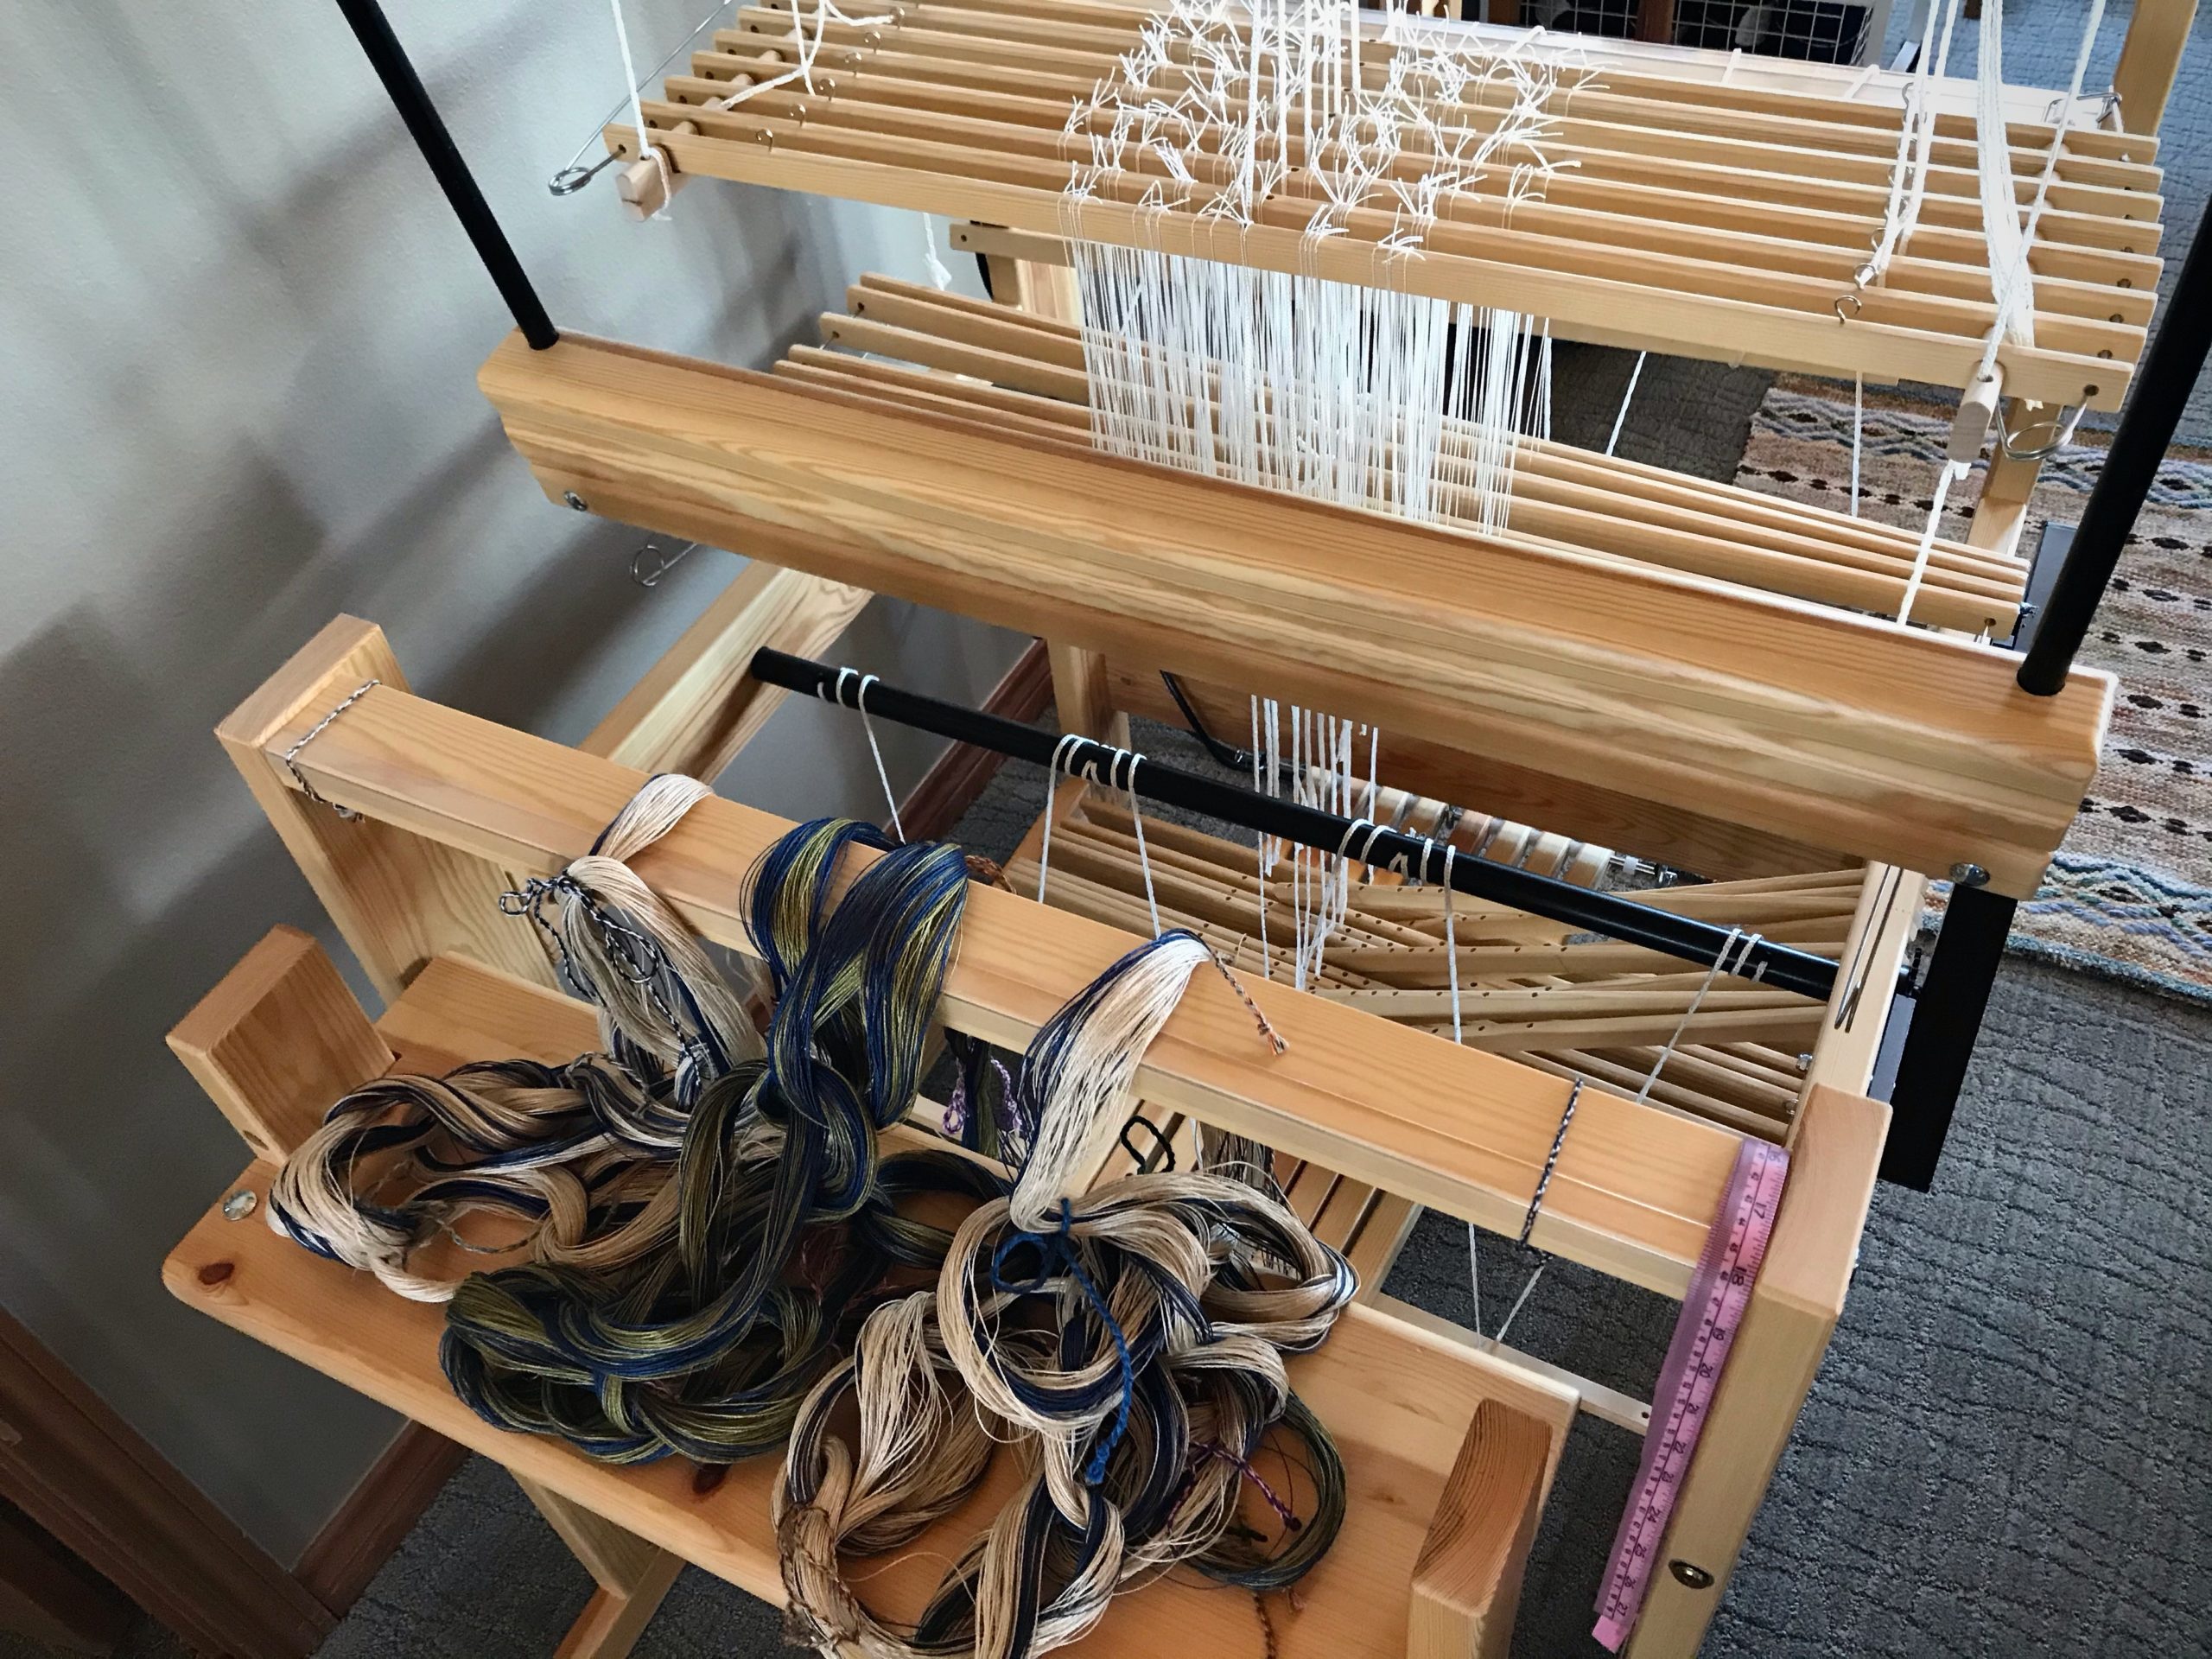
8-shaft Julia and linen warp.
Dividing the warp into three bouts makes it easier to spread and beam the warp with even tension across the warp.
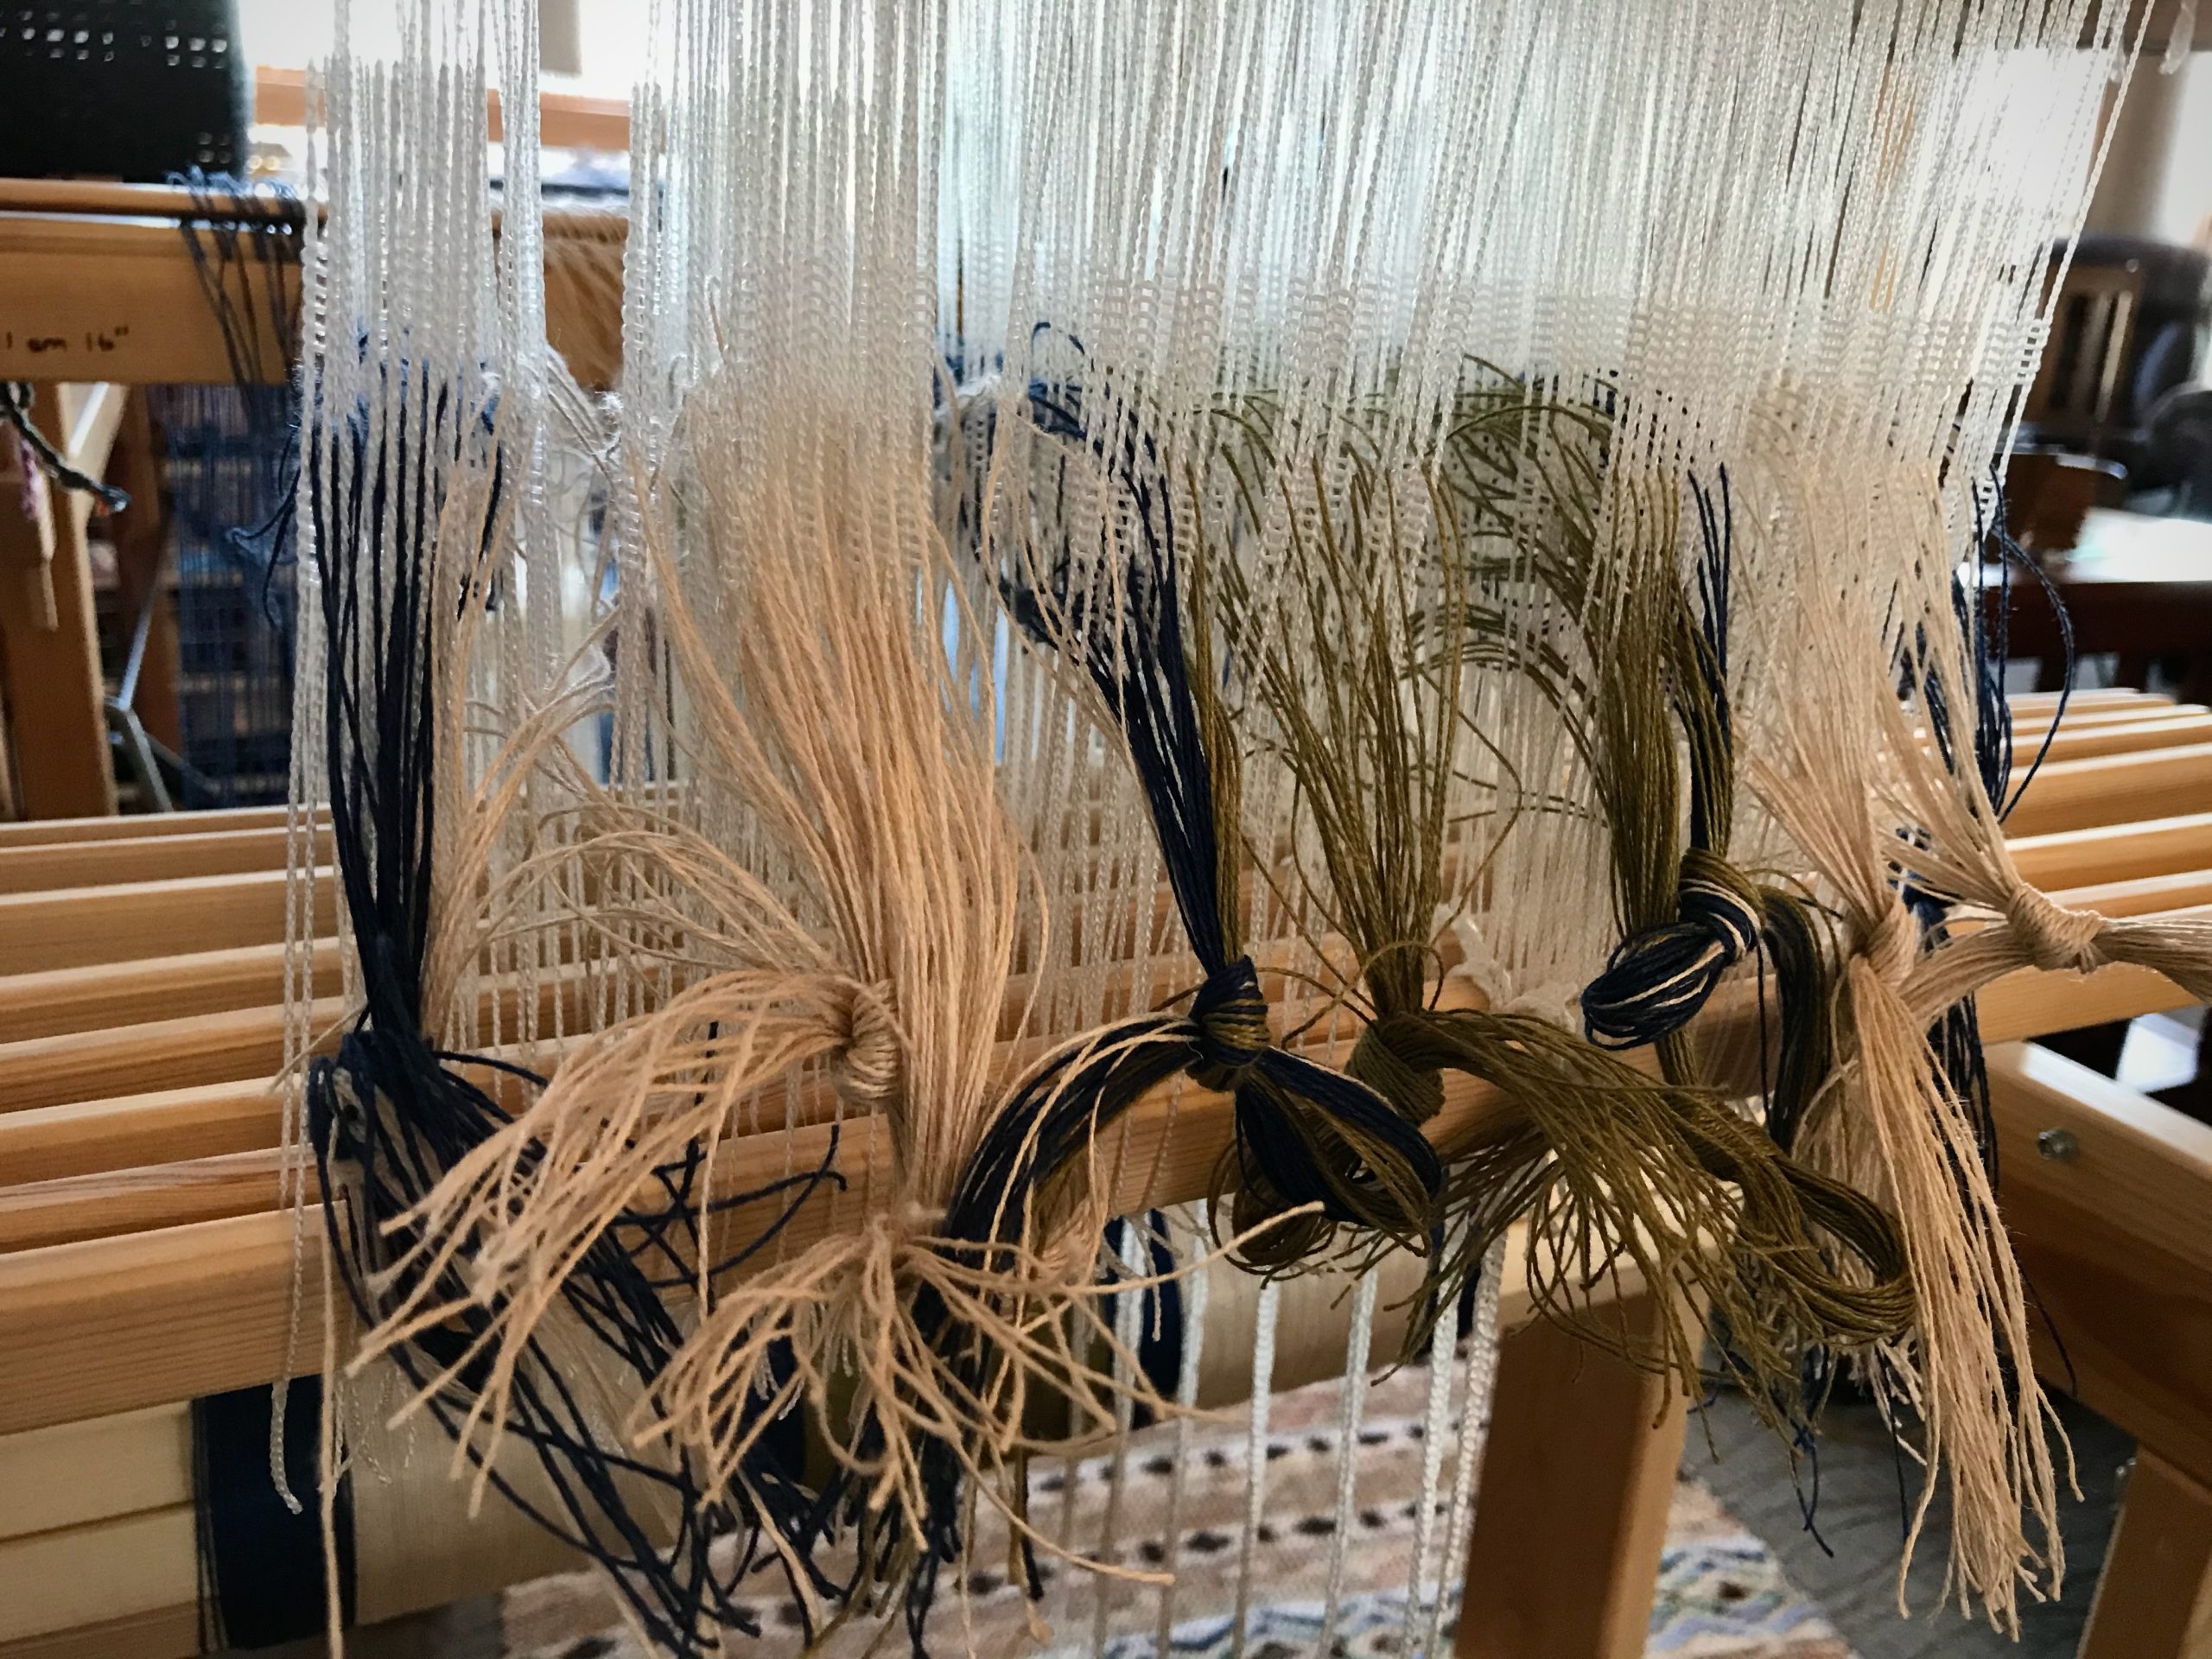
Glimakra Julia 8-shafts. Glorious linen!
Golden bleached linen is a gorgeous backdrop for the olive center section and contrasting midnight blue borders.

Is there anything more vibrant than the sheen of linen saturated with color? And, have you noticed that plain unbleached linen is anything but plain? Linen fills both ends of the spectrum—glowing exuberant color and natural wrinkled humility. Linen, oh, how it sings! There’s always room for more music in the home.

May your home be filled with everyday elegance.

Happy Weaving,
Karen

Tried and True: Slay – Sleigh – Sley

Slay the dragon. Ride the sleigh. Sley the reed. To succeed in these challenges, you must be prepared, pay attention, and make sure you’re on the right track. Here, I’m going to focus on sleying the reed with success. (For dragon slaying and sleigh riding challenges, I won’t be of much help.) Don’t miss the new video below with tips for sleying the reed.

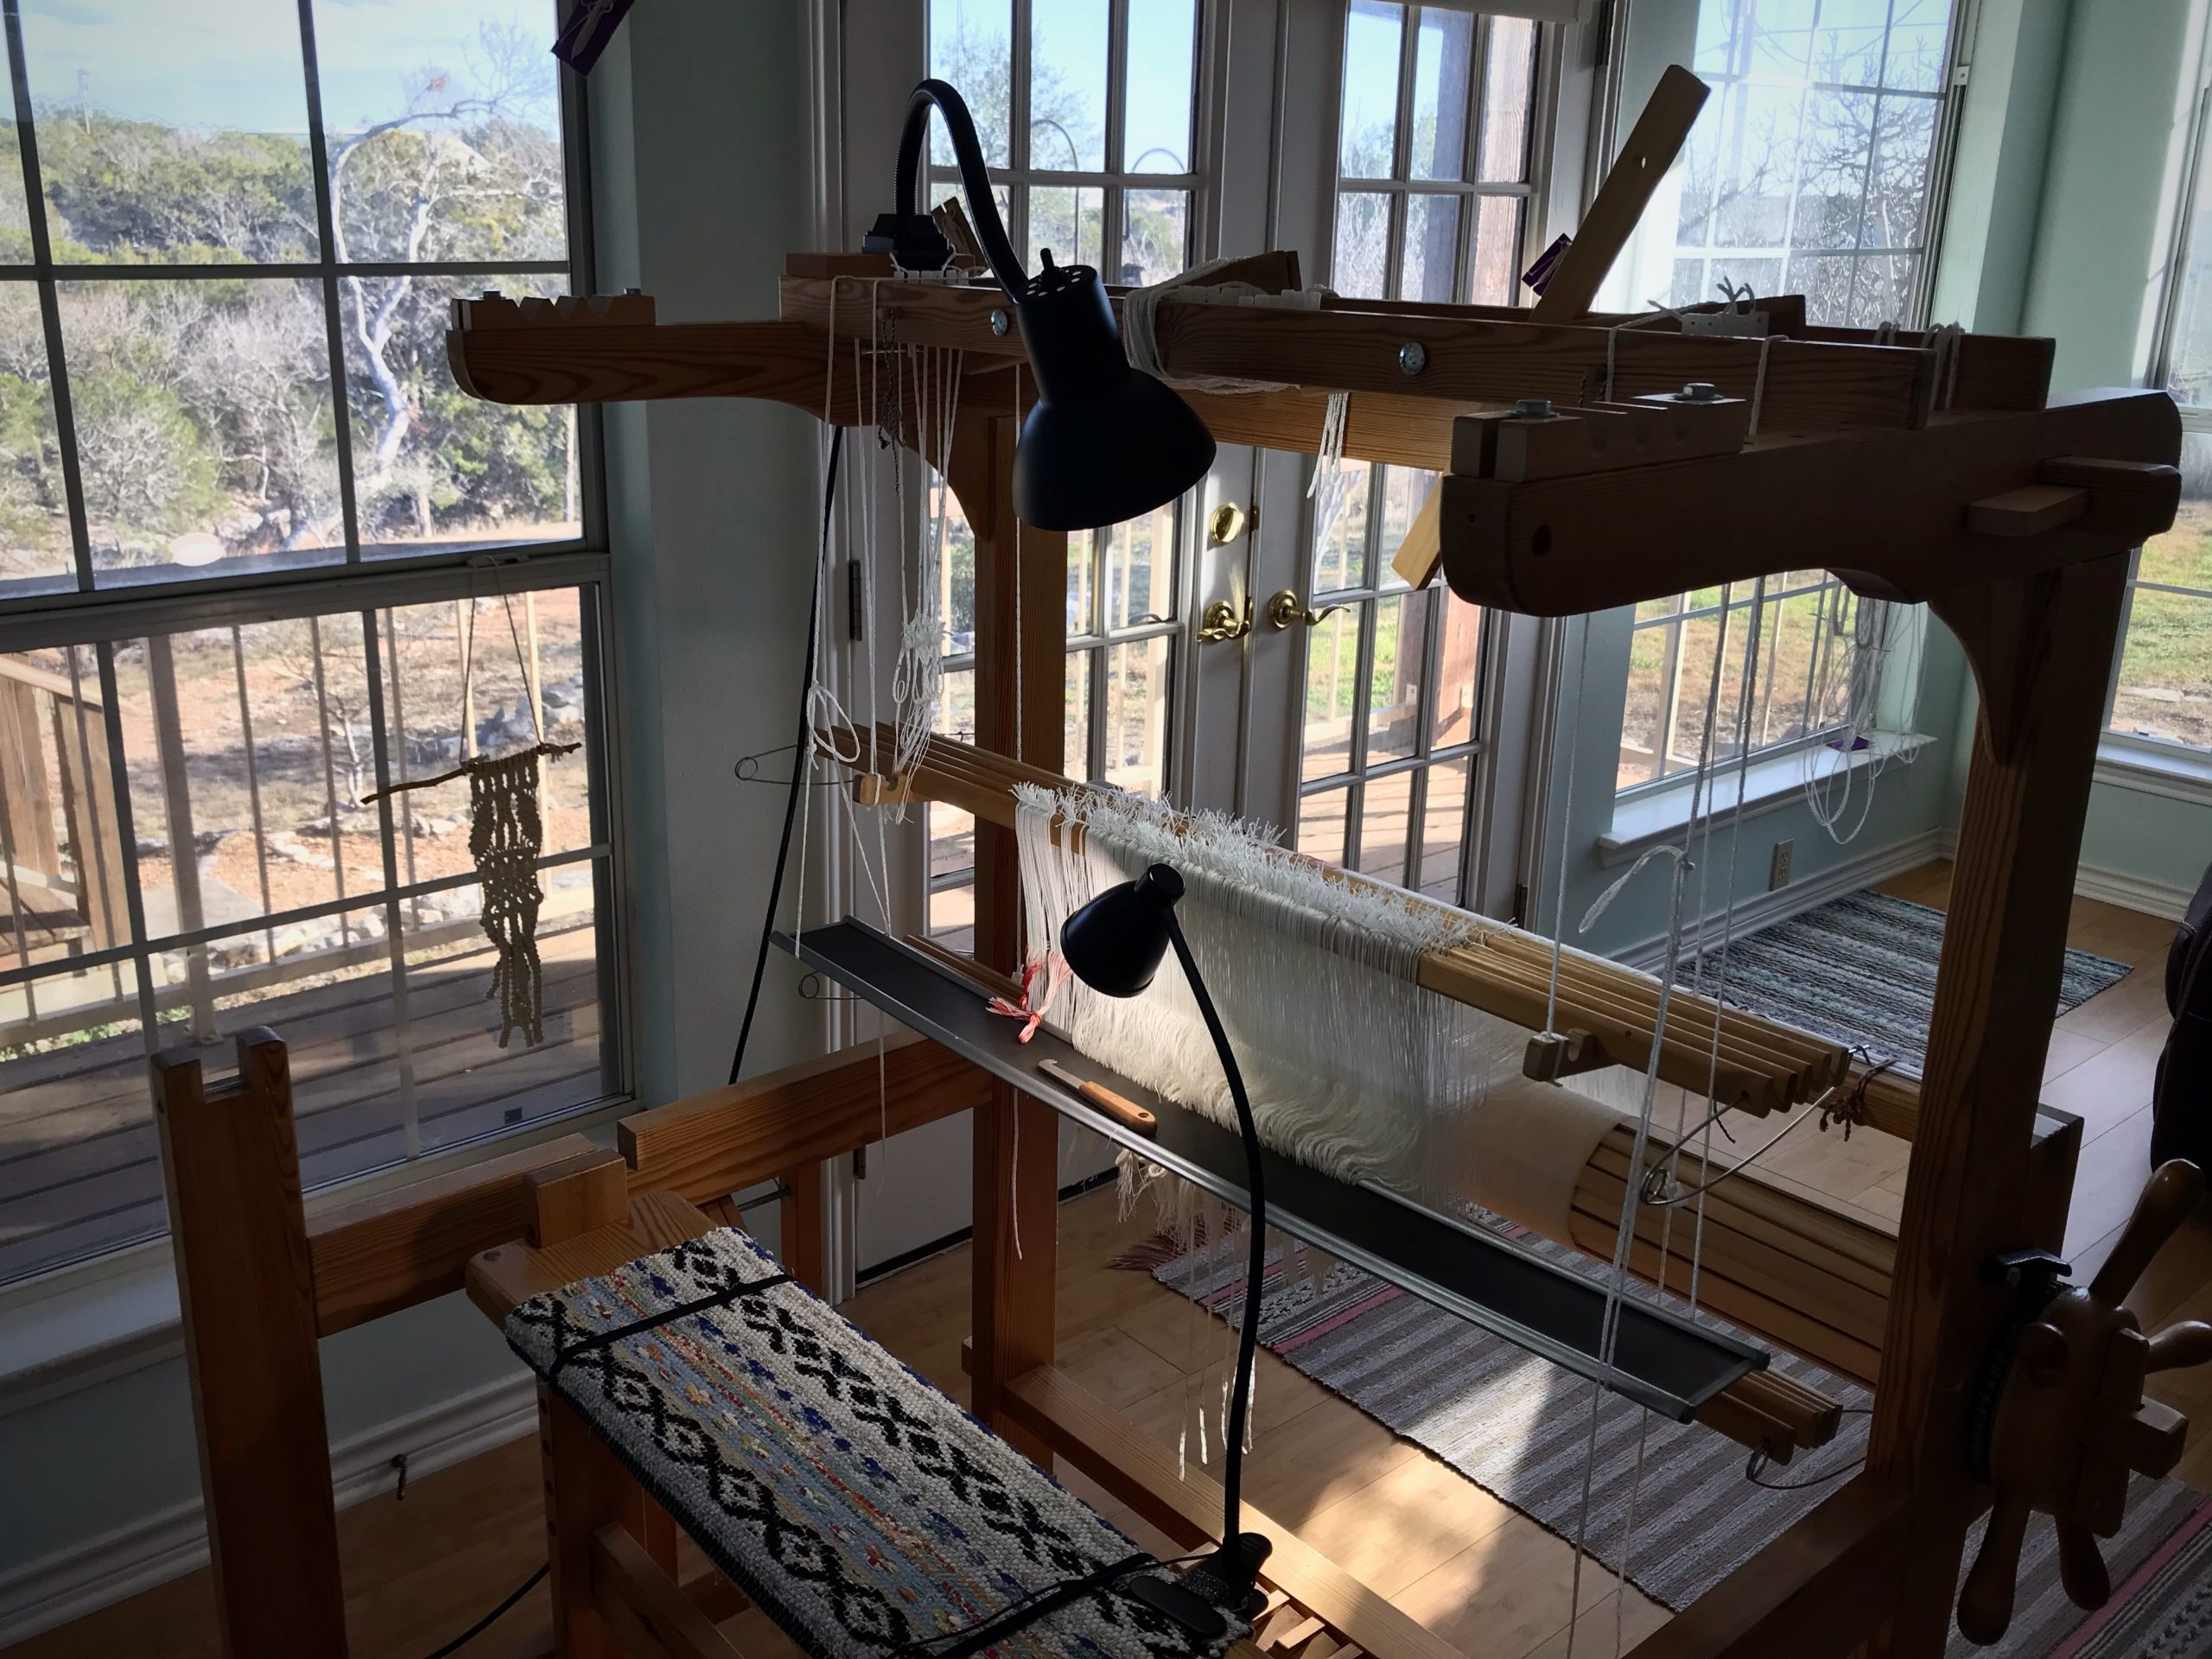
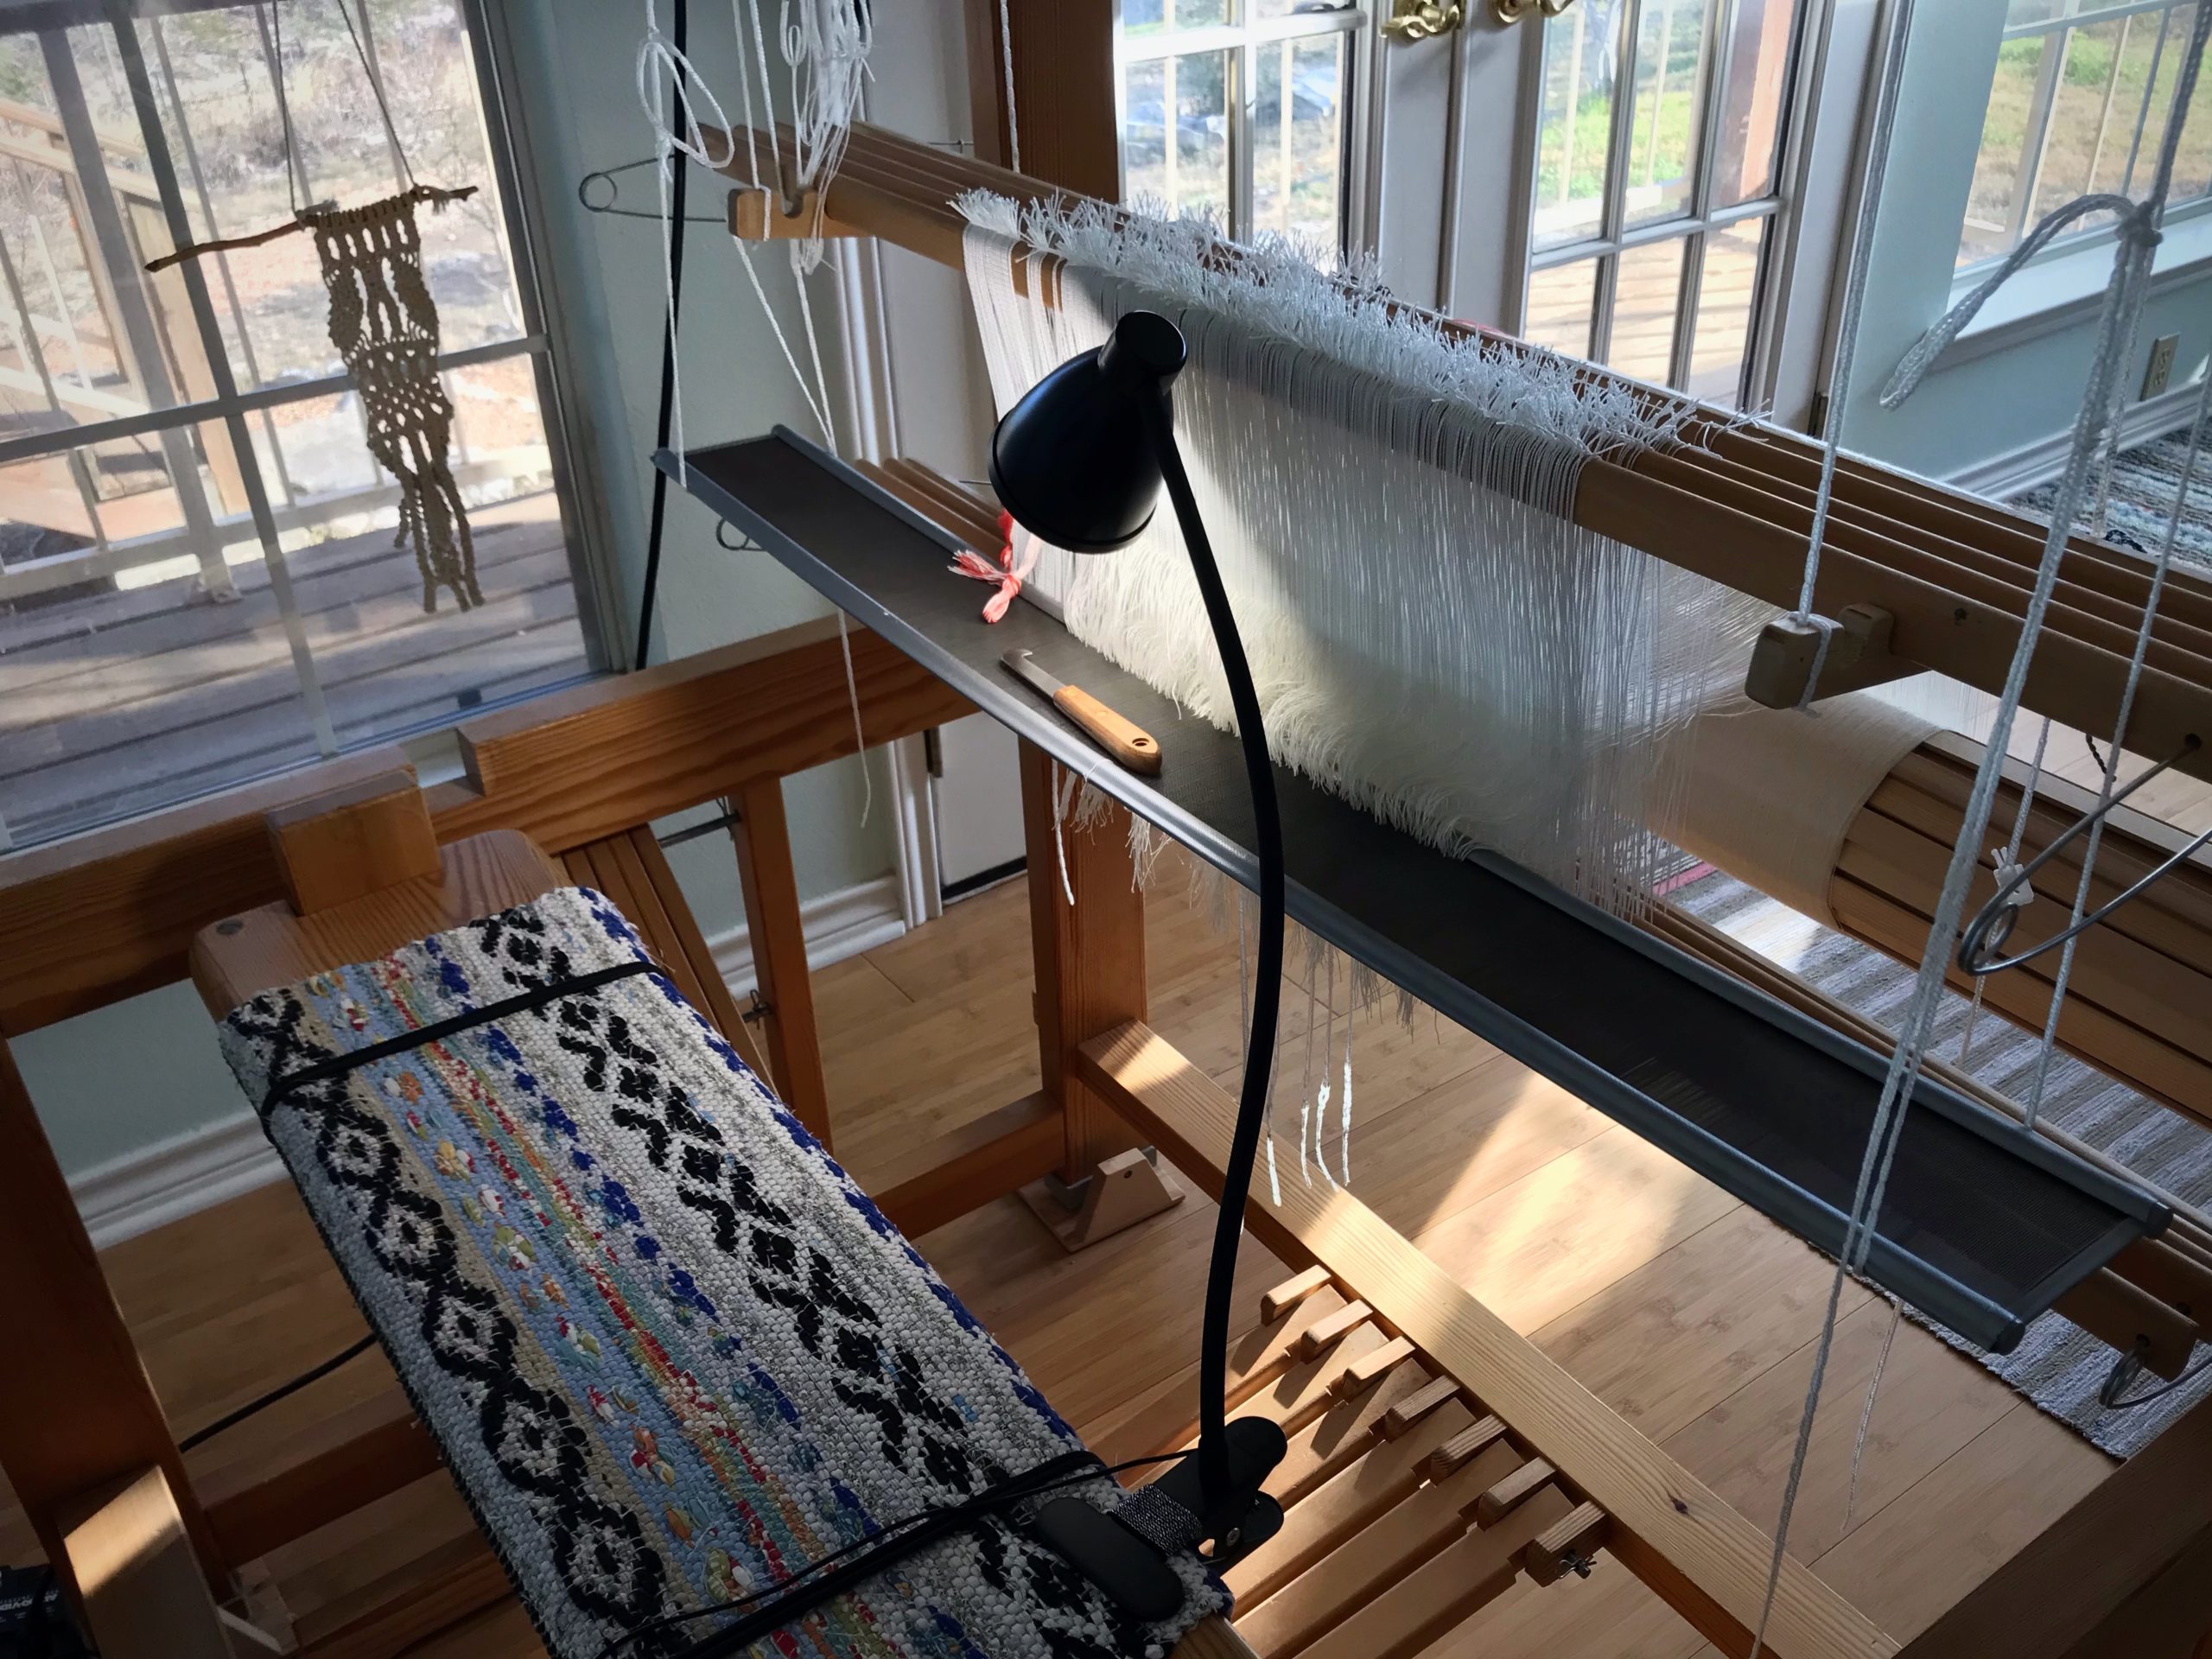
Loom lighting makes a difference!
Shop light attached to top of loom provides good general lighting to all working areas of the loom. Smaller clip-on lamp provides directed light for detail work, like sleying a dense reed.
Clip-on lamp for detail work at the loom.
Even in a room filled with natural light, a focused bright light on the work area relieves eye strain and reduces errors.

First, make sure you have good lighting. I have a snake arm shop light attached to the top of my loom. (See Tools Day: Loom Lighting for more about loom lighting.) I also have a smaller clip-on gooseneck LED lamp, clipped onto my loom bench, that illuminates my specific working area. With a fine-dent reed, like this metric 100/10- (~ imperial 25-) dent reed, focused lighting makes a difference. It means seeing the dents instead of guessing.

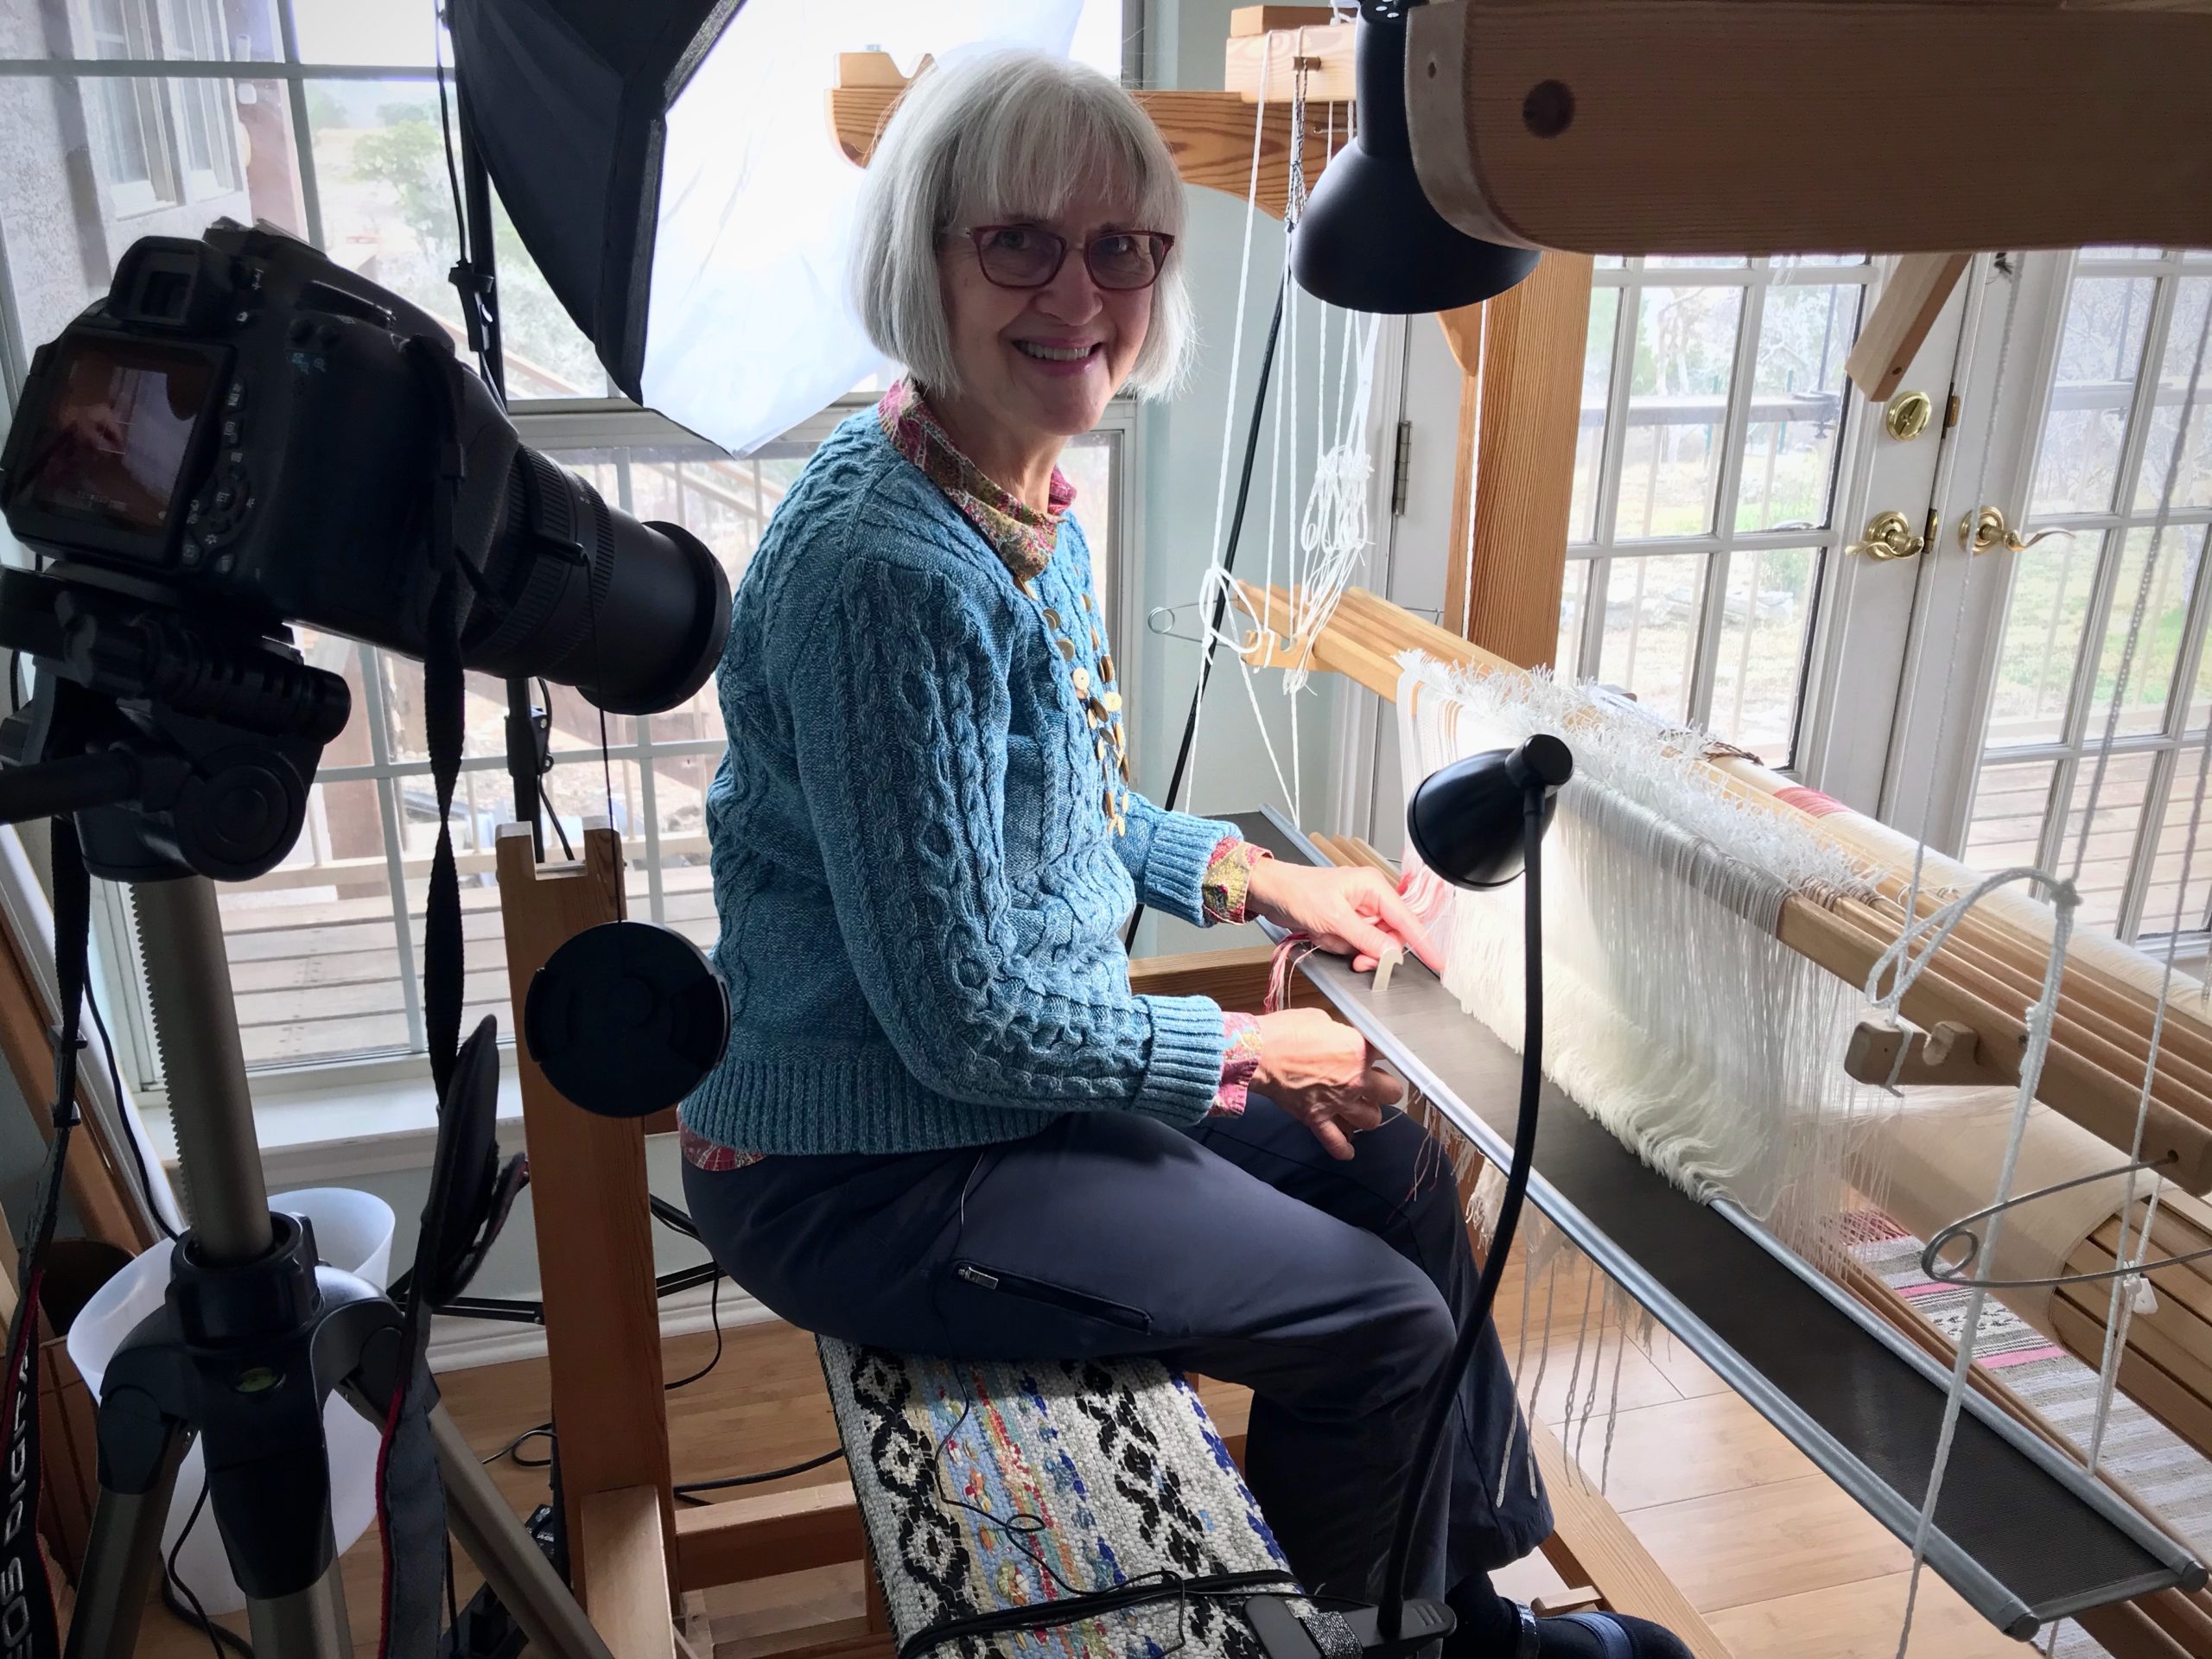
Making a new video. Tips for sleying the reed.
Making a new video. Steve does the filming and I do the editing.

In this video, I share some tips for sleying the reed, with checkpoints to ensure success. (See Tools Day: Click Test for more about the “click test” mentioned in the video.)

May your dragons be few.

Yours truly,
Karen