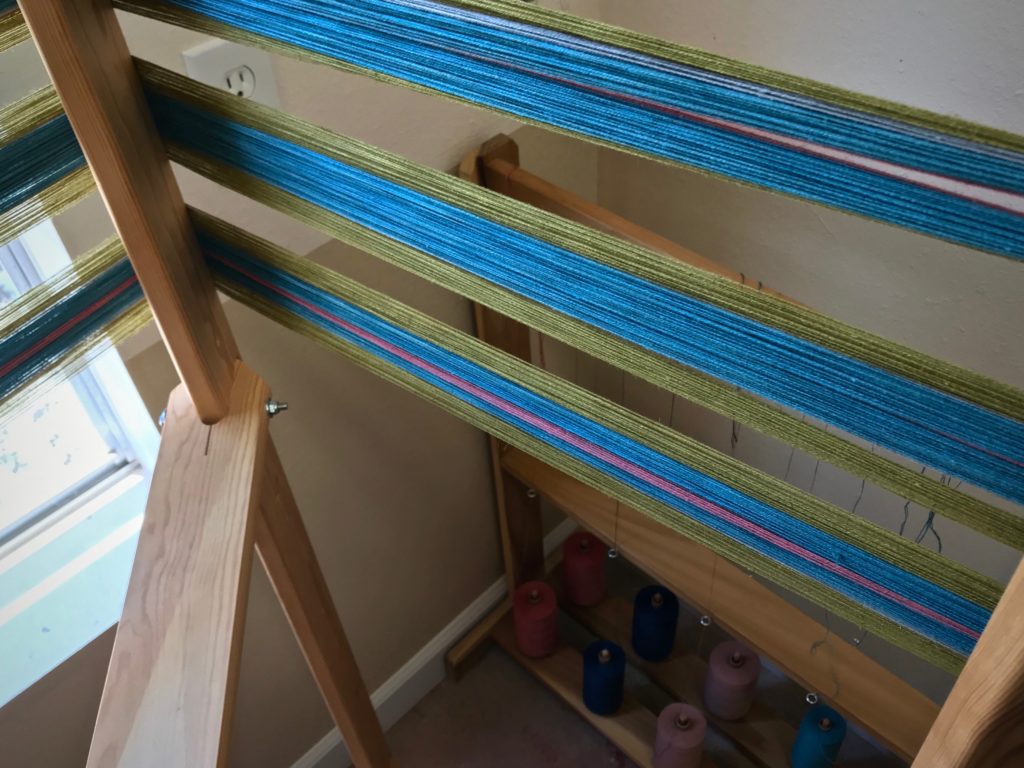
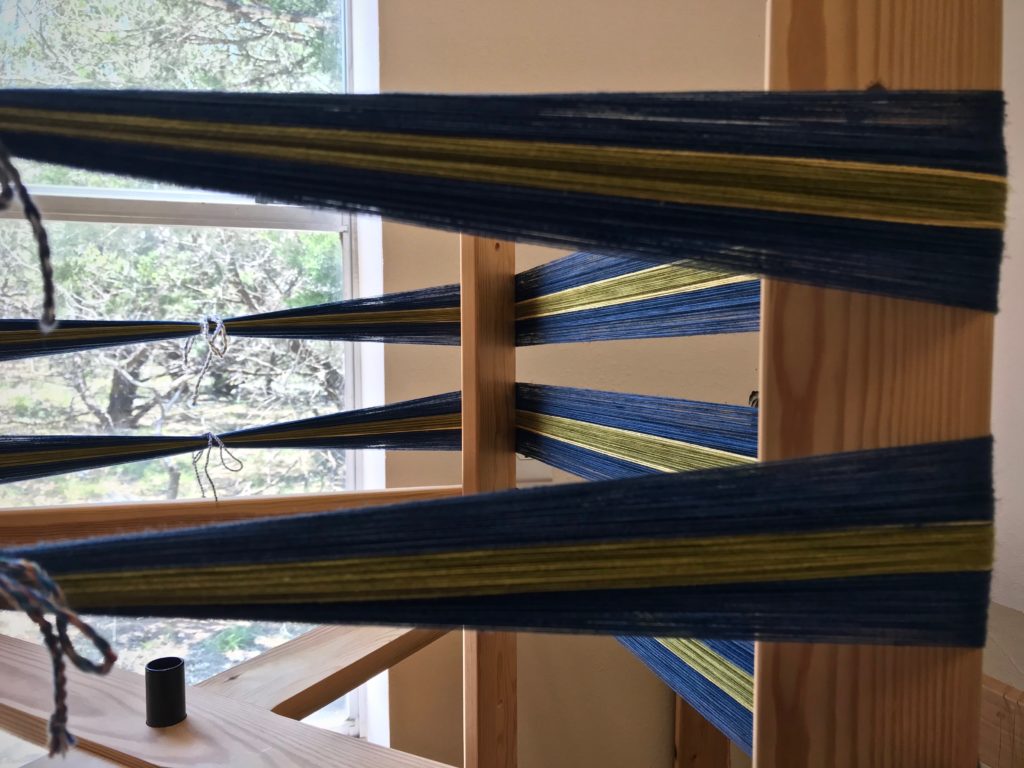
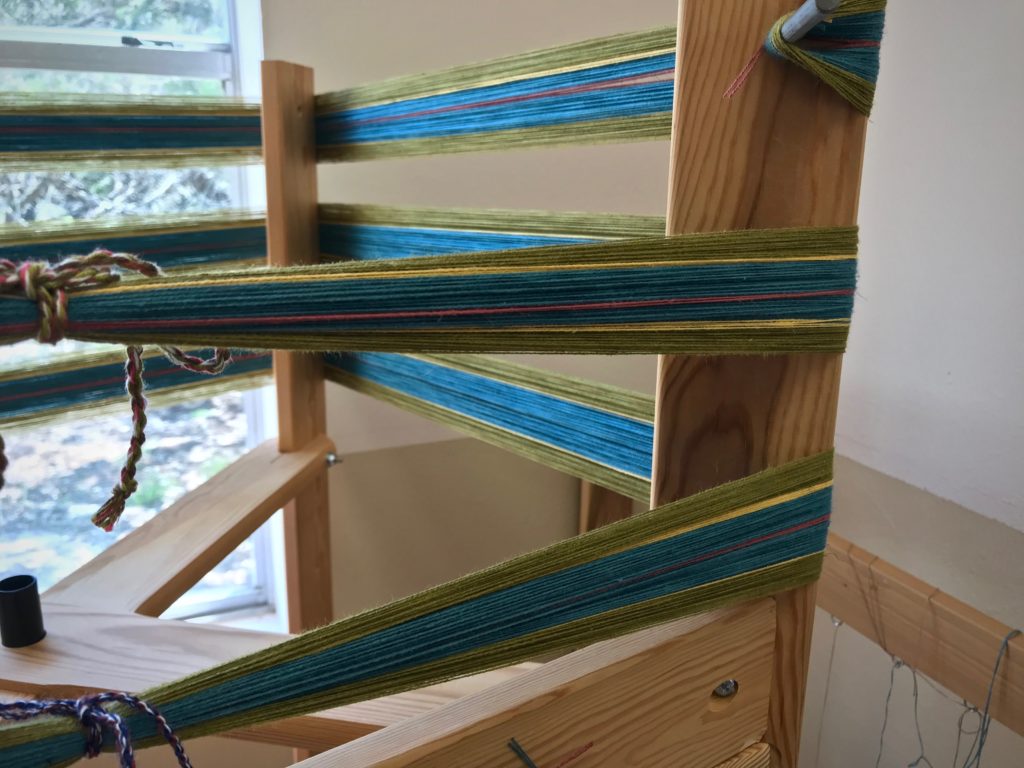
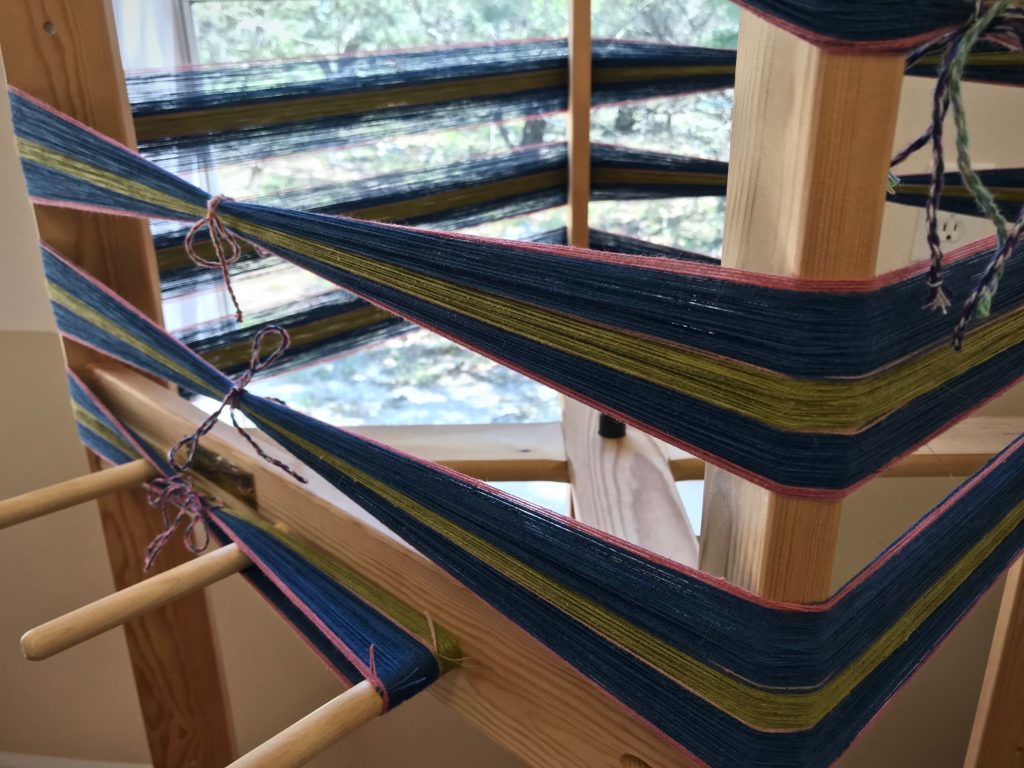
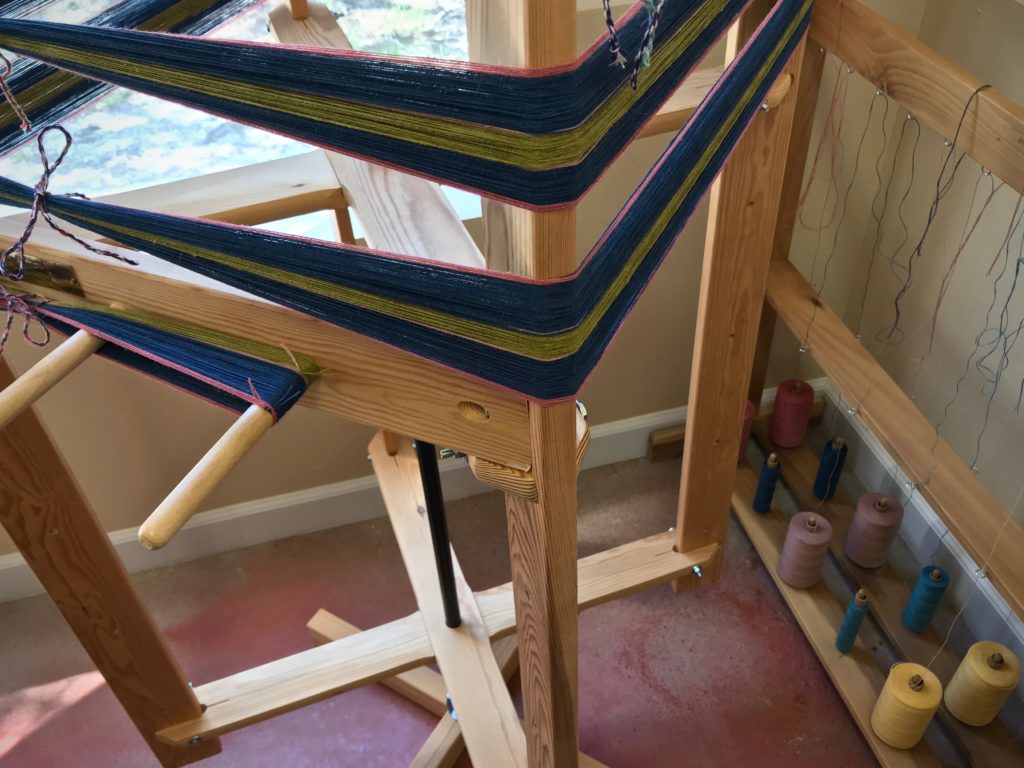
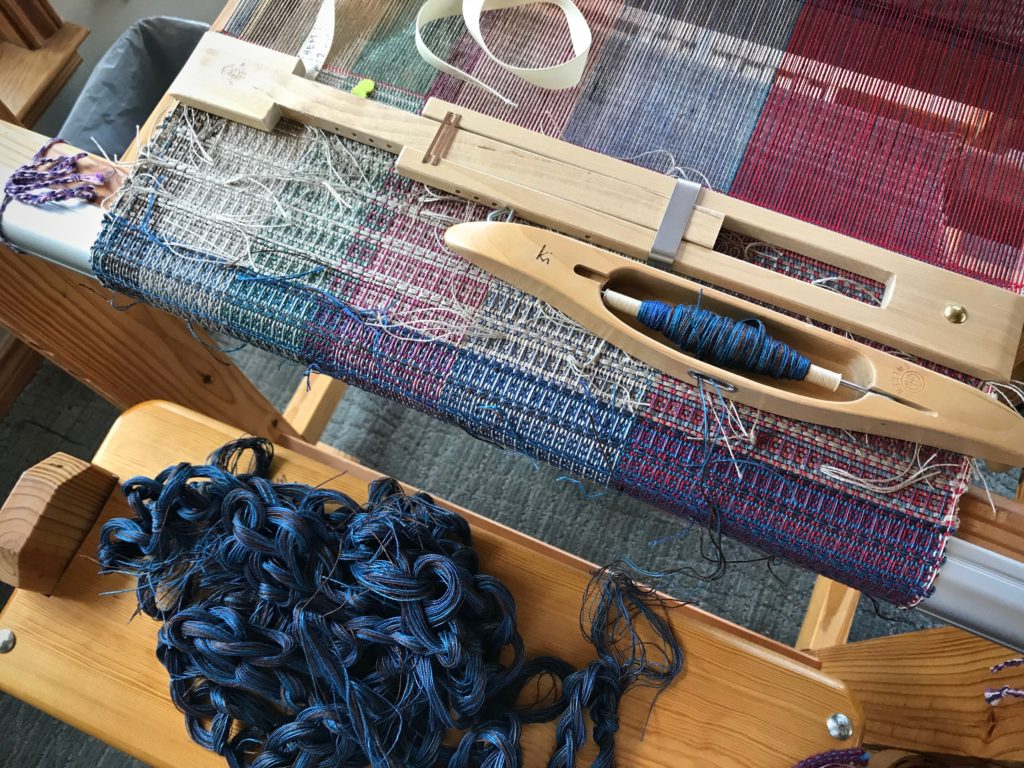
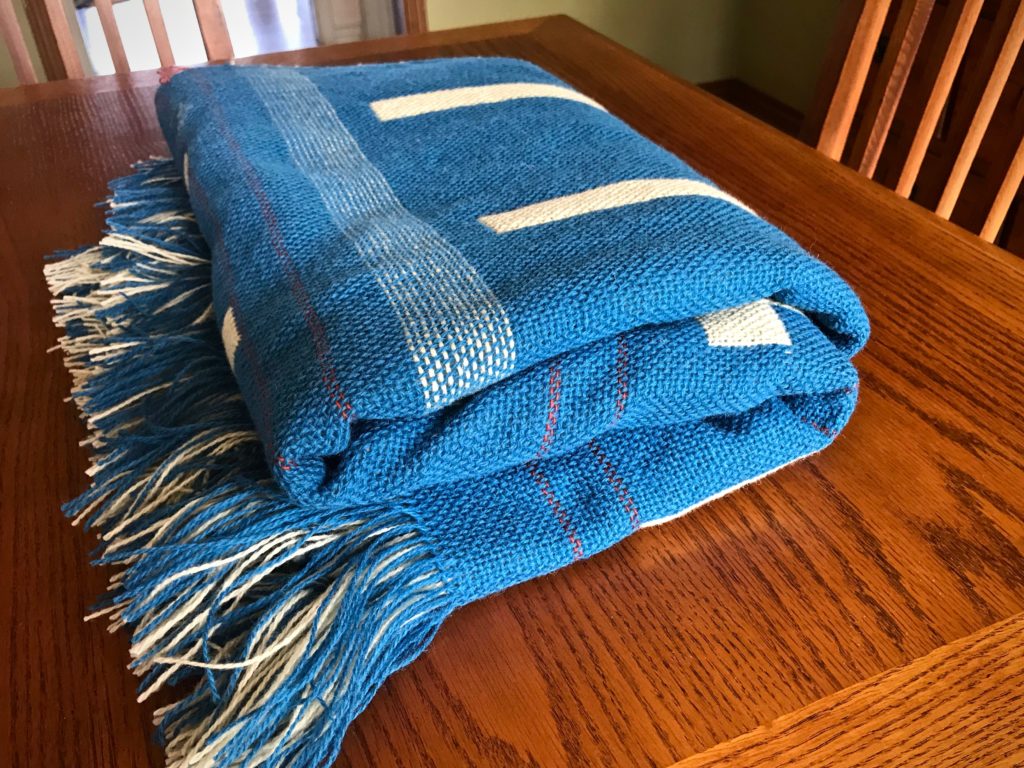
I am winding a narrow warp for my next drawloom project. My warping reel is in a little four-foot-by-four-foot corner of my drawloom studio, and has just enough room to maneuver. When I am ready to wind a warp the first thing I pull out is my trusty checklist. I use a checklist for efficiency. It keeps me on track. And it’s more dependable than my memory.
Checklist for Winding a Warp
__ Weigh warp thread and write the amounts on the project notes. By weighing the thread before and after a project, you will know exactly how much warp thread was used in the project.
__ Stick a sample four-inch thread to each thread label; put a rubber band around the tube. After you finish winding the warp, you can quickly pair each yarn with its correct label because of the sample thread stuck to the label.
__ Bring supplies to the warping reel. If your warping reel is in a different room, or in a separate building, like mine is, make sure you have all you need before you head to the warping reel.
+ Thread for the project
+ Thread stand, if not already in place
+ Scissors
+ Project notes, with fully completed draft — An incomplete draft may give faulty information. Also, a review of the project notes and draft is a good idea, especially if weeks or months have passed since you wrote it all down.
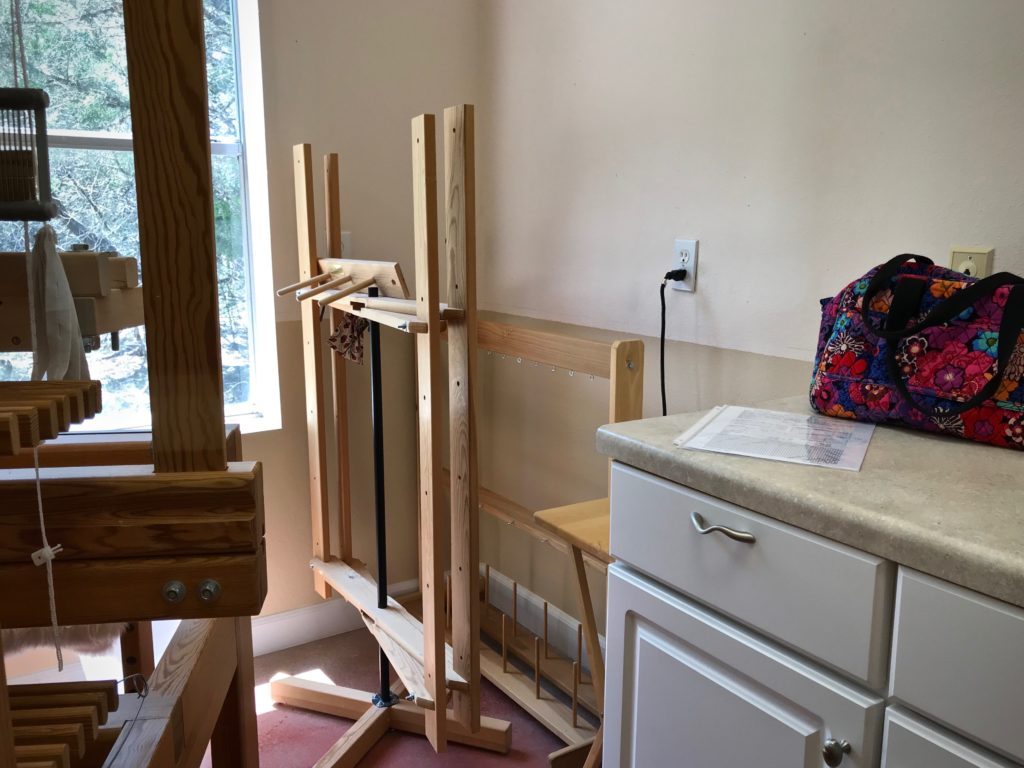
__ Set up the warping reel for warp length. Use a guide string, or measure the distance needed to place the pegs and turning pin at the right place on the warping reel for the warp you are going to wind.
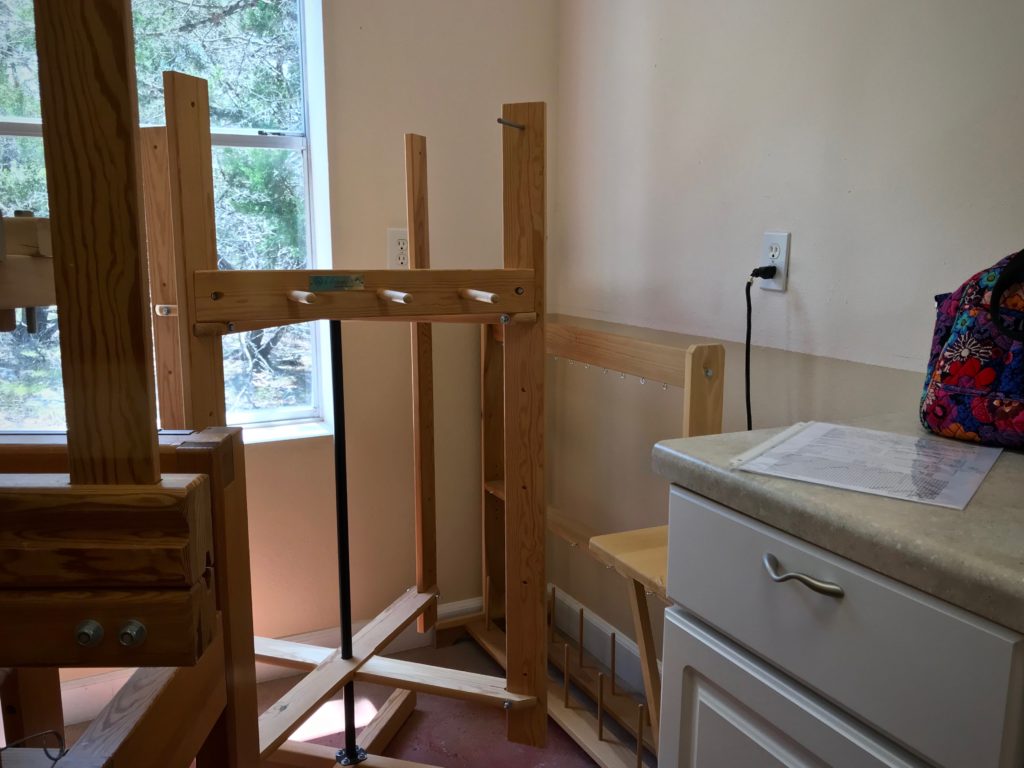

__ Set out the thread on the thread stand. Wind the warp with two or more threads at the same time, for best results.
__ Hang or tape up the project notes at eye level. Project notes show the warp sequence and other vital information.
__ Take note of warp length, number of bouts, and number of ends in each bout. Aim for 25 cm (10”) or less in the reed, or 200 or fewer ends, per bout. For the drawloom, wind the warp in pattern unit increments when possible.
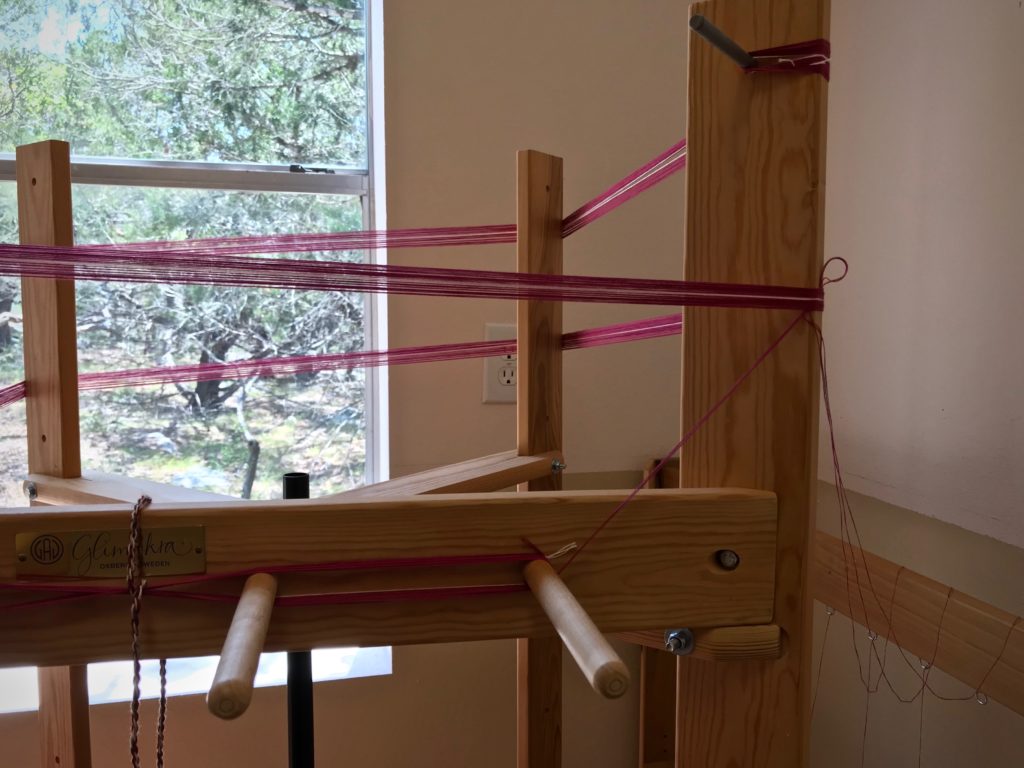
__ Wind first bout, counting warp ends. Use a cord between groups of ends to keep track of the counting.
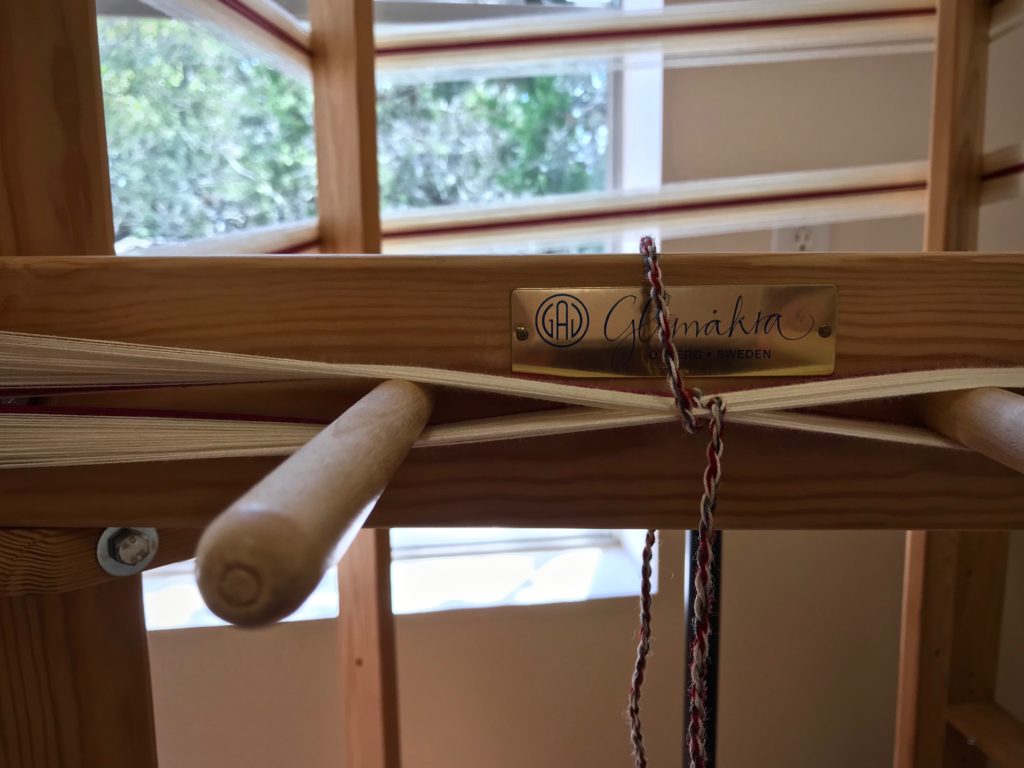
__ Visually check the warp order. Check to see that the warp order on the warping reel matches the warp sequence on the project notes. (I added this step to my checklist after the time I omitted 6 threads at the center of a warp, discovered after threading the loom.)
__ Tie off around the turning pin or the outside peg. Always wind the last pass with two or more threads together so you can tie them around the pin or peg.
__ Tie the lease cross; and tie choke ties on the warp. Tie the cross first, and tie any passes of the warp directly above the cross. Then, spin the wheel and tie the warp wherever it passes on the side opposite the cross. Also tie at the turning pin, at the top and bottom of the loop.
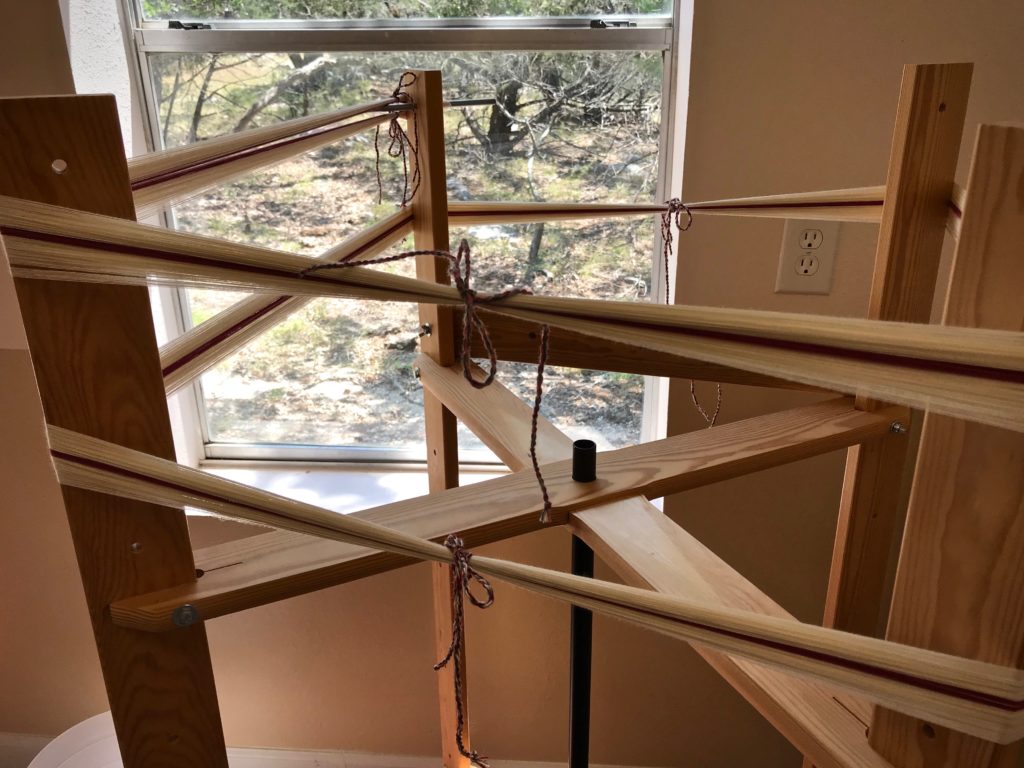
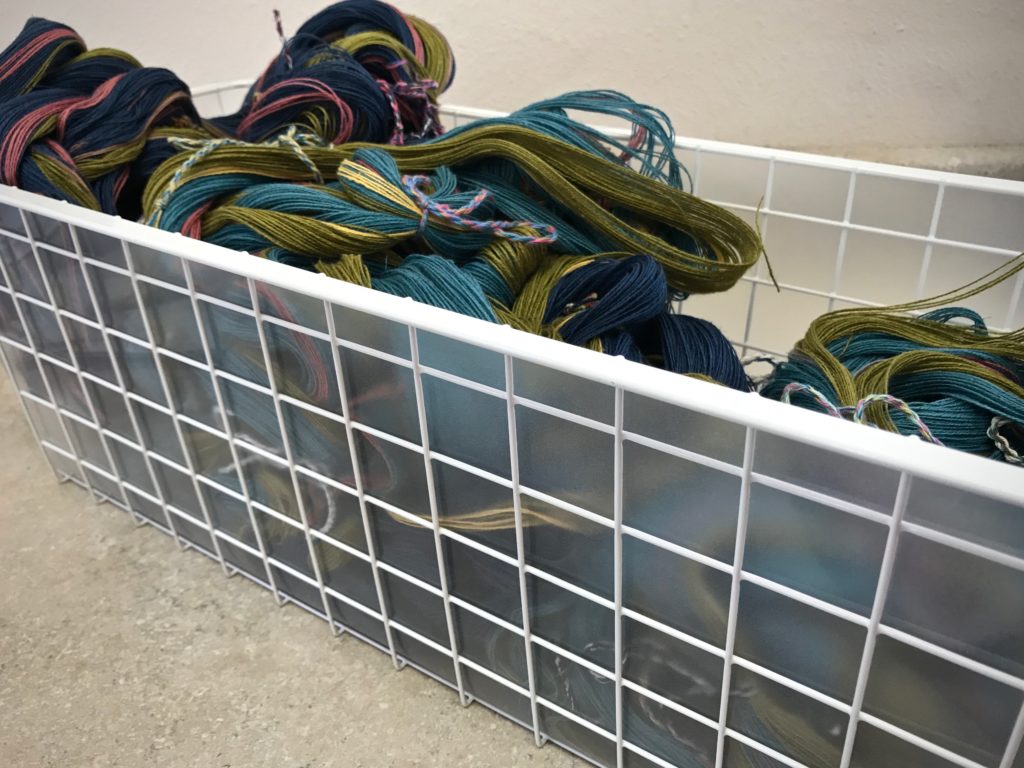
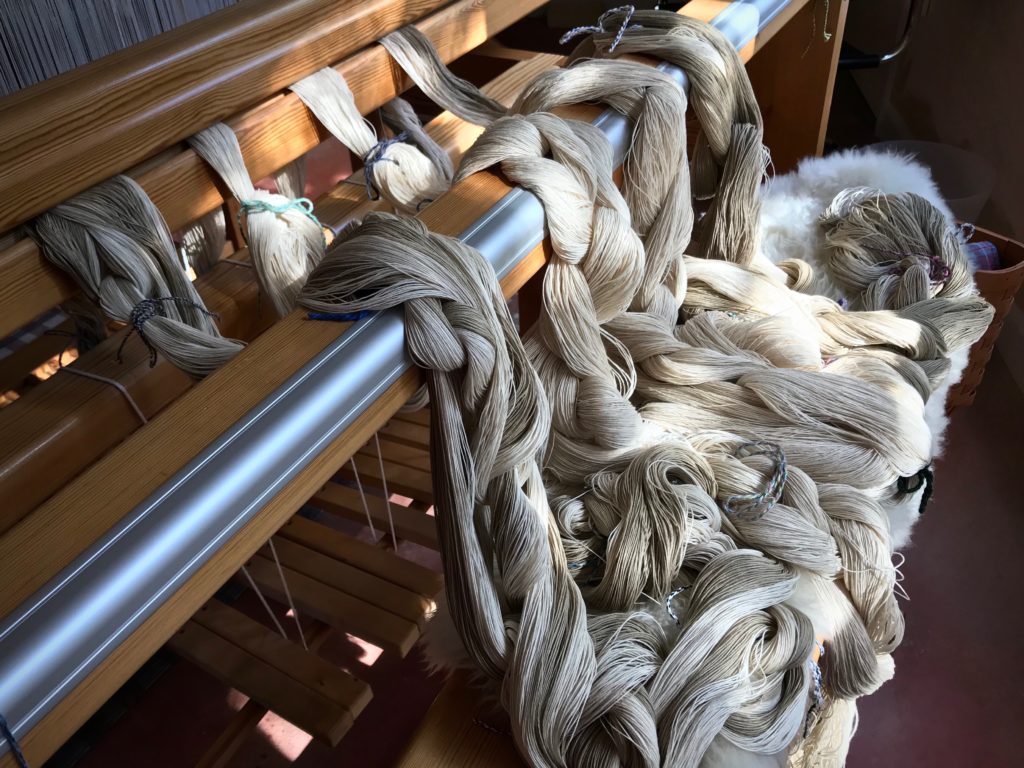
__ Chain the warp bout. Start the chain by holding the loop at the turning pin, and pull out the pin. Chain the warp, ending at the cross. (I use my knee, not so gracefully, to control the turning of the reel as I chain the warp.)
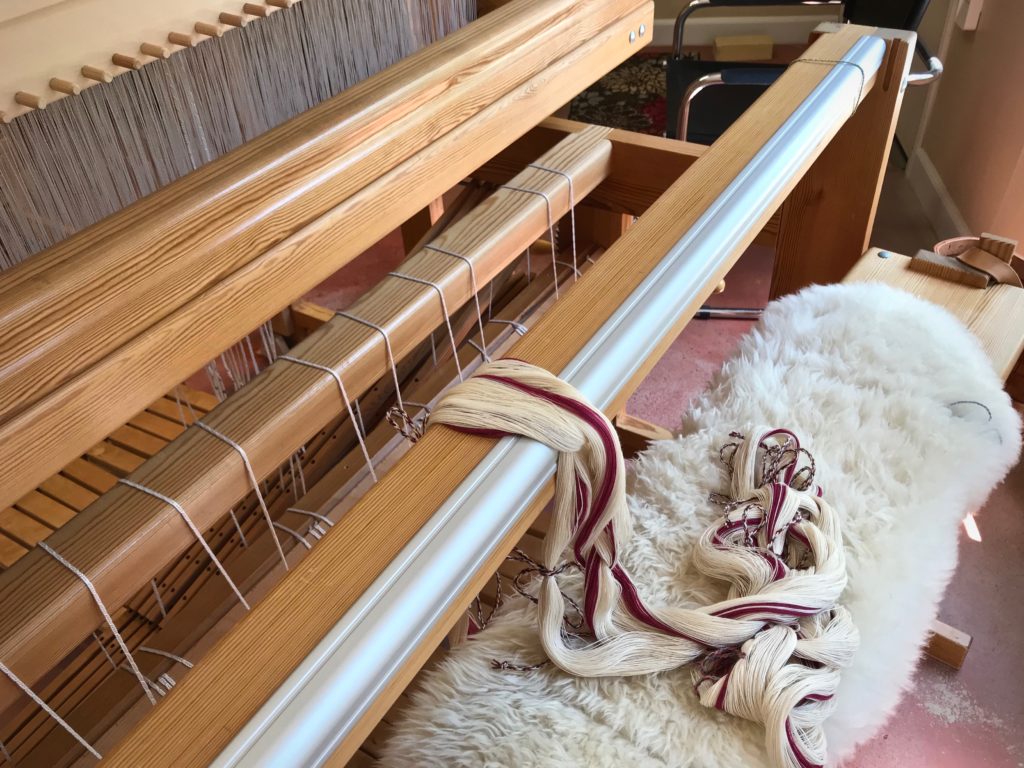
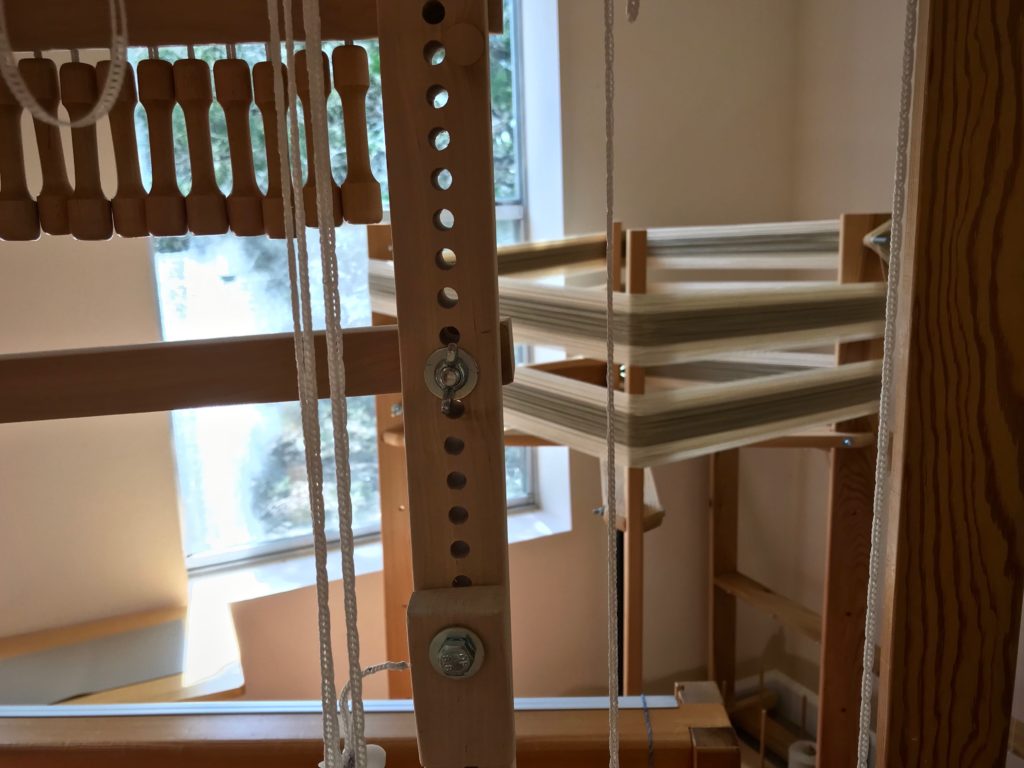
__ Place the warp bout on the loom, with the lease cross end going through the beater.
__ Wind remaining bouts, following the same procedure. When you place the warp chain on the loom double check the warp sequence to make sure the bouts are in the right order.
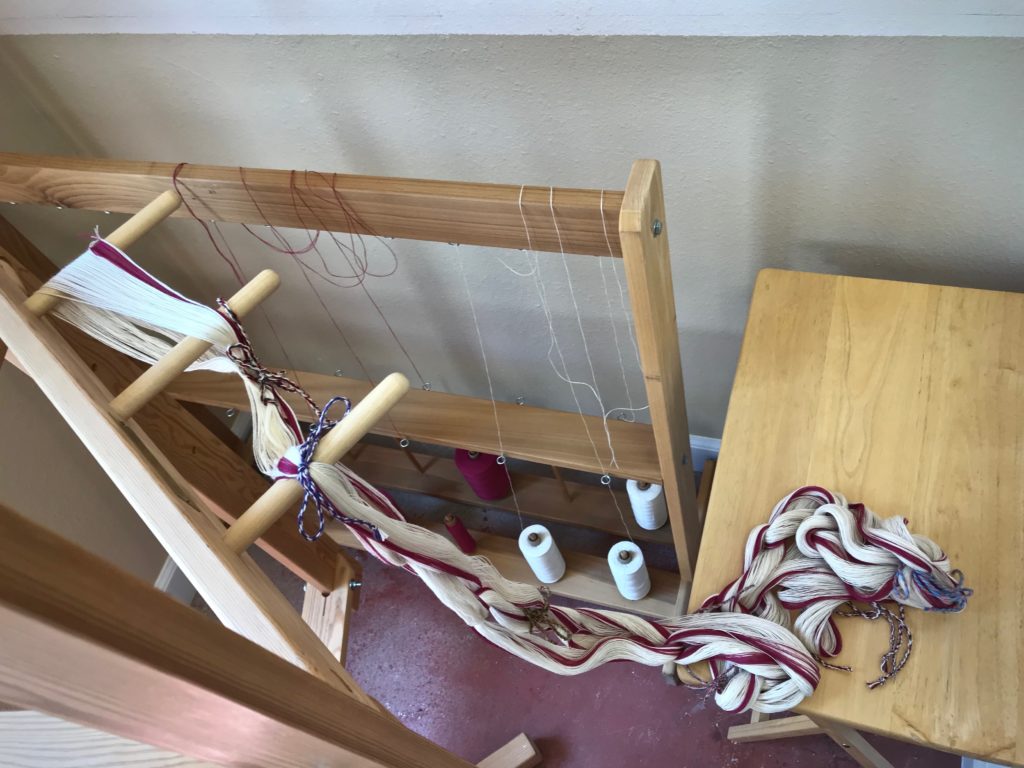
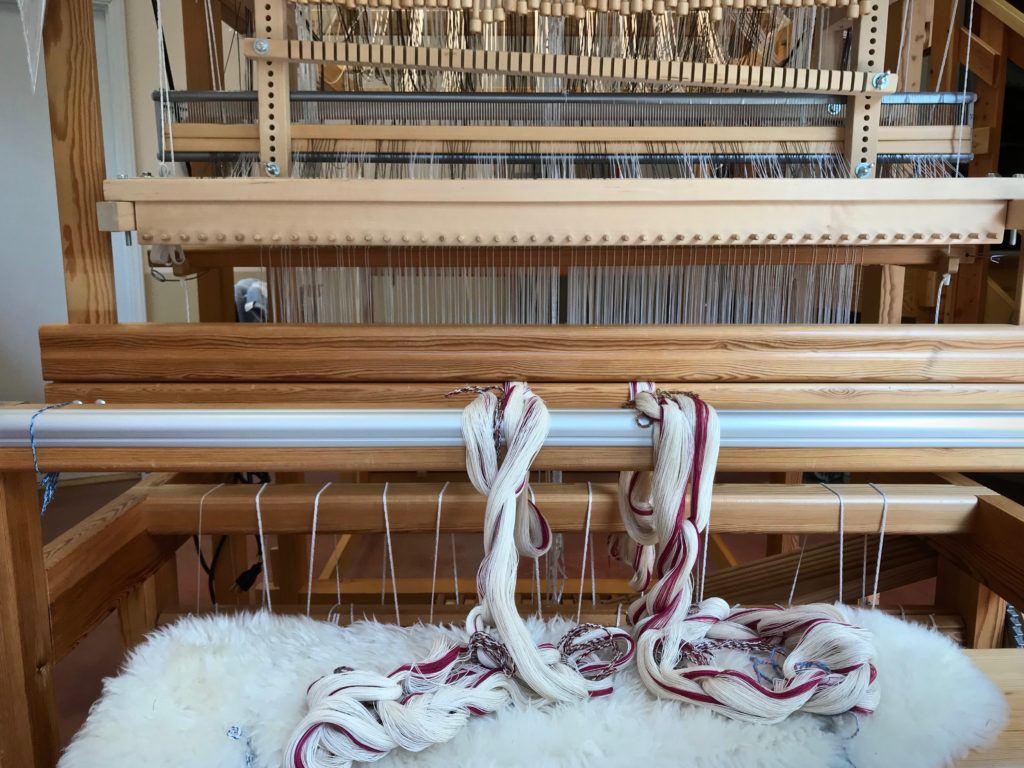
__ Roll up the thread tubes, replace labels, weigh thread and write down amounts, and place thread tubes in project bin. Each loom has its own project bin to hold the thread for that project.

__ Put away the choke ties, scissors, and thread holder.
__ Fold up the warping reel.
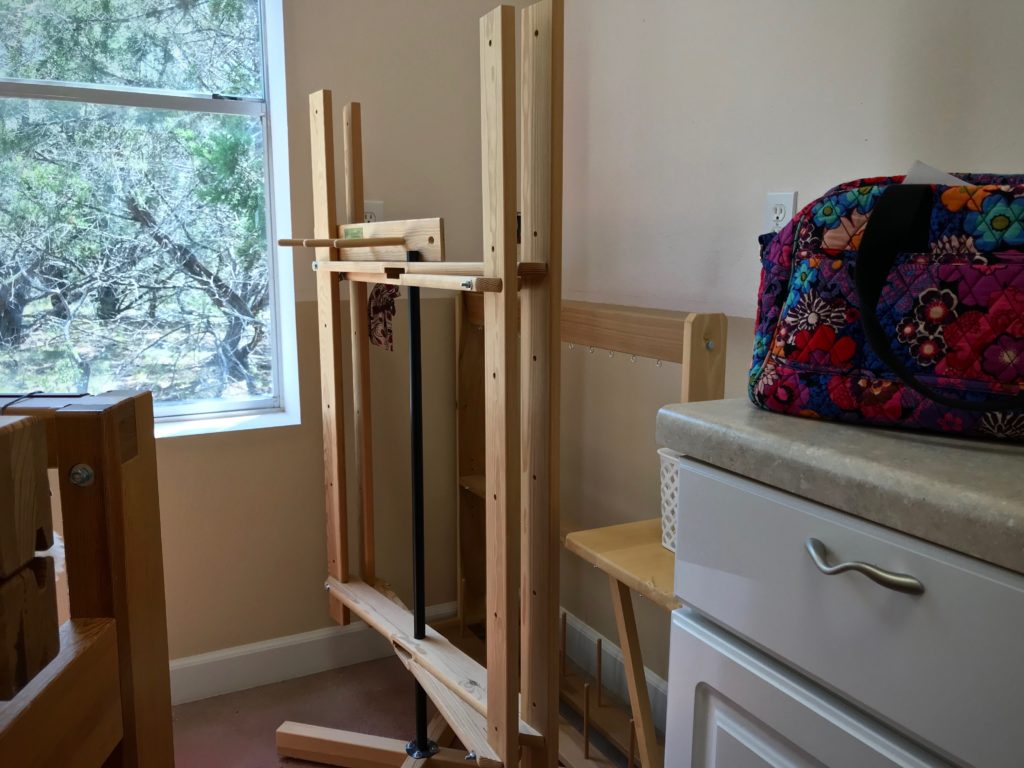
Get ready to dress the loom!
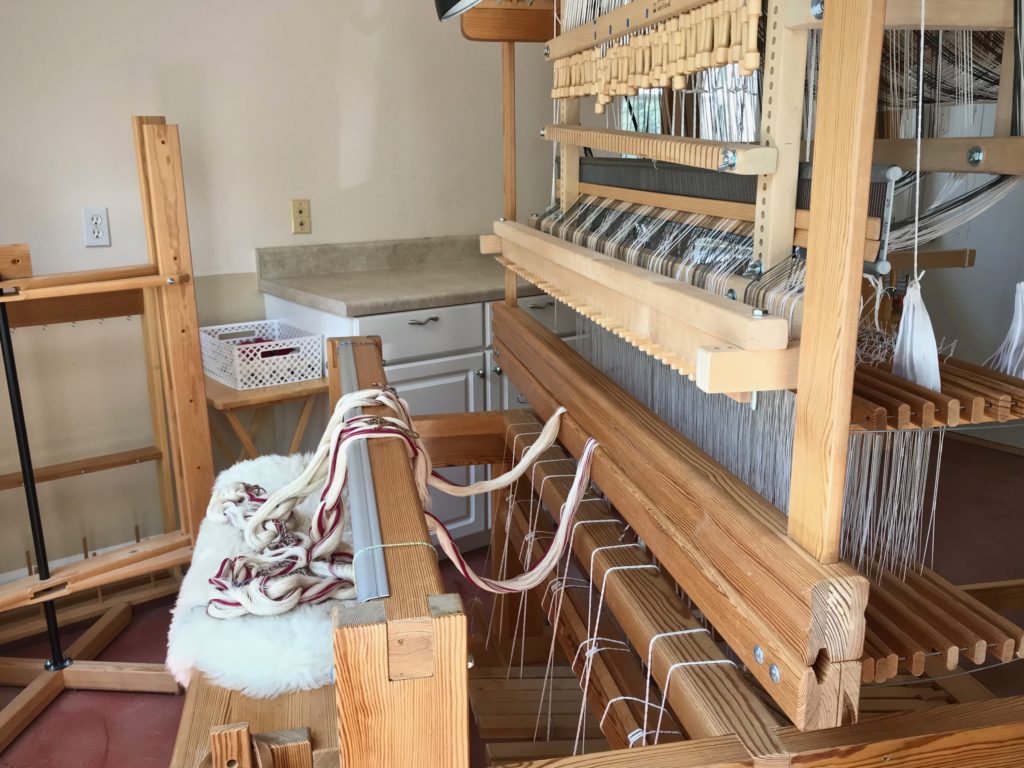
May you enjoy the process.
Happy Weaving,
Karen

