Tried and True: Simplify Subtle Color Changes

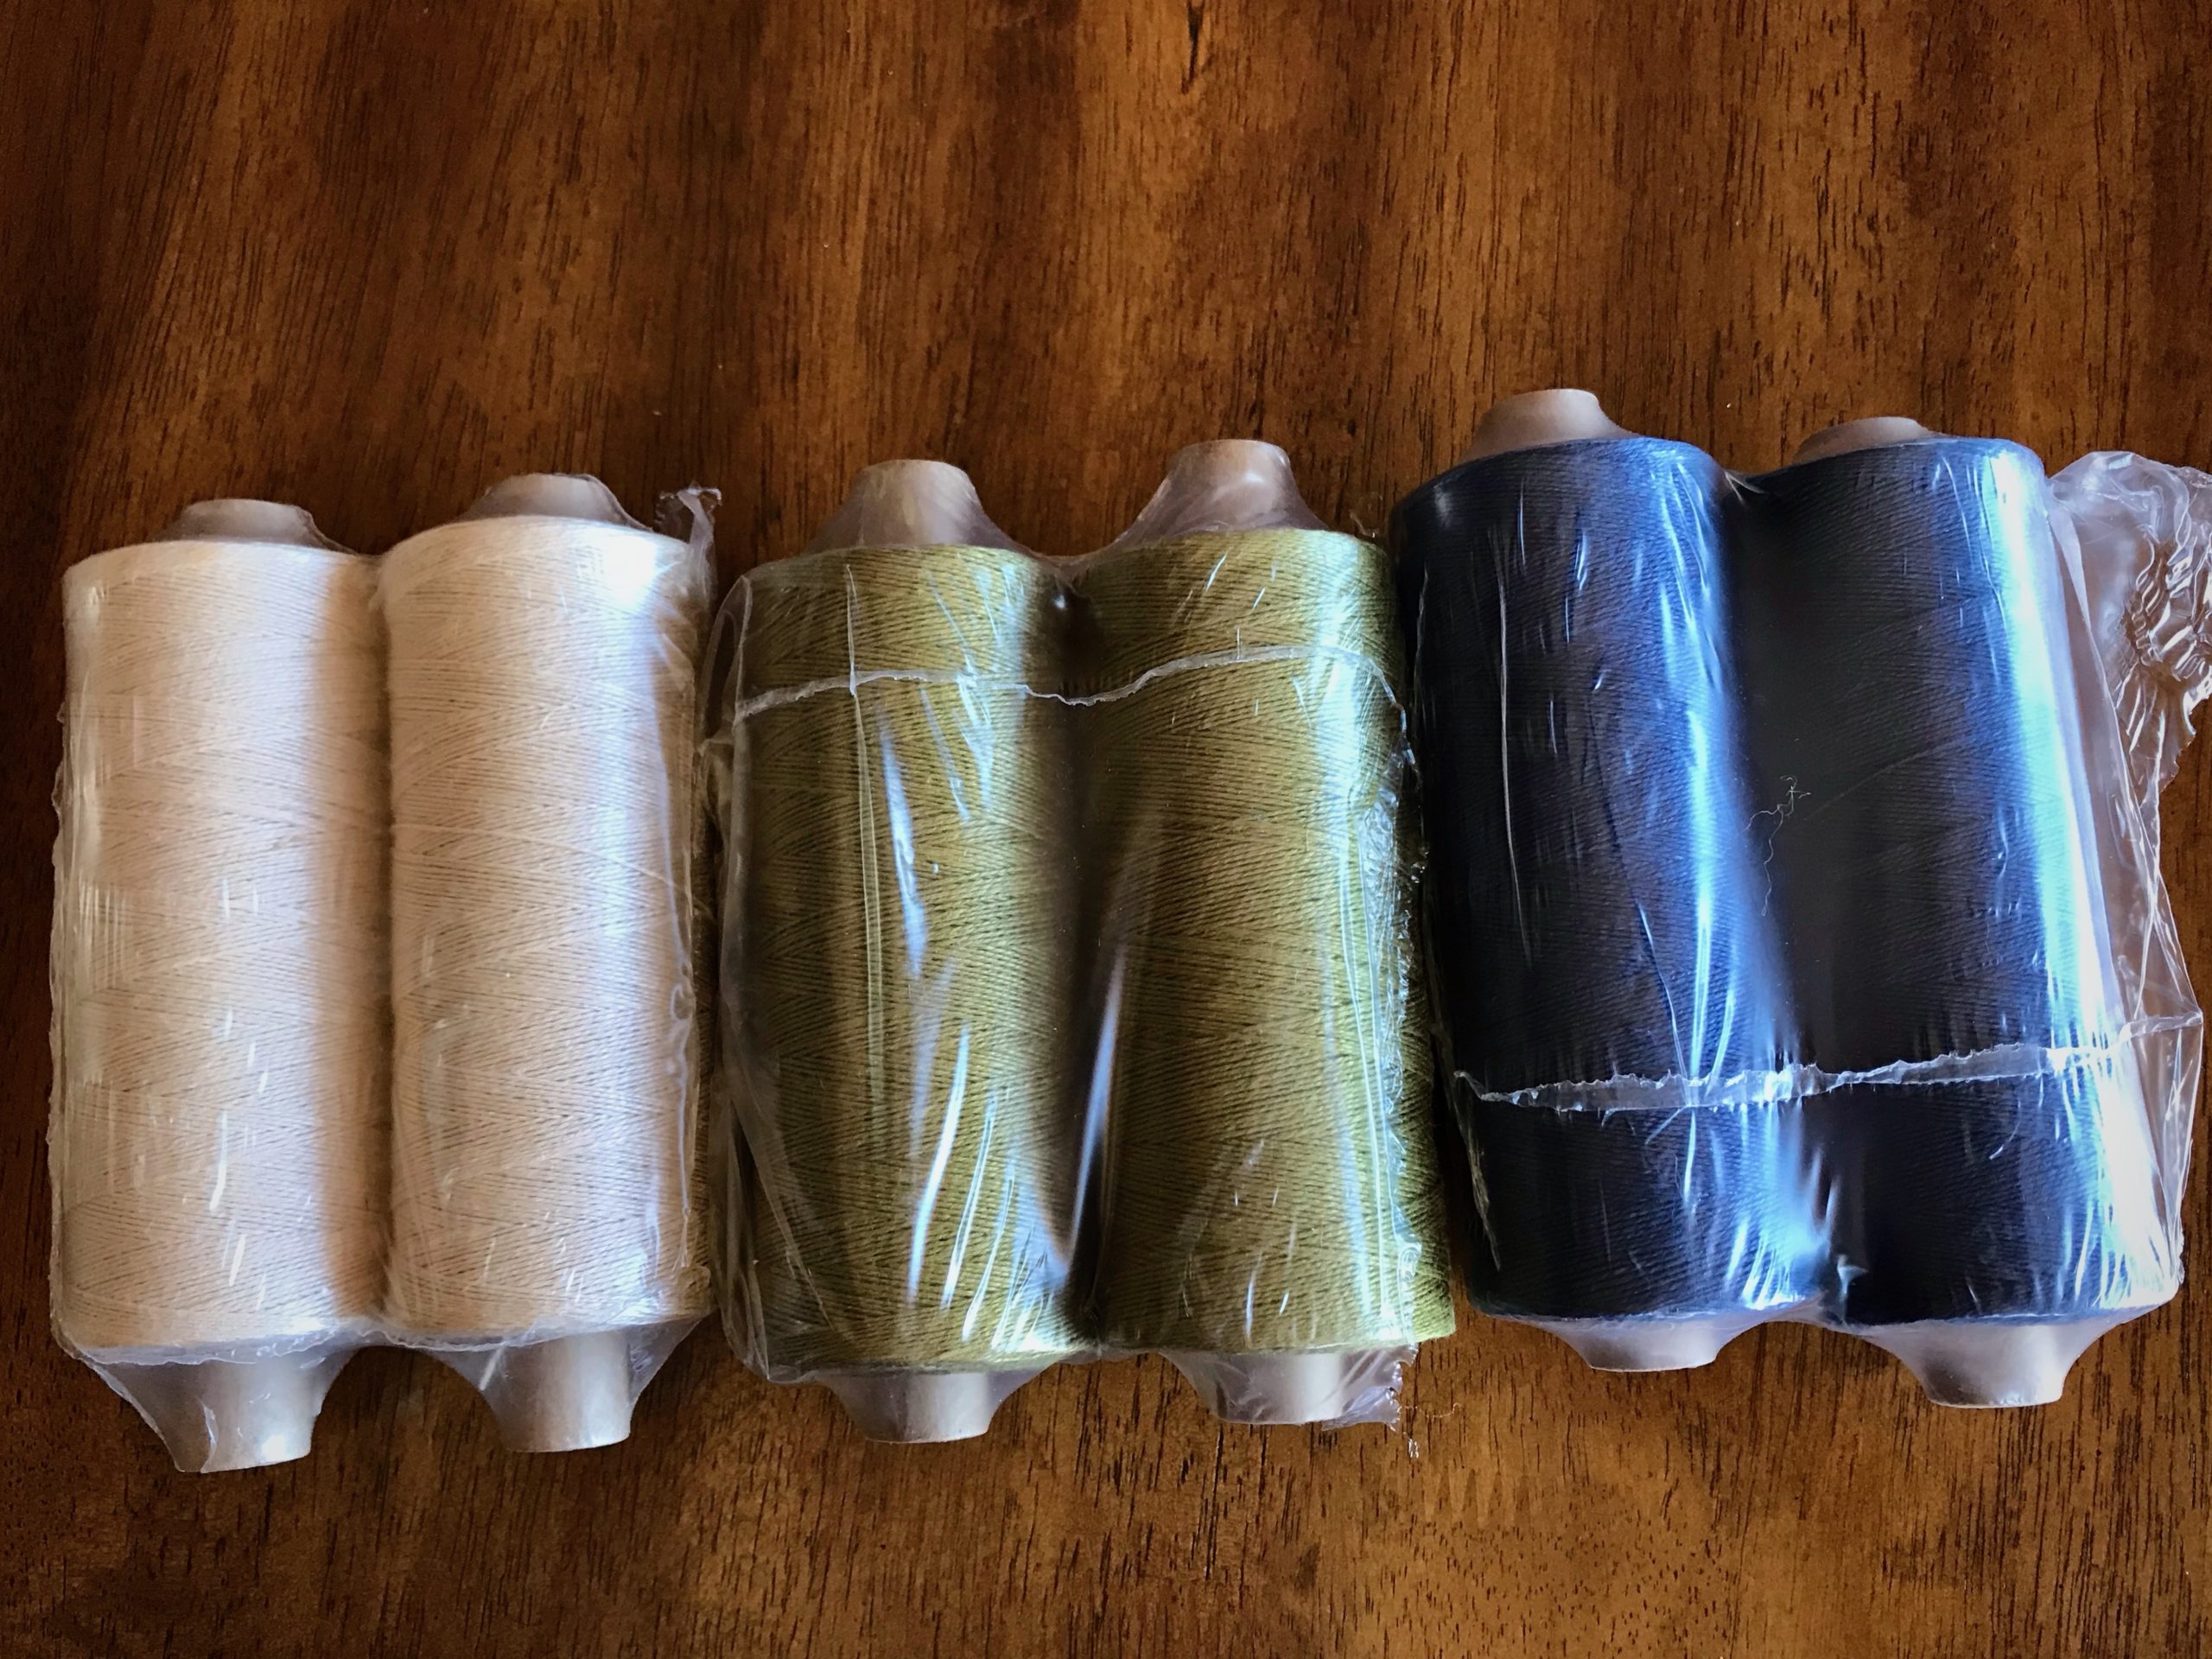
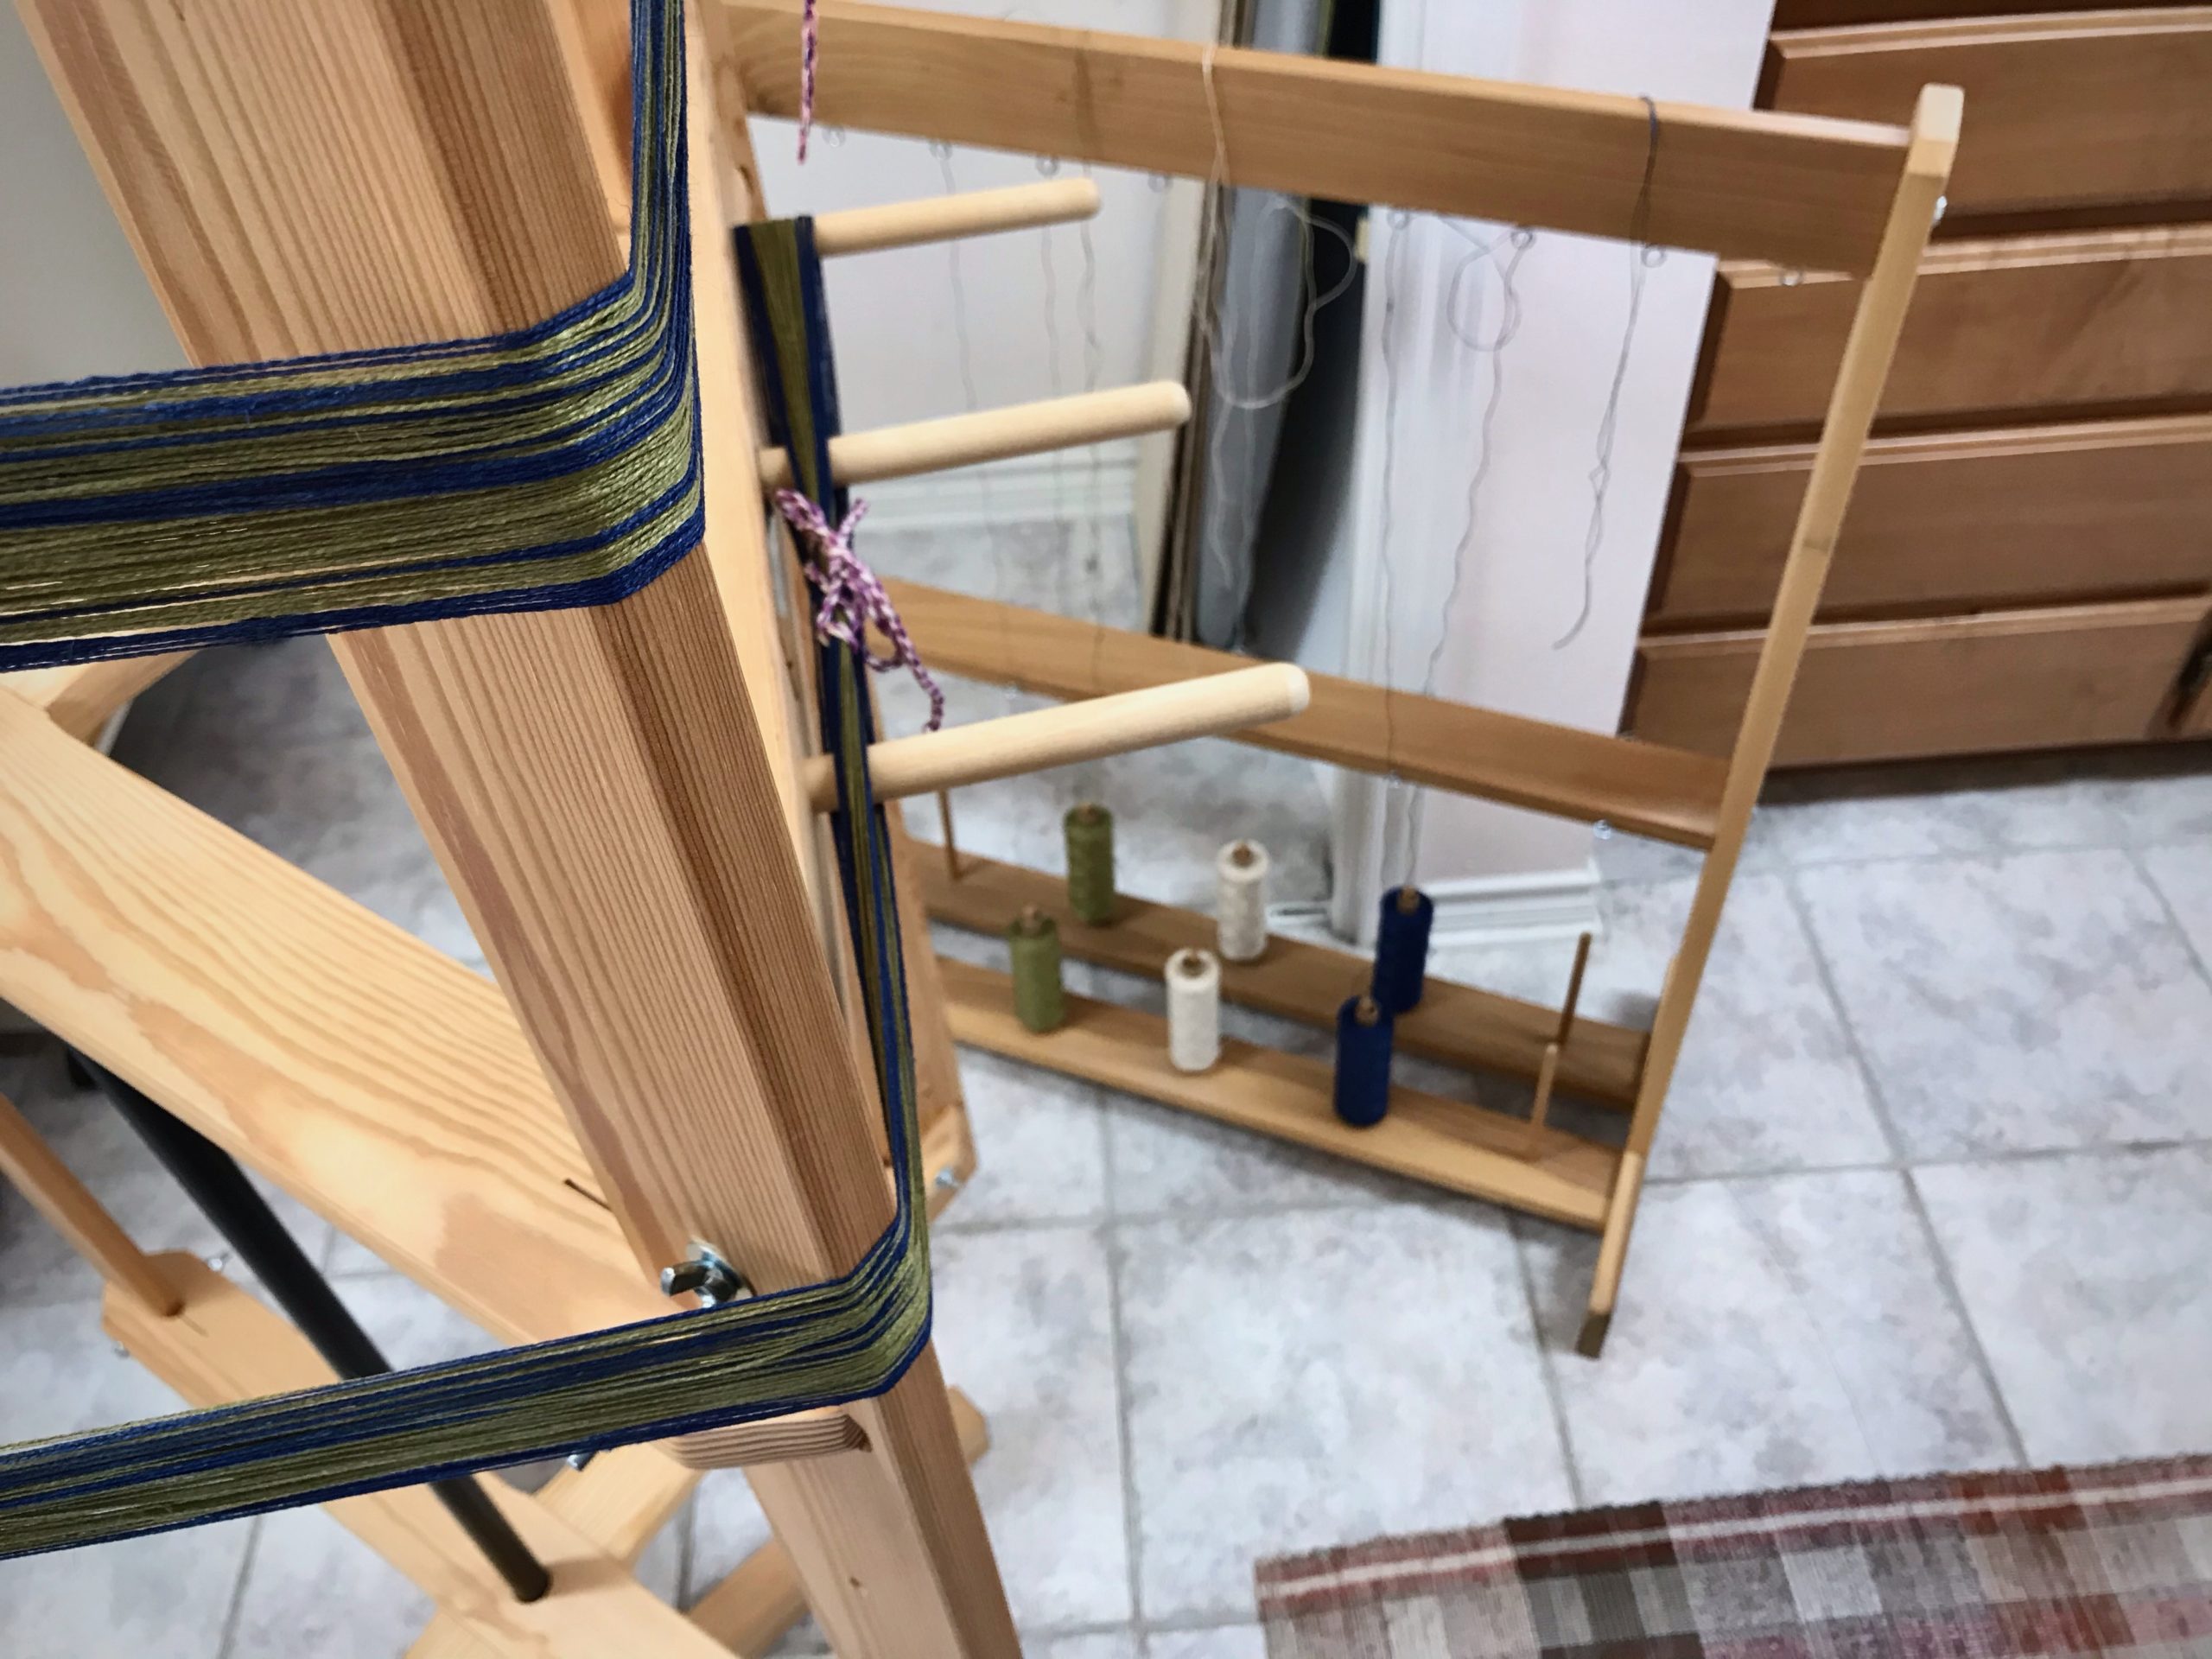
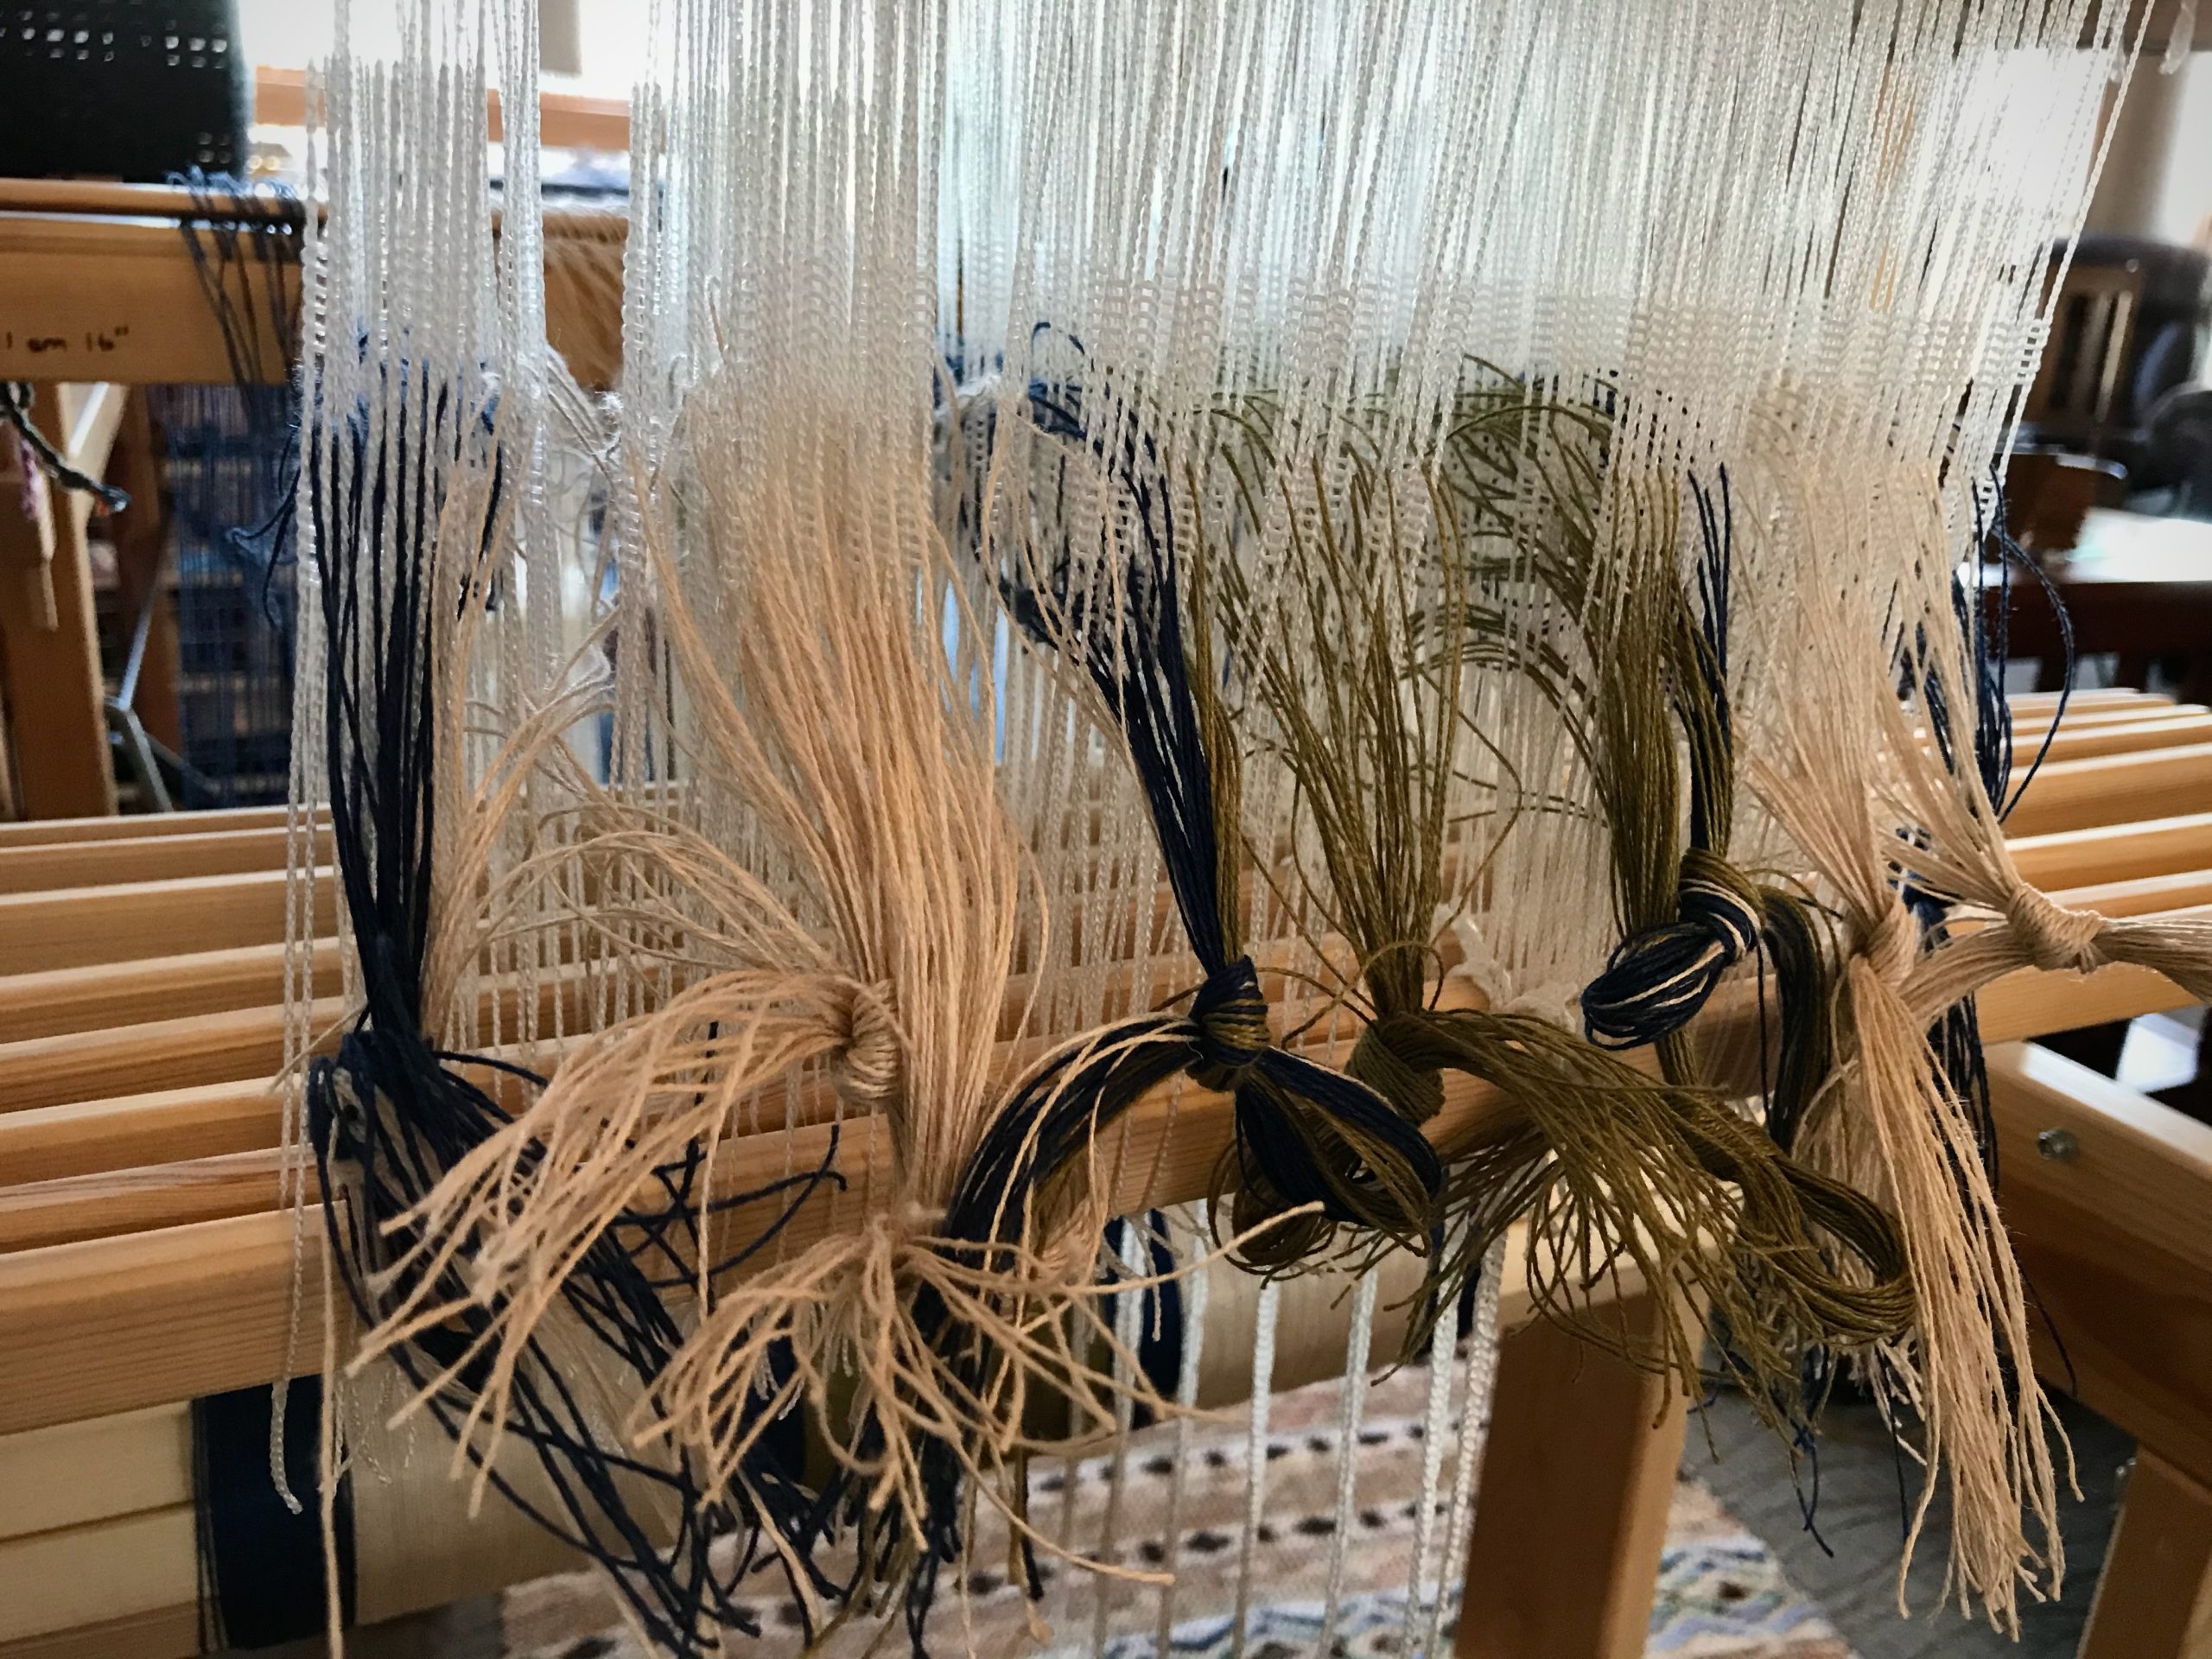
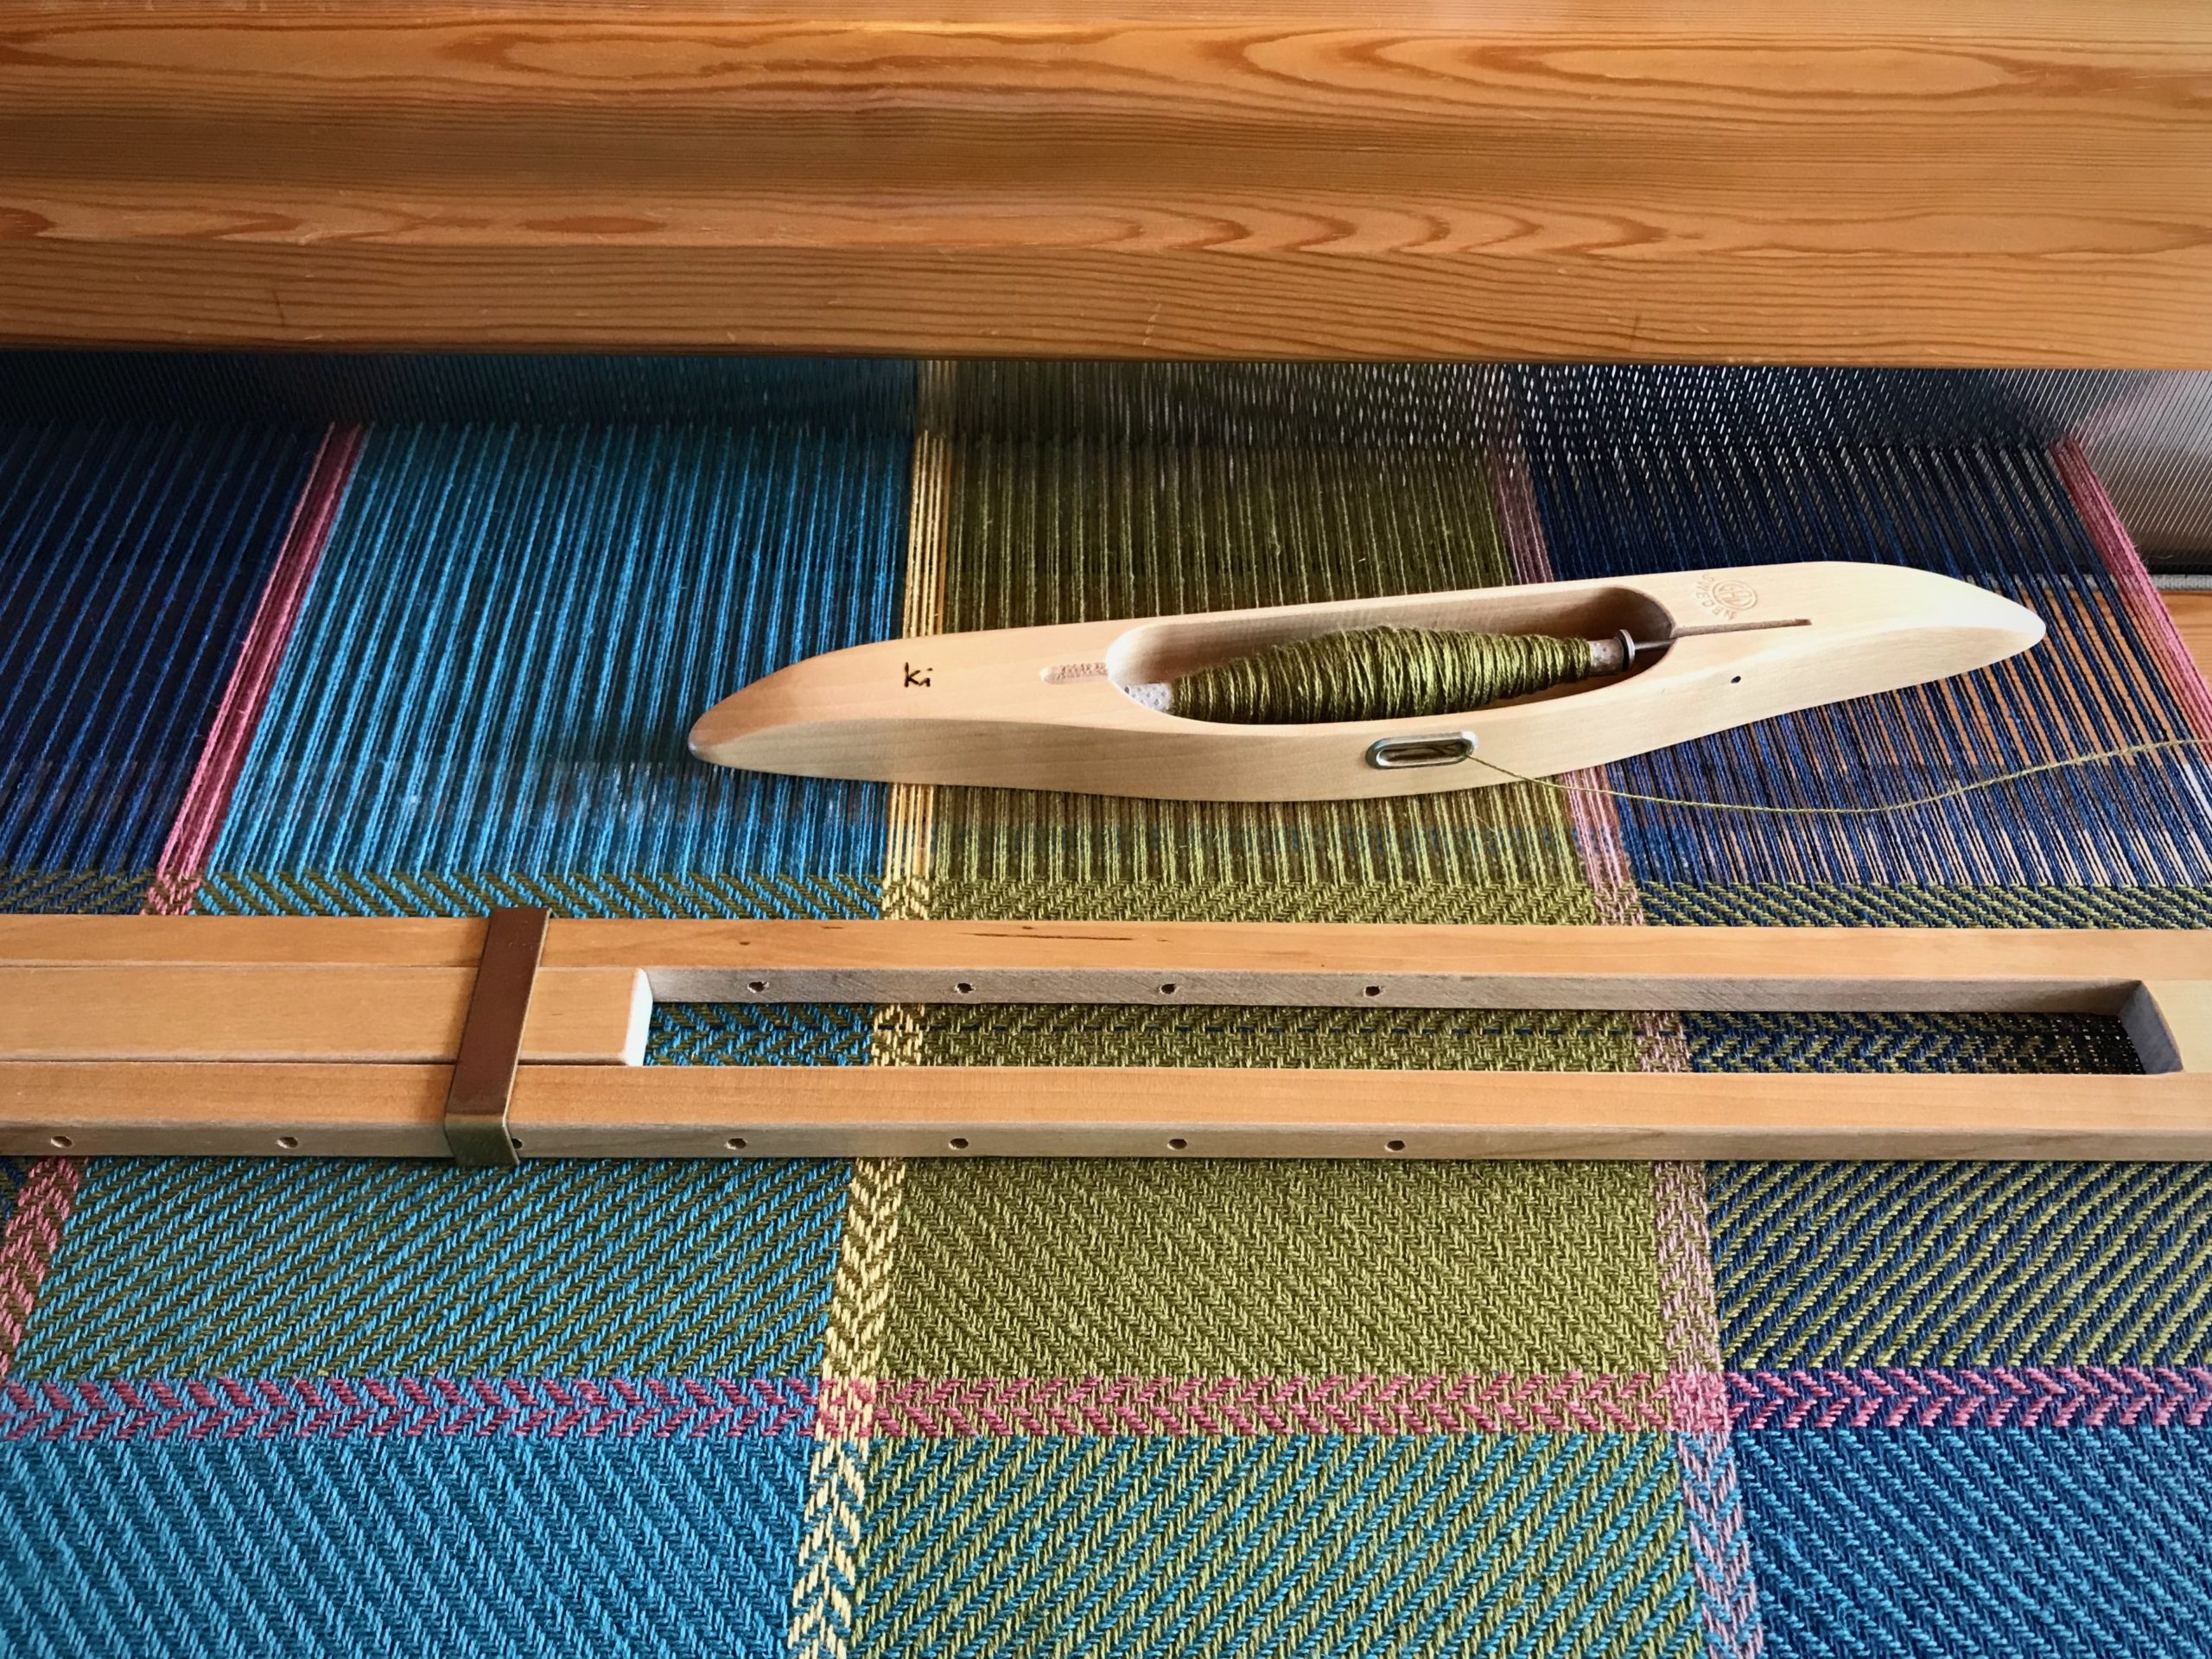
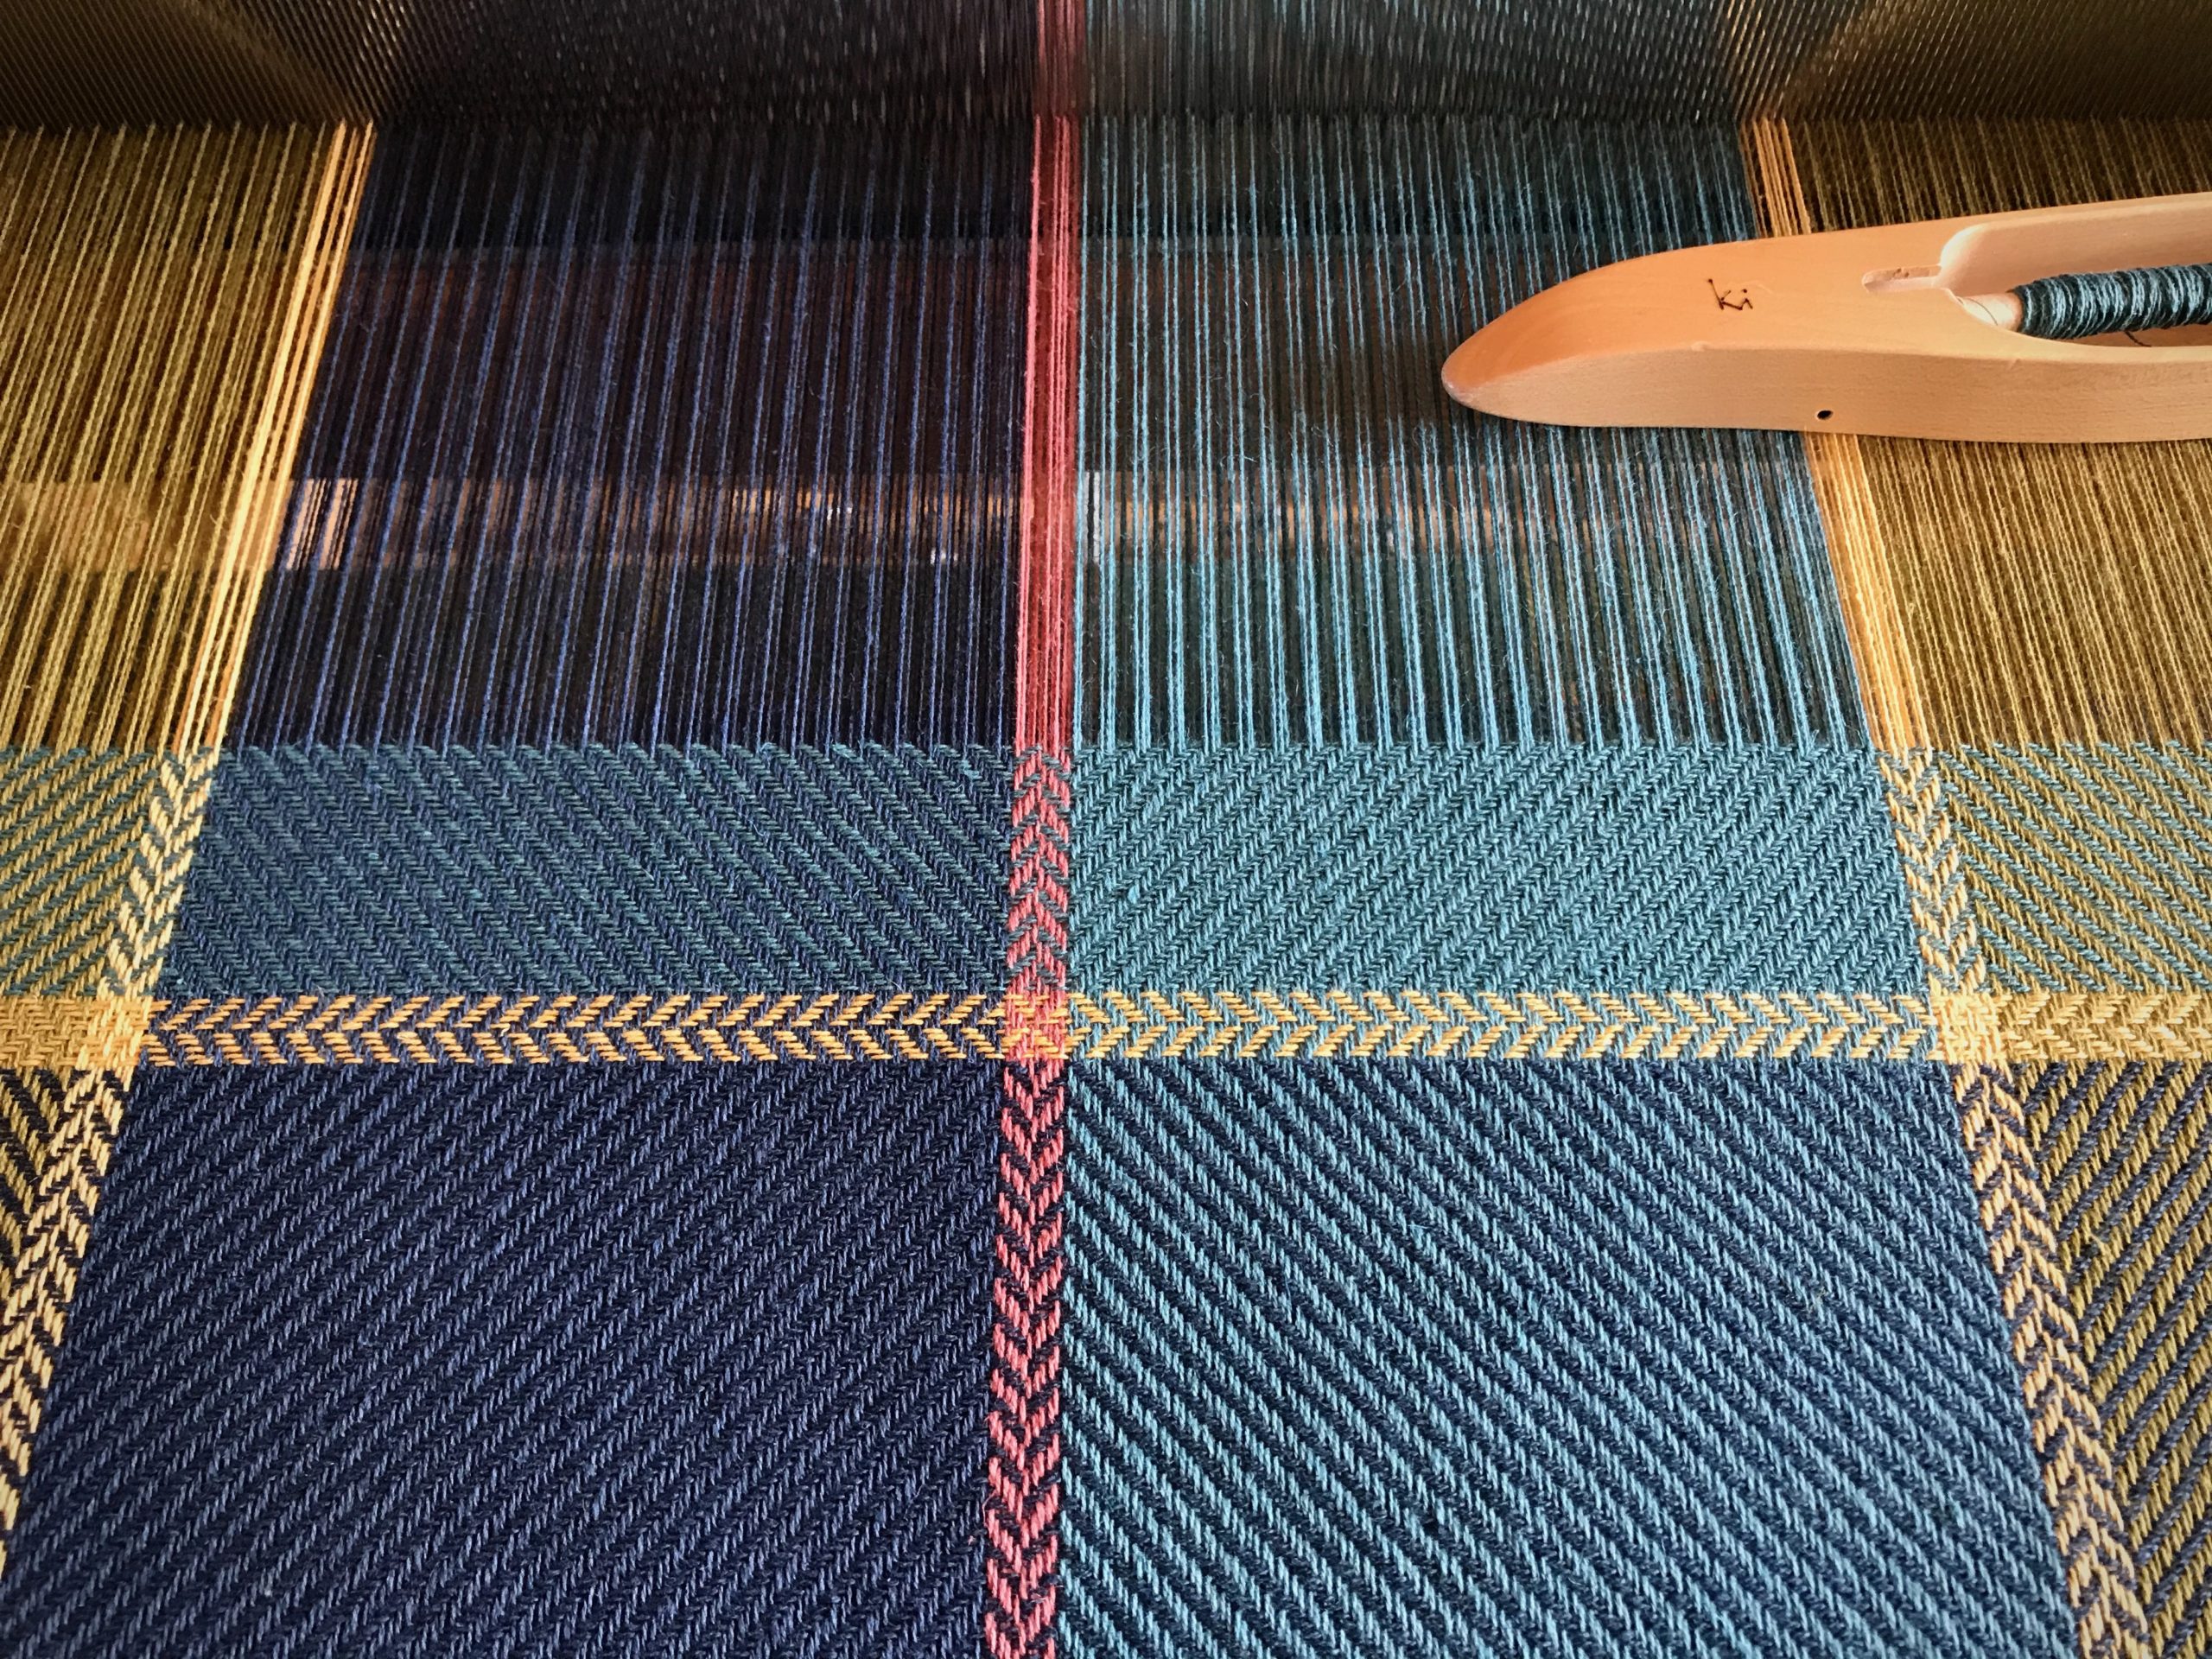
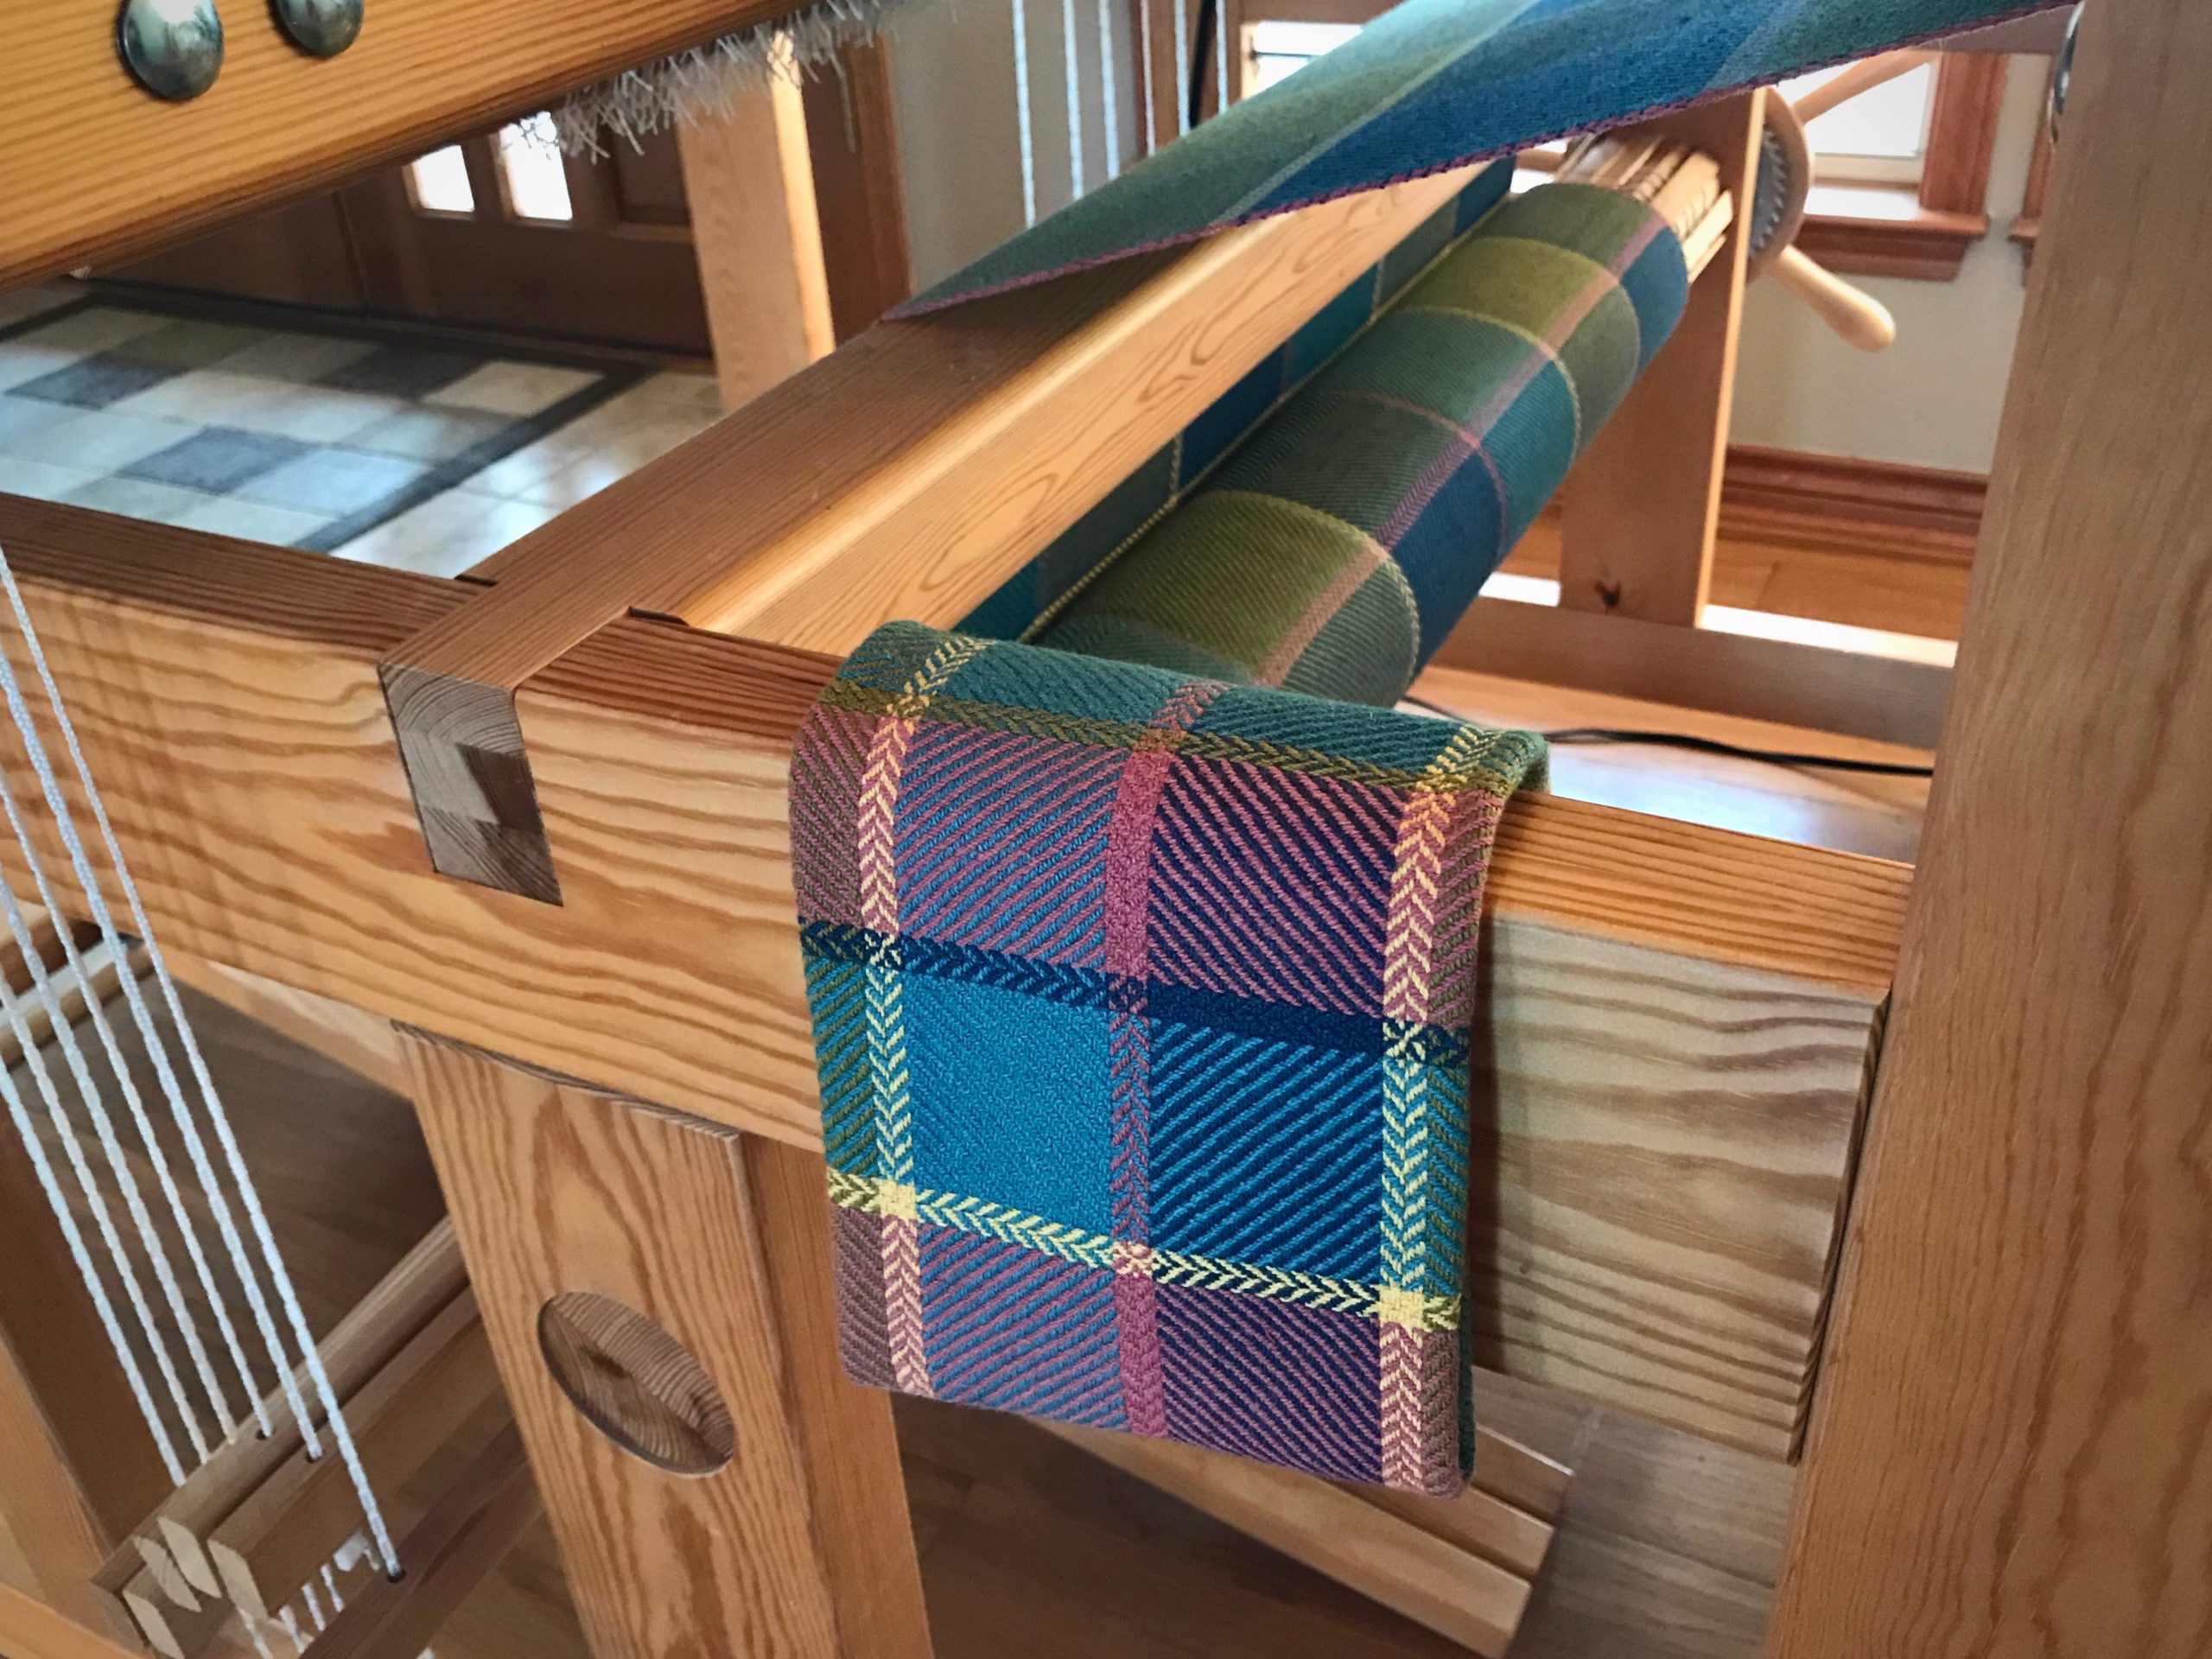
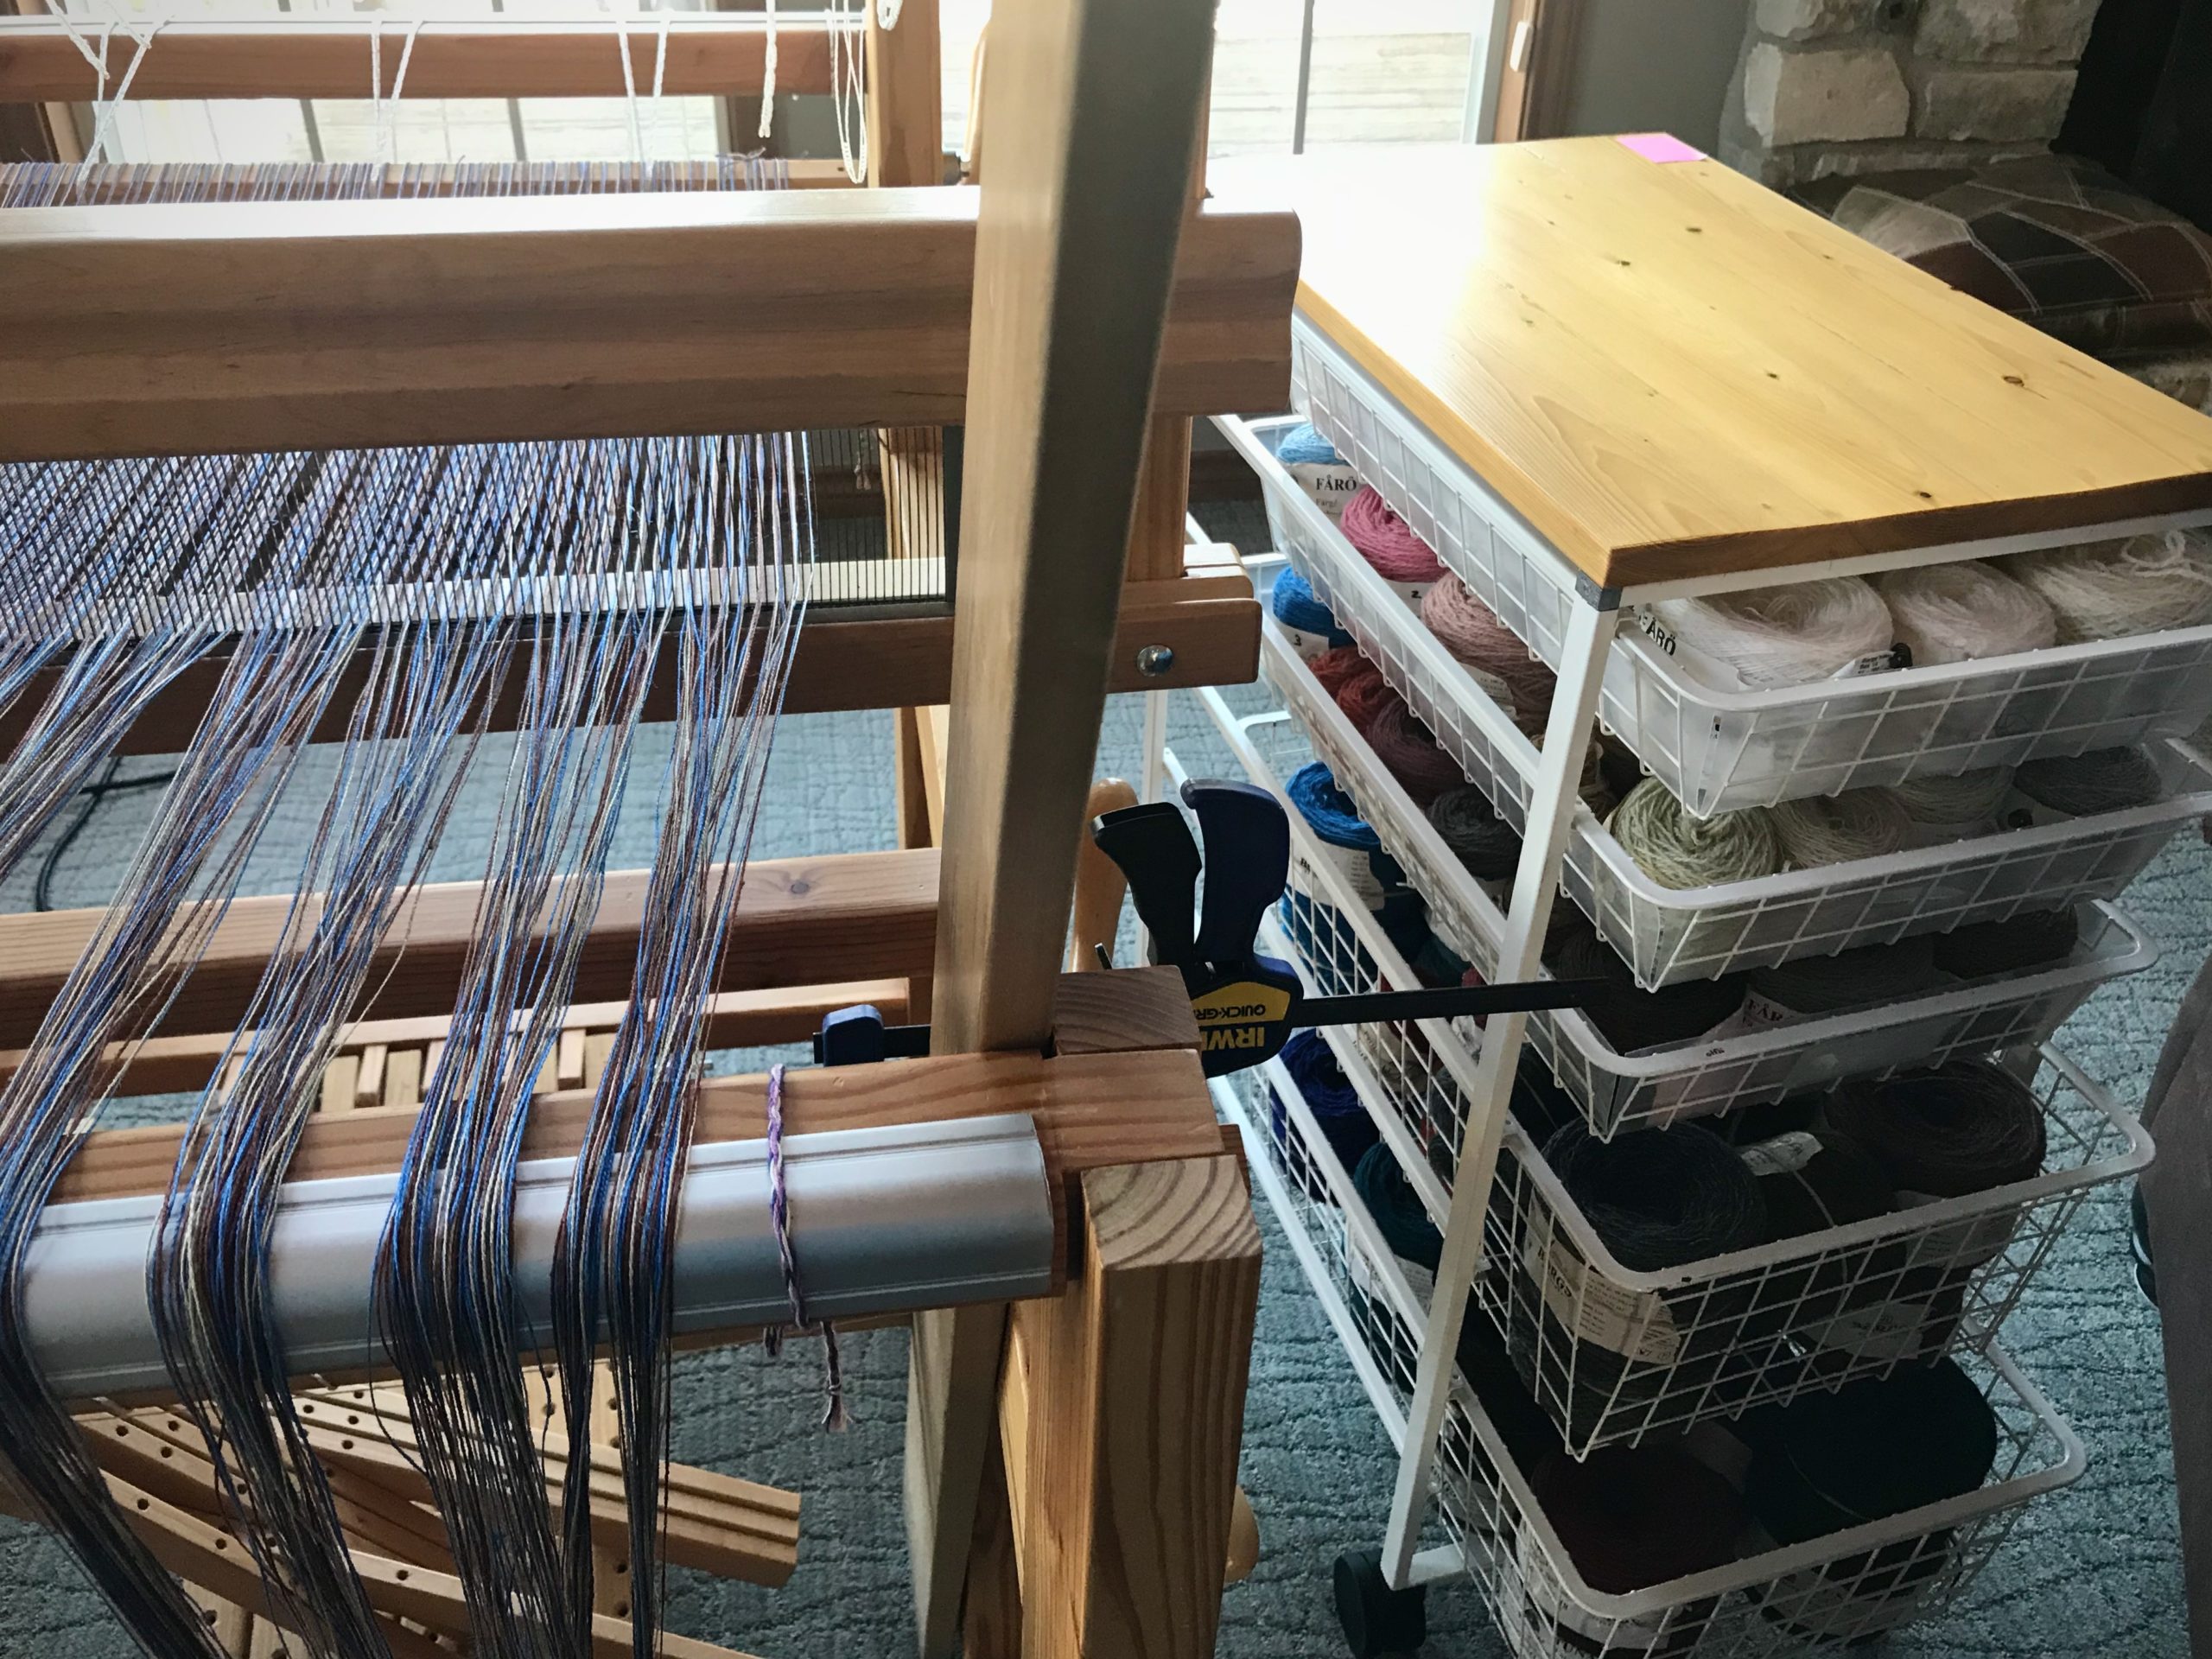
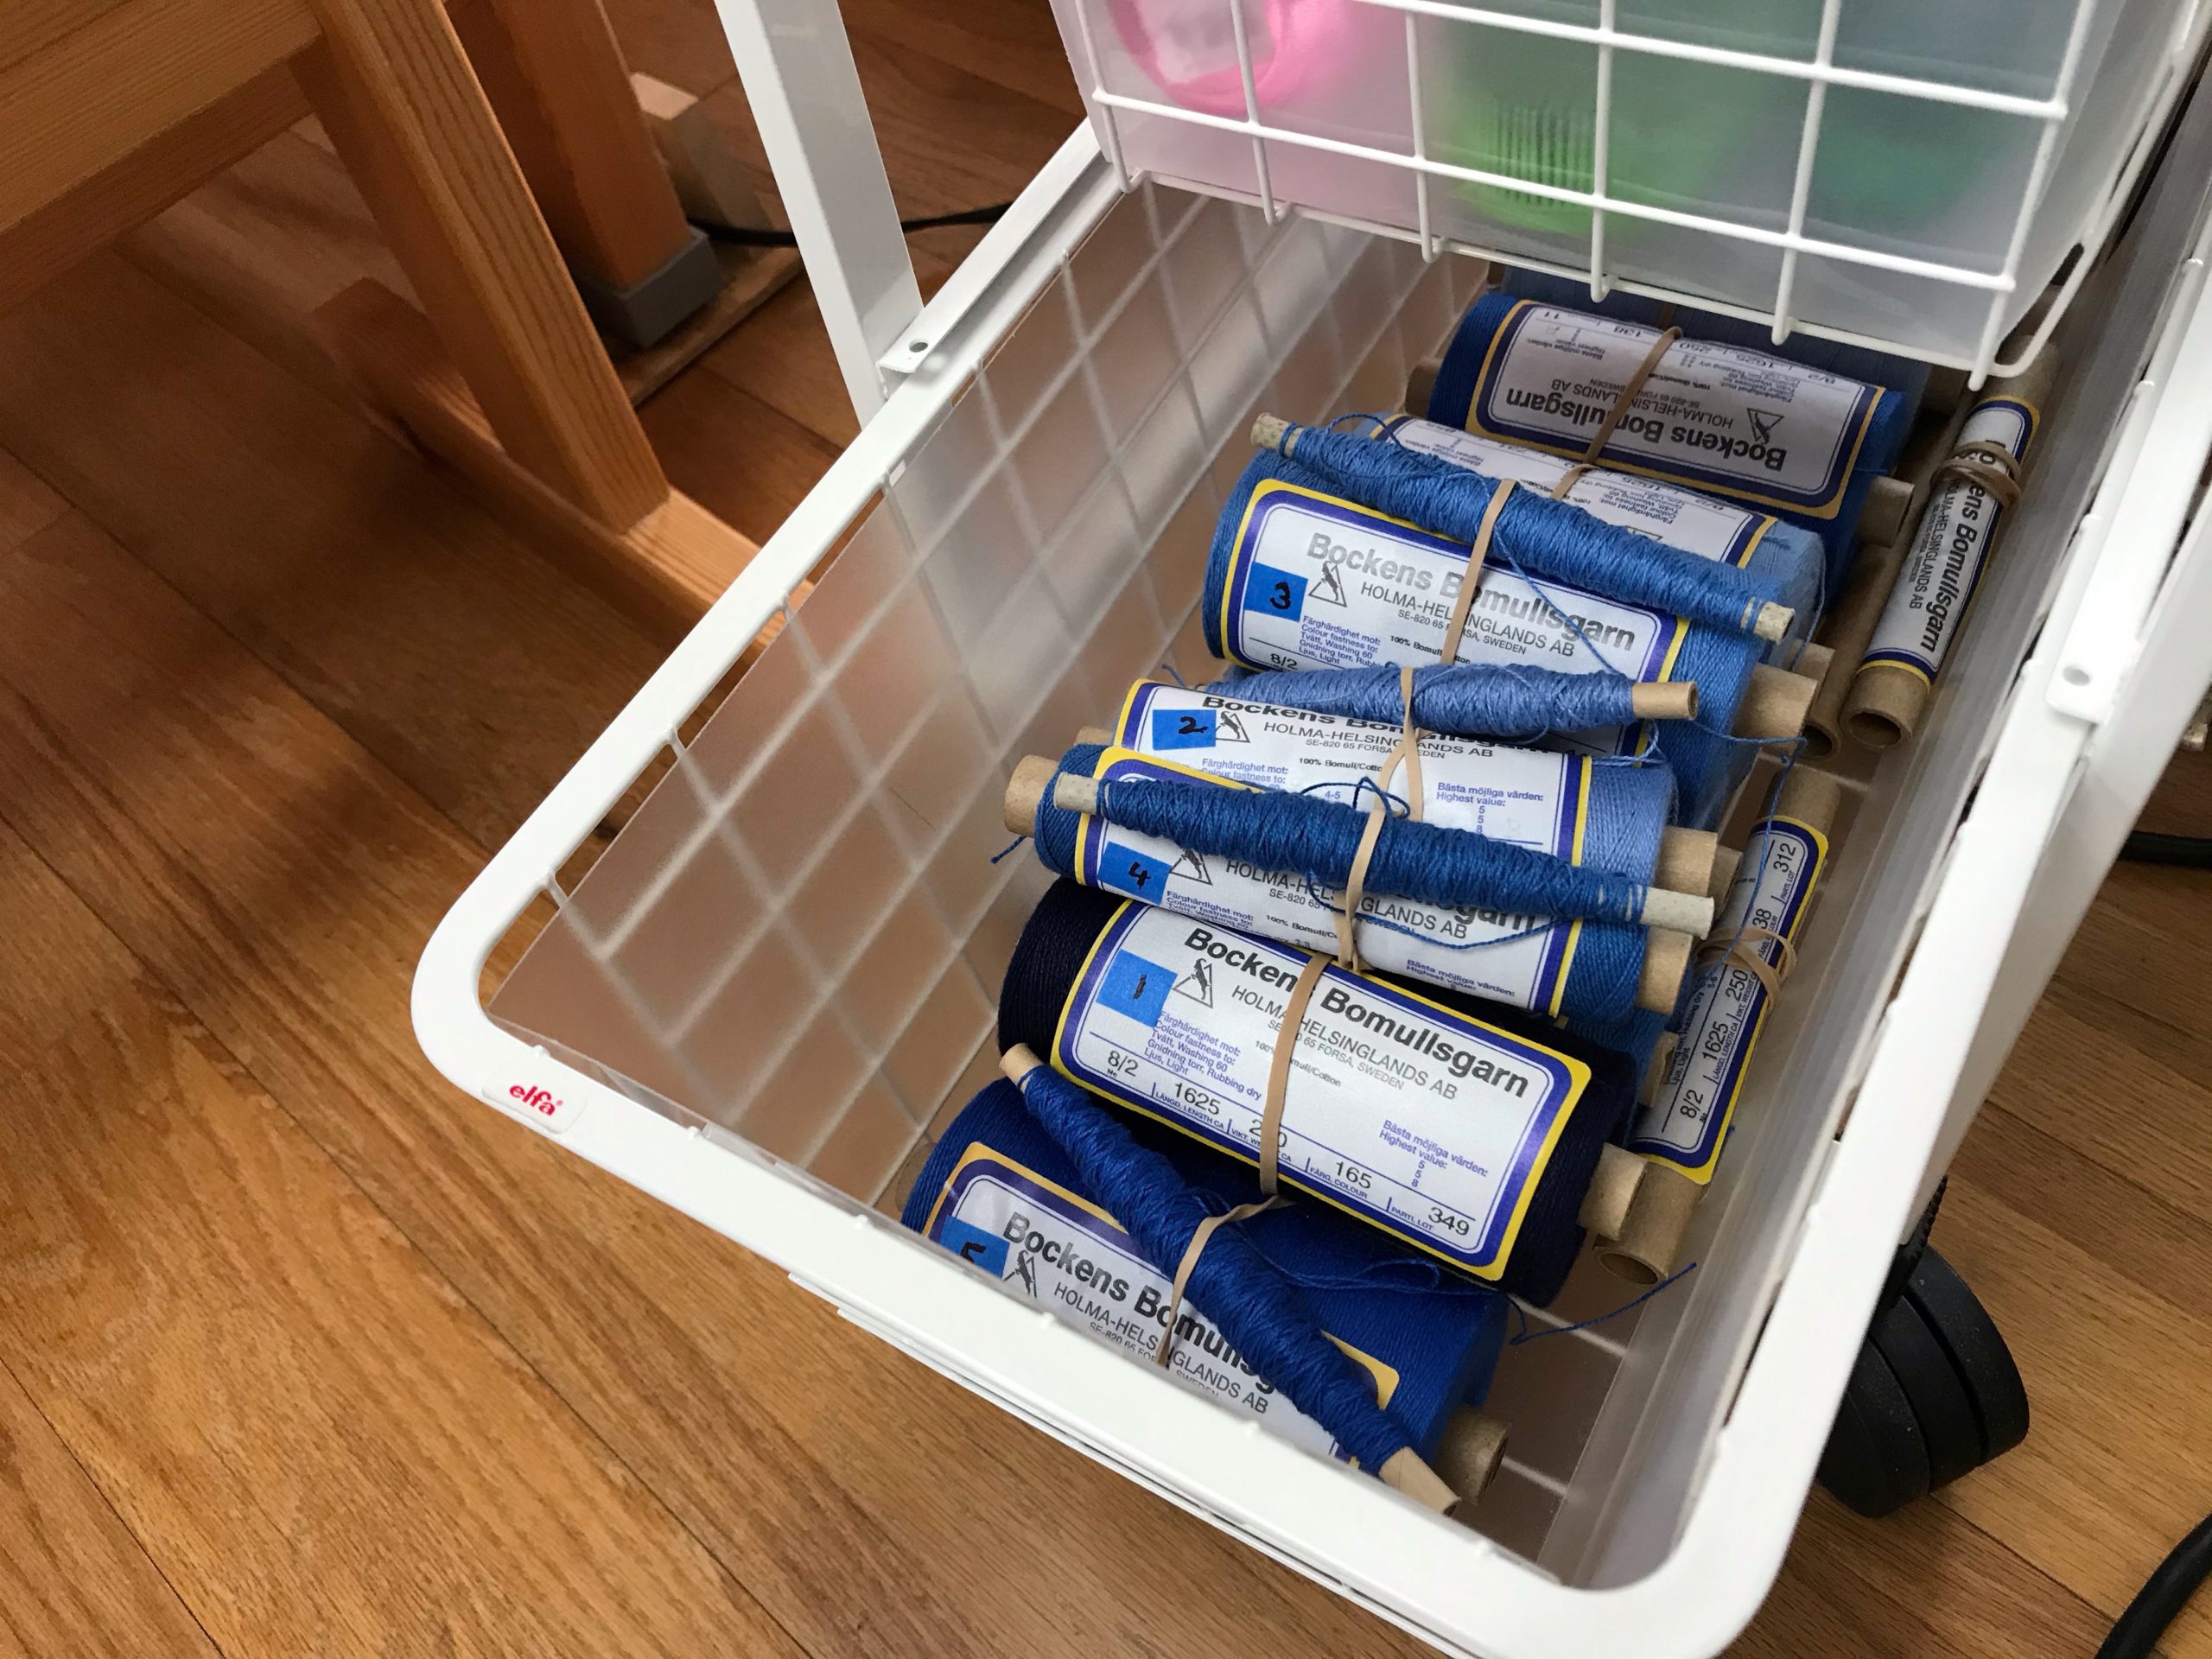
When I pick up a color of thread I don’t want to have to guess if it’s the right color. Four of the five blues in the weft sequence are close neighbors in value. The one color that is easy to identify is the navy blue, which provides a good contrast among the blues.

Five blues in 8/2 cotton. 8-shaft twill.
Weft color order follows the sequence of the warp color order. Five blues for this 8-shaft twill in 8/2 cotton.

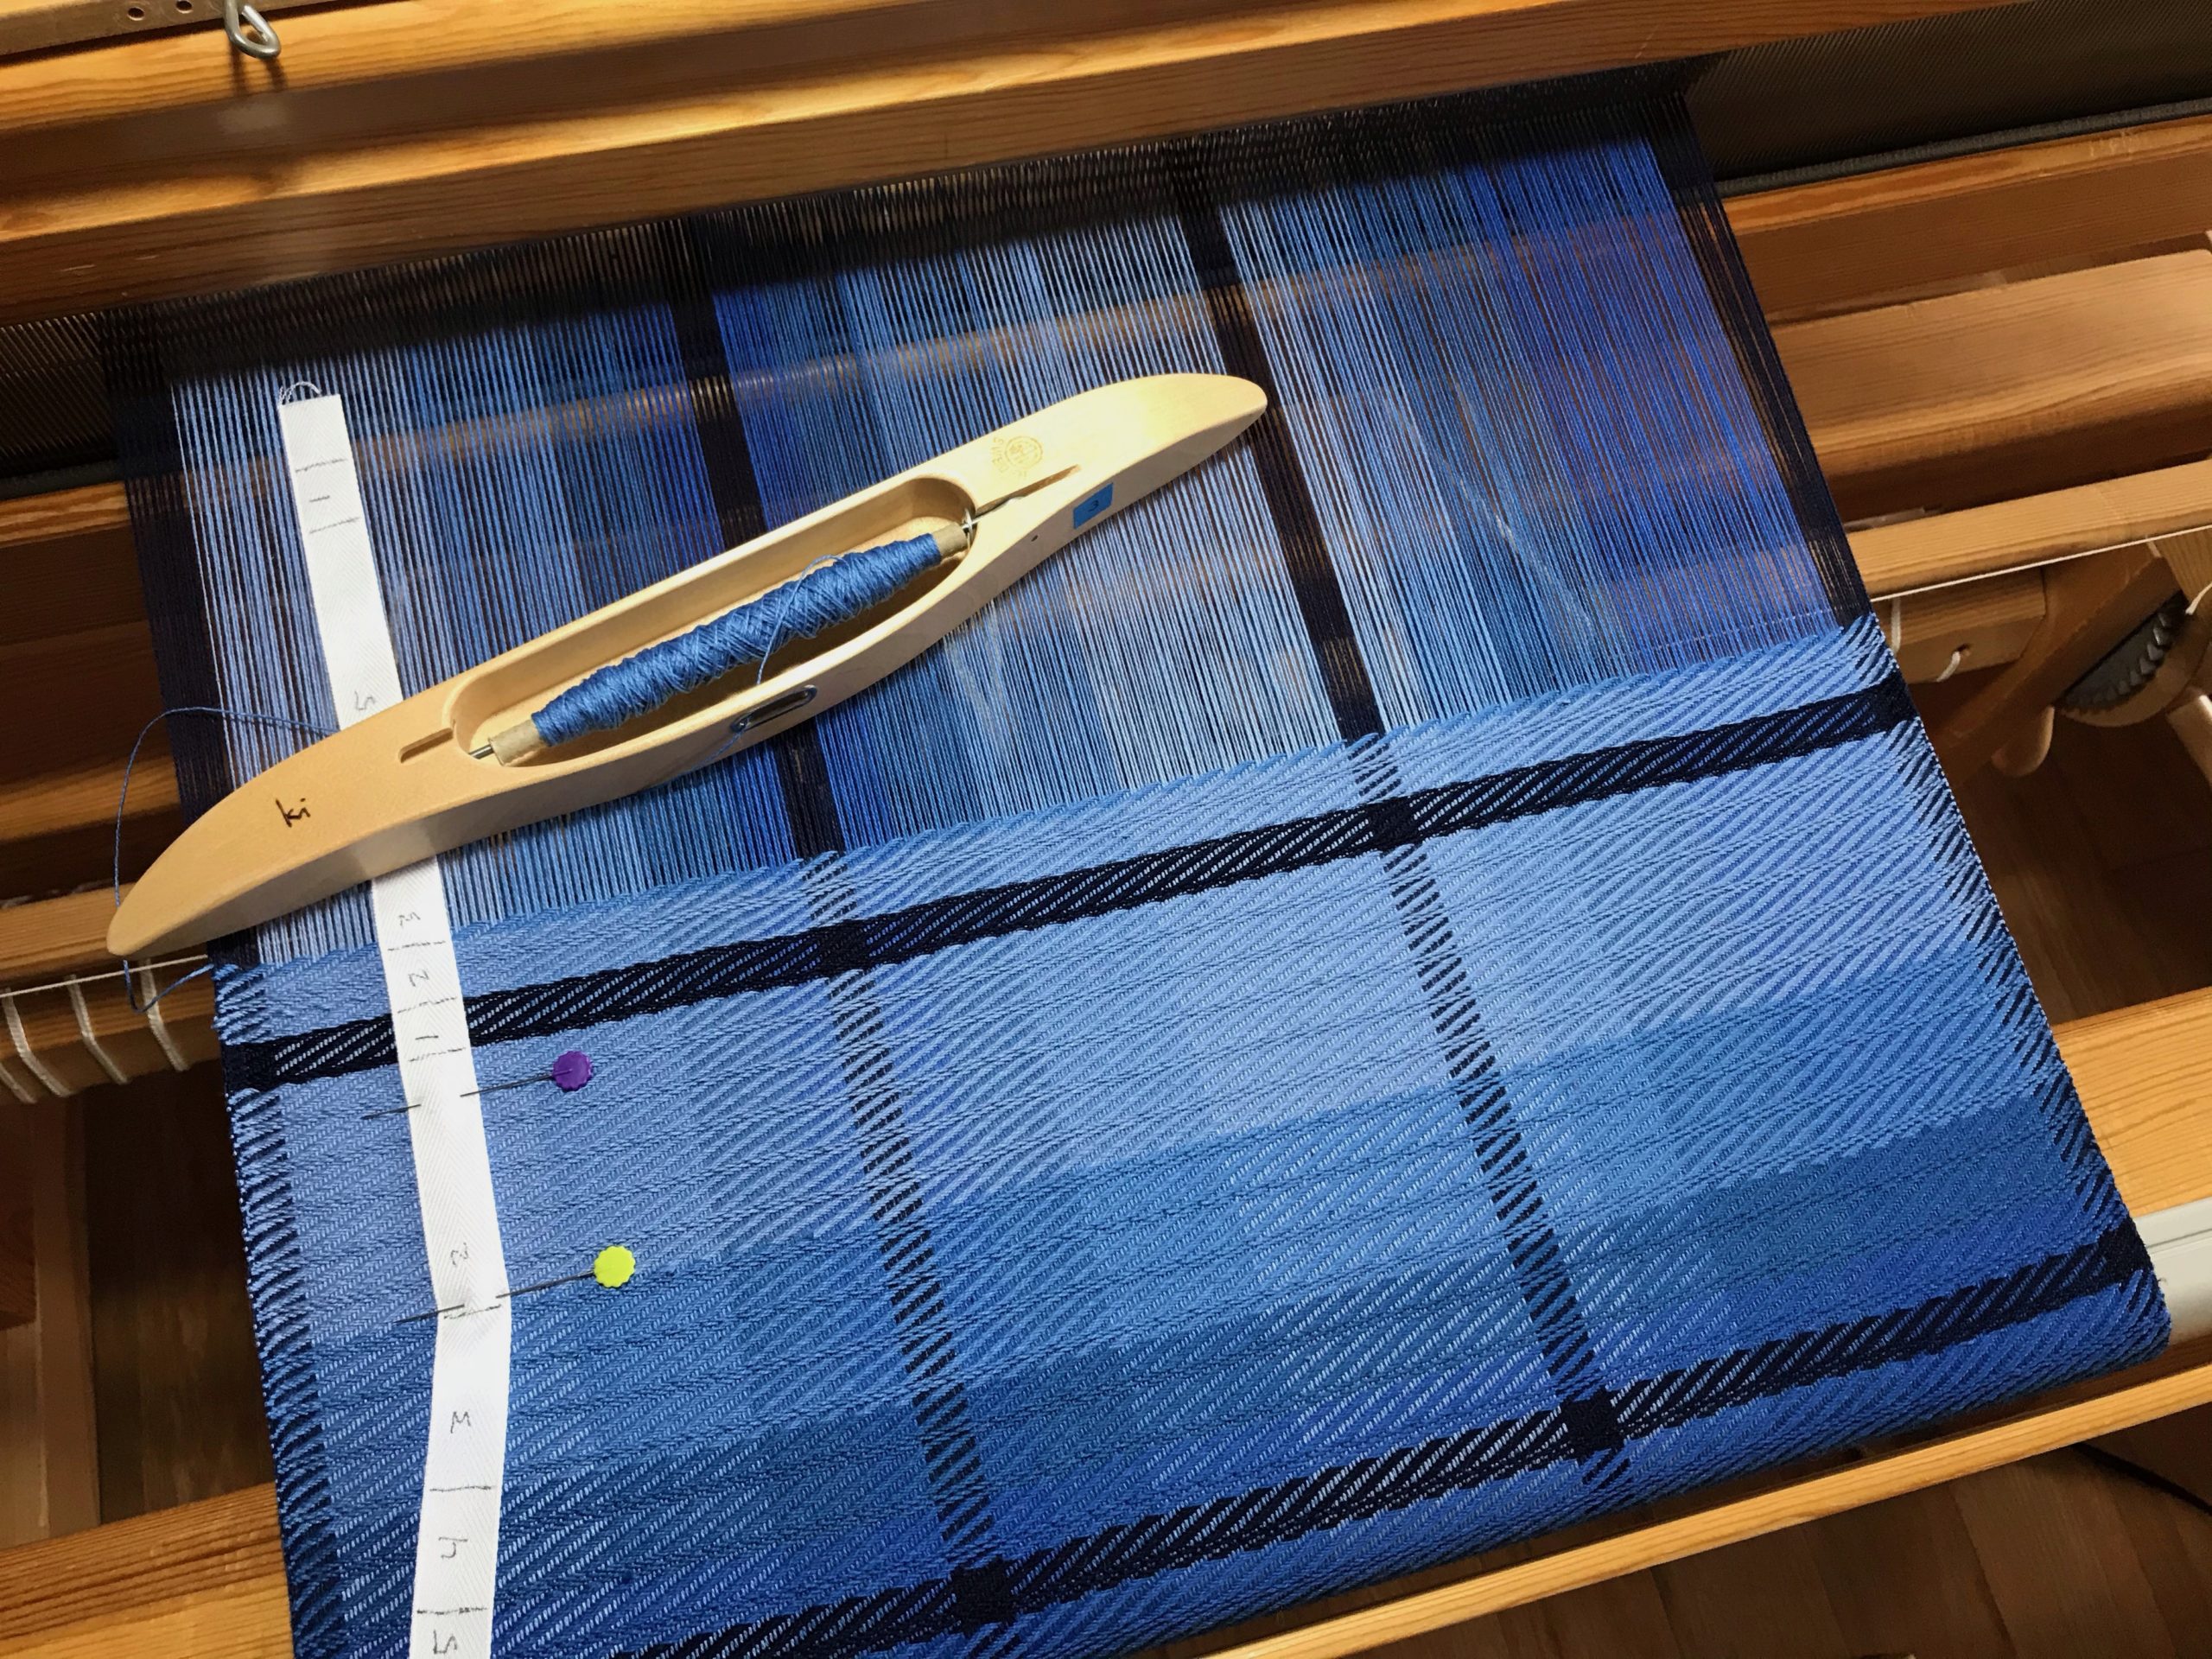
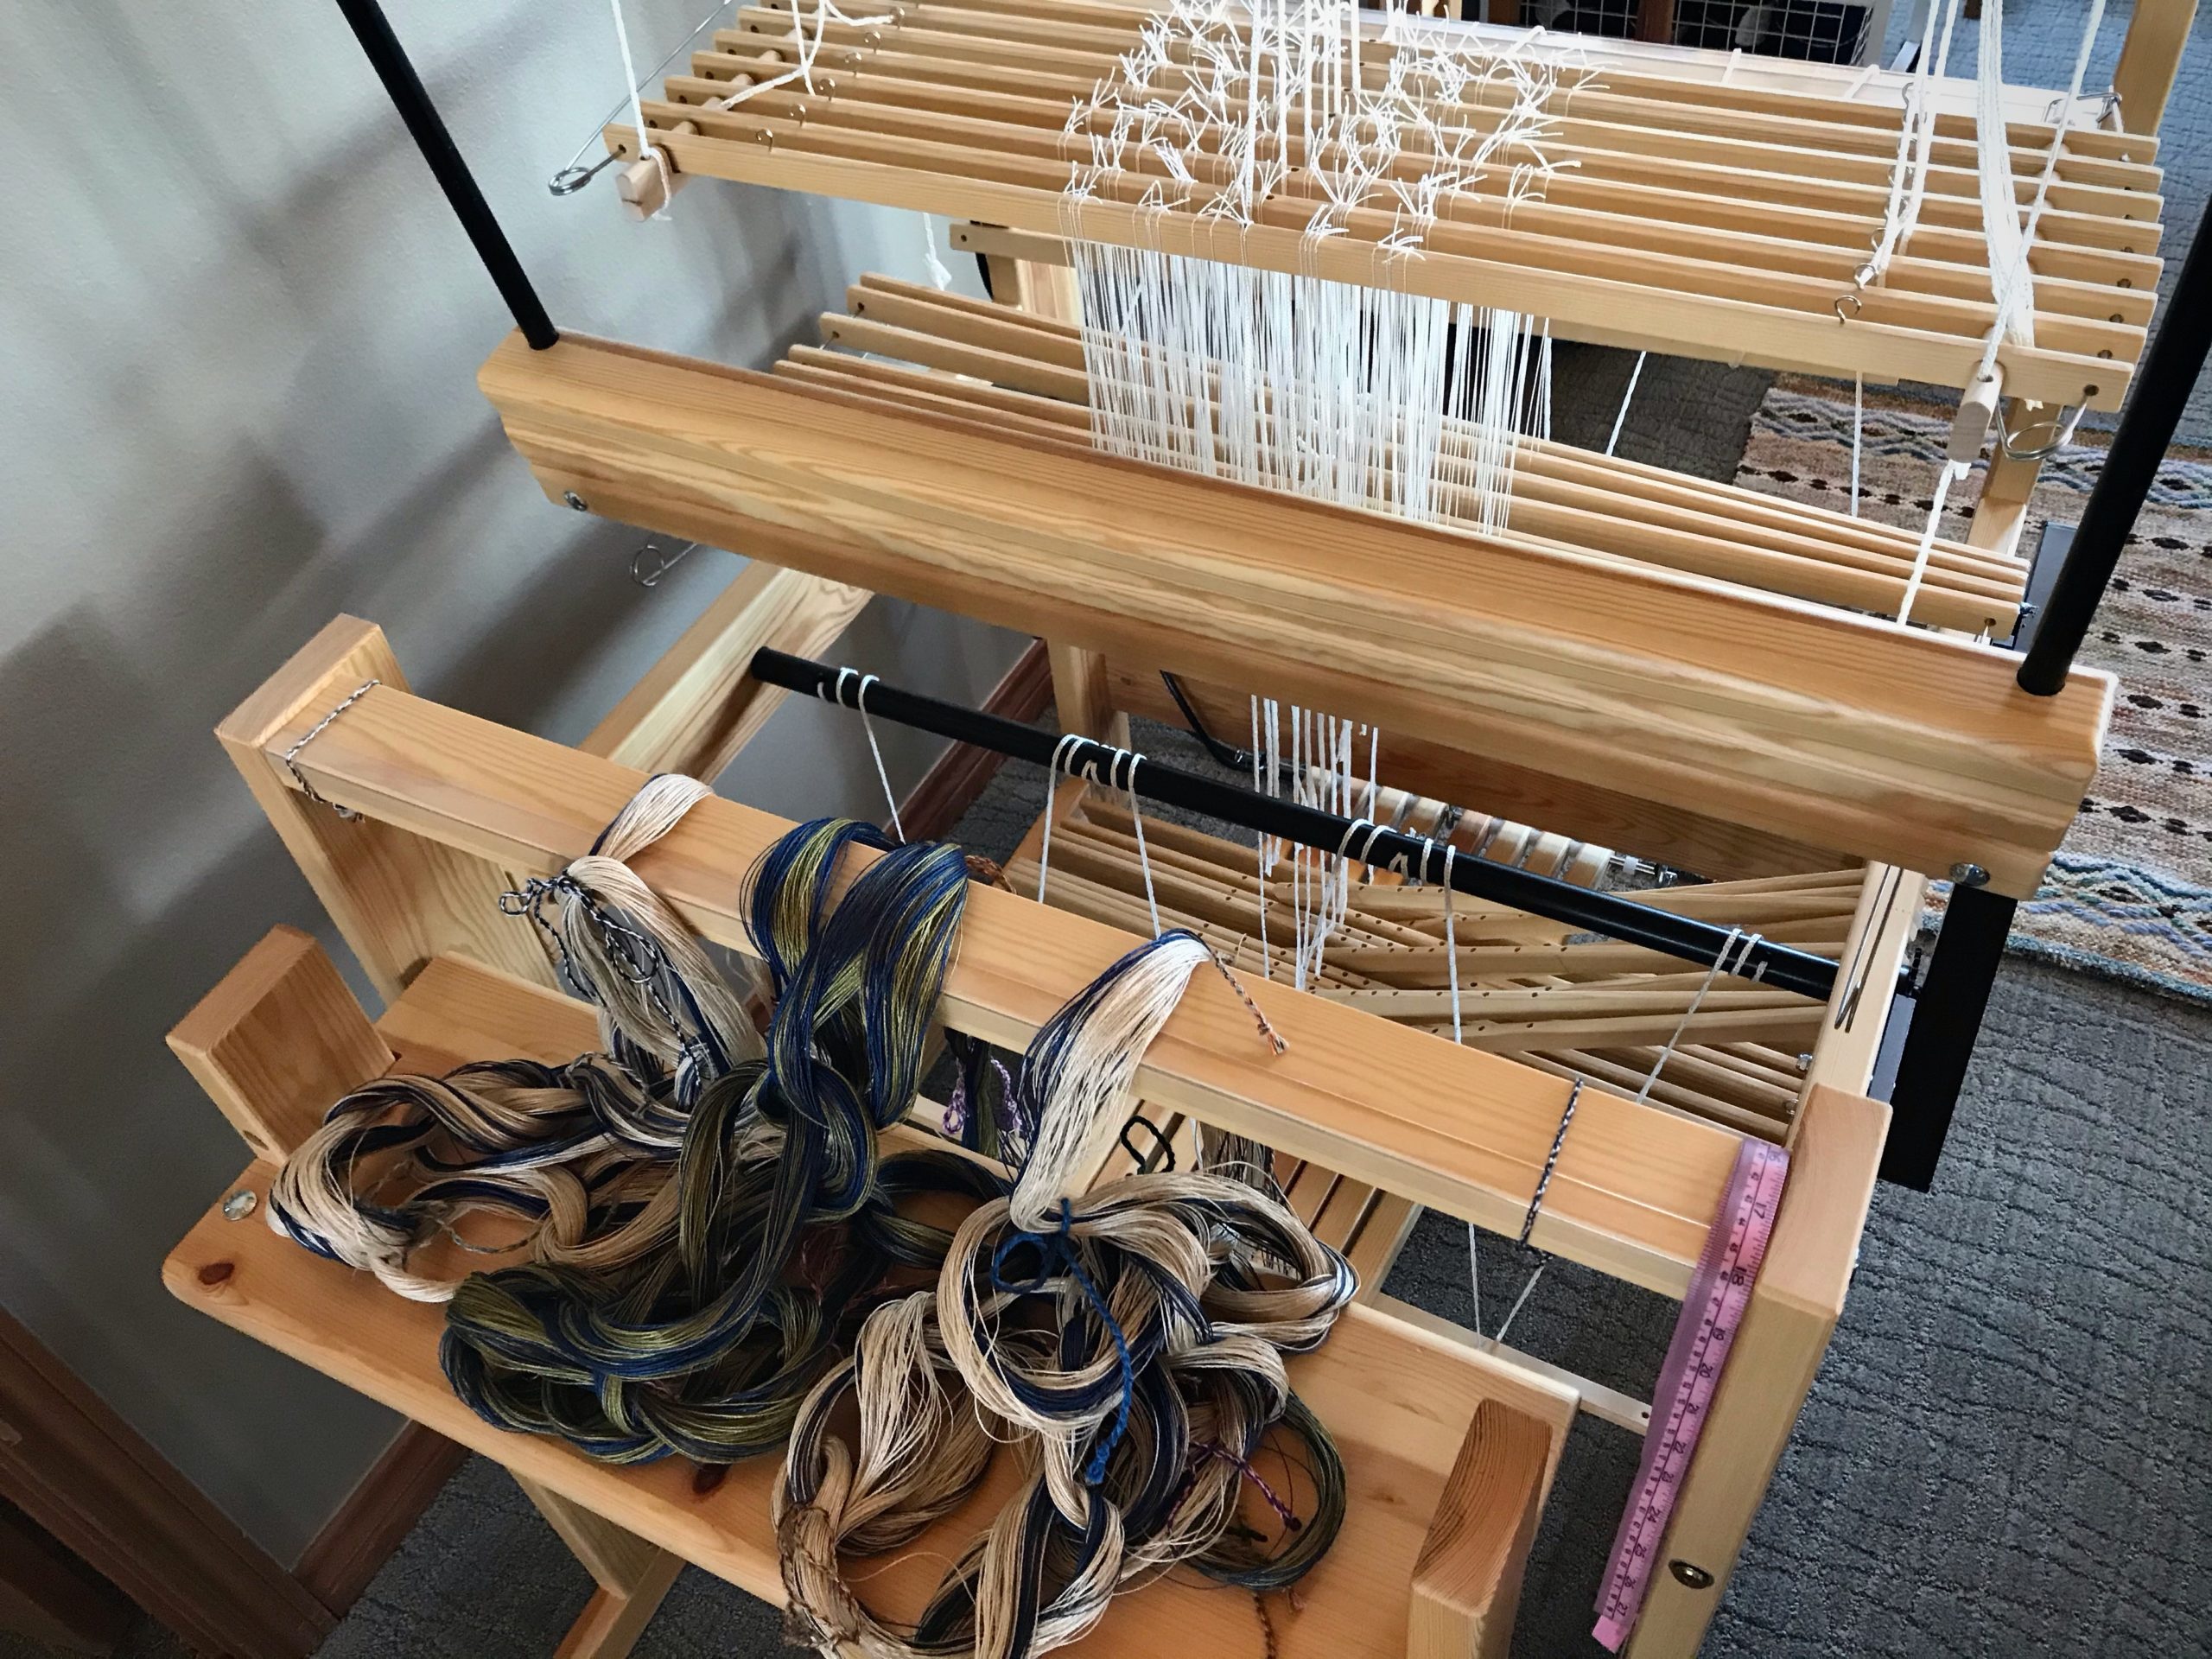
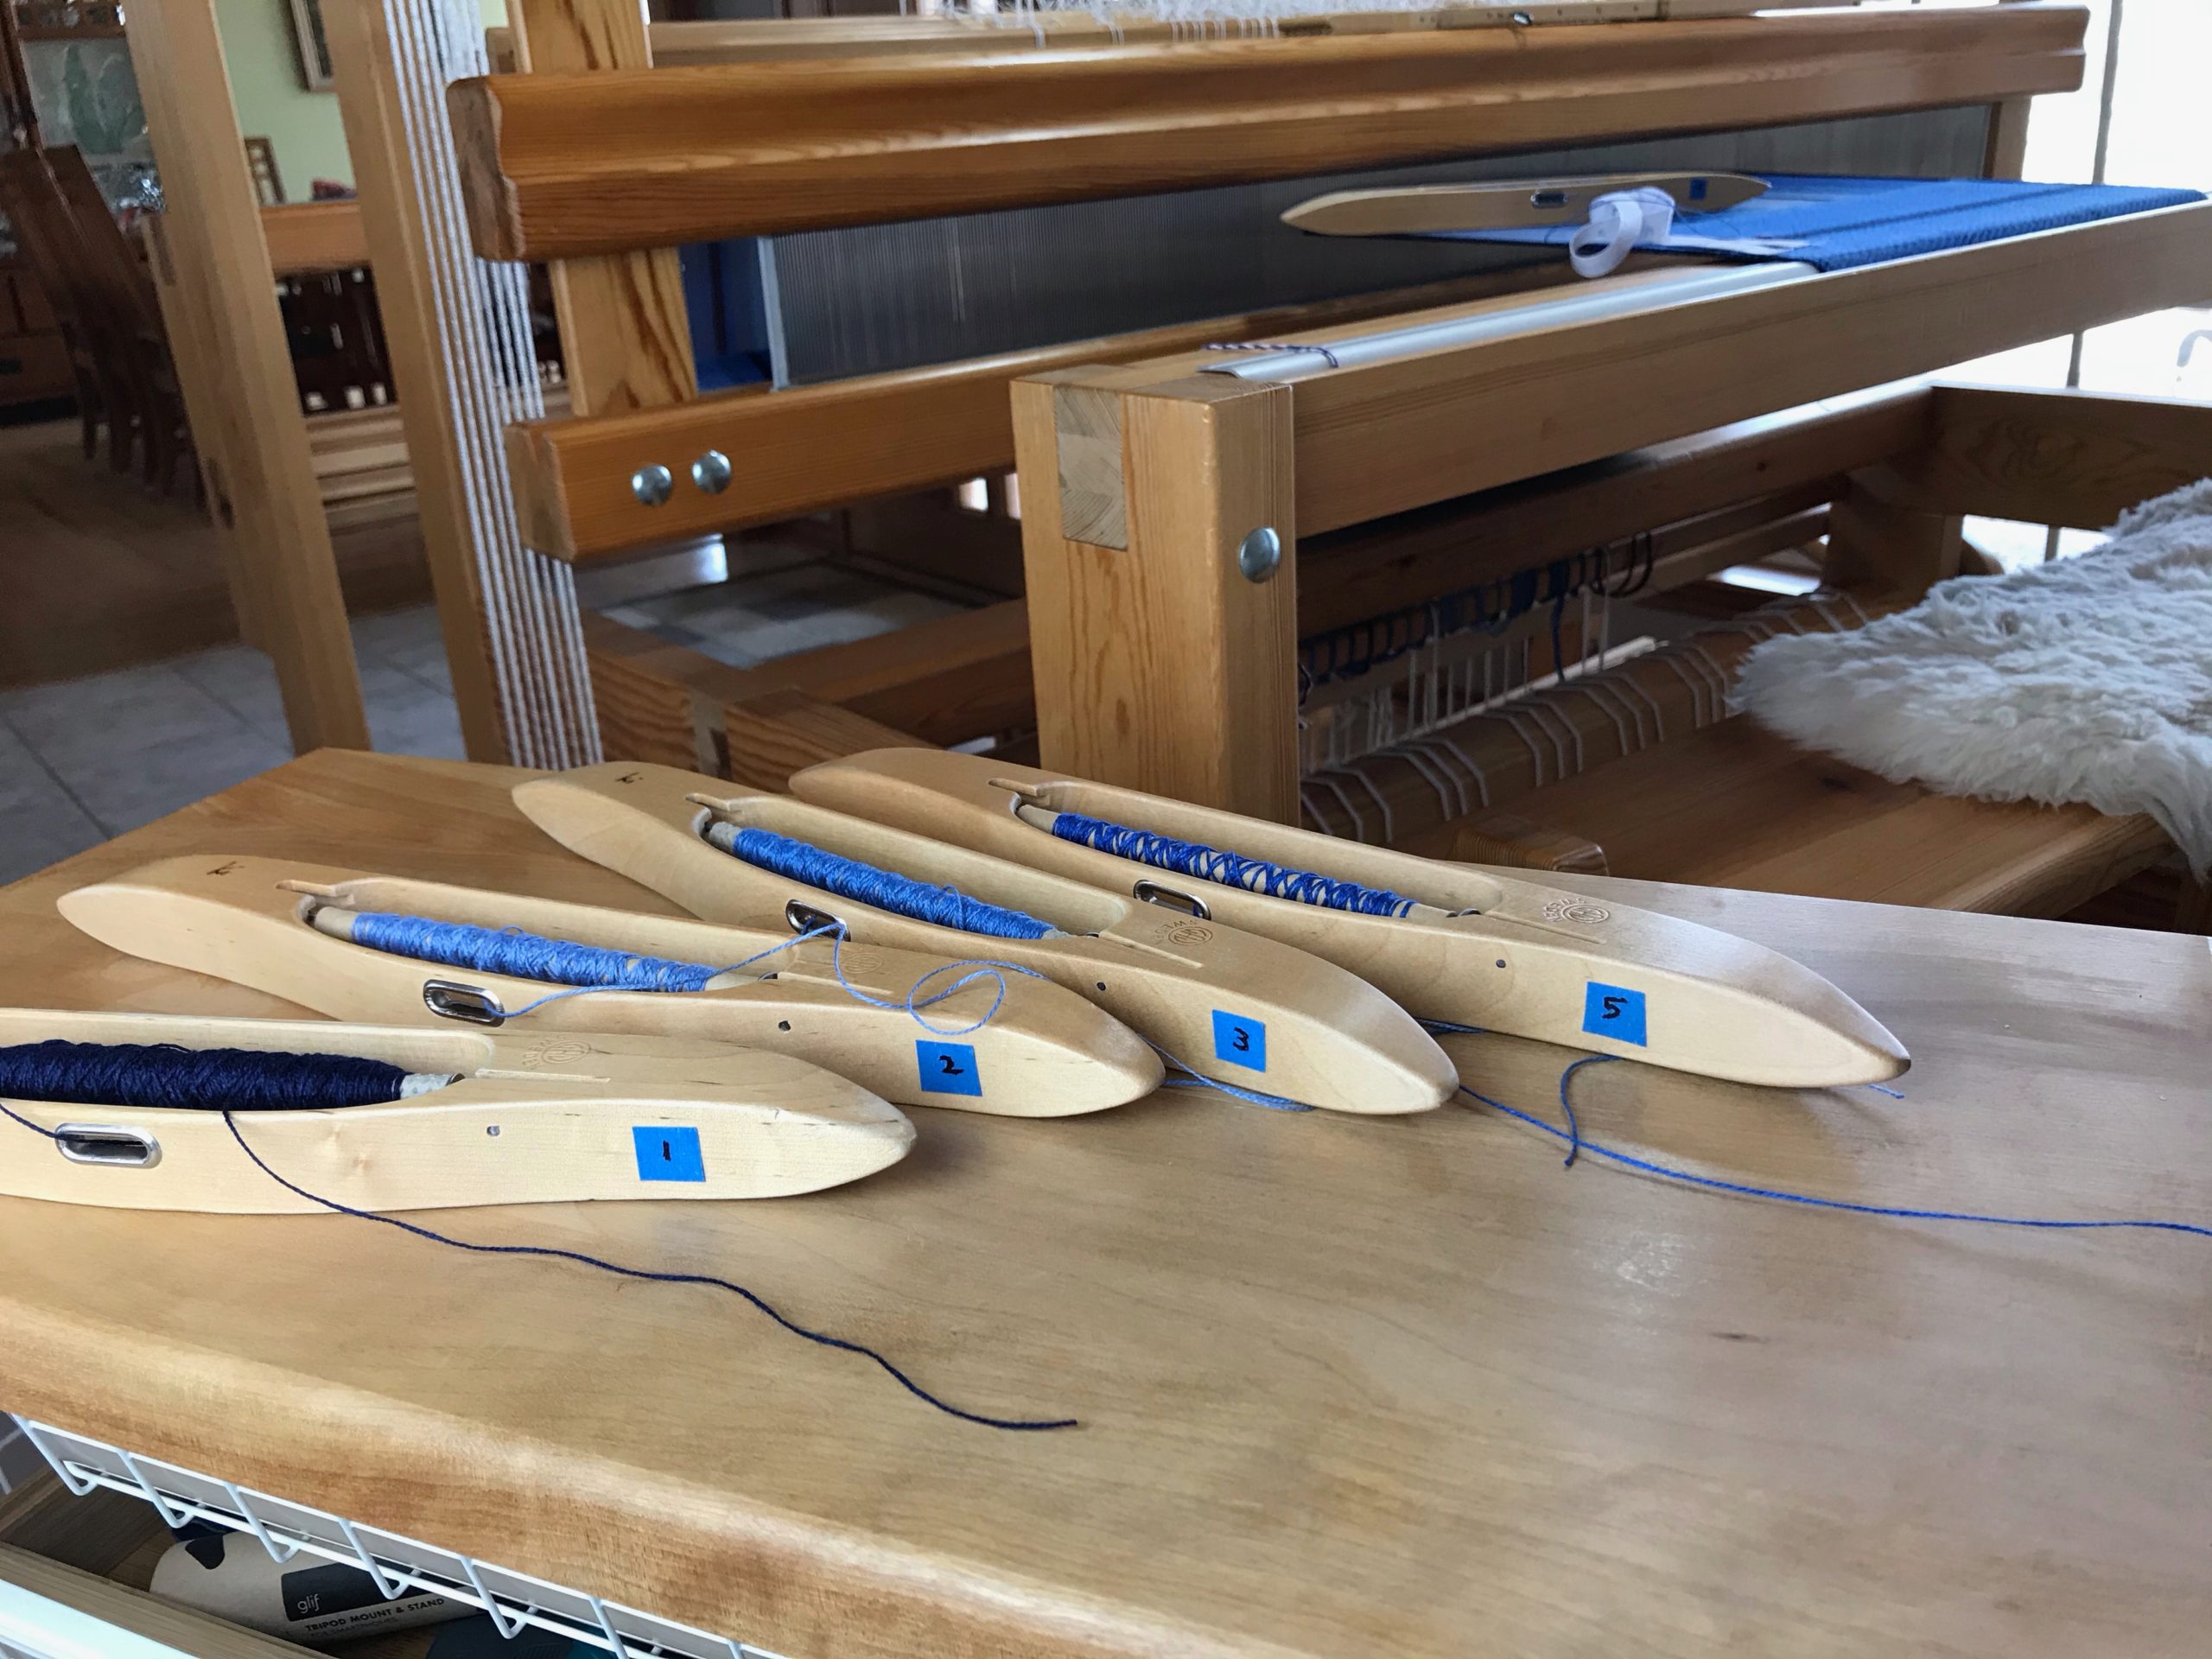
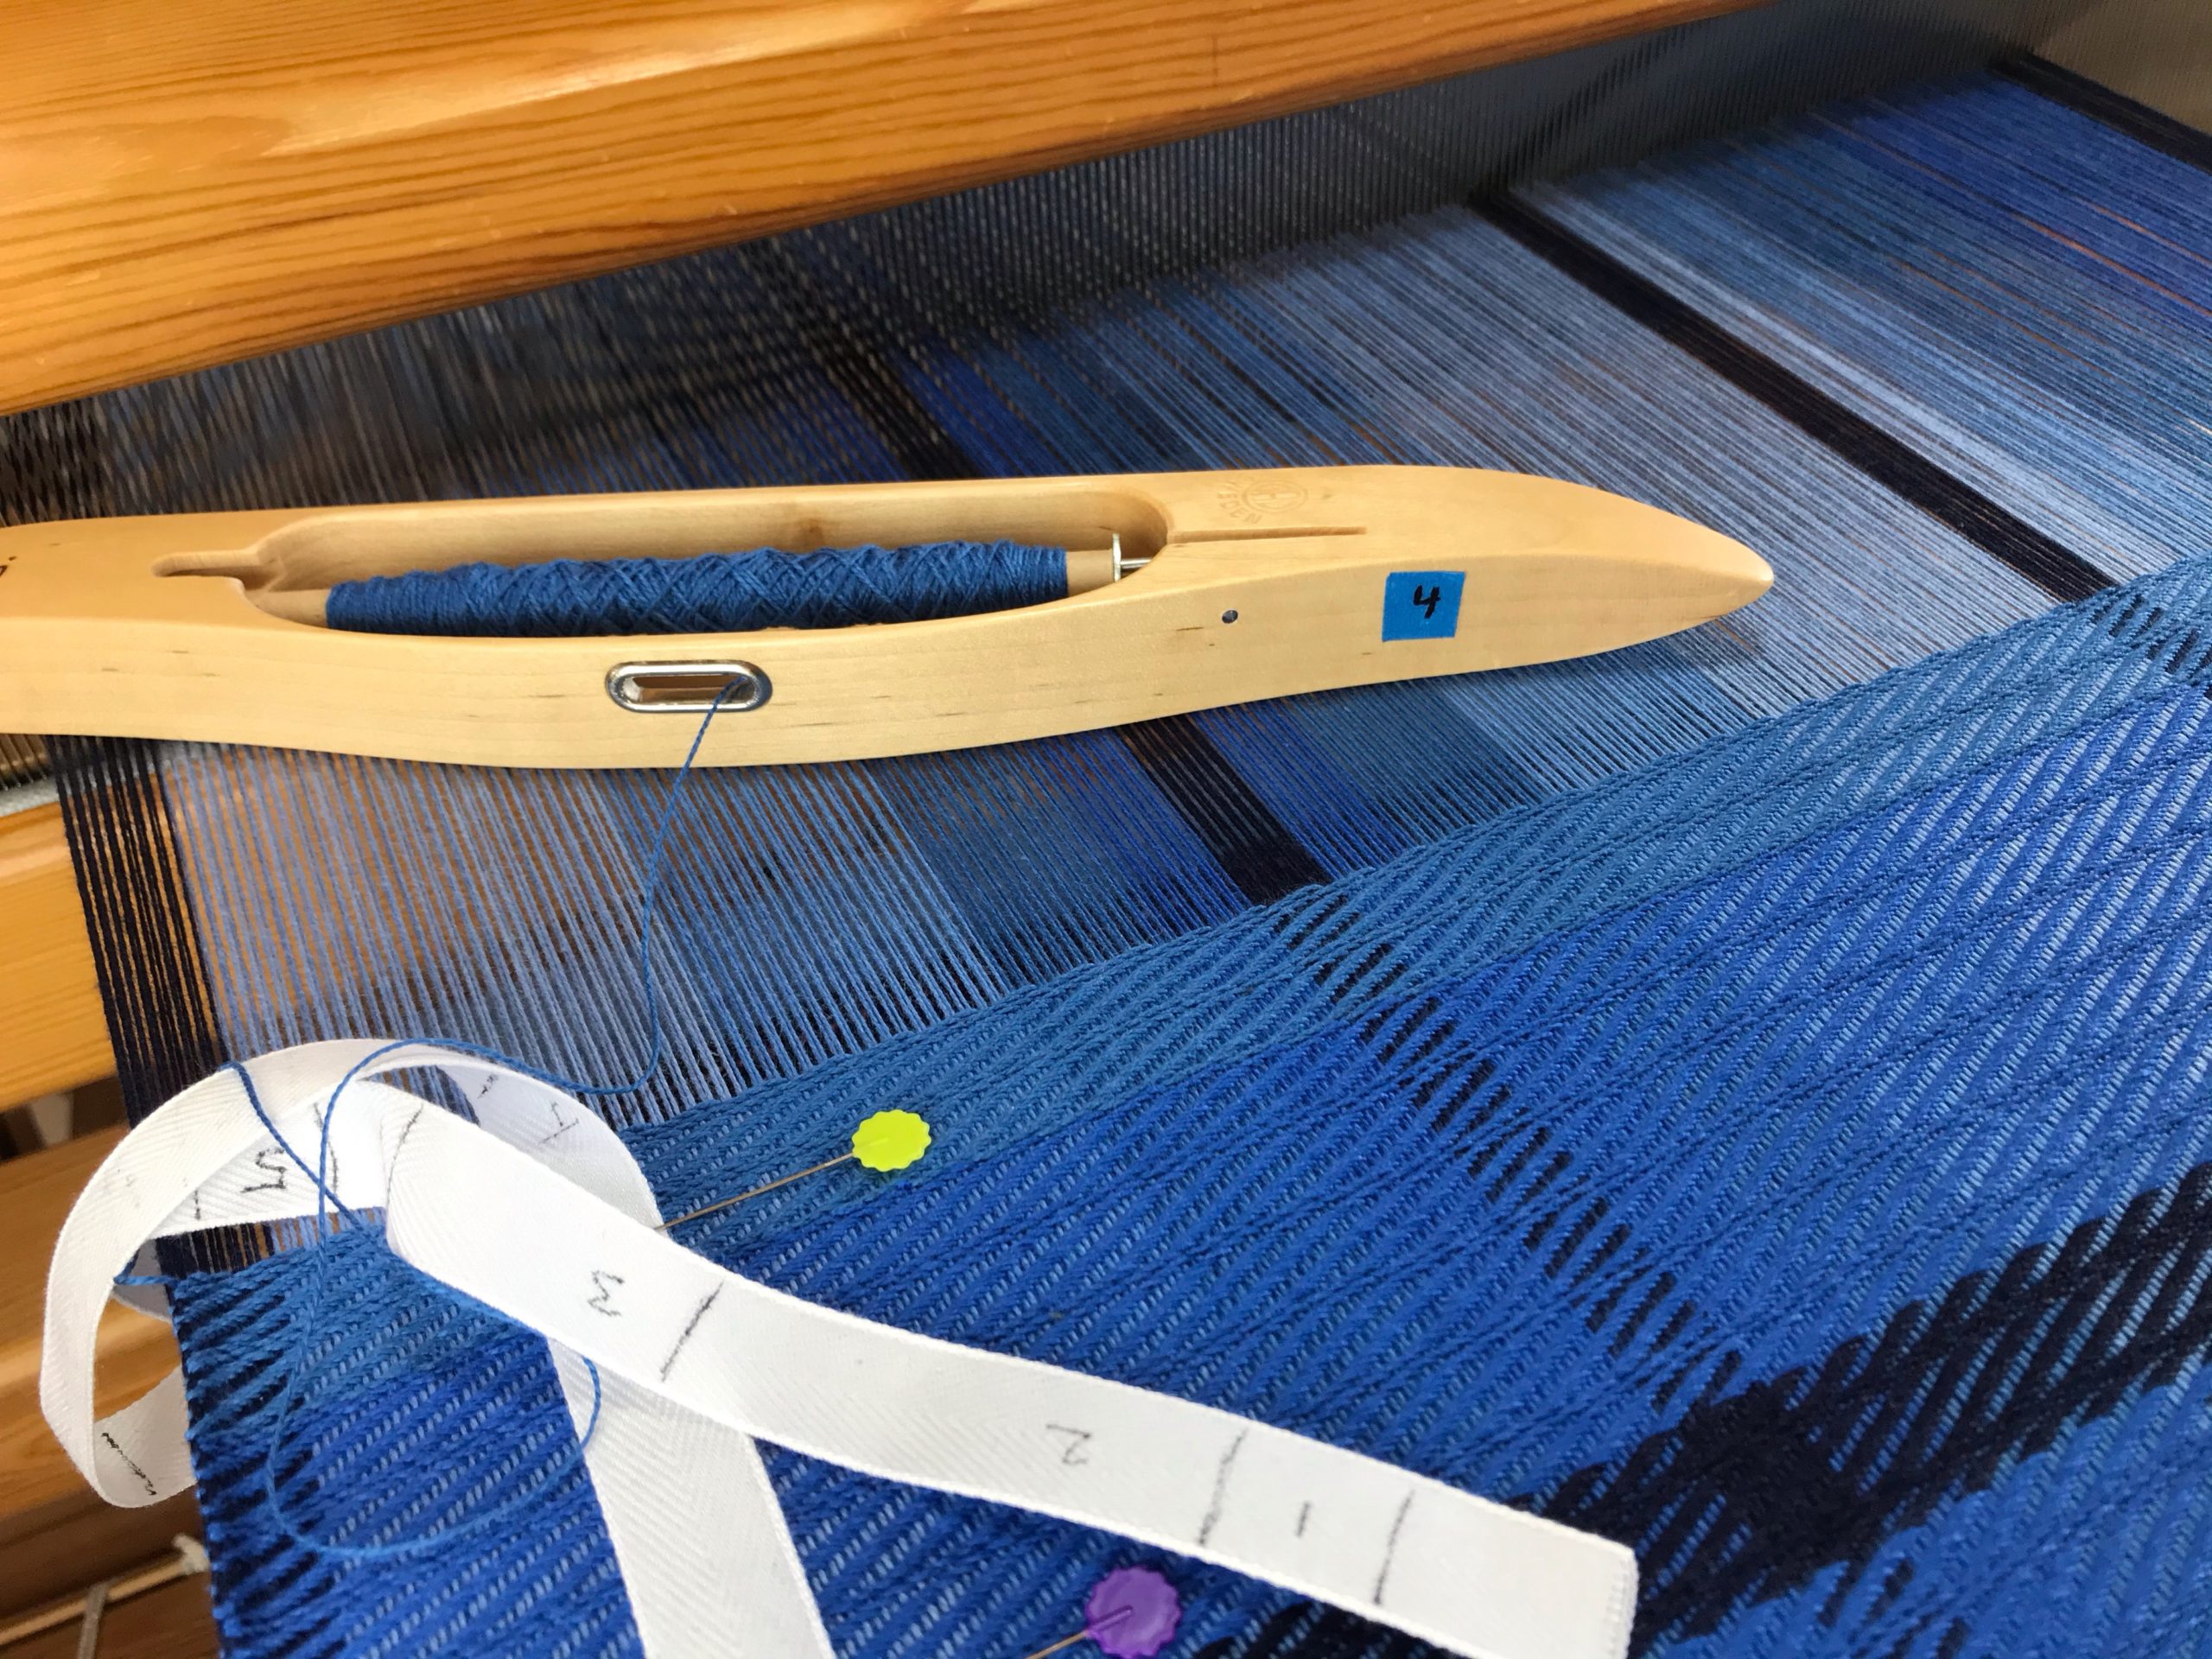
The weft order matches the warp order, and is marked out on a ribbon. I am using a separate boat shuttle for each shade of blue. But how do I know which color is which, when the difference is subtle from one color to the next?

Simplify Subtle Color Changes

  • Give each color a number. Write the numbers next to the colors of the warp order on the Project Notes.
Project Notes for weaving with 5 blues.
Weft colors are the same as the warp colors. The Project Notes show all the details. “1, 2, 3, 4, 5” is added to the sheet to give each color a simple number.
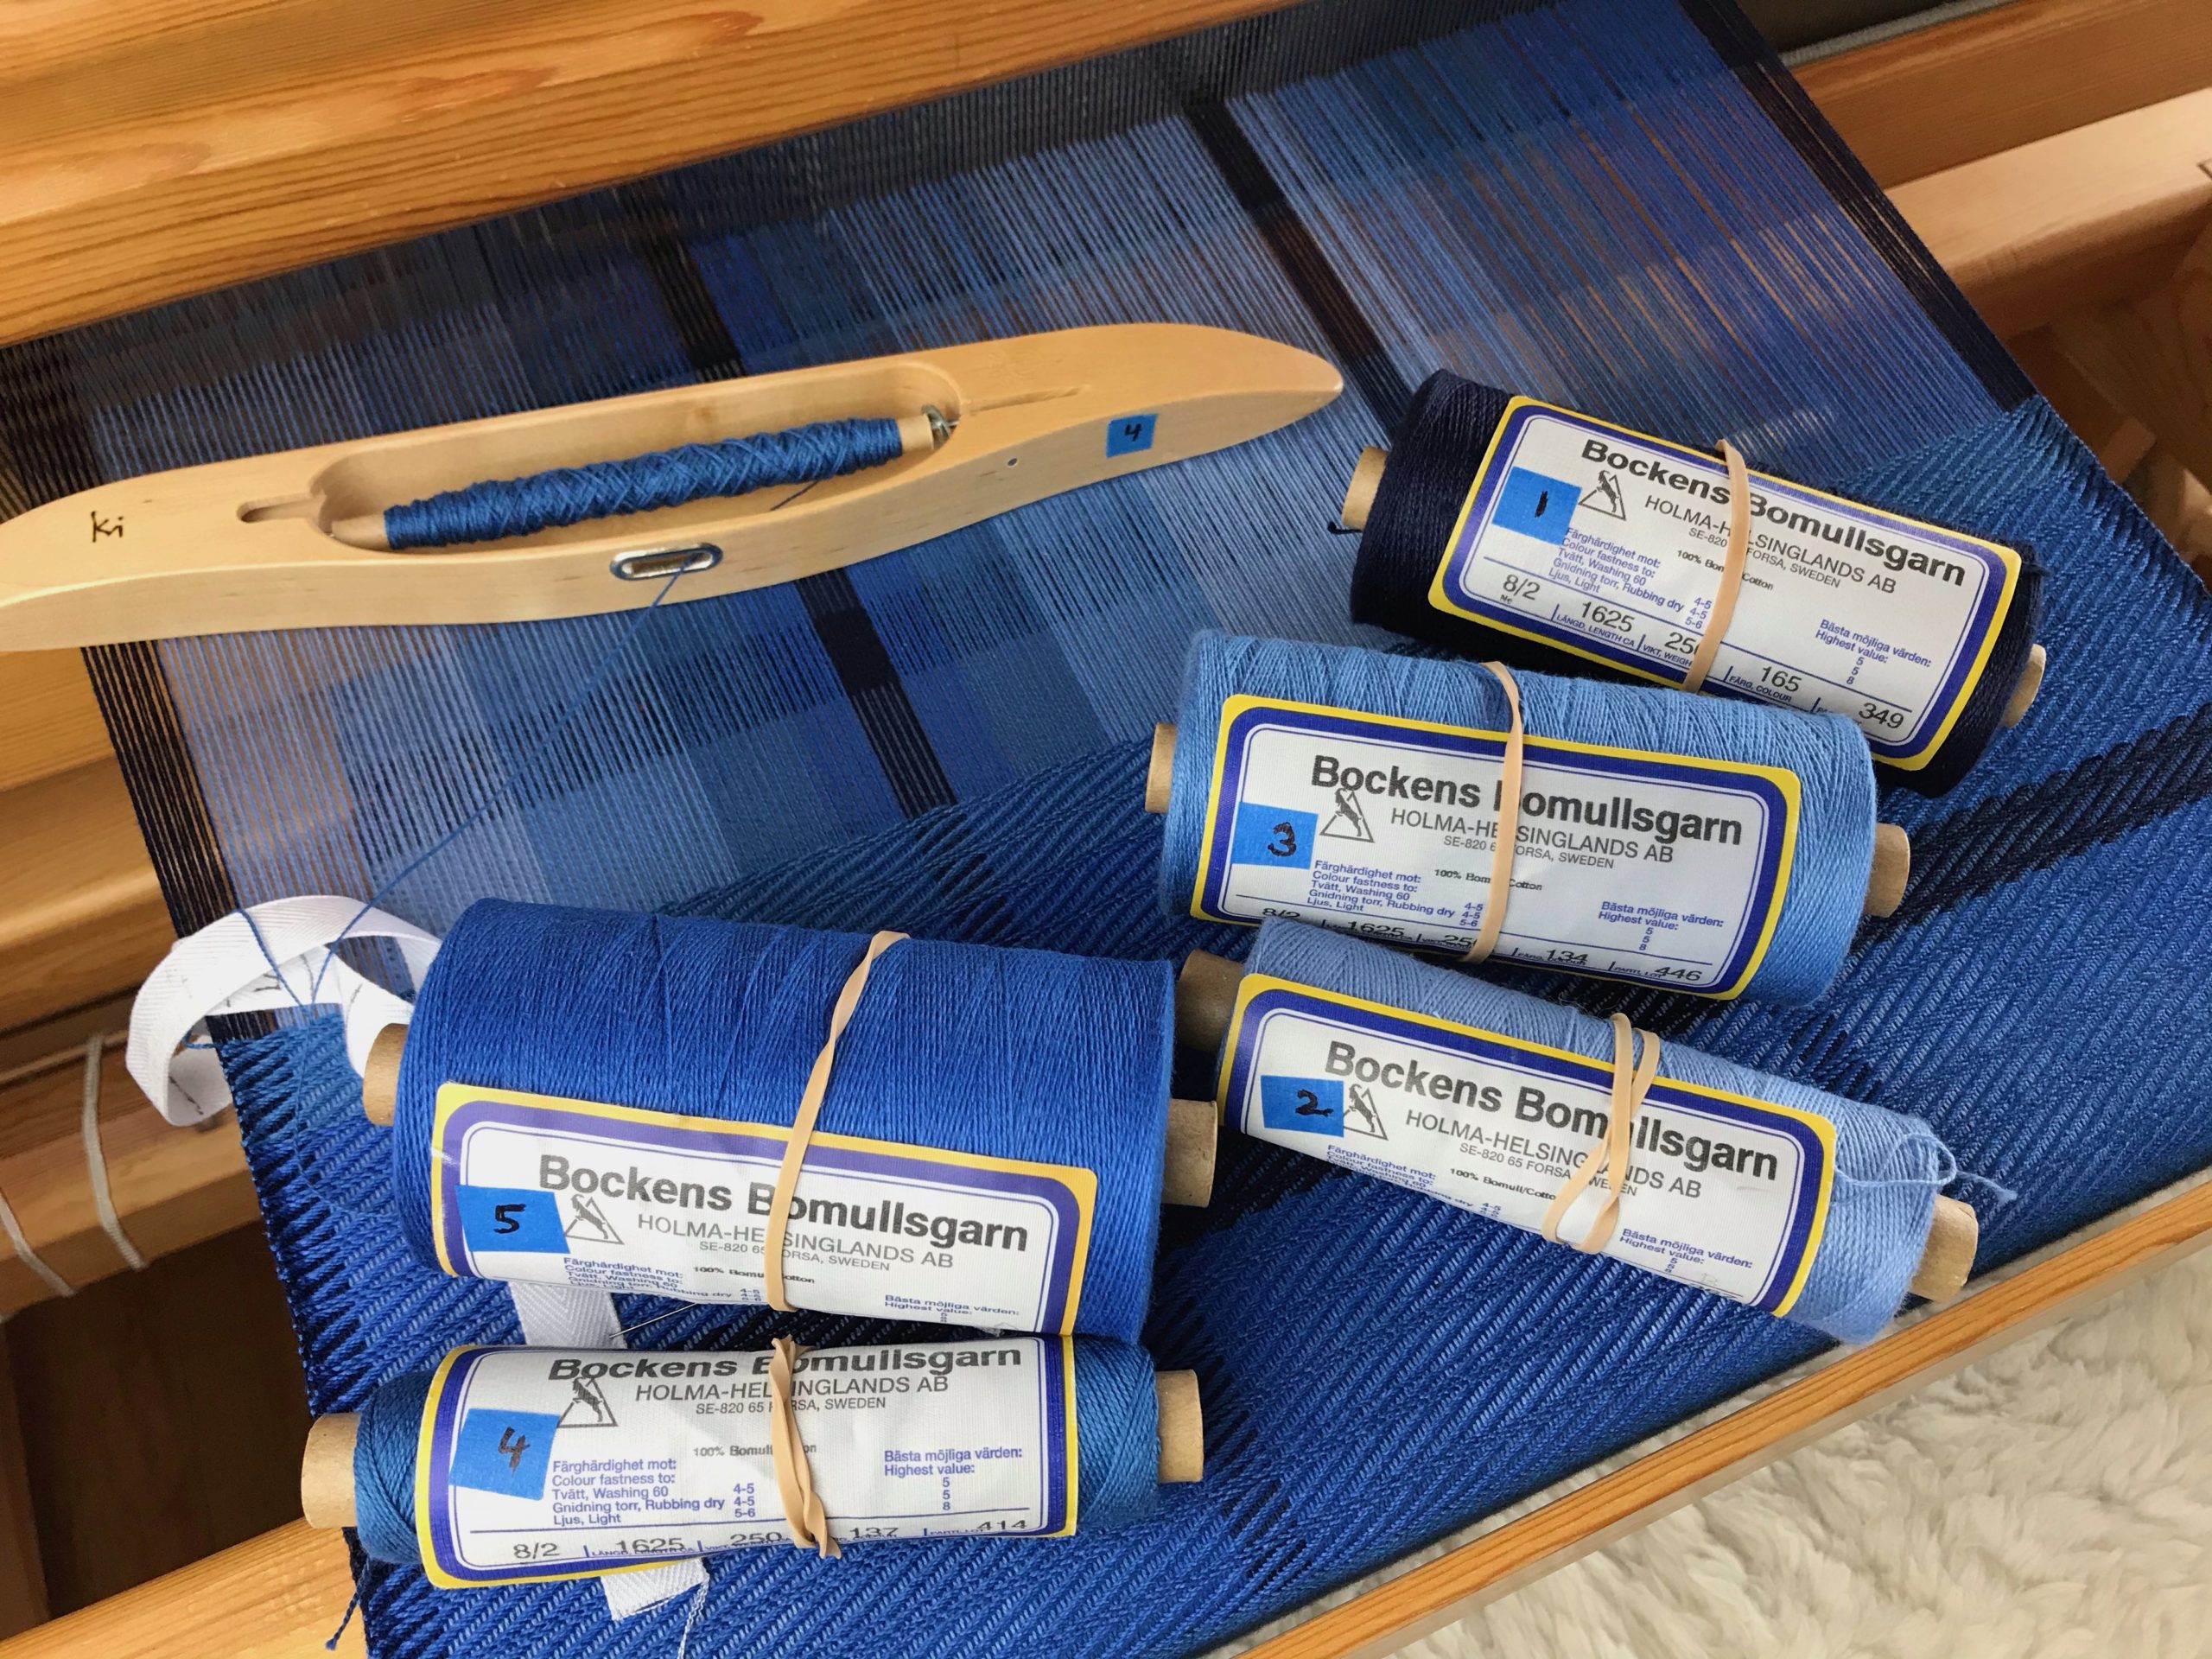
  • Label the thread tubes with a small piece of blue painter’s tape. Each tube of thread is numbered to correspond with the numbers on the Project Notes.
Make removable labels with blue painter's tape.
Handy blue painter’s tape is used to make removable labels.
Five blues are labeled for simplicity.
Thread tubes are labeled with their identifying number.
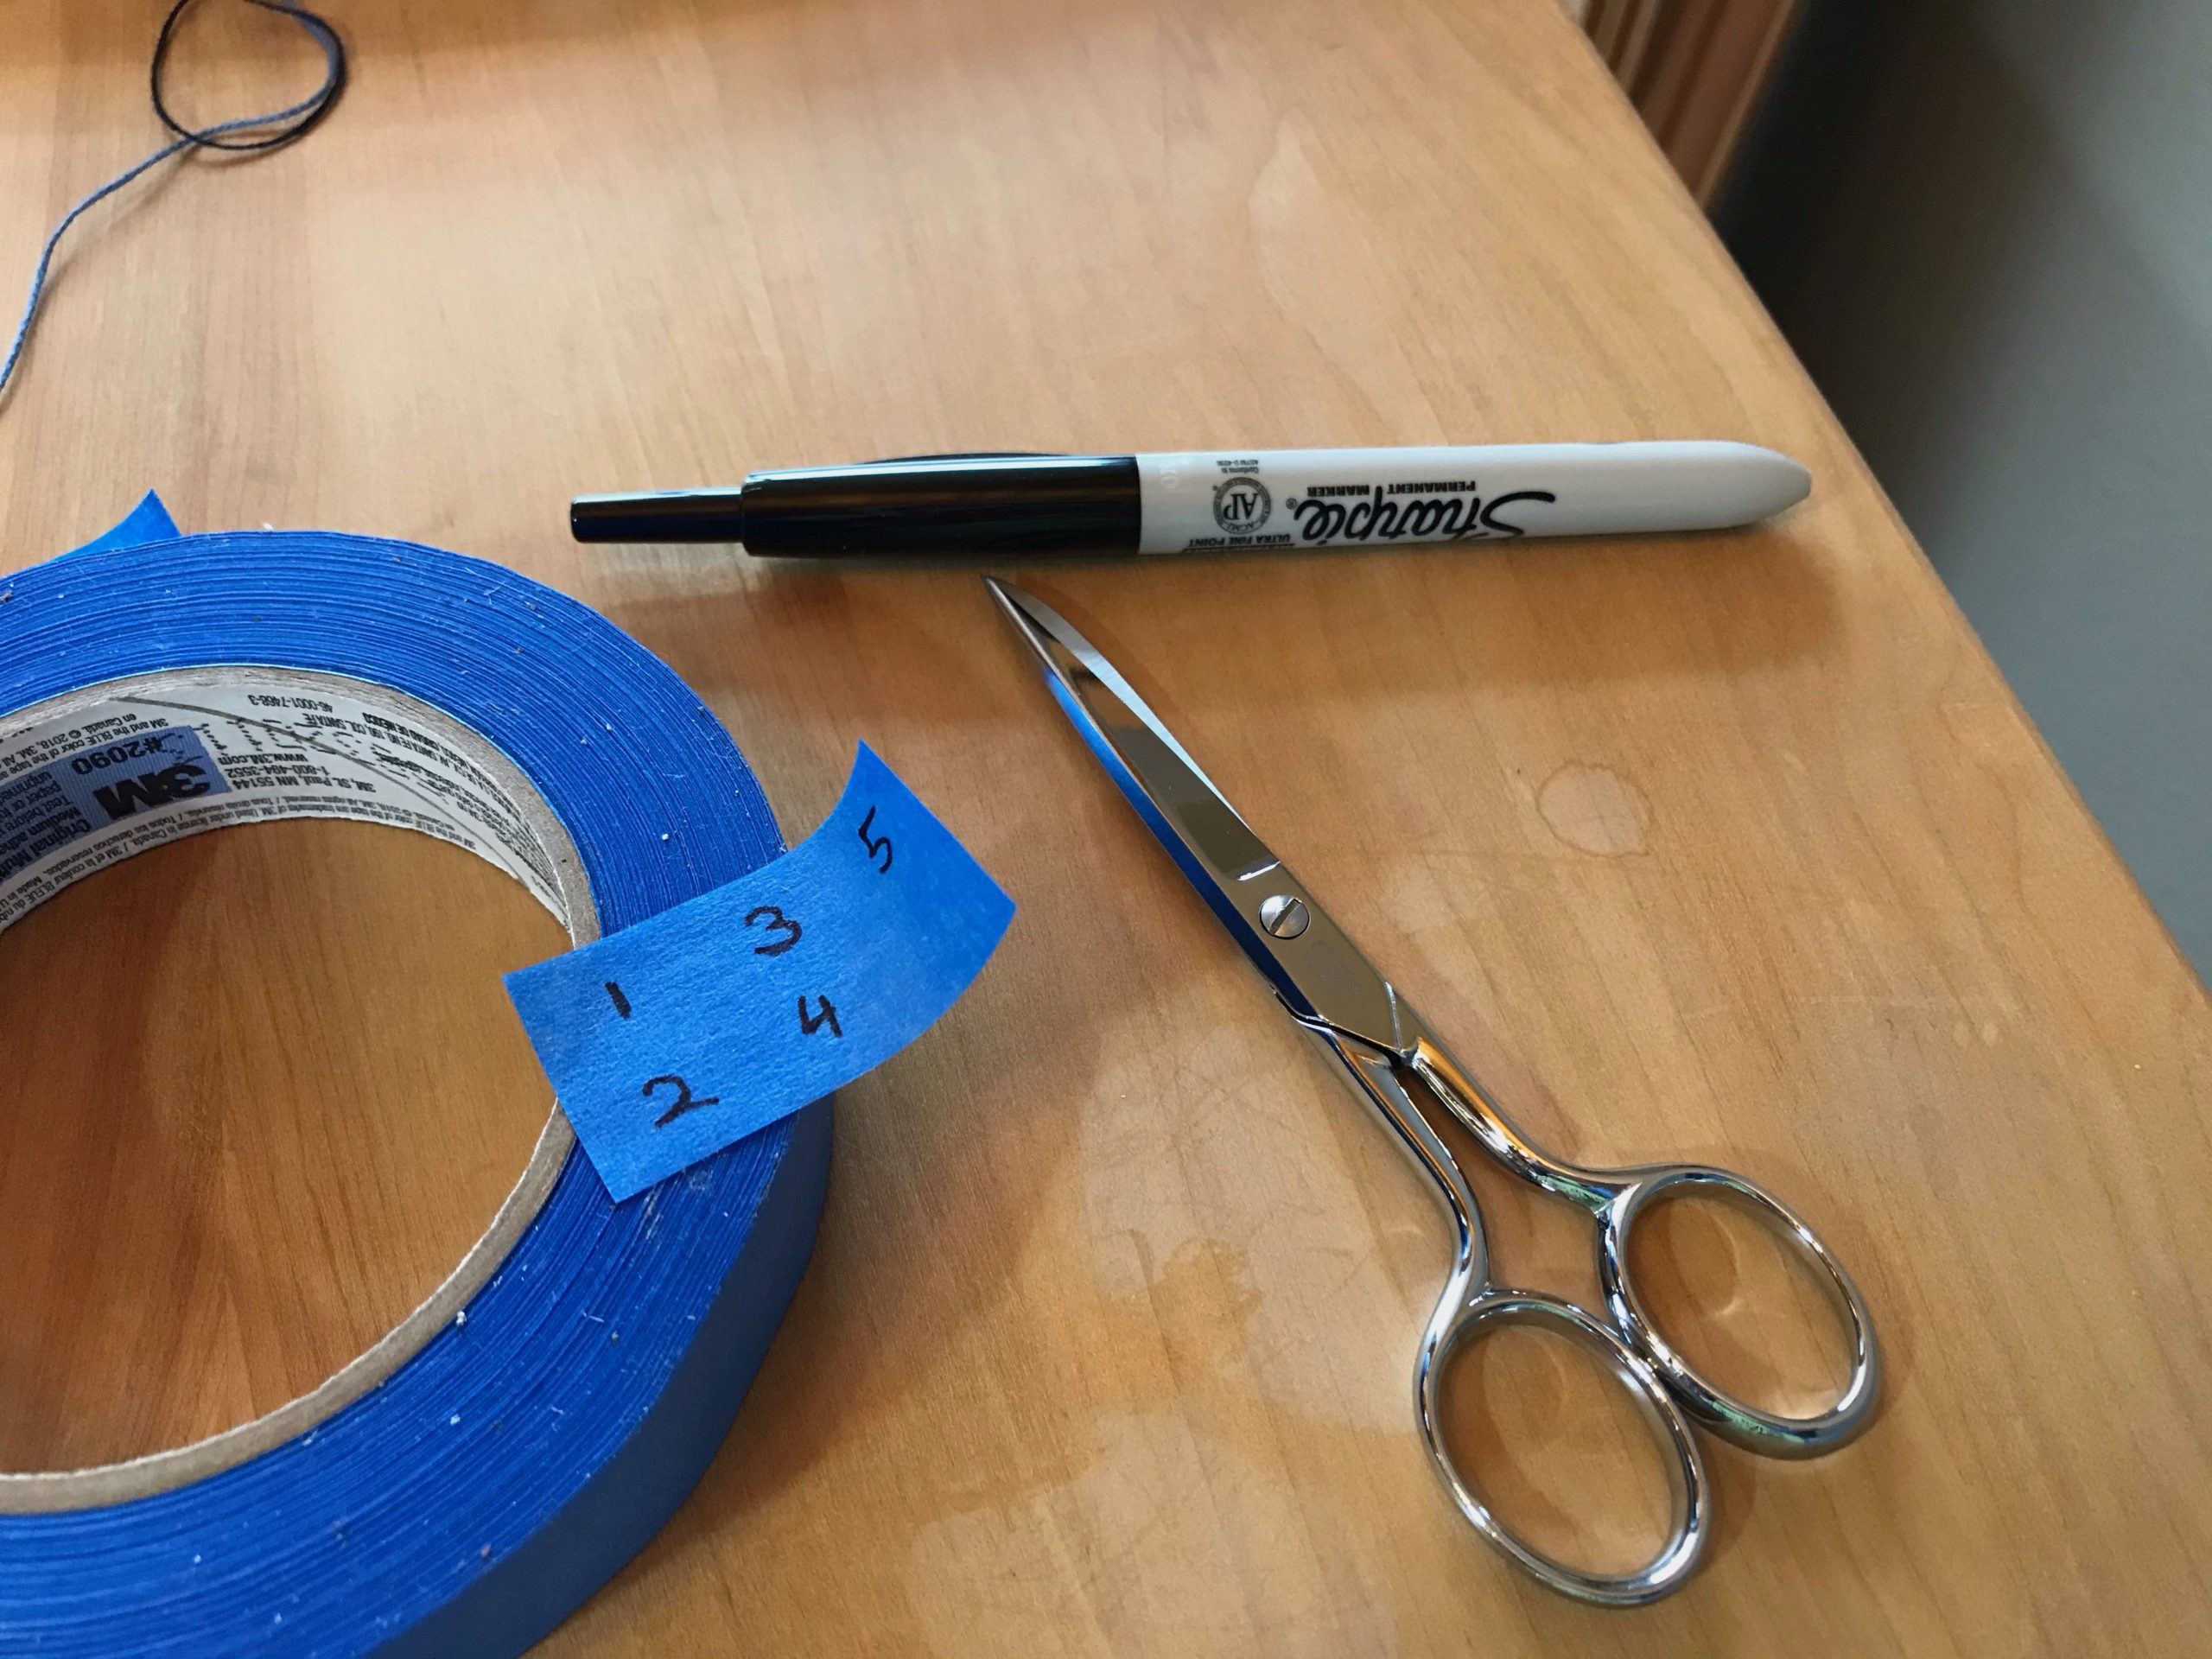
  • Label each boat shuttle with its assigned color number, using a small piece of blue painter’s tape.
There are five blues for this 8-shaft twill.
Each boat shuttle holds its own color.
  • Place wound quills under the rubber band of their respective thread tubes.
Simplify subtle weft color changes.
When I wind an extra quill I place it with its thread tube so I don’t accidentally pick up the wrong color quill.

It is easy to keep track of these five numbers as I follow the weft sequence that is marked on my reference ribbon. Now, it’s shuttle #4’s turn…

Simplify subtle weft color changes.
Next in line…

May you find a way to simplify.

Happy Weaving,
Karen

Tried and True: Linen

Take a short stroll through our home and you will see and touch linen in all its superb versatility. Linen warp and weft speaks of elegance. Yet, this natural fiber is right at home with ordinary daily living. Linen, oh, how it sings!

I am thrilled to be dressing the Julia now with 16/2 linen on eight shafts. We will have another linen highlight to grace our home—a table runner for our dining room table.

Bockens 16/2 line linen for a handwoven runner.
It is a happy day when new tubes of Bockens 16/2 line linen arrive at the door.
Making a linen warp.
Winding two threads together at a time on the warping reel.
8-shaft Julia and linen warp.
Dividing the warp into three bouts makes it easier to spread and beam the warp with even tension across the warp.
Glimakra Julia 8-shafts. Glorious linen!
Golden bleached linen is a gorgeous backdrop for the olive center section and contrasting midnight blue borders.

Is there anything more vibrant than the sheen of linen saturated with color? And, have you noticed that plain unbleached linen is anything but plain? Linen fills both ends of the spectrum—glowing exuberant color and natural wrinkled humility. Linen, oh, how it sings! There’s always room for more music in the home.

May your home be filled with everyday elegance.

Happy Weaving,
Karen

Tried and True: Slay – Sleigh – Sley

Slay the dragon. Ride the sleigh. Sley the reed. To succeed in these challenges, you must be prepared, pay attention, and make sure you’re on the right track. Here, I’m going to focus on sleying the reed with success. (For dragon slaying and sleigh riding challenges, I won’t be of much help.) Don’t miss the new video below with tips for sleying the reed.

Loom lighting makes a difference!
Shop light attached to top of loom provides good general lighting to all working areas of the loom. Smaller clip-on lamp provides directed light for detail work, like sleying a dense reed.
Clip-on lamp for detail work at the loom.
Even in a room filled with natural light, a focused bright light on the work area relieves eye strain and reduces errors.

First, make sure you have good lighting. I have a snake arm shop light attached to the top of my loom. (See Tools Day: Loom Lighting for more about loom lighting.) I also have a smaller clip-on gooseneck LED lamp, clipped onto my loom bench, that illuminates my specific working area. With a fine-dent reed, like this metric 100/10- (~ imperial 25-) dent reed, focused lighting makes a difference. It means seeing the dents instead of guessing.

Making a new video. Tips for sleying the reed.
Making a new video. Steve does the filming and I do the editing.

In this video, I share some tips for sleying the reed, with checkpoints to ensure success. (See Tools Day: Click Test for more about the “click test” mentioned in the video.)

May your dragons be few.

Yours truly,
Karen

Tried and True: Weft Color Changes and Video

I have an efficient way to handle weft color changes. It’s very simple. This is for those instances when I need to end one weft thread and start a new one. As a rule, I take care of weft tails as I go. I don’t want to come back to them later if I don’t have to. If I tuck in each weft tail at the beginning of the row, thickness from the extra wefts builds up at the selvedge, especially if I’m weaving horizontal stripes. The method I describe reduces the extra wefts, and eliminates having to tuck any tails in.

Weaving tutorial about weft color changes.
Color changes add to the movement and excitement of the design.
How to change weft colors - simple!
Vertical and horizontal narrow stripes in six-shaft broken twill.

How to Start a New Weft Color

  1. Weave the last pick of one color.
  2. Change to the shed needed for the next color. Take the shuttle with the first color into the shed for about about 3 cm (1 1/8”), and bring the shuttle up and out through the top of the warp.
  3. Lightly beat (tap) in the 3 cm (1 1/8”) of thread. Carefully snip off the thread close to the warp.
  4. Weave a pick of the next color, with the end of the new thread overlapping the 3 cm (1 1/8”) of the previous color thread. Position the new thread such that the end is outside the selvedge just a hair.
  5. Beat in the new weft and continue weaving until the next color change.
Tutorial about efficient way to change weft colors.
Ending the third of four bath towels.
Stripes in towels. How to!
Hand towels waiting to be paired up with the bath towels…hopefully, before Christmas!

Watch this short video to see me demonstrate this method of changing the weft colors.

May your choice of weft colors give a glimpse of your best qualities.

Simply Weaving,
Karen

Tried and True: Wool Skeins into Balls

I am adding about thirty more skeins to my yarn supply to get the colors I need for a new tapestry. At this rate, maybe I will have every single color of Borgs 6/2 Tuna and 6/1 Fårö wool on my shelves some day. That’s wishful thinking… But I do have what I need for now to make the butterflies for this special pictorial tapestry.

Preparing to weave a new pictorial tapestry.
Beautiful colors of wool skeins of yarn.

All these new skeins of yarn need to be wound into balls using my Swedish umbrella swift and a ball winder. In the past, I have used a manual ball winder. That means a lot of handle turning, but eventually all the yarn is wound into balls.

Swedish umbrella swift and an electric ball winder.
Skein of yarn is opened and placed on the umbrella swift.

This time is different. I found a new time-saving and arm-saving tool. It’s an electric ball winder, made by Fiber Artist Supply Company. I put the skein on the swift, cut the ties, secure the loose end of yarn to the ball winder, and then turn it on, gradually increasing the speed. In less than two minutes, I have another beautiful ball of yarn to use for making tapestry butterflies.

My new electric ball winder.
End of yarn is secured on the post of the ball winder.
Electric ball winder. Time-saver and arm-saver!
Dial on the winder allows me to gradually increase the speed. When I see that the skein is unwinding properly, I turn the dial to full speed.
Yarn swift is turning swiftly!
Maybe this is why it’s called a yarn “swift.” Previous pictorial tapestry, Siblings, is seen on the wall.
Electric ball winder. Time-saver and arm-saver!
One minute, fifty-four seconds later, and we have a ball of yarn.
New ball of yarn from the electric ball winder.
I will wrap the label on this ball of yarn and it will join the yarn collection for this tapestry.
Getting ready to start a new pictorial tapestry!
Linen warp is ready for beaming. Wool weft yarn is being sorted and organized for making butterflies.

May your tools give you more time for weaving.

Making it easier,
Karen