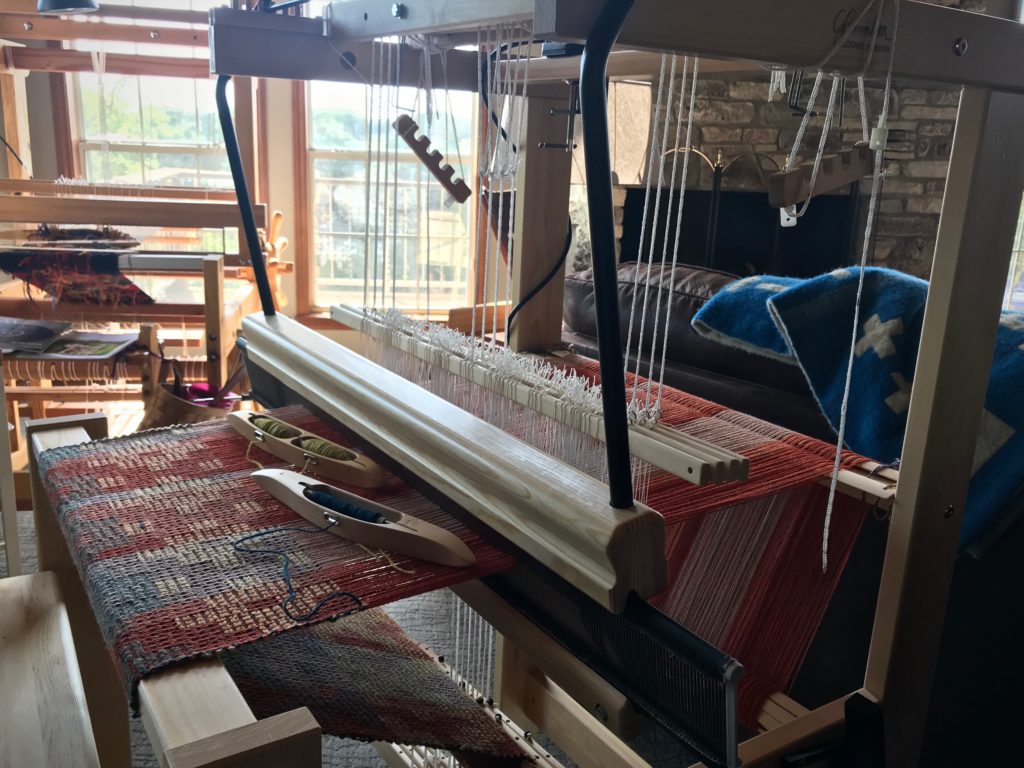
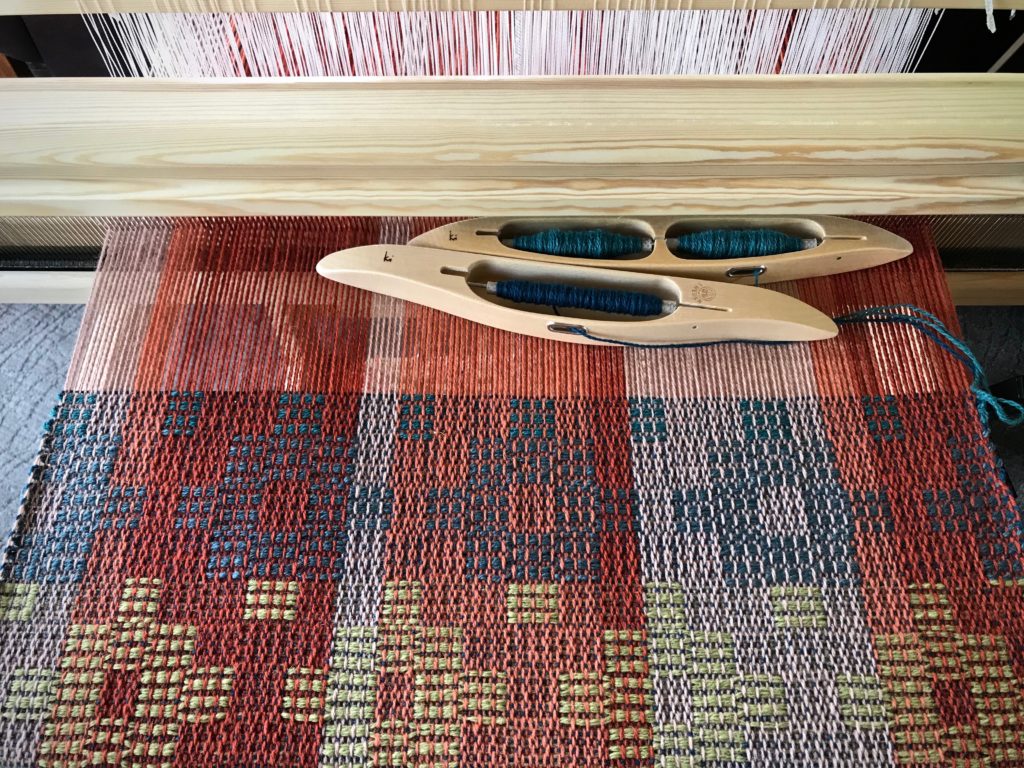
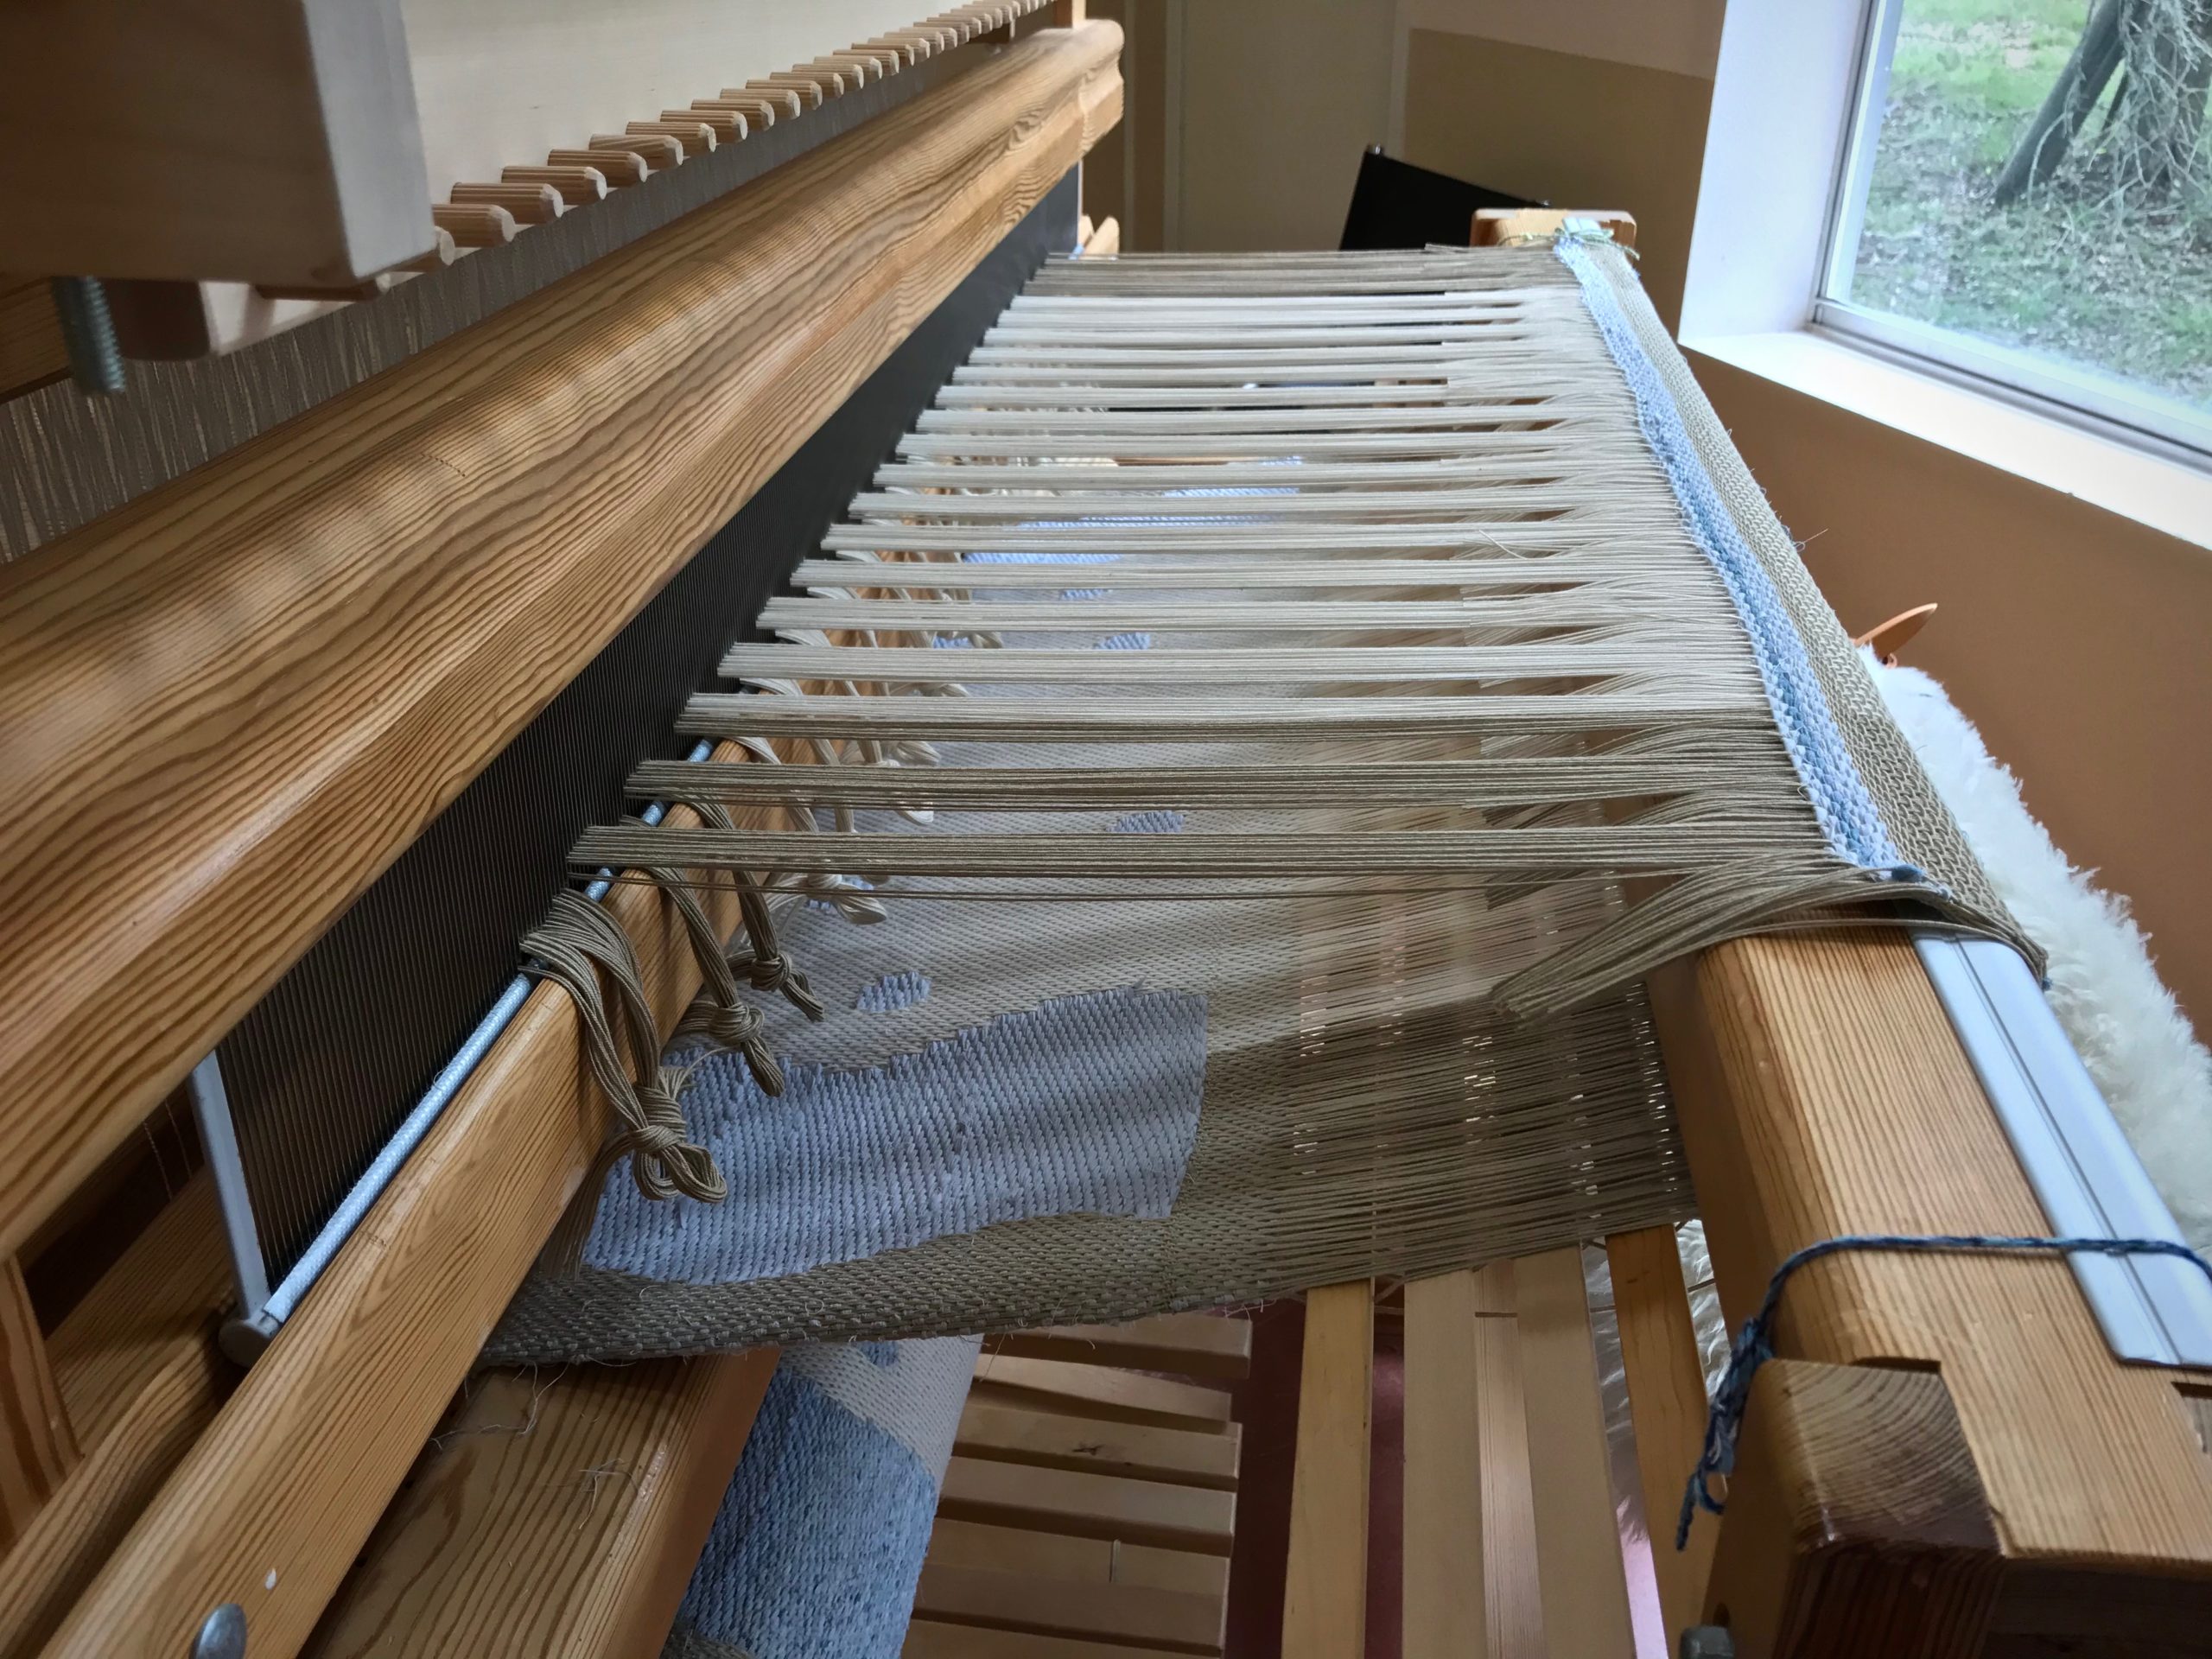
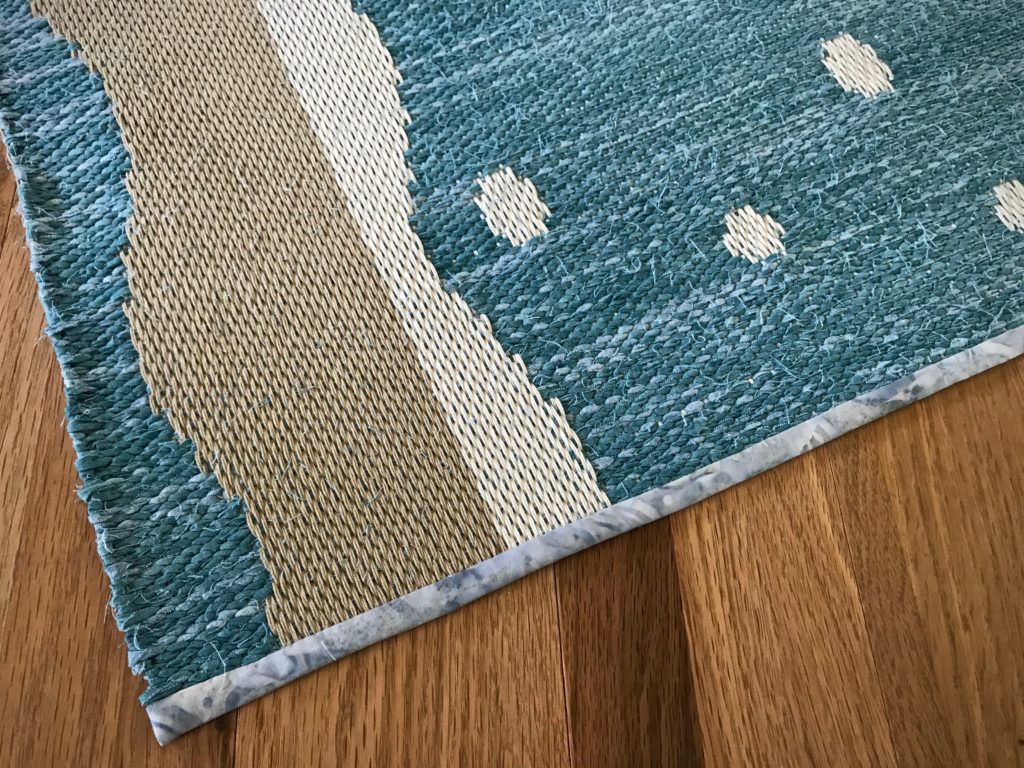
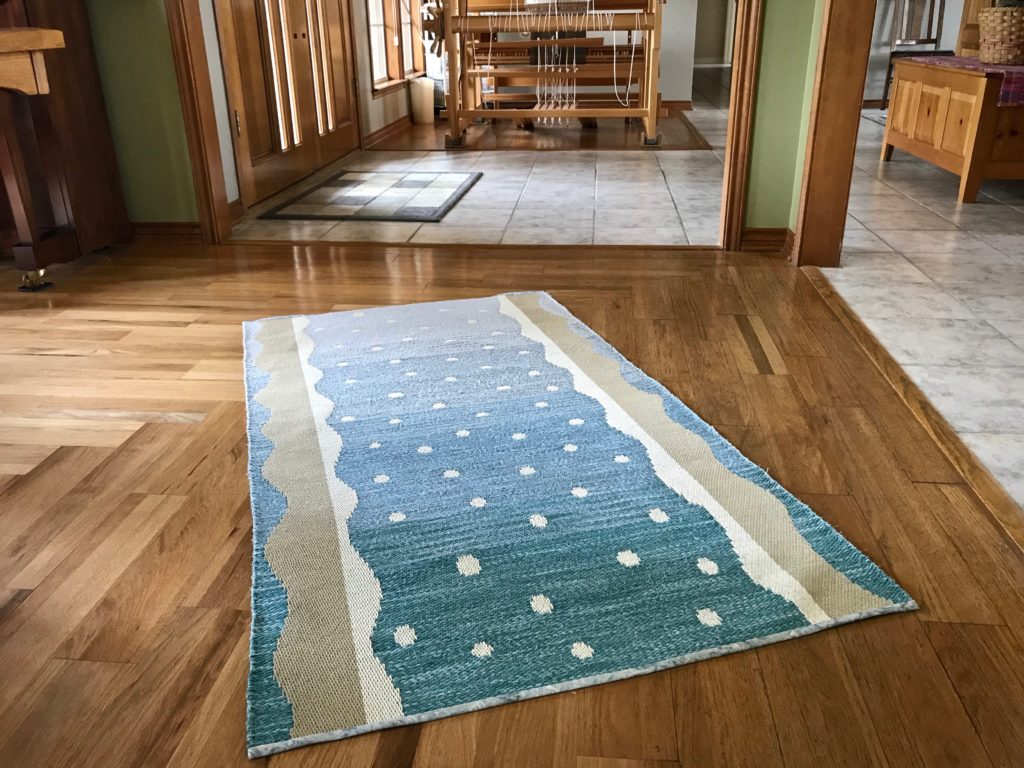
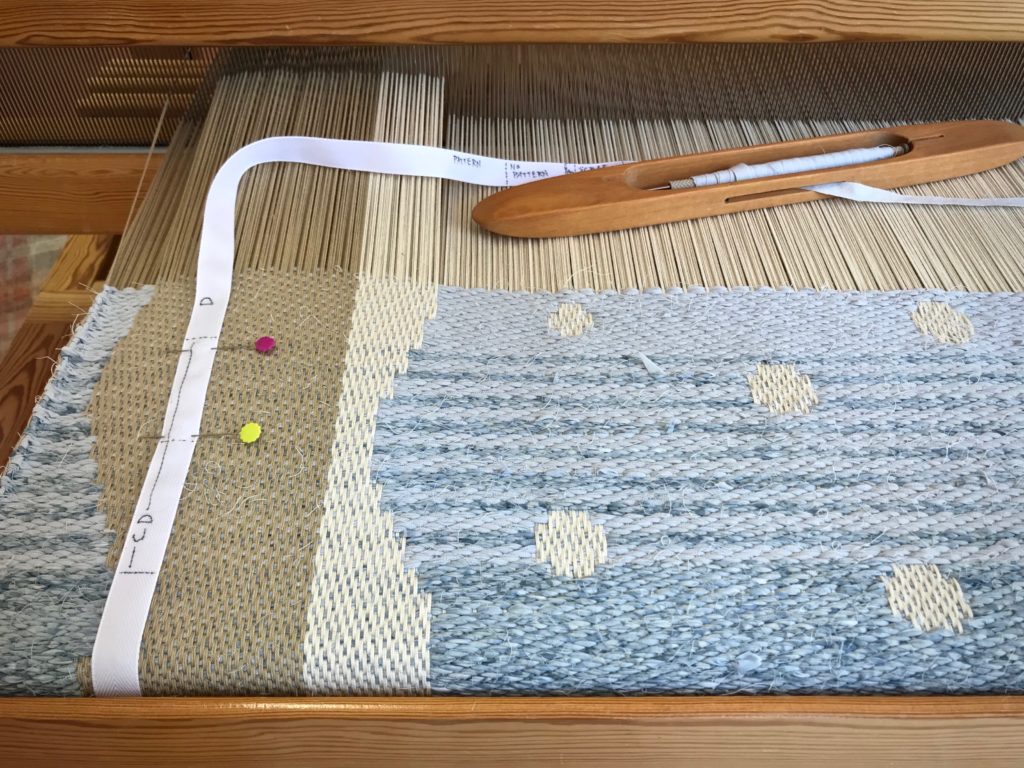
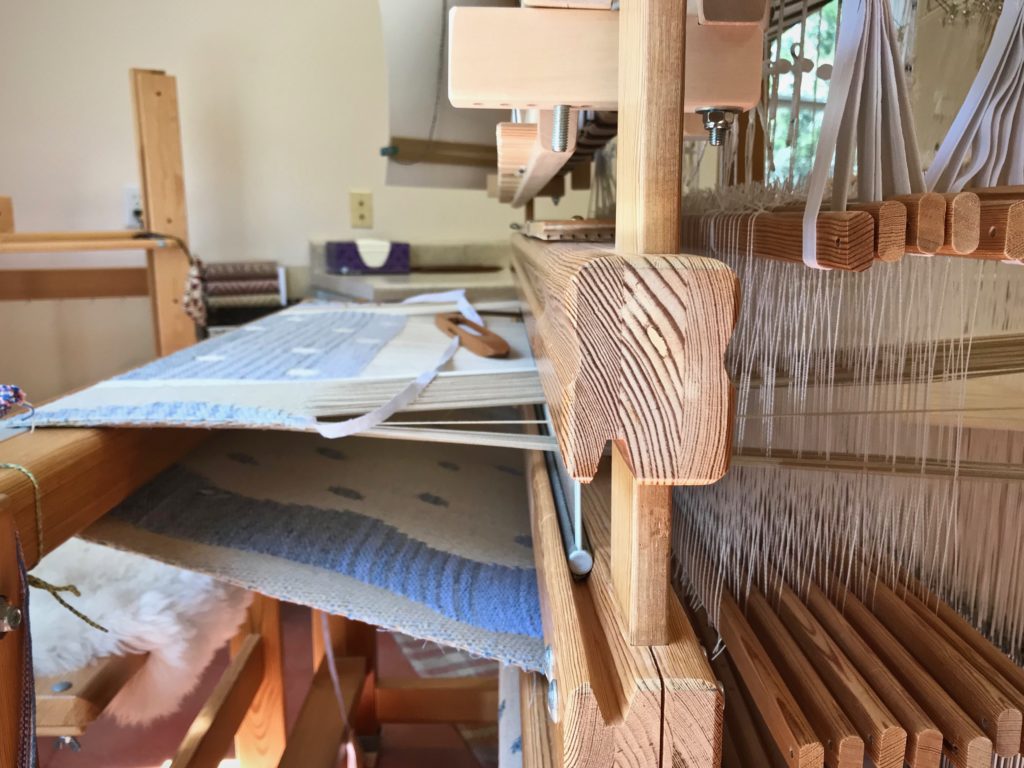
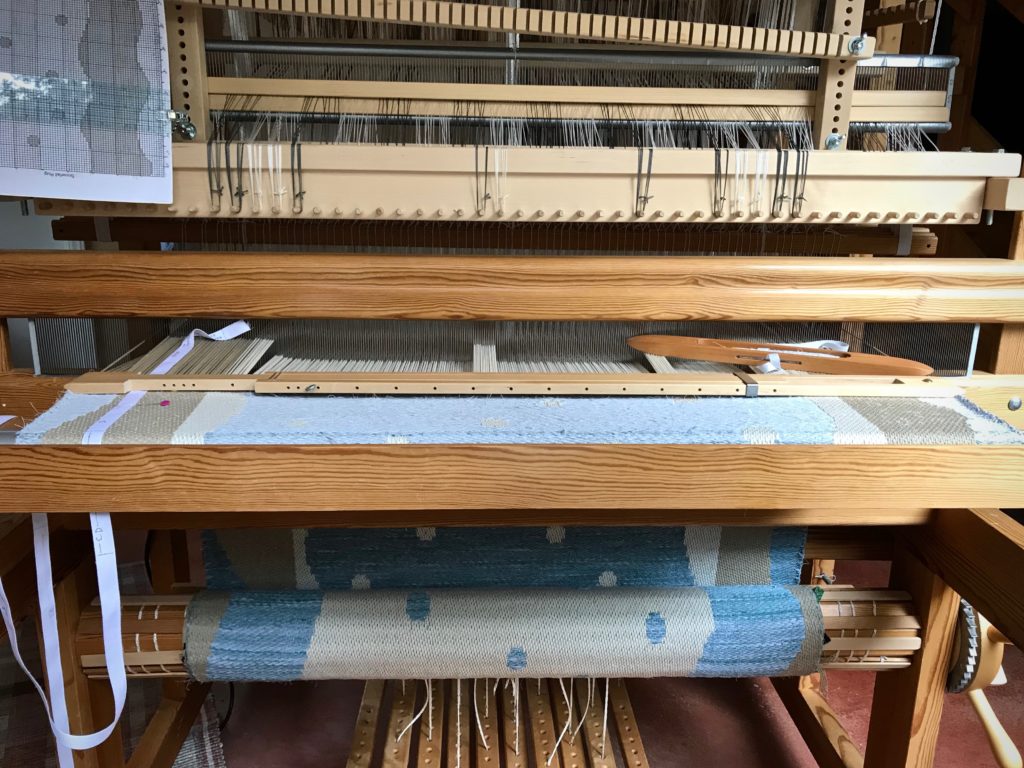
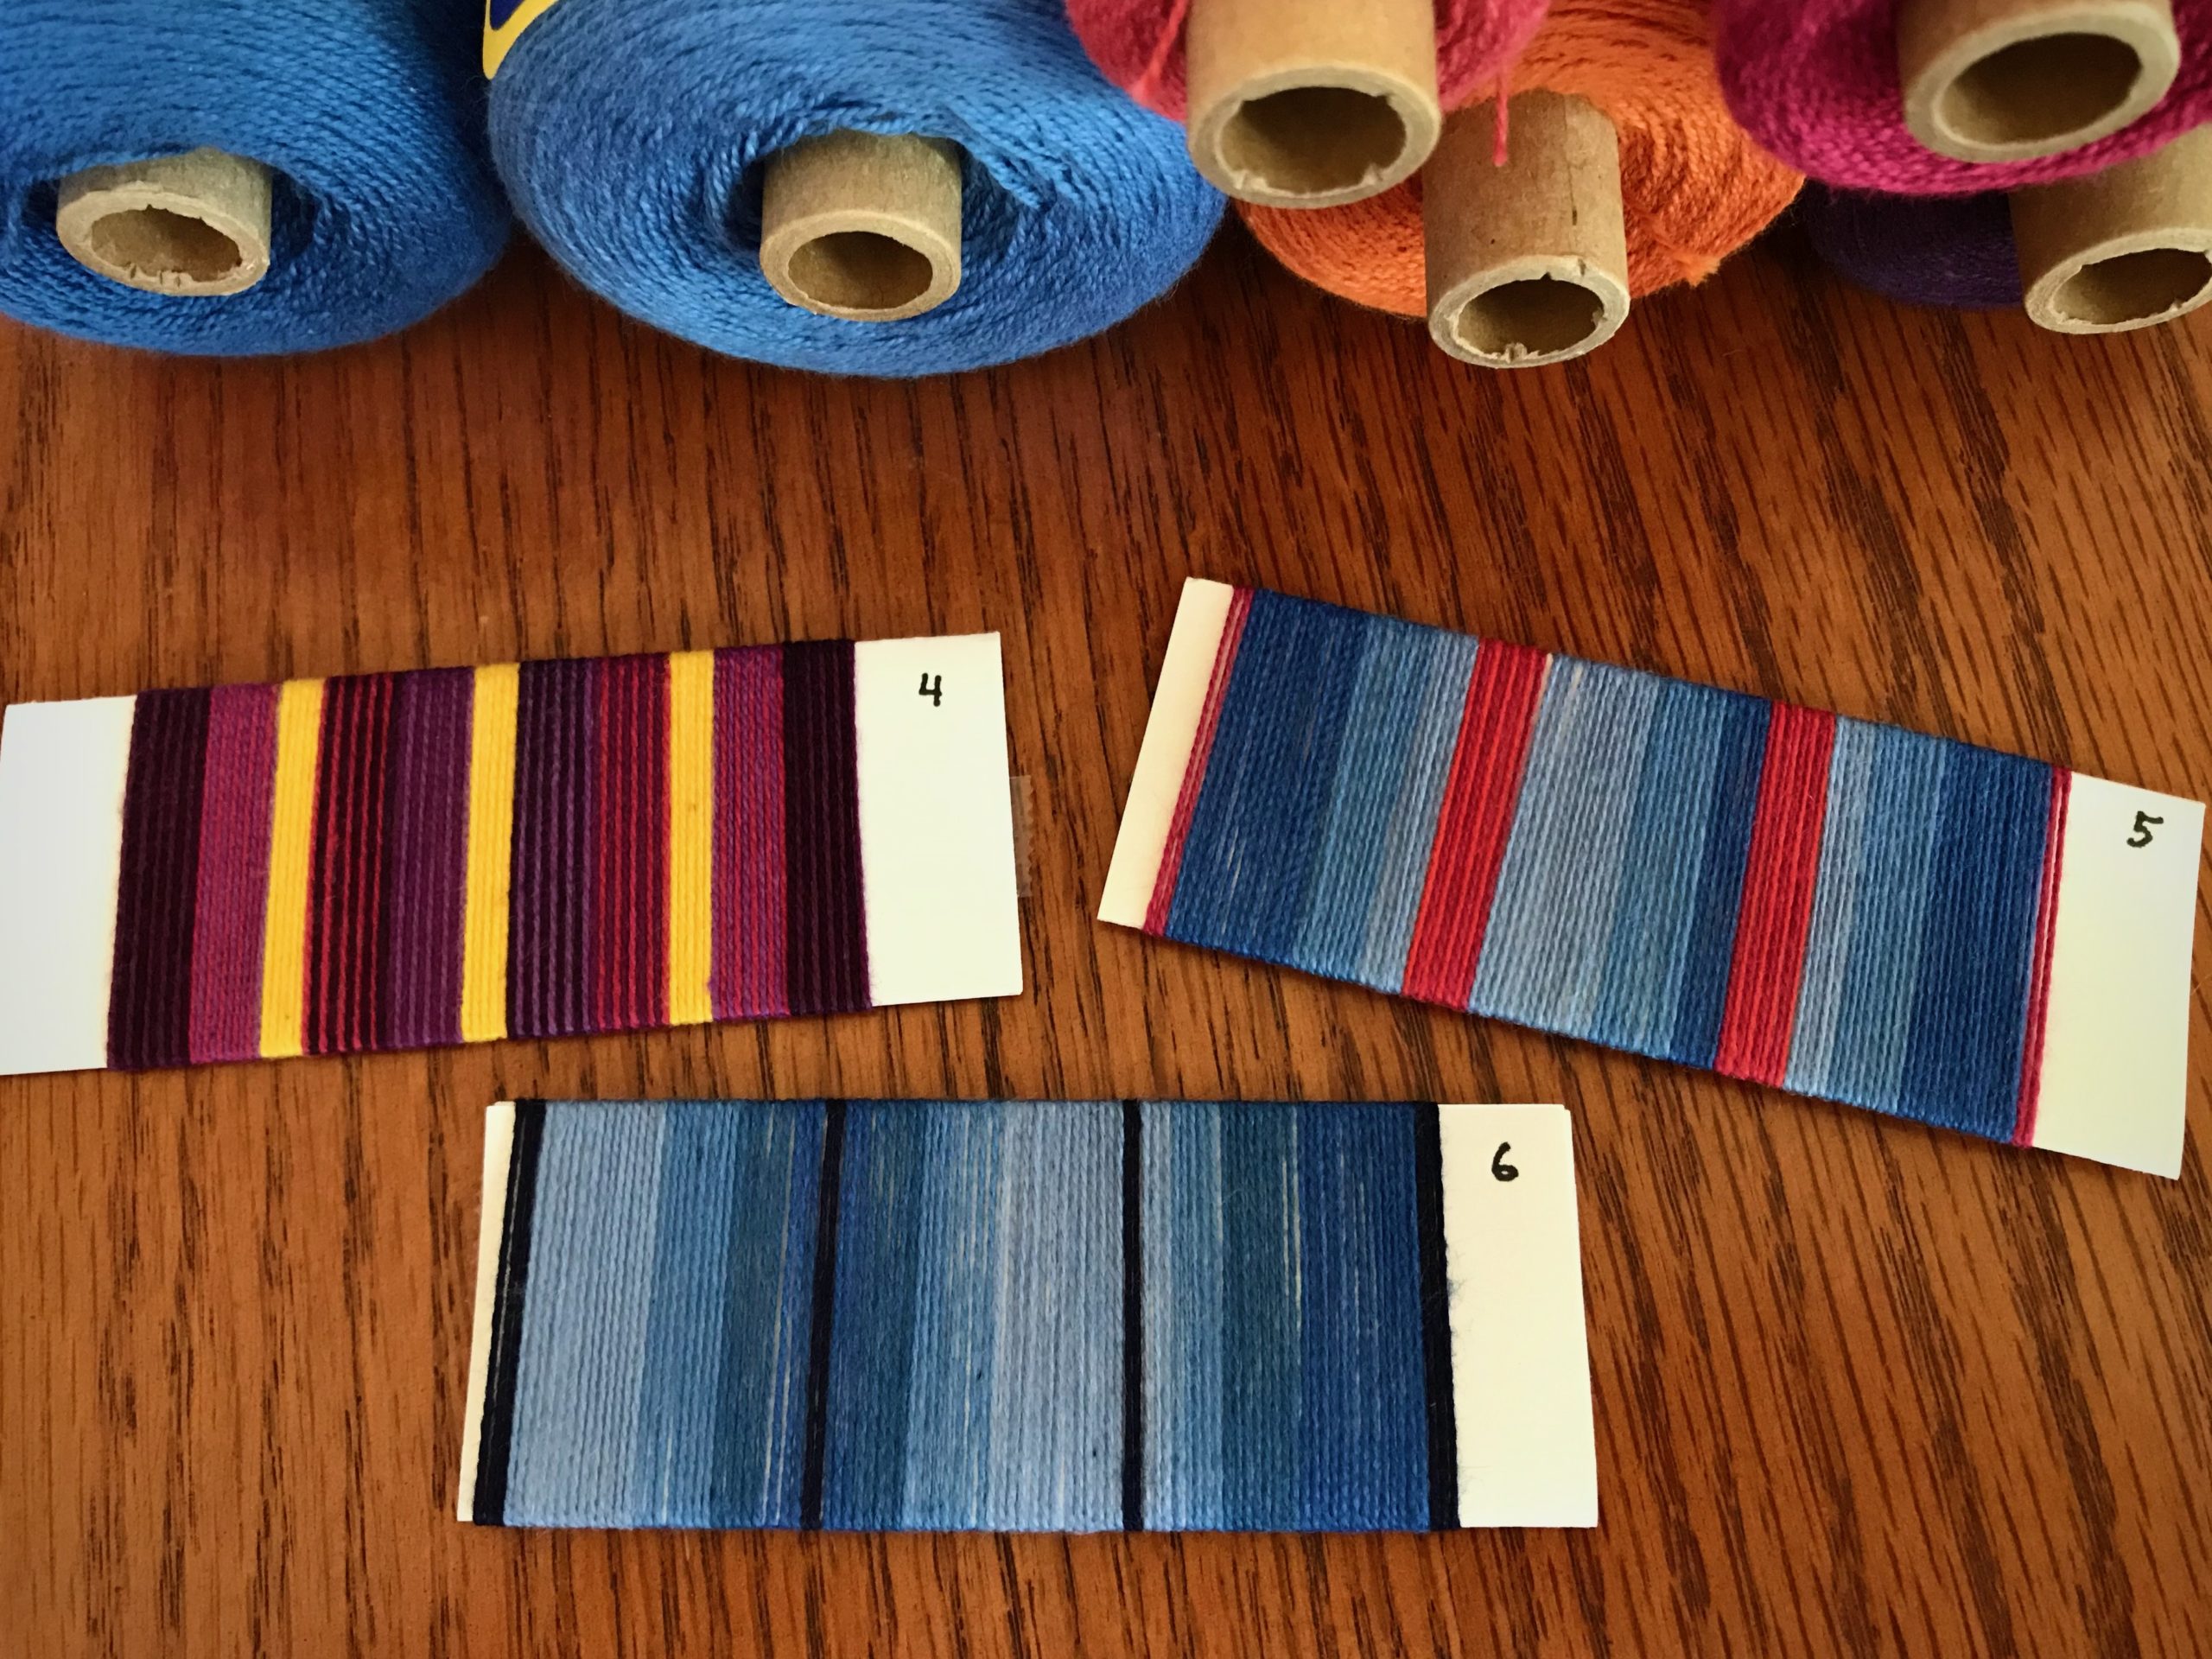
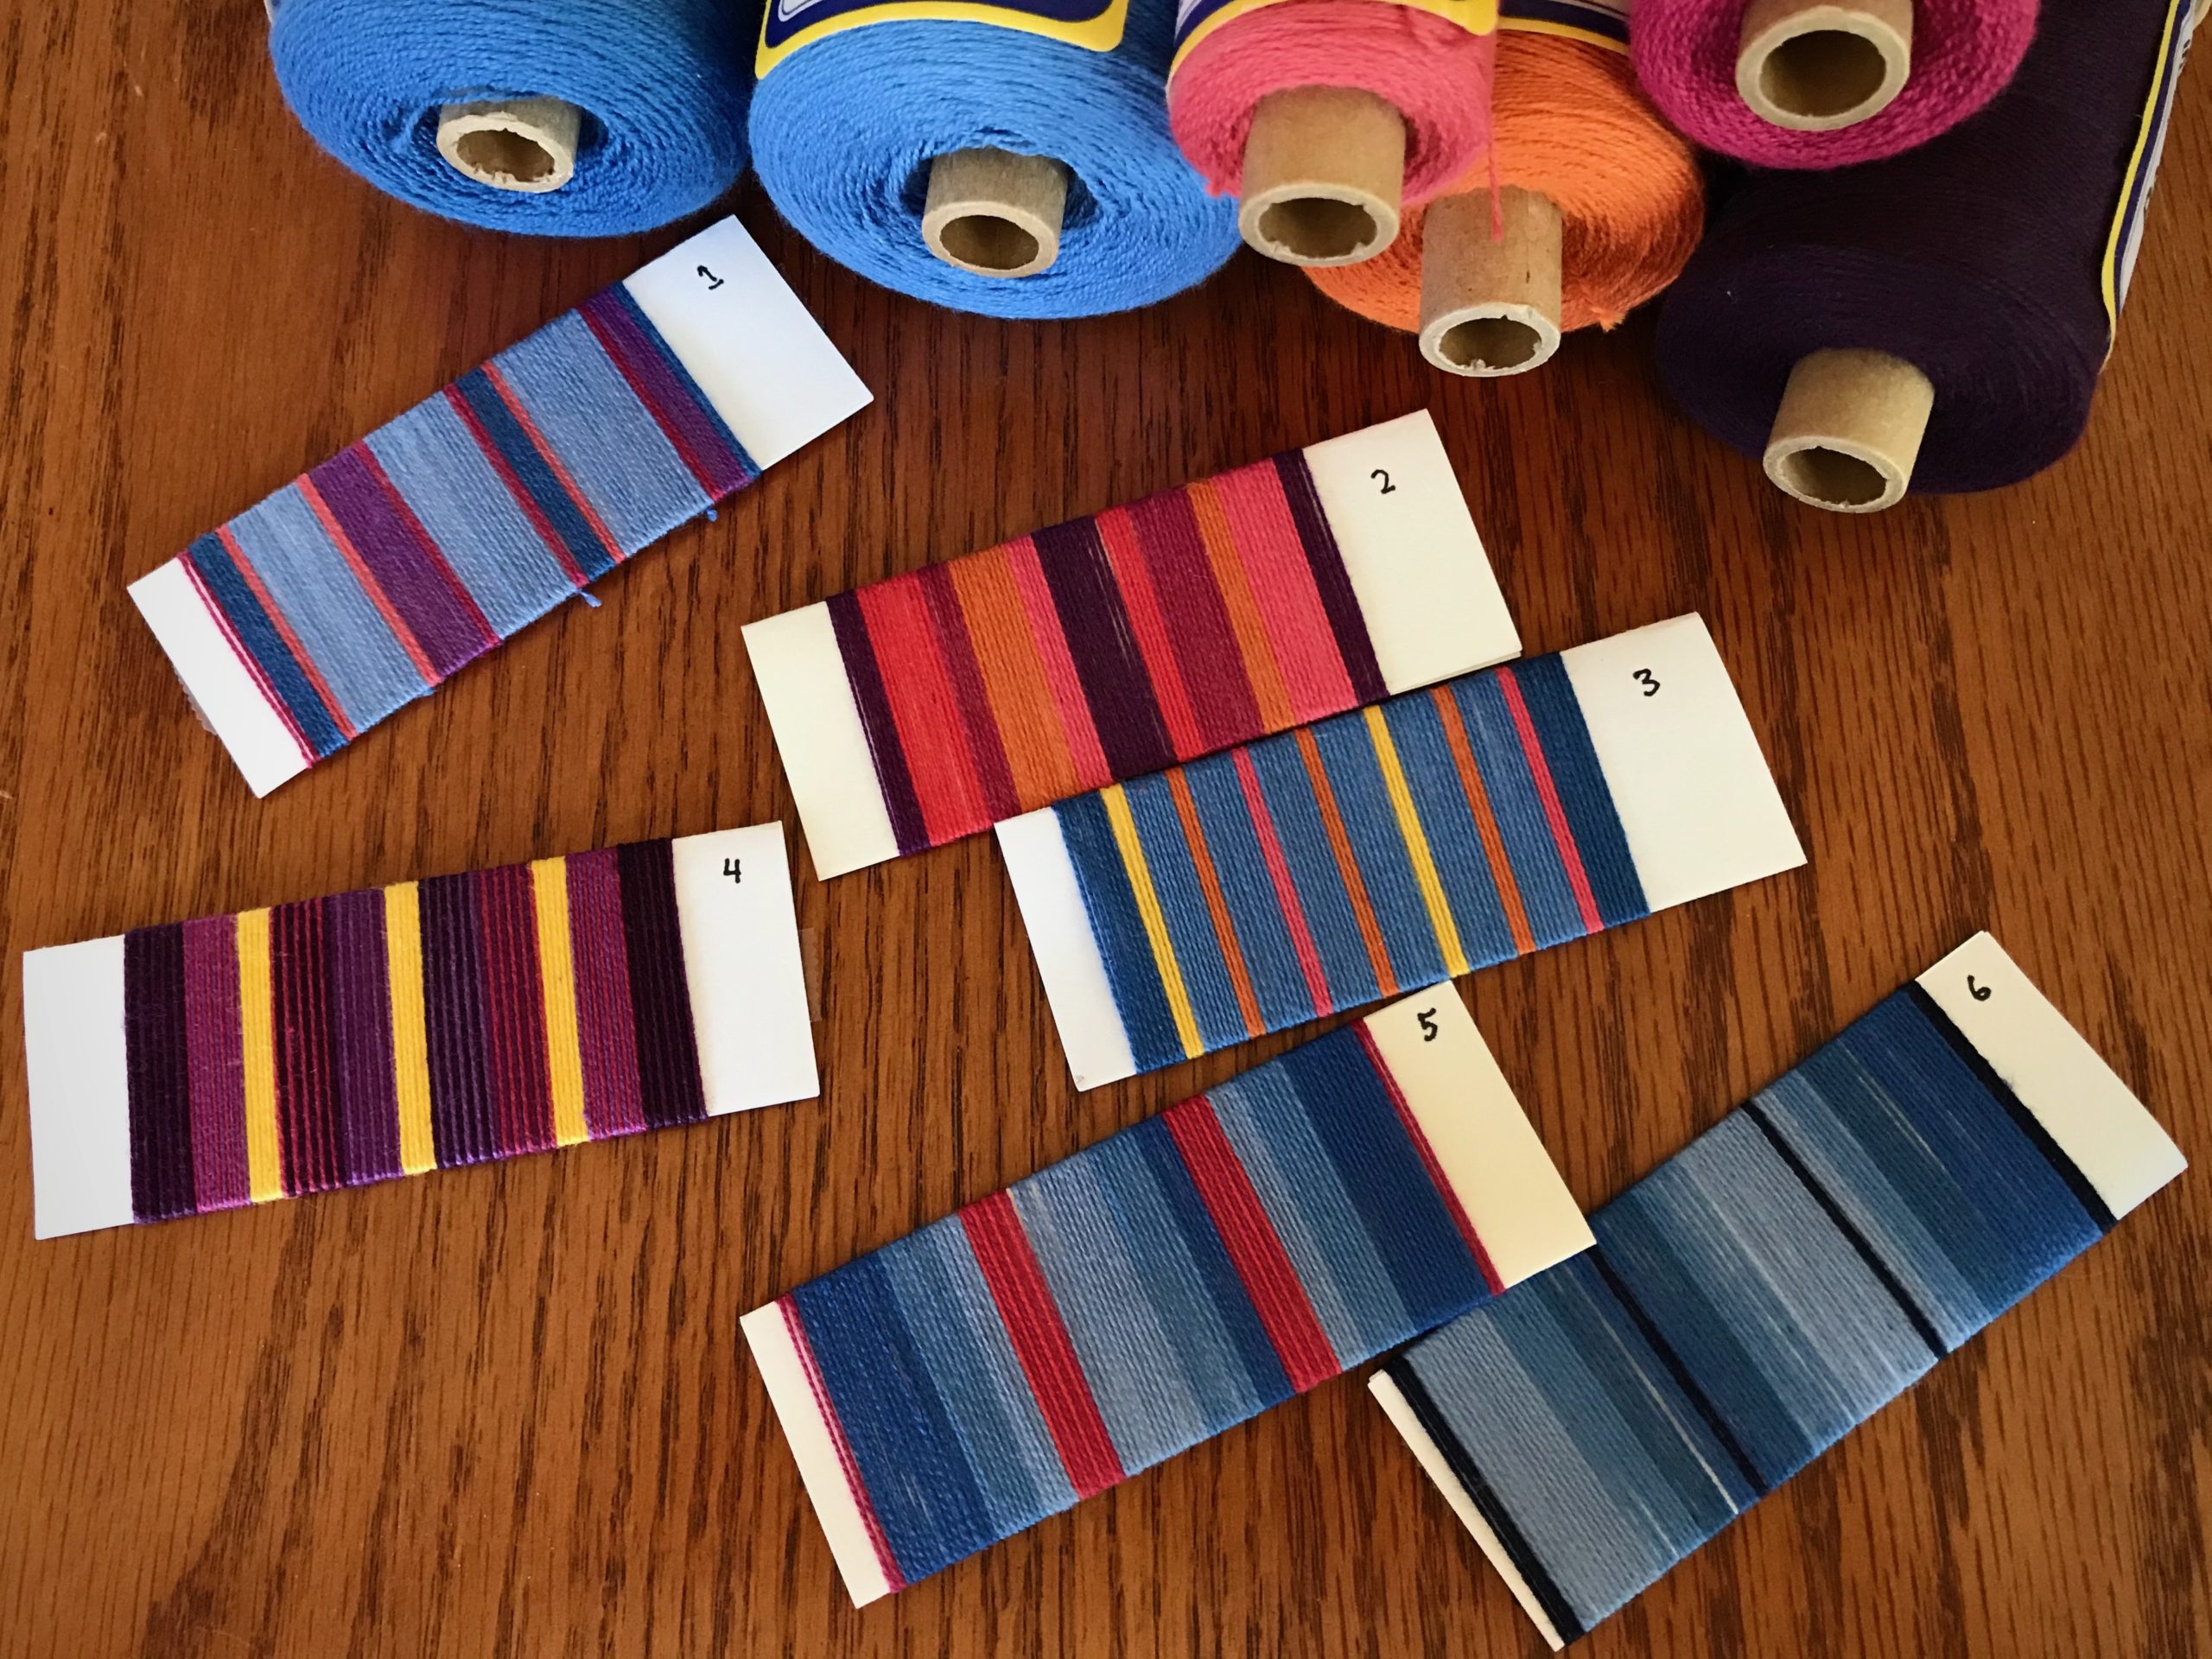
When I wrap potential warp sequences on folded index cards it brings design thoughts out into the open. It makes the ideas tangible, helping me plan a pleasing warp. For this 8/2 cotton warp I am choosing colors from the plentiful selection I already have on my shelves.
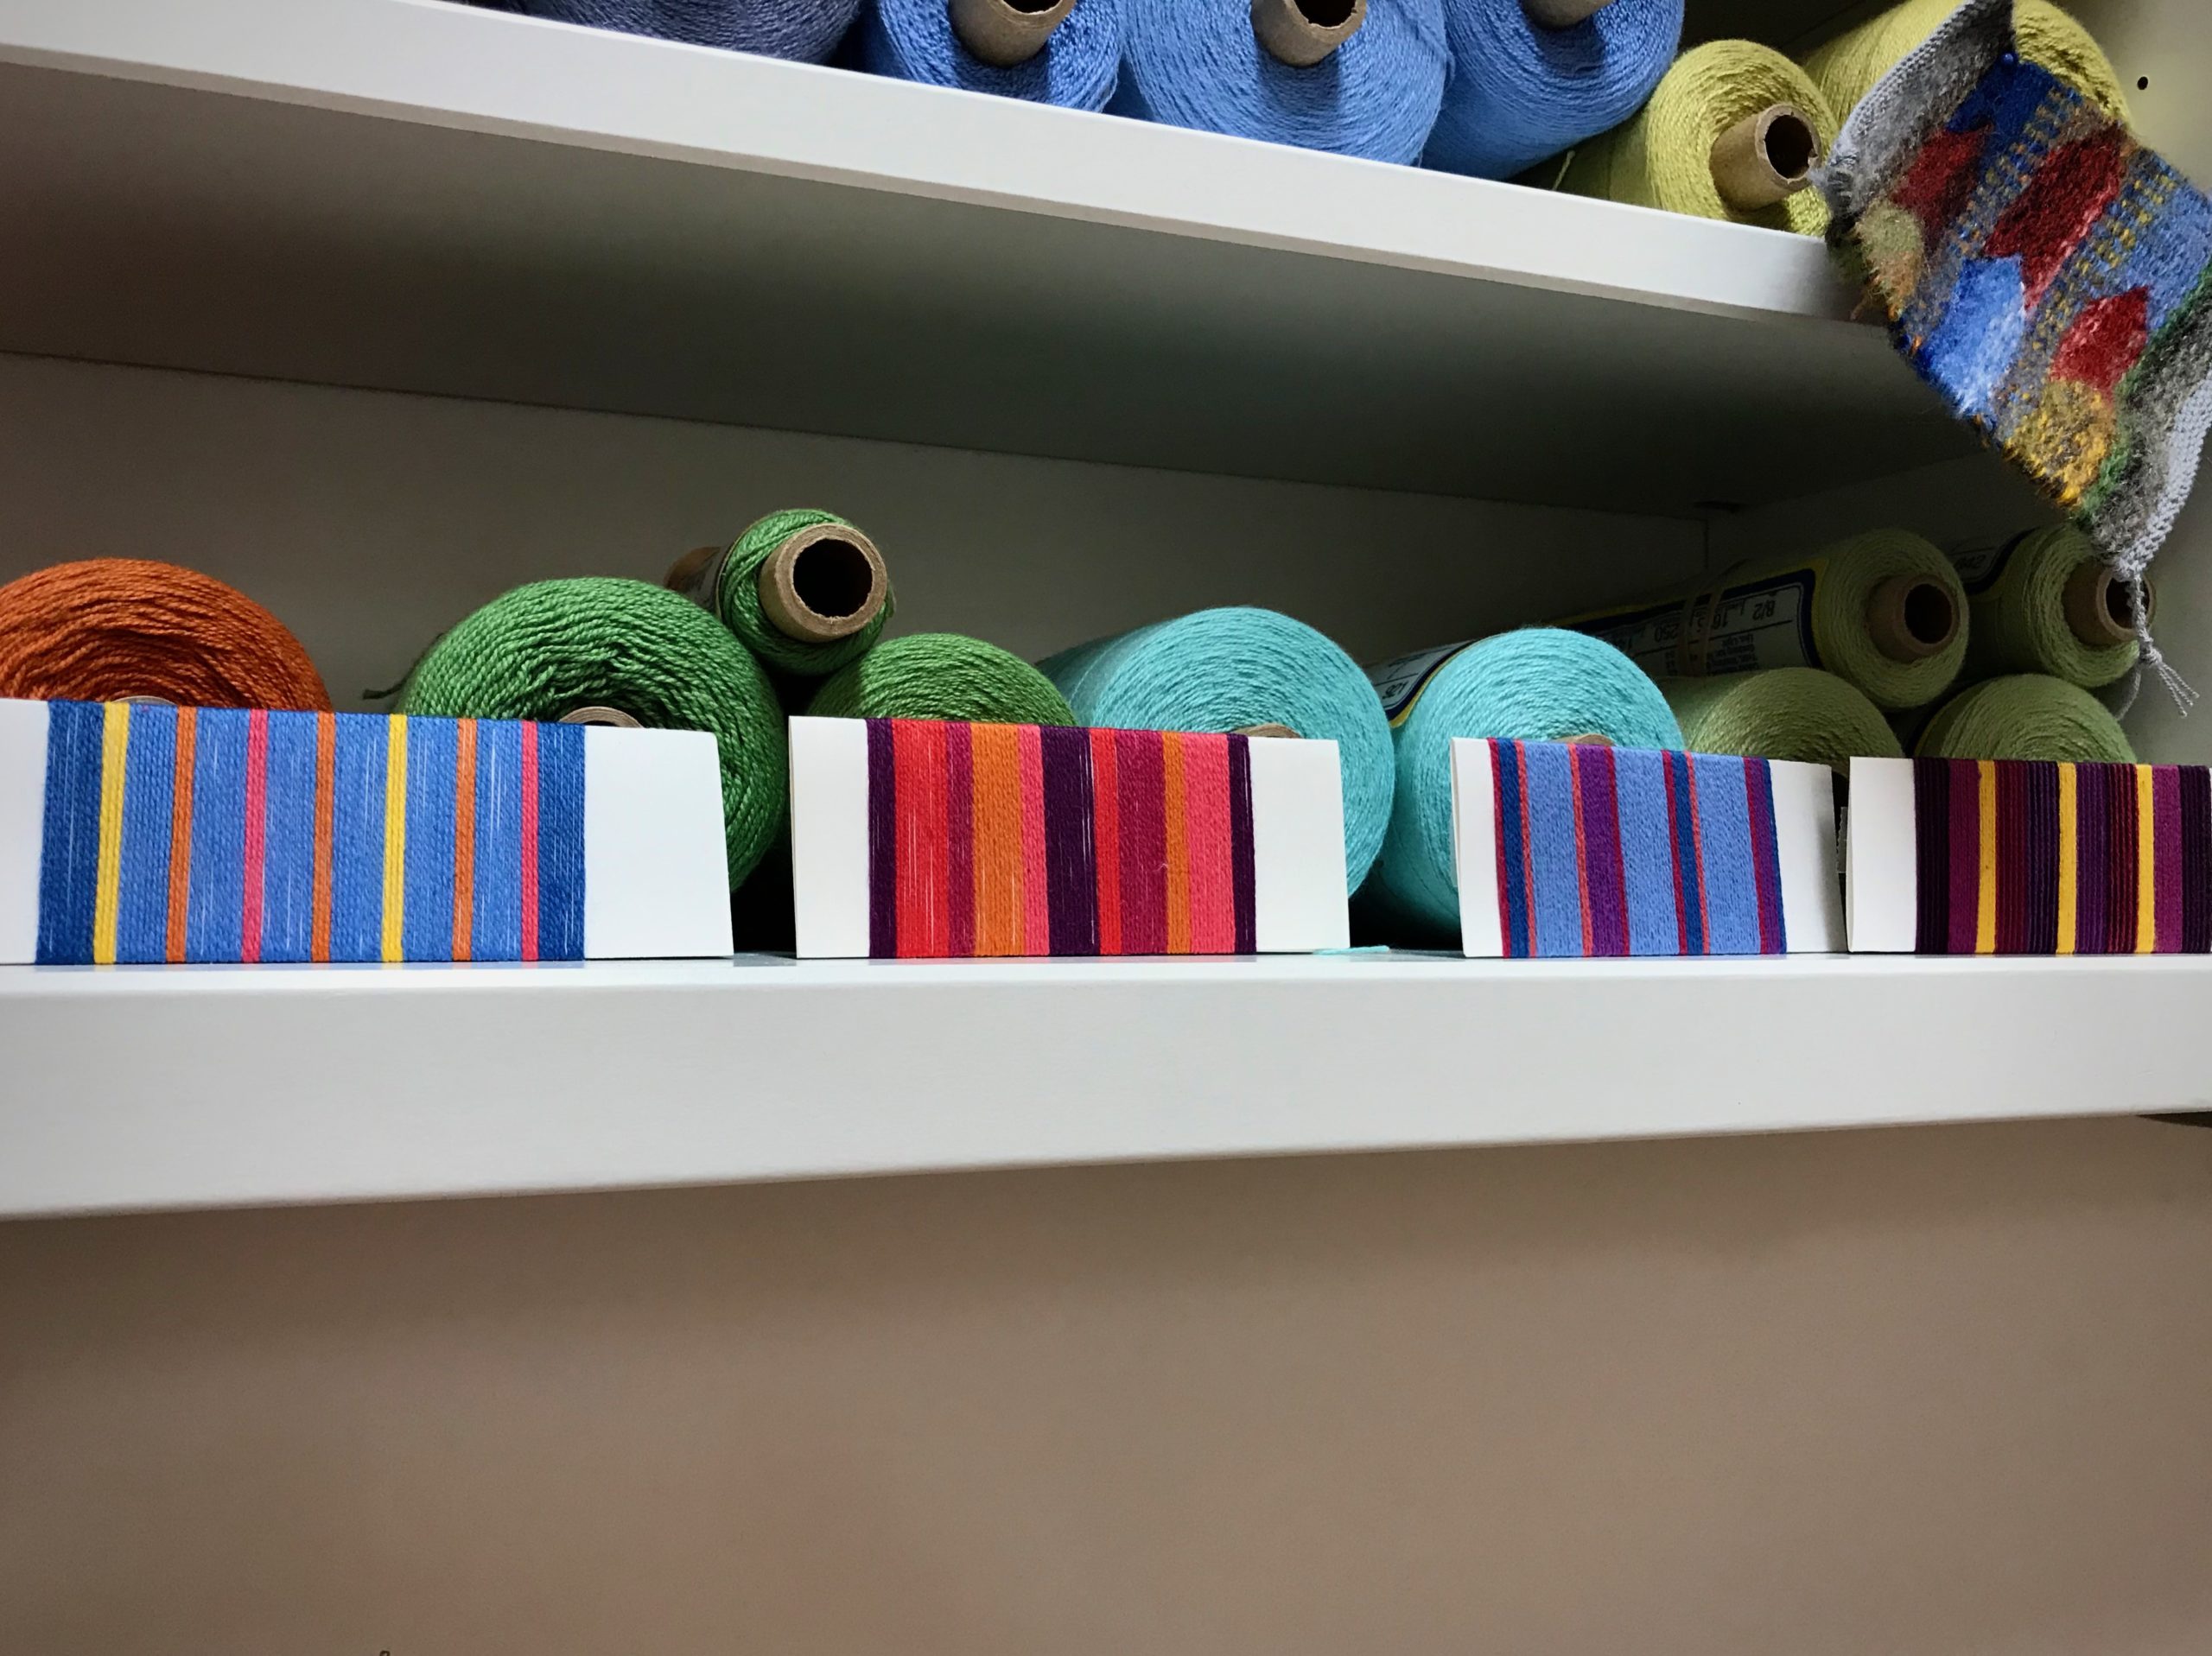
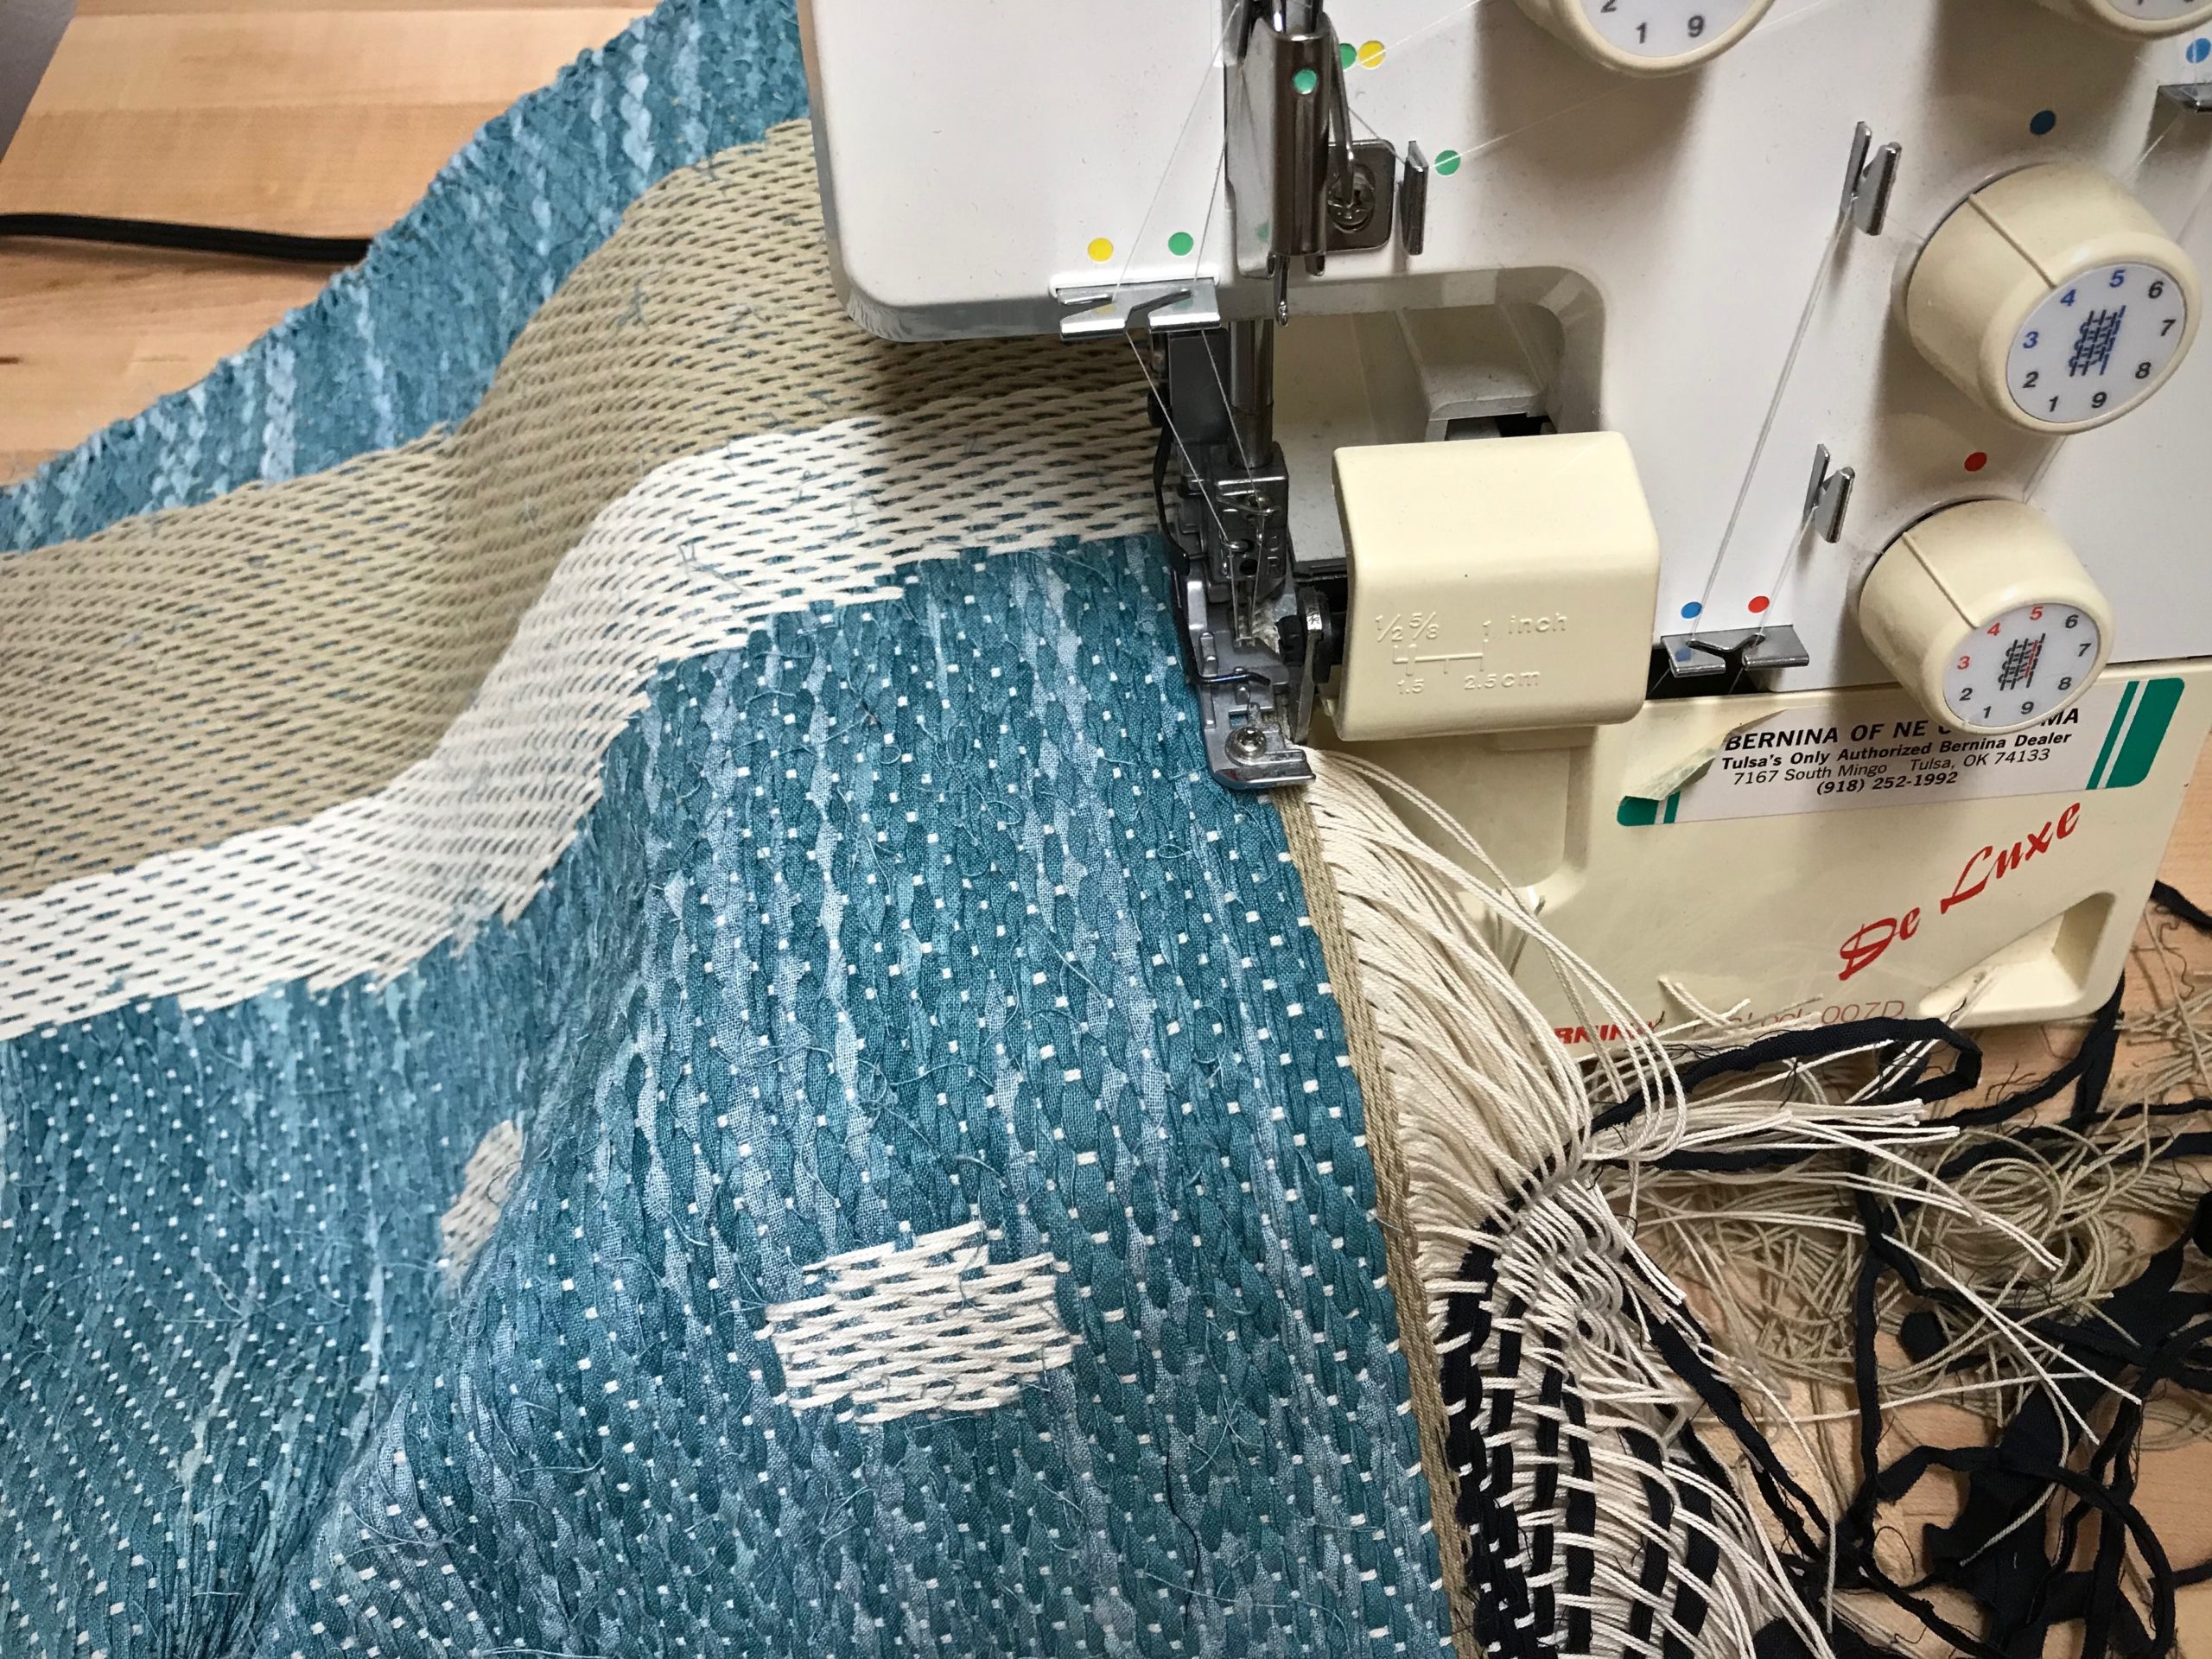
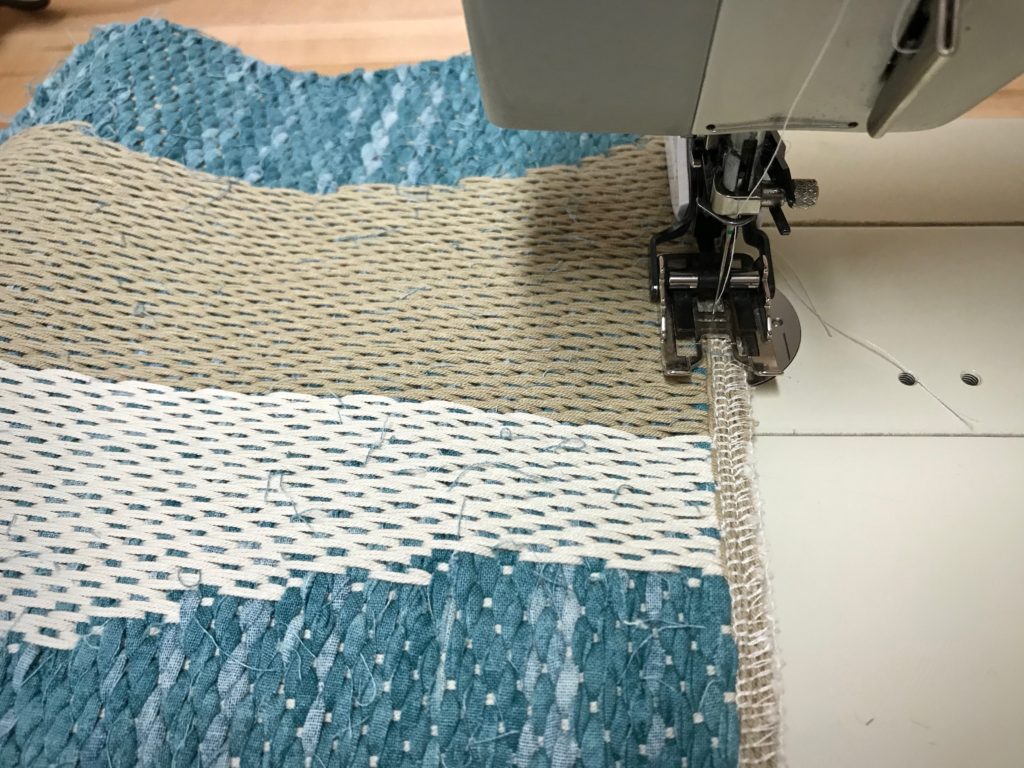
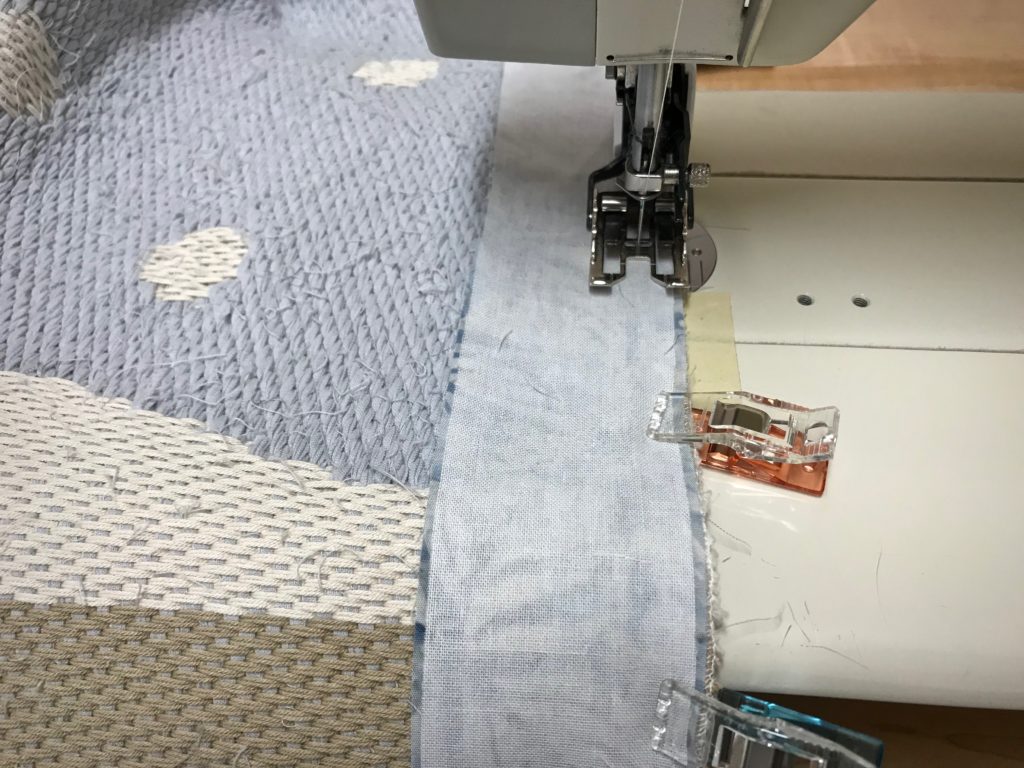
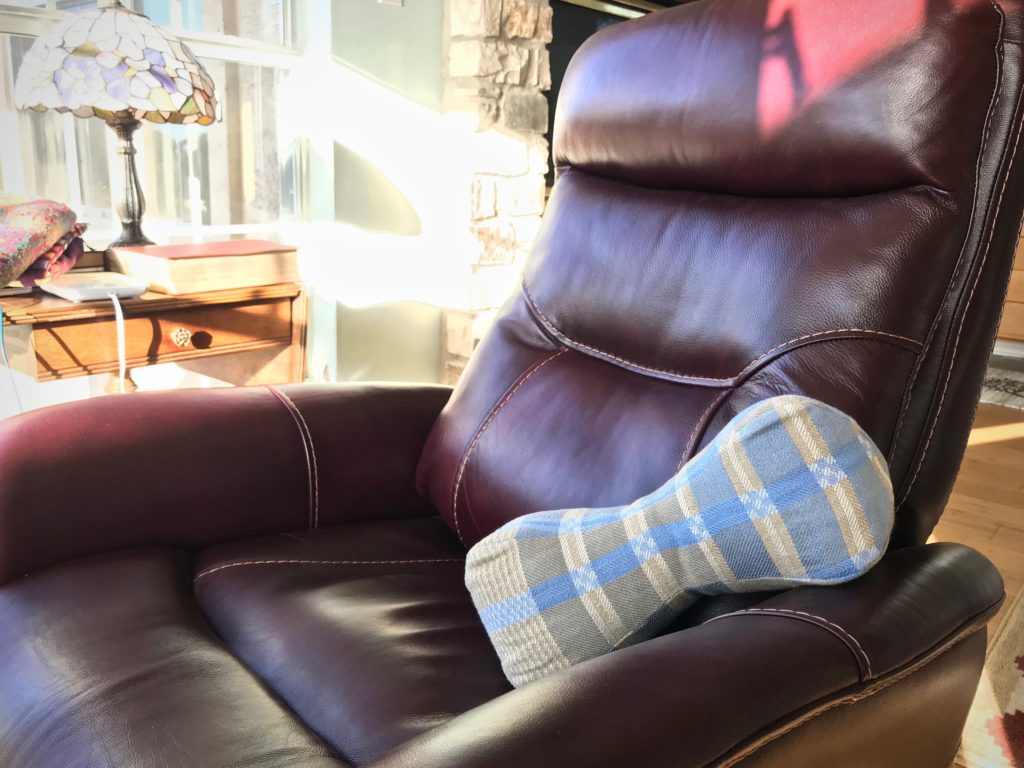
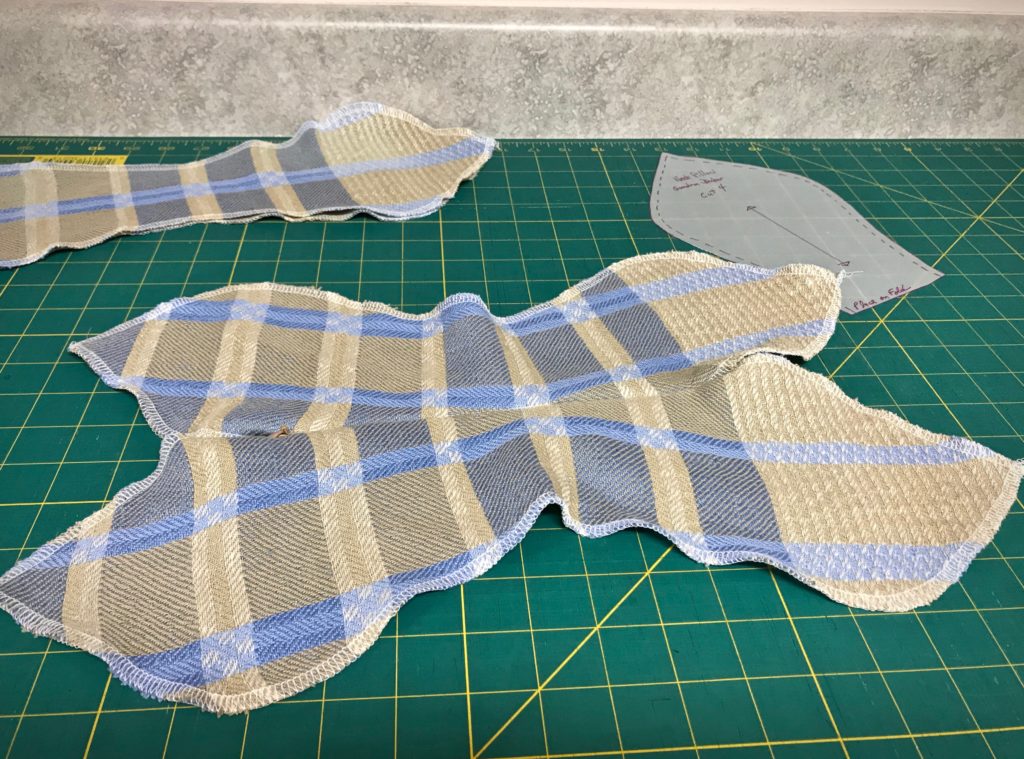
This warp will be woven as eight-shaft–twill yardage, about 15 1/2 inches wide. The fabric will be cut and hemmed to make colorful arm and headrest covers for my mother-in-law’s comfy off-white recliner. I will increase the width of the stripes proportionately to fill the warp width. My mother-in-law will have the final say, but if you could help her decide, which set of warp stripes would you choose? Please let us know in the comments.

What if our attitudes were made tangible? What would our thoughts look like if they were out in the open, wrapped like colored threads around our actions? With the love of Christ in us, forgiveness is the recurring thread. Forgiveness is for the undeserving. That is who we forgive. Because that is who we are when we are forgiven by God.
May the thread of forgiveness be woven in your life’s fabric.
With you,
Karen