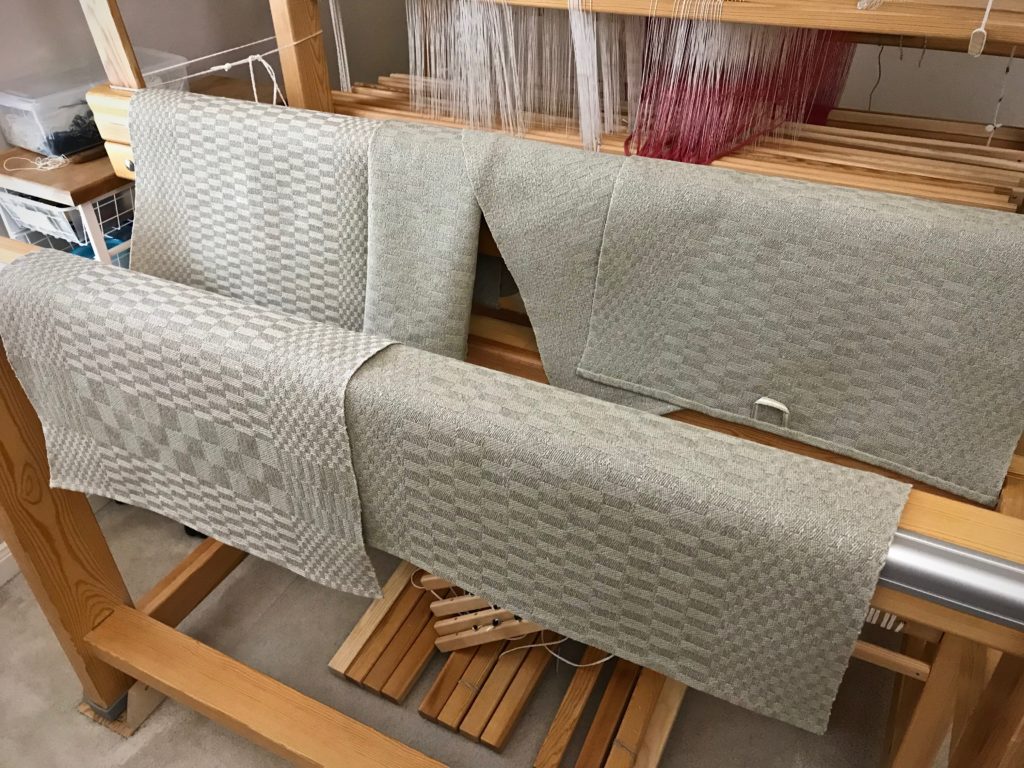
Quiet Friday: Lucia Portrait Tapestry

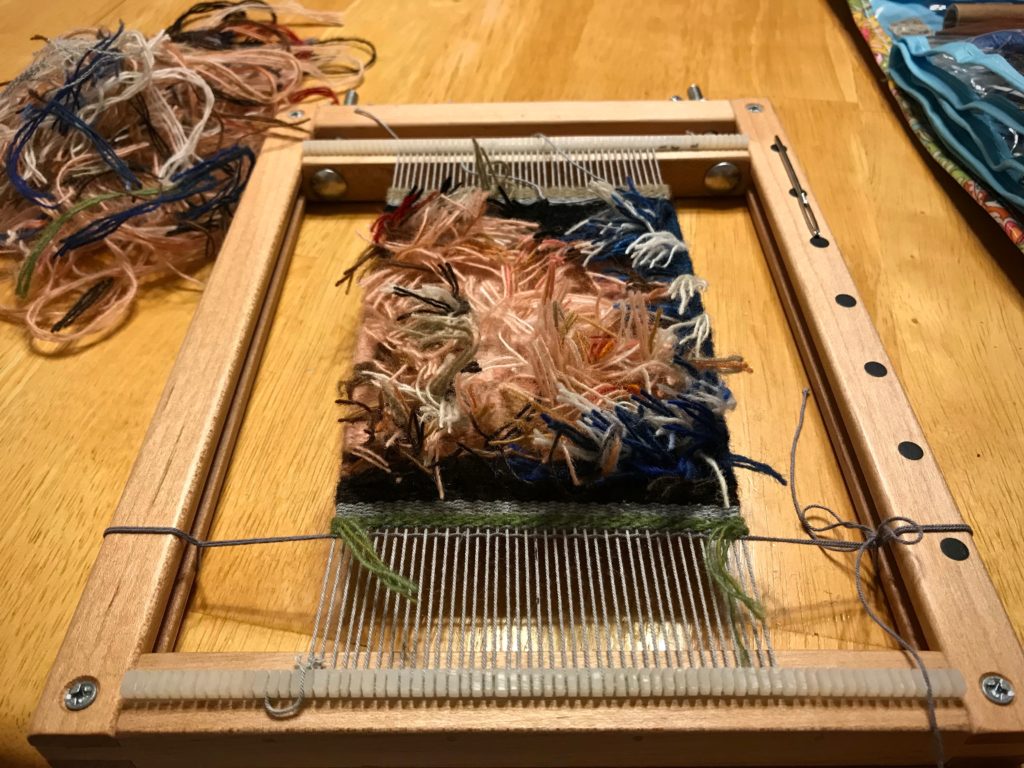
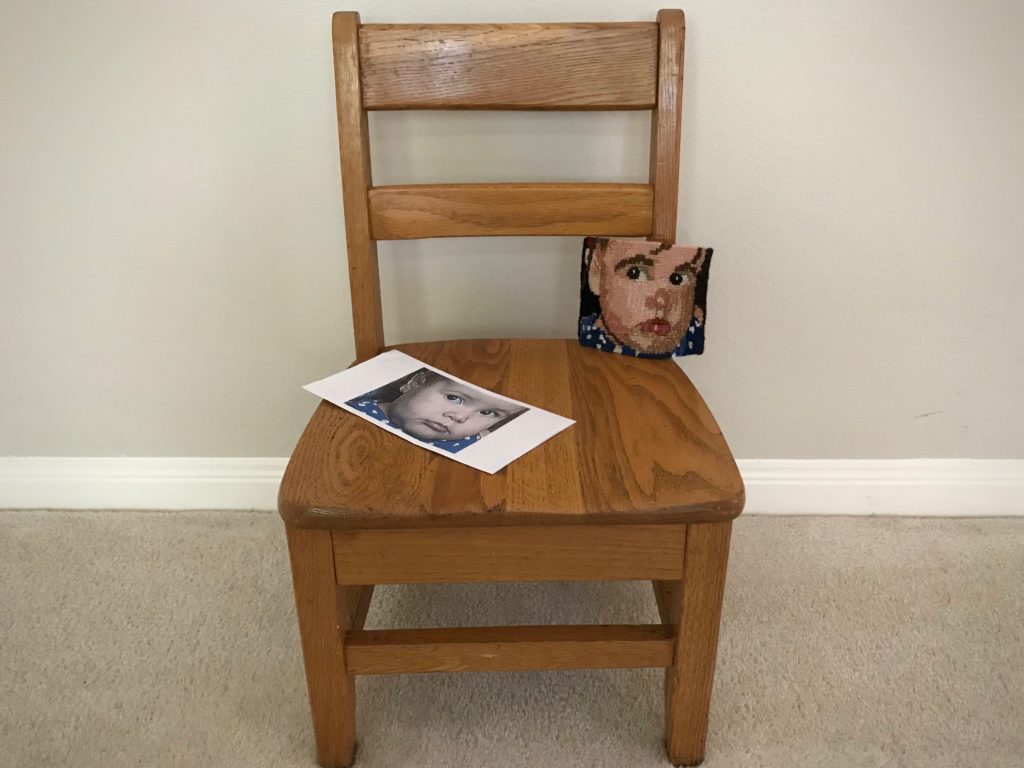
A little here, a little there, and eventually I finish another small tapestry. This little woven portrait of my granddaughter Lucia was a huge challenge. I knew that from the beginning. In fact, I had about three beginnings with this intimidating project. My aim is not to make a masterpiece, but to keep making. And making, and making. Every time I go beyond what I think I can do, I learn more.

This Lucia Portrait Tapestry is best viewed from a distance. Up close, the details seem abrupt and harsh. But when I look at her from across the room, I see the picture of a child’s face.

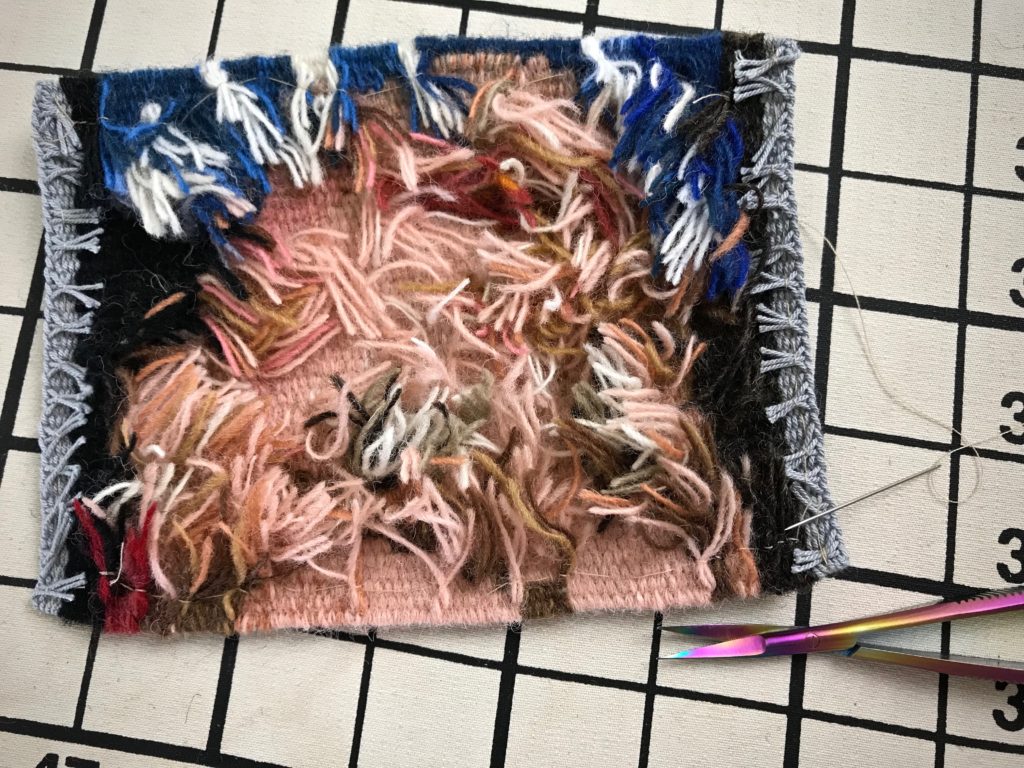
I trimmed the weft tails on the back, steamed the piece, and made a half Damascus edging. The edging and the weft tails near the sides are stitched down. The hems are turned under and stitched. I plan to mount this on a linen-covered square, and hang the finished piece where it can be easily viewed from a few steps back.

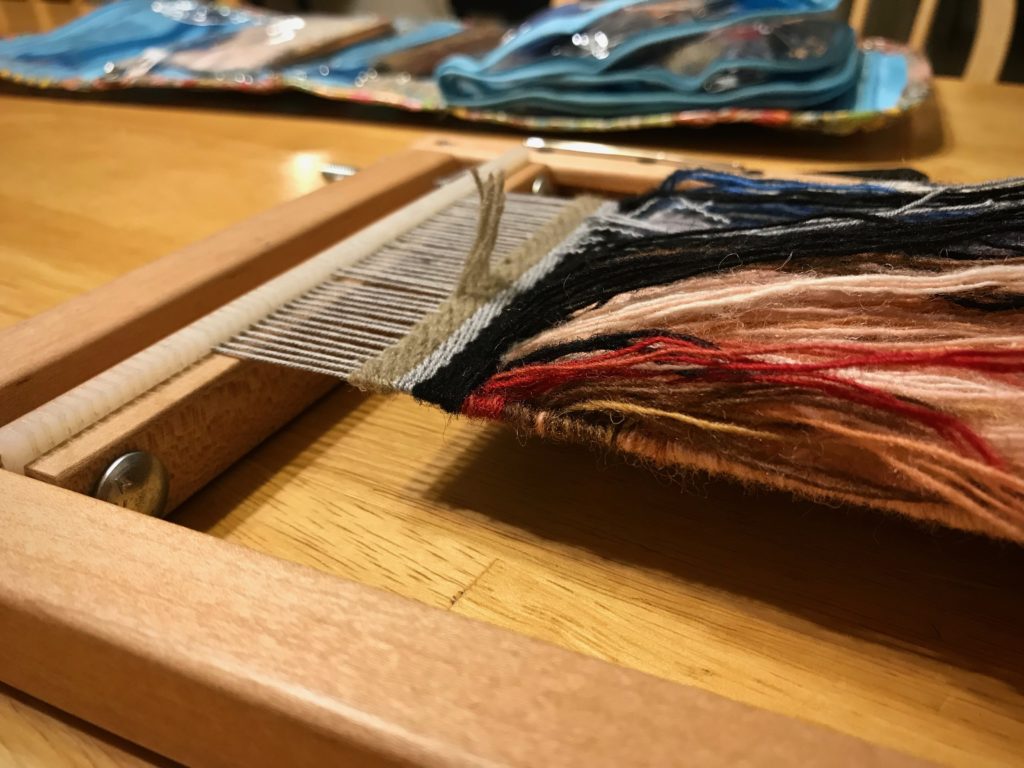
Ending a small frame loom tapestry.
Small tapestry ends with a short hem, warp thread header, and a scrap header. I overestimated how far I could comfortably weave. This is a less-than-optimal distance from the end of the warp for weaving.
Trimming weft tails on the back of the little tapestry.
Most of my tapestry weaving is done in the evenings as part of my winding-down routine. In this session the back of the tapestry gets a haircut.
Finishing a small tapestry. Cute slideshow video.
Straggler weft tails are reigned in with a little sewing thread.
Small tapestry portrait. Slideshow video of the process!
Finished Lucia Portrait Tapestry is 4 1/4″ x 4 7/8″.

Enjoy this slideshow video. The ending is sure to make you smile!

May you keep making.

Love,
Karen

Quiet Friday: Linen Upholstery Fabric

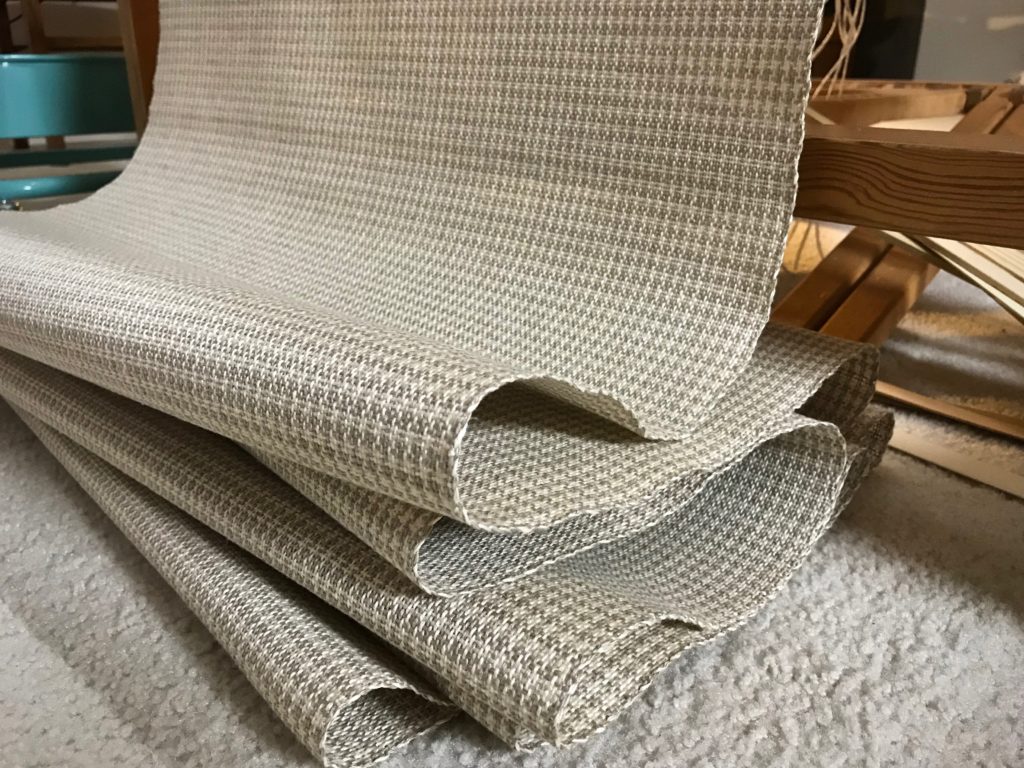
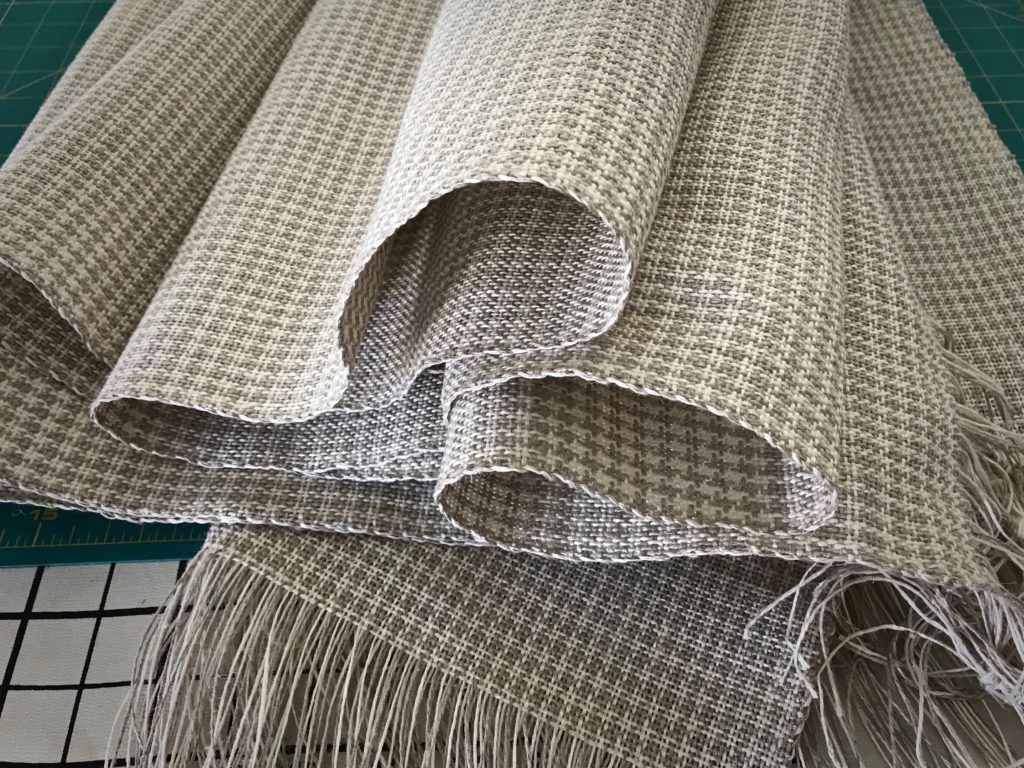
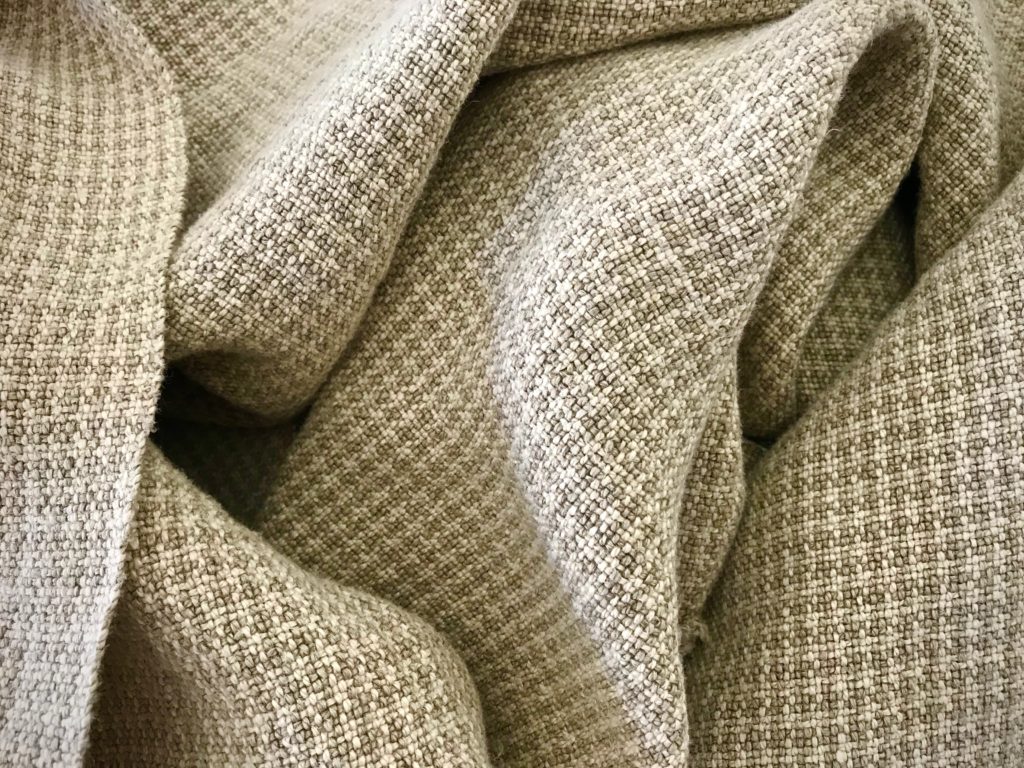
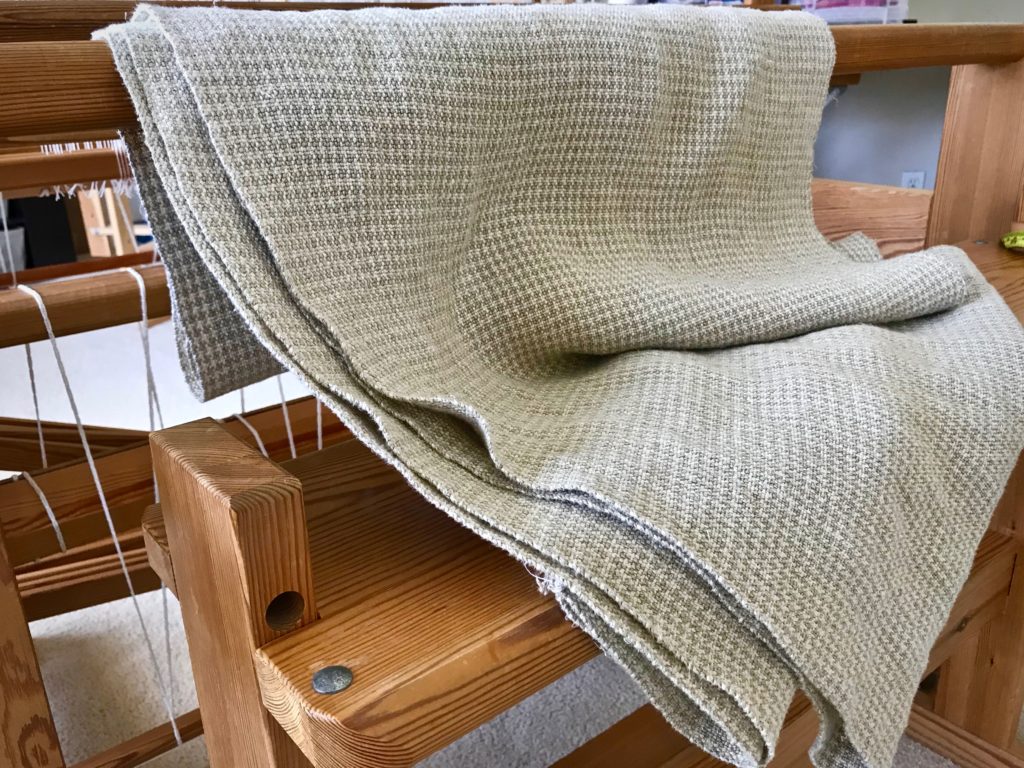
Do you dream of making upholstery fabric? I do. There are four chair seats at our Texas hill country home that I want to re-cover. Now I have custom upholstery fabric!

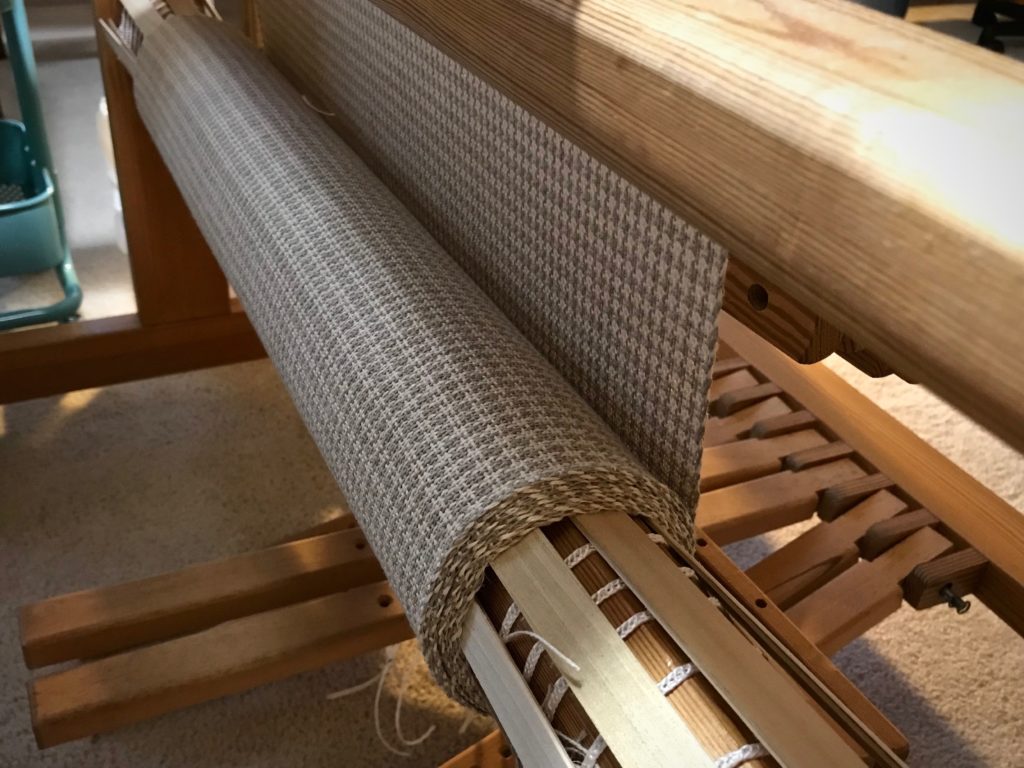
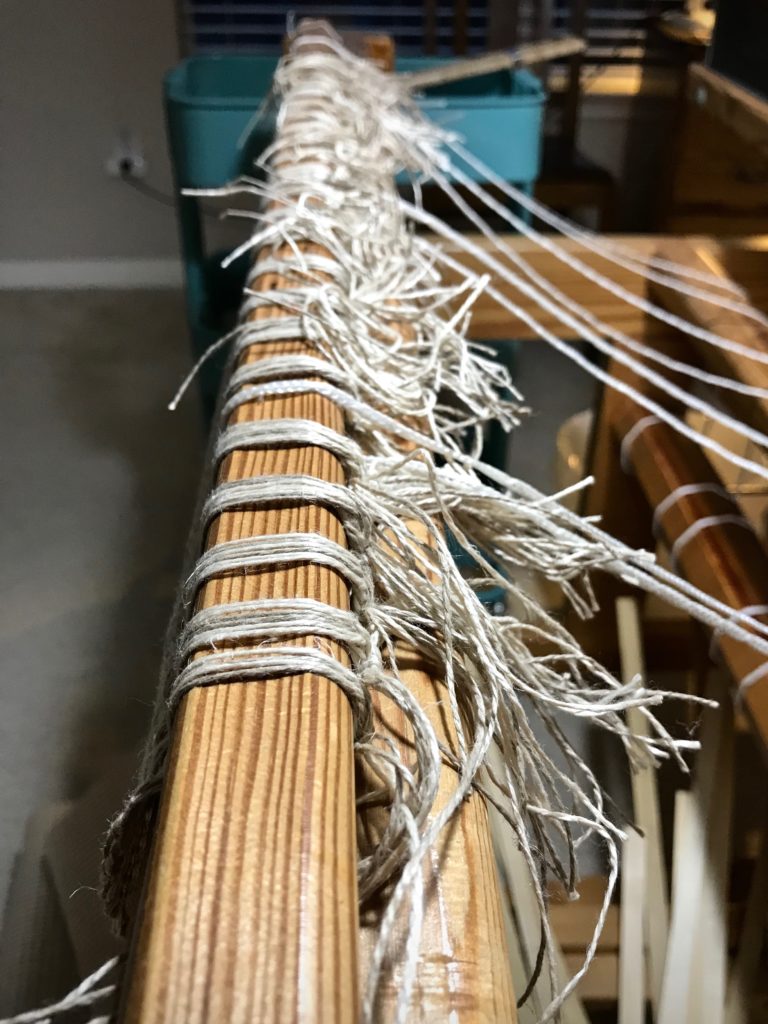
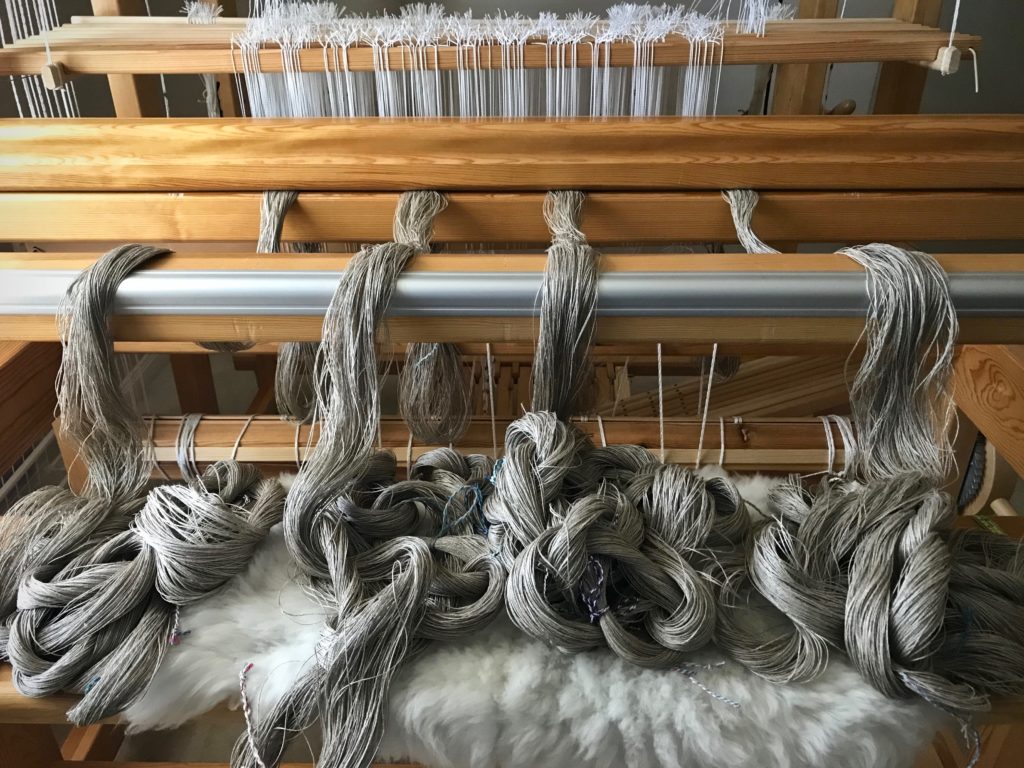
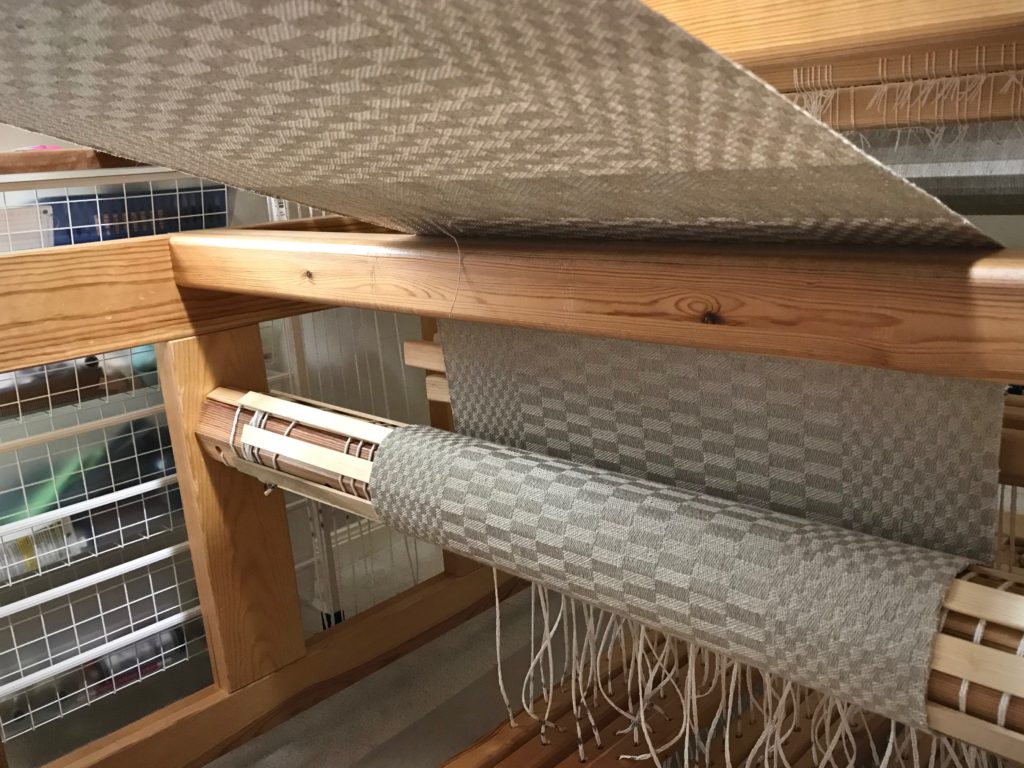
Linen on the cloth beam.

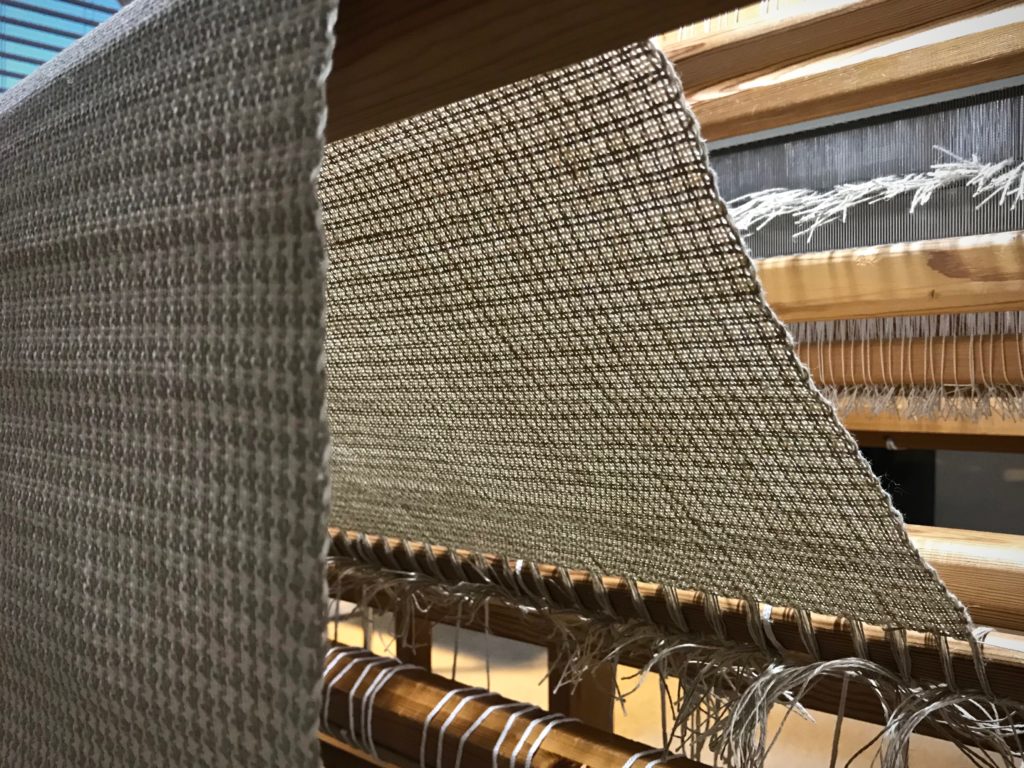
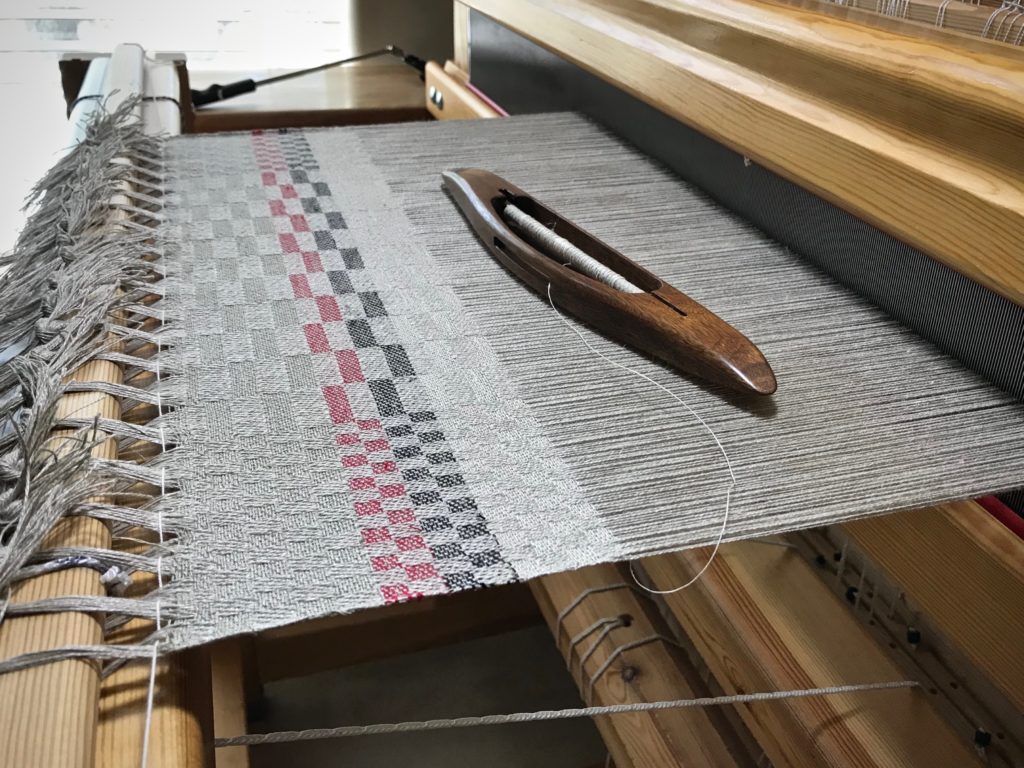
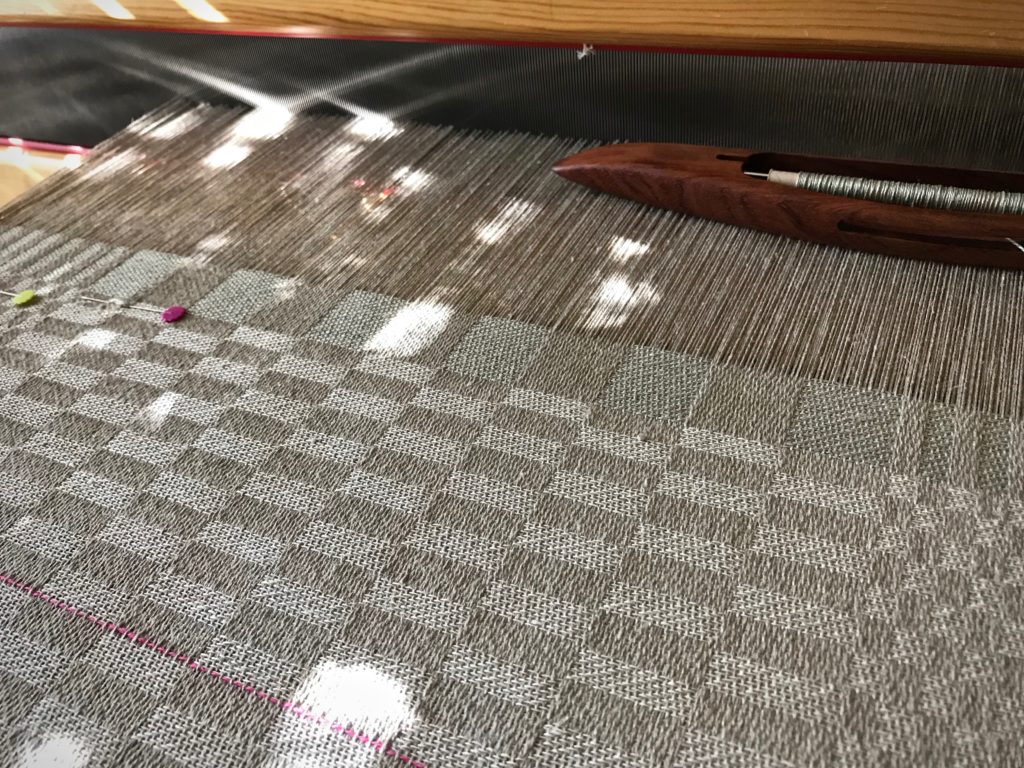
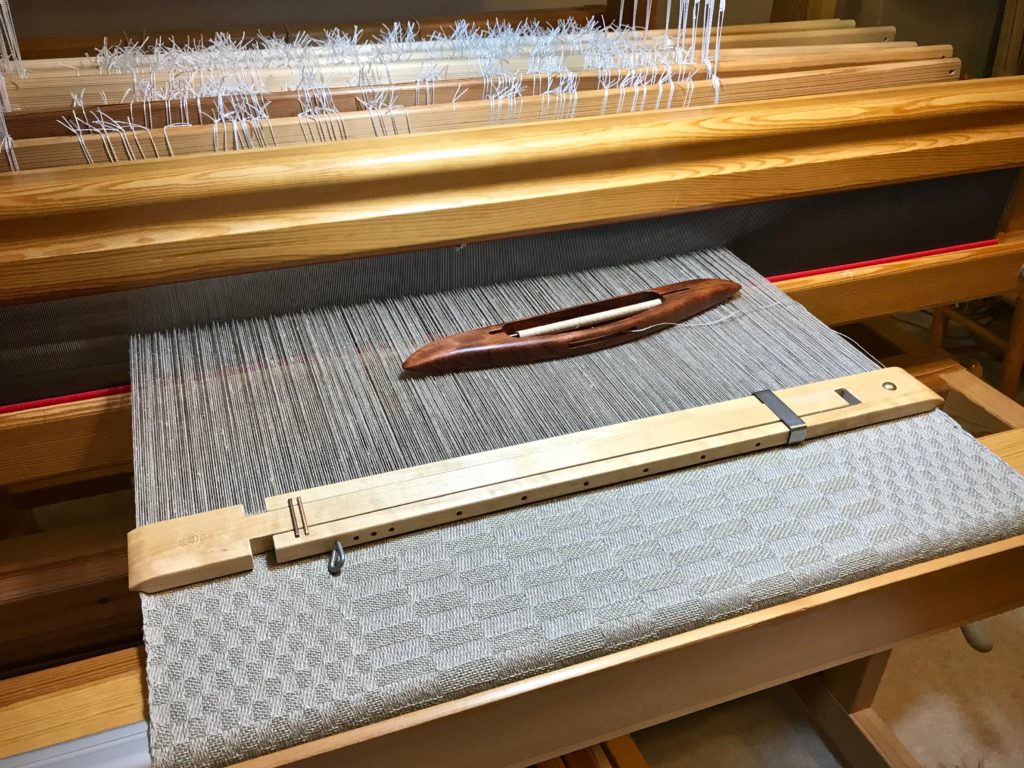
Linen upholstery fabric on the loom.

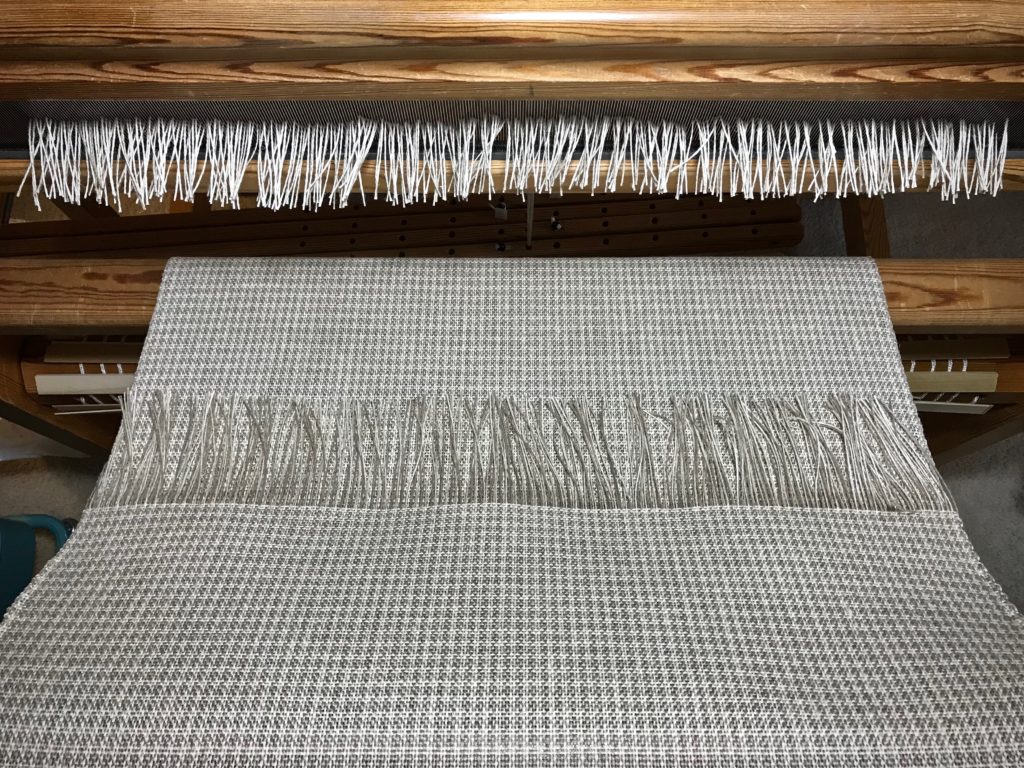
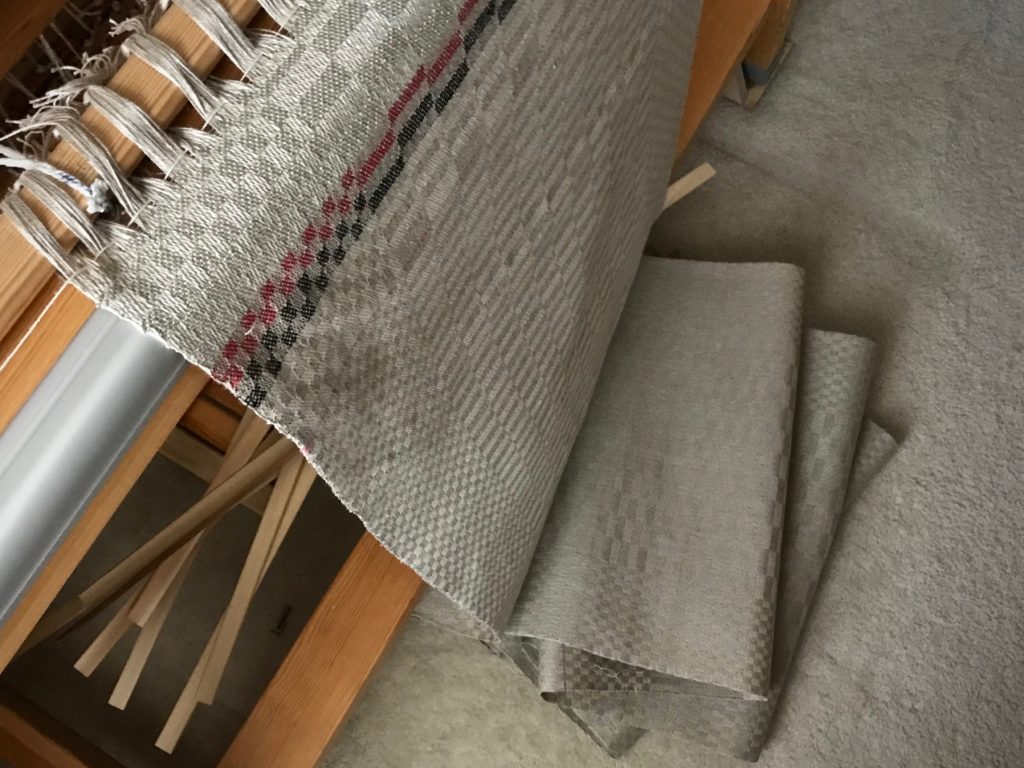
Cutting off never loses its excitement! I have one long piece of yardage, with no separations or divisions.

Cutting off! Linen upholstery fabric.

Cutting off! Linen.

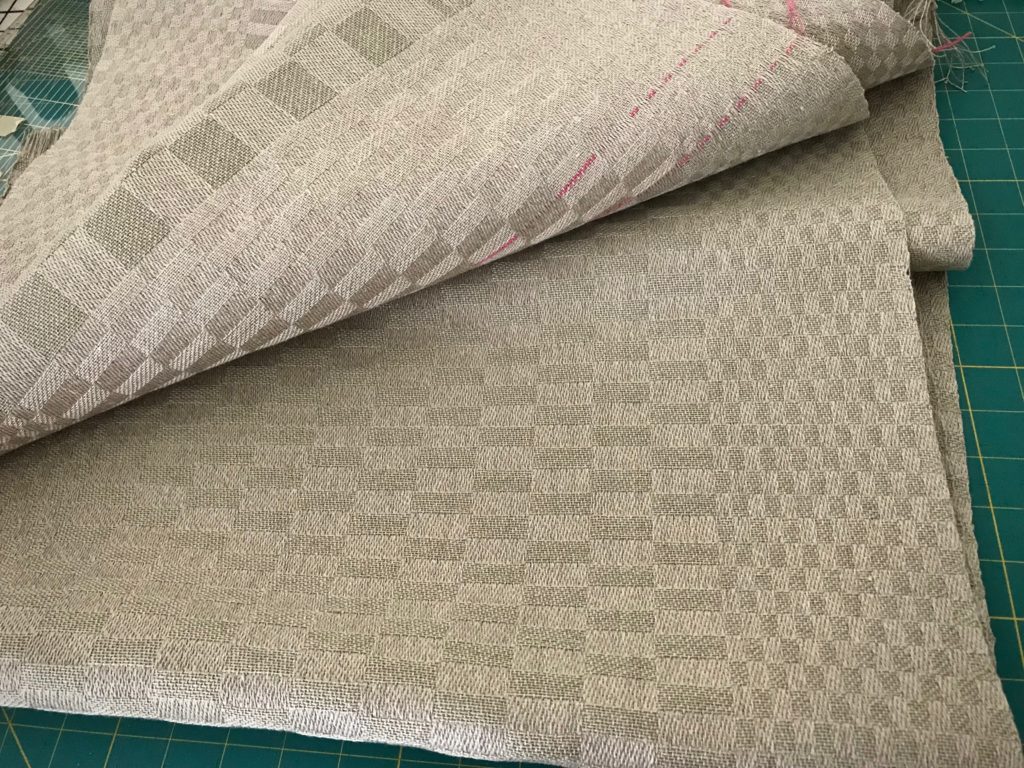
New linen fabric.

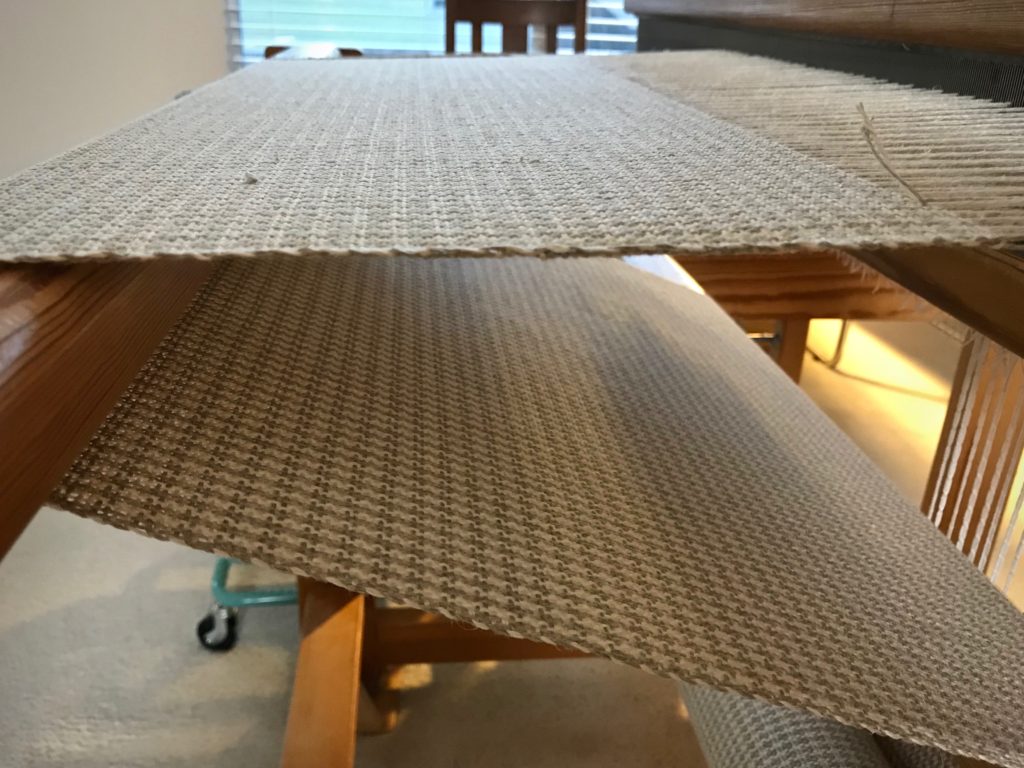
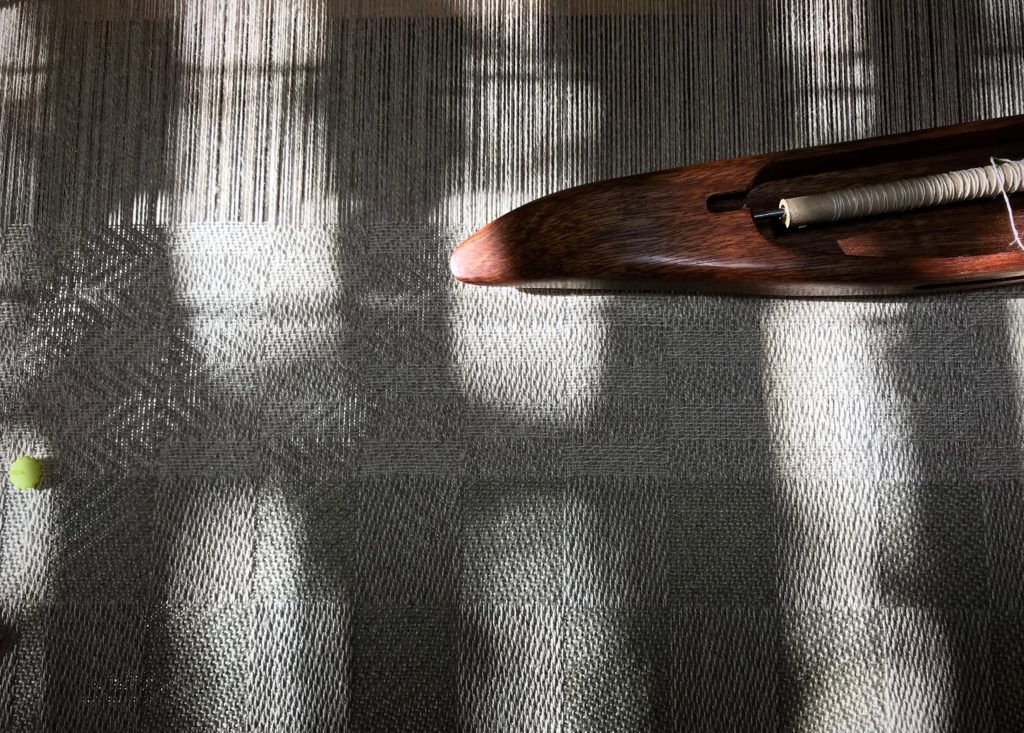
Light through the linen fabric. Cutting off!

Tie-on bar as linen fabric is unrolled.

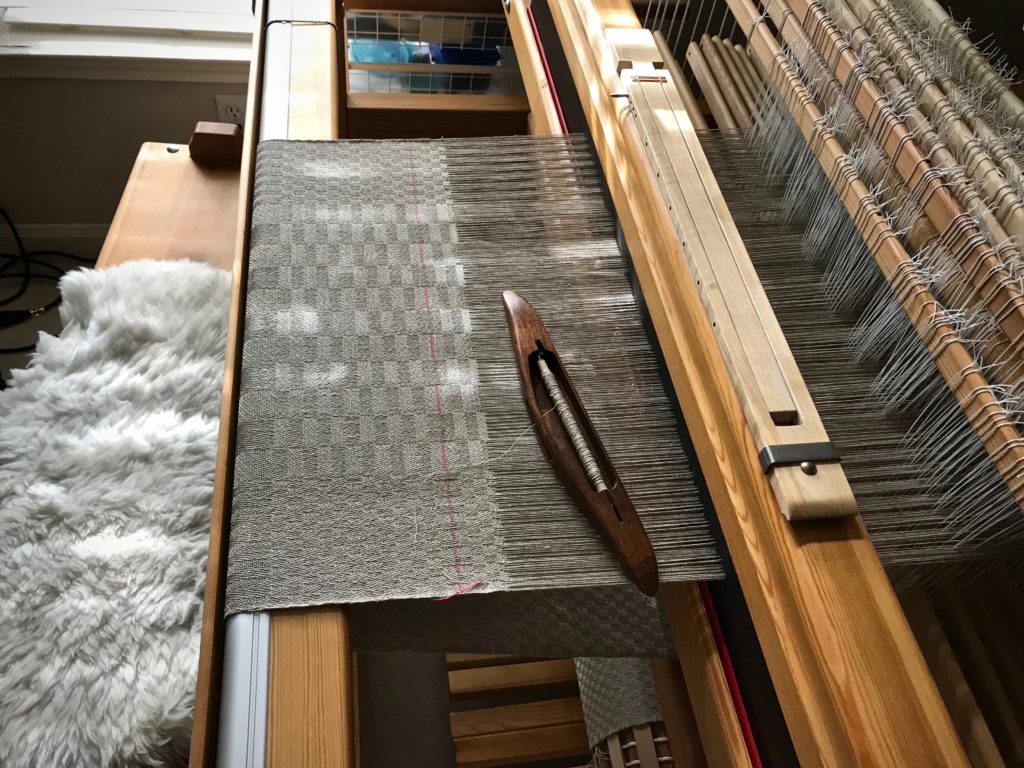
Just off the loom, the hefty linen fabric (8/2 linen, warp and weft) is stiff and unyielding. Will this window-screen material make suitable upholstery that’s soft enough to sit on? Yet, even in this state, the linen beckons and intrigues.

Unwashed new linen fabric.

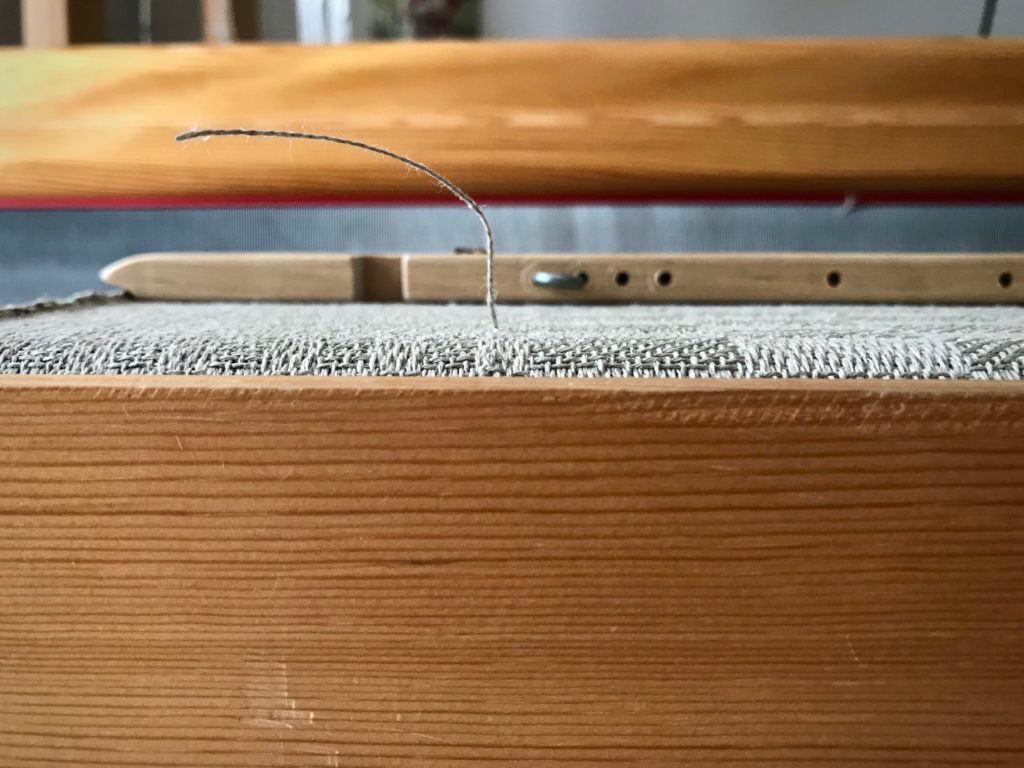
First, the edges are serged. I check for weaving errors, finding none. There are spliced warp ends in five places, which are trimmed.

Unwashed new linen fabric.

I make a large tube by basting the two ends of the yardage together, to reduce twisting in the wash. The washing machine (top loader) works as a soaking tub first. The linen slowly soaks up water in the tub, relaxing there for an hour or two. Then it’s time to wash and dry. The first time, I omit the spin cycle and remove it from the dryer while still damp, to prevent permanent creasing.

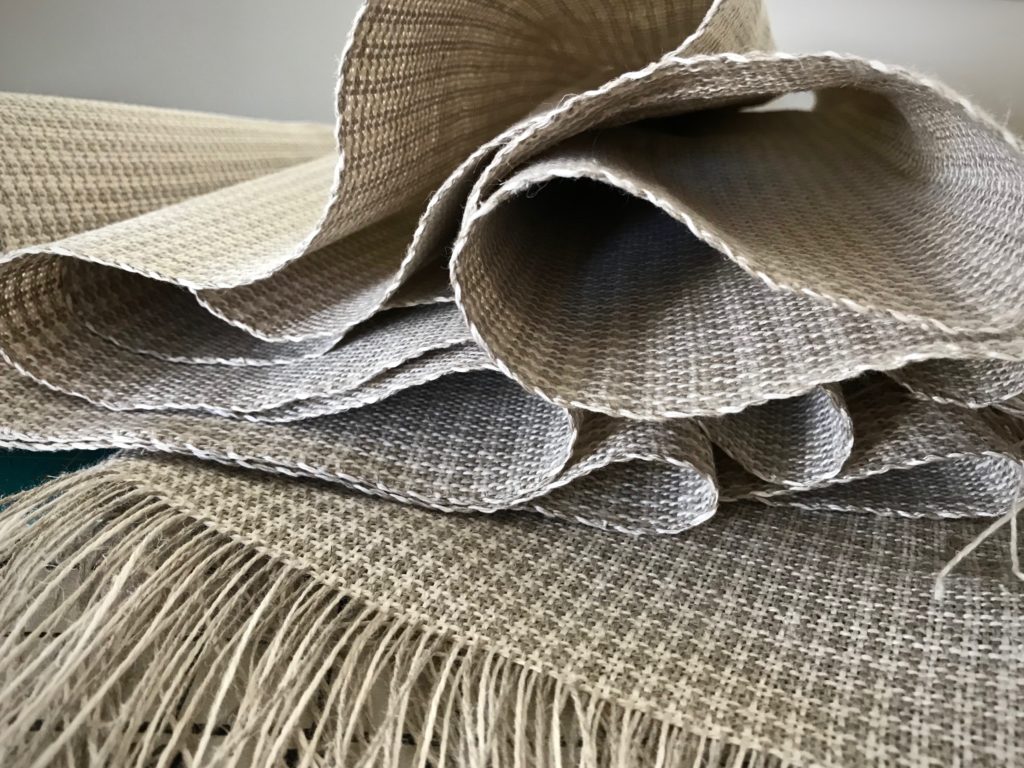
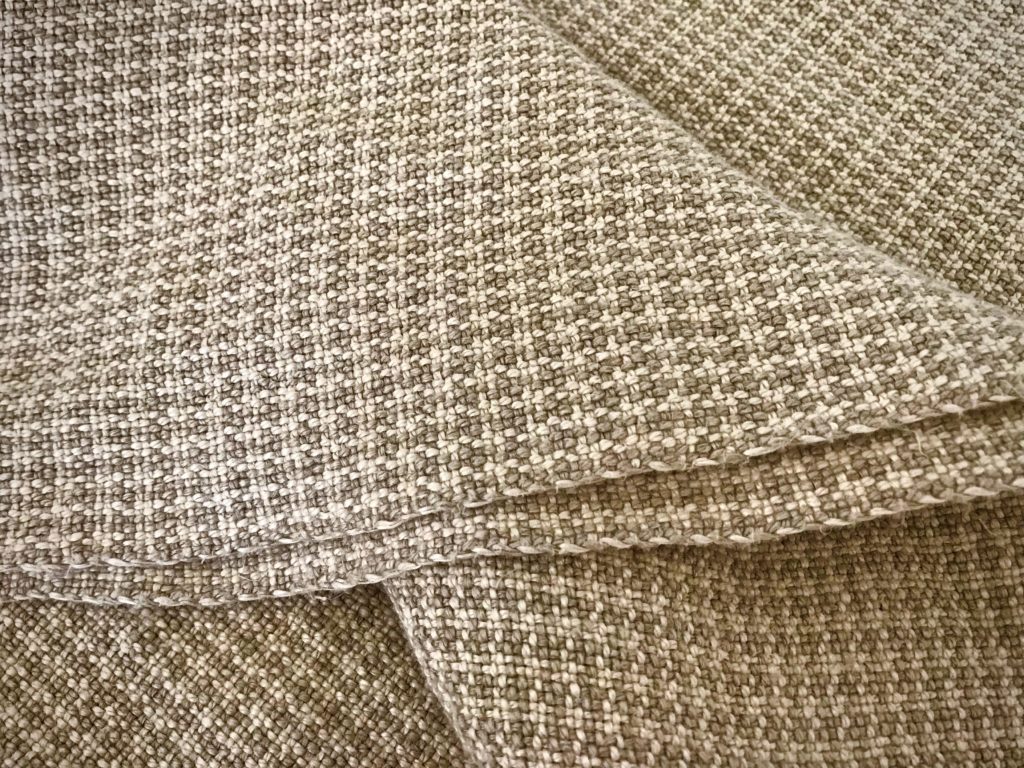
New handwoven linen fabric just washed.

New handwoven linen fabric just washed.

And then, I wash and dry the yardage again.

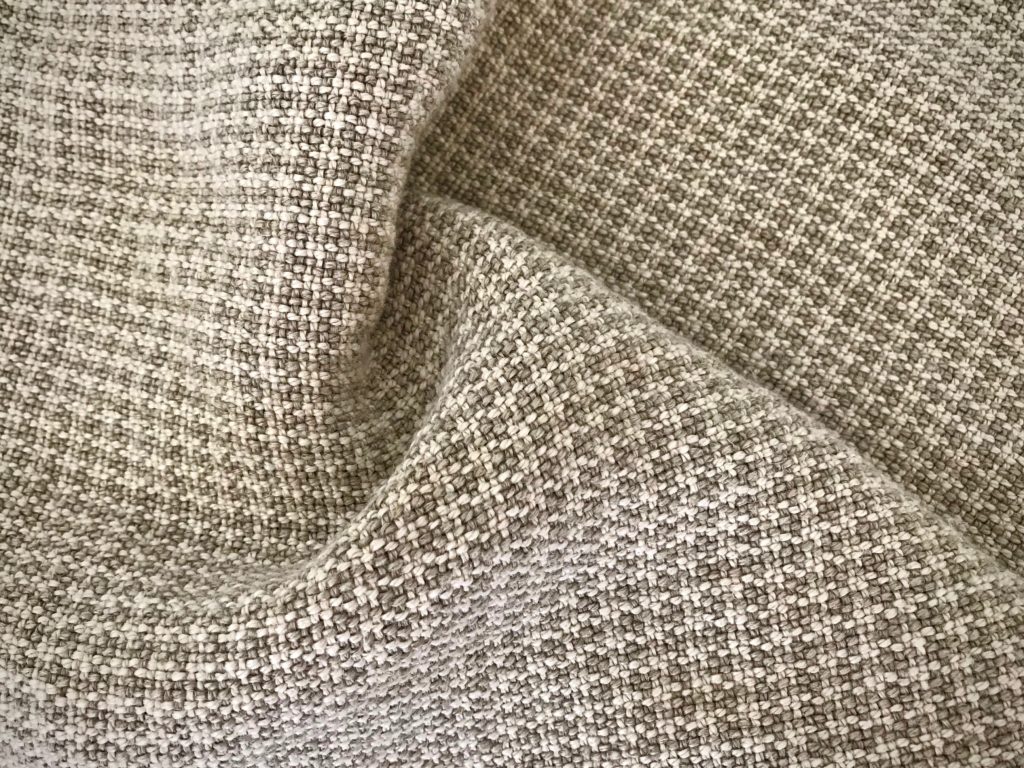
New handwoven fabric after second wash.

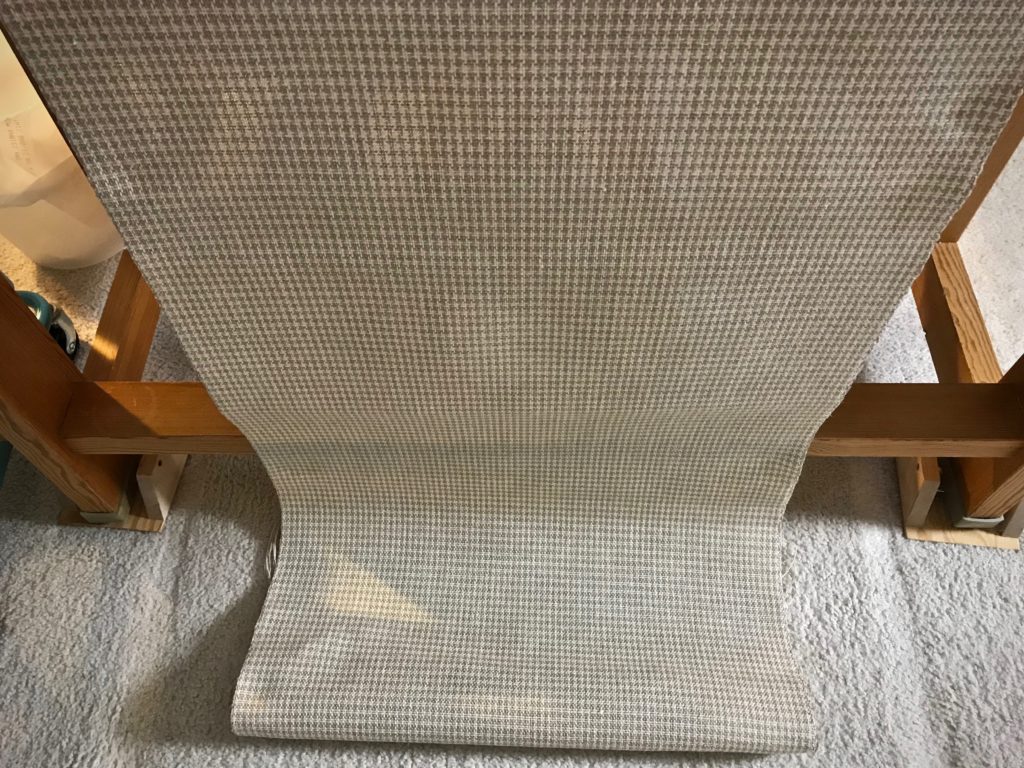
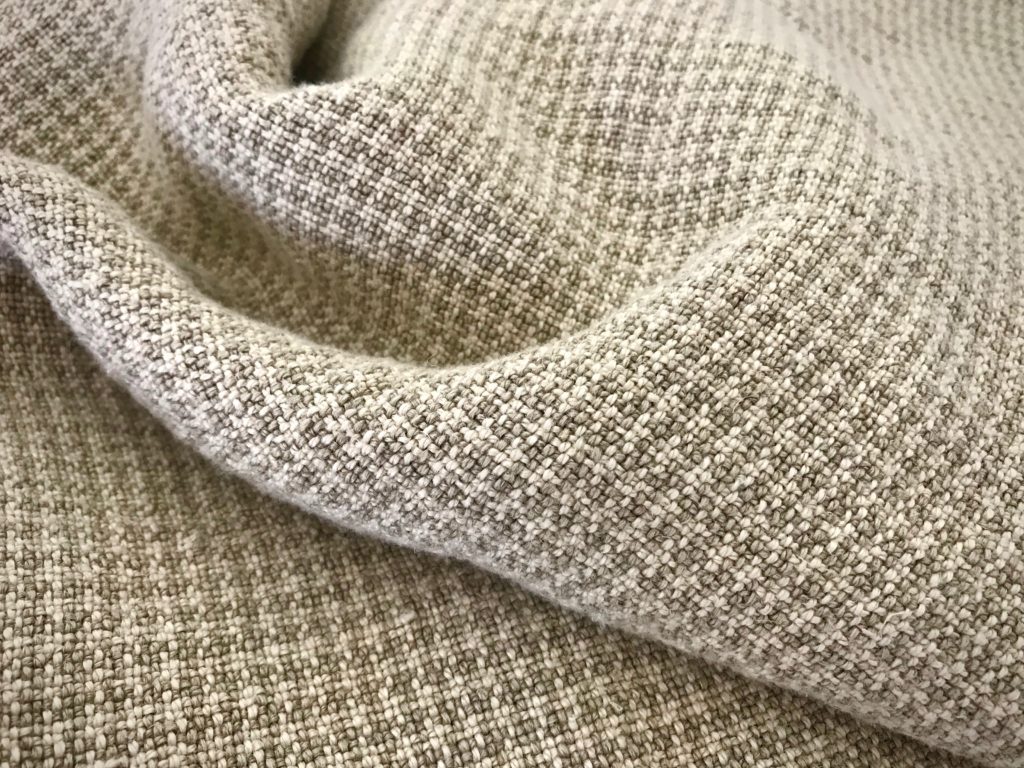
Custom handwoven linen upholstery fabric!

Talk about softening up! Oh, I wish you could be here to handle it with me! This is dreamy linen fabric, perfect for sitting.

Just woven custom linen upholstery fabric.

May your fabric dreams come true.

Happy weaving,
Karen

Quiet Friday: Square Dots

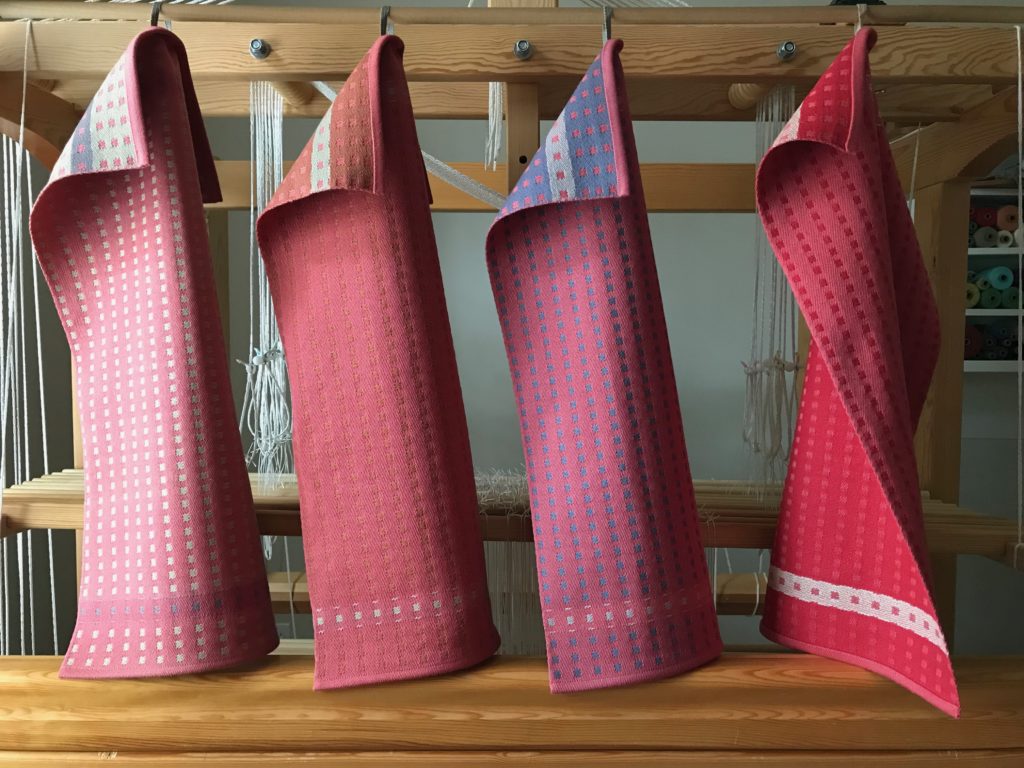
It was six weeks ago that I began winding the warp for these towels. The thread for my next Glimåkra Standard project is due to arrive tomorrow. Just like I like it—revolving door weaving. I have no doubt that this set of towels will become family favorites. They are a feast for the eyes, and a tactile delight for the hands. Seeing the color on the reverse side takes my breath away. This whole experience has been the weaving satisfaction that I’ve come to cherish!

"Square Dot" towels. Satin dräll. Karen Isenhower
Square Dot towels. Ten shafts, ten treadles. Two block five-shaft satin dräll. 8/2 cotton warp. Weft is 8/2 cotton and 22/2 cottolin, and 16/2 linen for the white stripes on the red towel.

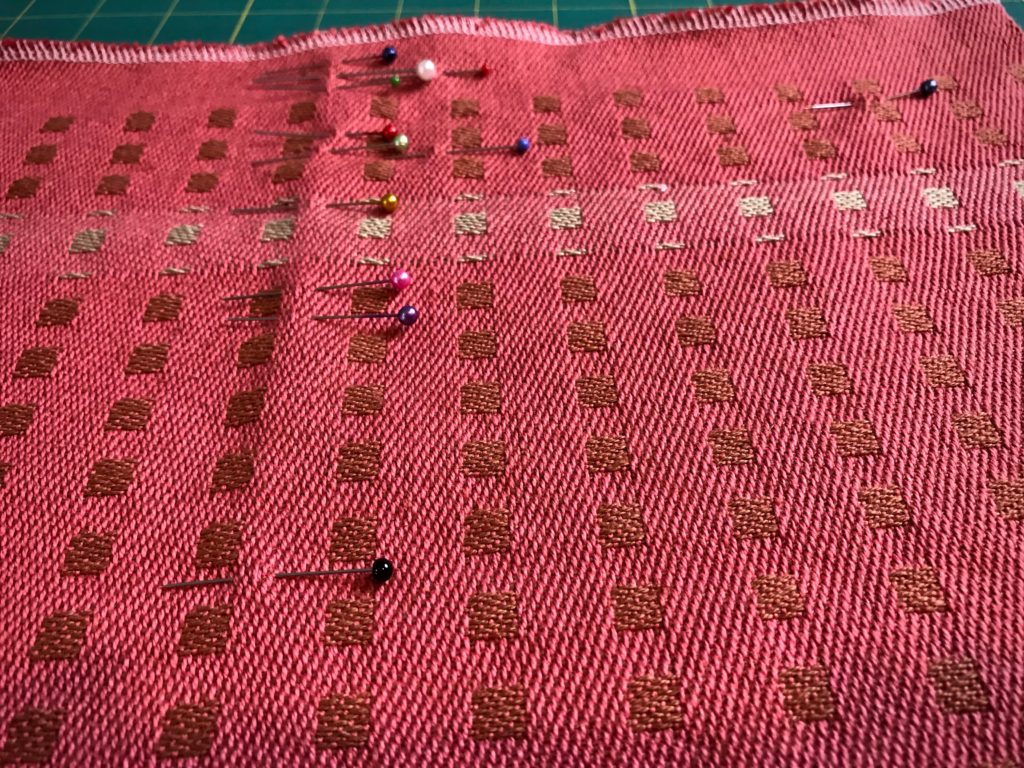
I did face difficulties near the end of the warp. The shed started deteriorating with some of the shafts, but I was determined to finish off the last towel to its full length. That meant coaxing the low profile shuttle through for a few inches. Consequently, I did have more errant floats to repair than usual. But, isn’t it wonderful that we can fix just about anything in this weaving adventure?

Fixing floats on a towel that was at the end of the warp.
End of warp. What I didn’t see at the loom is that one shaft in particular was not behaving. There were at least eight floats along that one warp end. After repairs and washing and pressing, the errors are barely noticeable.

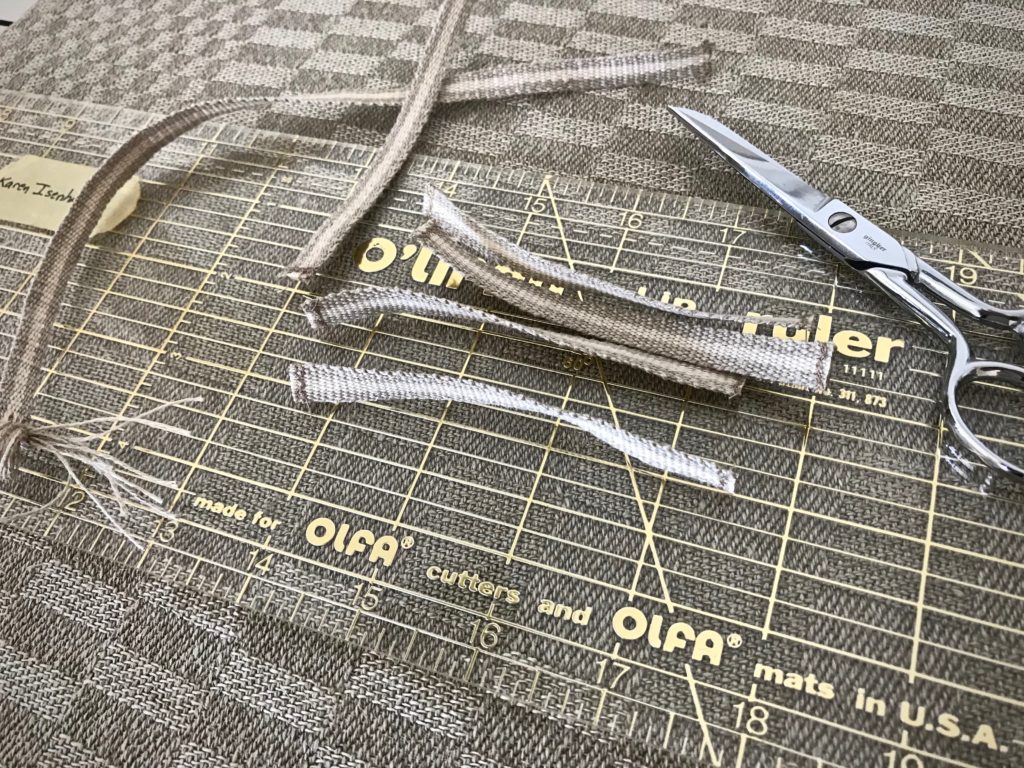
I made a warp from thread on leftover quills to weave up some hanging tabs on my band loom for three of the towels. And I found a linen piece in my “band stash” that is perfect for the red and white towel.

Enjoy the slideshow that I made for you with details of the process.

May you weave some family favorites.

Happy Weaving,
Karen

Quiet Friday: Linen Satin Dräll

This is one of those weaving projects that puts you on top of the world. Everything about it. Linen, ten shafts, five-shaft satin weave, ten treadles, gorgeous Moberg damask shuttle, single-shuttle rhythm, full-body weaving, magical fabric. I did have more than my share of knots in the warp, and a few skipped threads and selvedge loops. But you will see no evidence of those glitches now. All you will see is the natural beauty of linen, with its characteristic unevenness. And the reflective satin dräll weave, with its light-catching trickery.

The warp is Bockens unbleached 16/2 line linen. Two of the towels use 16/1 golden bleached linen for the weft. At my husband’s request, the remaining three towels have 16/2 linen weft, in ecru. The thicker weft helps make these into robust absorbent handtowels. A table square finishes off the set.

Enjoy the process with me as I reminisce over the start-to-finish pleasure of weaving these towels.

Winding a linen warp.

Linen warp chains.

Tying on the linen warp.

Tying up 10 treadles on a countermarch!

Sampling weft colors on a linen warp.

Sunlit linen damask weaving.

Hidden patterns in the 5-shaft satin.

Linen 5-shaft satin dräll!

Beautiful Moberg damask shuttle.

Spliced warp ends.

Linen satin dräll on the loom.

End of the warp is near. So many warp end repairs!

Cutting off! Linen 5-shaft satin dräll.

Just off the loom--linen 5-shaft satin.

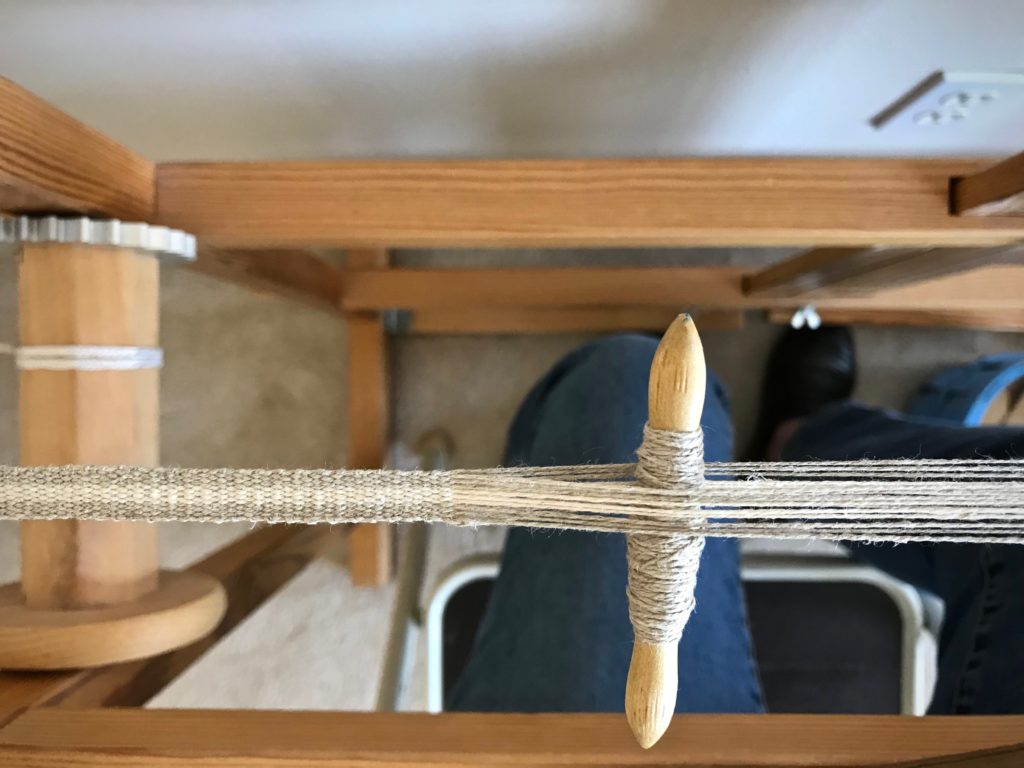
Glimakra band loom. Hanging tabs for towels.

Ready to sew handwoven hanging tabs on new linen towels.

Just off the loom--linen 5-shaft satin handtowels.

Handwoven linen towel with handwoven hanging tab.

Handwoven set of linen satin dräll towels. Karen Isenhower

May you find pleasure in what you do.

Happy Weaving,
Karen

What to Do about Weaving Errors

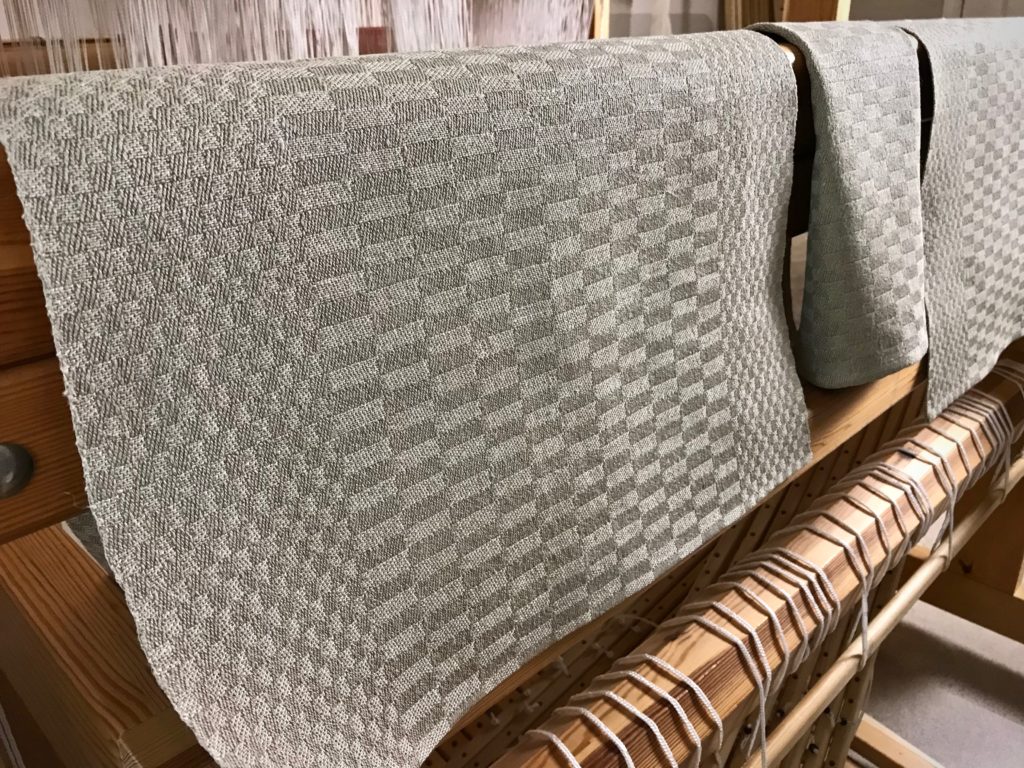
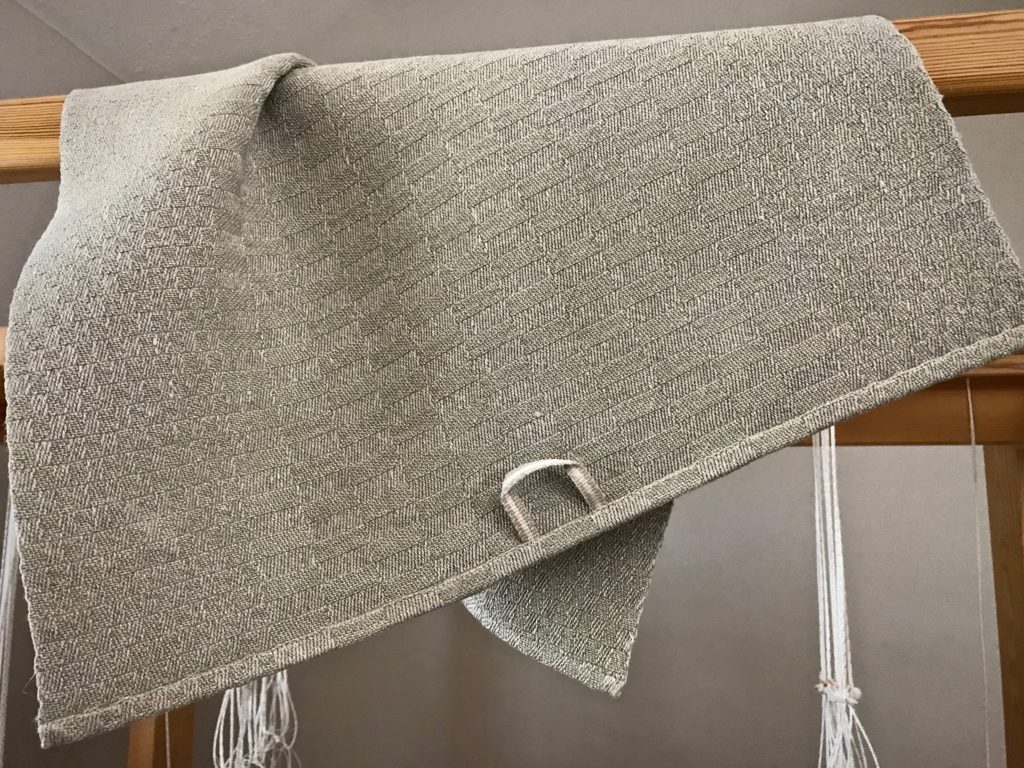
I’ve been waiting for a bright sunshiny day to thoroughly examine this tightly-woven linen satin dräll fabric. Today is perfect. Fixing errors must be done before the fabric is washed, when the weave will become even tighter. I am looking for unwanted floats where the shuttle skipped threads, and for loops at the selvedges.

In my examination I did find an errant float and a few small selvedge loops. Let’s get started.

Tools:

  • Blunt-tip needle. Sharp needle tip has been sanded to a rounded tip.
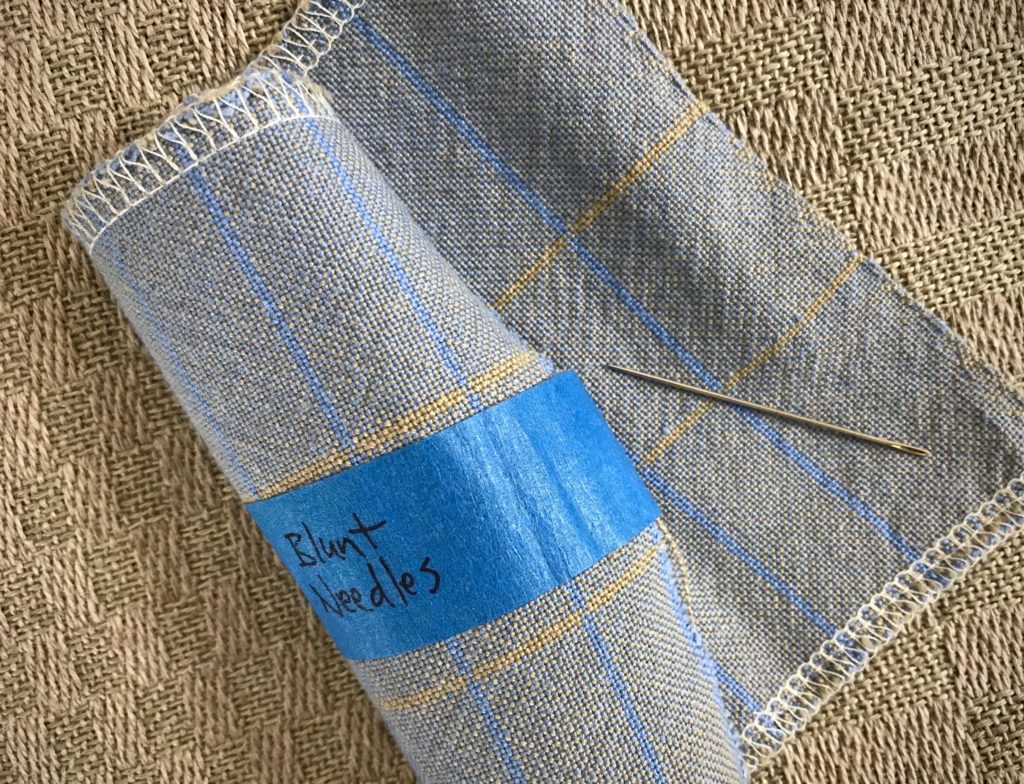
Blunt needle for fixing weaving errors.

  • Thread. Use the same weft or warp thread that is in the area needing repair.
  • Good lighting. If the fabric has a complex structure, good lighting is essential.
  • Magnification. I take a photo on my iPhone, and then zoom in to see the minute details.
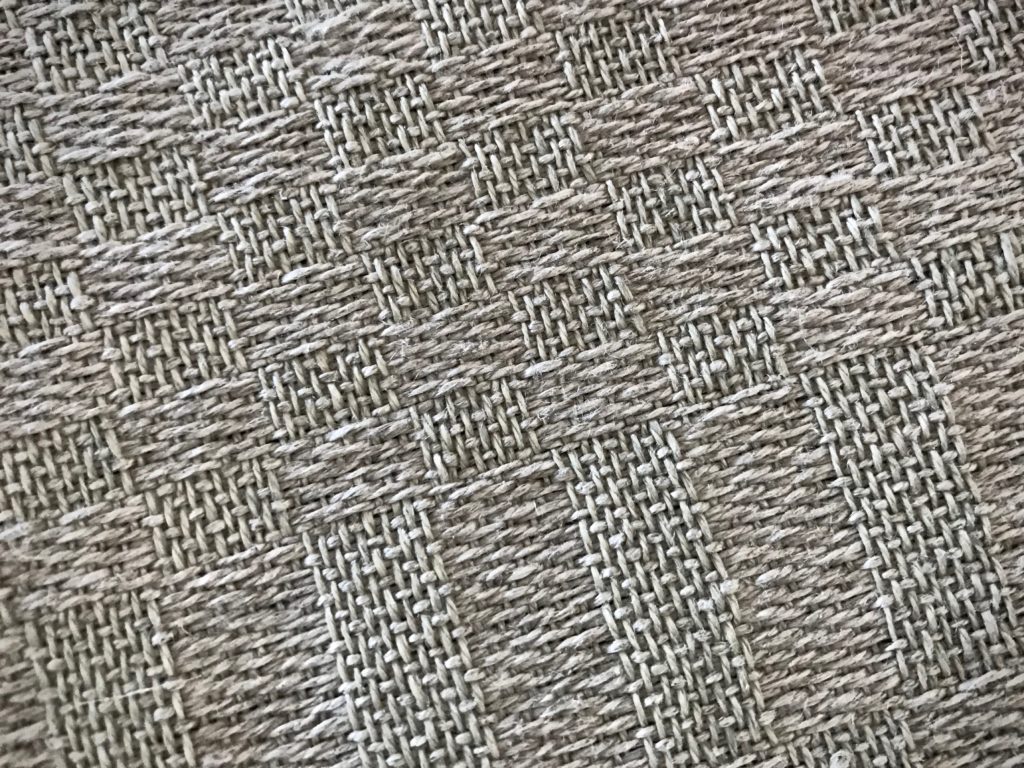
Zoom in on iPhone photo to magnify details.


How to Mend Skipped Threads:

1 Locate the error. Here is a long weft float.
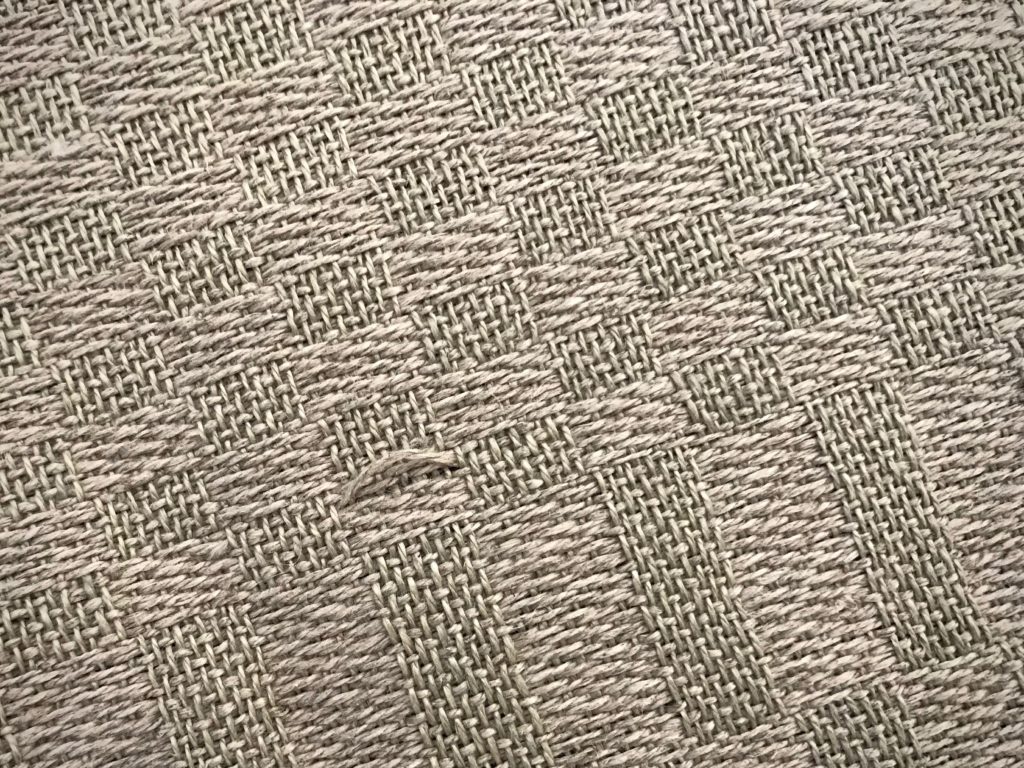
What to do with skipped threads. Tutorial.

2 Thread the blunt-tip needle with a length of the same thread as the float.
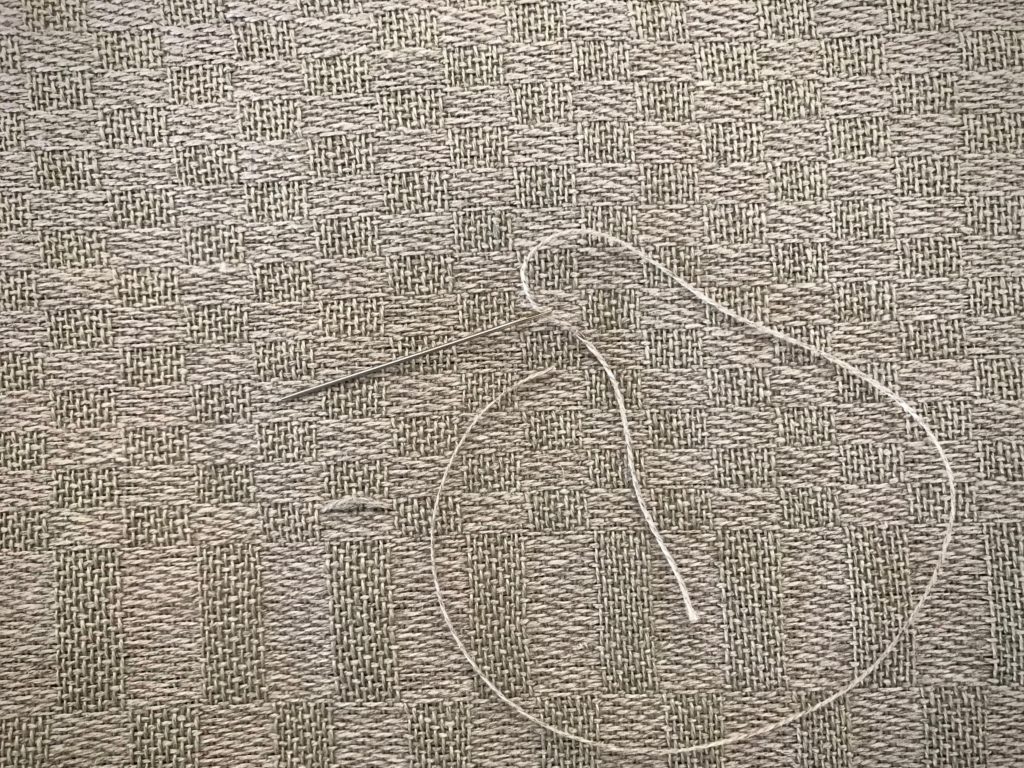
Tutorial on fixing weaving errors.

3 Following the exact under-over pattern of the weave, start one inch before the float and needle-weave toward the float. I lay my iPhone nearby, with the magnified iPhone photo clearly showing the weave pattern.
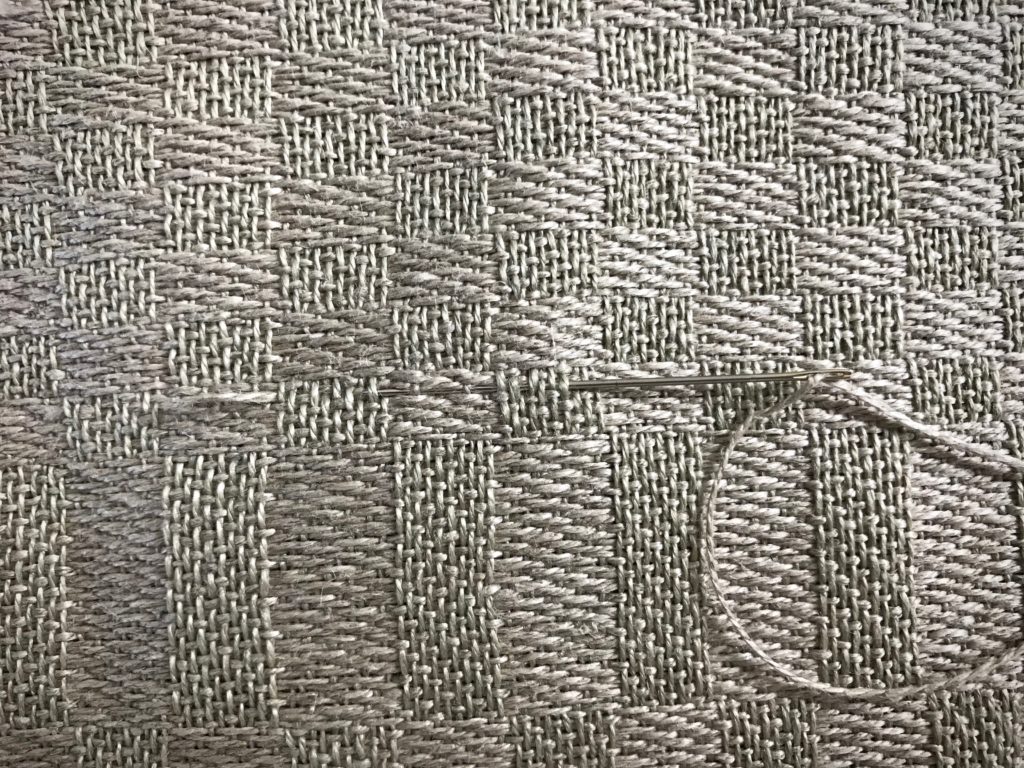
Needle weaving to mend a weaving error. How to.

4 Needle-weave the correct path of the thread through the float area. Continue needle-weaving along the same thread pathway, going one inch beyond the float.
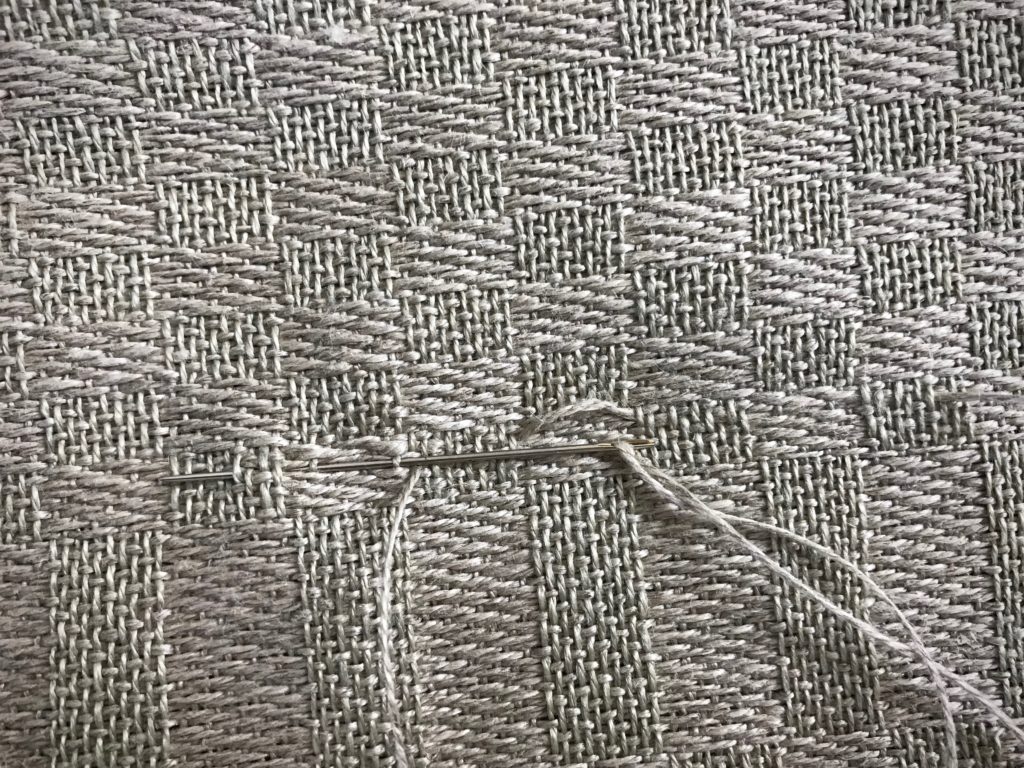
How to fix skipped threads in weaving.

5 Check the front and back of the fabric to see if your stitches match the correct pattern of the weave.
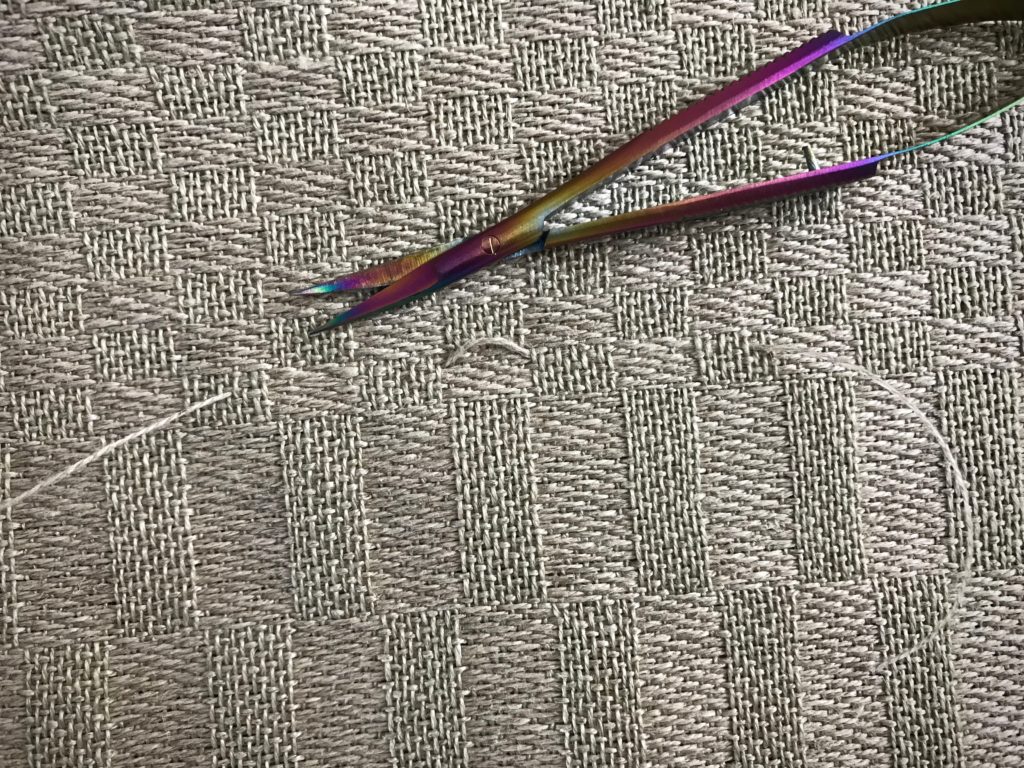
Skipped threads in weaving. Fixed!

6 When you are certain that the float thread has been accurately replaced, clip the float and remove it (or, leave it and trim it after washing). Leave two-inch tails on the replacement thread, and trim after wet finishing. (I leave the replacement tails so I can find and check the repair after it is washed. This also allows for shrinkage before trimming.)
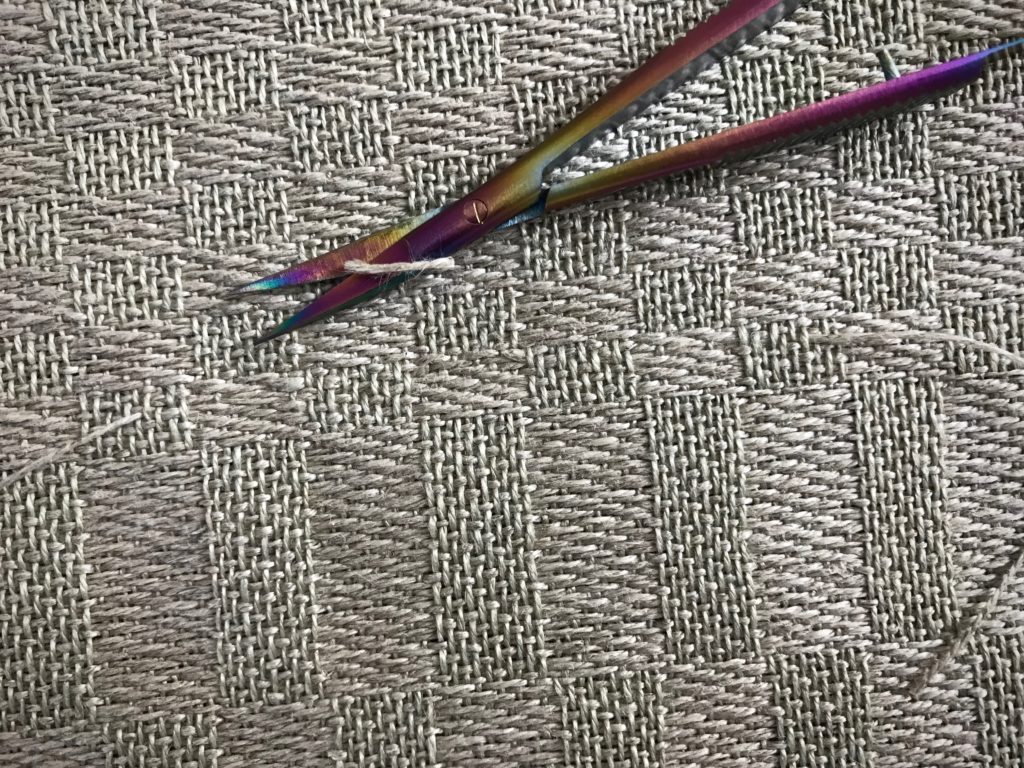
Clip off the float AFTER repair thread is in place.


How to Fix a Small Selvedge Loop

1 Locate the loop.
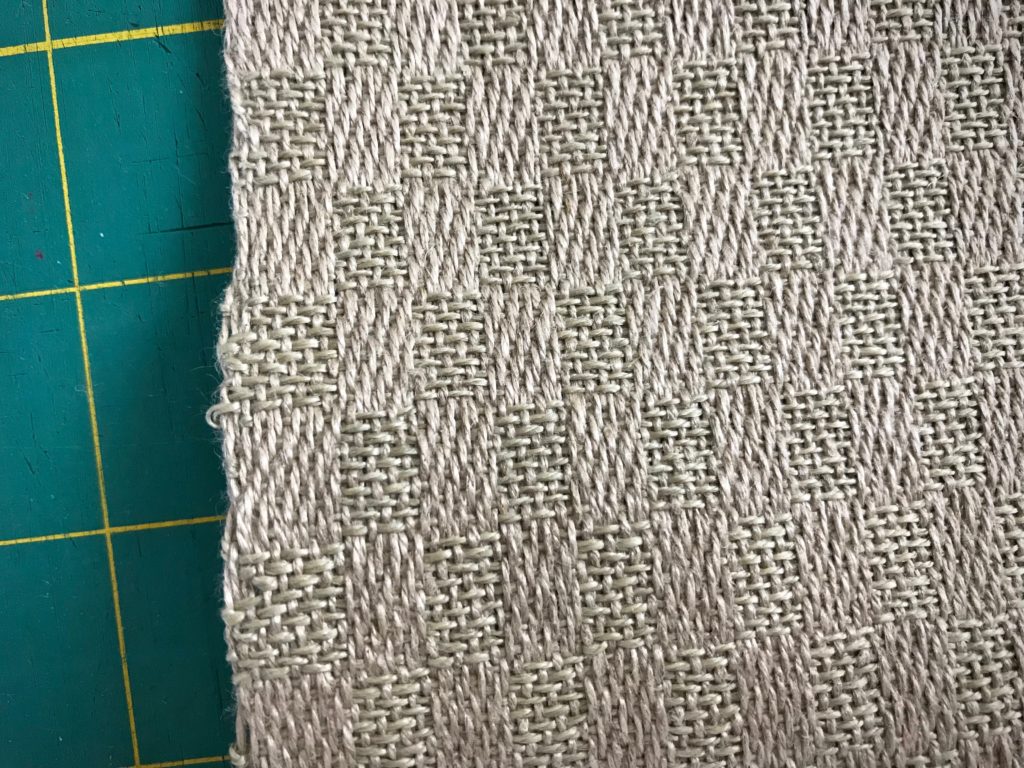
How to fix a loop in the selvedge.

2 Using the blunt-tip needle, gently ease the excess thread to spread over four or five stitches inside the selvedge.
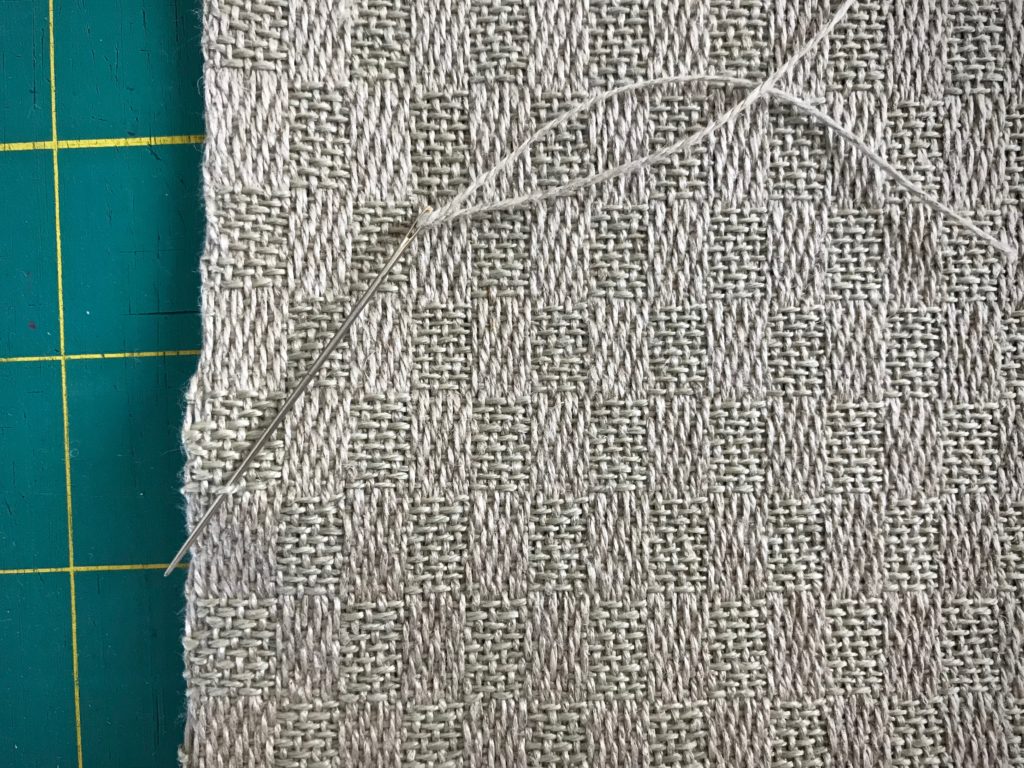
Easing in a loop at the selvedge. Short how-to.

3 The thread that has been eased in (just above the needle) will completely smooth out in wet finishing.
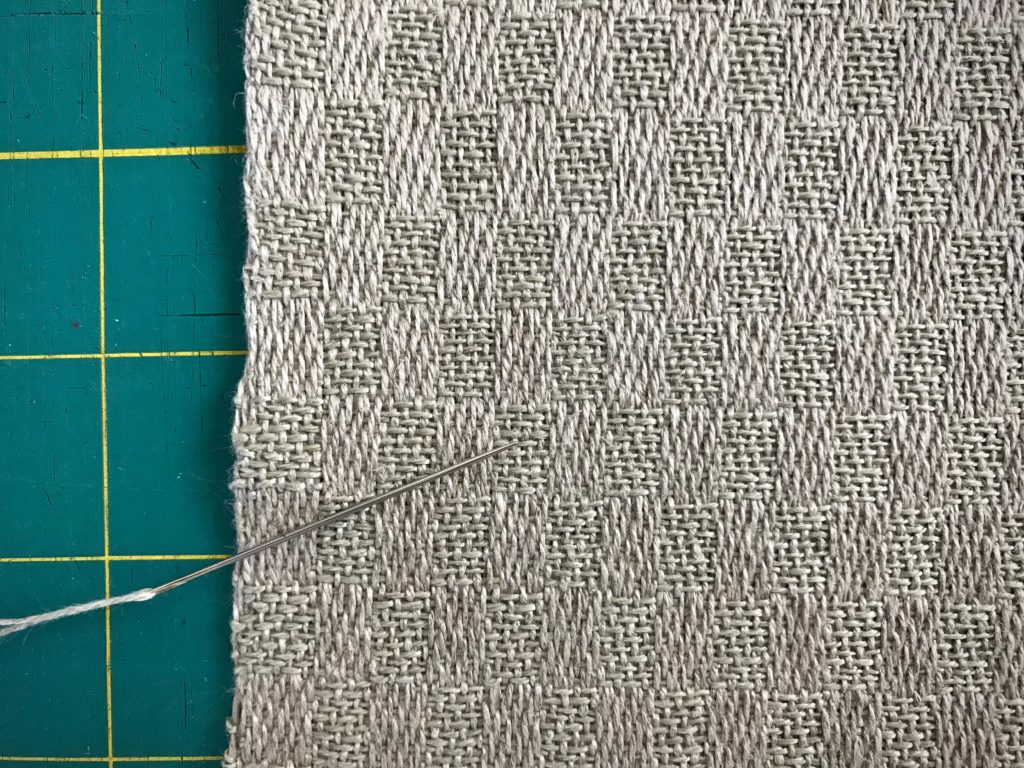
Eliminate an errant loop at the selvedge.

What skipped threads and loops would be found if I were examined this closely? Would I leave them and hope no one notices? Or, would I allow re-weaving and cutting away? A negative attitude is replaced with a thread of thankfulness. A loop of complaining is eased back in. The result is joy. A thankful heart knows joy. When the fabric is washed, the errant floats and loops are gone. What remains is the woven fabric with lustrous threads of joy.
May you have a bright sunshiny day.

With you,
Karen