Tools Day: Tape Measures

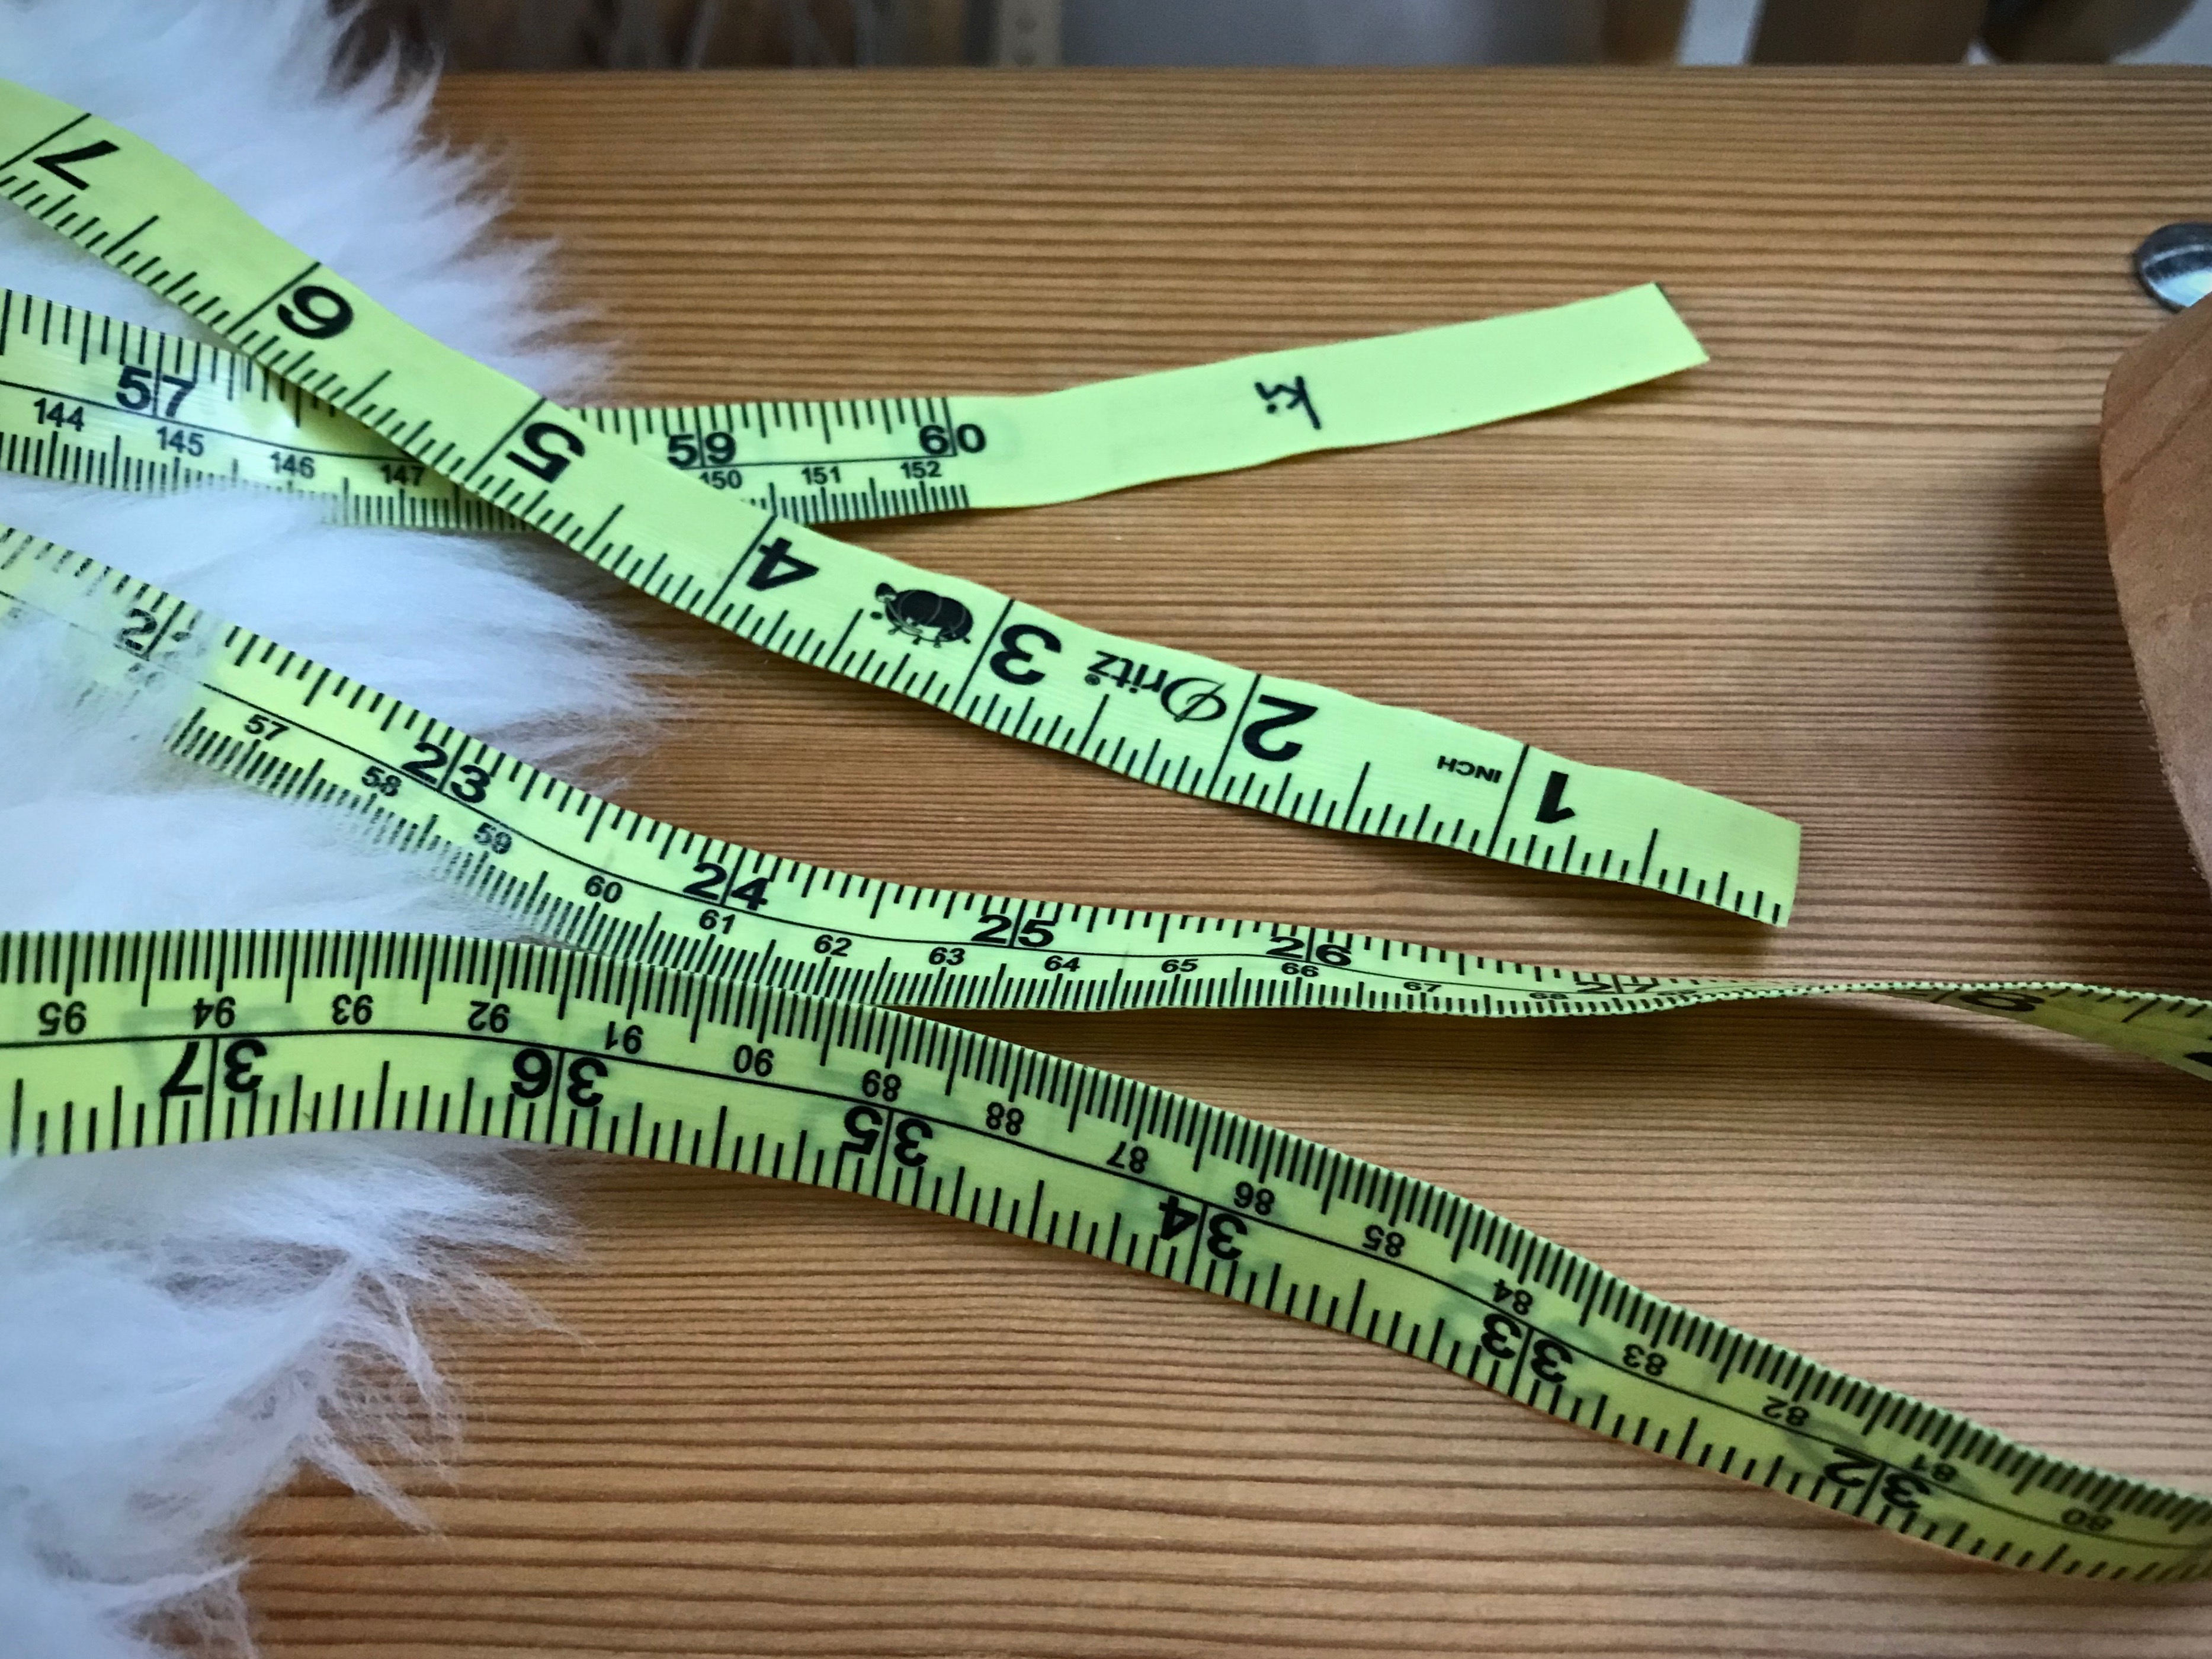
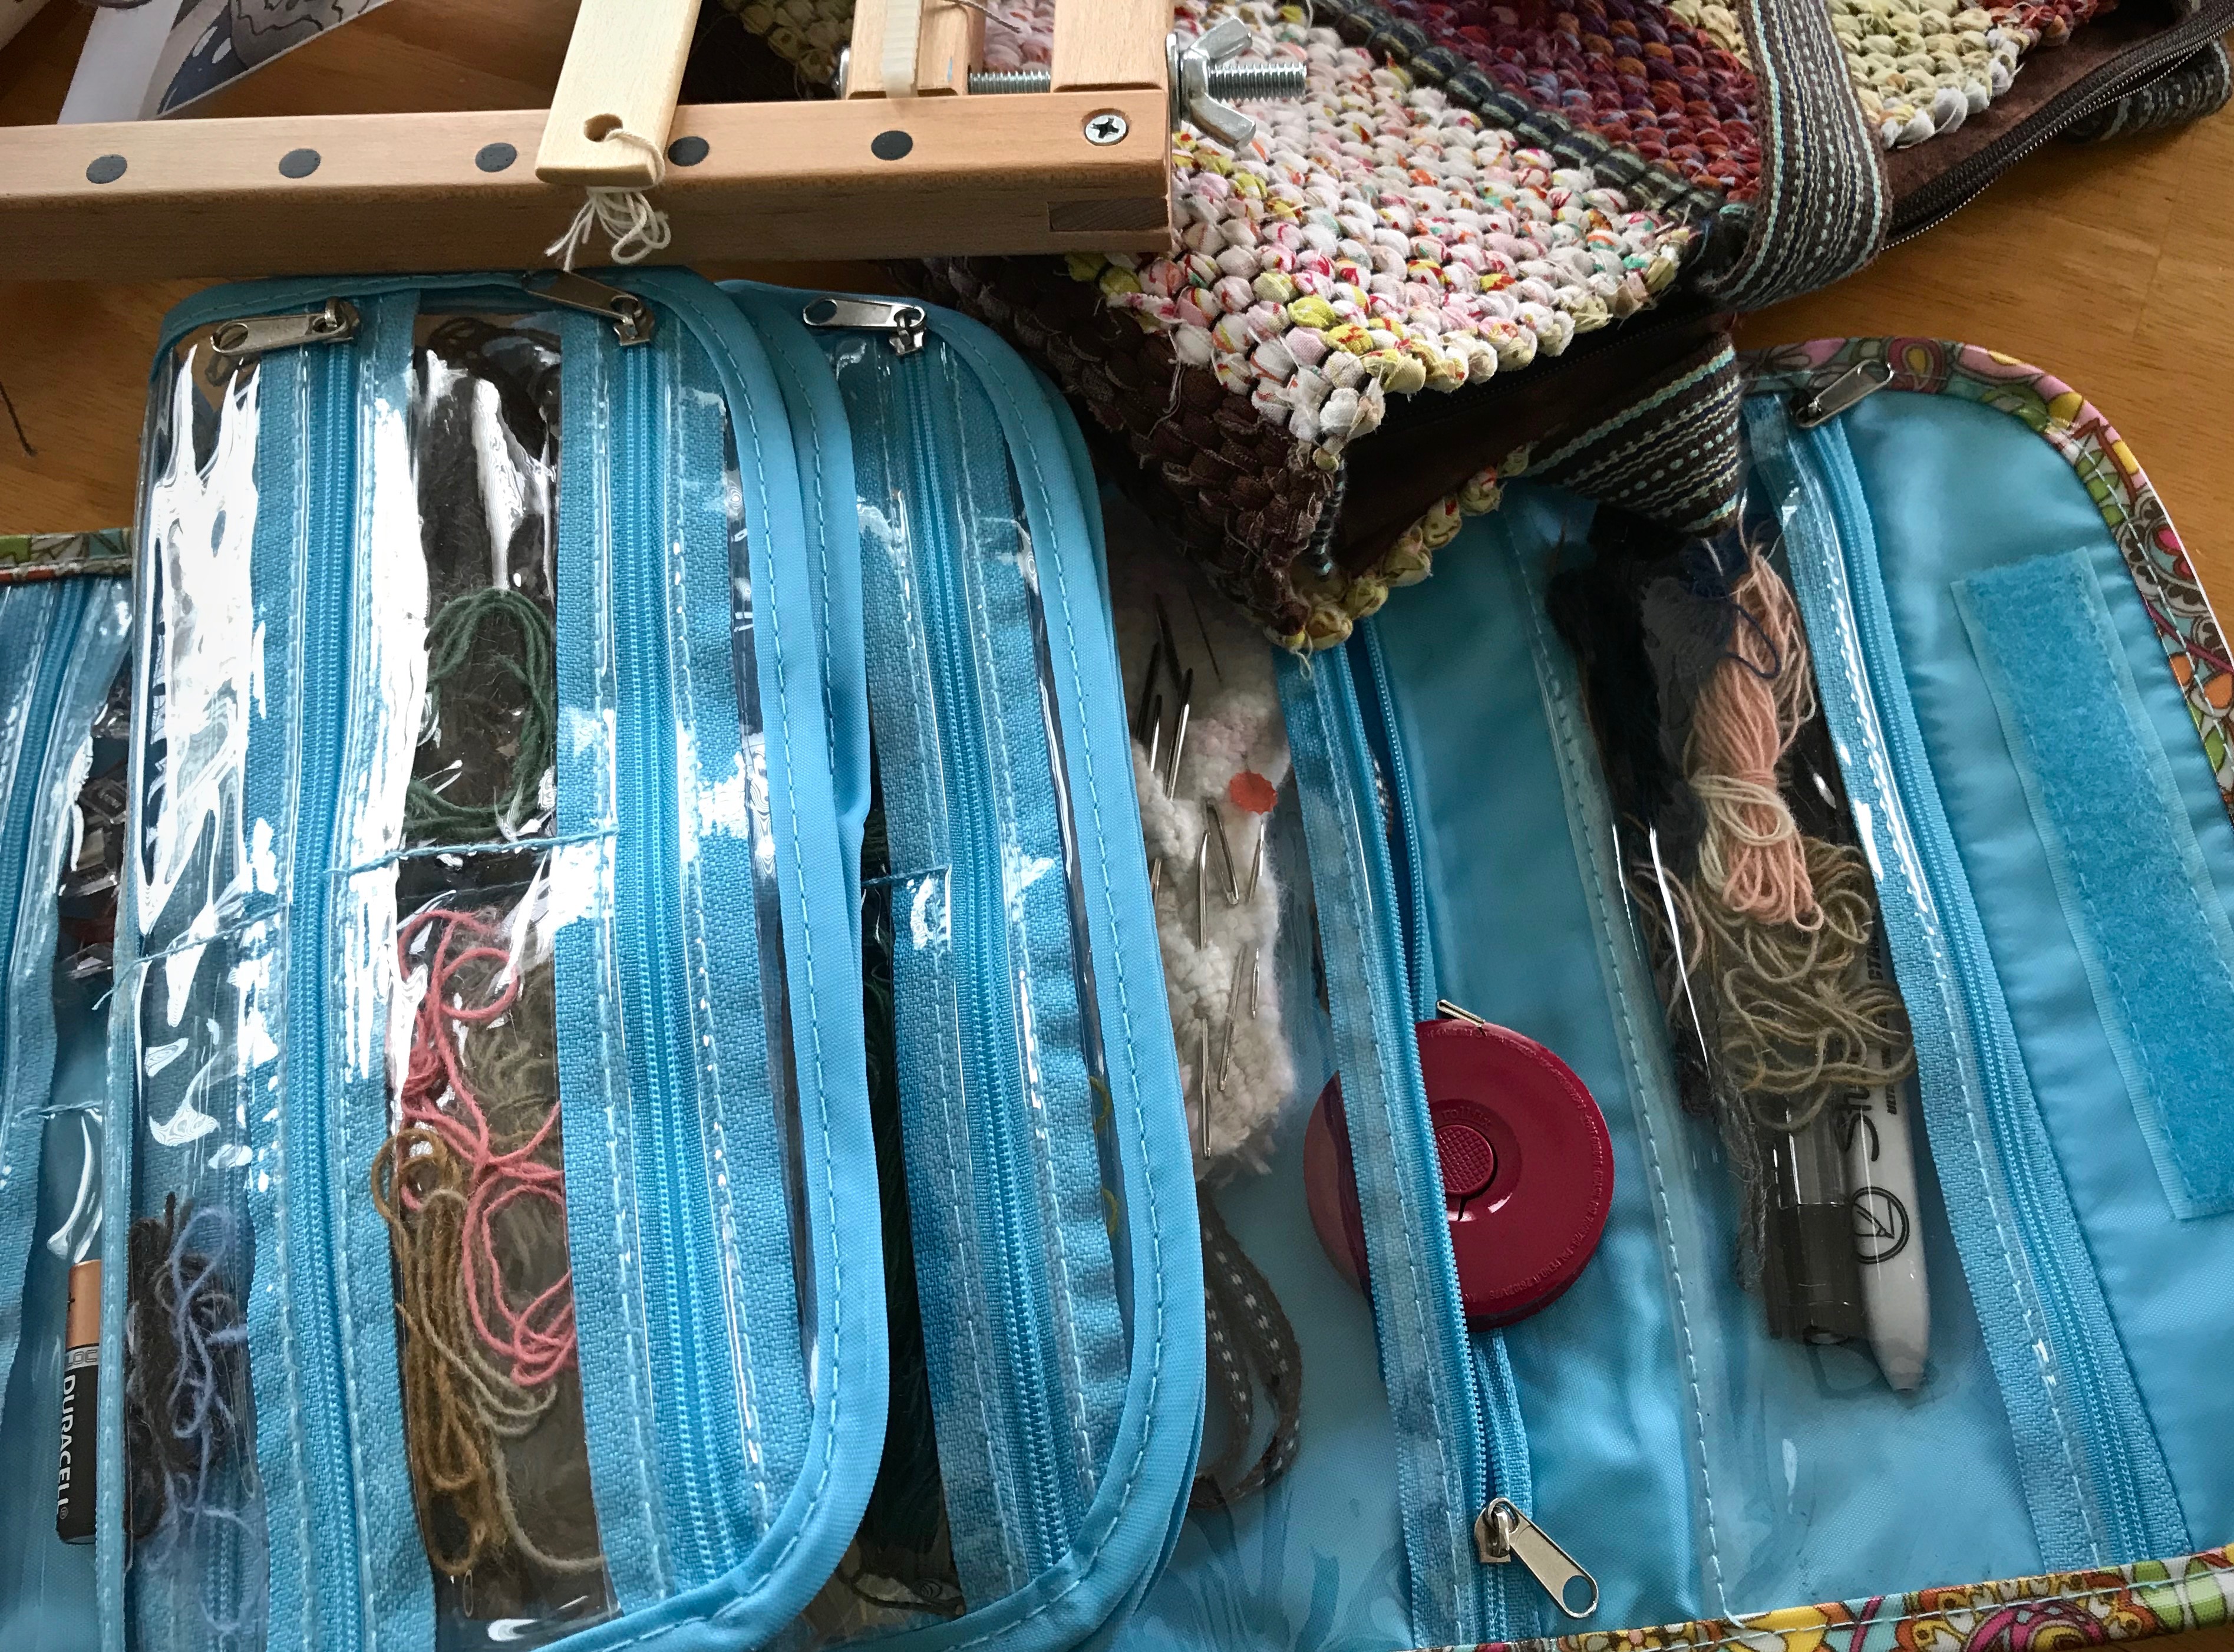
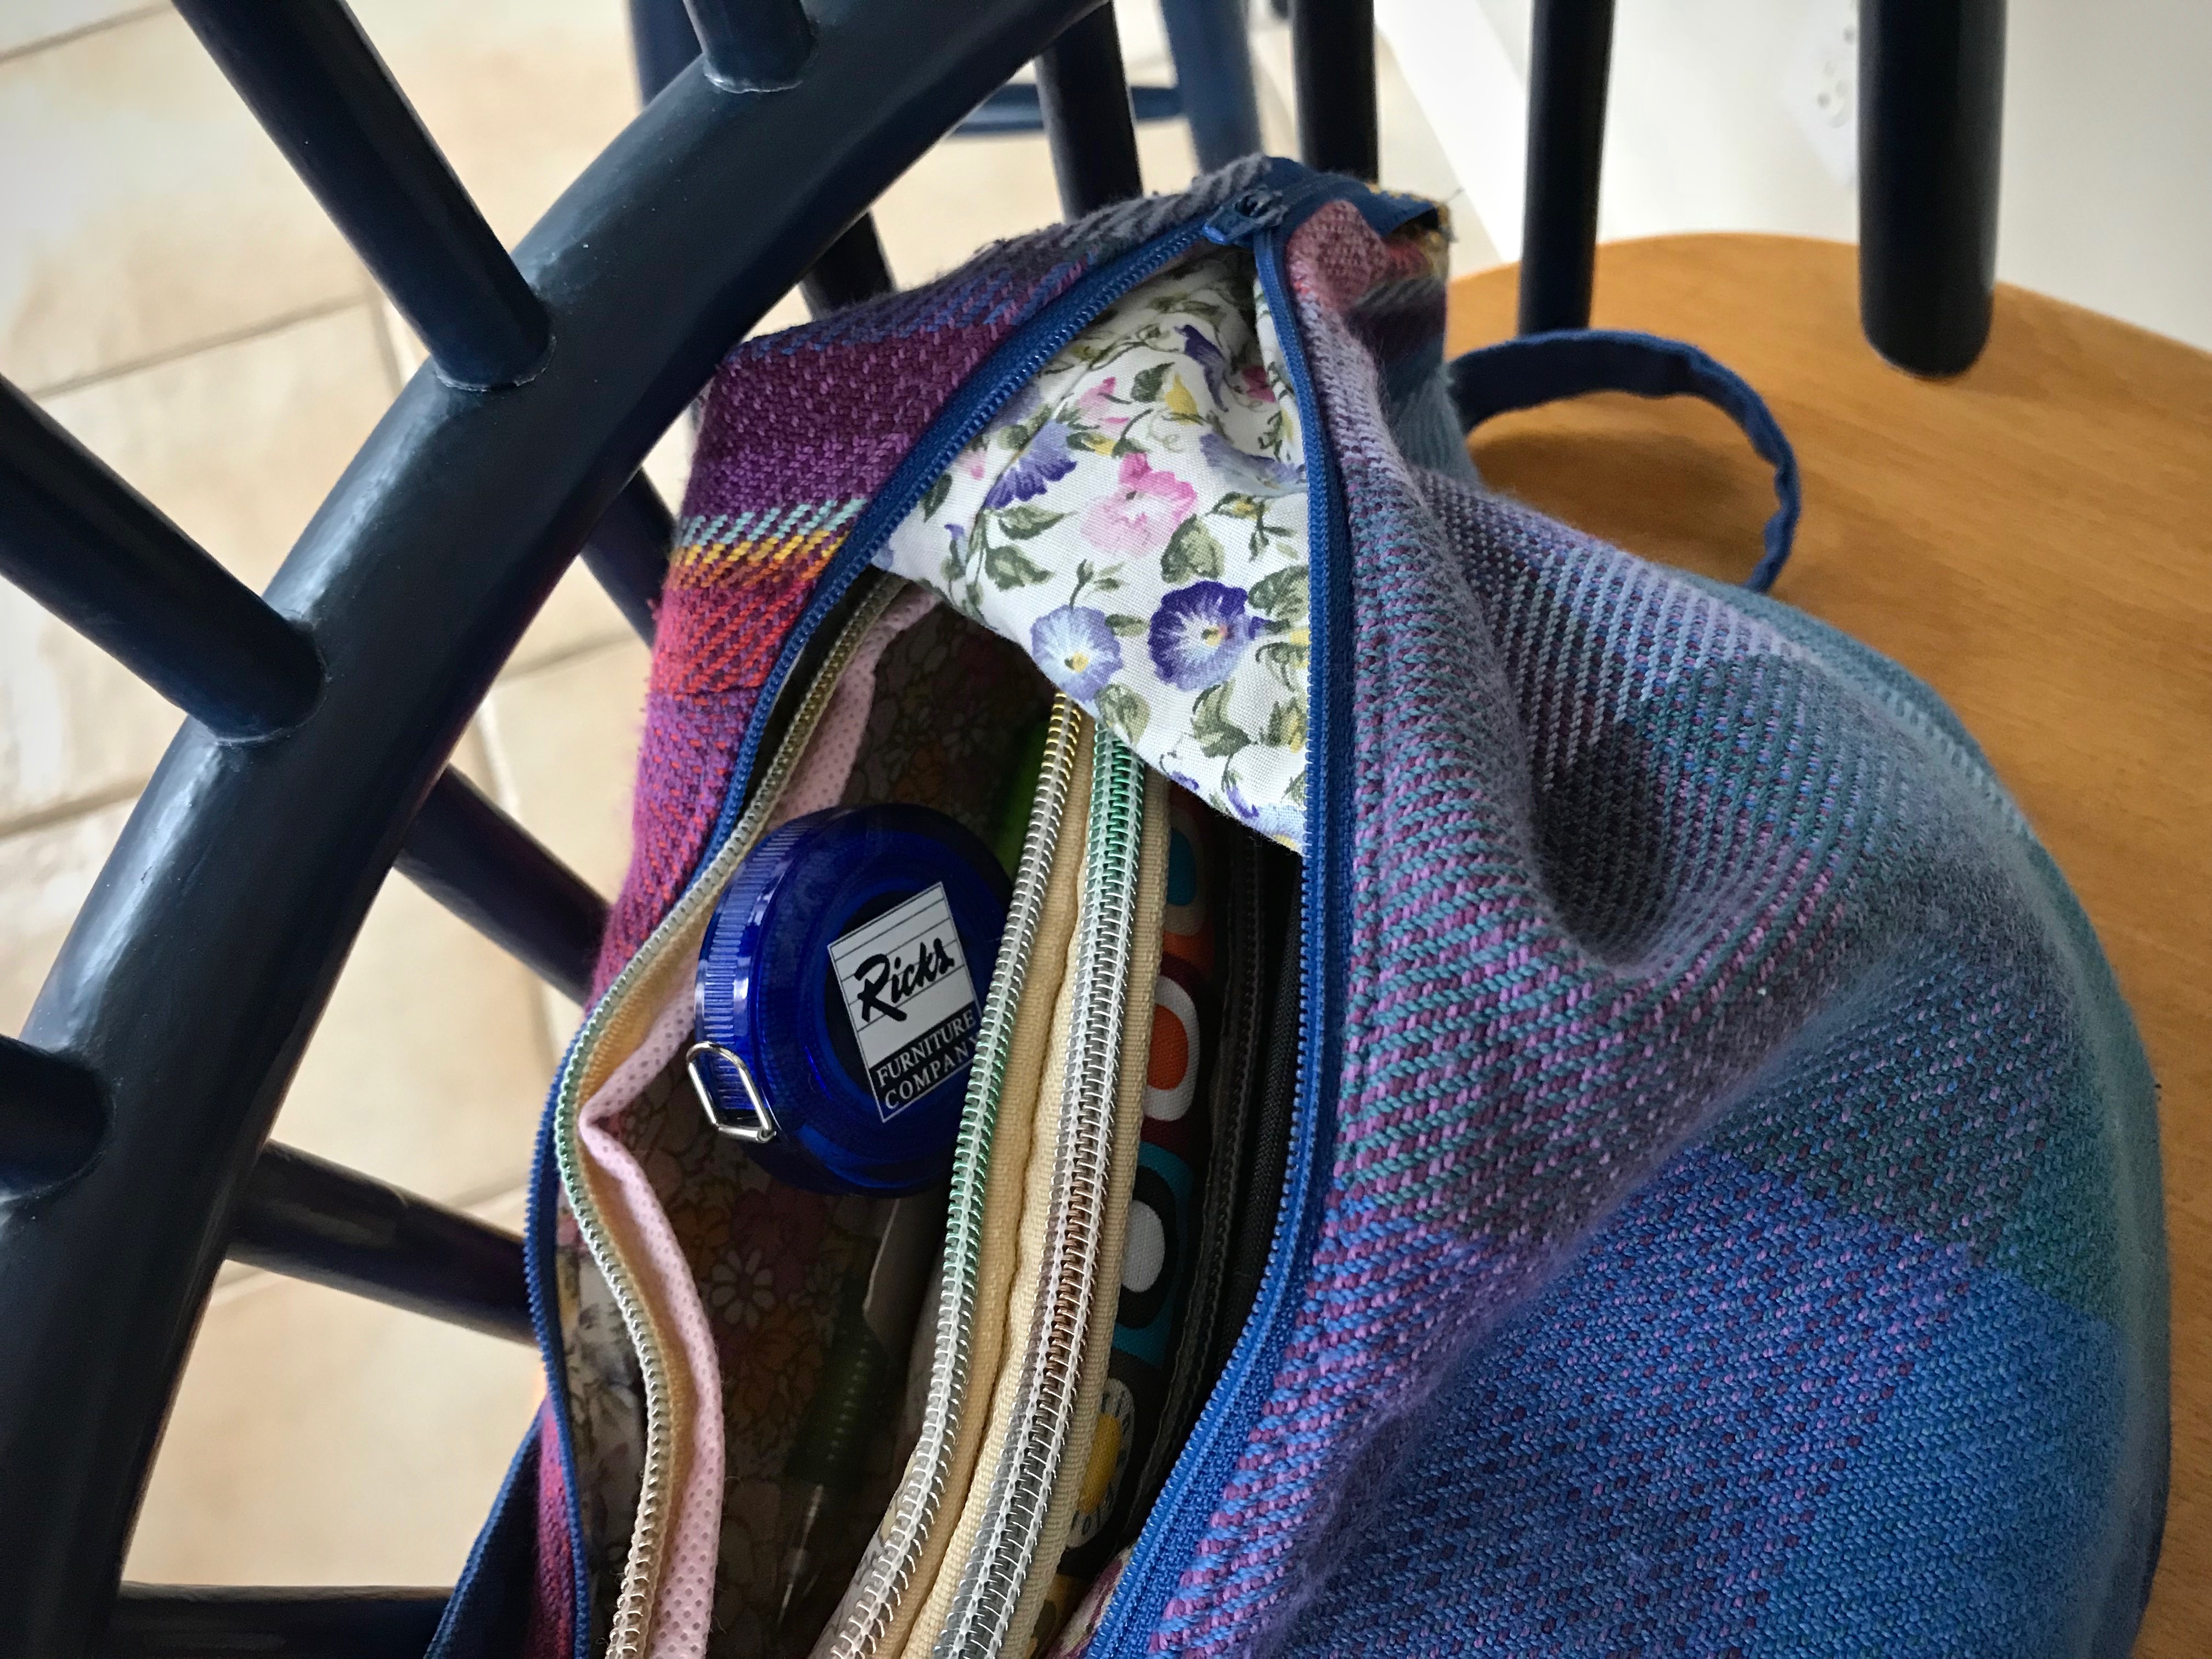
A tape measure is a weaver’s best friend. Think about how many ways the tape measure serves you. I have one at each loom. Always. And I have a few others scattered around, hanging up, and in bags. Because you never know when you might need to measure something.

Tape Measure Uses

  • Take measurements to determine the desired size of the finished cloth, such as window measurements for curtains, floor space for area rugs, or length of skirt tiers for skirt fabric.
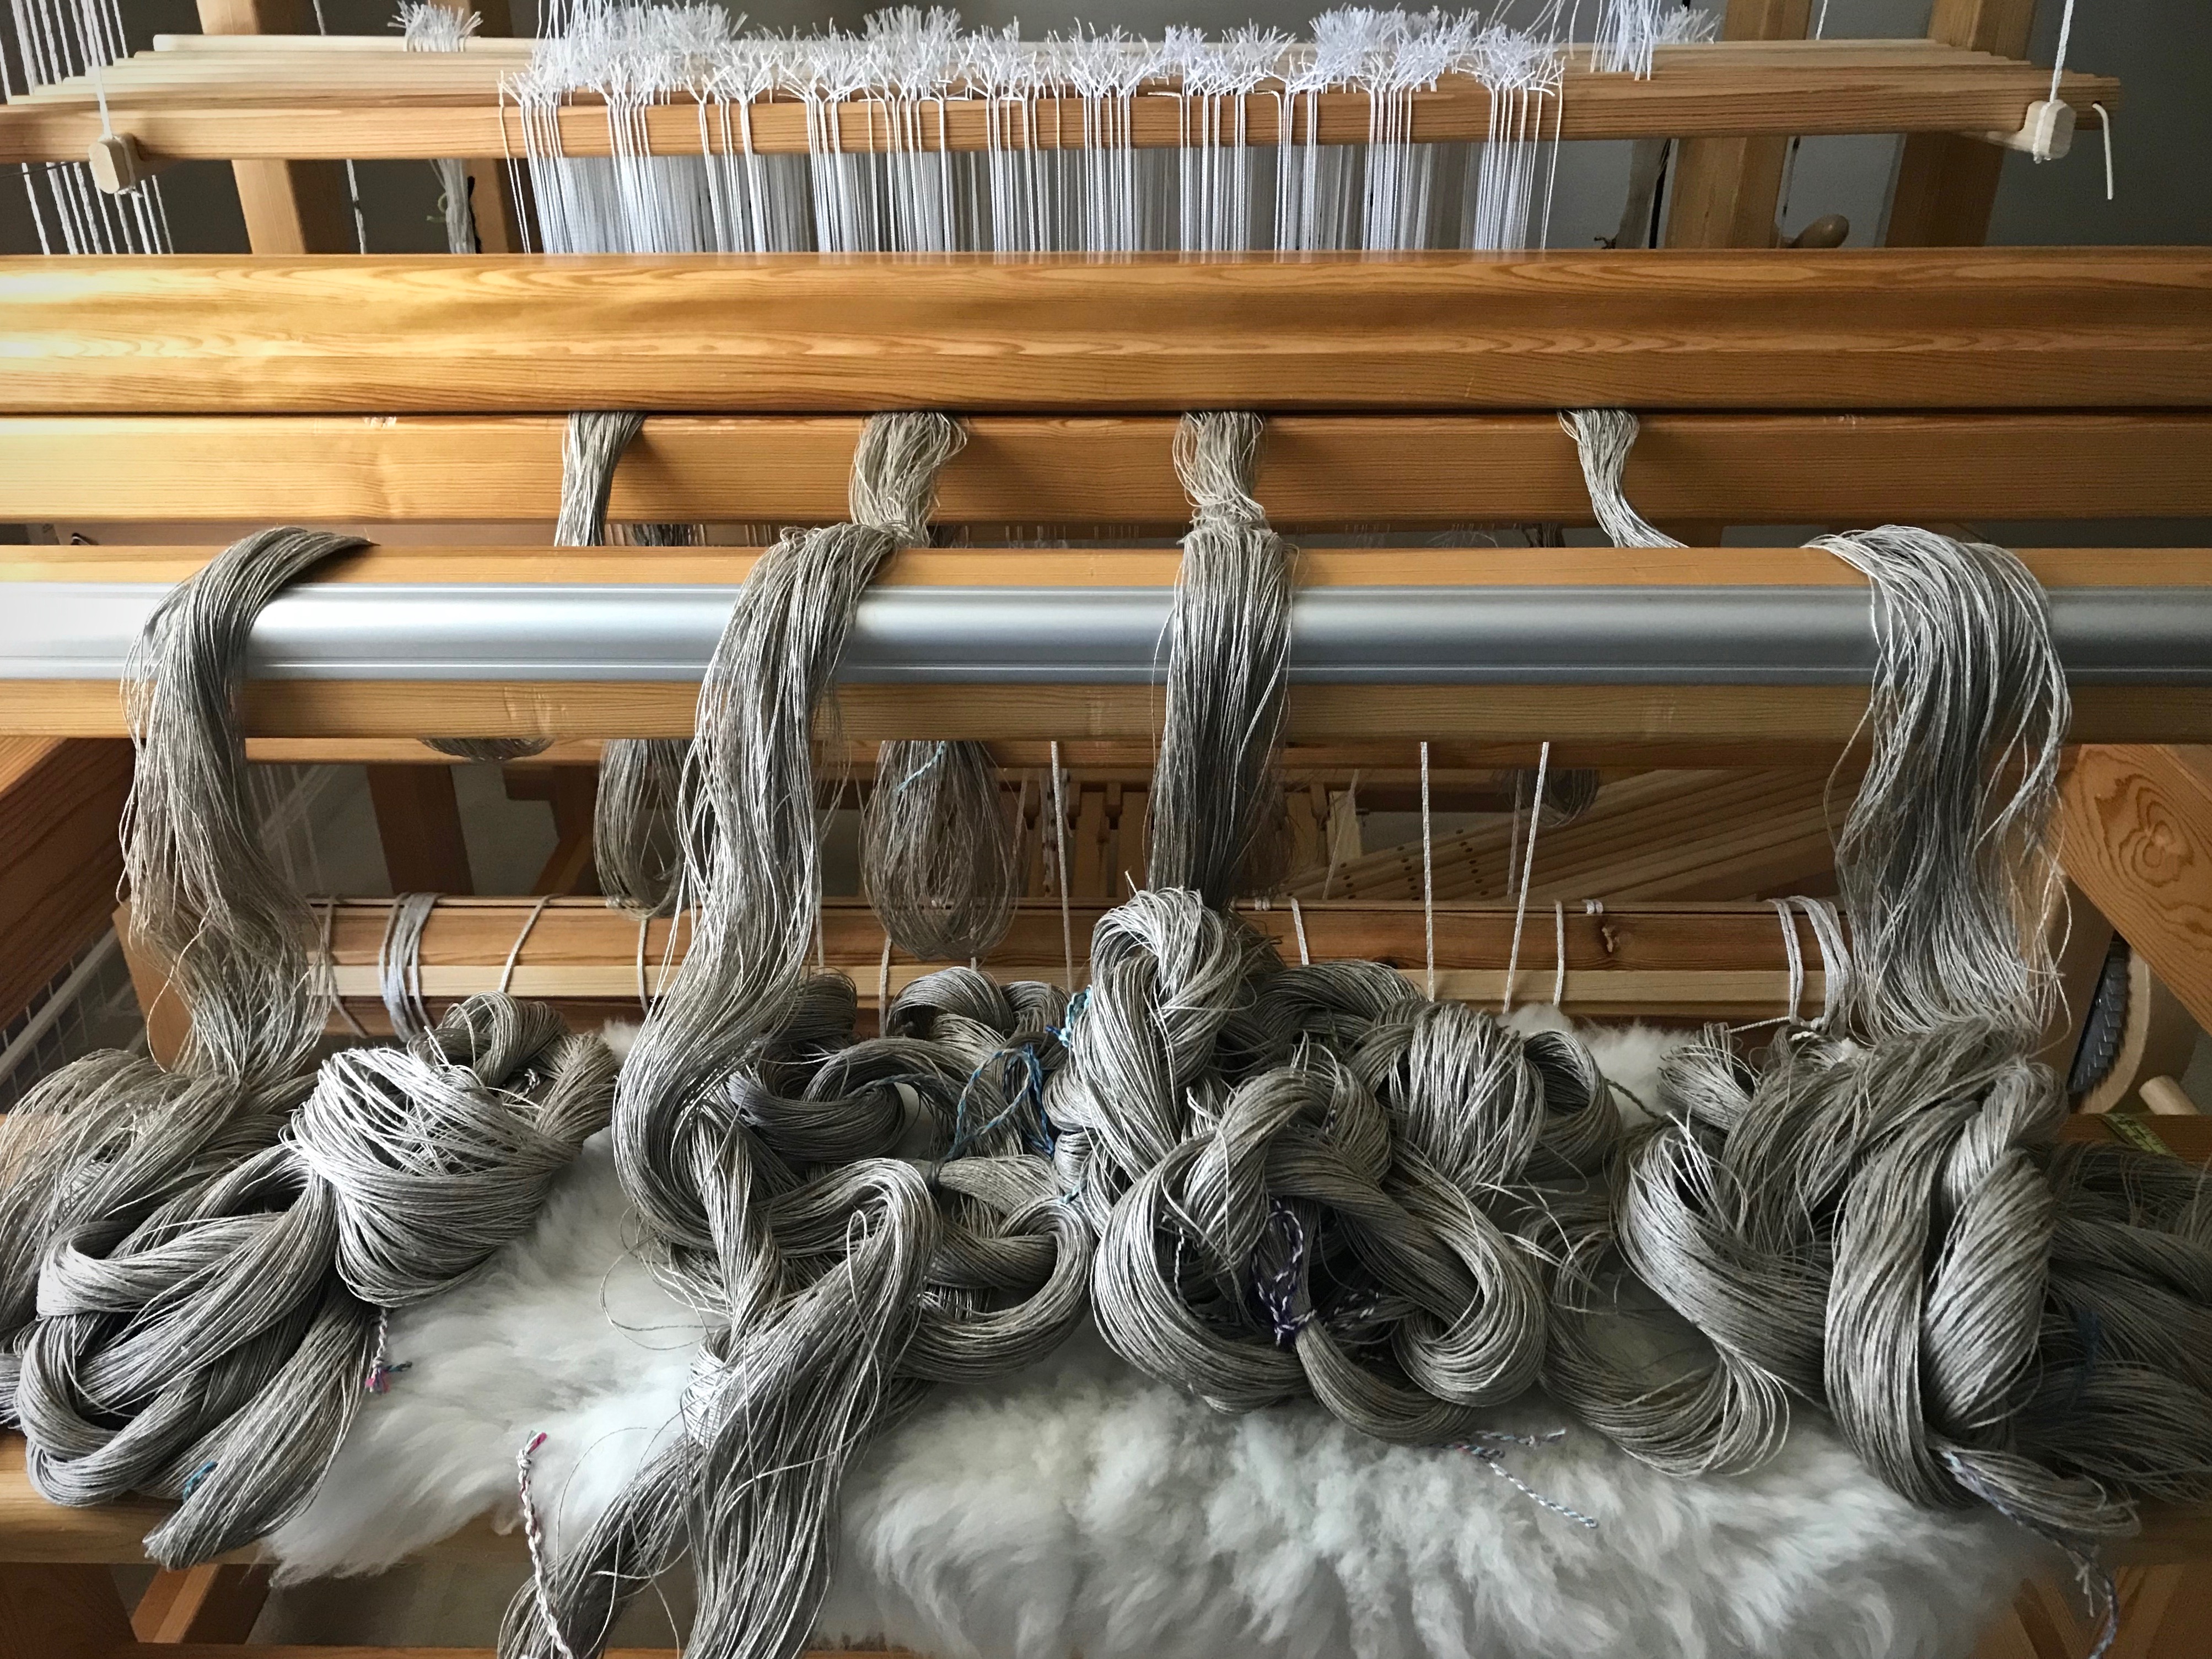
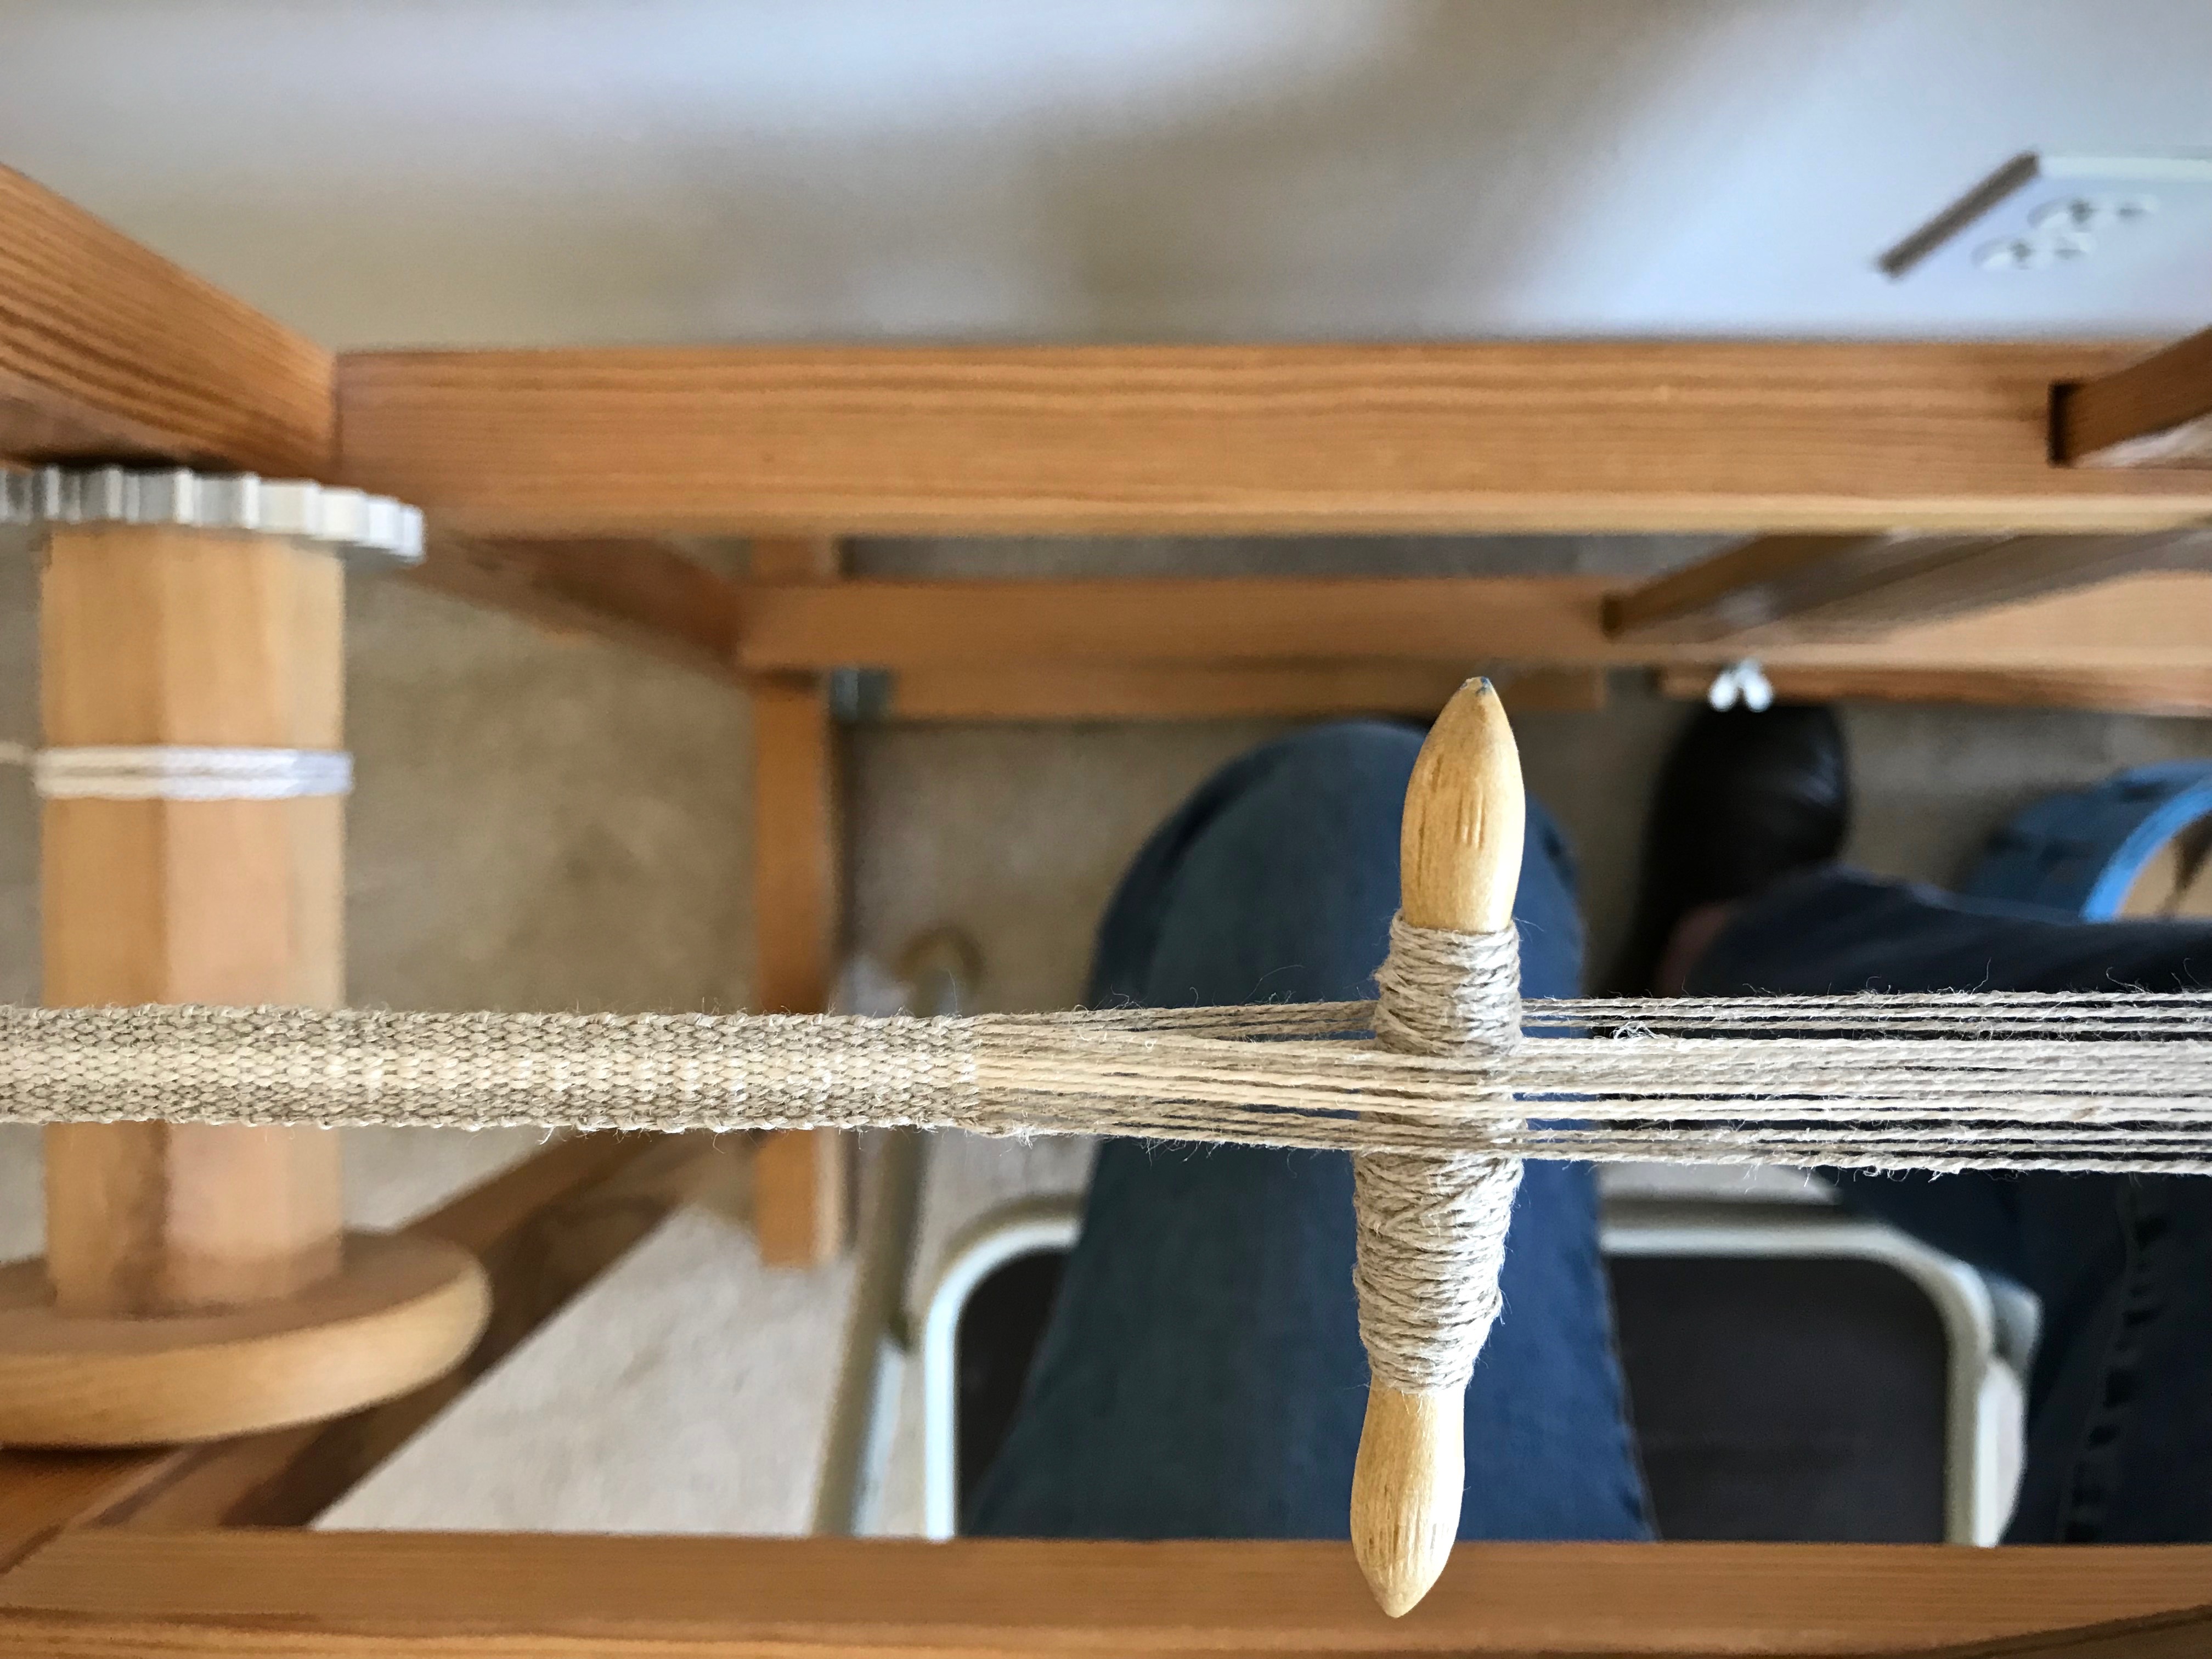
  • Measure the length of a guide string for winding the warp.
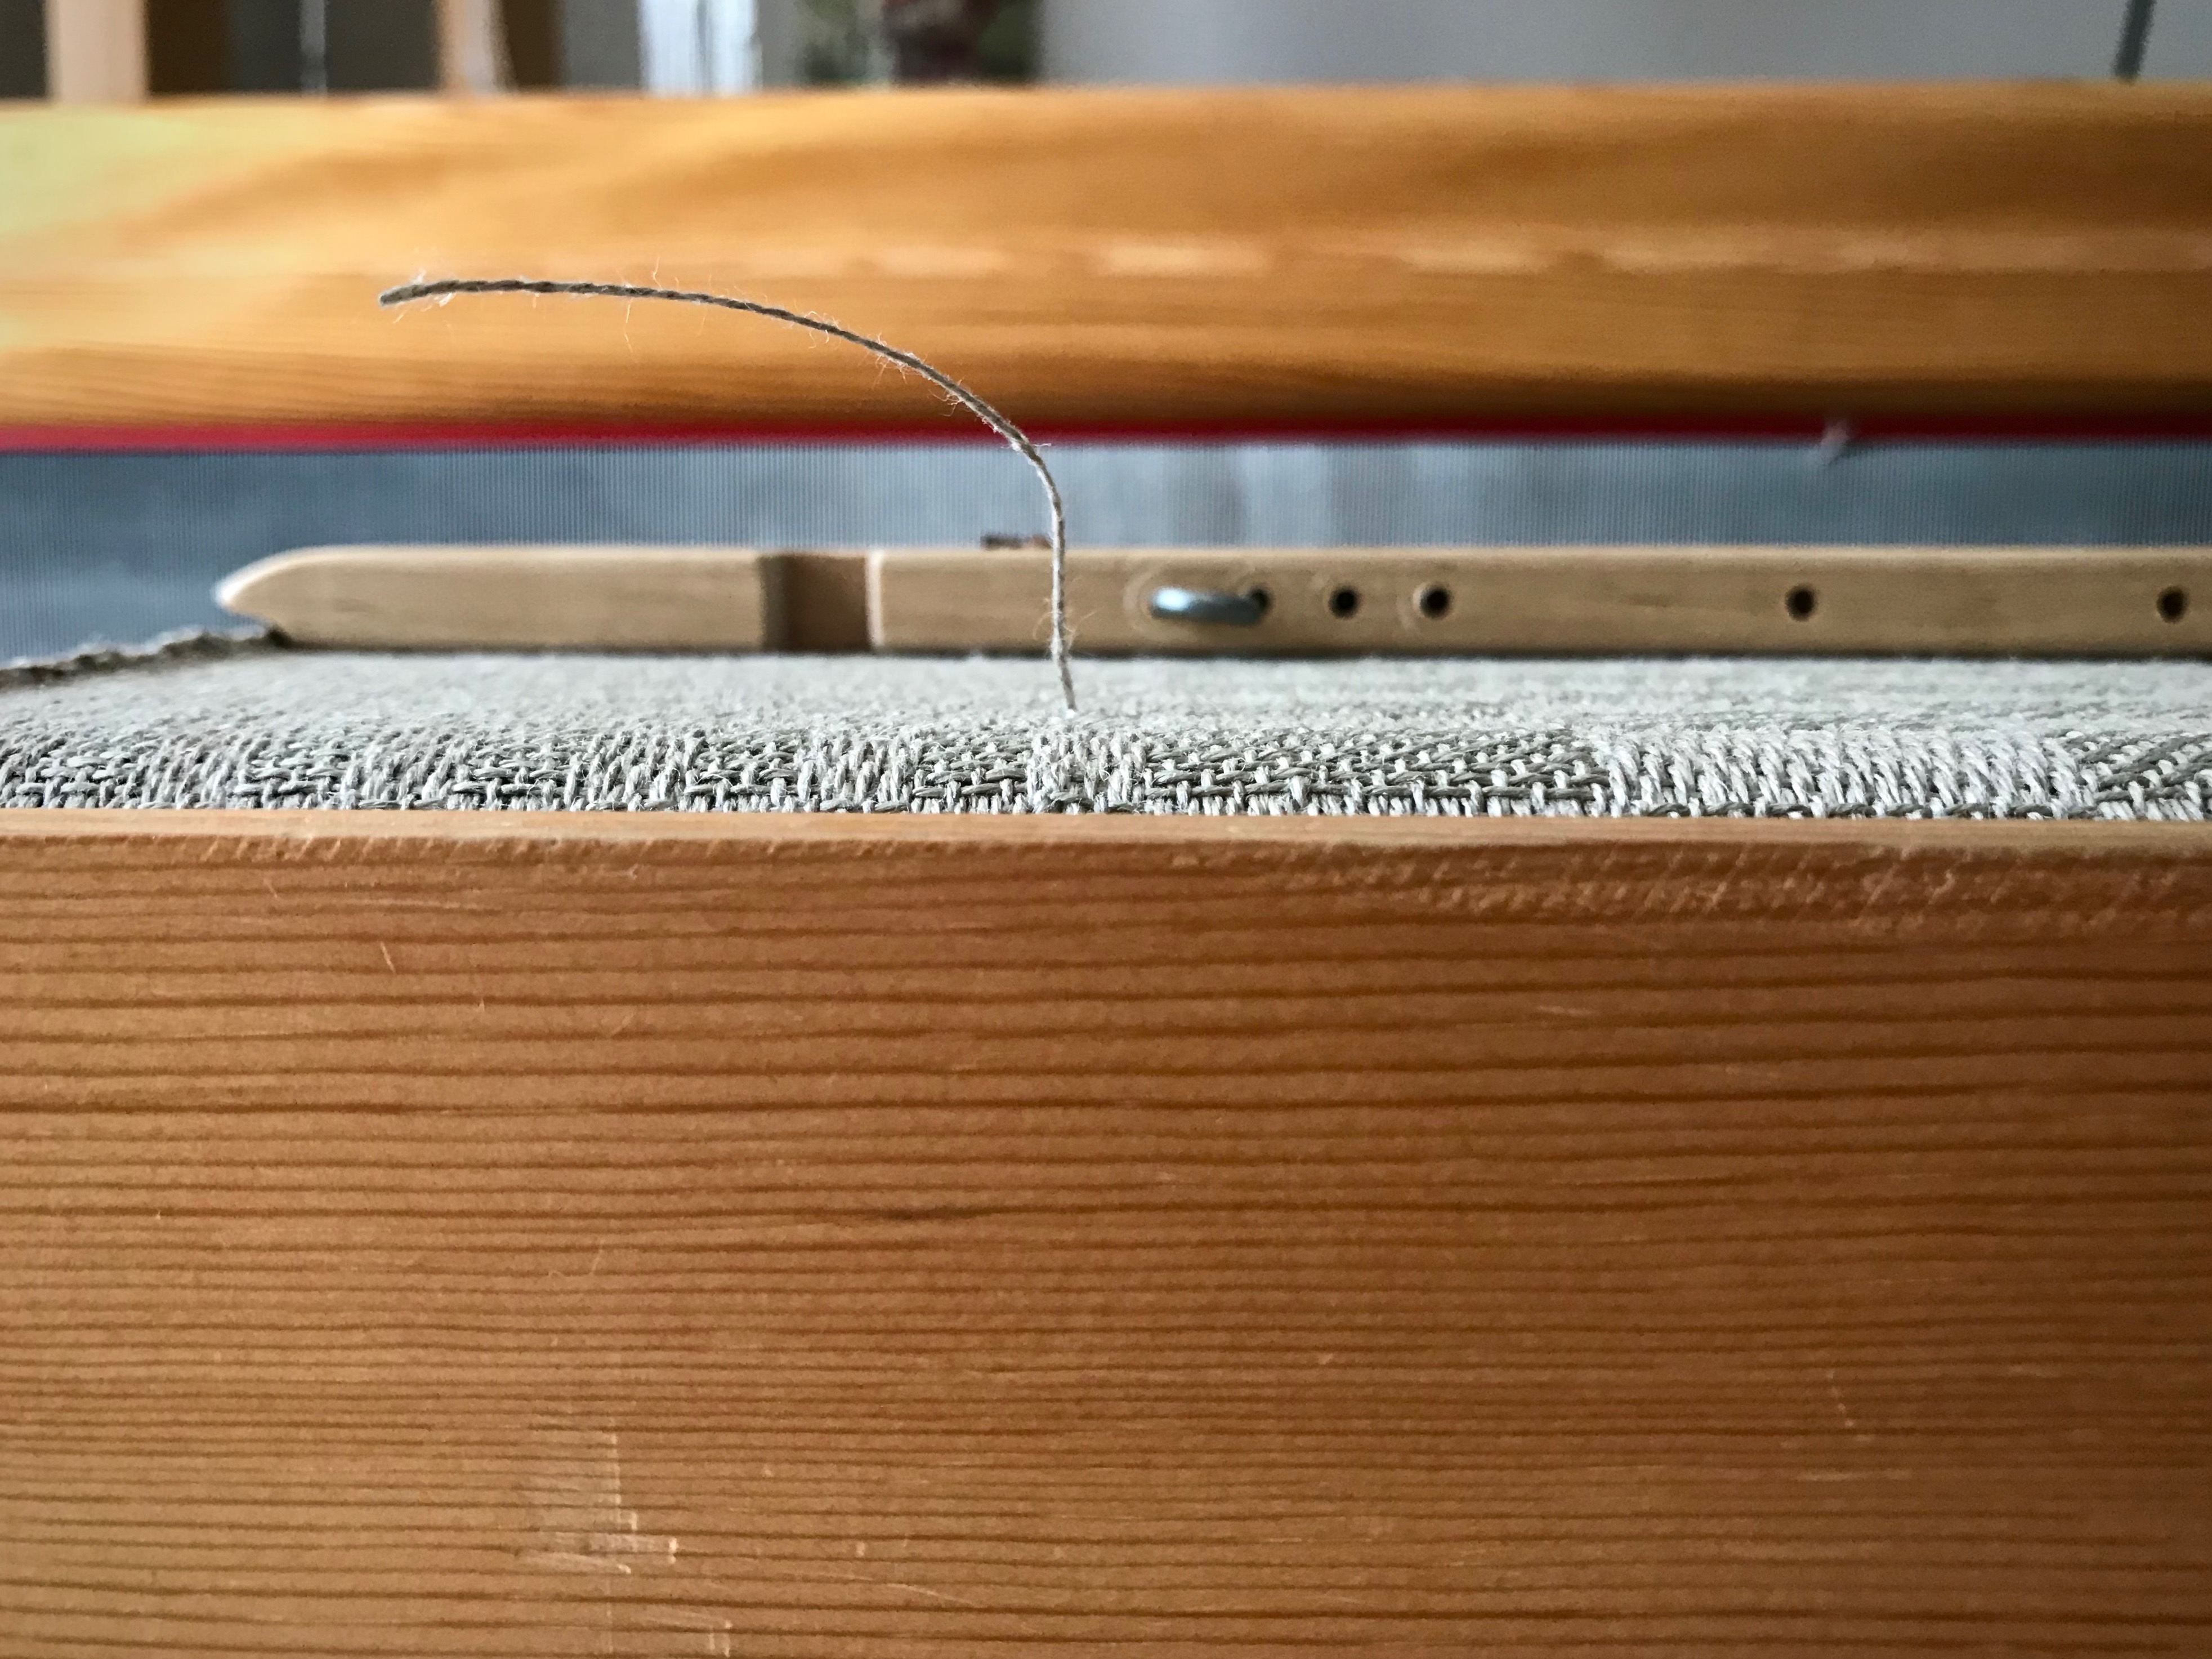
  • Find the starting point for the warp width in the pre-sley reed.
  • Double check the width of the warp after it is pre-sleyed.
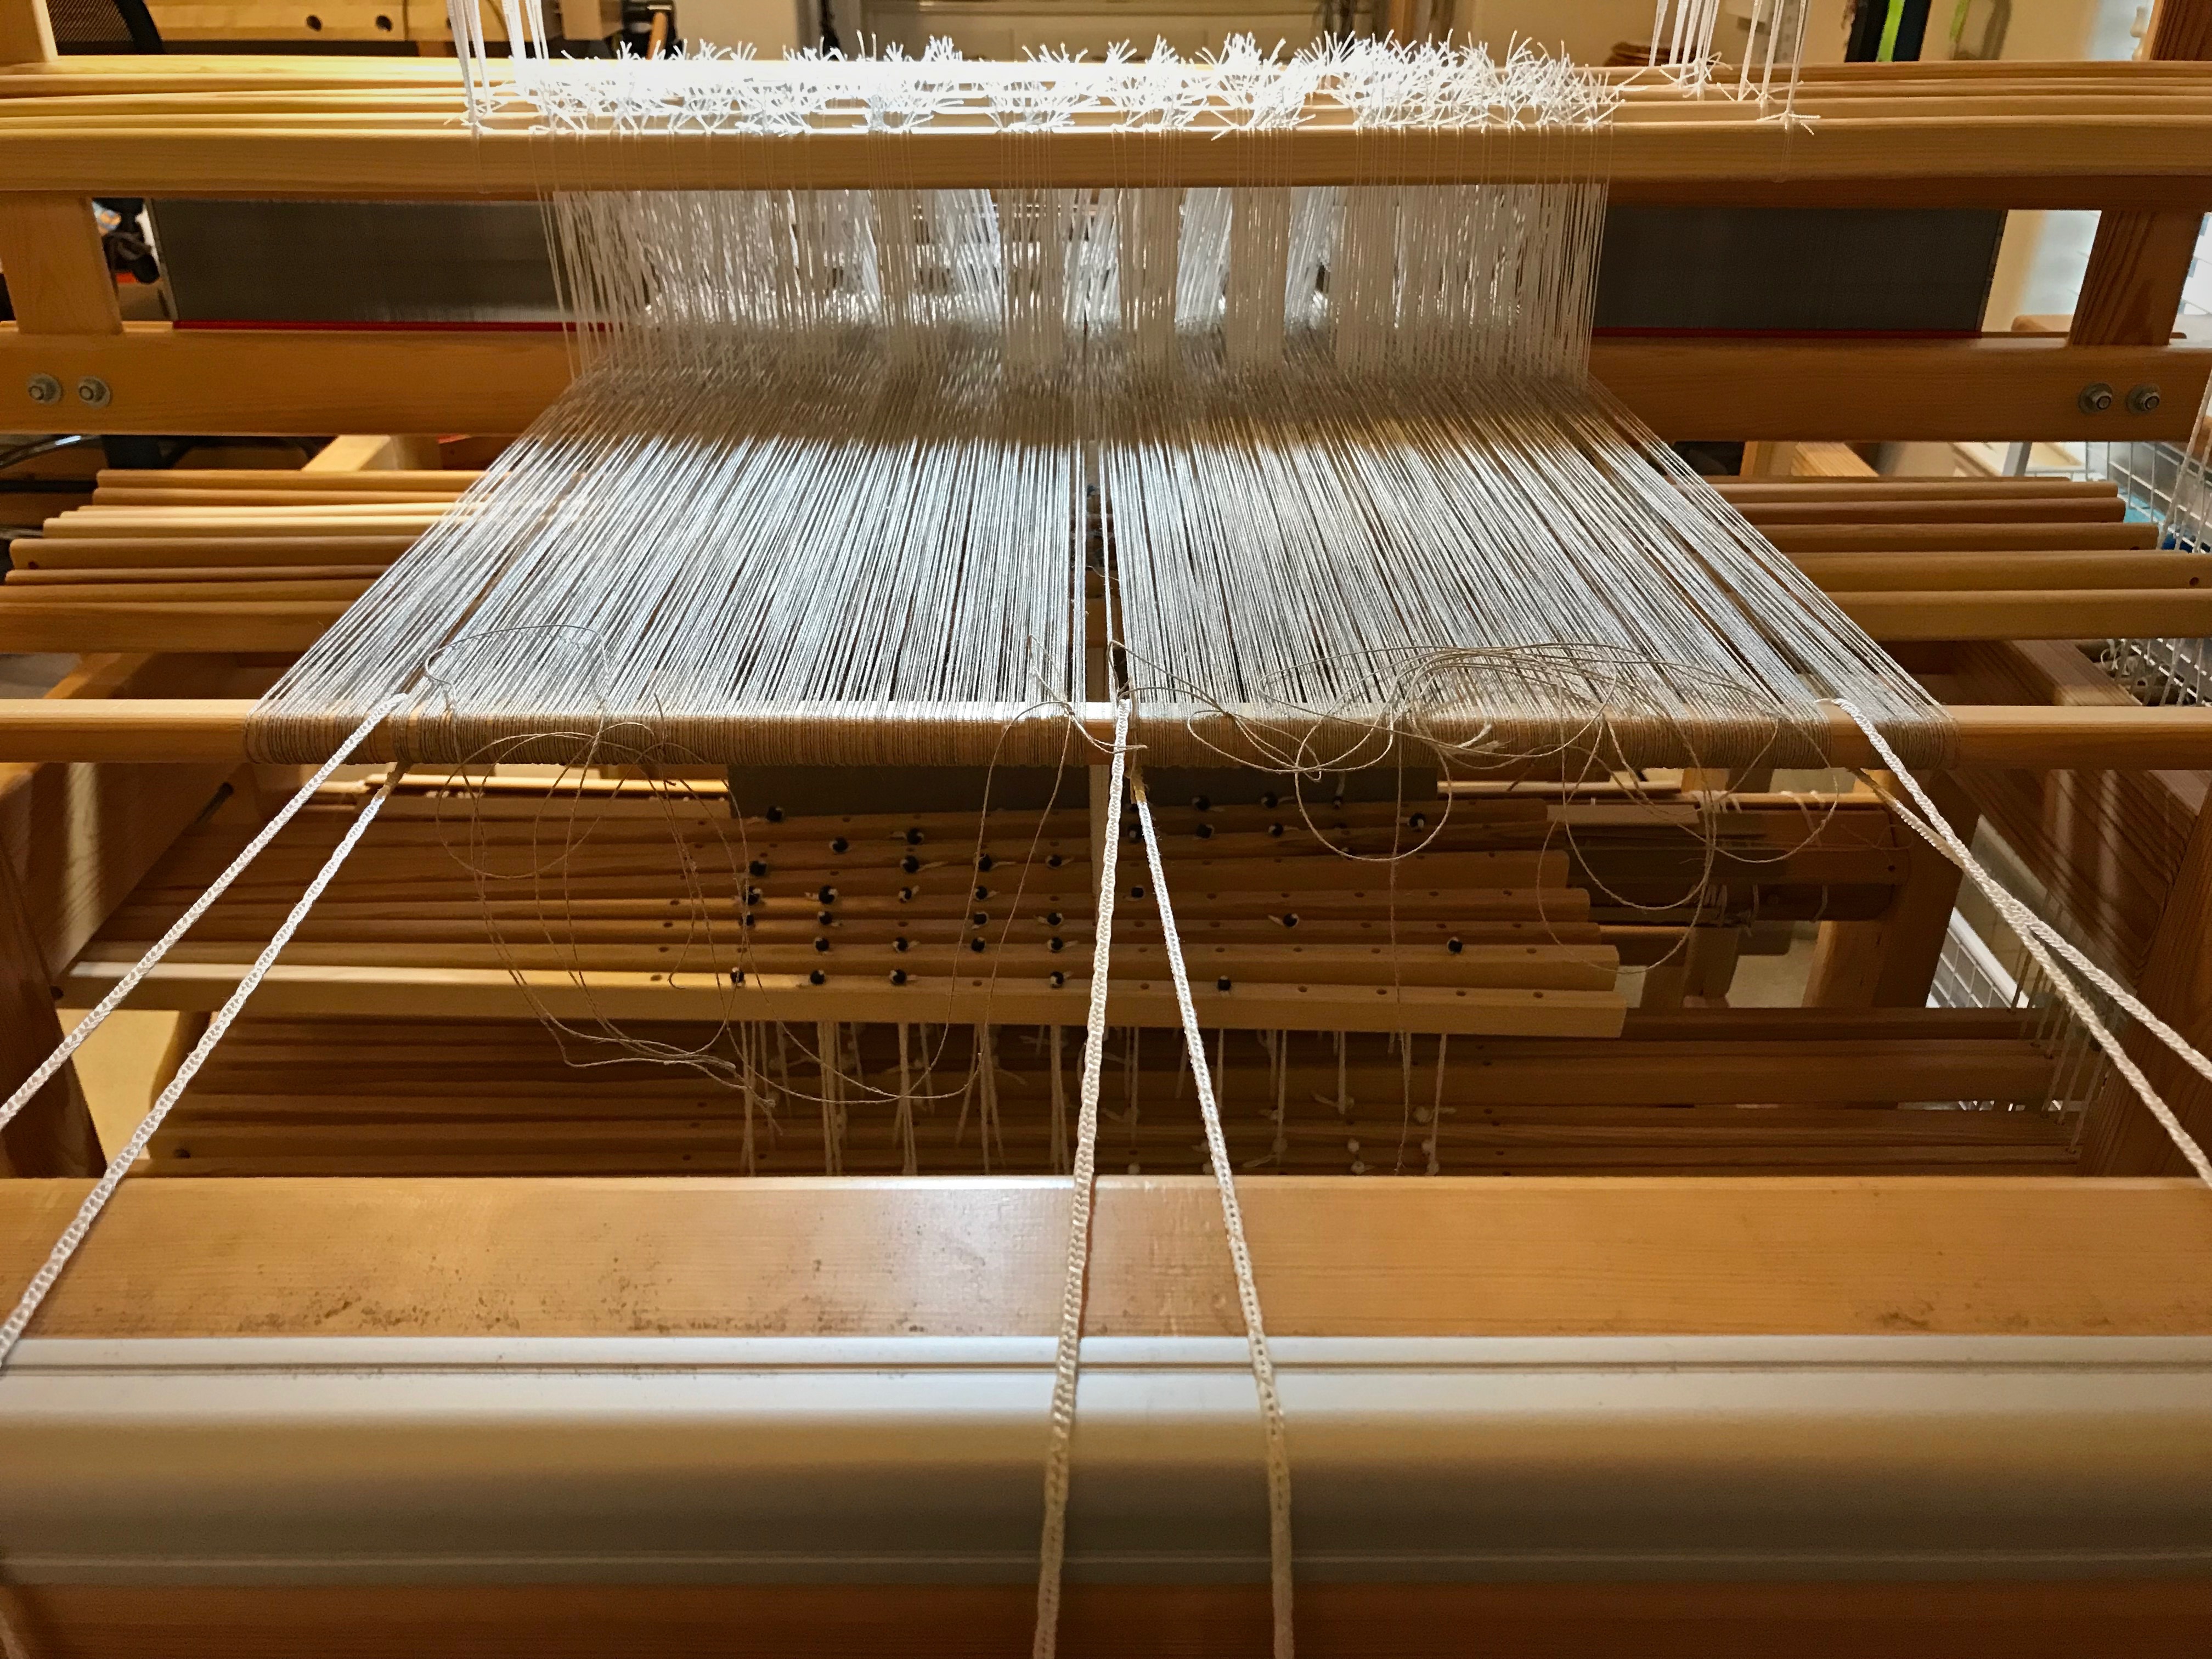
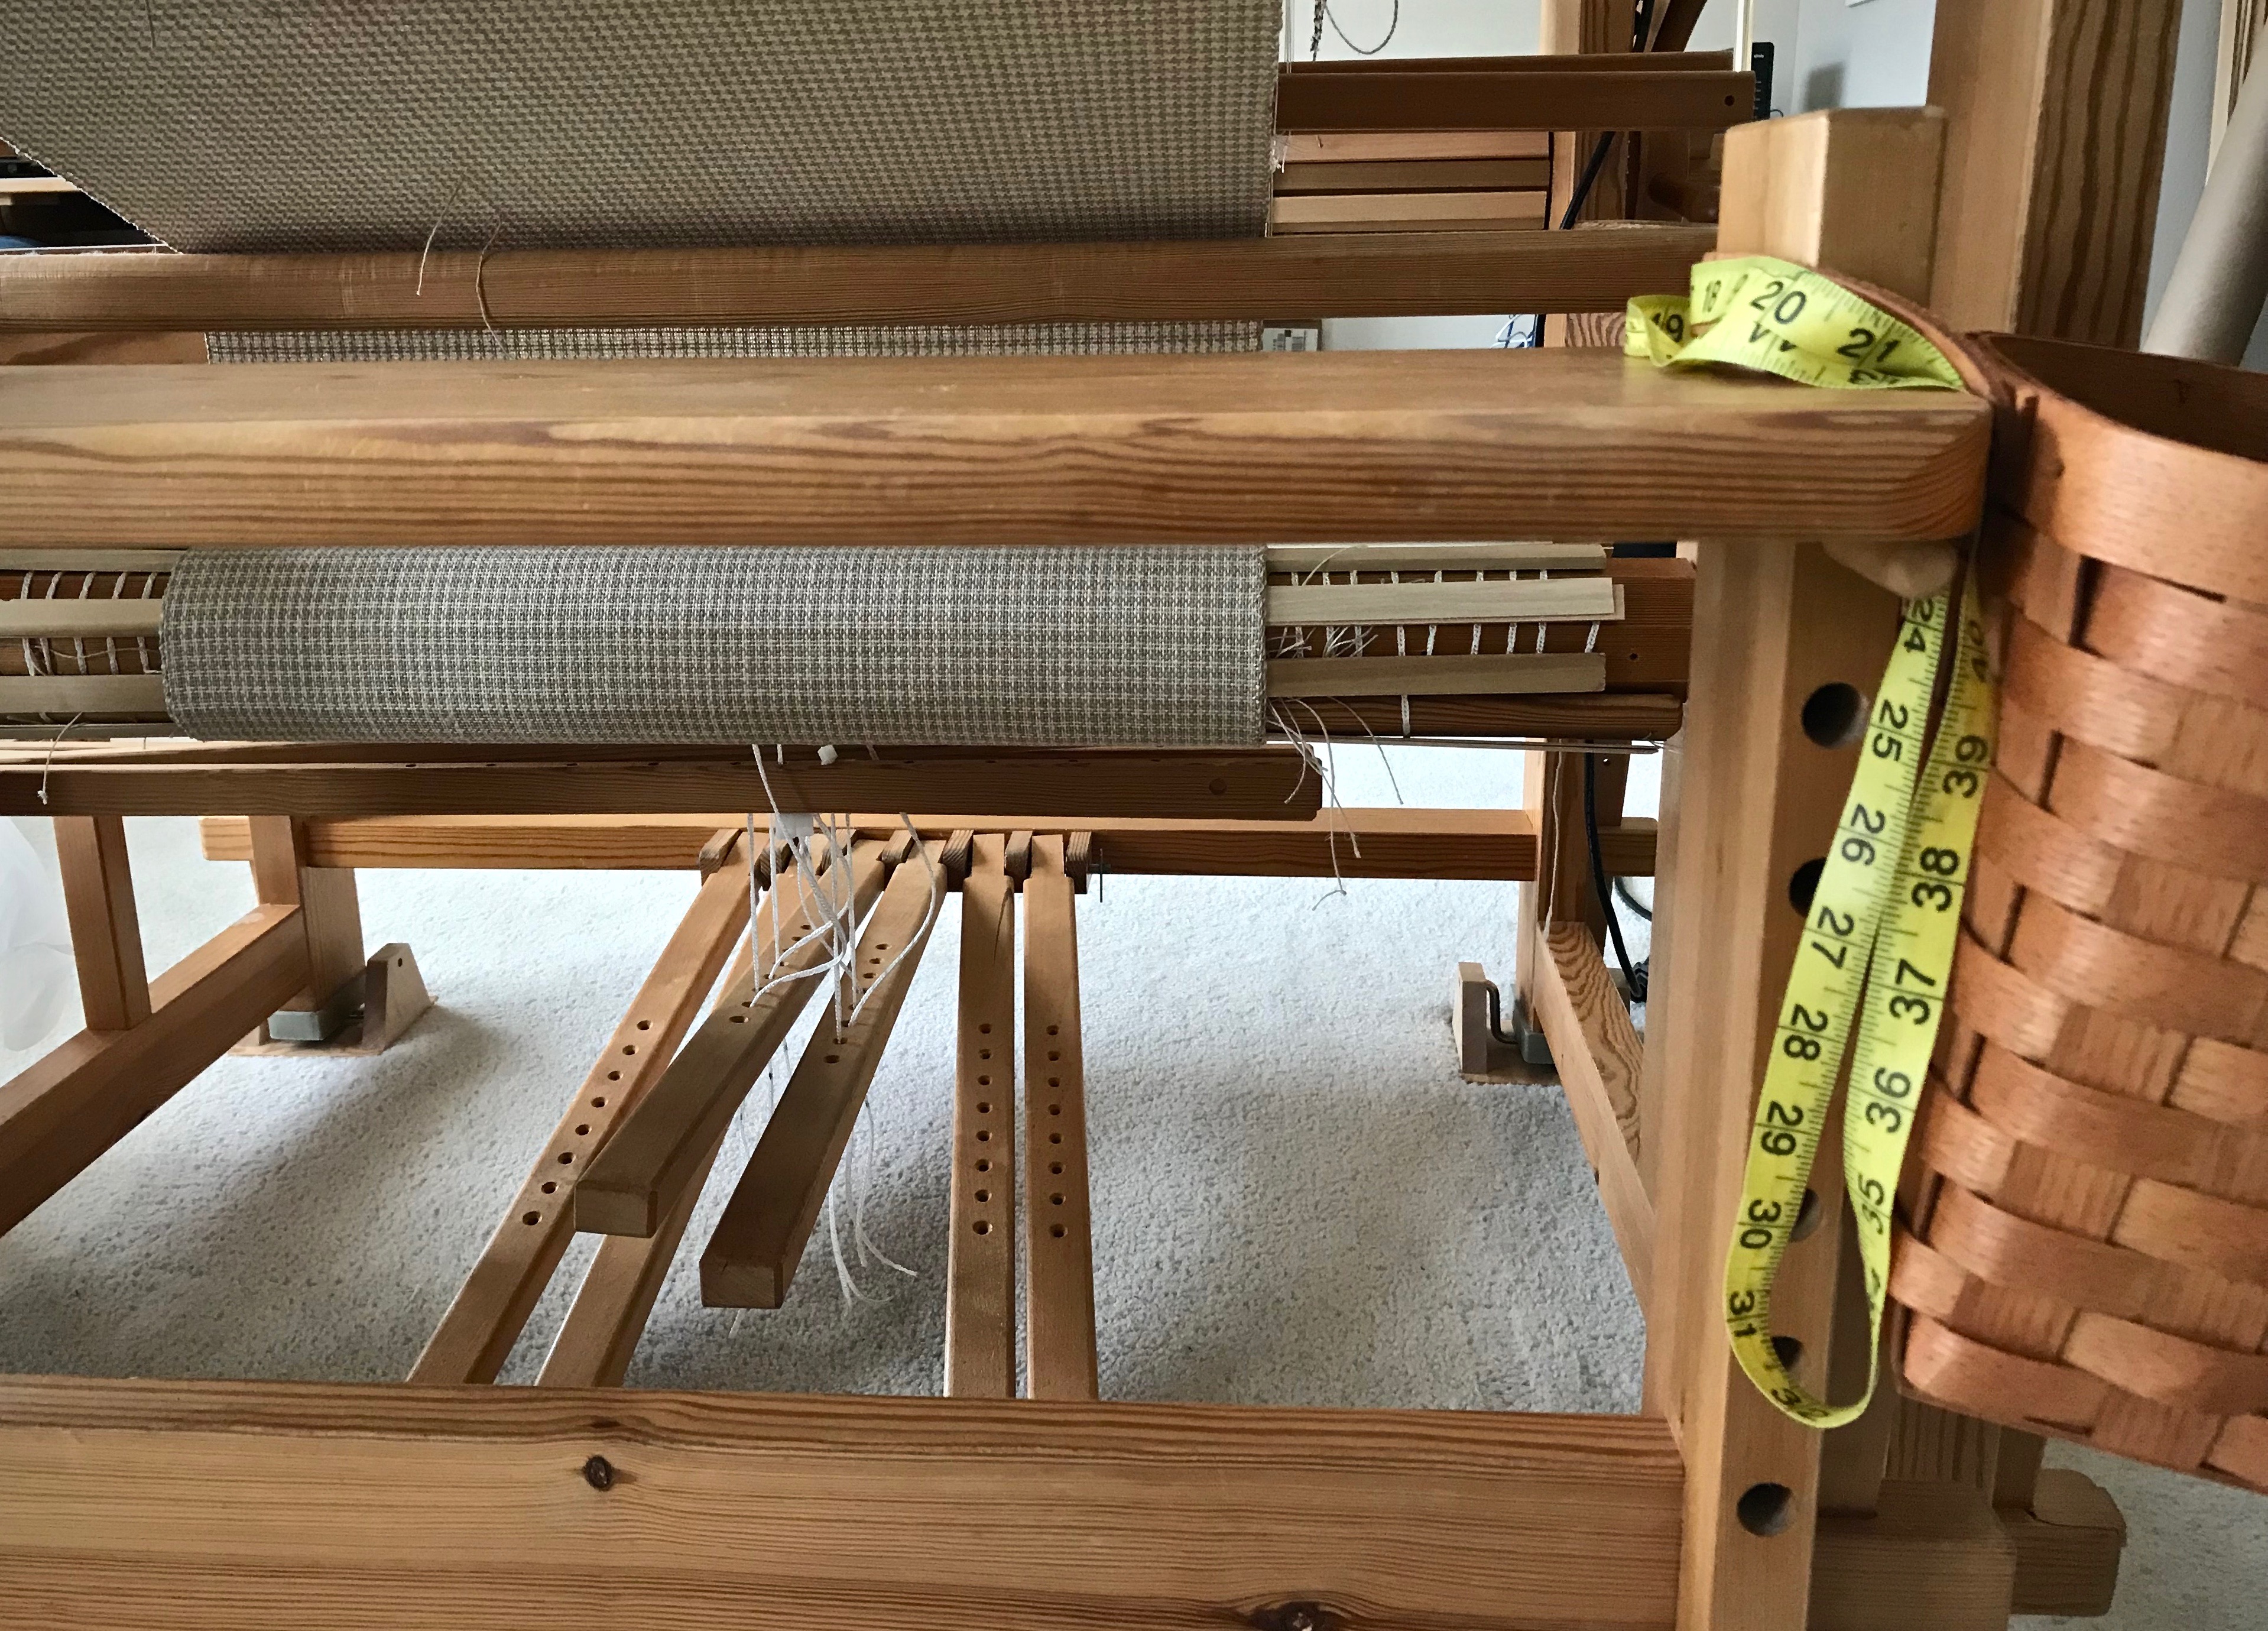
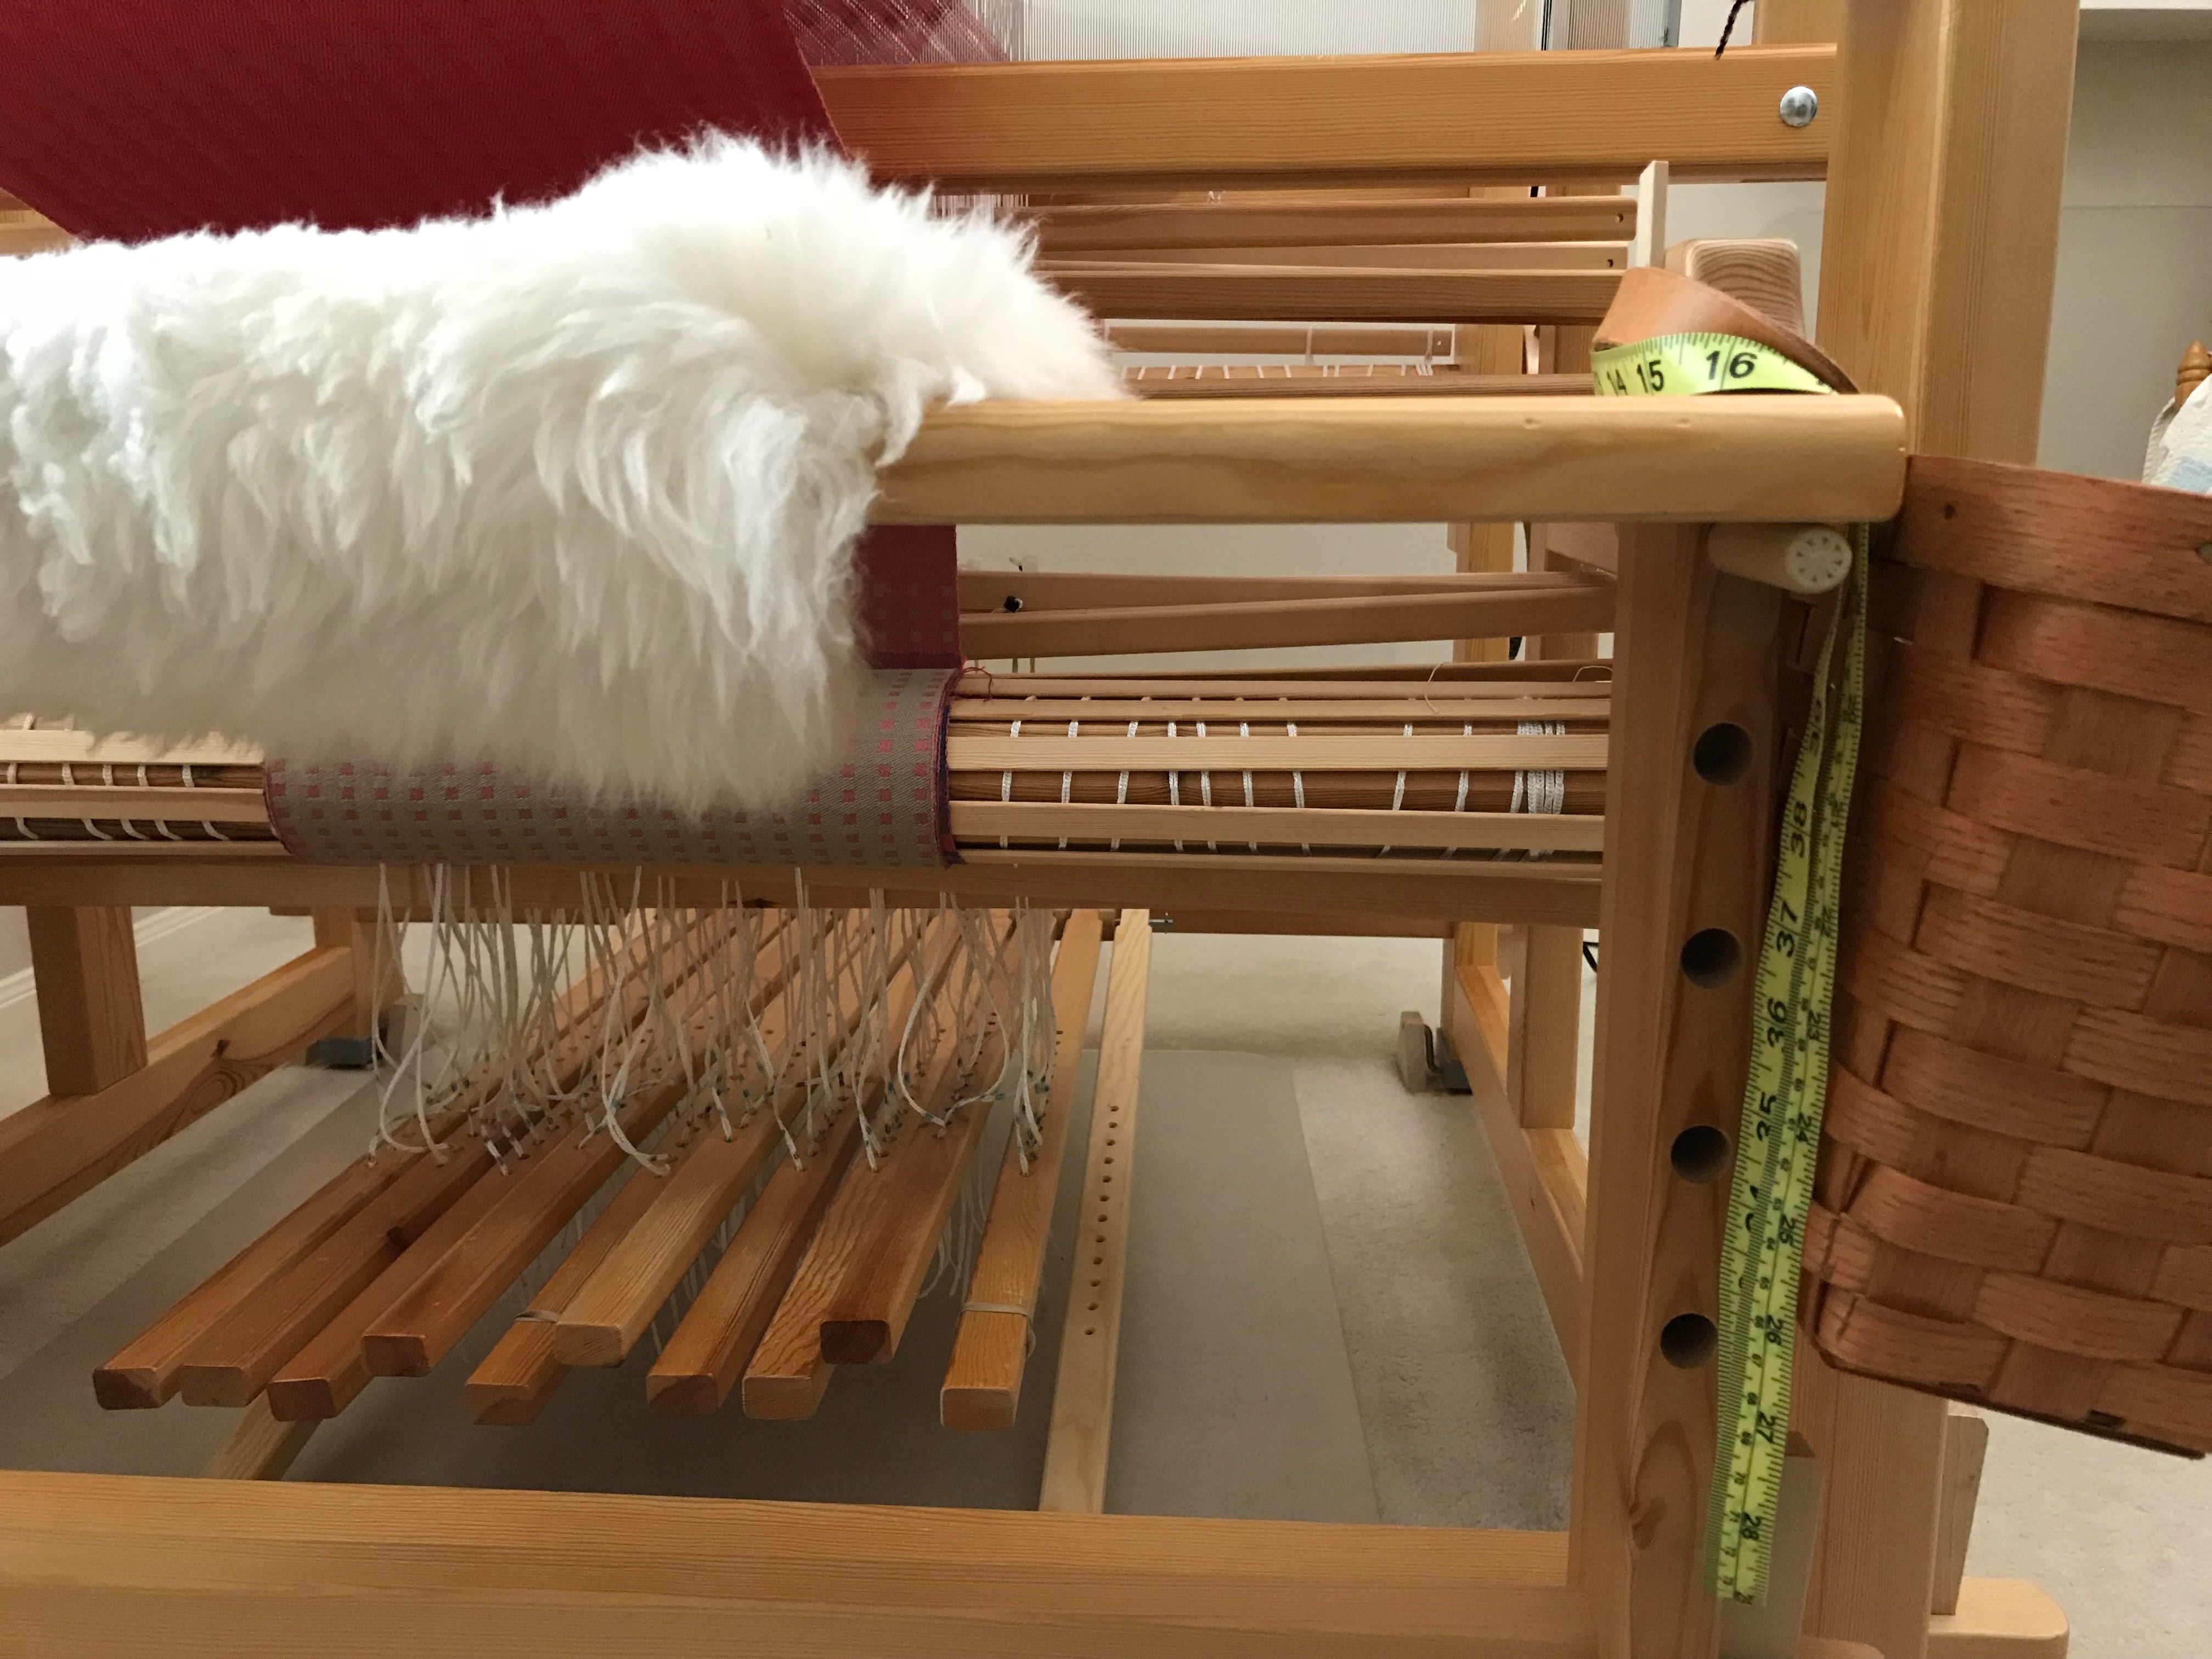
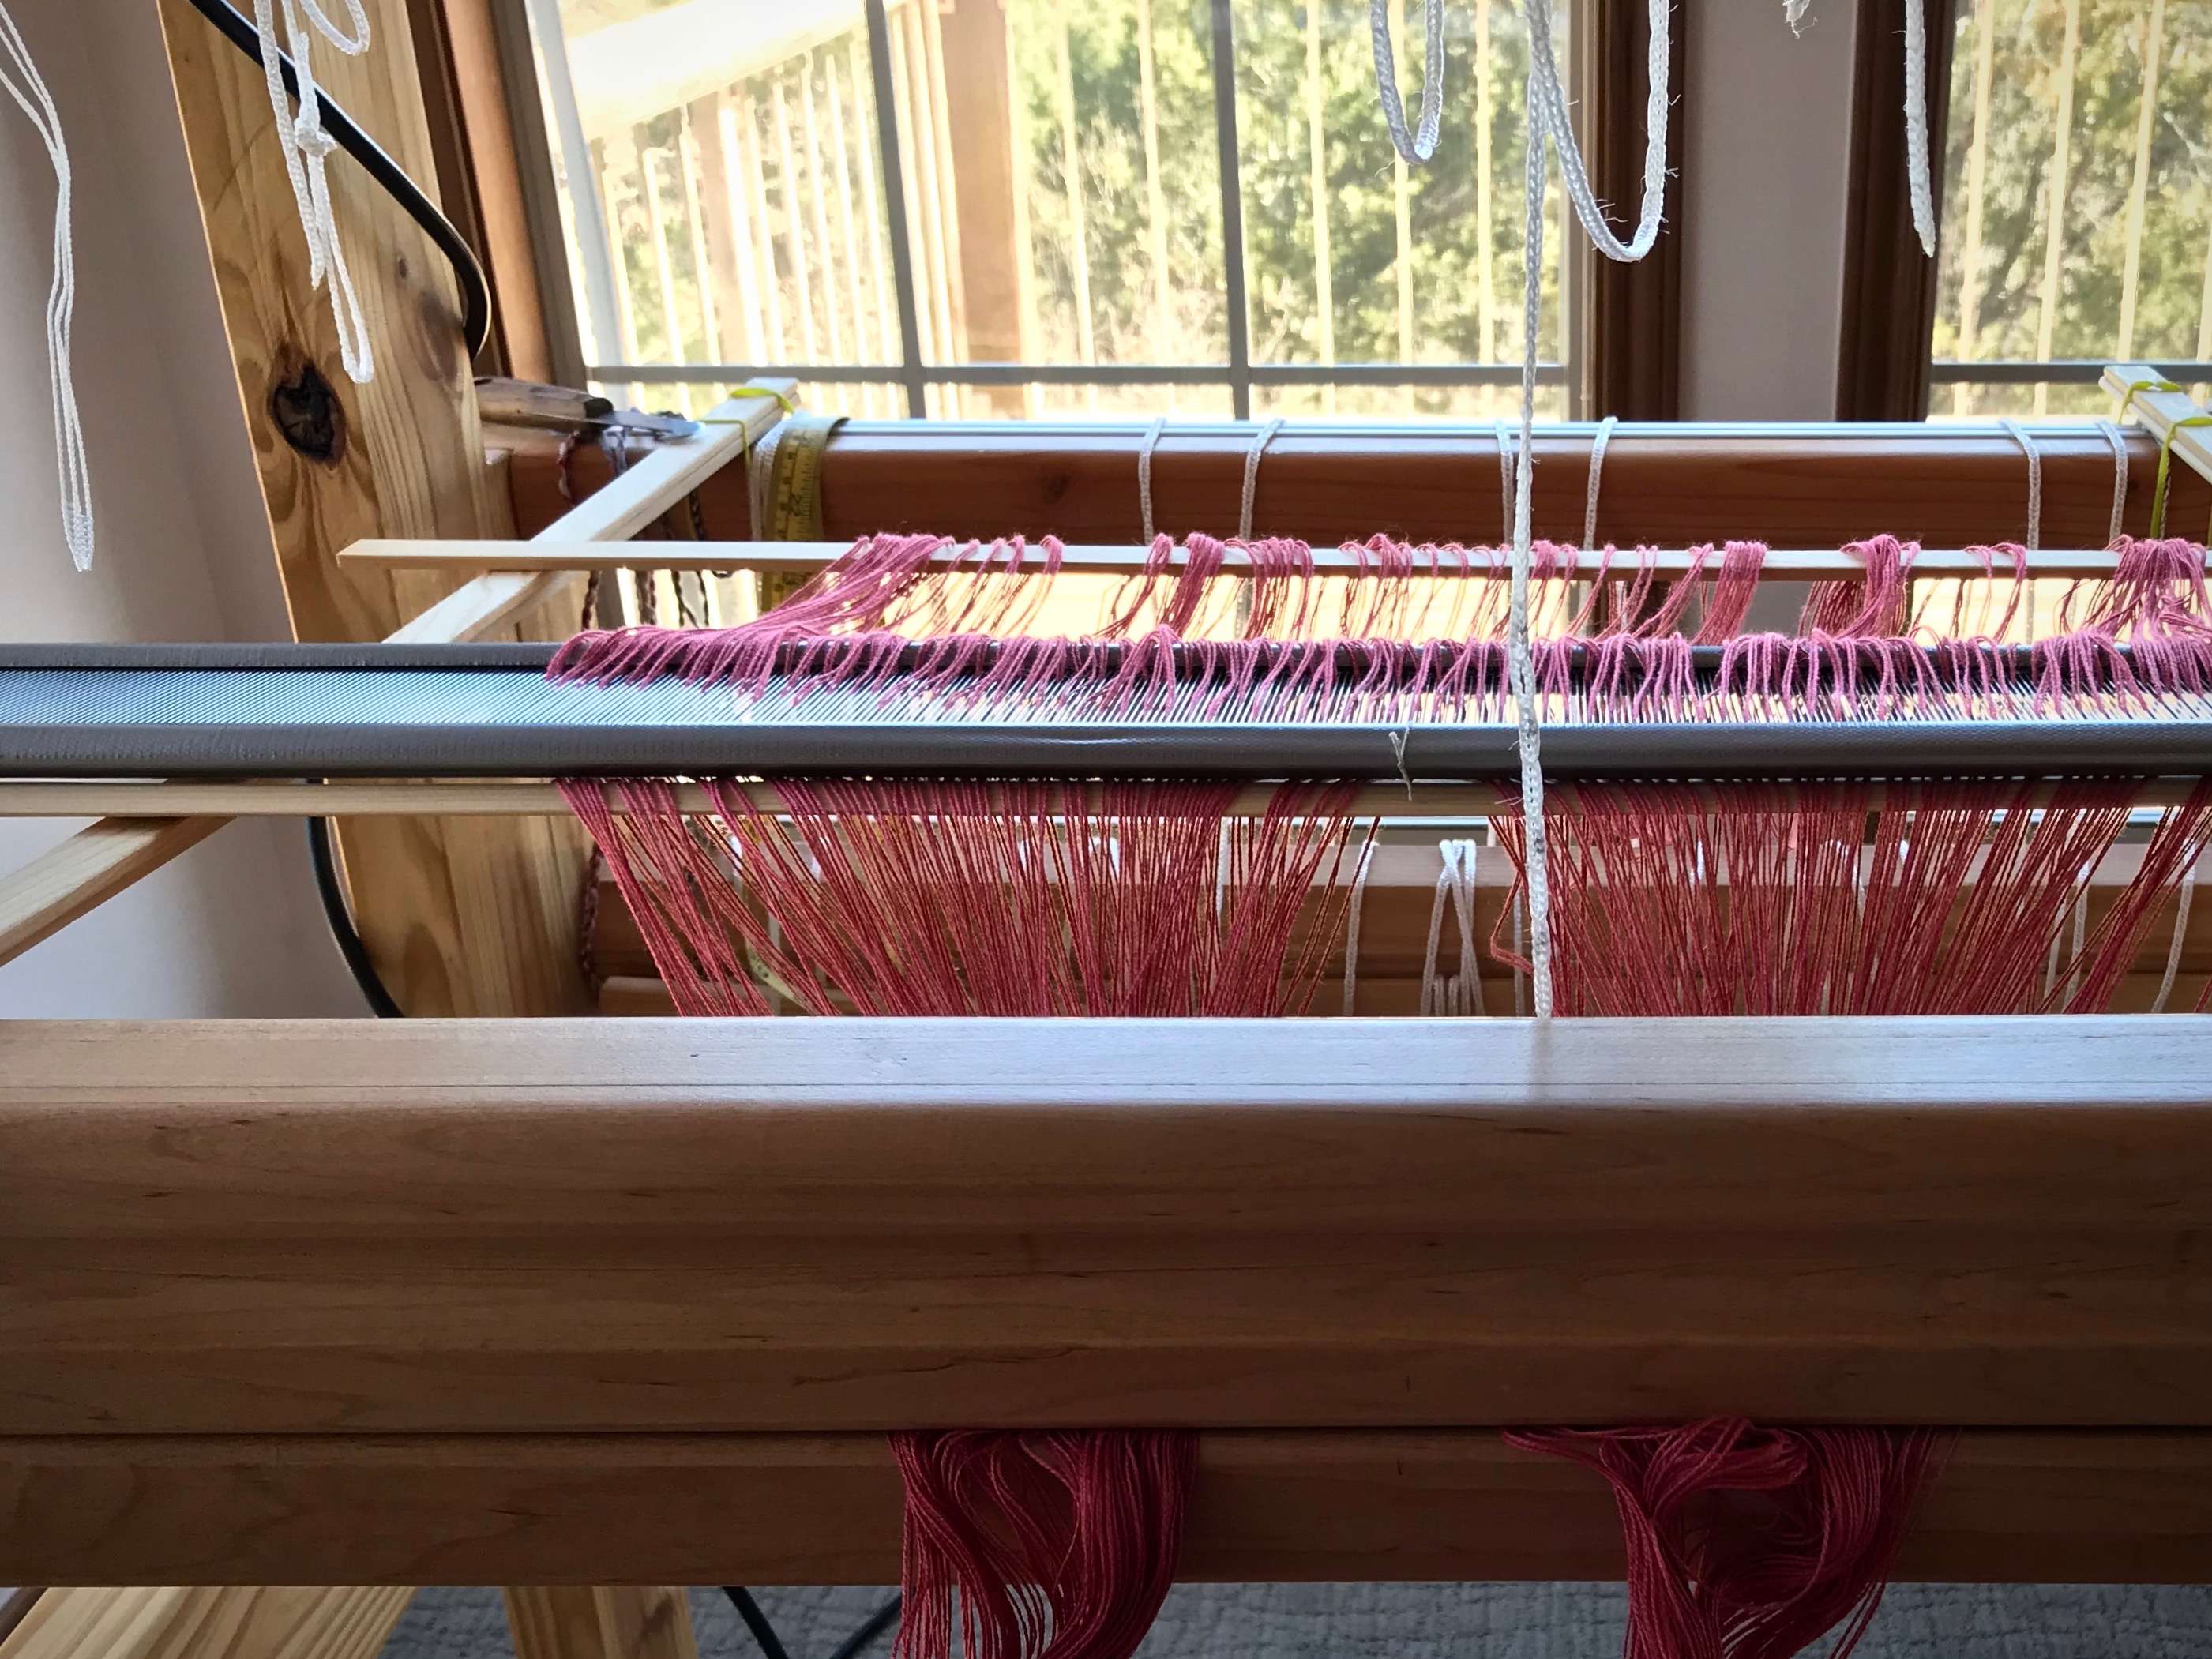
  • Check the width of the warp on the back tie-on bar.
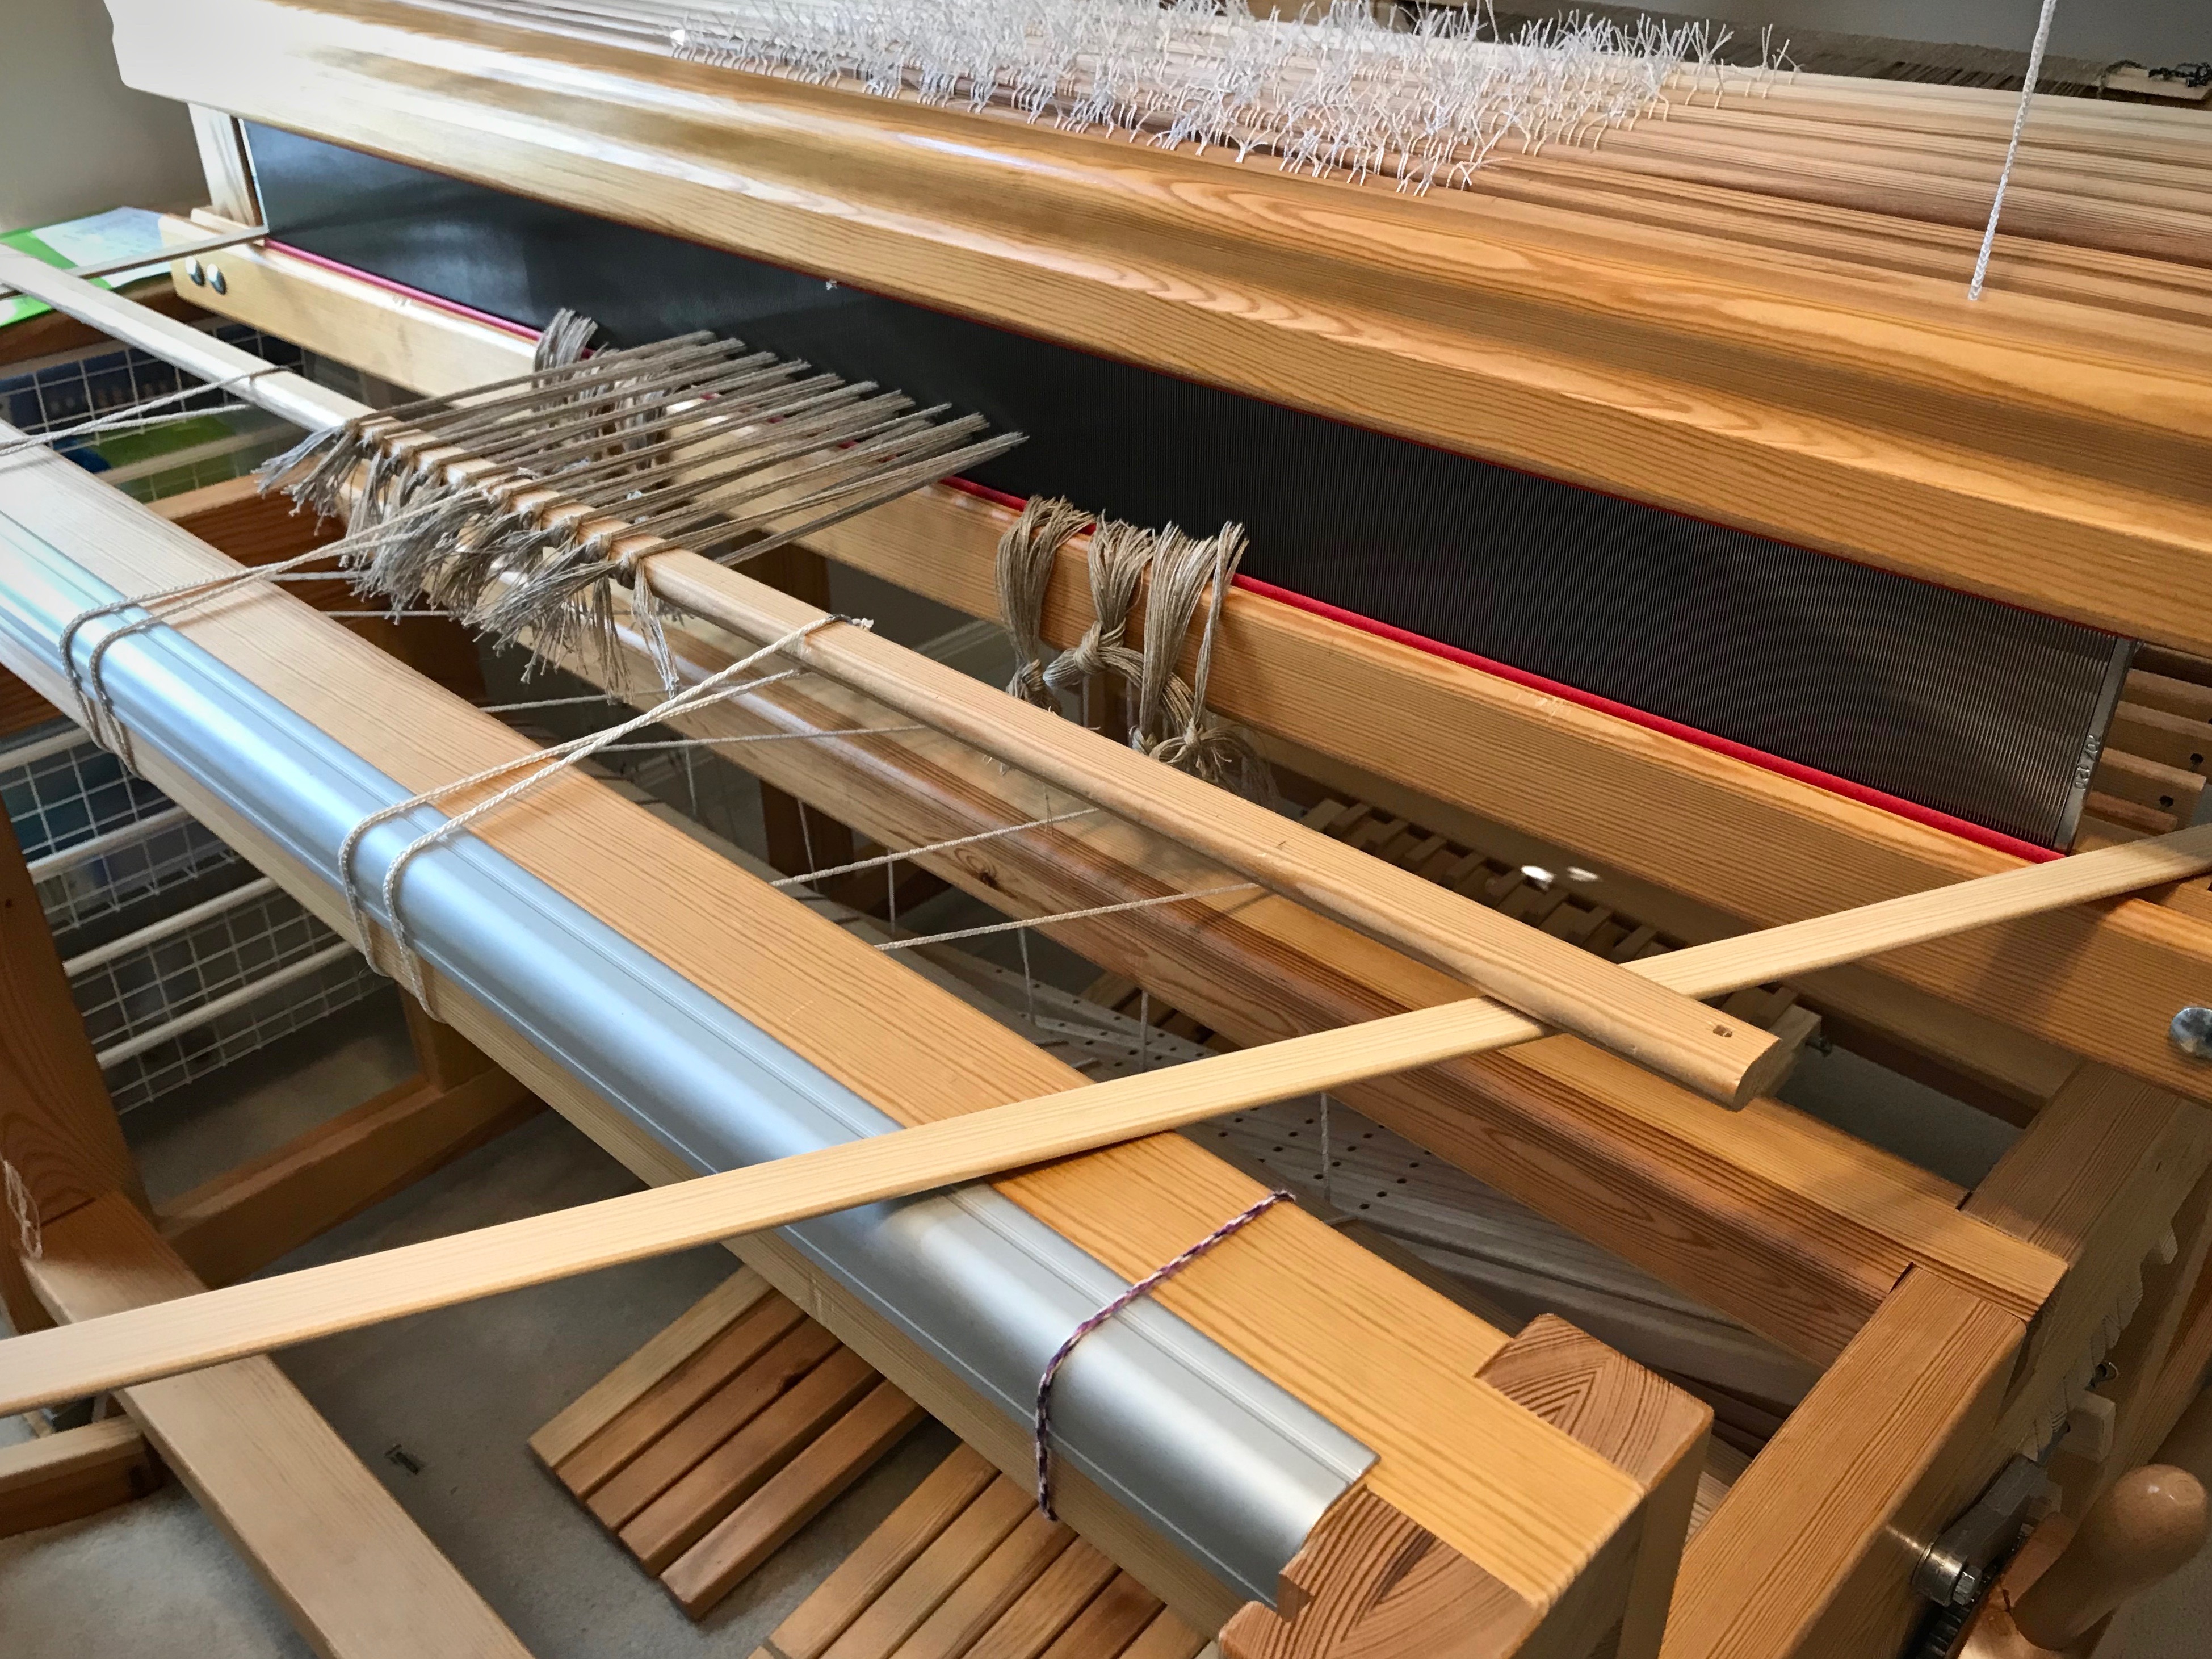
  • Center the reed in the beater for beaming the warp by measuring the distance from the warp in the reed to the outside edge of the beater on both sides.
  • Find the starting point to sley the reed by measuring half of the warp width outwards from the center of the reed.
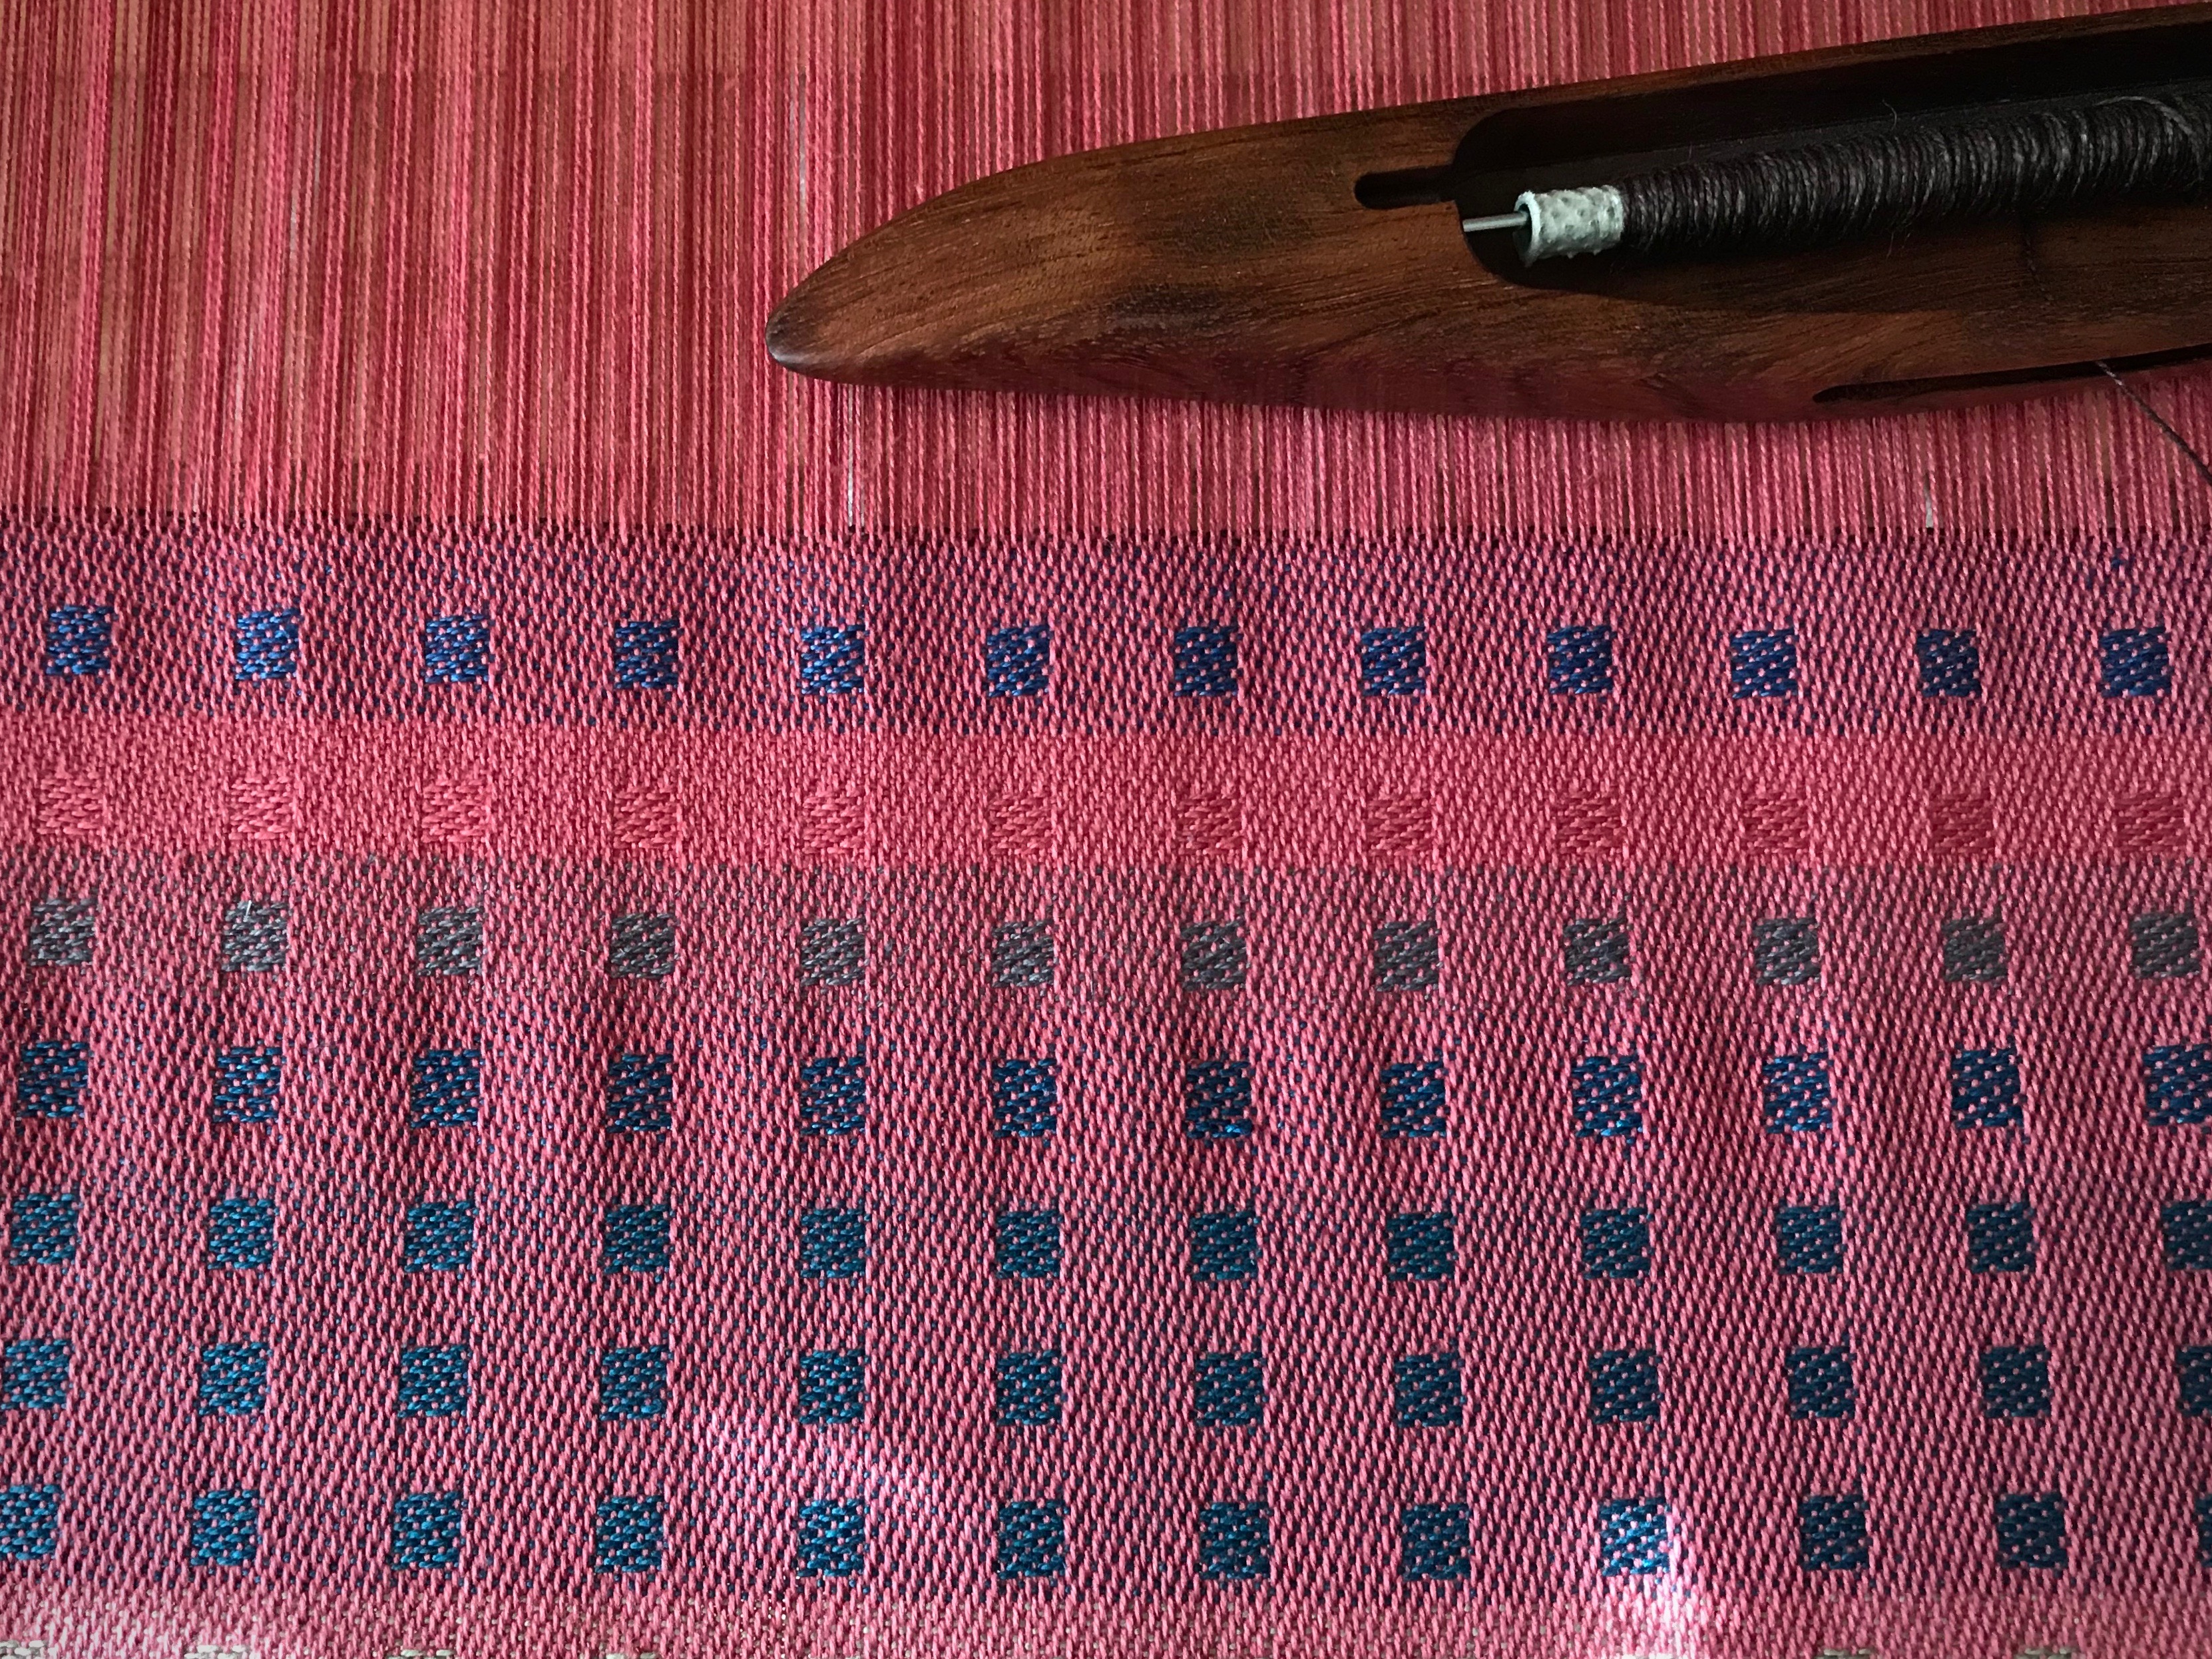
  • Double check the width of the warp in the reed after it is sleyed.
  • Center the reed in the beater for weaving.
  • Adjust to the correct width of the warp on the front tie-on bar after the warp is tied on.
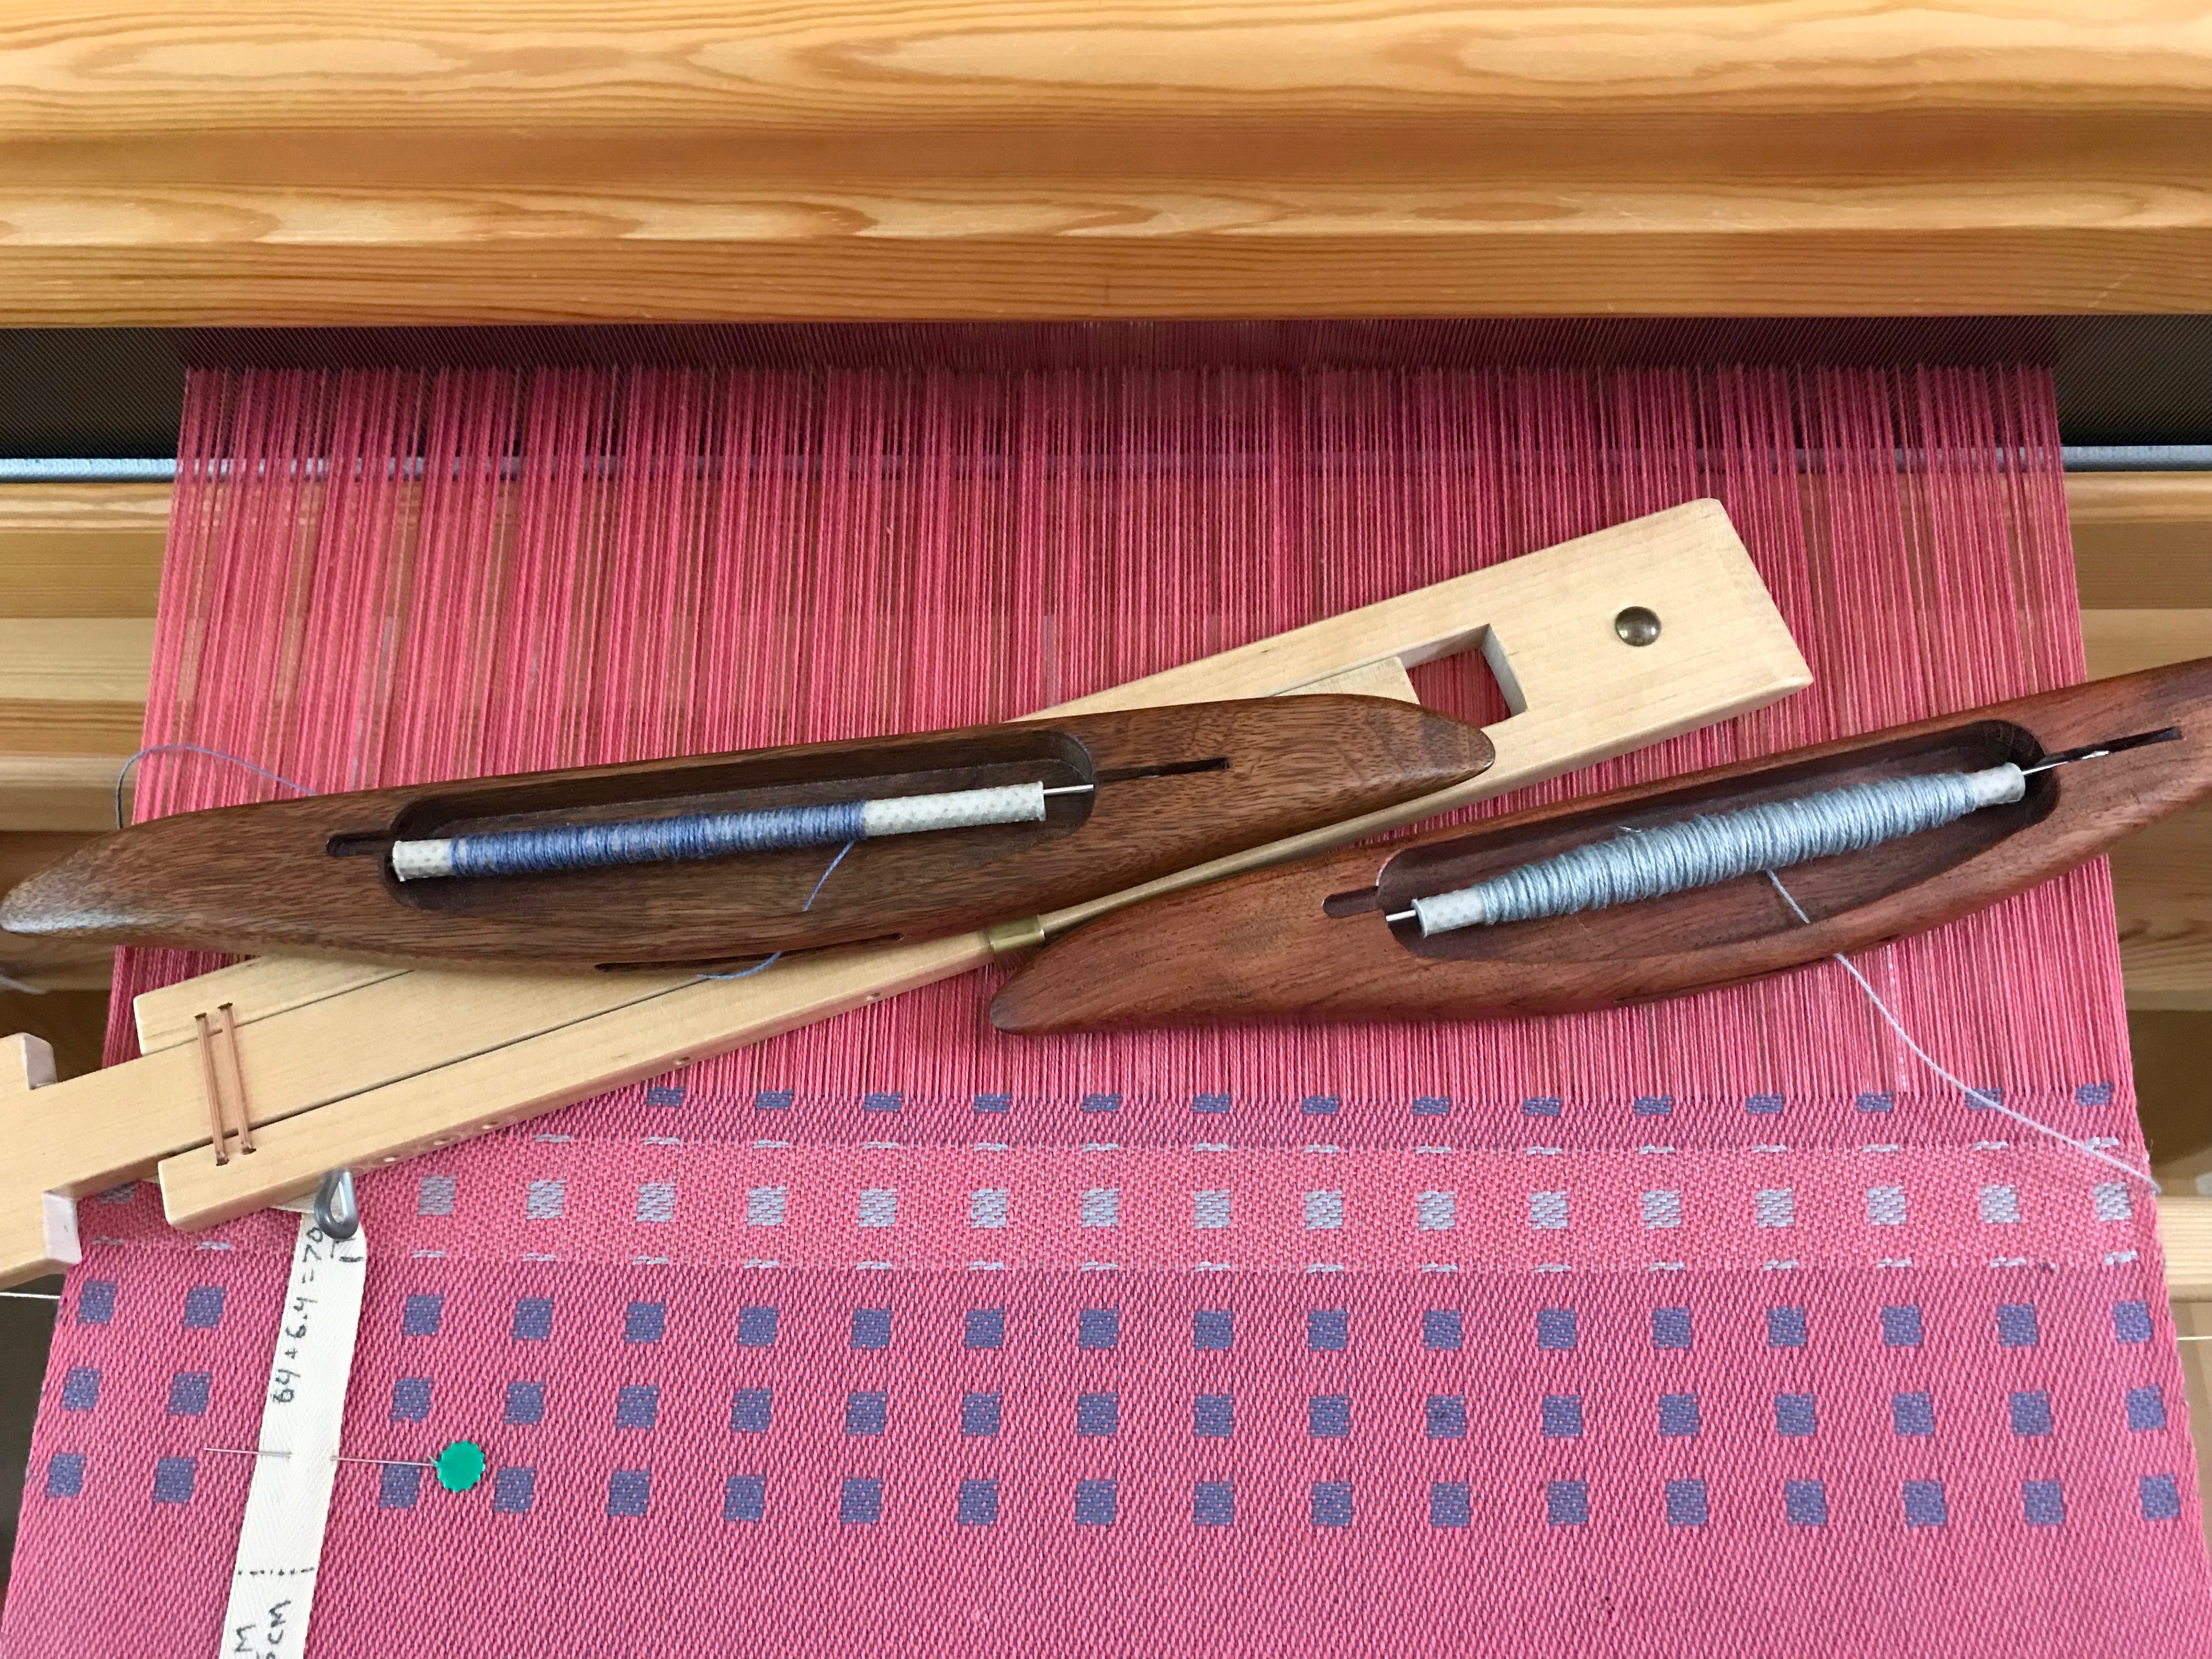
  • Mark the measured weaving length on twill tape or ribbon to use as a weaving length guide.
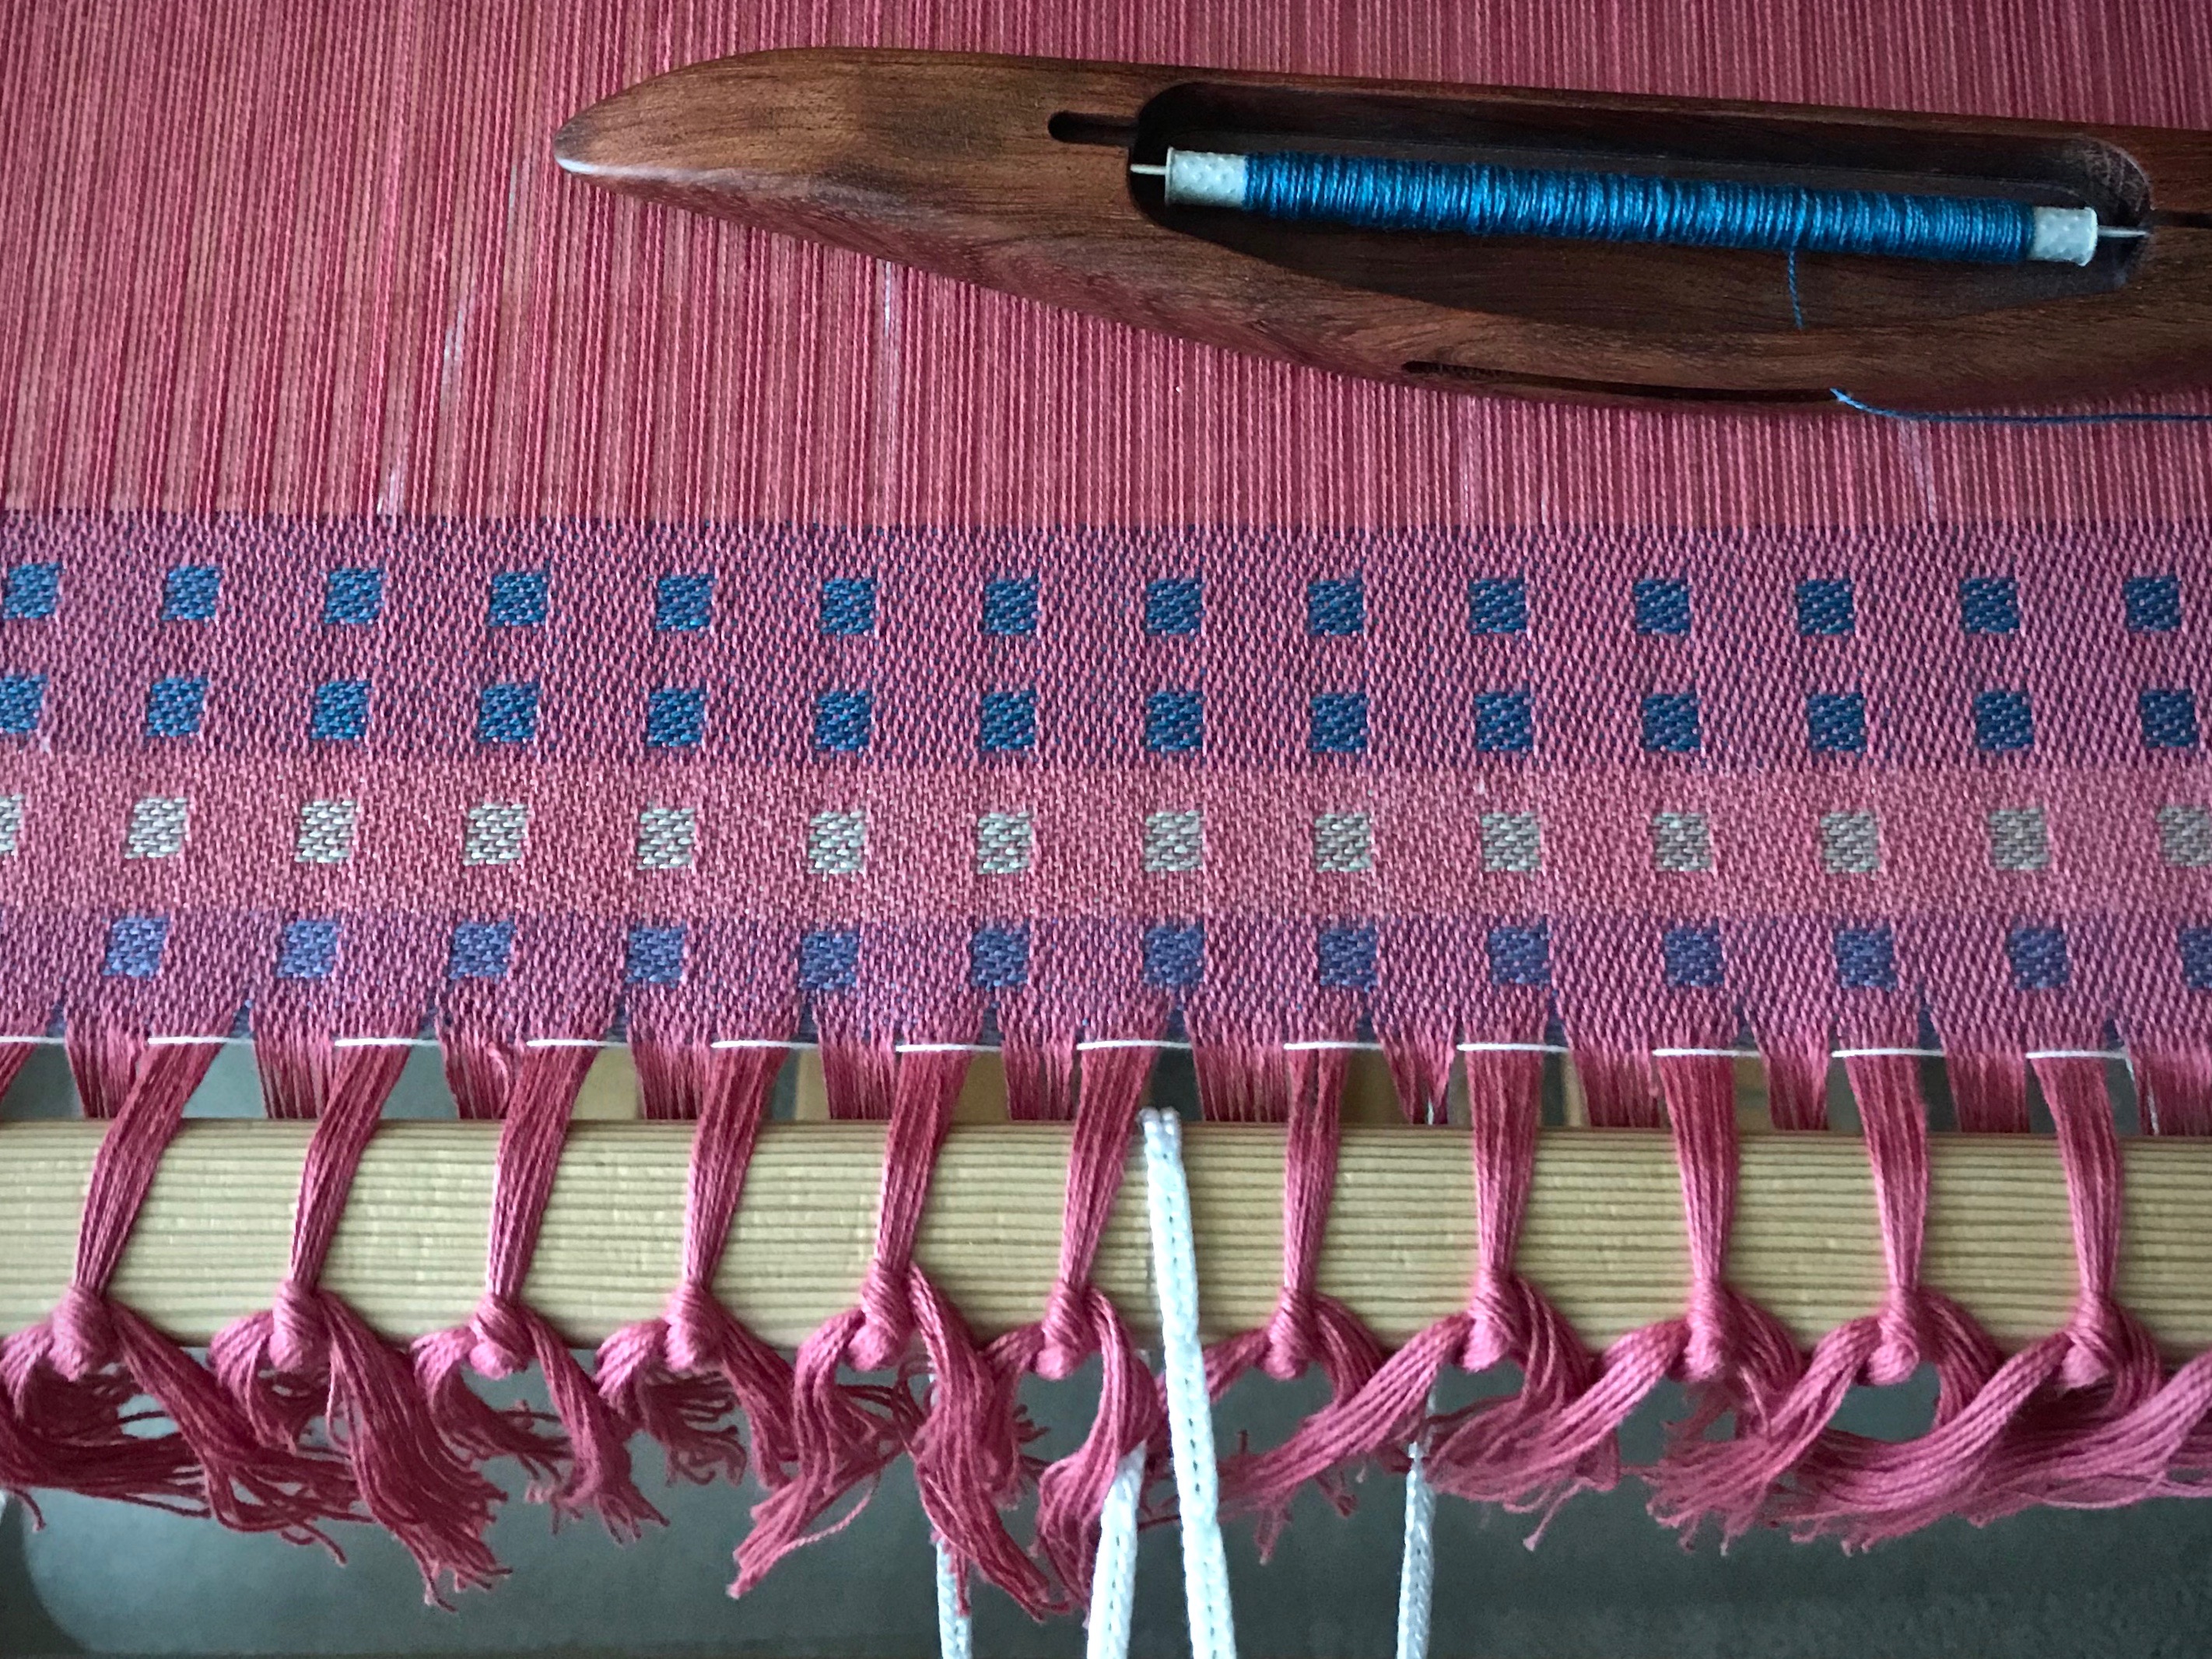
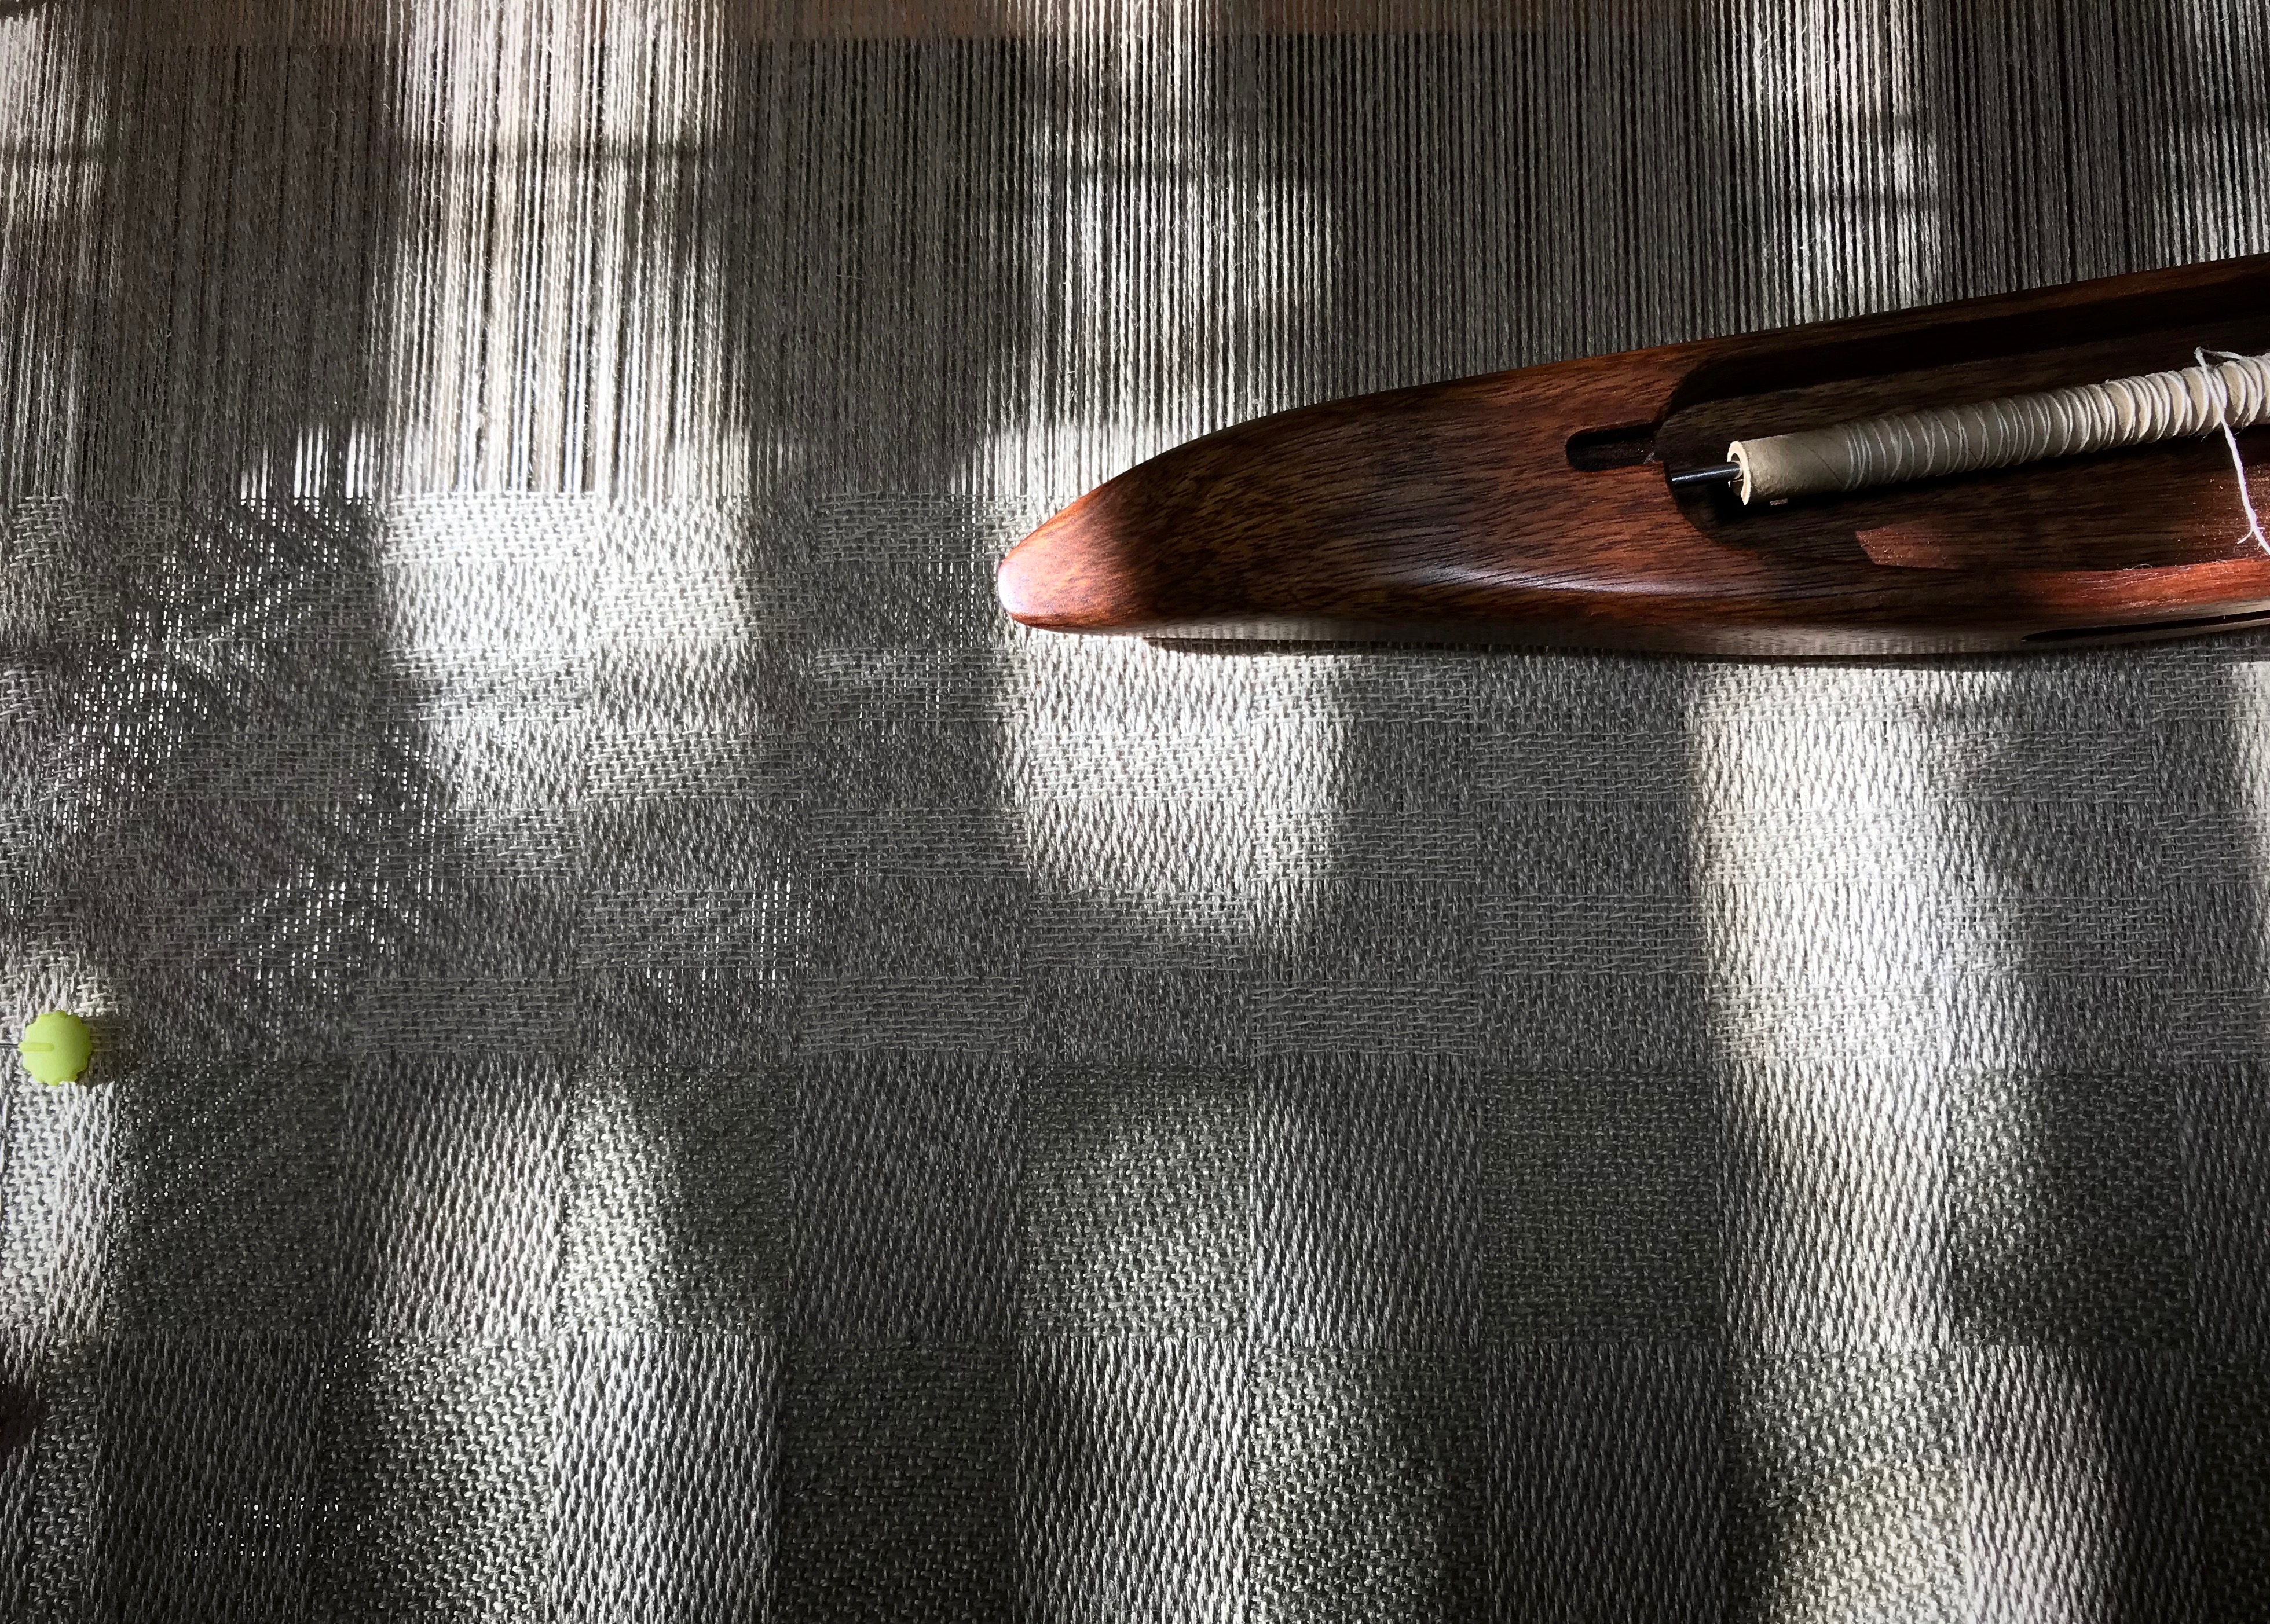
  • Measure how far one quill weaves.
  • Measure the distance between pieces that require unwoven warp, such as for fringe, or for tying knots between rag rugs.
  • Measure the distance from the first shaft (nearest the back of the loom) to the back tie-on bar (especially when you are hoping there is enough warp left to finish a symmetrical pattern).
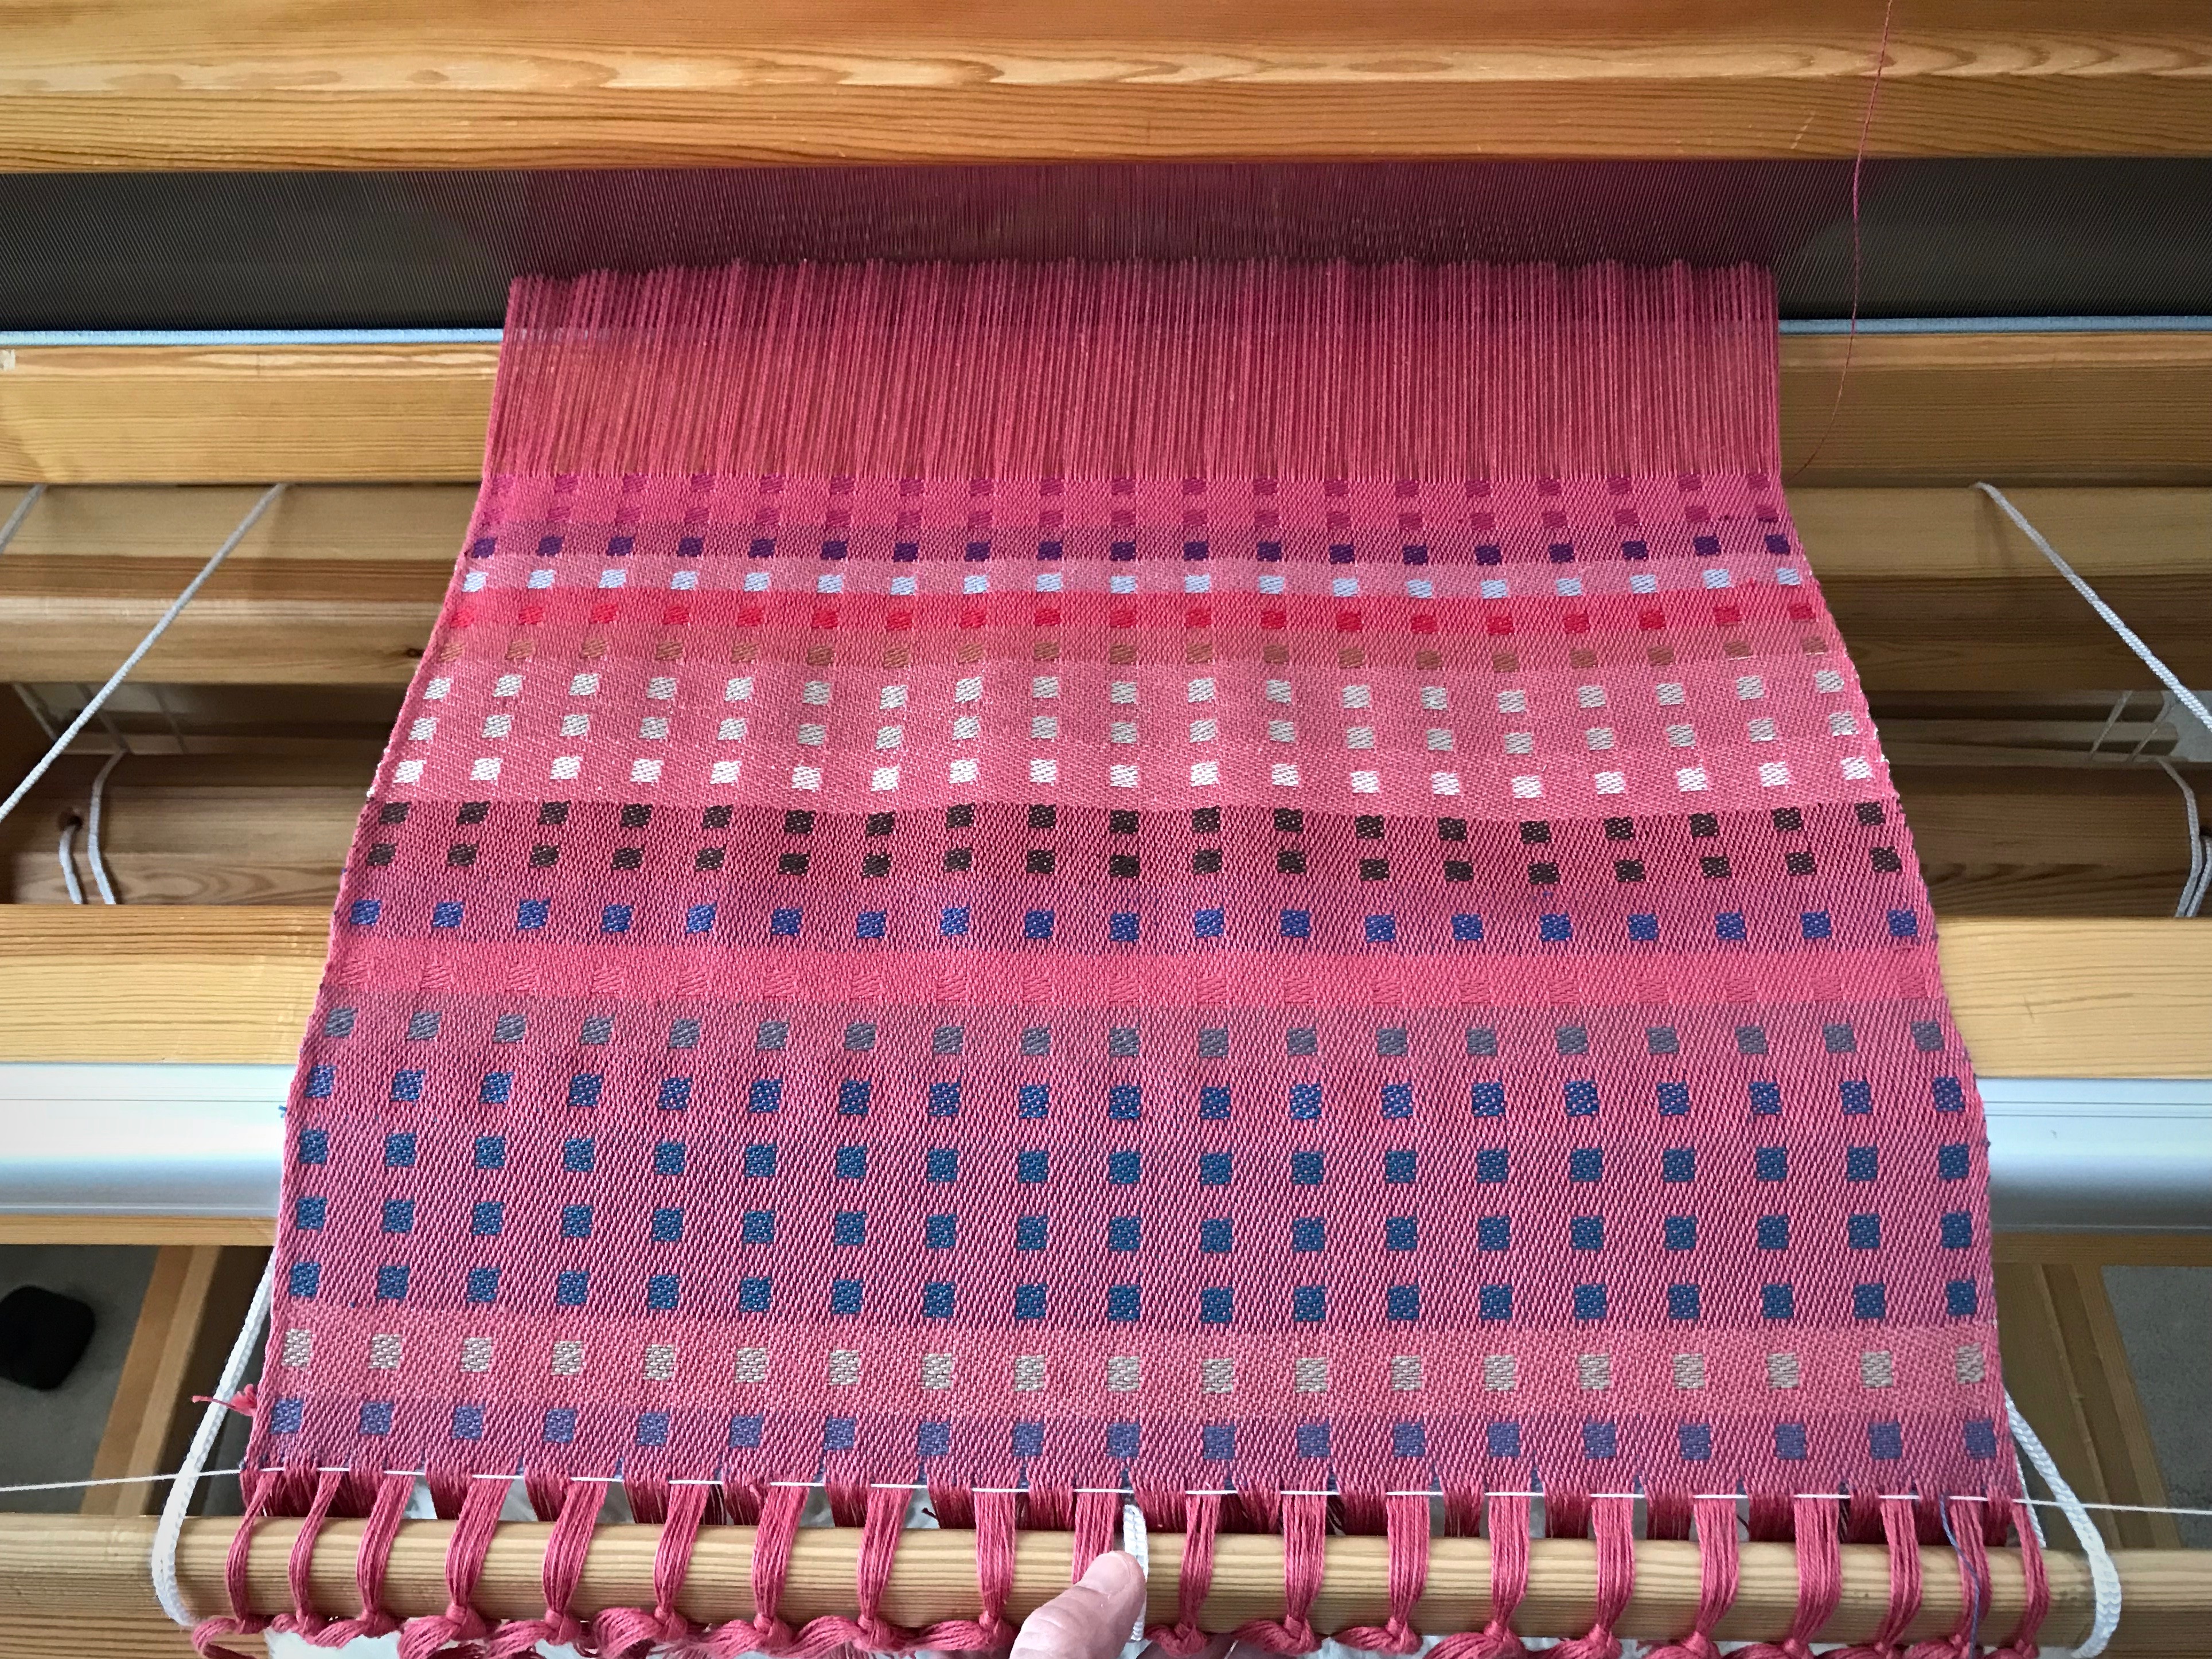
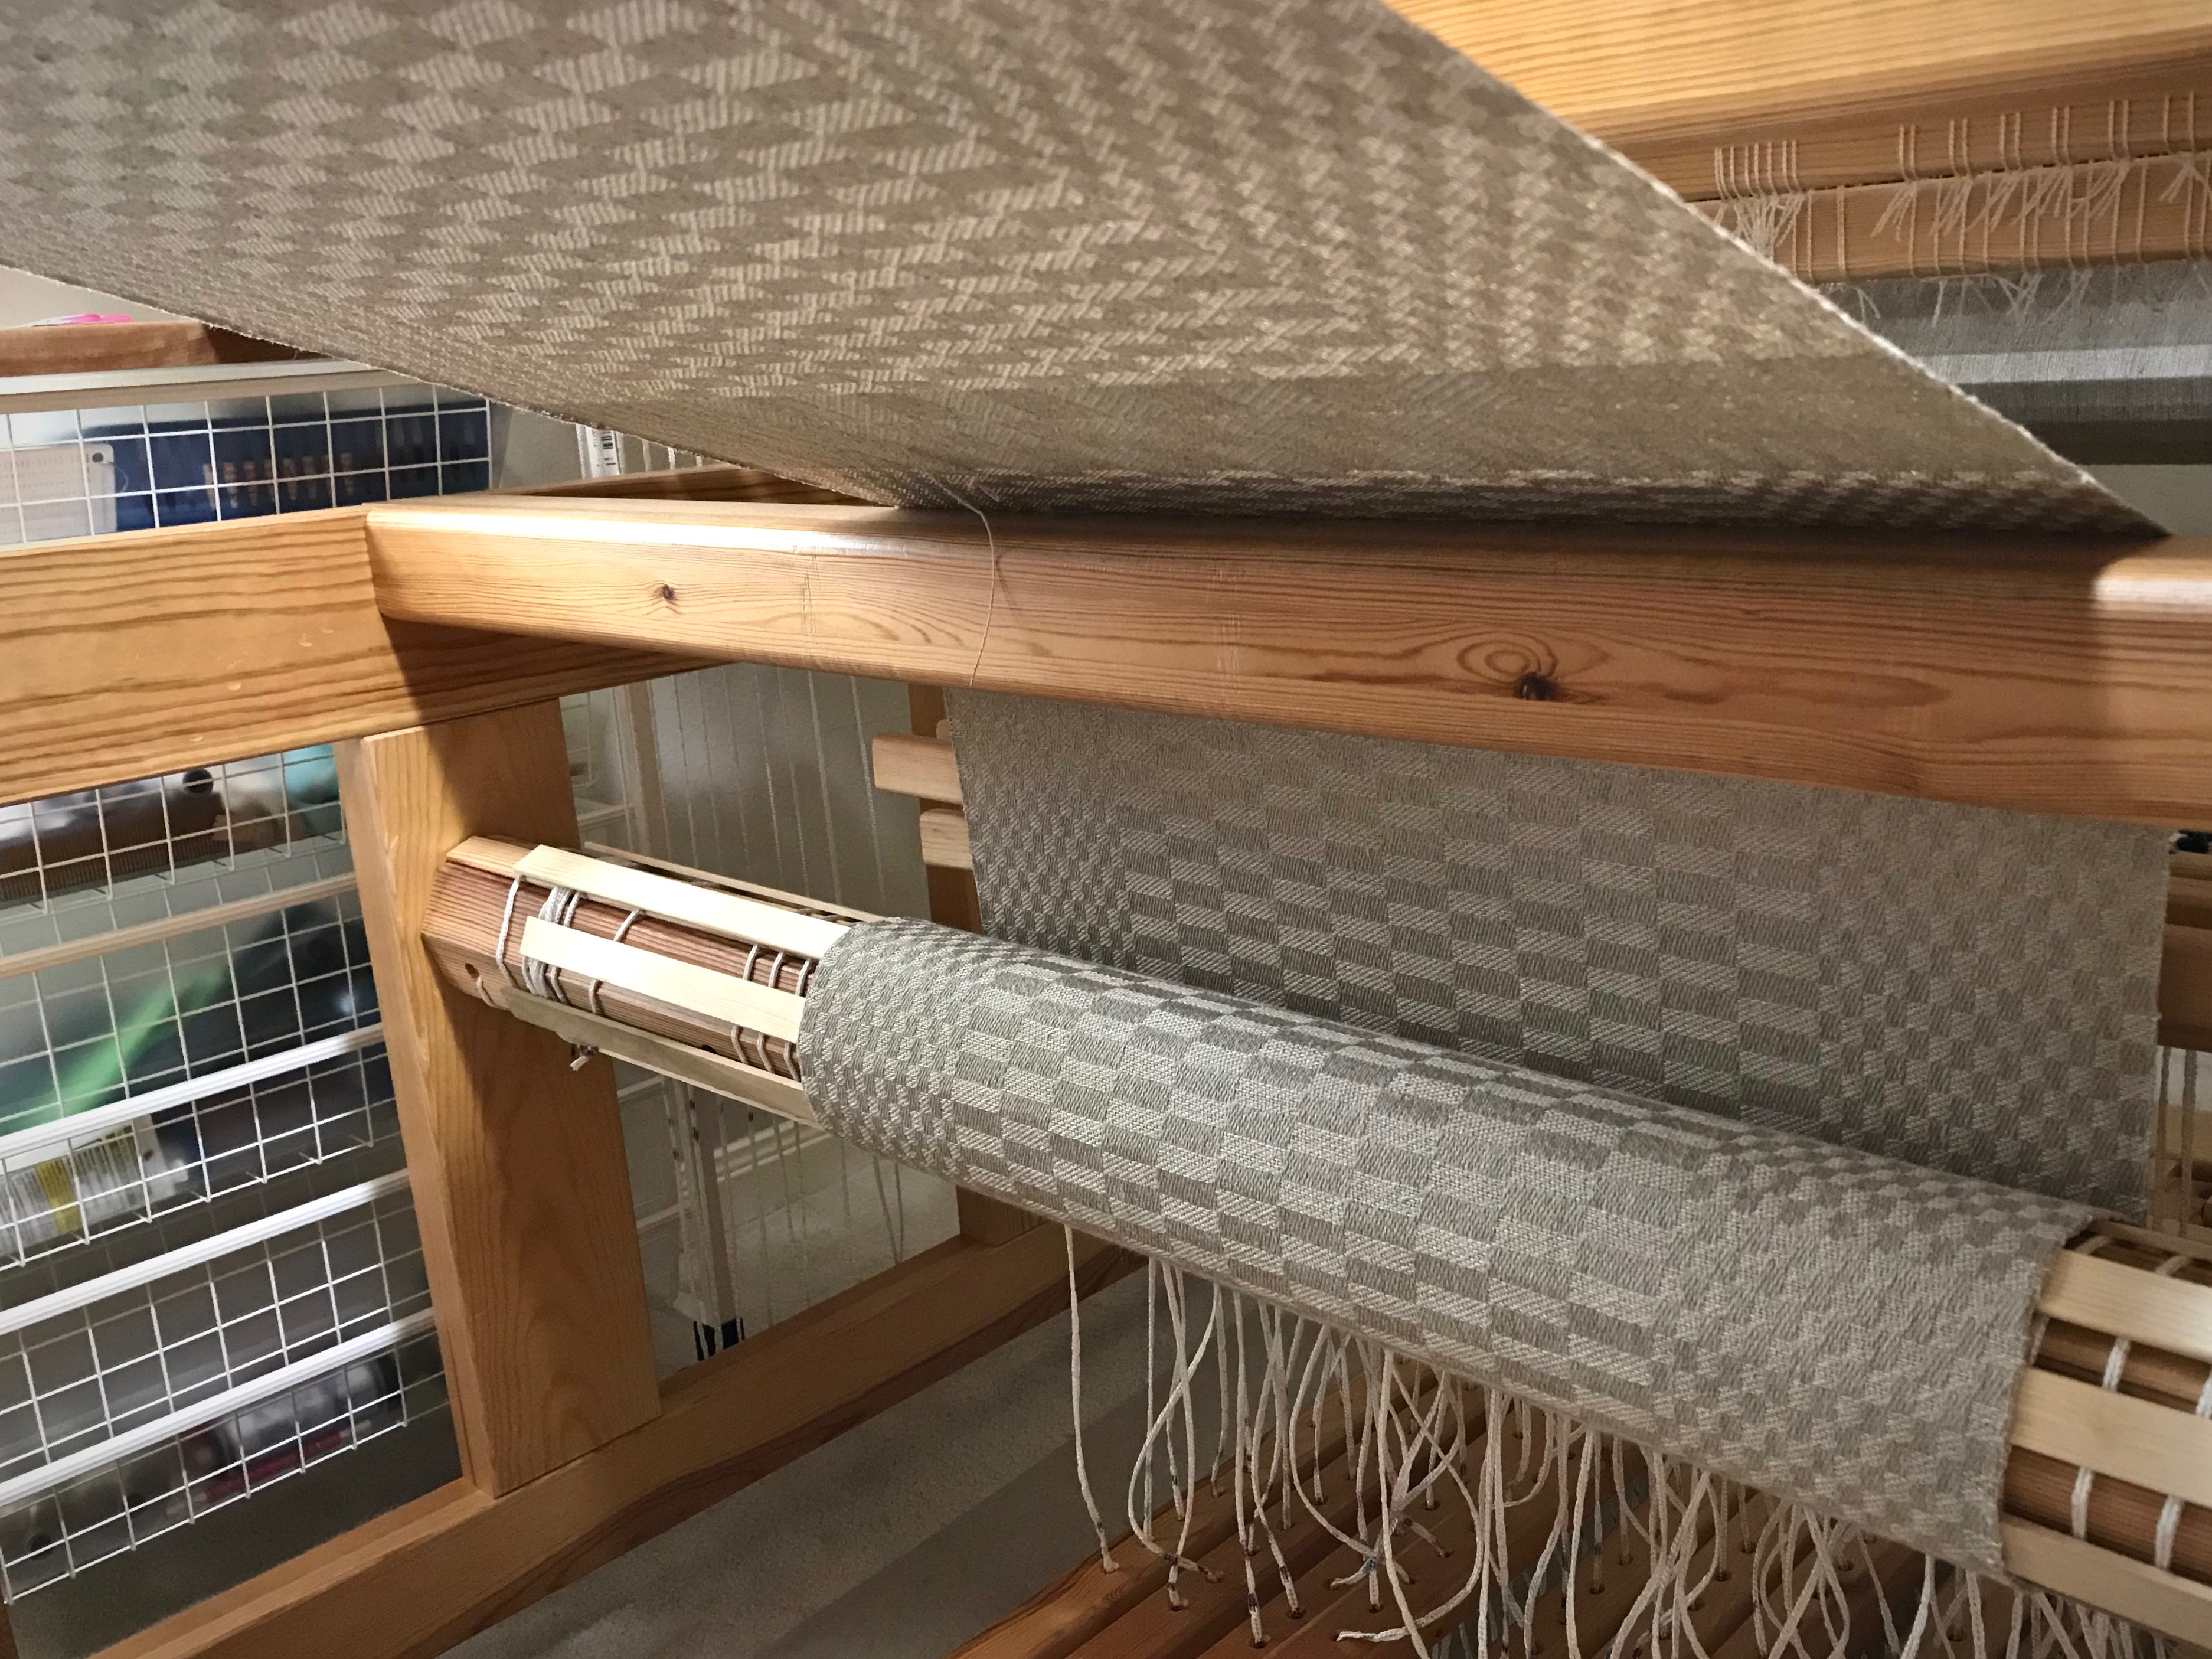
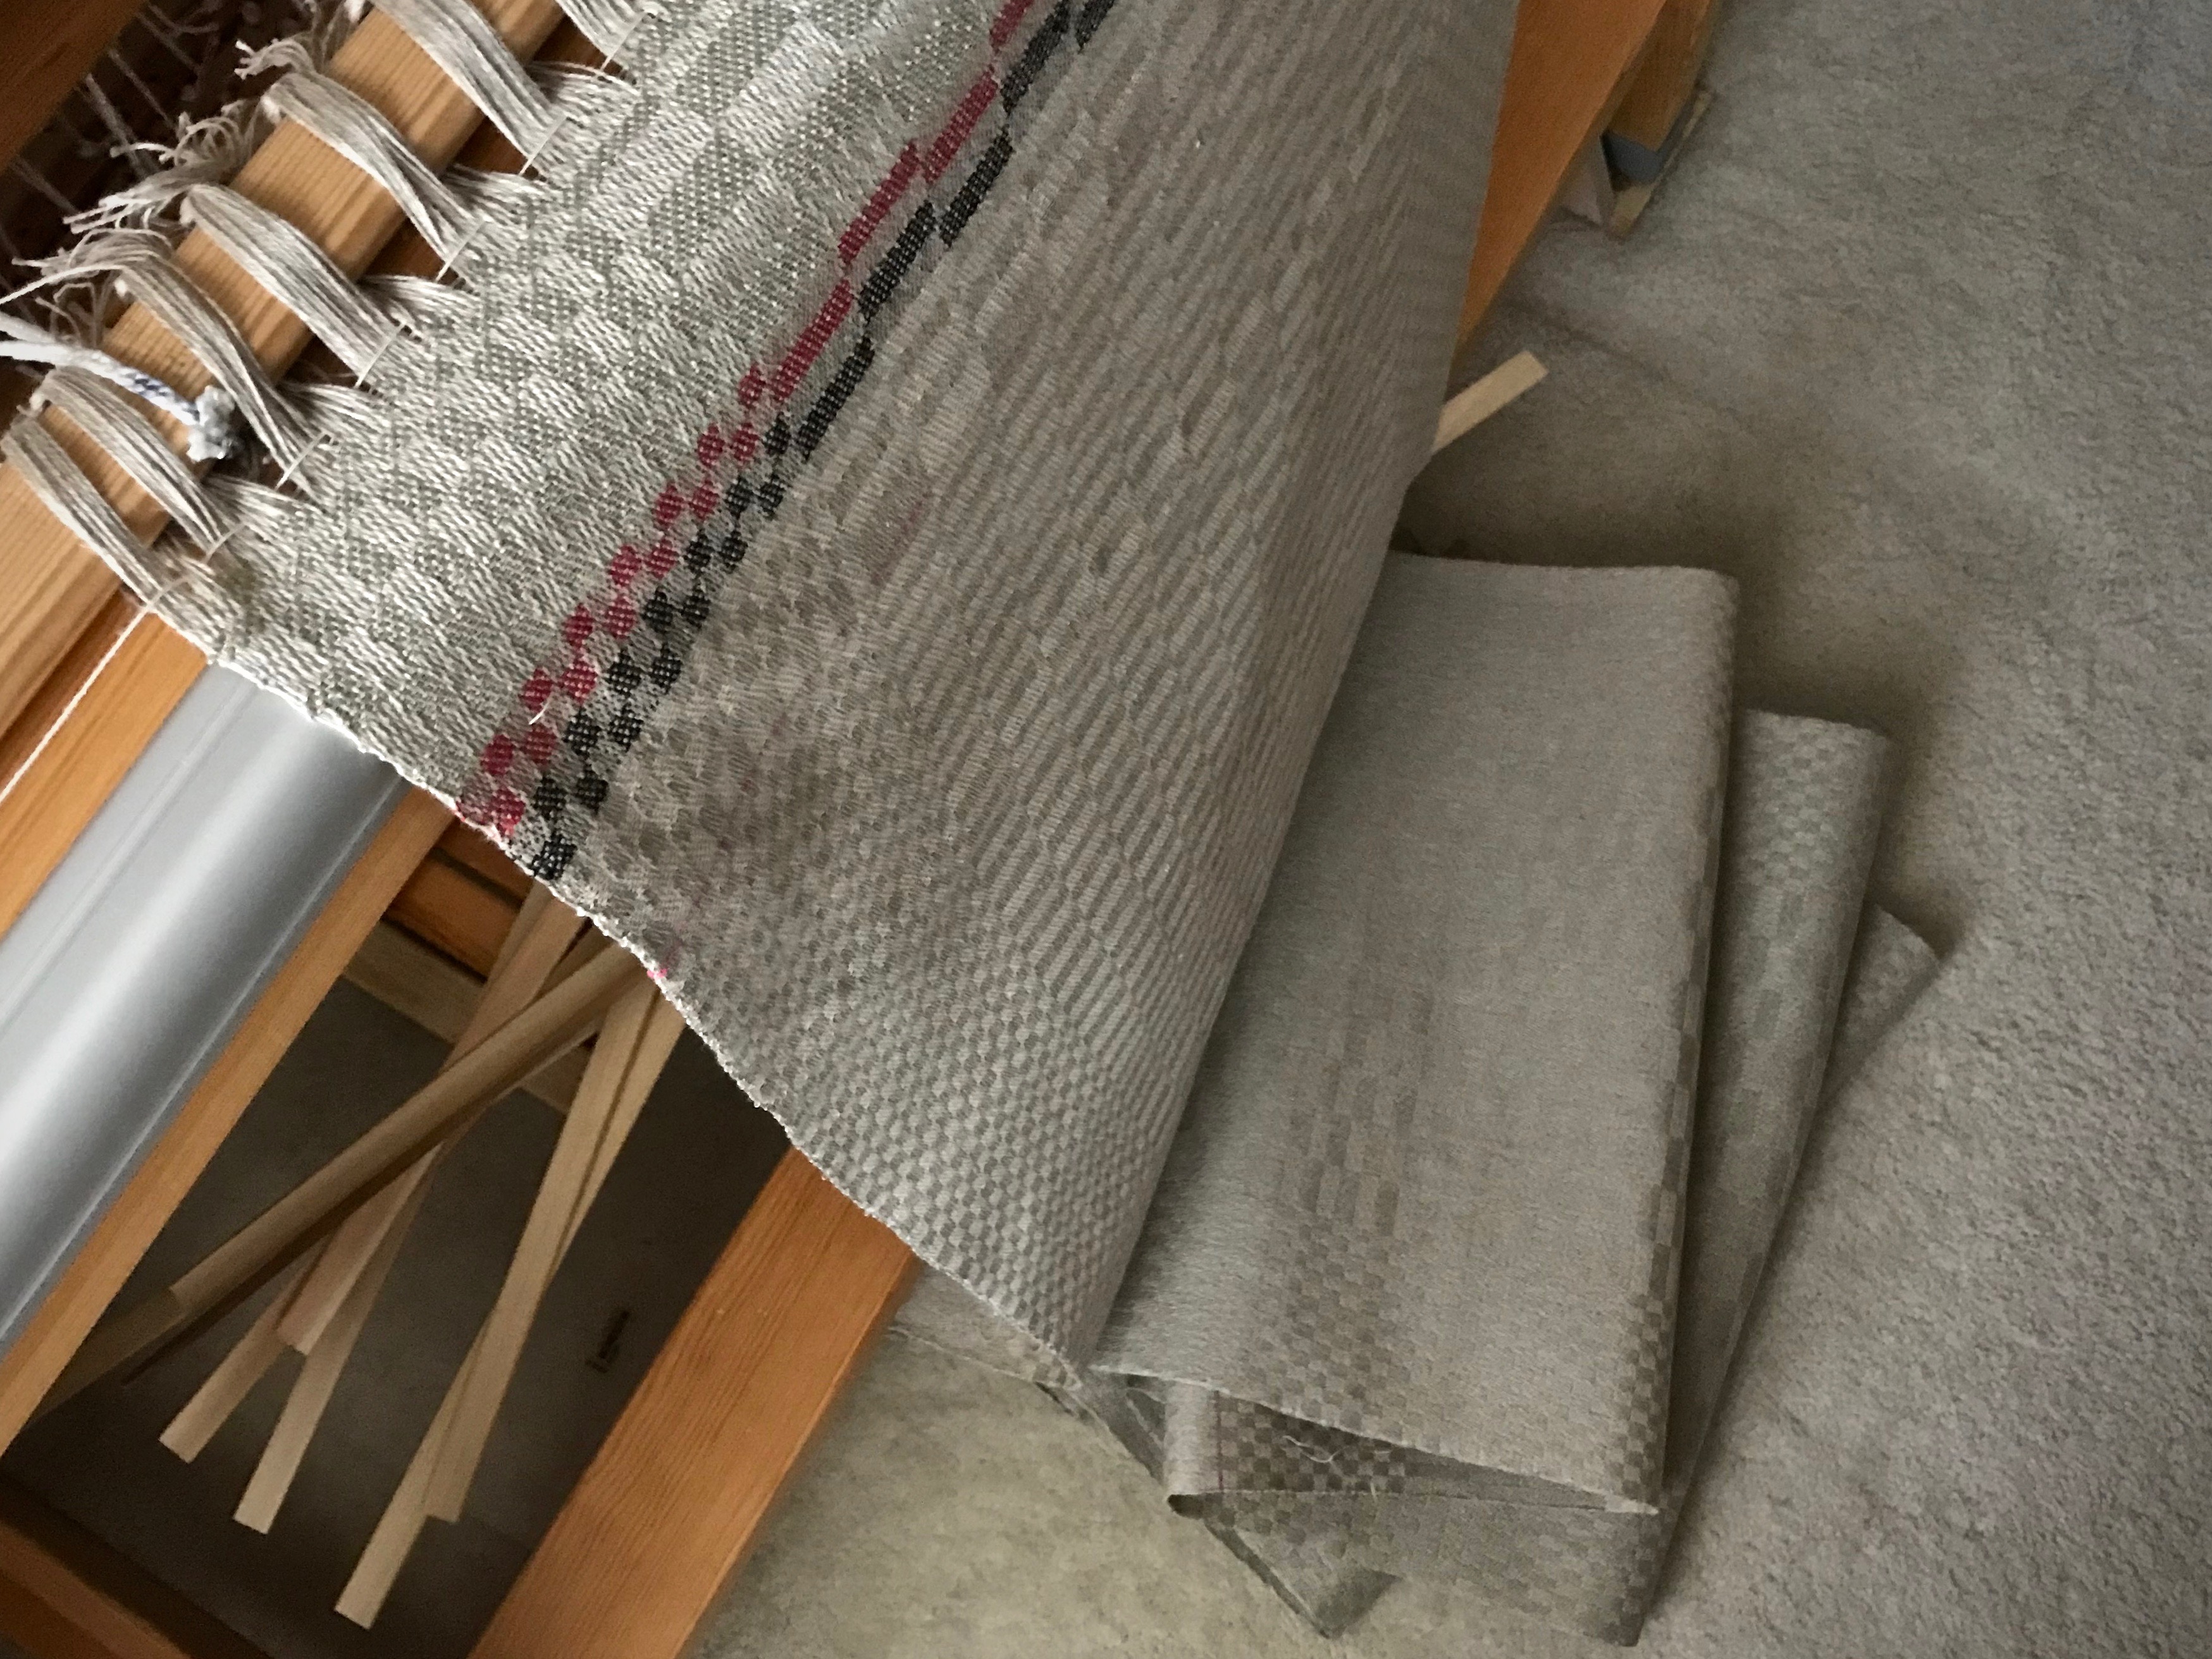
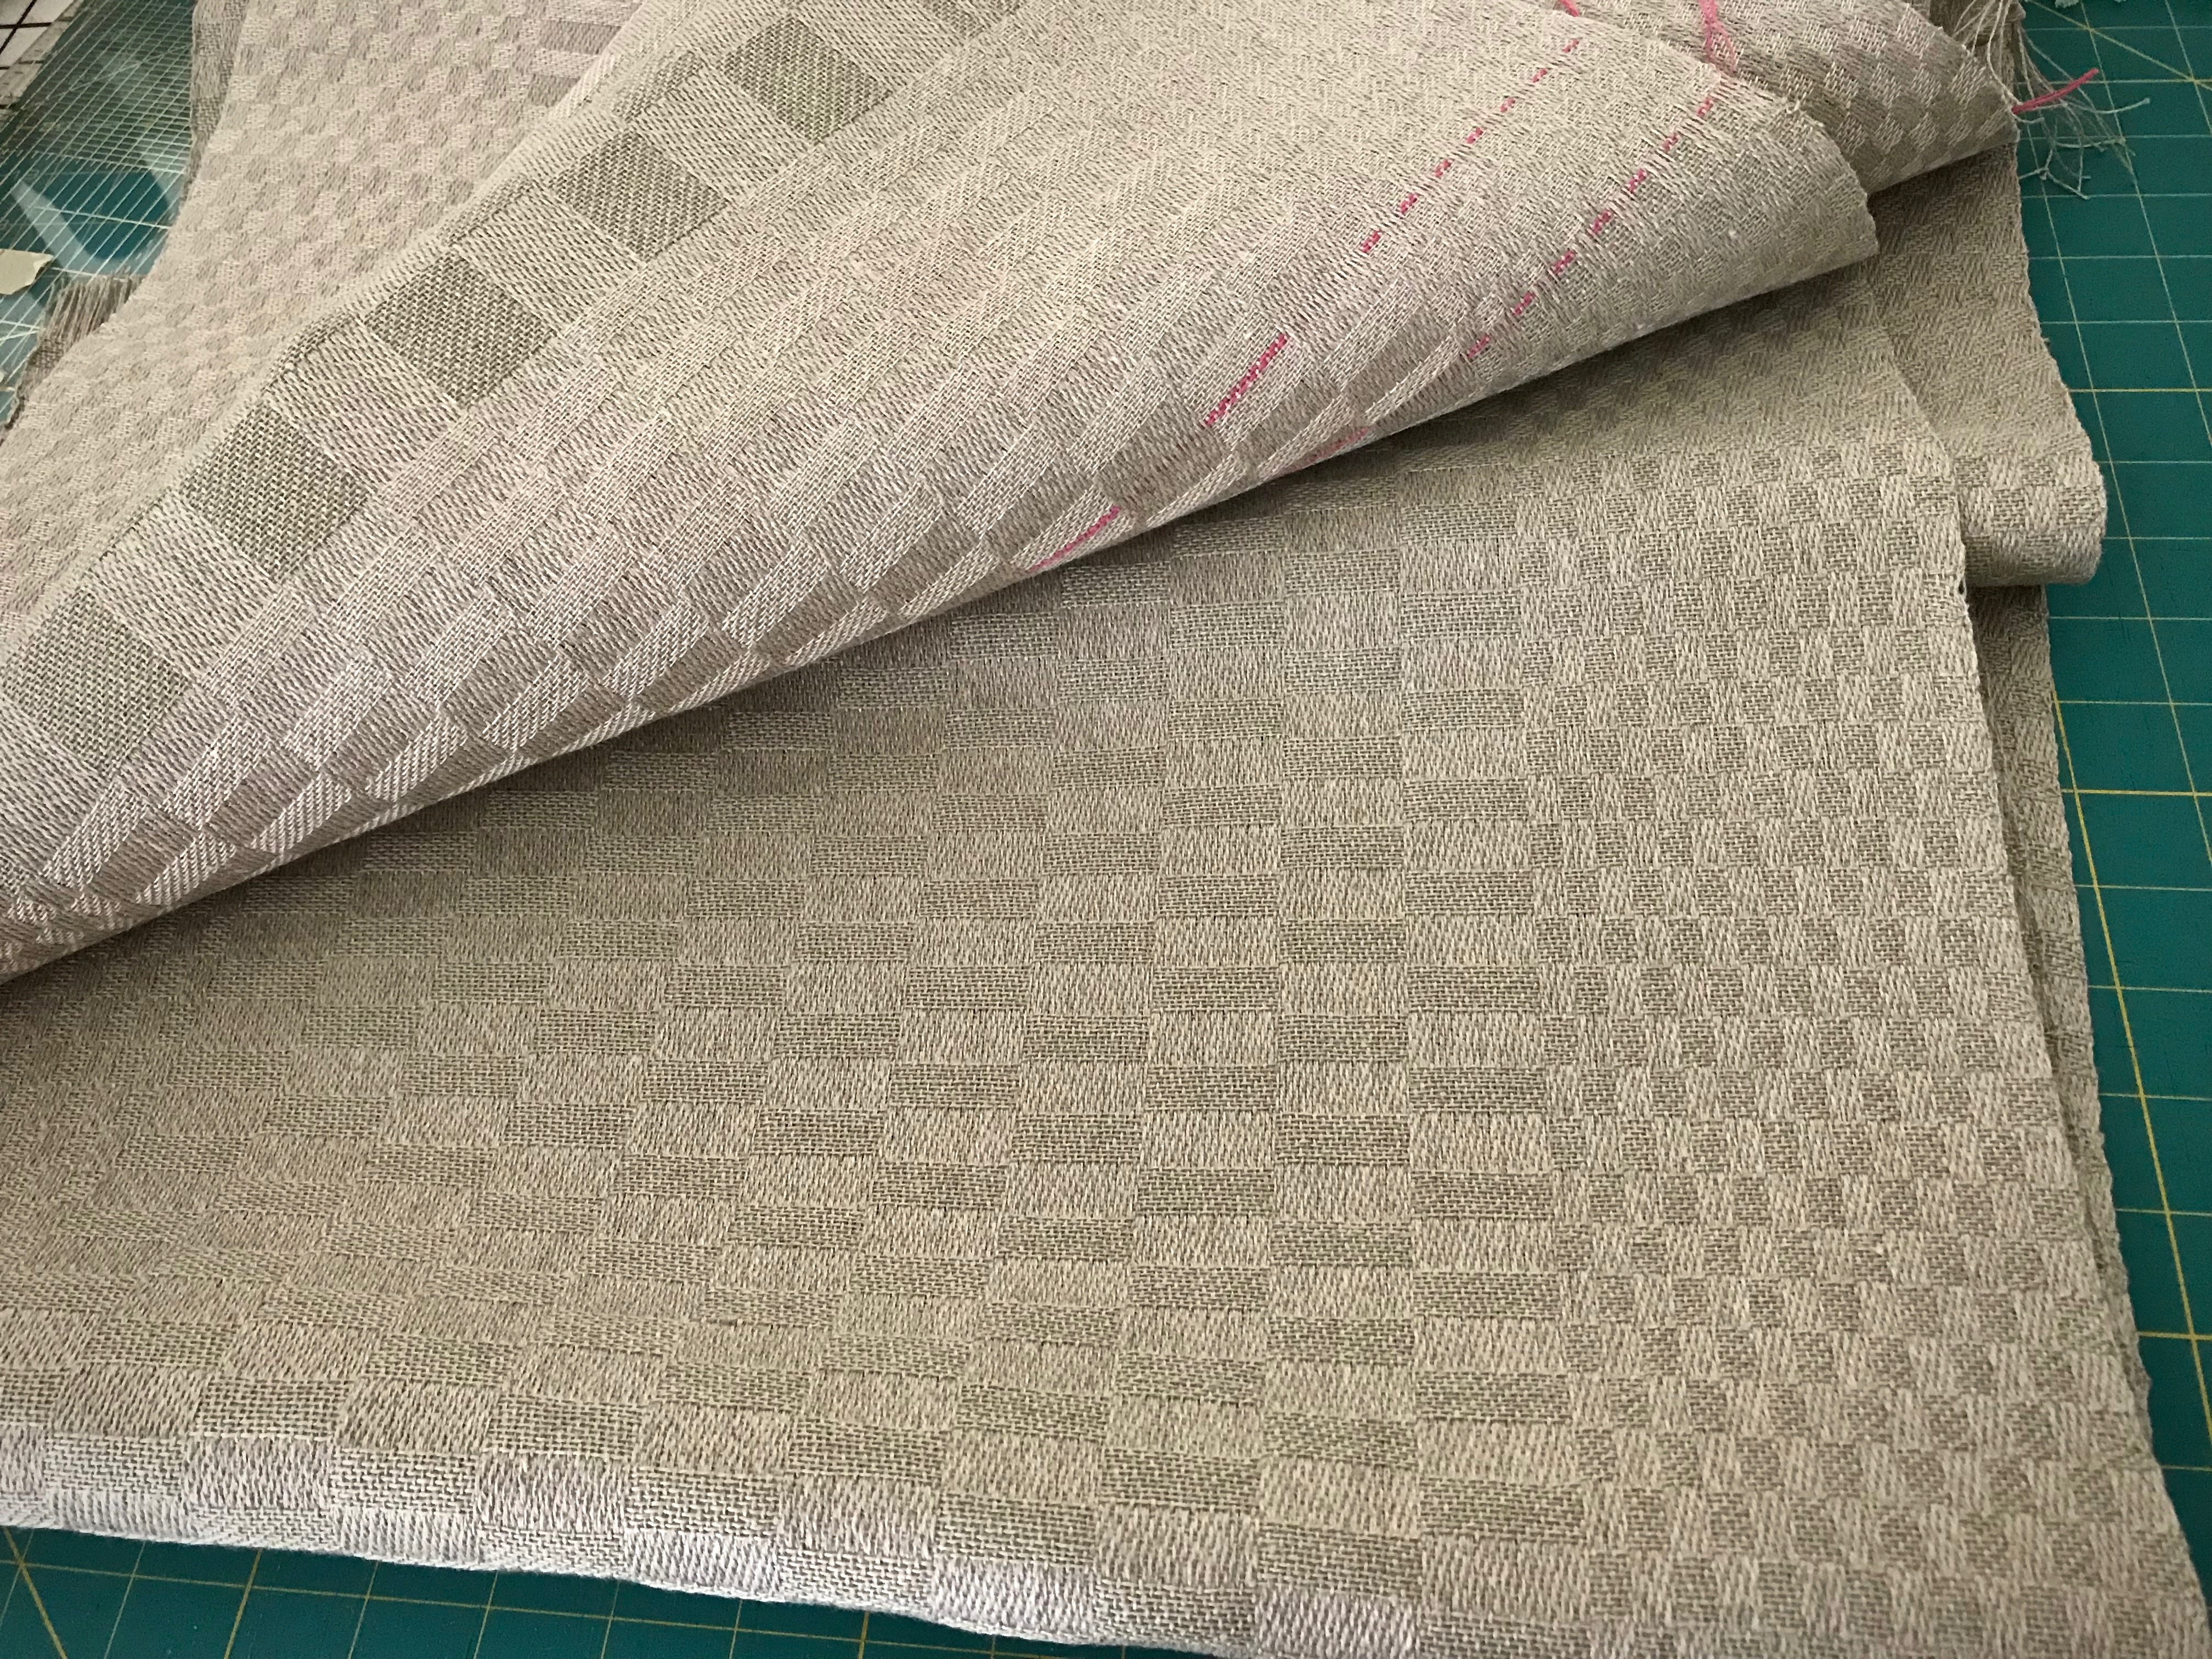
  • Measure the width and length of fabric that is cut from the loom.
  • Measure the width and length of fabric that has been wet finished, dried, and pressed.
  • Measure your pleasure at the loom. Immeasurable!
Tape measure, in constant use at the loom. Let me count the ways...
Tape measure with imperial and metric units, both of which I use regularly. Metal ends have been removed from the tape to clearly see the tape’s markings, and because I slip the tape into a dent of the reed when I am marking the spot to start sleying.
Tape measure at the loom. Various uses.
Glimåkra Ideal loom, with tape measure in its usual place hanging on the end of the loom bench.
Tape measure usage at the weaving loom.
Glimåkra Standard loom, with tape measure ready for the next measuring task.
Preparing the loom for weaving.
Tape measure hanging over the back beam on the Texas hill country loom while pre-sleying the reed and positioning things to prepare for beaming the warp.
Tape measure hangs on peg strip above the work table.
Extra-long tape measure hangs on the peg strip above my work table.
Sometimes a long tape measure is needed!
Occasionally, I borrow Steve’s metal carpenter’s tape measure from his wood carving bench.
Travel tapestry supplies, including tape measure.
Compact retractible sewing tape measure rides in my travel tapestry bag. It has imperial and metric units.
No purse is complete without a tape measure, right?
No purse is complete without a tape measure, right? (A tape measure can outlive the business it promotes.)

What have I missed? Can you think of other ways your tape measure comes in handy?

May you be blessed in full measure.

All the best,
Karen

Weft Auditions for Square Dots

I found sixteen weft colors to audition. And I am eliminating all but six—one main color for each of four towels, plus two border colors. This is five-shaft satin dräll hand towels with an 8/2 cotton warp. Good weft options on my shelves include 8/2 cotton, 22/2 cottolin, and 16/2 linen in various colors. And this time, we have square dots!

Weft auditions for 5-shaft satin dräll hand towels.
The warp is tied on and the lamms and treadles are tied up. All ten sheds (one for each of ten treadles) are checked and small adjustments made in the treadle tie-ups. Weft auditions commence!
Trying different weft options. Cotton, cottolin, linen.
Similar colors in different fibers. Teal in cotton, cottolin, and linen. Coral warp as weft would be an interesting monochrome option.

There is one qualification. The colors must fit the color palette of our Texas hill country home. A sample piece of thread doesn’t tell me enough; neither does a whole tube of thread. Twisting two colored threads together gives a decent clue, but even that is not enough. When the warp and the weft threads interweave on the loom the true colors are seen. And that’s when I can tell you which colors I will keep.

Weft auditions! Colorful hand towels.
Sample includes sixteen weft colors (two or three rows for some). Four are chosen for the main colors for a set of hand towels. Two extra colors are selected to use for border designs.
Square Dots cotton hand towels in 5-shaft satin dräll.
First towel has Slate 8/2 cotton weft, with an accent of Silver 22/2 cottolin for a border stripe.

Isn’t that the way it goes with truth? Hearing words isn’t enough; even extensive hearing isn’t enough. Paying attention to what you hear is good, but it mustn’t stop there. We need to understand. Hear and understand. The meaning of the words intersect with thoughtful reflection. Truth enters through understanding. And that’s when we can see which threads to keep.

May truth be woven into your life.

With you,
Karen

Quiet Friday: Linen Satin Dräll

This is one of those weaving projects that puts you on top of the world. Everything about it. Linen, ten shafts, five-shaft satin weave, ten treadles, gorgeous Moberg damask shuttle, single-shuttle rhythm, full-body weaving, magical fabric. I did have more than my share of knots in the warp, and a few skipped threads and selvedge loops. But you will see no evidence of those glitches now. All you will see is the natural beauty of linen, with its characteristic unevenness. And the reflective satin dräll weave, with its light-catching trickery.

The warp is Bockens unbleached 16/2 line linen. Two of the towels use 16/1 golden bleached linen for the weft. At my husband’s request, the remaining three towels have 16/2 linen weft, in ecru. The thicker weft helps make these into robust absorbent handtowels. A table square finishes off the set.

Enjoy the process with me as I reminisce over the start-to-finish pleasure of weaving these towels.

Winding a linen warp.

Linen warp chains.

Tying on the linen warp.

Tying up 10 treadles on a countermarch!

Sampling weft colors on a linen warp.

Sunlit linen damask weaving.

Hidden patterns in the 5-shaft satin.

Linen 5-shaft satin dräll!

Beautiful Moberg damask shuttle.

Spliced warp ends.

Linen satin dräll on the loom.

End of the warp is near. So many warp end repairs!

Cutting off! Linen 5-shaft satin dräll.

Just off the loom--linen 5-shaft satin.

Glimakra band loom. Hanging tabs for towels.

Ready to sew handwoven hanging tabs on new linen towels.

Just off the loom--linen 5-shaft satin handtowels.

Handwoven linen towel with handwoven hanging tab.

Handwoven set of linen satin dräll towels. Karen Isenhower

May you find pleasure in what you do.

Happy Weaving,
Karen

What to Do about Weaving Errors

I’ve been waiting for a bright sunshiny day to thoroughly examine this tightly-woven linen satin dräll fabric. Today is perfect. Fixing errors must be done before the fabric is washed, when the weave will become even tighter. I am looking for unwanted floats where the shuttle skipped threads, and for loops at the selvedges.

In my examination I did find an errant float and a few small selvedge loops. Let’s get started.

Tools:

  • Blunt-tip needle. Sharp needle tip has been sanded to a rounded tip.

Blunt needle for fixing weaving errors.

  • Thread. Use the same weft or warp thread that is in the area needing repair.
  • Good lighting. If the fabric has a complex structure, good lighting is essential.
  • Magnification. I take a photo on my iPhone, and then zoom in to see the minute details.

Zoom in on iPhone photo to magnify details.


How to Mend Skipped Threads:

1 Locate the error. Here is a long weft float.

What to do with skipped threads. Tutorial.

2 Thread the blunt-tip needle with a length of the same thread as the float.

Tutorial on fixing weaving errors.

3 Following the exact under-over pattern of the weave, start one inch before the float and needle-weave toward the float. I lay my iPhone nearby, with the magnified iPhone photo clearly showing the weave pattern.

Needle weaving to mend a weaving error. How to.

4 Needle-weave the correct path of the thread through the float area. Continue needle-weaving along the same thread pathway, going one inch beyond the float.

How to fix skipped threads in weaving.

5 Check the front and back of the fabric to see if your stitches match the correct pattern of the weave.

Skipped threads in weaving. Fixed!

6 When you are certain that the float thread has been accurately replaced, clip the float and remove it (or, leave it and trim it after washing). Leave two-inch tails on the replacement thread, and trim after wet finishing. (I leave the replacement tails so I can find and check the repair after it is washed. This also allows for shrinkage before trimming.)

Clip off the float AFTER repair thread is in place.


How to Fix a Small Selvedge Loop

1 Locate the loop.

How to fix a loop in the selvedge.

2 Using the blunt-tip needle, gently ease the excess thread to spread over four or five stitches inside the selvedge.

Easing in a loop at the selvedge. Short how-to.

3 The thread that has been eased in (just above the needle) will completely smooth out in wet finishing.

Eliminate an errant loop at the selvedge.

What skipped threads and loops would be found if I were examined this closely? Would I leave them and hope no one notices? Or, would I allow re-weaving and cutting away? A negative attitude is replaced with a thread of thankfulness. A loop of complaining is eased back in. The result is joy. A thankful heart knows joy. When the fabric is washed, the errant floats and loops are gone. What remains is the woven fabric with lustrous threads of joy.

May you have a bright sunshiny day.

With you,
Karen

Anticipation Is Looming!

Everything starts on paper and in my mind. And then the action begins! Warps are ready now to dress two more looms. One in linen, and one in cotton. Linen for chair-seat upholstery, and cotton for kitchen towels.

Counting linen warp ends on the warping reel.
Counting thread goes over and under groups of warp ends (in this case, 40 ends) to help me keep track of the number of ends being wound on the warping reel. 8/2 linen, unbleached.
Cotton thread is measured out on the warping reel.
Solid color cotton is wound (measured out) on the warping reel.

These are part of the coordinating textiles I’ve been designing for our Texas hill country home. (See Awaken the Empty Looms)  I am looking forward to the moment these fabrics become visible! The anticipation is electric! I will know the success of my plans when I can see and feel the fabric. Every step, including getting these threads ready for the loom, gives me a preview glimpse of the actual fabric to come.

Two linen warp chains, ready for dressing the loom.
Two warp chains are prepared. This is a striped warp, and the chains will be spread separately, each with its own set of lease sticks.
Three warp chains of 8/2 cotton, ready to dress the loom!
Nothing like big, soft warp chains of 8/2 cotton!

Visible. Actual love is visible. It’s much more than kind thoughts and intentions. It is threads of kind thoughts that become touchable fabric in someone else’s life. Jesus Christ is the love of God made visible, in that God sent His Son so that we could fully live. How appropriate for us to make such a fabric visible for each other.

May you get a glimpse of the fabric to come.

Love,
Karen