Process Review: Jämtlandsdräll with Julia

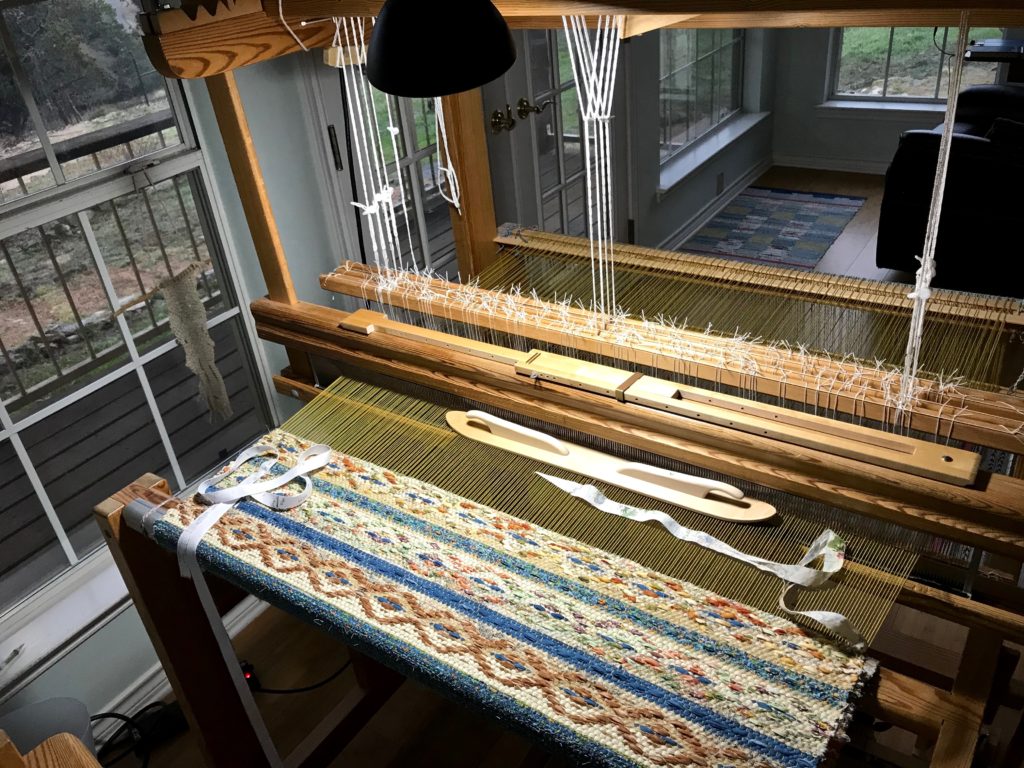
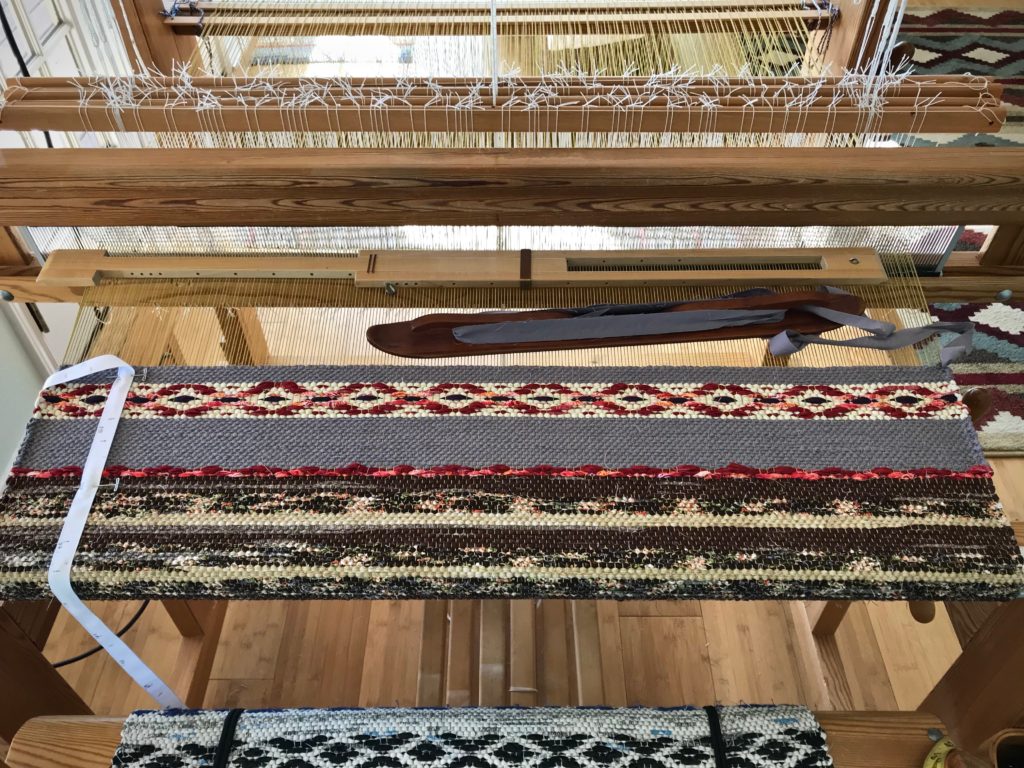
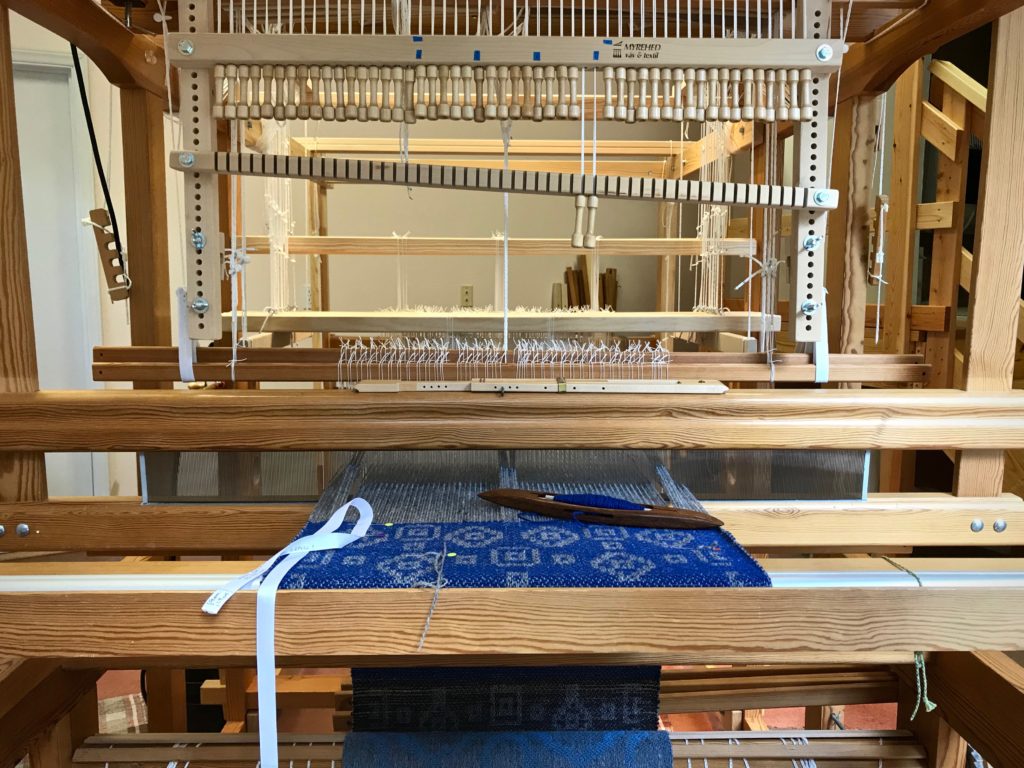
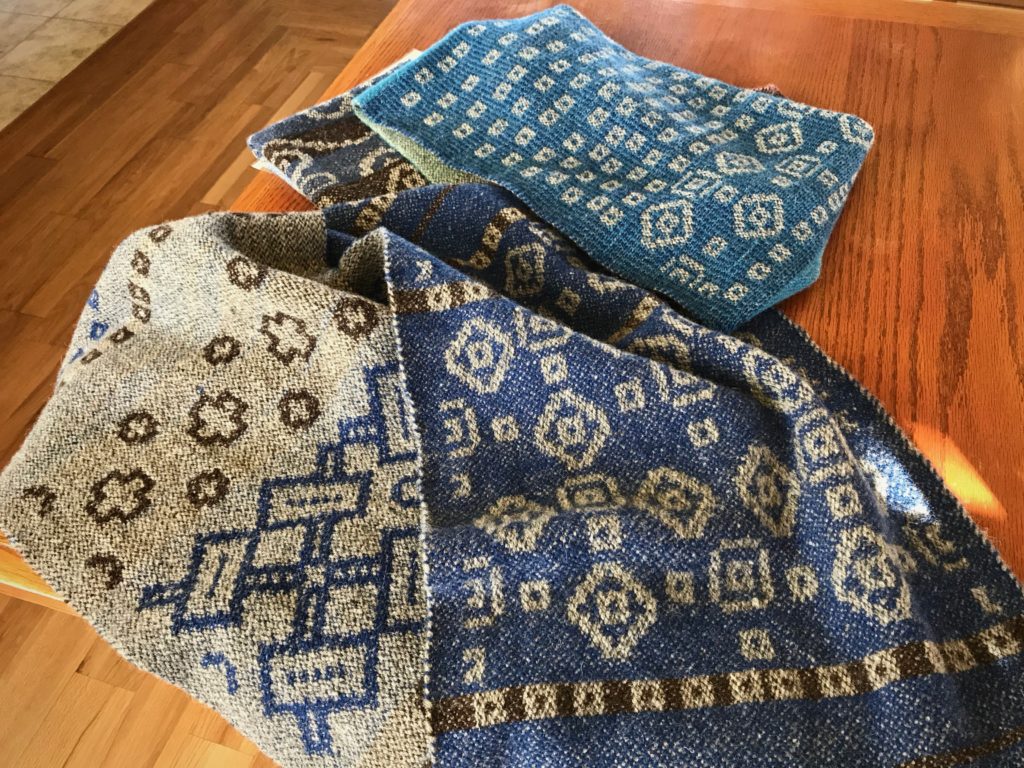
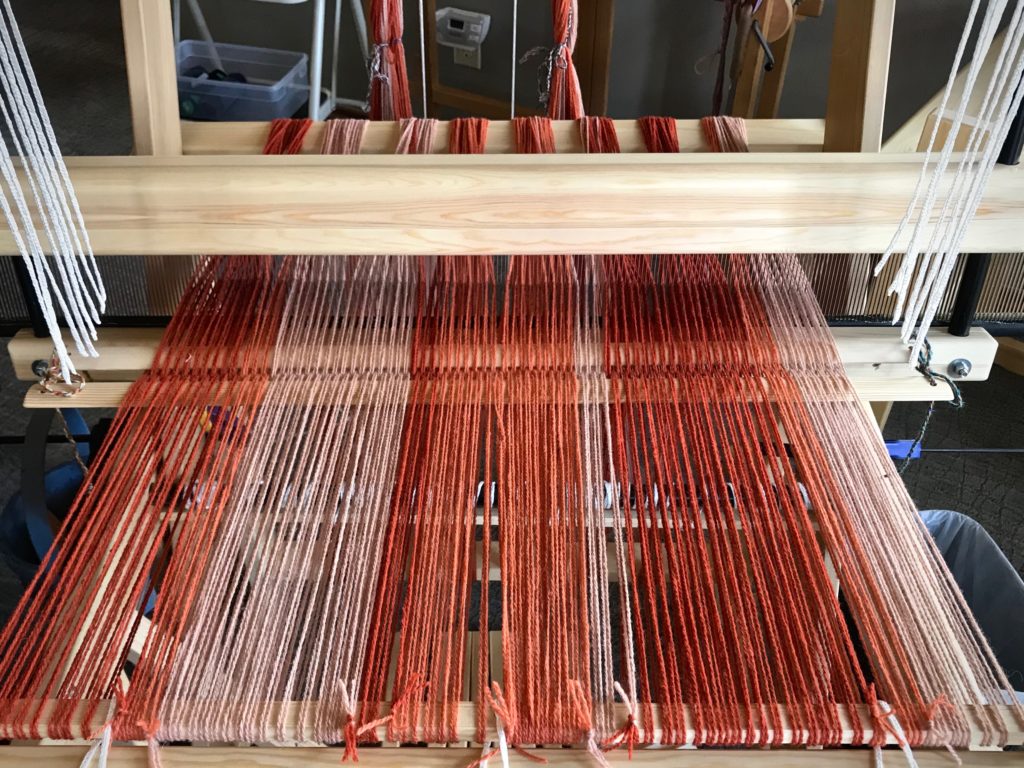
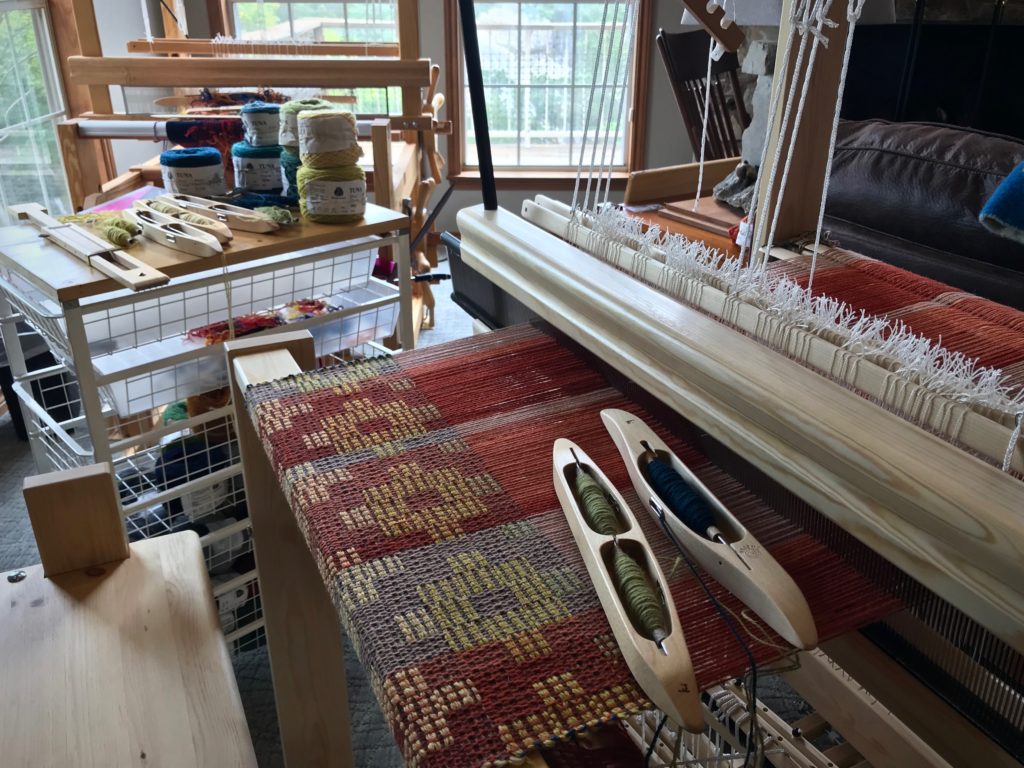
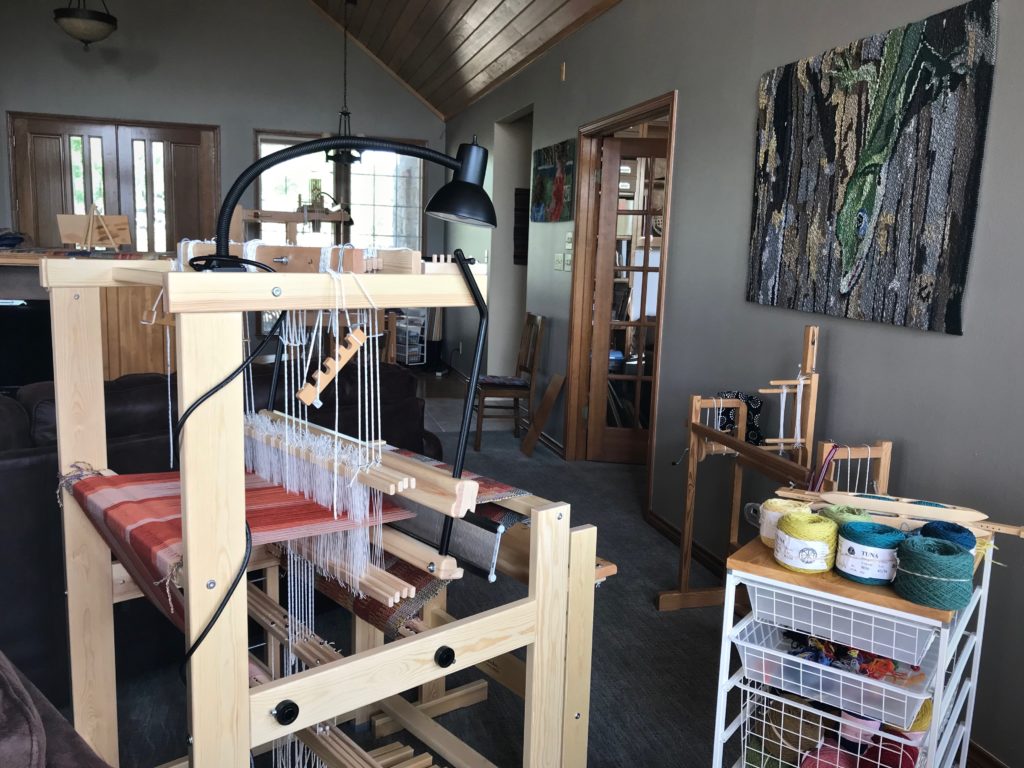
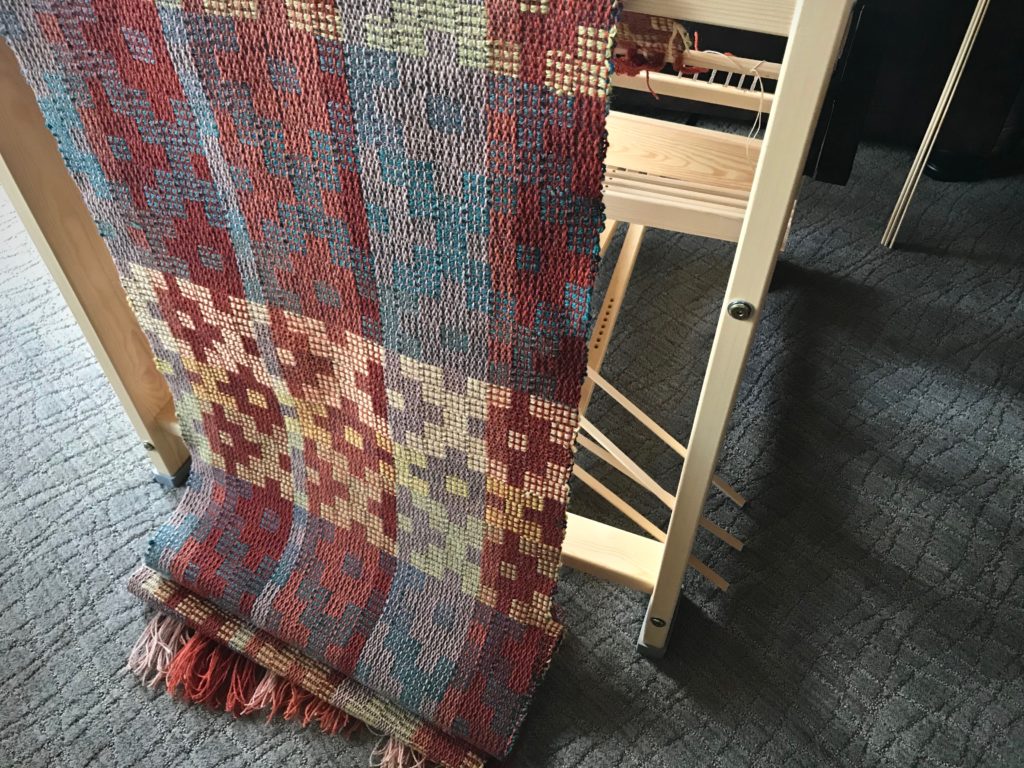
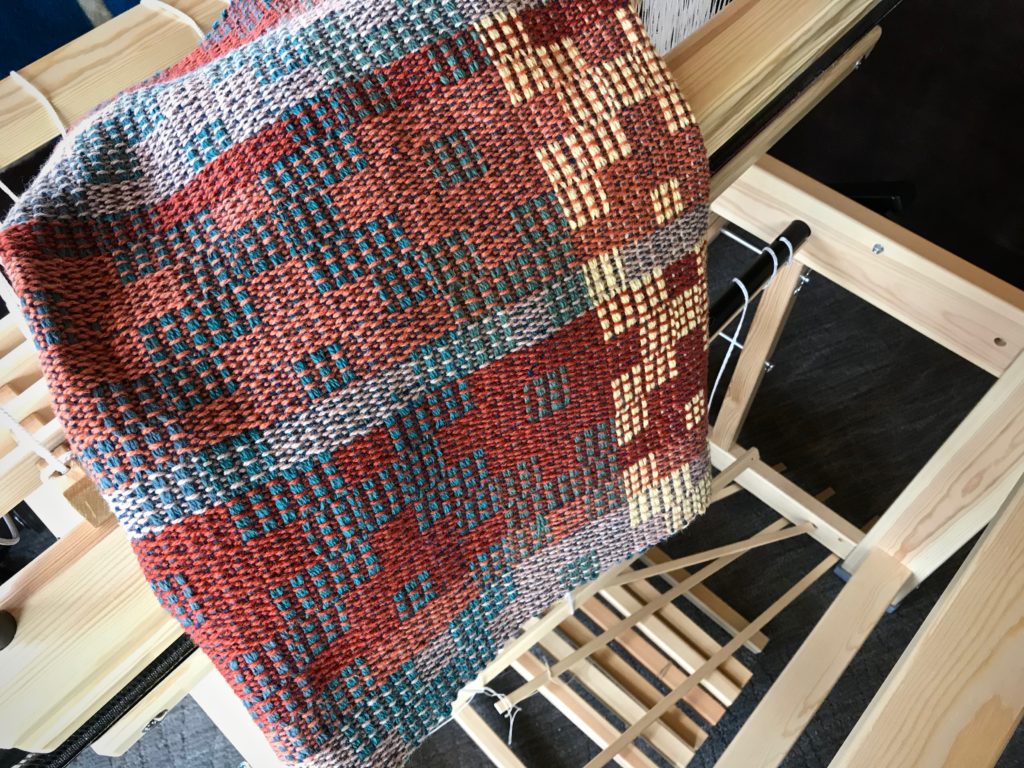
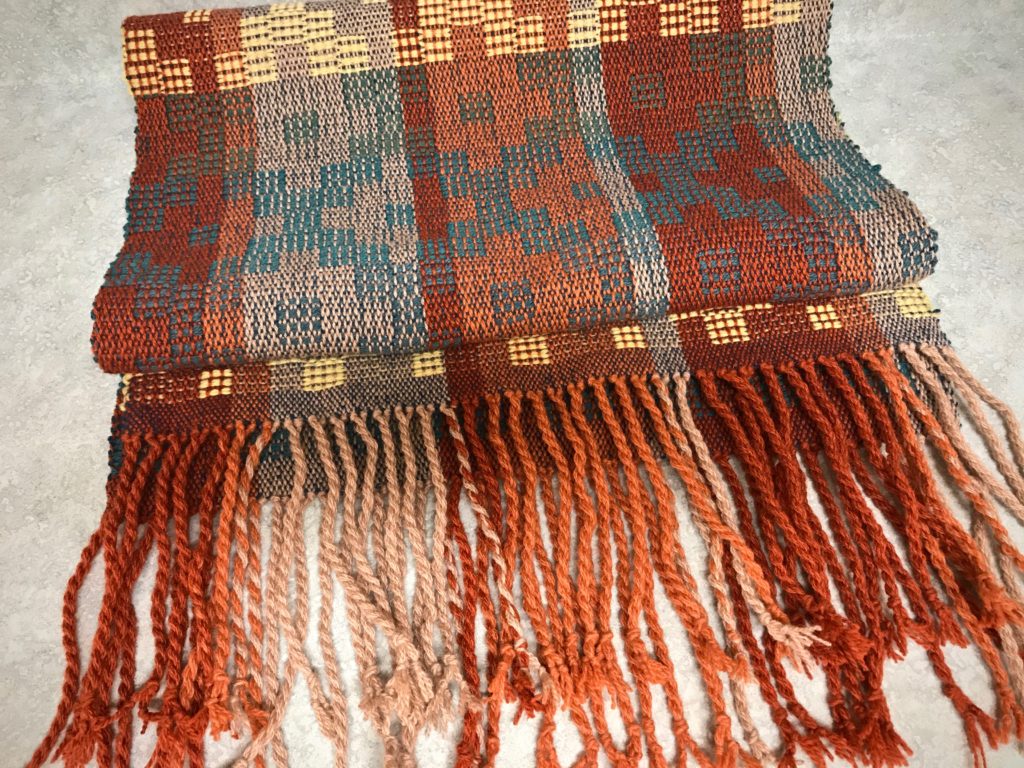
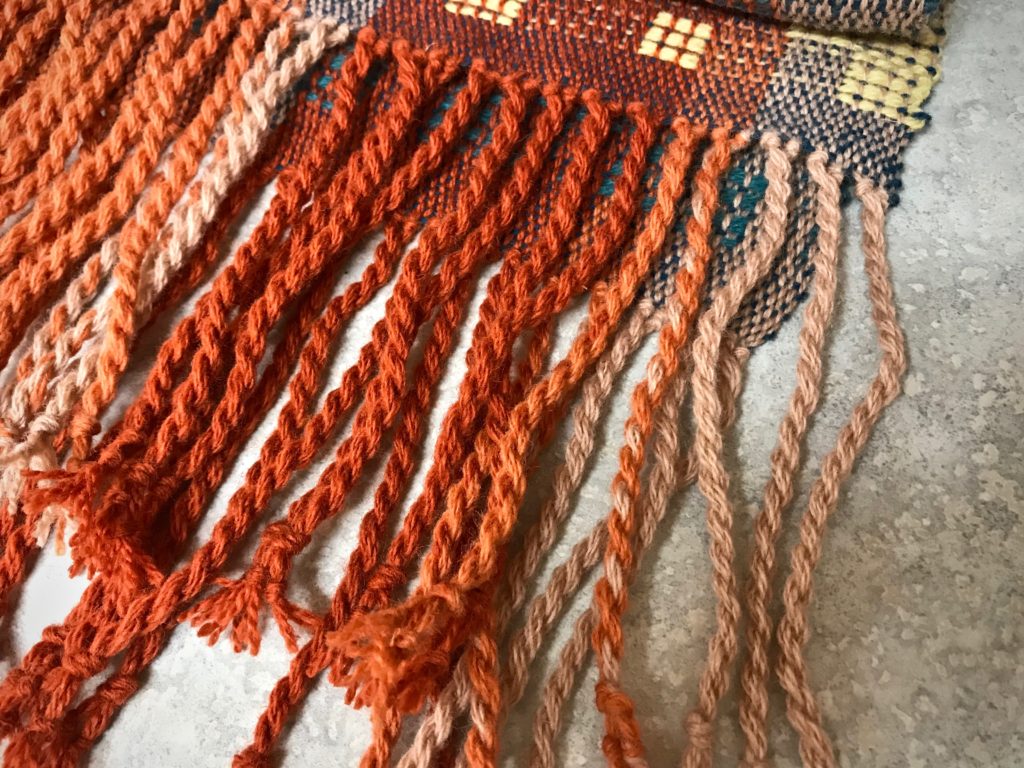
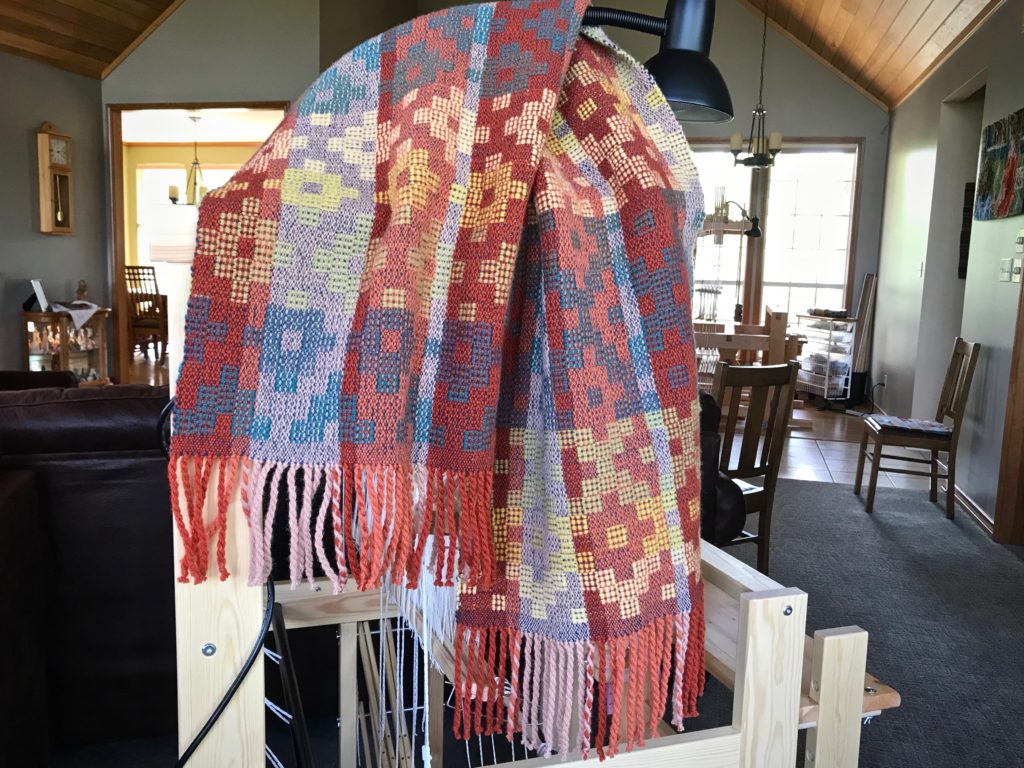
My intention is to weave fabric for a couple of cushy throw pillows. But after just one pattern repeat, I realize that this cloth on my brand new Glimåkra Julia is something I would like to wear! No pillows this time. Instead, here is my new autumn/winter shoulder wrap, embellished with frisky swinging fringes. Miss Julia has proven her worth on four-shaft Jämtlandsdräll (crackle) in 6/2 Tuna wool. Her next adventure will be something that explores all eight shafts. (See My New Glimåkra Julia Loom.)

Jämtlandsdräll Wool Wrap - woven on Glimåkra Julia.
Finished wrap. Ready for cool weather!

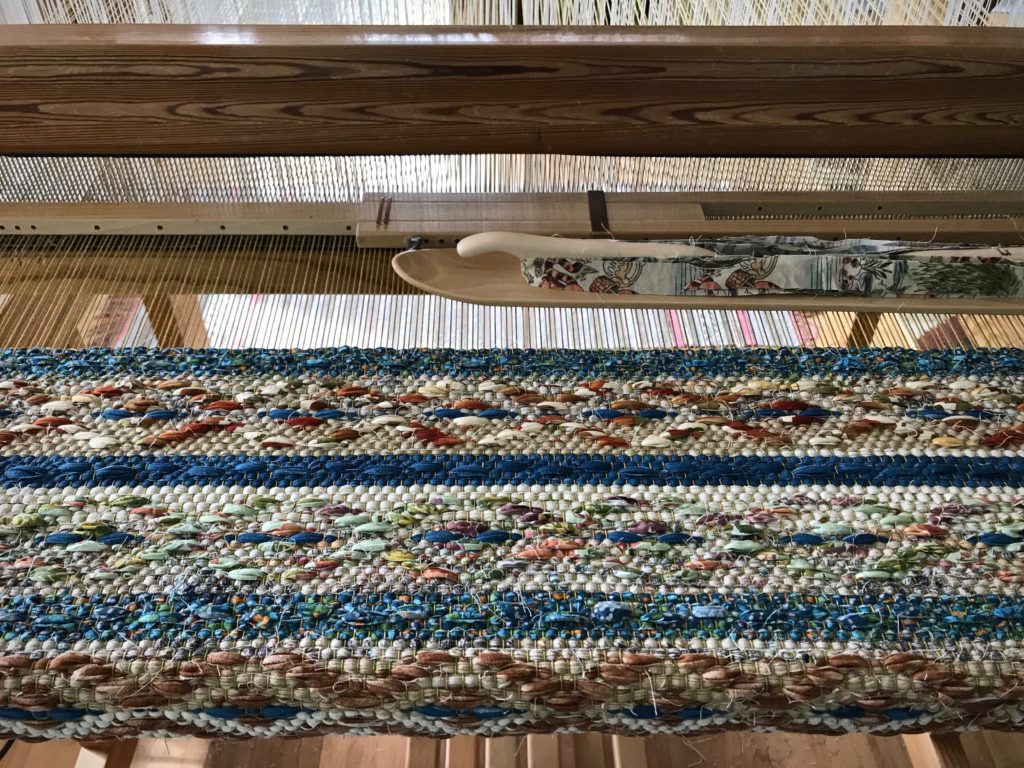
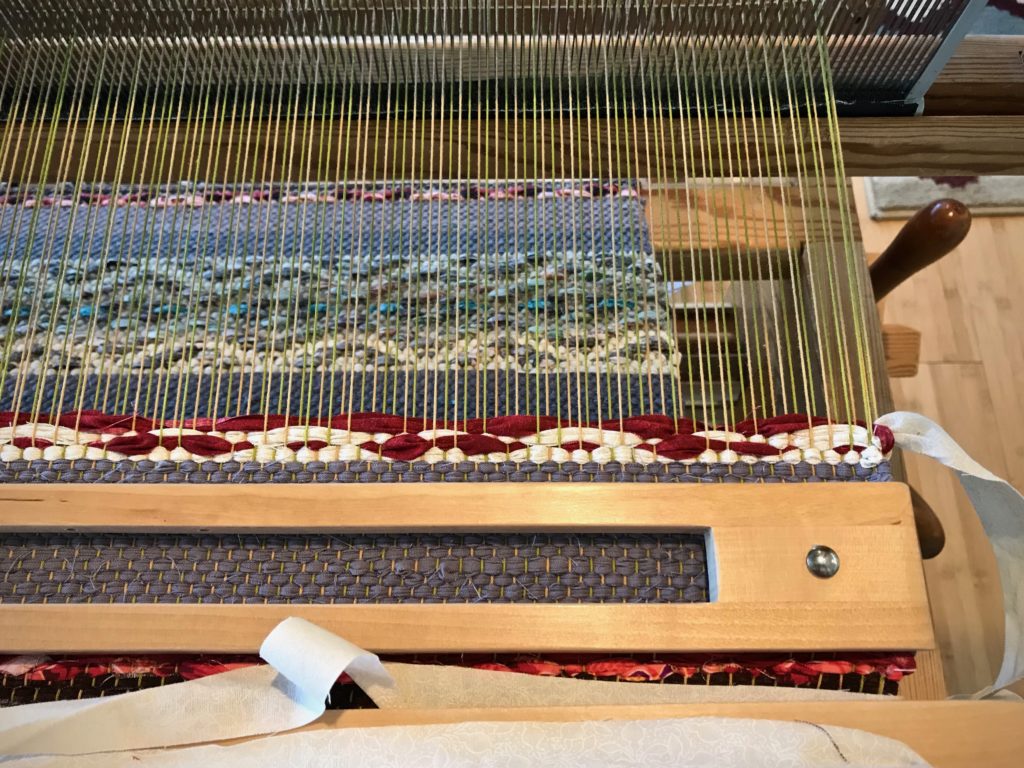
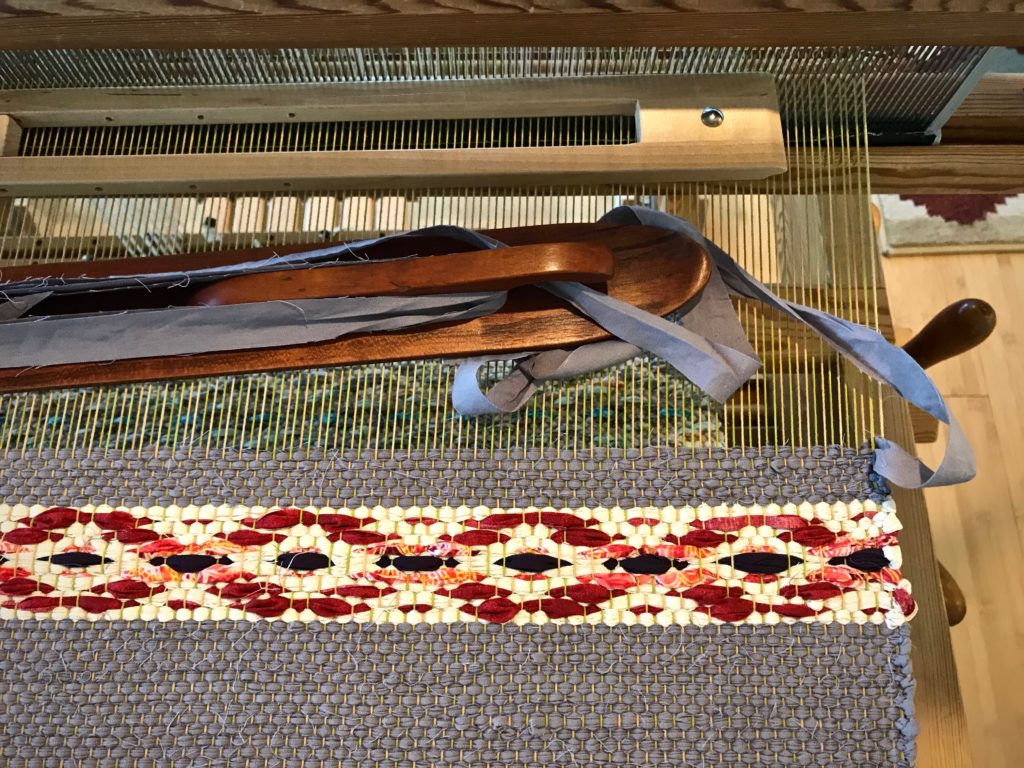
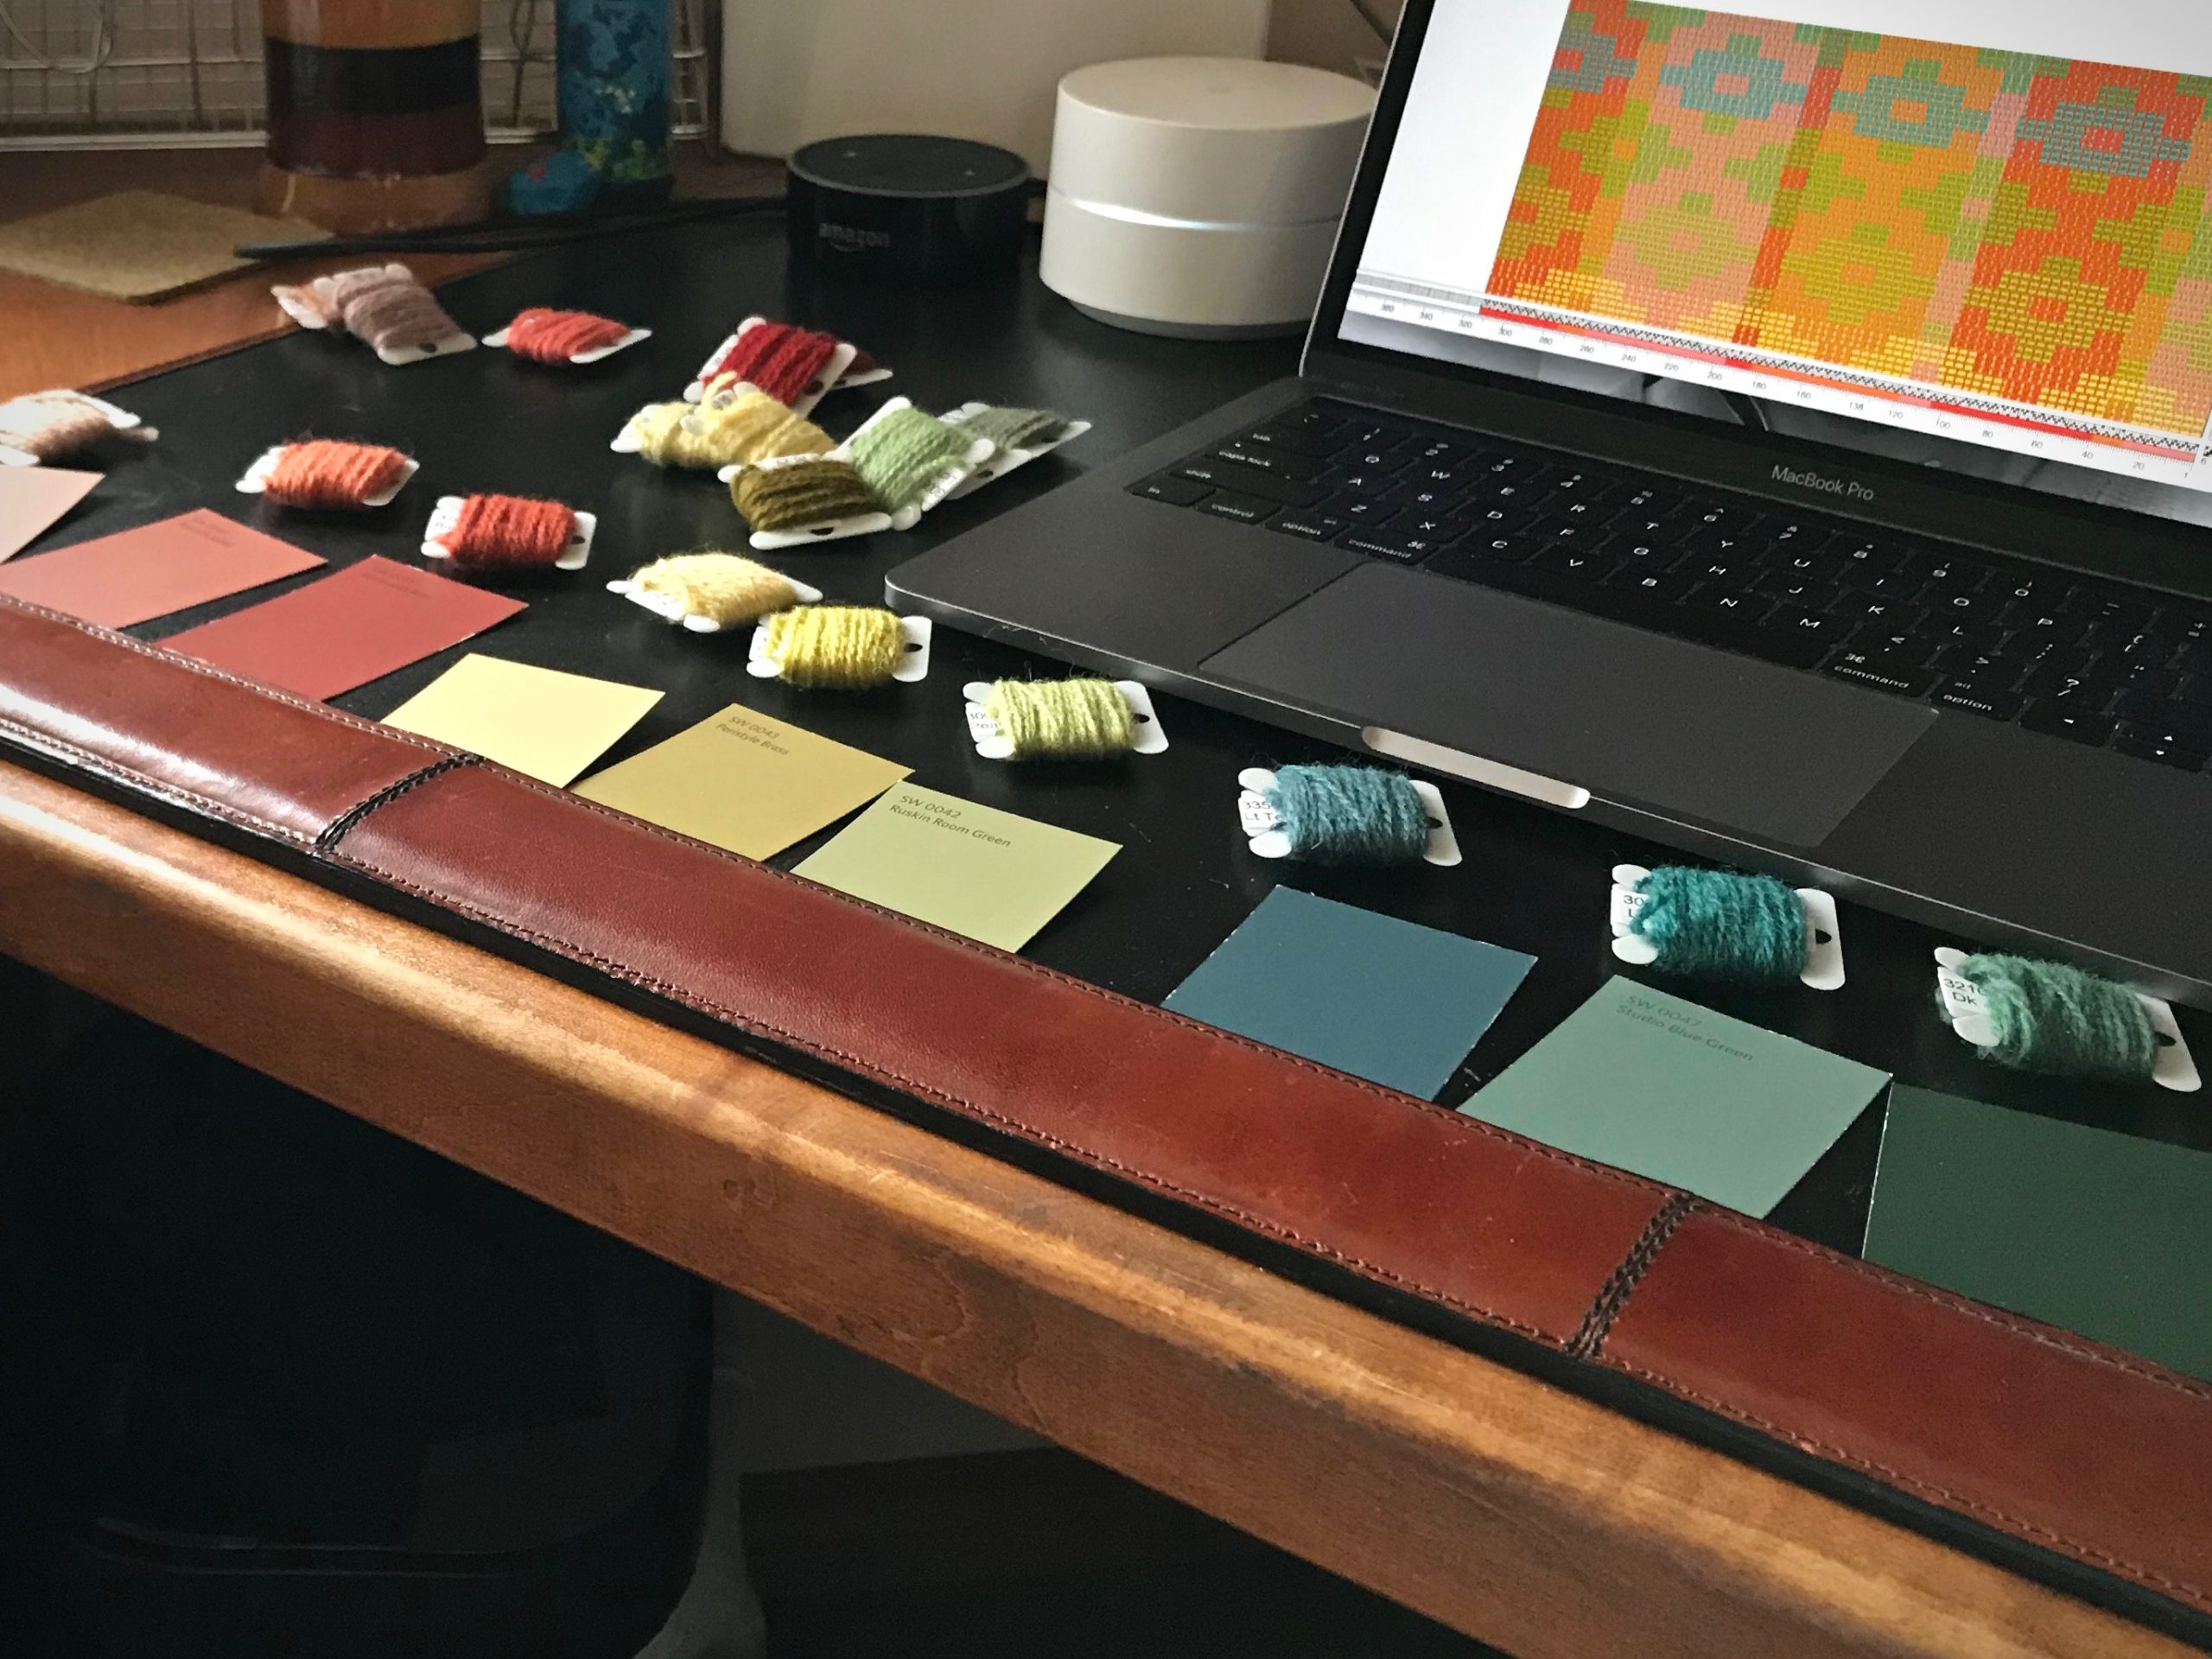
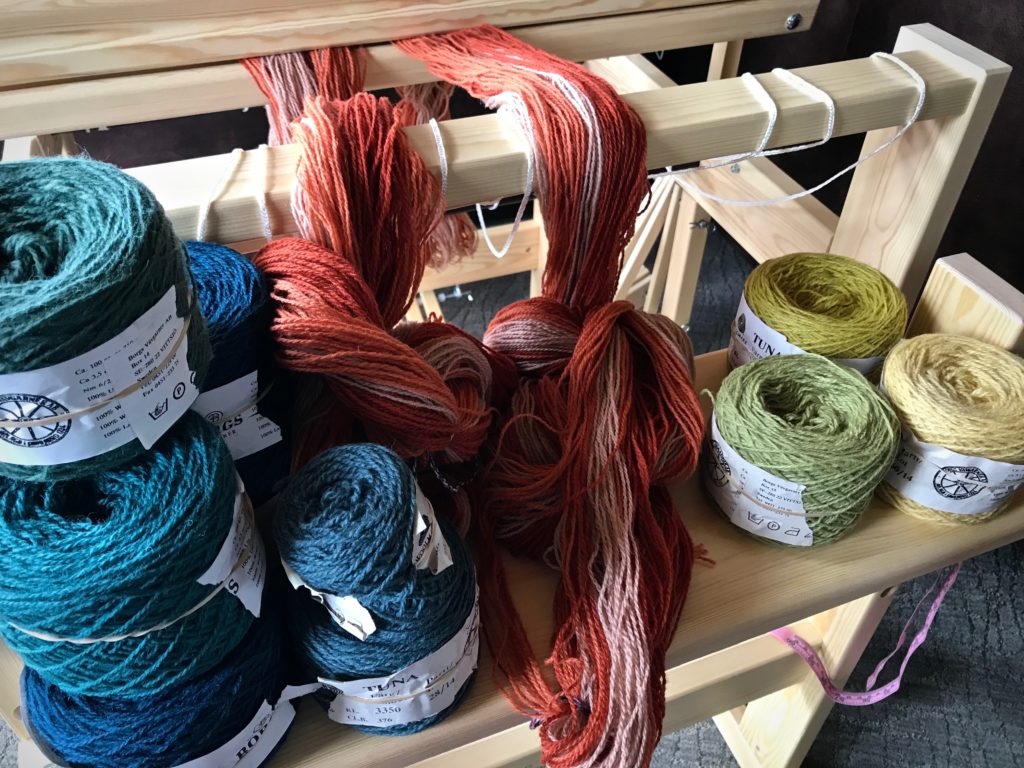
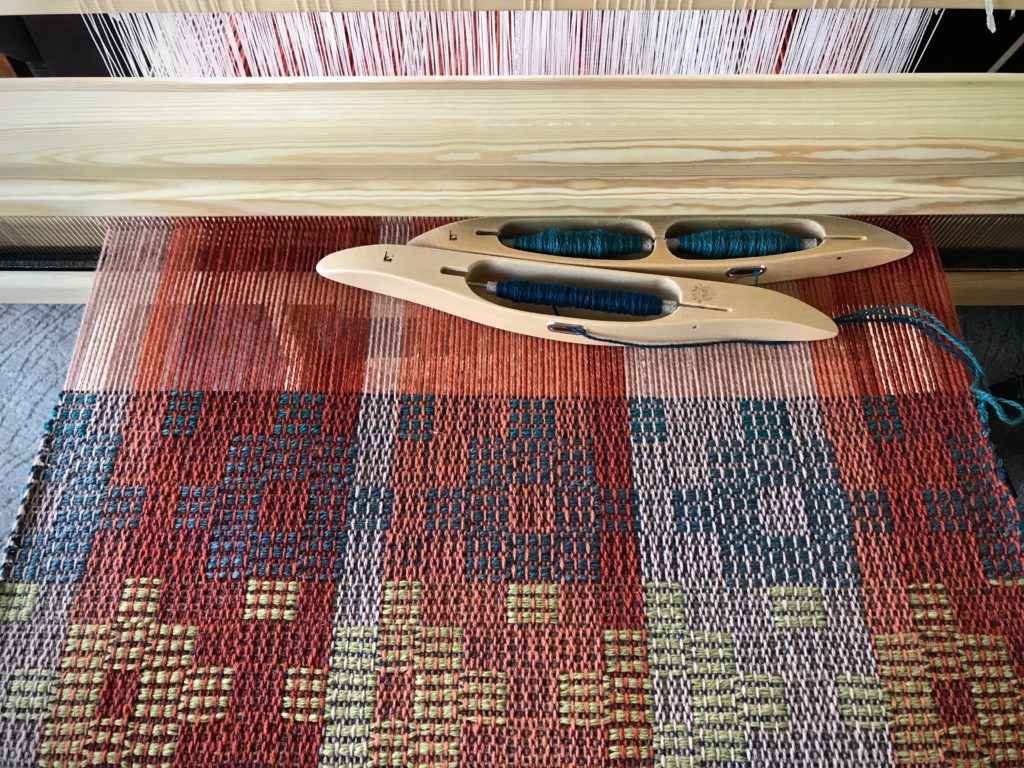
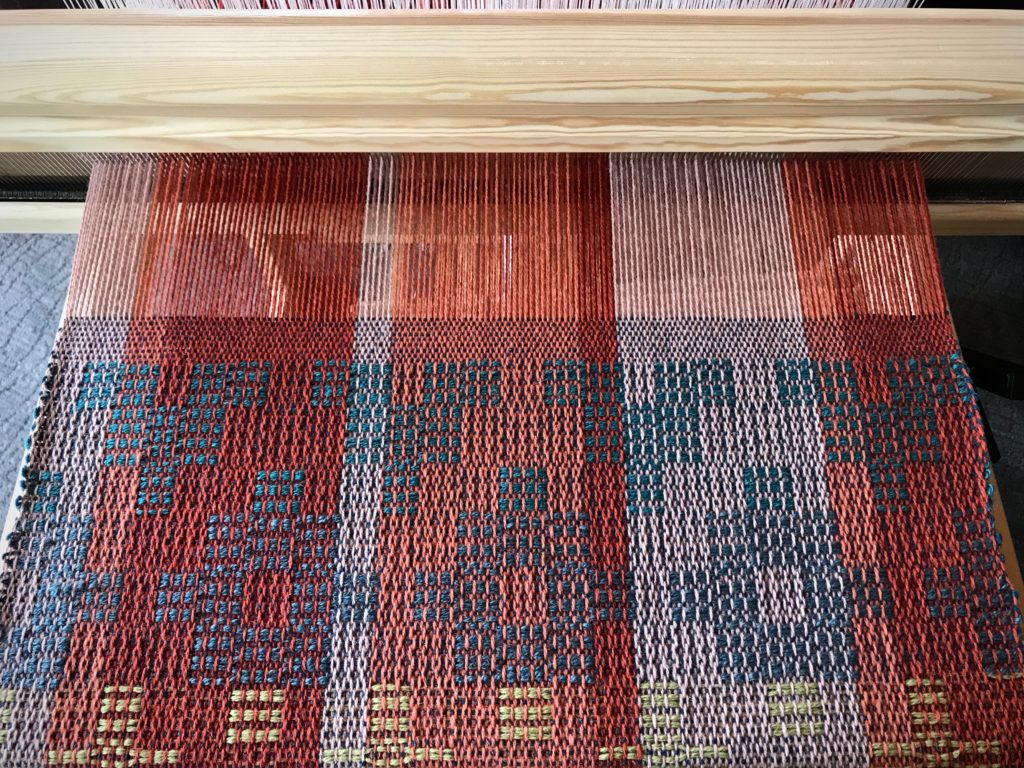
This project starts with the draft for the Jämtlandsdräll Blanket on p.59 of Simple Weaves, by Birgitta Bengtsson Björk and Tina Ignell. Tuna yarn samples, along with Fiberworks Silver for Mac, help me jazz up the color. I settle on three colors for the warp, with burnt orange as the anchor. Six different colors are used for the pattern weft, plus dark teal for the tabby.

Planning my next weaving project on Fiberworks.
Paint chips, Tuna yarn samples, and Fiberworks Silver for Mac aid my planning process.
Colors! Let's see how they work together on the loom.
Colors! Let’s see how they work together on the loom.
Beaming the warp on my new Julia.
Beaming the warp.
Weaving Jamtlandsdrall (Crackle) on my new Julia.
Daylight, plus colorful yarn. As summer is warming up outside, Julia is dressed warmly inside.
Weaving Jamtlandsdrall (crackle) on my new Julia.
There is something about weaving with a double-bobbin shuttle that I especially enjoy.
Color gradation in the pattern.
Some color gradation in the pattern.
My new Glimakra Julia!
Miss Julia, filling up her cloth beam.
Crackle (Jamtlandsdrall) in Tuna Wool.
Ending with a few picks of plain weave.
End of warp on my new Glimakra Julia.
Thrums at the end of the warp will serve as fringe.
Cutting off Jamtlandsdrall (crackle)!
Cutting off, giving a view of the back side of the cloth. Front and back have reverse images.
Jämtlandsdräll, just off the loom.
Twisting fringe on Jamtlandsdrall wrap.
Much to my pleasant surprise, after removing (unweaving) my short sample weaving at the beginning, and untying the front tie-on knots, I had the EXACT same length of fringe–to the centimeter–on both ends of the woven wrap.
Chunky, frolicky fringe.
Overhand knots secure the weft. Two groups of four warp strands each form each chunky fringe. Now, this wrap is ready for wet-finishing.

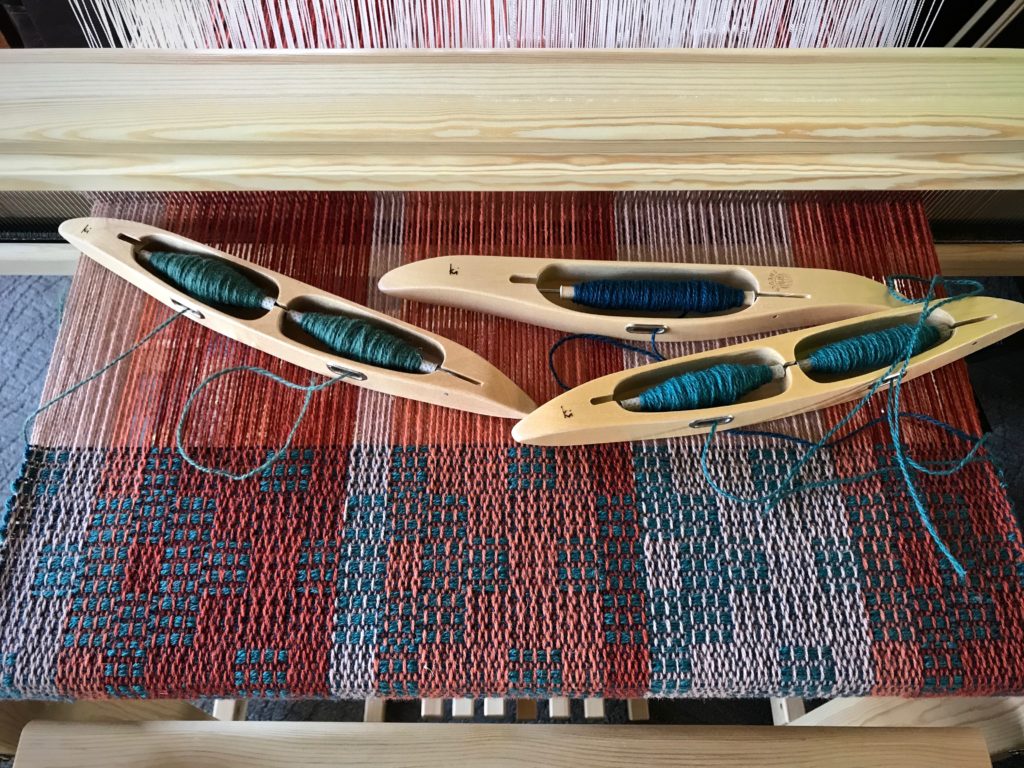
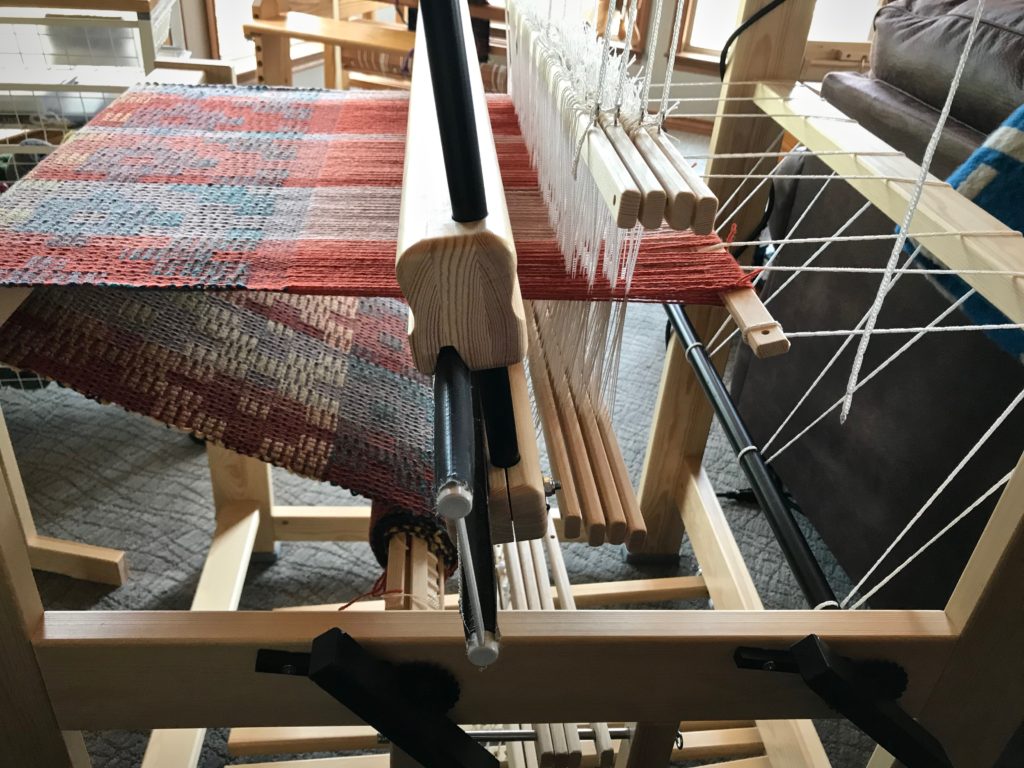
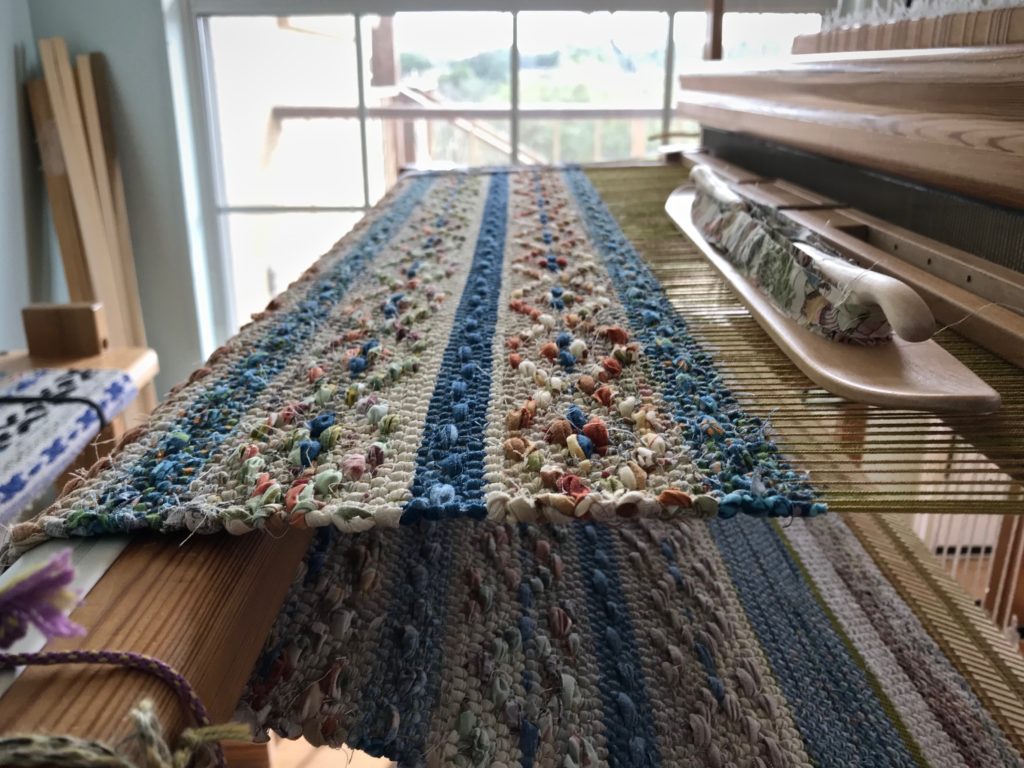
This is one of those times when the weaving is so satisfying that I truly don’t want the warp to come to an end. (…except that I’m excited to start on Julia’s second adventure!)

Jämtlandsdräll Autumn/Winter Wrap

May your adventures never cease.

Happy Weaving,
Karen

Rosepath Whispers

This fifth rag rug on the warp has the same classic rosepath design as the others. This rug, however, has rosepath as a whispered hint instead of the usual bold statement. Colorful beauty? Yes. Yet, it’s quiet. Restful.

*Rosepath Whispers* rag rug.
Hints of rosepath pattern.
Rosepath Whispers rag rug.
Design plan sits nearby for reference as I weave.

The rosepath pattern is fully present, but soft-spoken. In the pattern areas, there is only slight contrast between the pattern weft and ground weave weft. The print fabric that is used for some of the pattern weft leaves spots of color, which also helps to blend the pattern into the background. The hint of a pattern makes you take a second look to see what is really there.

Winnie the Pooh is going into this rag rug.
Winnie the Pooh fabric is used for some of the ground weave weft.
Texture from rosepath pattern.
Texture of the raised rosepath pattern is clearly seen from the edge.

A restful person is like that, making us want to take a second look to see what’s behind that demeanor. Rest is a form of trust. Trusting God’s grace means believing that God will give us what we need. And that brings rest, the kind that is on the inside. Deep inside, where the pattern of grace is fully present, our being is transformed. And whatever is on the inside will show on the outside. Colorful beauty? Yes; and quiet, too. Restful.

May you be restful on the inside.

Happy Weaving,
Karen

Tried and True: Outsmart the Rag Rug Weft Tails

What do you do with weft tails on a rag rug? Normally, you wrap the weft tail around the outer warp end and tuck it back into the shed. But what about color changes? If you have several color changes in a row, you can end up with extra bulk on one selvedge or another from those tucked-in tails.

3 Ways to Outsmart Rag Rug Weft Tails

  • TWO PICKS For a two-pick stripe, leave a tail of several inches on the first pick. For the second pick, lay the weft tail from the first pick in the shed. Lay in the second pick, and cut the fabric strip to overlap the weft tail in the shed. This eliminates any extra bulk at the selvedges. (All tails are cut at a steep angle.)
  • CARRY IT When feasible, carry the weft up the side. If a weft is out of play for only one or two rows, do not cut it. When another weft enters the shed, make sure it encircles the idle weft.
  • DISTRIBUTE Whenever possible, avoid tucking in weft tails two picks in a row. Wait, and tuck in the tail on a subsequent pick.

HERE IS AN EXAMPLE:

How to outsmart rag rug weft tails!
Gray weft ends with weft tail tucked in. White tabby weft tail is not tucked in.
How to outsmart rag rug weft tails!
Rosepath pattern weft for a two-pick stripe. Loooooong weft tail.
How to outsmart rag rug weft tails!
Tabby weft goes around the rosepath pattern weft, and is tucked in the shed.
How to outsmart rag rug weft tails!
Tabby weft comes through the shed and lays over the tucked-in tail.
How to outsmart rag rug weft tails!
Tabby weft is beaten in.
How to outsmart rag rug weft tails!
Pattern weft is laid in the shed, with tails overlapping near the center of the warp.
Tabby weft is beaten in, and weft tail is tucked in. In the middle of the rosepath medallion the orange print weft is carried up the side until it is used again. For the gray strip that follows the last white tabby pick, the weft tail is tucked in on the second gray pick.
How to outsmart rag rug weft tails!
Rosepath medallion with several color changes.

One more thing. Cut the weft tail extra long if you are tucking it in a row with weft floats, as in rosepath (Like the center pick in this medallion). This helps keep that weft tail from popping out of place. You don’t want those tails to start waving at you.

May you pay attention to the details.

Happy Weaving,
Karen

Process Review: Drawloom Jewels

It is exciting when Maverick walks by. Although he never comes in my drawloom studio, he does stop for a moment to look my way. You’ll see him in the slideshow video below. But what happens inside the studio is even more exciting, especially when it’s time for cutting off!

Drawloom with 16 pattern shafts.
Drawloom, set up with sixteen pattern shafts. I graph out the designs in Excel on my computer. Then, I print out the gridded pattern to use at the loom. I keep my place in the pattern with a magnet and magnet board made for cross-stitch embroidery.

This is Tuna wool, so I expect some shrinkage, but how much? I take careful measurements before and after wet finishing. Besides the main piece of fabric that I’m using for a garment, I have two sample pieces. I can experiment with the samples before wet finishing my garment fabric.

Here are my findings:
Sample 1. Hand wash and air dry.

10% shrinkage in width; 13% shrinkage in length.

Sample 2. Machine wash (3 minutes agitation on a gentle cycle, with a short spin) and machine dry (low setting) till damp, finish with air drying.

13% shrinkage in width; 14% shrinkage in length.

~How to do the shrinkage calculations~
First measurement (on the loom) minus the second measurement (after washing and drying) equals the difference. The difference divided by the first measurement equals the percentage difference.
For example, 50 cm – 43.5 cm = 6.5; 6.5 / 50 = 0.13; 13% shrinkage.

The first sample fabric is softer than the unwashed fabric, but not as soft as I’d like. The second sample fabric is beautifully soft, like a nice warm sweater. So, with confidence, I wet finish the garment fabric—with great results. It’s perfect for the fall/winter vest that I’ll soon be wearing, made from this fabric!

Wool garment fabric from a drawloom.
Like a sweater, this soft fabric will be comfortable to wear.
Making a pattern for handwoven garment fabric.
Muslin pattern for a simple vest. First, I’ll make a vest out of a wool throw, woven on my rigid heddle loom ages ago. Then, I will cut into the new drawloom fabric, with confidence about the fit.

Enjoy this photo show of the drawloom process.

May you enjoy the process you’re in.

Happy Weaving,
Karen

Process Review: First Drawloom Warp

There are two questions I hear most often. 1. How long did it take? 2. What is it going to be? These are hard questions to answer. I admit that I stumble around to find satisfying answers. 1. How long? Hours and hours. 2. Cloth. It is going to be cloth. What will the cloth be used for? I don’t know. But when I need a little something with a pretty design, I’ll know where to find it. There are two finished pieces, though, from this first drawloom warp: the Heart-Shaped Baskets table runner (adapted from a pattern in Damask and Opphämta, by Lillemor Johansson), and a small opphämta table topper that I designed on the loom. The rest are samplers, experiments, tests, and just plain fun making-of-cloth. Oh, and I wondered if I could take the thrums and make a square braid…just for the fun of it.

First warp on my drawloom. Success!
Opphämta piece on the left, with Fårö wool pattern weft. Heart-Shaped Baskets runner on the right, with red 16/2 cotton pattern weft. Ten pattern shafts.

I will let the pictures tell the story of this first drawloom warp.

May you have plenty of things to make just for fun.

Happy Weaving,
Karen