Tried and True: How to Count to Three – and Other Weaving Tips

We weavers are resourceful. We enjoy finding solutions that make our time at the loom more efficient, while raising the quality of our weaving. We’ve done some of these little tricks so much we don’t think about them anymore. And then, some innovations are things we think up on the spot because necessity, as you know, is the mother of invention.

Keep Count

Necessity: Keep from losing my place with treadling repeats.
Solution: A strip of blue painter’s tape with “3 2 1” and a rubber band, placed on the breast beam. Move the rubber band on the tape (from right to left) to track repeats.
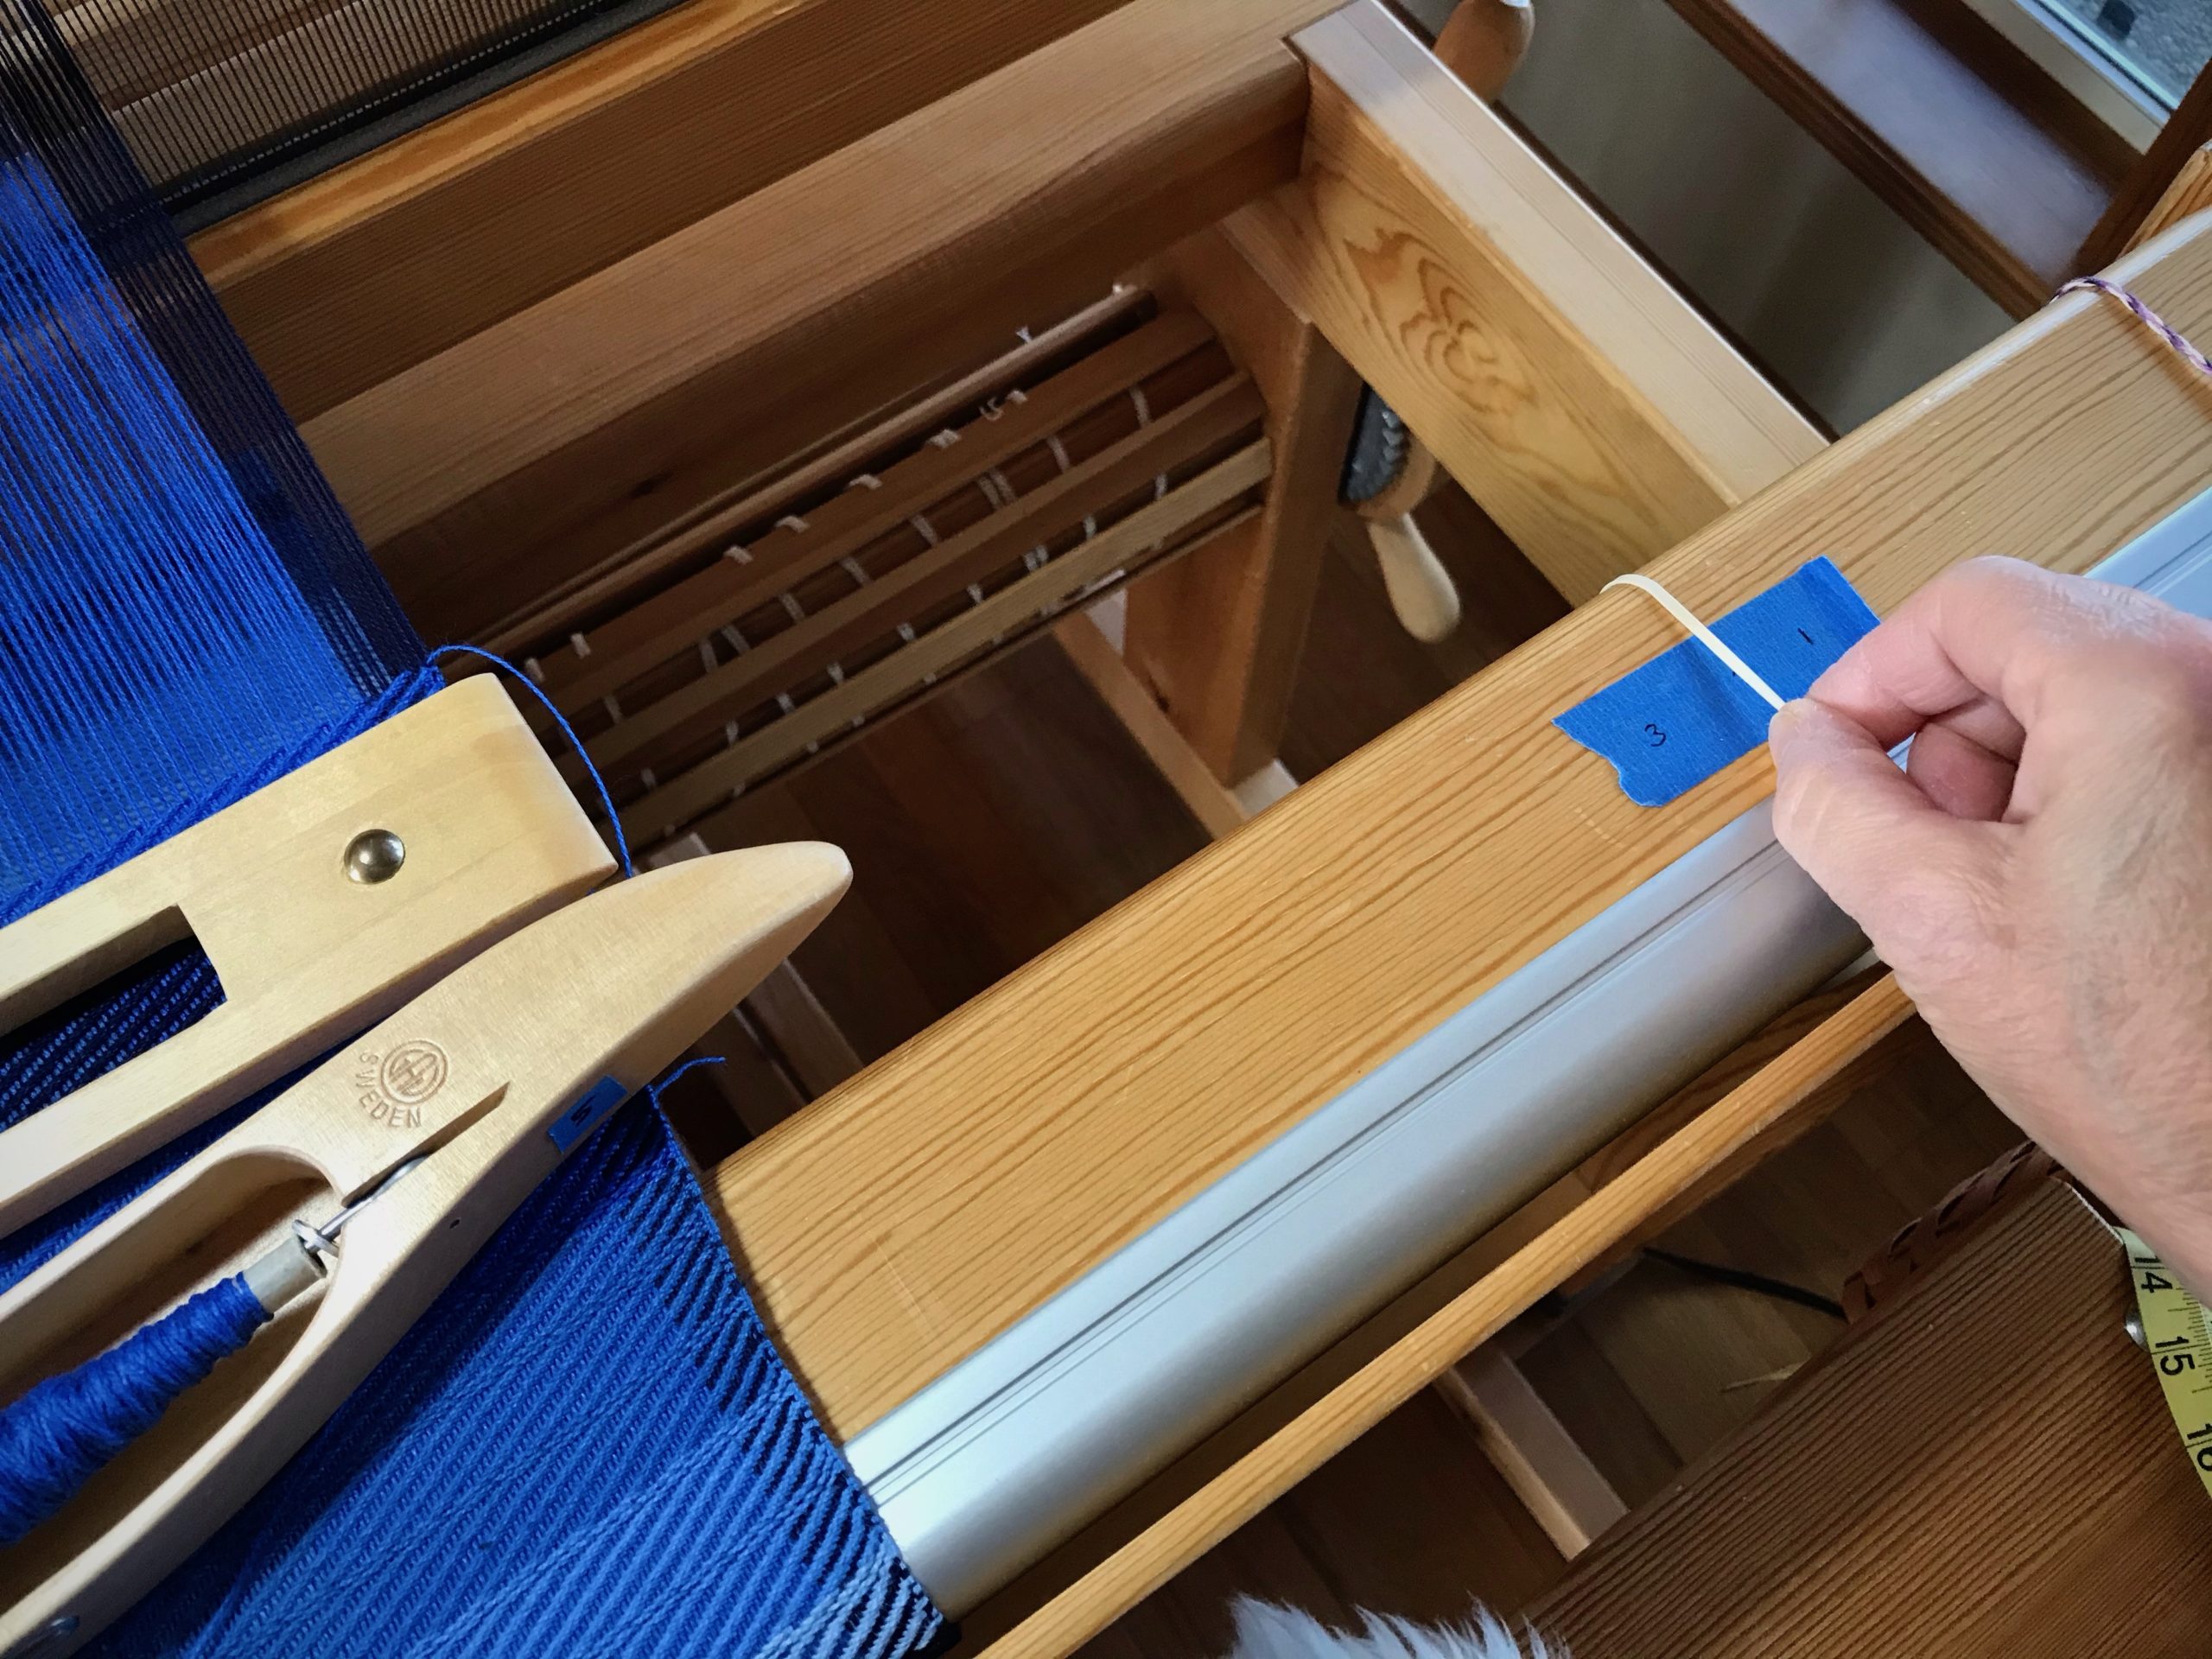
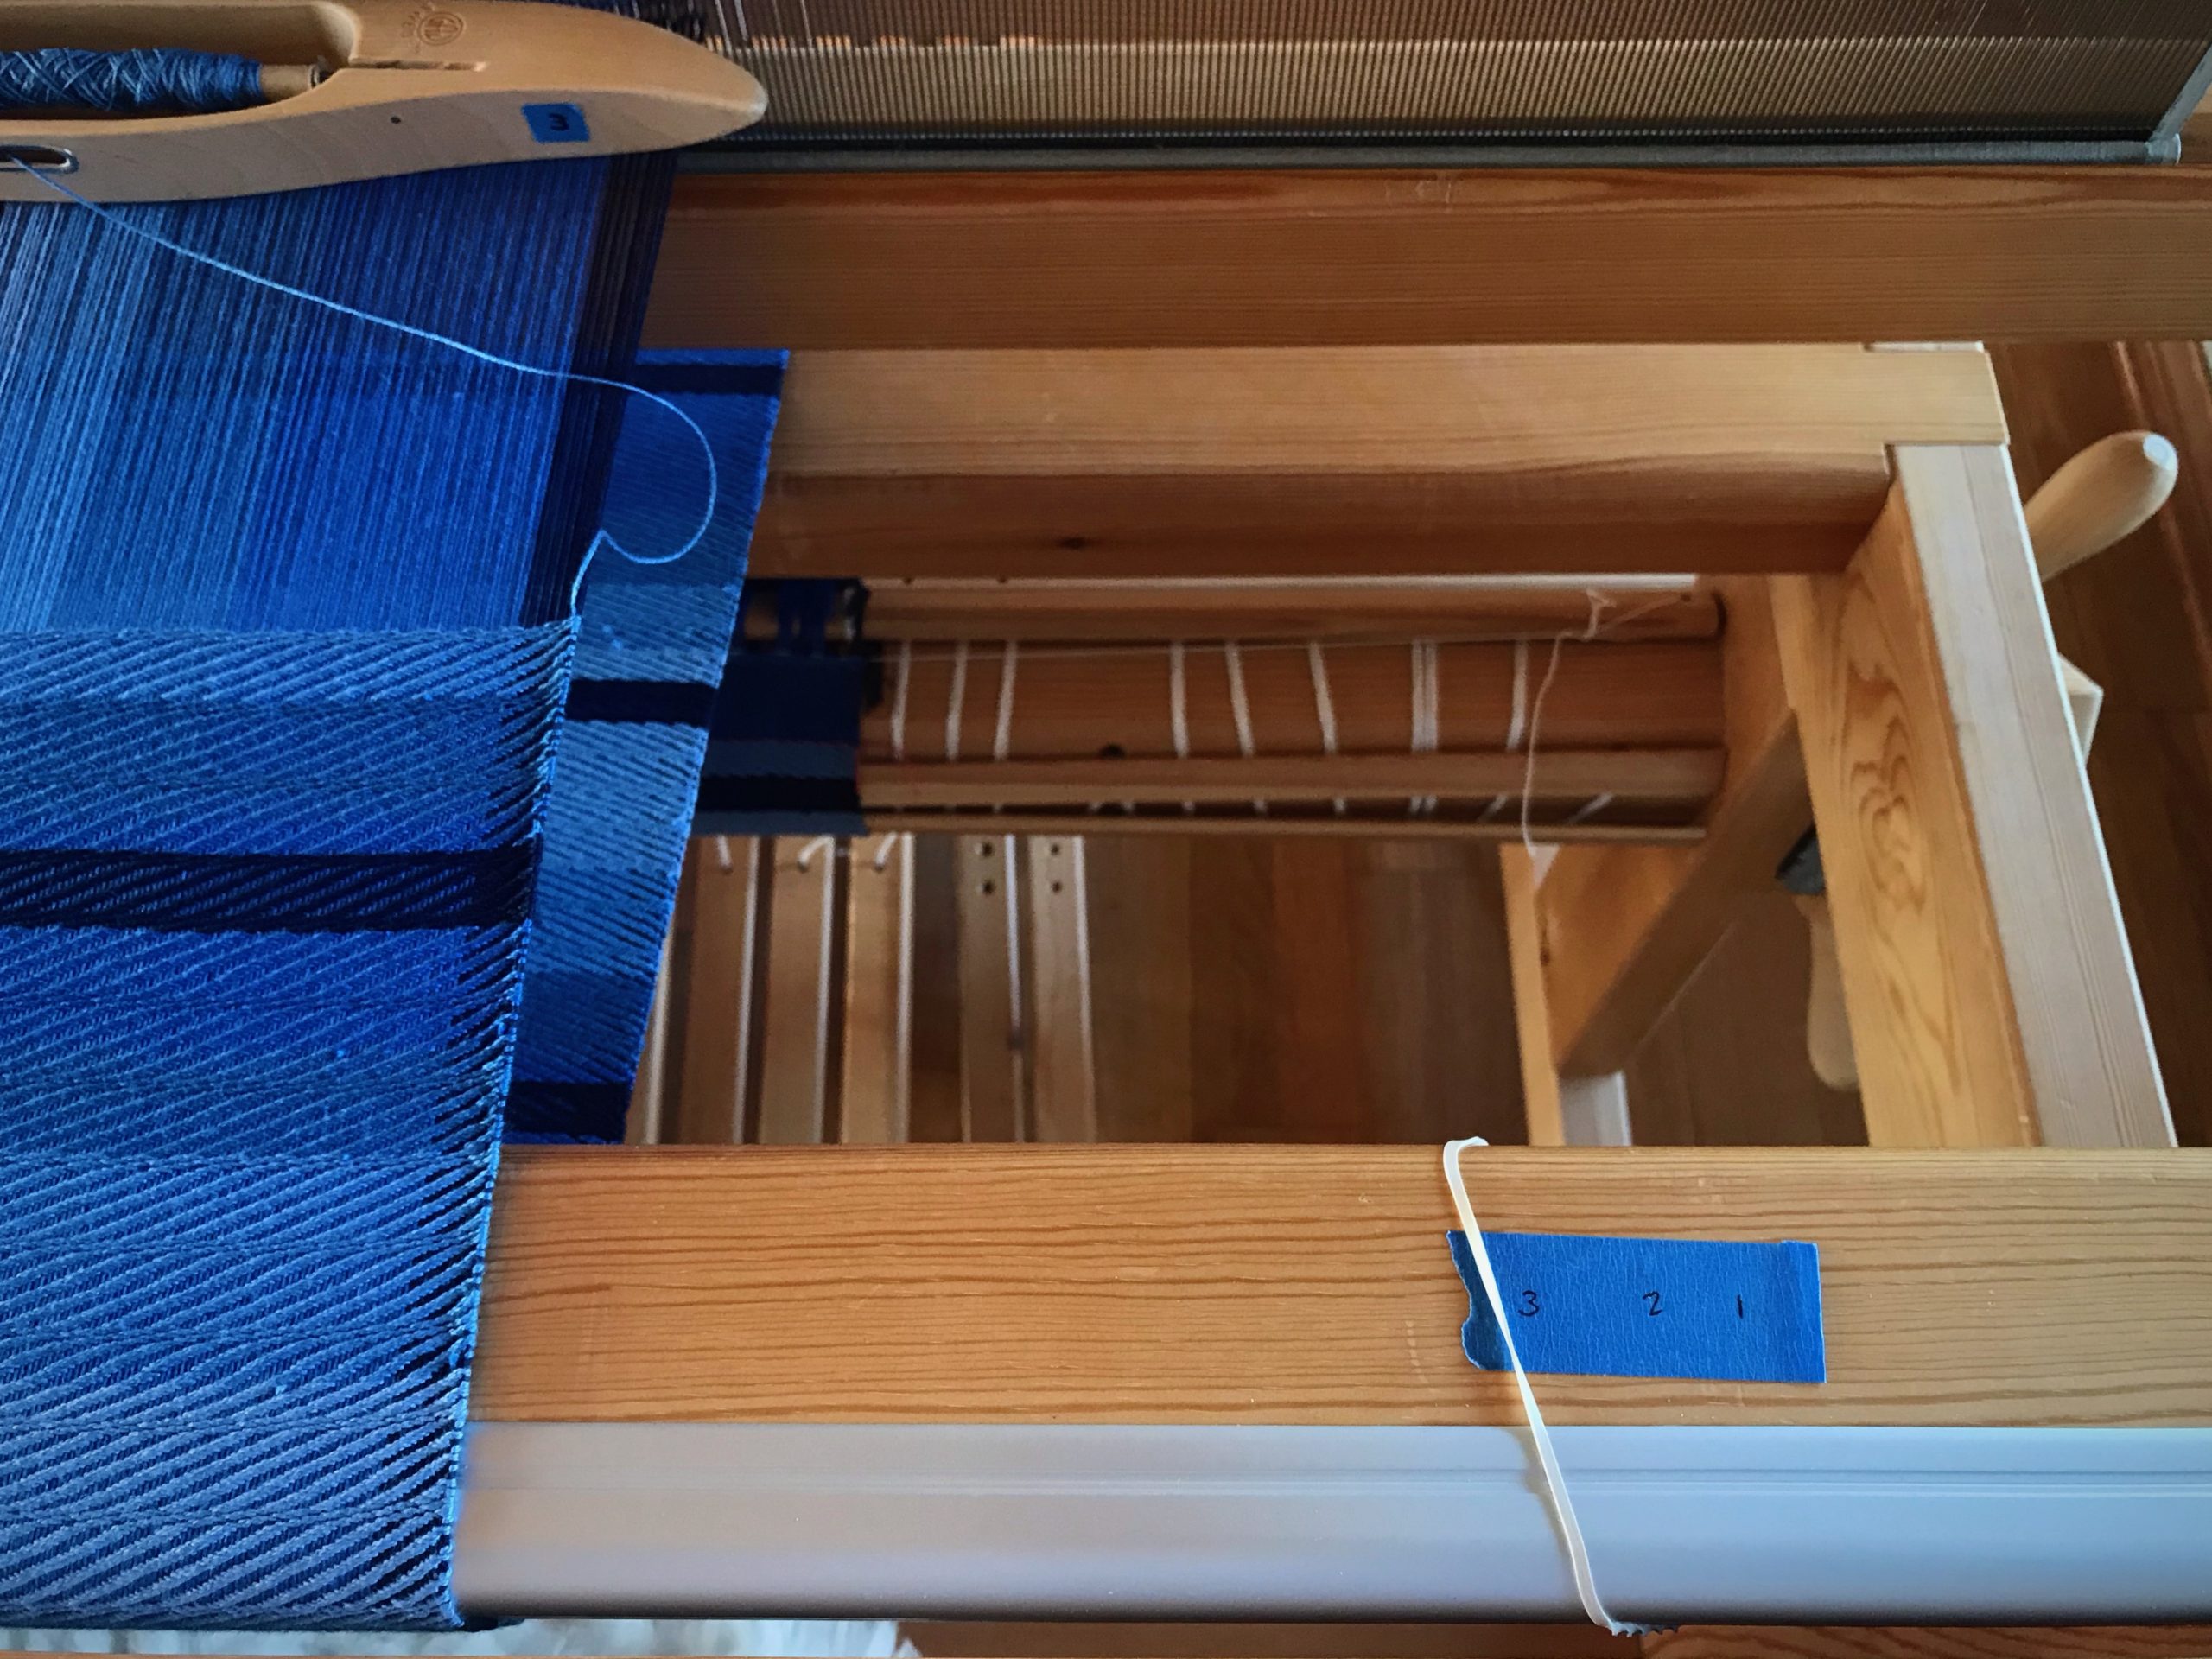
Weaving tips - low tech solutions.
I need help counting to 3 when it comes to treadling repeats. On the Glimåkra Standard loom, I am able to loosen the warp enough to lift the breast beam so I can put a rubber band on it. Without a removable breast beam, one could use a separate small piece of tape instead of a rubber band to keep track.
Keep track of repeats. Blog post with tips and tricks.
Low tech solution for keeping track.

Shuttle Catch

Necessity: Keep from fumbling the catch, having to reposition the shuttle in my hand to send it back across the warp.
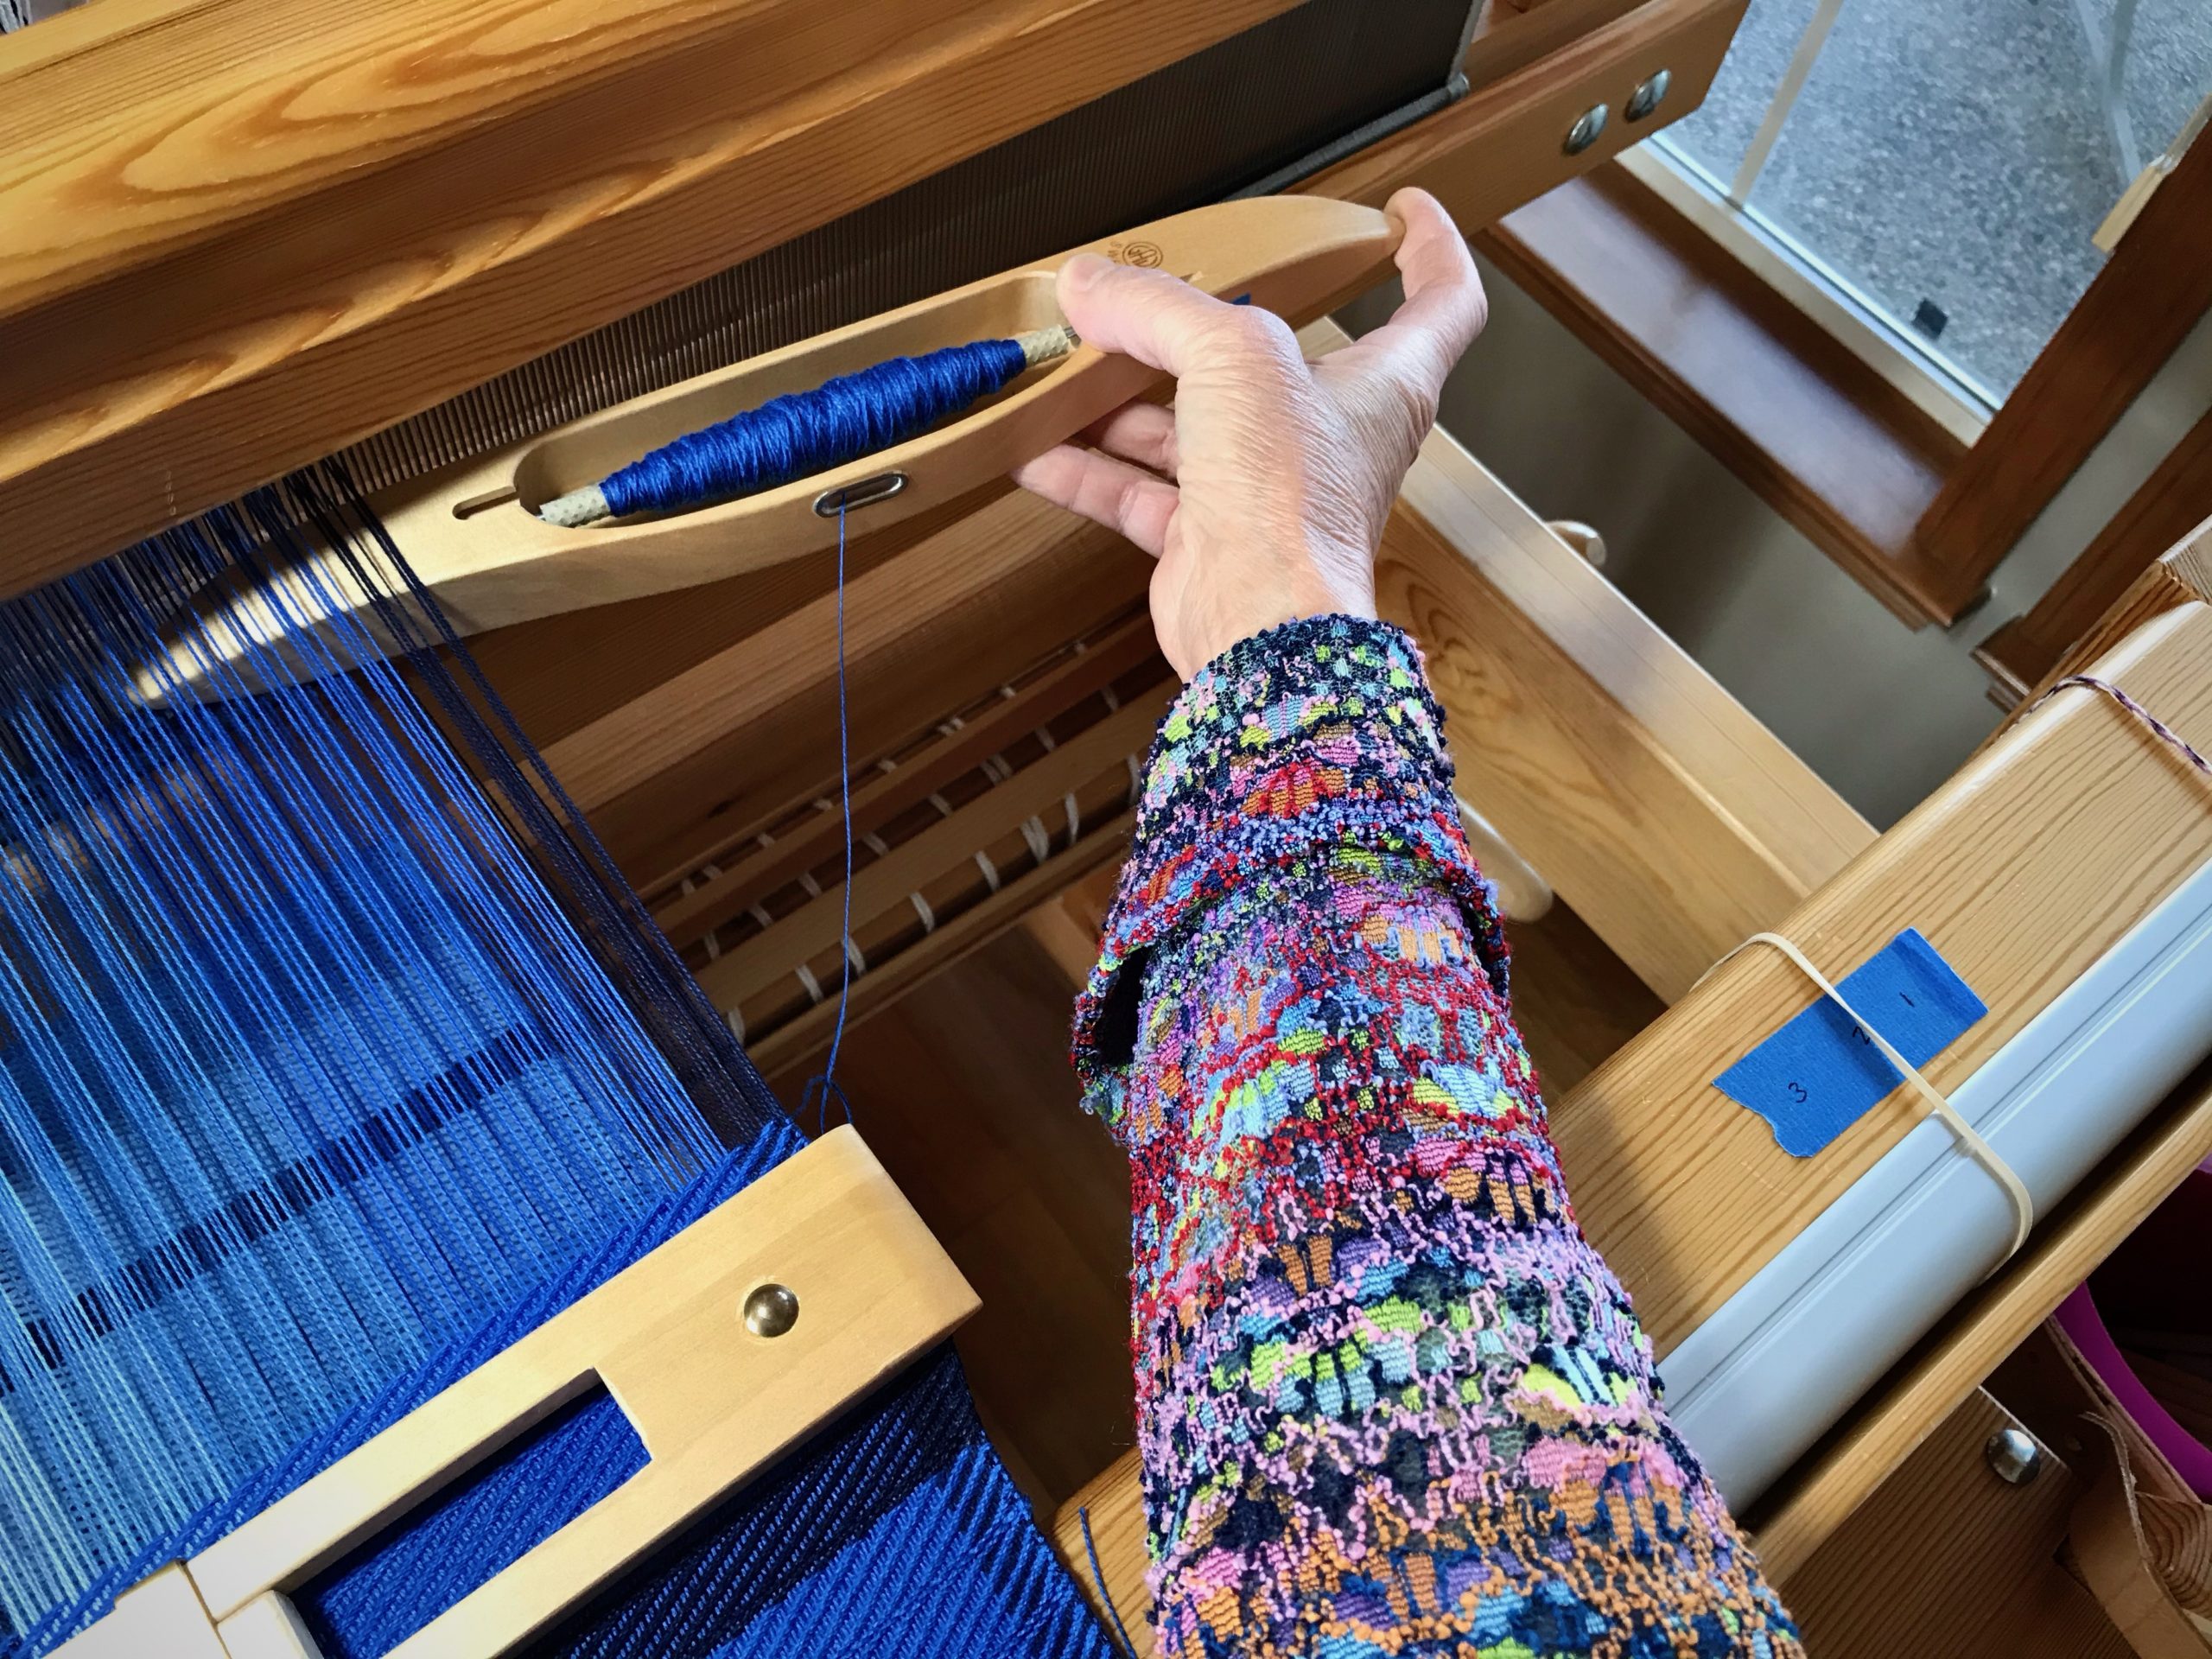
Solution: Keep my eye on the shuttle. If I turn my head to watch the movement of the shuttle, my catching and throwing improves immediately. This makes my selvedges improve, too.
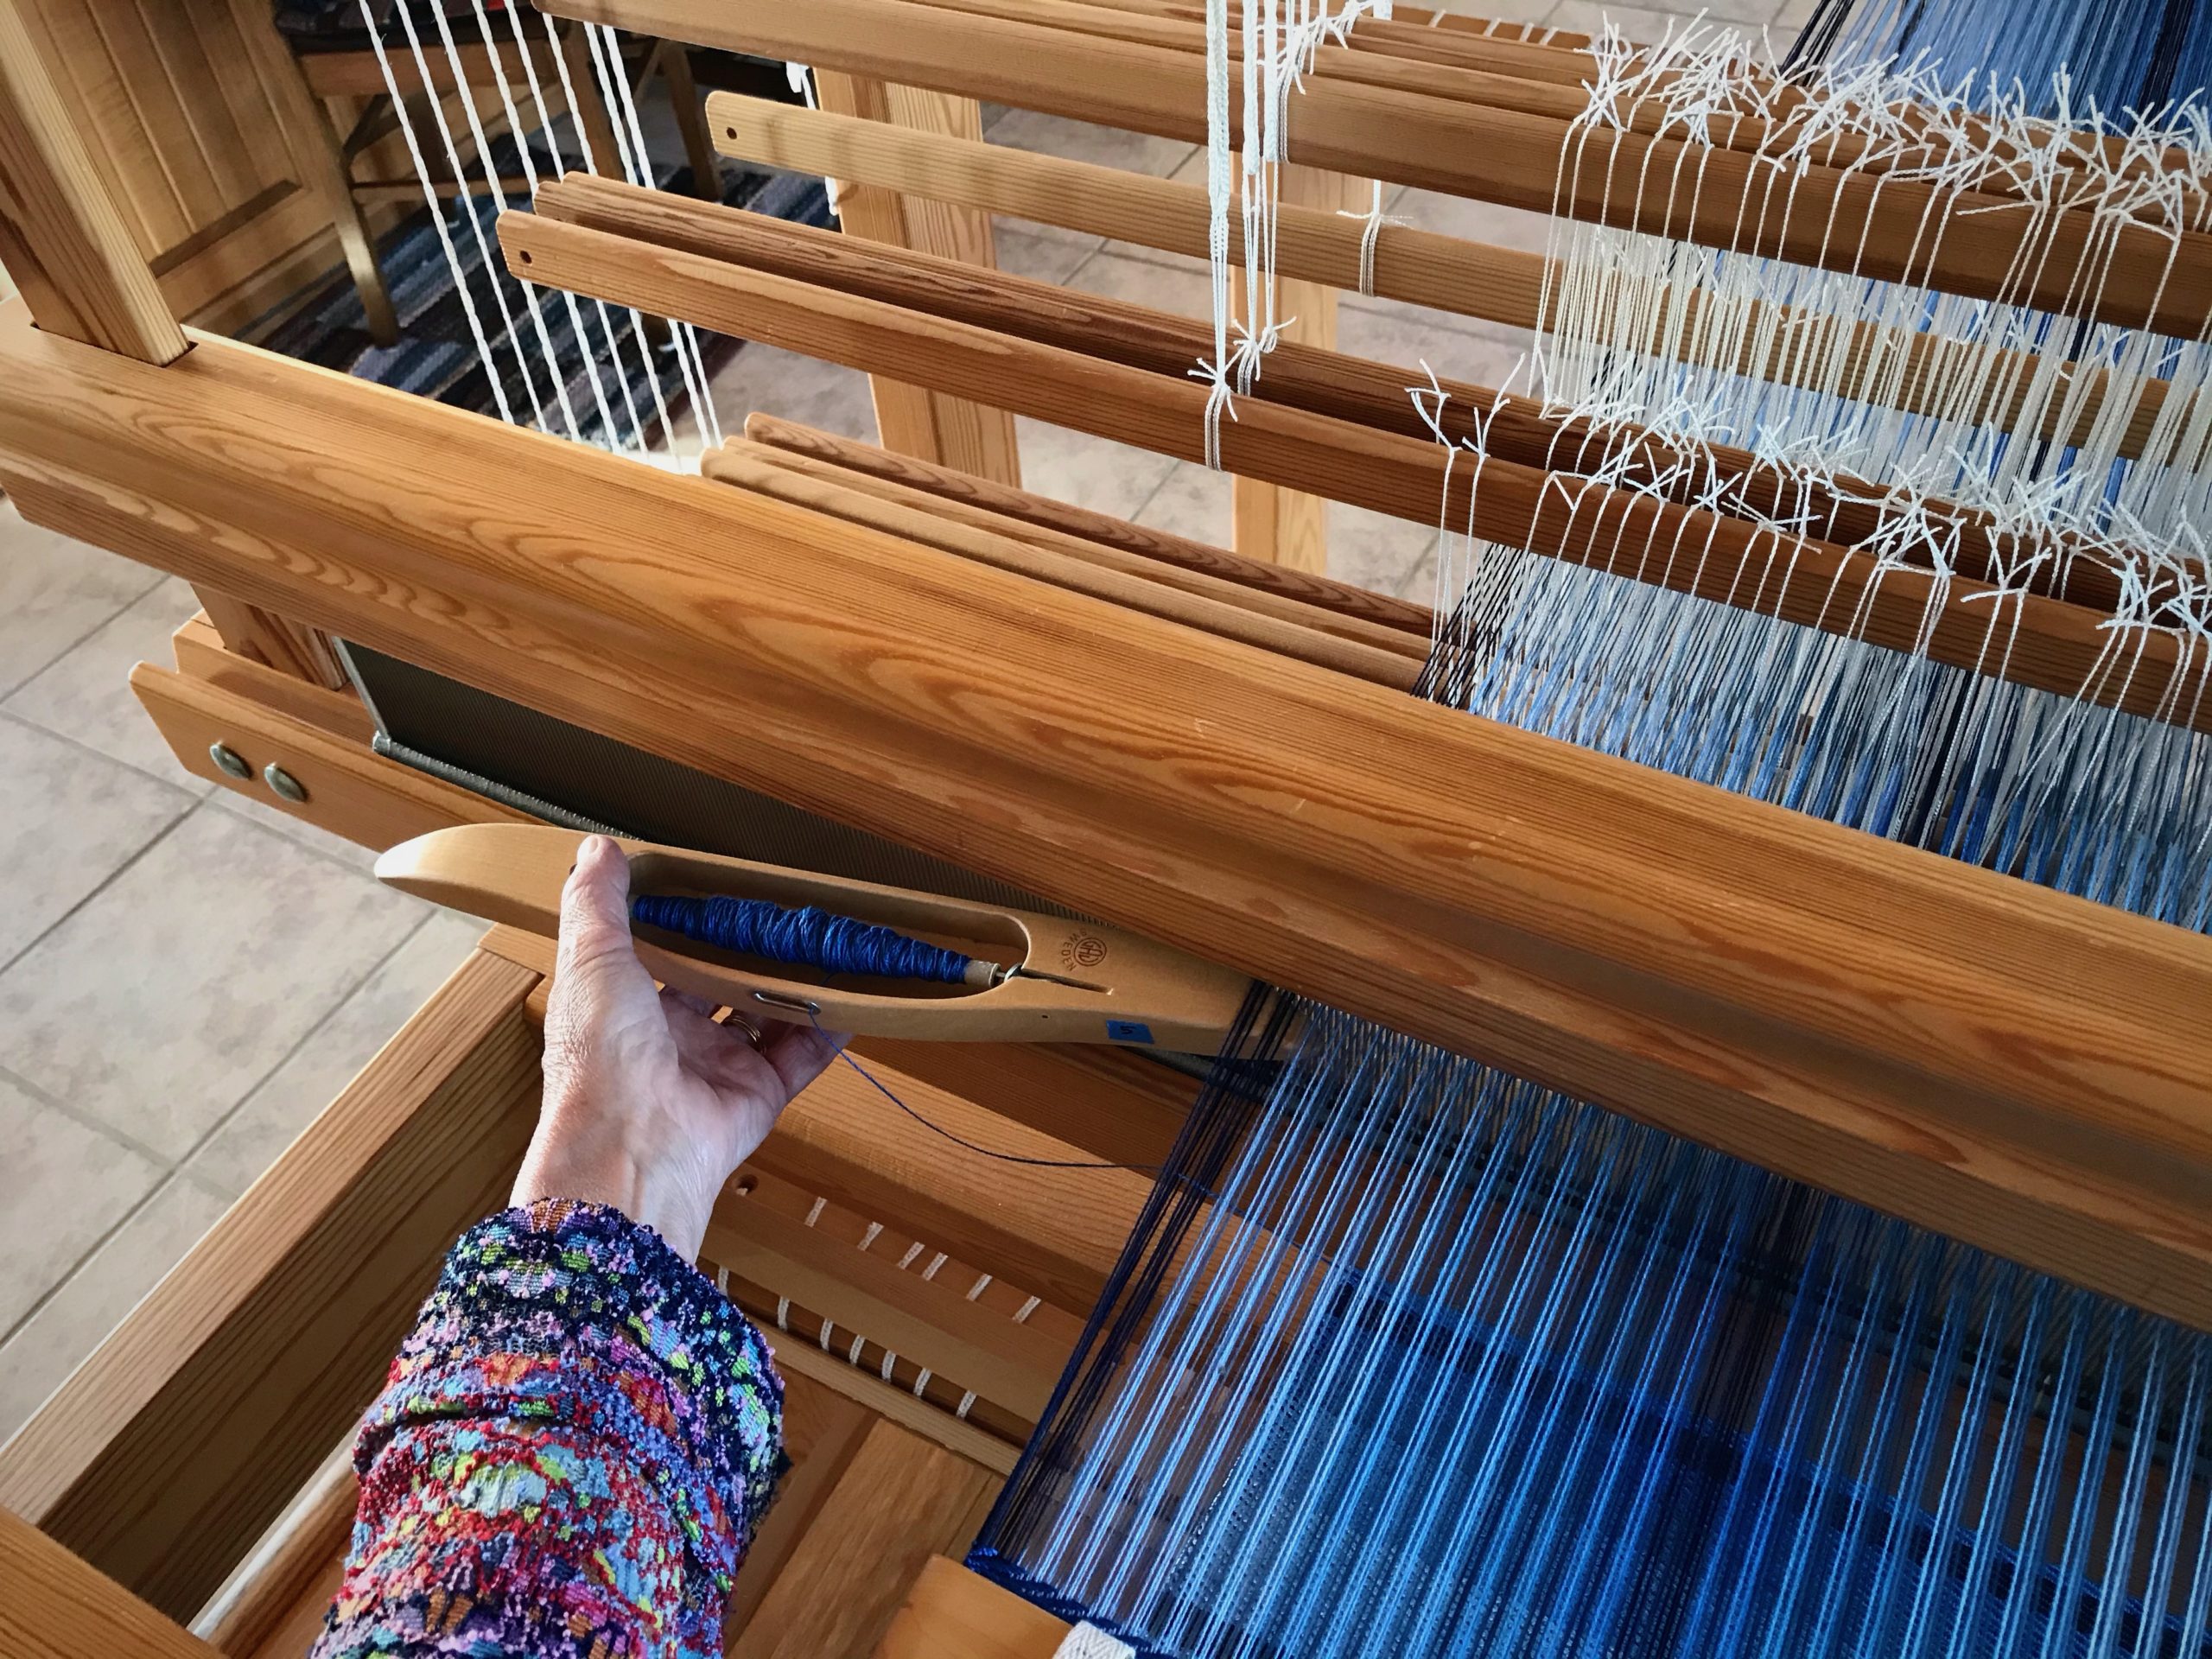
Weaving tips and tricks. Easy tip on how to catch the shuttle perfectly.
It is easy to throw and catch the shuttle without actually looking at your hands. I have to consciously remember to turn my head to follow the shuttle with my eyes.

Leave No Trace

Necessity: Keep from leaving slightly perceptible lines in the woven cloth that reveal every time I stop to move the temple and advance the warp.
Solution: When it is almost time to advance the warp, I move the temple and then weave one or more pattern sequence(s) before advancing the warp. This helps me leave no trace of starting and stopping.
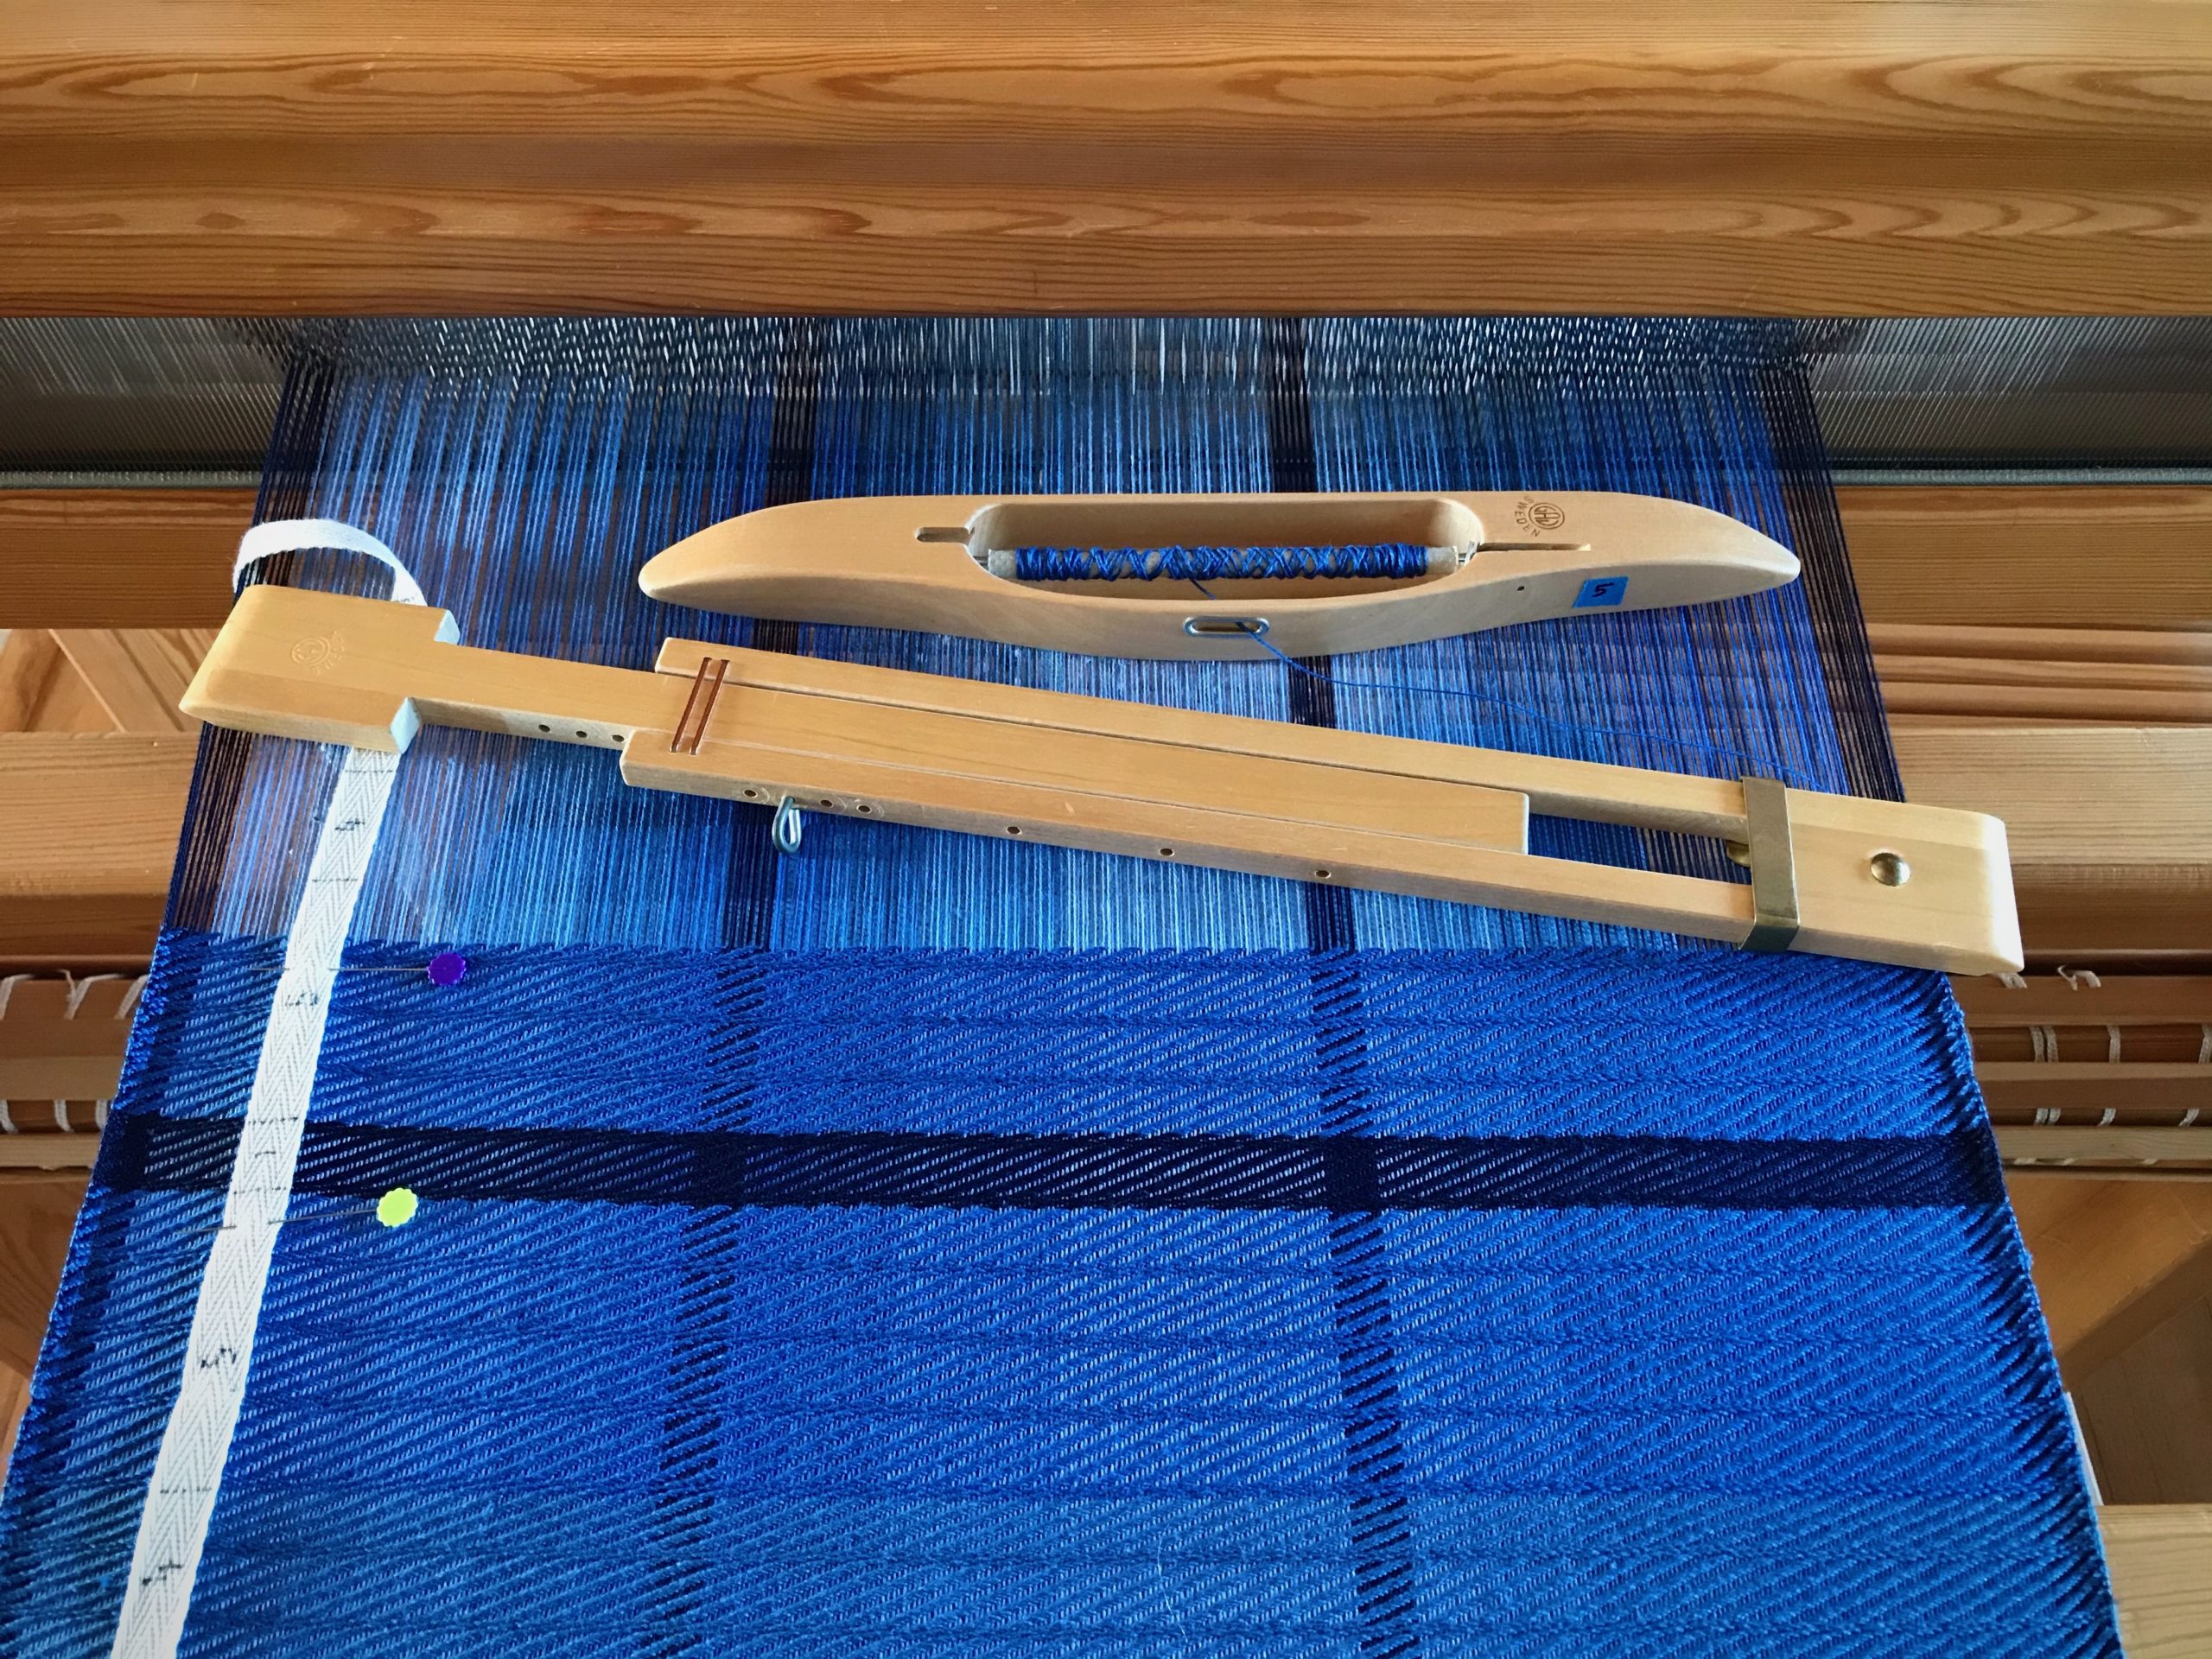
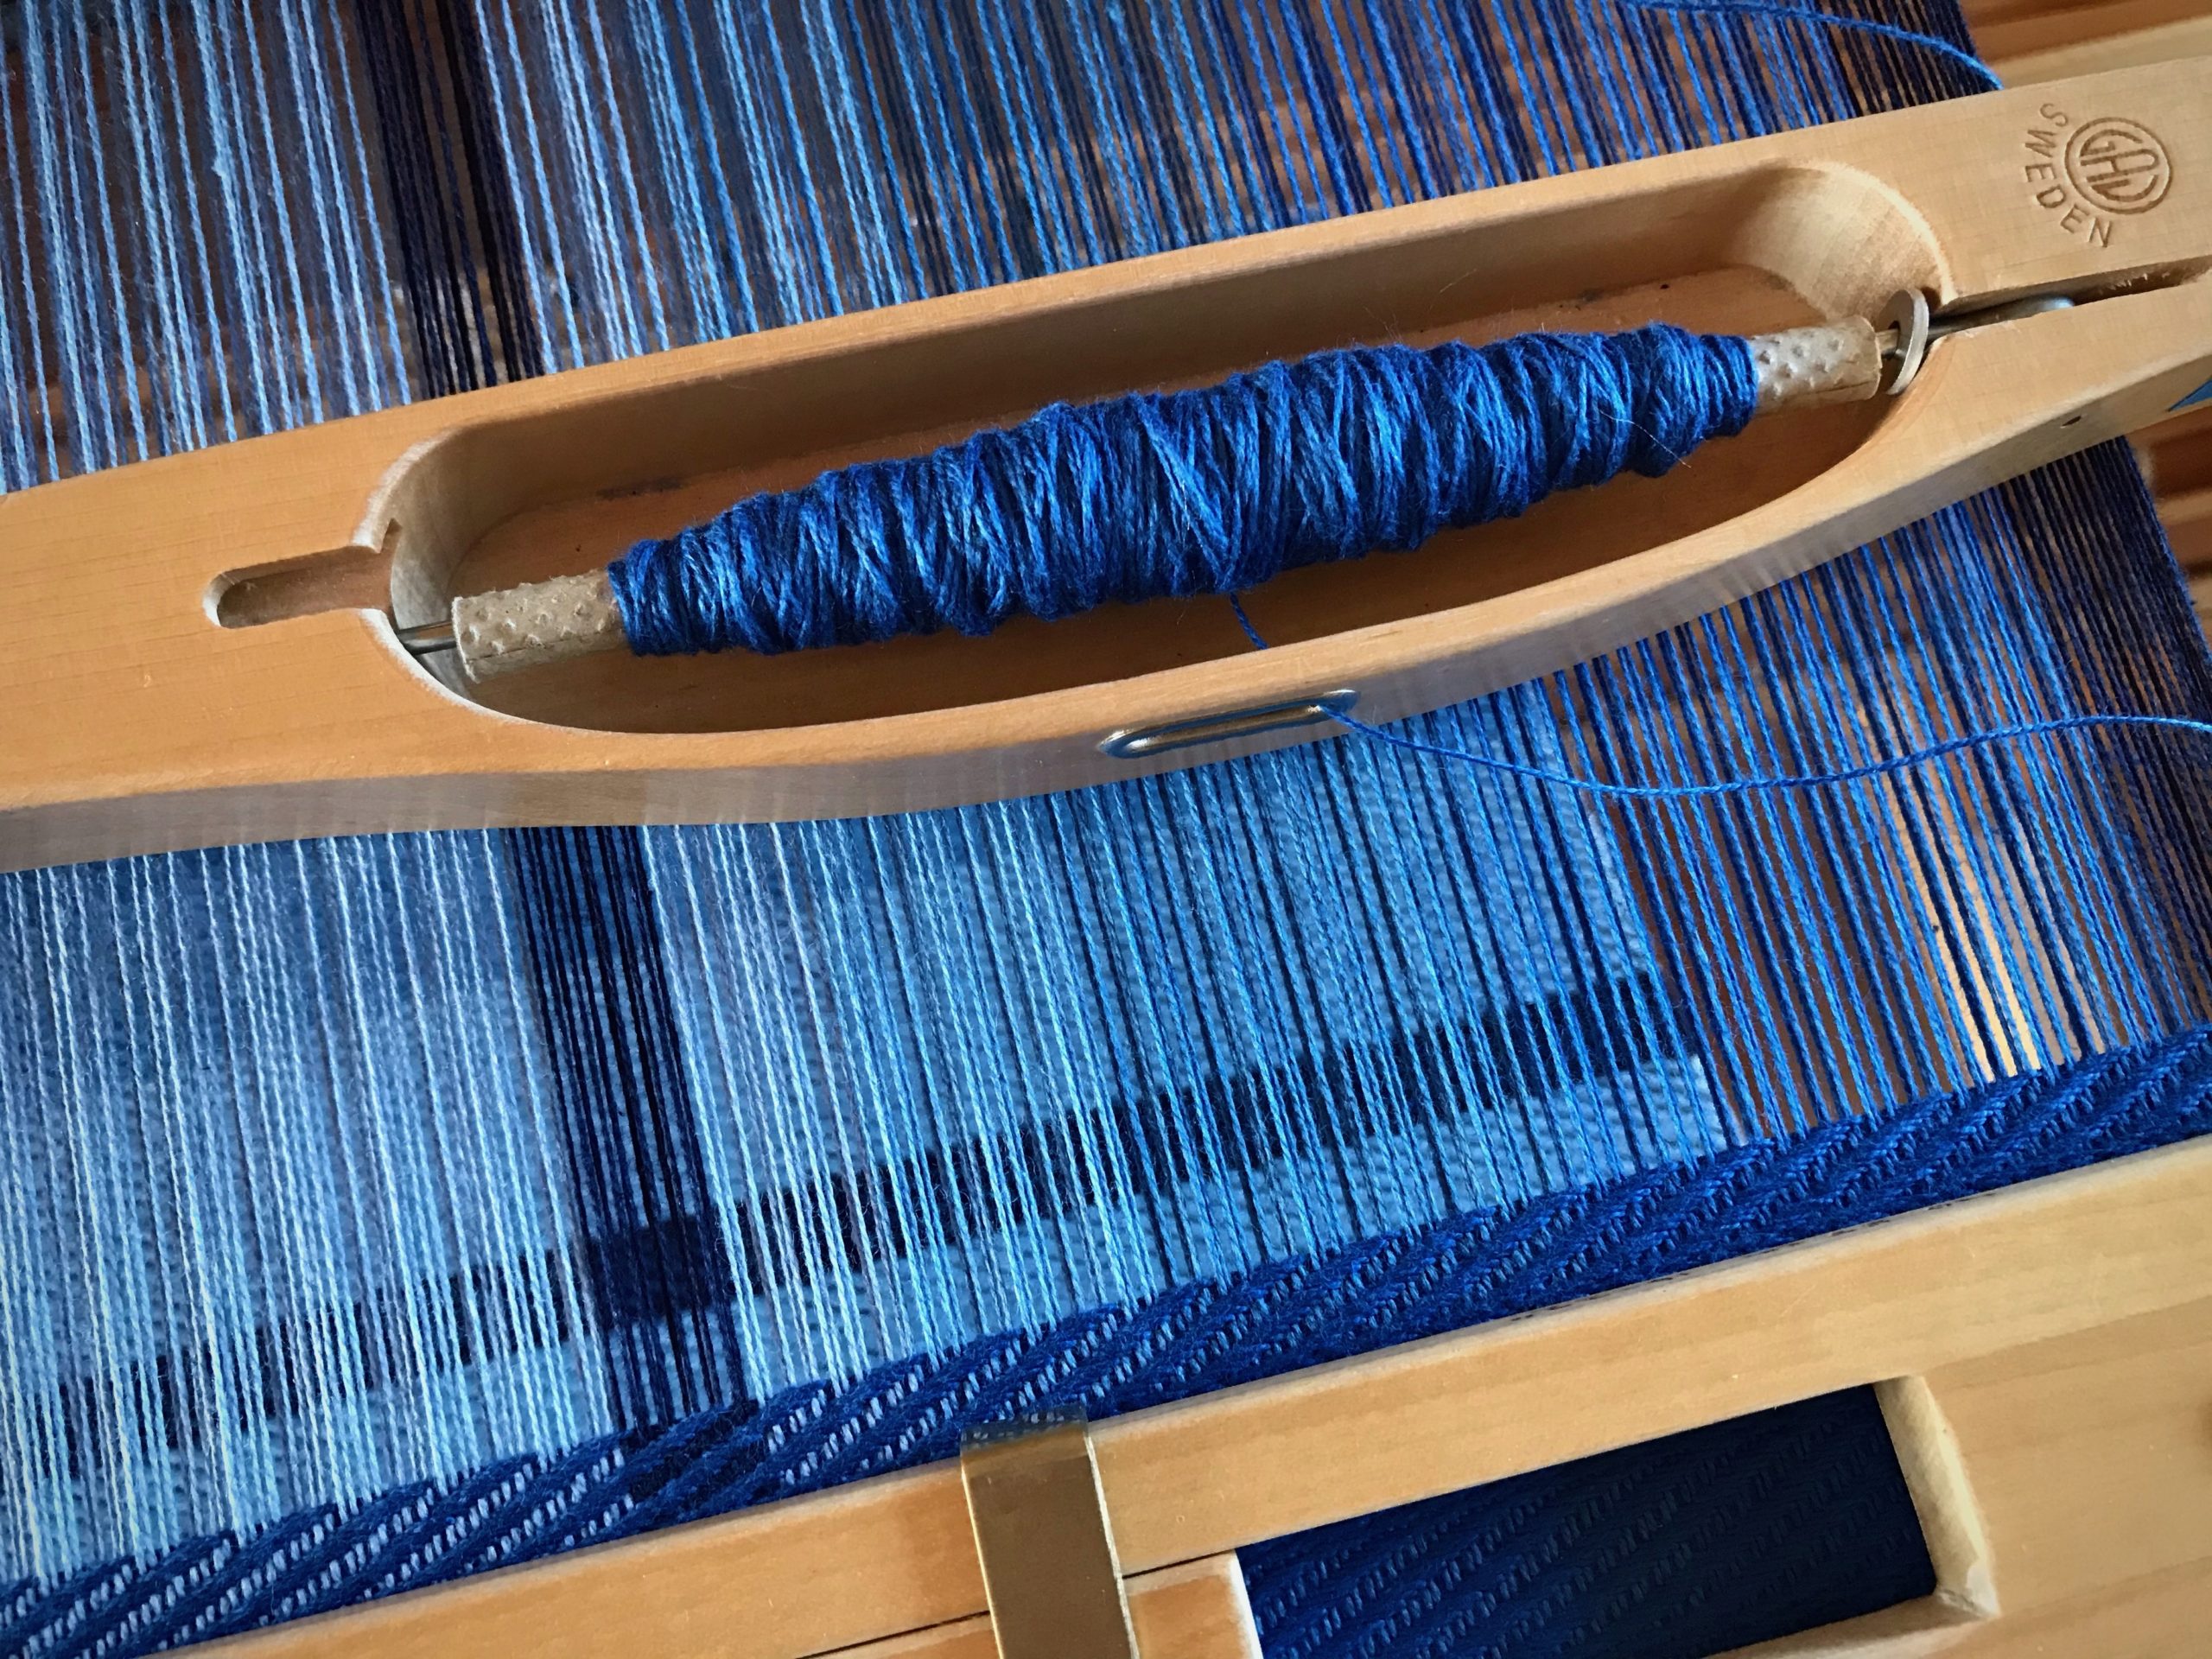
Tips and tricks for the weaving loom.
Almost ready to advance the warp, I remove the temple and reposition the pins on my guide tape. Then, I put the temple back on, near the fell line.
Tips about when to advance the warp.
After moving the temple, I weave one or more complete treadling sequences before advancing the warp.
Three simple weaving tips for efficiency and quality!
After advancing the warp, I know exactly where I left off because of my tape-and-rubber-band counter. My eyes are on the shuttle to continue this segment of weaving.

Do you have a simple tip that improves your efficiency and/or quality at the loom? Please share in the comments.

May you notice what you’re doing.

Happy Weaving,
Karen

Process Review: From Drawloom to Garment

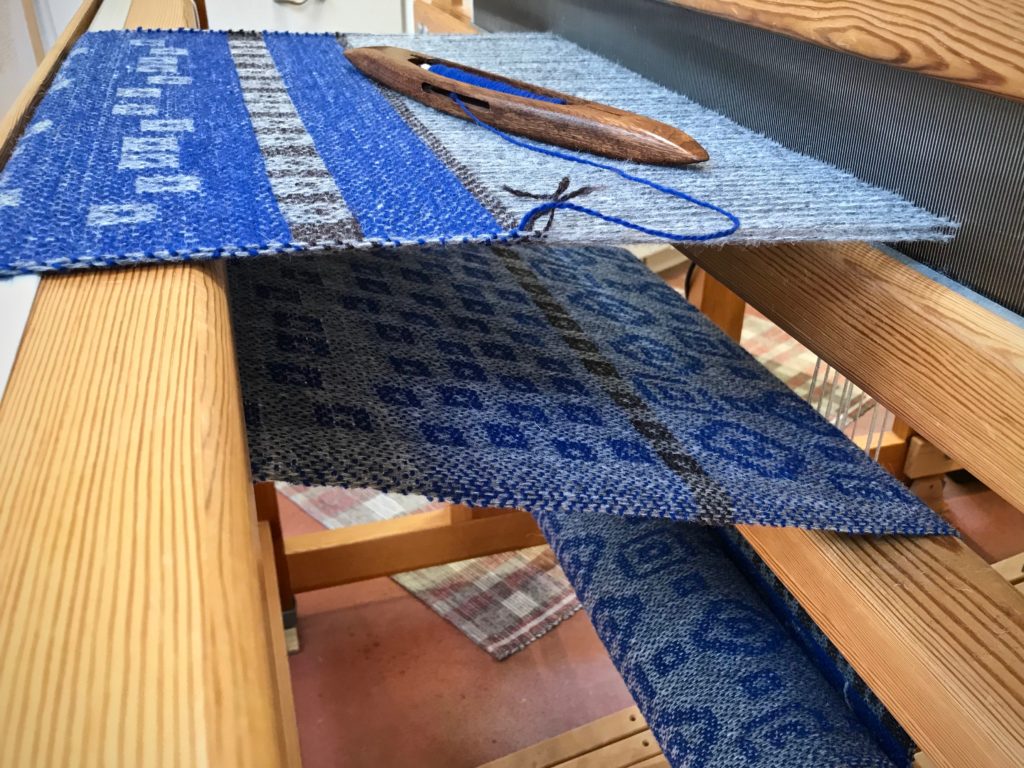
I warped the drawloom with gray 6/2 Tuna wool several months ago with the goal to make fabric for a reversible vest. The beautiful drawloom fabric turned into dreamy garment-worthy fabric after washing! (See Process Review: Drawloom Jewels)

Weaving garment fabric on the drawloom.

And then I hit two huge hurdles.

Hurdle 1. Fit.

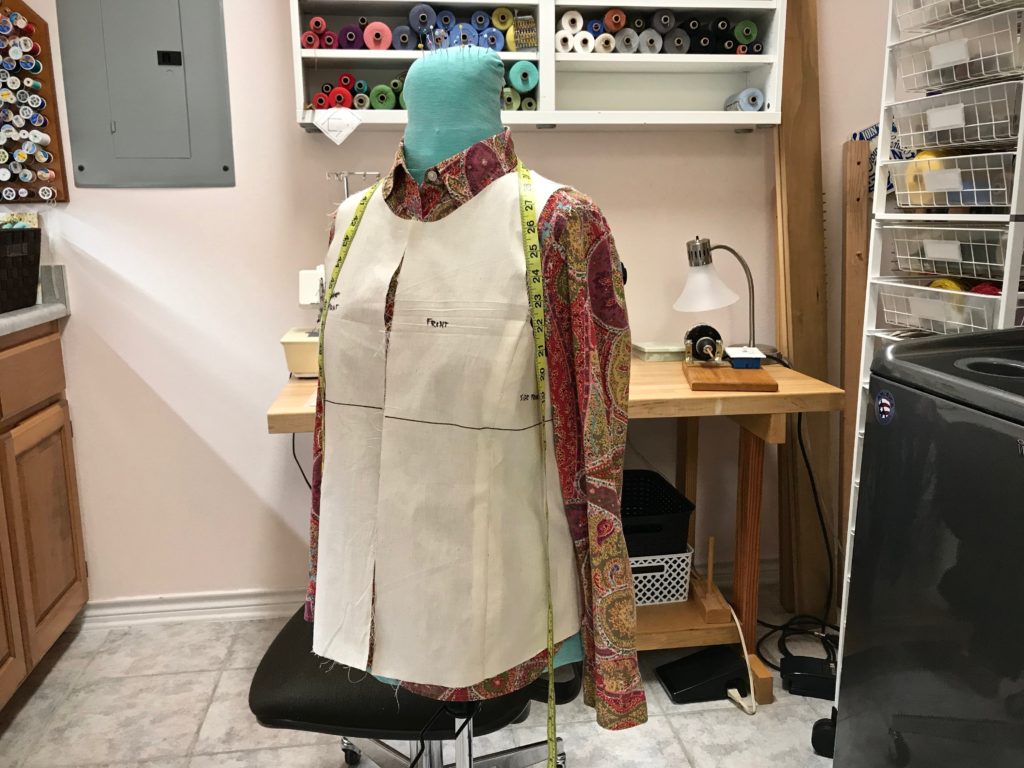
In order to cut into handwoven drawloom fabric, I need assurance that the end result will fit me. My sewing assistant helped me refine a commercial pattern.

My sewing assistant, Miss Fit.
Meet my sewing assistant, Miss Fit.

After umpteen muslins and two or three mock-ups, I finally got the fit I was after. Confidence to cut!

Hurdle 2. Garment Construction Uncertainties.

Do some detail studies, my dear friend Elisabeth said to me. Her advice got me over the insecurity hurdle. A detail study is making a small sample to test a hypothesis or answer a question. I made a list of everything I wanted to know about constructing a vest from this type of handwoven wool fabric. And then, using some of the extra fabric from the sampling at the beginning of the warp, I did a detail study for each point on the list. Twelve detail studies in all.

(If you are interested in seeing my complete list of 12 detail studies for this project, click HERE to send me an email and ask for my “Detail studies”.)

Here are a few examples of my findings:

  1. Zigzag before or after cutting? // Zigzag before cutting, stitch width 3, stitch length 2 1/2
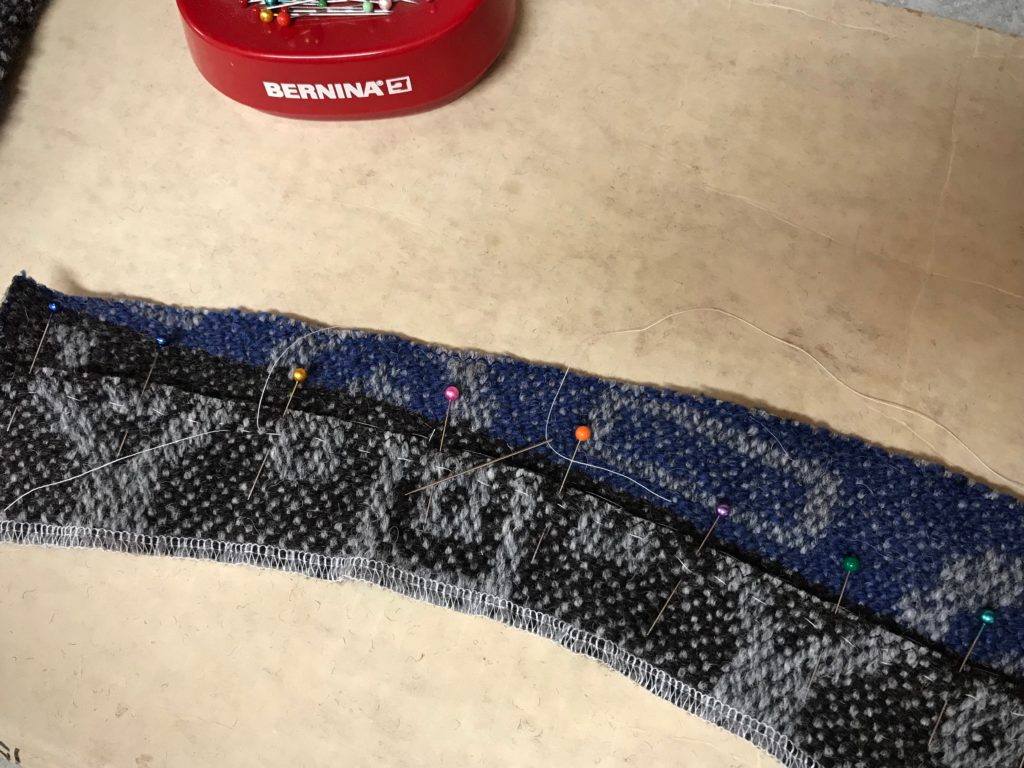
  2. Lapped seams? 3/8”, 1/2”, 5/8”? // Yes, lapped seams, overlap 1/2”, stitch basted line to guide placement
  3. Neck and armhole curves – staystitch with hand running stitches or machine stitching? 1 row or 2? // Hand running stitches, 2 rows
Detail studies for handwoven garment construction.
Detail study testing lapped seams.

From the results of the detail studies I was able to compile a step-by-step garment construction plan. Confidence to sew!

Follow my process pictures of the garment construction to see the results:

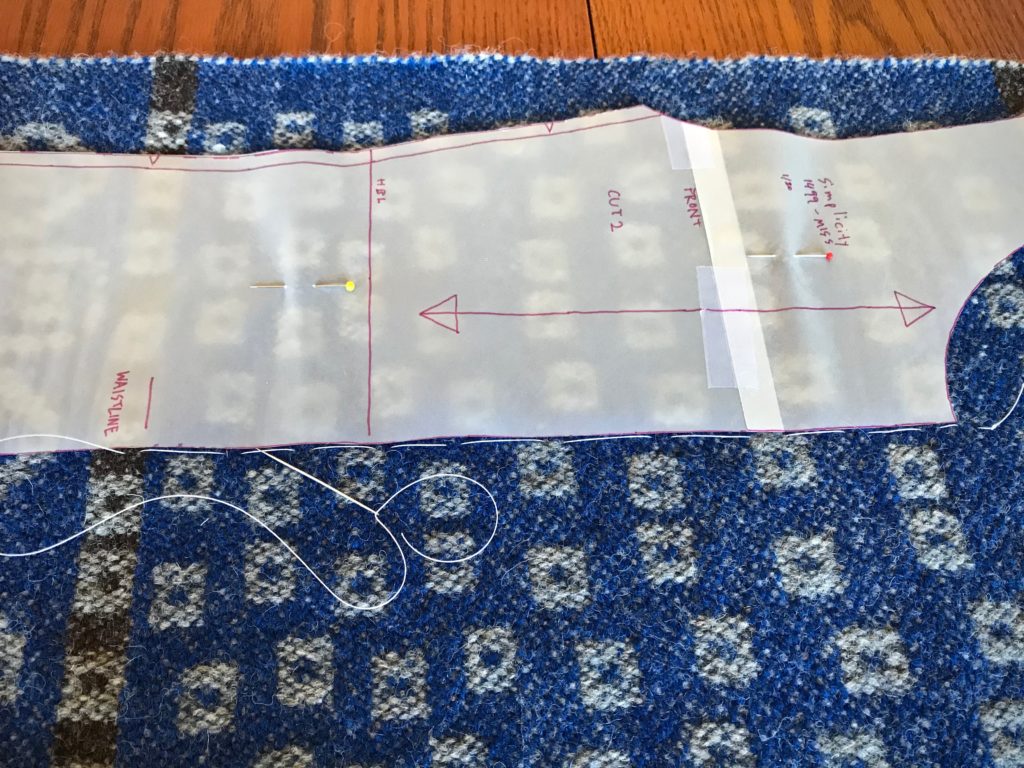
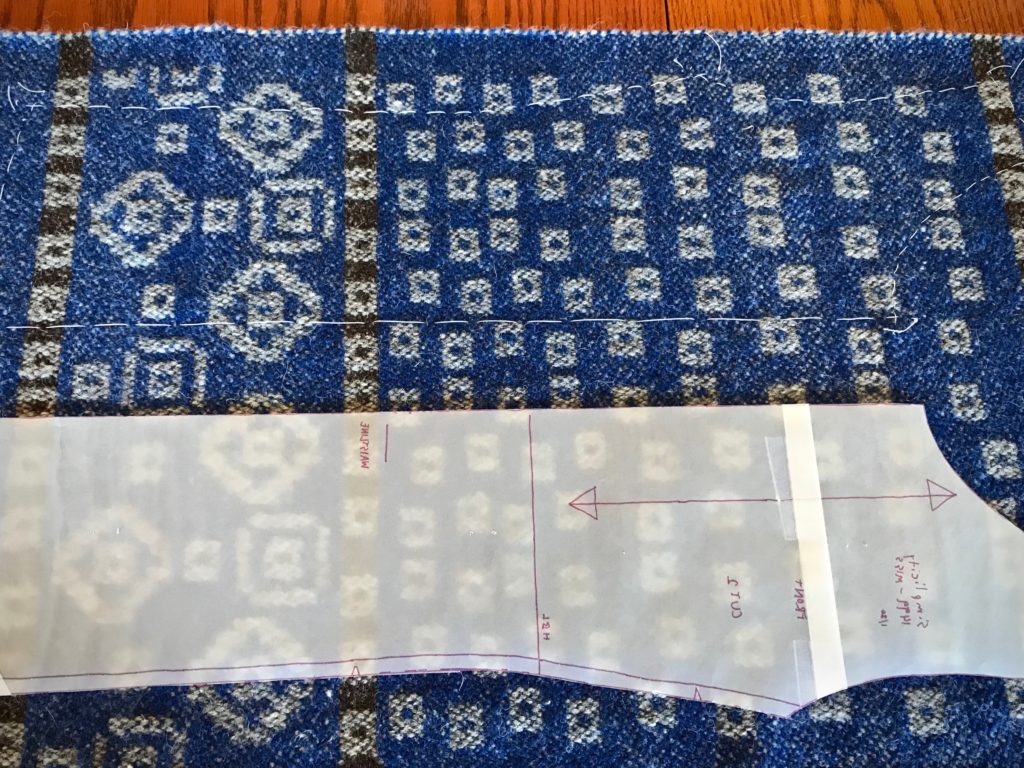
Cutting lines marked with basting stitches.
Tracing paper is used for the pattern, which allows me to clearly see the placement of the pattern on the fabric.
How to stitch basted cutting lines.
Making an X with the basting thread at the corners. This helps clarify exactly where to stitch and cut. (One of Elisabeth’s helpful tips.)
Preparing handwoven cloth for garment sewing.
Buttonhole twist thread is used for the basted lines. It makes an easy guide for the sewing machine needle to follow. The zigzag stitches are just inside the line.
Sewing a handwoven garment.
Basting stitch on the front side piece is a guide for positioning the lapped seam.
Sewing a vest from handwoven drawloom fabric.
Handwoven vest. Ready for handwork details.
Ready for hand work.
Hand-stitching work by the fireplace.
Two rows of running stitches around the armholes and neck opening.
Blanket stitch on handwoven garment.
Blanket stitch is used to embellish and strengthen the armholes, neck, front edges, and lower edge of the vest.
Blanket Stitch
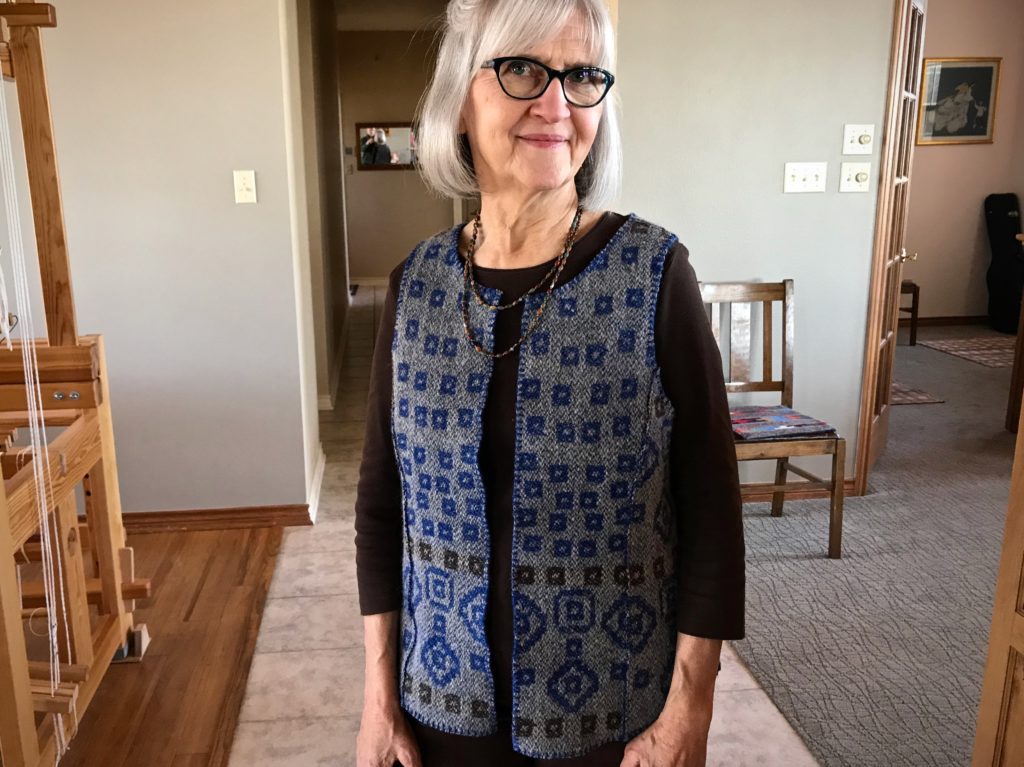
Completed vest from drawloom fabric.
Reversible handwoven vest.
Reverse side.
Handwoven reversible vest. Drawloom Woven.

May you find ways to leap over your hurdles.

Love,
Karen
Weaving through The Big Book

It took me seven years of study, practice, and mistakes to complete this rigorous Swedish weaving curriculum! You have been with me through much of it right here. I’m talking about The Big Book of Weaving, by Laila Lundell. I made it through the book, sequentially, page by page, warp by warp. 43 warps in all! Remember the blue 12-shaft double-weave blanket I had on the loom in June? That is the final project in the book.

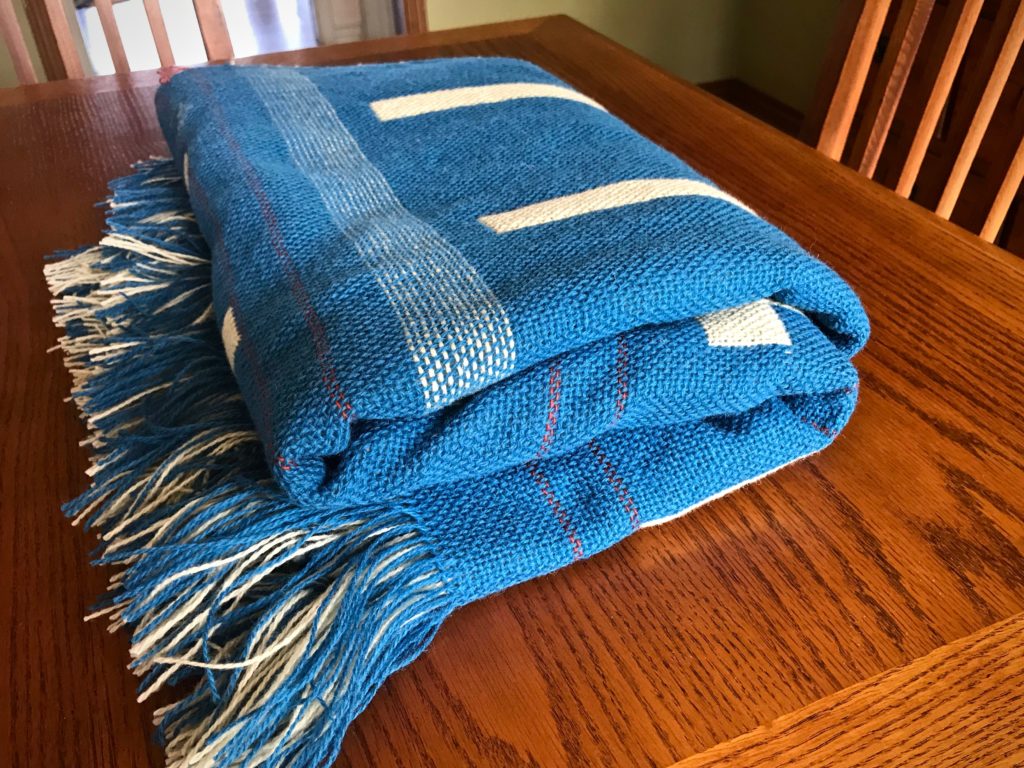
Handwoven double weave blanket. 12 shafts.
Double-weave wool fabric is ready for wet finishing, where it will be transformed into a soft, cozy blanket.

In the short video below, each completed project is presented in order in our Texas hill country home. Watch to the end to see the blue blanket in all its finished glory.

For nitty-gritty details, check out The Big Book of Weaving tab at the top of the page.

I. Secrets to success:

  • mindset of a student
  • determination
  • eyes on the goal
  • no option other than completion

One loom dedicated to the book.


II. Lessons learned:

  • technique
  • processes
  • planning
  • drafting
  • Swedish practices

Any mistake can be remedied.


III. Treasures gained:

  • patience
  • humility
  • endurance
  • focused attention
  • problem solving
  • creative freedom

Confidence.


IV. Prized perspectives:

  • new experiences
  • delight of dressing the loom
  • wonder of cloth-making
  • fresh ideas
  • joy of discovery
  • knowledge and understanding of the loom

Getting lost and absorbed in the whole process of weaving.

V. Favorite project: Old-Fashioned Weaving / Monksbelt (at 4:46 in the video)

Are we determined students of heavenly things? Oh, to know God’s will! Study what’s written, don’t lose heart, eyes on the prize, no option besides completion through Jesus Christ. One life dedicated to know him. Day by day, warp by warp, the Grand Weaver teaches us. We can know God’s will.

May you be a lifelong learner.

Happy Weaving to you,
Karen
Cutting Off a Failure

I made an embarrassing blunder. No wonder this Tuna wool resists all my efforts. It’s the wrong yarn! Tuna is 6/2 wool—twice as thick as the 6/1 wool I should be using. Cowboy Magic won’t solve this sticky problem. (I thought it would, as I expressed in this post: Tame the Wool.)

The yarn is gorgeous, but my frustration level is pushing me to throw in the towel. I tried hard to make this work. I was so convinced I had the right yarn that I missed it even when reader Joan left a gentle comment asking if 6/1 Fårö yarn would work (I’m sorry for not listening, Joan). There is nothing left but to cut off this failure.

Cutting off out of frustration.
Every shed is a struggle. It seems impossible to get a clean shed with this “sticky” yarn. (It’s not the yarn’s fault, though.)
Cutting off a failure. Ouch!
Failed piece is cut off. There are unwanted floats everywhere, and the fabric is like cardboard because of the tight sett.
Cutting off a failed double weave project. Ugh.
Bottom of the double weave has even more unwanted floats than the top layer.

In this lowest moment a thought occurs to me. Re-sley the reed. An ounce of hope rises.

Re-sleying to a coarser sett. Hoping for success.
Reed is changed from 50/10 metric to 40/10 metric. This spreads the warp an additional 19.9 cm (7 3/4″).
Wool for a double weave blanket. Second try.
Sleying is complete and the new reed is placed in the beater.
Wool warp for a double weave blanket.
Warp is tied on and leveling string is tightened. On your mark, get ready, get set…

I re-sley to a coarser reed and tie back on. I hold my breath and step on the treadles. It works. And it’s gorgeous!

Double weave wool blanket on 12 shafts. Glimakra Standard.
Go! Night and day difference in being able to clear each shed.
Double weave at its finest. Wool blanket.
Double weave at its finest.
Weaving into the sunset!
Weaving into the sunset.
Double weave Tuna wool blanket on Glimakra Standard. Success!
Clean lines of double weave, with a (very) few unwanted floats that will be easy to fix later.
Double weave wool blanket. Success after starting over!
This is now a pleasure to weave!

Have you experienced great disappointment and loss of hope? Sometimes our own failure brings us to that point. The Lord makes things new. We come to Jesus with our failed attempts, and he exchanges our used rags of effort with his clean cloth of righteousness. In his forgiveness, the failure is cut off and removed. Our threads are re-sleyed and re-tied to make us gloriously new.

May you know when to cut off and start over.

Love,
Karen

Tried and True: Another Use for Thrums

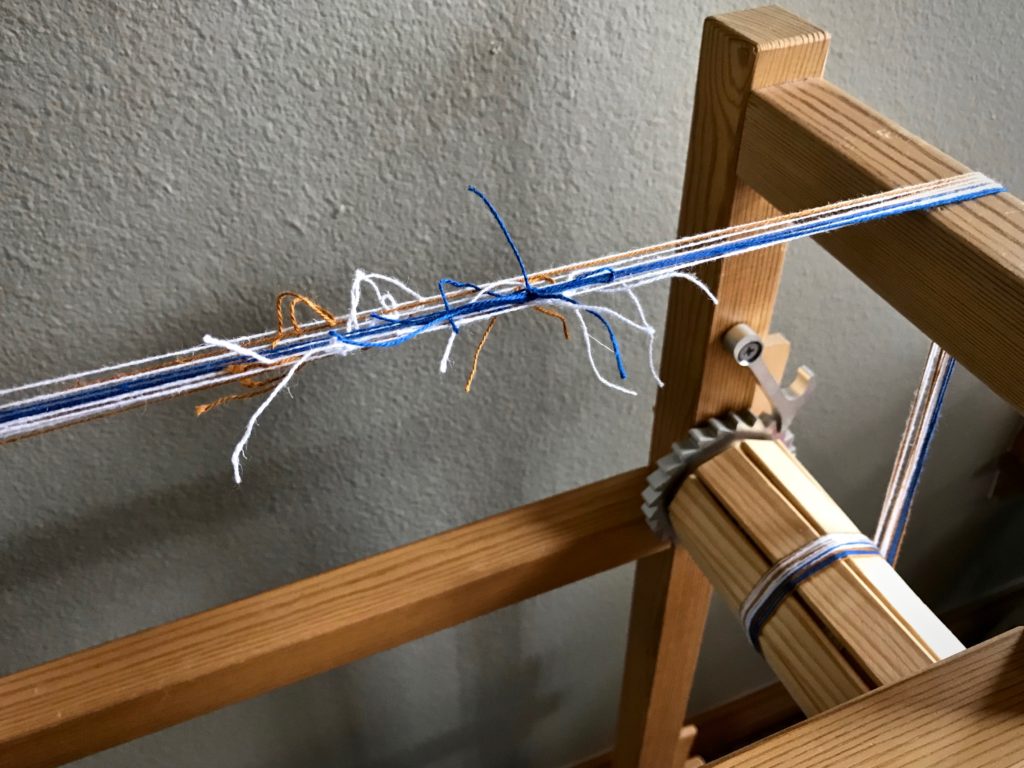
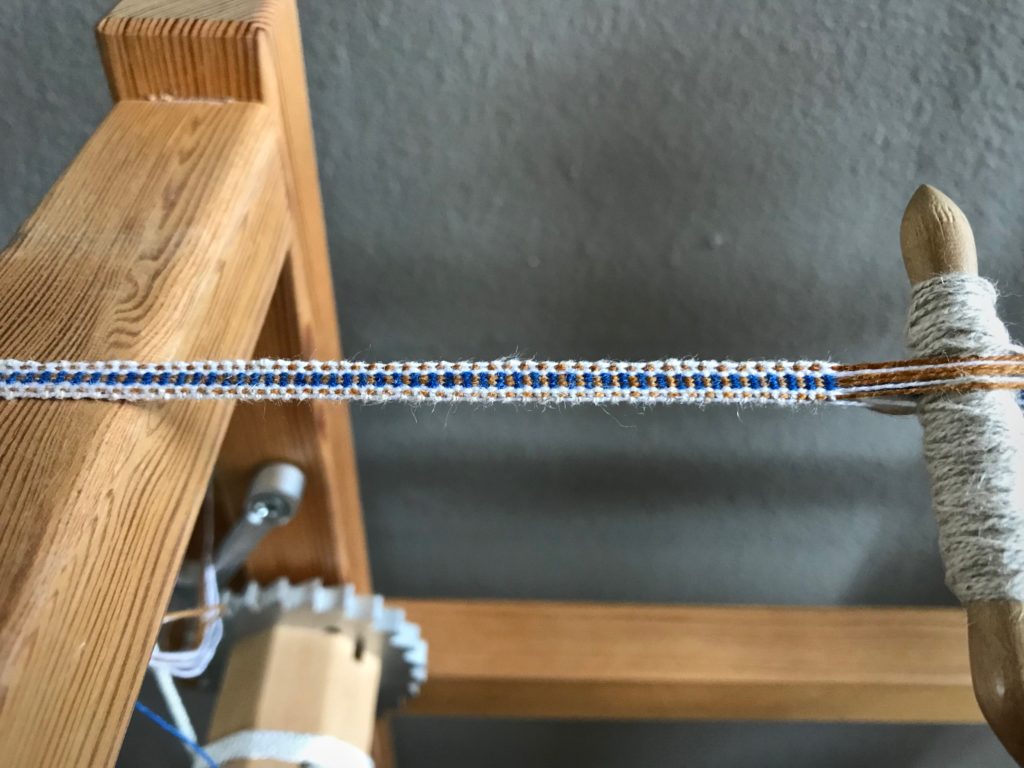
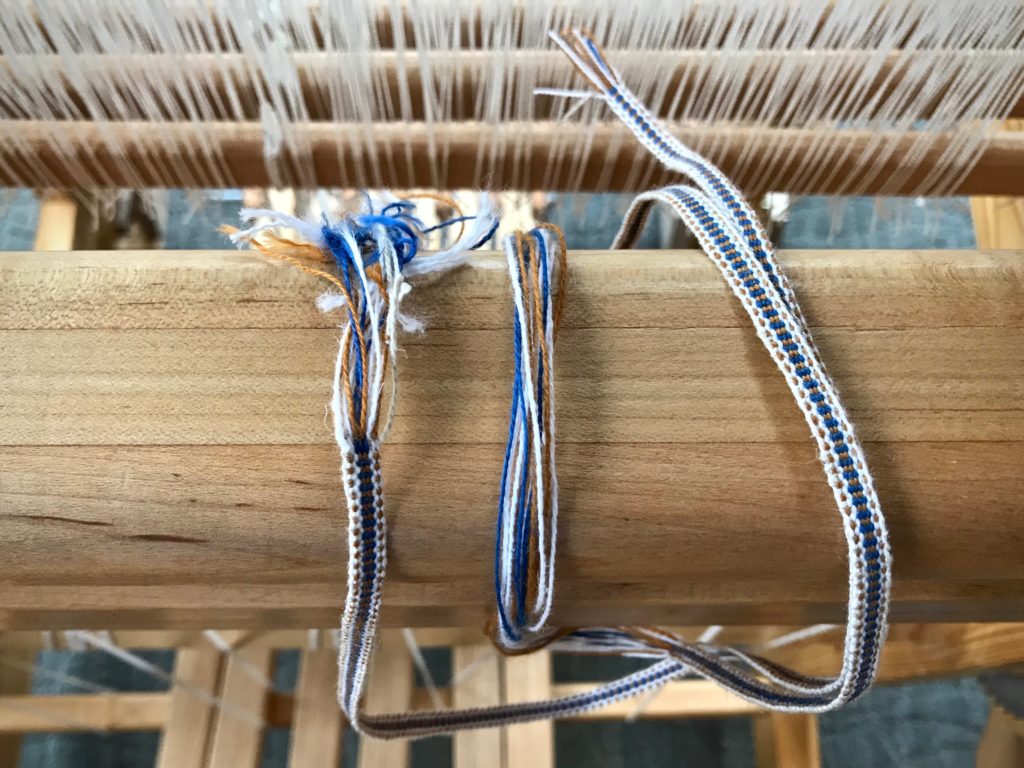
Handwoven towels need handwoven hanging tabs. I finished the Vavstuga cottolin towel warp, so now it’s time to put my band loom to use. Why not use the warp thrums to make the woven band? The length of the thrums is too short for the band loom, so I am knotting two ends together for each strand.

Thrums are used to make a warp for the Glimåkra band loom.
Thrums ends are tied together to make a warp long enough for the Glimåkra band loom.
Glimakra band loom.
Cottolin band warp is from the towel warp. Unbleached cottolin is used for the weft.

Everything is starting out just fine, but my inexperience with the “weaver’s knot” proves problematic. One by one, the knots are working themselves loose. I re-tie each failed knot into a confident square knot. Finally, after three weaver’s knot failures, I decided to advance the warp far enough to get past the knots altogether. Smooth sailing after that, and I still ended up with plenty of woven band for the six woven towels.

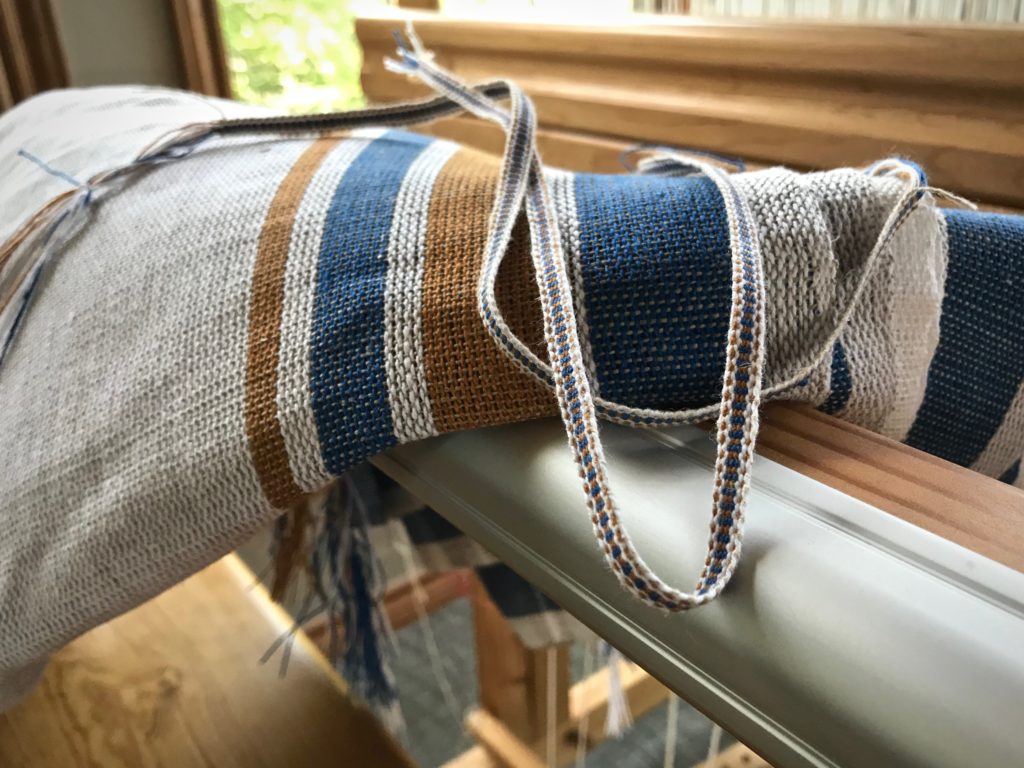
Woven band for hanging tabs on handwoven towels.
Weaving about 30 cm before the knots, and about 40 cm after the knots. Each hanging tab is about 10 cm, so I have plenty of woven band for the six towels.
Using thrums to make coordinating tabs for handwoven towels.
Unwashed towel fabric. Using warp thread from the towels is a great way to make coordinating hanging tabs, as well as a satisfying use for some of the thrums.

I like finding another good use for the thrums. So, I will do this again. But next time, I’ll do a refresher on knot tying before I begin.

May your knots hold tight.

All the best,
Karen